

Introduction
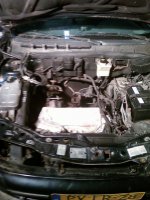
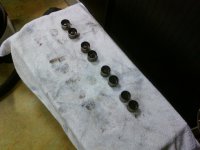
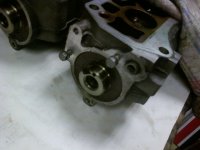
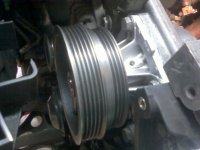
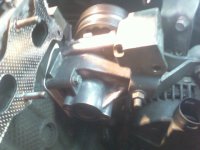
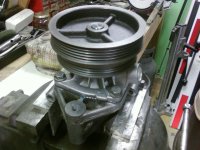
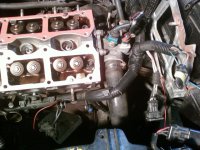
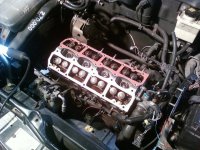
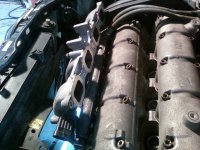
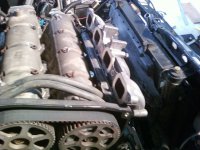
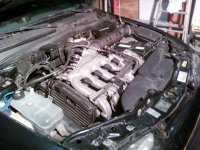
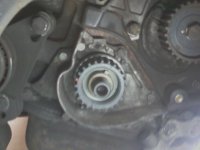
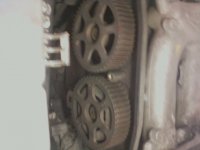
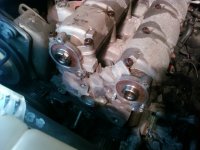
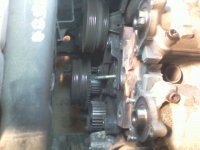
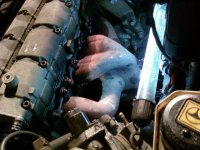
Only some piccies of where I'm recently busy with. Hope they speak for them selves. If you would like some comment I'll be happy to complete this session with further efforts to succeed in this later.
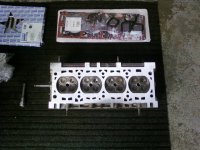
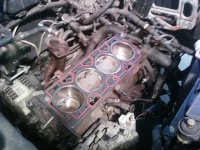
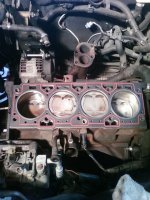
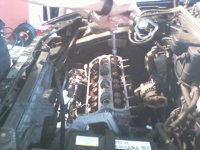
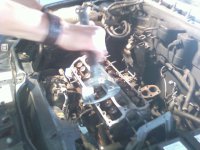
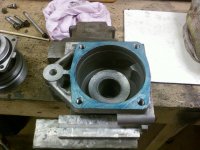
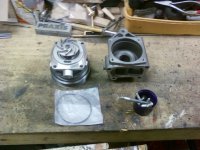
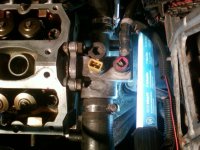
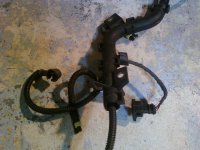
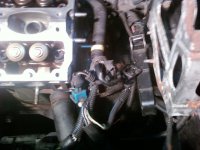
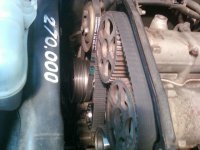
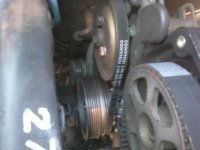
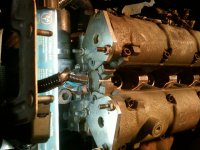
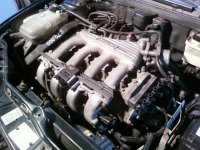
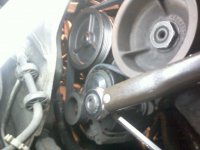
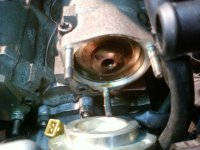
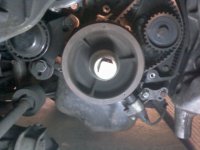
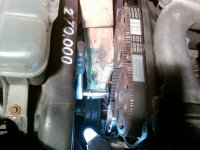
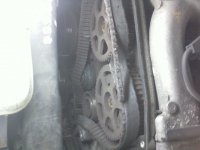
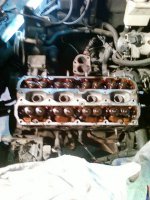
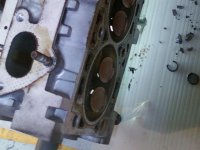
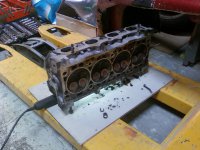
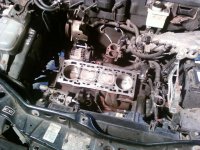
Status: Timing belt broke and eight valves were bended.
Documents: Haynes and Eper
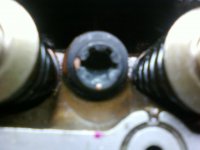
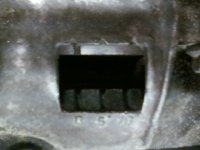
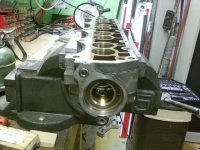
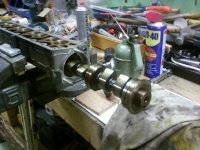
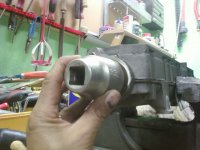
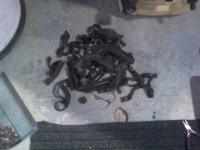
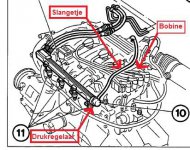
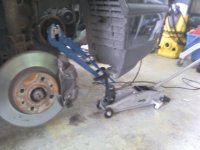
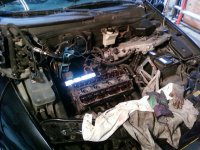
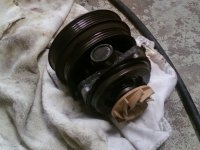
Tasks: Remove all regular- and timing belts with gears and pullys. Remove inlet and exhaust. Remove thermostat. Disconnect cables. Clean everything thoroughly. Look for second hand cilinder head with valves in good condition. Refit everything with new gaskets and connect or renew cables
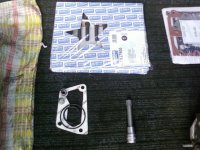
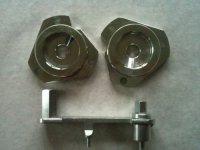
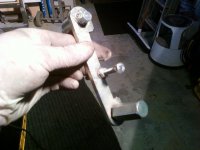
Special tools: Timing tool set and Ribe CV M12
Location: a dry room with enough working space and roof on it
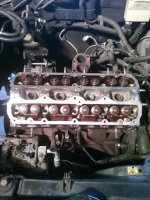
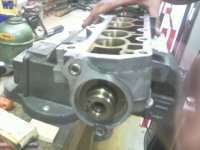
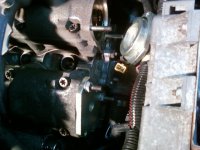
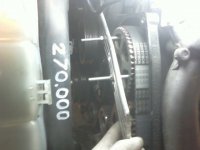
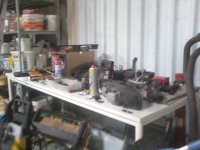
Status: Timing belt broke and eight valves were bended.
Documents: Haynes and Eper
Tasks: Remove all regular- and timing belts with gears and pullys. Remove inlet and exhaust. Remove thermostat. Disconnect cables. Clean everything thoroughly. Look for second hand cilinder head with valves in good condition. Refit everything with new gaskets and connect or renew cables
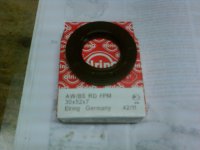
Special tools: Timing tool set and Ribe CV M12
Location: a dry room with enough working space and roof on it