


Introduction
Been telling myself if would make a MM thread for a while now, so here goes.
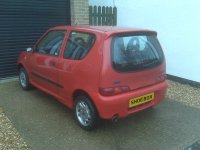
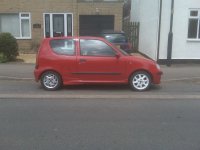
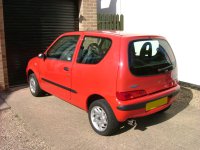
My little Cento started life as a 2002 Seicento SX
I have to admit that i actually wasnt impressed with it when i first saw it, always thinking these little gay italian cars were for old people or women. (definatley not what i think now though)
Went for a test drive and... well i actually had some fun. Not what i was expecting out this little car.

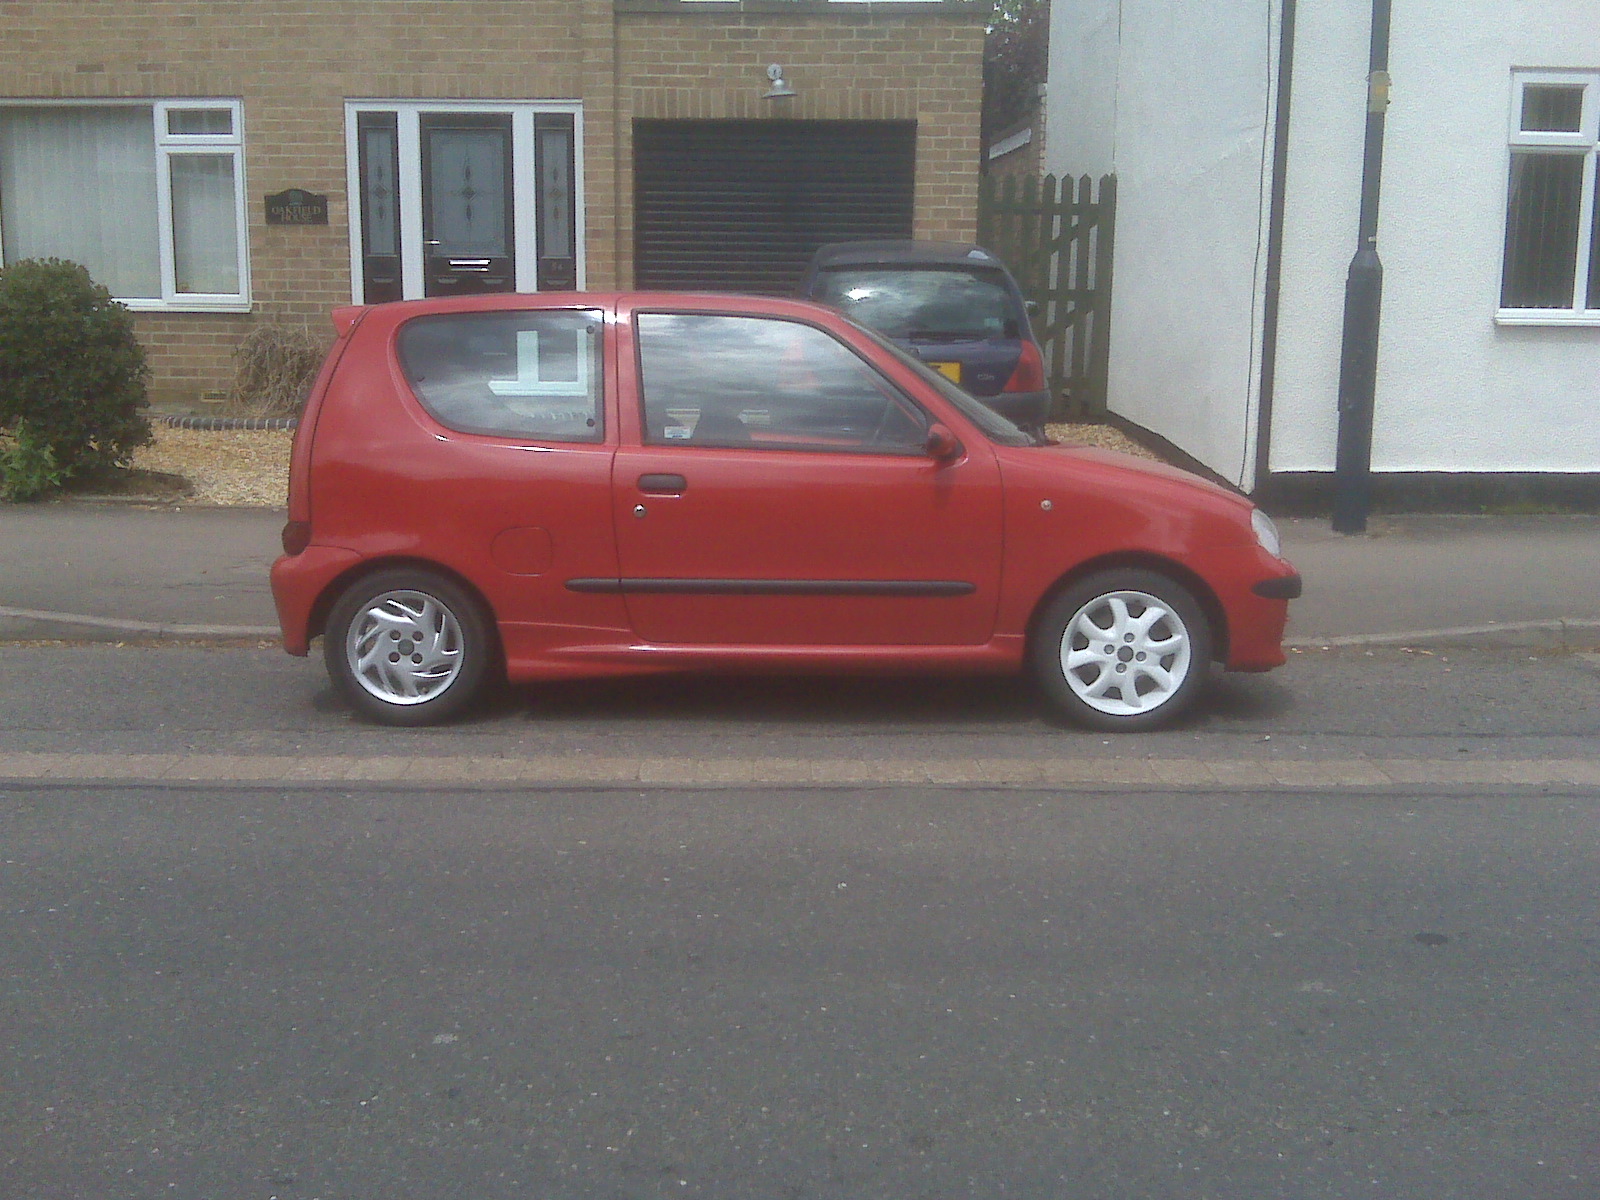
Here it is on the day i took it for a test drive; nothing like a quick zip down some country lanes.
Well i duly bought the car and have never looked back.
Sure it might have pretty slow and crappy but i was having fun. All the car needed was a name...
The Shoebox
First things first, some slightly bigger tyres would may be a good idea.
Seriously, go look at standard steelies on a Sei; they're so thin its scary.

Standard Sporting Alloys, always a good choice") Plus the price i got them for, i couldnt complain.
Plus the price i got them for, i couldnt complain.
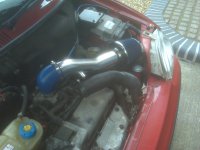
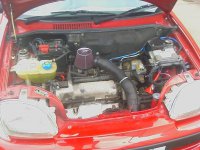
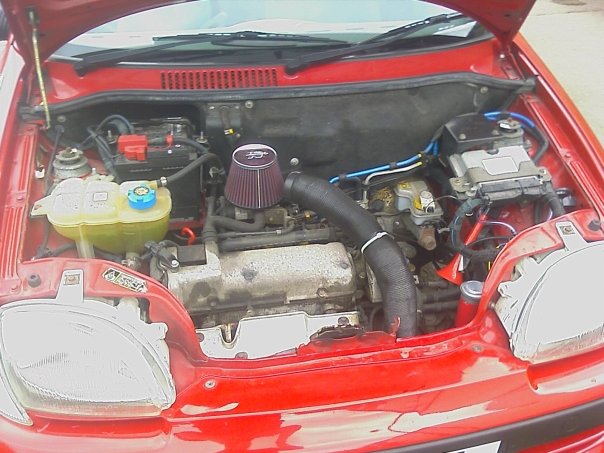
I remember a mate of mine telling me about induction kits. Quick old browse of ebay and i'd ordered myself a shiny K&N.
(bear in mind these photos are a few years old and i ive seen the error of my ways and found the fiat forum)
Racing!
Sad to say thats how the car stayed for a few months.
During that time fraid it got into 2 nasty accidents.
1. My mate fell into the rear nearside pannel, big old dent in the side. Speak to a friendly bodyshop i know. £30 and its now just a slight crease in the side.
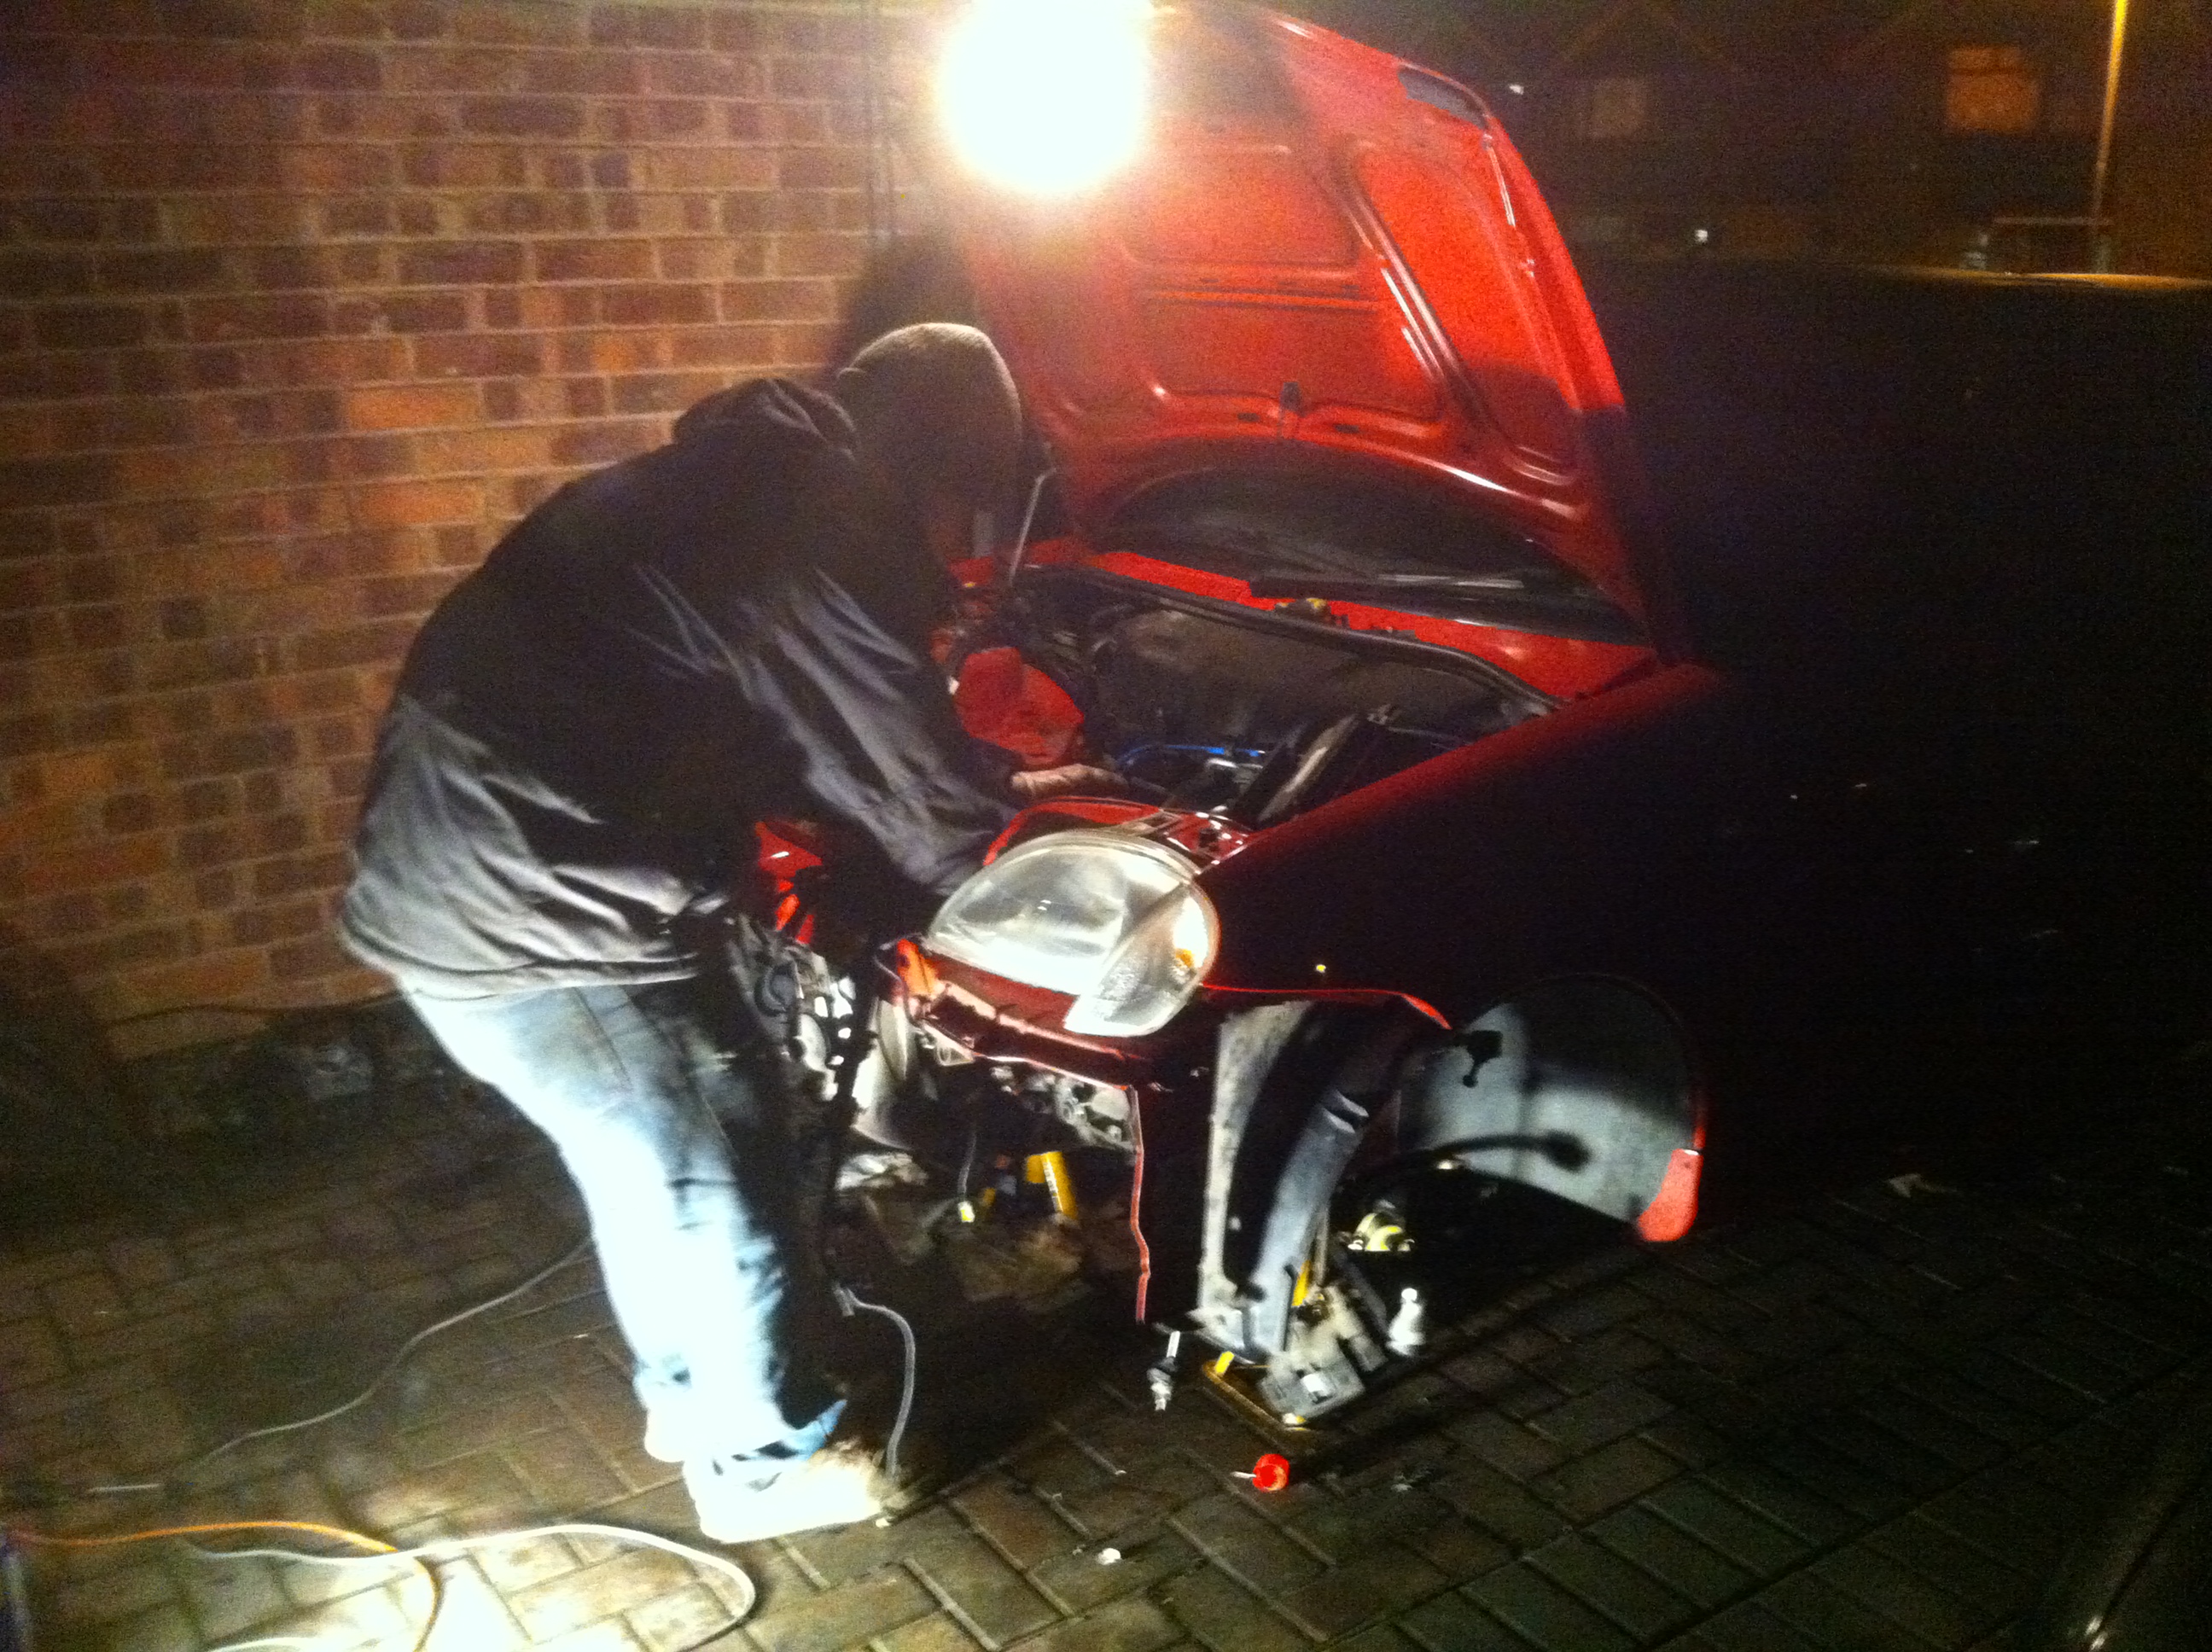
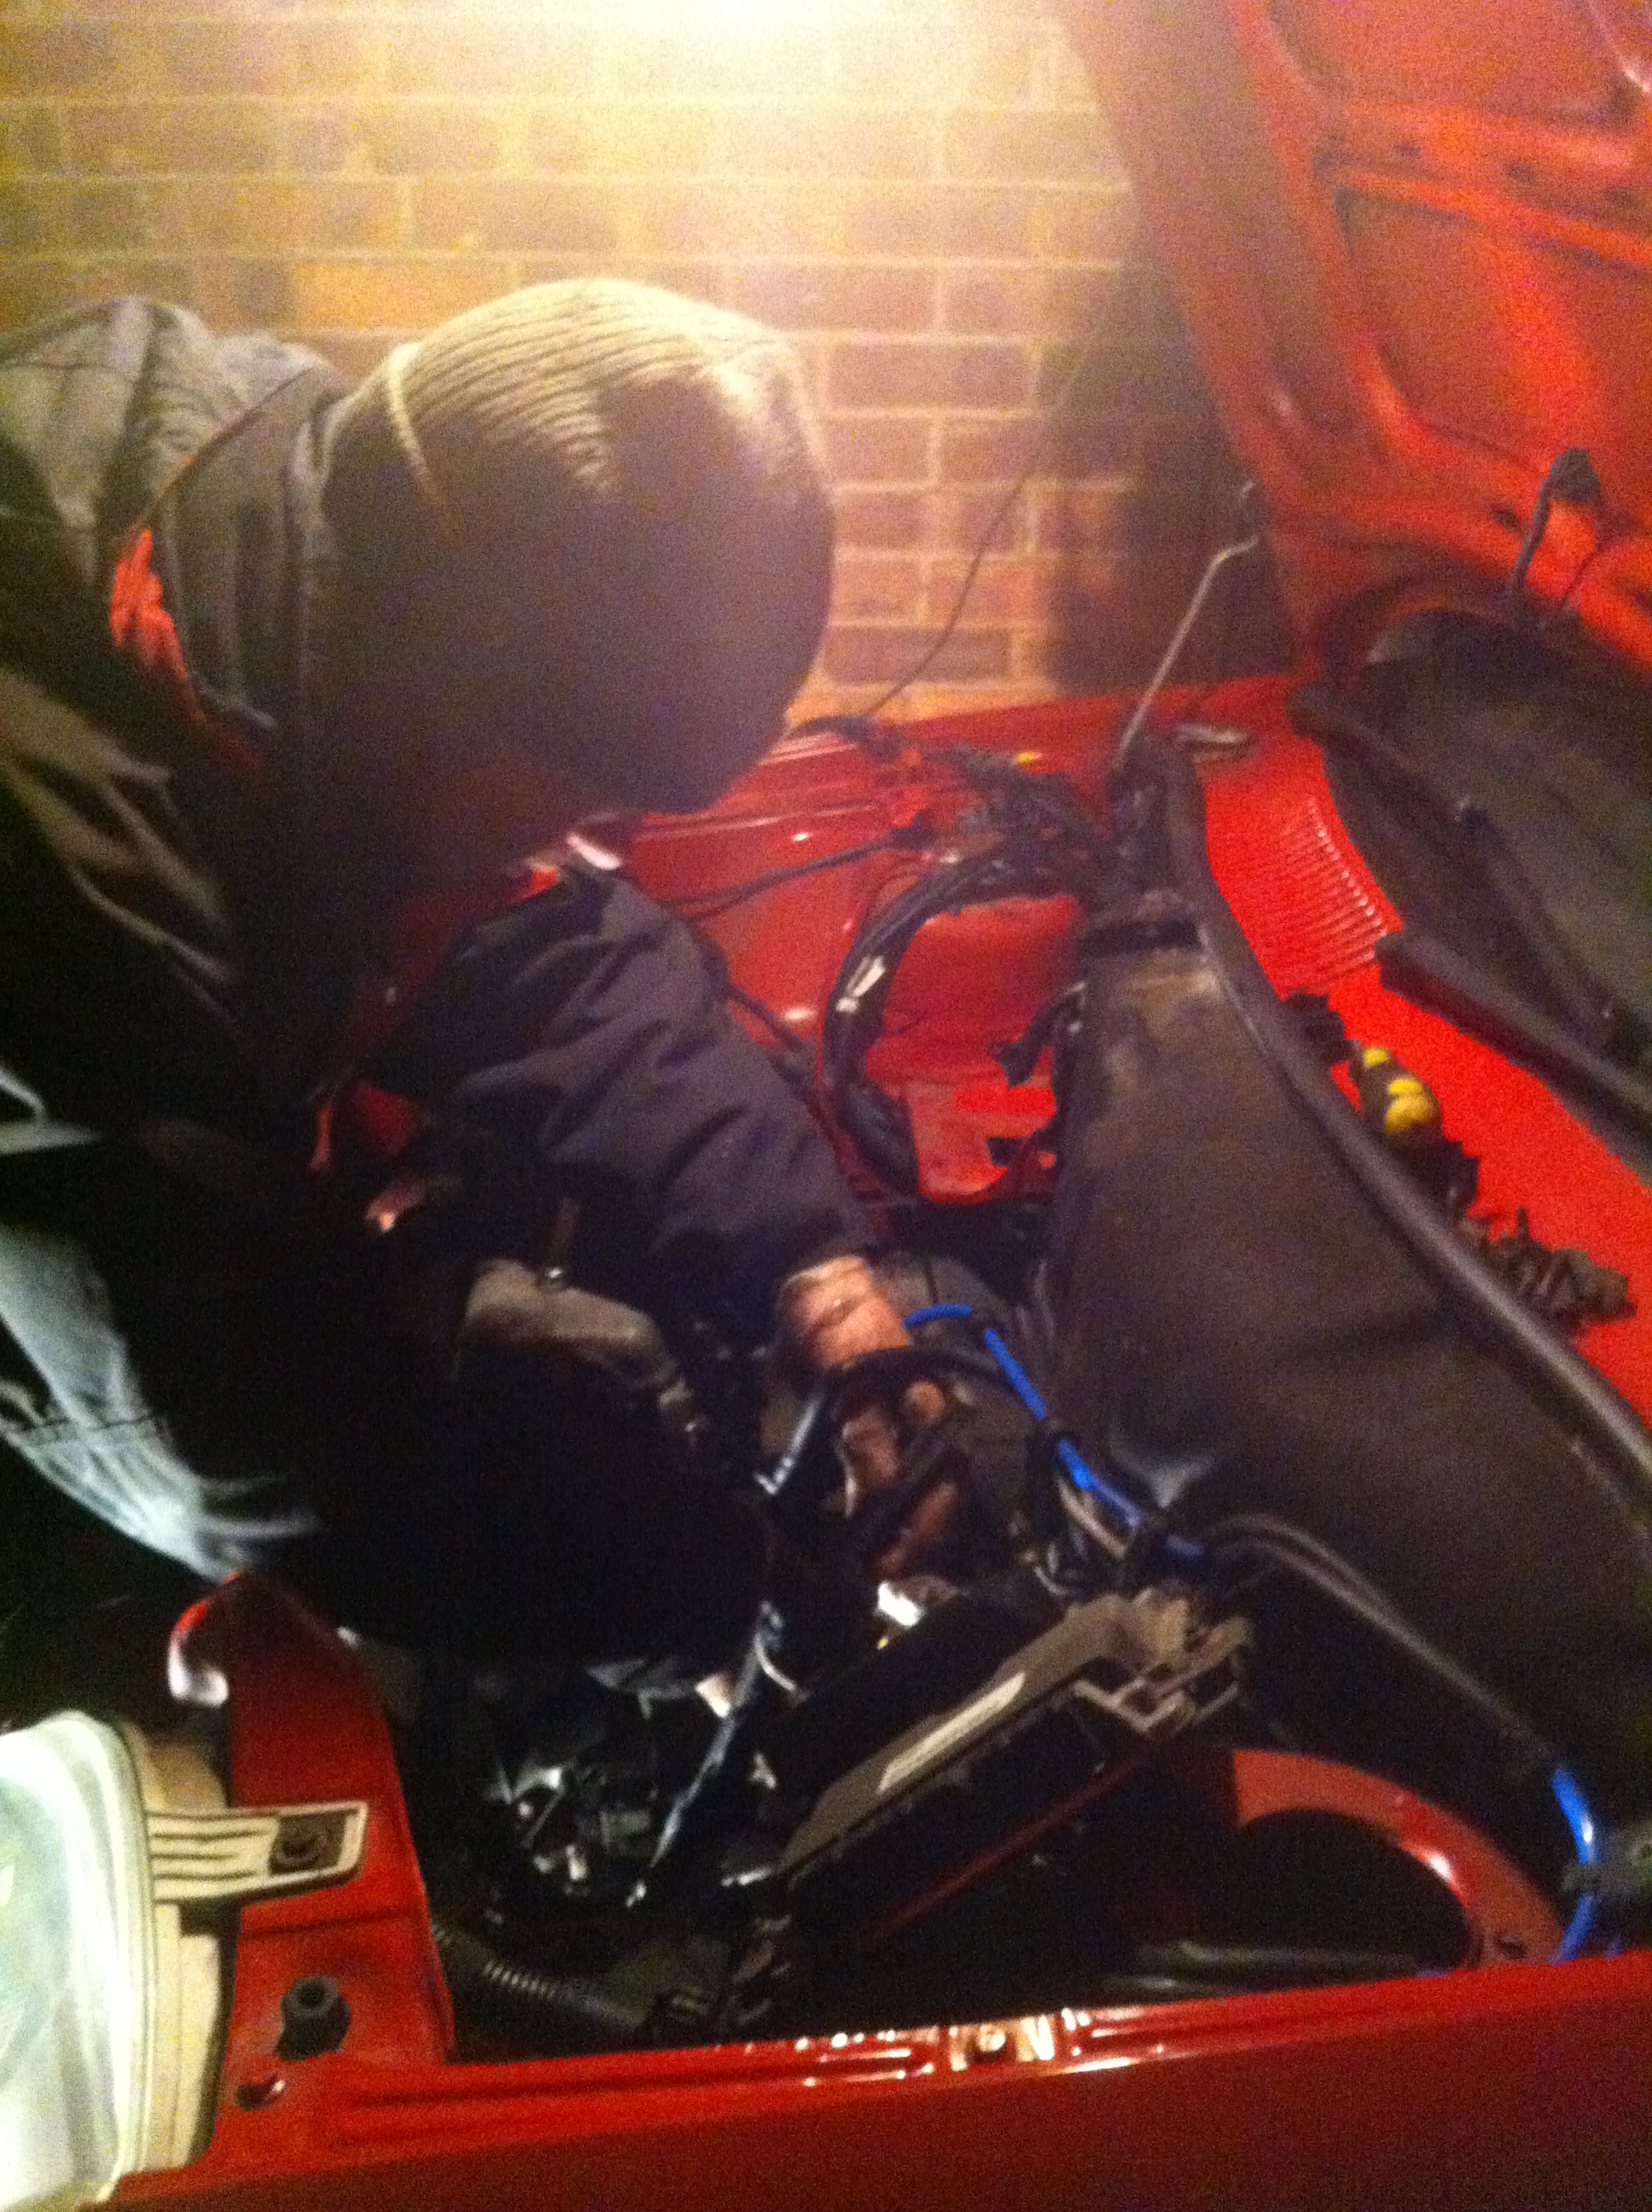
2. This was alot worse. Pretty sure someone ran into me on the ice two years ago. Front bumper dented, bonnet creased, chasis bar bent.
Again a trip to a friendly bodyshop, full respray of front bumper and bonnet, plus dents all taken out.
A trip to see my brother and i came back with a nice shiny supersprint backbox, only trouble it was made for a cinq.
Trip to the garage, one sleeve fitted and new exhaust goodness was on!
Looking Pretty High.

(click for high res)
Not so high now, was just messing about on photoshop.
Now, if anyone has seen me at shows this year and wondered why my offside is a nice shiny colour red compared to my nearside, here's why.
Was driving down a one way street near my house following a van. Saw him indicate into a space infront of him. Suddenly whips it into reverse and tries to parallel park next to me. Though there was a space in front of him.
My car got scraped dow its right hand side: Front wing, door, and rear pannel.
It was totally the guys fault and he admitted it, details swapped and he wanted to settle outside of insurance as it was a work van.
Down the bodyshop again and side all repaired and resprayed, only hard part was trying to get the other guy to pay. (thats another story though)
After the exhaust had been fitted i knew what i wanted next; an abarth body kit and sporting bumpers.
Browsed fleabay for a couple of months and managed to find myself a bargain. One sporting rear bumper in red, cracked and slightly damaged... £10. Bargain.
Another find came up on ebay only a few weeks later, abarth sideskirts and spoiler. Unused and primed. Bought both for £45.
Once again to the body shop to get everything repaired, resprayed and fitted. Thought it would be easier to get everything done in one go.
Only trouble was the exhaust didnt fit correctly into sporting bumper. Quick trip to the garage down the road, fired up the gas cutter and it fitted perfectly. (did have a picture of this being done but cant find it atm)

Looking pretty snazzy.
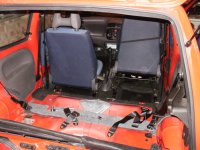
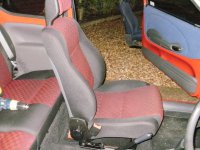
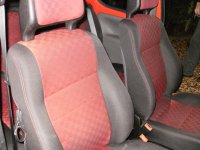
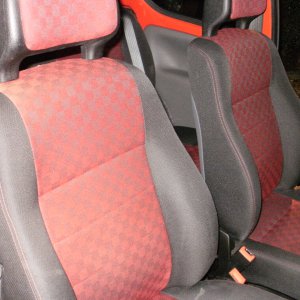
After seeing a cento parked up in my town with red and black seats, i went on the hunt. Few months went by and i checked ebay every week.
Finally a full interior (minus one door card) came up for sale for only £35.
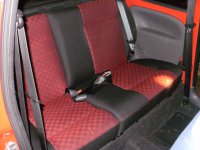
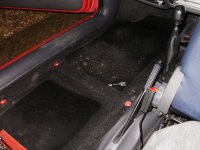
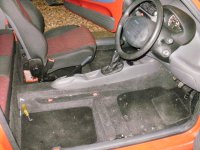
Time to strip it and put the new seats in.
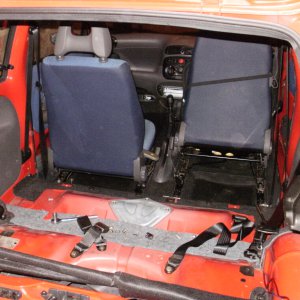
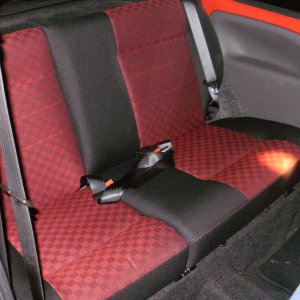
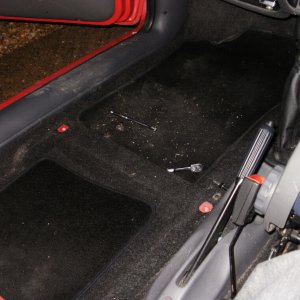
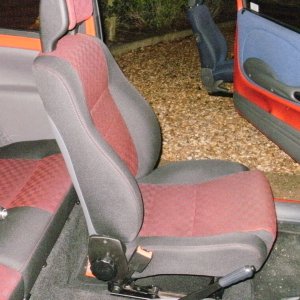
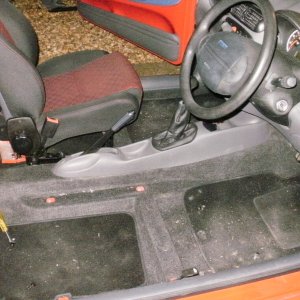
Looking good, just one problem.

Drop a message to Jiminwatford and one doorcard came by way (thanks again jim)
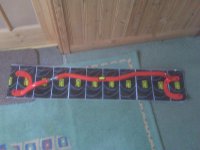
By this point i had been a member on here for quick a while, just never posted anything. Well until the day this box arrived.
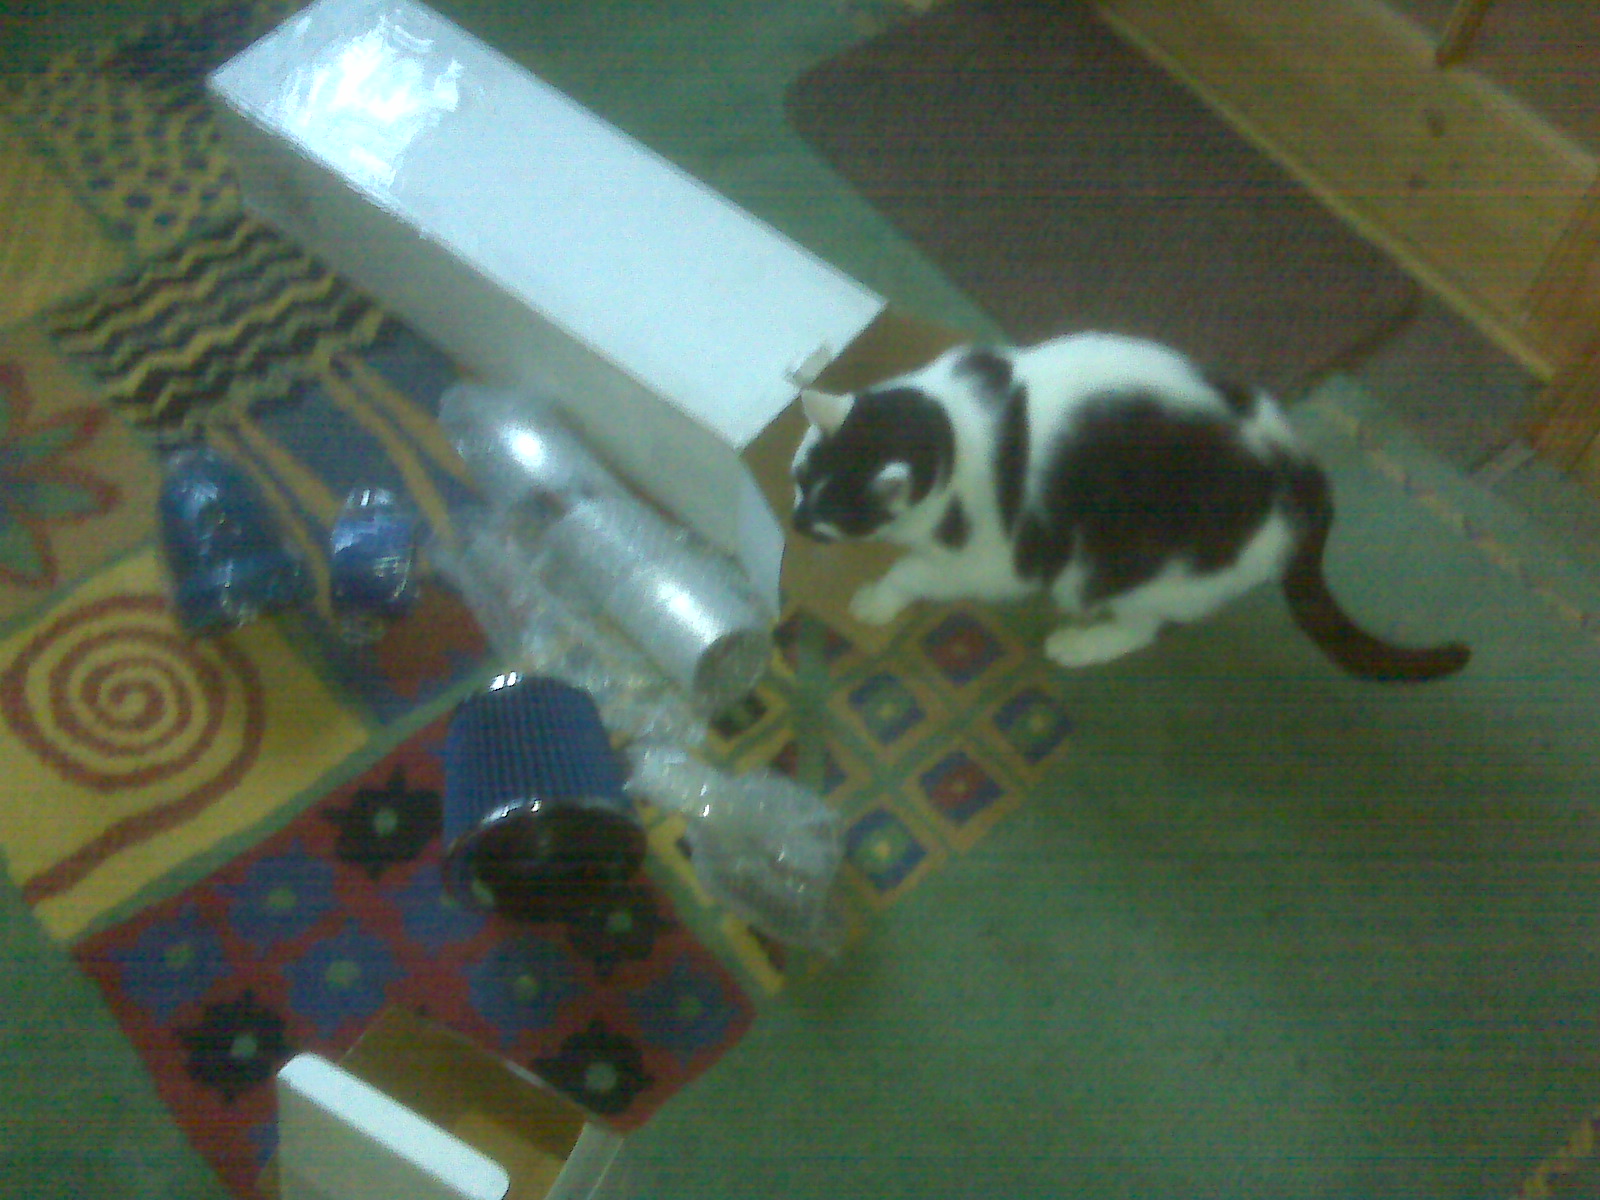
My cat surveying the contents.
Biggest farce ever; i had accidently bought the cinq kit. Tried to fit it but obviously it didnt fit. Quick thread on FF and i realised my mistake.
Then came the fun of trying to send it back and get the Sei kit. Messages were sent back and forth, boxes sent back and forth.
I cant complain really Toyosports/Tuningpartsbay were great and didnt have a problem with me sending anything back.

Finally got round to fitting it with the right parts.
Not long after that, finally the main part i wanted cropped up right here in the classifieds; Abarth Alloys and in white too (bonus) from a guy named Todger.
Went over and saw him (note never let your girlfriend map read, so far it hasnt ended well) got there eventually.
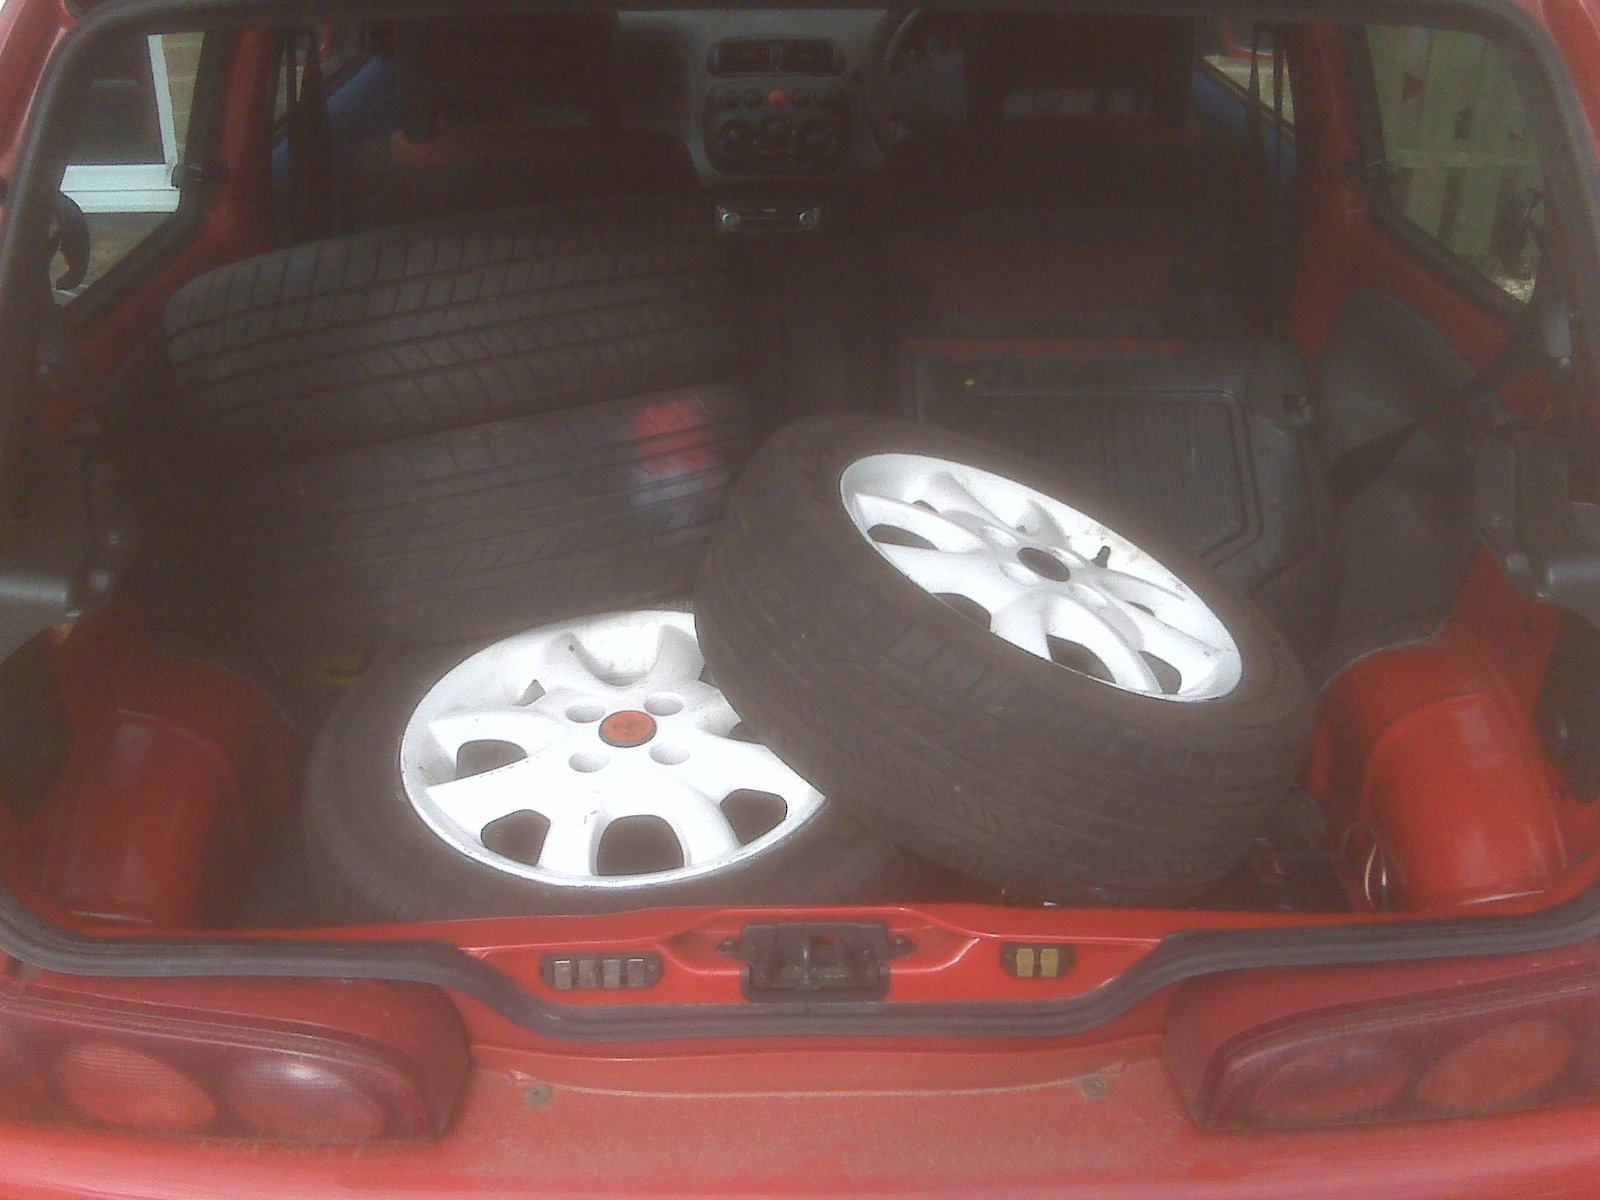
Transporting things cento style.
I had read the car should be lowered before 14"s are fitted but im impatient, so over to my brothers to see if the wheels would fit.
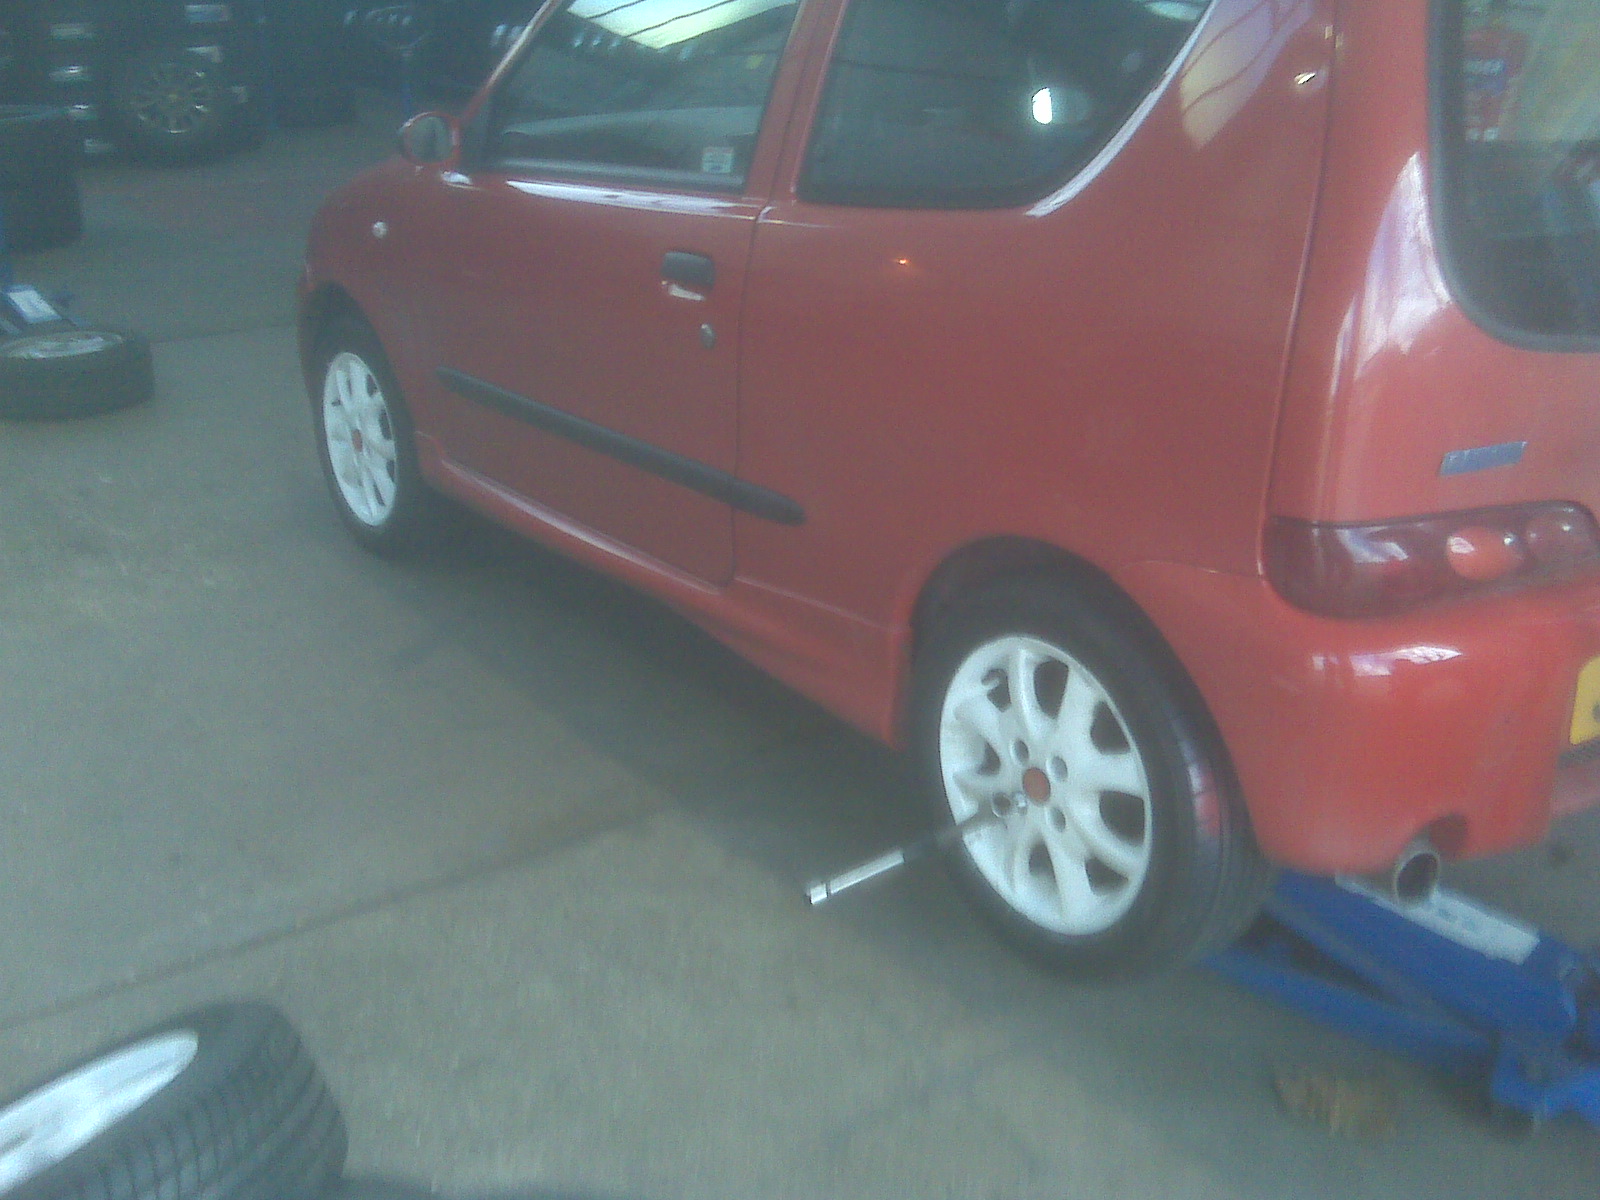
In the garage.
However turned out that fiat produced the abarth model with 10mm spacers on the front and with stud conversion. Was not happy.
Back on ebay;spacers ordered & longer bolts ordered.
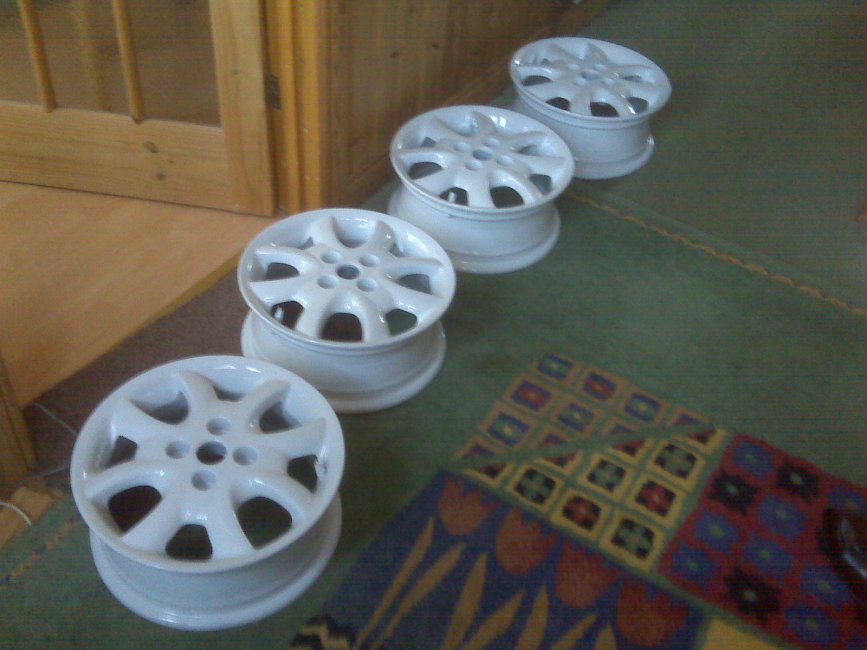
Meanwhile the wheels went off to the bodyshop for a refurb/respray.

Back from the shop with a fresh coat of powder.
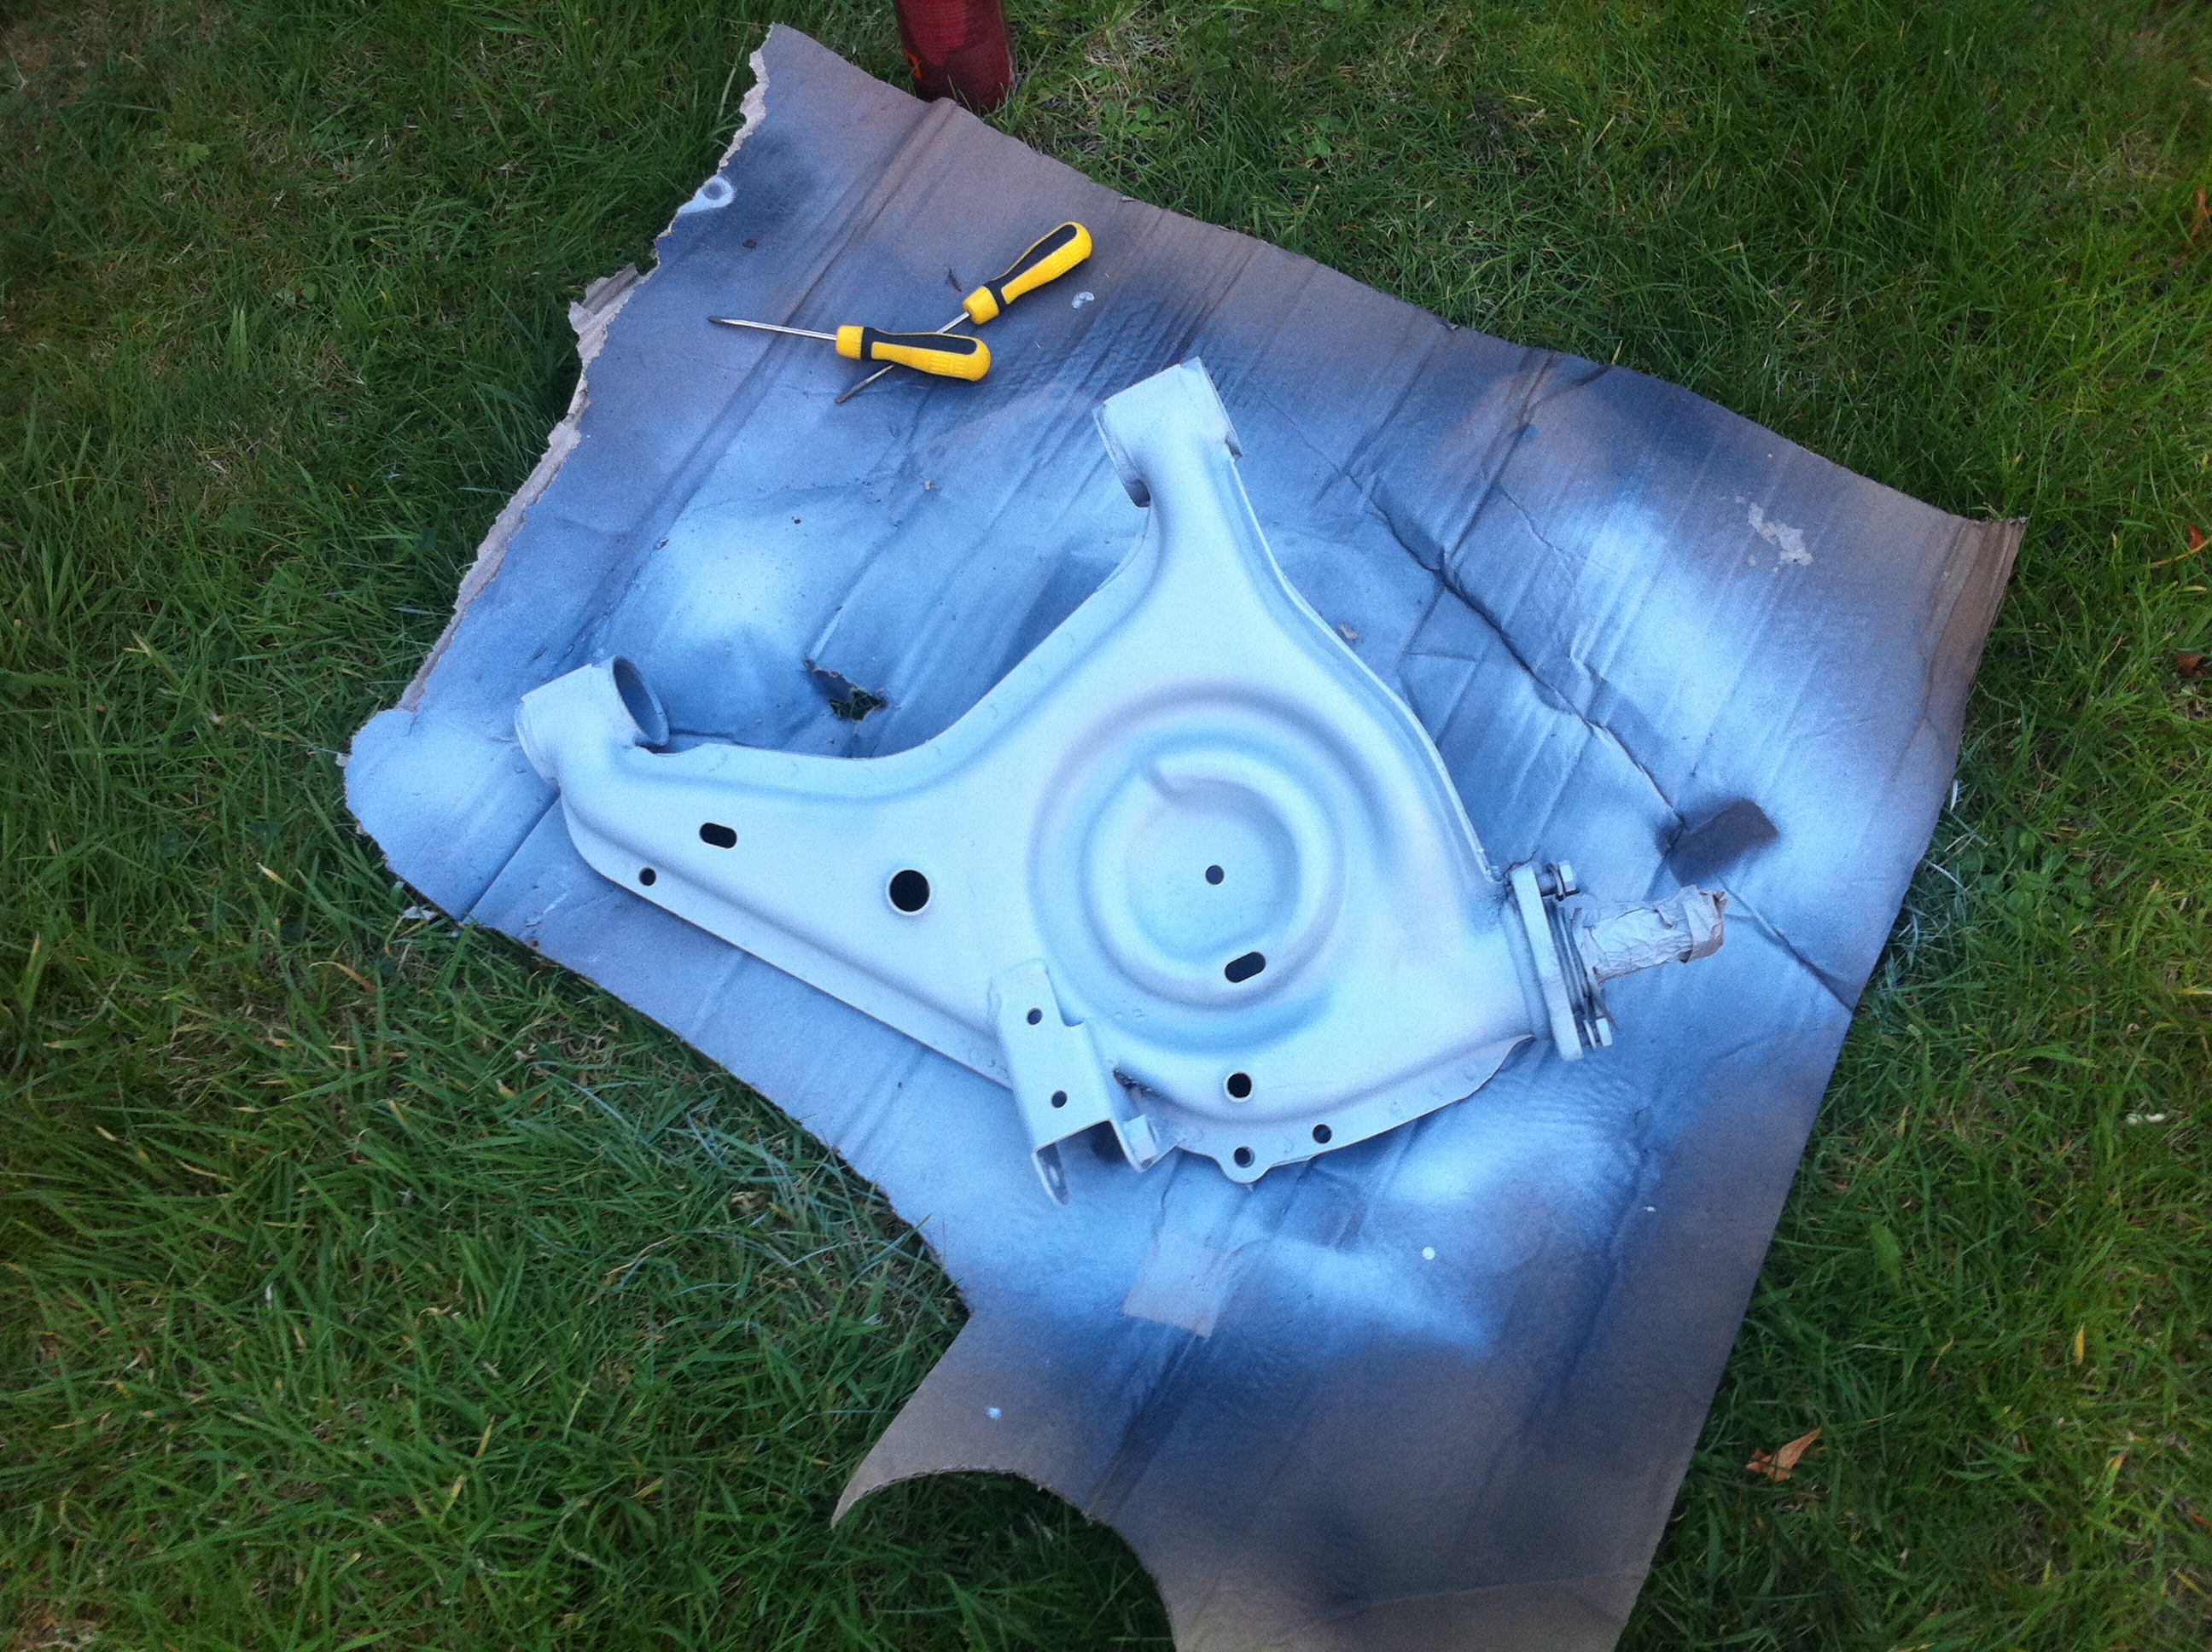
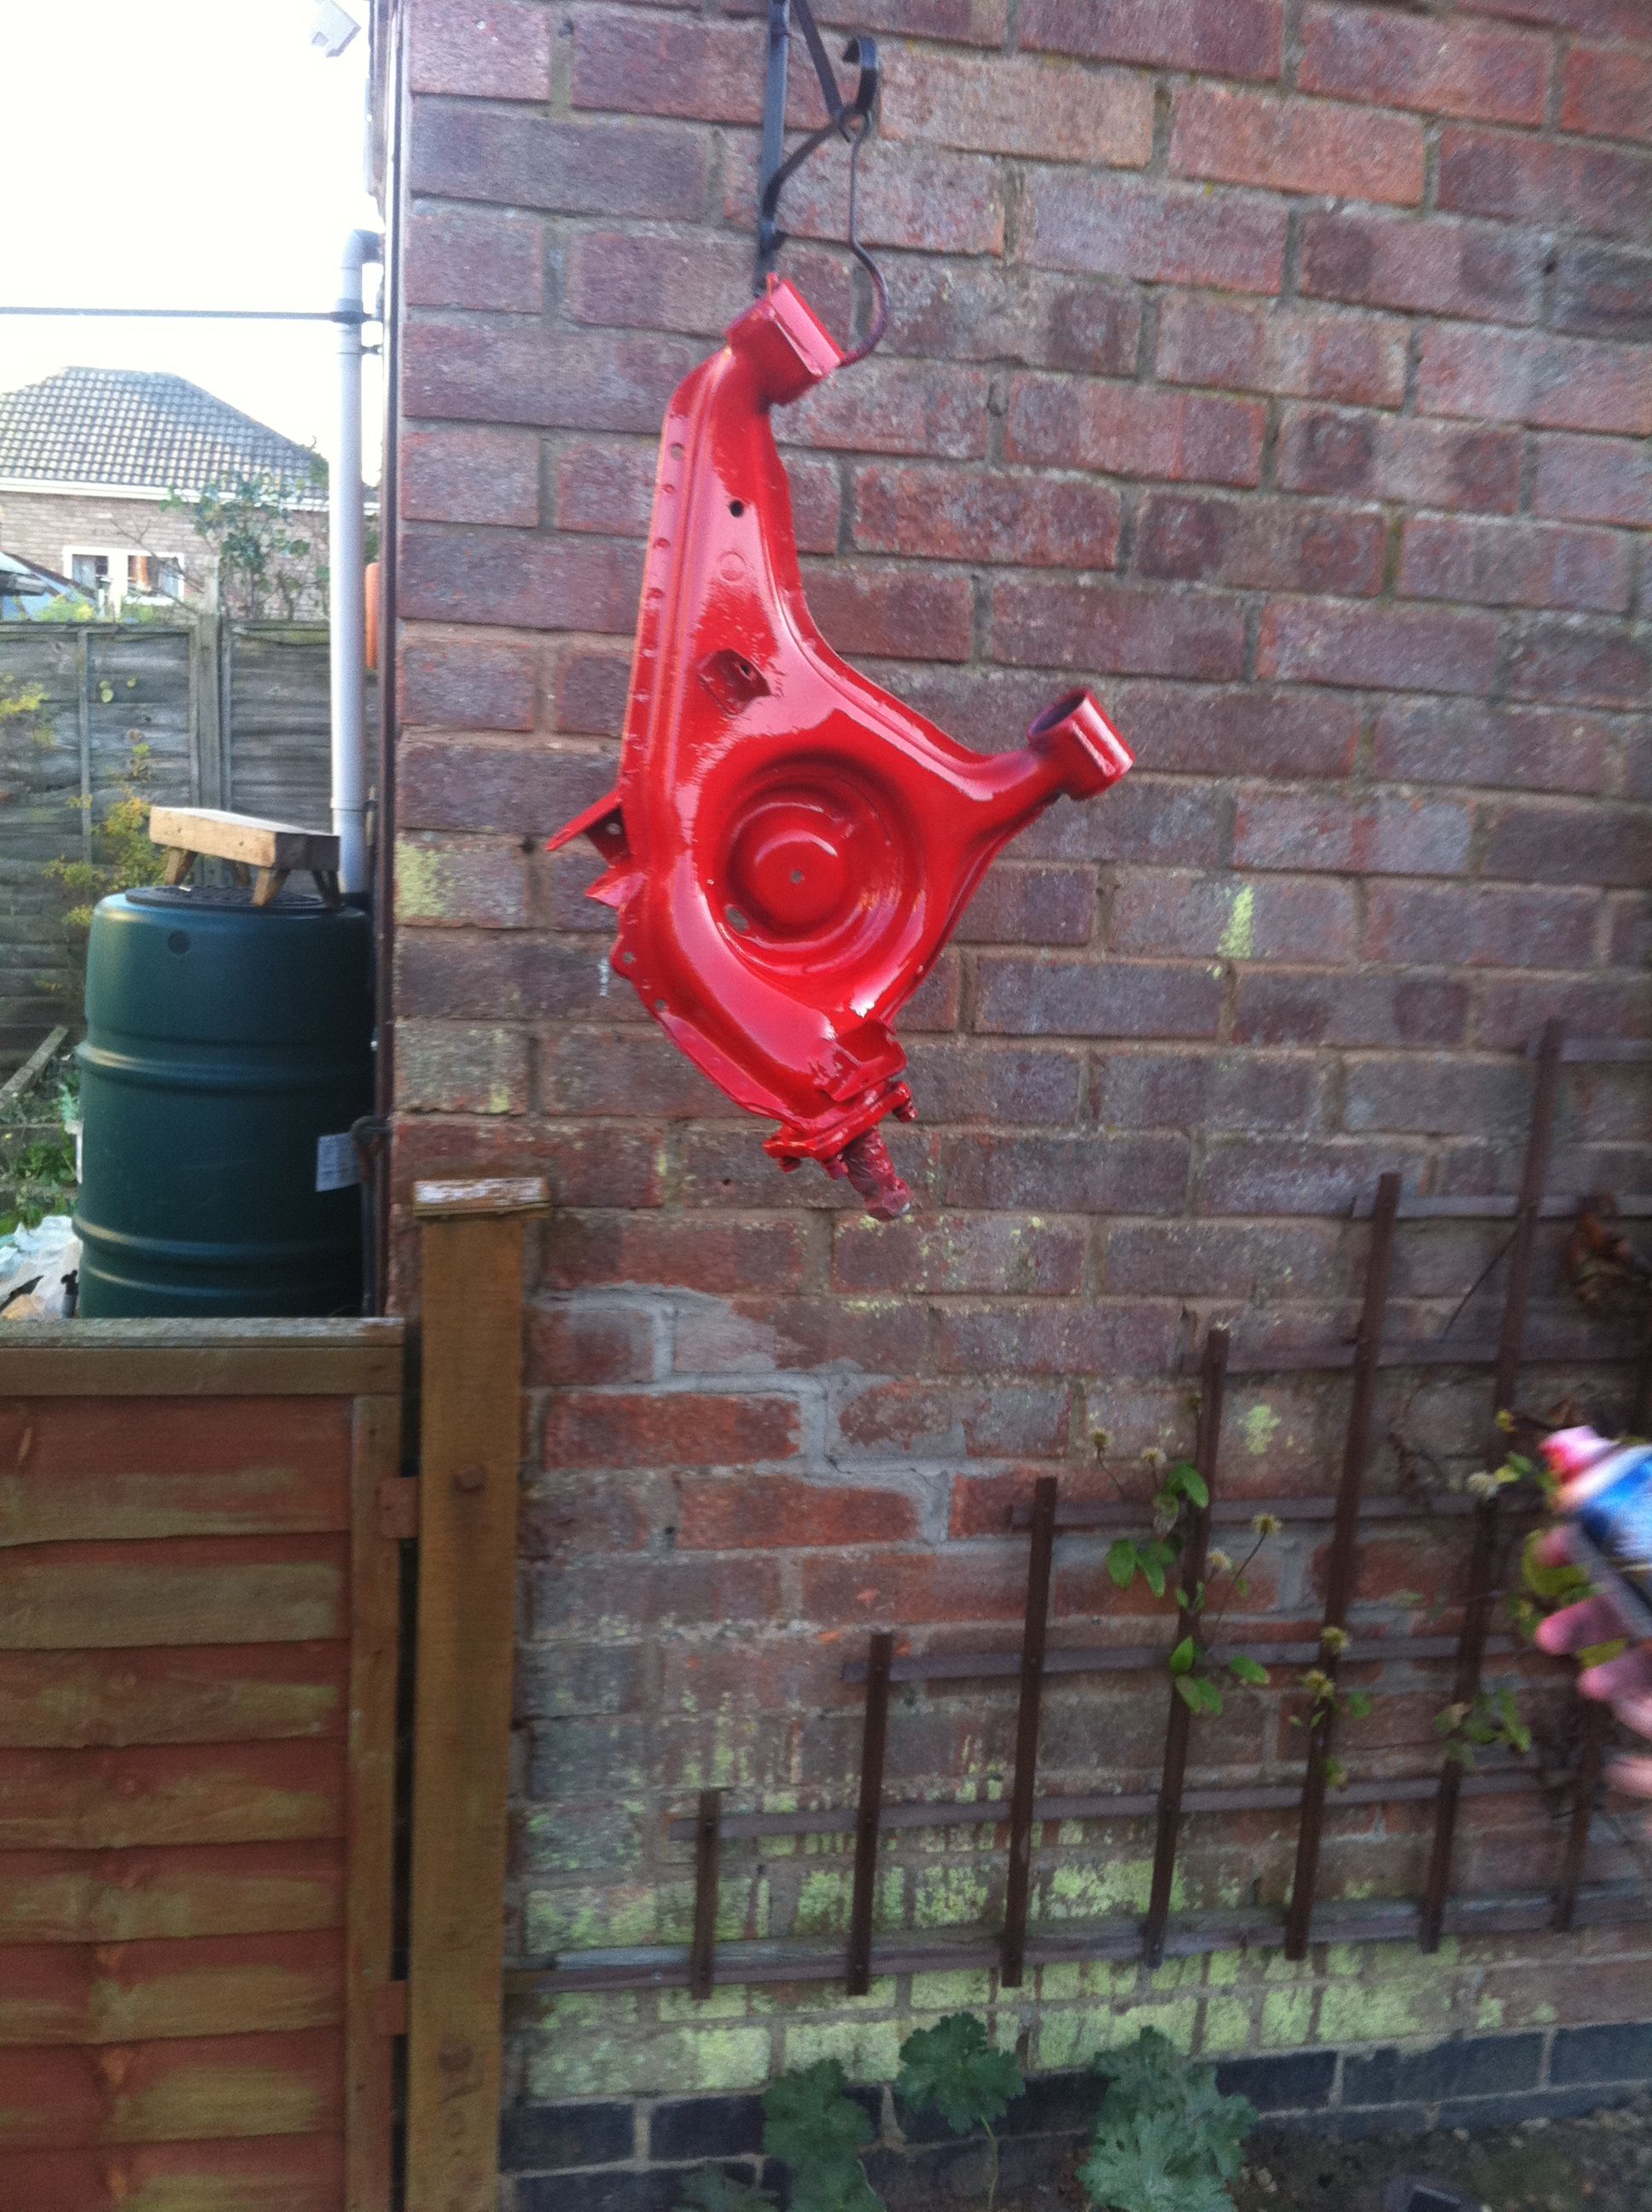
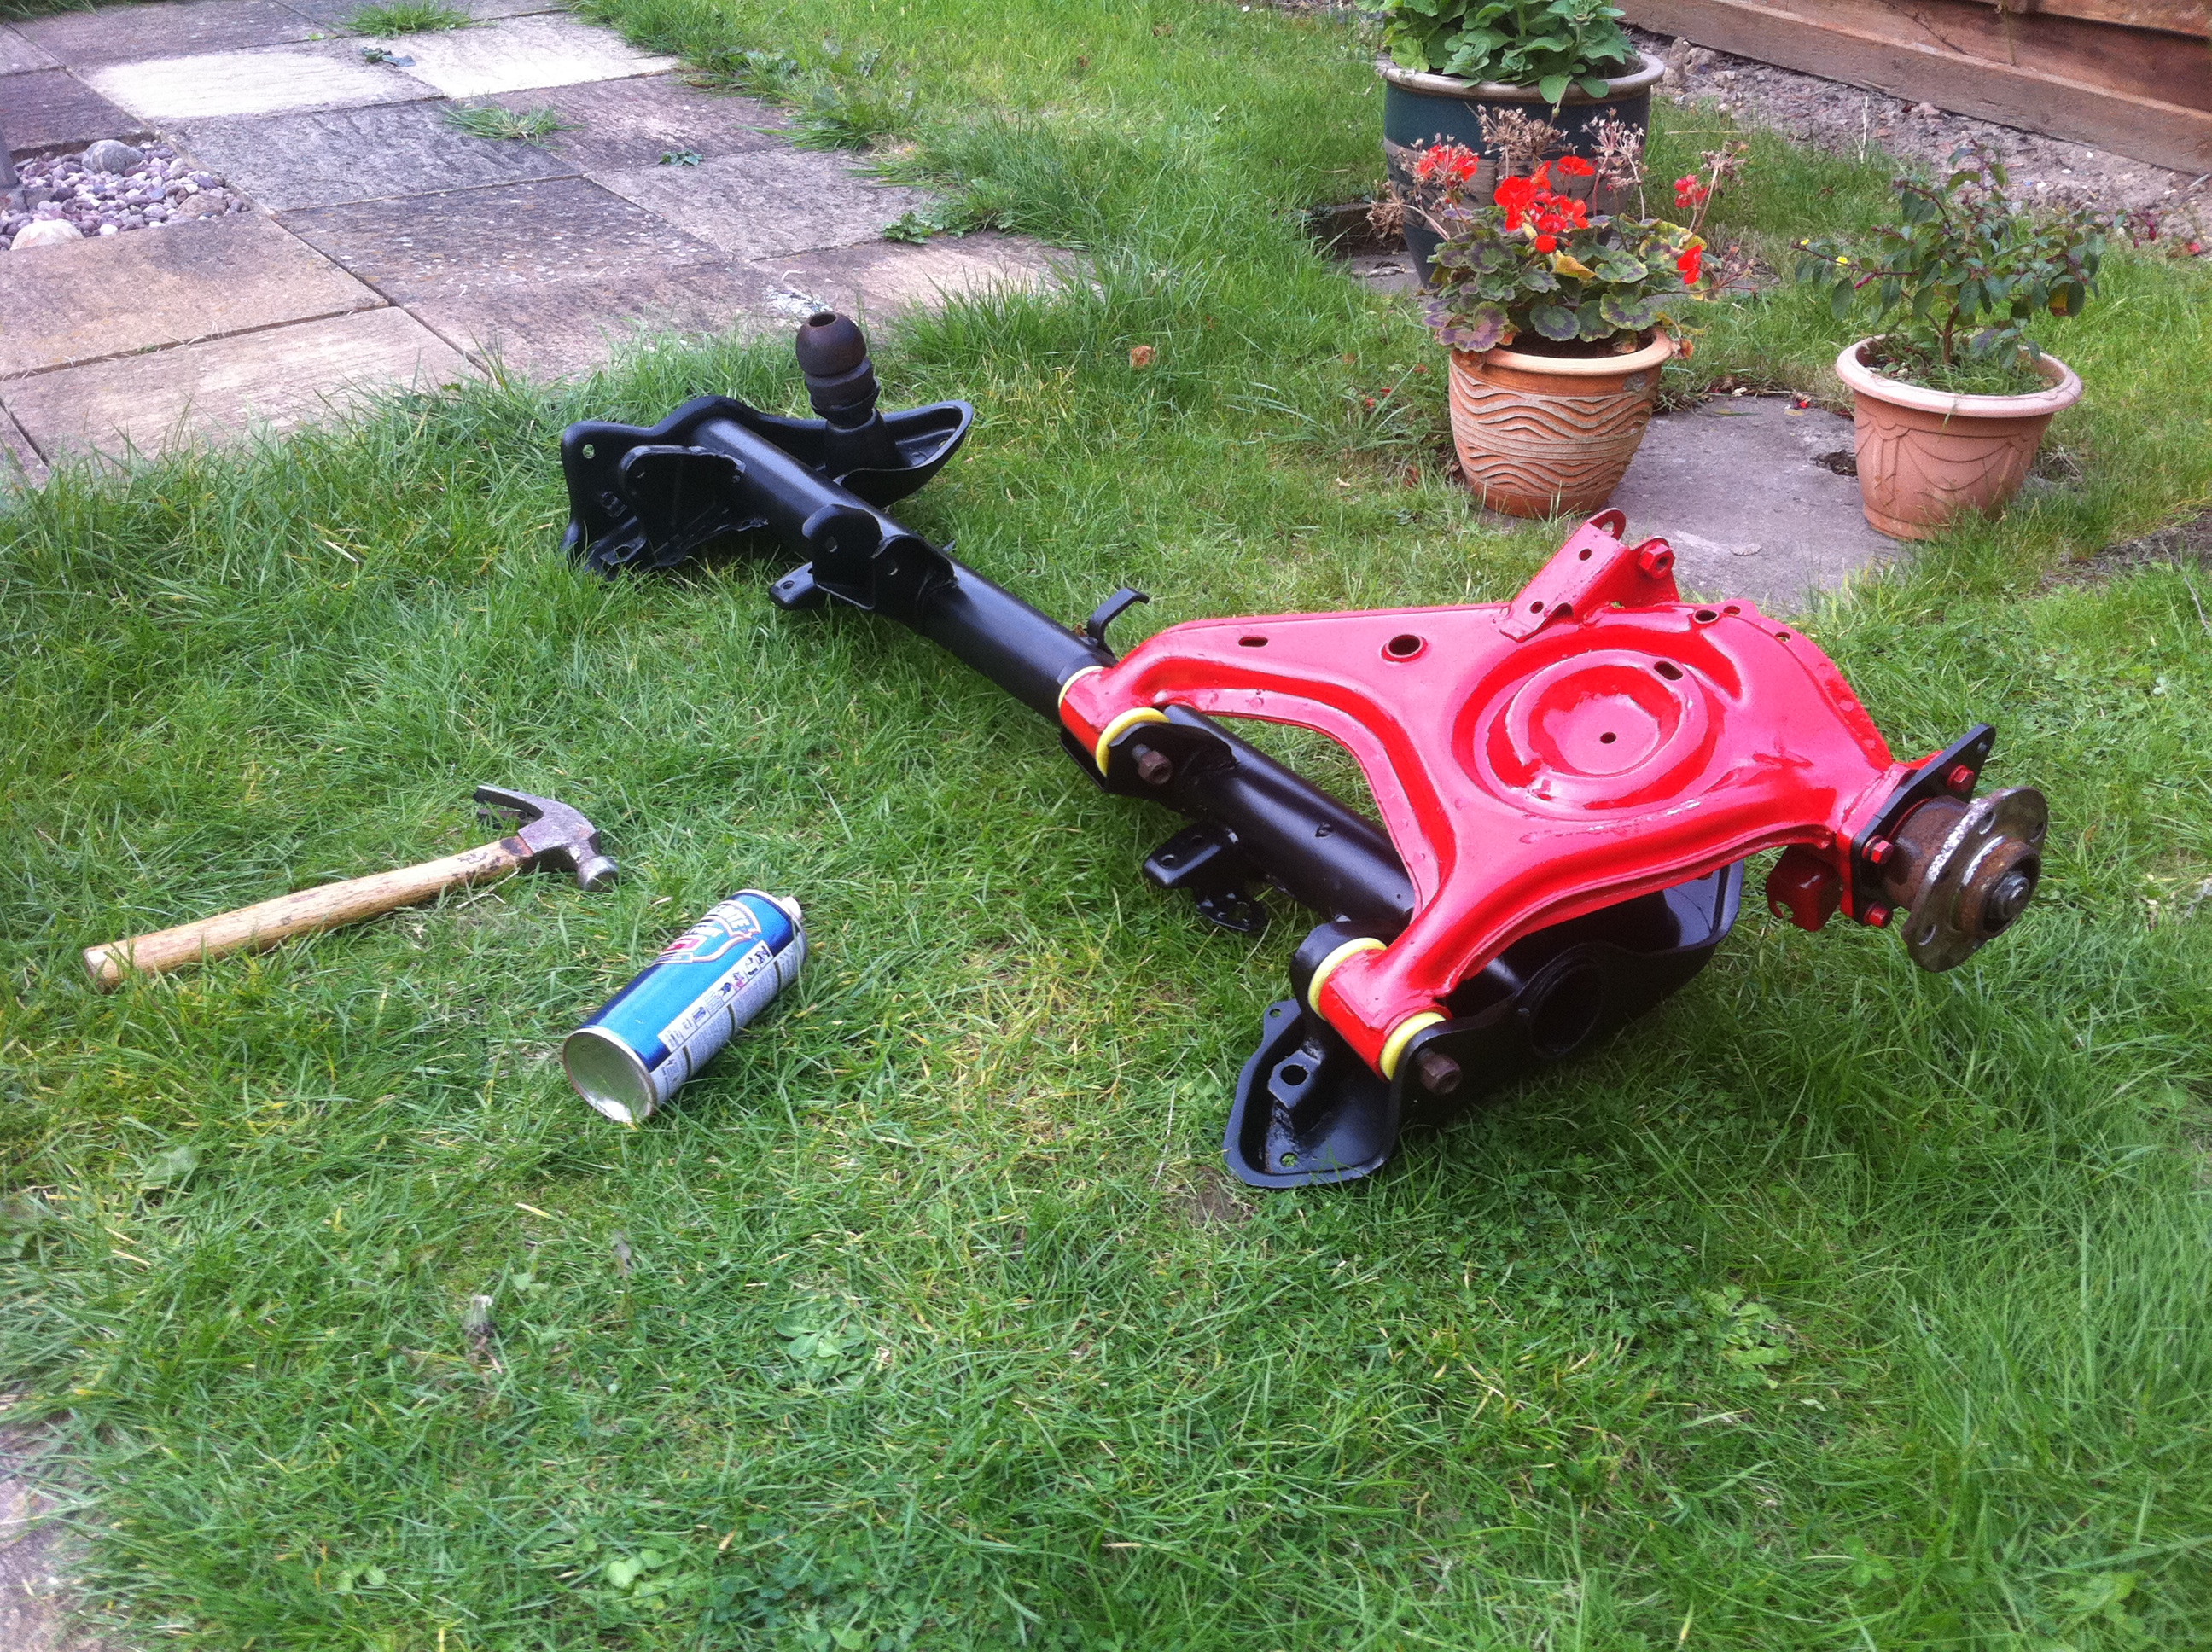
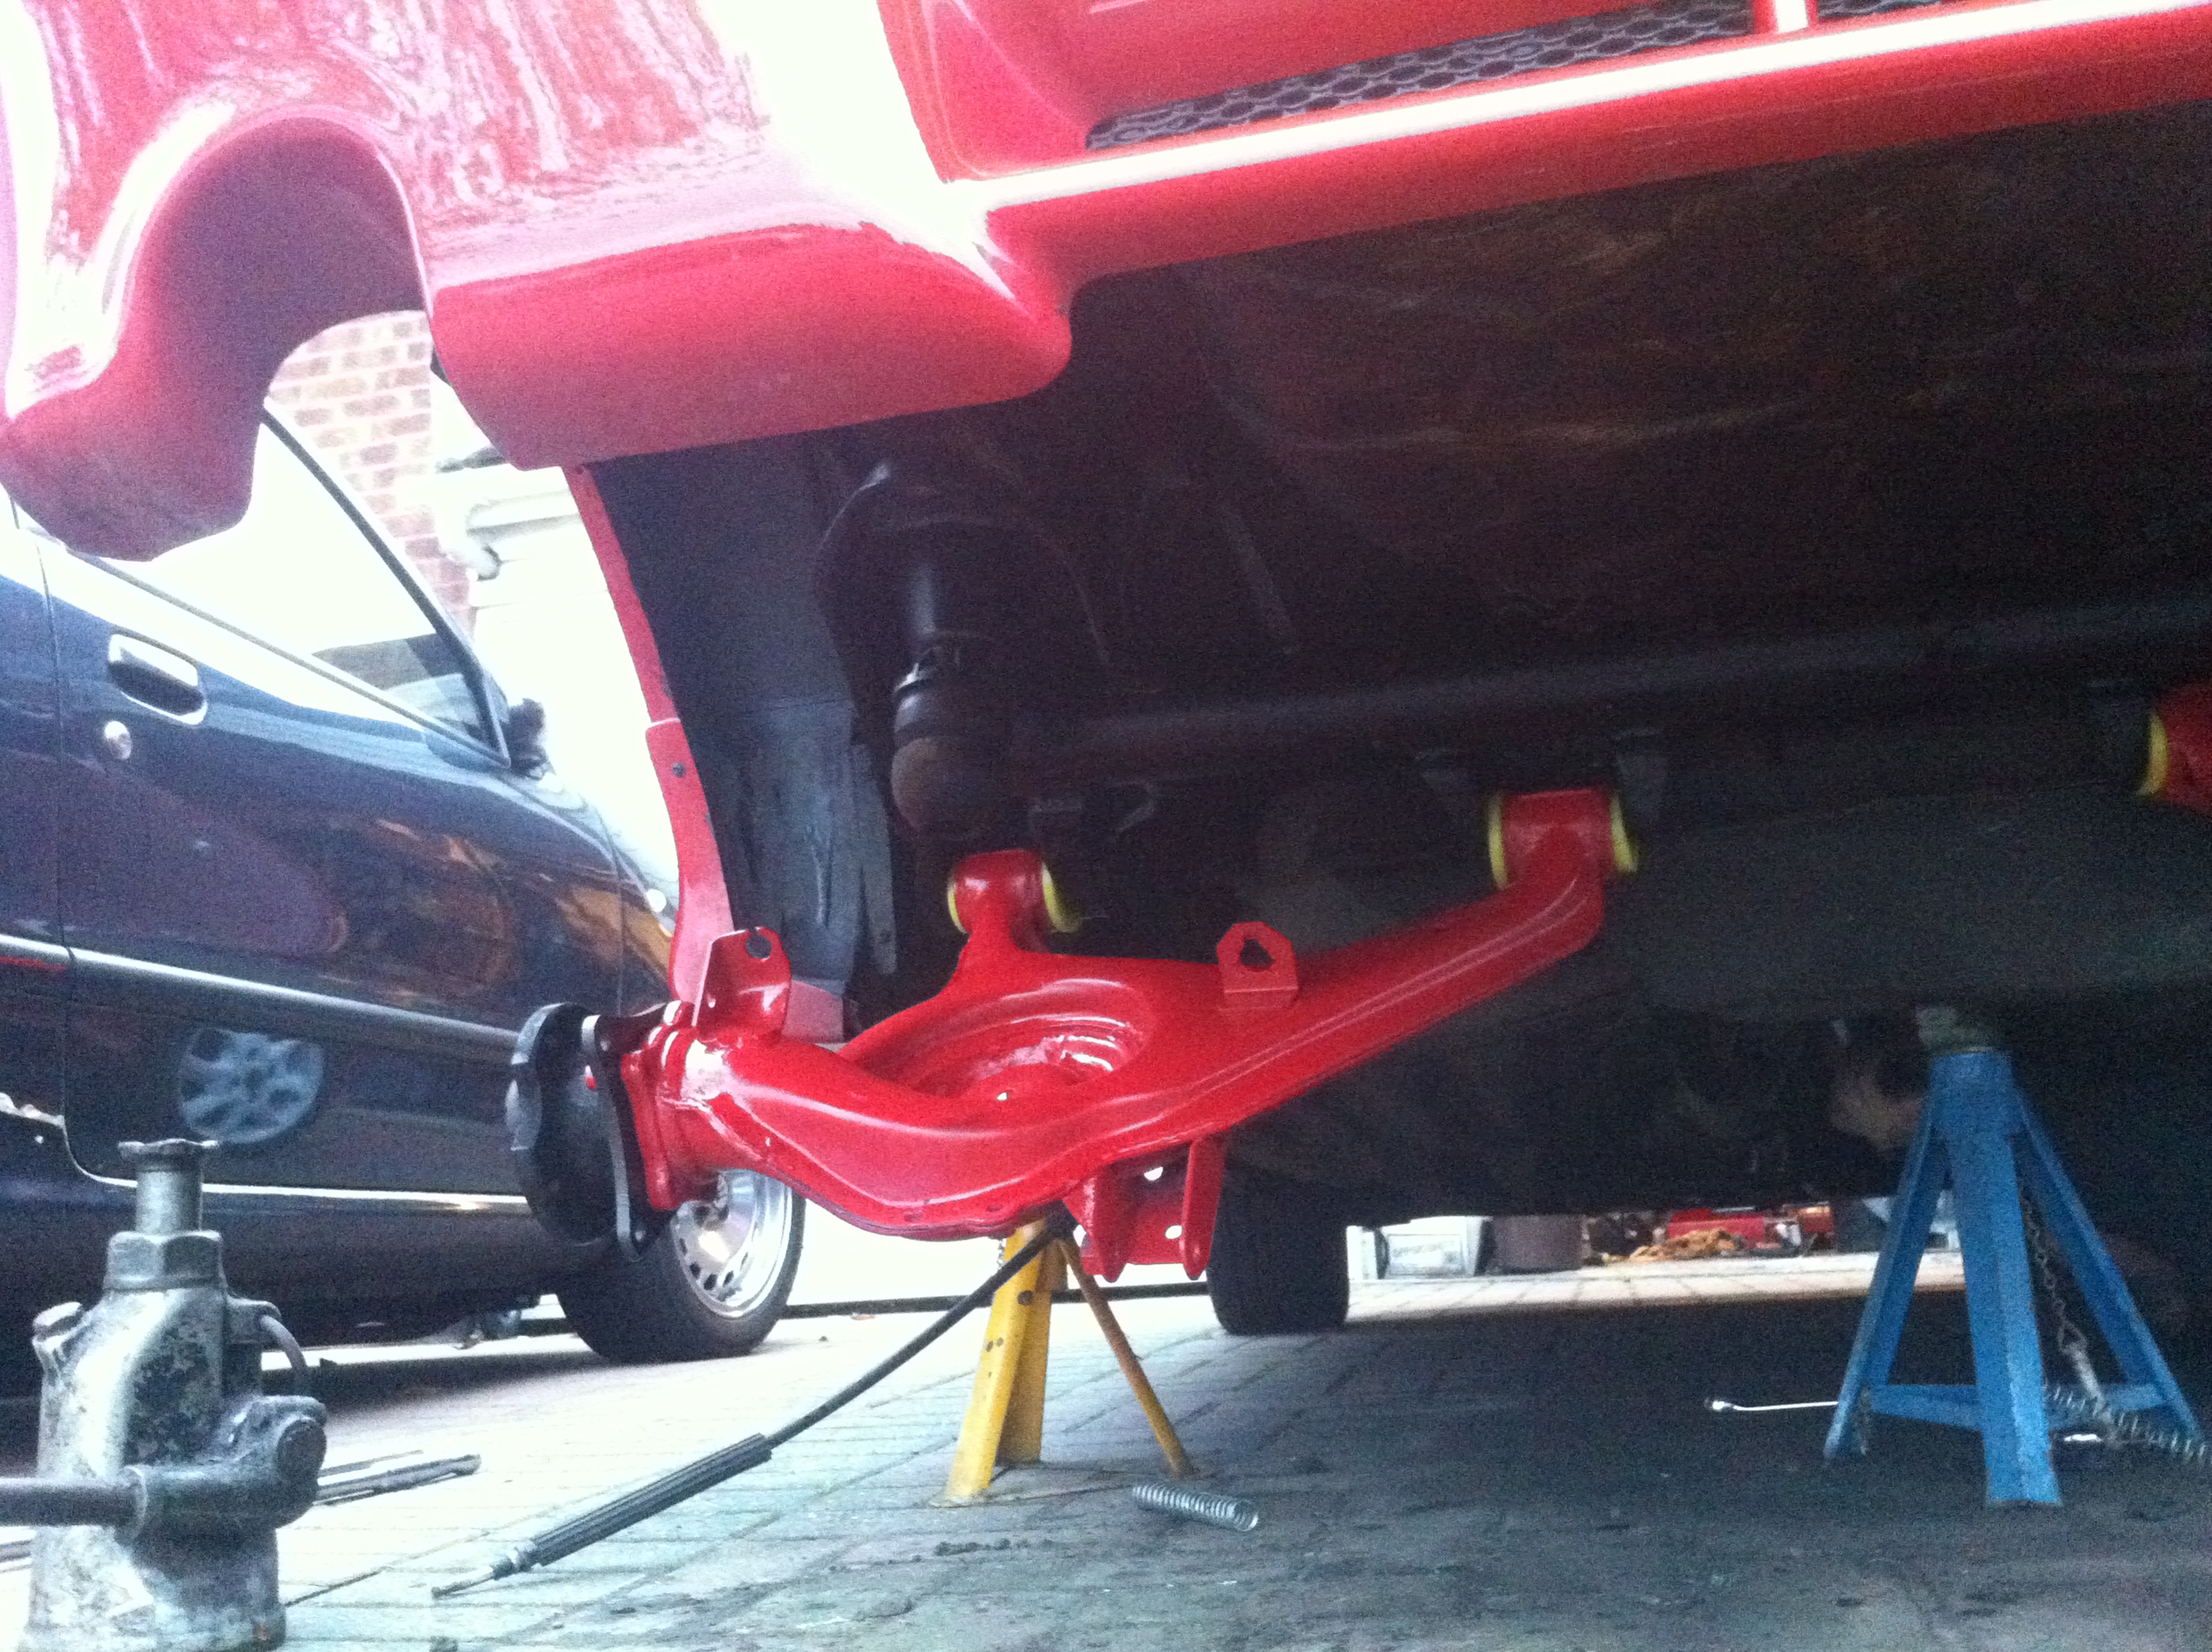
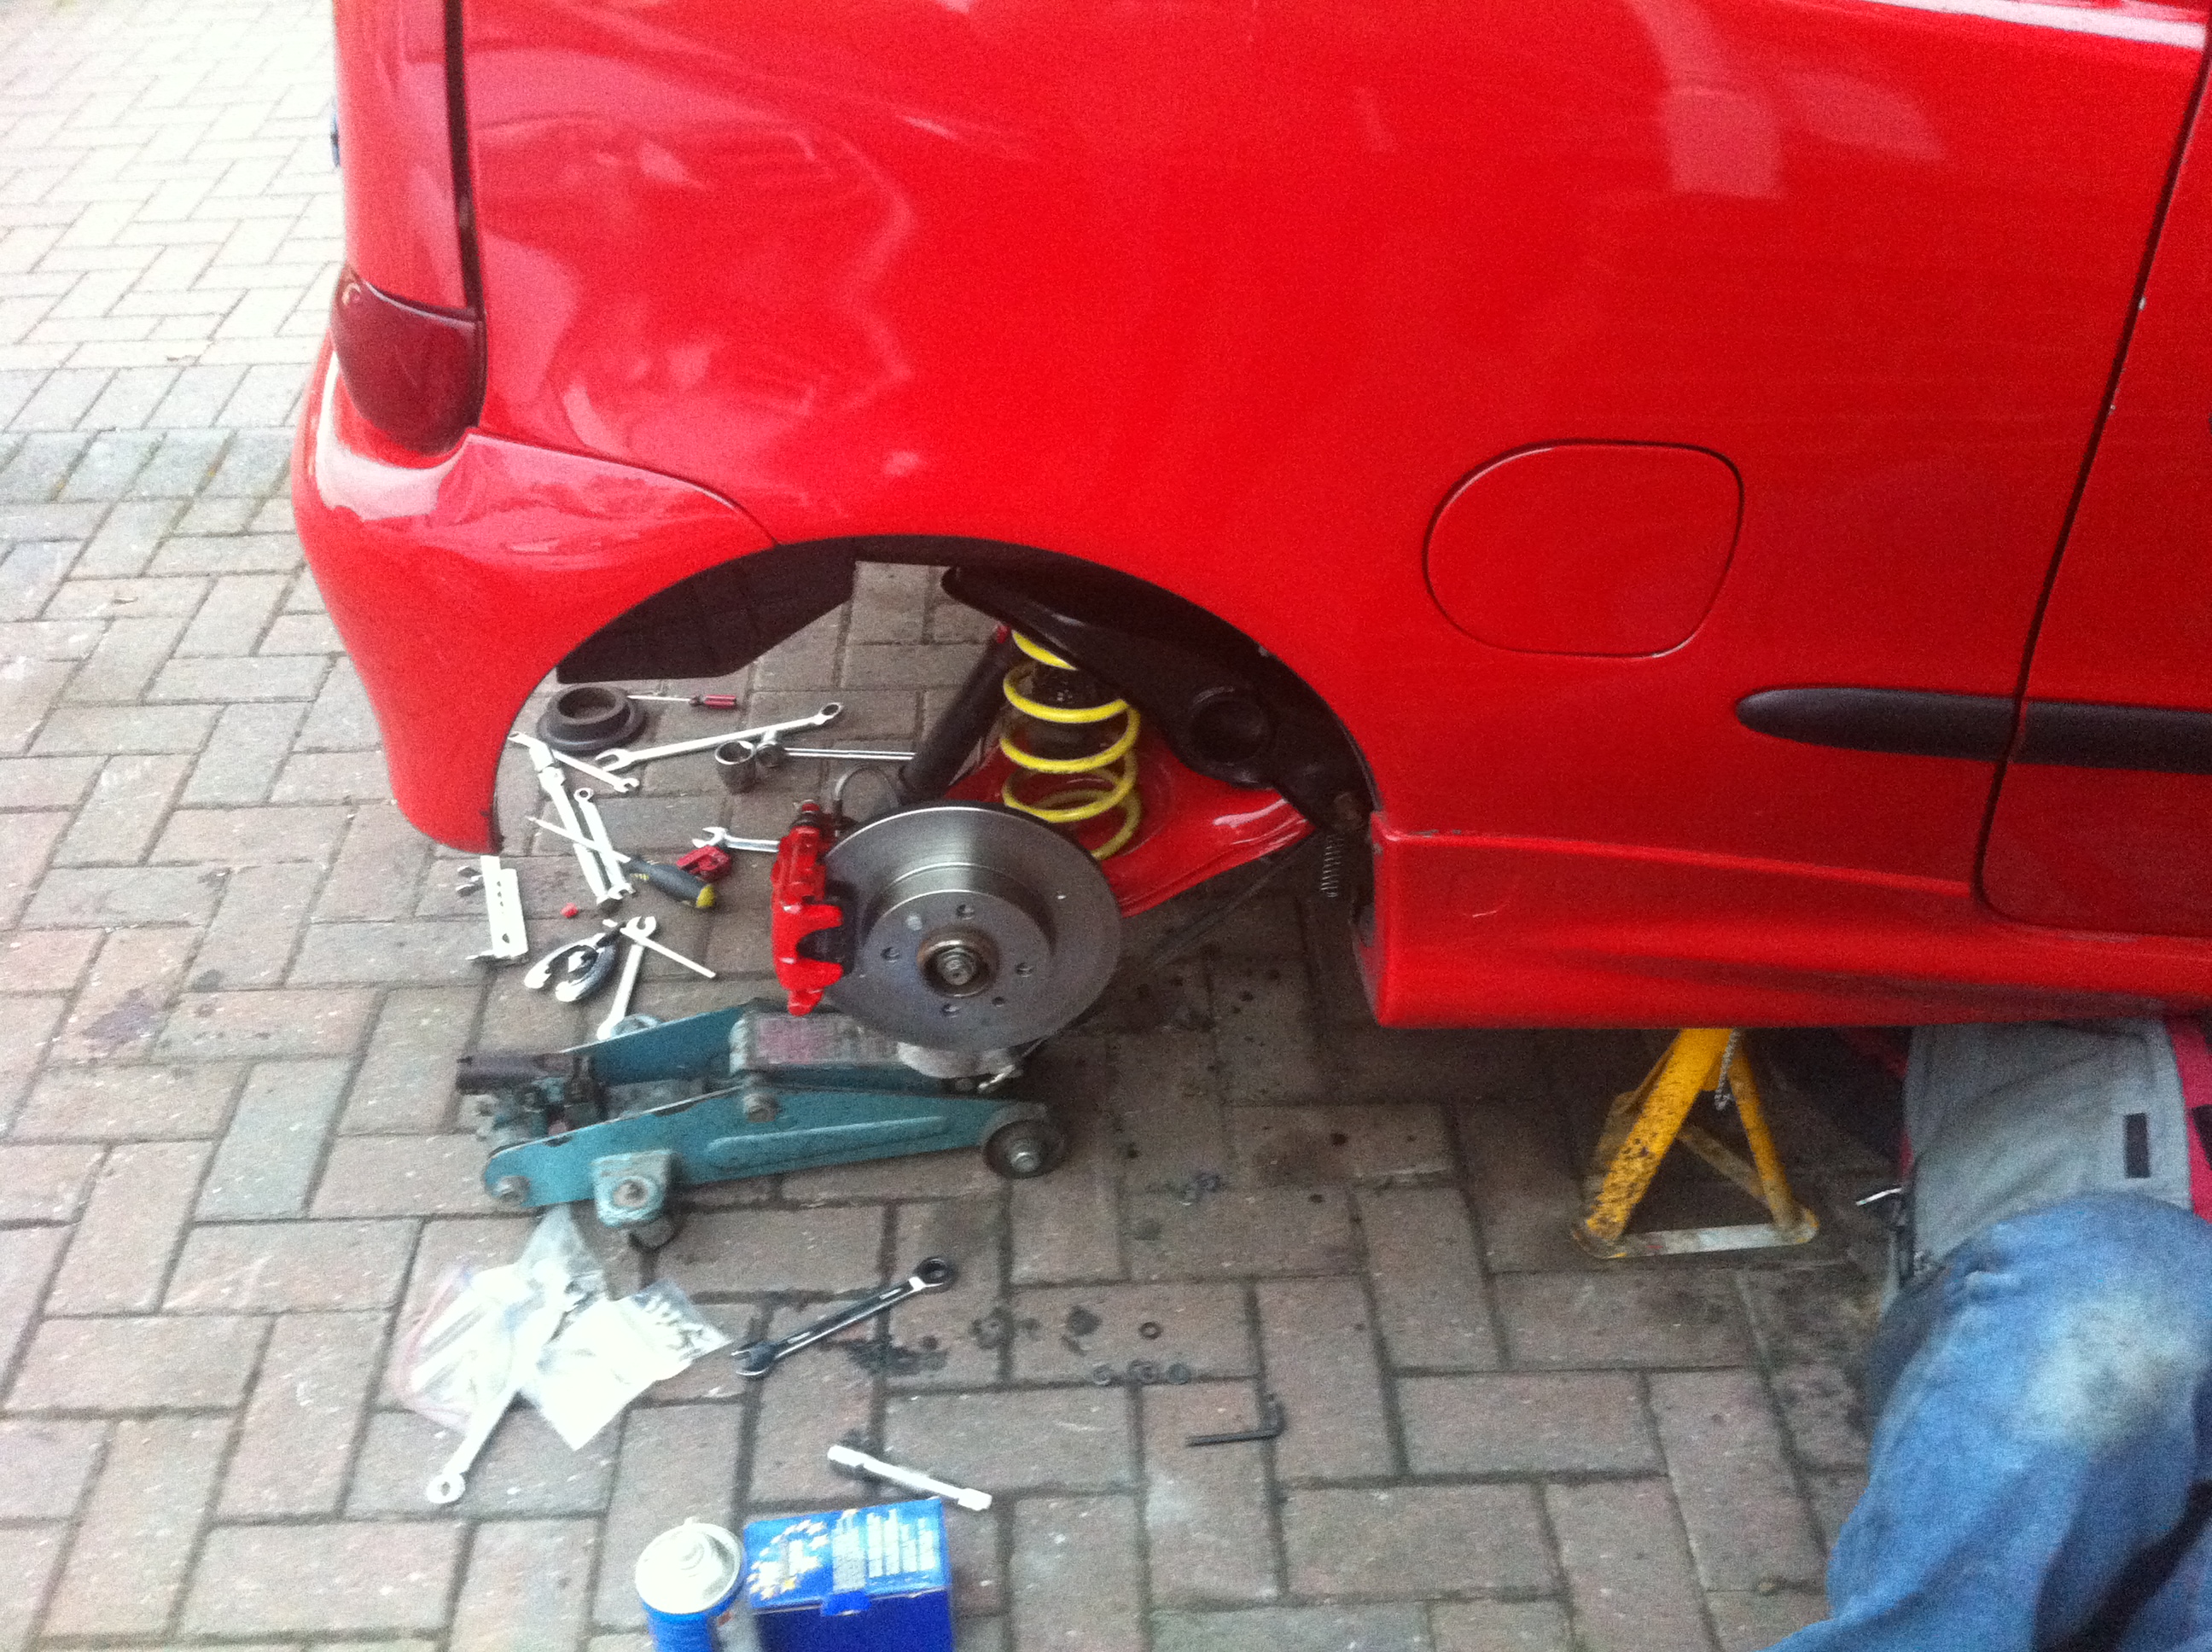
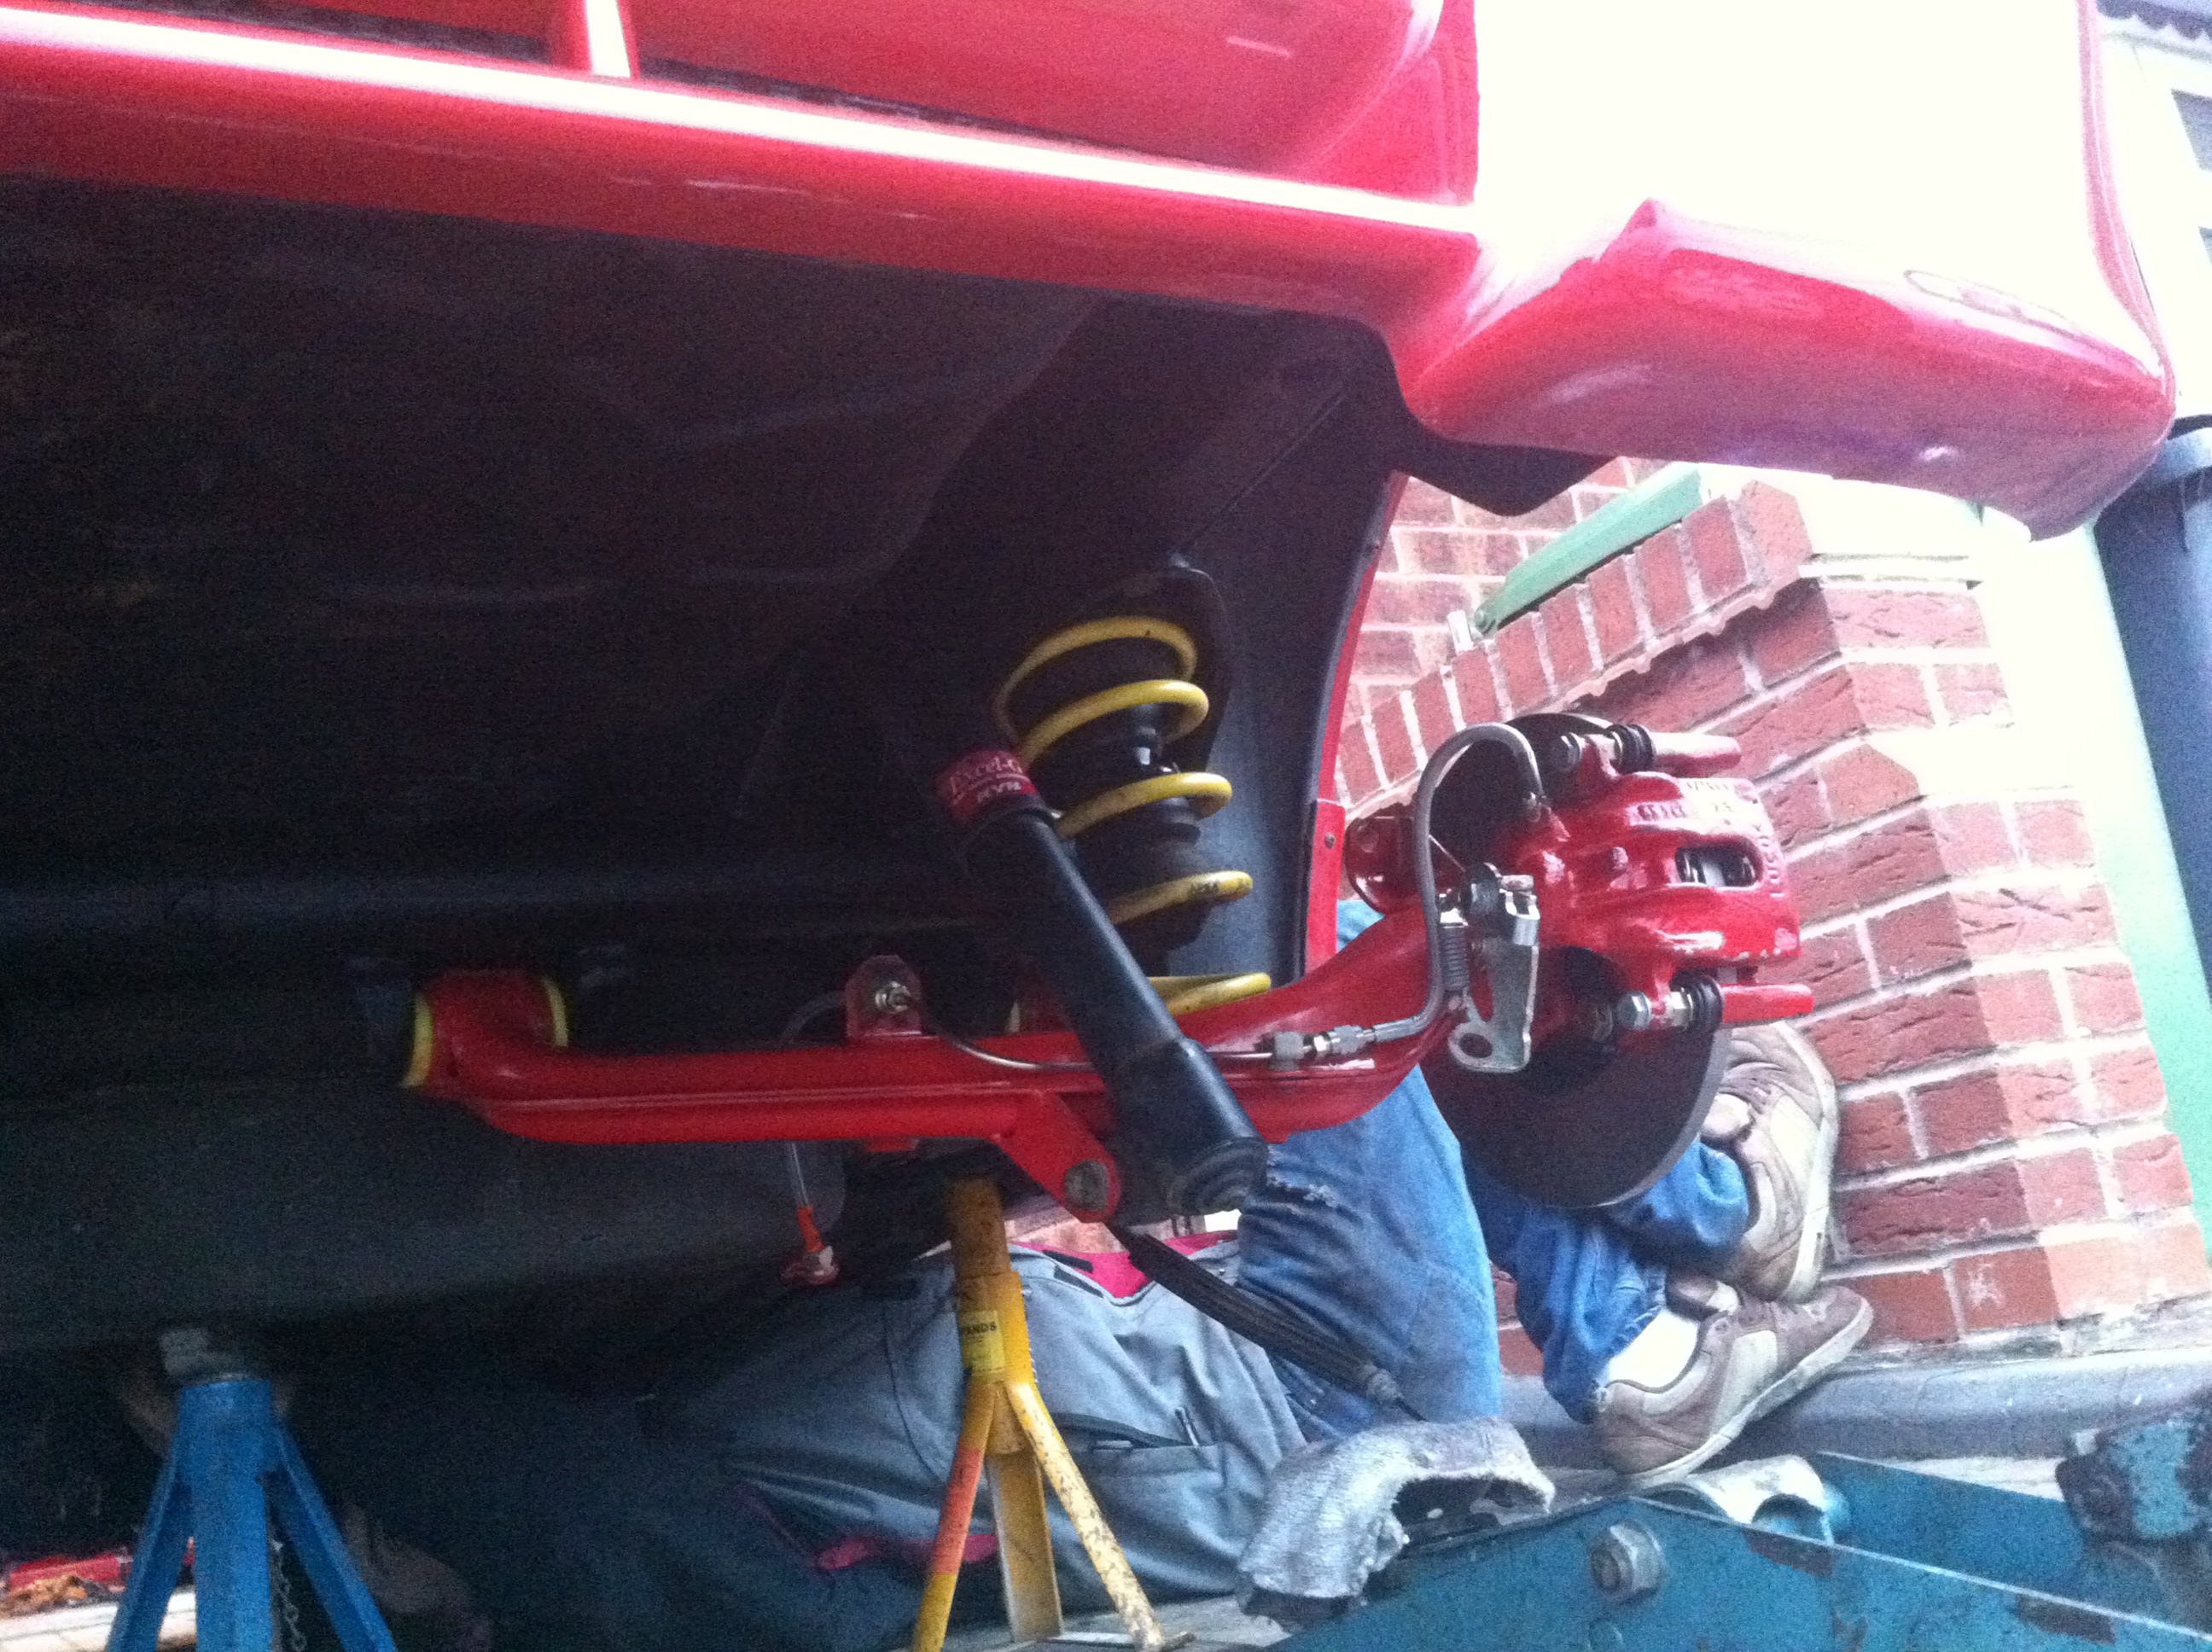
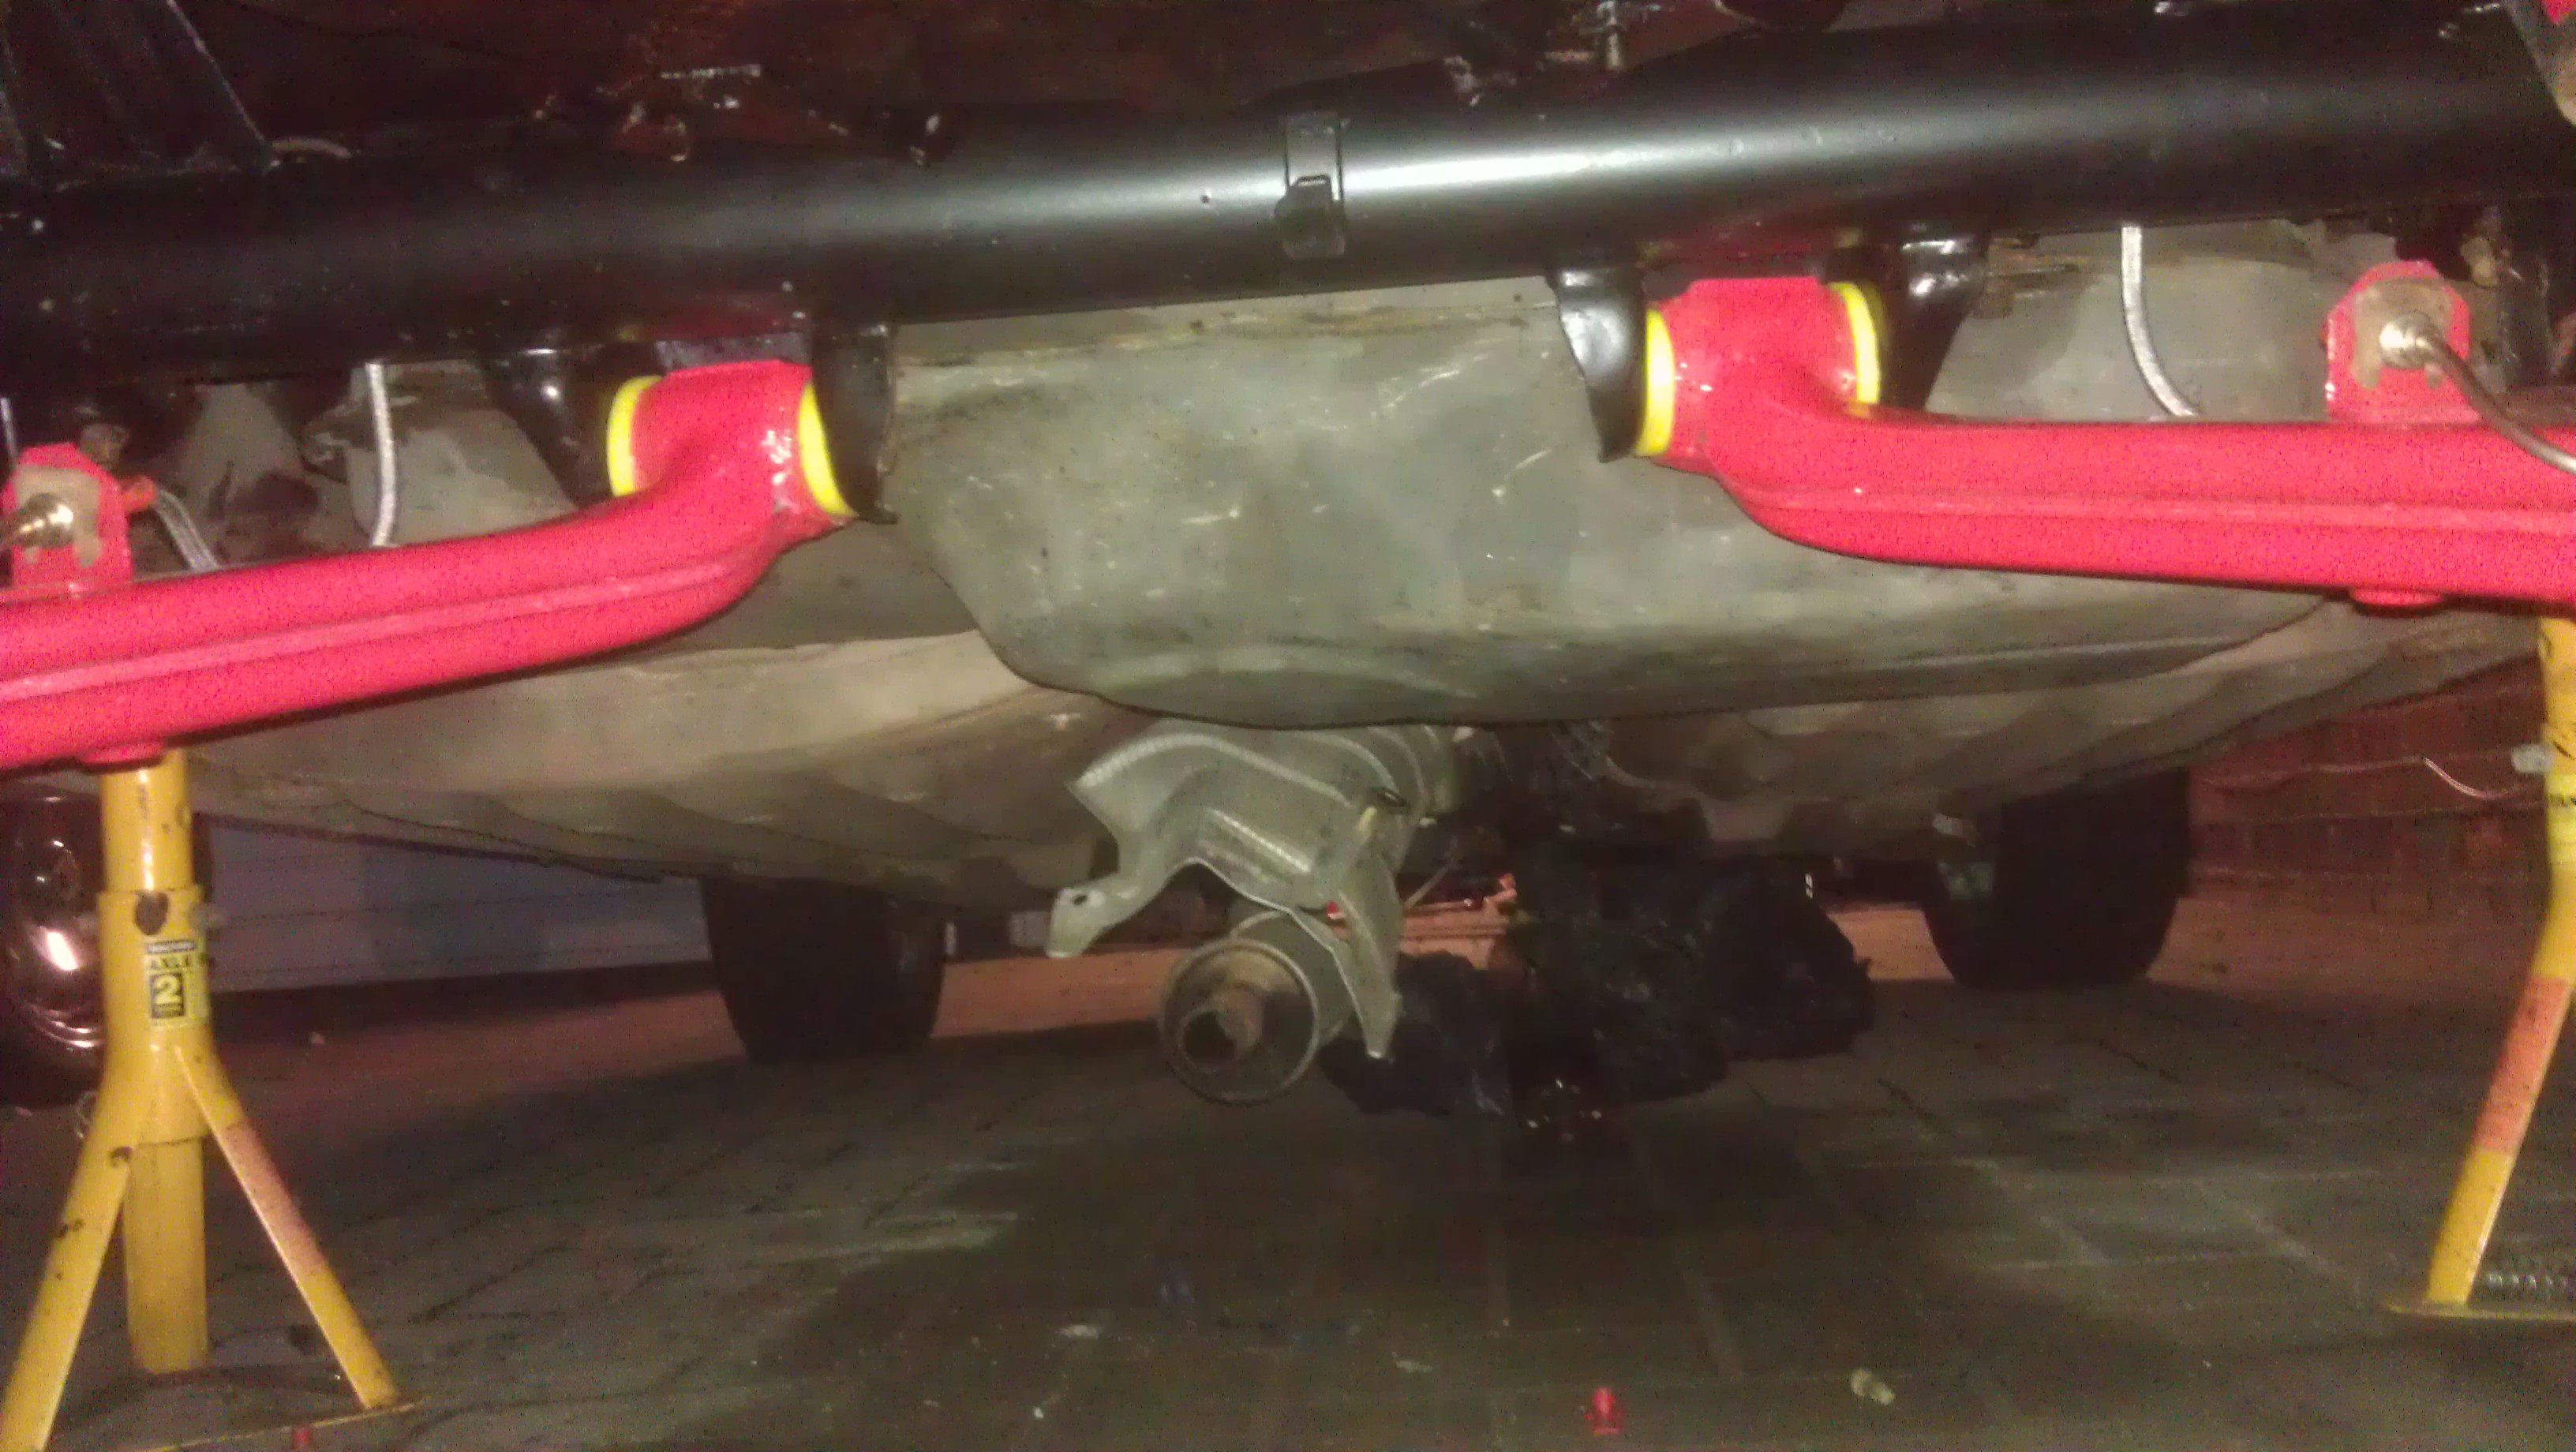
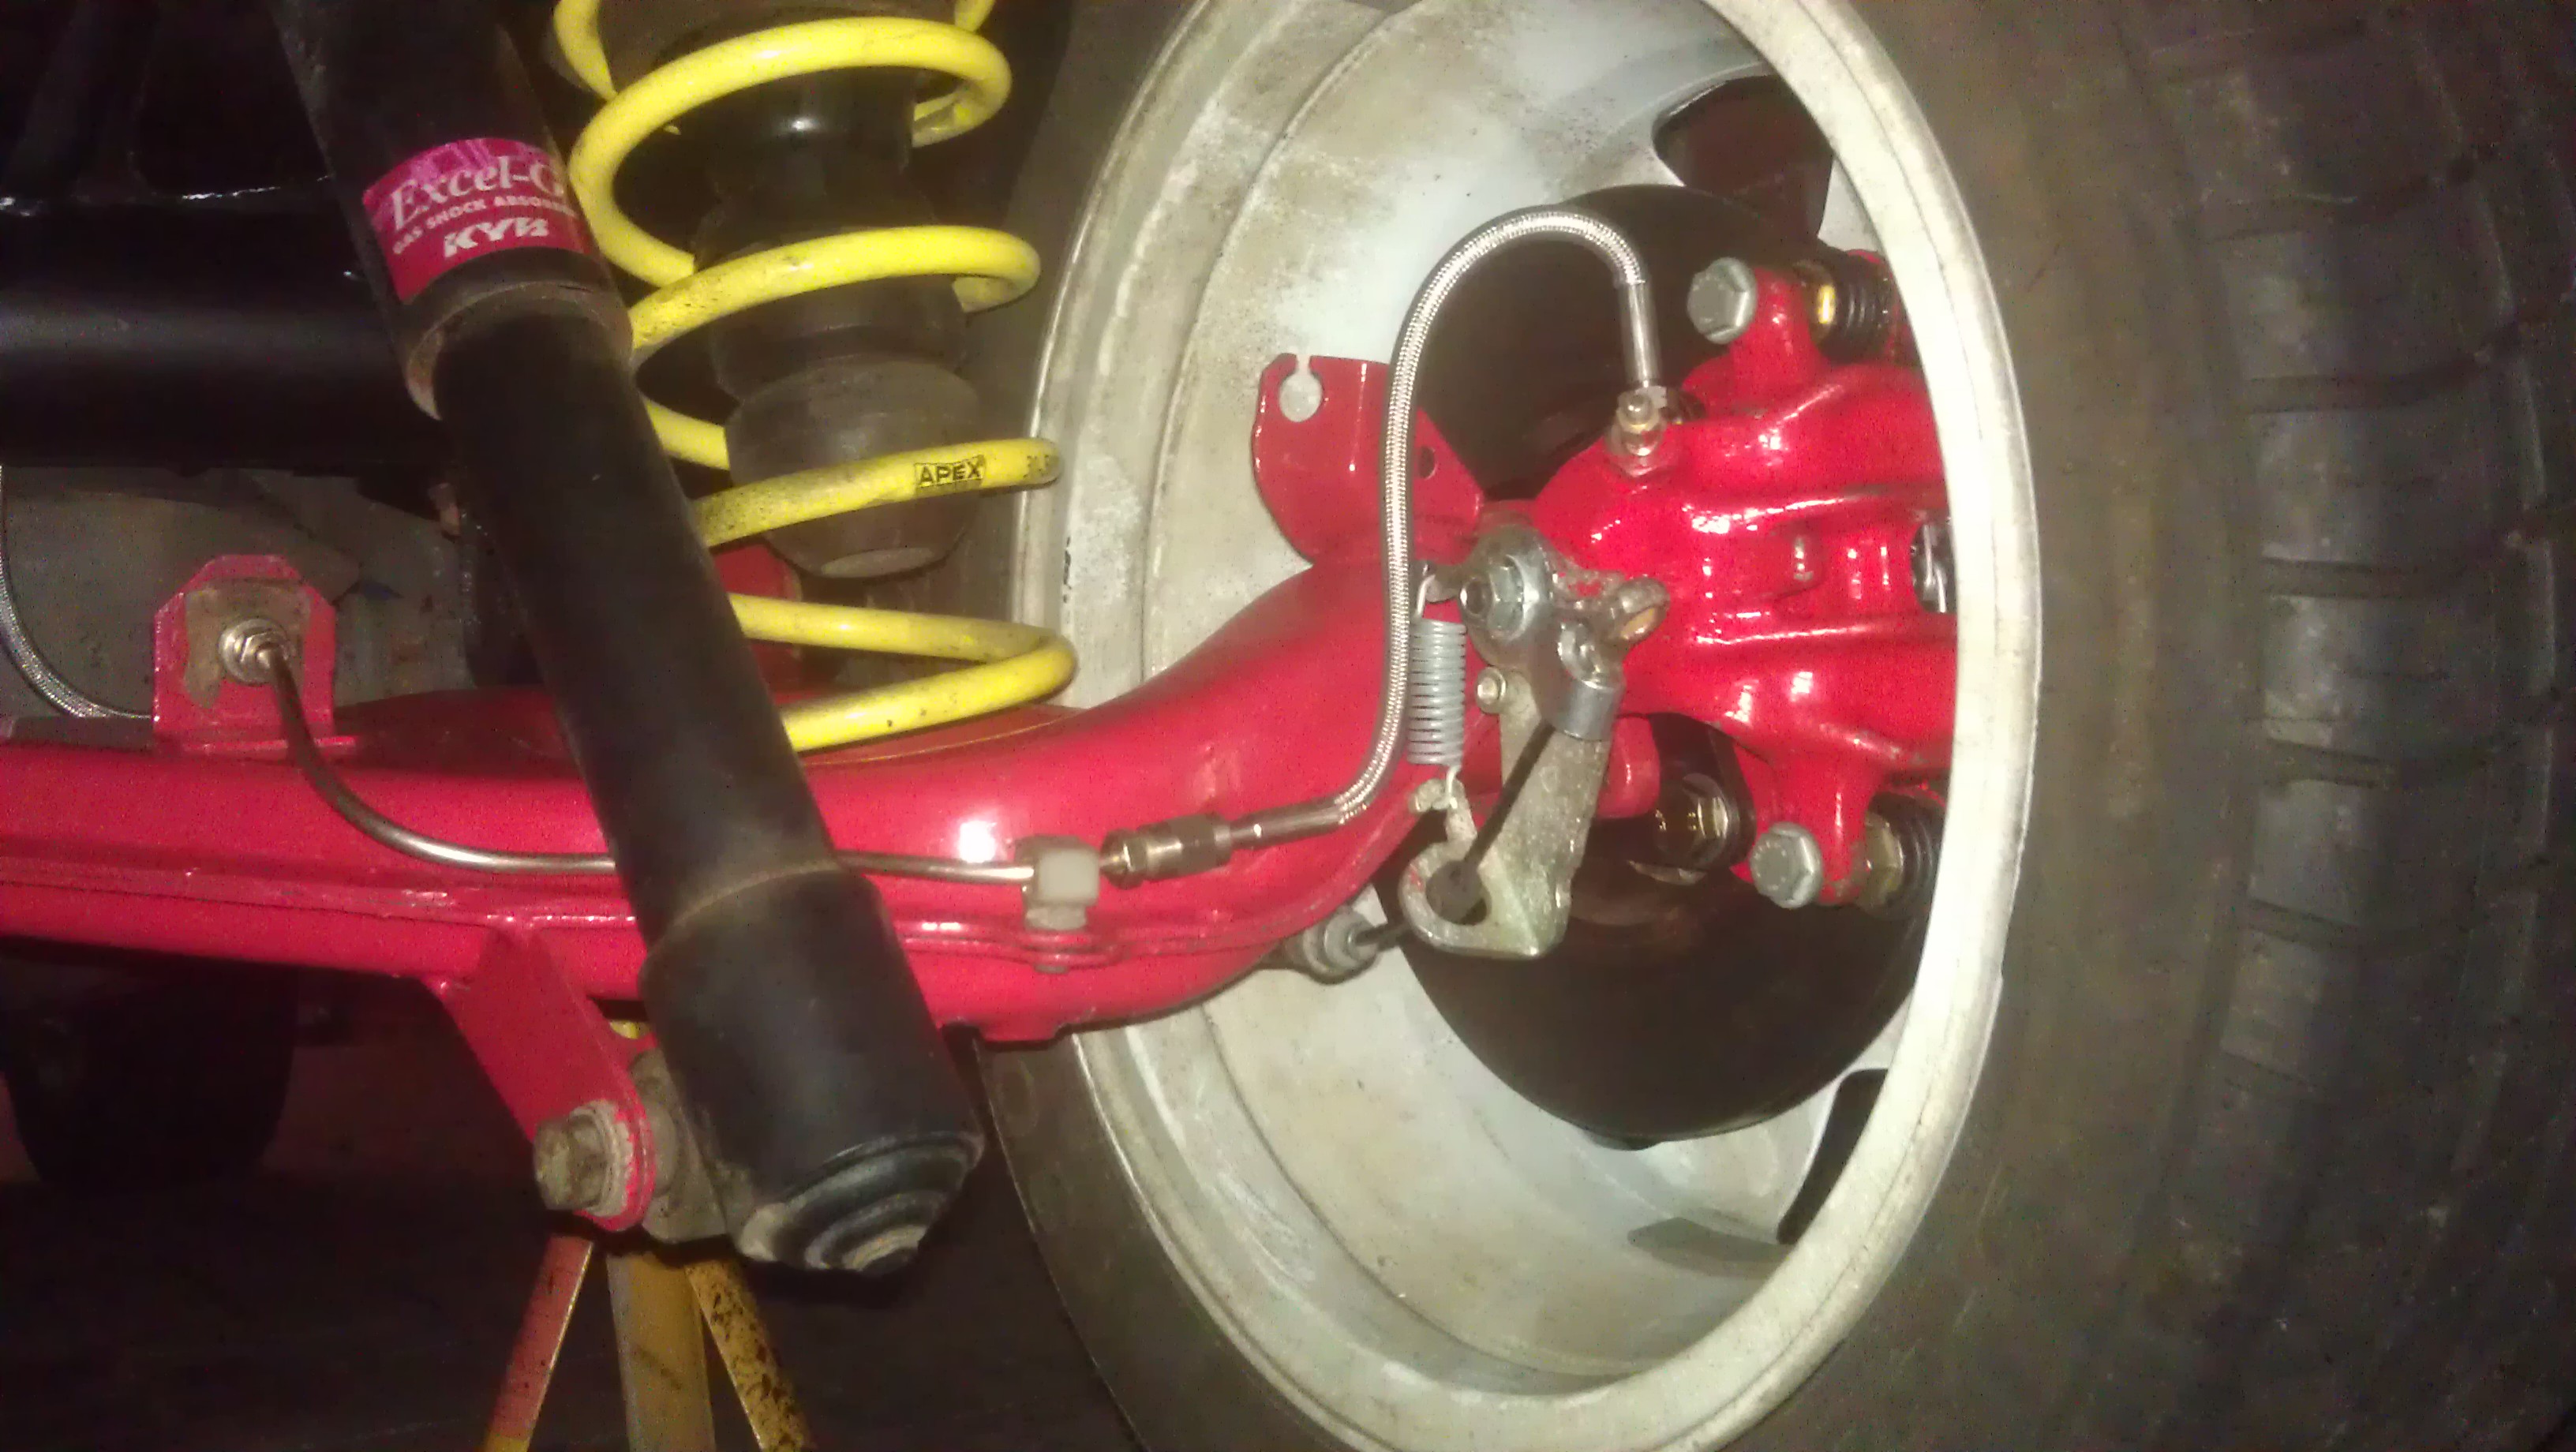
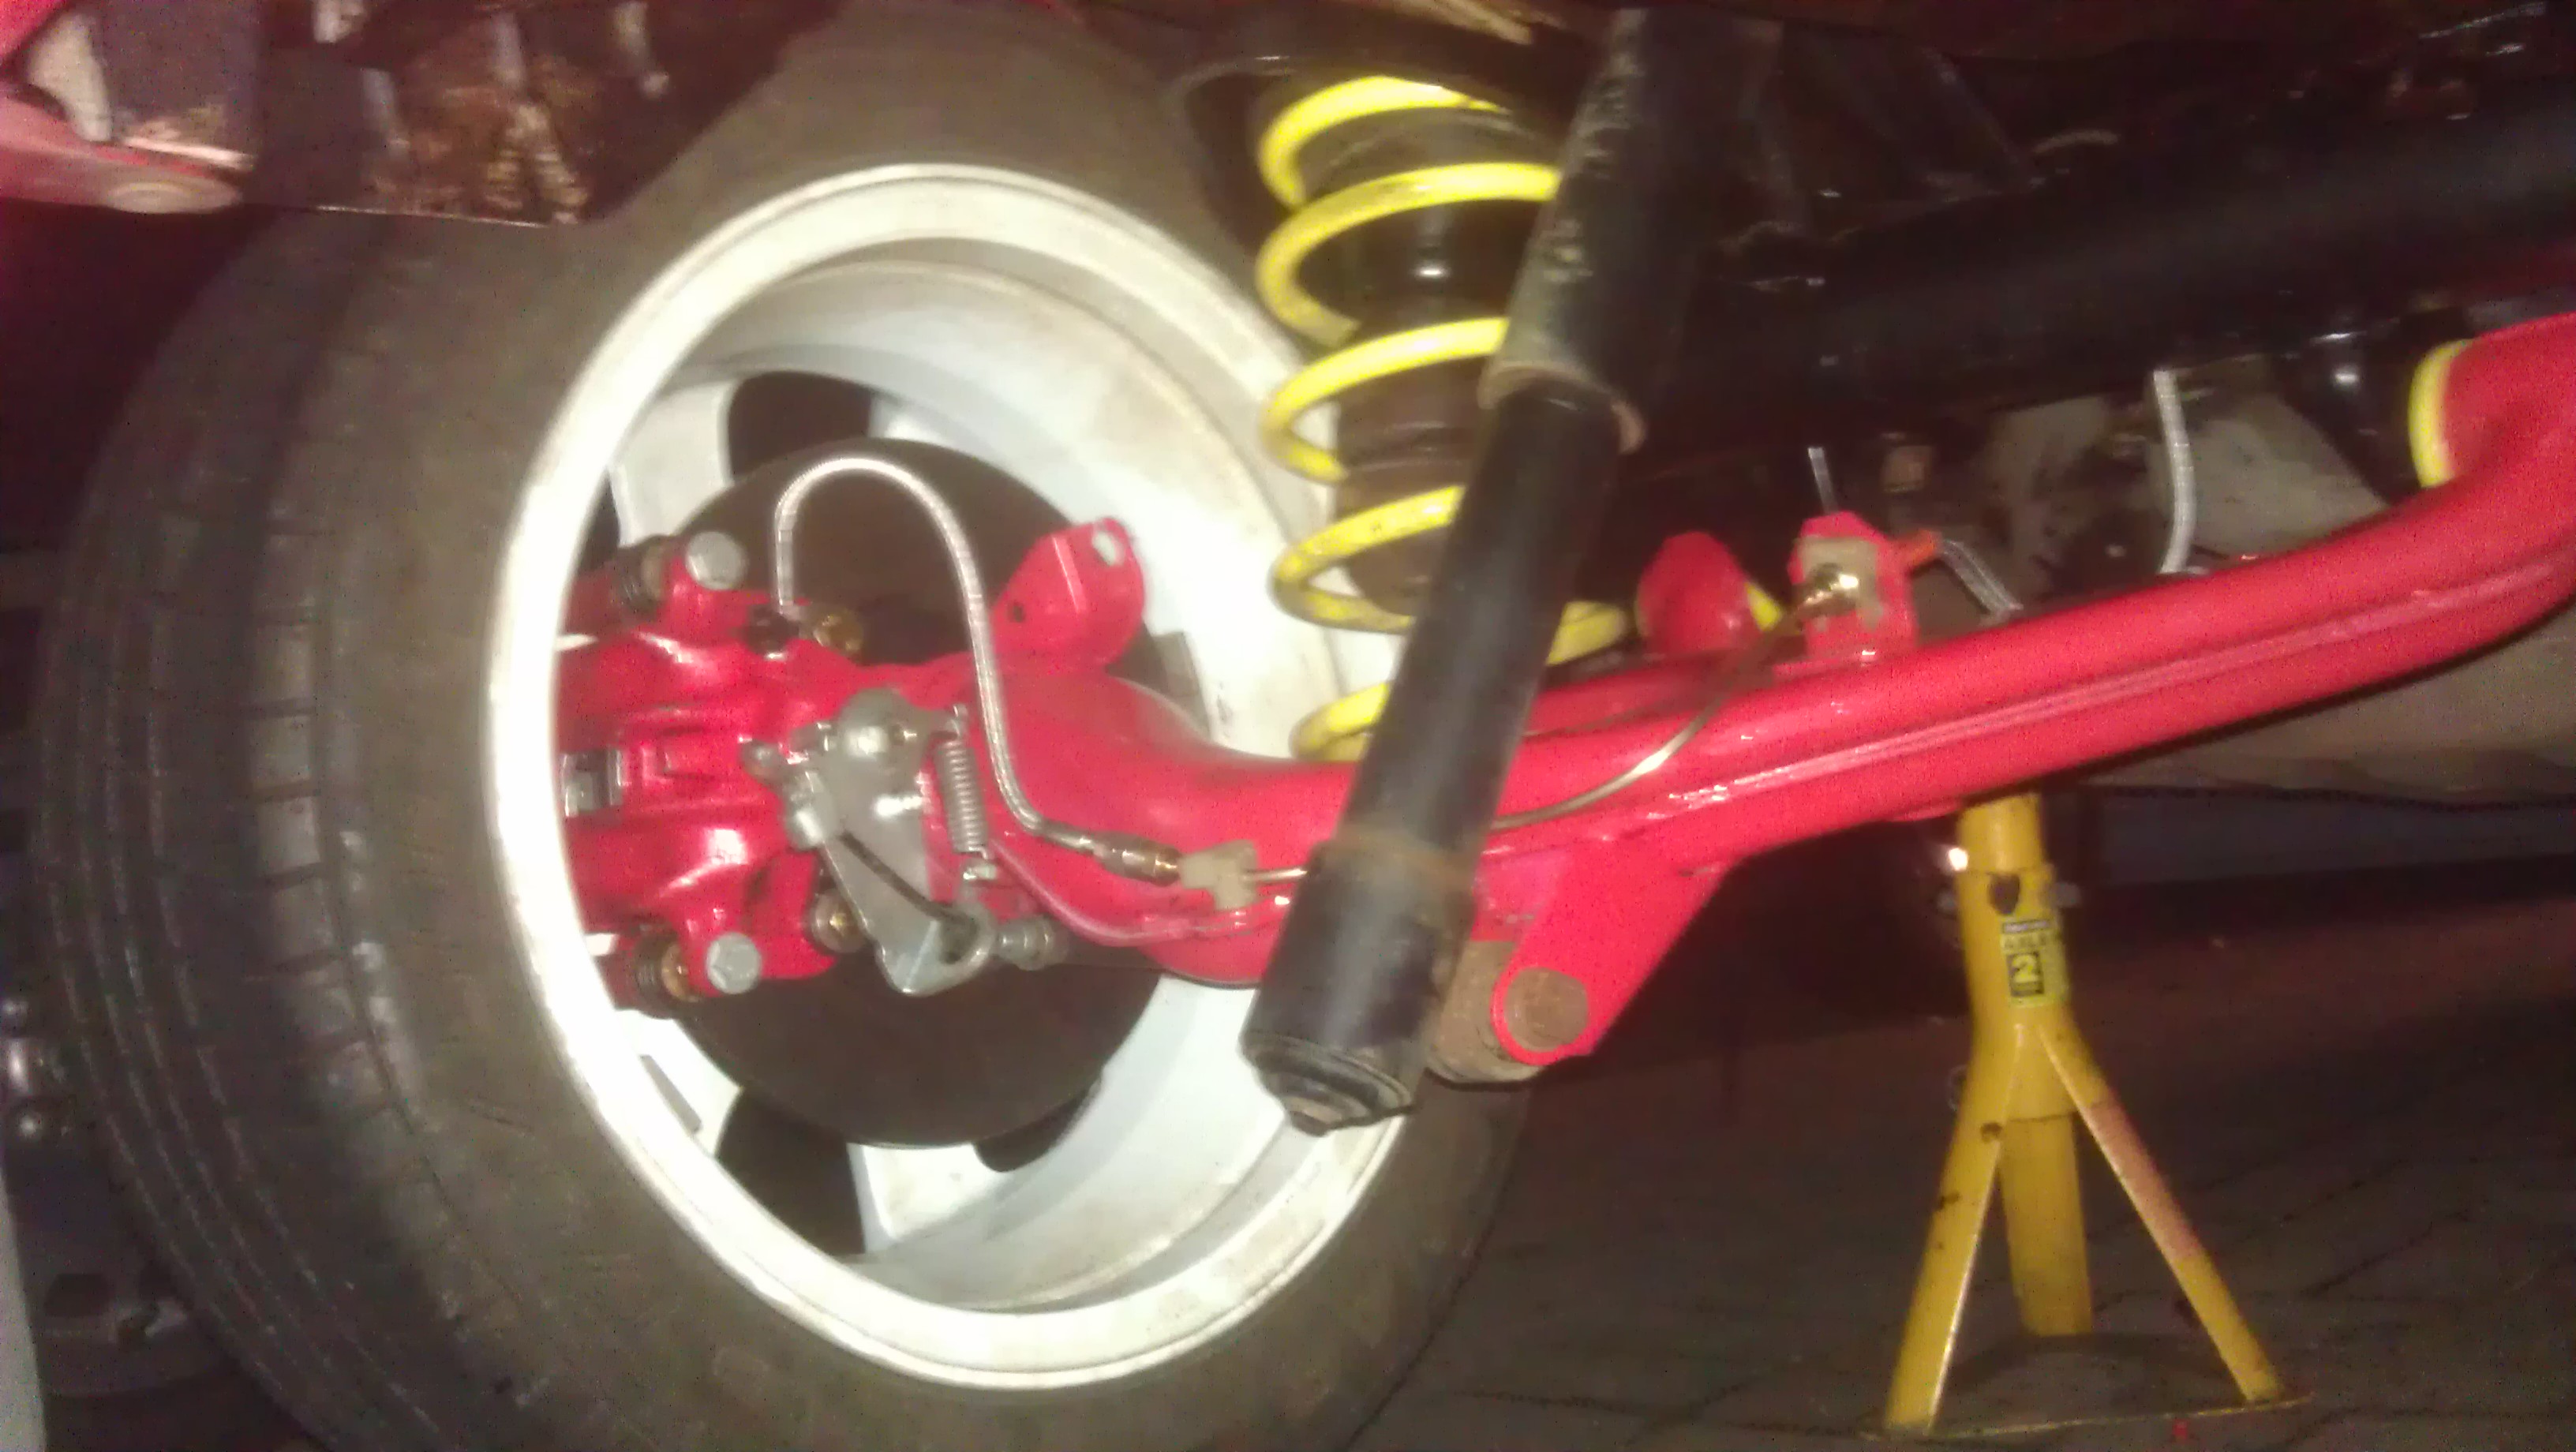
Thought it was time to start looking at getting it lowered. Ordered myself a set of Apex -30mm for the SX (should really of gone with the sporting springs) and some KYB shocks.
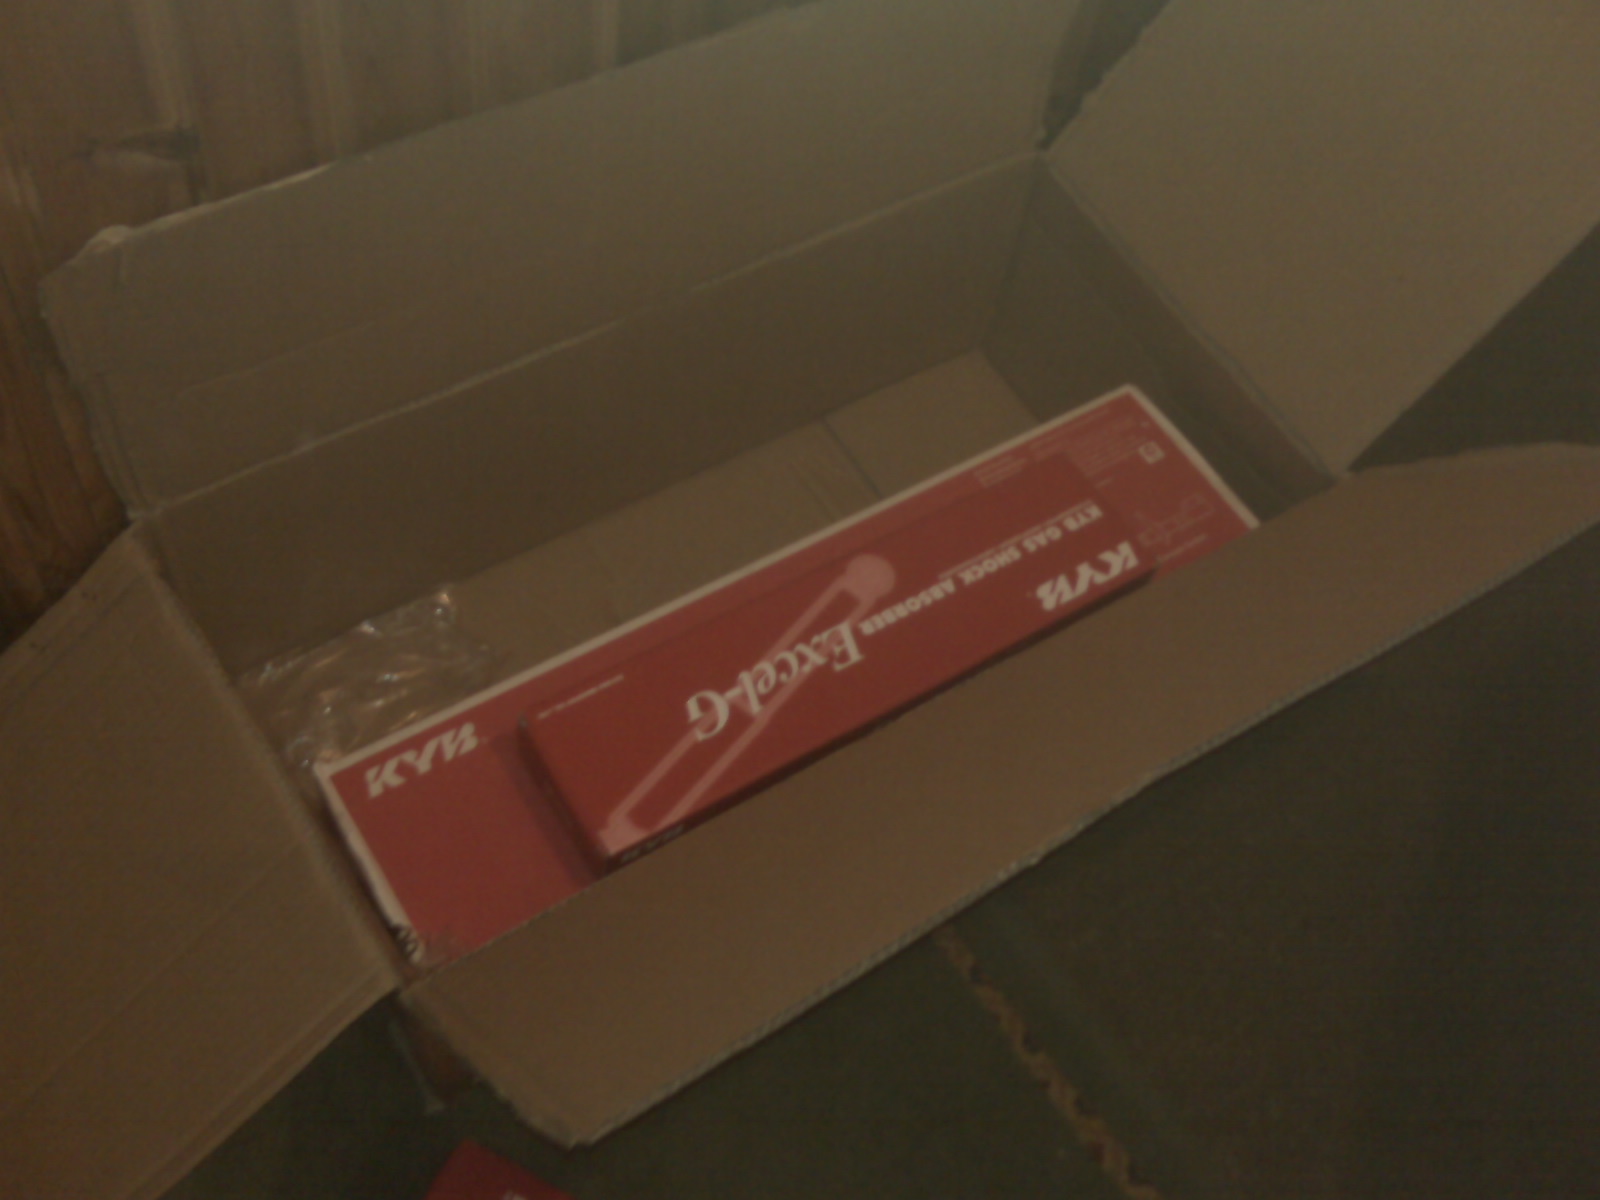
Shocks fresh out the box.
So it was down the garage to replace the springs and shocks.
New 14" tryes arrived, SONAR - Top Quality S**T but all that budget would allow.
Time to roll over to my brothers and get the new wheels on.
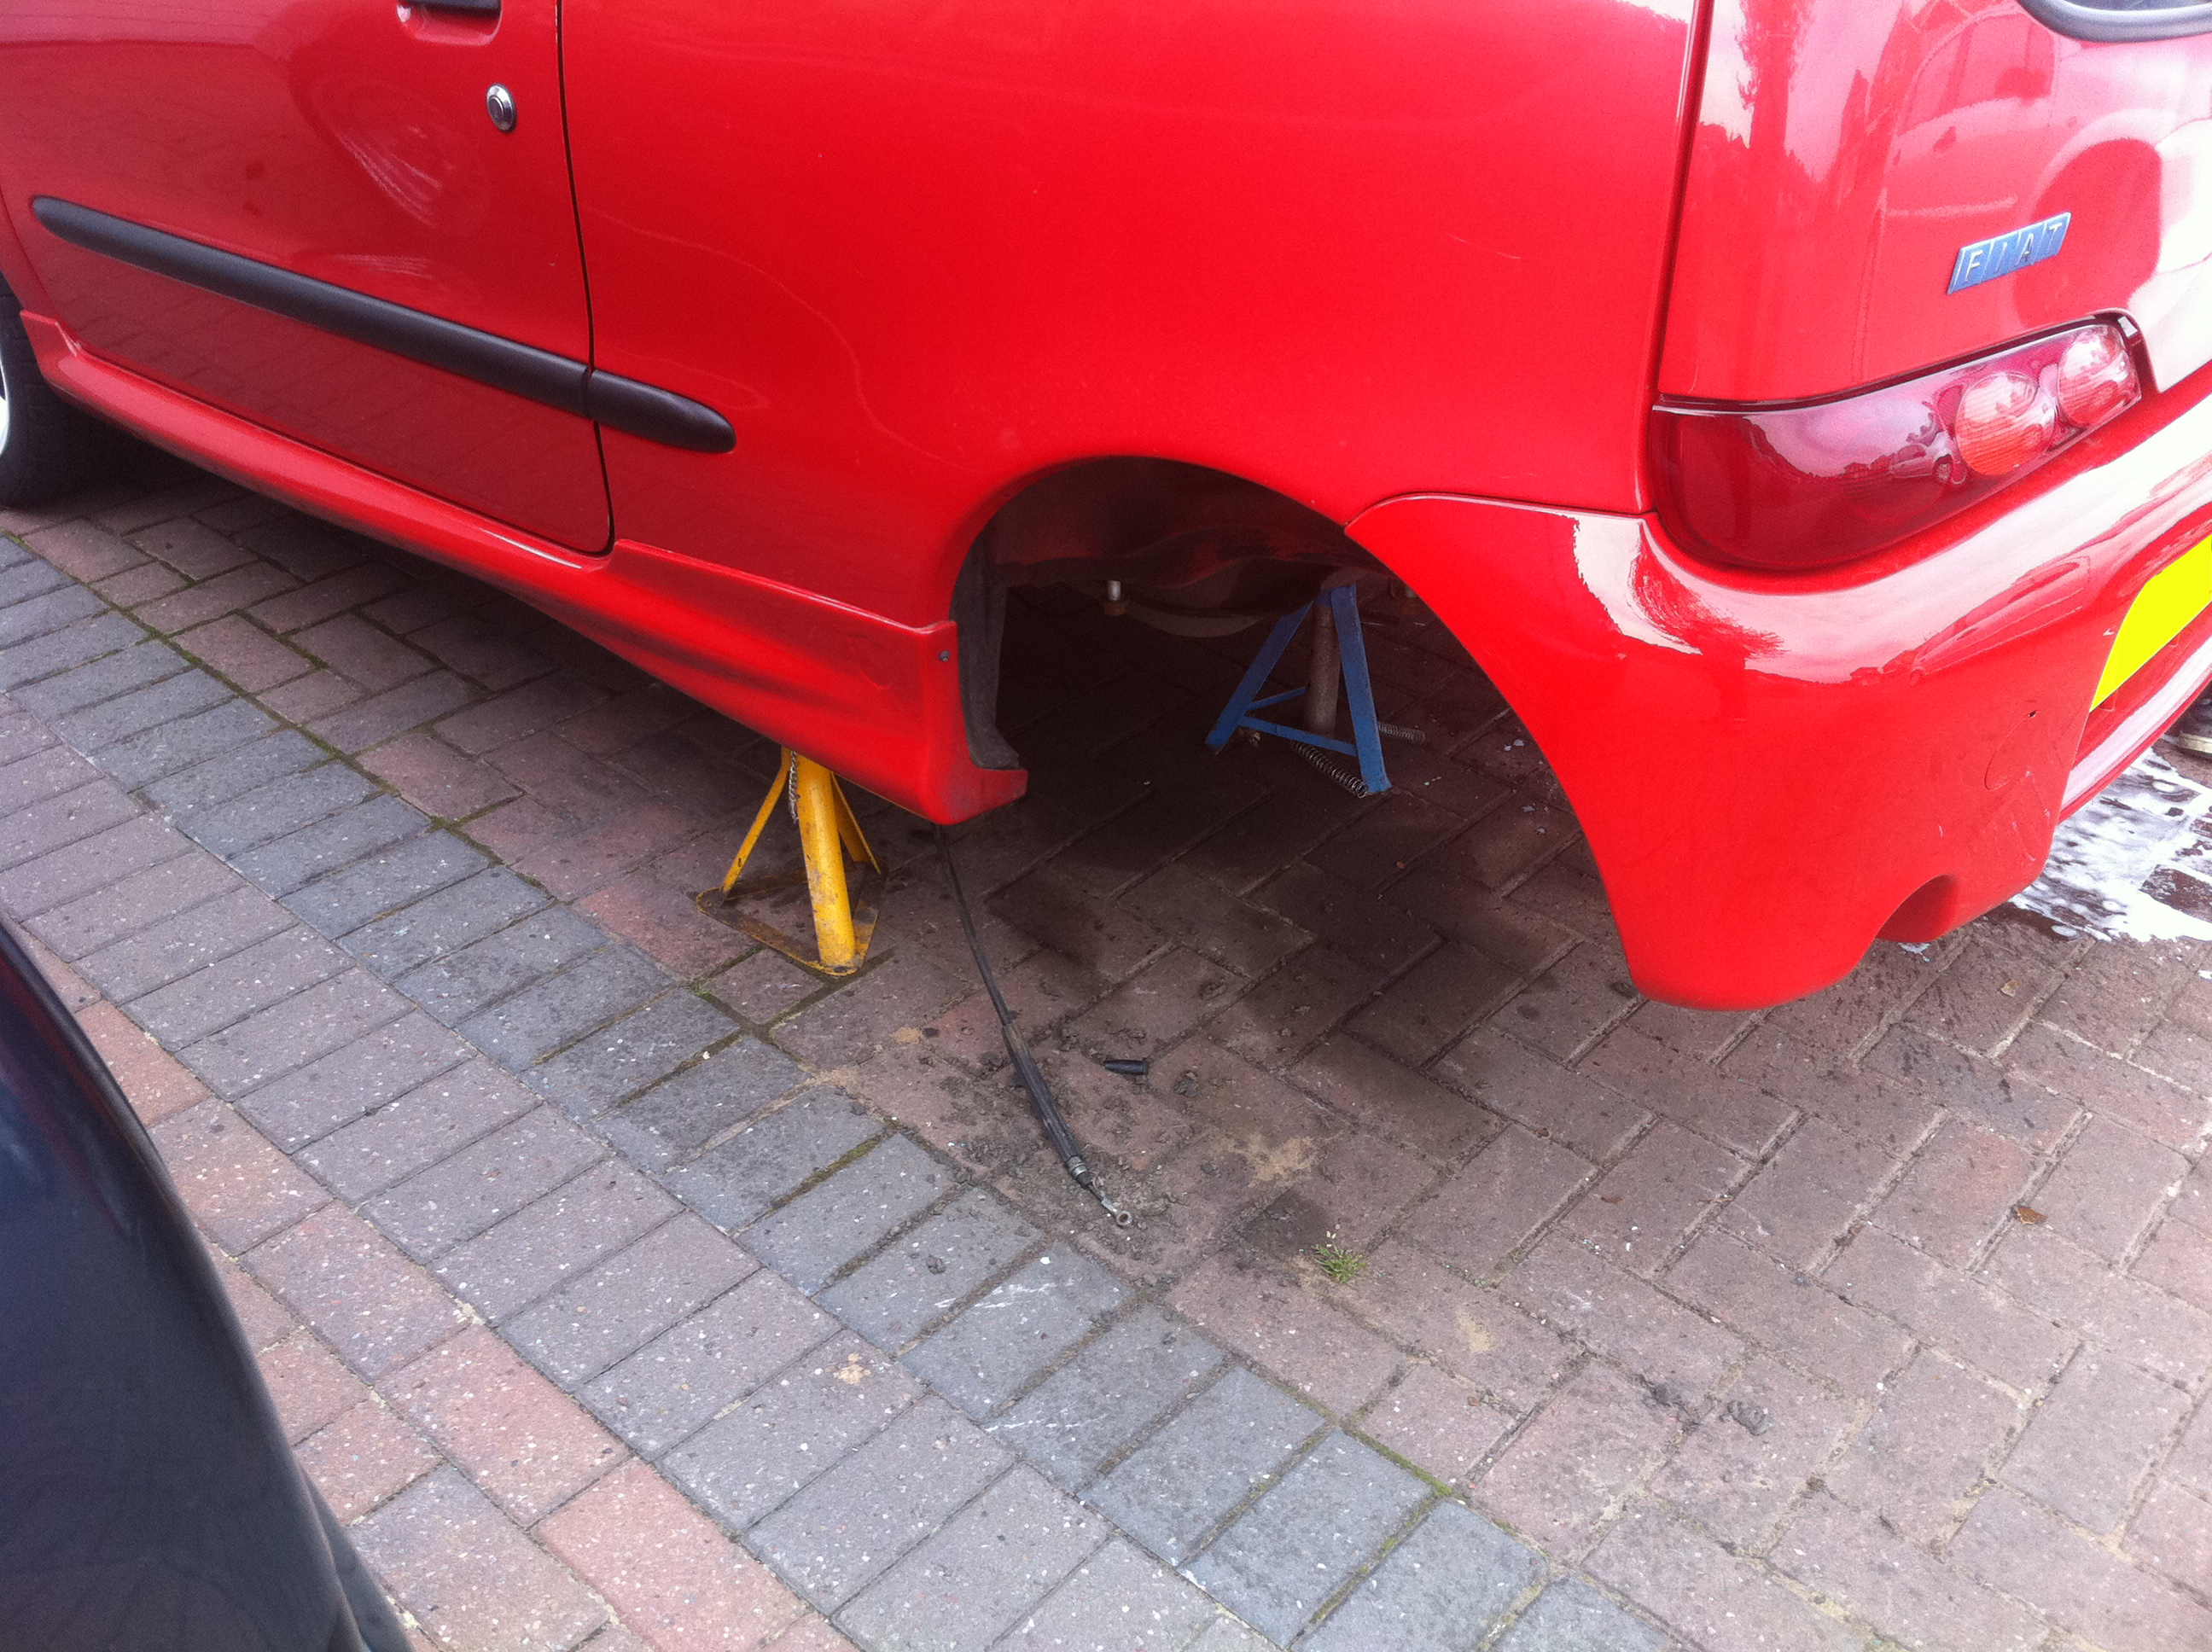
There was only one problem.... Though the front wheels fitted fine with their new spacers and bolts, the rear's didnt fit with the standard SX bolts and 3mm spacers. So i got to drive my car home like this:
Rear bolts order, trolley jack out and it was white wheels all round
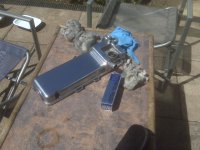
Postman arrived again in the next week or so and i recieved a shiny red brace.
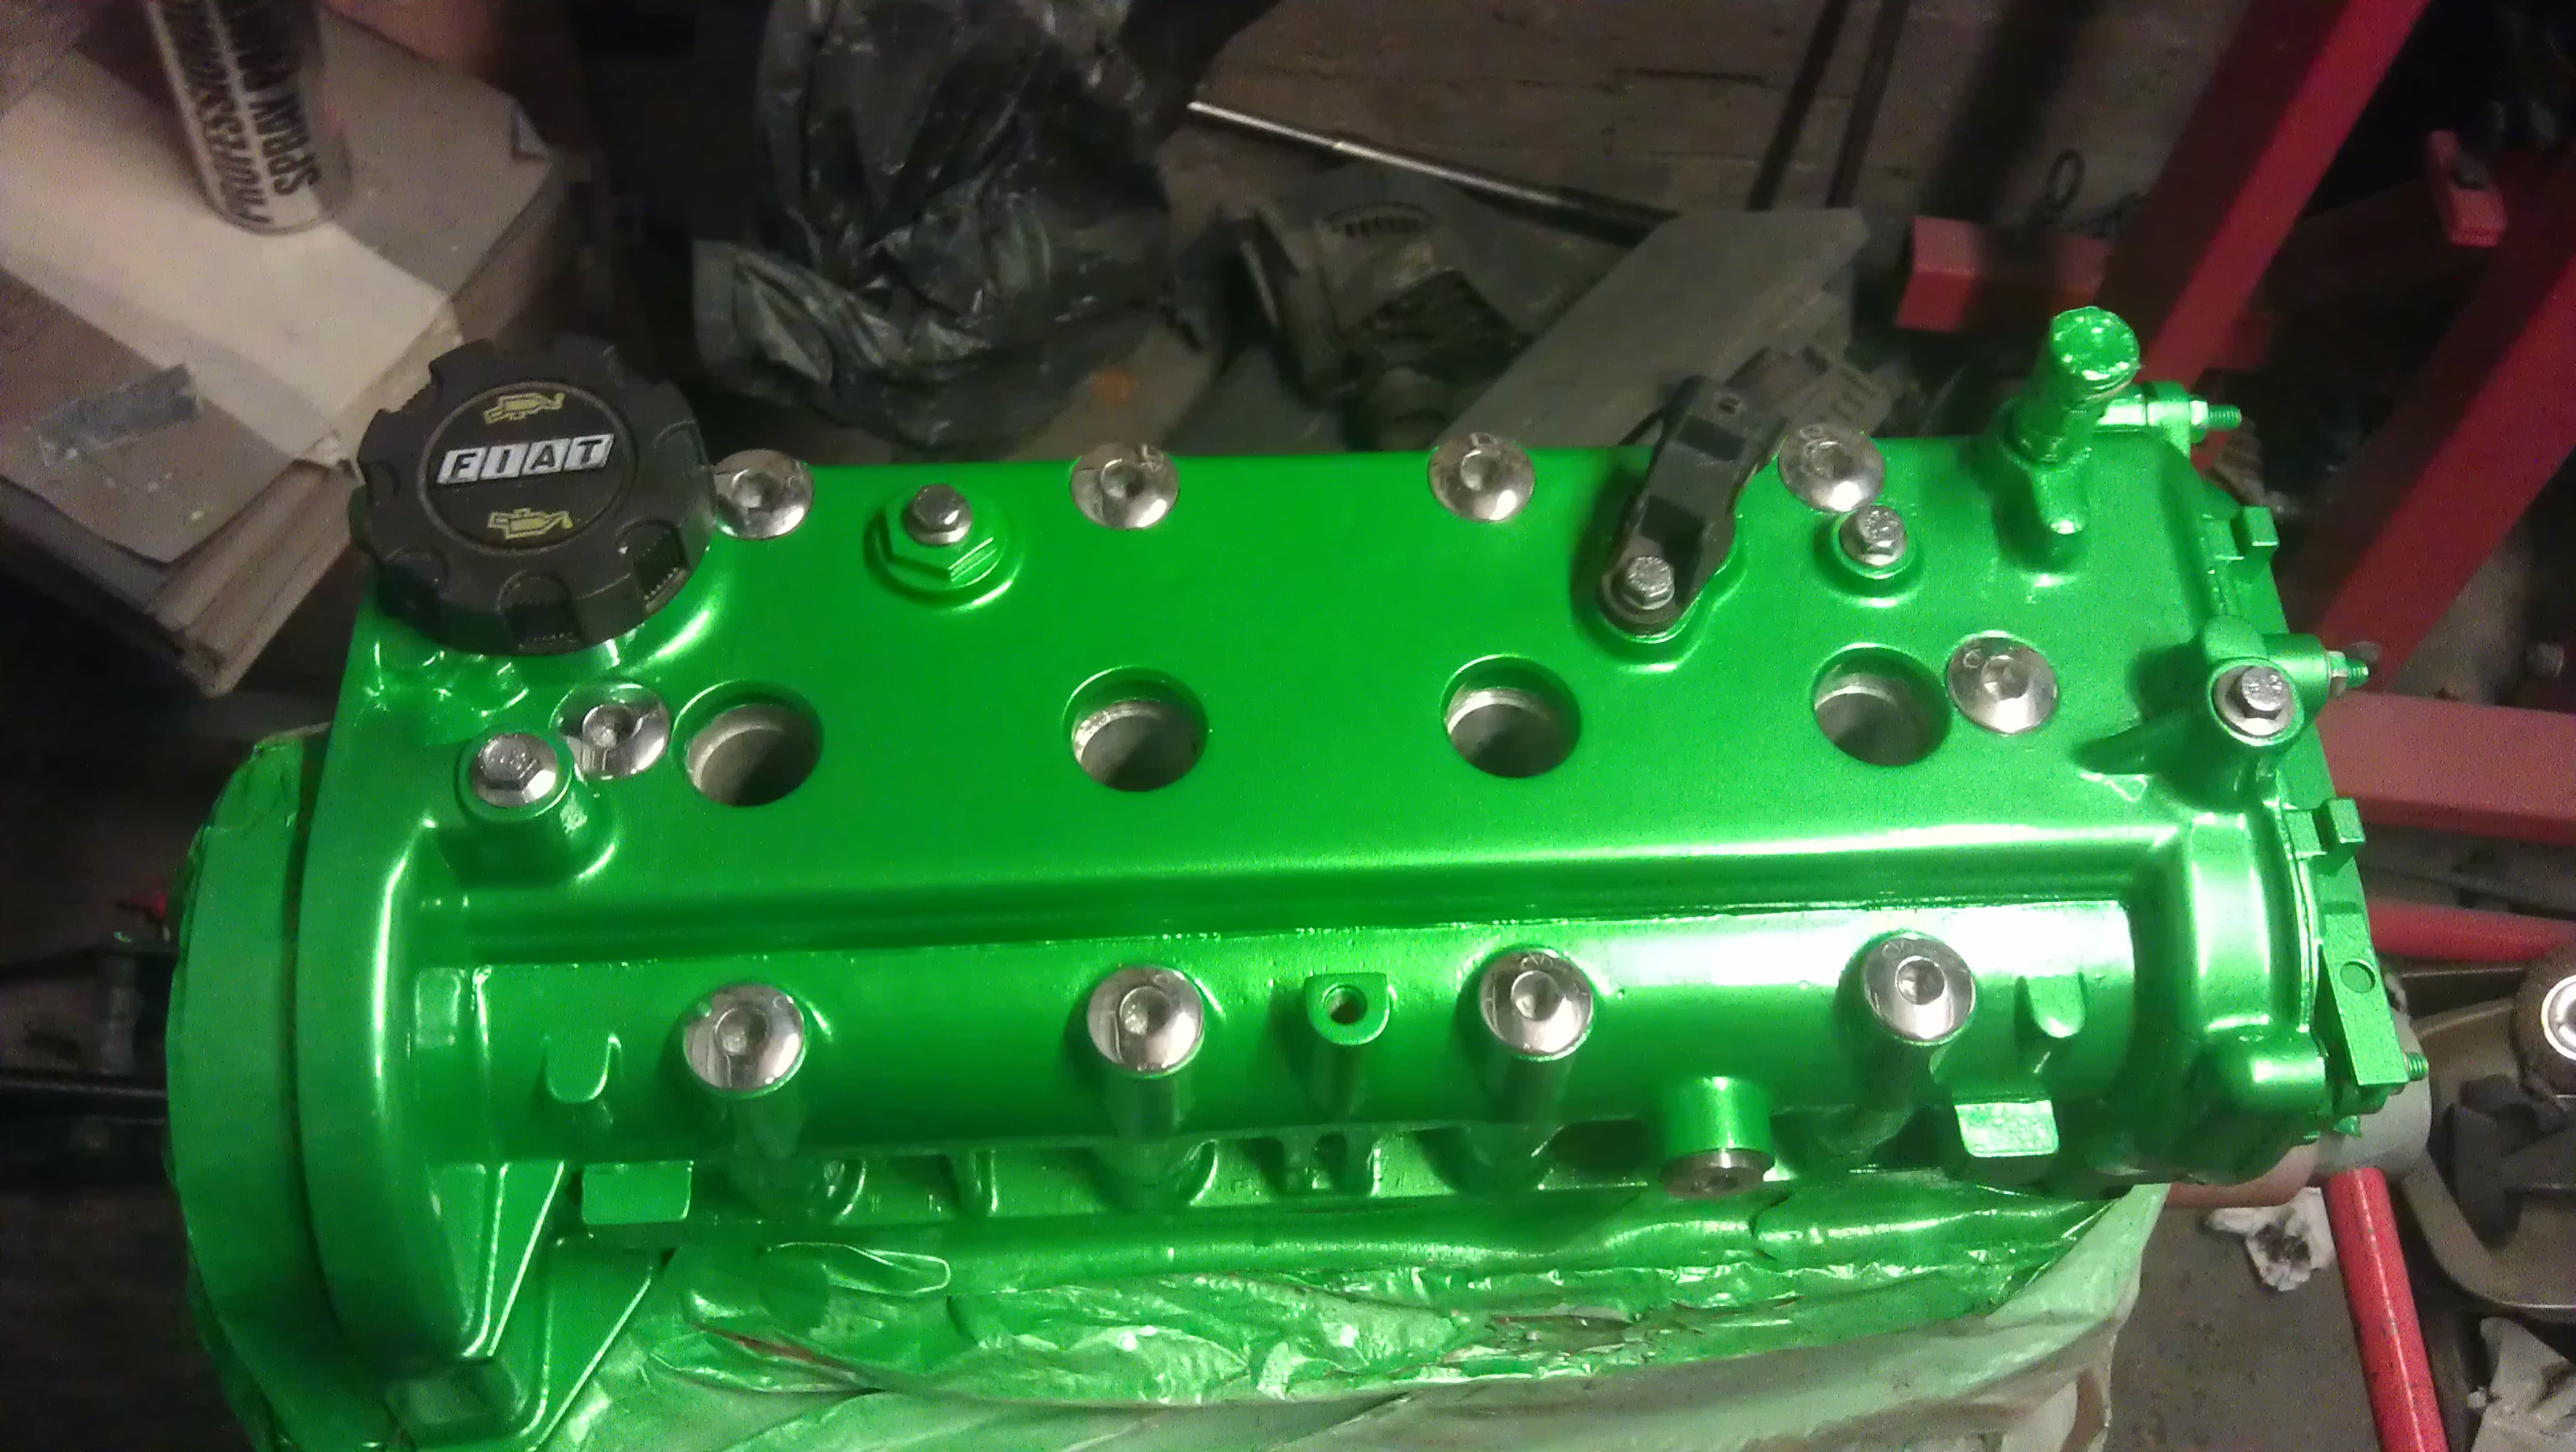
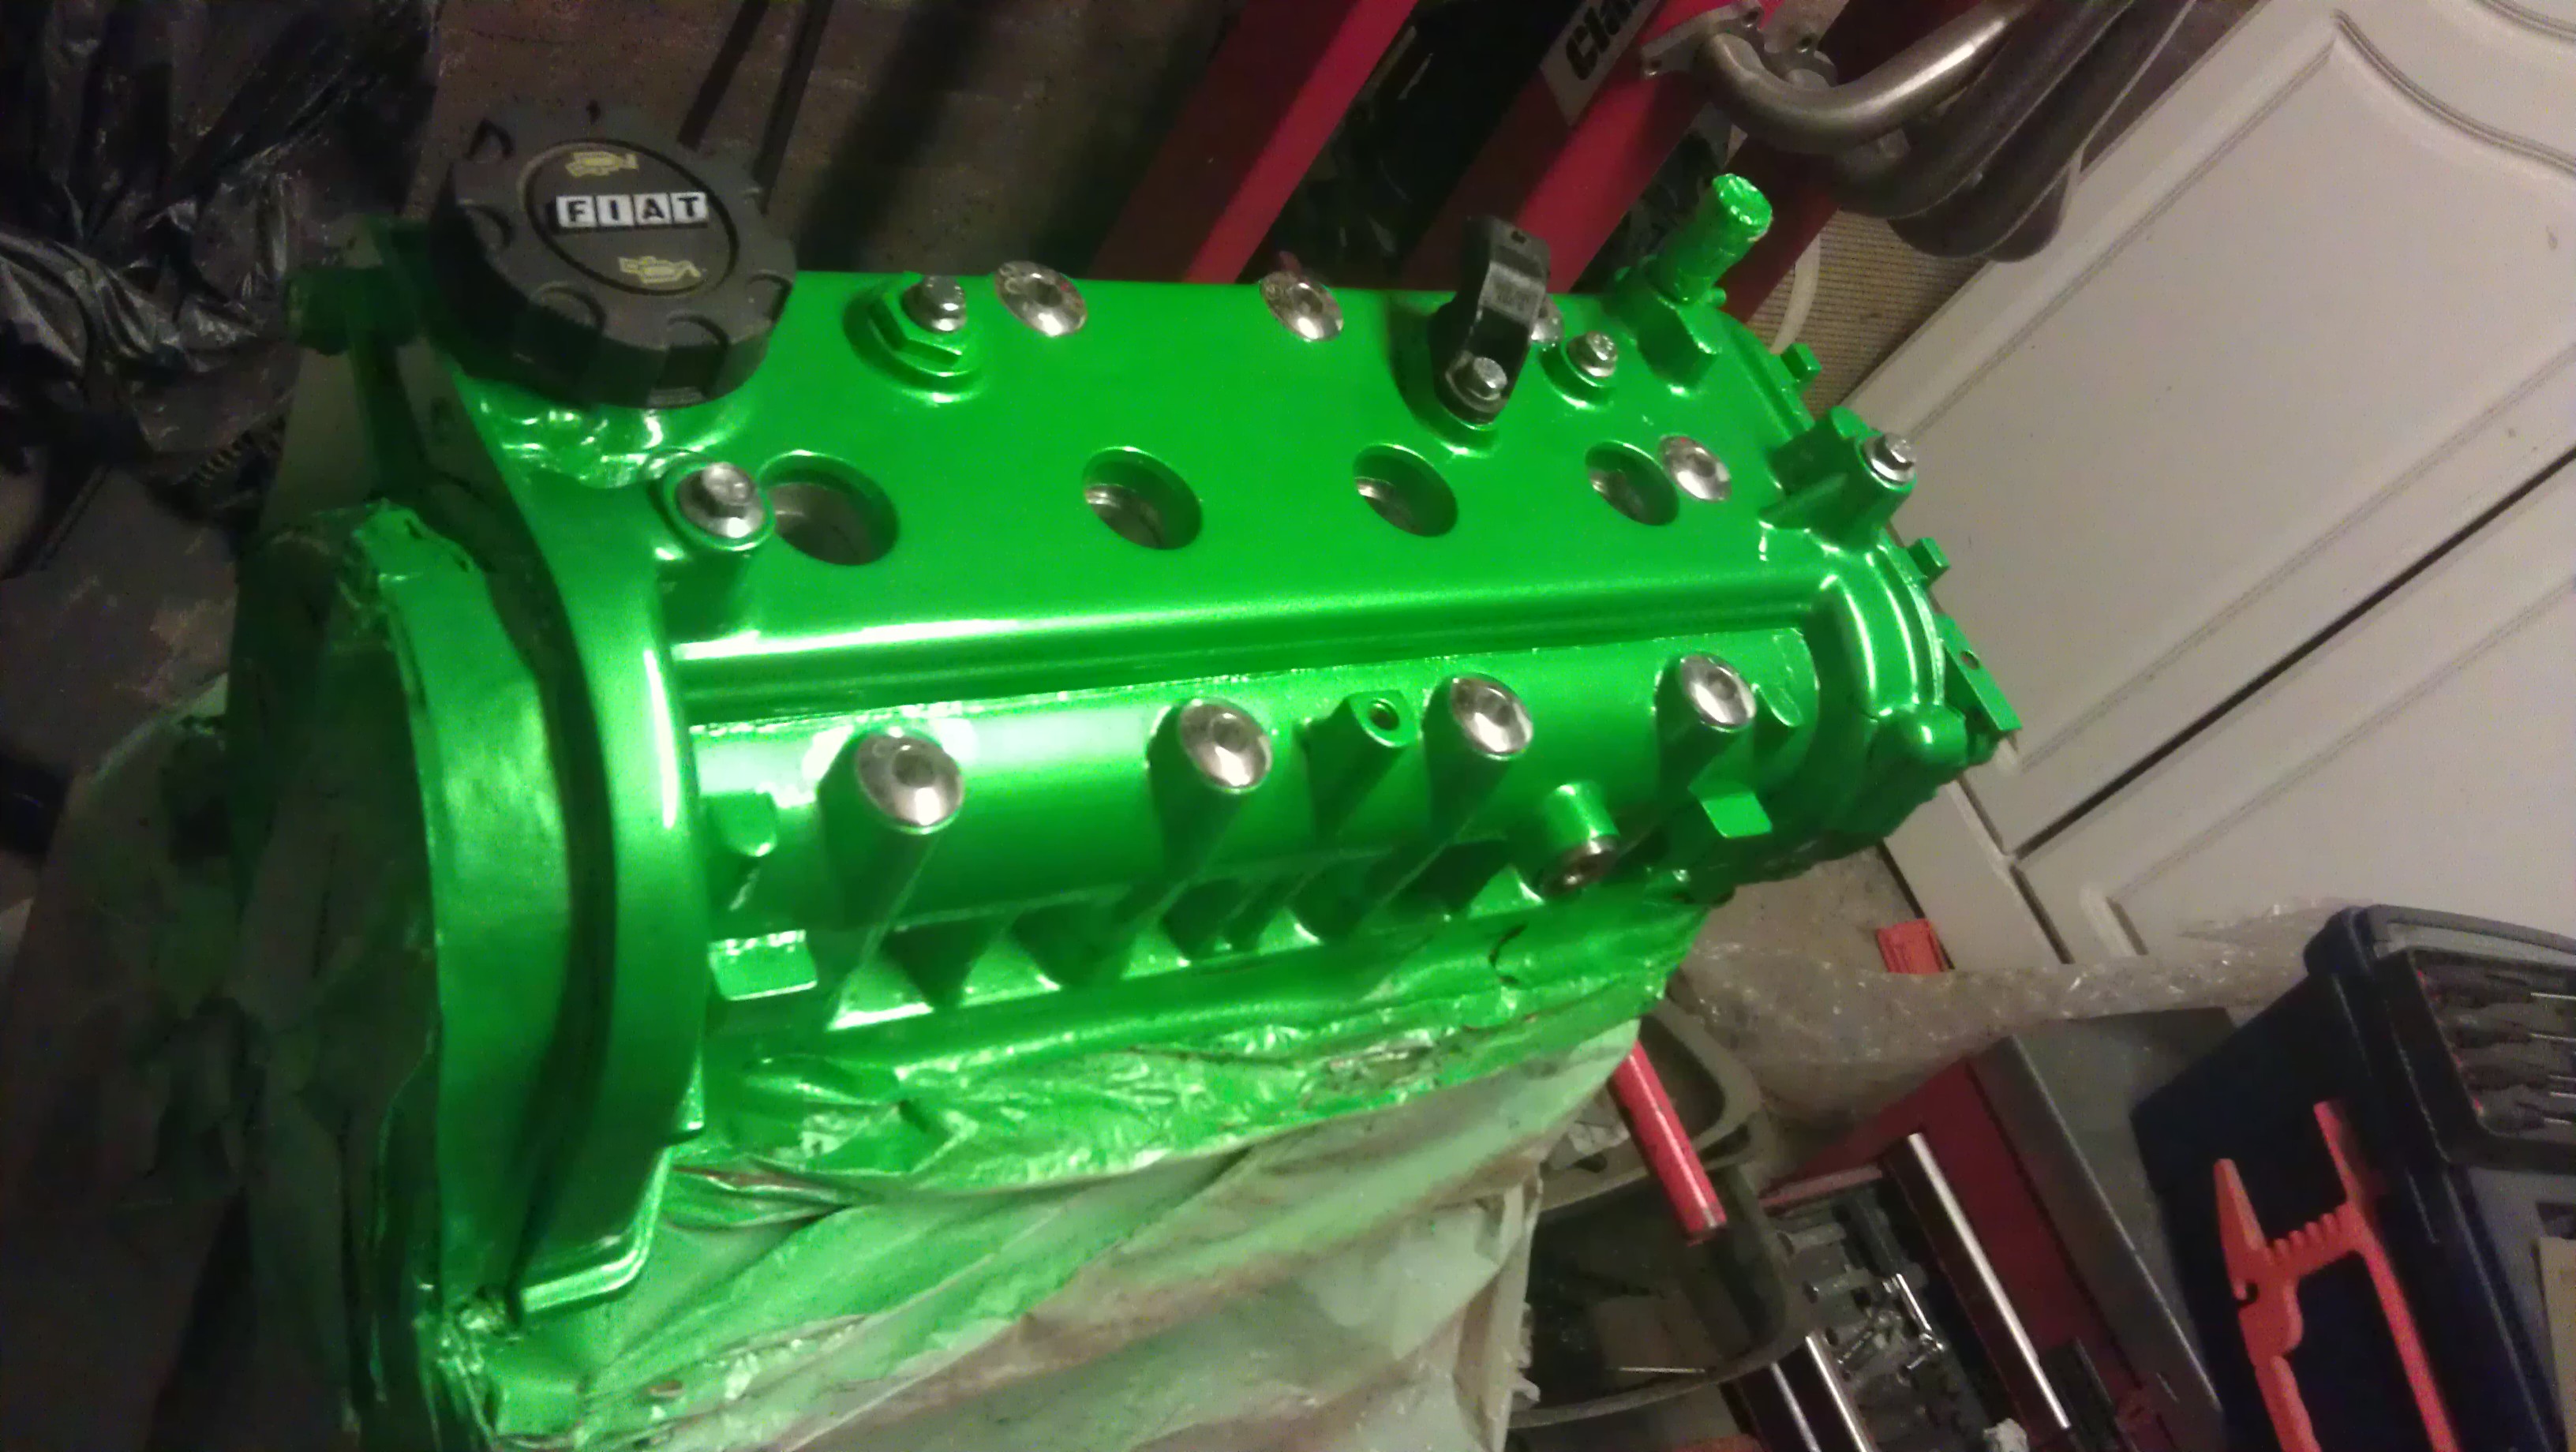
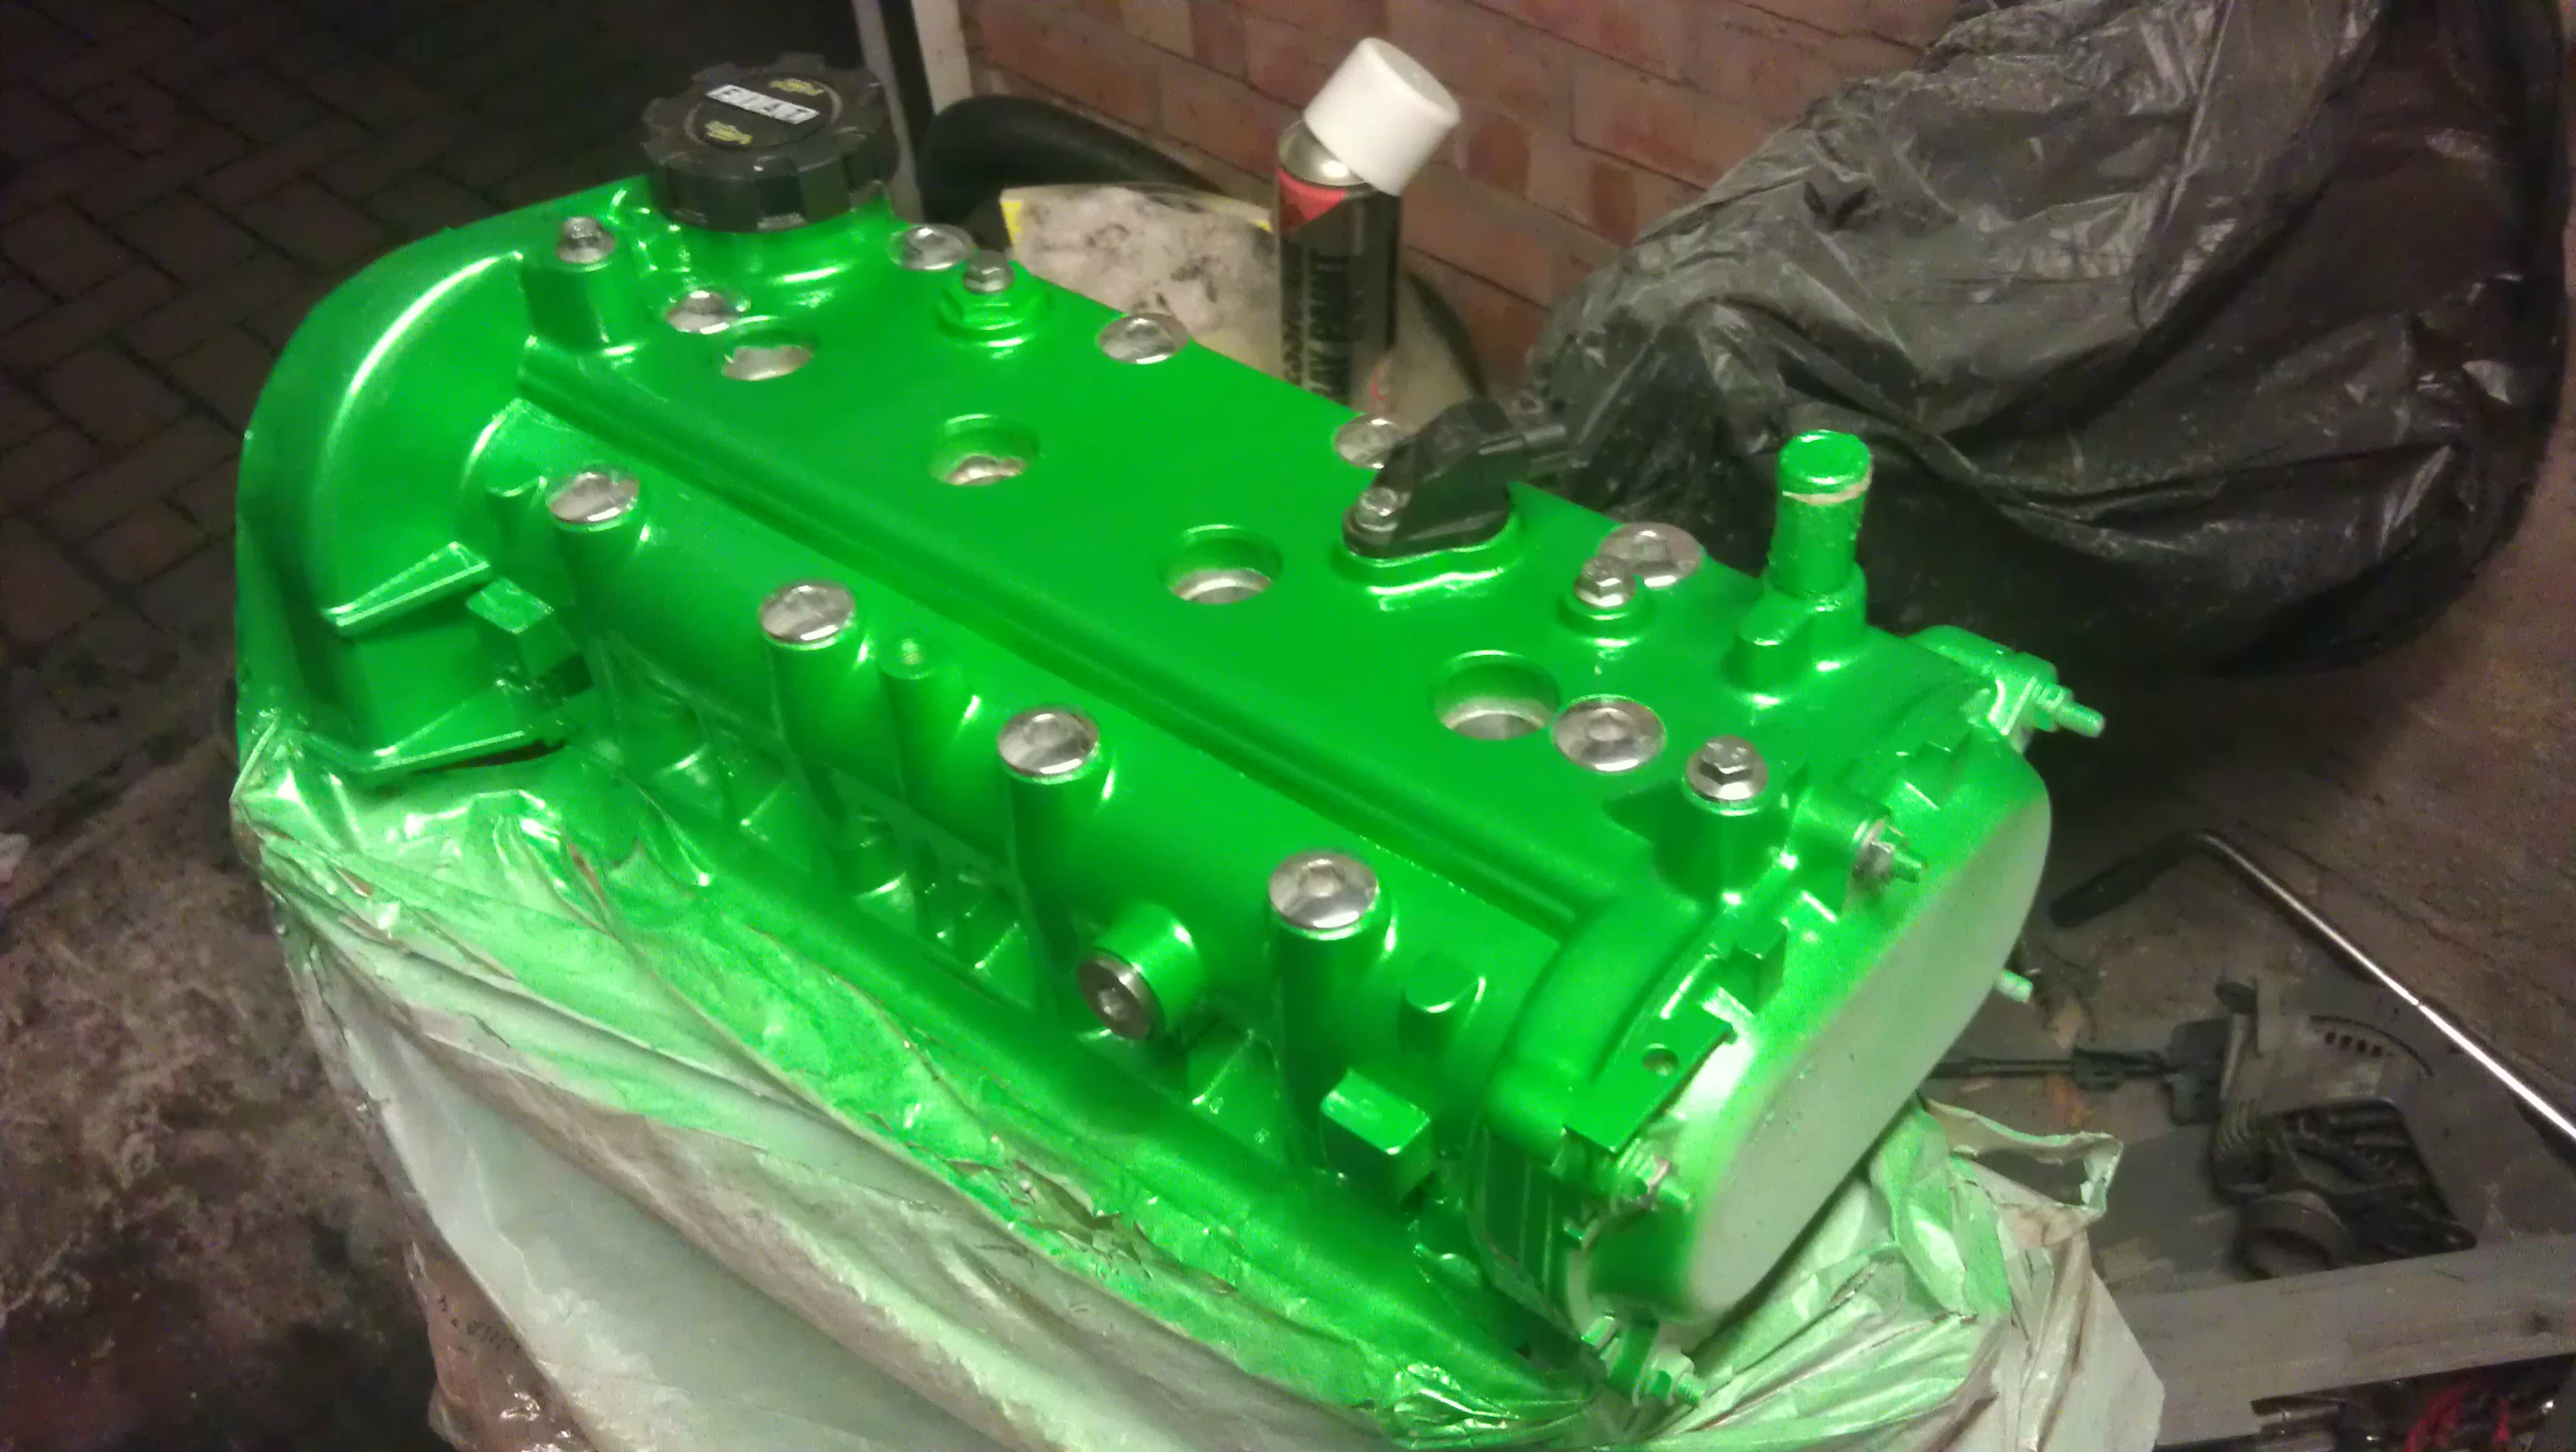
While fitting the brace i shined up the rocker cover id managed to get off Todger.

Ooo Shiny...
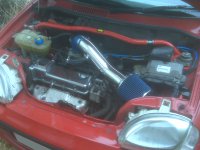
Finally time to throw it all in the bay and clean the car up a little.

The Current Bay. (note the cable tie holding expansion tank to strut brace)
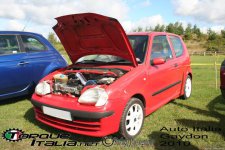
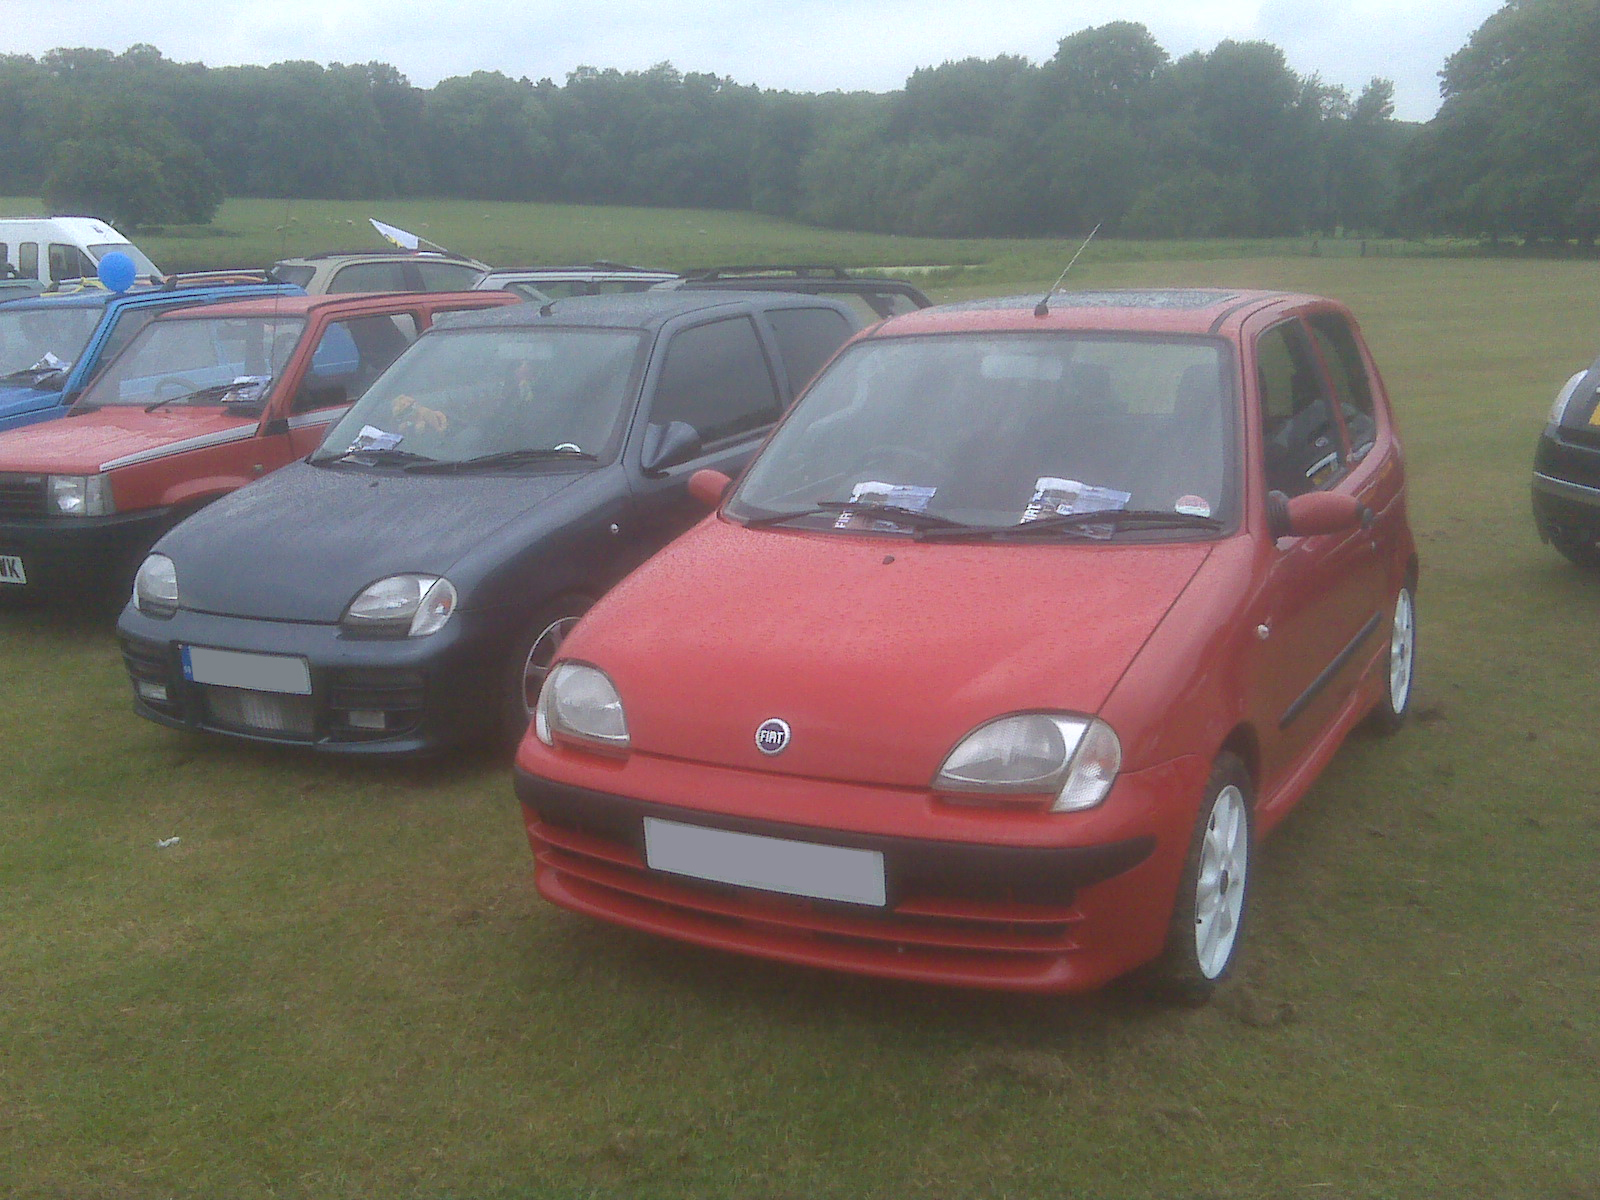
All finished just in time for show season and time to kick it off with Stanford, which i showed with FF (thanks guys)

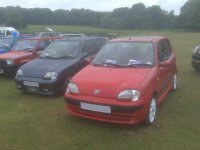
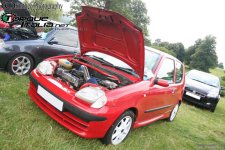
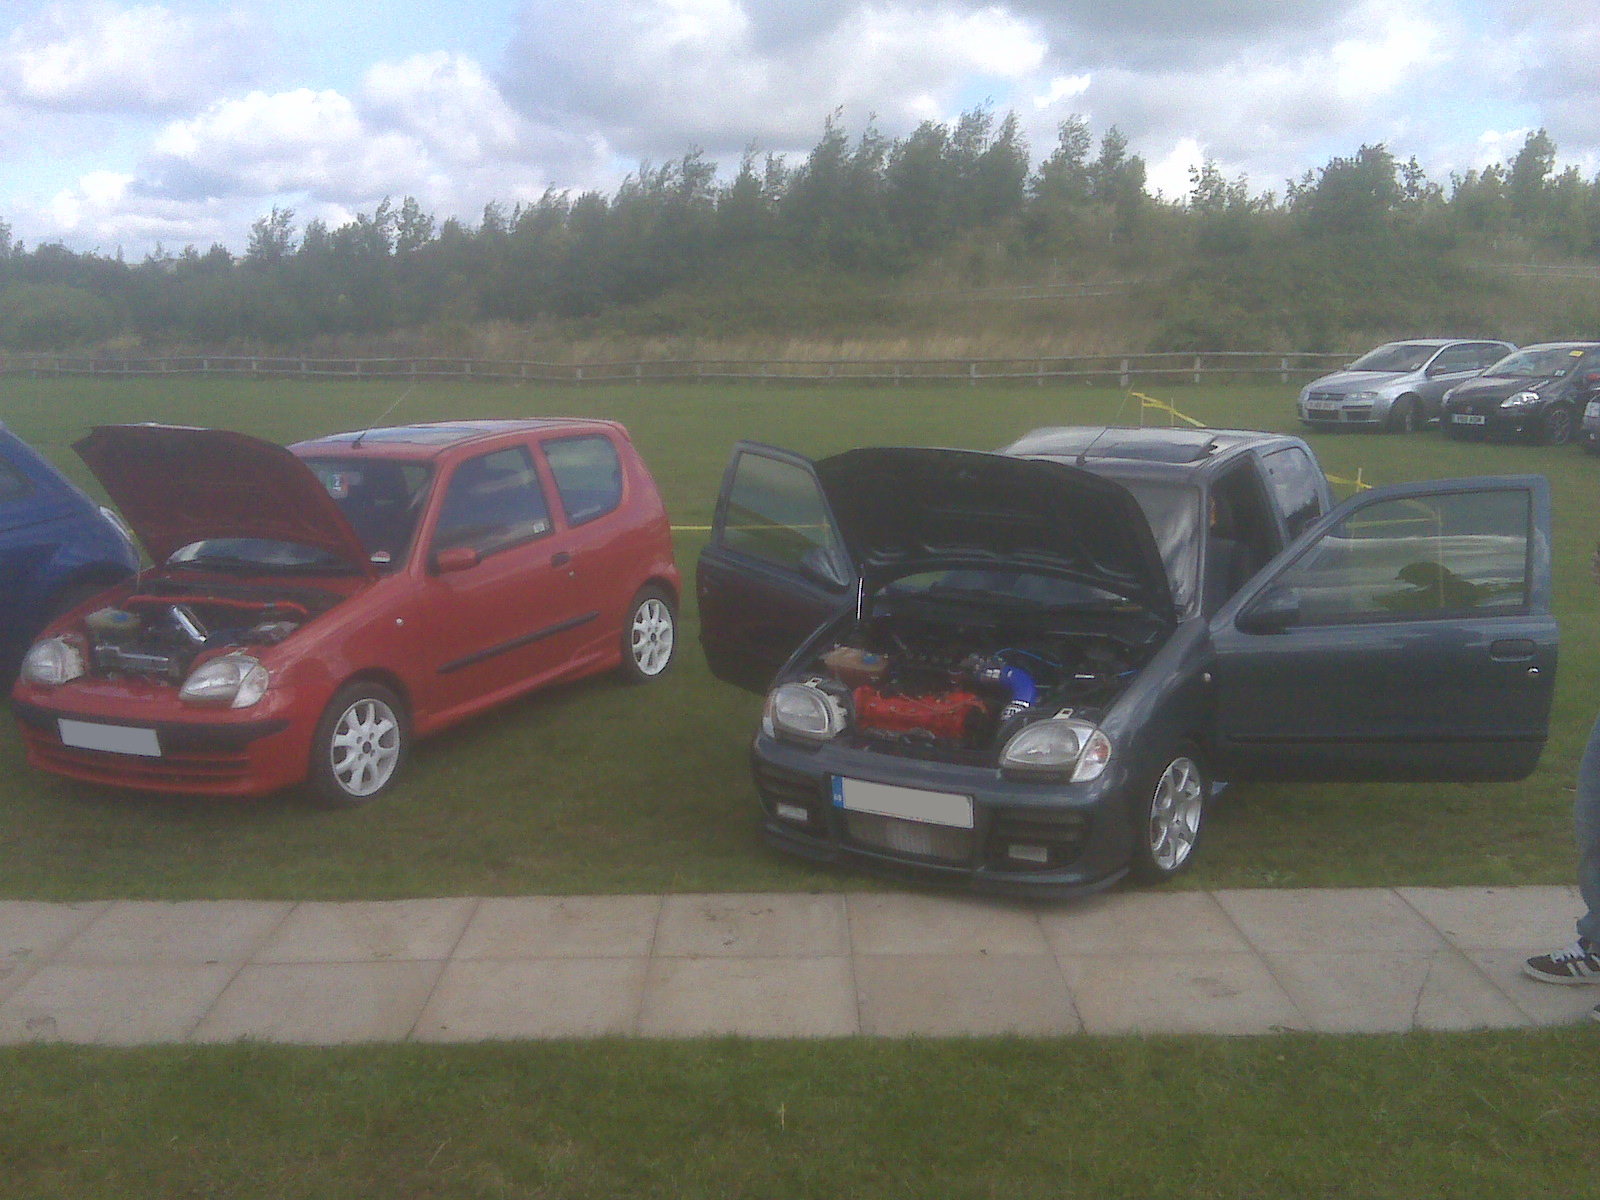
Next Month a short drive up north to see Chatsworth House and MIT Car 2010:

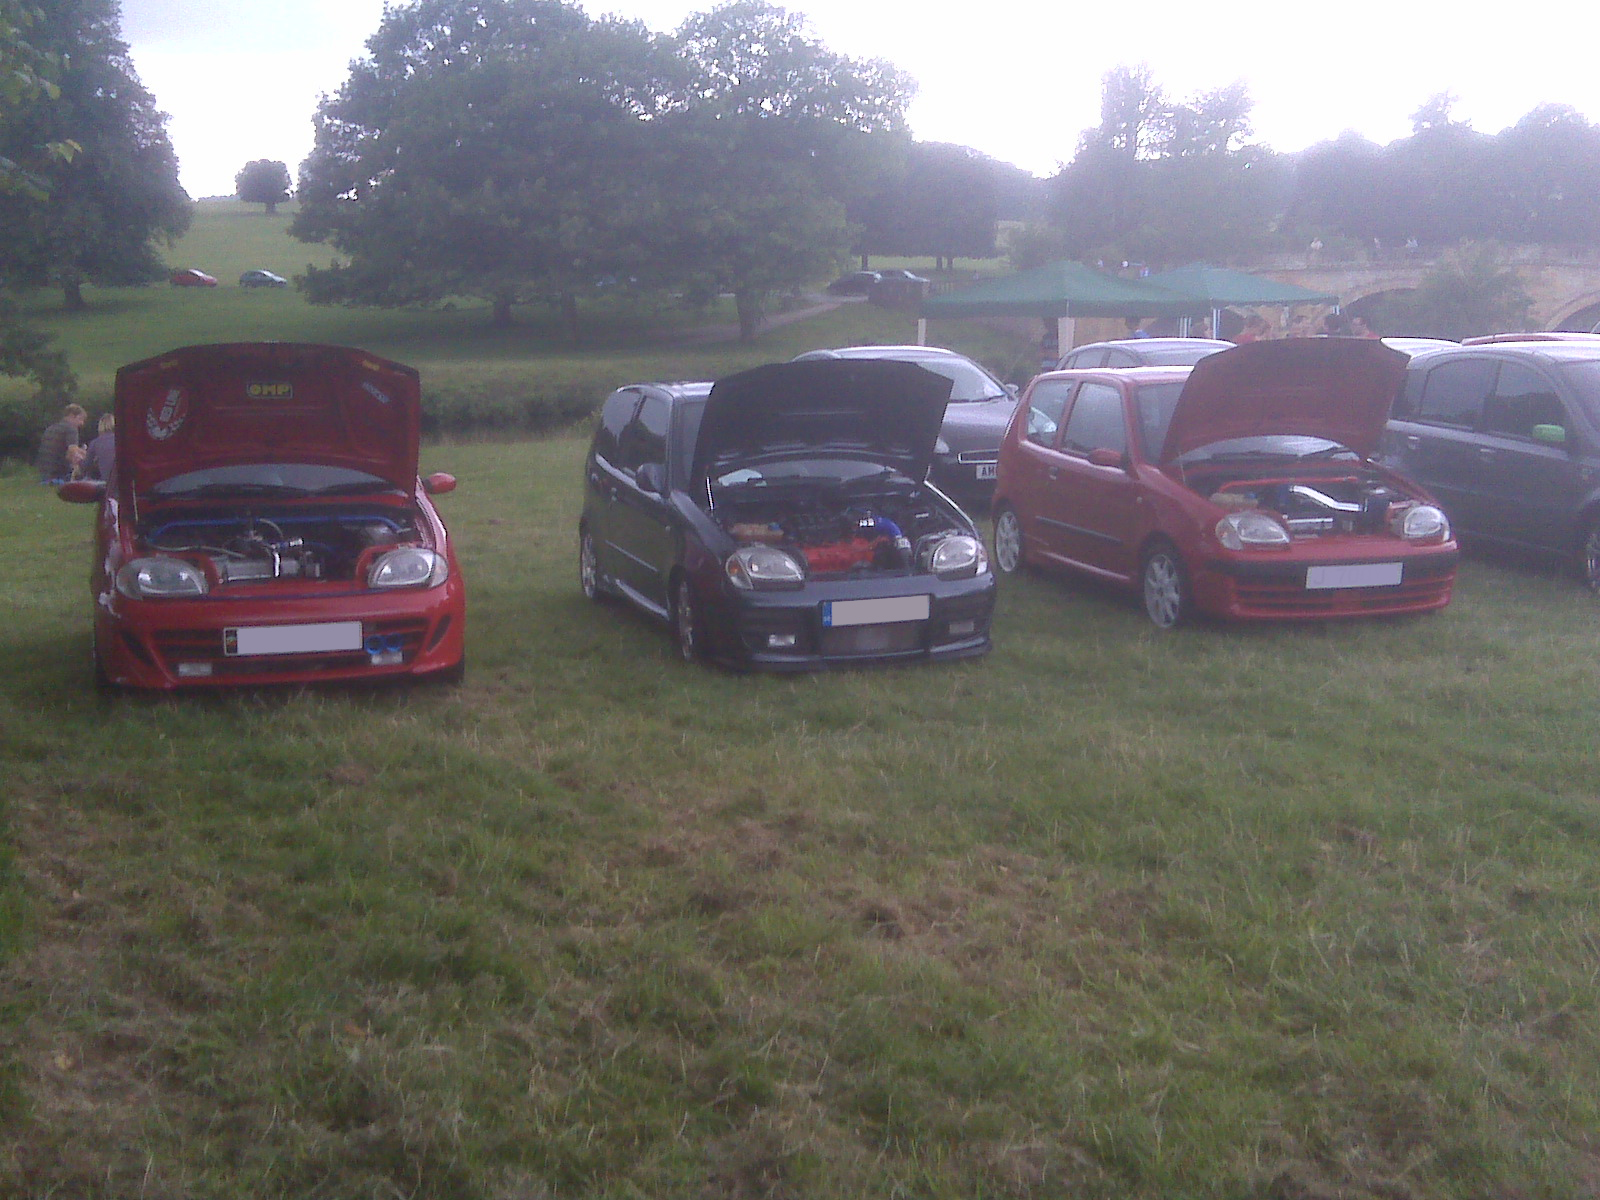
Left to right: Emm's 1.2 Turbo, Chalky 1.2 16v & The Shoebox
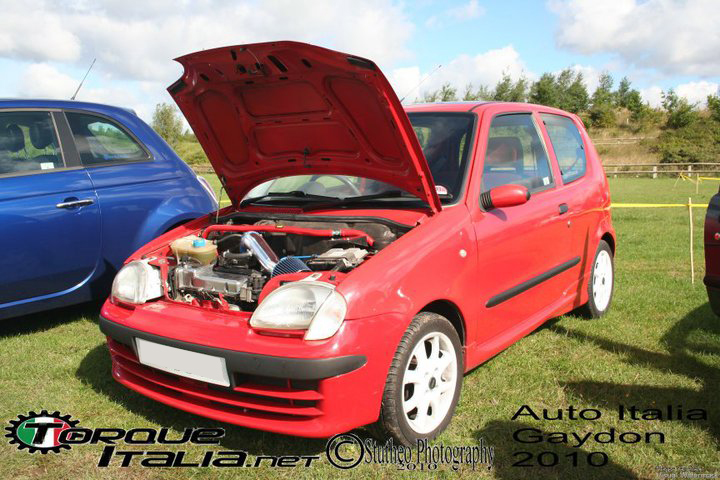
Gaydon 2010
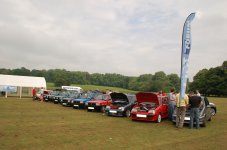
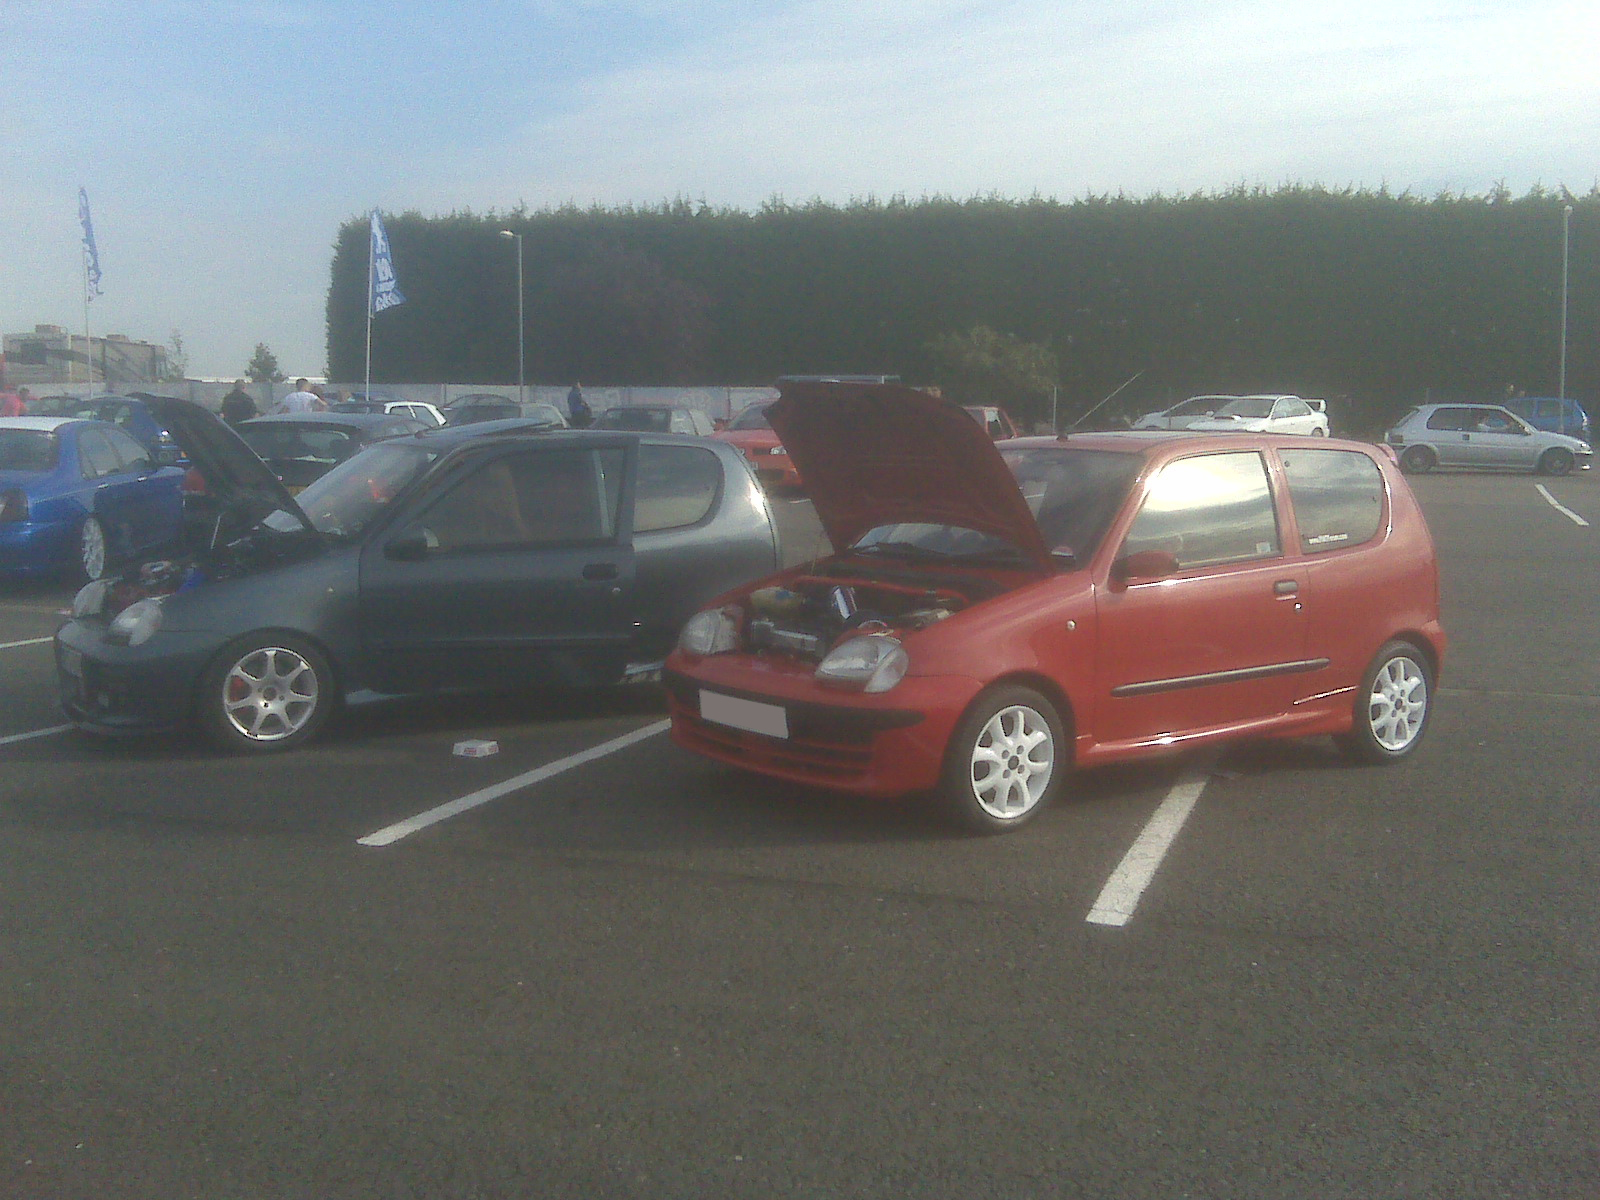
Was only planning on one more show for the year, Trax 2010 at Silverstone.
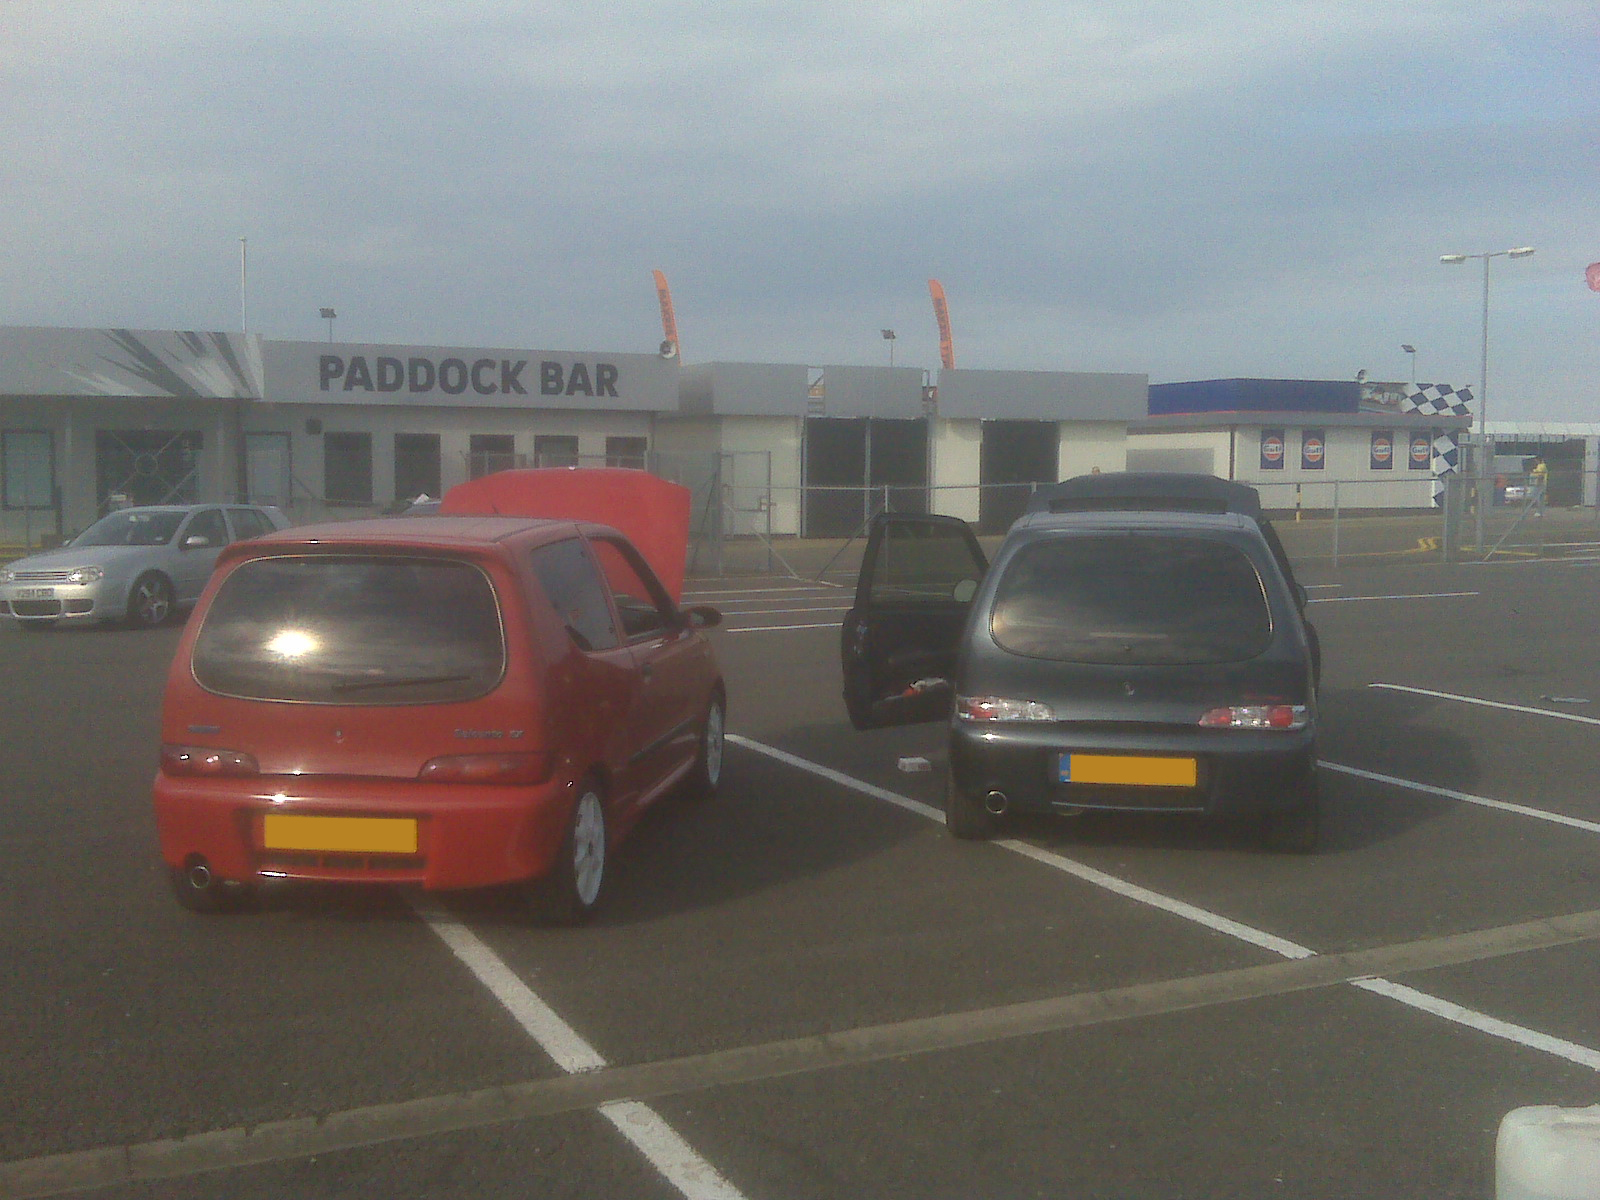
Also got the chance to do a 0-60 timed run there:
I got the time of........
N/A. Only made it upto 53mph
Speedo inaccurate as hell and clutch about died. Was good fun though.
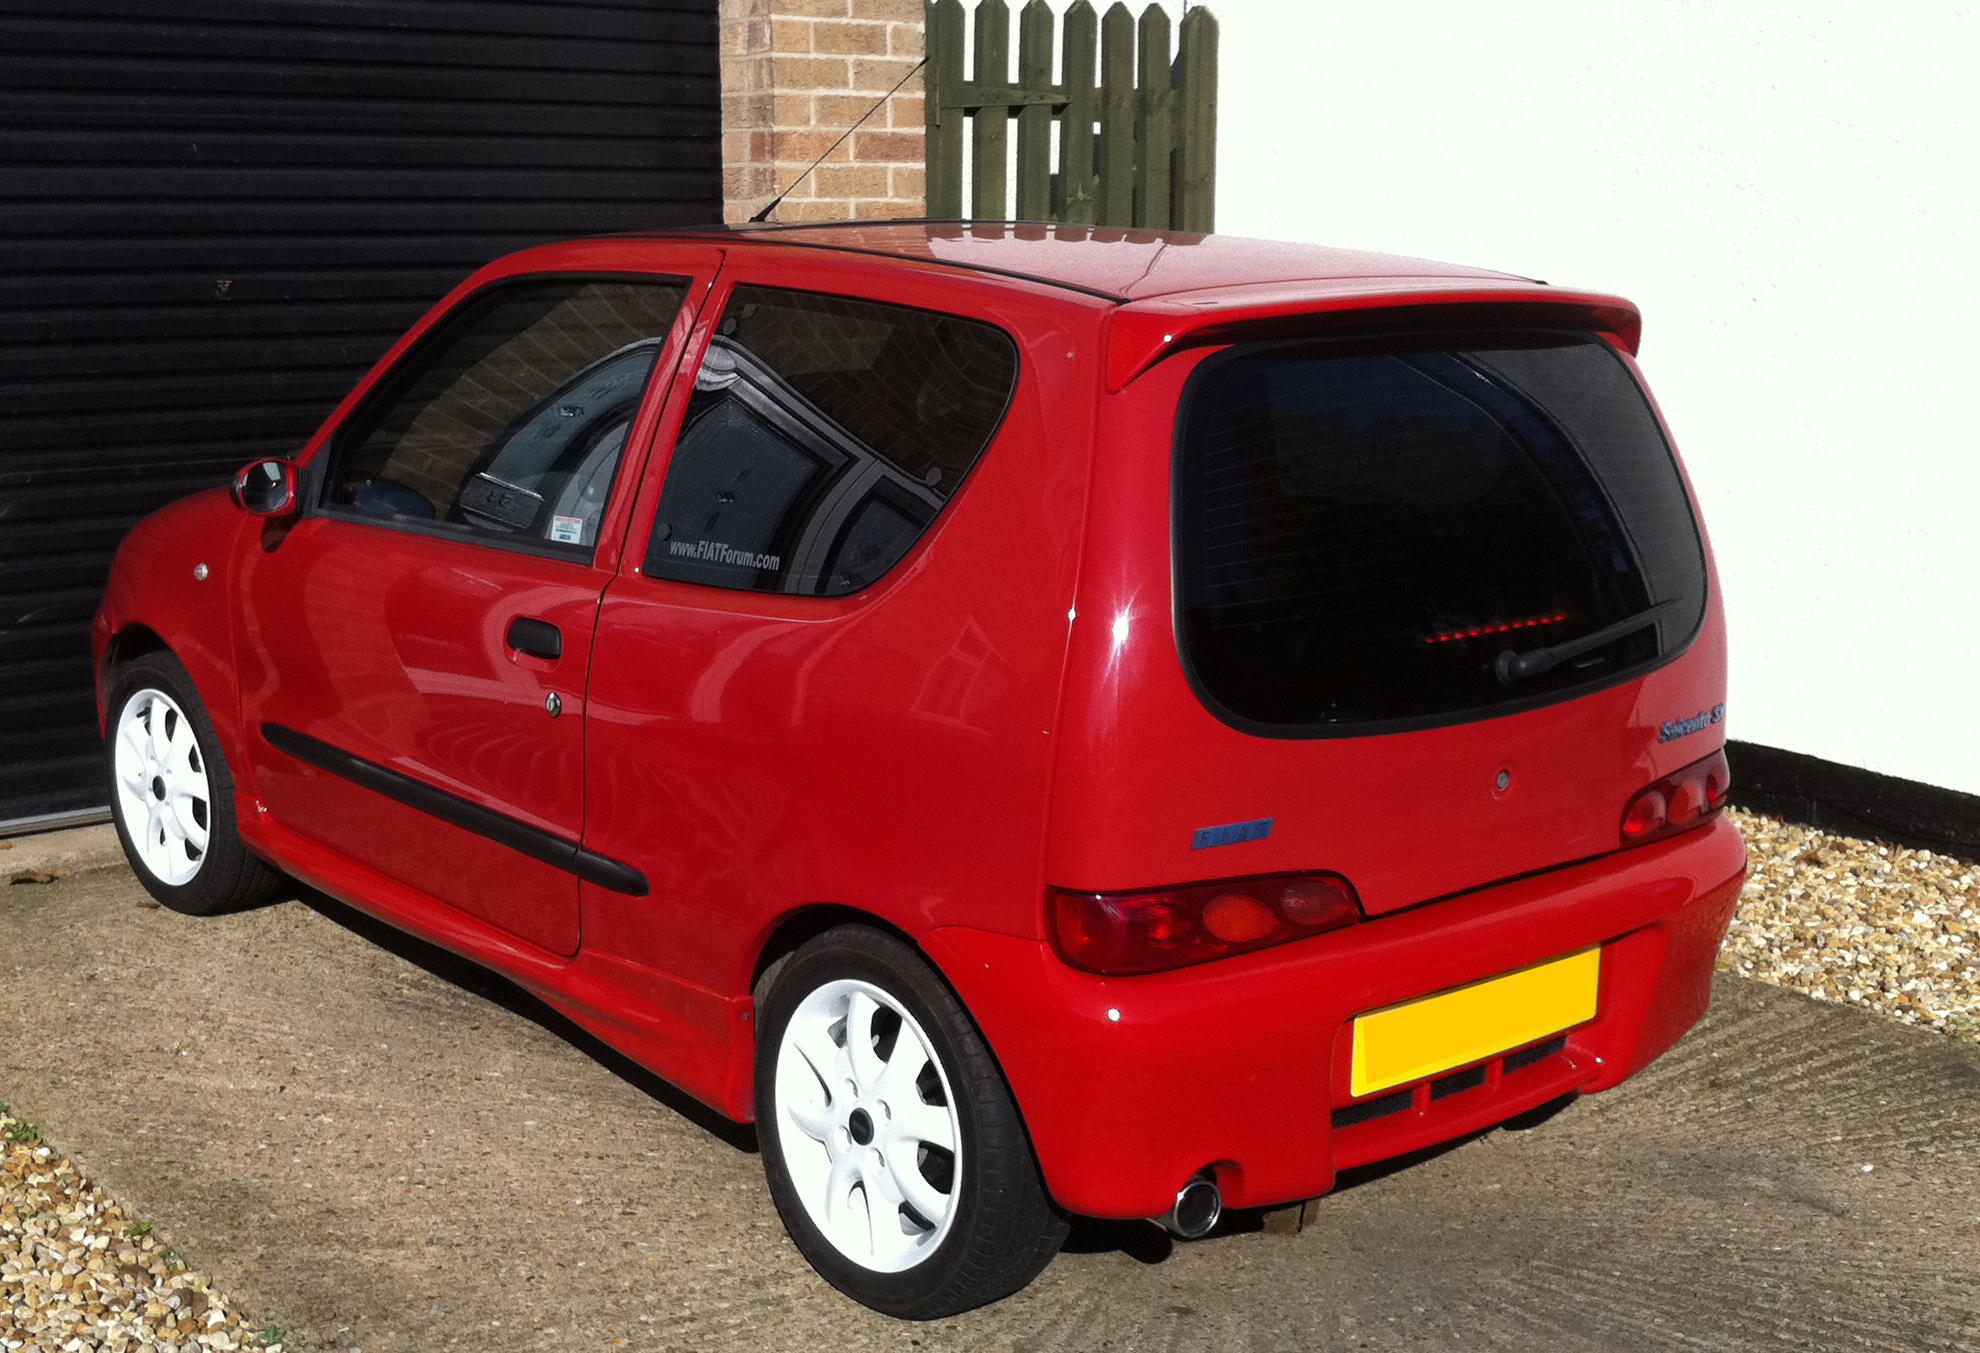
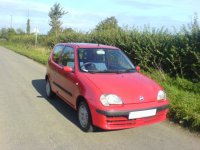
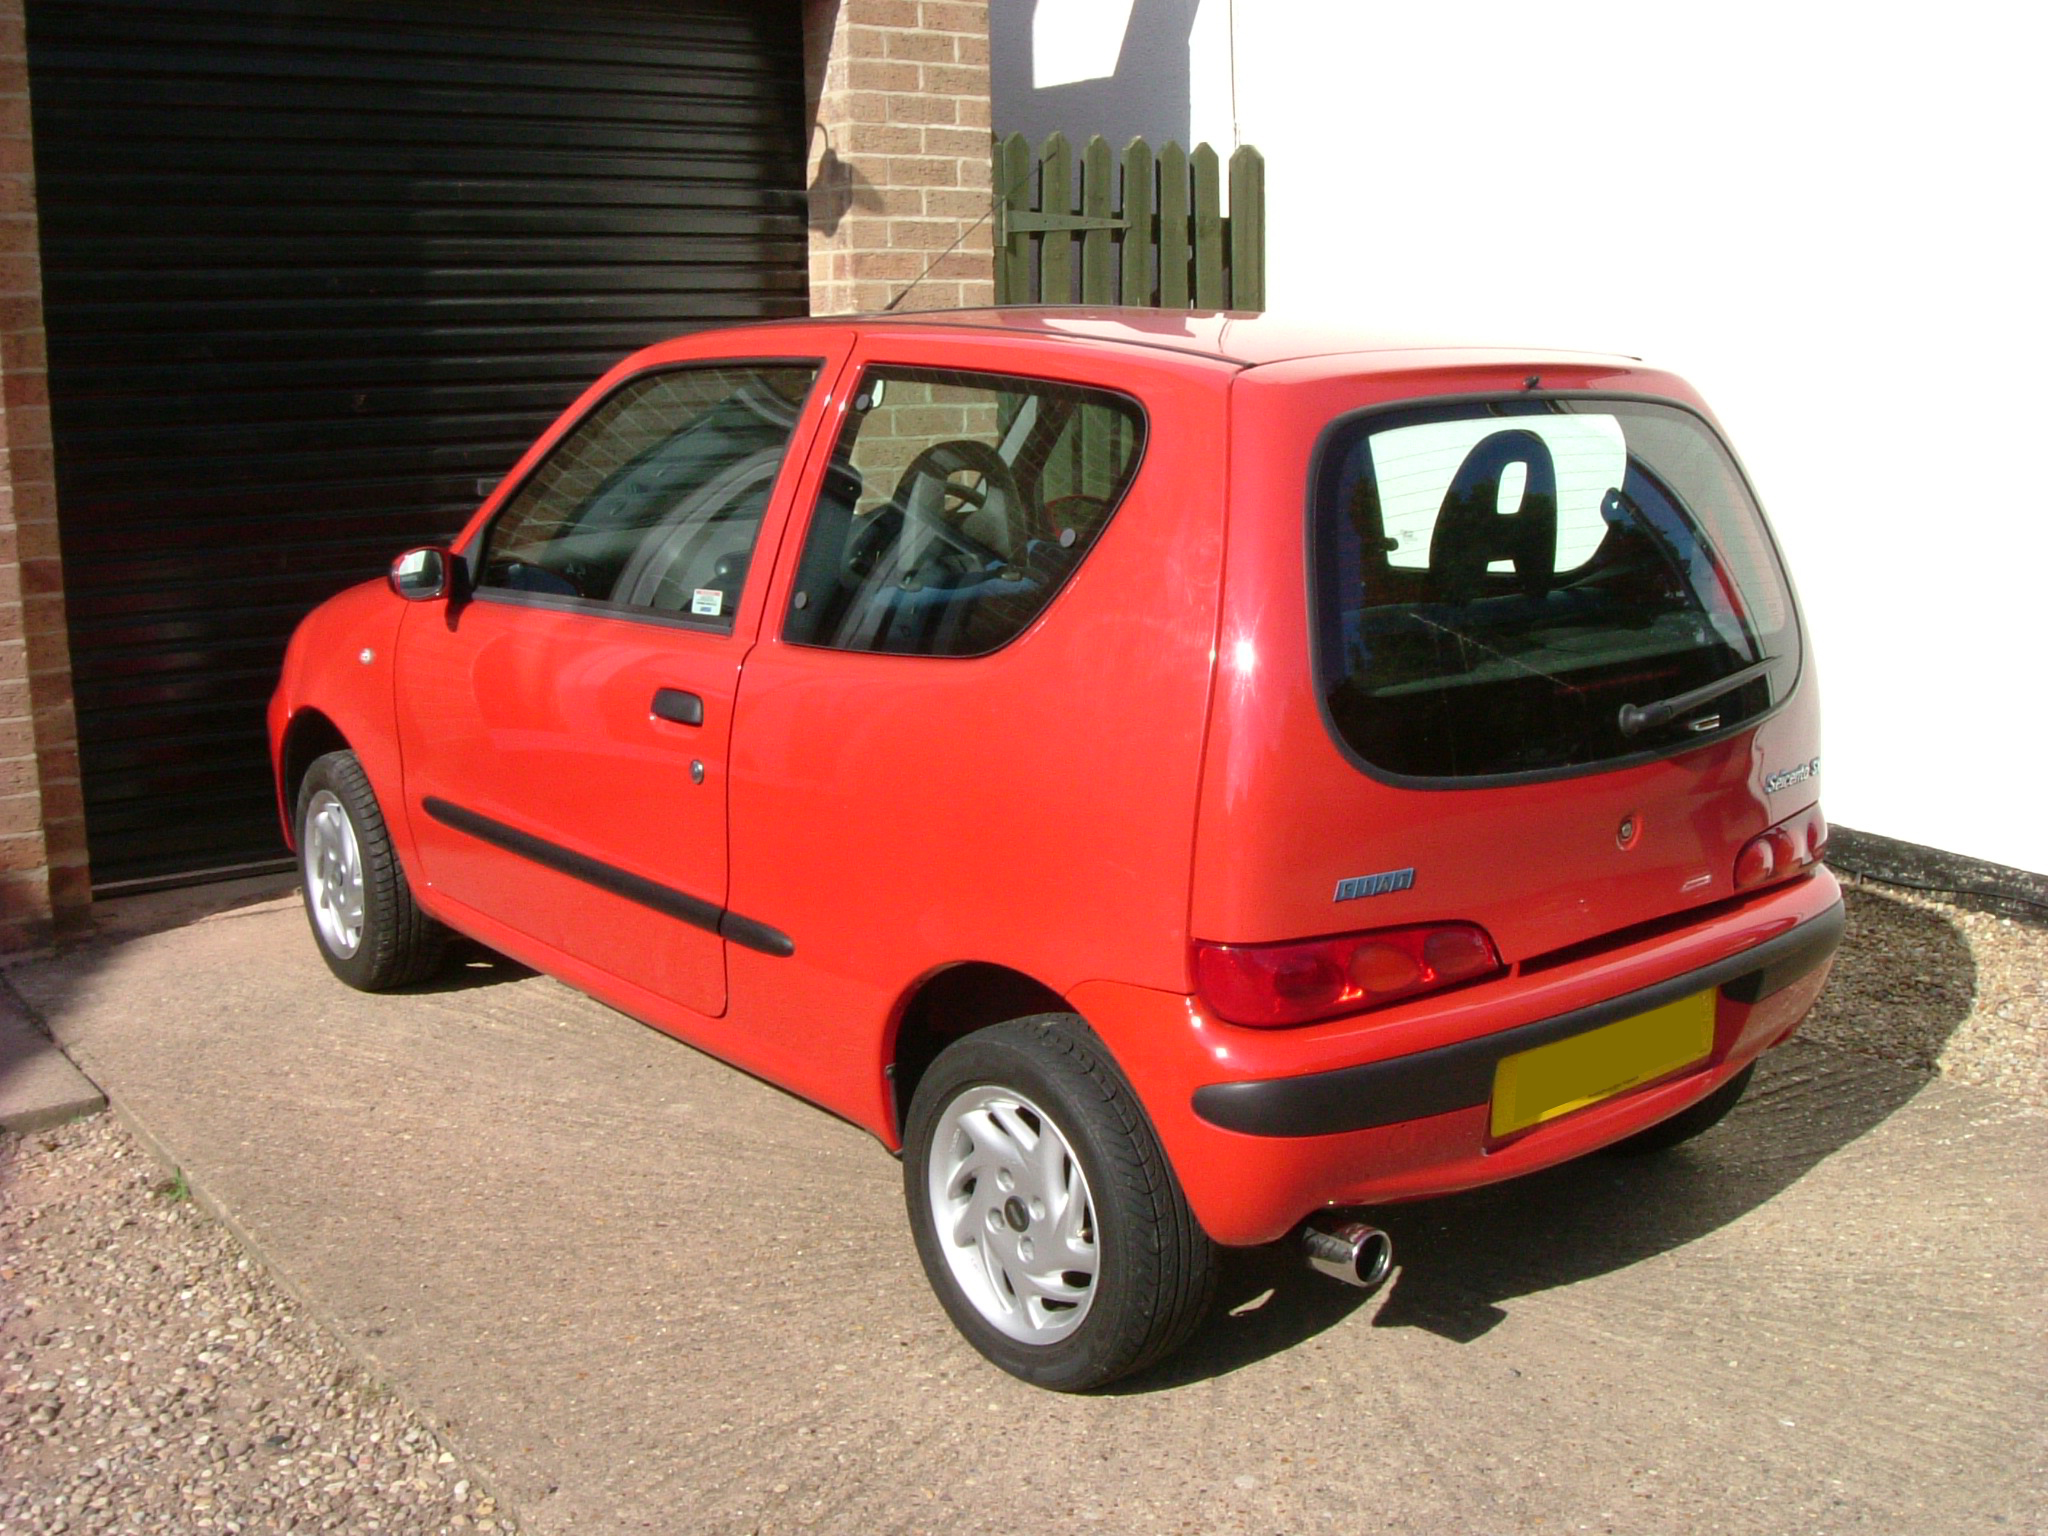
Thats how it looks today
Its pretty loud, a little low & still very slow.
Ok cheers, for sticking with me guys. Next post will be modifications and parts ive got in store for it.
TBs, Cams & engines etc.
Tell me what you think?
Cheers
Pirus
My little Cento started life as a 2002 Seicento SX
I have to admit that i actually wasnt impressed with it when i first saw it, always thinking these little gay italian cars were for old people or women. (definatley not what i think now though)
Went for a test drive and... well i actually had some fun. Not what i was expecting out this little car.
Here it is on the day i took it for a test drive; nothing like a quick zip down some country lanes.
Well i duly bought the car and have never looked back.
Sure it might have pretty slow and crappy but i was having fun. All the car needed was a name...
The Shoebox
First things first, some slightly bigger tyres would may be a good idea.
Seriously, go look at standard steelies on a Sei; they're so thin its scary.
Standard Sporting Alloys, always a good choice
Plus the price i got them for, i couldnt complain.I remember a mate of mine telling me about induction kits. Quick old browse of ebay and i'd ordered myself a shiny K&N.
(bear in mind these photos are a few years old and i ive seen the error of my ways and found the fiat forum)
Racing!
Sad to say thats how the car stayed for a few months.
During that time fraid it got into 2 nasty accidents.
1. My mate fell into the rear nearside pannel, big old dent in the side. Speak to a friendly bodyshop i know. £30 and its now just a slight crease in the side.
2. This was alot worse. Pretty sure someone ran into me on the ice two years ago. Front bumper dented, bonnet creased, chasis bar bent.
Again a trip to a friendly bodyshop, full respray of front bumper and bonnet, plus dents all taken out.
A trip to see my brother and i came back with a nice shiny supersprint backbox, only trouble it was made for a cinq.
Trip to the garage, one sleeve fitted and new exhaust goodness was on!
Looking Pretty High.

(click for high res)
Not so high now, was just messing about on photoshop.
Now, if anyone has seen me at shows this year and wondered why my offside is a nice shiny colour red compared to my nearside, here's why.
Was driving down a one way street near my house following a van. Saw him indicate into a space infront of him. Suddenly whips it into reverse and tries to parallel park next to me. Though there was a space in front of him.
My car got scraped dow its right hand side: Front wing, door, and rear pannel.
It was totally the guys fault and he admitted it, details swapped and he wanted to settle outside of insurance as it was a work van.
Down the bodyshop again and side all repaired and resprayed, only hard part was trying to get the other guy to pay. (thats another story though)
After the exhaust had been fitted i knew what i wanted next; an abarth body kit and sporting bumpers.
Browsed fleabay for a couple of months and managed to find myself a bargain. One sporting rear bumper in red, cracked and slightly damaged... £10. Bargain.
Another find came up on ebay only a few weeks later, abarth sideskirts and spoiler. Unused and primed. Bought both for £45.
Once again to the body shop to get everything repaired, resprayed and fitted. Thought it would be easier to get everything done in one go.
Only trouble was the exhaust didnt fit correctly into sporting bumper. Quick trip to the garage down the road, fired up the gas cutter and it fitted perfectly. (did have a picture of this being done but cant find it atm)
Looking pretty snazzy.
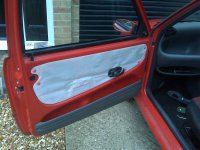
After seeing a cento parked up in my town with red and black seats, i went on the hunt. Few months went by and i checked ebay every week.
Finally a full interior (minus one door card) came up for sale for only £35.
Time to strip it and put the new seats in.
Looking good, just one problem.
Drop a message to Jiminwatford and one doorcard came by way (thanks again jim)
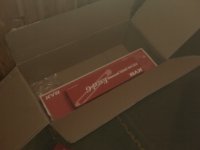
By this point i had been a member on here for quick a while, just never posted anything. Well until the day this box arrived.
My cat surveying the contents.
Biggest farce ever; i had accidently bought the cinq kit. Tried to fit it but obviously it didnt fit. Quick thread on FF and i realised my mistake.
Then came the fun of trying to send it back and get the Sei kit. Messages were sent back and forth, boxes sent back and forth.
I cant complain really Toyosports/Tuningpartsbay were great and didnt have a problem with me sending anything back.
Finally got round to fitting it with the right parts.
Not long after that, finally the main part i wanted cropped up right here in the classifieds; Abarth Alloys and in white too (bonus) from a guy named Todger.
Went over and saw him (note never let your girlfriend map read, so far it hasnt ended well) got there eventually.
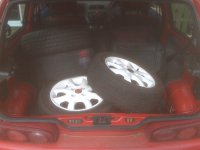
Transporting things cento style.
I had read the car should be lowered before 14"s are fitted but im impatient, so over to my brothers to see if the wheels would fit.
In the garage.
However turned out that fiat produced the abarth model with 10mm spacers on the front and with stud conversion. Was not happy.
Back on ebay;spacers ordered & longer bolts ordered.
Meanwhile the wheels went off to the bodyshop for a refurb/respray.
Back from the shop with a fresh coat of powder.
Thought it was time to start looking at getting it lowered. Ordered myself a set of Apex -30mm for the SX (should really of gone with the sporting springs) and some KYB shocks.
Shocks fresh out the box.
So it was down the garage to replace the springs and shocks.
New 14" tryes arrived, SONAR - Top Quality S**T but all that budget would allow.
Time to roll over to my brothers and get the new wheels on.
There was only one problem.... Though the front wheels fitted fine with their new spacers and bolts, the rear's didnt fit with the standard SX bolts and 3mm spacers. So i got to drive my car home like this:
Rear bolts order, trolley jack out and it was white wheels all round
Postman arrived again in the next week or so and i recieved a shiny red brace.
While fitting the brace i shined up the rocker cover id managed to get off Todger.
Ooo Shiny...
Finally time to throw it all in the bay and clean the car up a little.
The Current Bay. (note the cable tie holding expansion tank to strut brace)
All finished just in time for show season and time to kick it off with Stanford, which i showed with FF (thanks guys)
Next Month a short drive up north to see Chatsworth House and MIT Car 2010:
Left to right: Emm's 1.2 Turbo, Chalky 1.2 16v & The Shoebox
Gaydon 2010
Was only planning on one more show for the year, Trax 2010 at Silverstone.
Also got the chance to do a 0-60 timed run there:
I got the time of........
N/A. Only made it upto 53mph
Speedo inaccurate as hell and clutch about died. Was good fun though.
Thats how it looks today
Its pretty loud, a little low & still very slow.
Ok cheers, for sticking with me guys. Next post will be modifications and parts ive got in store for it.
TBs, Cams & engines etc.
Tell me what you think?
Cheers
Pirus