Image0159.jpg

Bravo (Classic) Van with a difference!!!.

Introduction

Heres the replacement for my highly abused yet extremely reliable Bravo.... Another Bravo (y) I'm moving up a year here :D Not going to be bitten like the last time, this is going to have a strip down and re-rustproof with a few bits to be thrown in too (copper lines all round are in the plans). Most importantly, this car is going to be converted to a van and painted black with some "toys" installed... More pics soon! :)

Image0159.jpg
  • Like
Reactions: Joshhh
i love the fact how nothing seems to slow you down because you seem to have collected an entire fiat dealership lol. ah well the set backs keep us watching :D

Funny you should mention dealerships, years ago the local dealership (royal cars) had to ask my dad for the tools to take a sump off a TD100. Needless to say they lost the dealership not too long after that...! Main Fiat dealer I should add :yuck:

I really should put some pics of the rest of the cars here. Theres over 20 vehicles here and the range of models changes quite often :cool:
 
Why you didn't paint the cd player panel adaptor too ? :(
So far, so good :)

Wanted a little contrast between the blue centre and the fascia so opted to paint it grey :p

Now heres a bit of an education for anyone working with a 1.2 16v. Heres 2 heads, both 1.2 16v. One is very conveniently the same as is currently in the car. The other is from a 1997 engine that will be going into the car. There are major differences. Can you tell which is the 2001 head and which is the 1997 head...? Just to make it more difficult the inlet studs are removed on the 1997 head :D

Image0625.jpg


Image0626.jpg


Image06271.jpg


That last one should give it away...
 
....

That last one should give it away...
Temp sensor is plugged off? Ive seen pictures of the double valve spring ones.

I think your bonnet lifter brackets might work loose or move around, If you made a bracket that used both bolt holes that would stop it trying to turn on the bolt. How do you plan to get the Abarth bumper to fit the Marea wings?

I'll have to blank it off, theres an allen plug in the modern head :) As for the brackets, thats originally what I was thinking because they do spin round... I'll have to look round for suitable steel for a bracket. I'm also always looking for a strut bolt with the same thread as the bonnet bolts :)


Those aren't the only differences.

Some MK1 16v heads have double valve springs fitted aswell, which could come in handy :D.

Thanks

X

I never copped that! On closer inspection this morning....

Image0628.jpg


They are indeed double springs!!! I shouldnt be surprised really, the head is off a 99 Sporting with a 97 head extension and weird cams but a gawk through the Punto forum a few weeks ago solved that mystery, mk1 85 cams are the same as Panda 100hp cams. This info means my future engine build will be even cheaper as that head was done up before we got the car yeas ago. Win win :woot:
 
Whoops forgot to mention about the Abarth bumper, its only temporary (never intended to put it on permanently) untill I get my Marea bumper patched up and painted. I'm in 3 minds about the rest of the kit whether to put it on and make it fit, make my own subtle skirts or leave them off. I have 2 bumpers to play with and of course I picked the white one to match the car, not the convenient blue one :doh:

So what has been done in 6 hours? Enough to make an update (y)

First, no more do I need to start the car with 2 different keys :)
Image0633.jpg


And didnt need to unplug the battery so no resetting of the radio (y) I'm deliberately leaving the locks alone as its comical to watch someone try open the car with the wrong key :ROFLMAO:

So whats next to do? Rustle up a load of newspaper and vandalize the look of the car to begin with :D
Image0629.jpg


And match the other side...
Image0630.jpg


Clean up the panels, heat them well and apply some 503 blue undercoat (see where this is going? :))
Image06311.jpg


And again for good measures (y)
Image0632.jpg


Then the top coat... :yum:
Image0634.jpg


And another top coat later it began to pi55 rain so no pics of the 2nd coat :mad: however onto the lacquer...
Image0635.jpg


Another coat later, a few mins with the heatgun and oh my goodness what a finish :worship:
Image0636.jpg


It got a little bit wet when applying the topcoat but my dad worked his way round to get most of it out of the finish (y)
Image0637.jpg


I'll use this as a mirror someday :D
Image0638.jpg


Not bad for a crappy rainy evening! The bad look is now gone, not so much a multi coleured swap shop as it was, once the front bumper is painted and put back it will look even better. I have a (relatively) new bonnet to stick on someday too to further improve the look of the car. Its getting there bit by bit (y) Now to think up something for the next major update, what to do... :chin:
 
so whats the technical differences there then with them cams? the few 16v ive worked on have all had the double valve springs but never looked in to why (all pre 99 sportings).

whats the gains ect with the two?
 
so whats the technical differences there then with them cams? the few 16v ive worked on have all had the double valve springs but never looked in to why (all pre 99 sportings).

whats the gains ect with the two?

Out of the 4 16v heads I've worked on, thats the first one with double springs for me. We have another 97 engine with that setup but its not to be opened up, all original from new... From what Ive found out the profile for the inlet is different, holding the inlet valves open longer than the redesigned cams (the later 1.2s are less prone to stalling) I am unsure as to why double springs were needed (a case of "lets do it because we want to" perhaps? :p) I am open to corrections but going from experience that sounds right about the profiles

As for gains? When all installed and running correctly, I'll get it rr'd...
 
I think fiat used the double valve springs at the time just because, but later on with the newer engine money became an object if you get what I mean ;).

I really don't think the double valve springs and different inlet manifolds will make up the 5bhp difference there is between the mk1 and mk2 16v sporting engines however :D.

I did want a full set of the double valve springs and spring seats for my engine rebuild but I really couldn't be bothered to wait around looking for a set.

Thanks

X
 
Last edited:
looking good mate,done a good job (y)

are you keeping the engine once its all done or will you be doing a conversion?

Cheers! :D

Plan is once I (eventually) get a steady income once again I'll do a "mild" conversion with another engine that I was building but had to stop due to finances being cut totally very abruptly. It is another 1.2 and I have some nice plans for the bottom end and the ecu (y)

Small update, that crappy rain has ruined the finish on the panels :cry: trust Ireland to ruin something like that... We had no choice but to leave it outside due to space restrictions, wasnt dry enough but touch dry. The useless rain sat on it and dried in, leaving a white residue, you do not know how monumentally pi55ed off I am at that :mad::mad::mad::mad: If it cant be cut out of it, it'll be resprayed again in the summer and this time I'll be attacking it, gotta learn to spray right sometime! All in all, unnecessary agro but not a total waste, have tonnes more of that paint ;)
 
Maybe I should have incorporated this tiny update with my test photos :eek:

After trying a few grilles and styles, I decided just to black out the grille :)

Start with the multiple choice
Image06431.jpg


Take out the badge and spray it black...
Image06441.jpg


Not to debadge :D
Image0645.jpg


Cut a small piece from a broken grille and super epoxy
Image0646.jpg


Job done (y) Now we need daylight to see what it looks like! Untill the next... Update? ;)
 
that poor merc :( lol

Dont worry its being restored bit by bit. Those W126s have a nasty habit of going rotten :yuck: so thats another one being given the full works (y) Know anyone that wants a 3.8L V8...? :D

Dude, how many bravos you own ? I saw on the forum some pictures with about 5-6 cars parked in ur yard.:worship:

Not enough! :p 
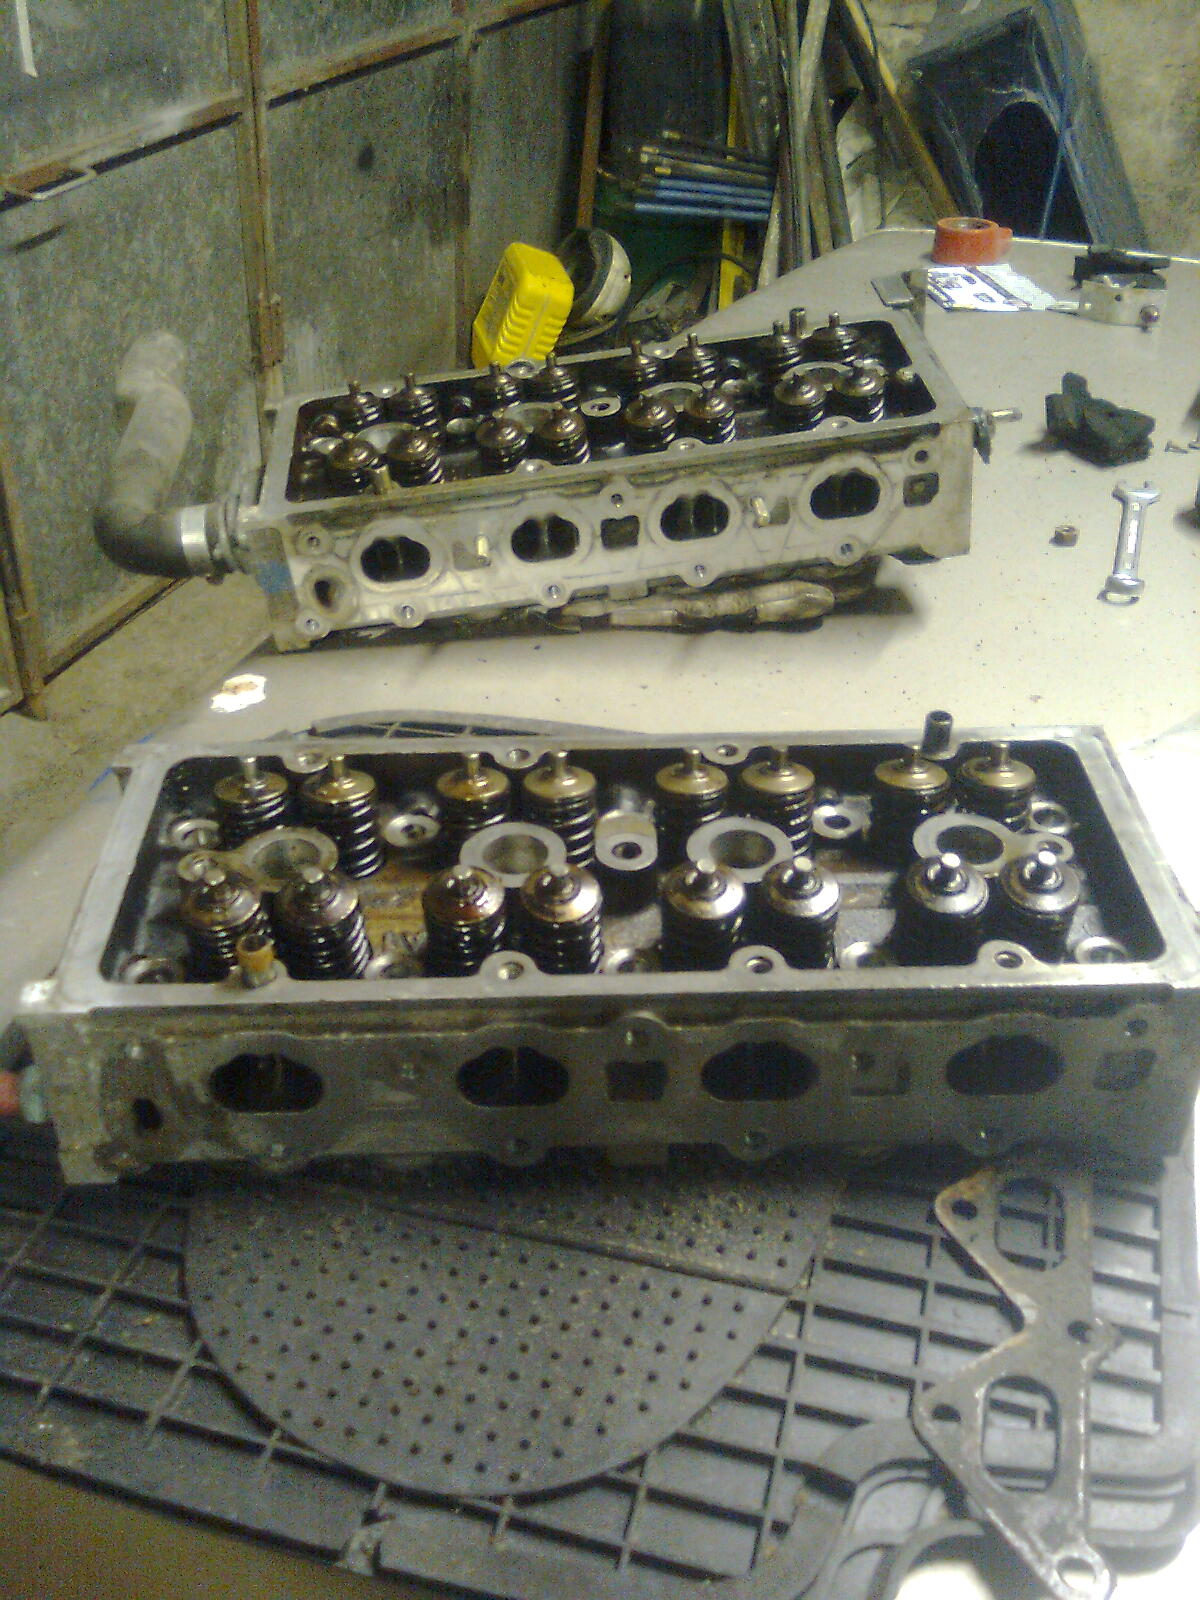
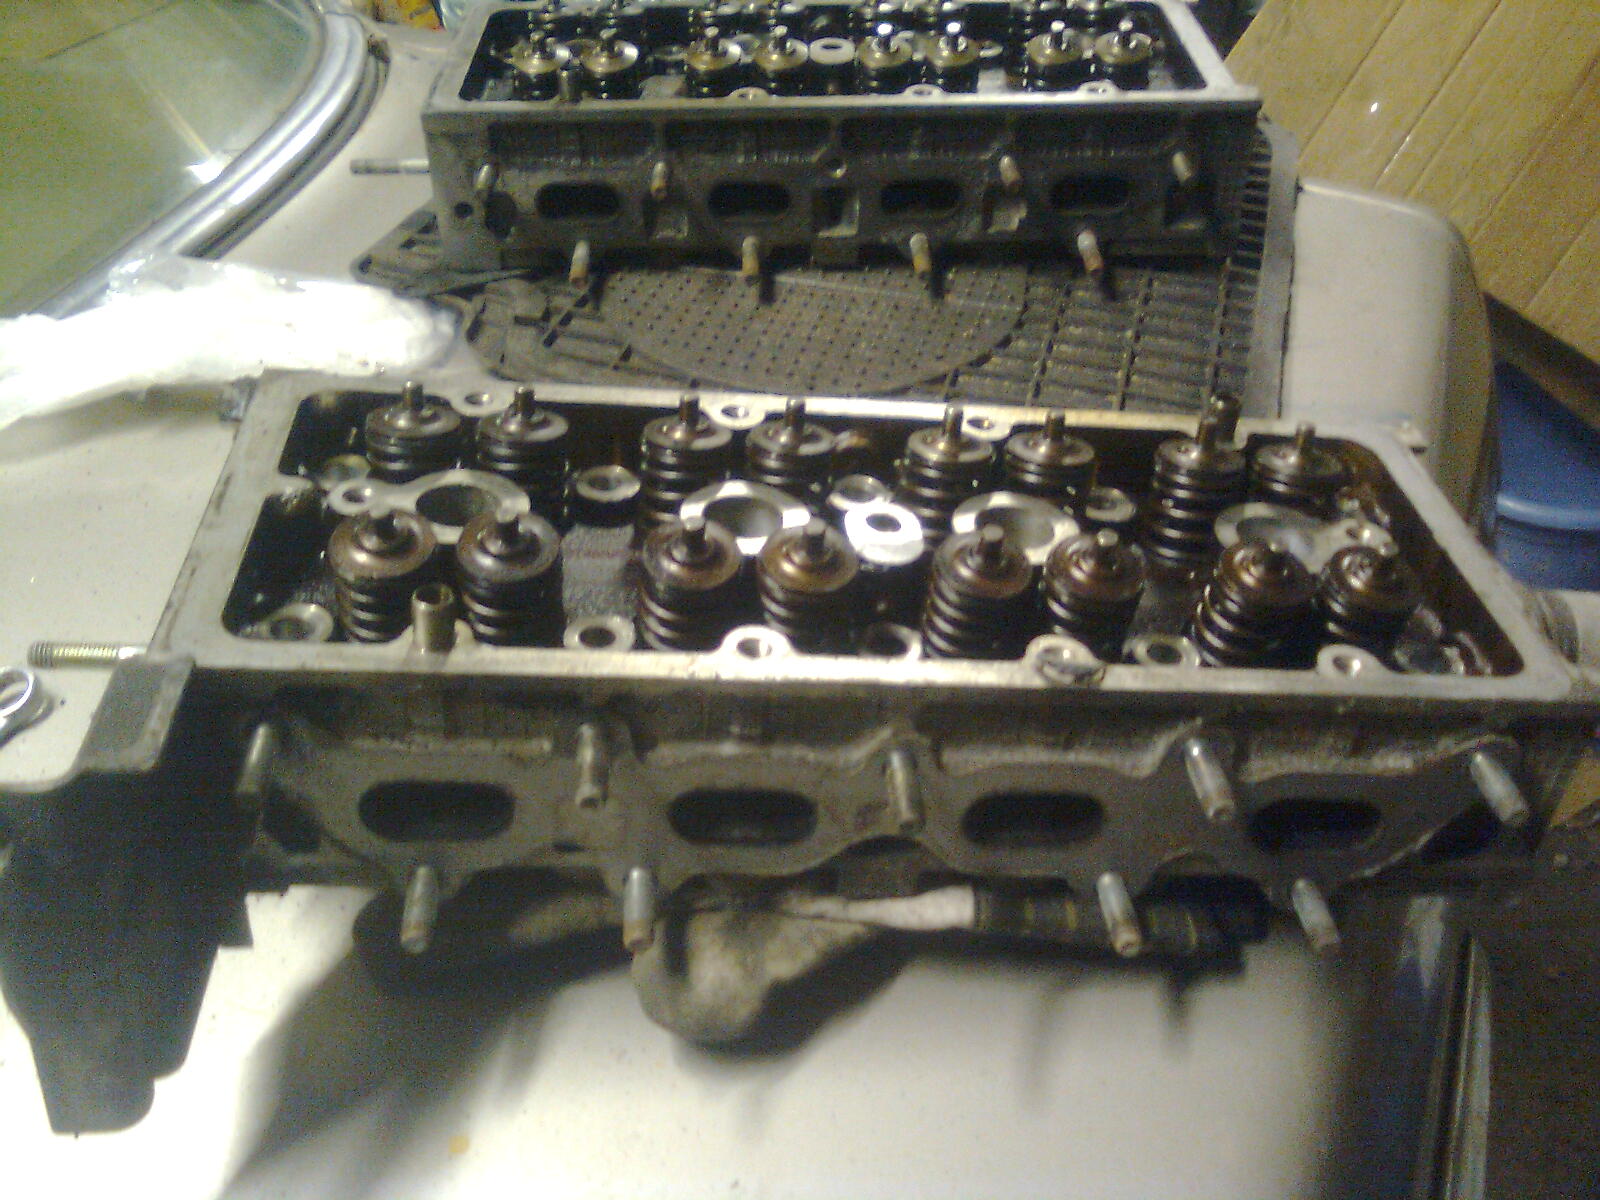
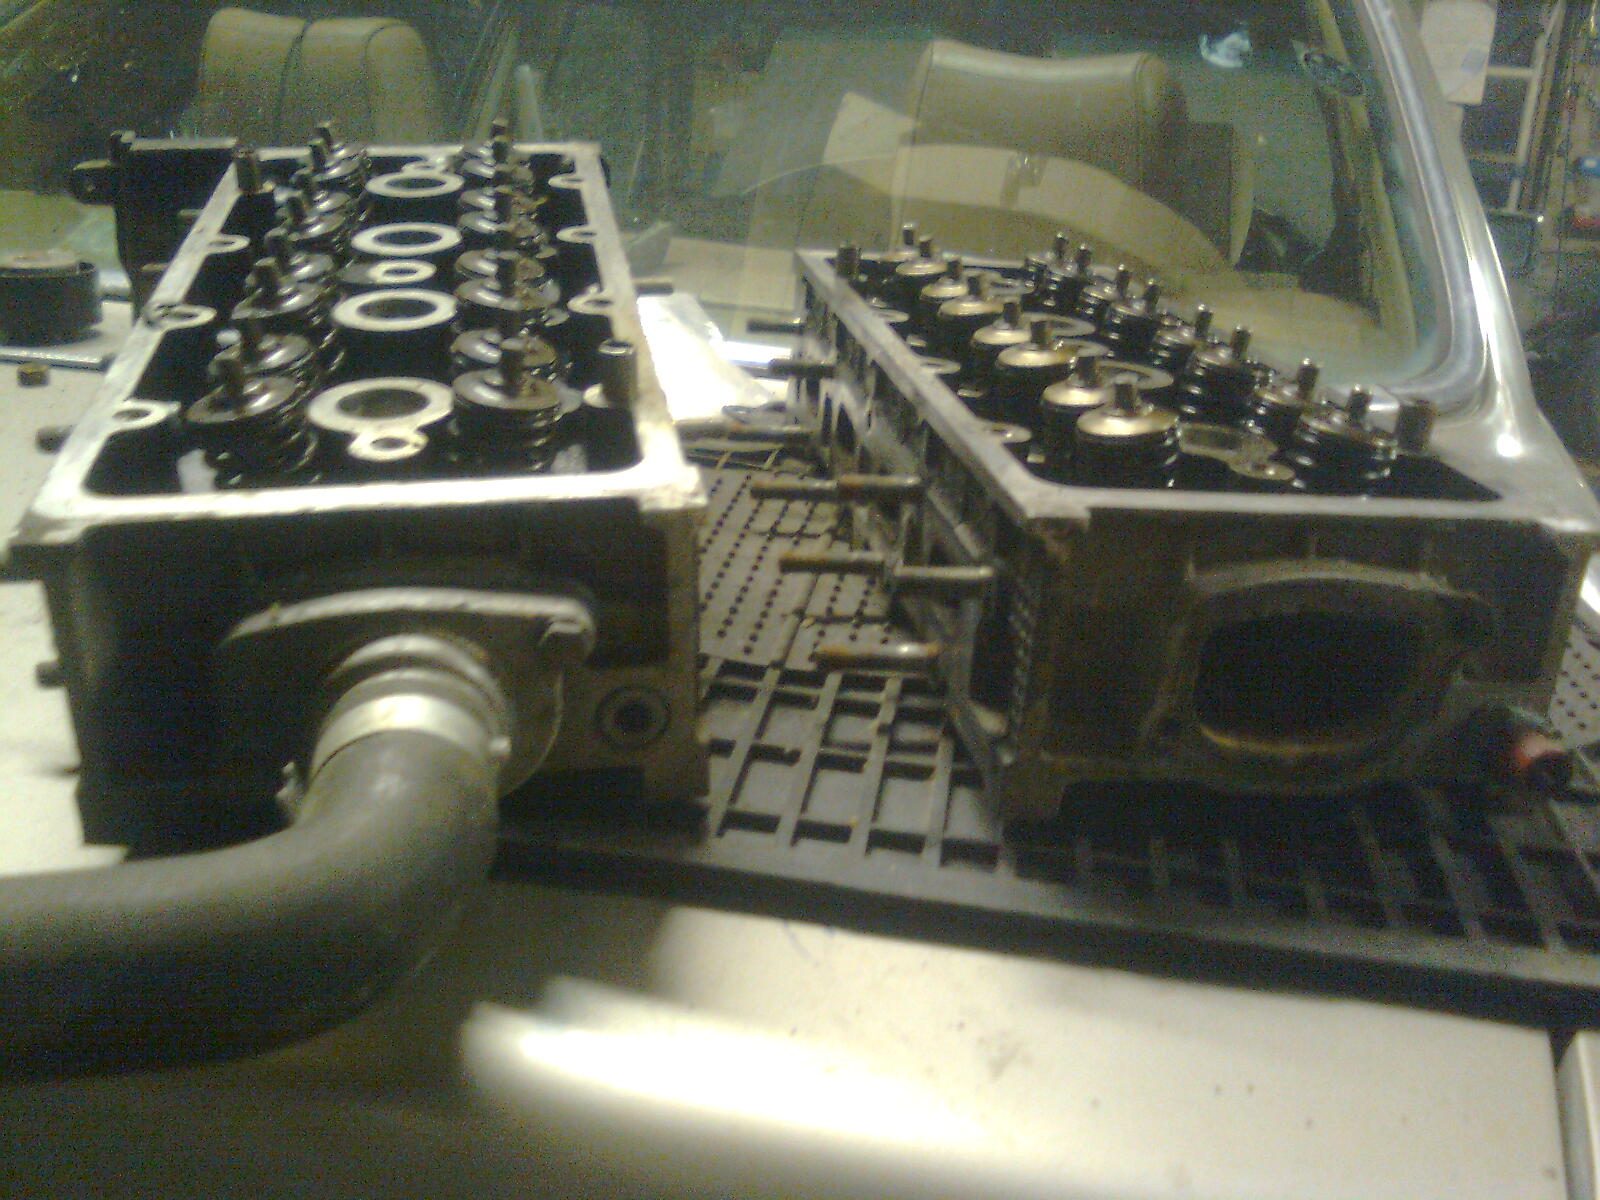
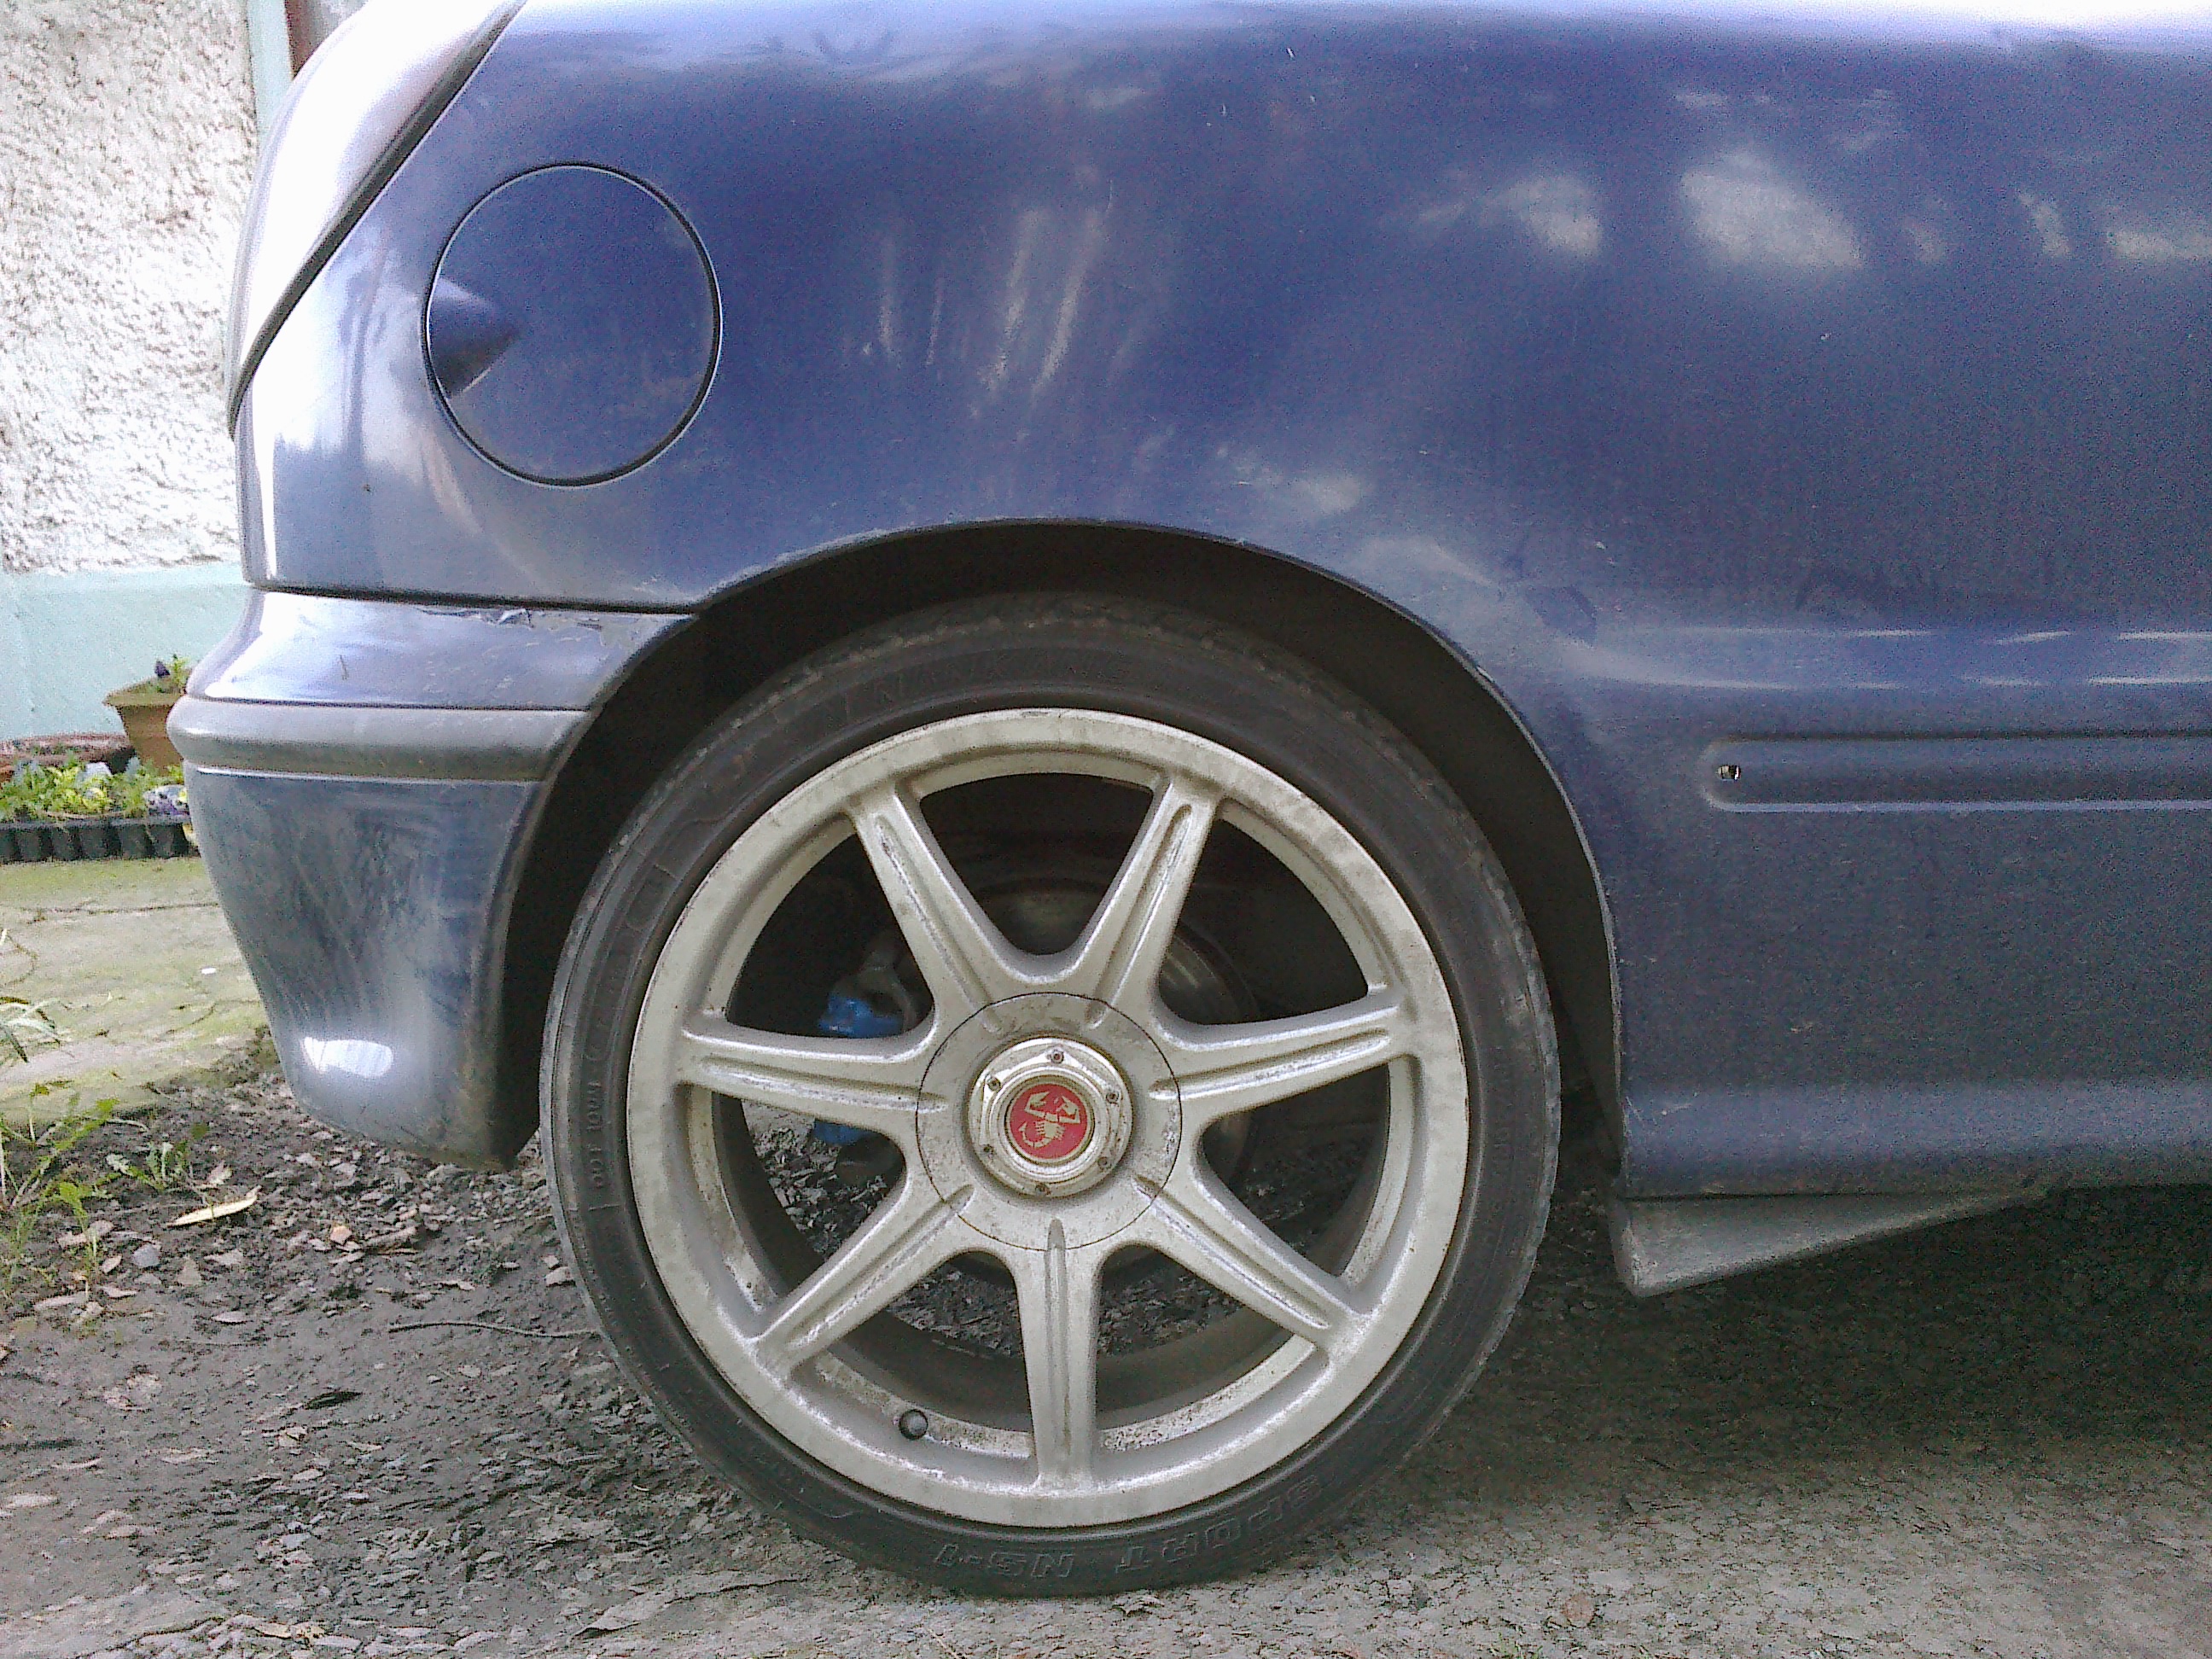
Theres 6 here at the house, I own 3 of them (#3, #5 and #6) and have access to 2 more as spares, not to mention the other ones I've stripped down over the years for parts. My dad owns the final one (#4), his daily driver. It too has a chequered story and has been rebuilt too but thats not my story to tell... ;)

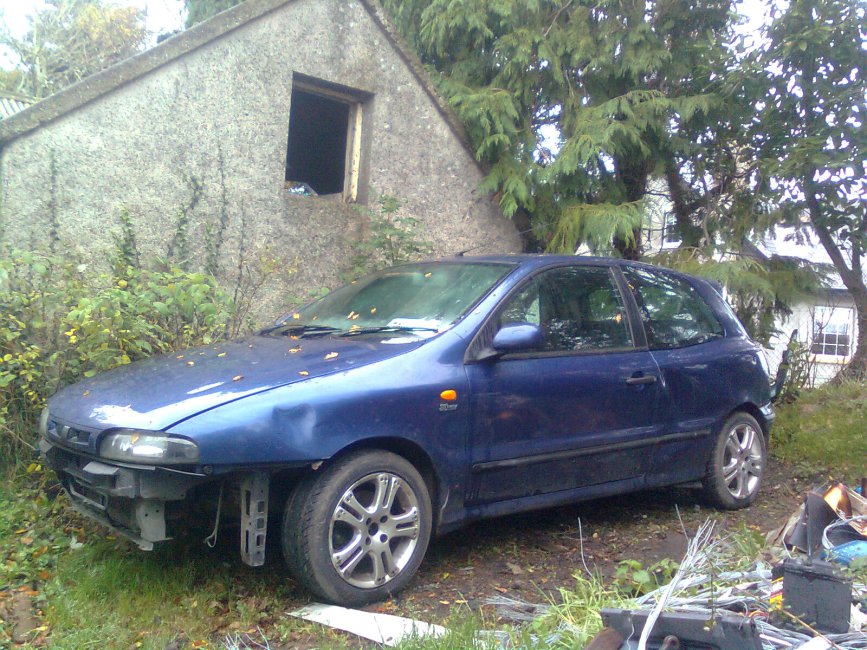
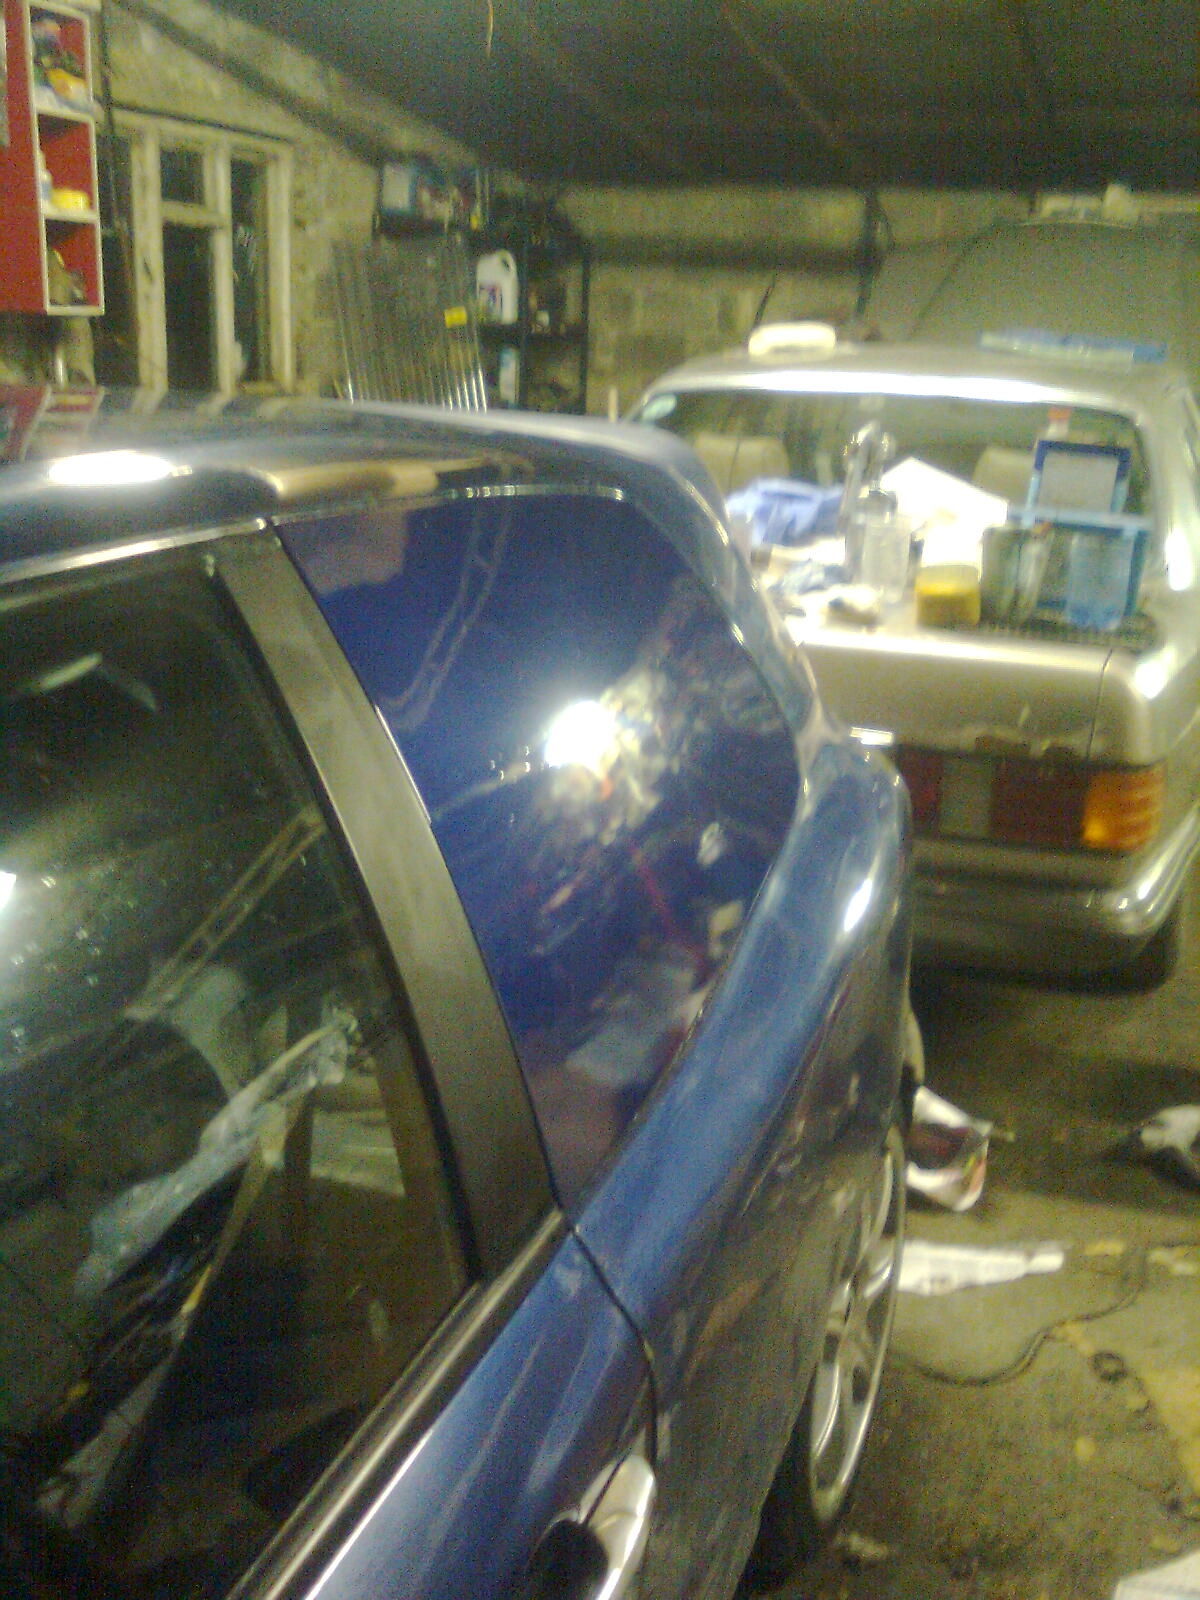
Is it that time again for an update...?!
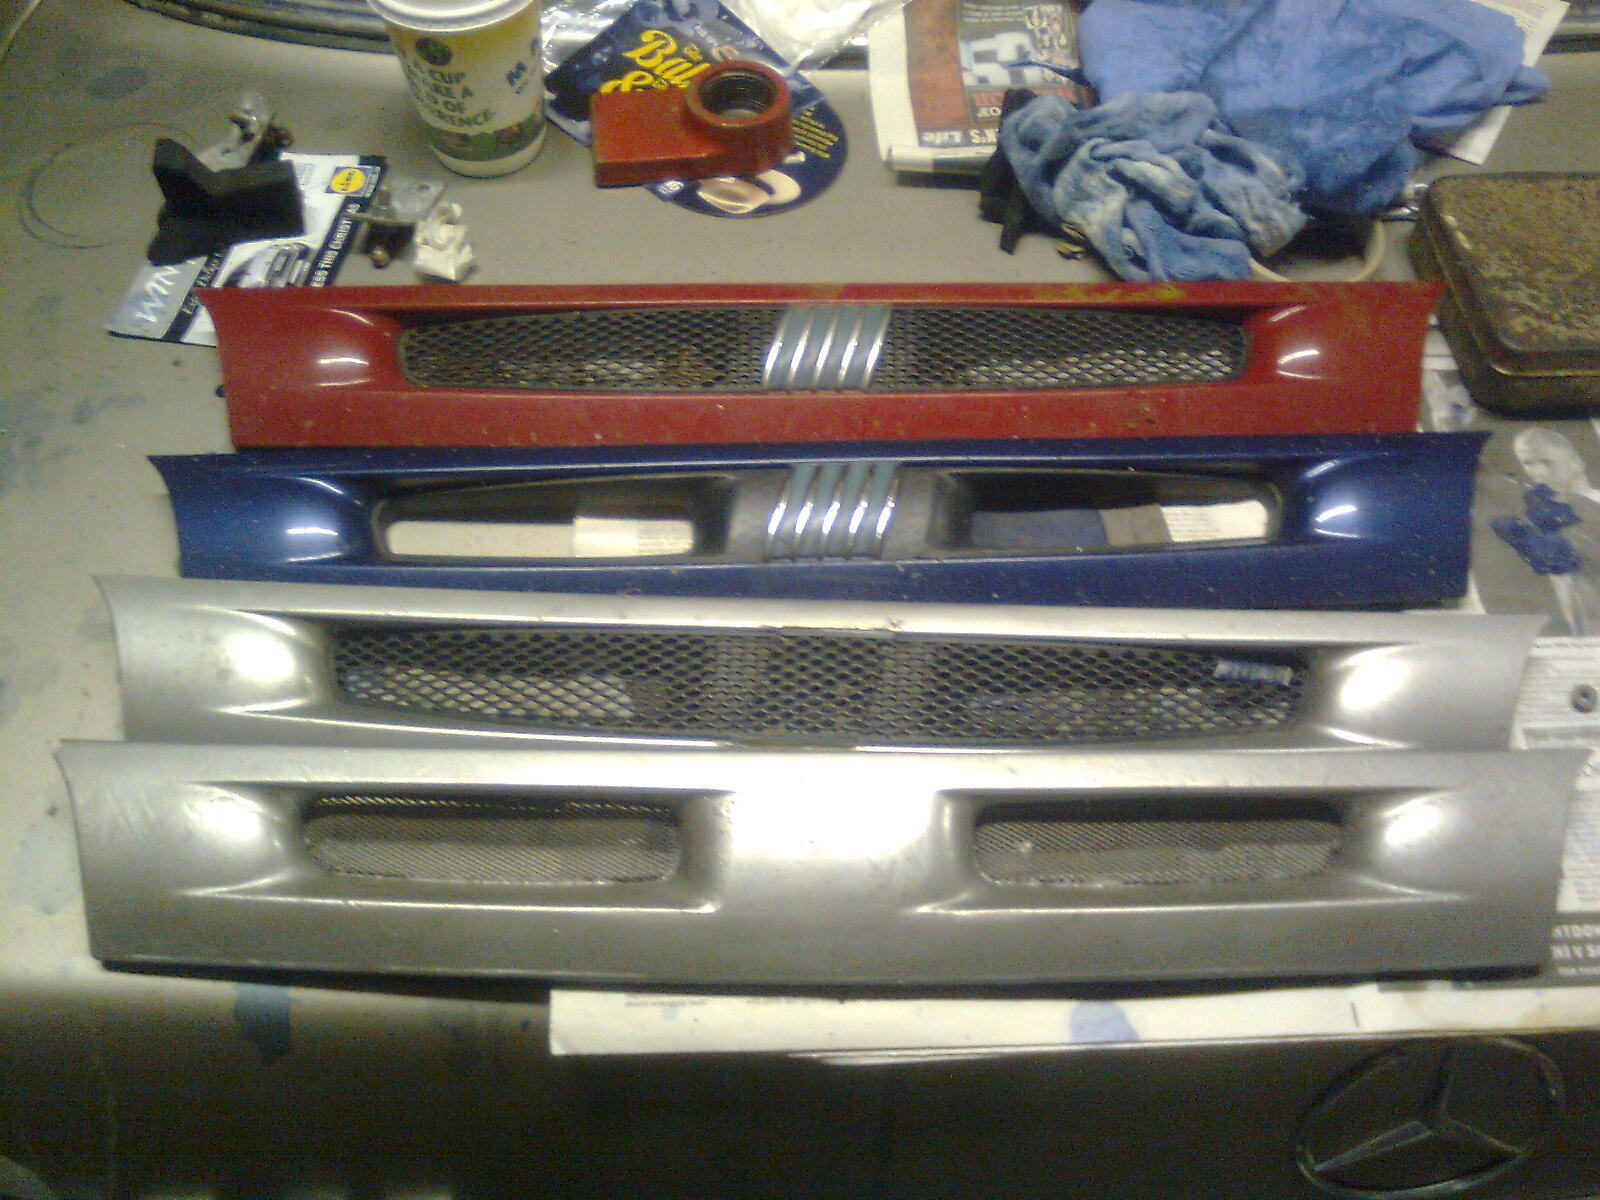
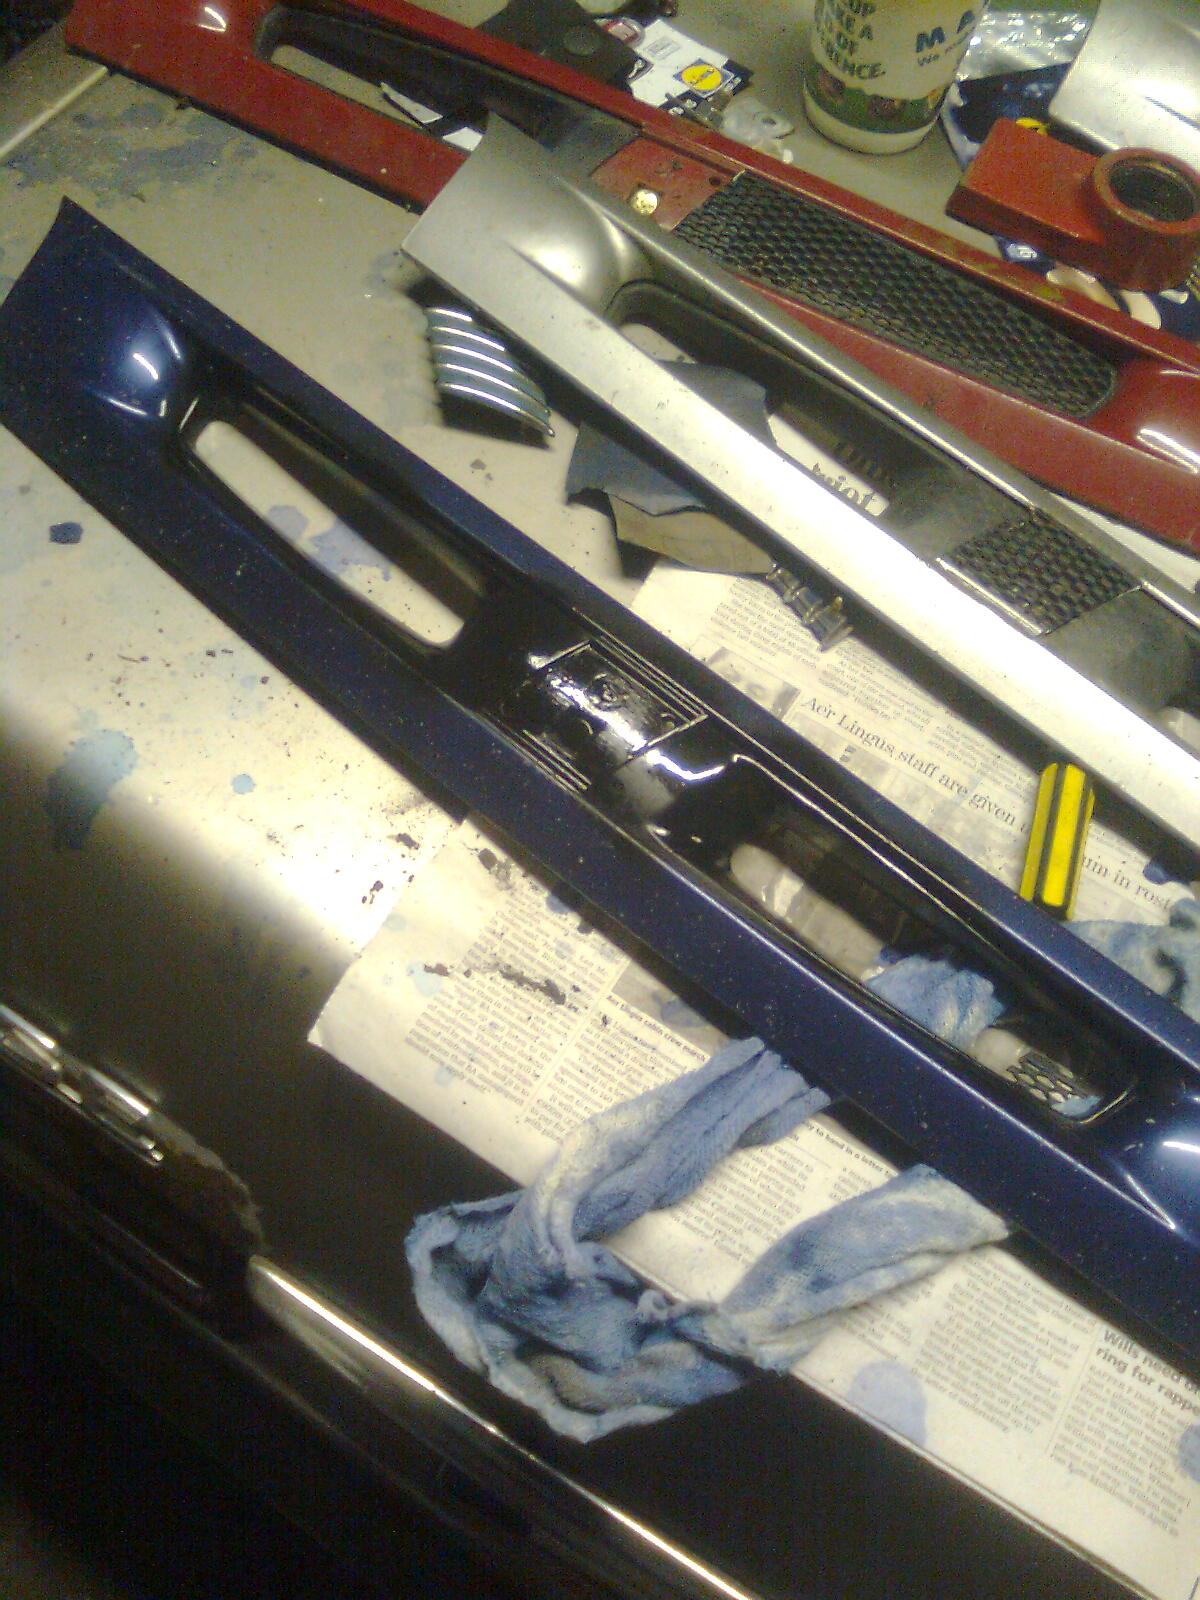
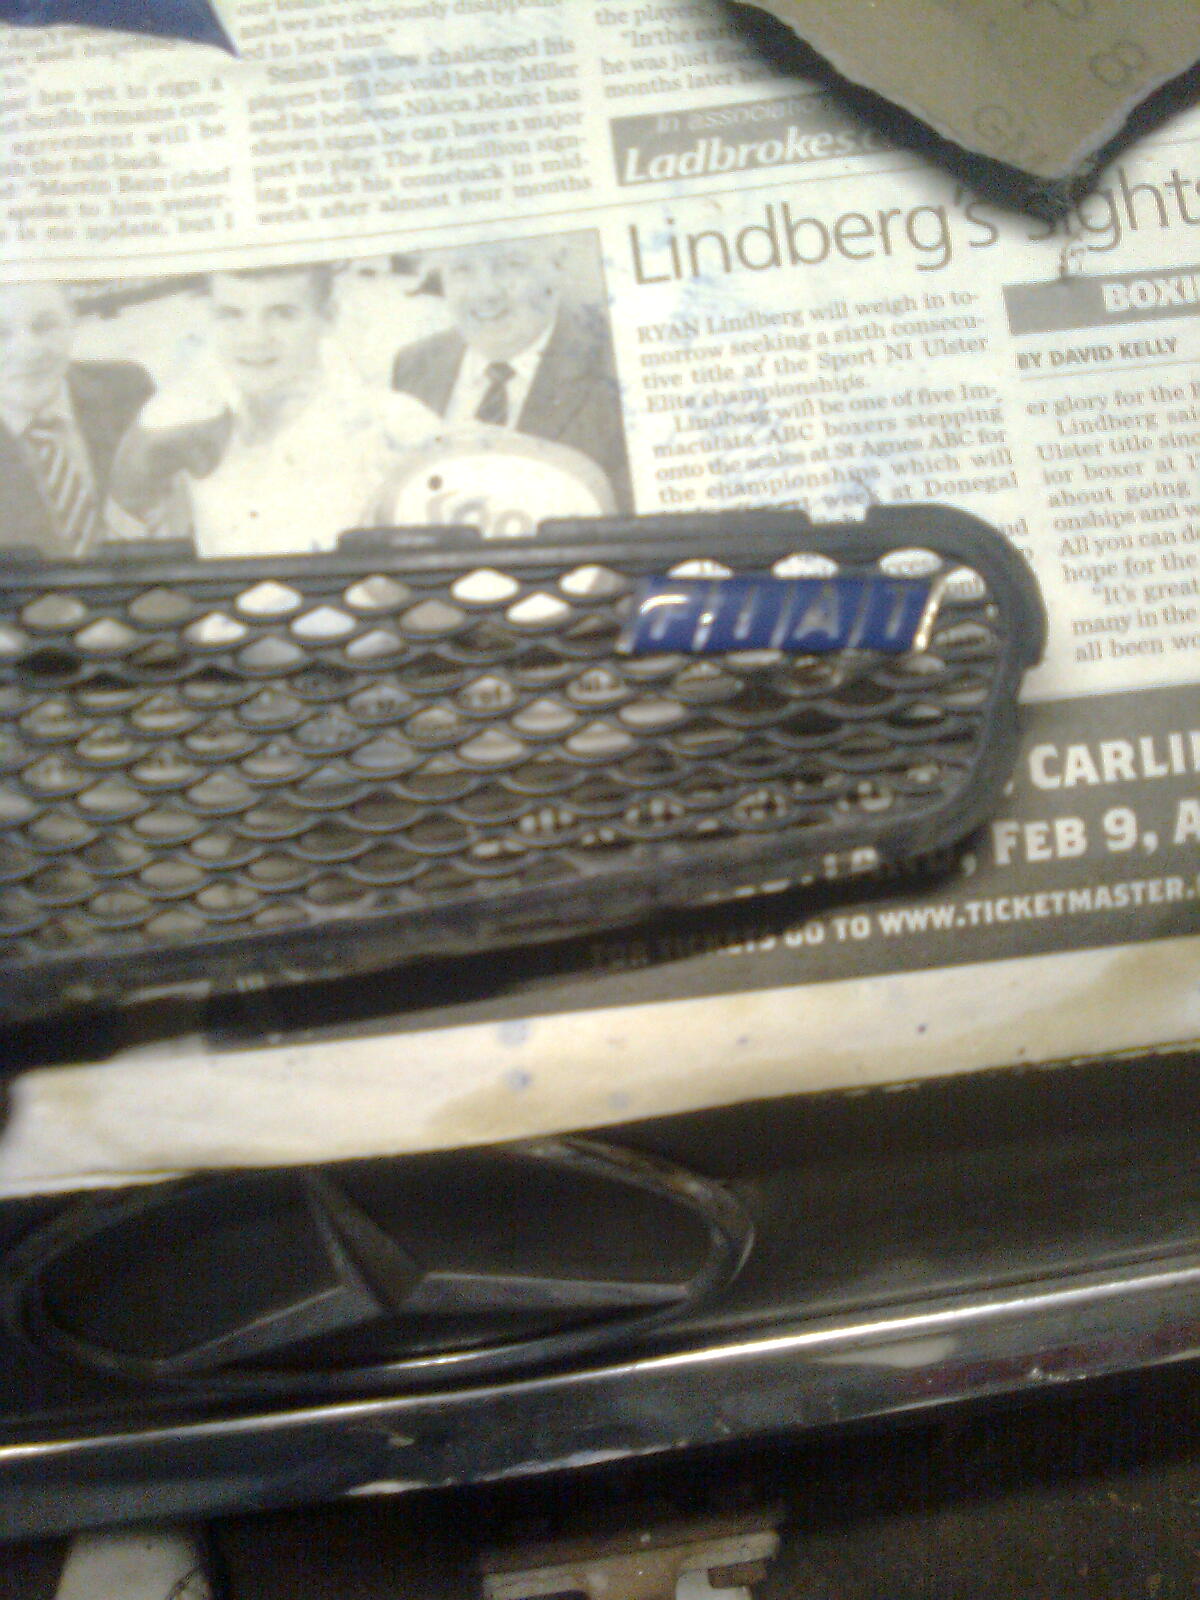
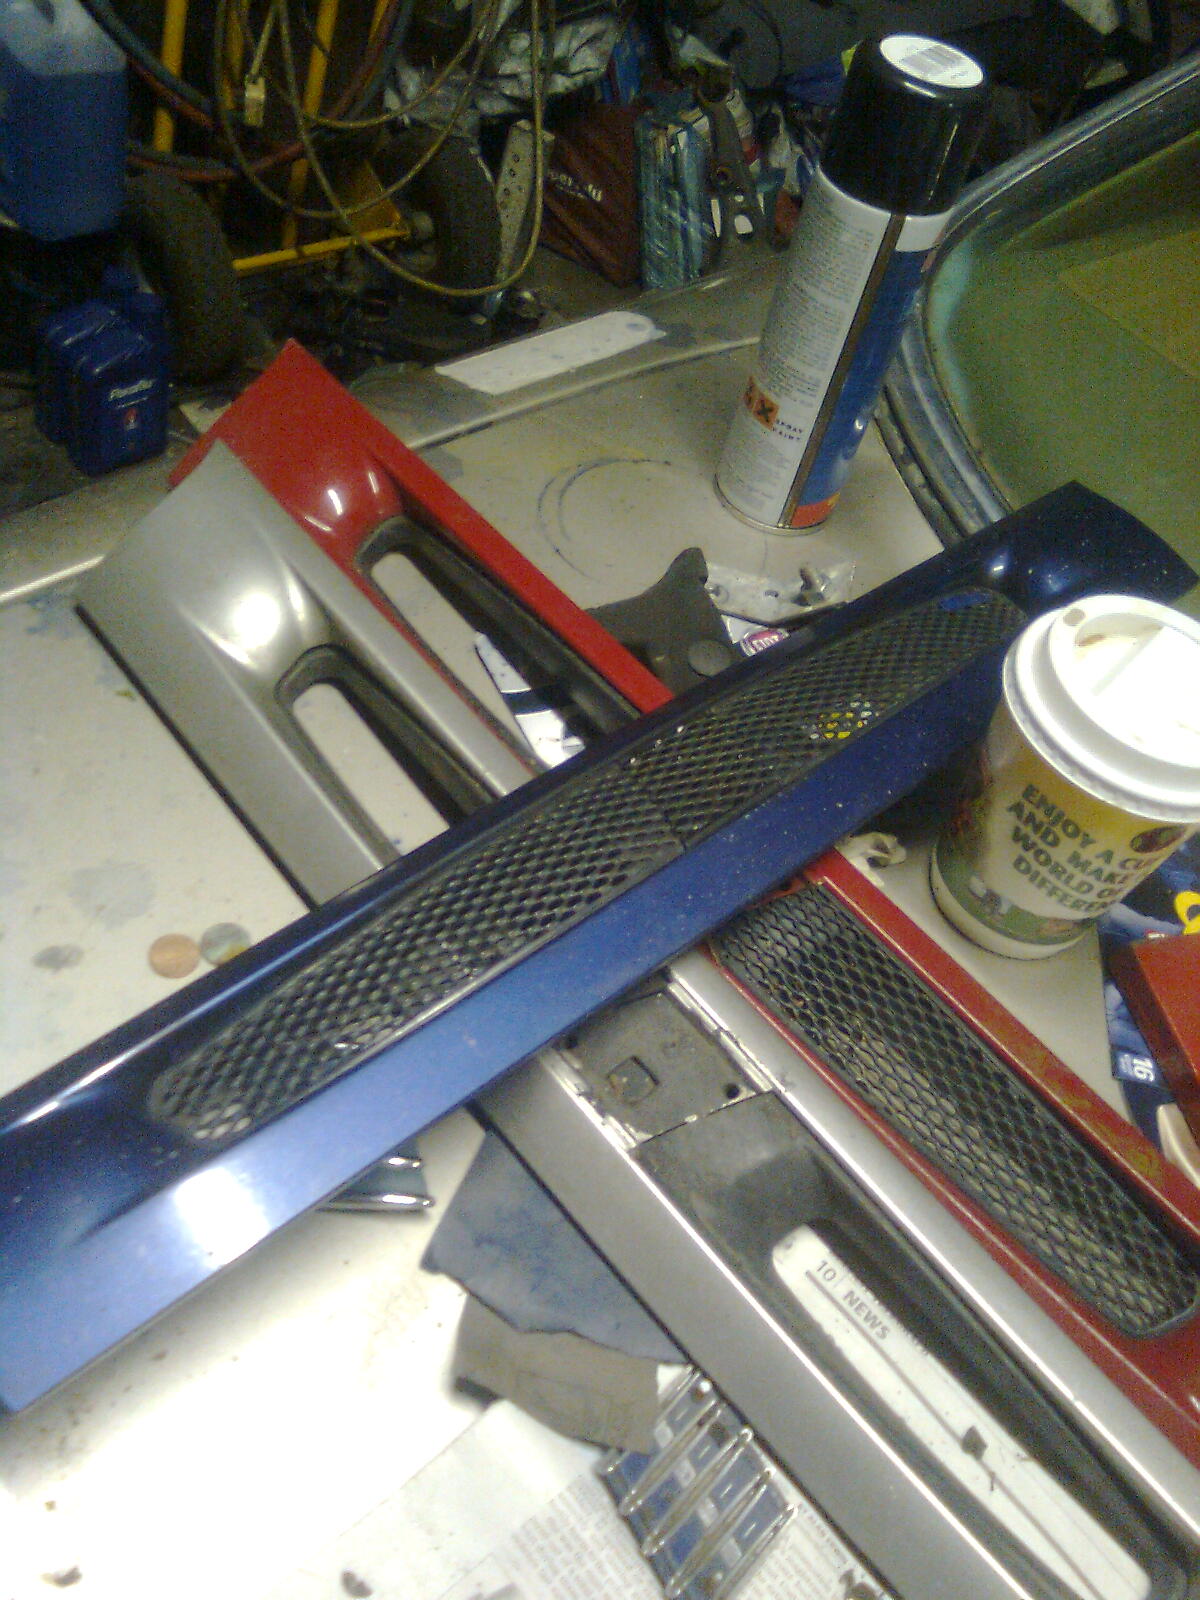
 (y)

First, that grille :)
Image0658.jpg


Looking much better than the old one, that wouldnt be hard! Notice its not debadged either... :eek:

It was lovely and sunny so I had to think of an excuse to spend my time outside :D

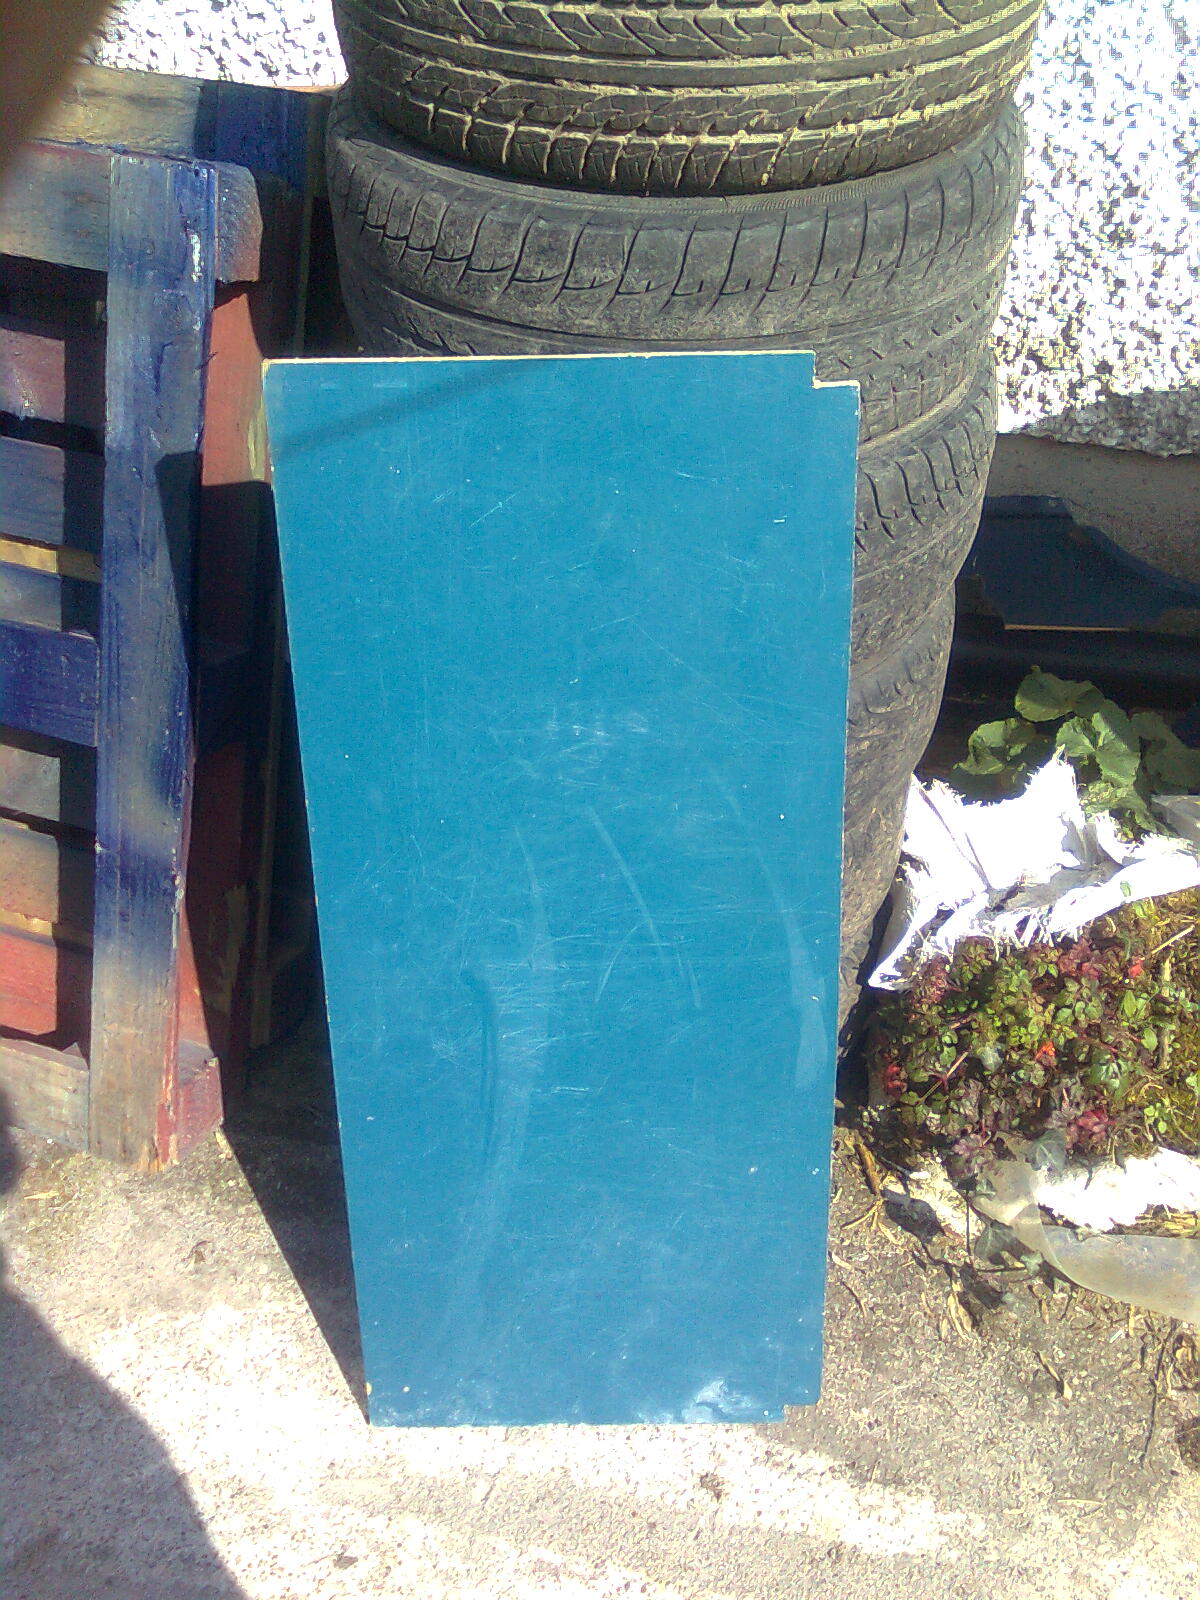
Lets start with this piece of wood I got thrown out...
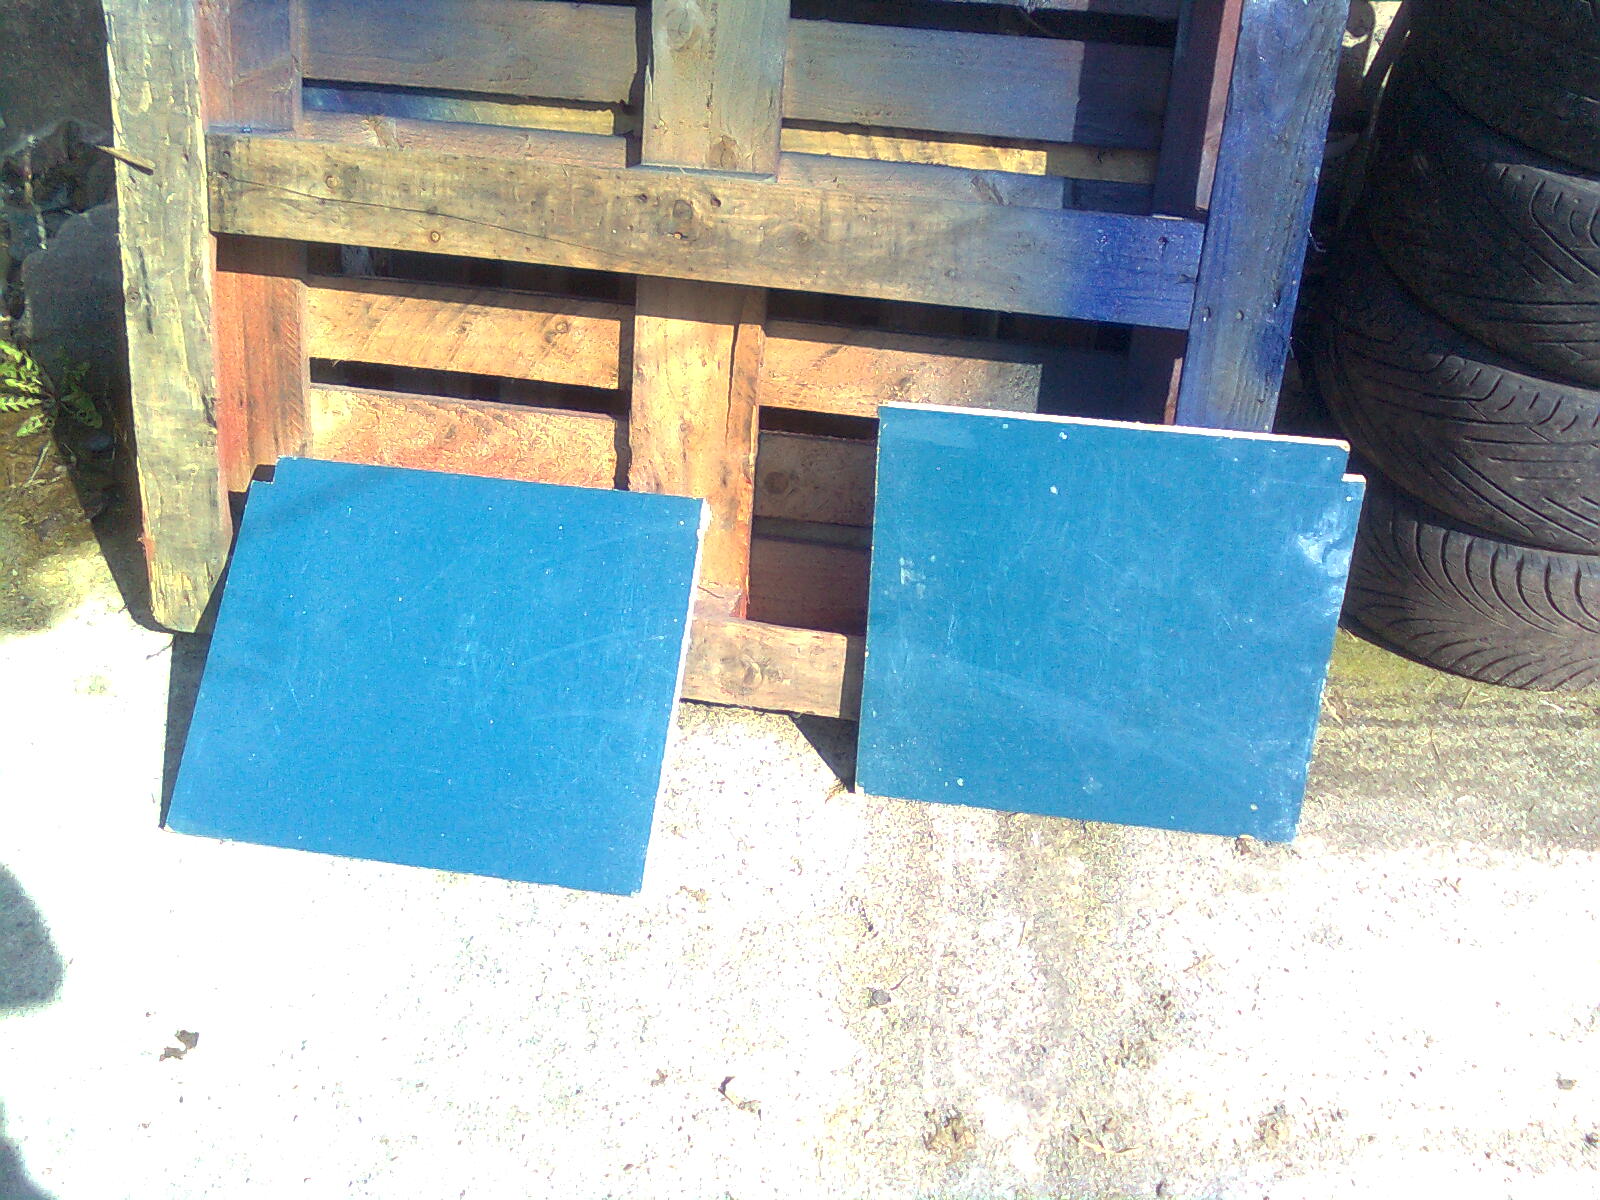
Image0647.jpg


Chop it in half...
Image0648.jpg


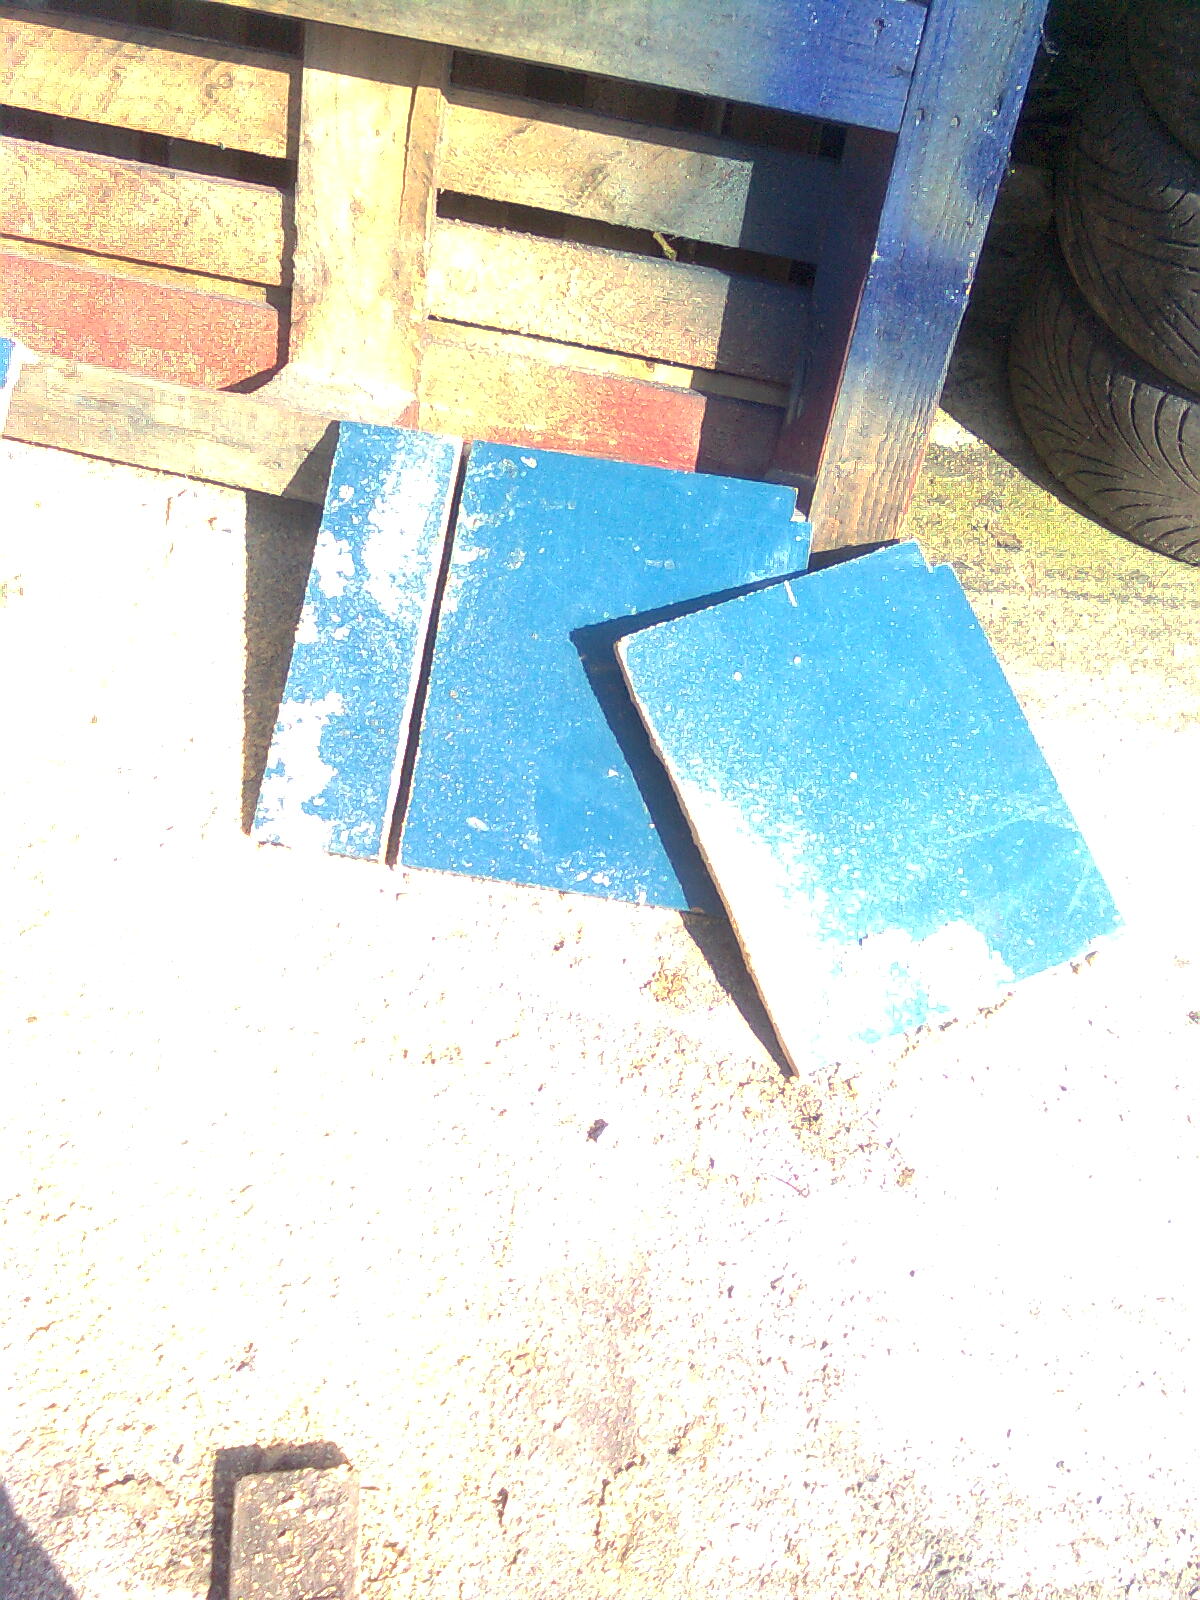
Trim it some more...
Image0649.jpg


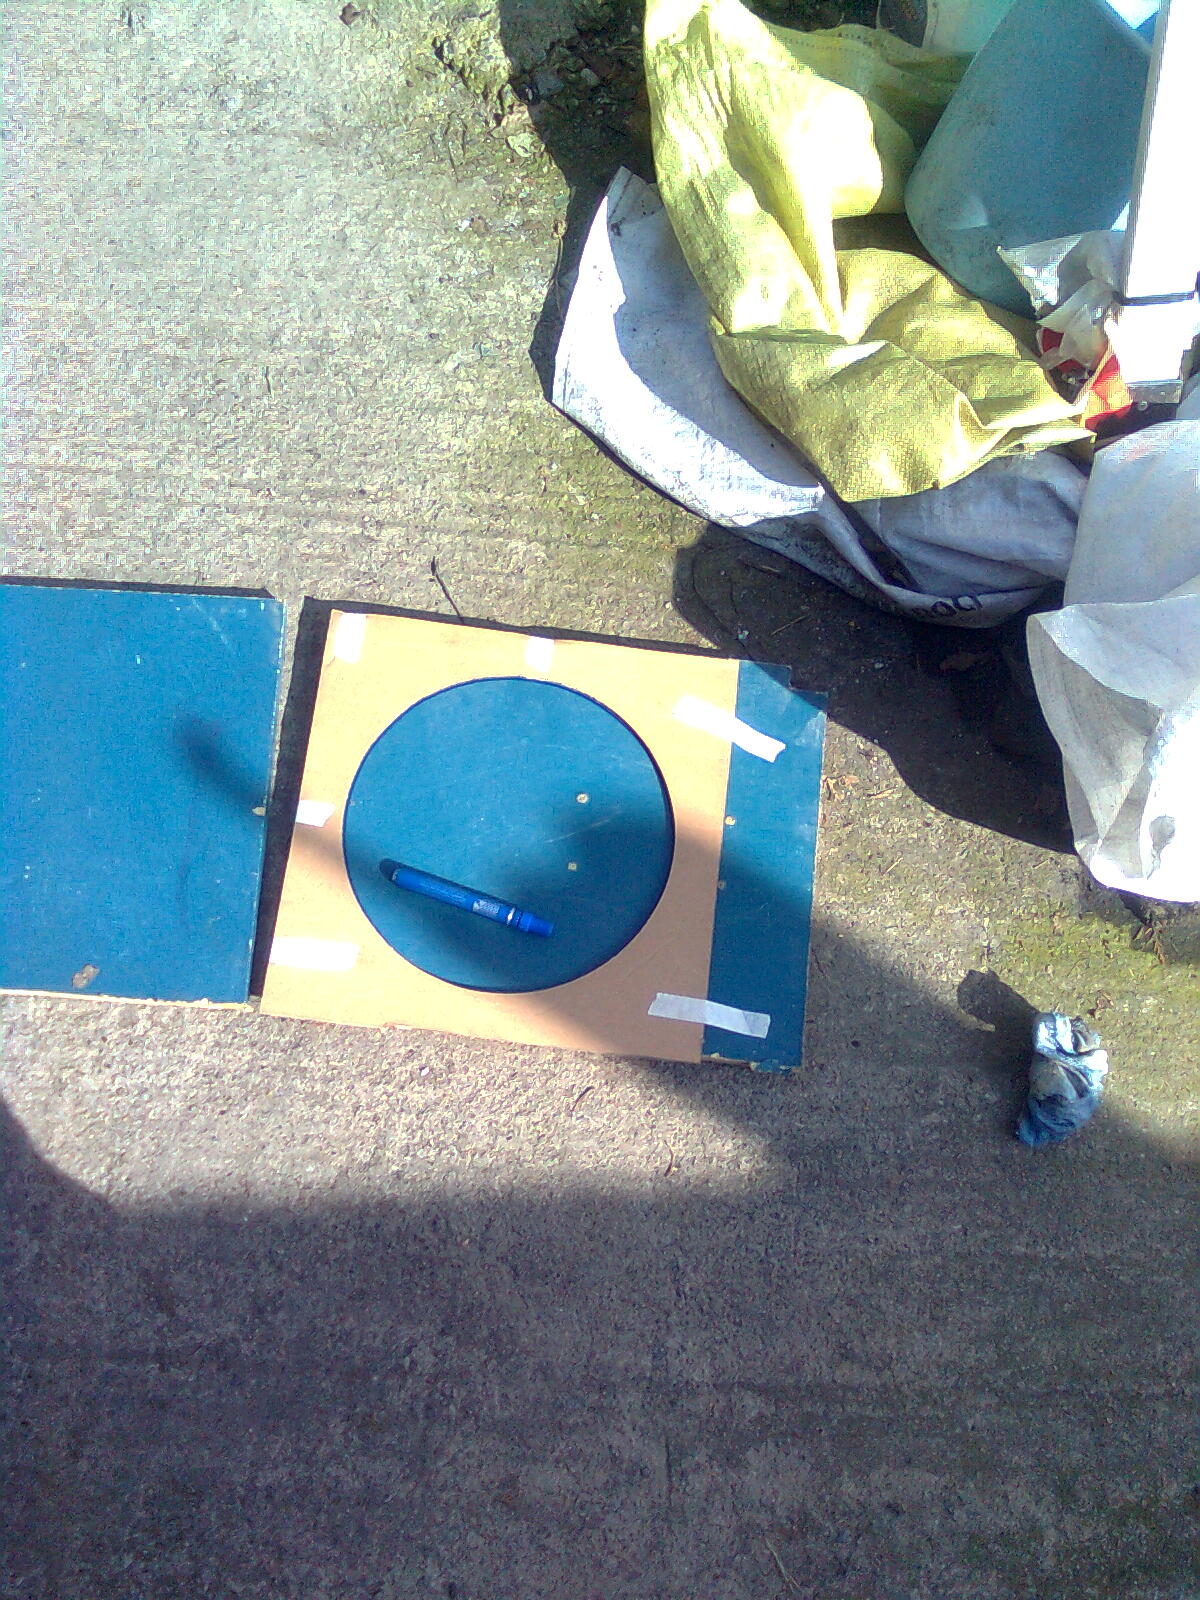
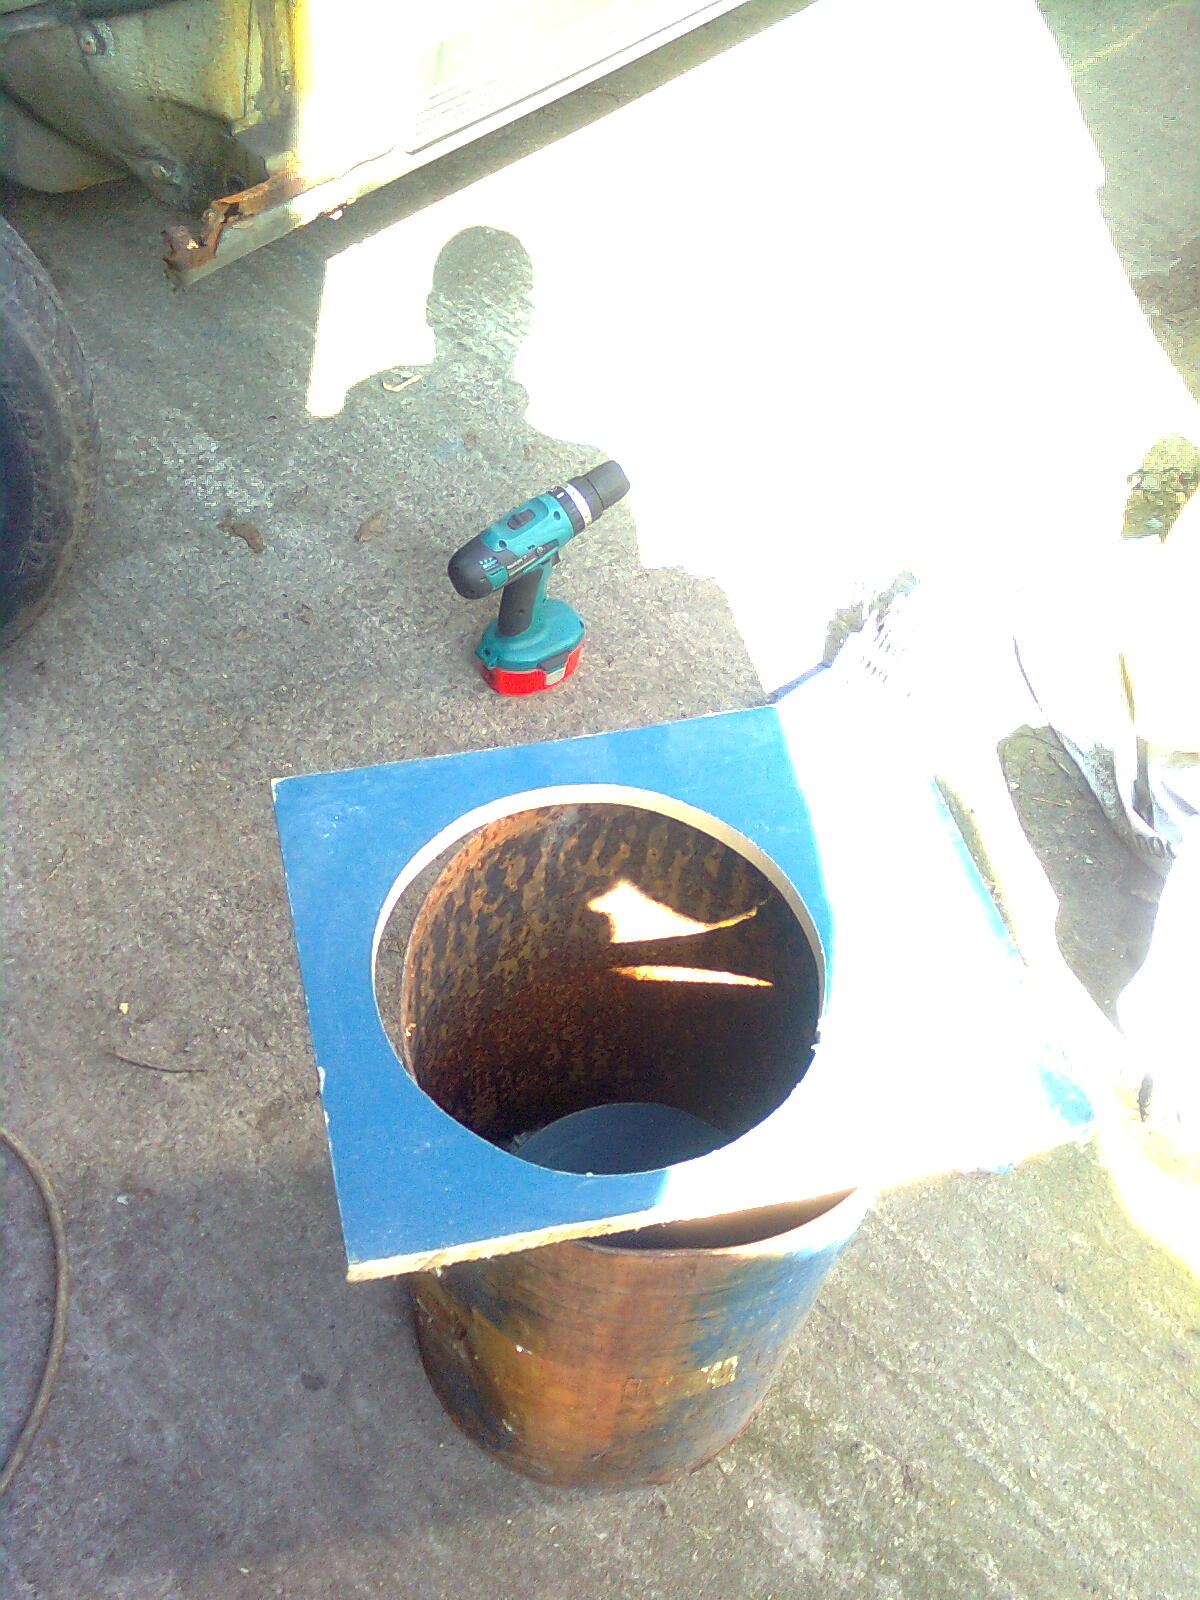
Get out some funny cardboard and masking tape :p
Image0650.jpg


Then draw round and get a jigsaw...
Image06511.jpg


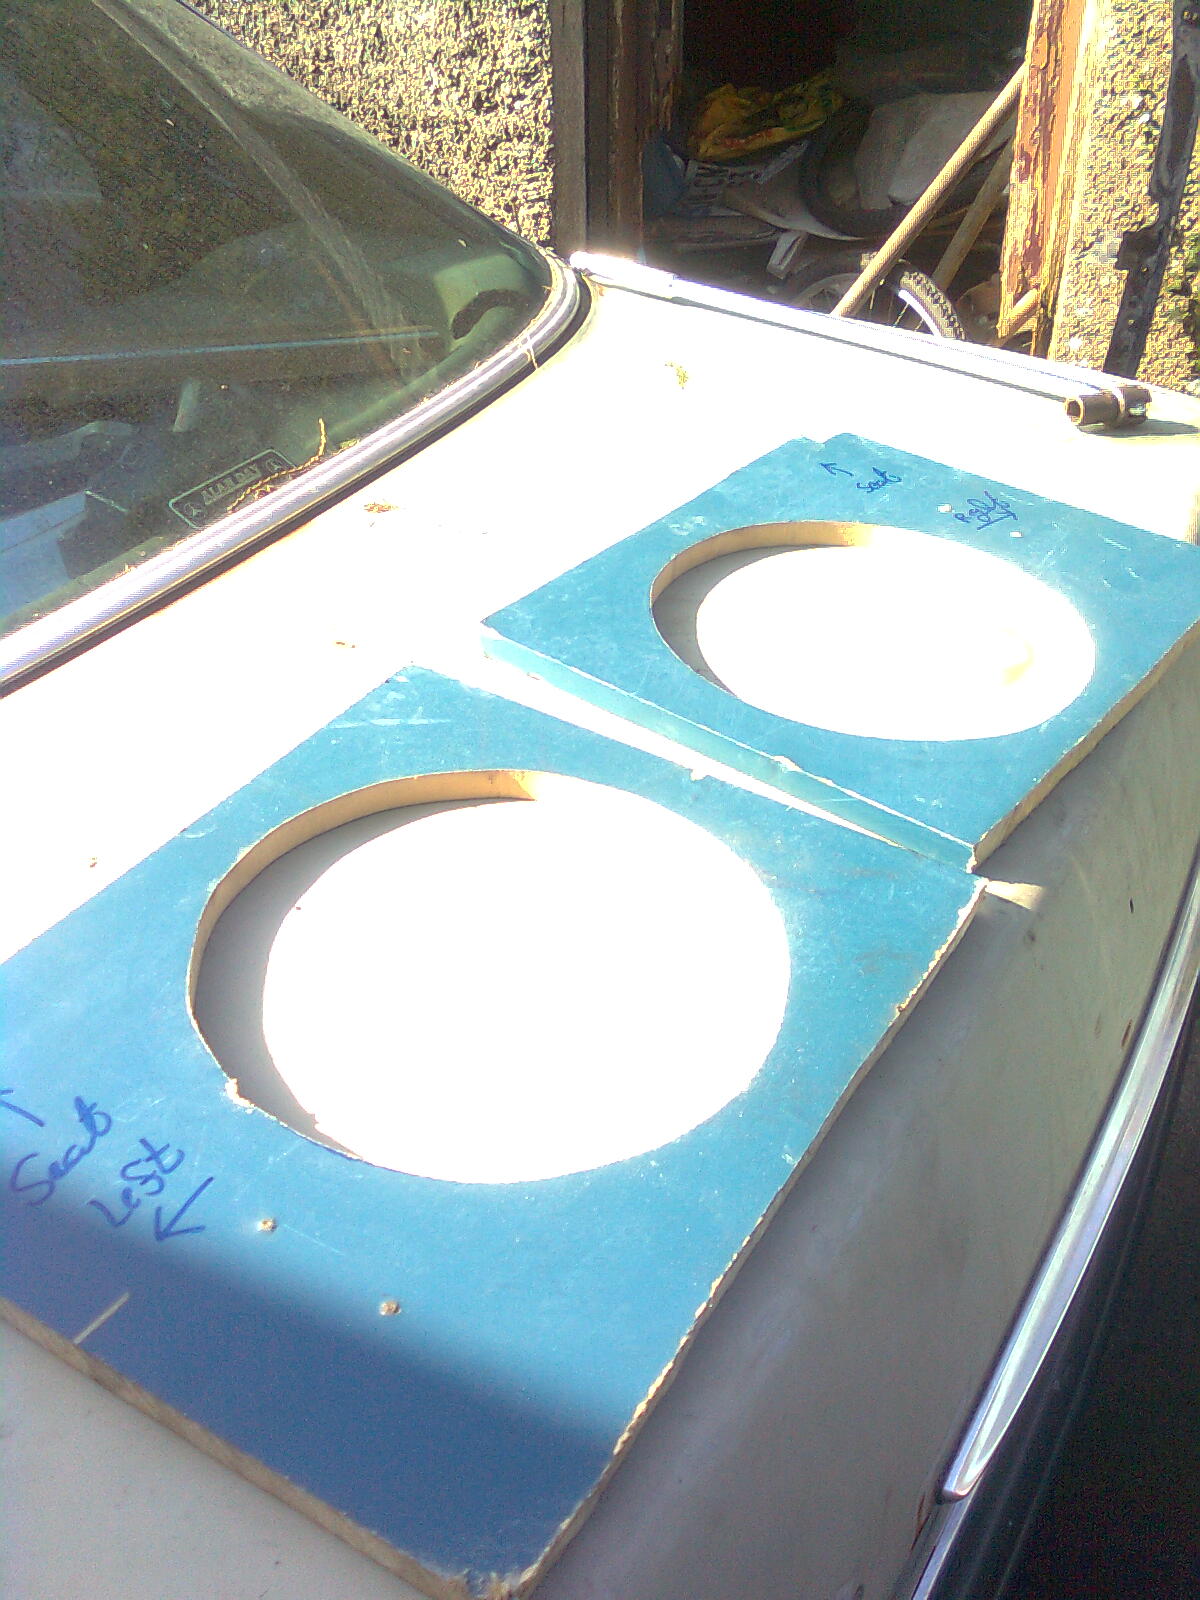
Repeat the process with the other side (you probably know where this is going by now (y))
Image0652.jpg


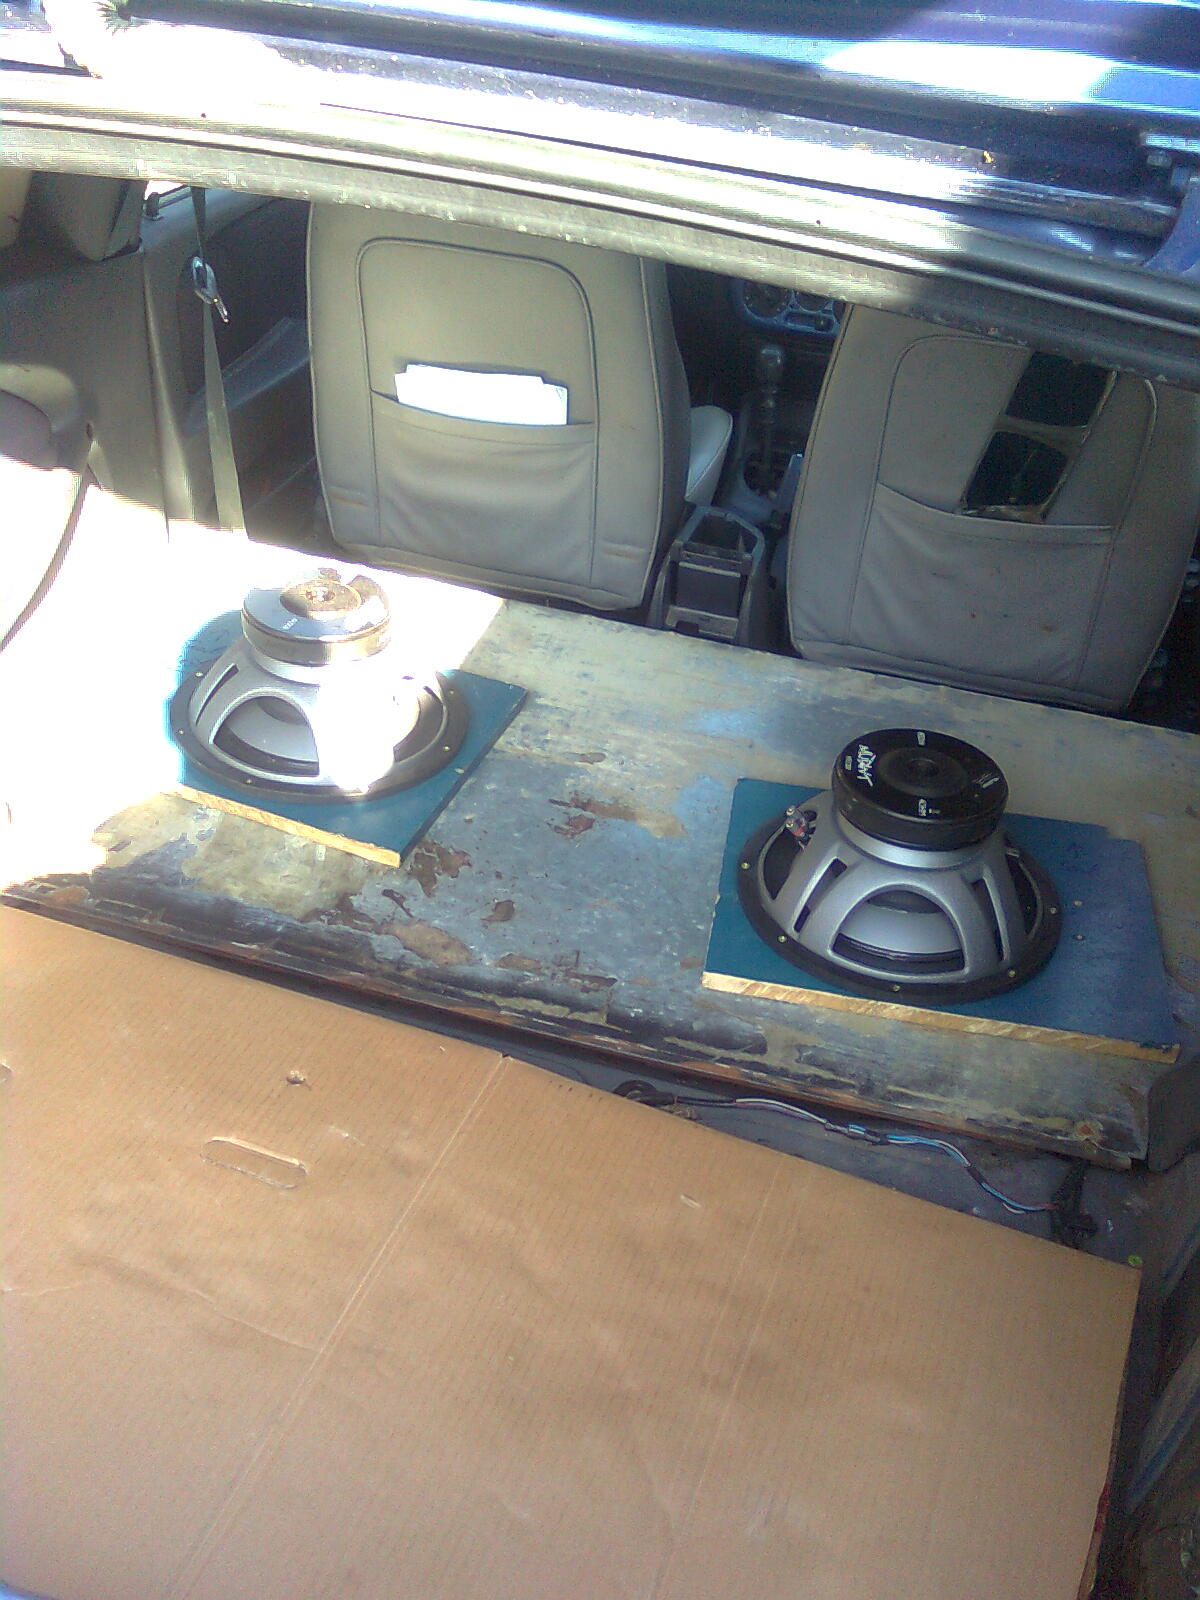
Screw in and position :)
Image0653.jpg


And fit it to the floor (y)
Image0654.jpg


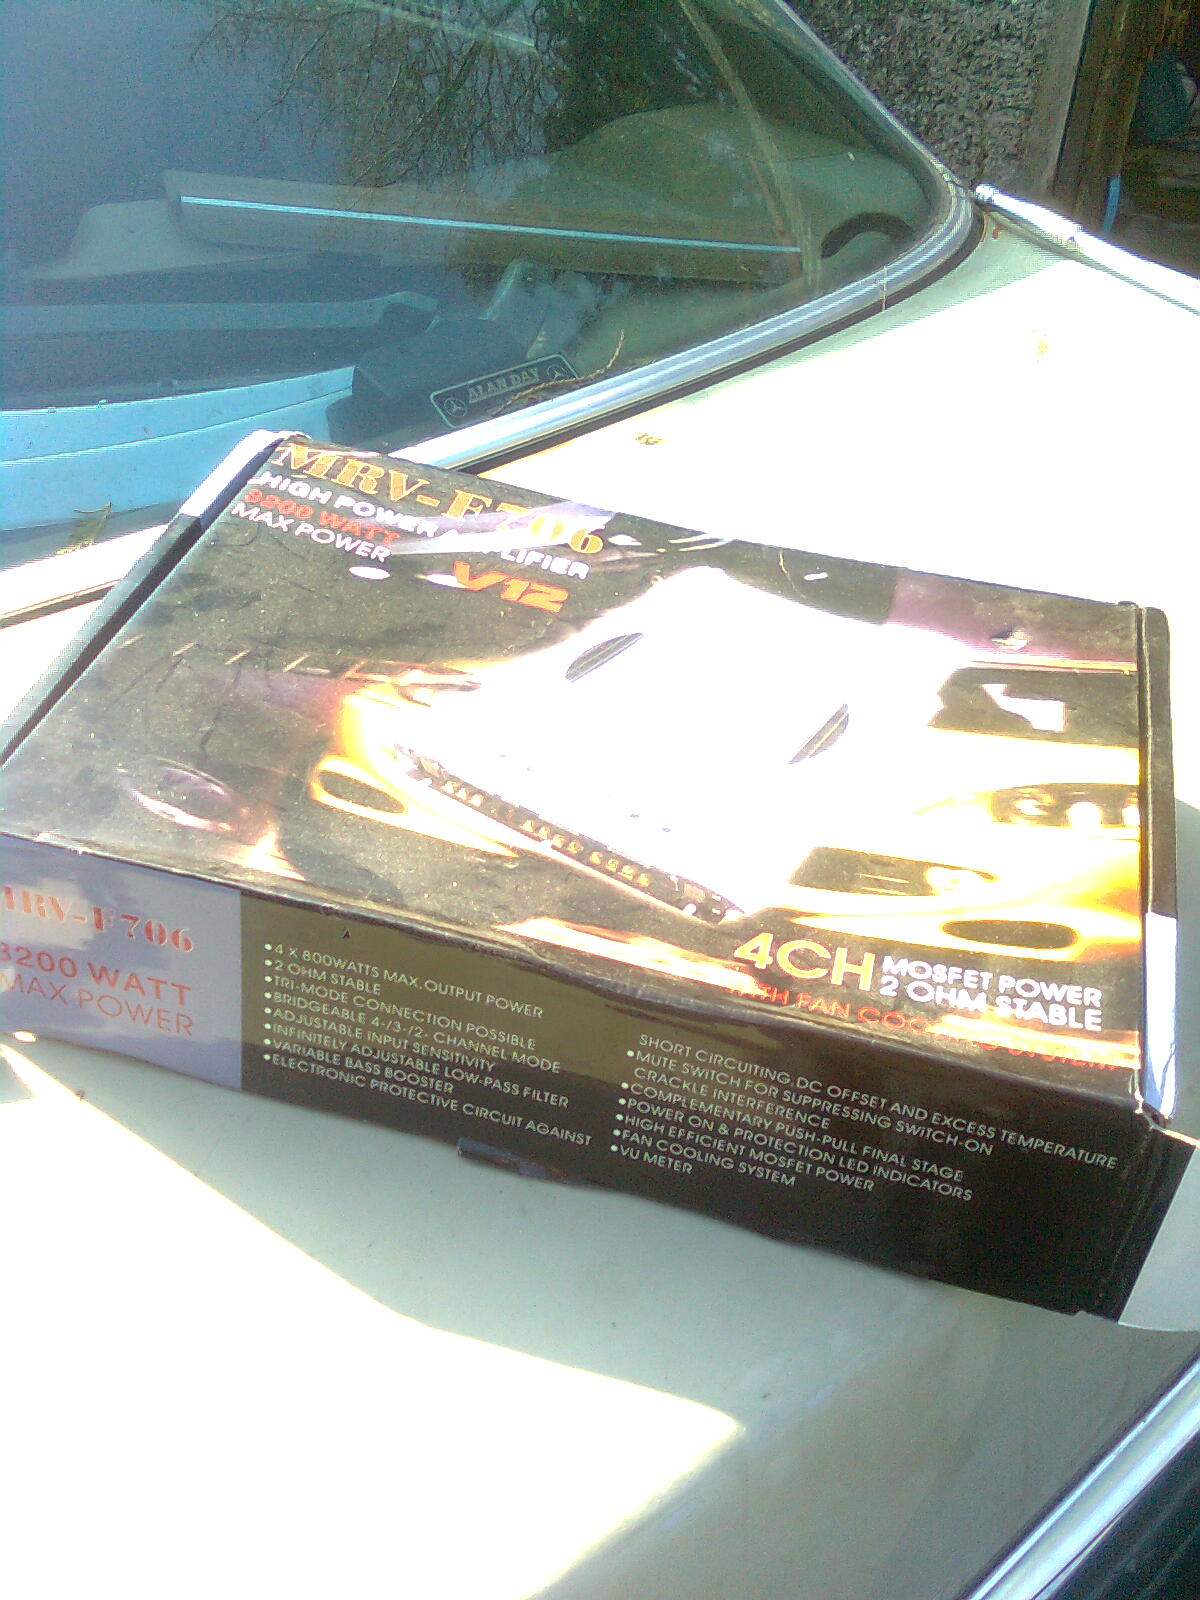
Now we need something to power those badboys properly...
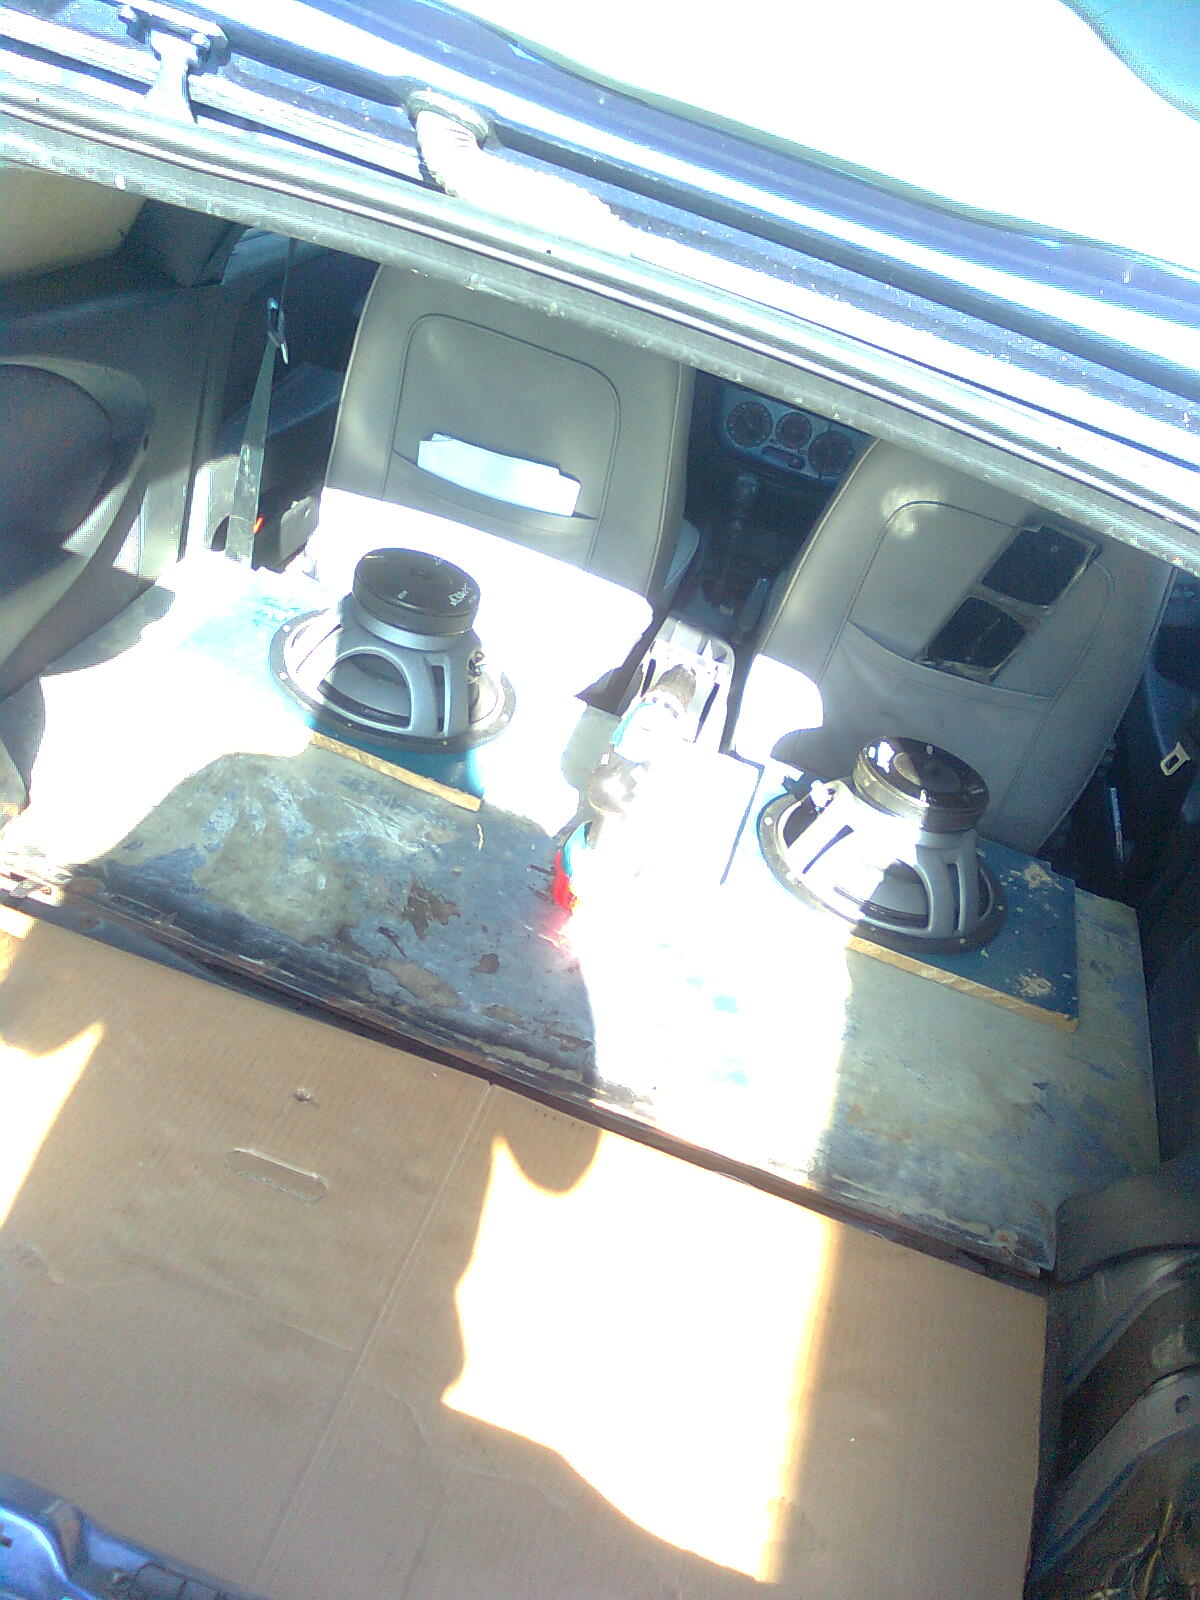
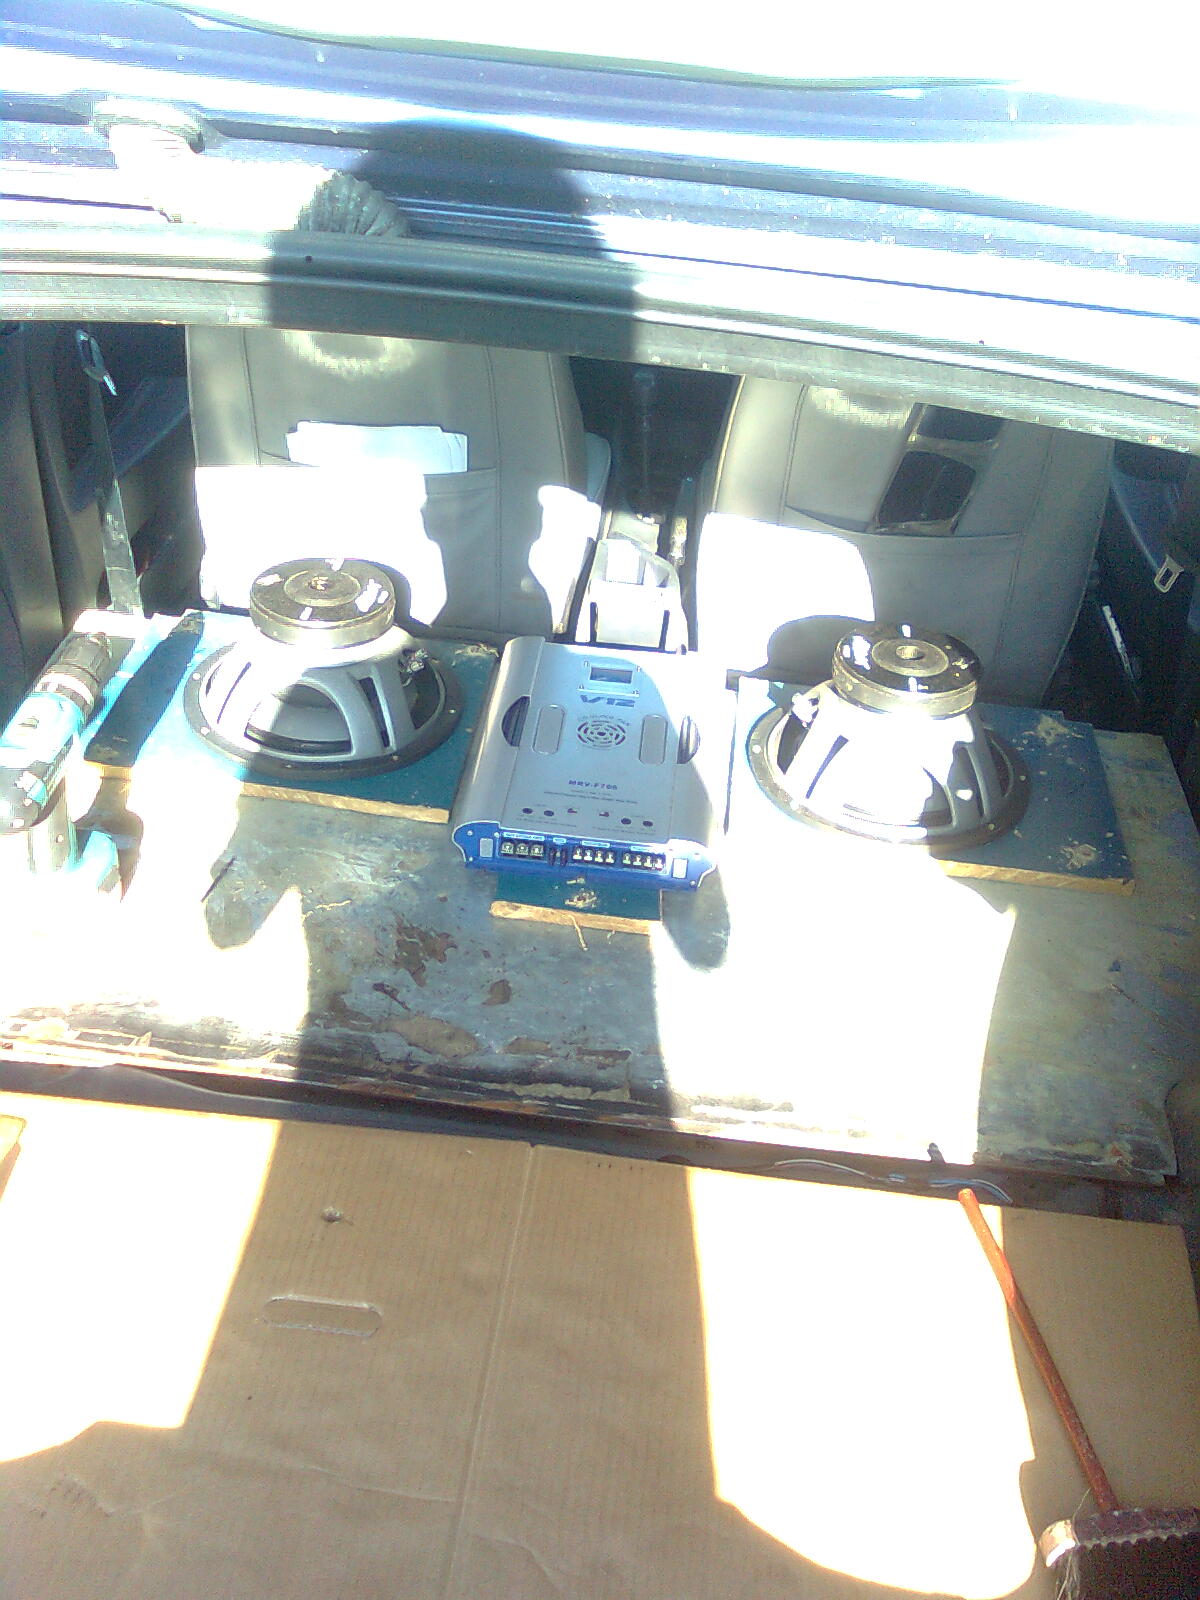
Image0655.jpg


And fit it again...
Image0656.jpg


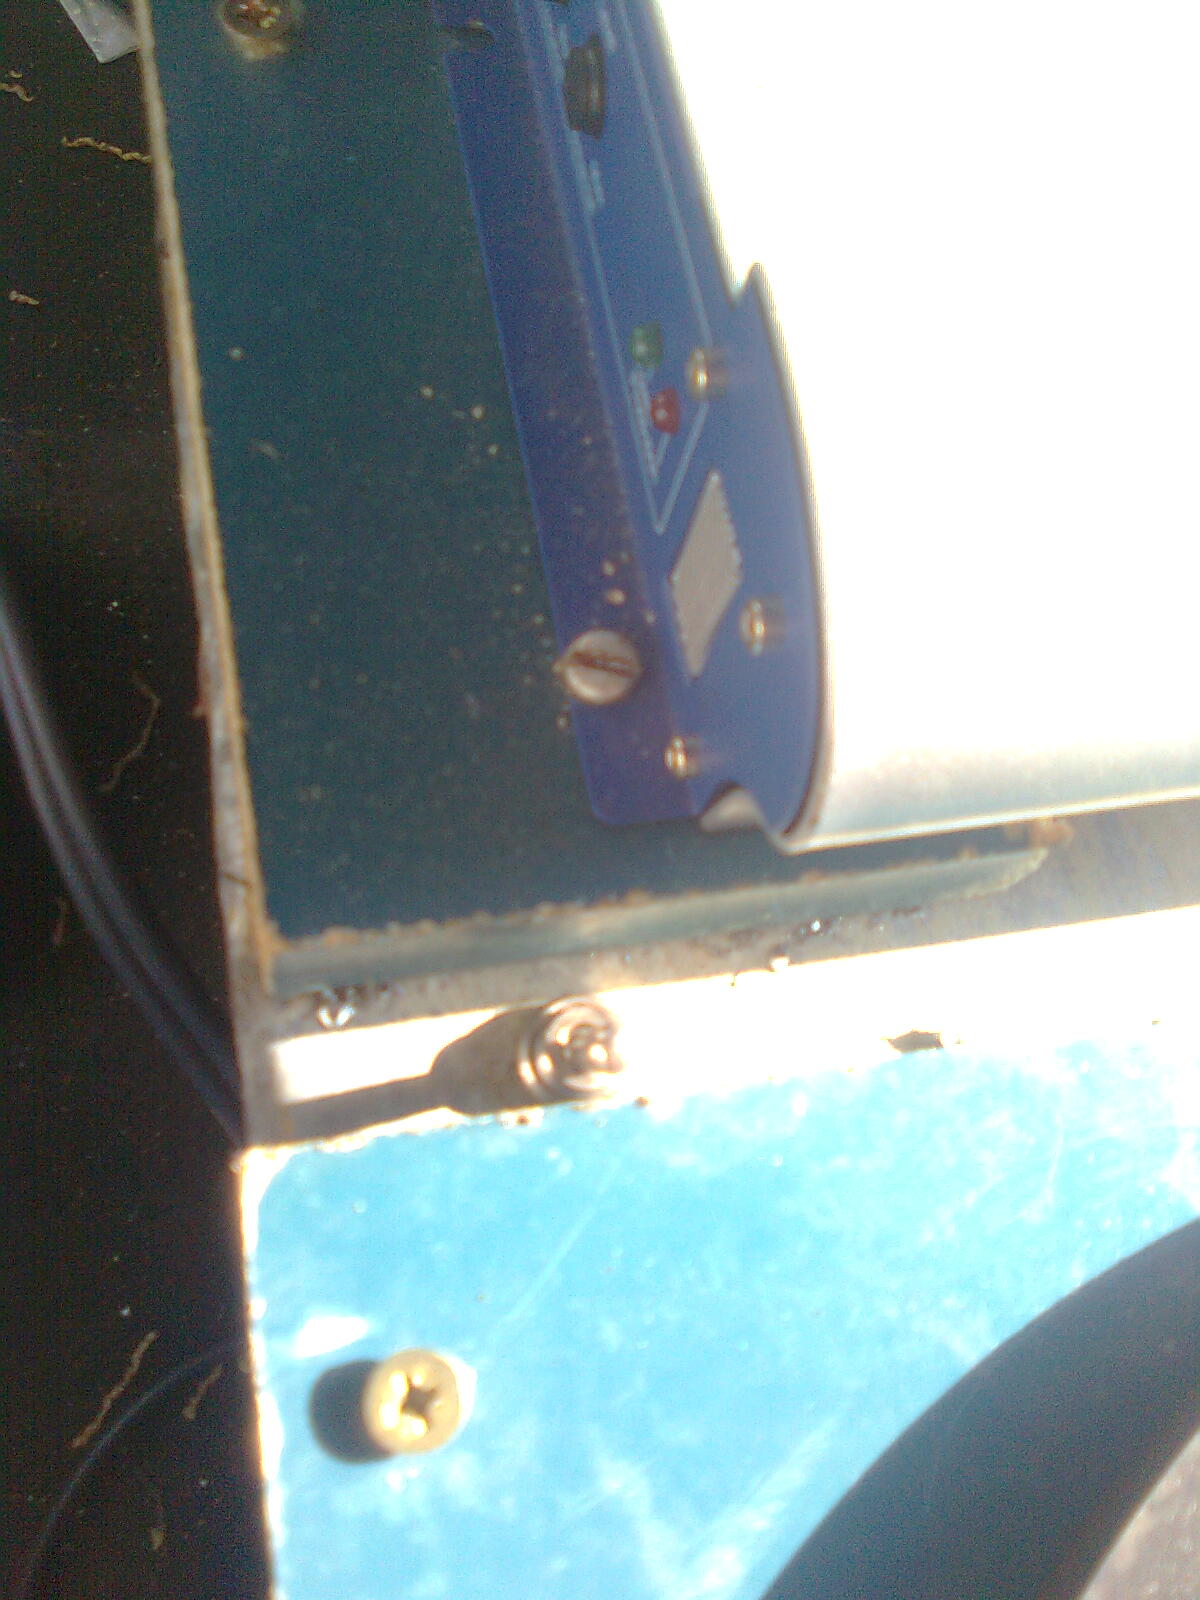
Quite important is a kill switch to the main power supply for normal usage (y)
Image0657.jpg


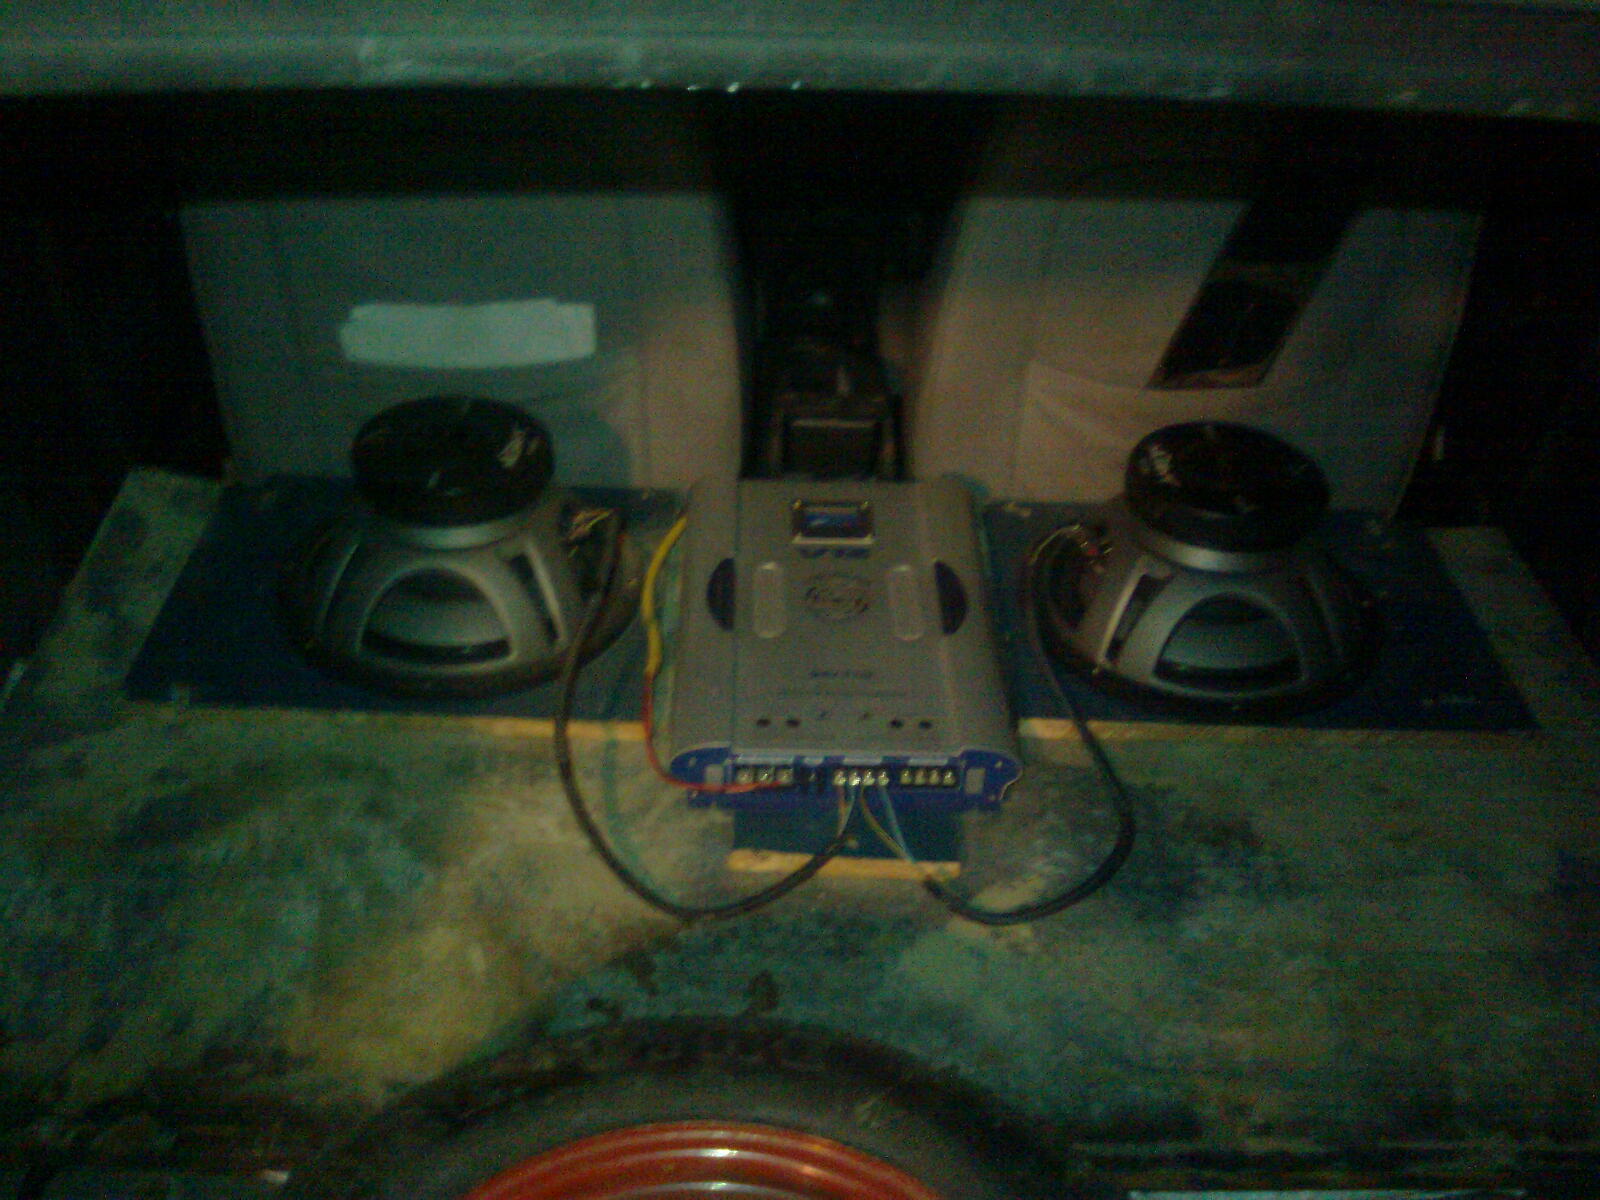
All the wiring was then, er, wired up through the bulkhead, the loose wires sheilded with plastic guard and insulation tape. Also, I shoved a load of coal sacks under the floor to further insulate the, um, floor :p

So I've been testing it all evening, you need hearing protection and I'm a deaf hoot (y) Its only temporary though as I need proper boxes, the rattling would drive you mad! But it is a mid mounted V12... :ROFLMAO: 
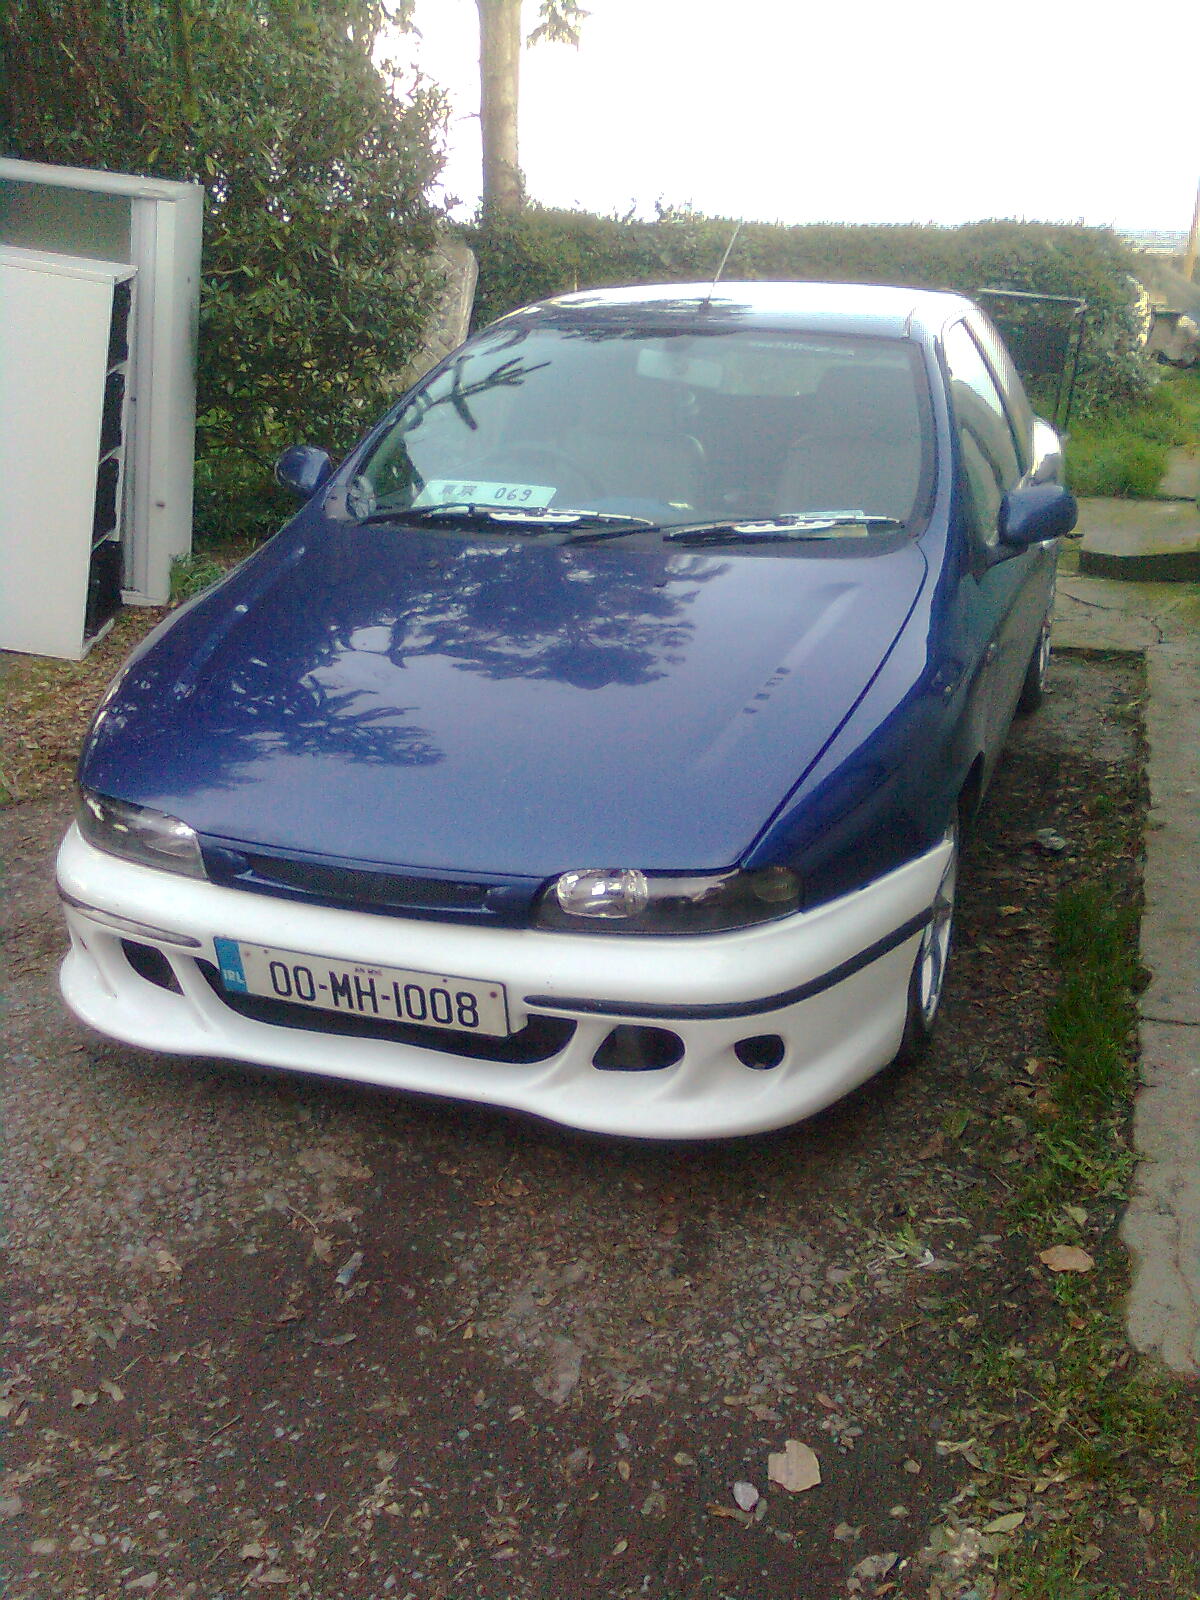
So as it currently looks:
Image0659.jpg


Now what to do for the next update... :chin:
 
Back
Top