Image0159.jpg

Bravo (Classic) Van with a difference!!!.

Introduction

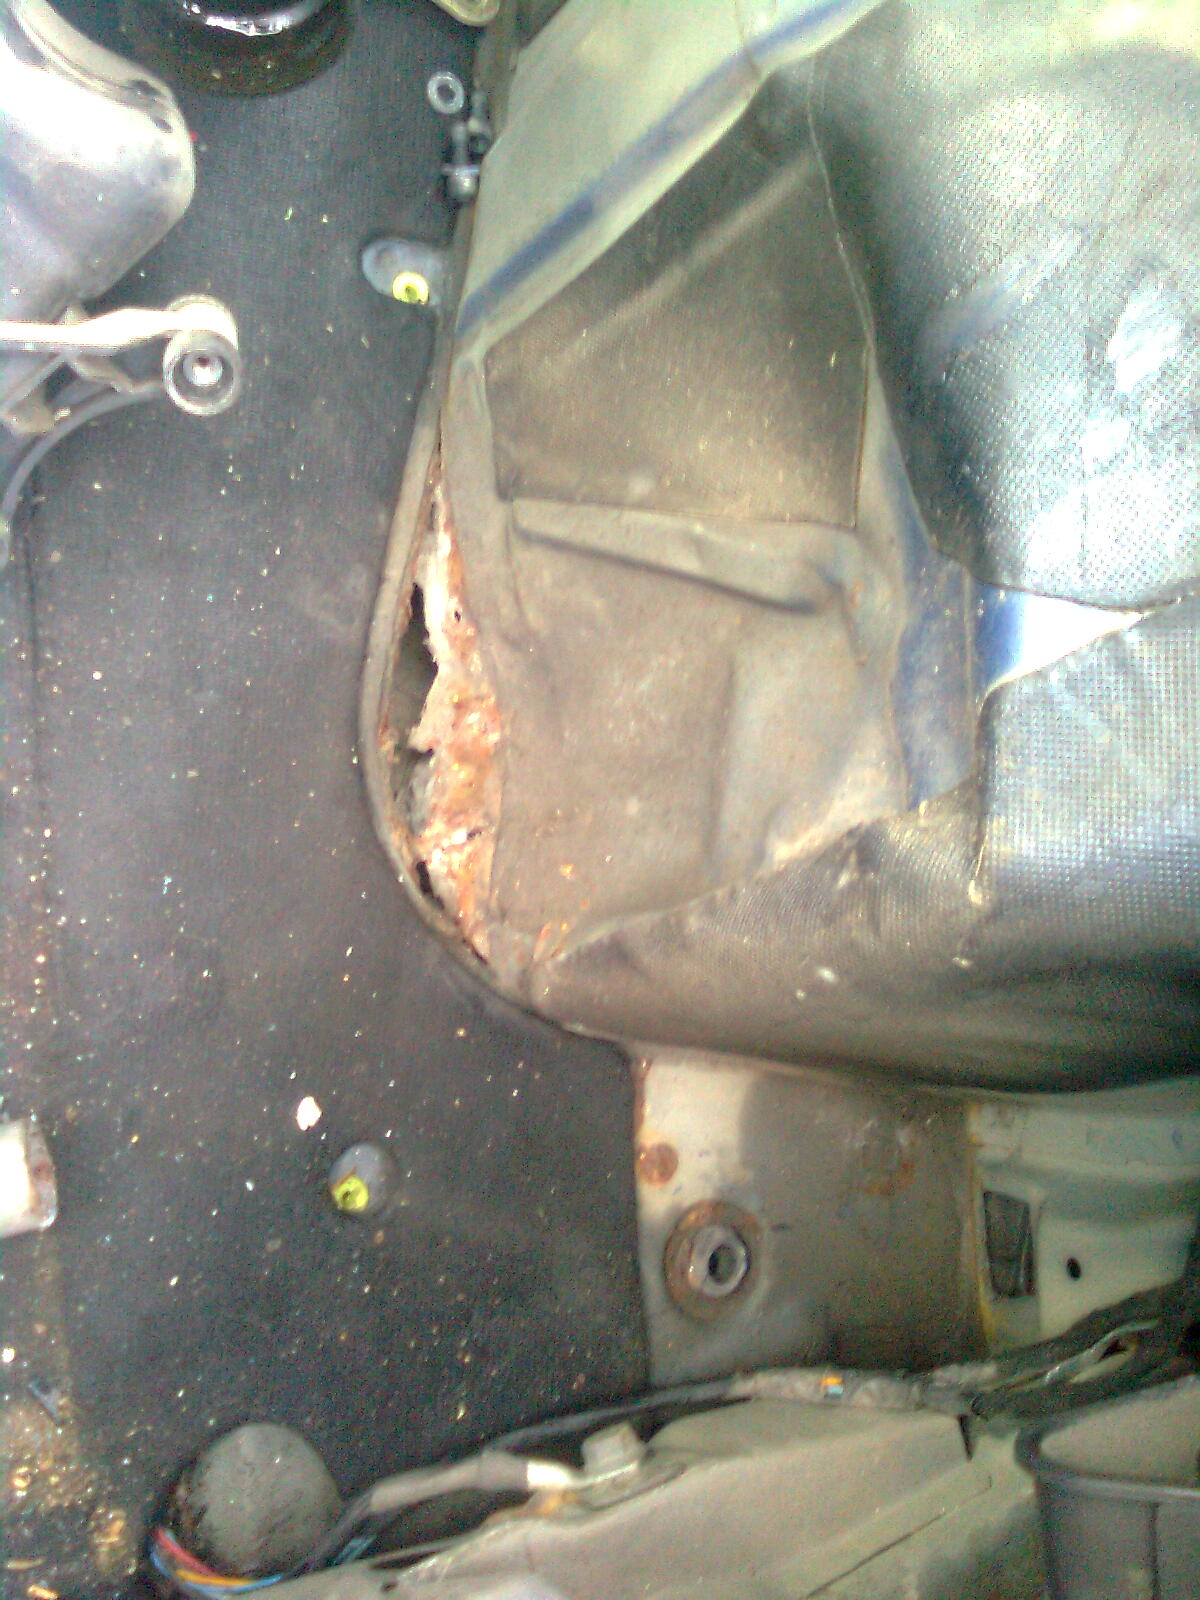
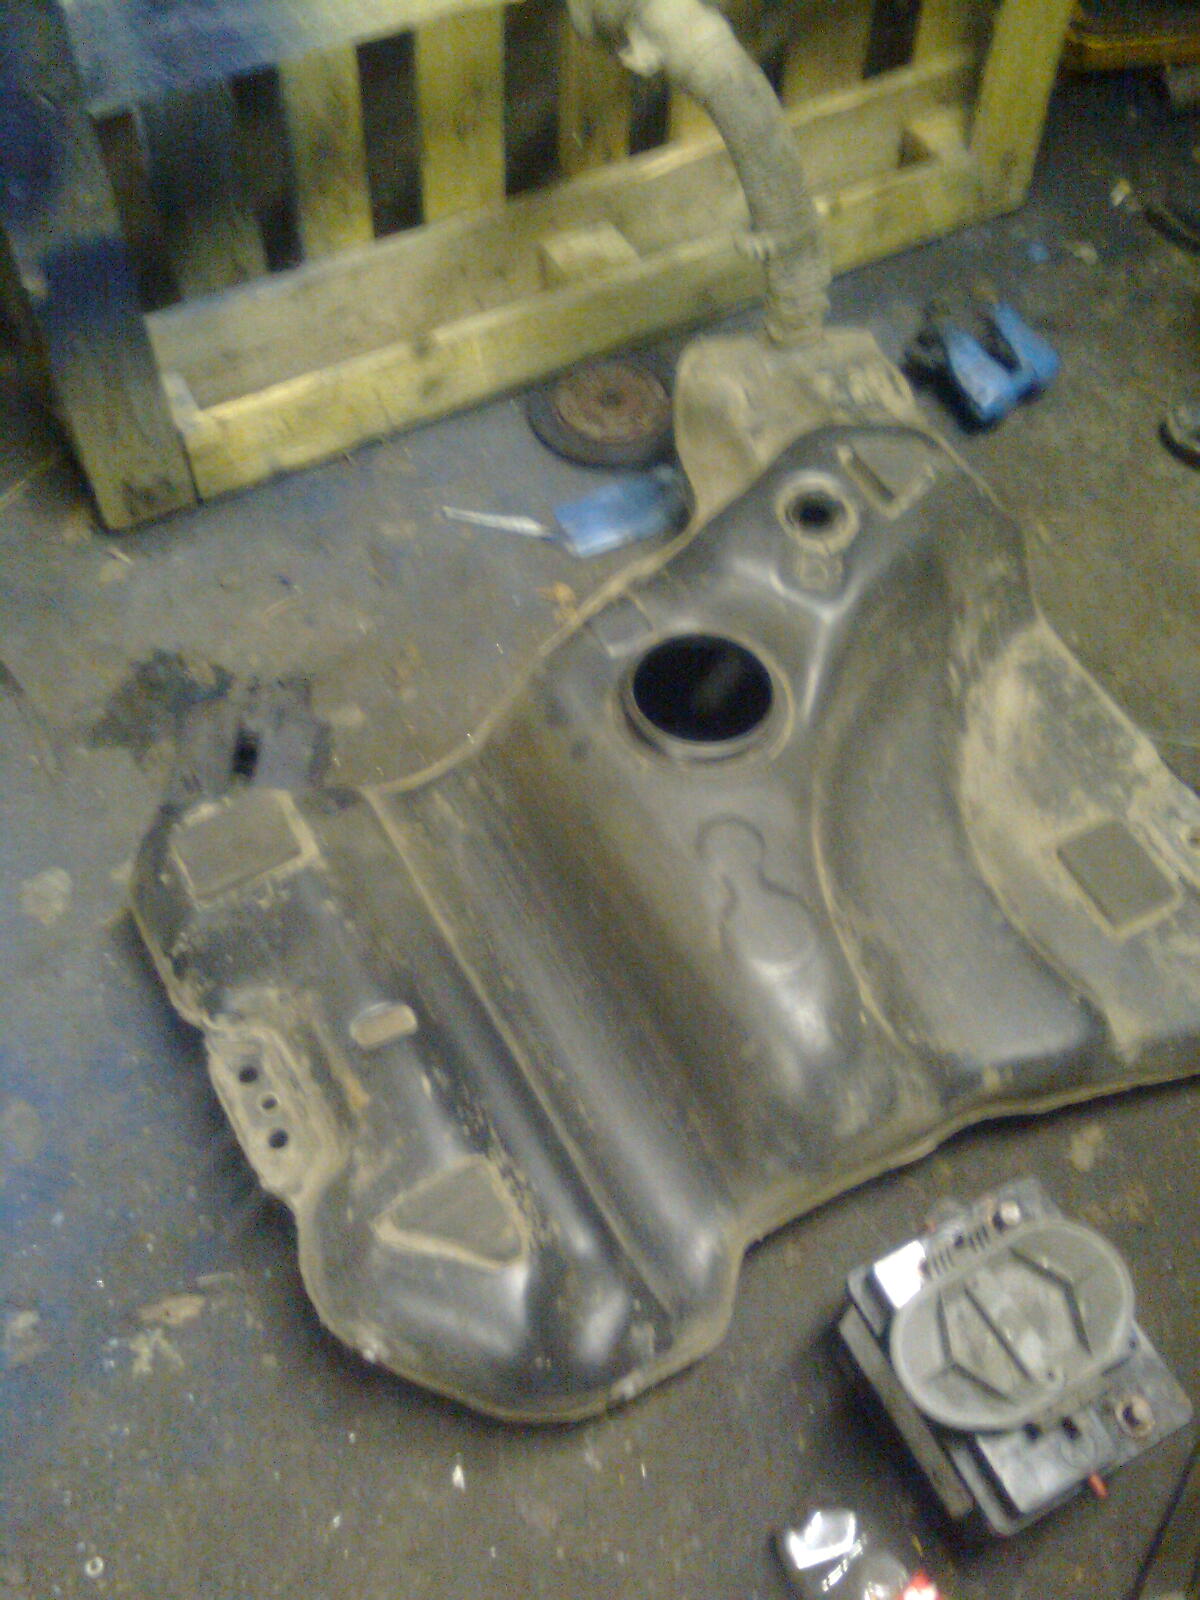
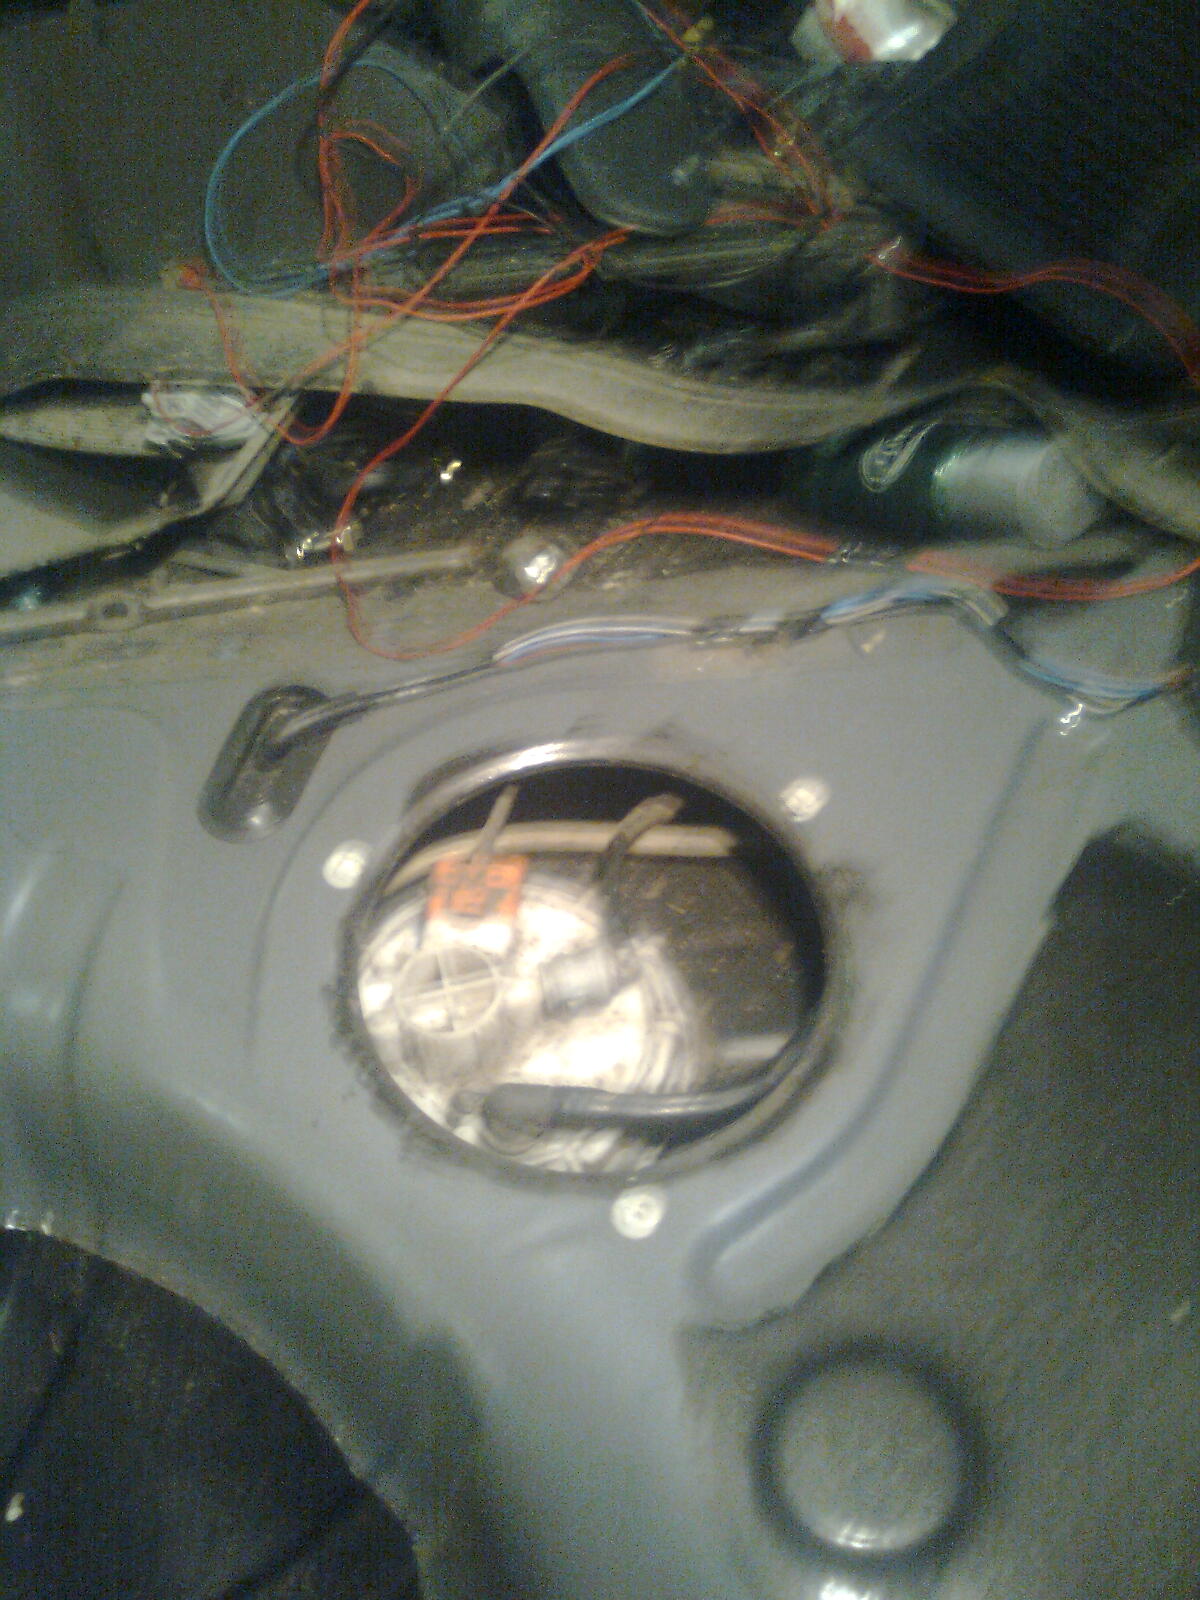
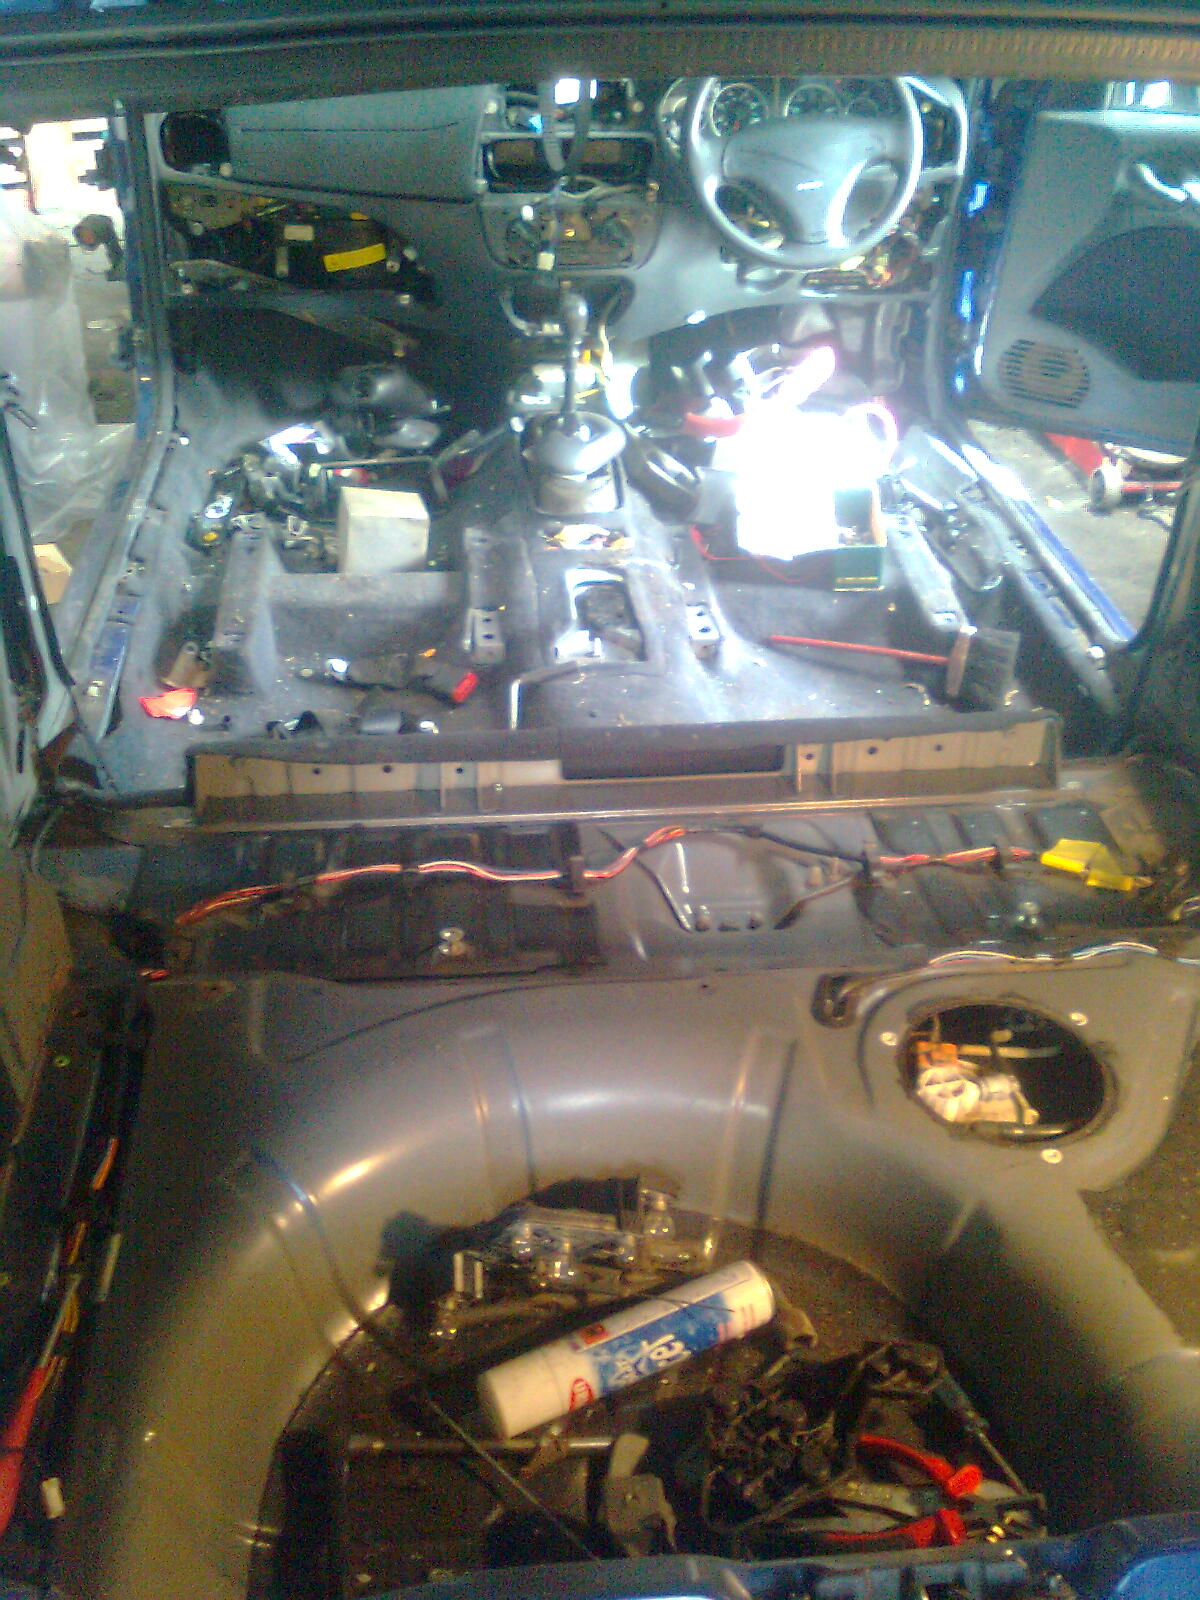
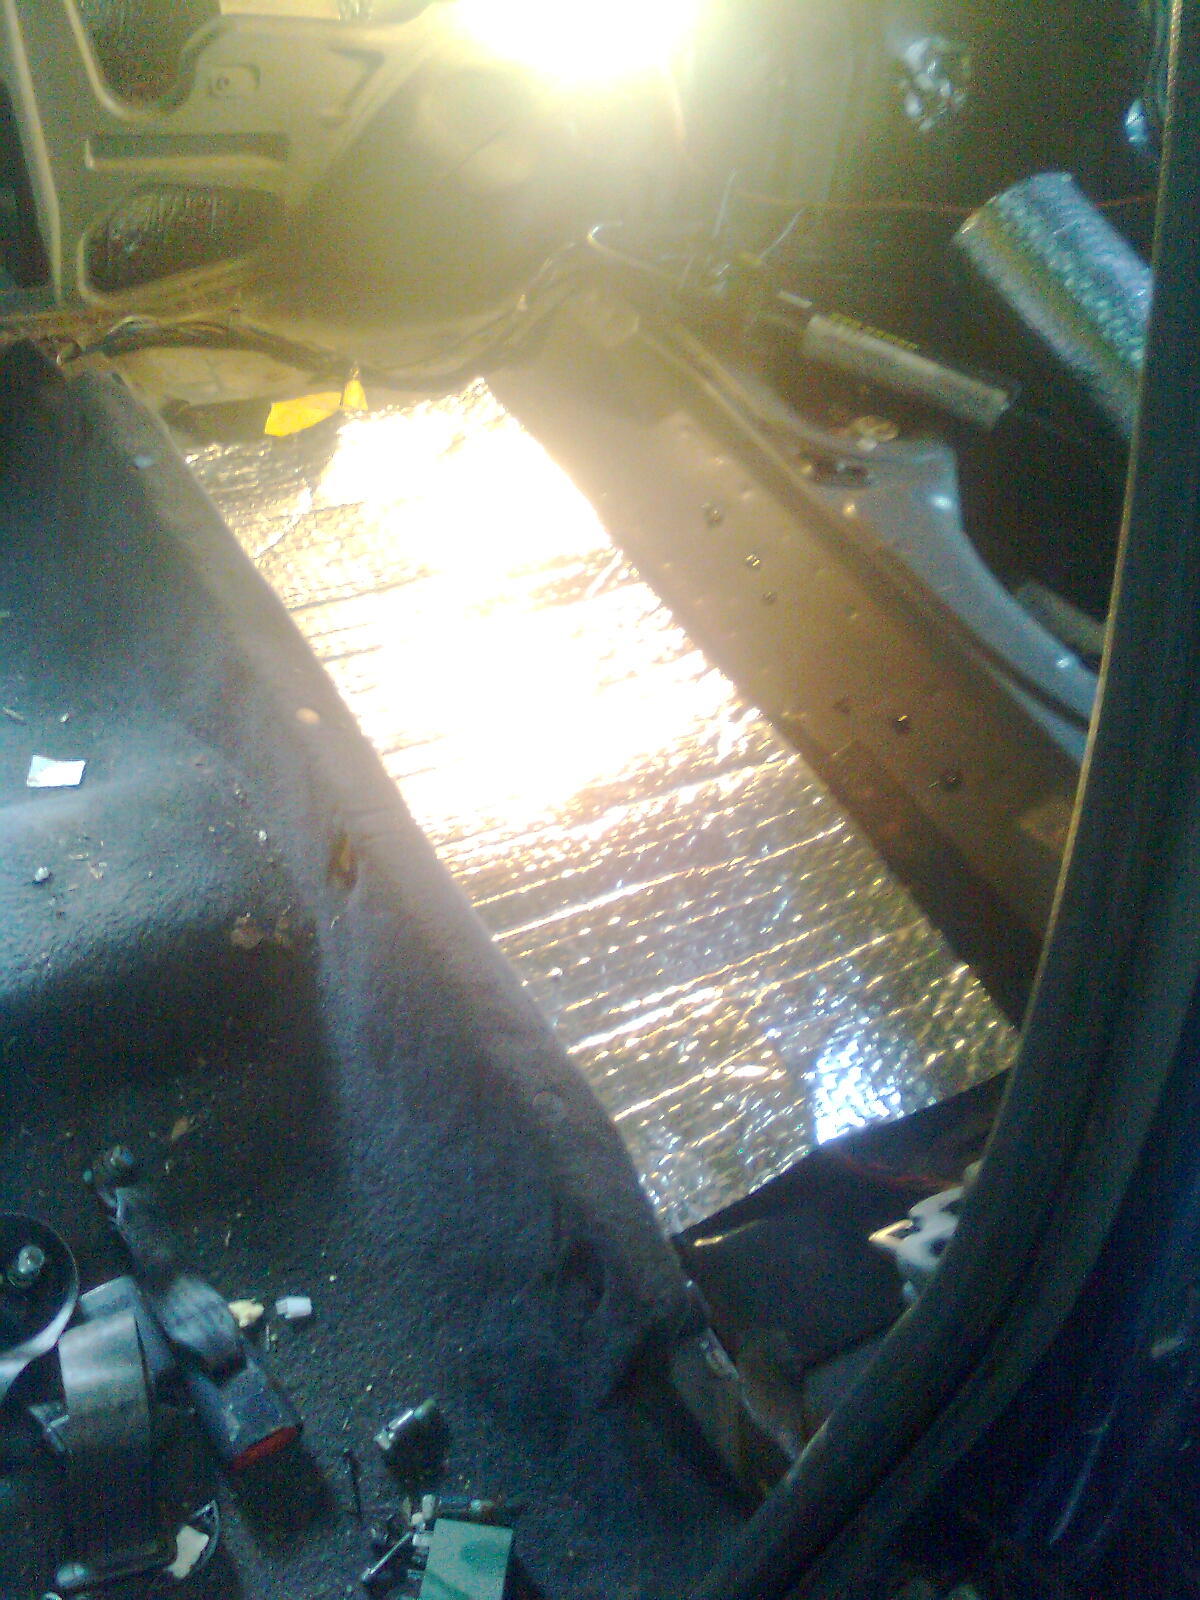
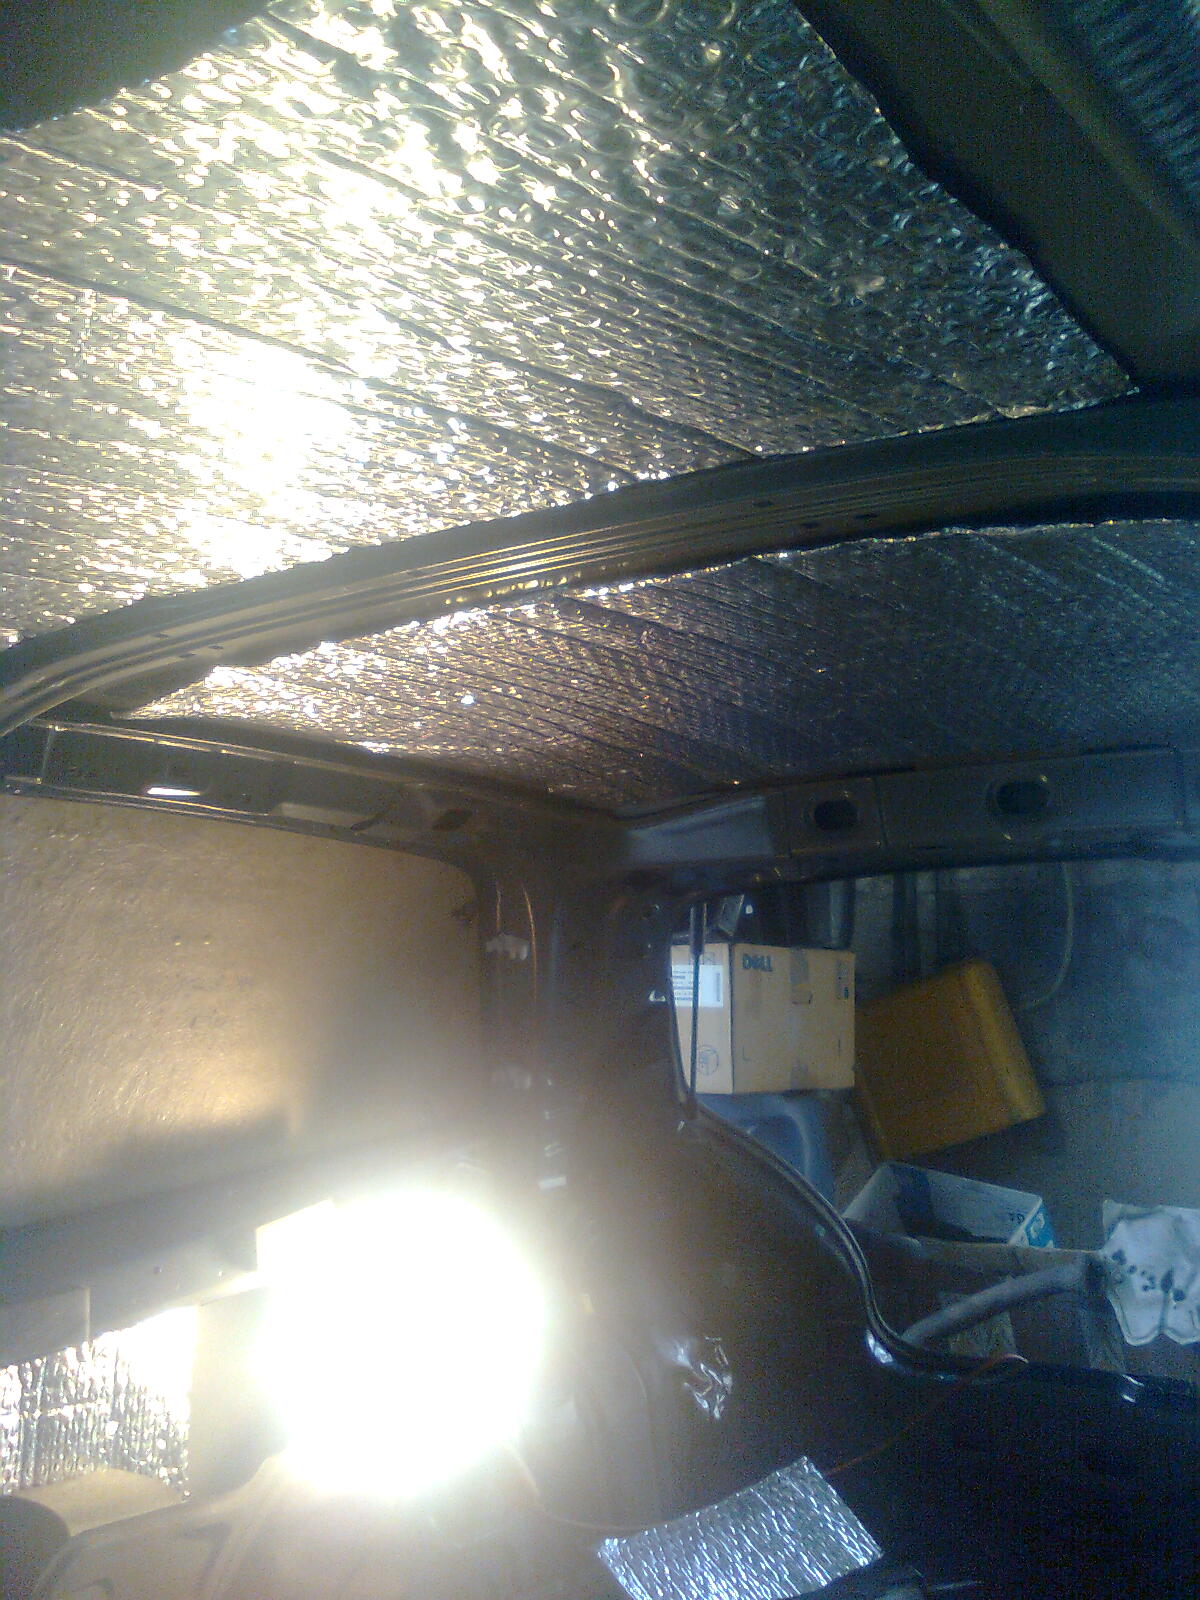
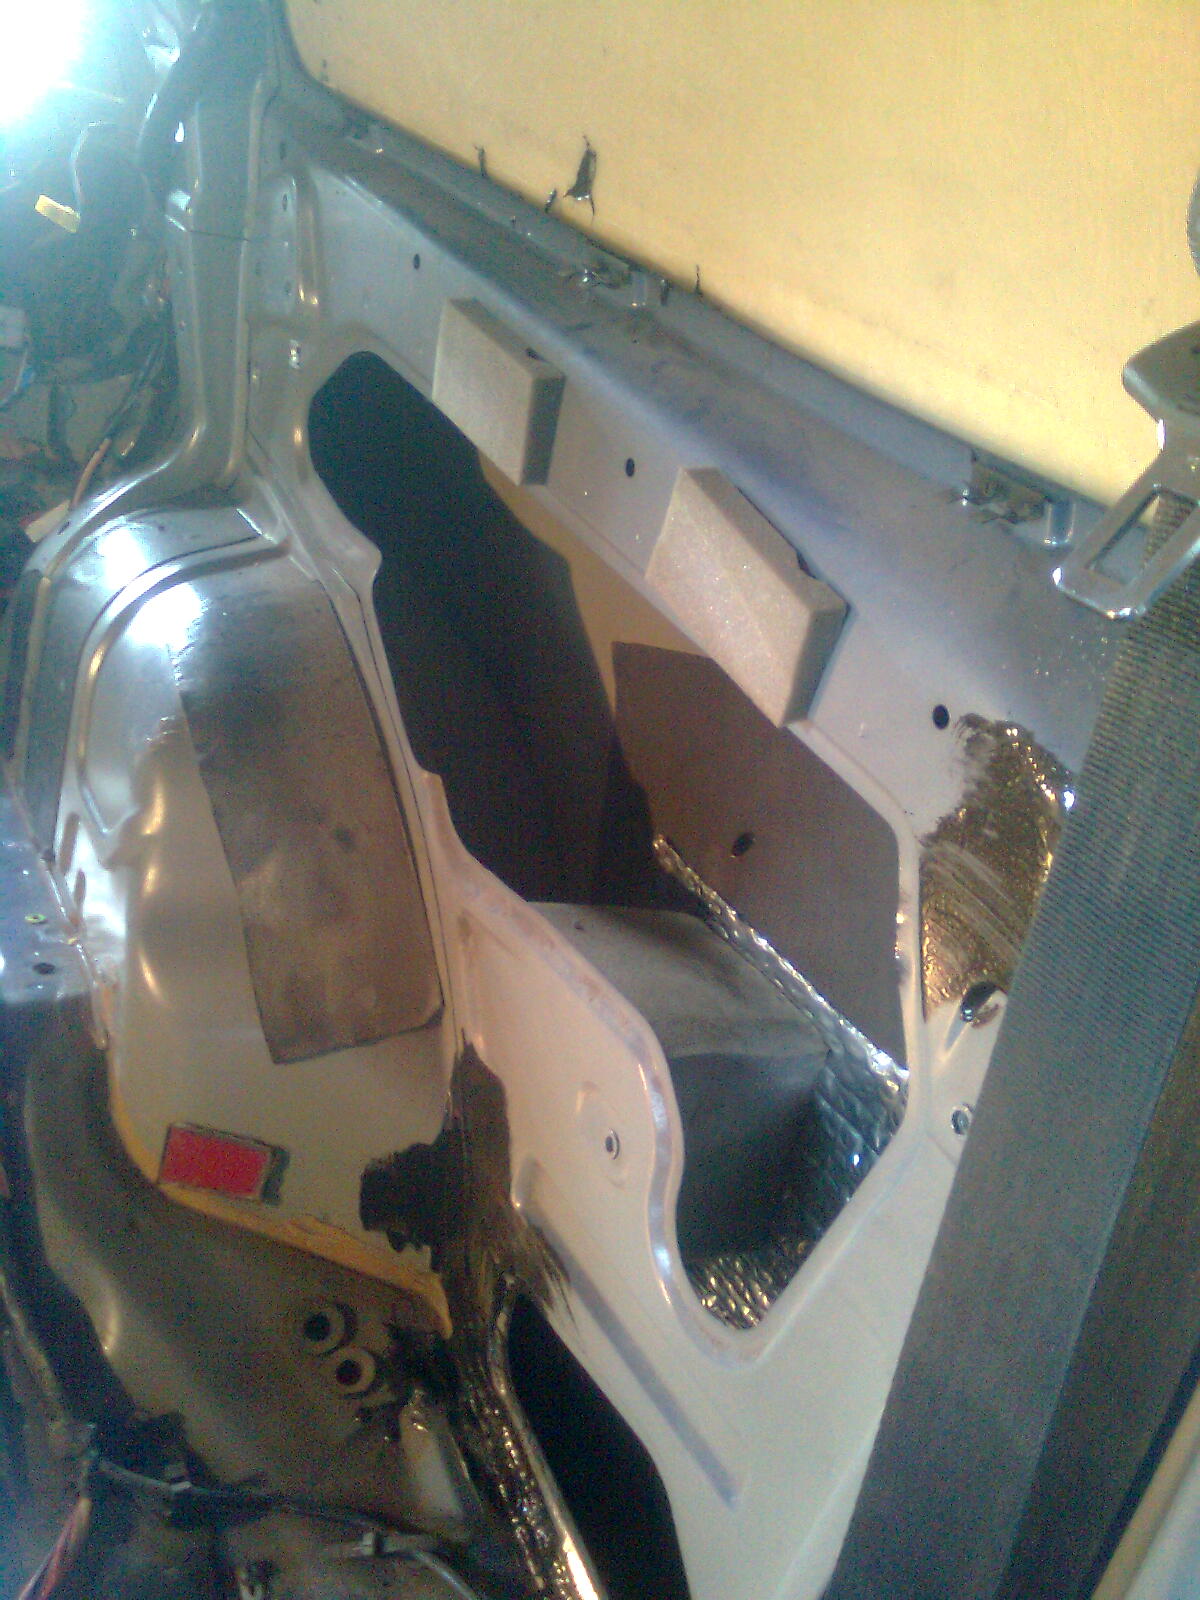
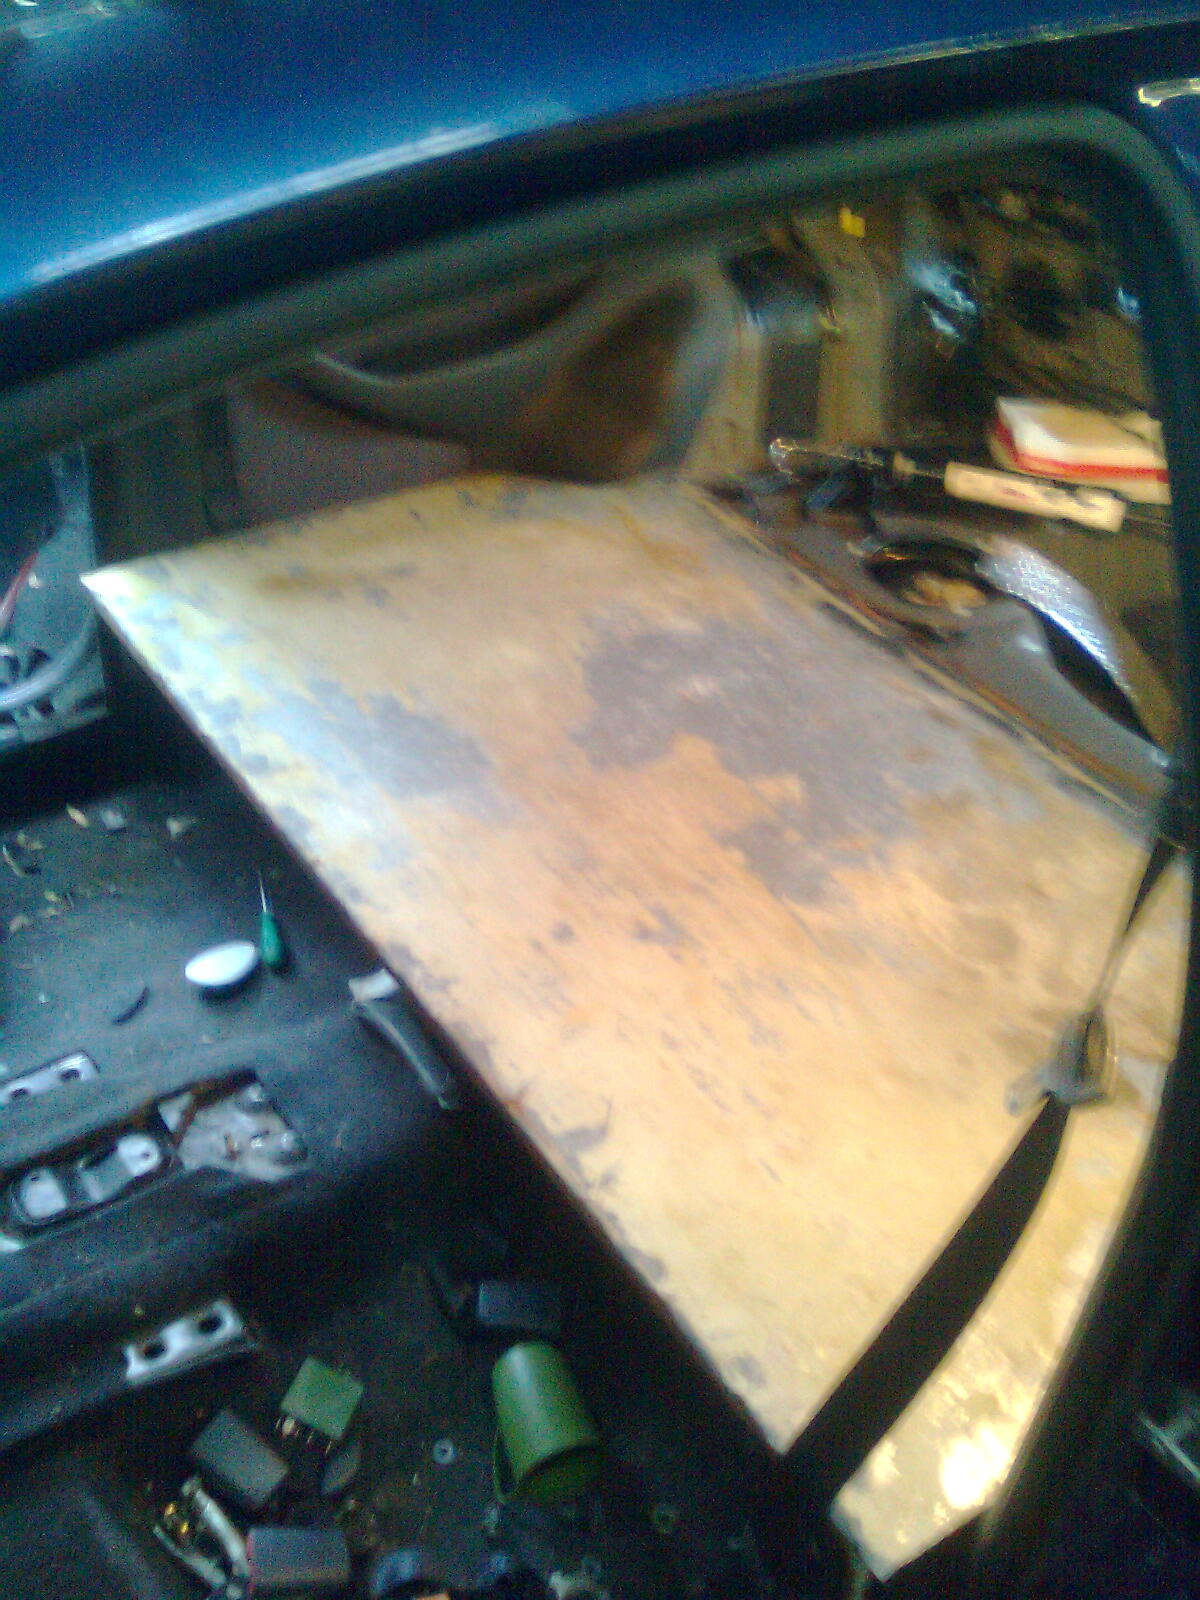
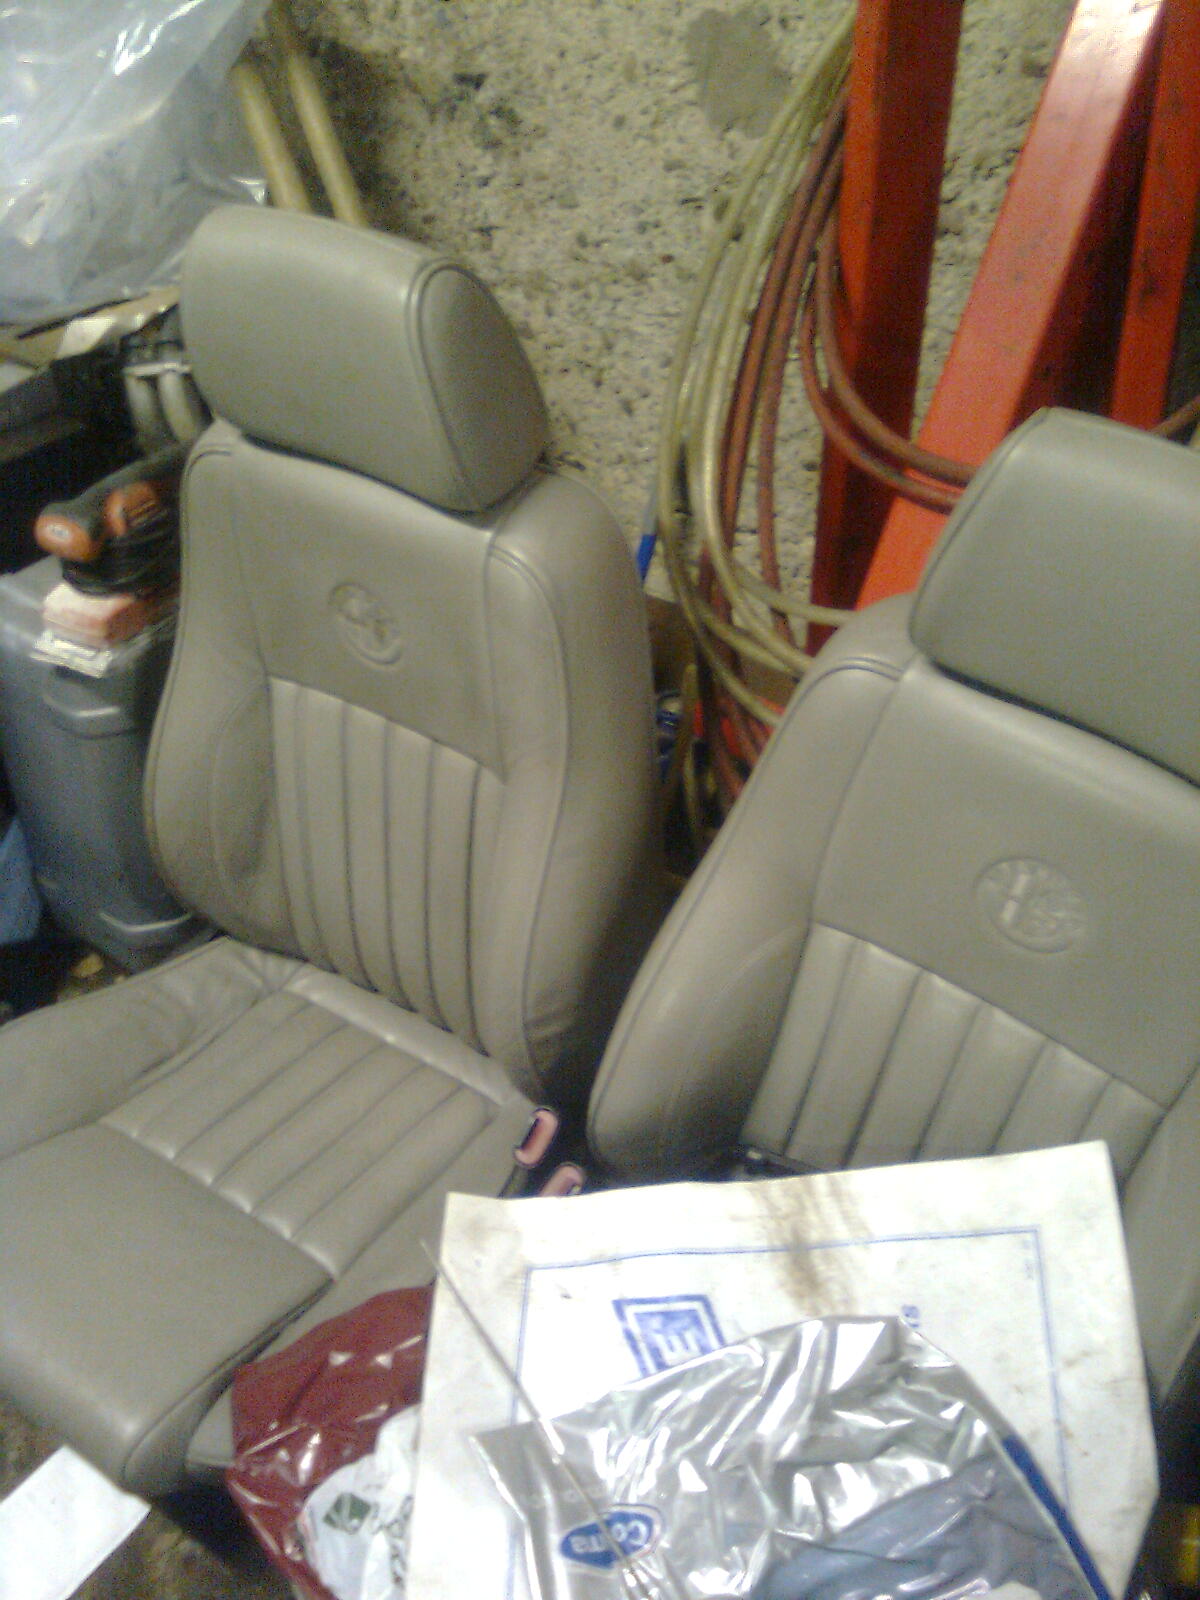
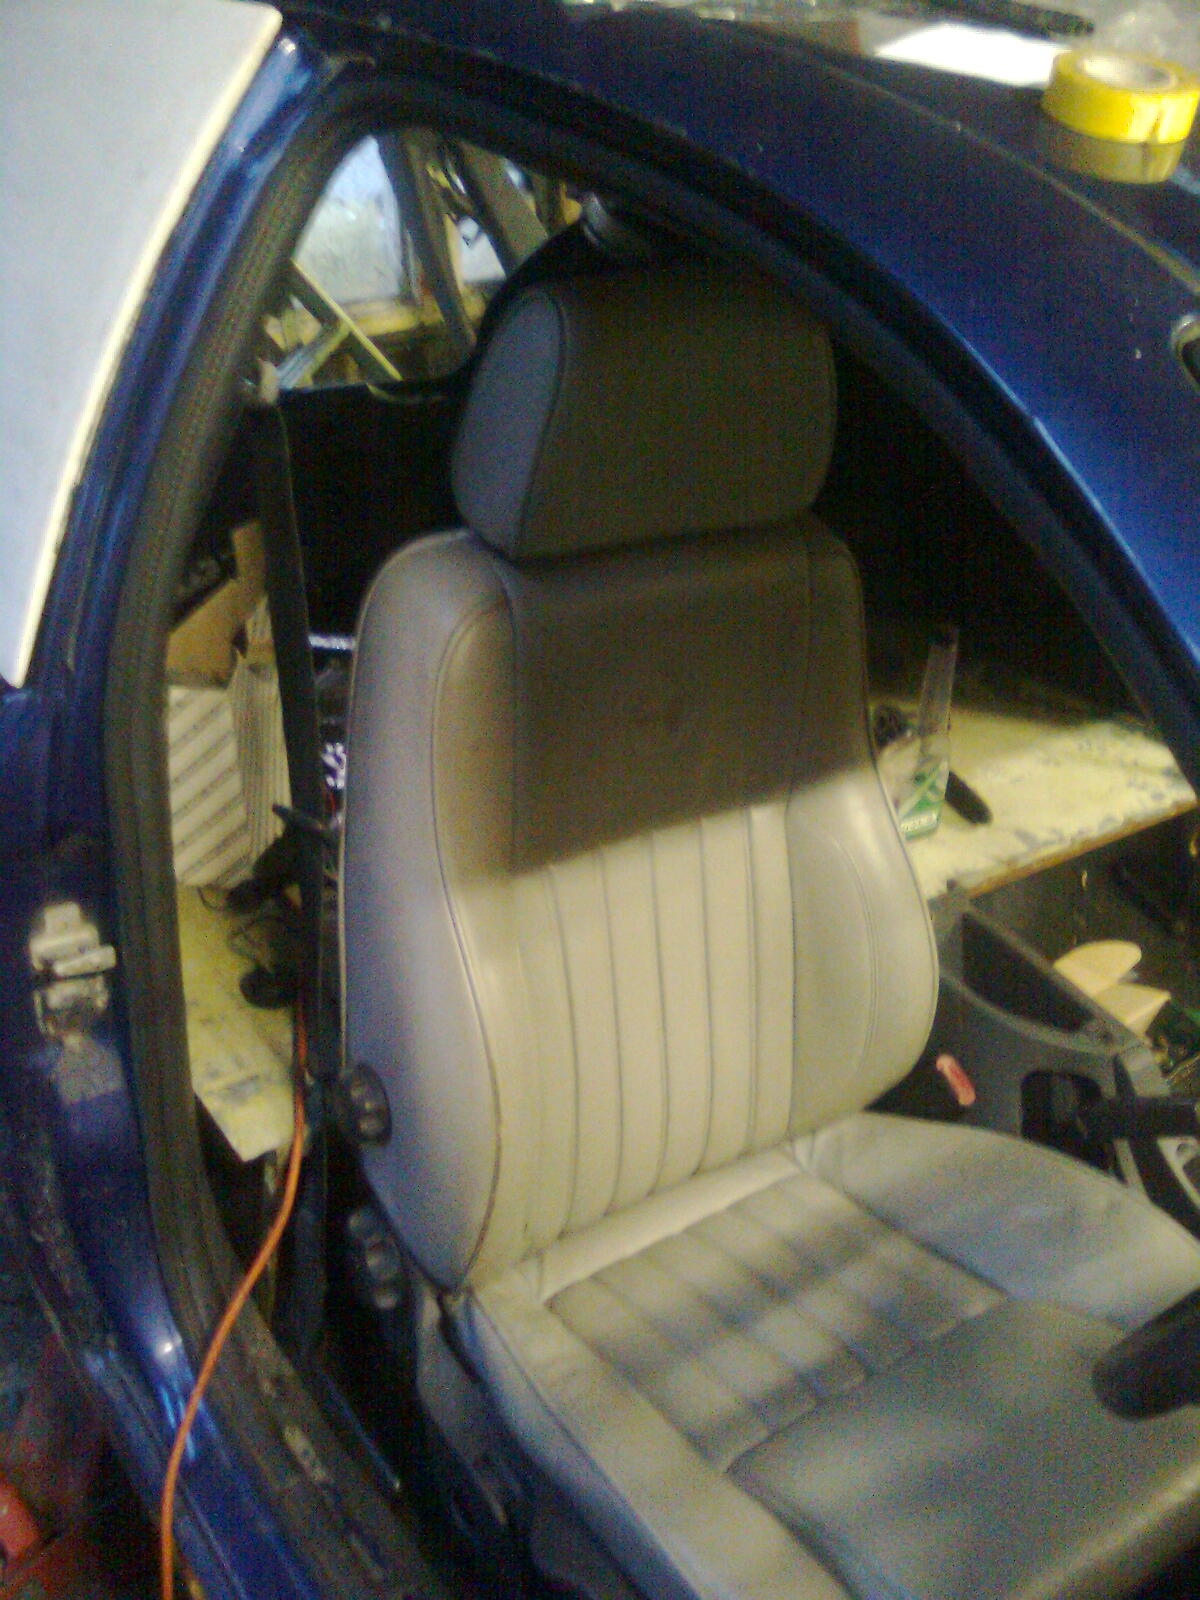
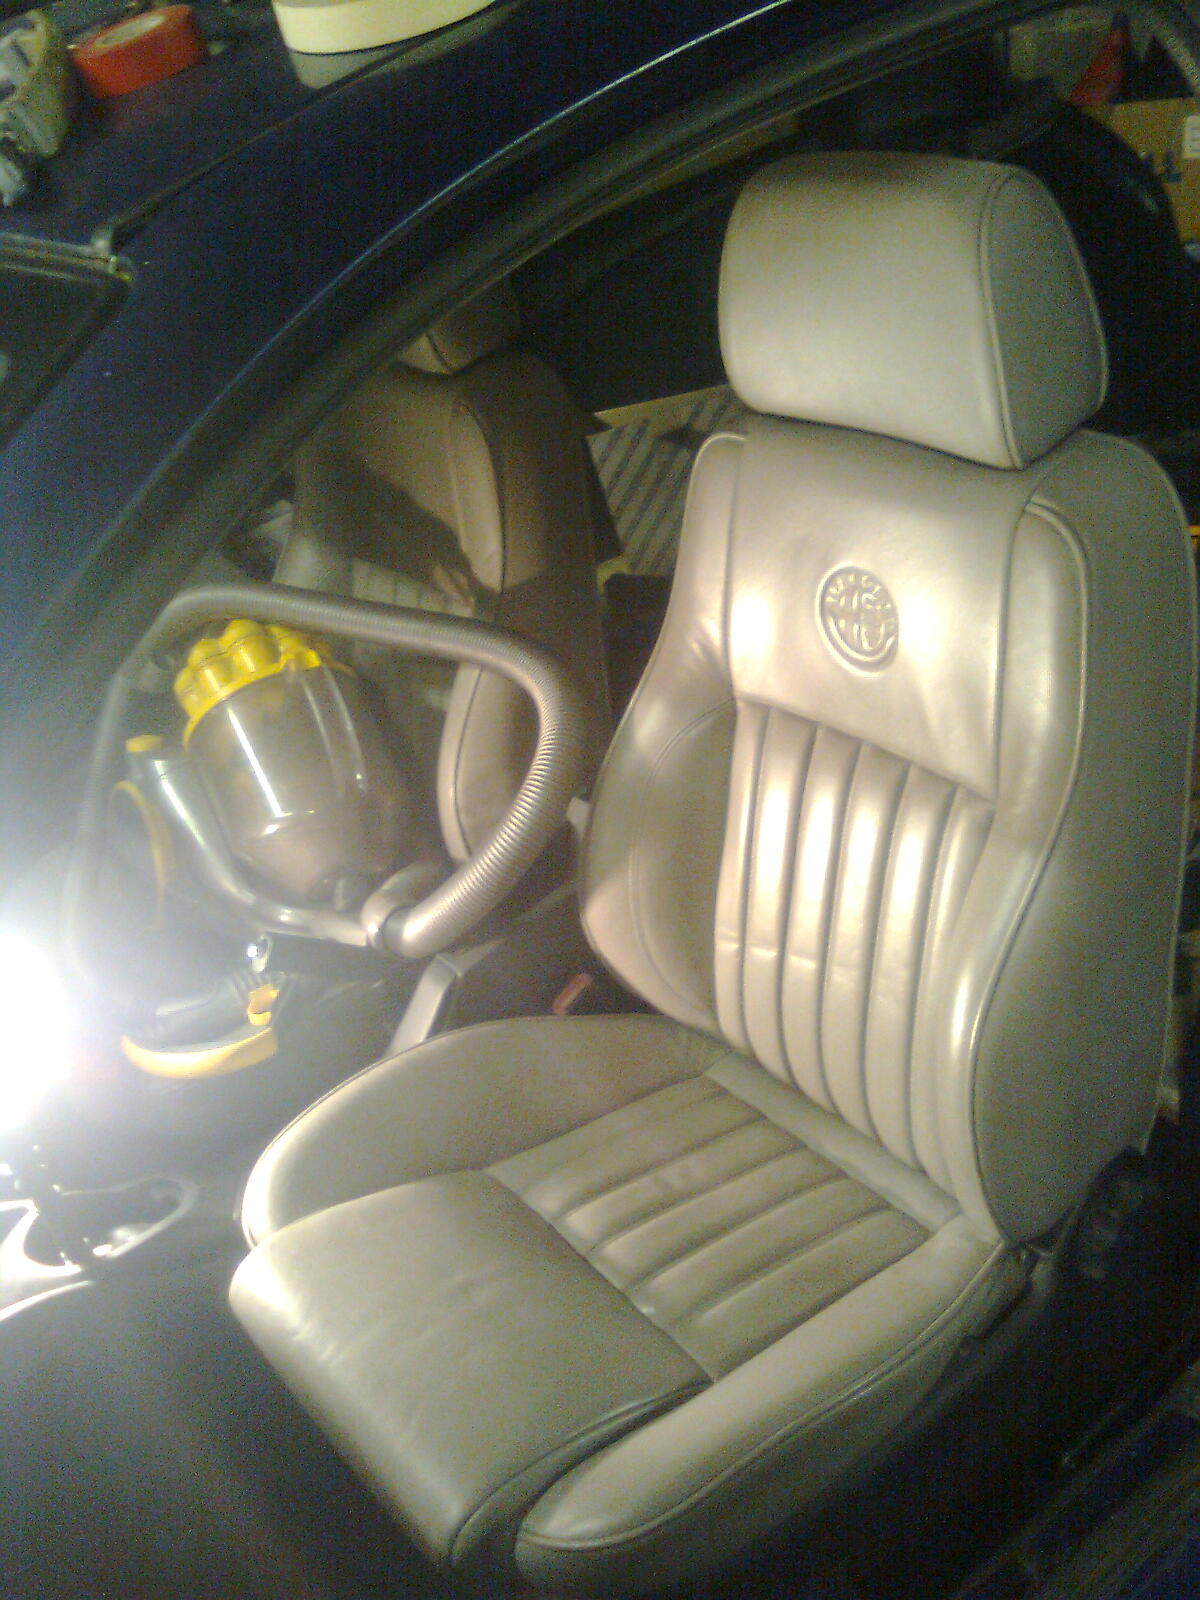
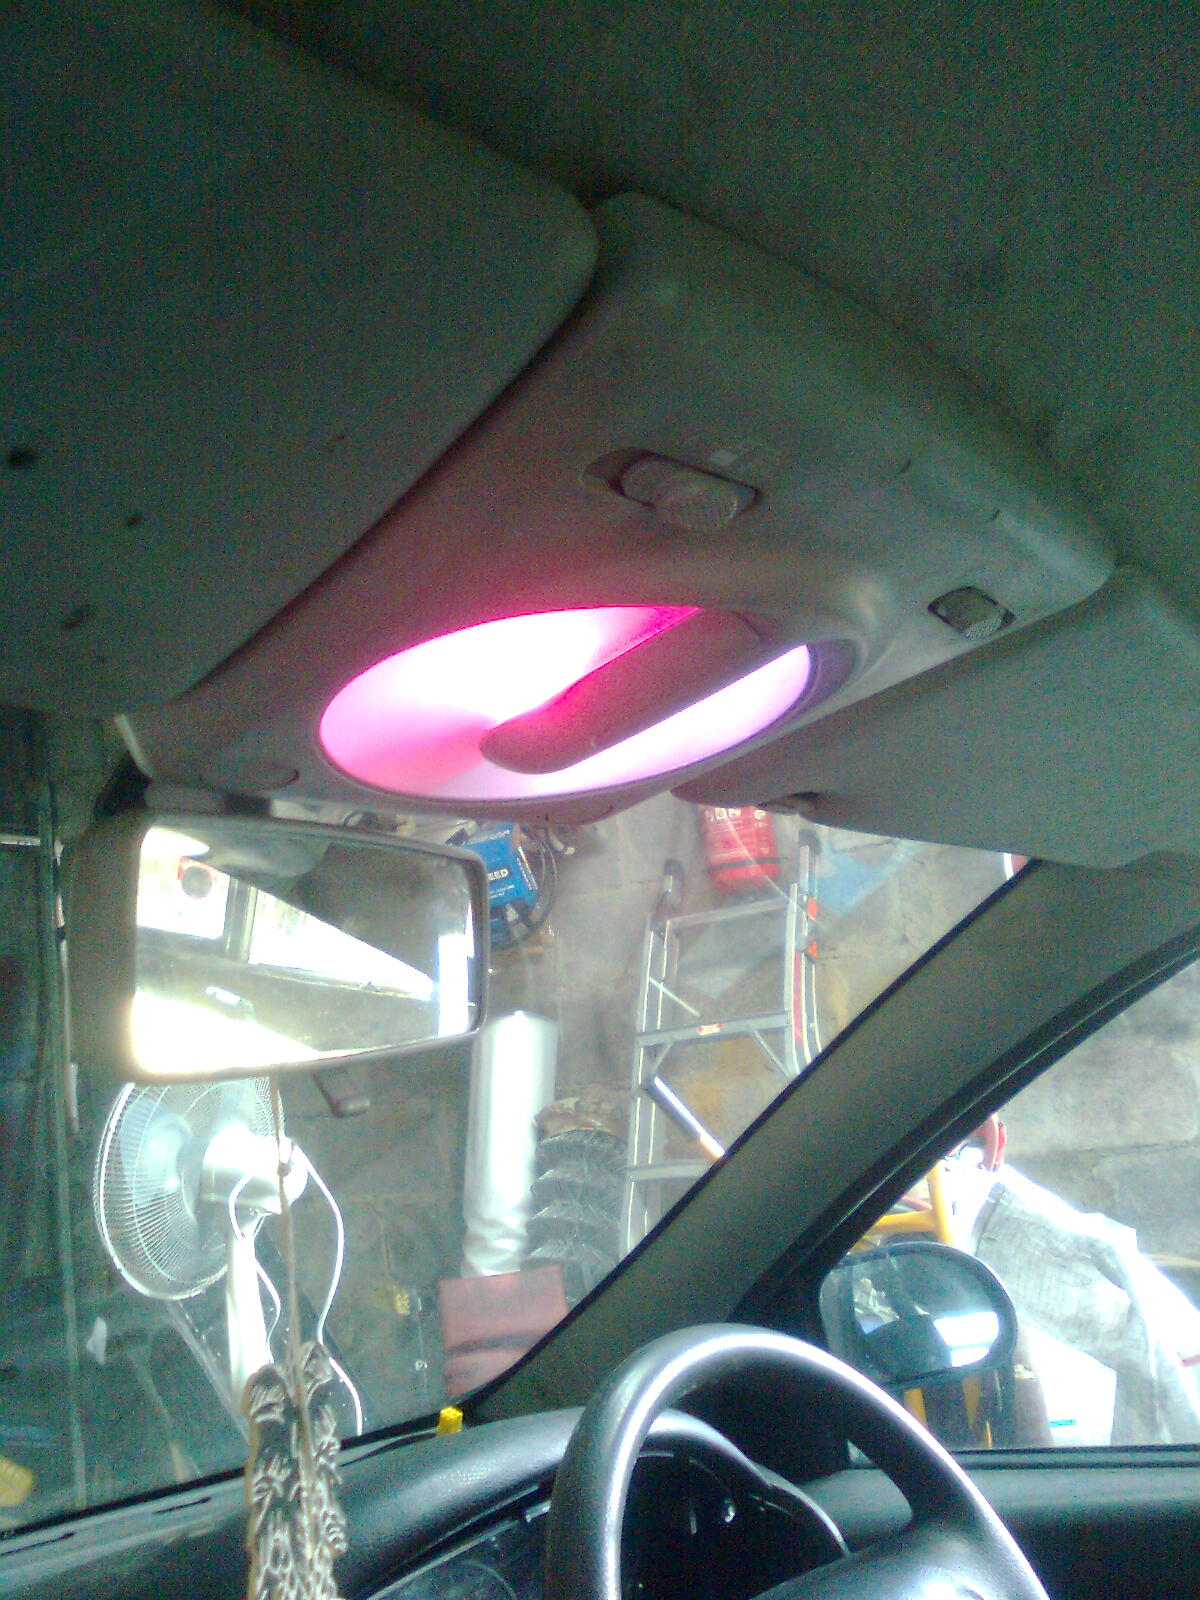
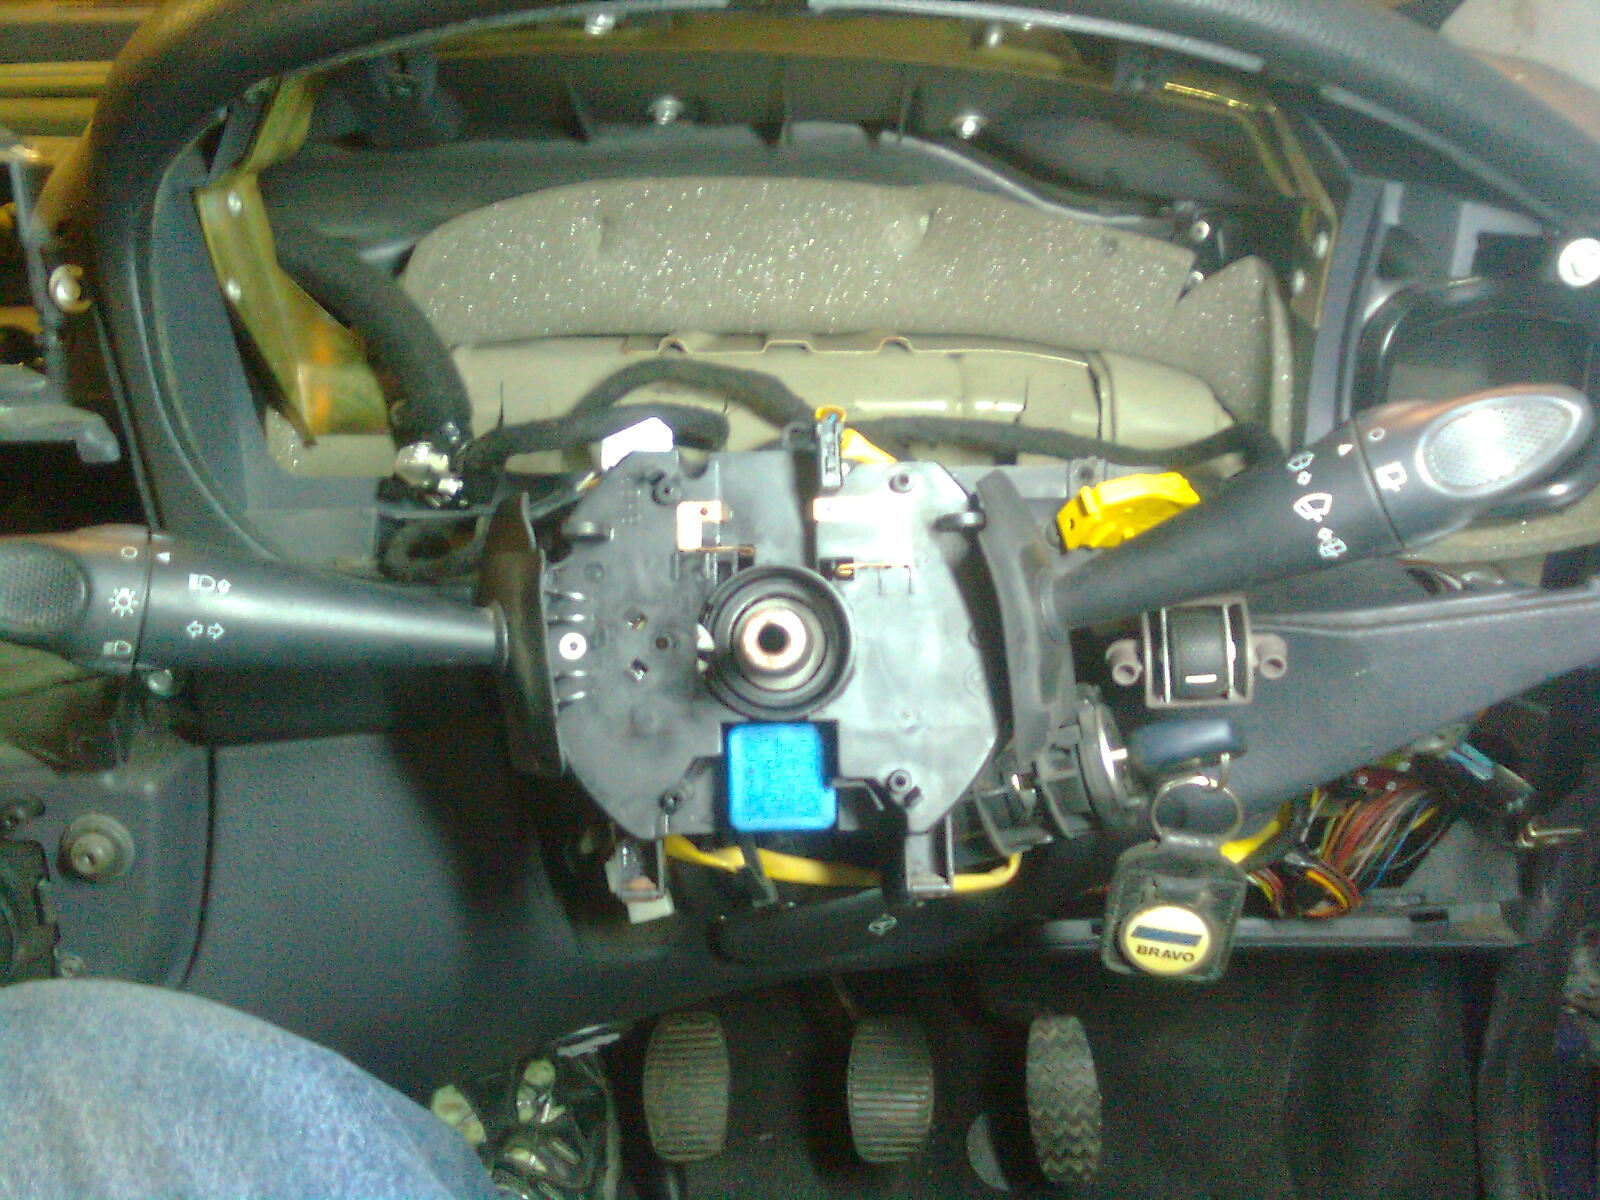
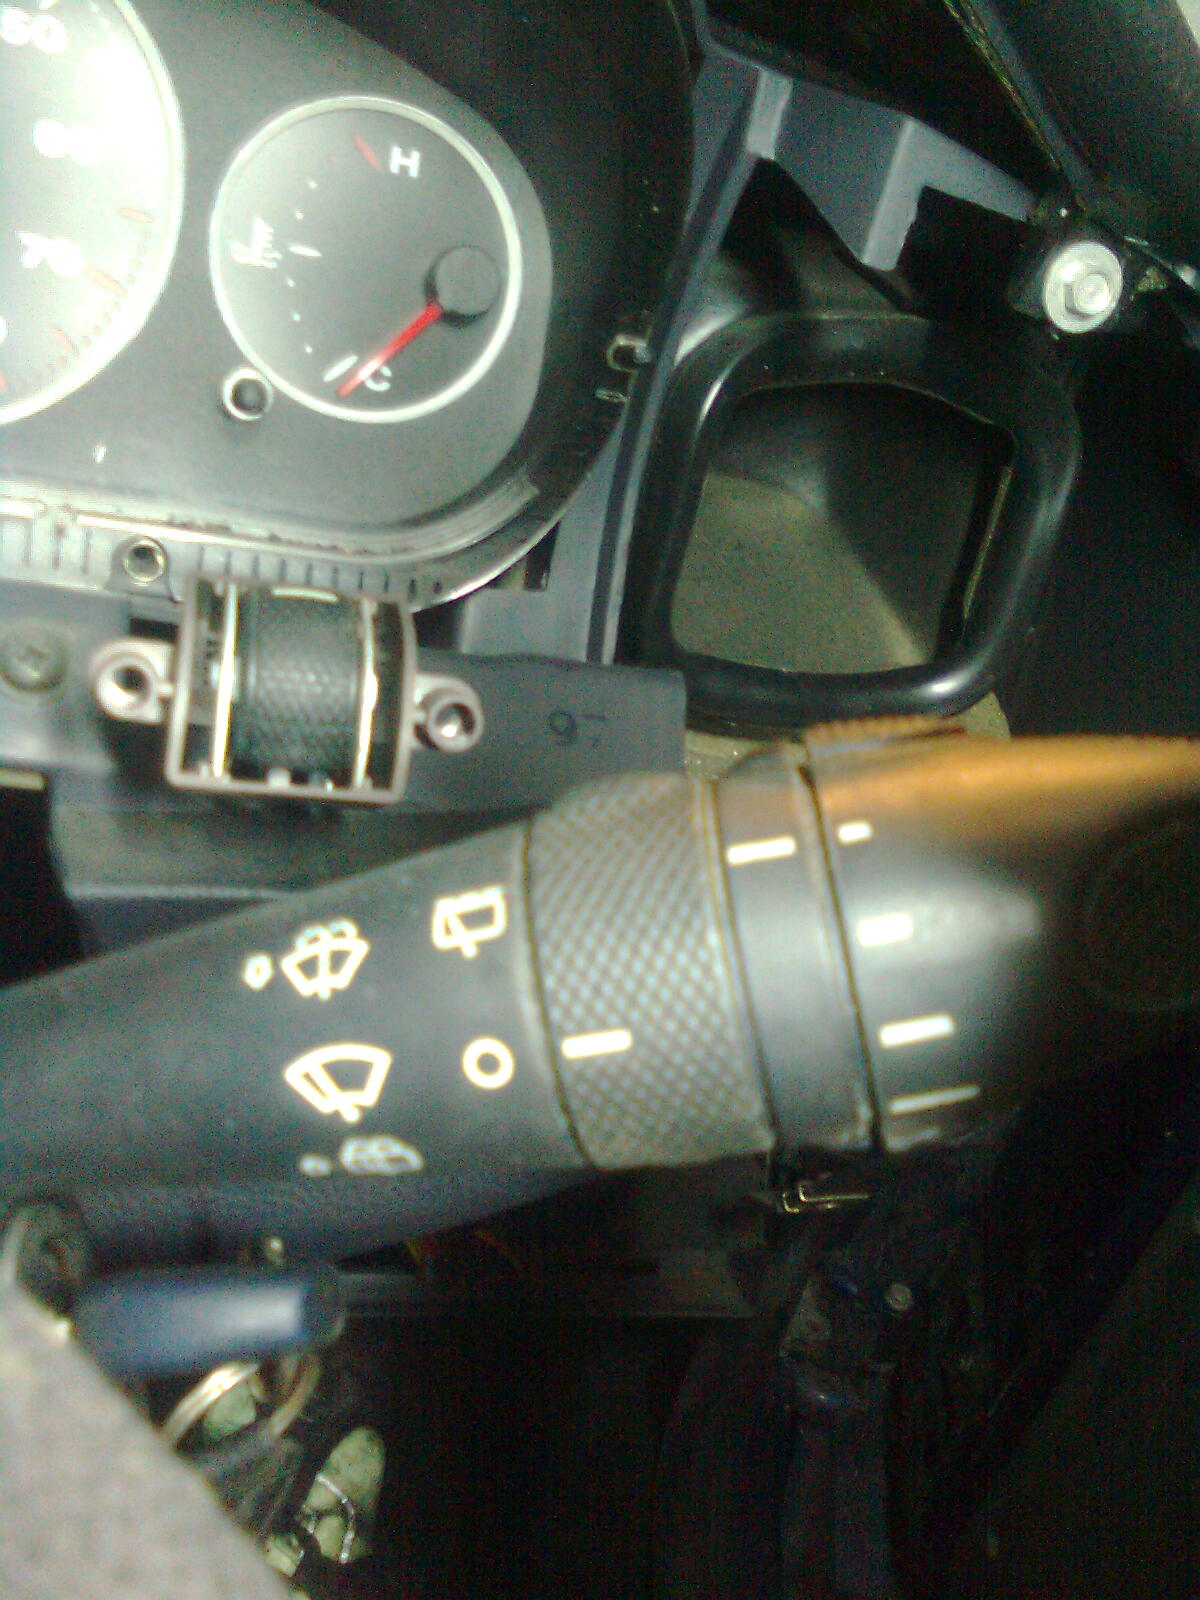
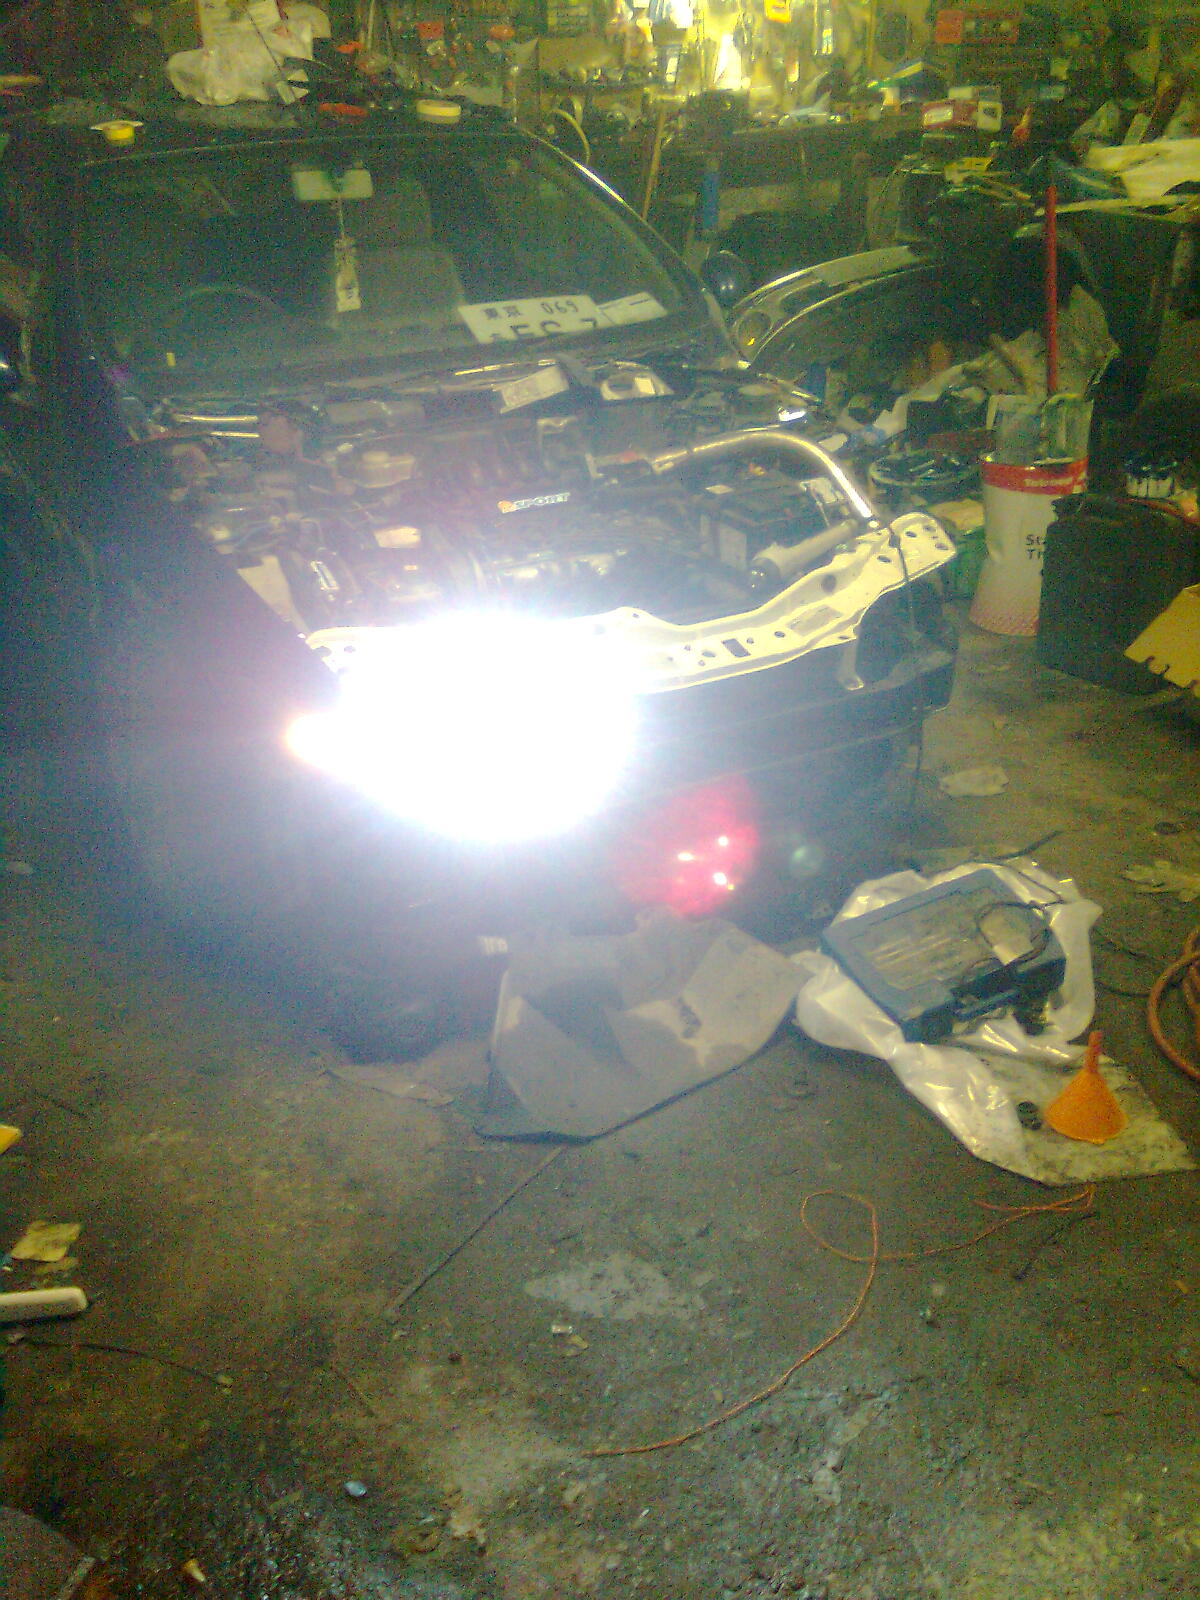
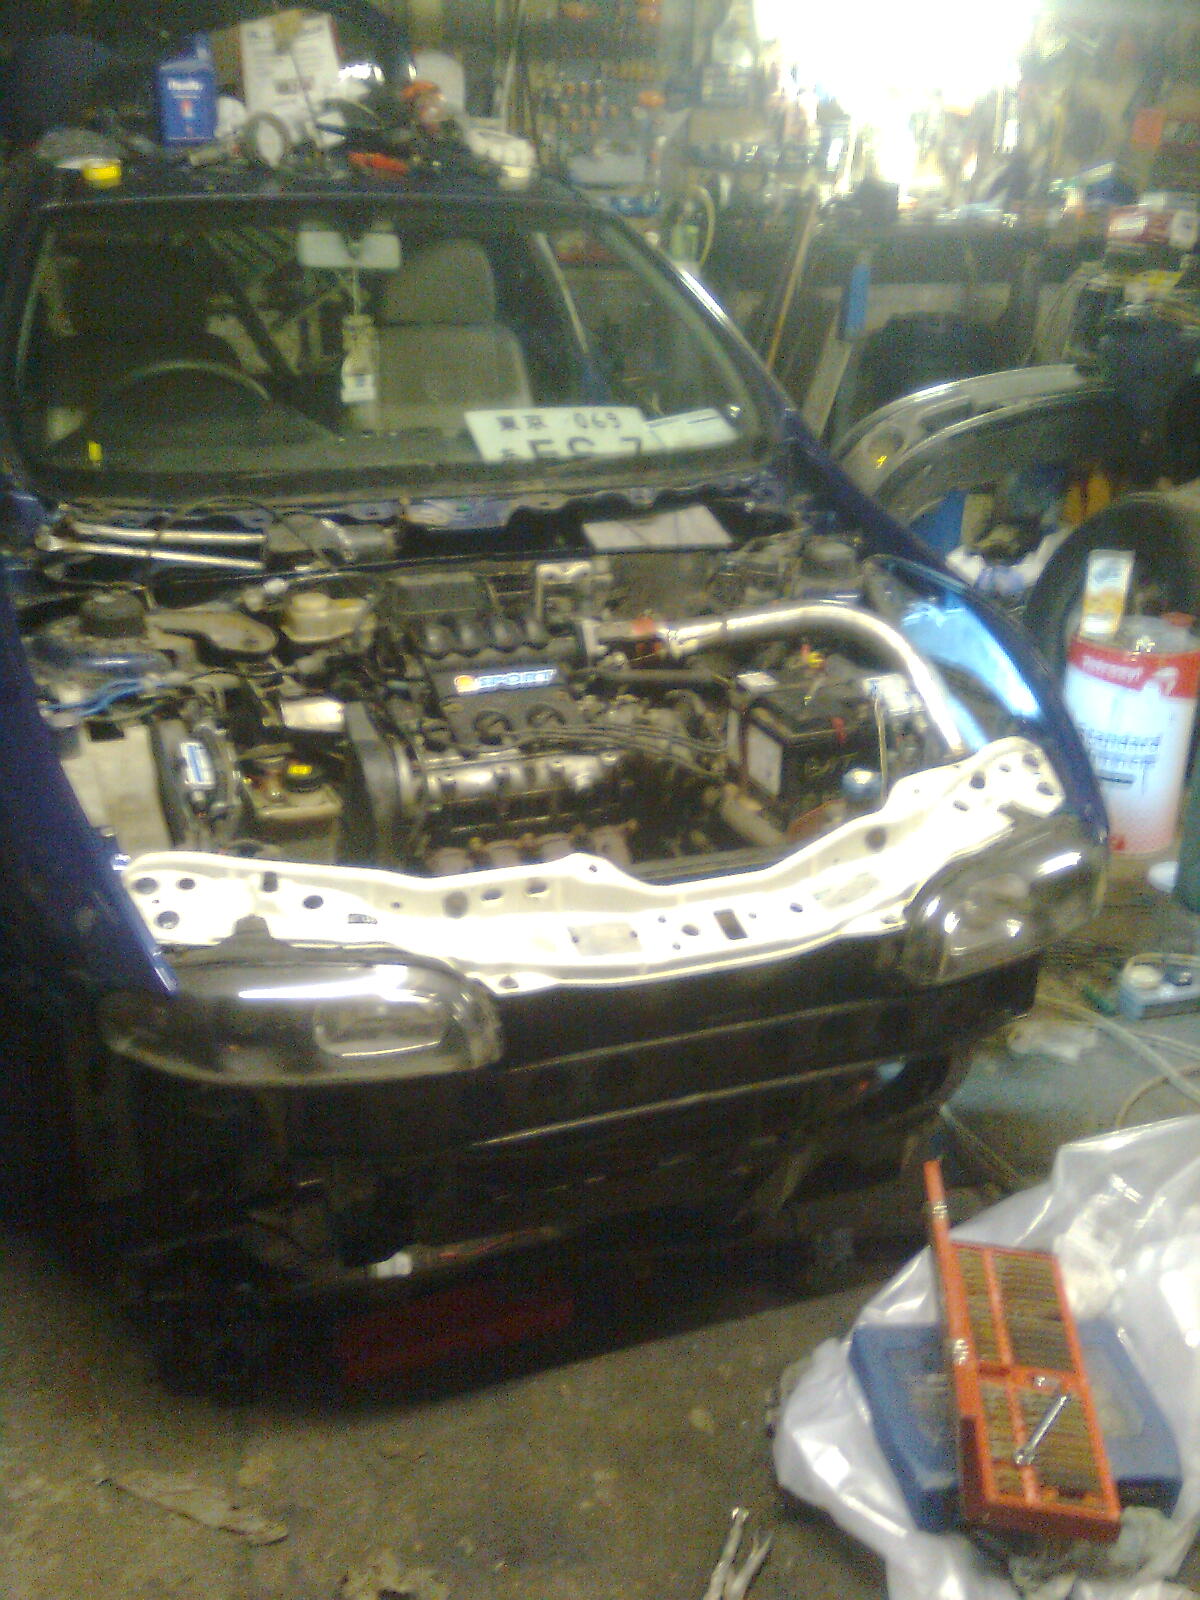
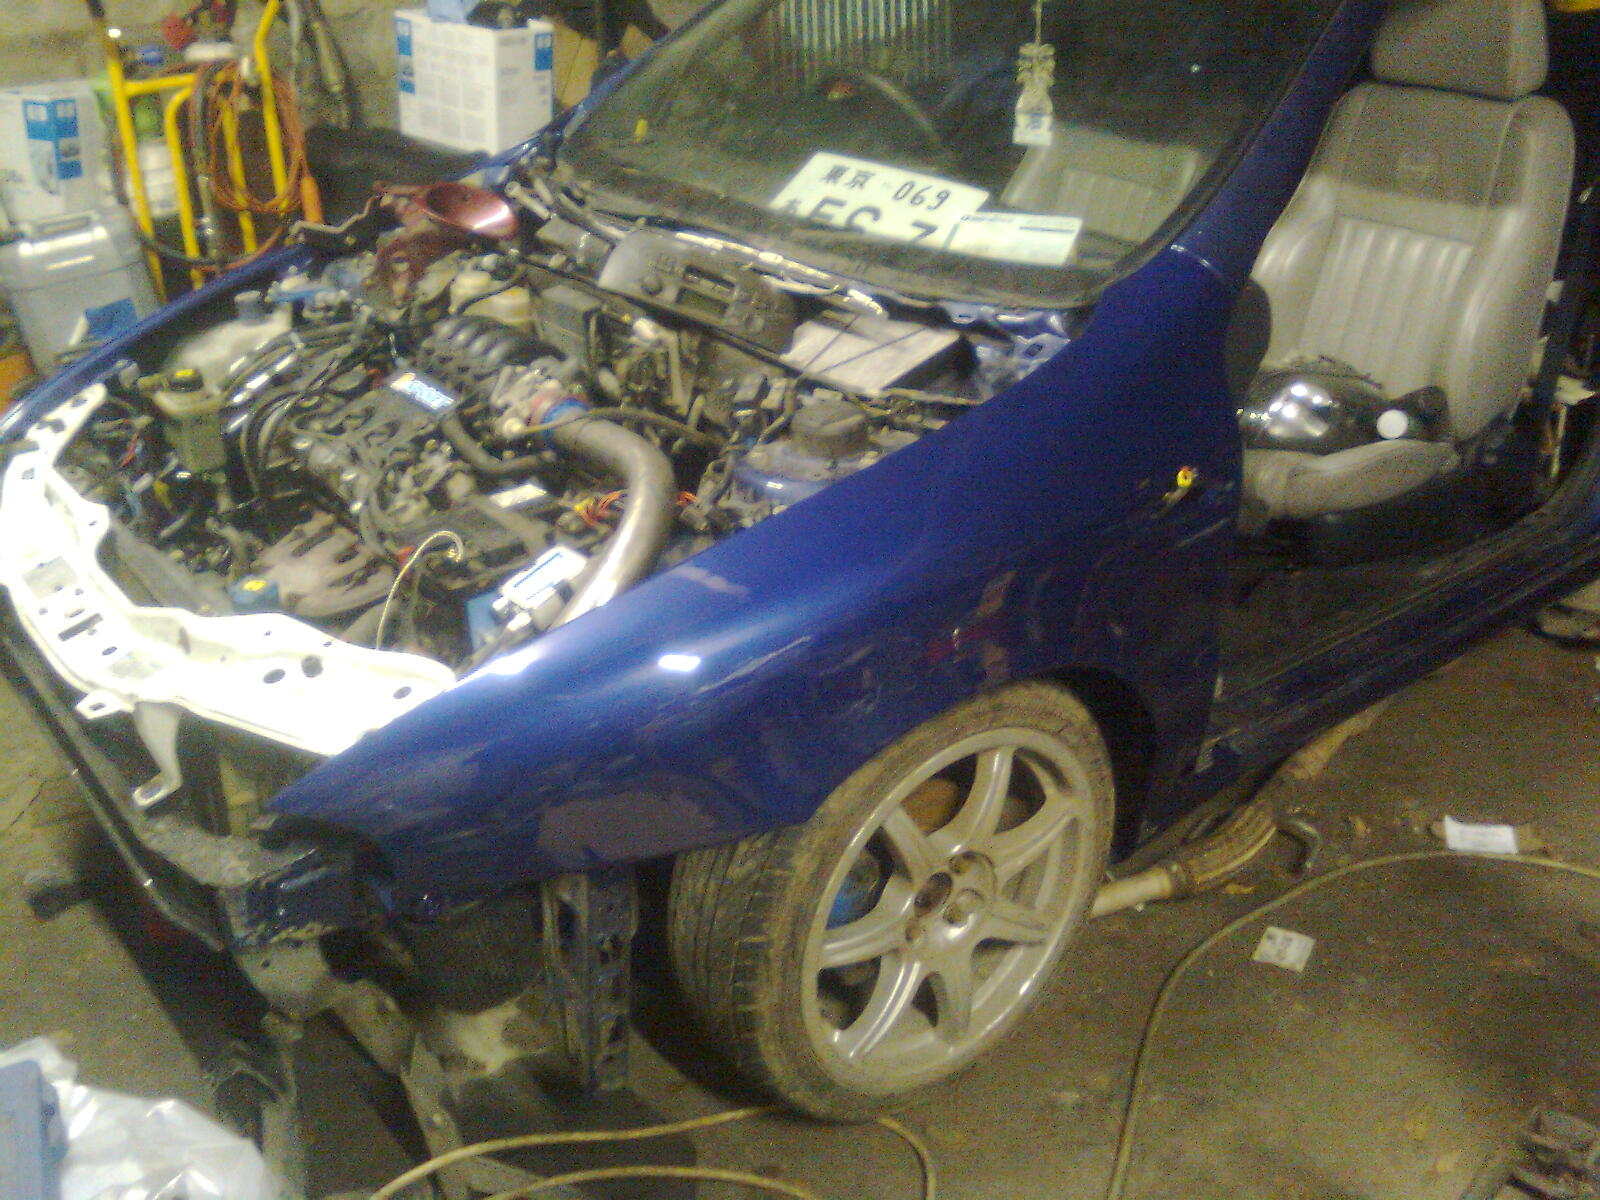
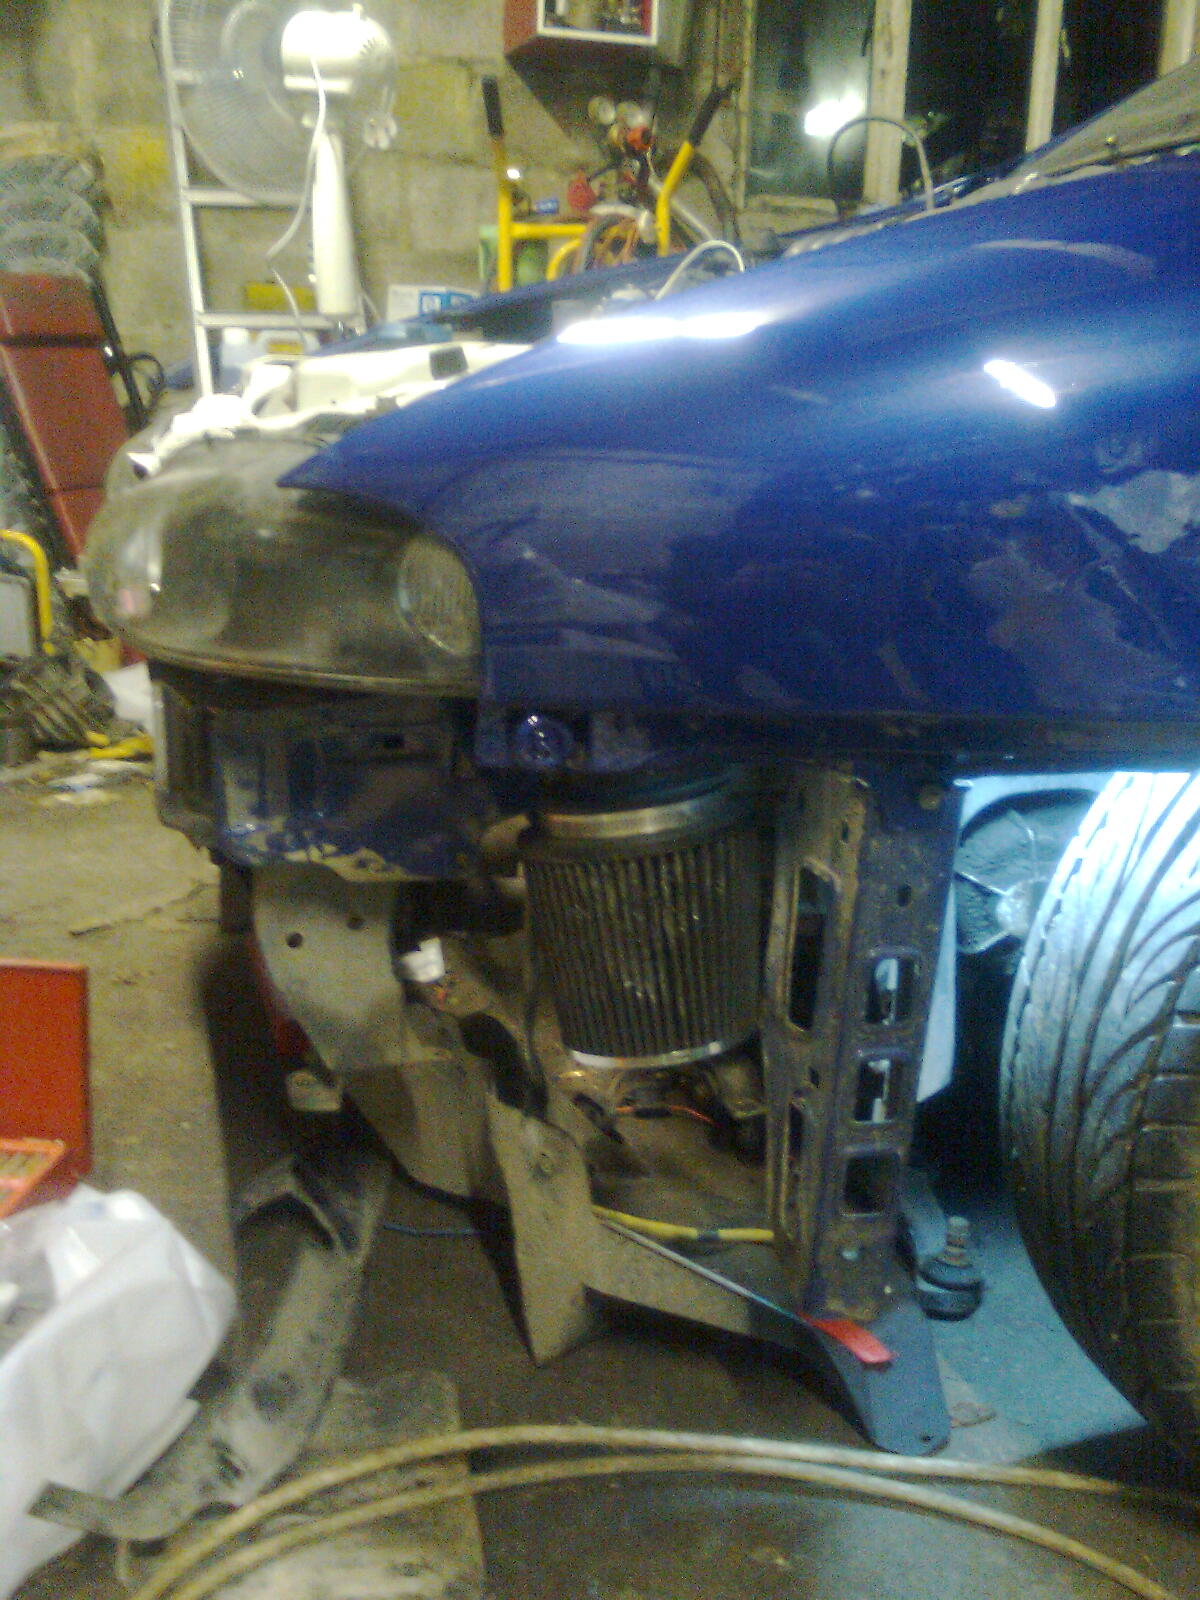
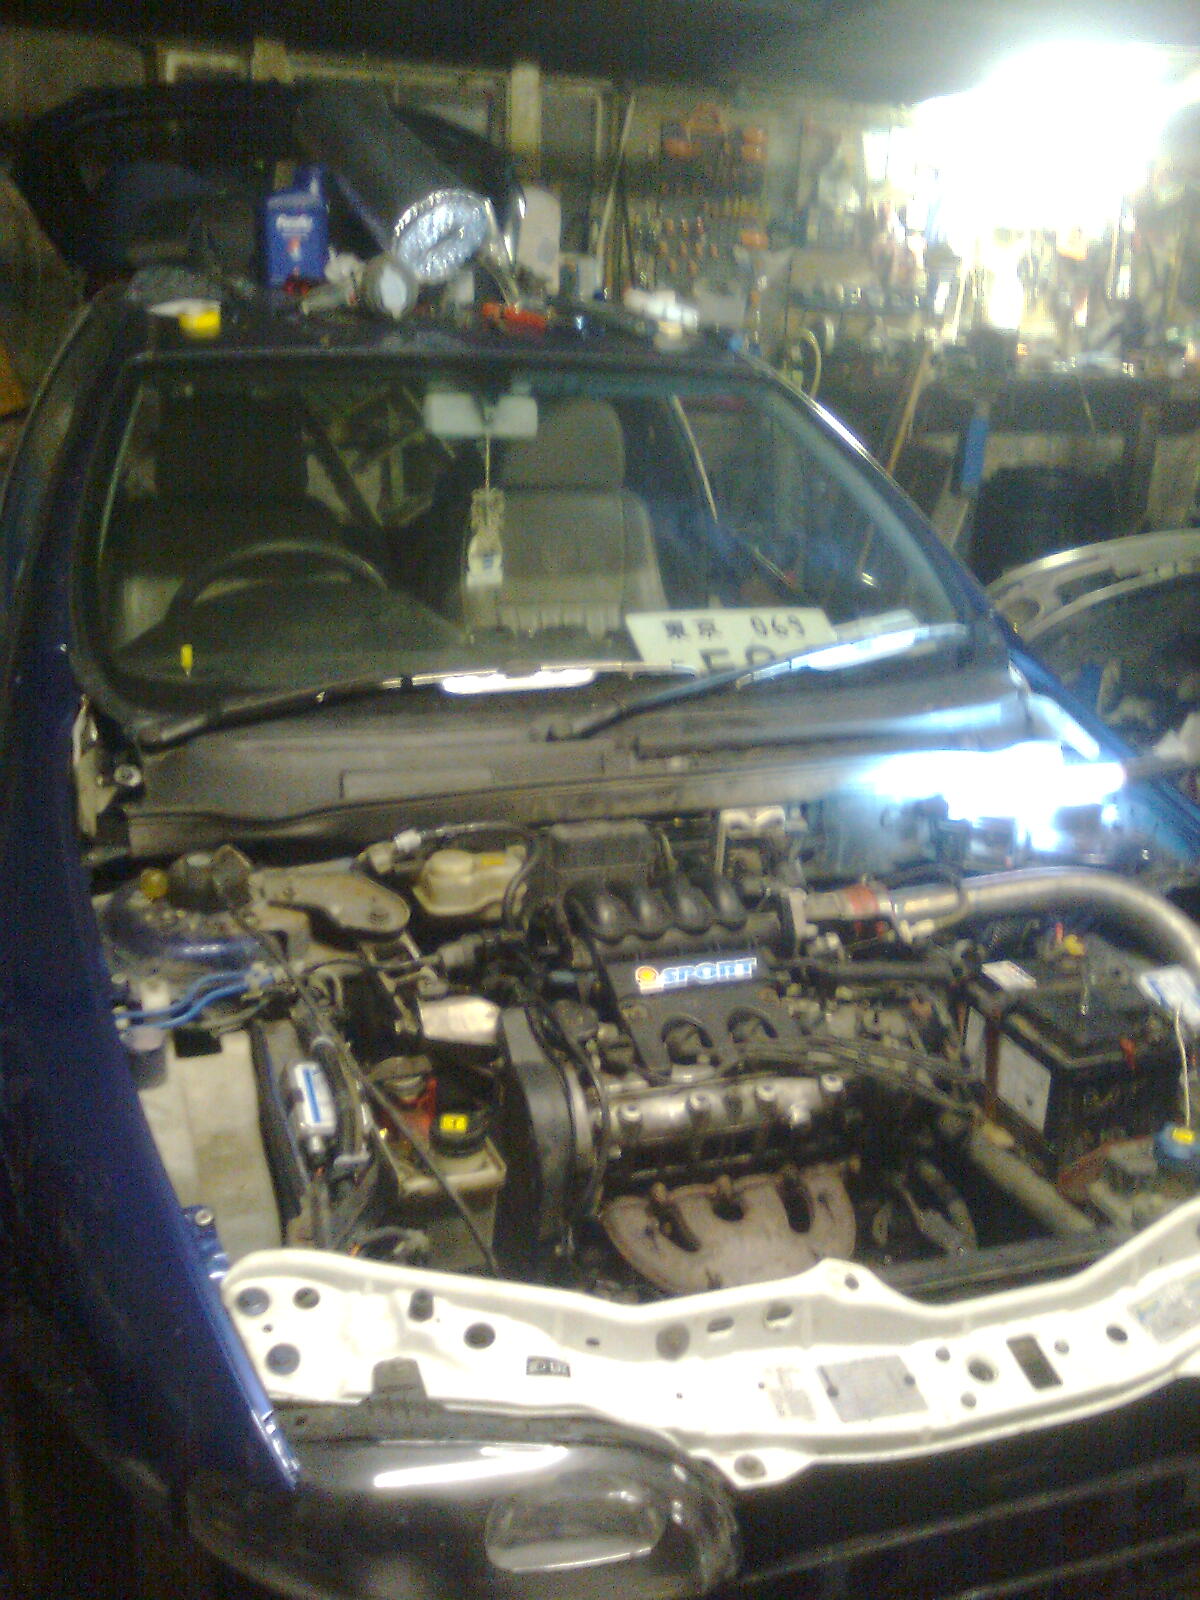
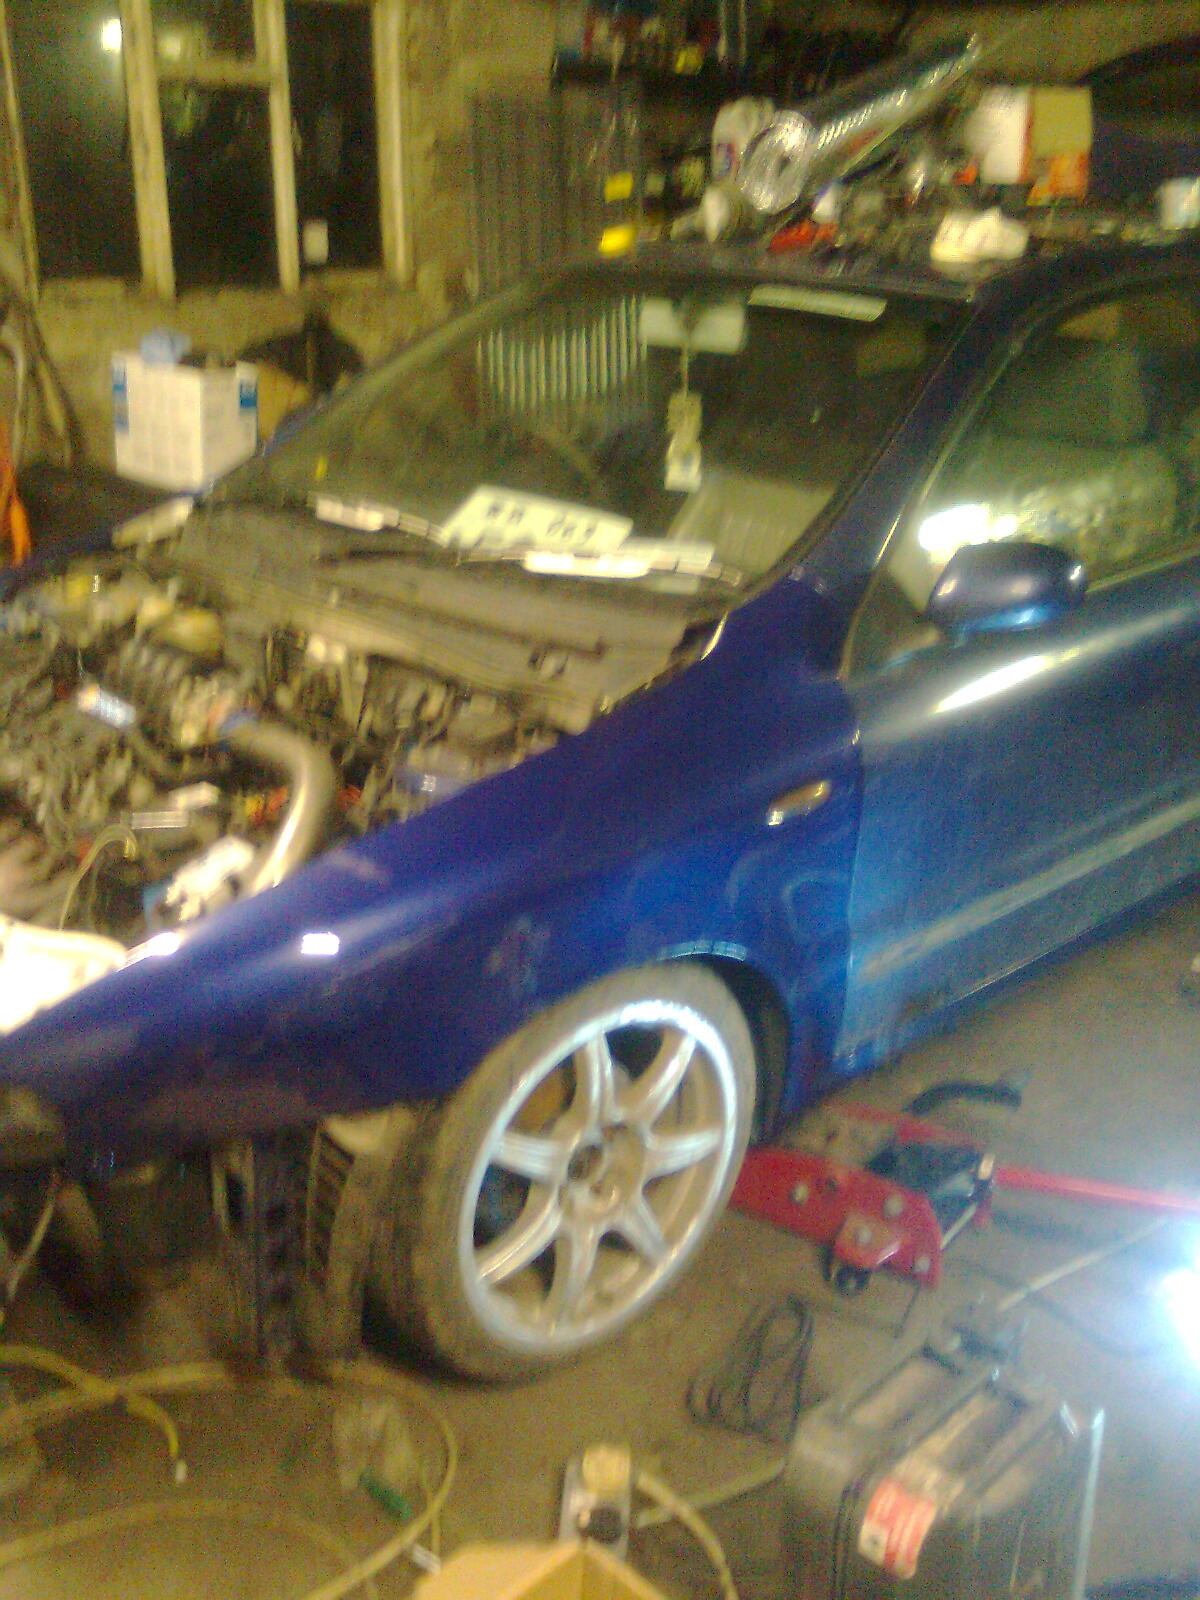
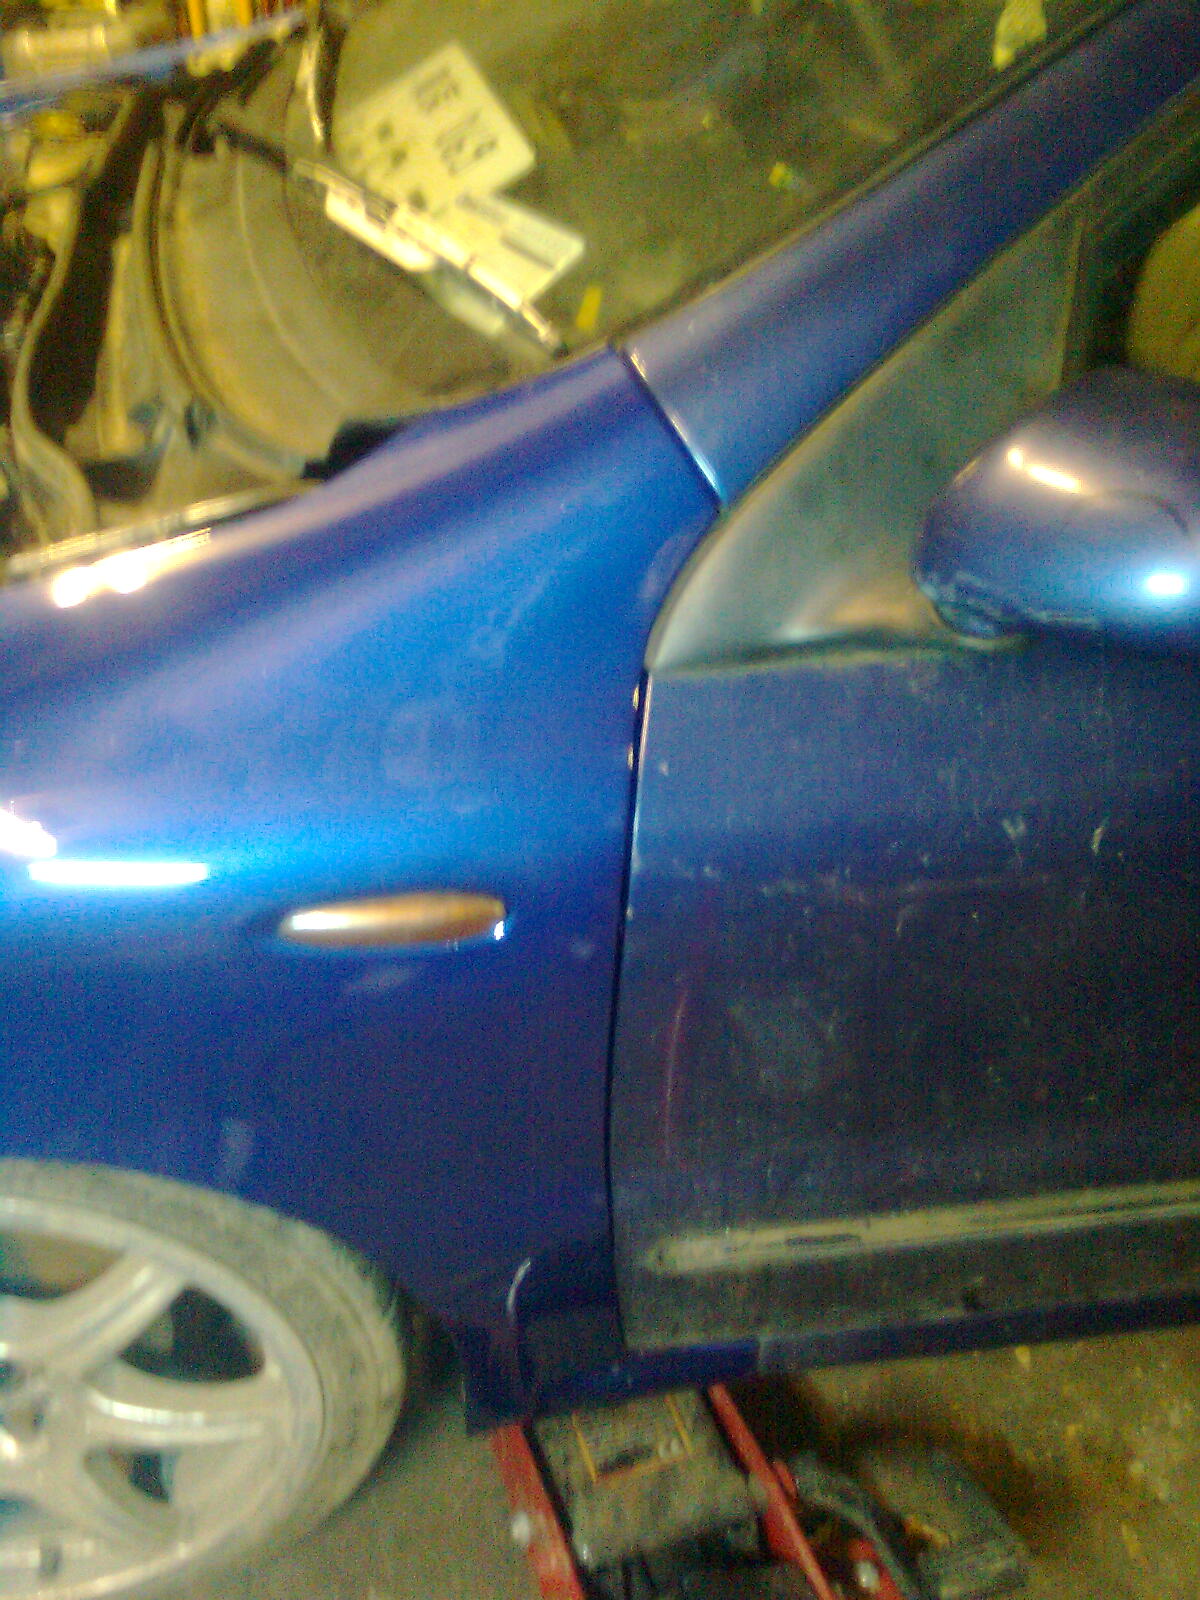
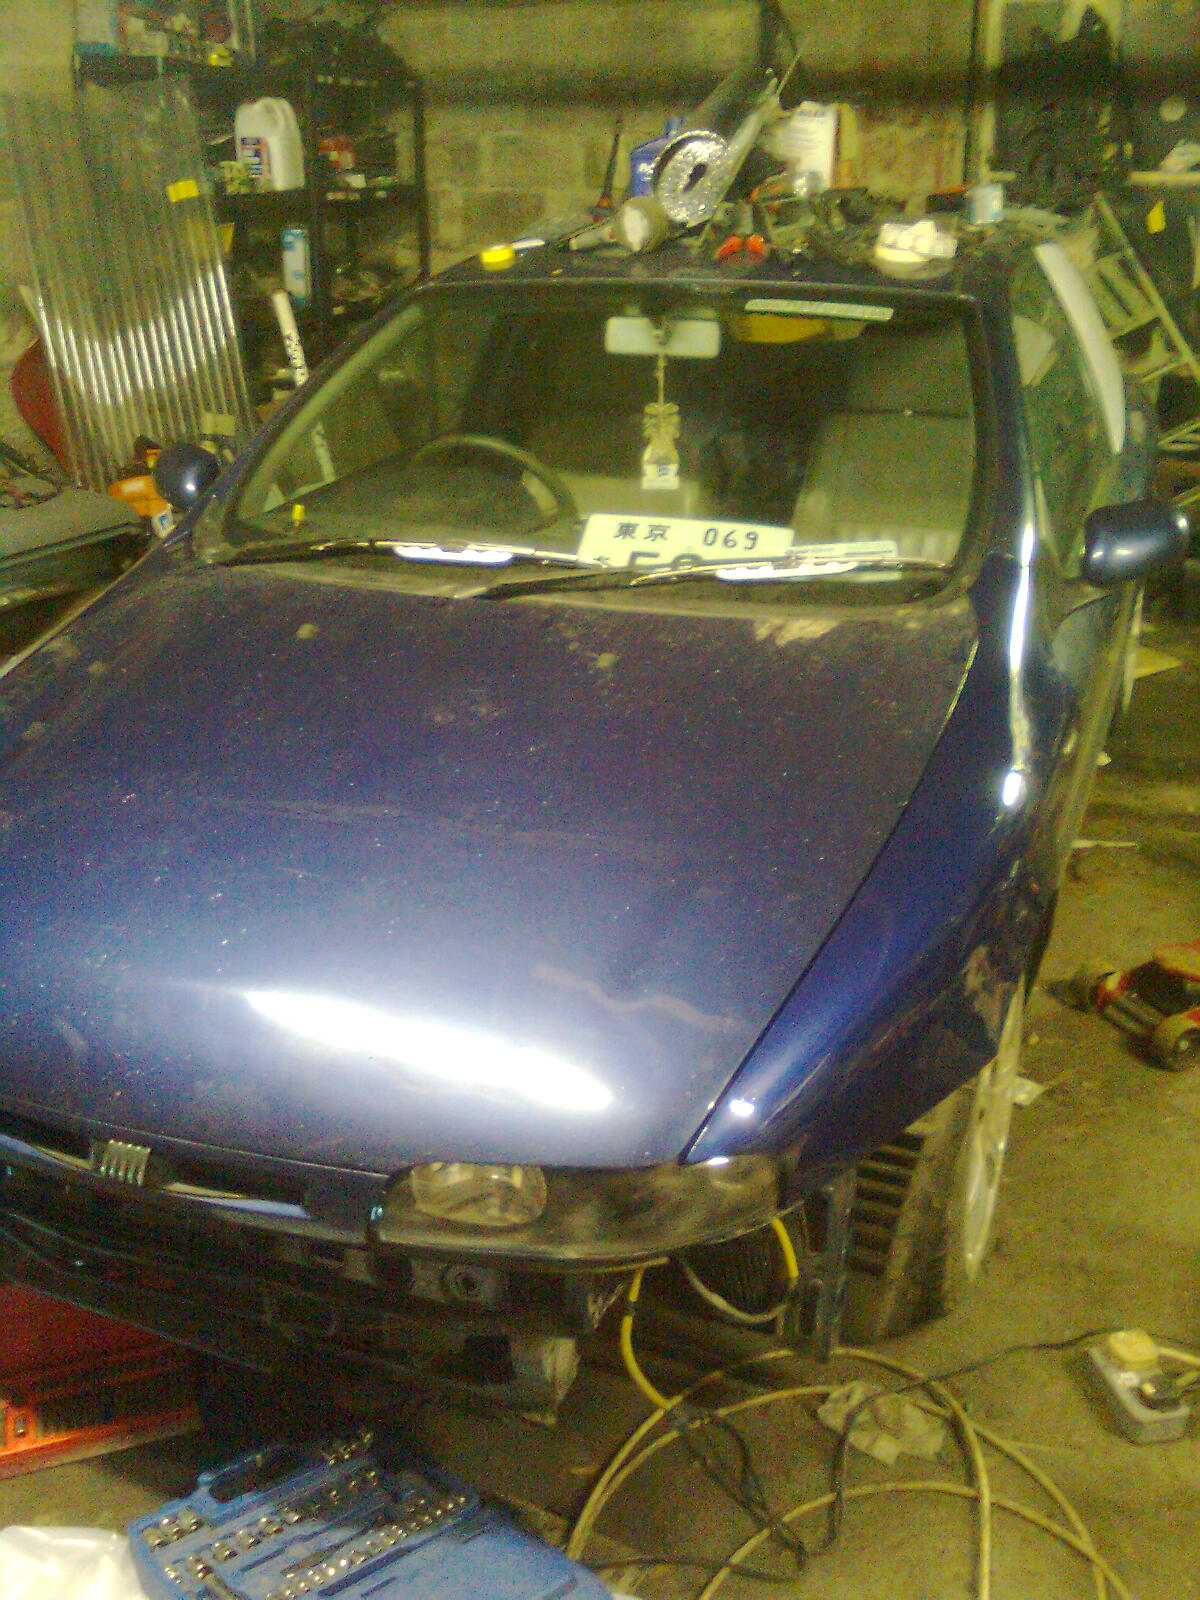
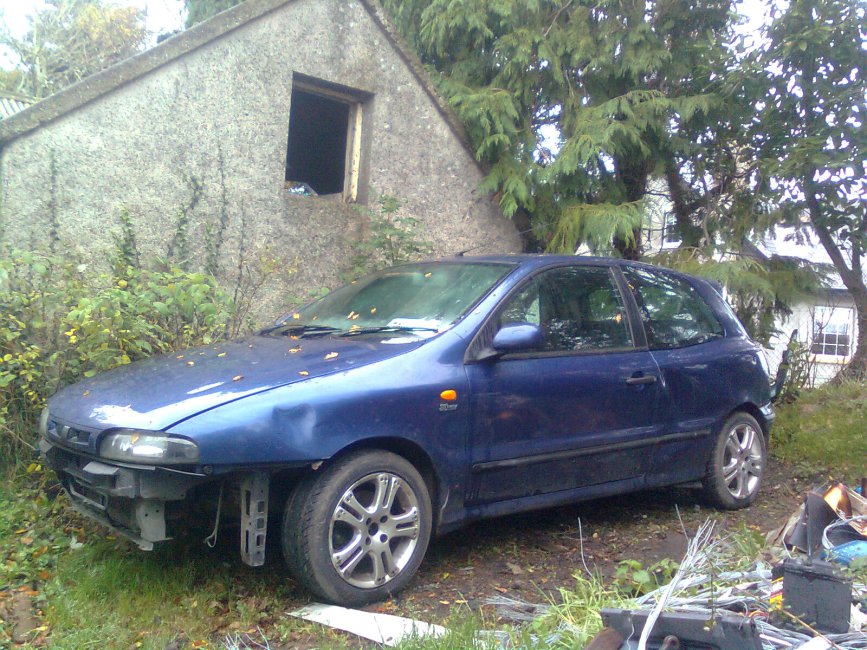
Heres the replacement for my highly abused yet extremely reliable Bravo.... Another Bravo (y) I'm moving up a year here :D Not going to be bitten like the last time, this is going to have a strip down and re-rustproof with a few bits to be thrown in too (copper lines all round are in the plans). Most importantly, this car is going to be converted to a van and painted black with some "toys" installed... More pics soon! :)

Image0159.jpg
  • Like
Reactions: Joshhh
How hard was it removing the rear glass? Your dads paint work looks great in the photos.

Were not properly equipped to take bonded glass out, they wernt too difficult you just have to be careful not to damage the paint. Make sure the area where the glass is bonded is well heated, I started at the front near the top behind the rubber strip, worked slowly into the car with a sharp knife then worked my way down. There are 2 clips top and bottom, hacksaw blade through them is the only way imo. Then back to the top and around that way, cutting from the top to the far end, just like in the pics. I took the glass out of another car first before I moved onto this one just to make sure I had an idea what to do (y)

Ill get some photos of other paint jobs hes done :D
 
Yet another update!

Not much done again, only 2 hours at the car... I have it going again though :woot:

Remember this nasty tear?
Image0294.jpg


To quote the past, good ridance! :D
Image0524.jpg
Image0526.jpg


Just for once I want to be able to say I put a relatively clean tank in a car :)
Image0527.jpg


And do you know what I did next? Put in the tank without the pump :doh: Just meant that the pump was a bit more awkward to put in. Not to worry though :)
Image0528.jpg


Testing the loom...
Image0529.jpg


Job done (y) (a lame excuse to start the car :devil:)

Just one job to do before I locked up for the night
Image0530.jpg


Until tomorrow, I hope ;)
 
No update today,
come on man this is like a soap opera/telenovela for men-will it or won't it turn out the way we hope?!
 
No update today,
come on man this is like a soap opera/telenovela for men-will it or won't it turn out the way we hope?!

All good things come to those who wait... ;)

Who am I kidding, update! I'm pleased with the progress today :D

First thing I had to do was clean the car out
Image05311.jpg


Remember the thermawrap...?
Image05331.jpg
Image05321.jpg


The roof didnt escape (y)
Image05341.jpg
Image05351.jpg


Spotted a bit of rust... That was duly dealt with :D
Image0539.jpg


Lovely :p Now for the headlining (y)
Image0536.jpg


Bit awkward to maneuver in :mad: but fitted in nicely once in :)
Image0540.jpg


And to keep it up at the front...
Image05411.jpg


Now at this stage its the afternoon. Time for the steel floor. Didnt get pics of the clean up but I did get this...
Image0542.jpg


:D

Then the centre console...
Image0543.jpg


Excellent! Time for the momos ;)
Image0544.jpg


First up...
Image0545.jpg


And then...
Image0546.jpg


Just a few bits and bobs to do inside like leather up the armrest, paint the dash etc. I have to change the passenger lock mechanism, the old one played up :(

Apart from that its nearly ready to drive out (y) what will I have done for the next update... :chin:
 
great progress thread still.. i really dont know how you dont get carried away and when you see something going in just wanna do one more little thing. i would lol
 
Cheers for the replys! :D don't worry theres still plenty to be done before this is fully road worthy. The next task will be to fit the exhaust, which I must get back to :p

I always wished I had retrimed my headlining when I had it out of the car. The material on there is so cheapy. Looks like your getting there mb :)

This one I just got it from my old silver car and cleaned it up, would be alot of effort to retrim but maybe one day.... :chin: I will be retrimming the door cards and arm rest in due time as they're ready to go so hopefully when I get the time next I'll have them in the car :)

For anyone stuck with peeling door handles or a wonkey central locking unit, I've created this guide :)
 
why can't you work faster?
I want at least 2 updates daily ( joke ;) )
Winter came back here in Romania, is it the same there?
my car is in the shop for 1 week .. found it damaged one morning in the parking lot, can't wait for it.

Might just fir alfa door handles on my bravo. do any other models fit, except fiat 500 and alfa 147? thanks for the guide!

If the situation was ideal, I'd have updates every minute...! Its spring here at the mo no more nasty cold weather :) As for handles, Marea ELX/ HLX are a direct fit and more importantly do not rot :)

Speaking of updates.... ;)

Where to begin... With disco lights I guess :D
Image05521.jpg

They constantly change coleur :p

Now the stalks felt strange... Guess what the new stalks are from?
Image0549.jpg
Image0550.jpg

A must is the original Bravo mats :)
Image05511.jpg

The boot lock also needed reworking, so I installed a new one and grinded to fit...
Image0547.jpg

Now I didnt get the exhaust fully fabricated so its for another day :(
Image05731.jpg

And work stopped for the week...

Untill last night (y)

First up was to connect the relays to the 100w bulbs
Image05741.jpg
Image0575.jpg

Blinding...

And then....
Image0577.jpg

It sat on perfectly (y)
Image0576.jpg

This isnt your regular car, definition of a tight fit...! :eek:
Image0578.jpg
Image0579.jpg

Then the trim and wipers...
Image0580.jpg
Image05821.jpg

Followed by...
Image05811.jpg

Needs a bit of tidying before I can get it out. But its ready to drive :D
Image05831.jpg
Image05841.jpg
Image0585.jpg

I have a vid but dont know how to upload.... Untill this evening, I can describe how it drives!!! :D
 
nice progress !!
how are you going to clean the air filter?
isn't it doing to get more dirt.. and even water in it ( if you drive on a very rainy day at lets say 30-40 km/h)
are you going to paint the entire car? or do you think a good polish will do the job?
 
Totally agree - it's the only thread on the site I subscribe to - thank you!

absoluley loving this thread,some great work going on

my thoughts exactly,its a good build thread this (y)
page takes a while to load due to the amount of pics tho lol

Oh and mb those stalks are from a marea weekend with the rear wash wipe.I got them in mine :p lol
(but the rear wipe itself dont work but the rear wash/wipe does)
 
Aurick86-i have a piece of plastic ill be using as a guard, i just need the time to fit it. The bonnet will be sprayed in due time :)

Chris- cheers and thanks for your support! Cant wait to see your next project underway! :D ill be putting vids up on youtube anyway...!

MickeyBravo- spot on it is indeed from a weekend :p i realy should have used one from a saloon though as the back is de wipered...!

I am on mobile so i cant upload photos.... I finaly got it out of the garage. It was worth the wait :D now its very rattly due to the steel floor not being welded yet, but the induction roar plus the crackle from the exhaust creates a seriously addictive sound! The steering is lighter due to the newish pump and it sits better than the silver car so its realy exciting in the corners.... And then theres the way it pulls through the gears, all 6 of them!!! I havnt had such a silly grin on my face whilst driving a car in a long time, to me its just that good! :D

I only have pics of the bumper but ill put them up as soon as im near a pc :)

Dont worry people, this car is far from finished yet... ;)
 
Back
Top