Short update time...!
First, remember my vid earlier? I arrive back 30 mins later... :bang:
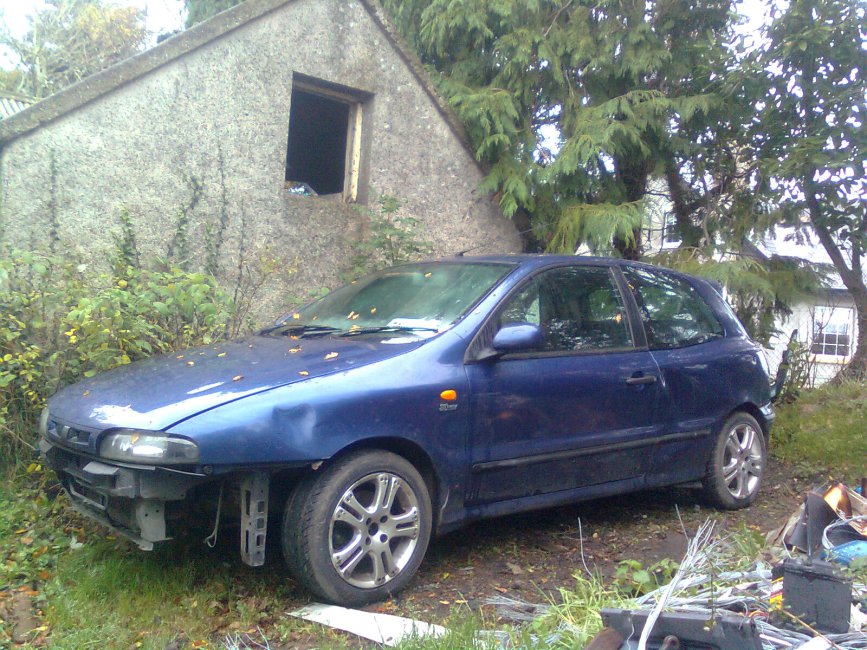
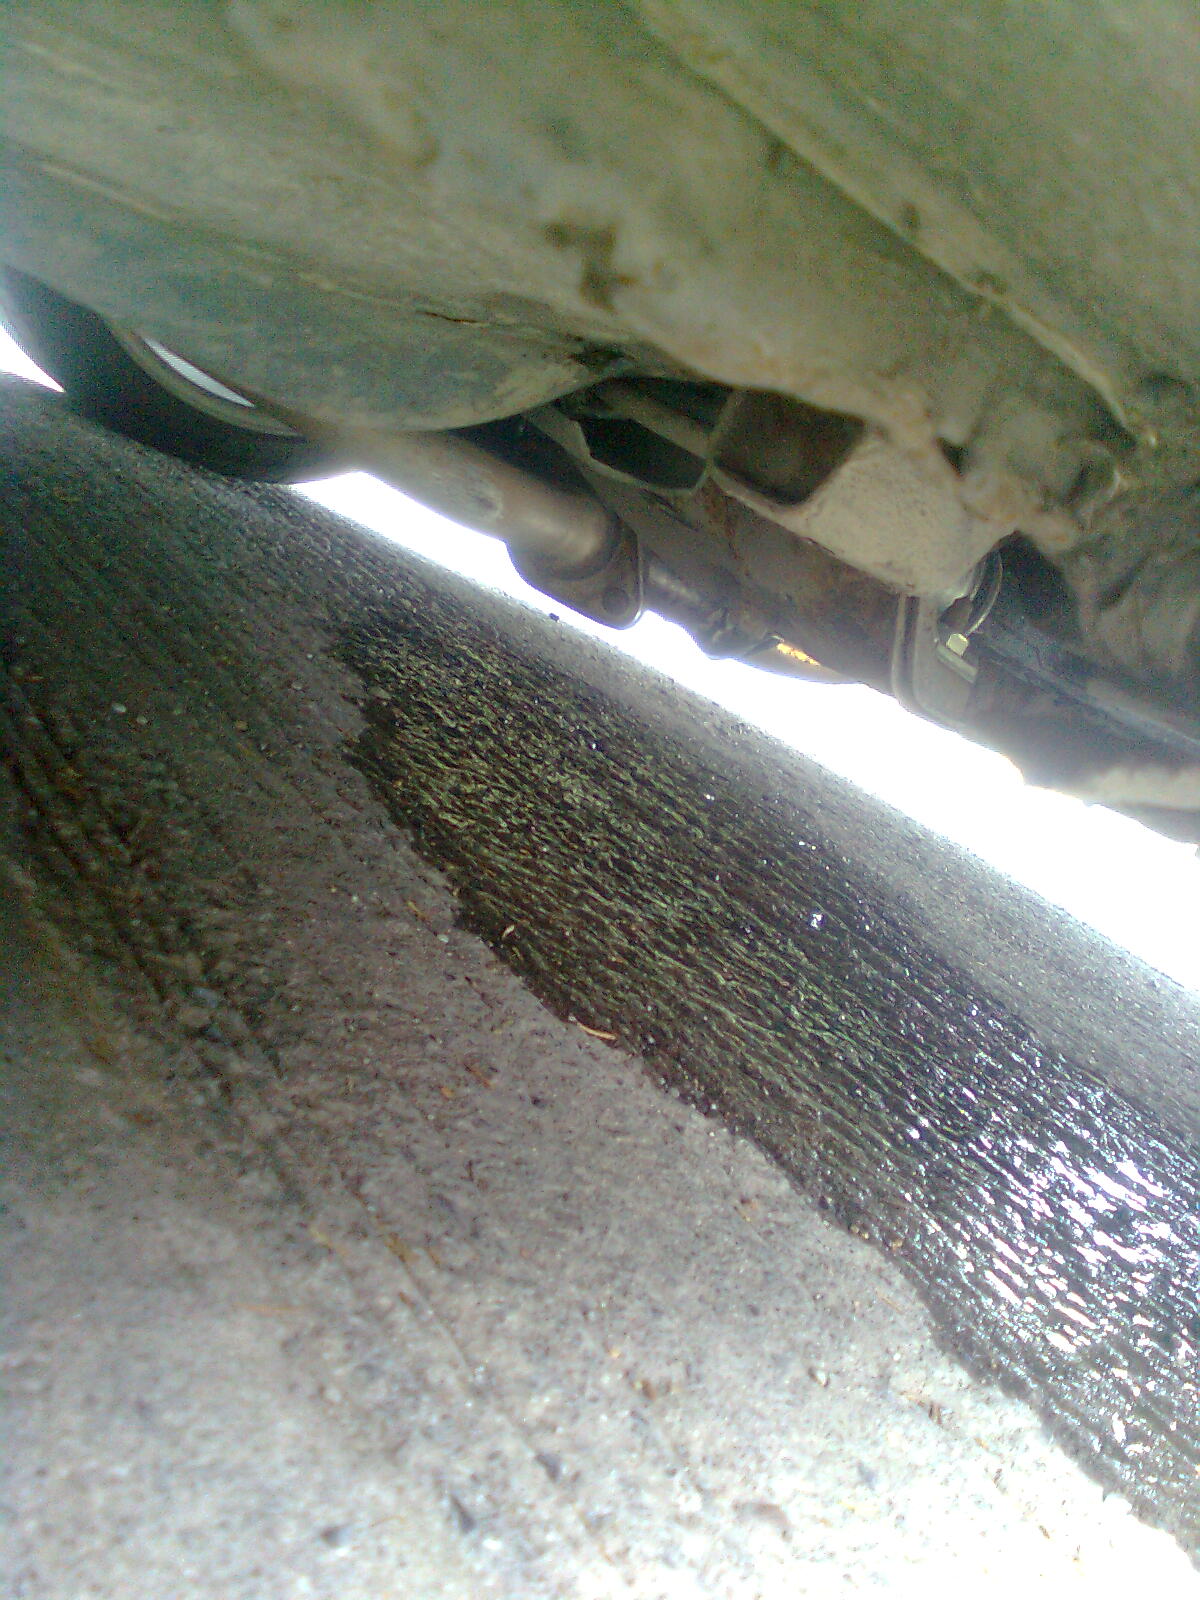
Yep the matrix pipes finally let go. I'd only been to the scrappies too, a 70 mile round trip

So I went into the garage and got distracted...
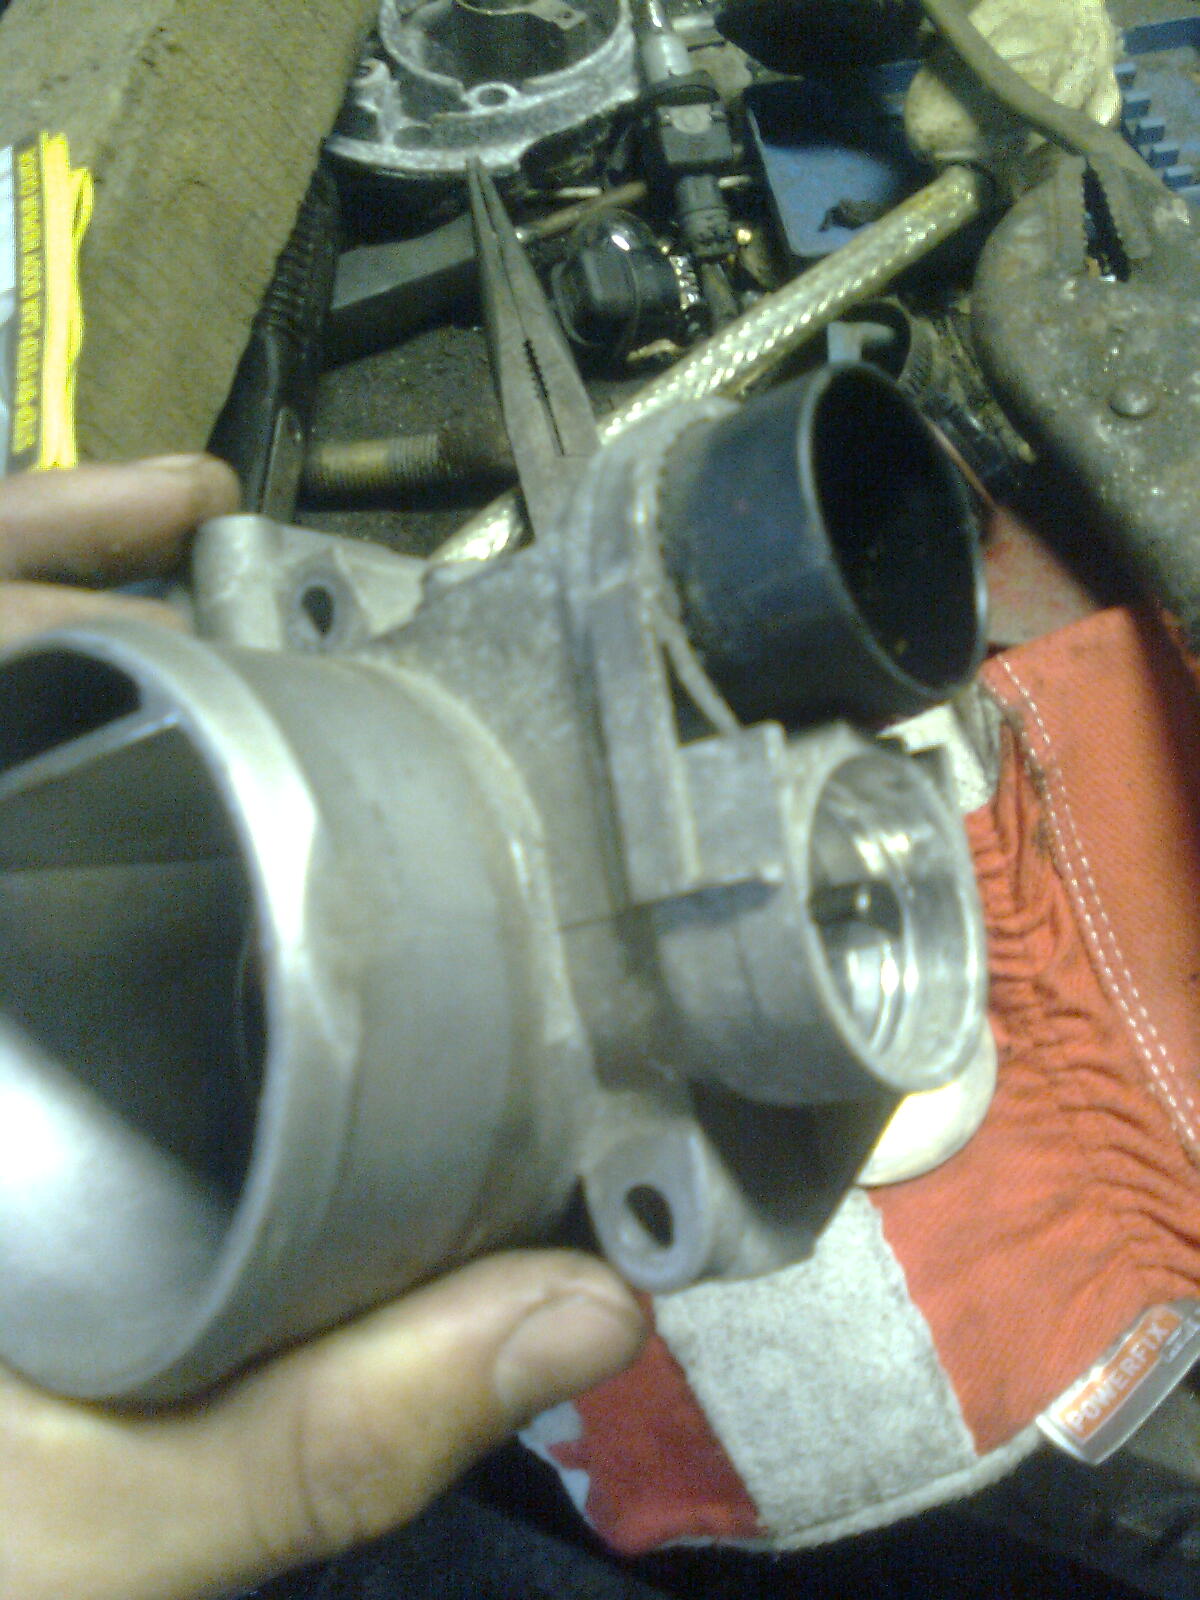
Damn where are all my pictures going, theres a few missing! The tb is half done at this stage
Then I went in for food... :yum:
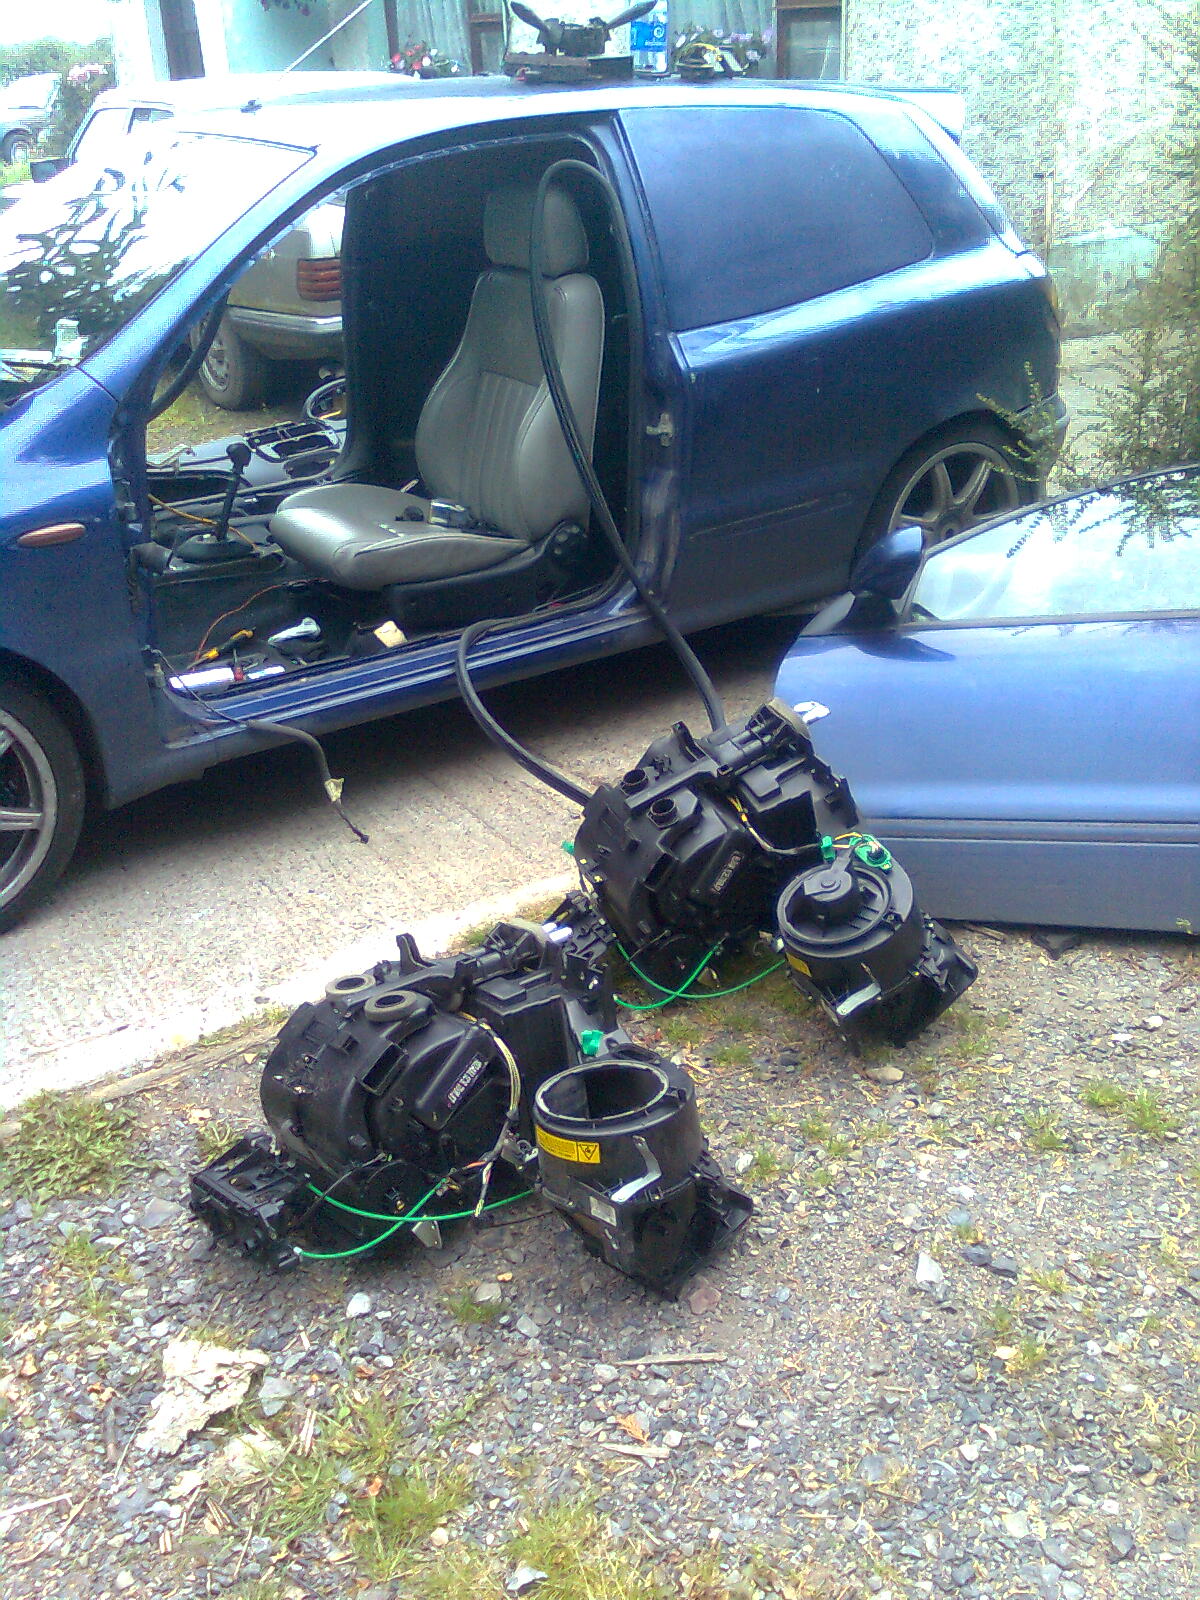
A short while later though, time to root out a suitable matrix
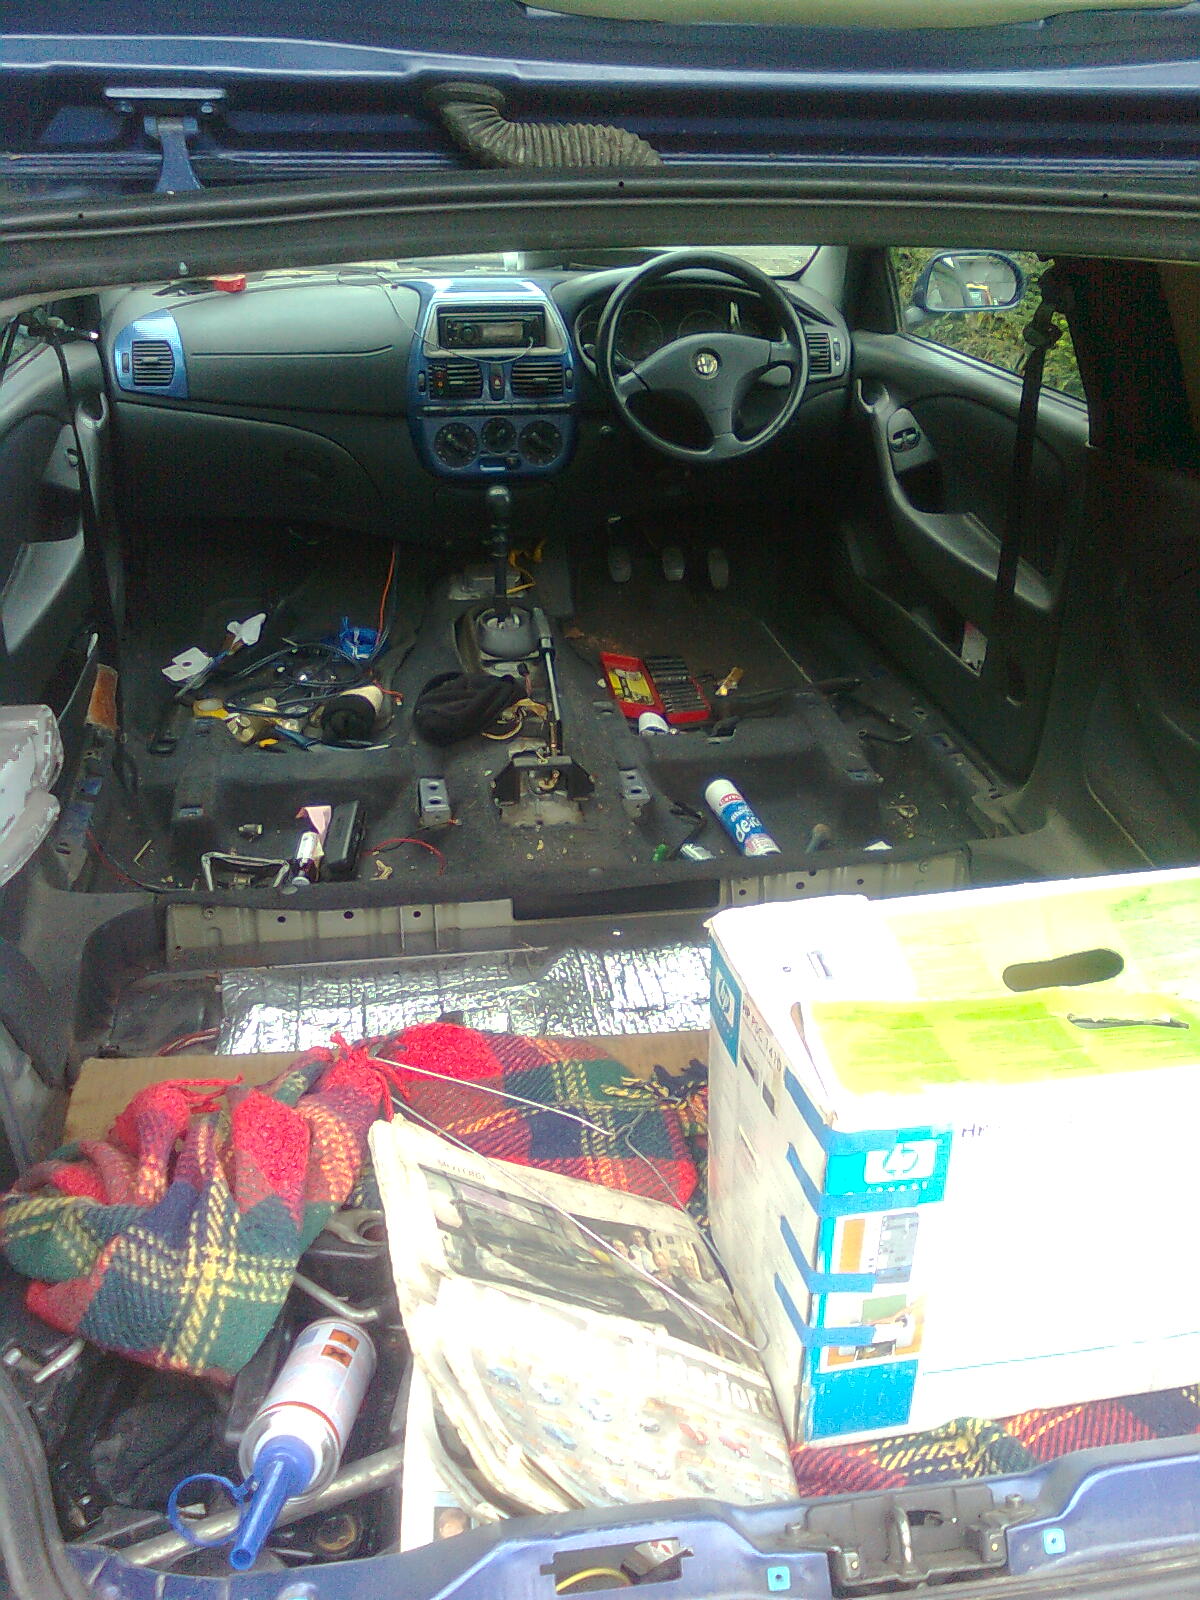
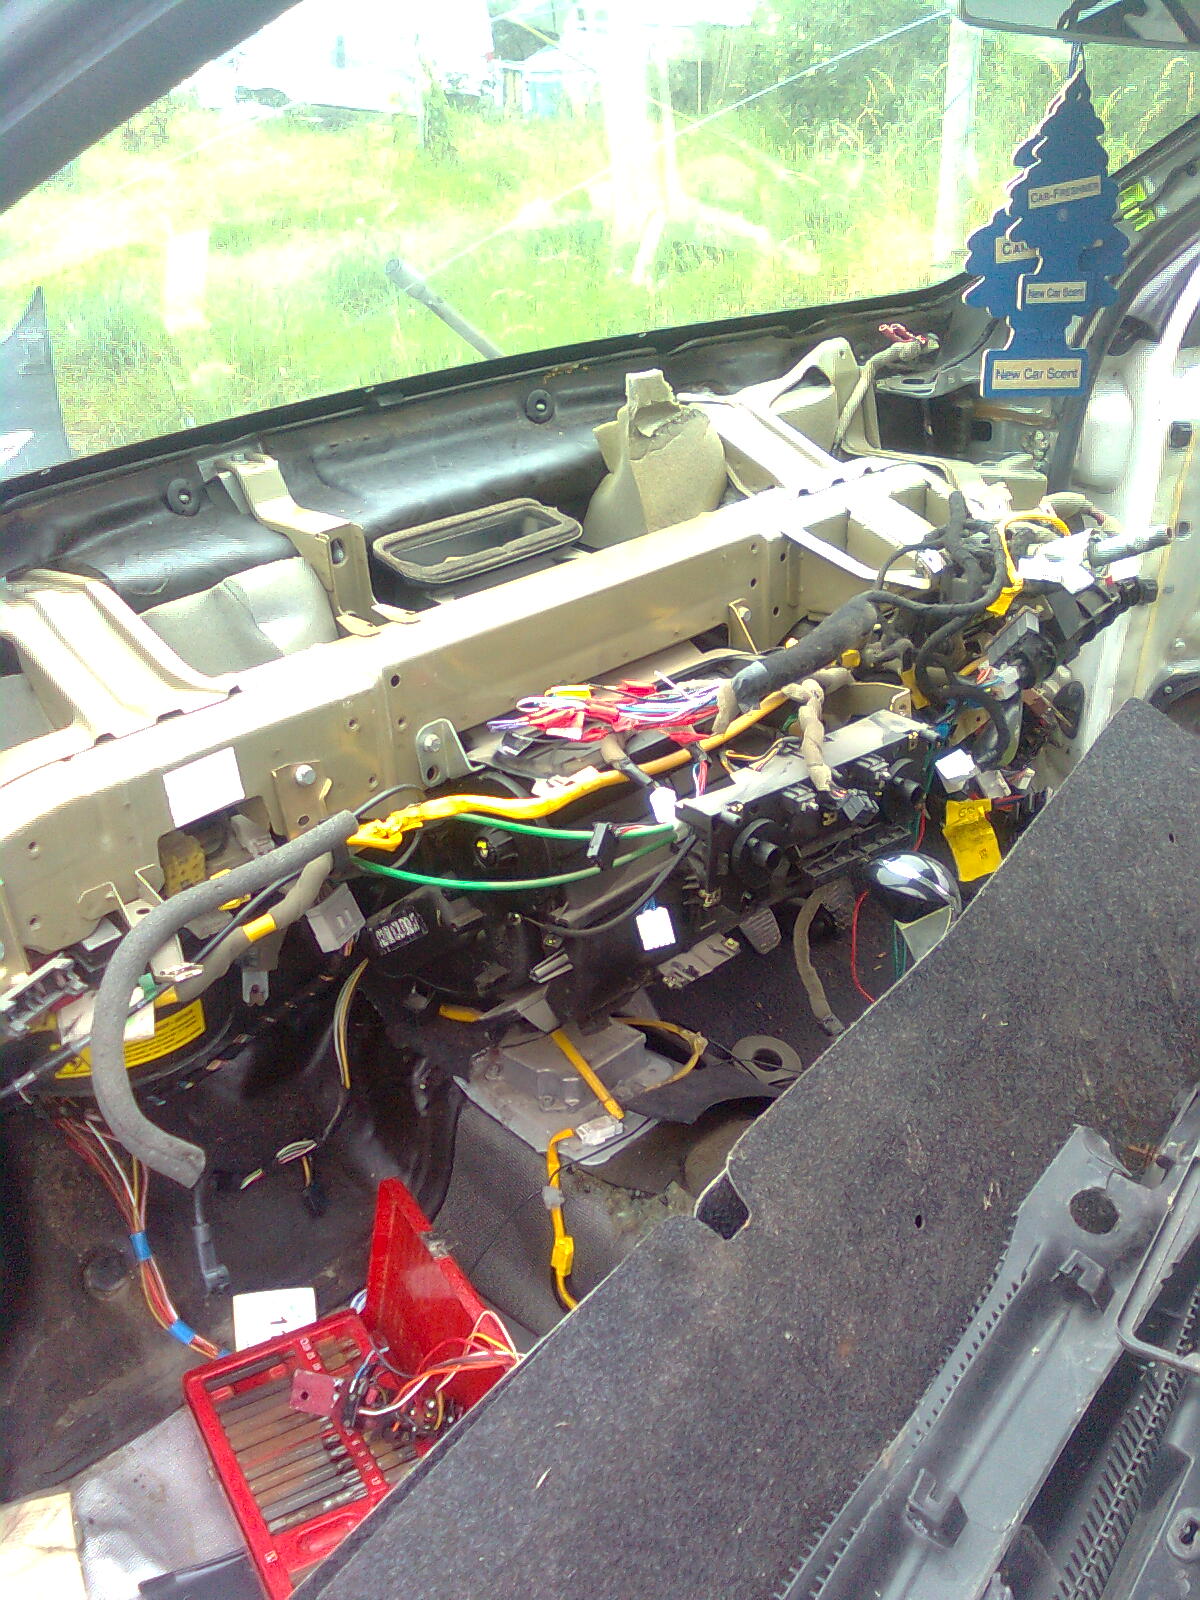
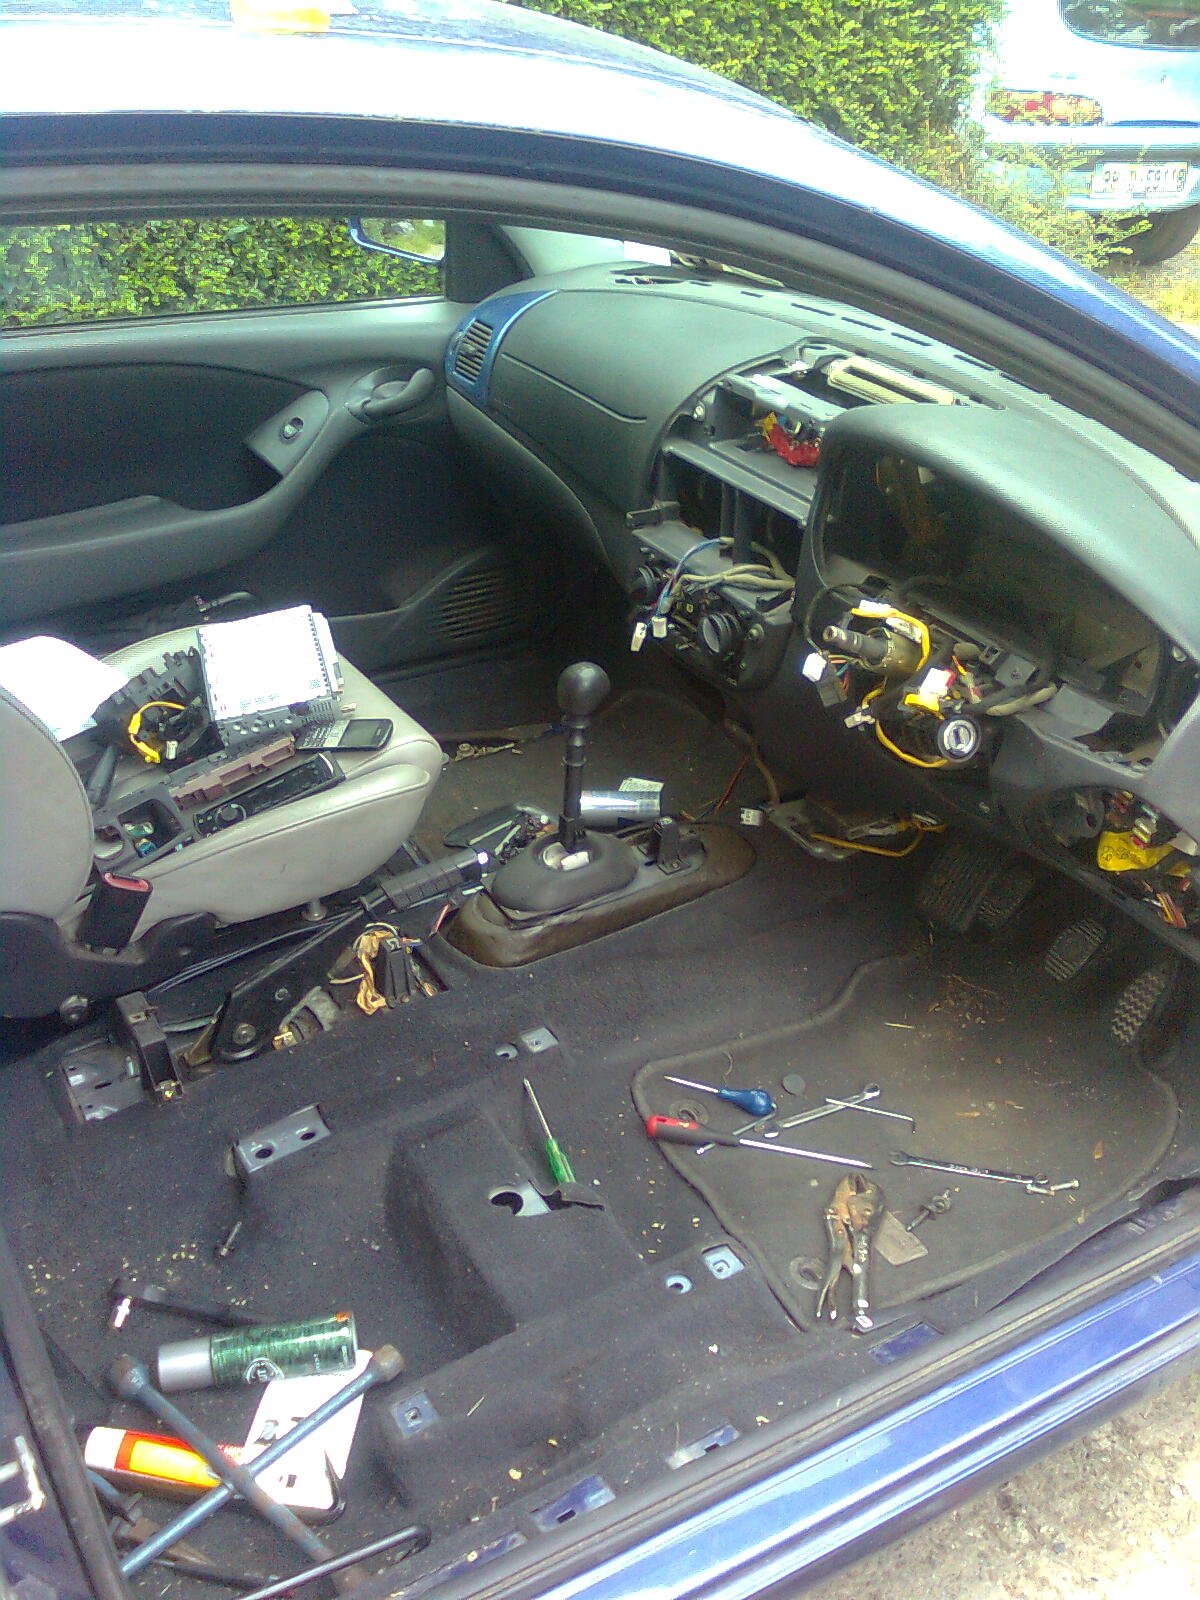
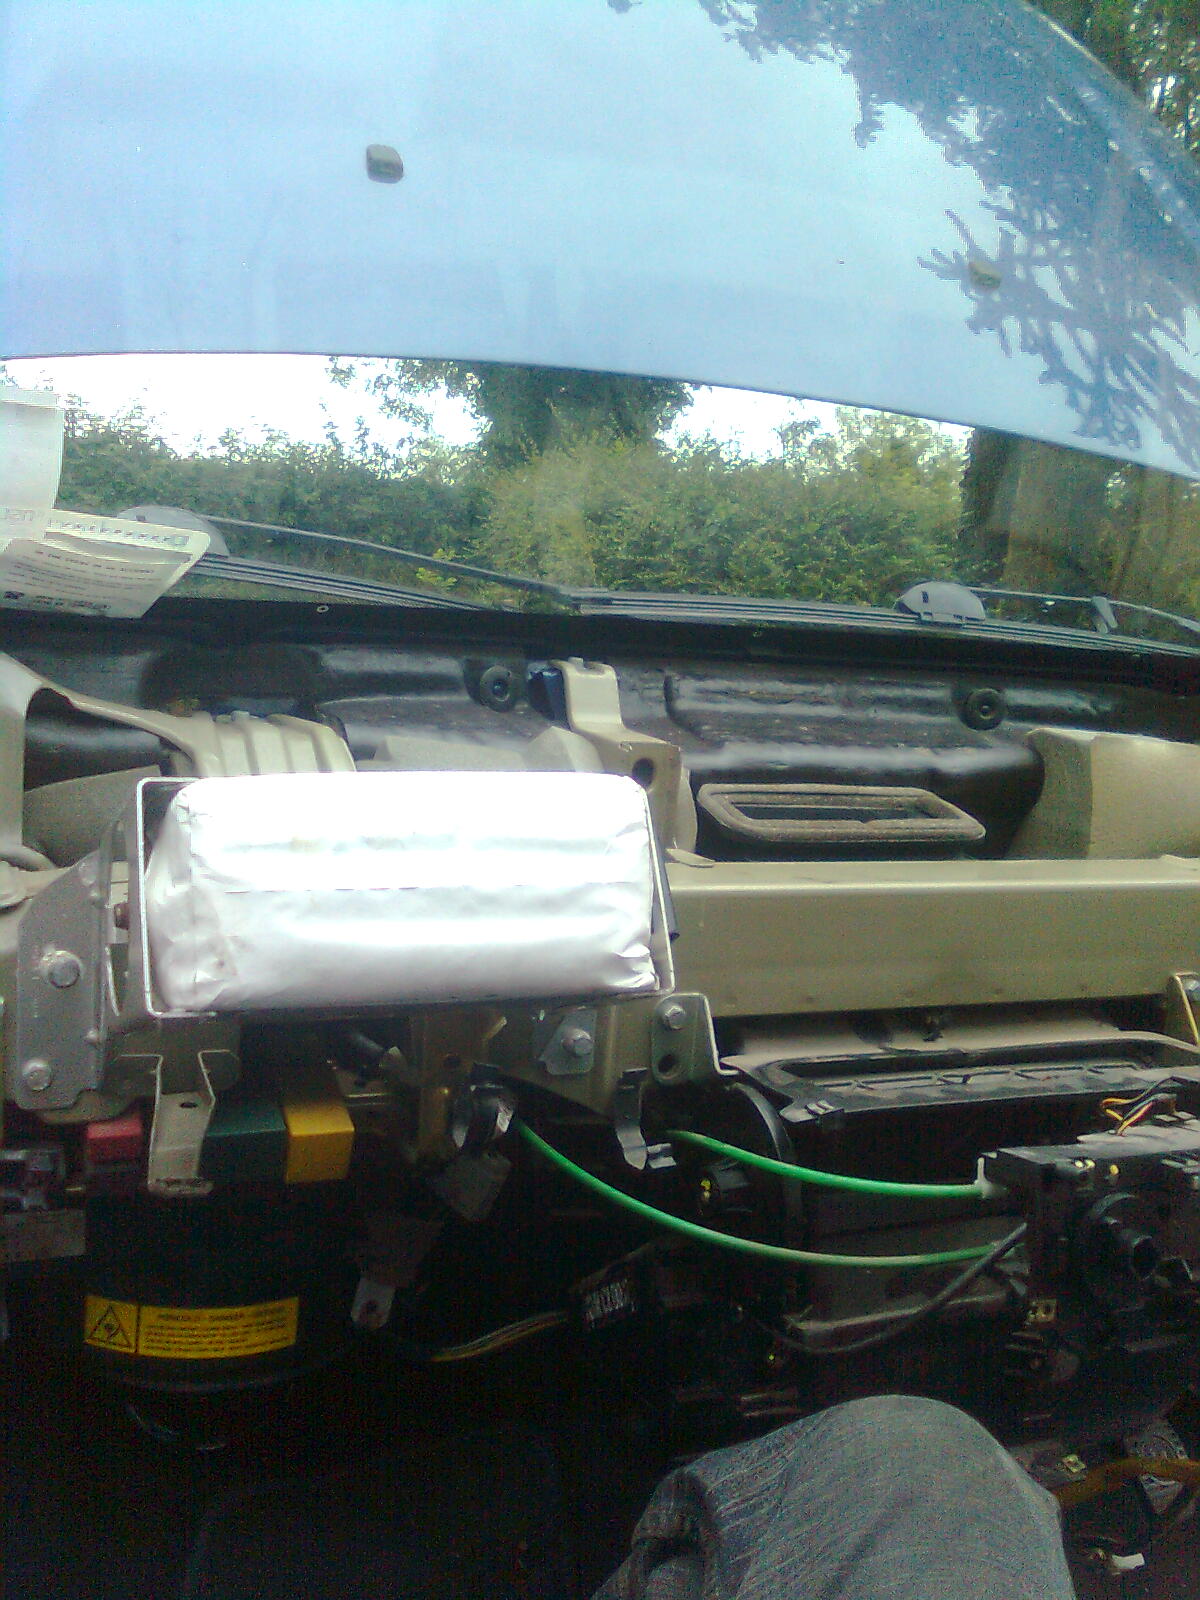
Oh my...
The thoughts of putting all this mess back together...
And eventually... Out ya pig!!!
Well, it means extra storage I guess...
Then inside for more food and cake... :yum::yum:
Now onto my little van
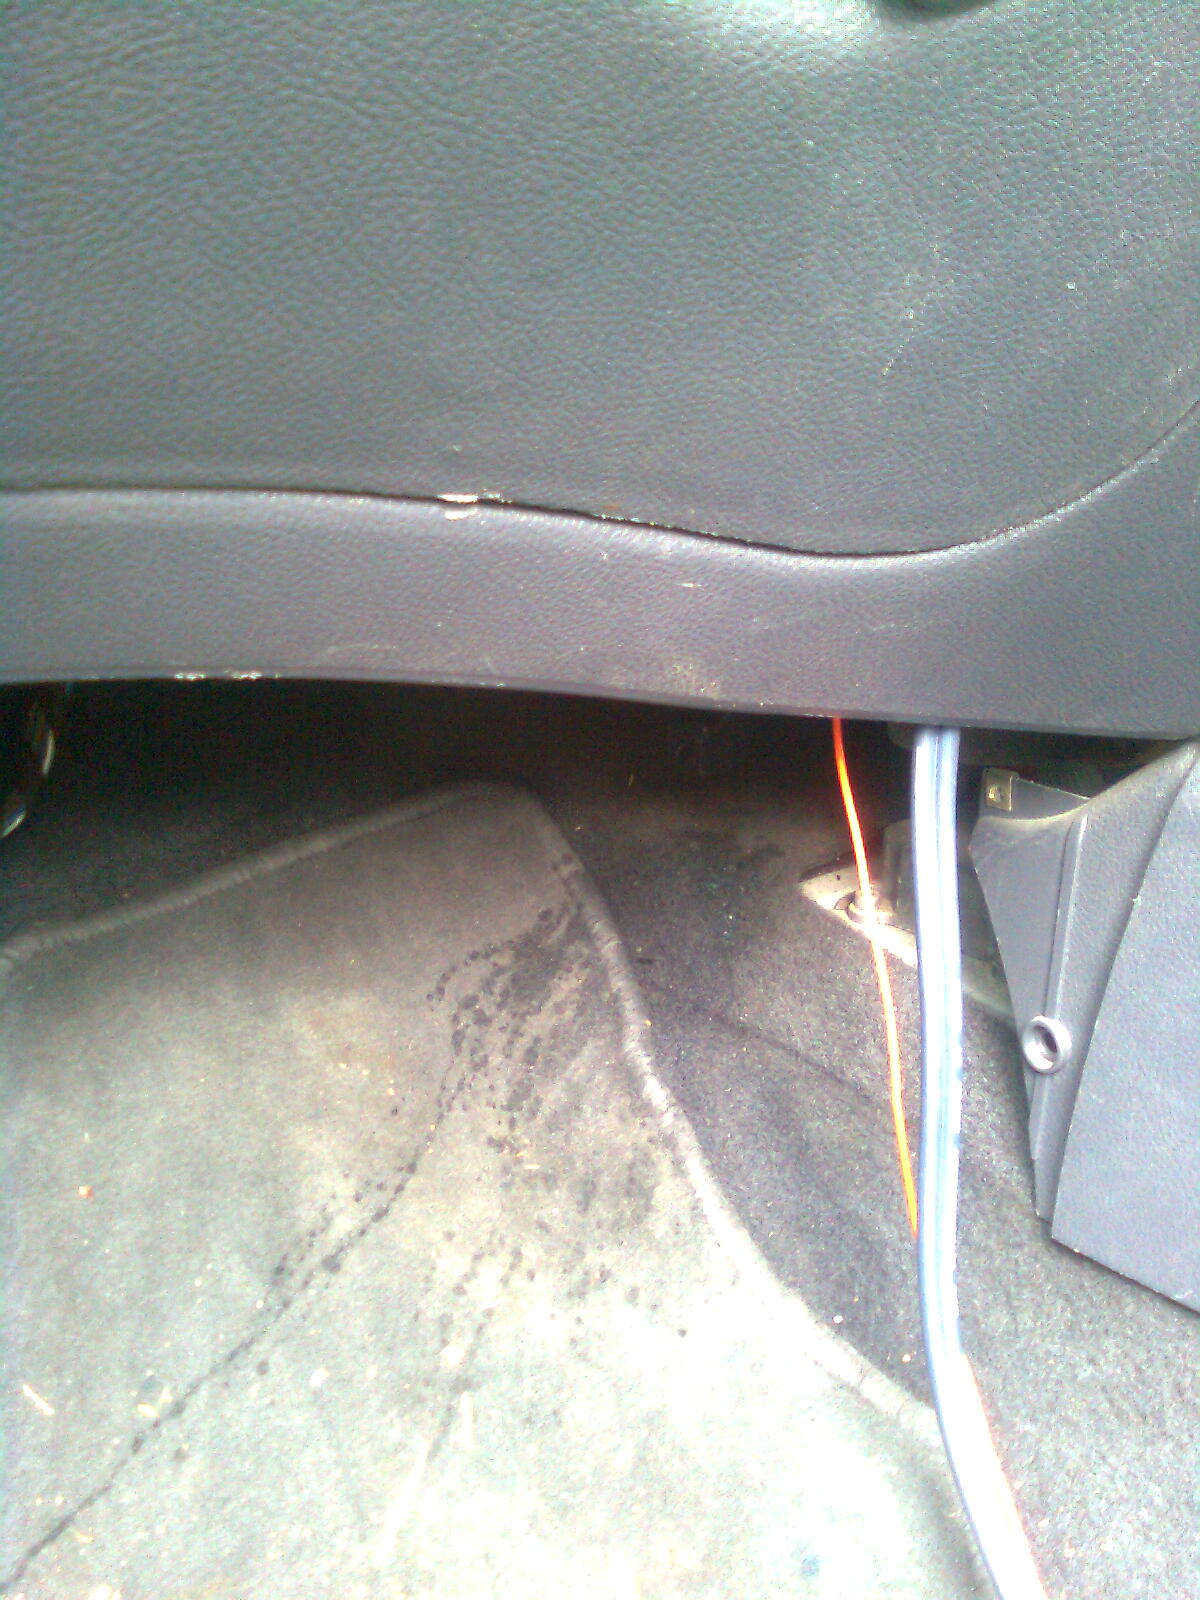
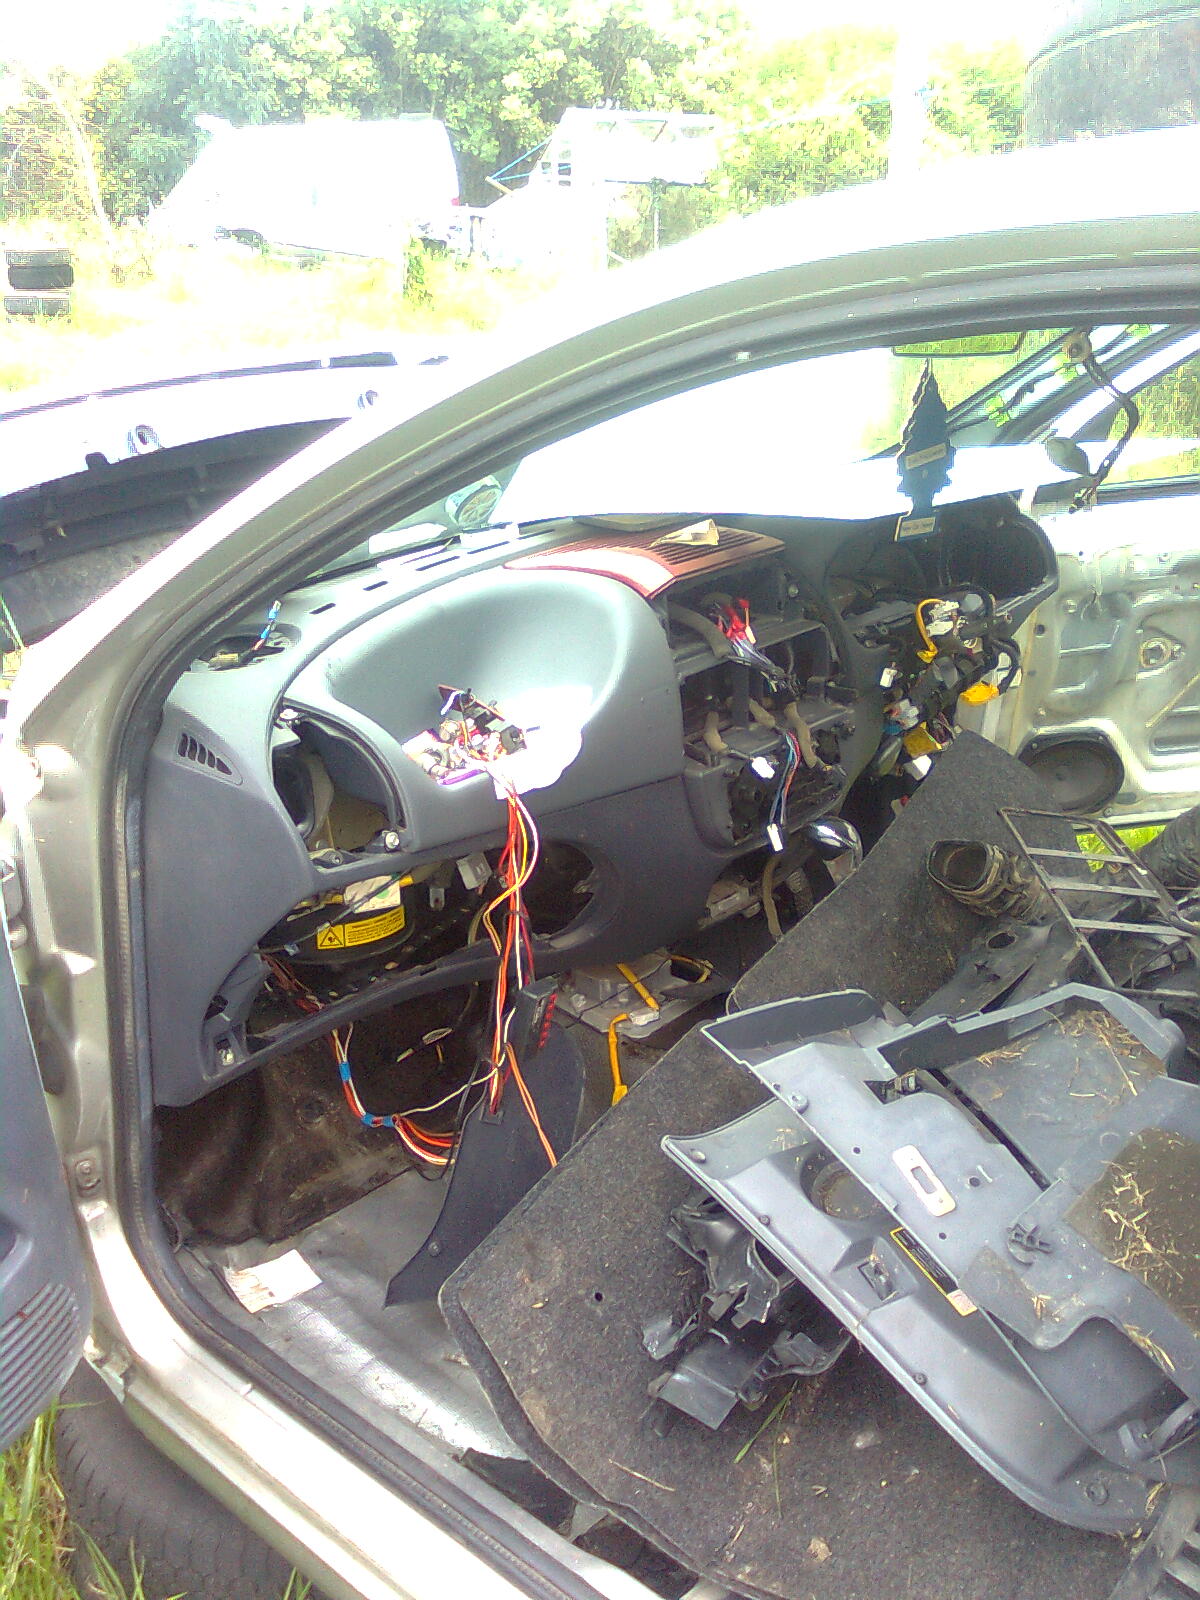
Strangely, a dashboard bolt was missing...
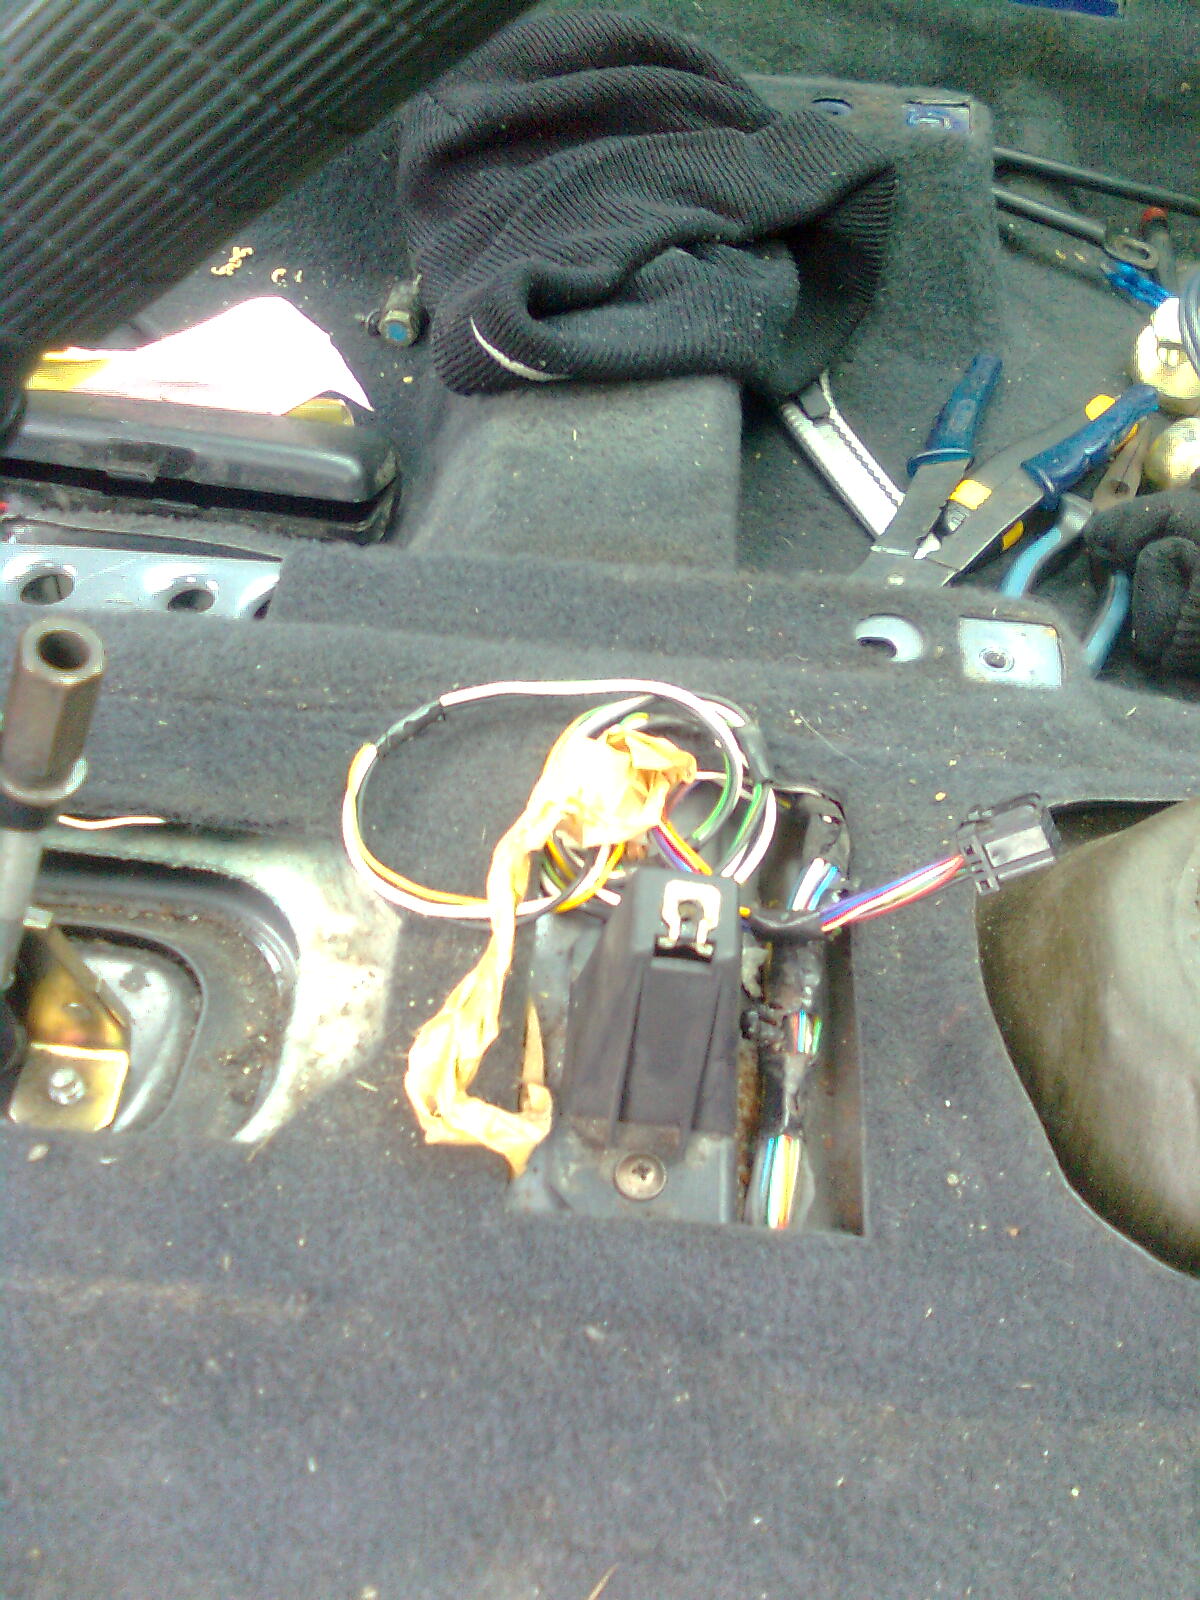
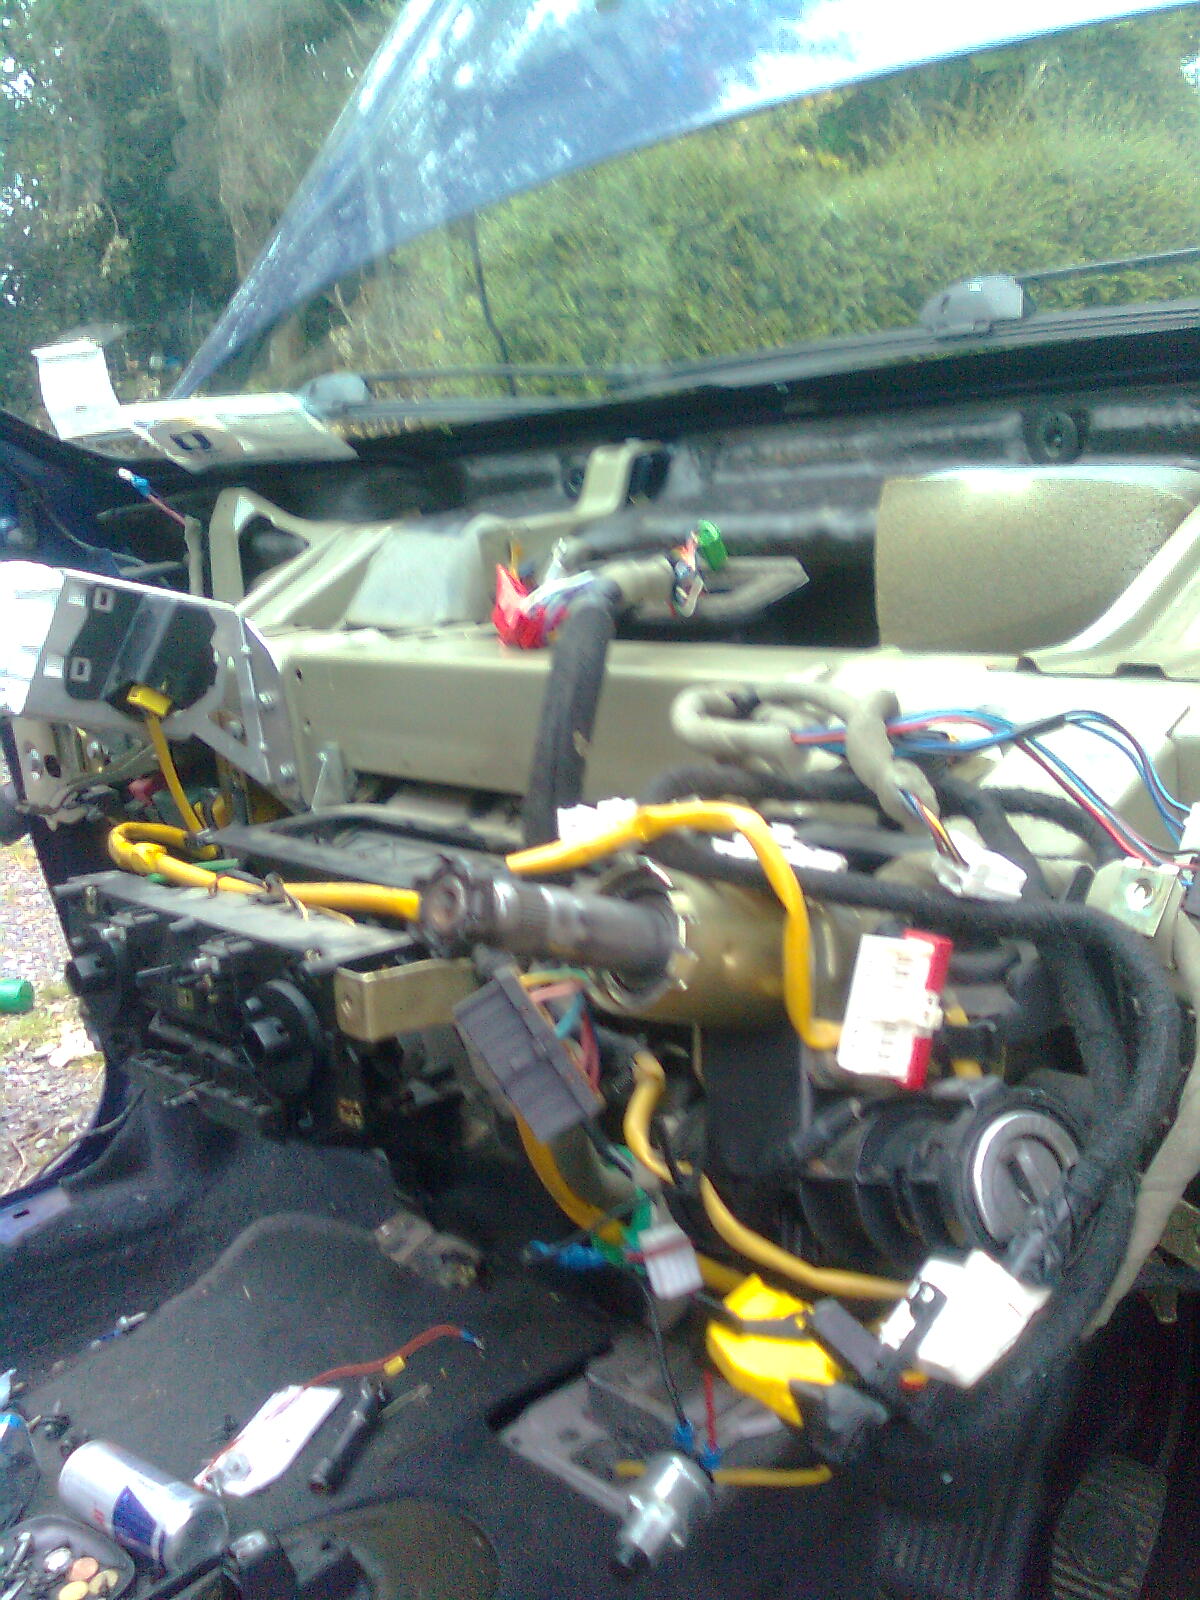
Remembering where all the wires and cables go...
And after a few bolts were removed
Out it came with a fight. I won :devil:
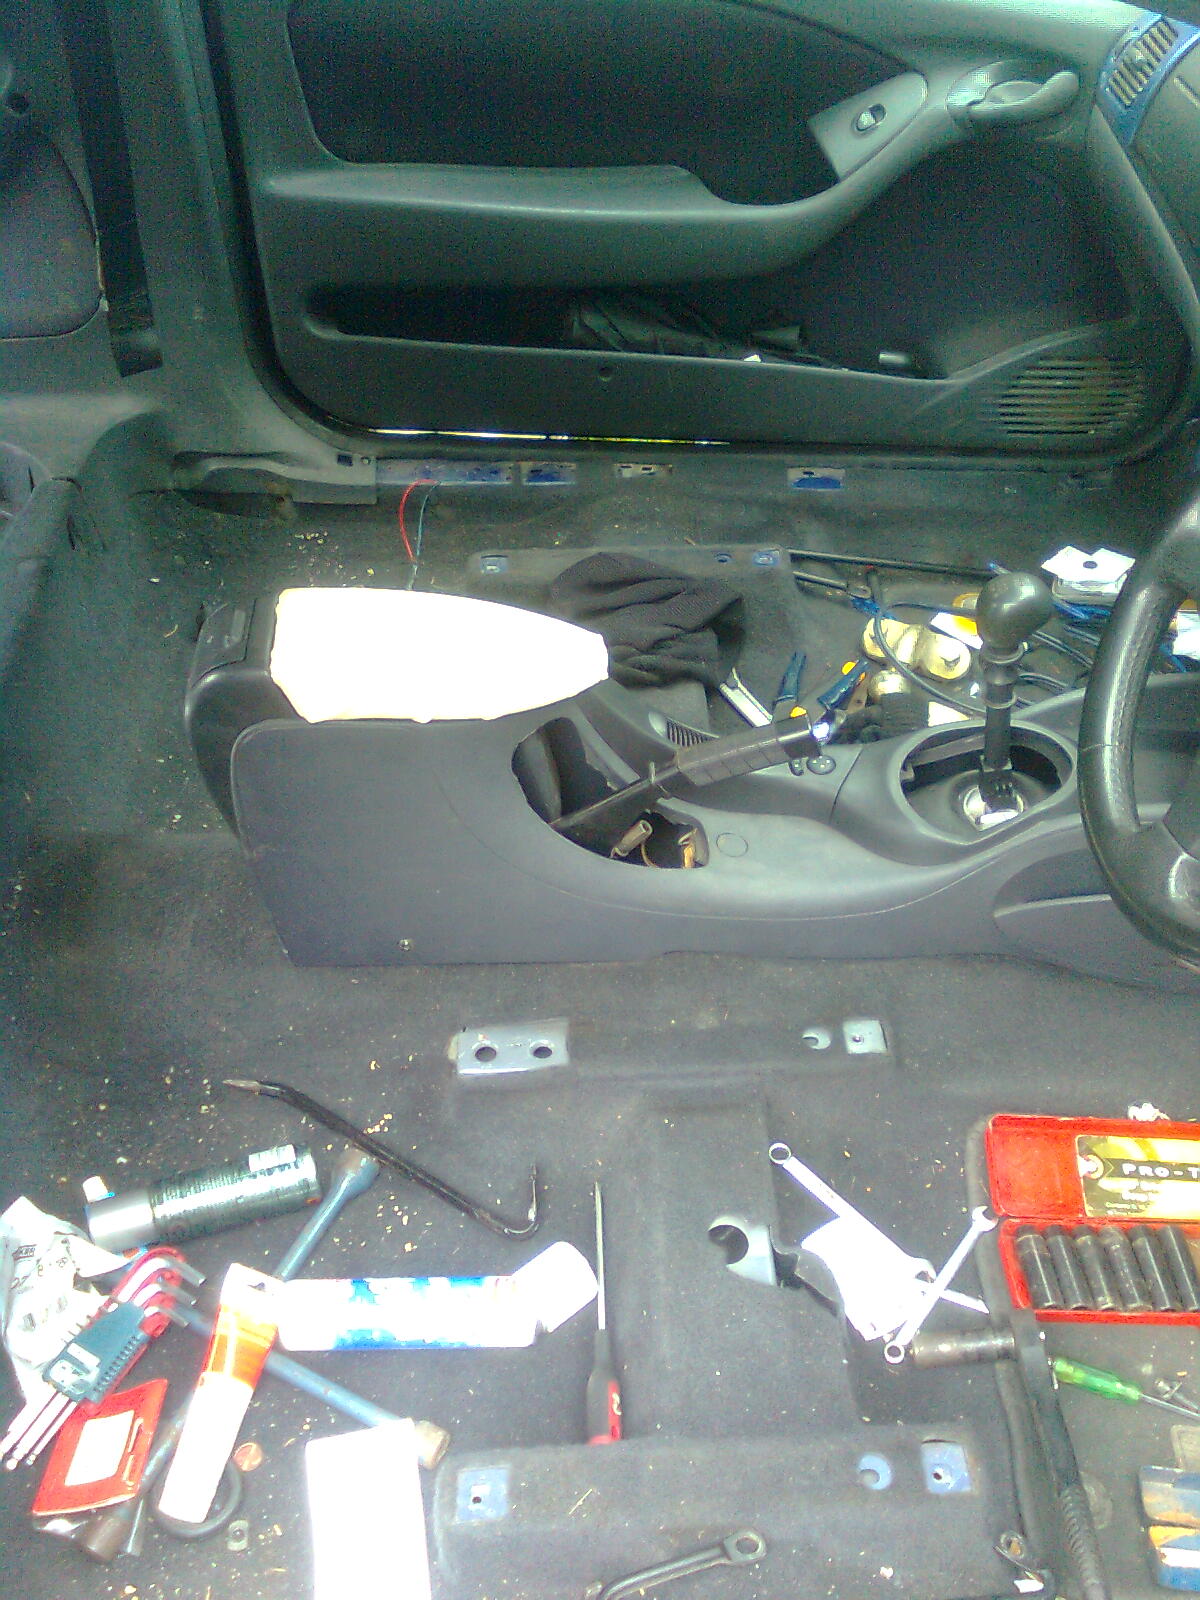
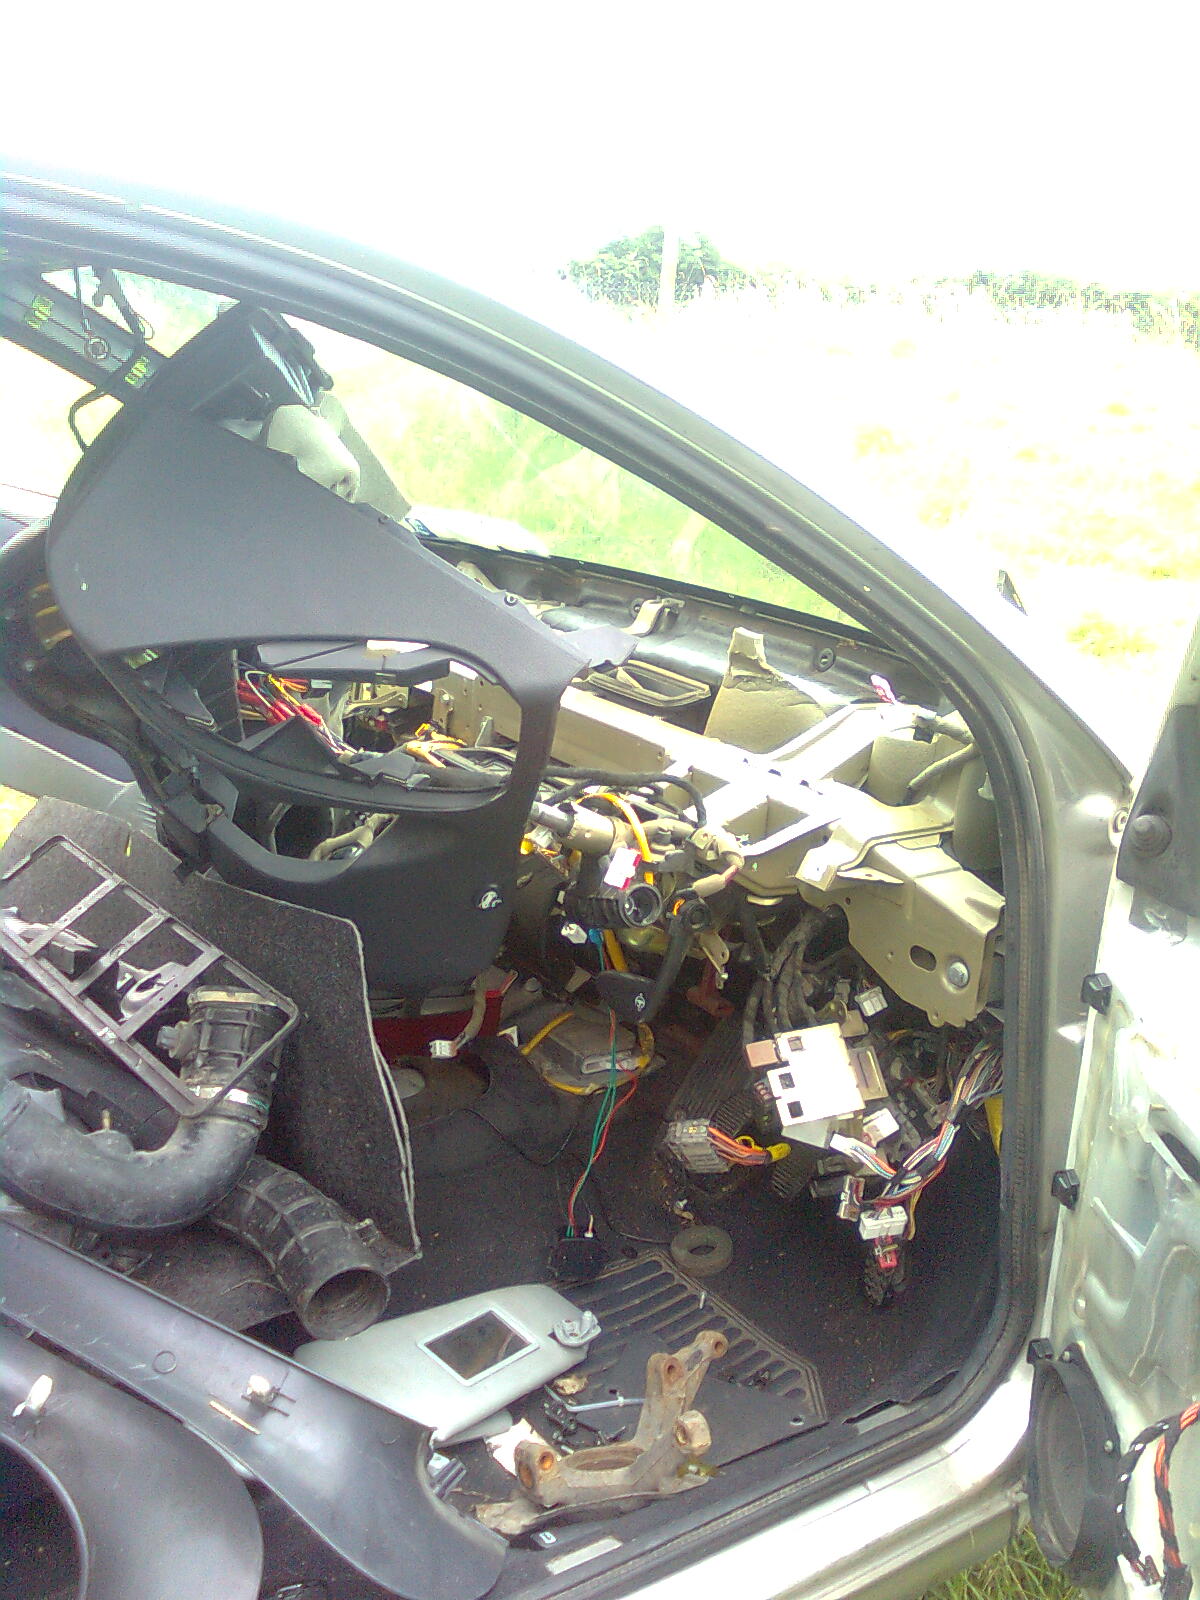
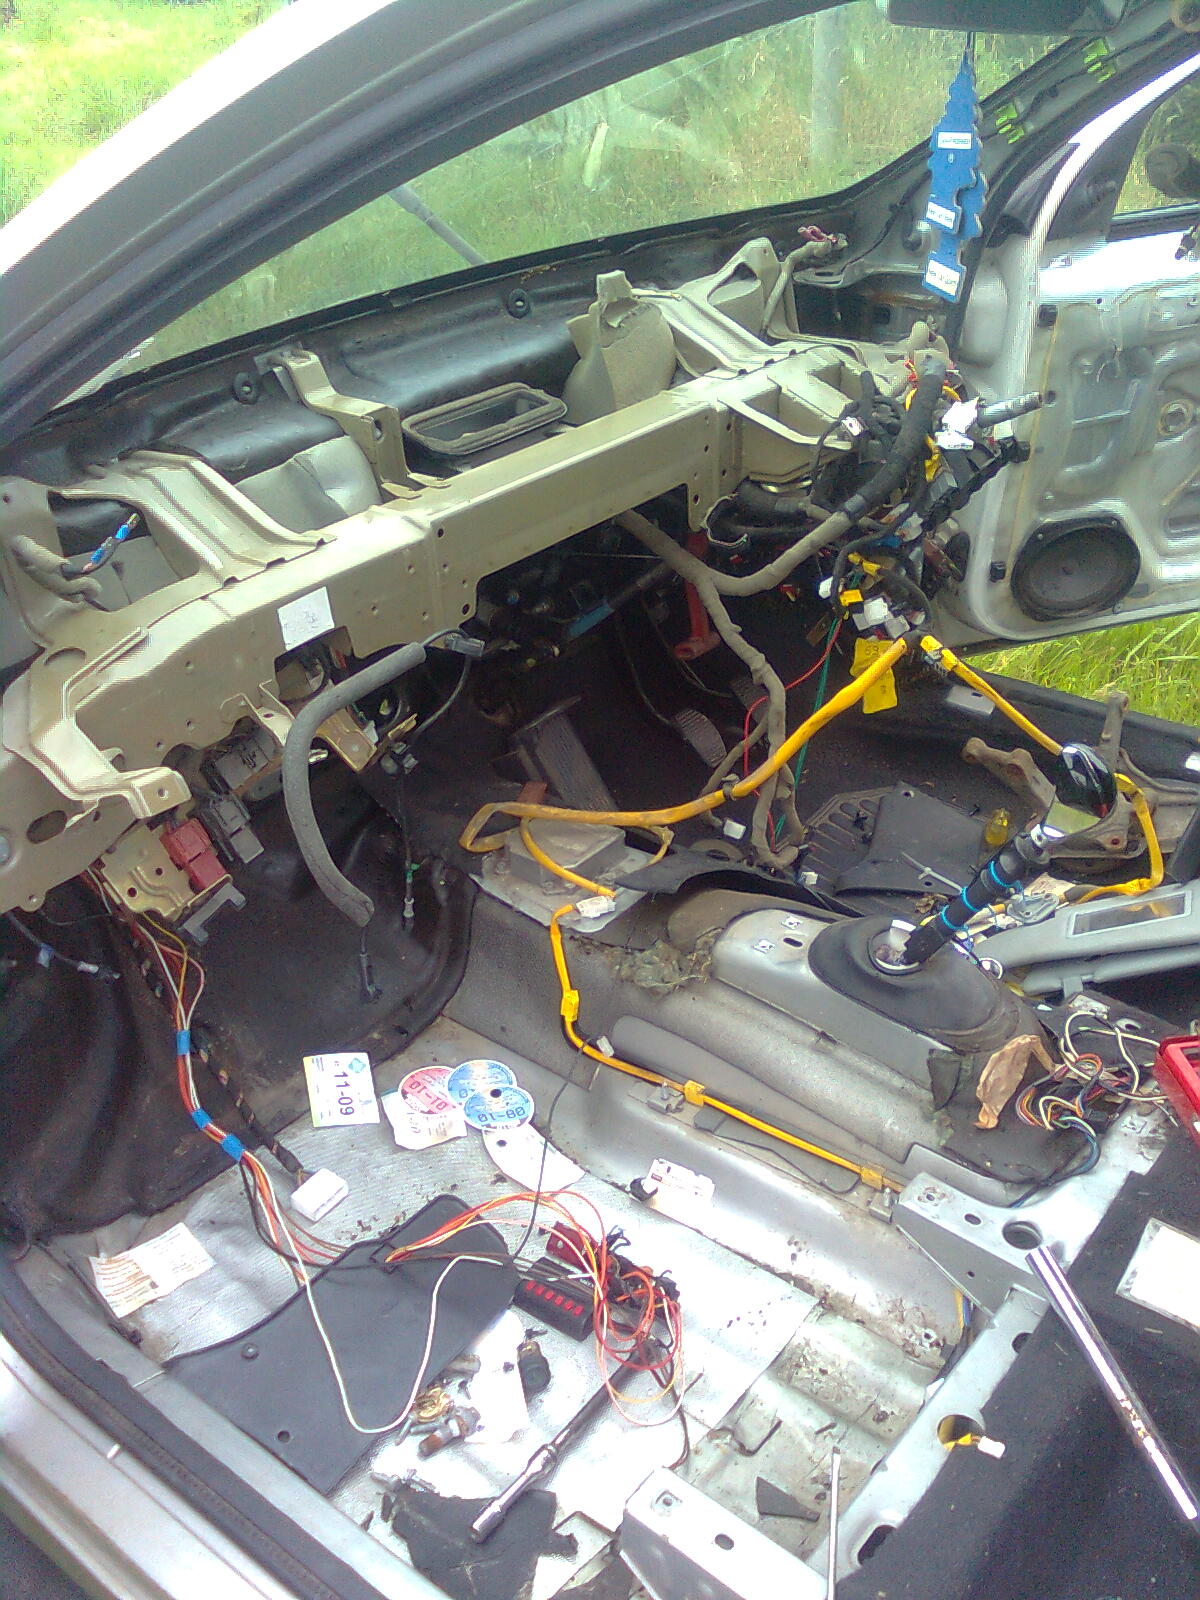
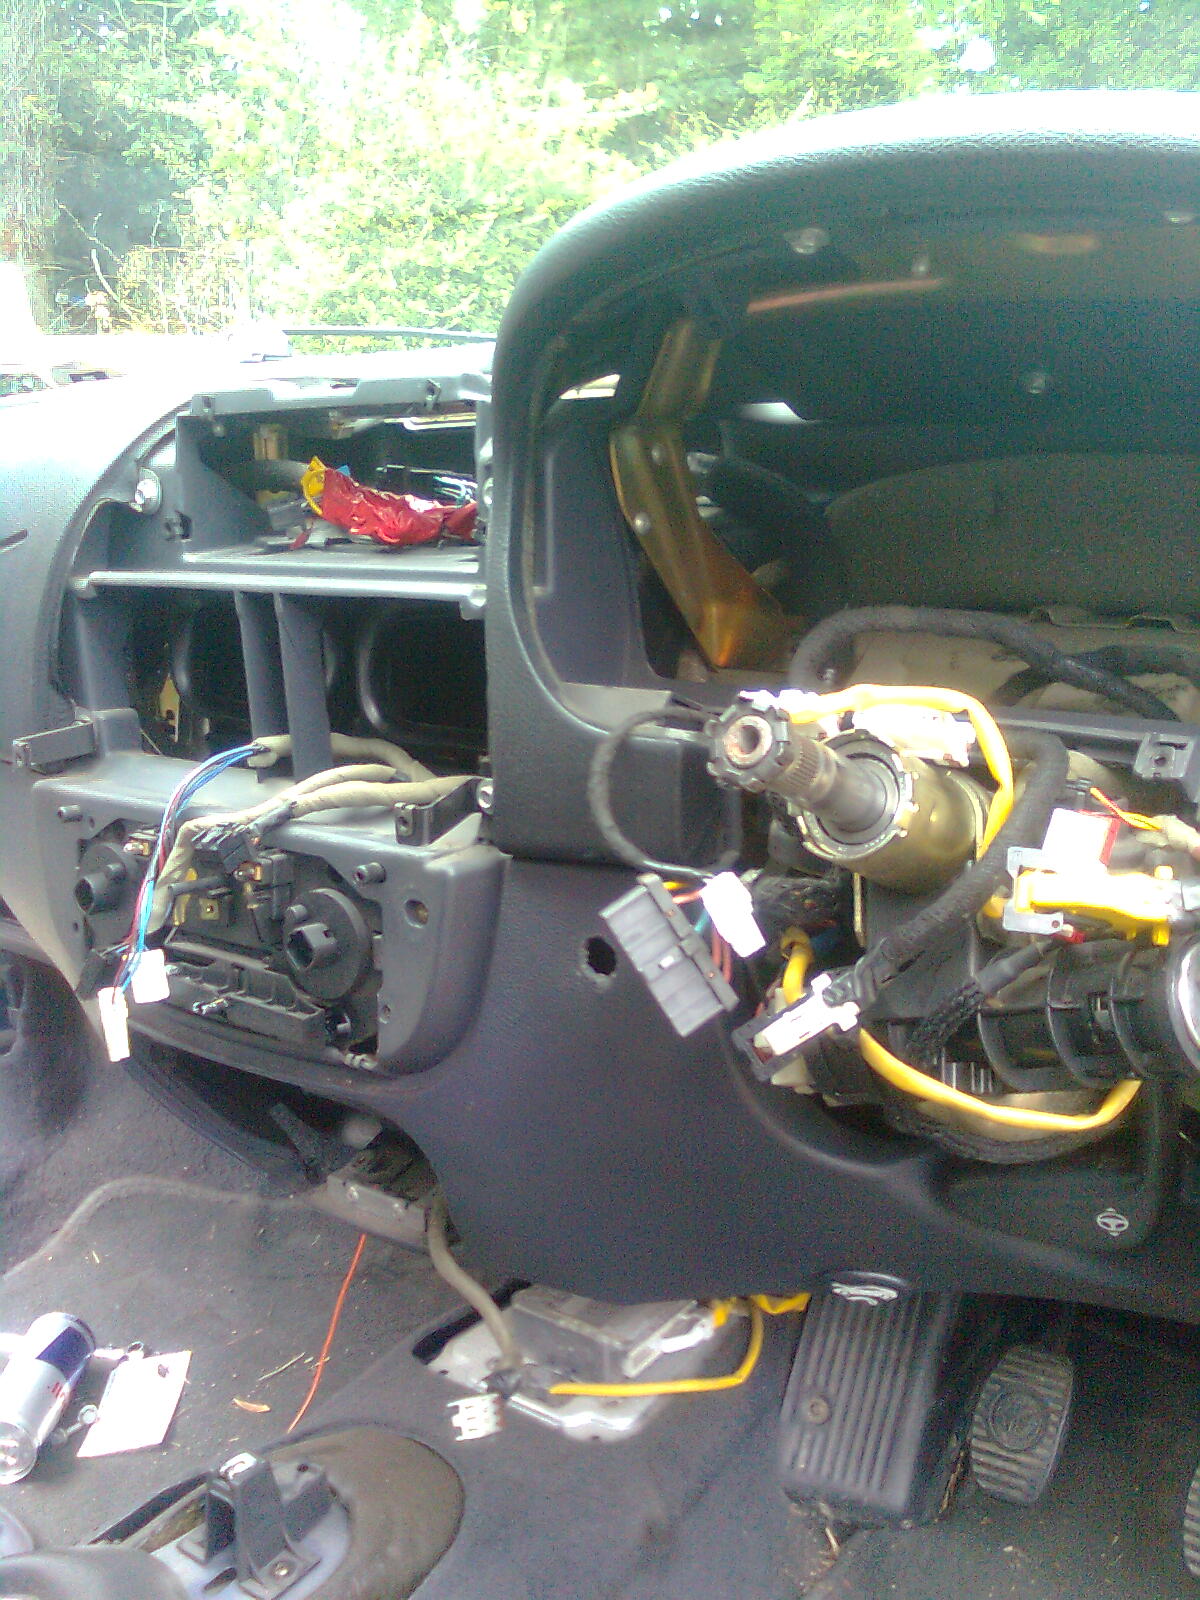
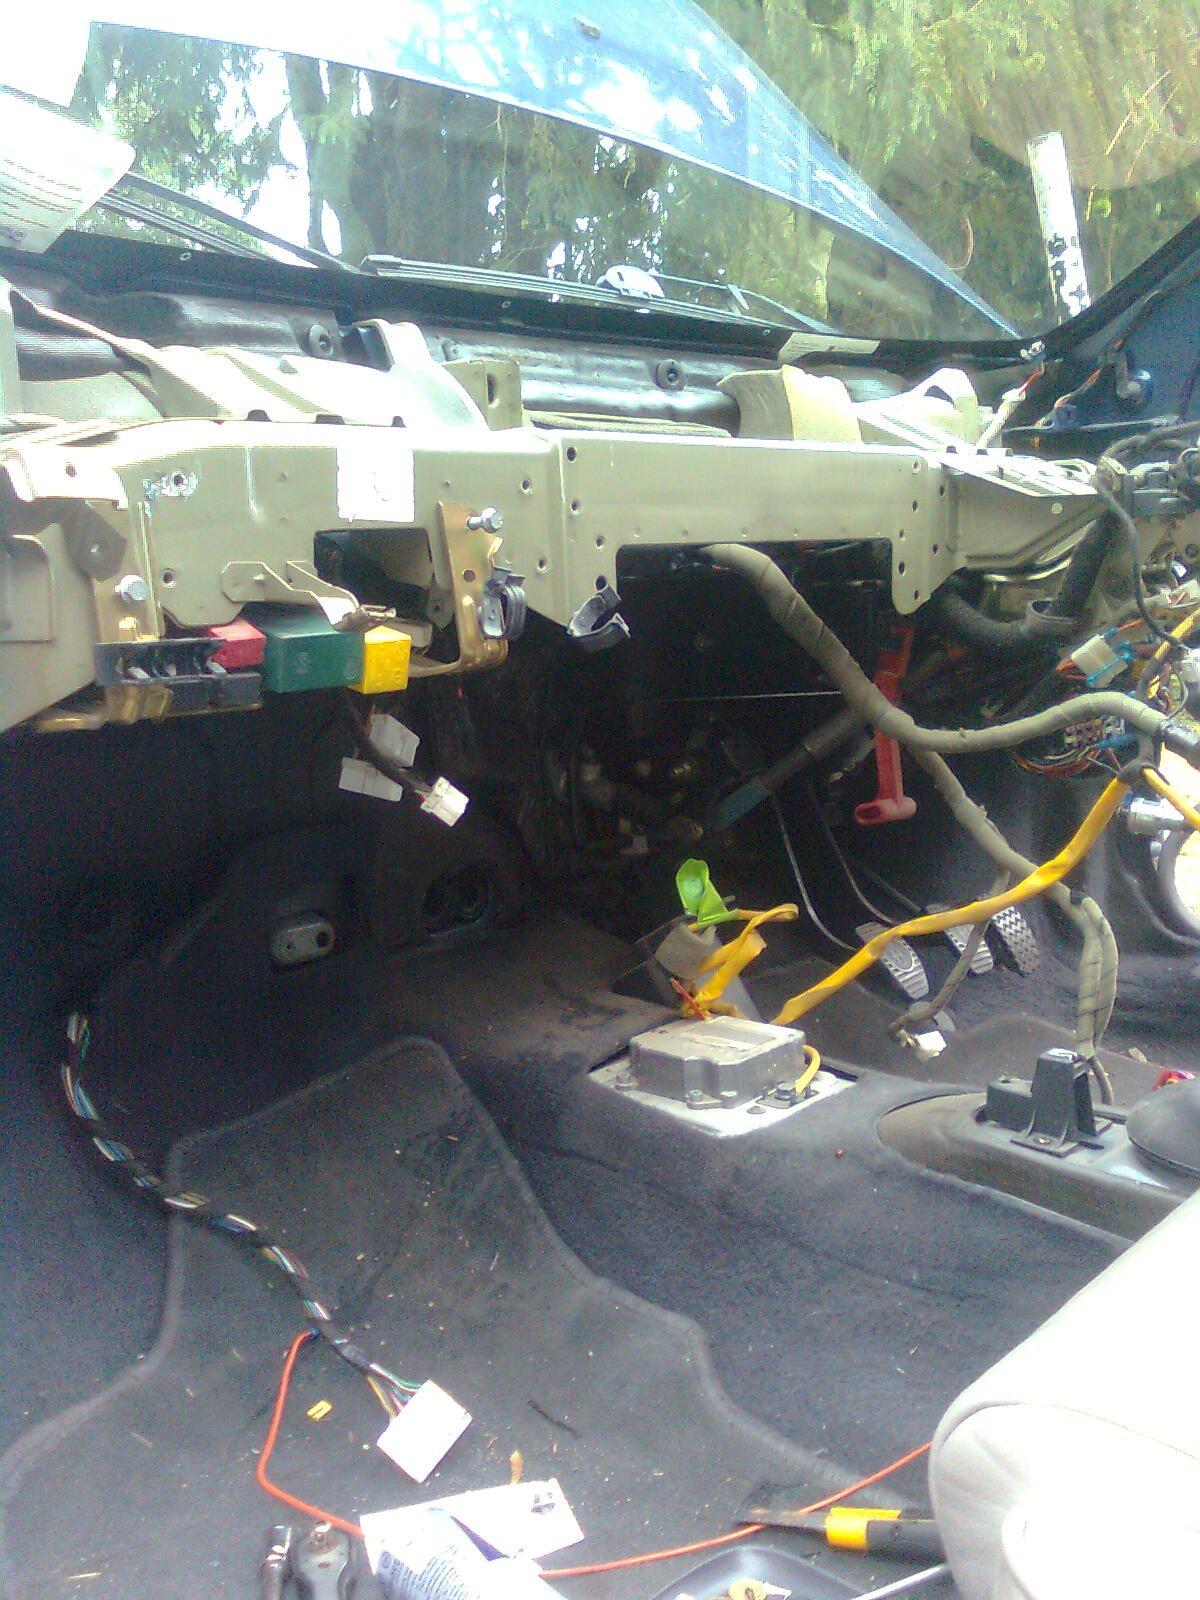
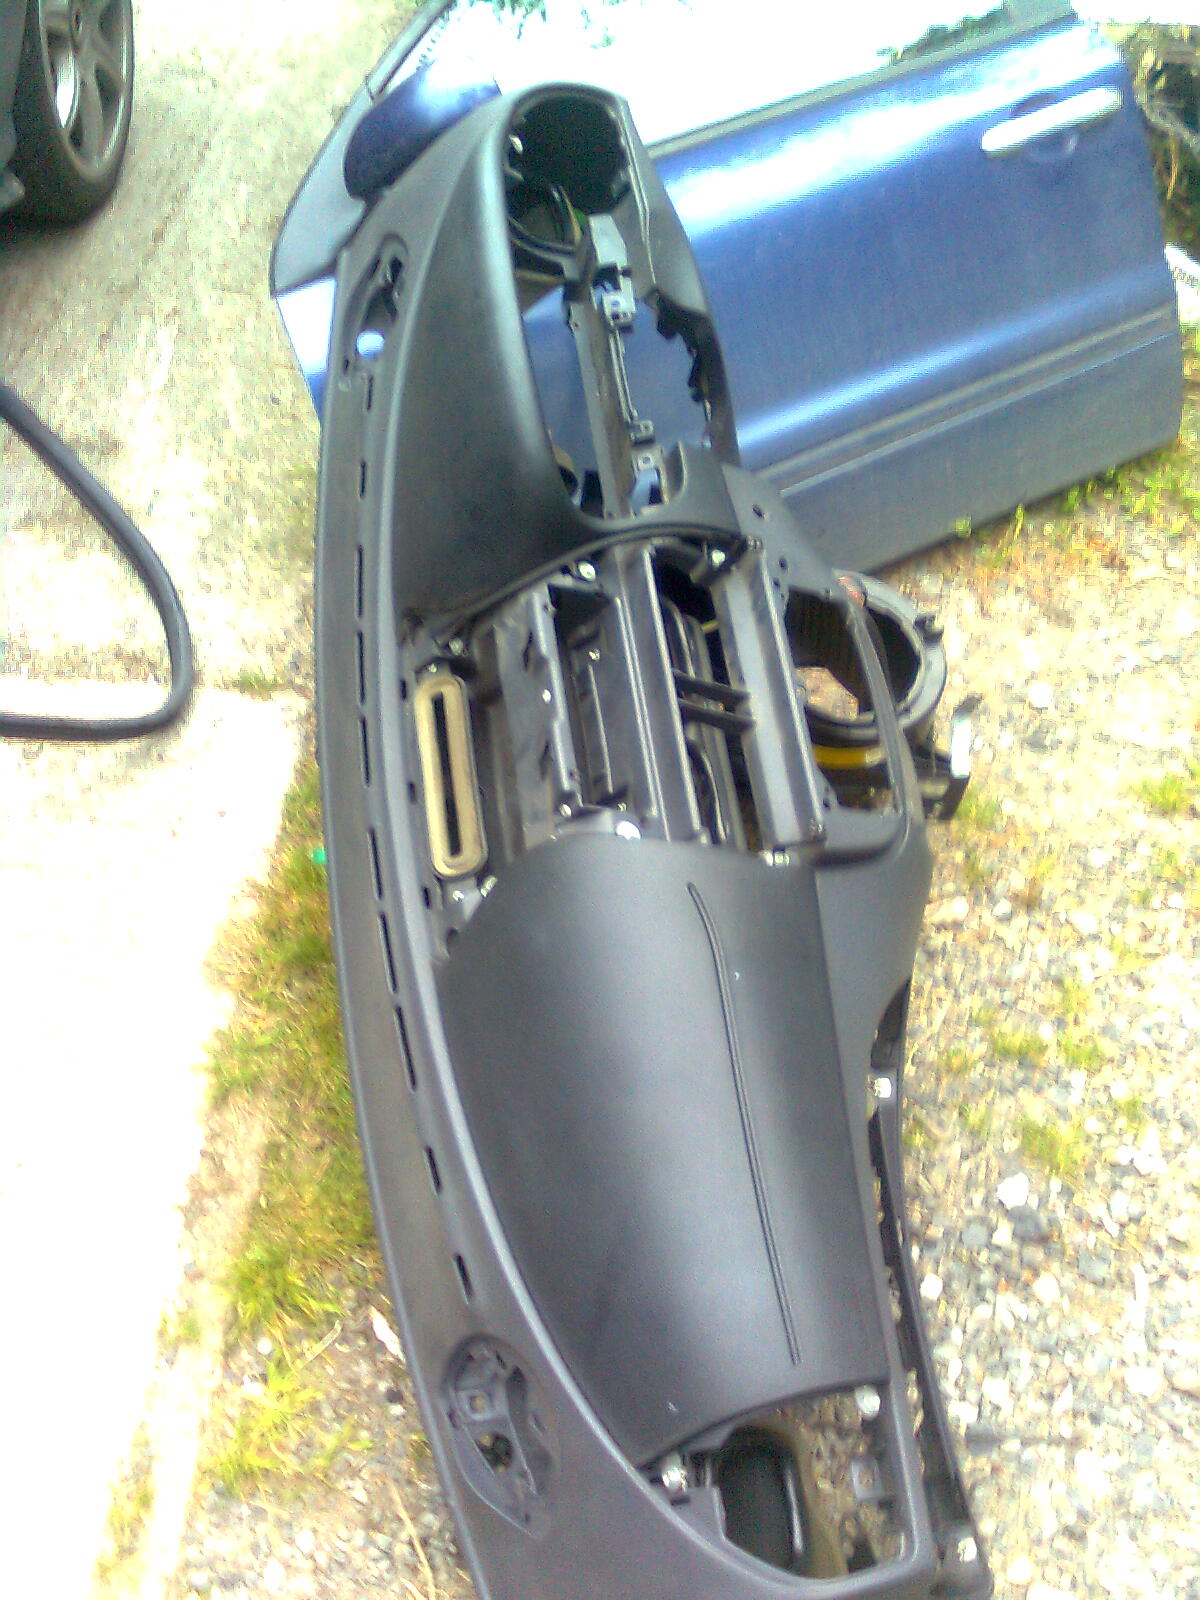
Just to emphasise the scale of the task...
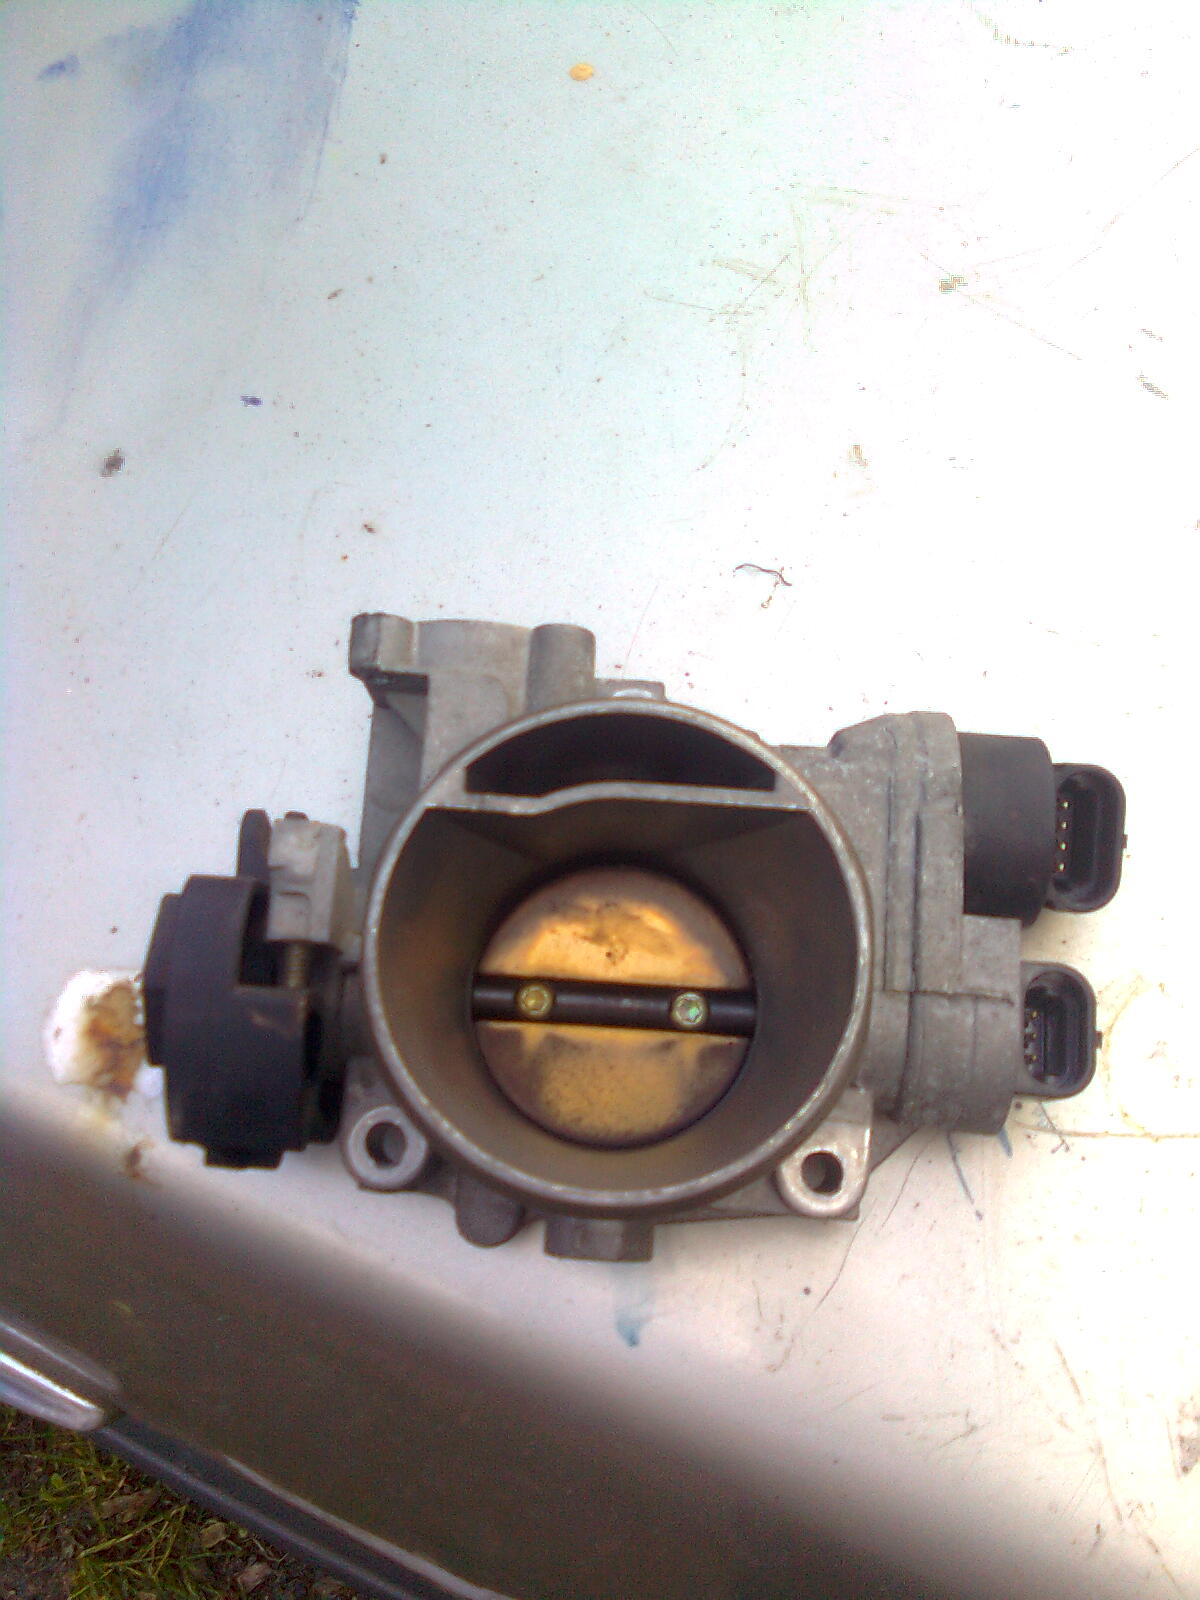
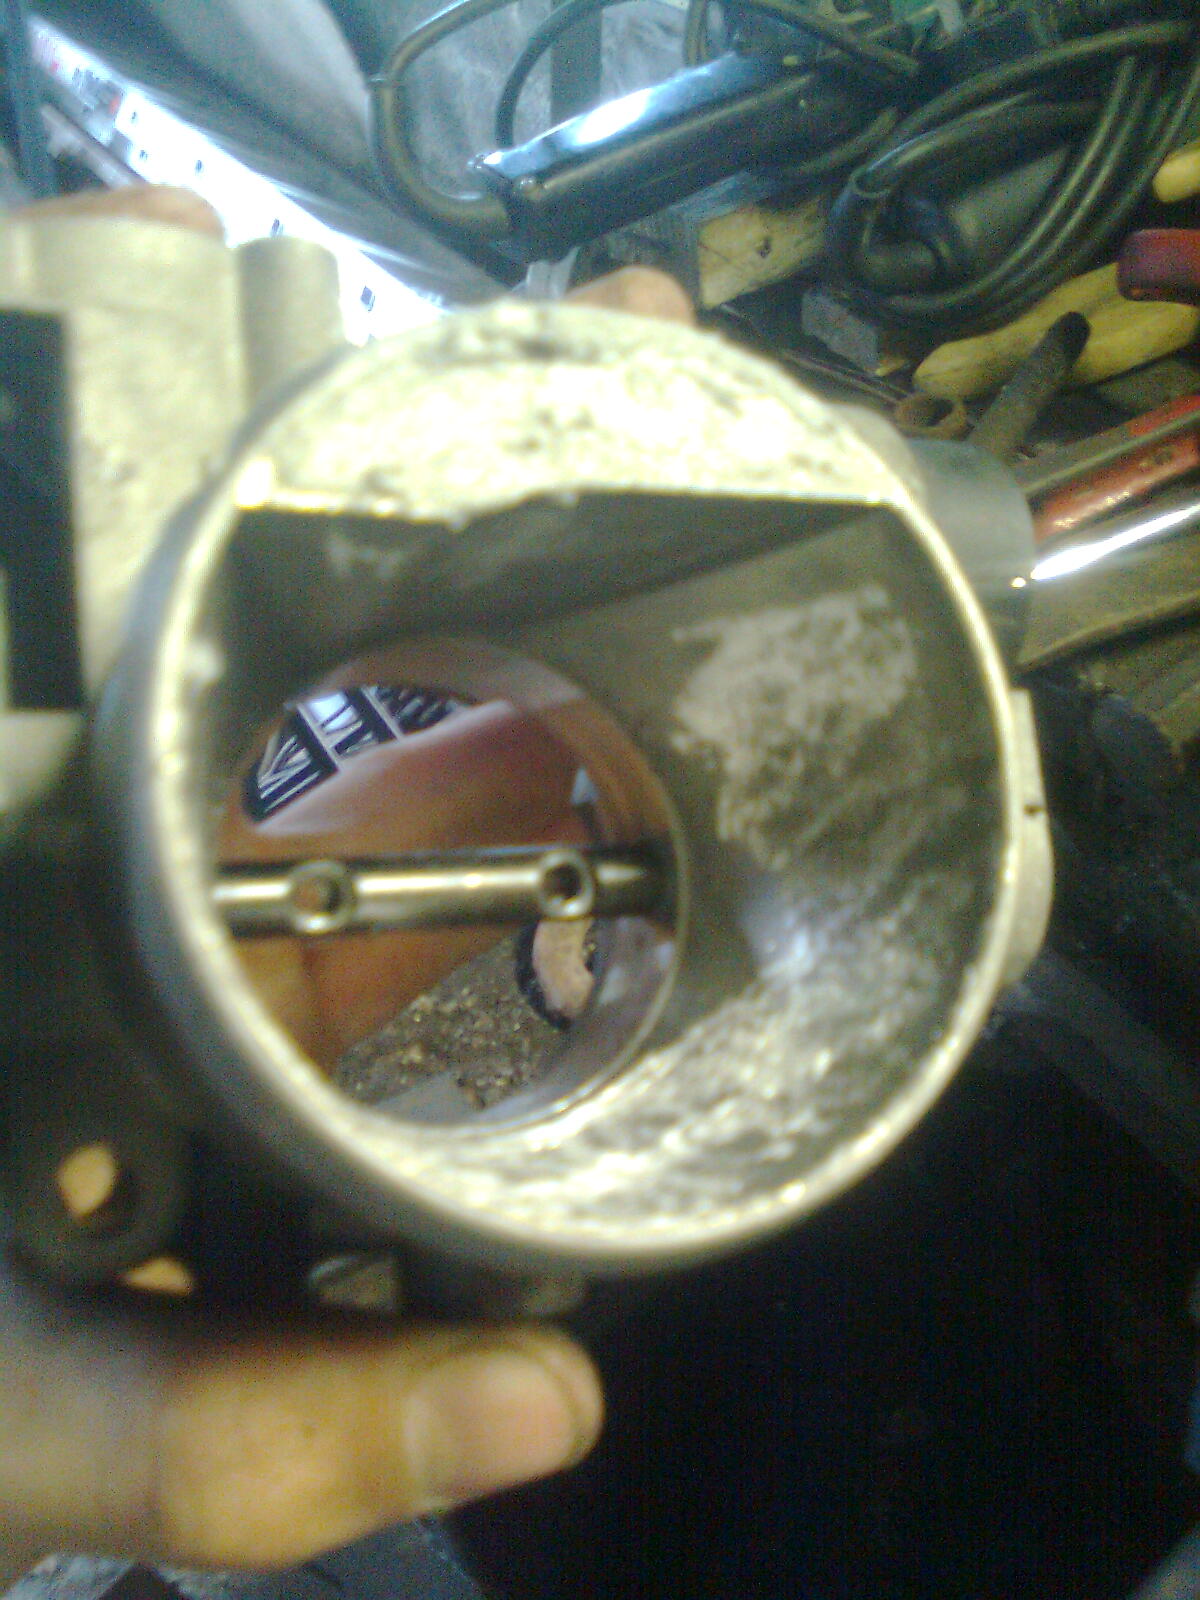
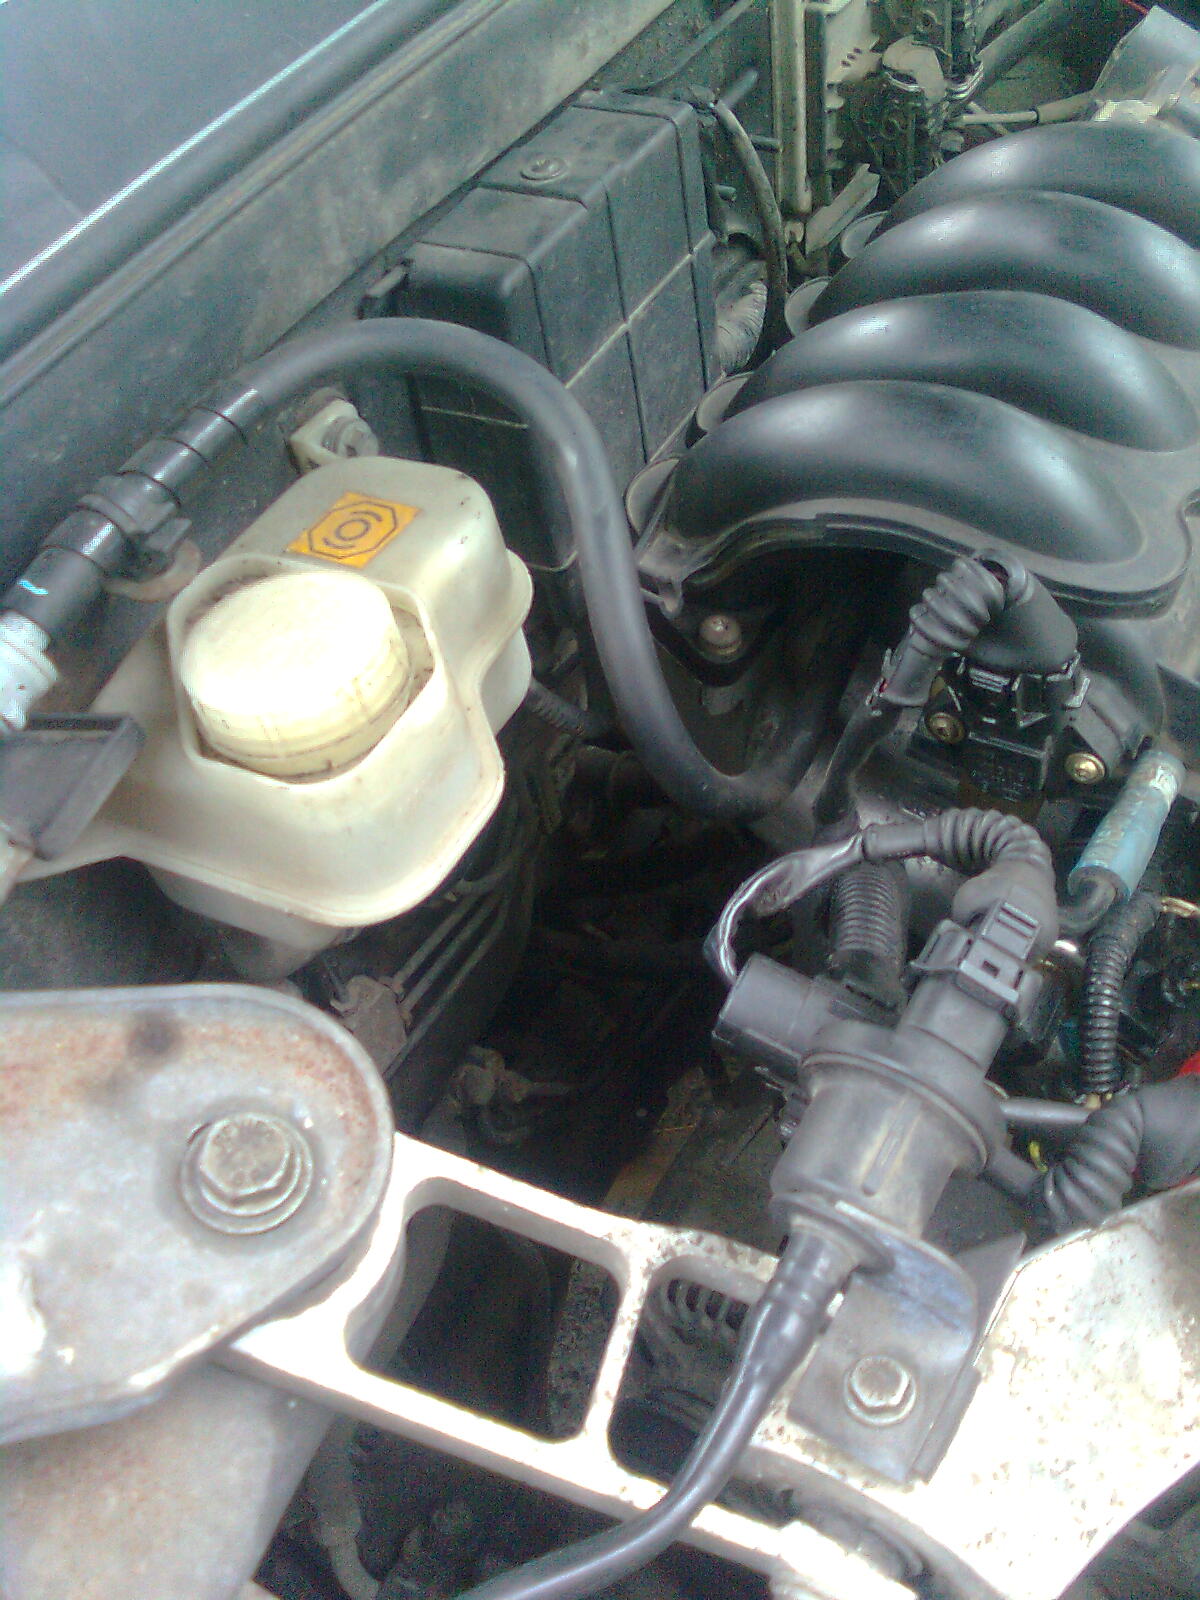
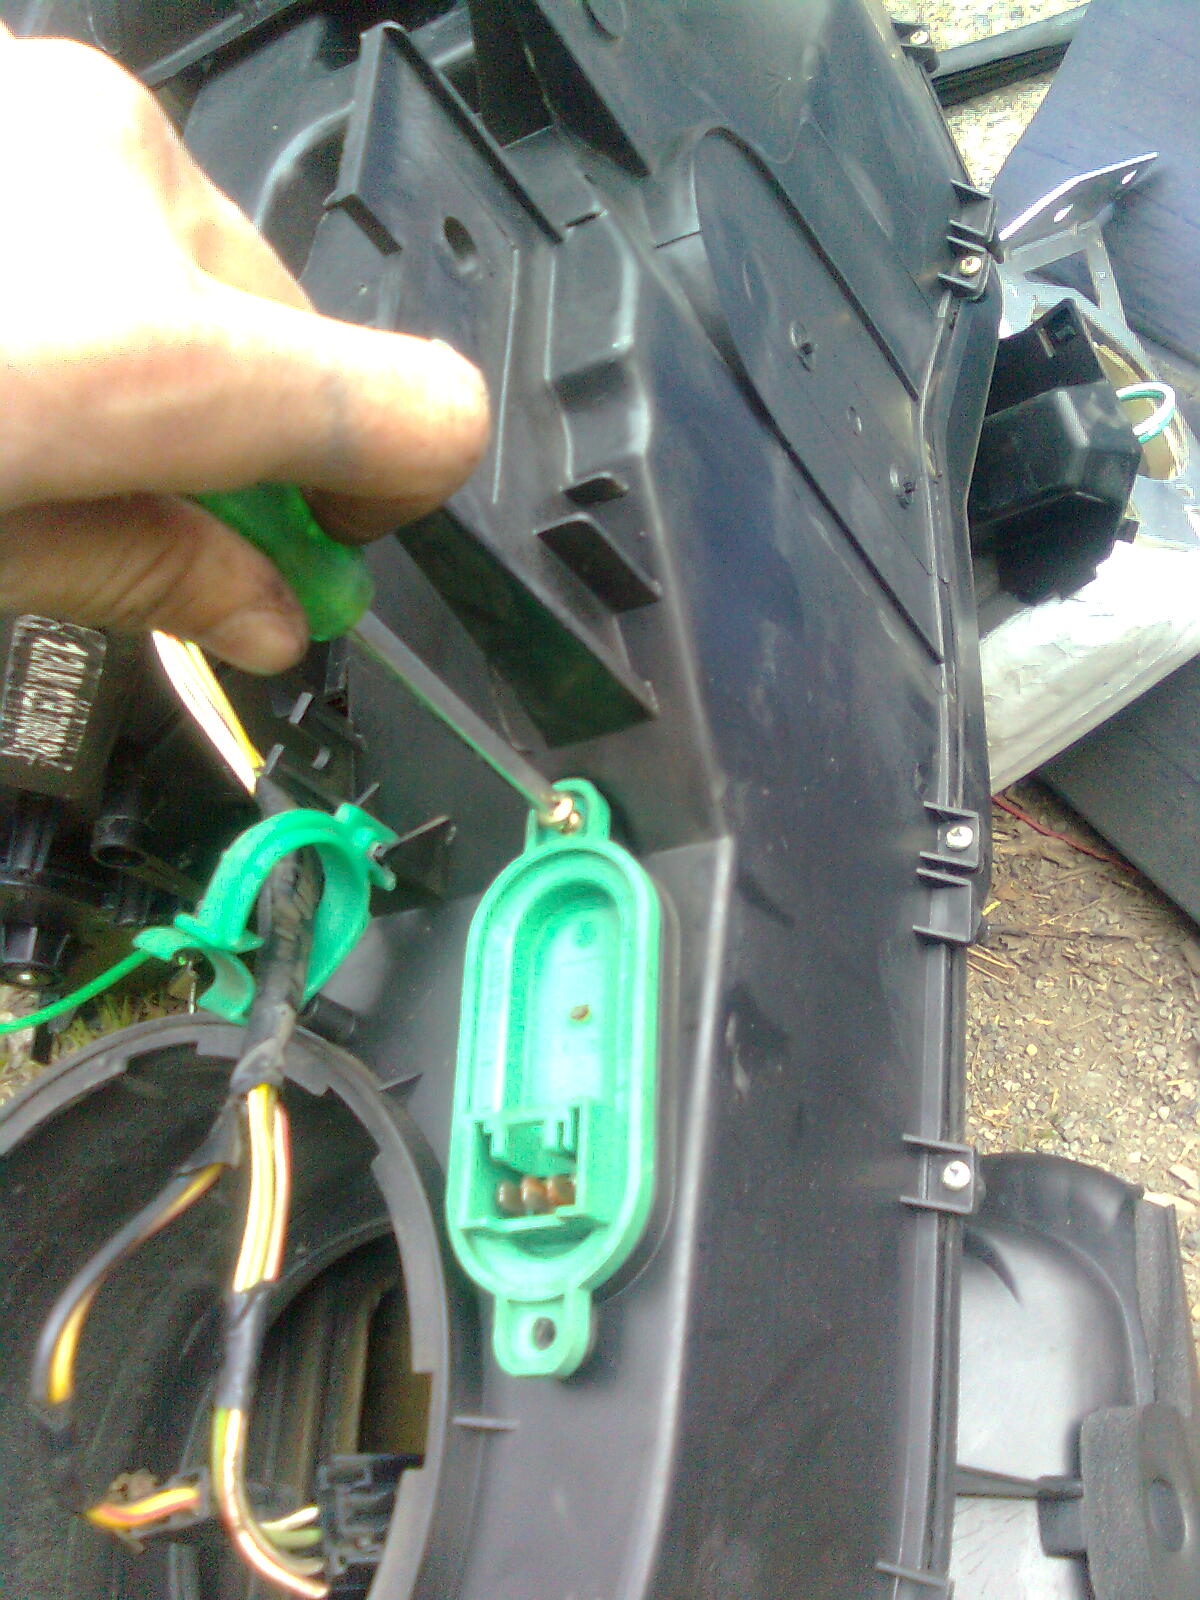
Now onto these :bang:
The clips were a nightmare to break and the hoses were welded on. I smashed the 2 metal pipes in the process of removal
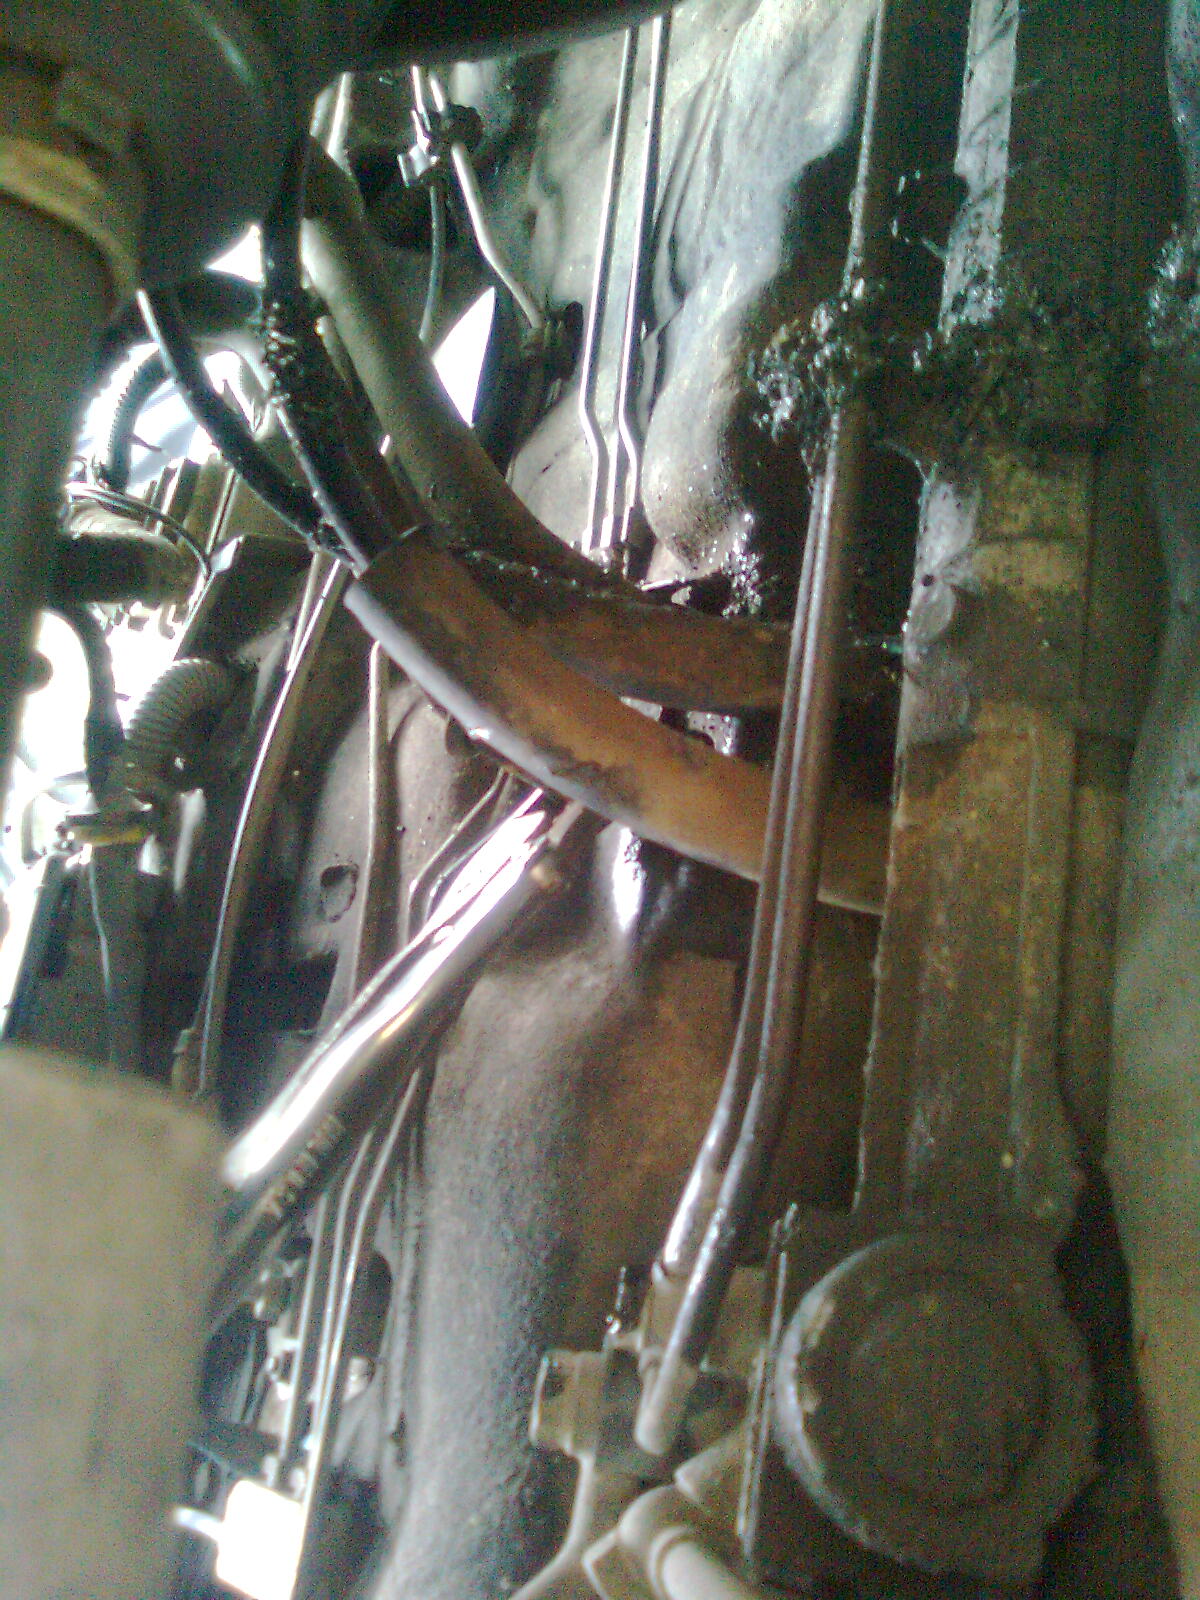
But when I did...
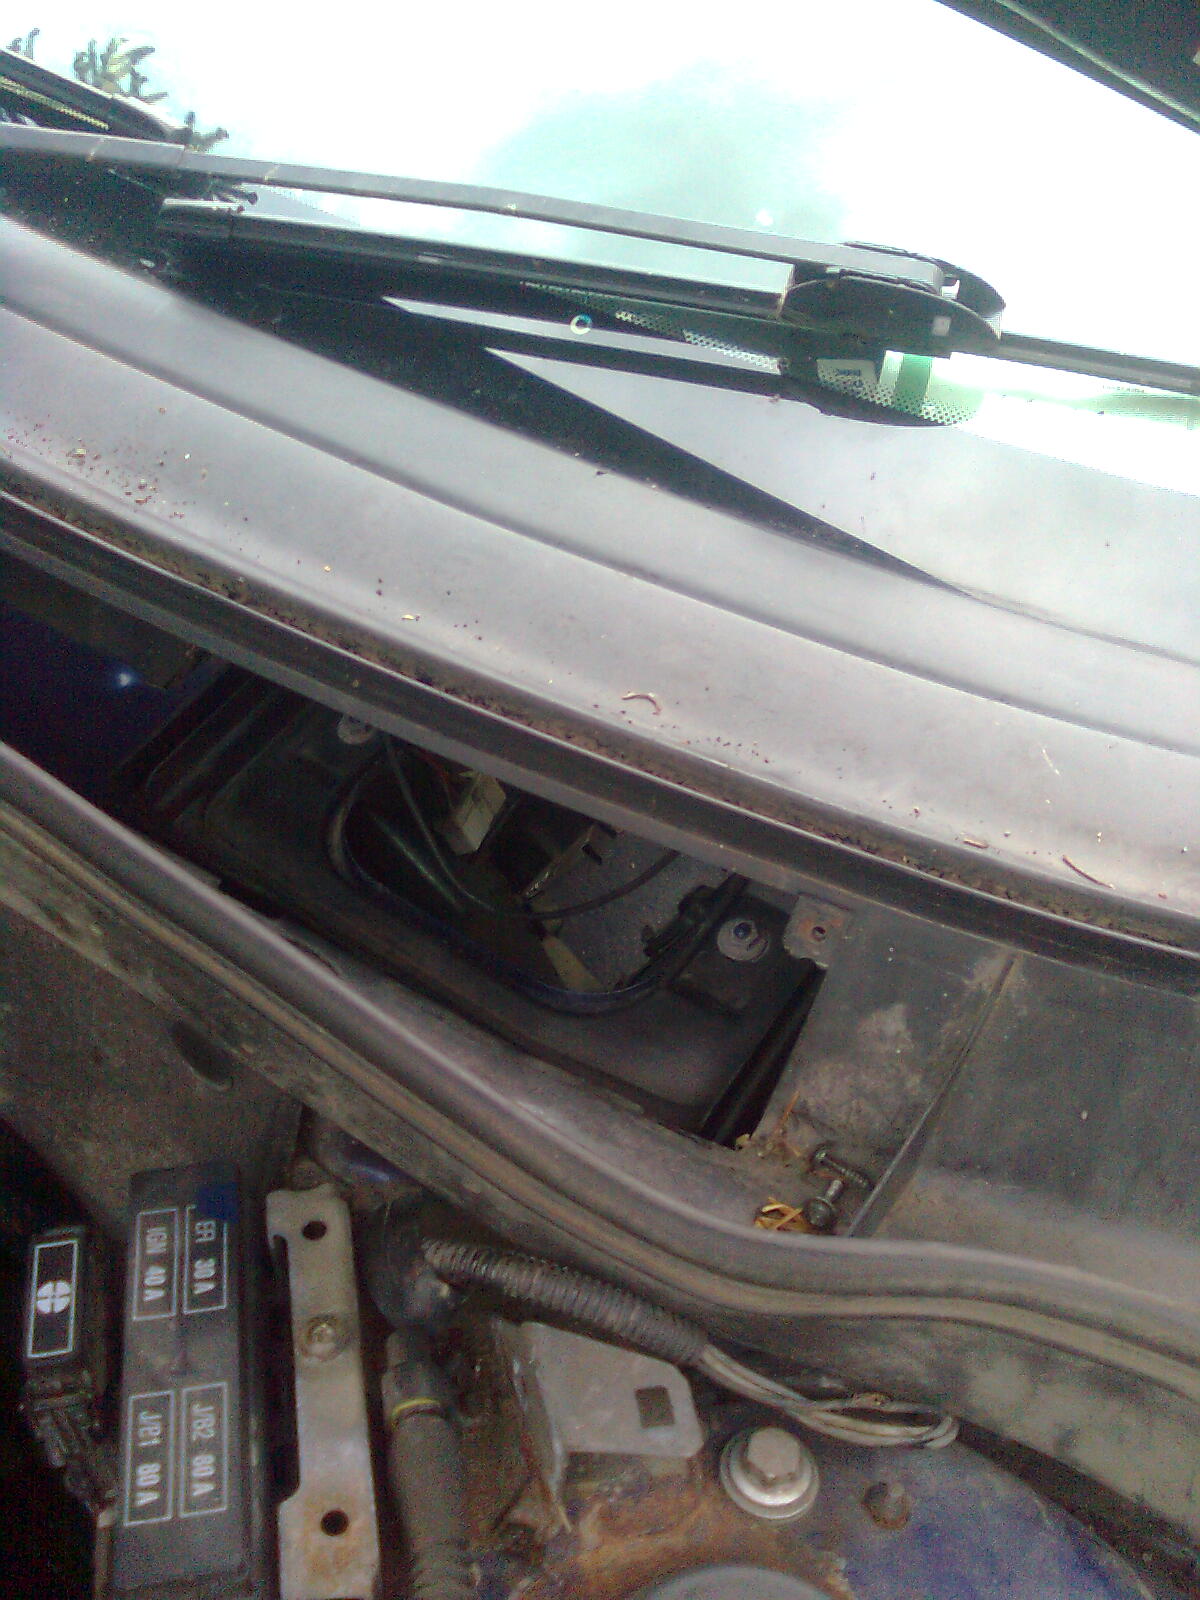
Finally after nearly 15 minutes!
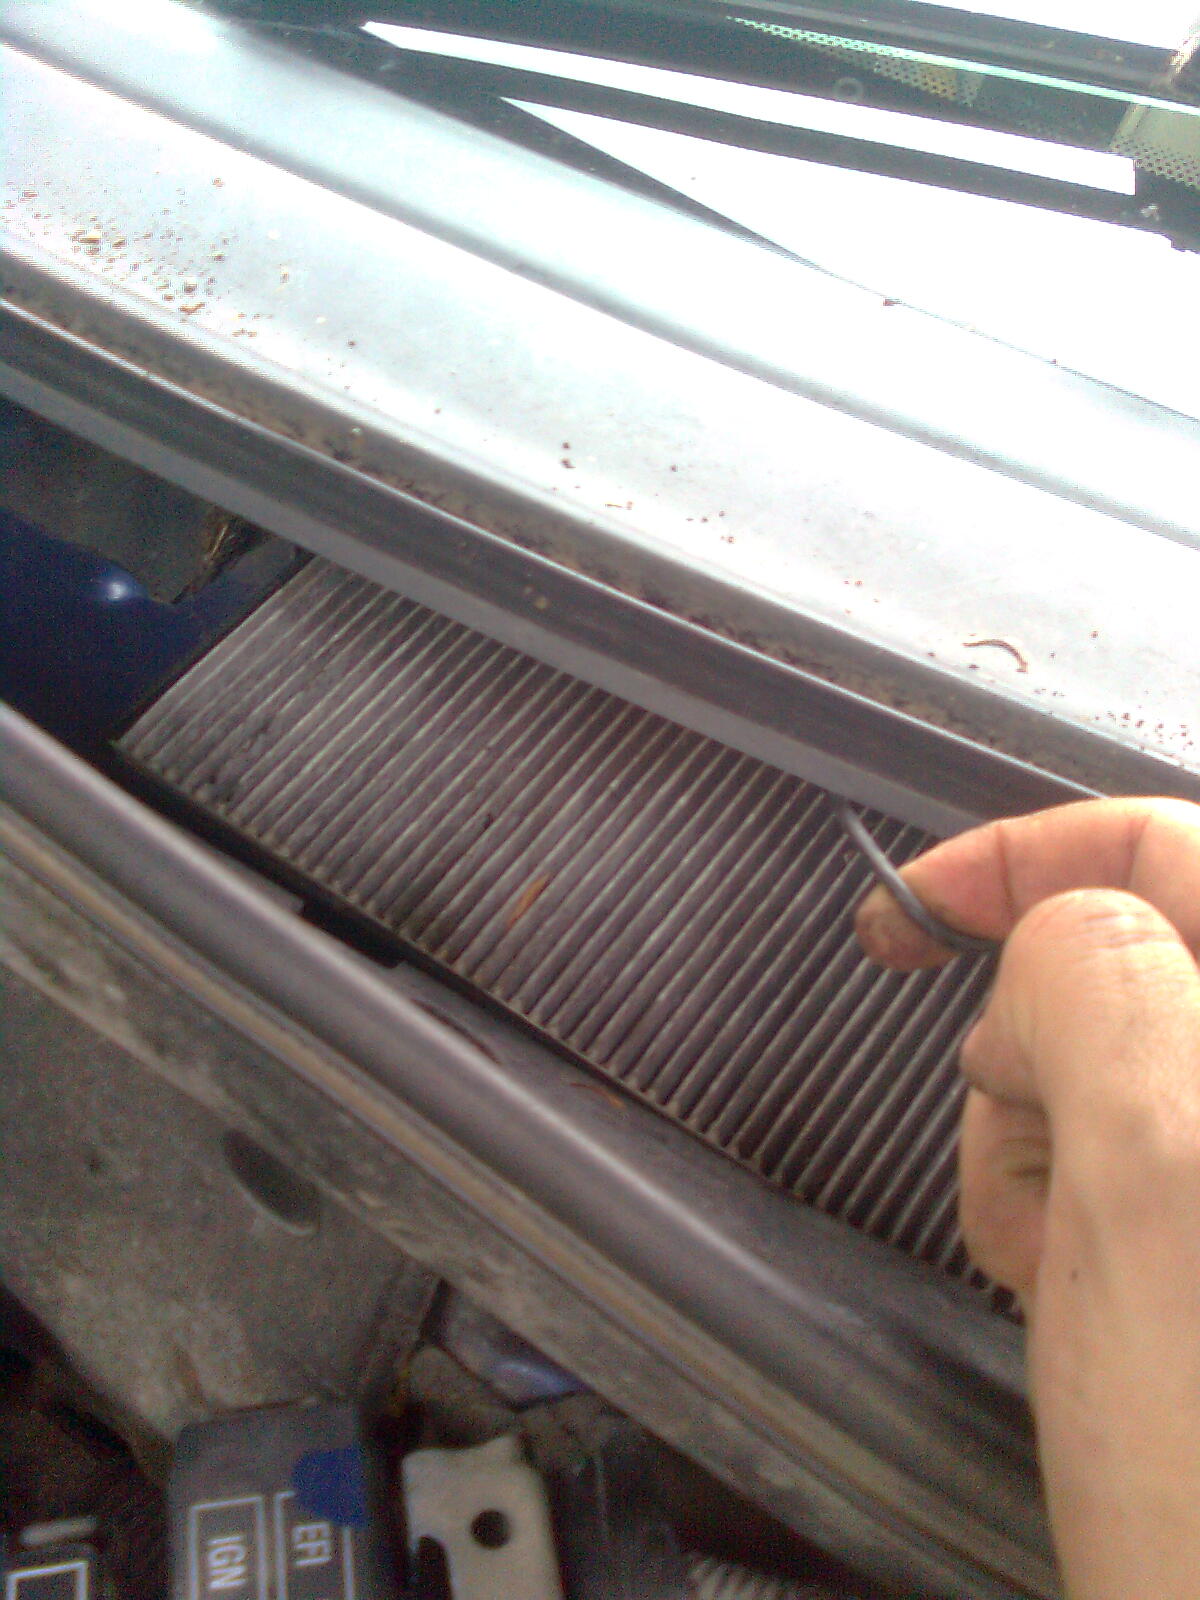
Just the pollen filter... (yes, I need a new one)
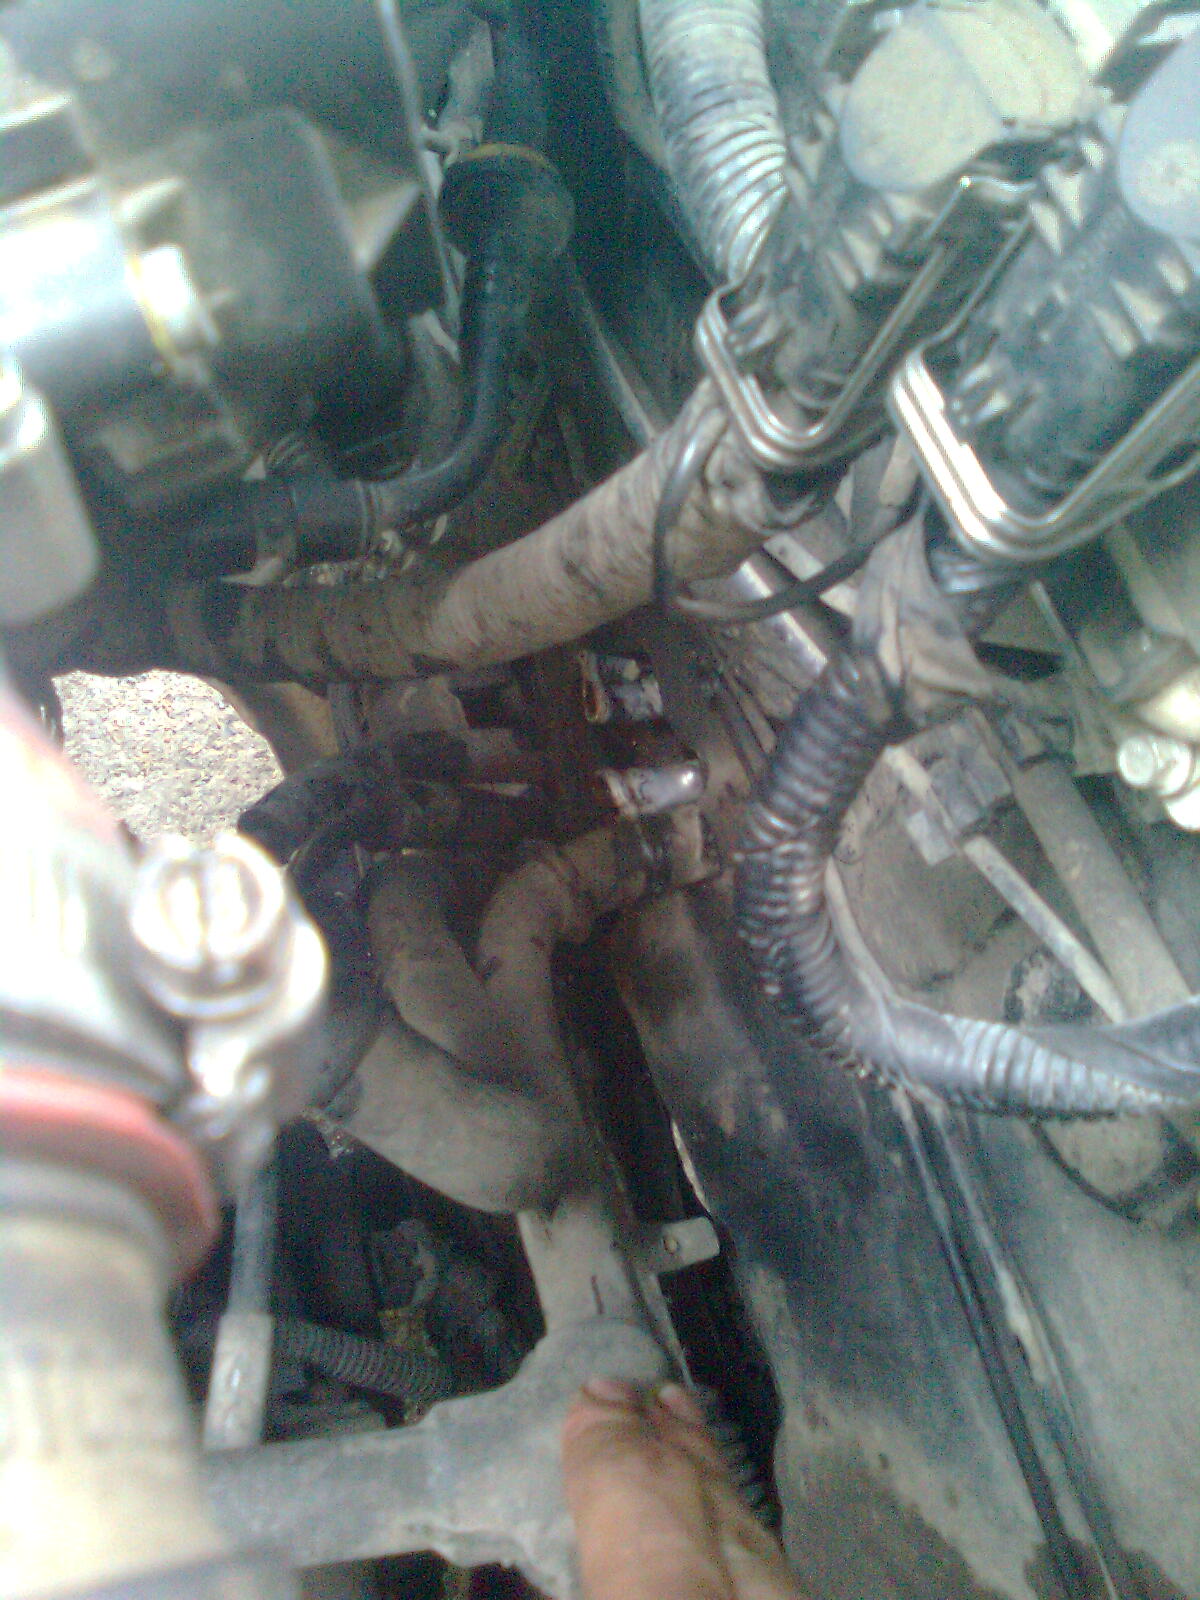
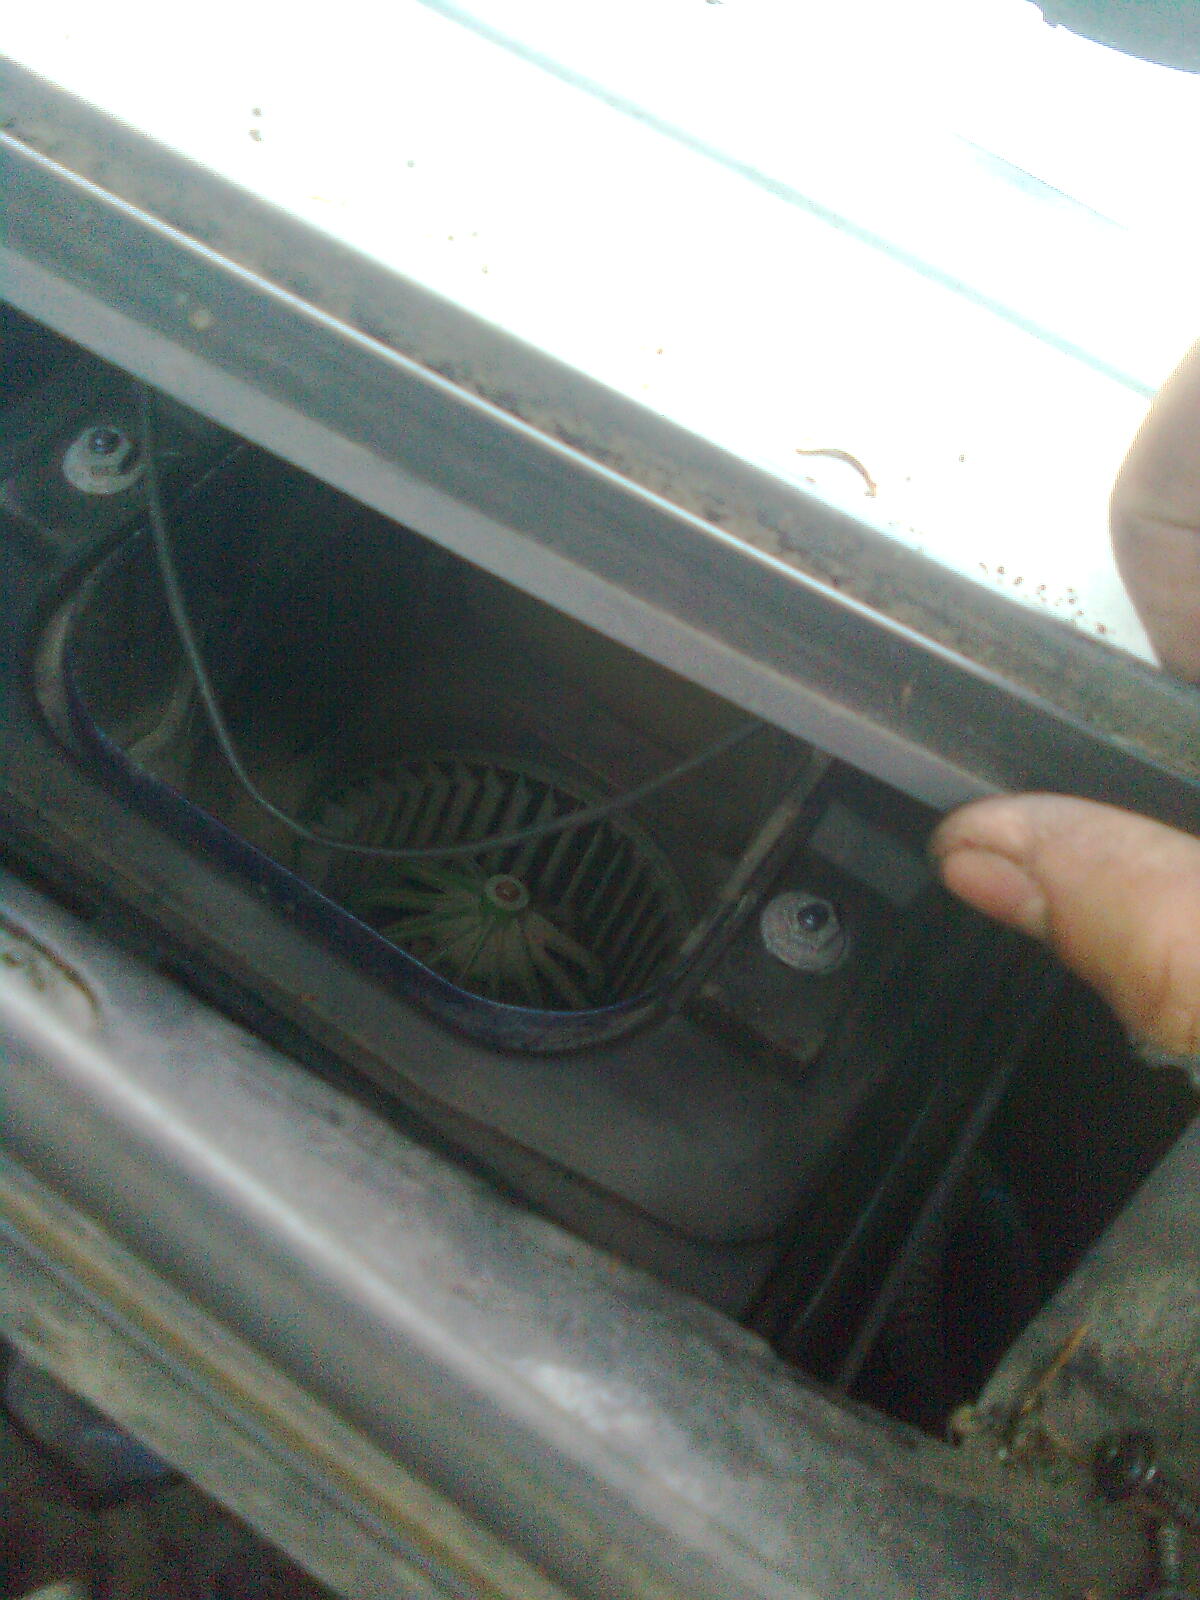
When removed
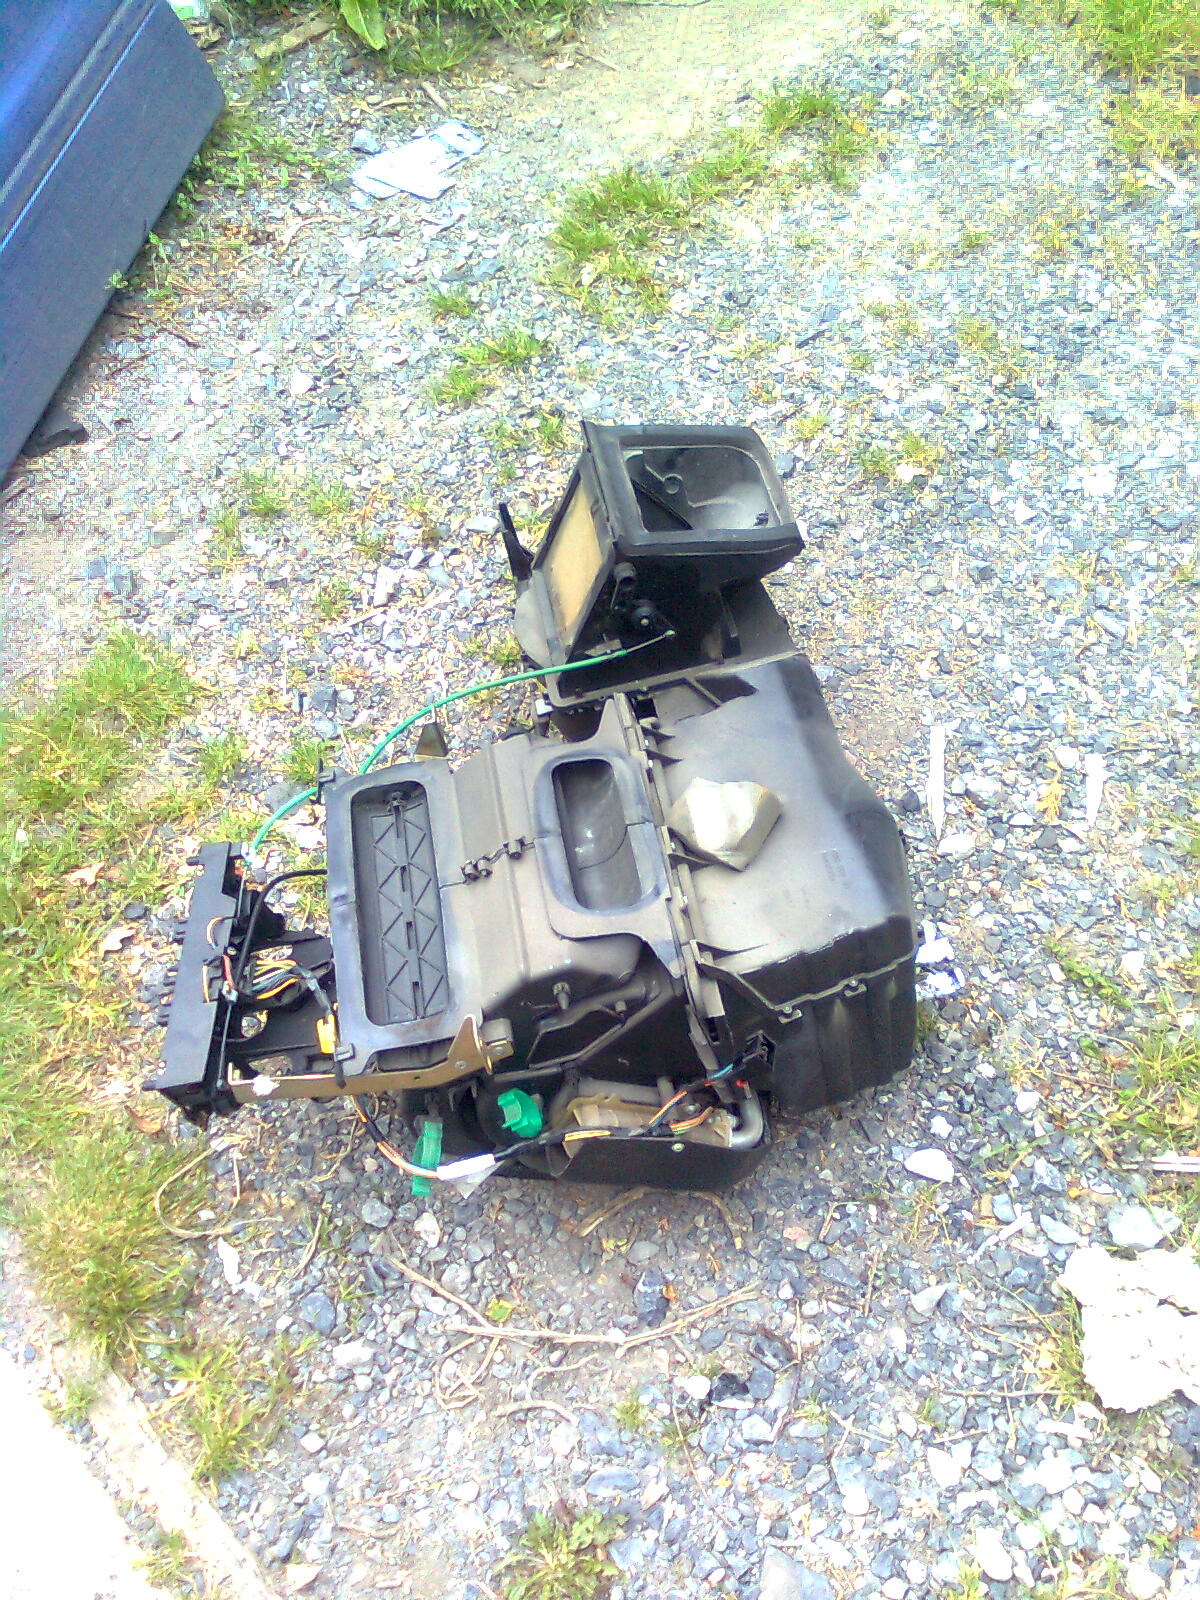
And after 4 bolts and a lot of swearing, this pig is out!
I'll be taking it apart just to see how its put together, so to one side it goes...
To be fair, these are fairly straight foreward to take out
Or have I been working on them too long... :spin:
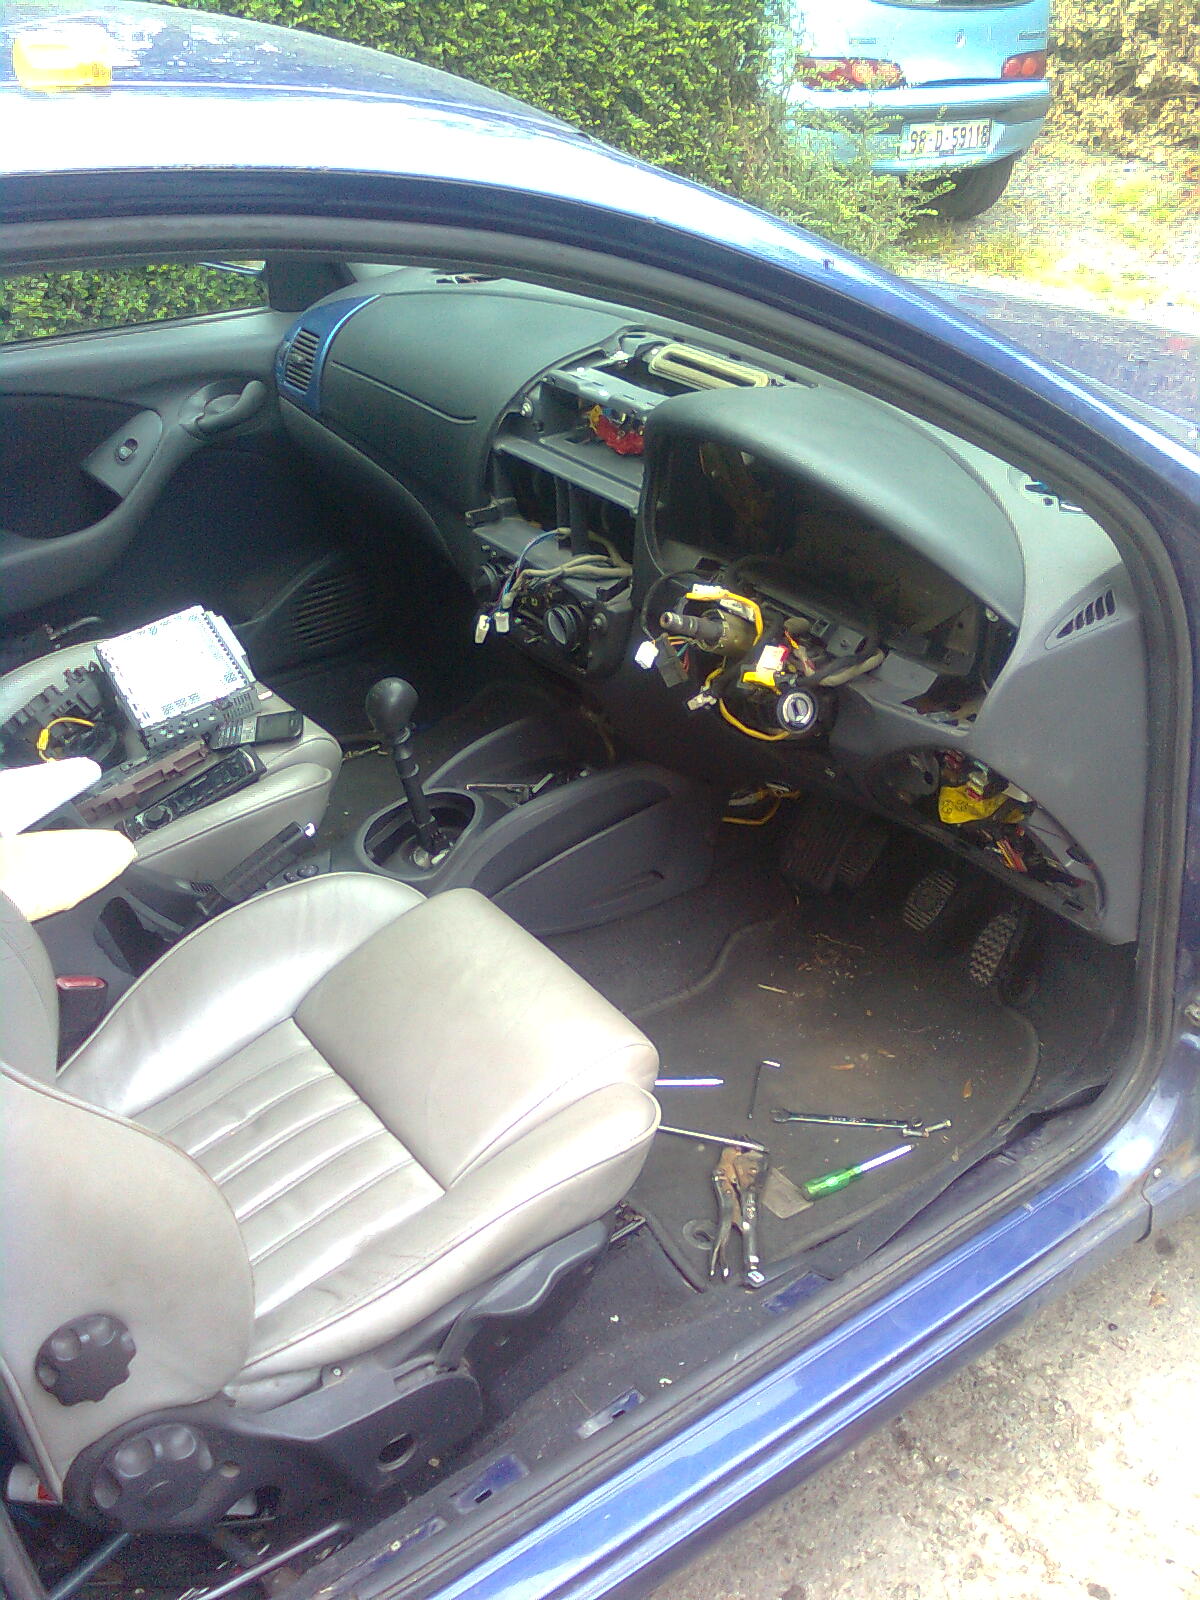
The old and the older
But I must continue. Swap all the good bits over
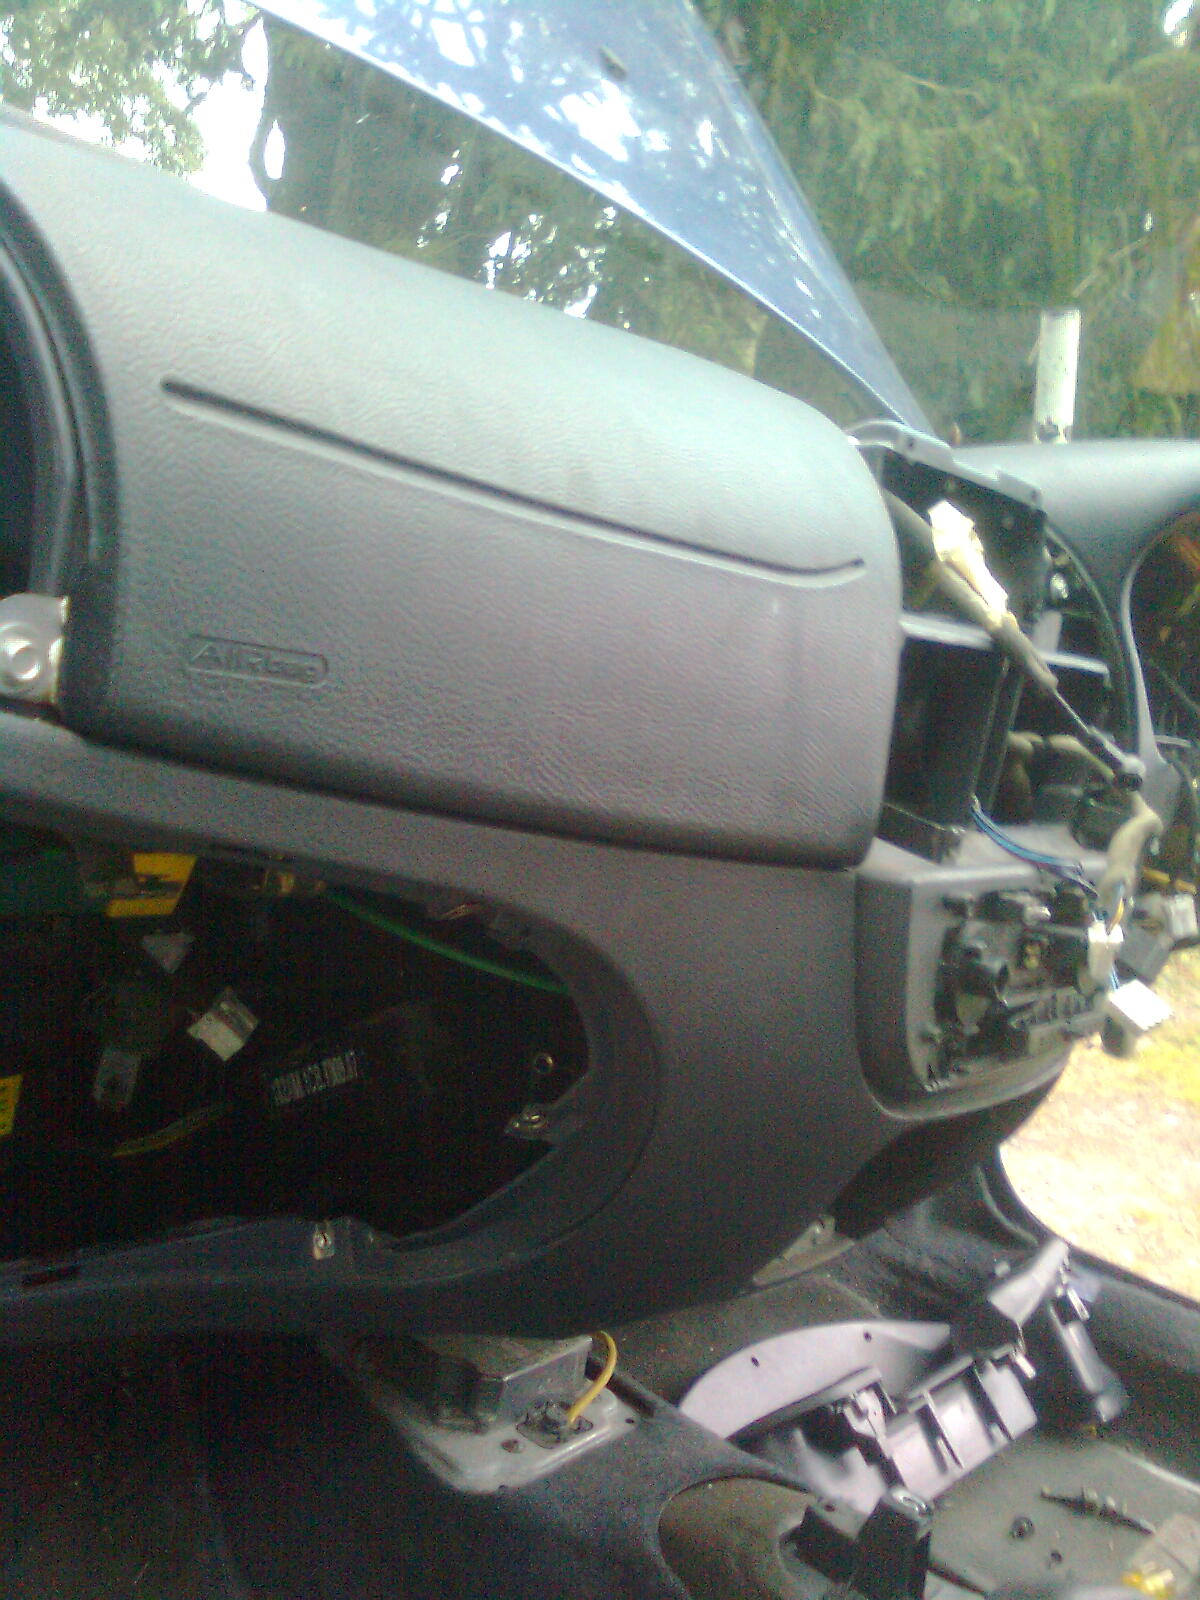
Almost sitting right
By now its in and bolted up. To this boyo...
But first, the airbag
And sorting the cables... (don't worry at this stage I know what every one of them does
)
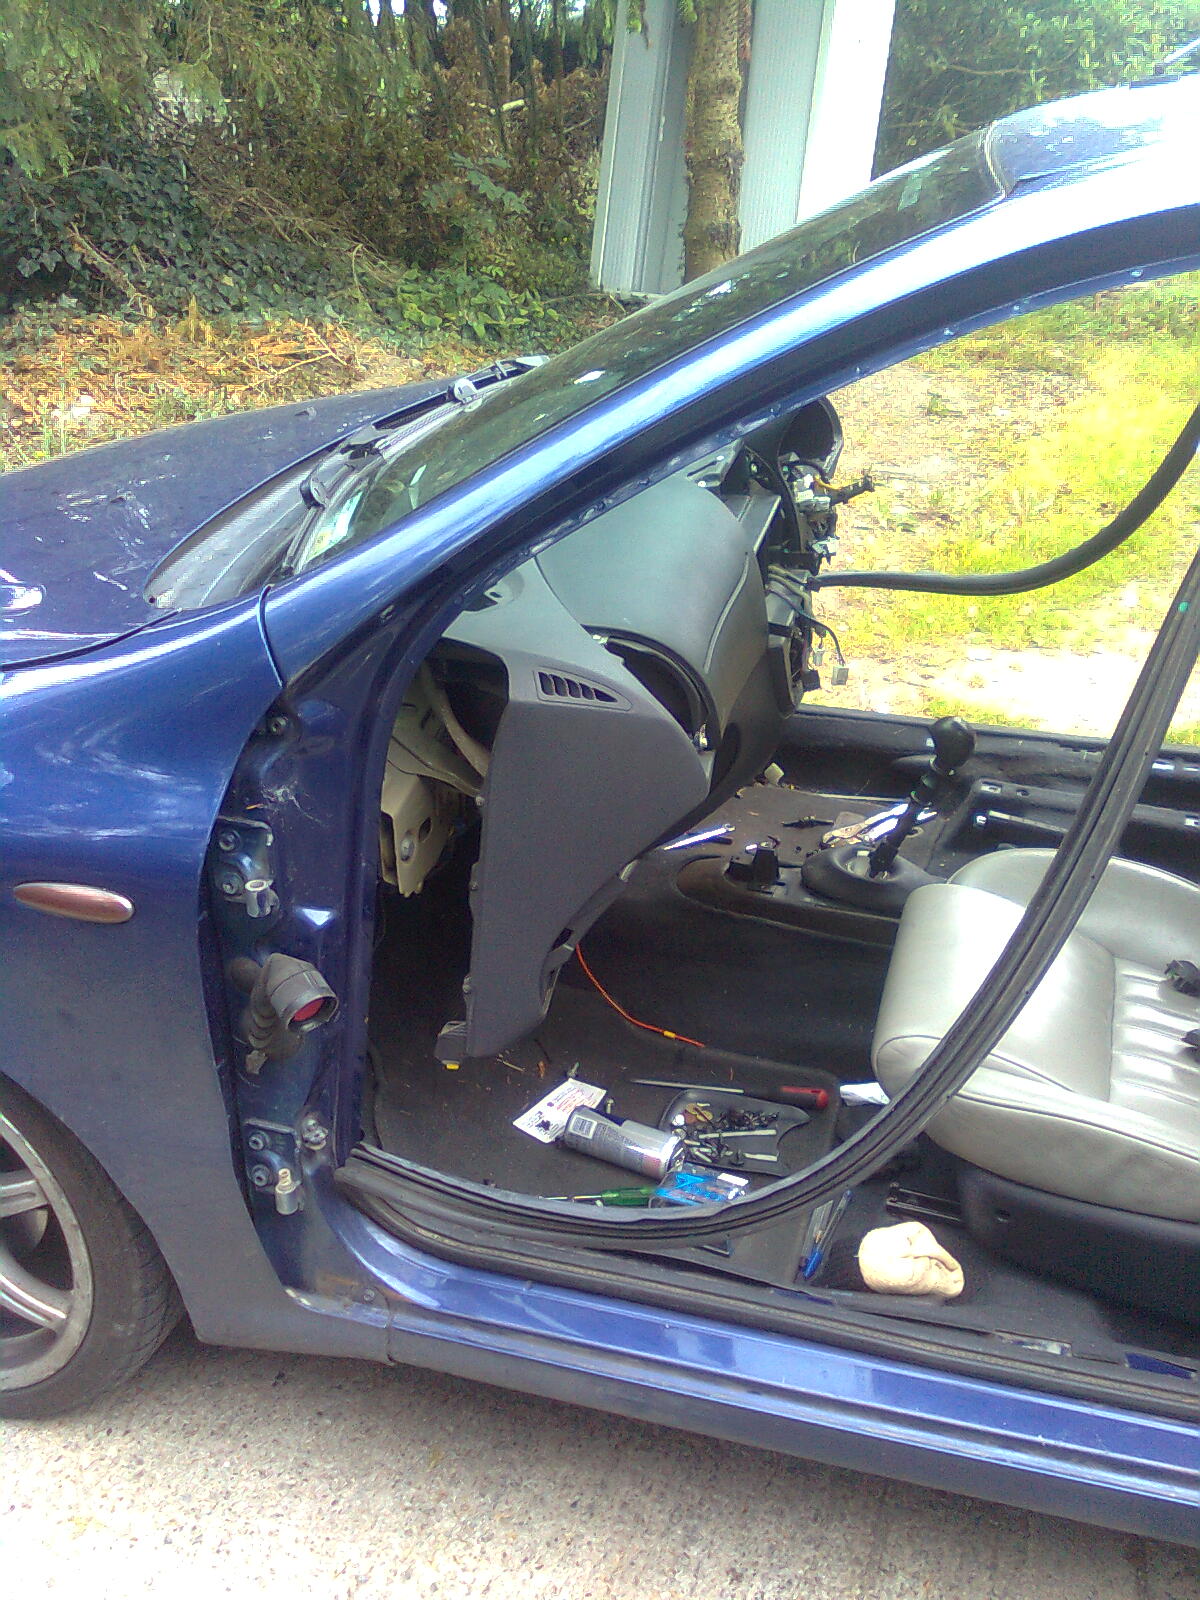
Almost there...
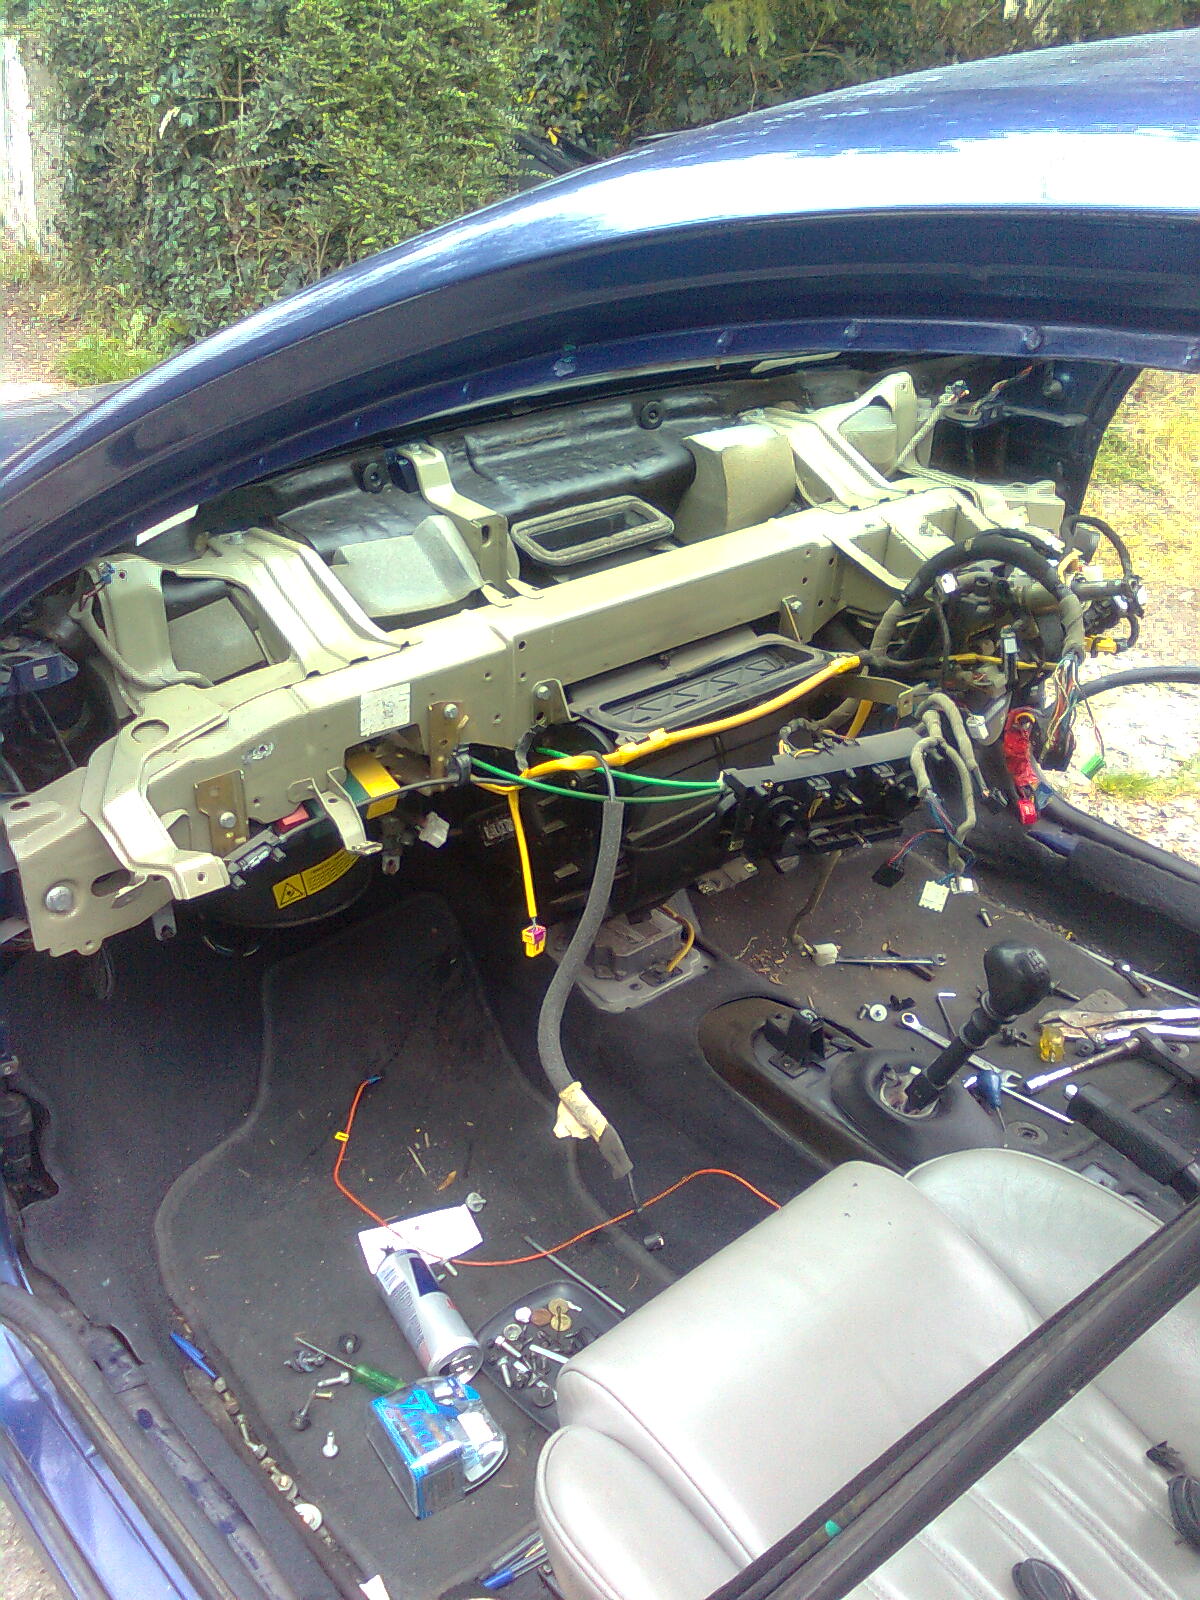
Better
And know what happened next? The phone died!
So no pics of the rest of the installation... It's still charging, it was very dark when I finished and I'm still not finished! Just the speedo to put back, will be cutting and shutting 2 together so I actually have a working temp gauge for once
Also got the heater piped to the back when I put the console back, heat to the rear now like in the Marea
wouldn't want to be getting cold back there now would we...
But stay tuned, I'll be up bright and early, I hope...!