0317.jpg

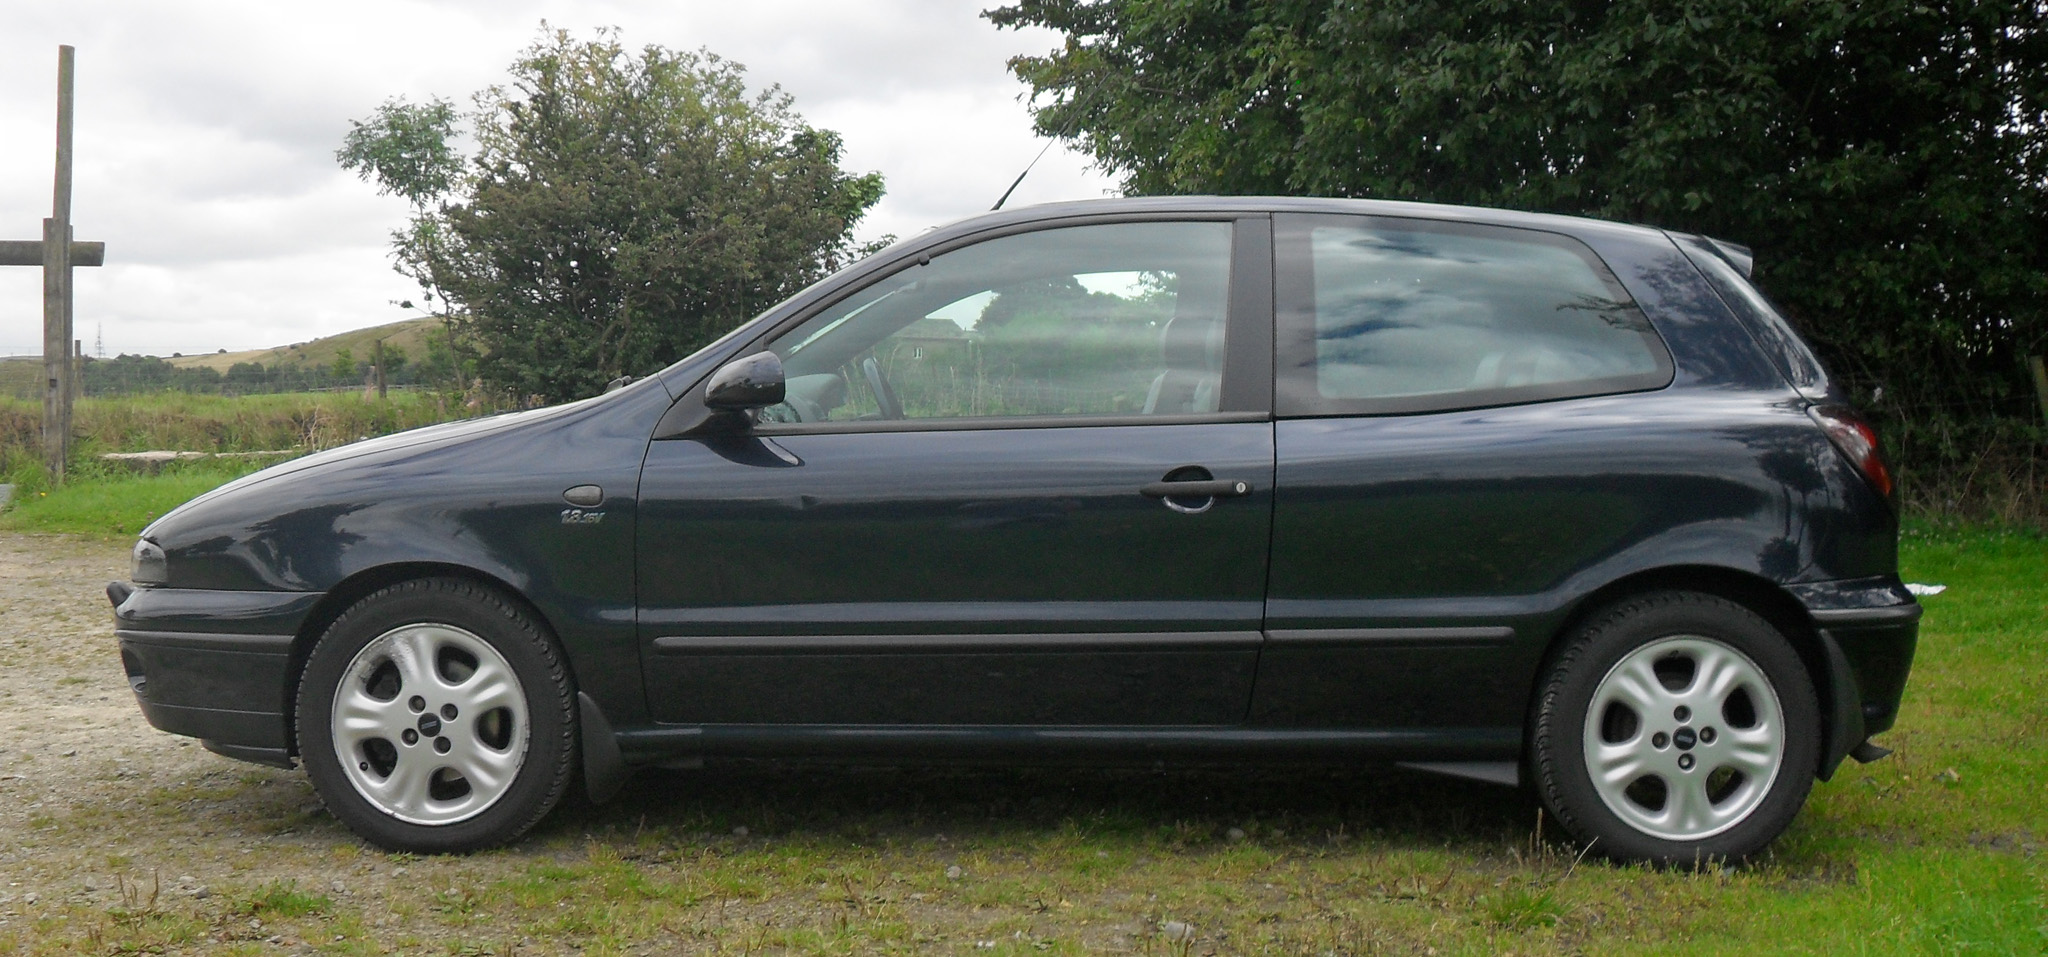
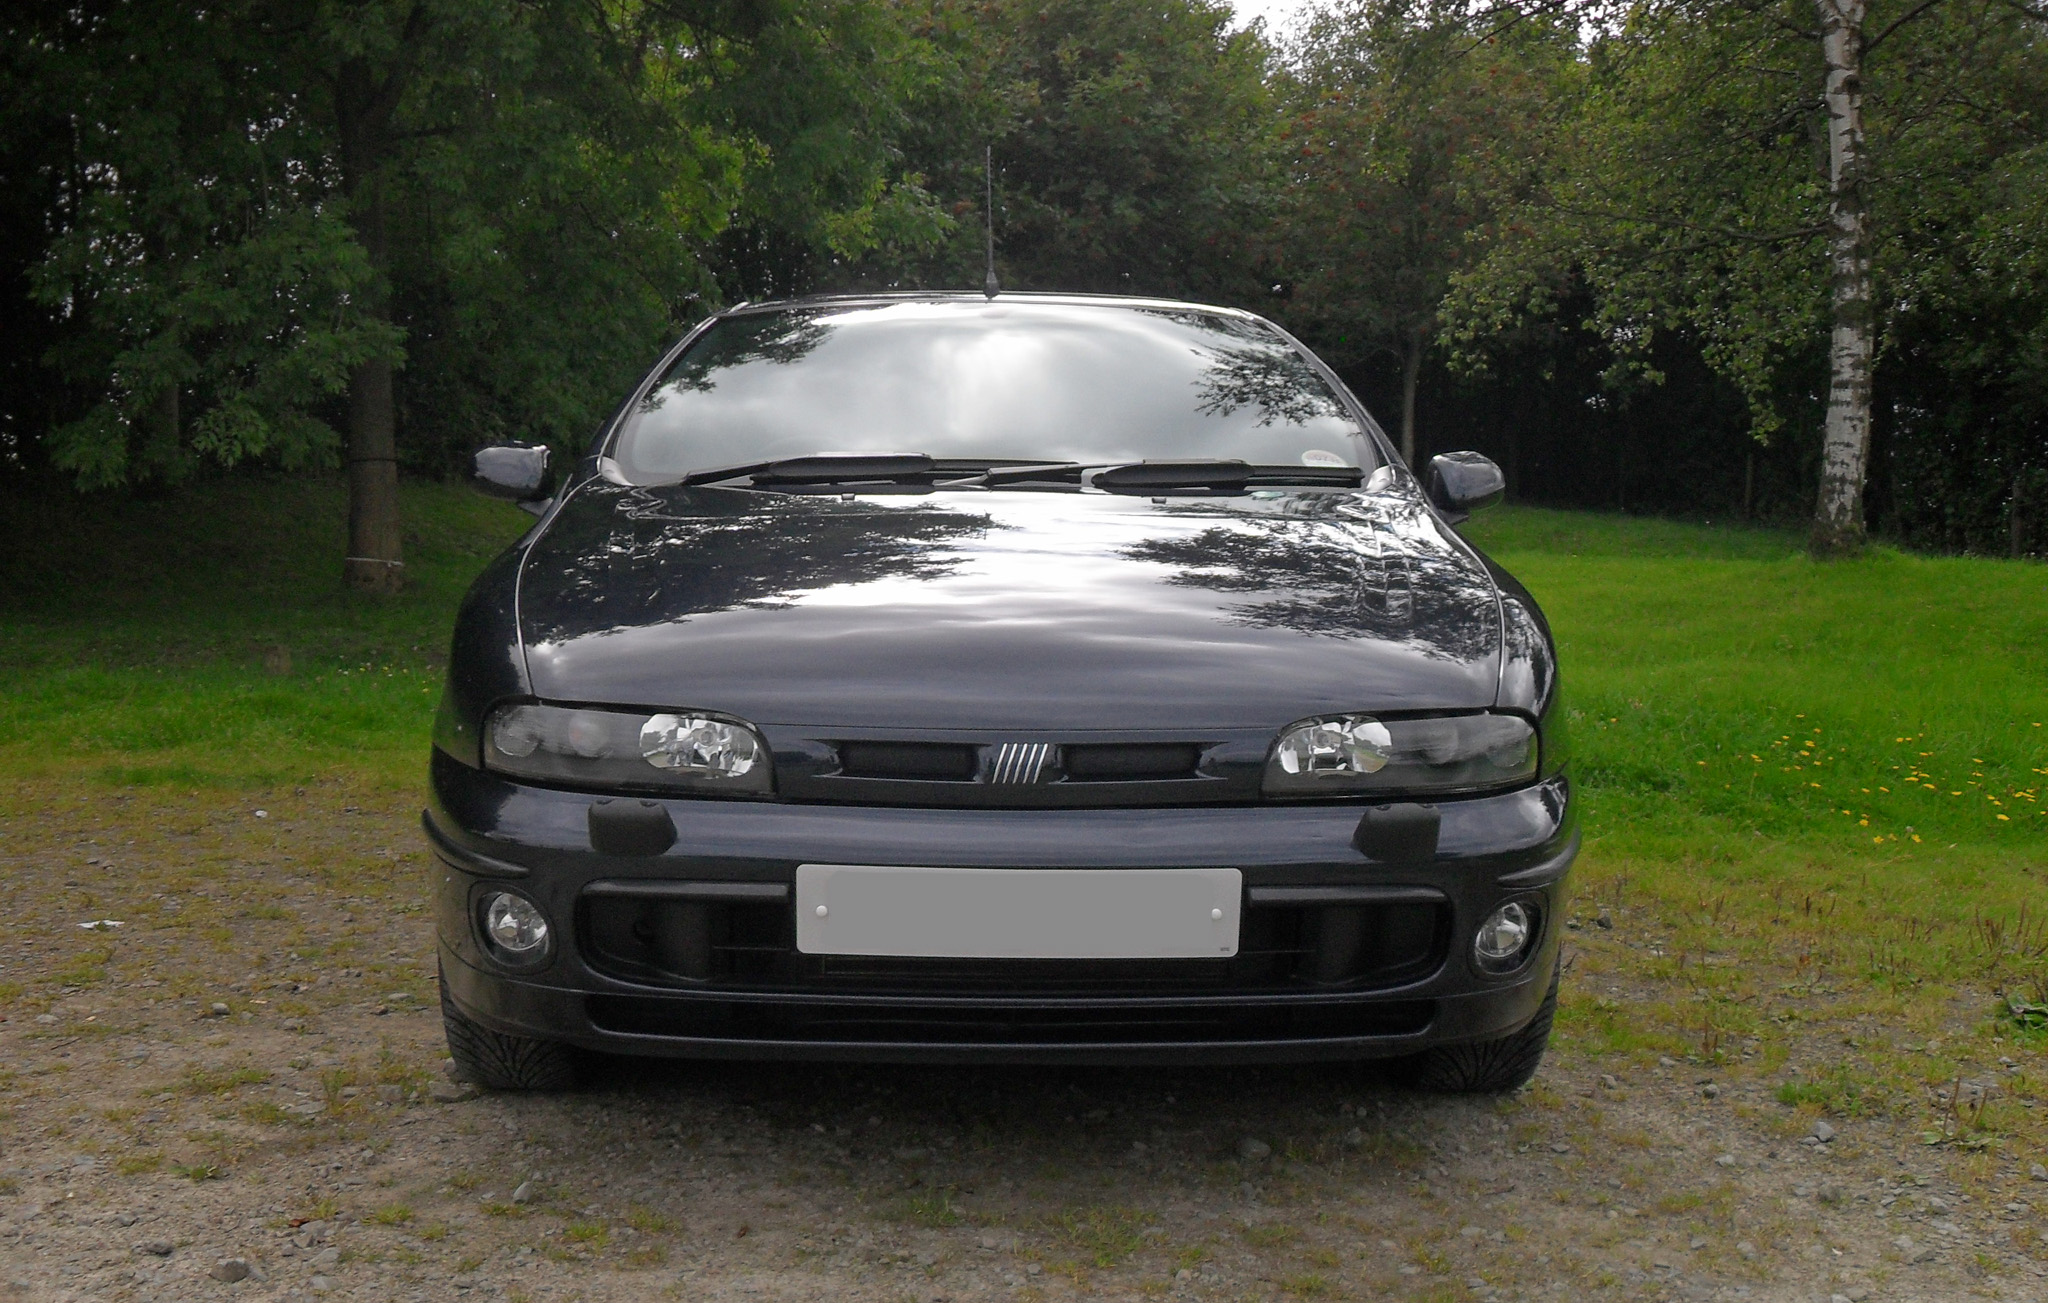
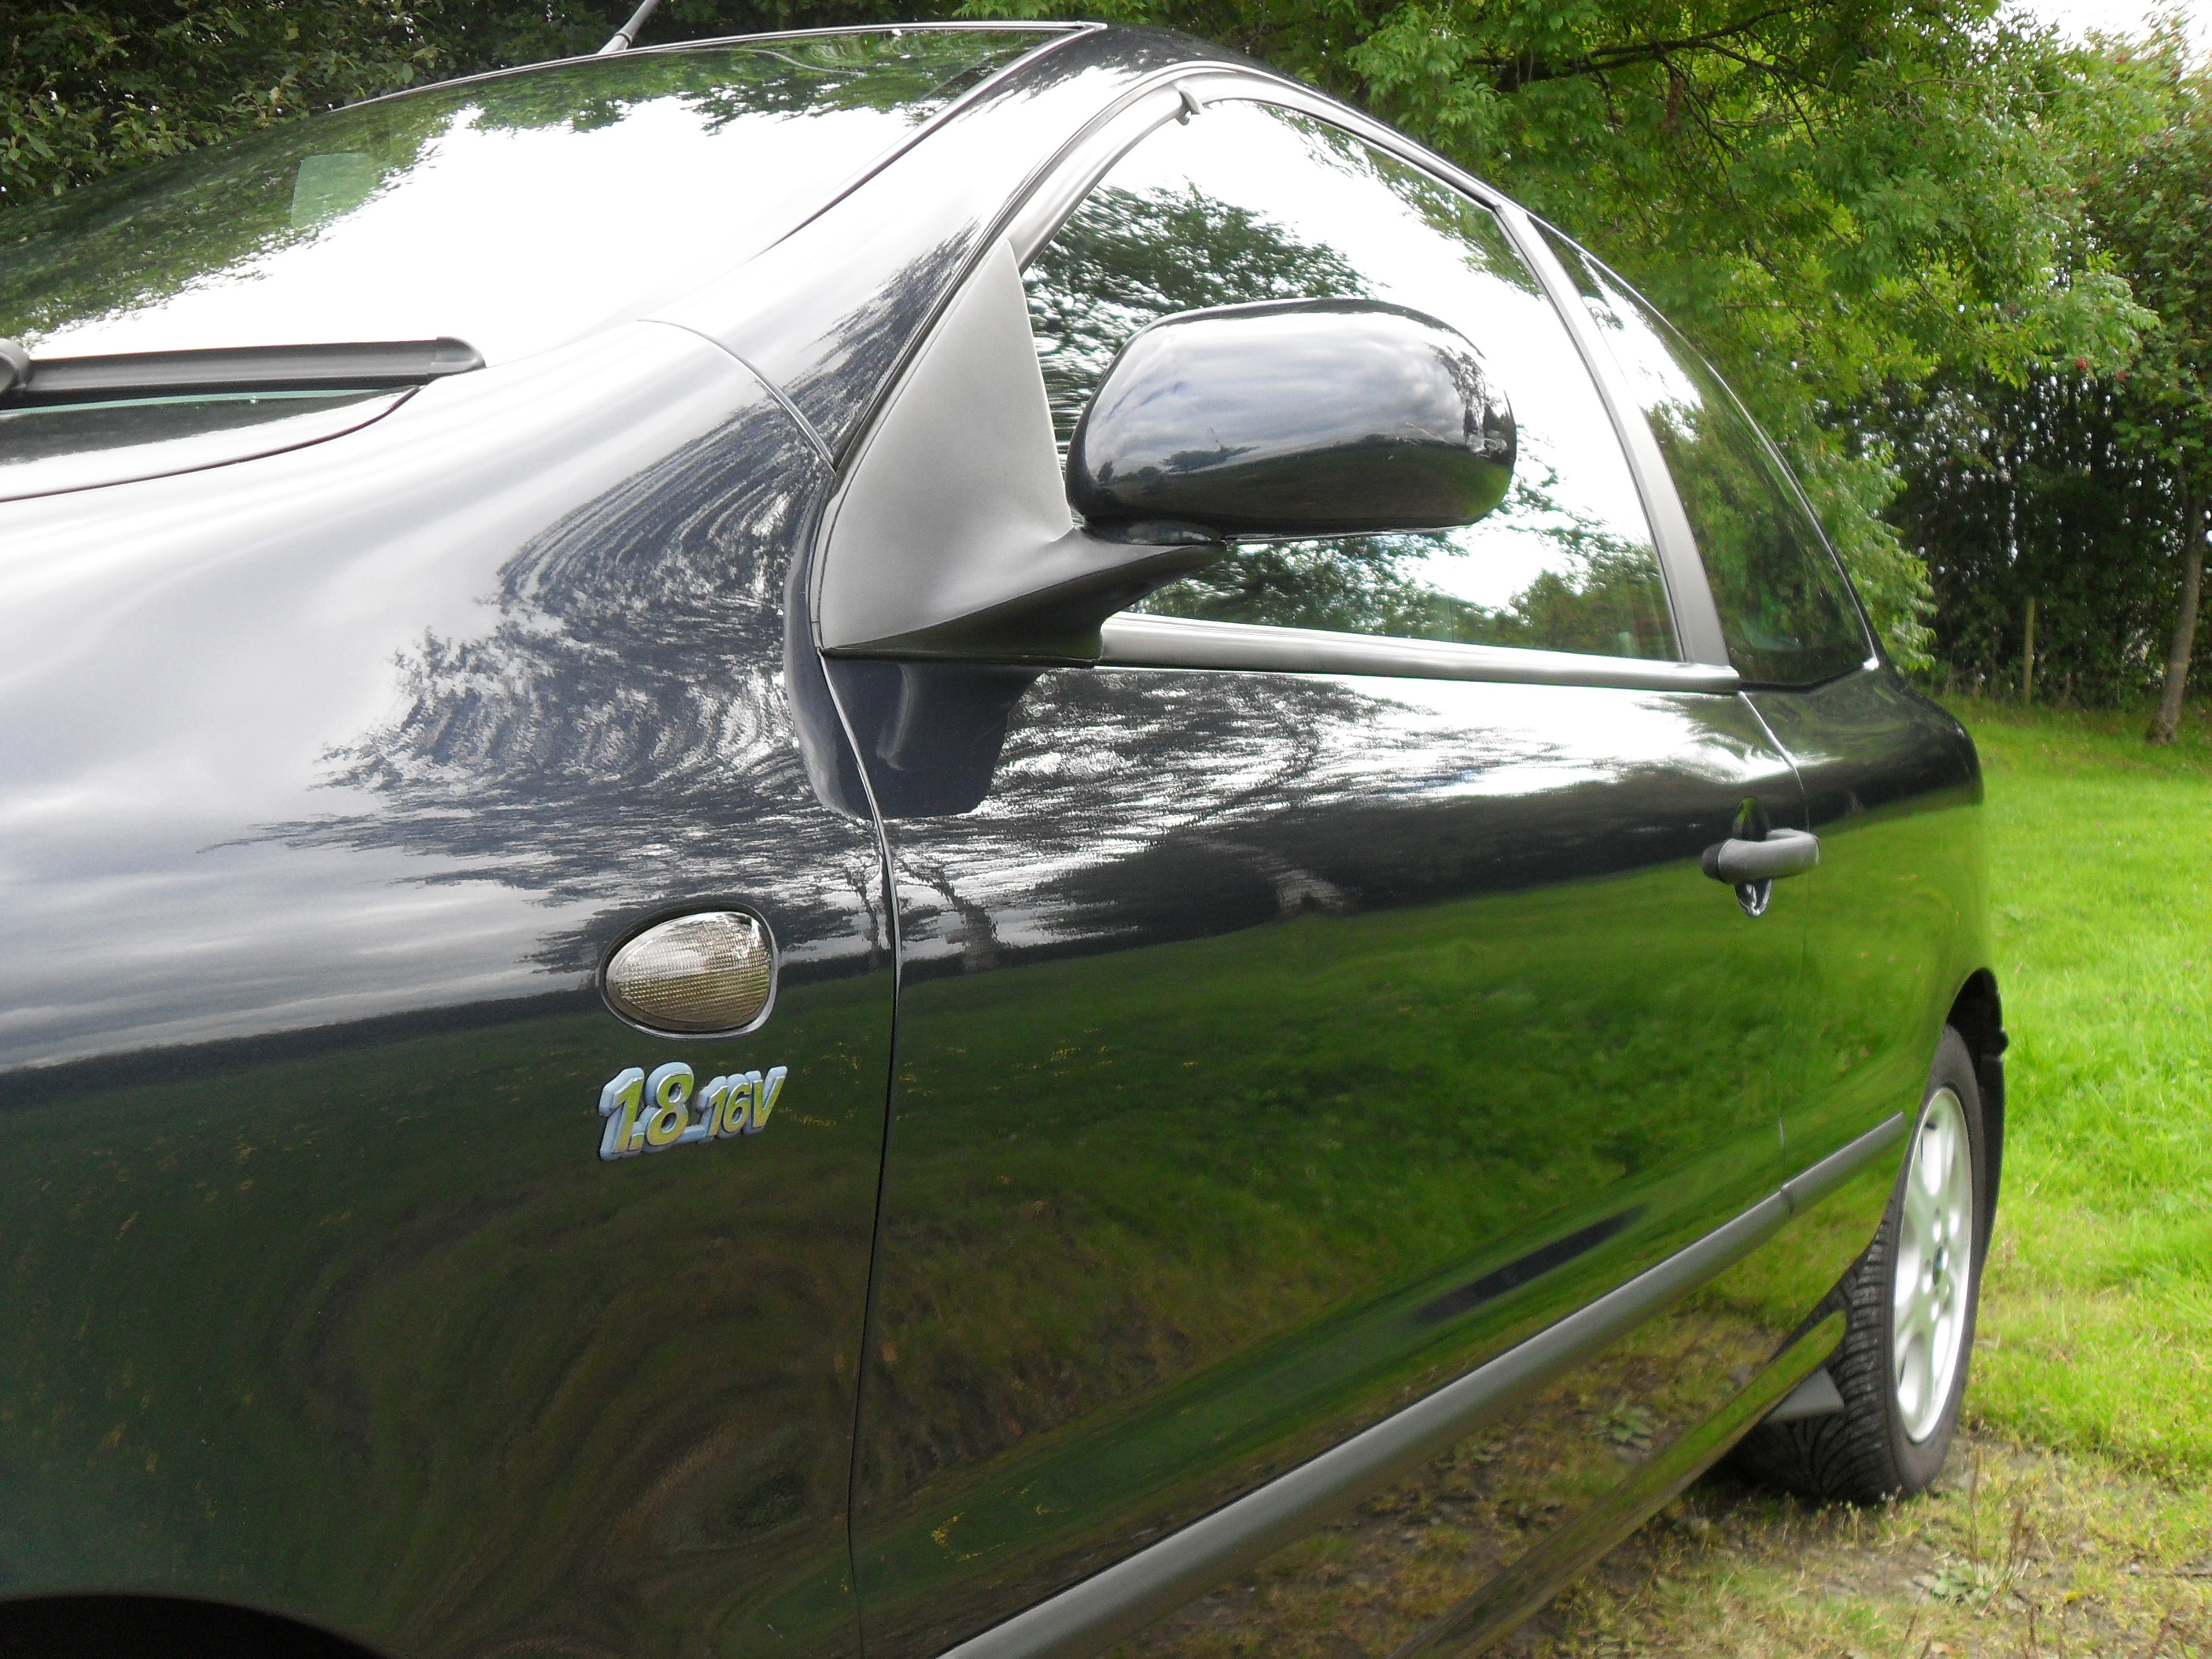
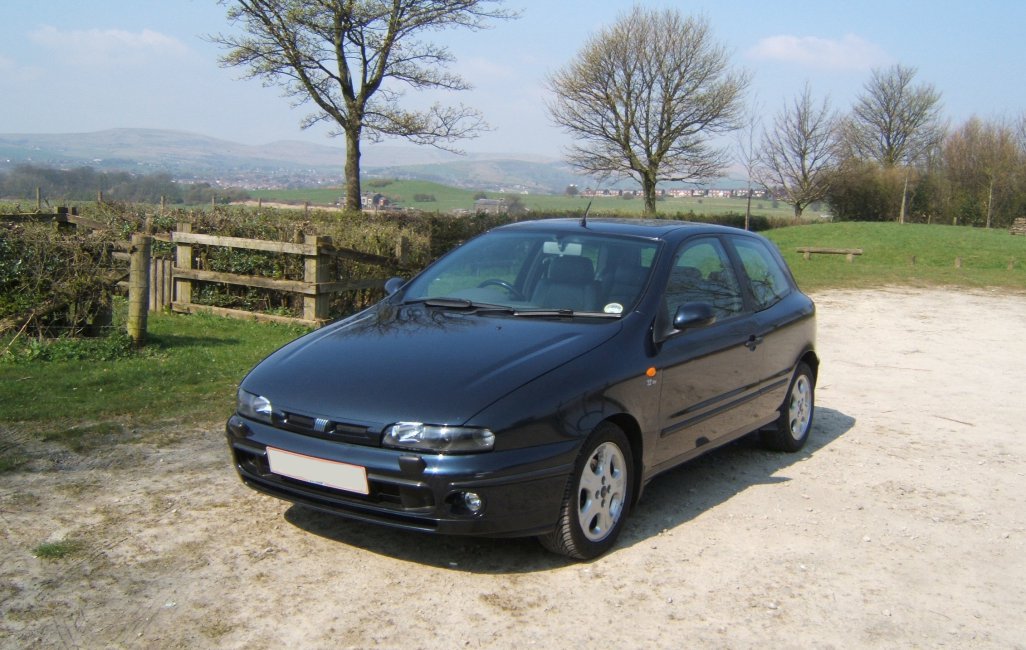
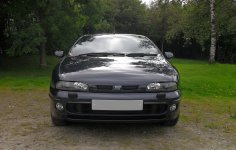
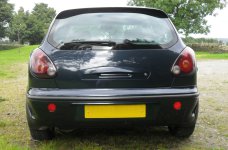
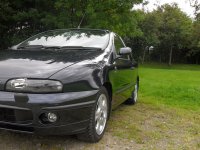
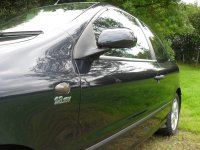
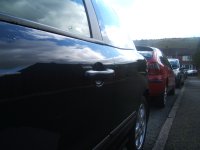
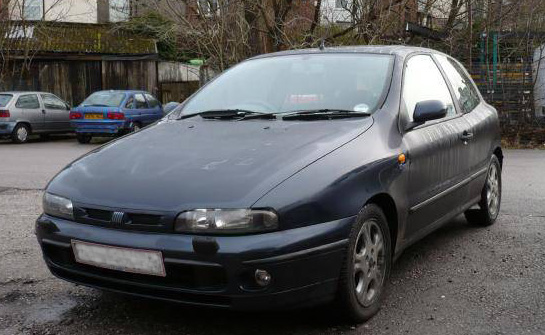
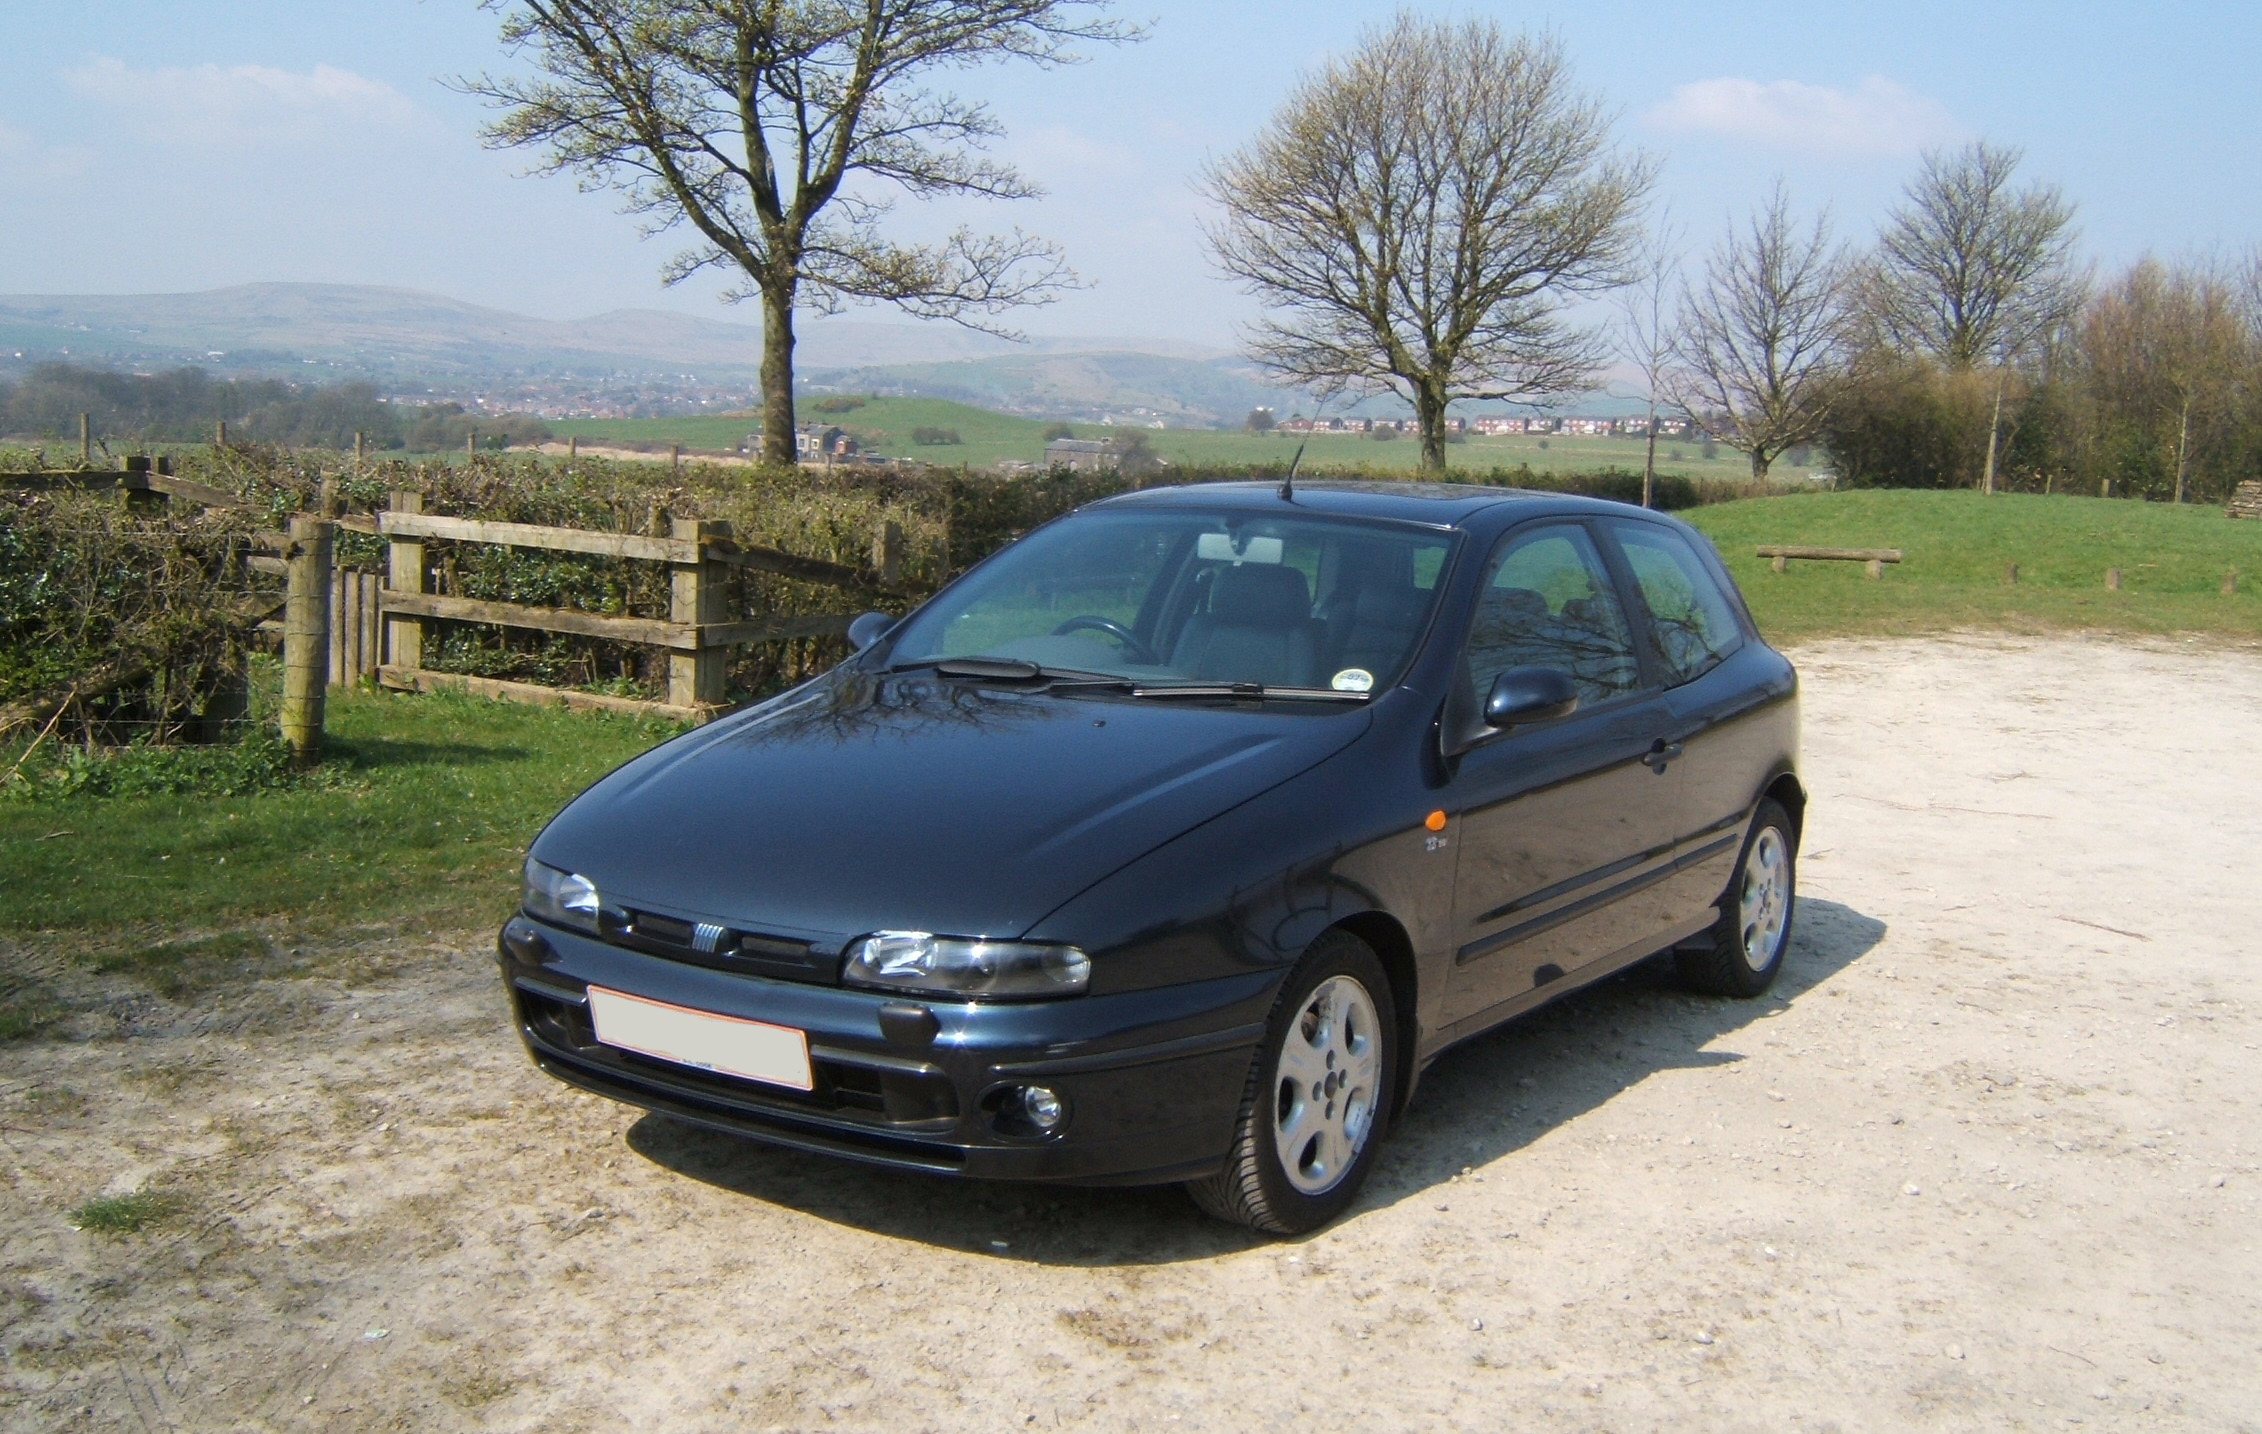
Bravo (Classic) 1996 Fiat Bravo 1.8 HLX - Ink Black

Introduction

Thought I should finally post a few pictures of my new car. My goal is to keep it very tidy and well maintained. Keep the looks standard while improving the small details. And uprate mechanical parts as I go.

Specification
-1.8 16v 113BHP Mk1
-Metalic Ink Black 820
-HLX. Fog Lights, Heated Seats, Heated Mirrors, Electric Sunroof, Electric Windows, Electric Mirrors, Remote Central Locking, Alloy Wheels, Immobiliser, Alarm.

Mods/Extras
-Fiat Marea Poly Elliptical Headlights With modified wiring
-Ipod/cd changer tricker interface to OEM stereo
-Leather Steering Wheel from HGT
-Vinyl Handbrake Gaiter
-K&N Panel Filter
-Brava Mk2 Passenger air vent Black
-Cap that reads 12V rather than a lighter
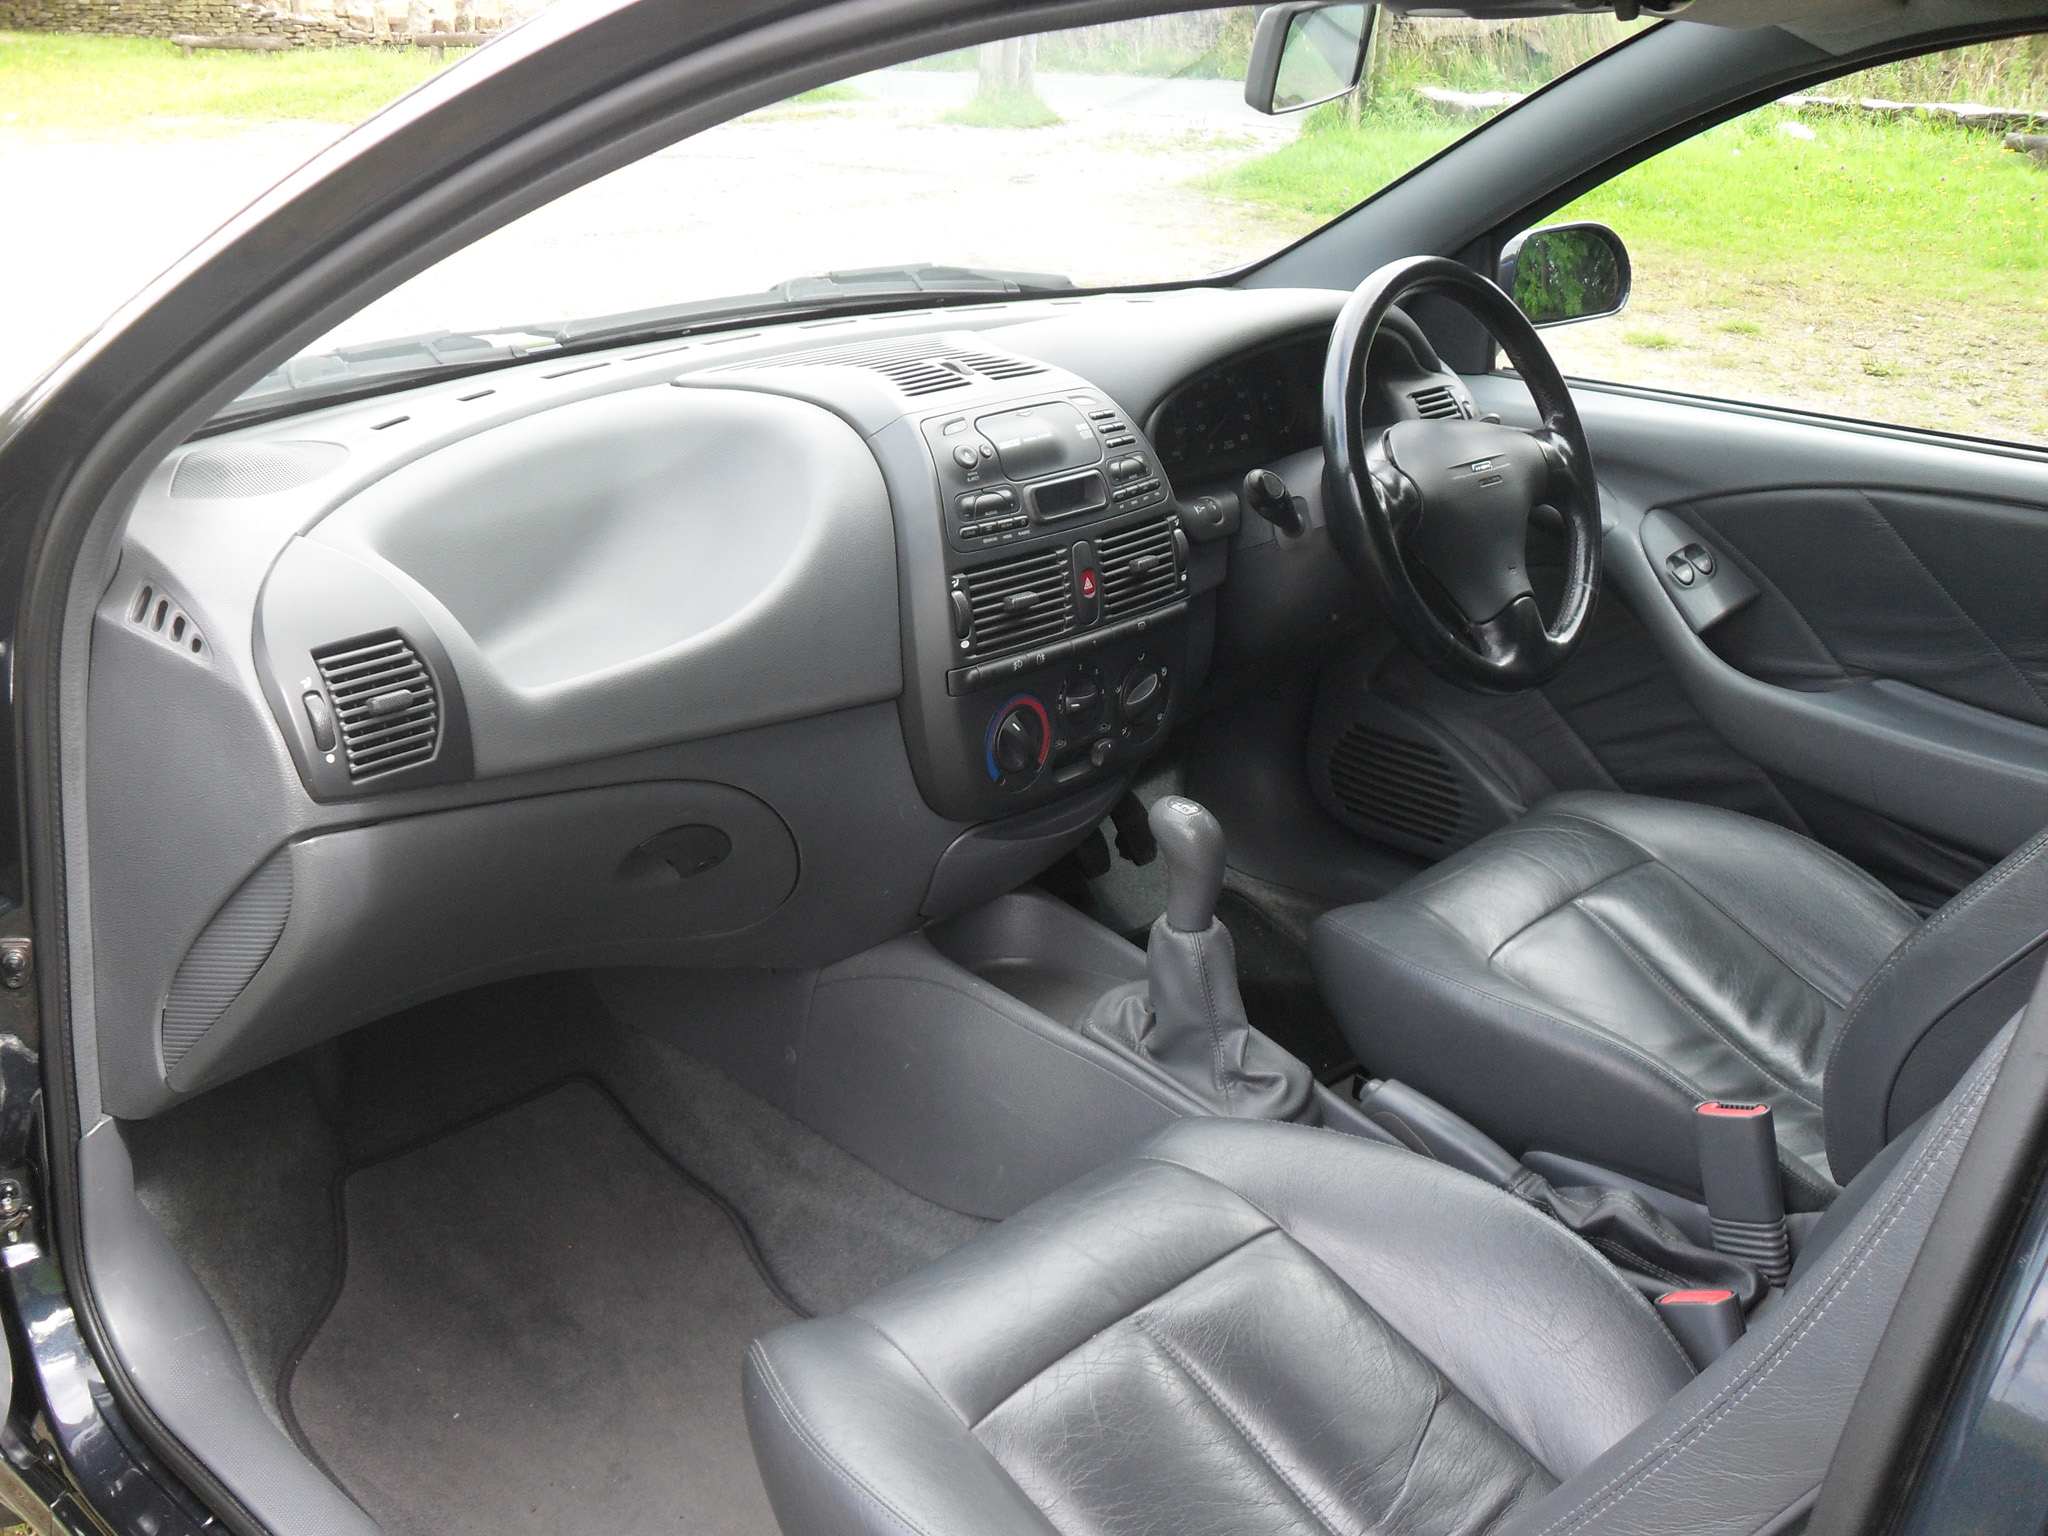
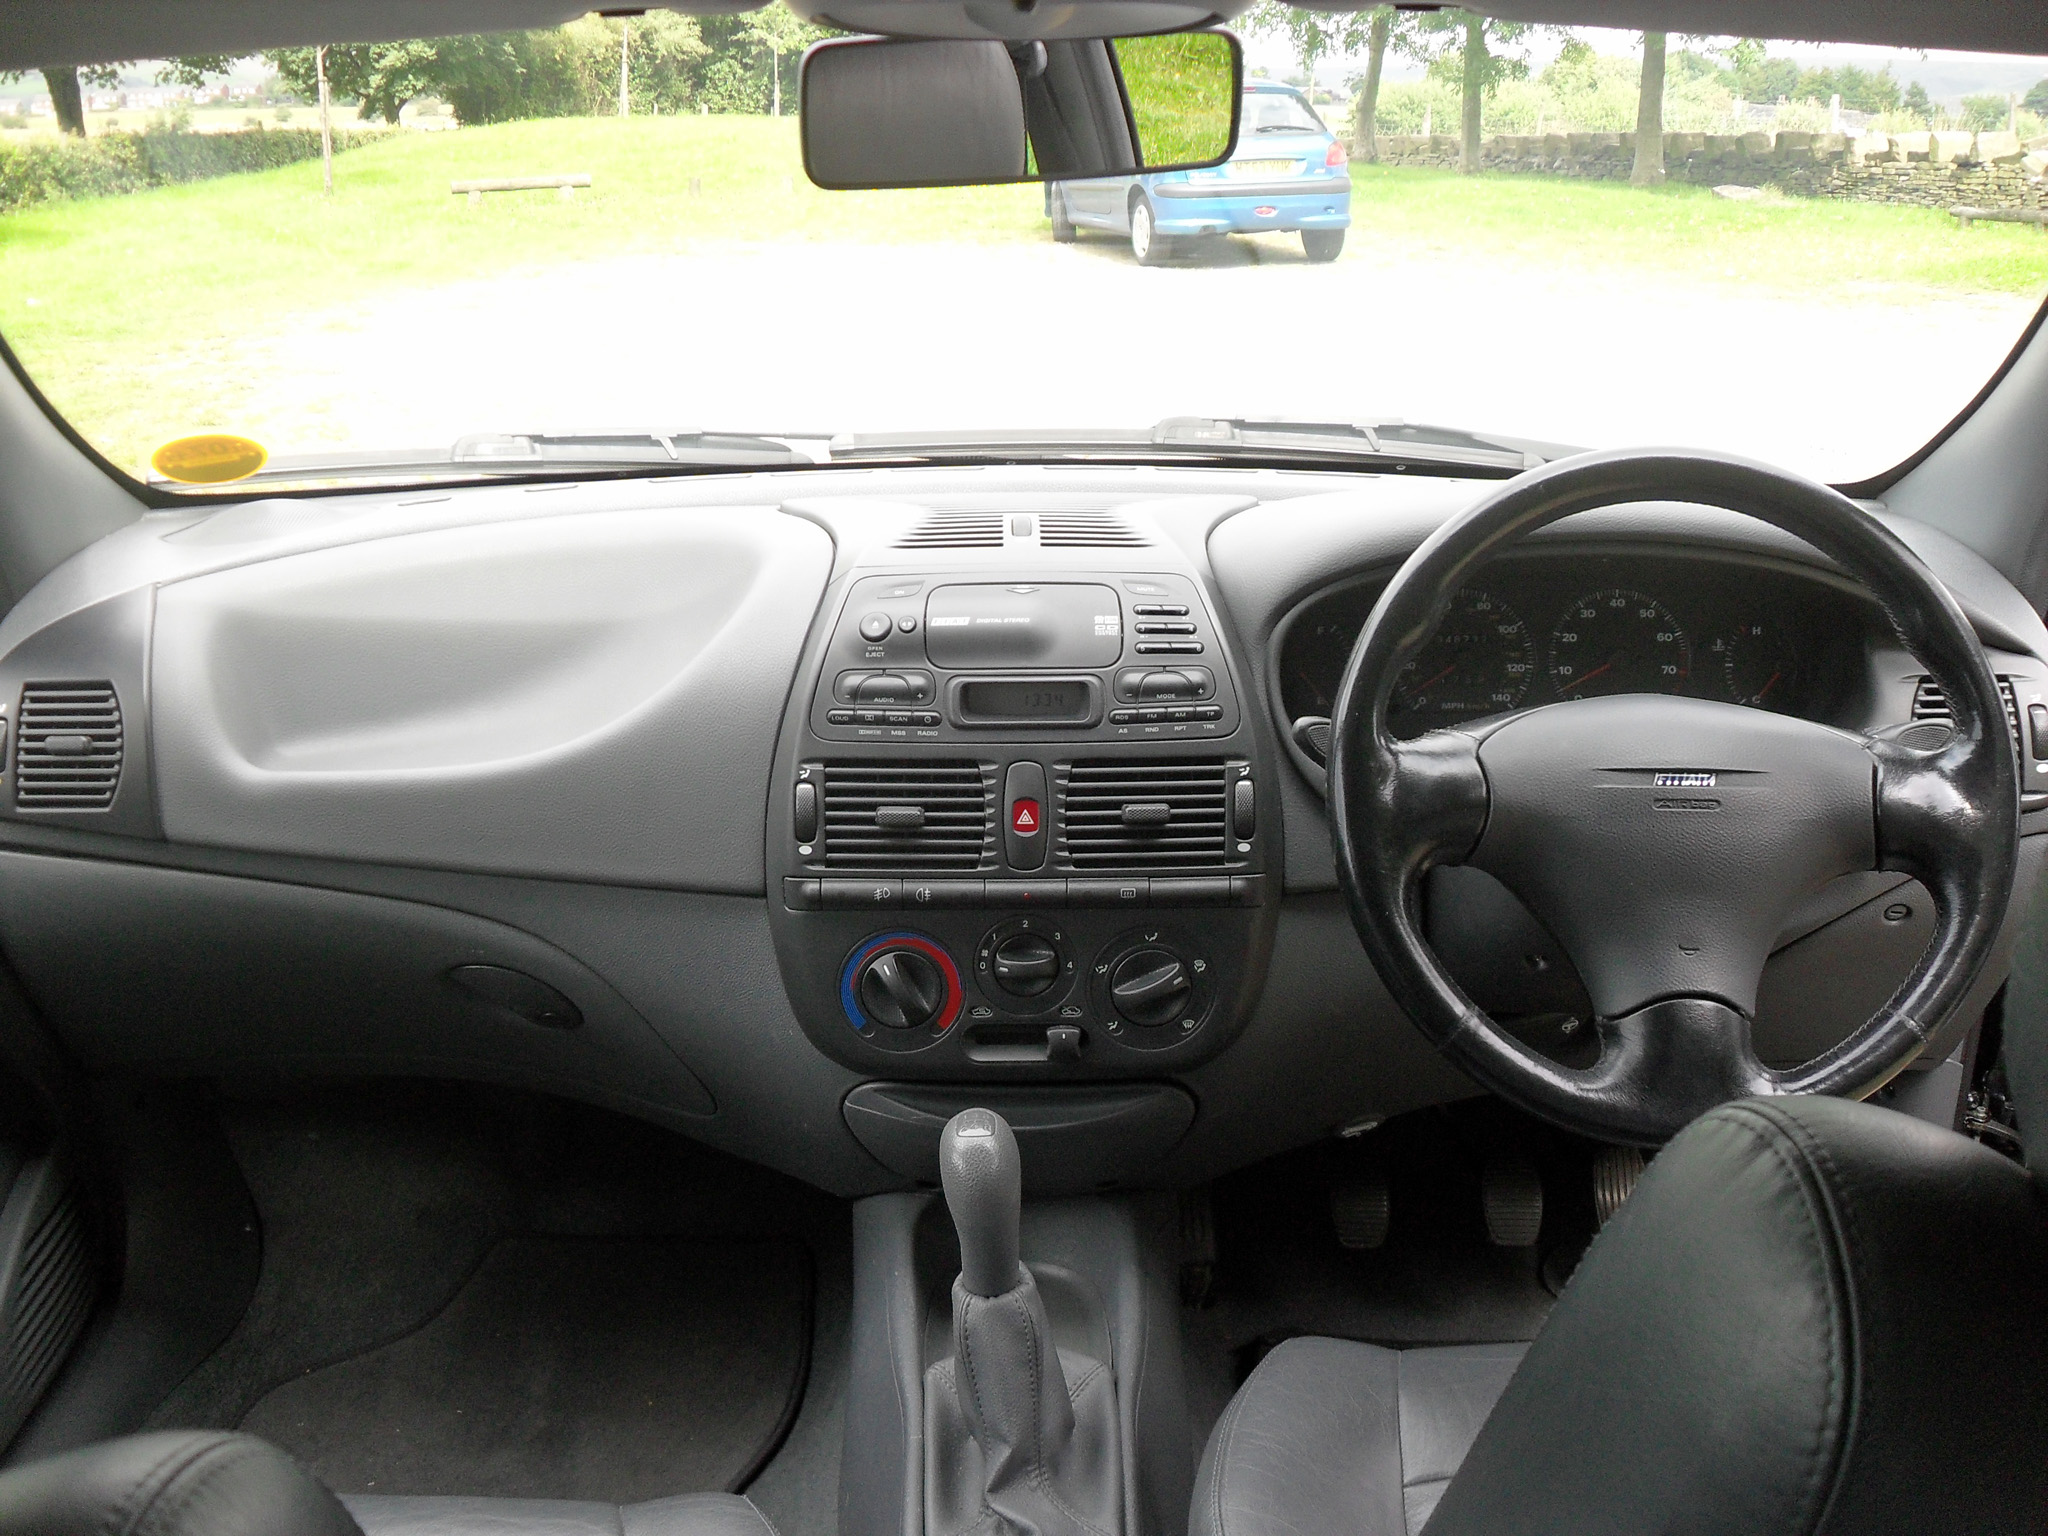
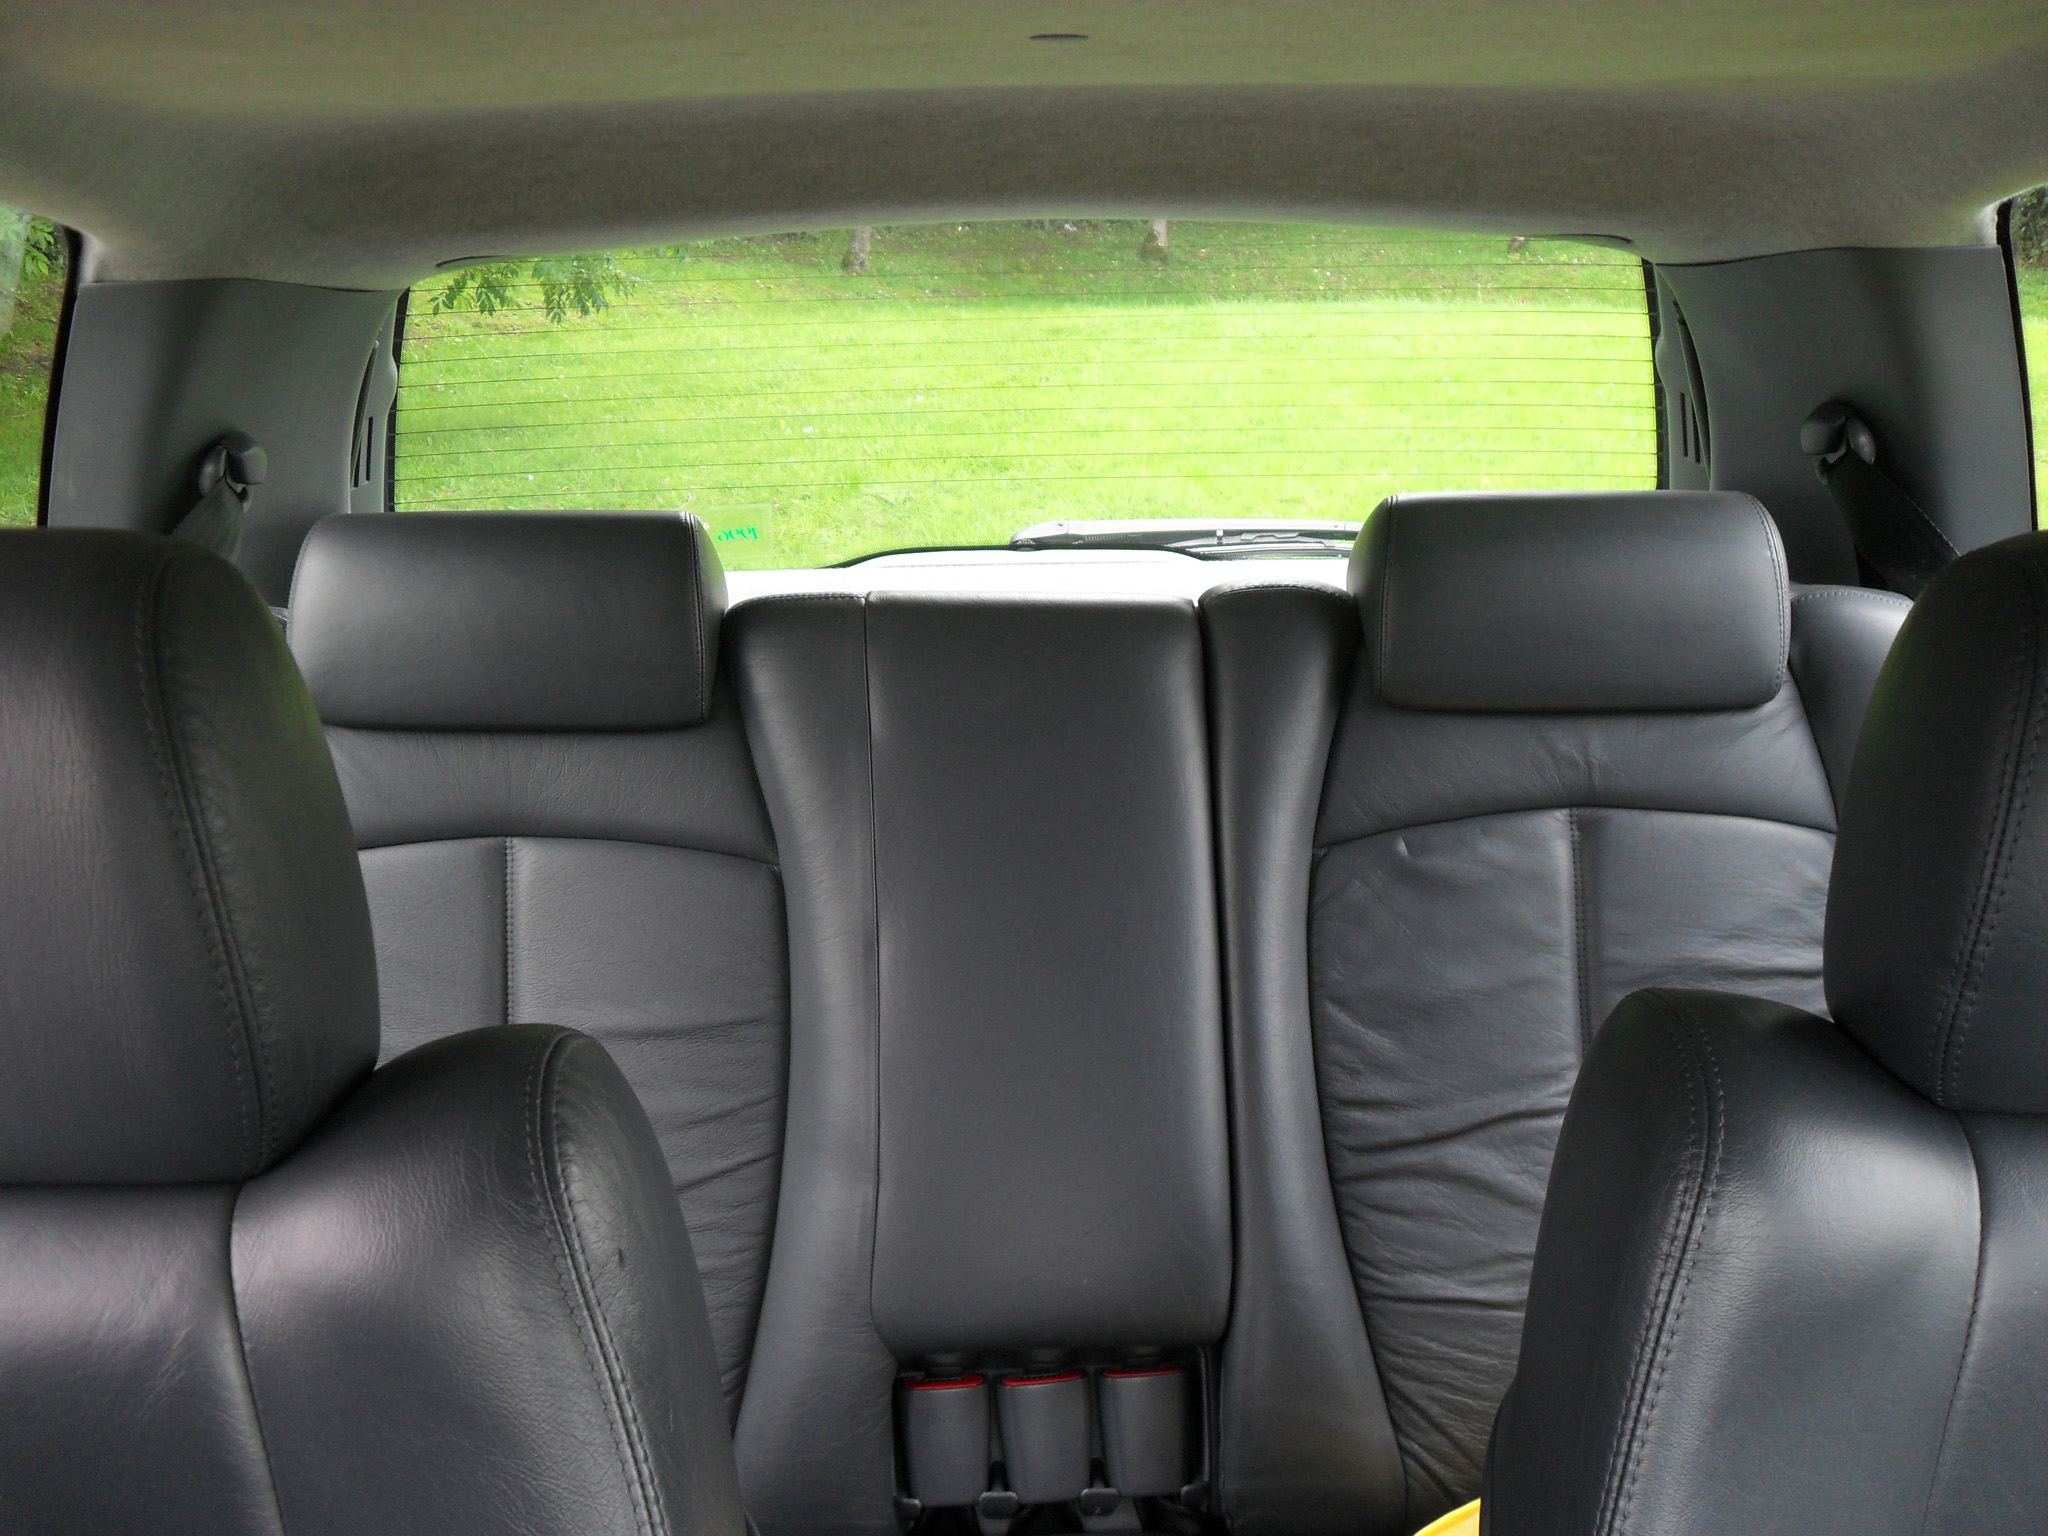
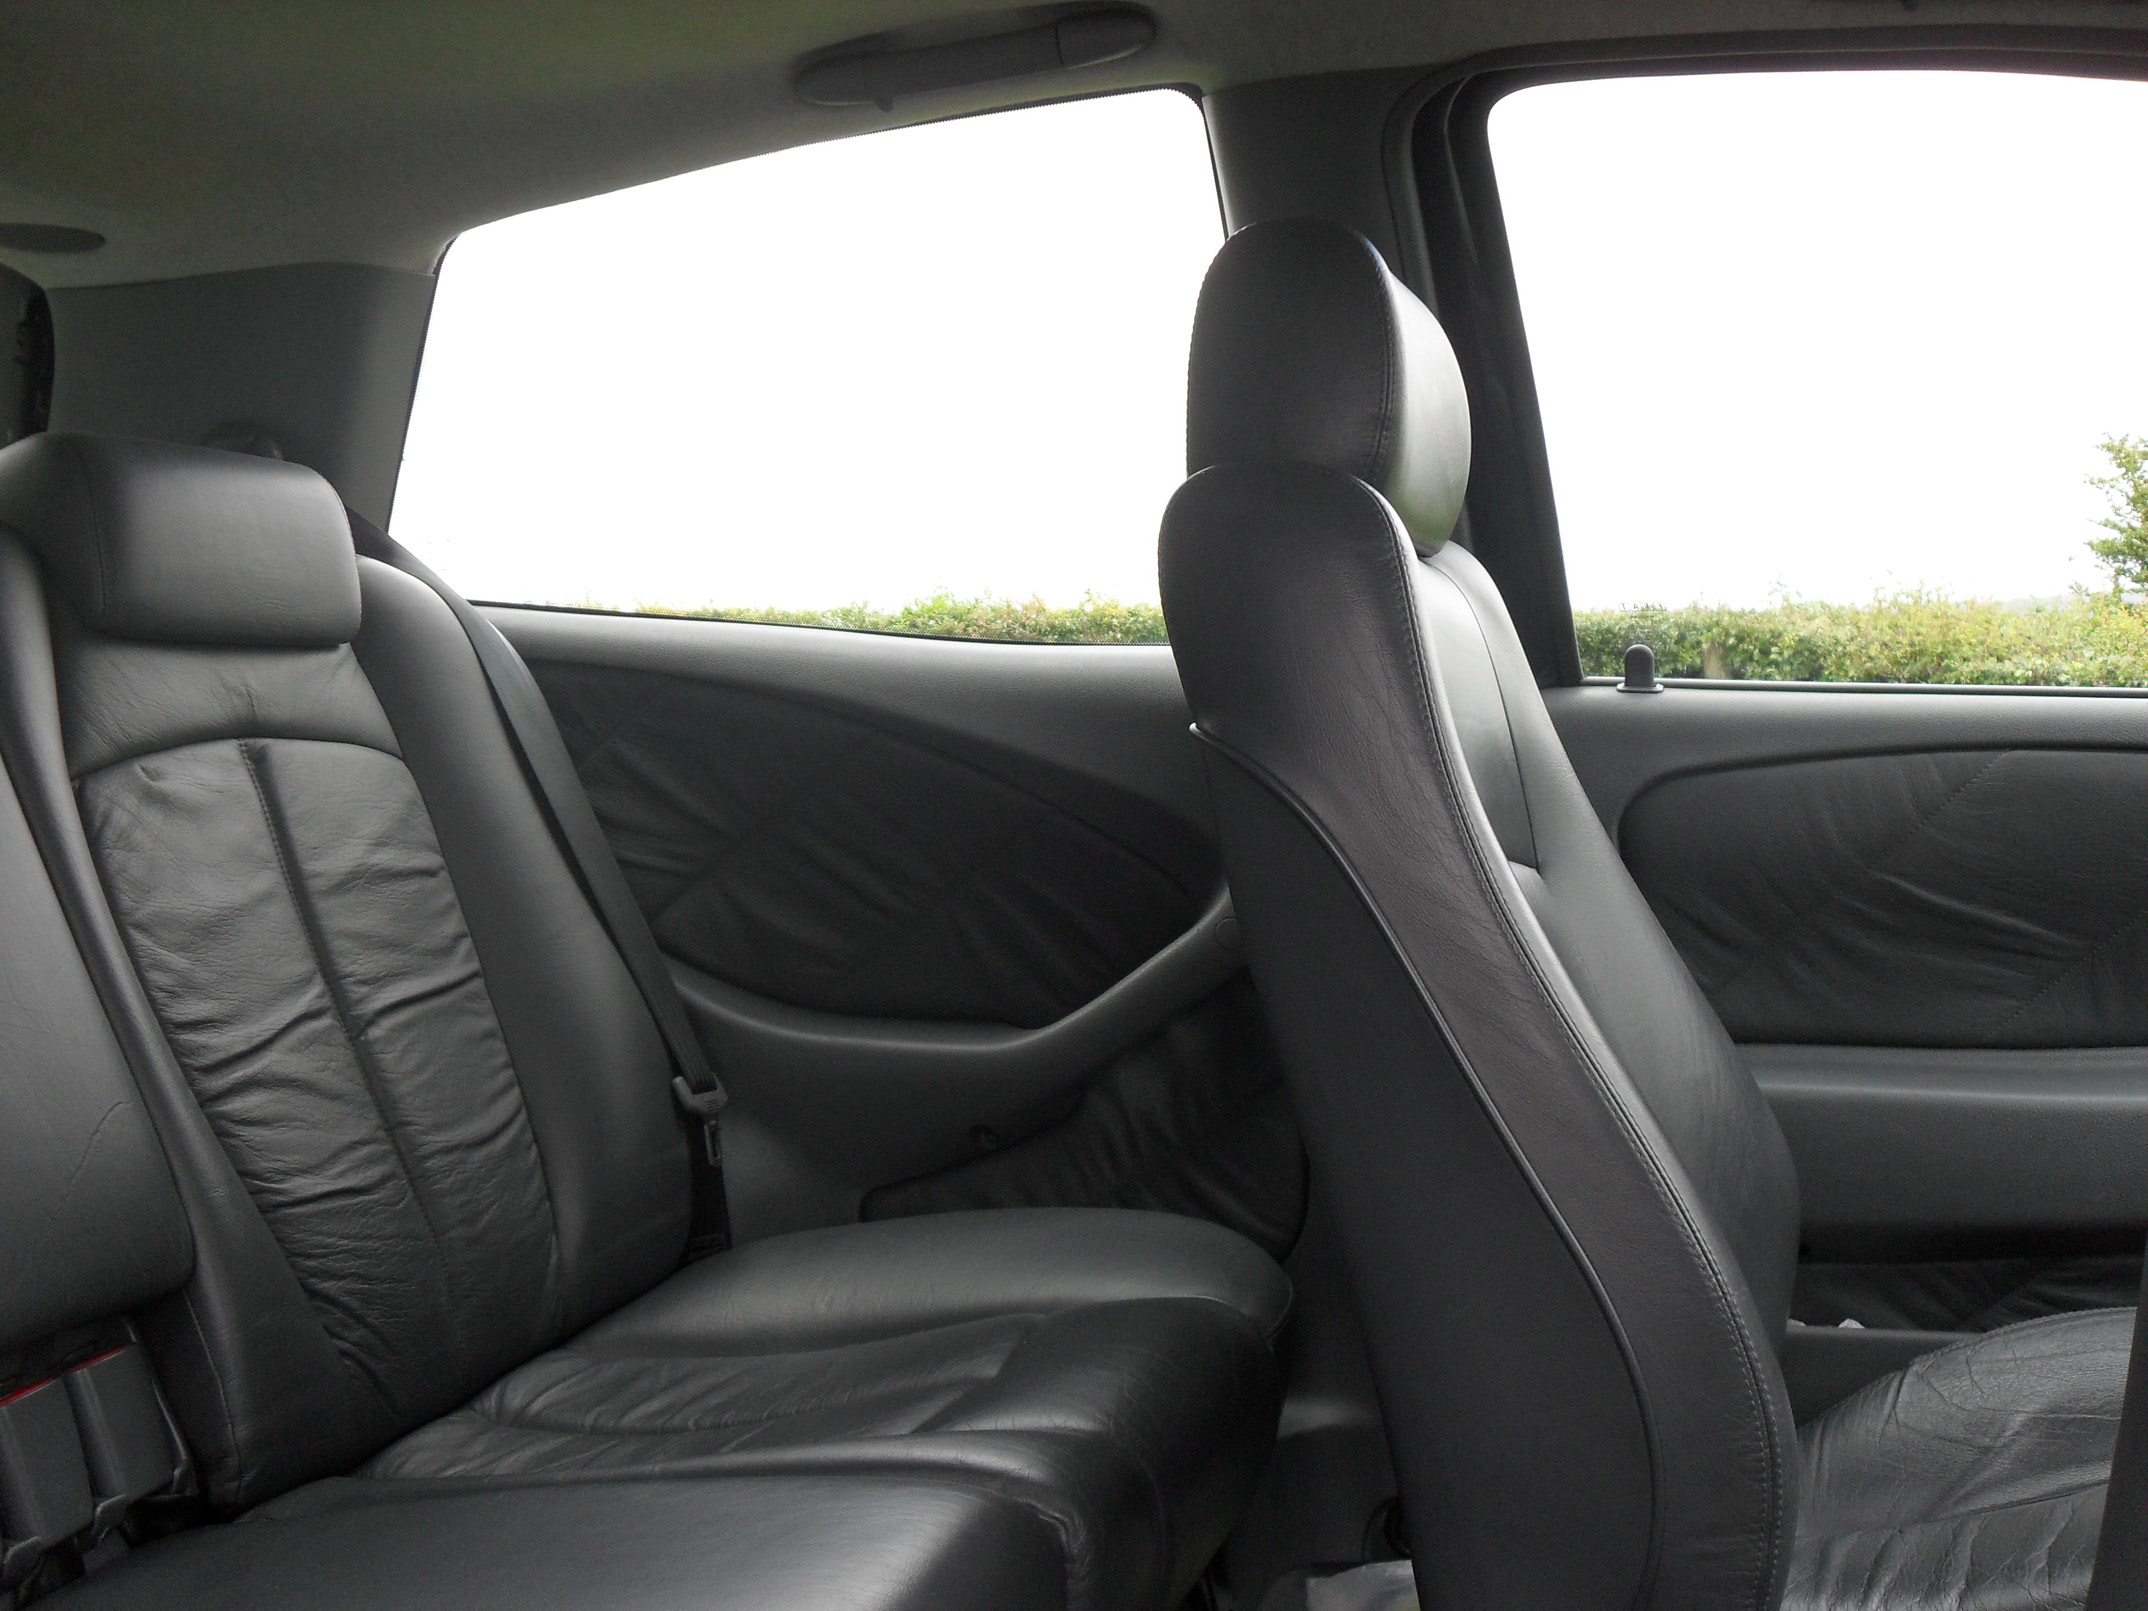
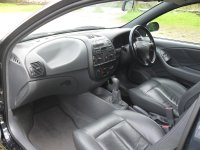
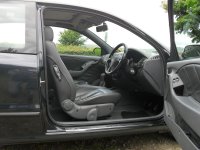
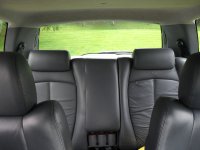
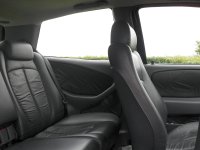
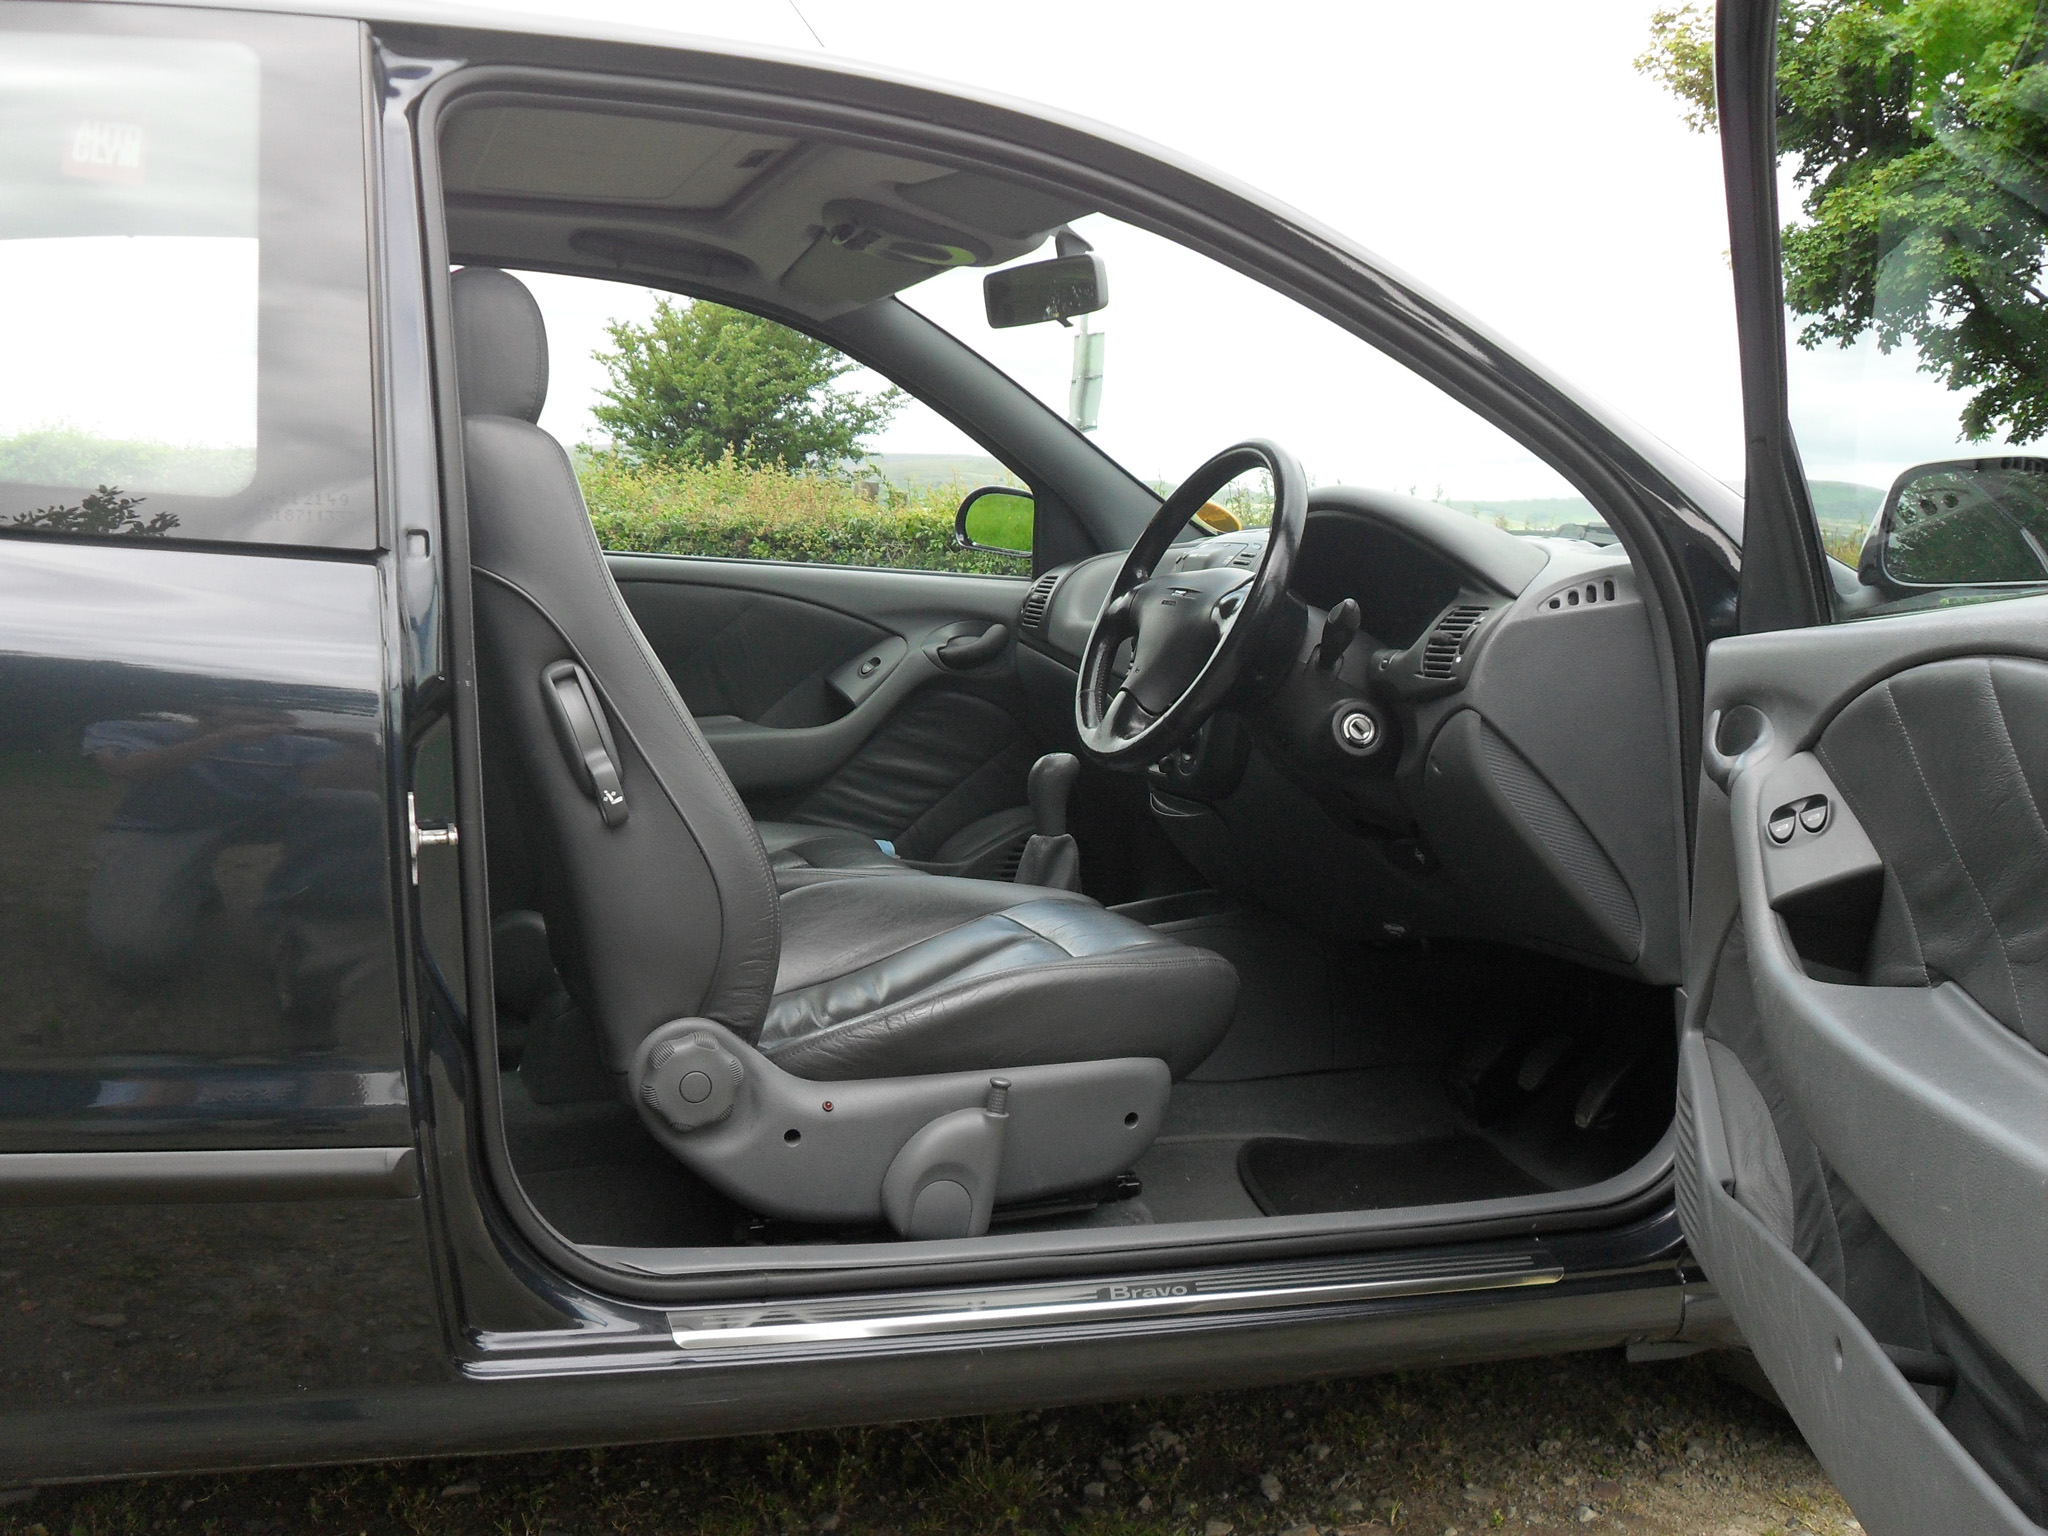
-Full Leather Interior
-Leather Squeak Fix
-Aircon cabin filter
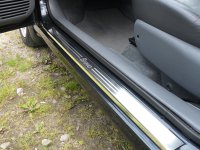
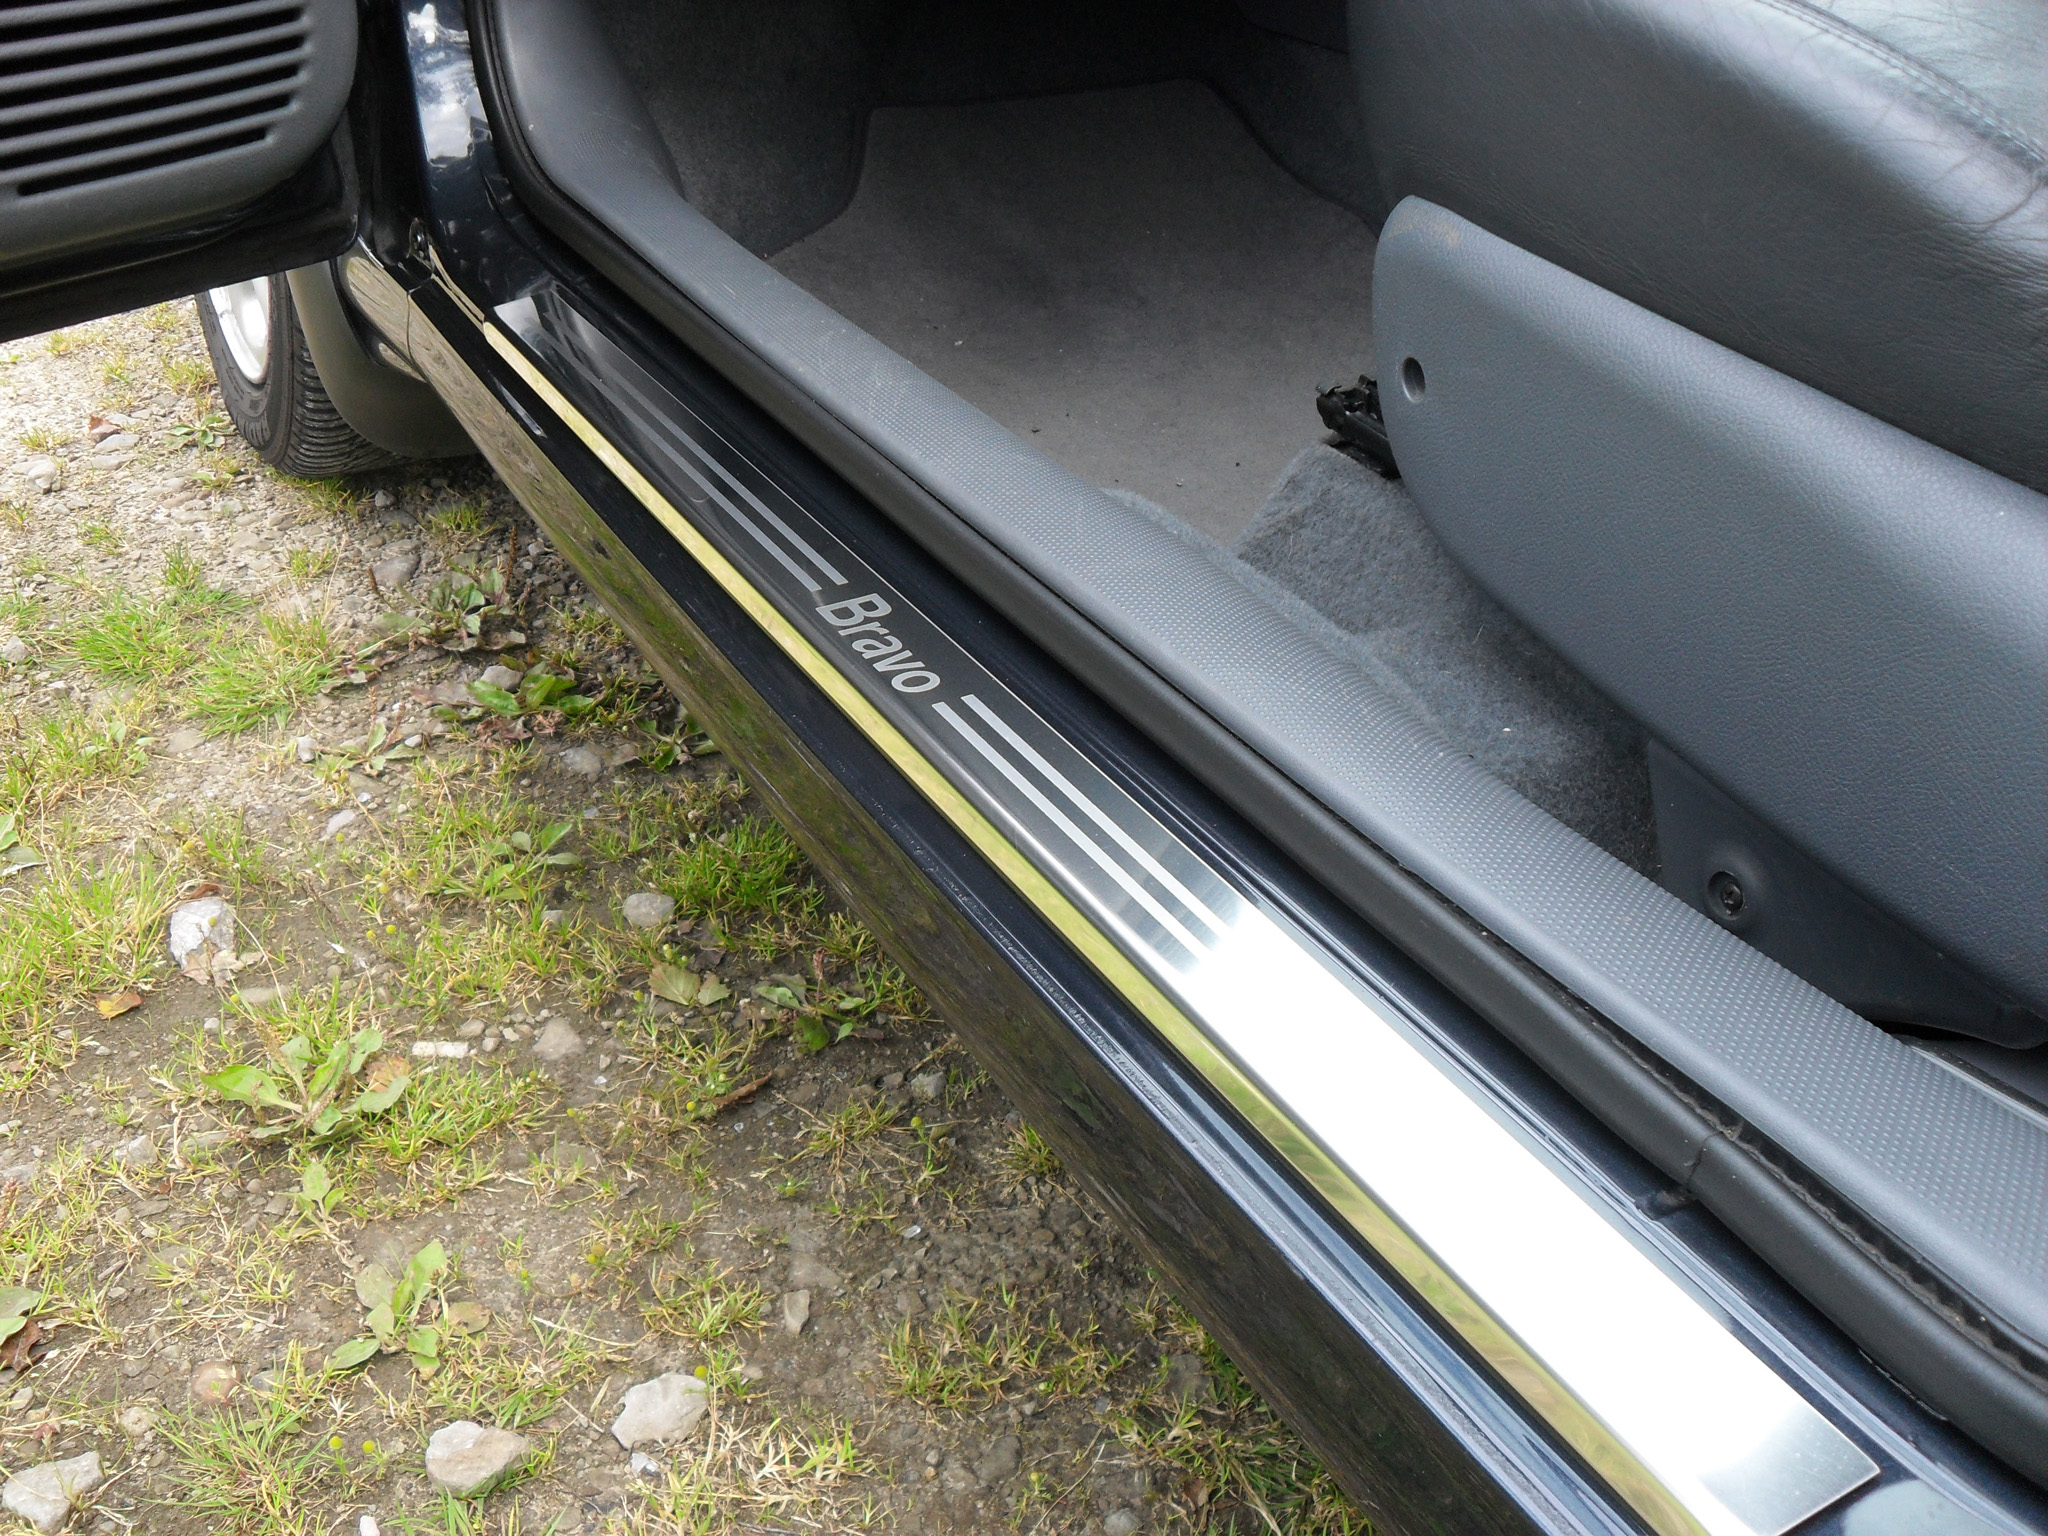
-Lockwood Stainless Steel Kick plates
-Bravo 2007 Washer Jets
-Sound proofing on the rear wheel arches
-Front Mud Flaps (Fiat original PN:5908473)
-Rear Mud Flaps (Fiat original PN:5908745)
-Dark In-Pro Side repeaters (E marked)
-New totally plane number plates
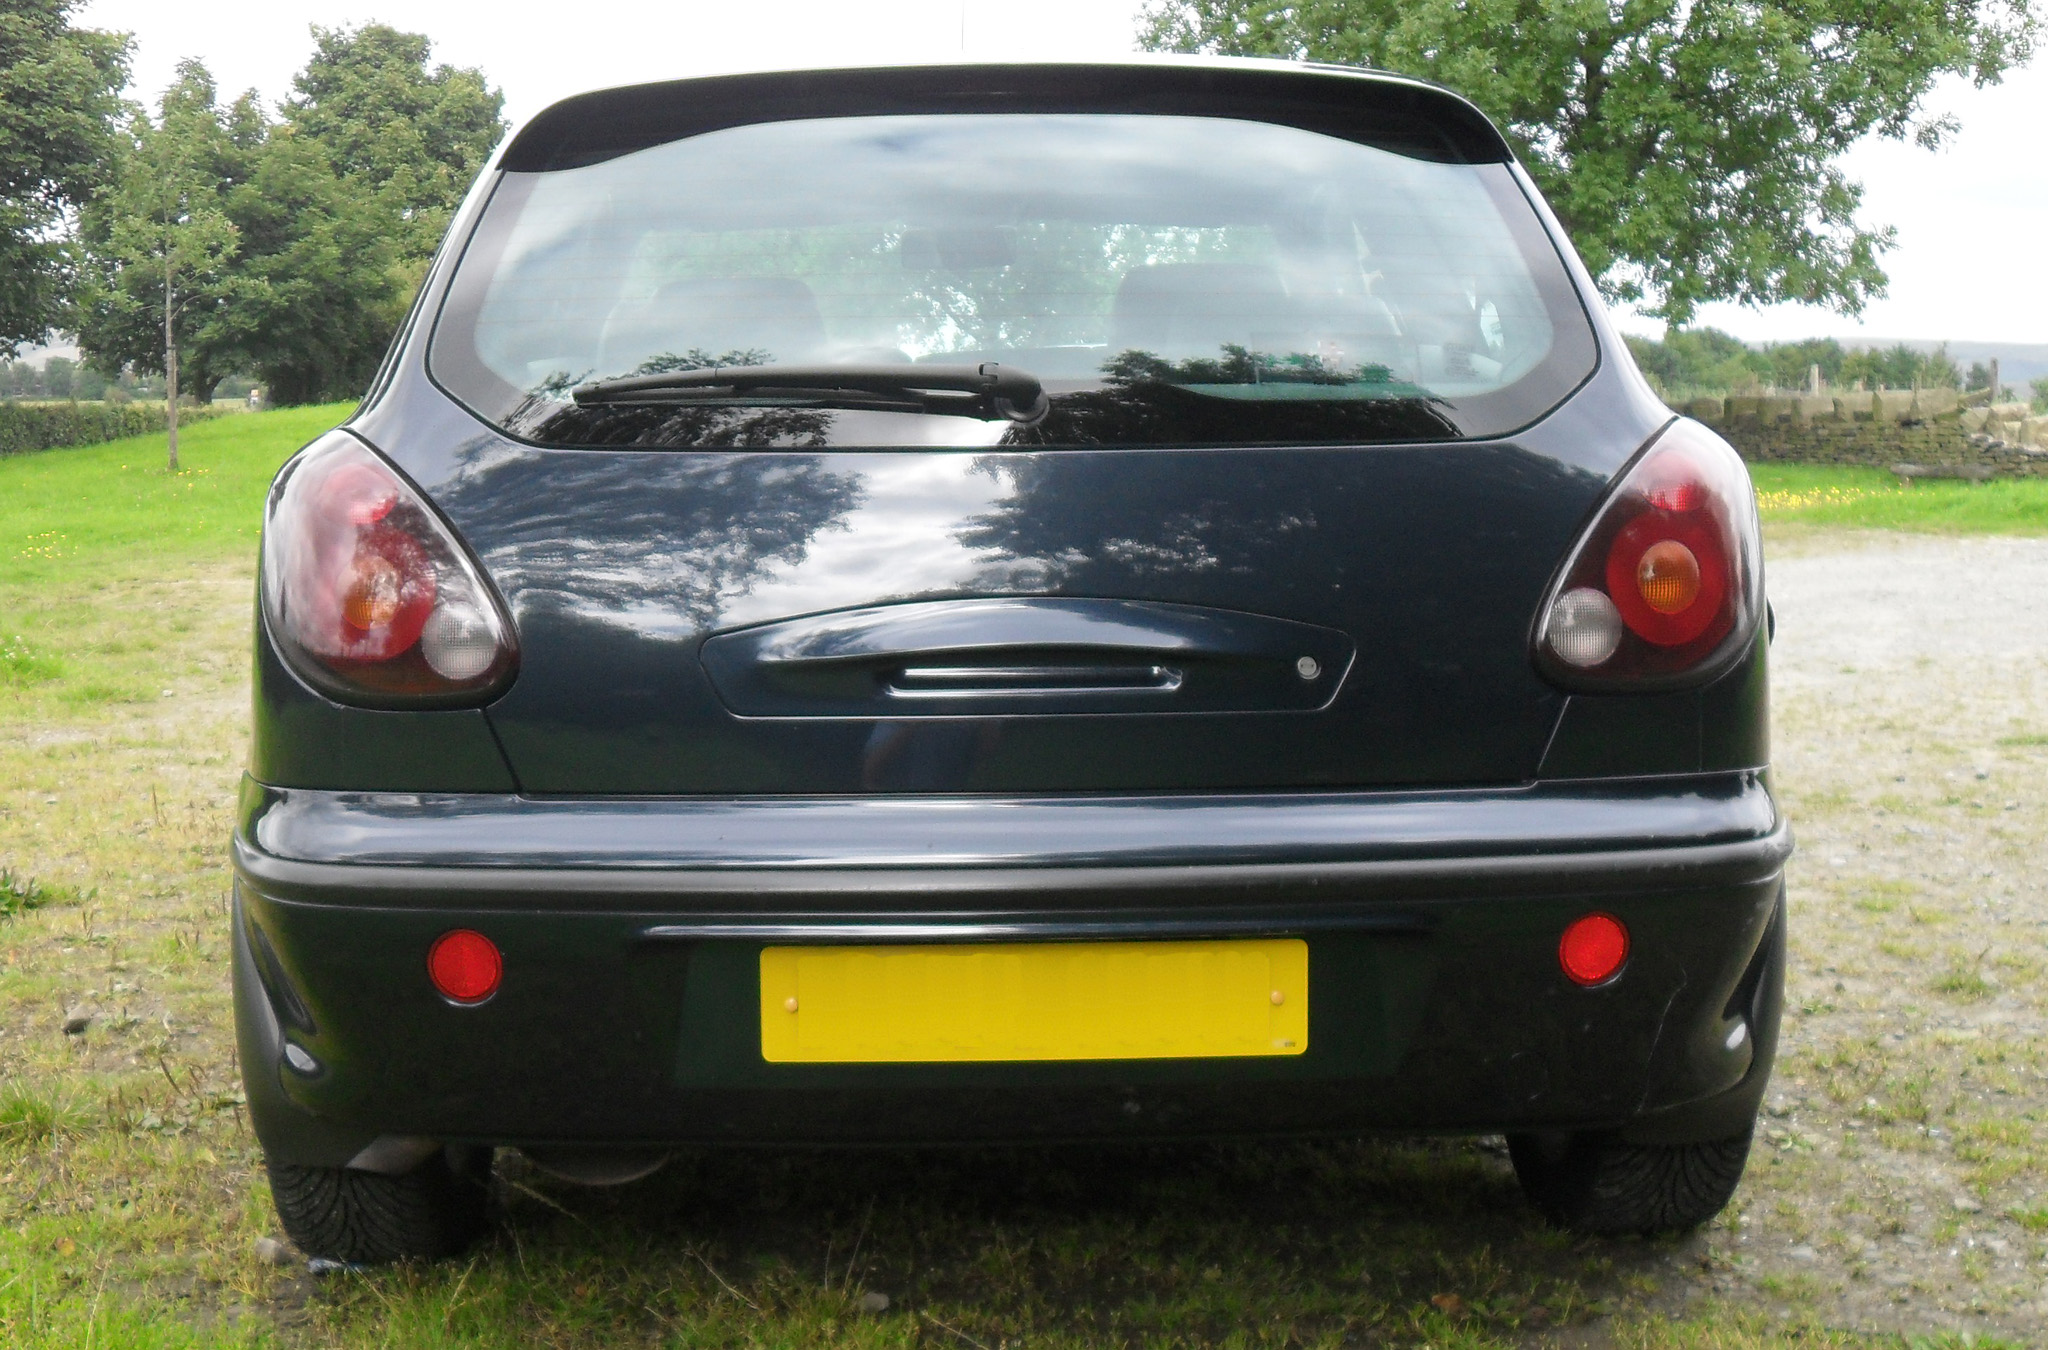
-European rear right cluster for extra symmetry
-Polished and Painted lip round rear light clusters
-De-badged boot
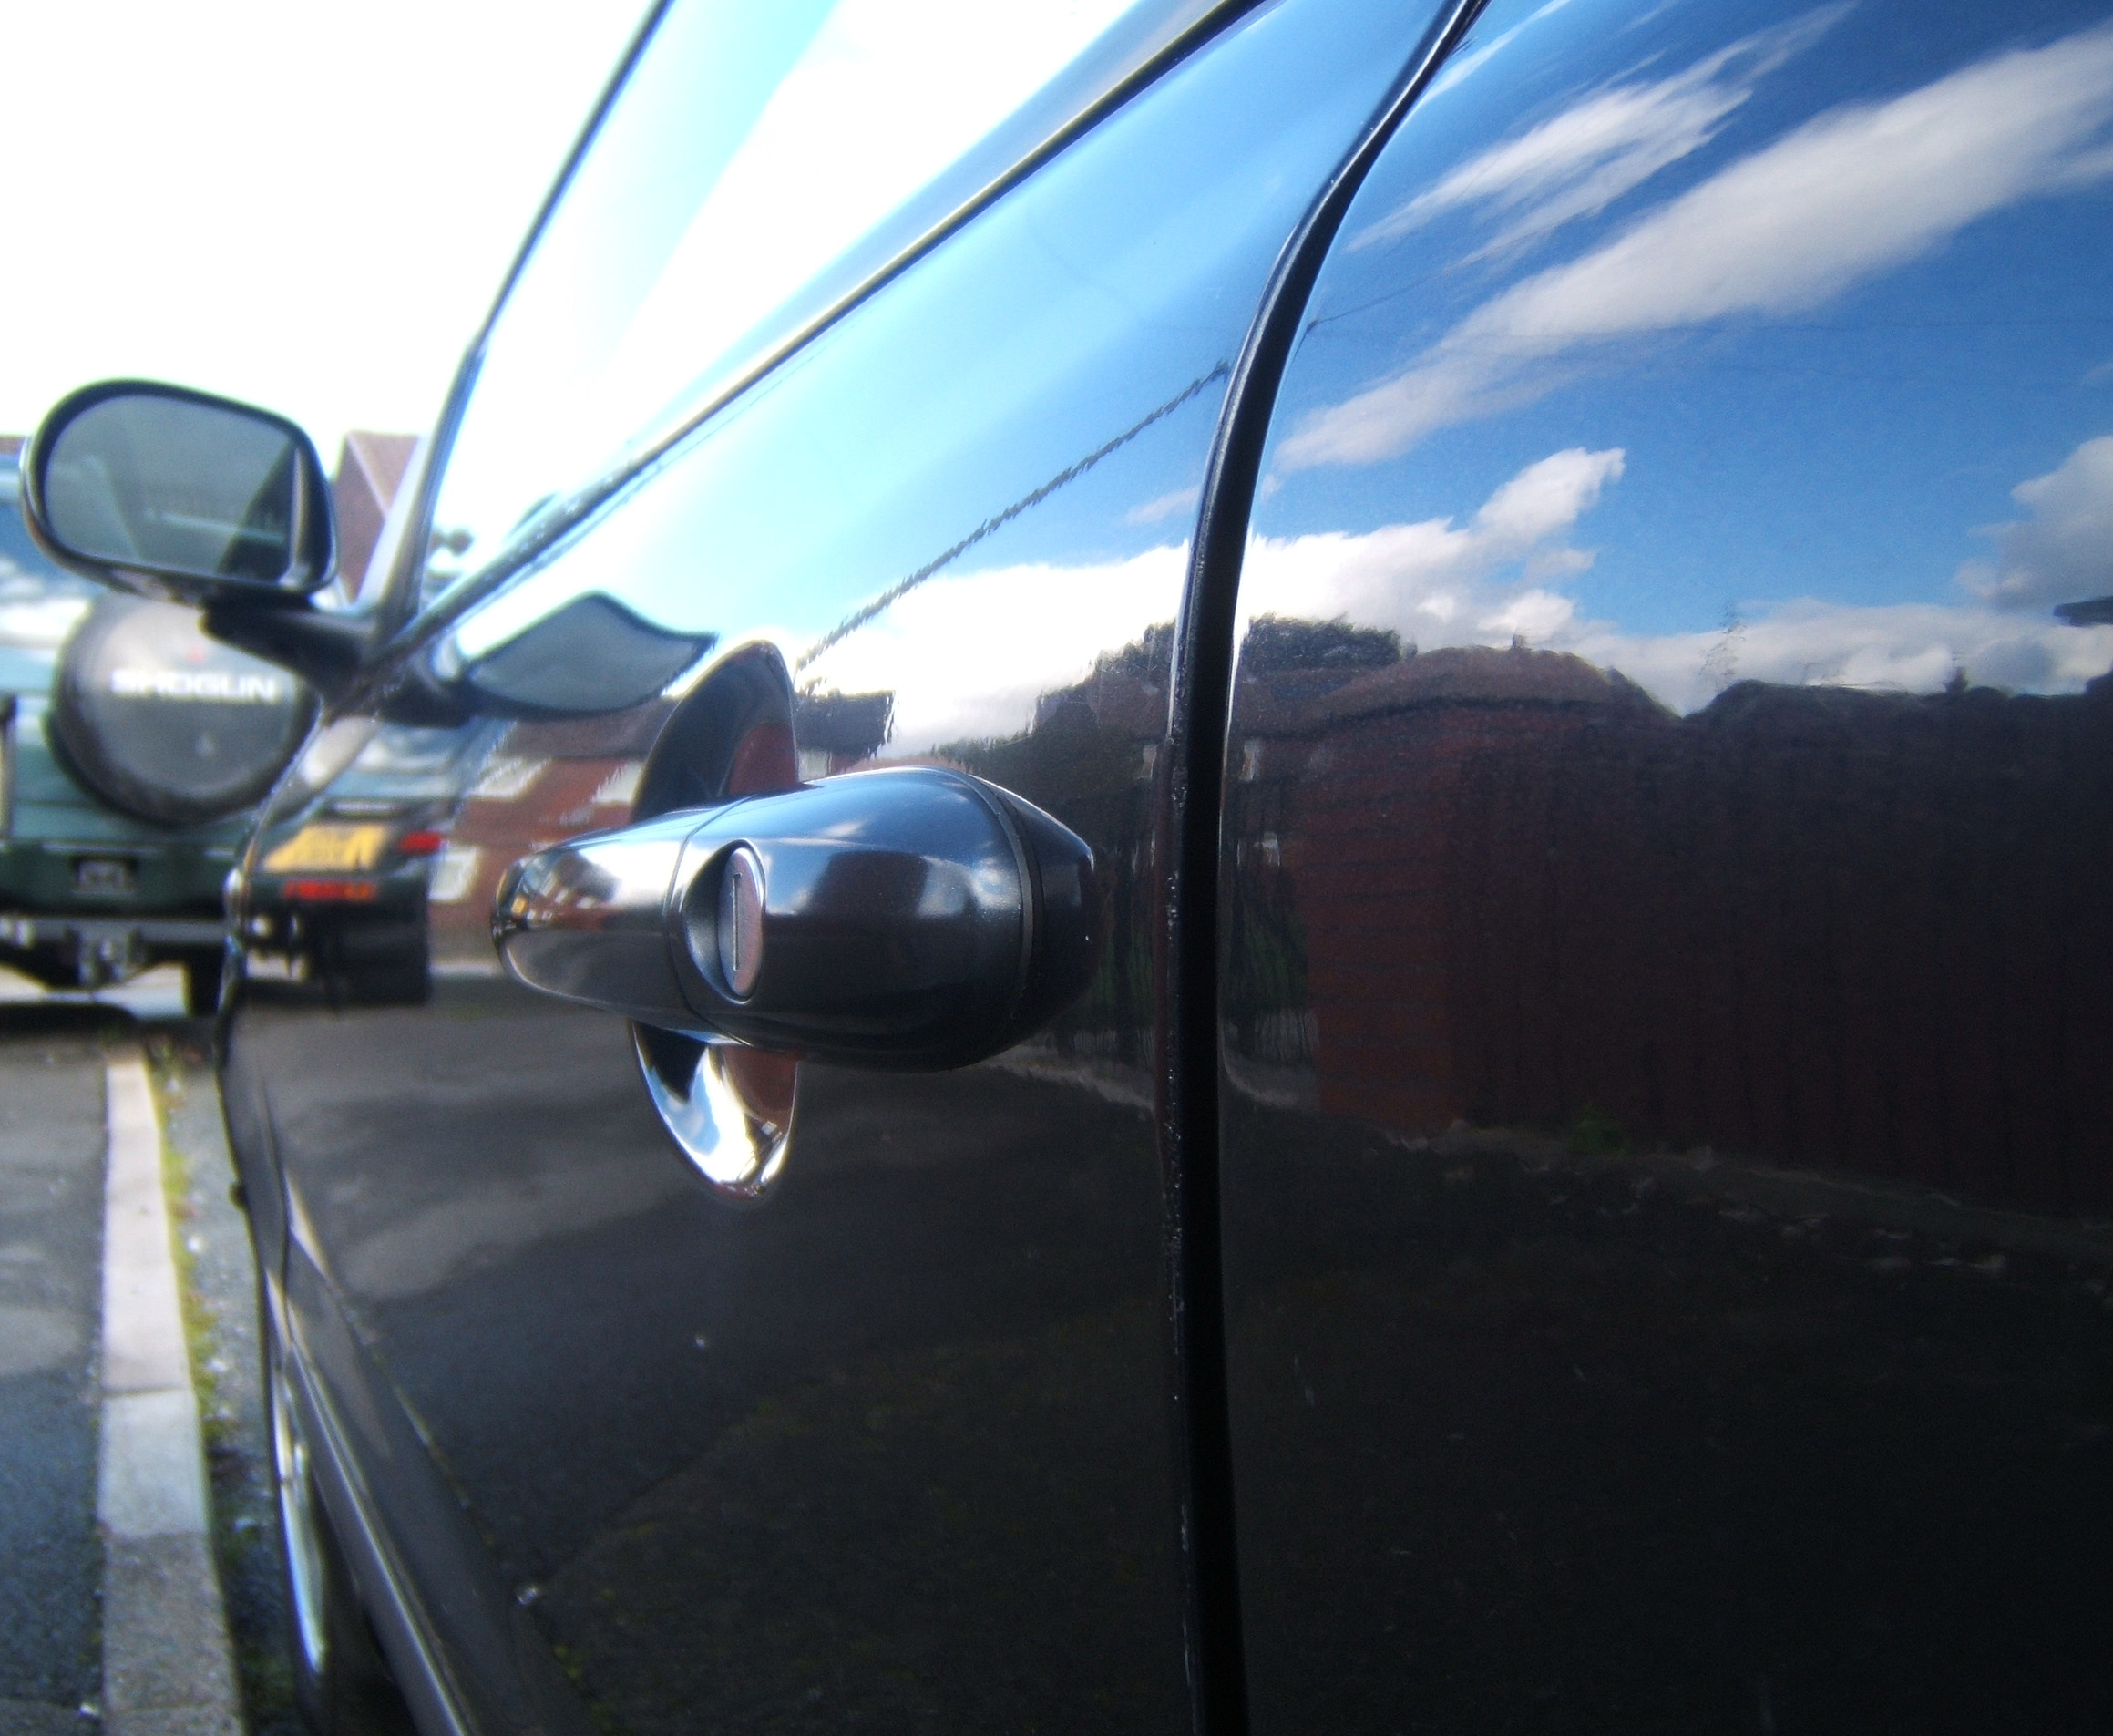
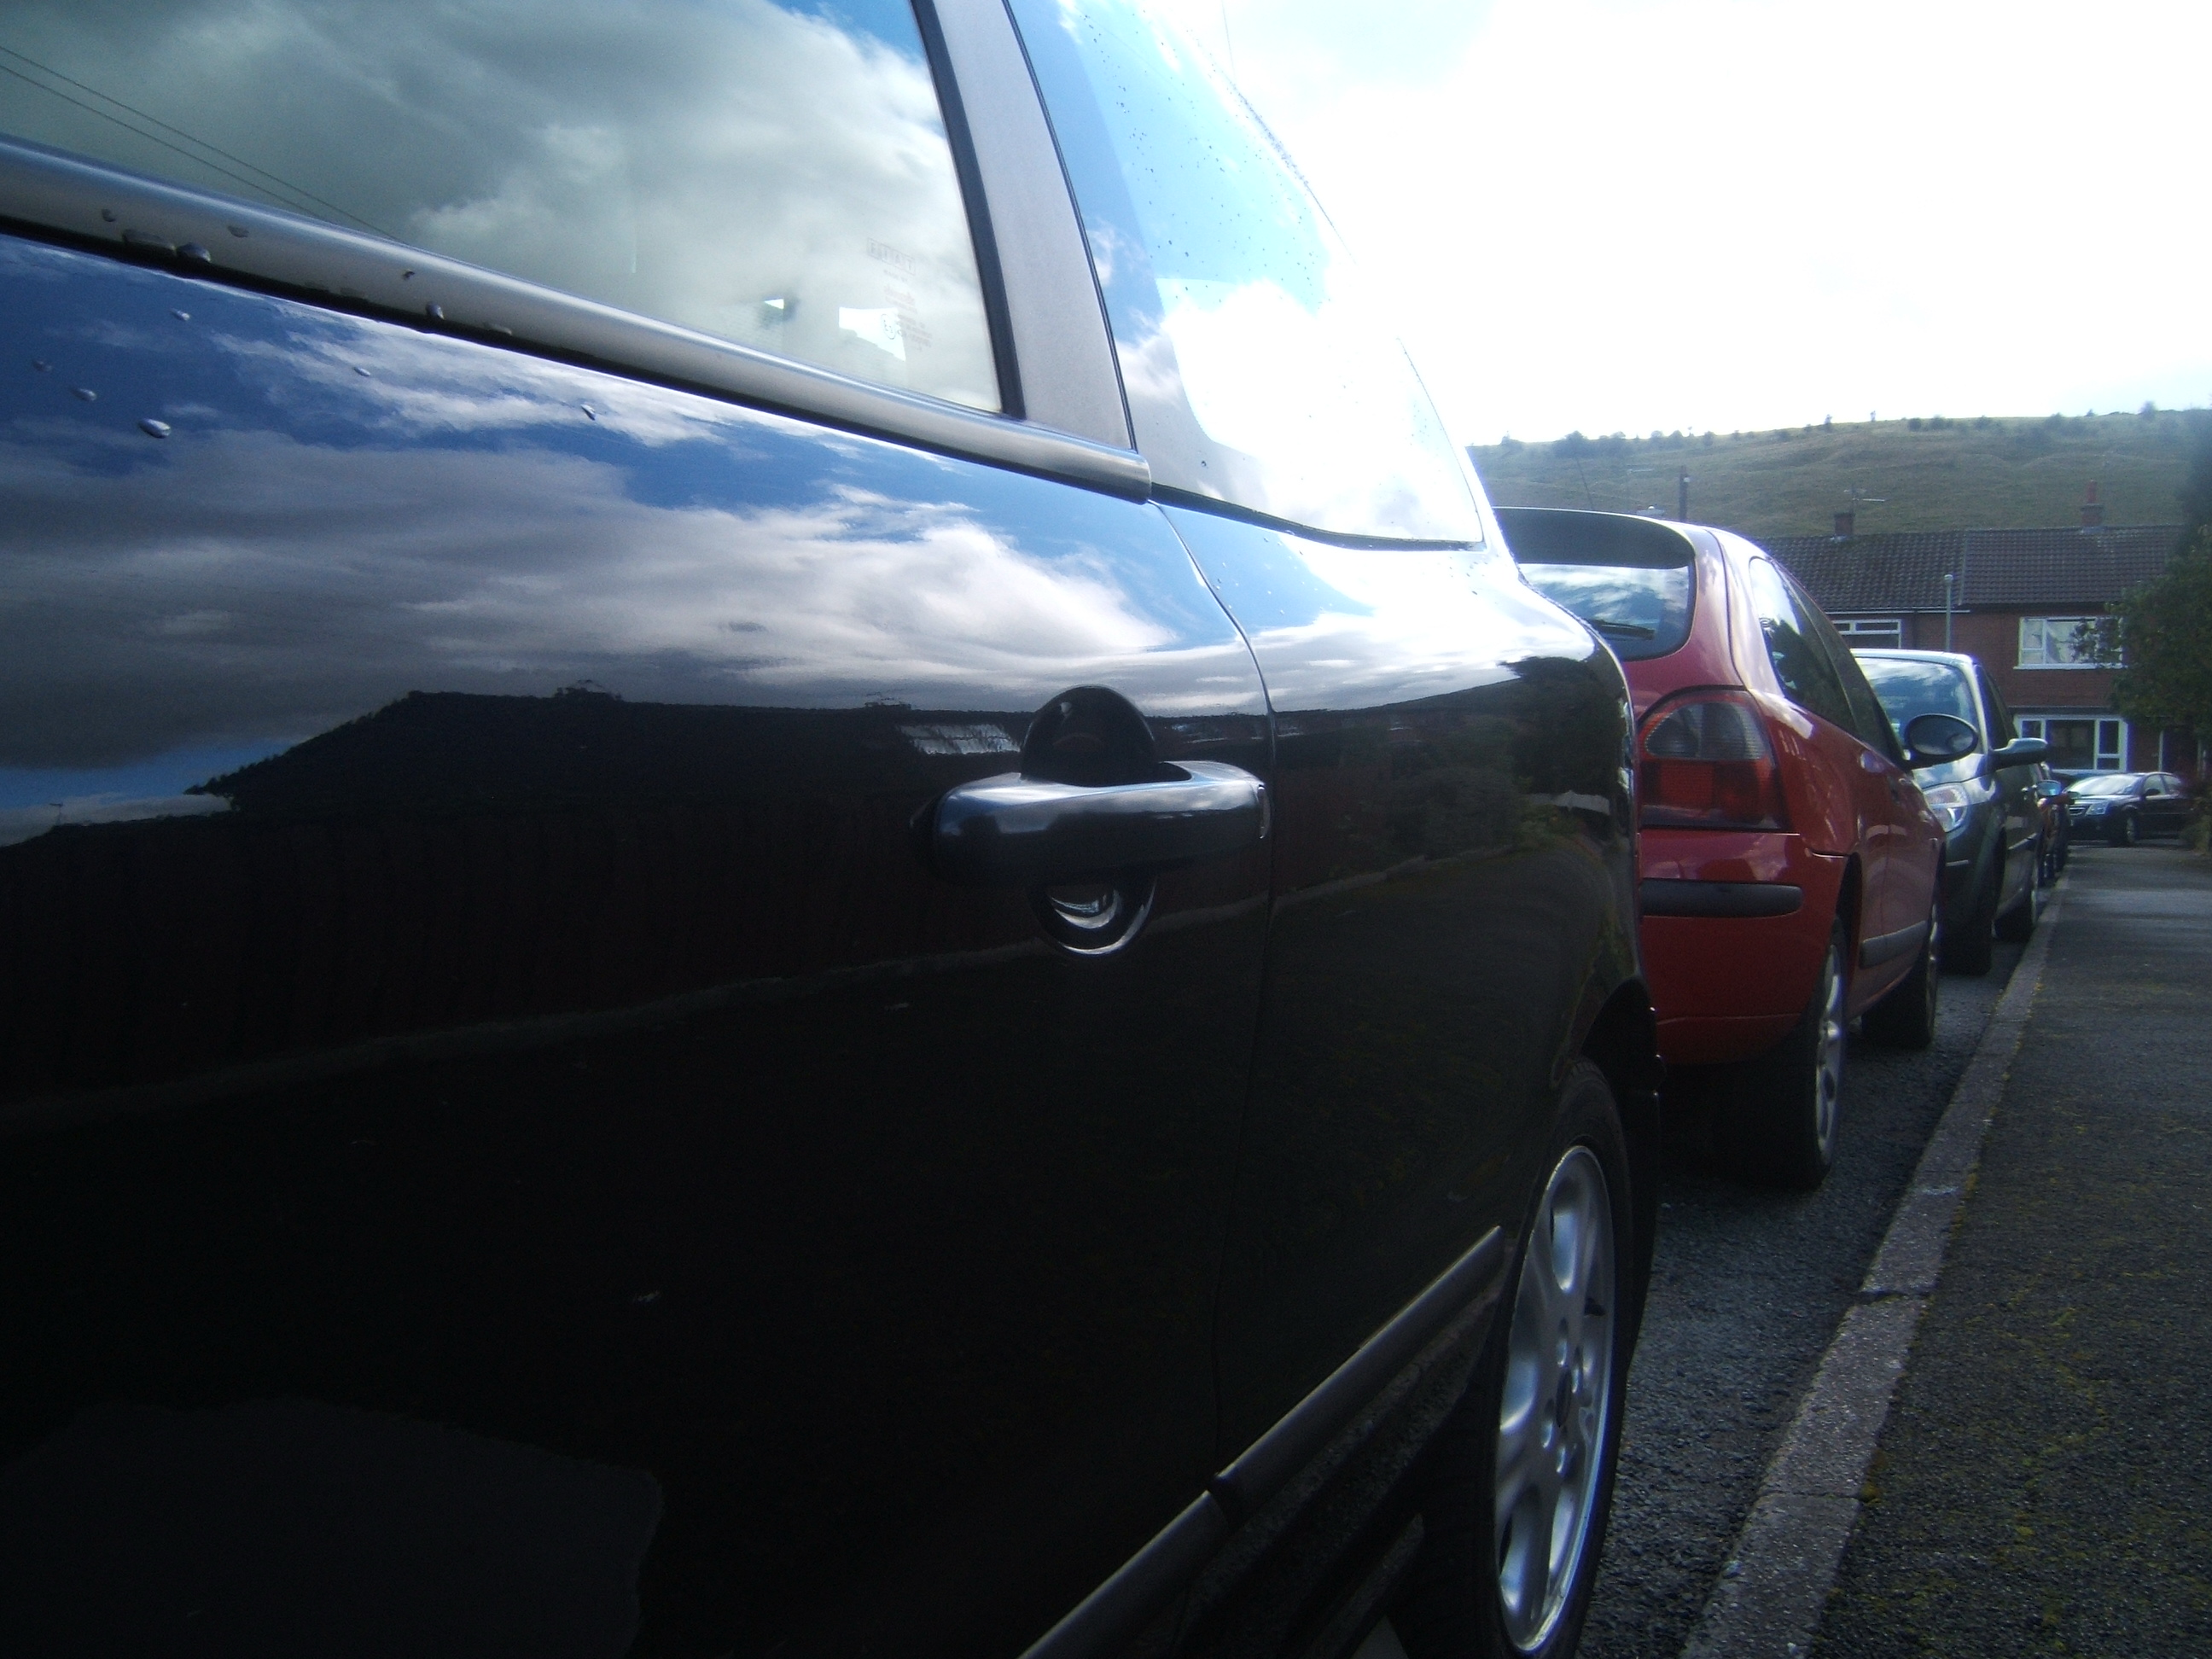
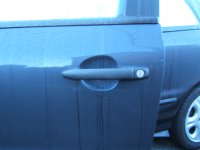
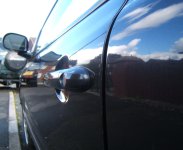
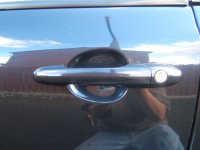
-2007 Fiat 500 Door Handles Colour Coded
-Shaped Grey Floor Mats
-Passenger Wiper wind deflector (Modified/Fiat original)
-Bosch AeroTwin AR551S 22"20" Wiper Blades
-Original Fiat CD-Player AD1802H4
-Polyurethane anti-roll bar drop links.
-Flip Key Fob with remote central locking/alarm fitted (original keys untouched)
-Longlife Stainless Steel Exhaust System.
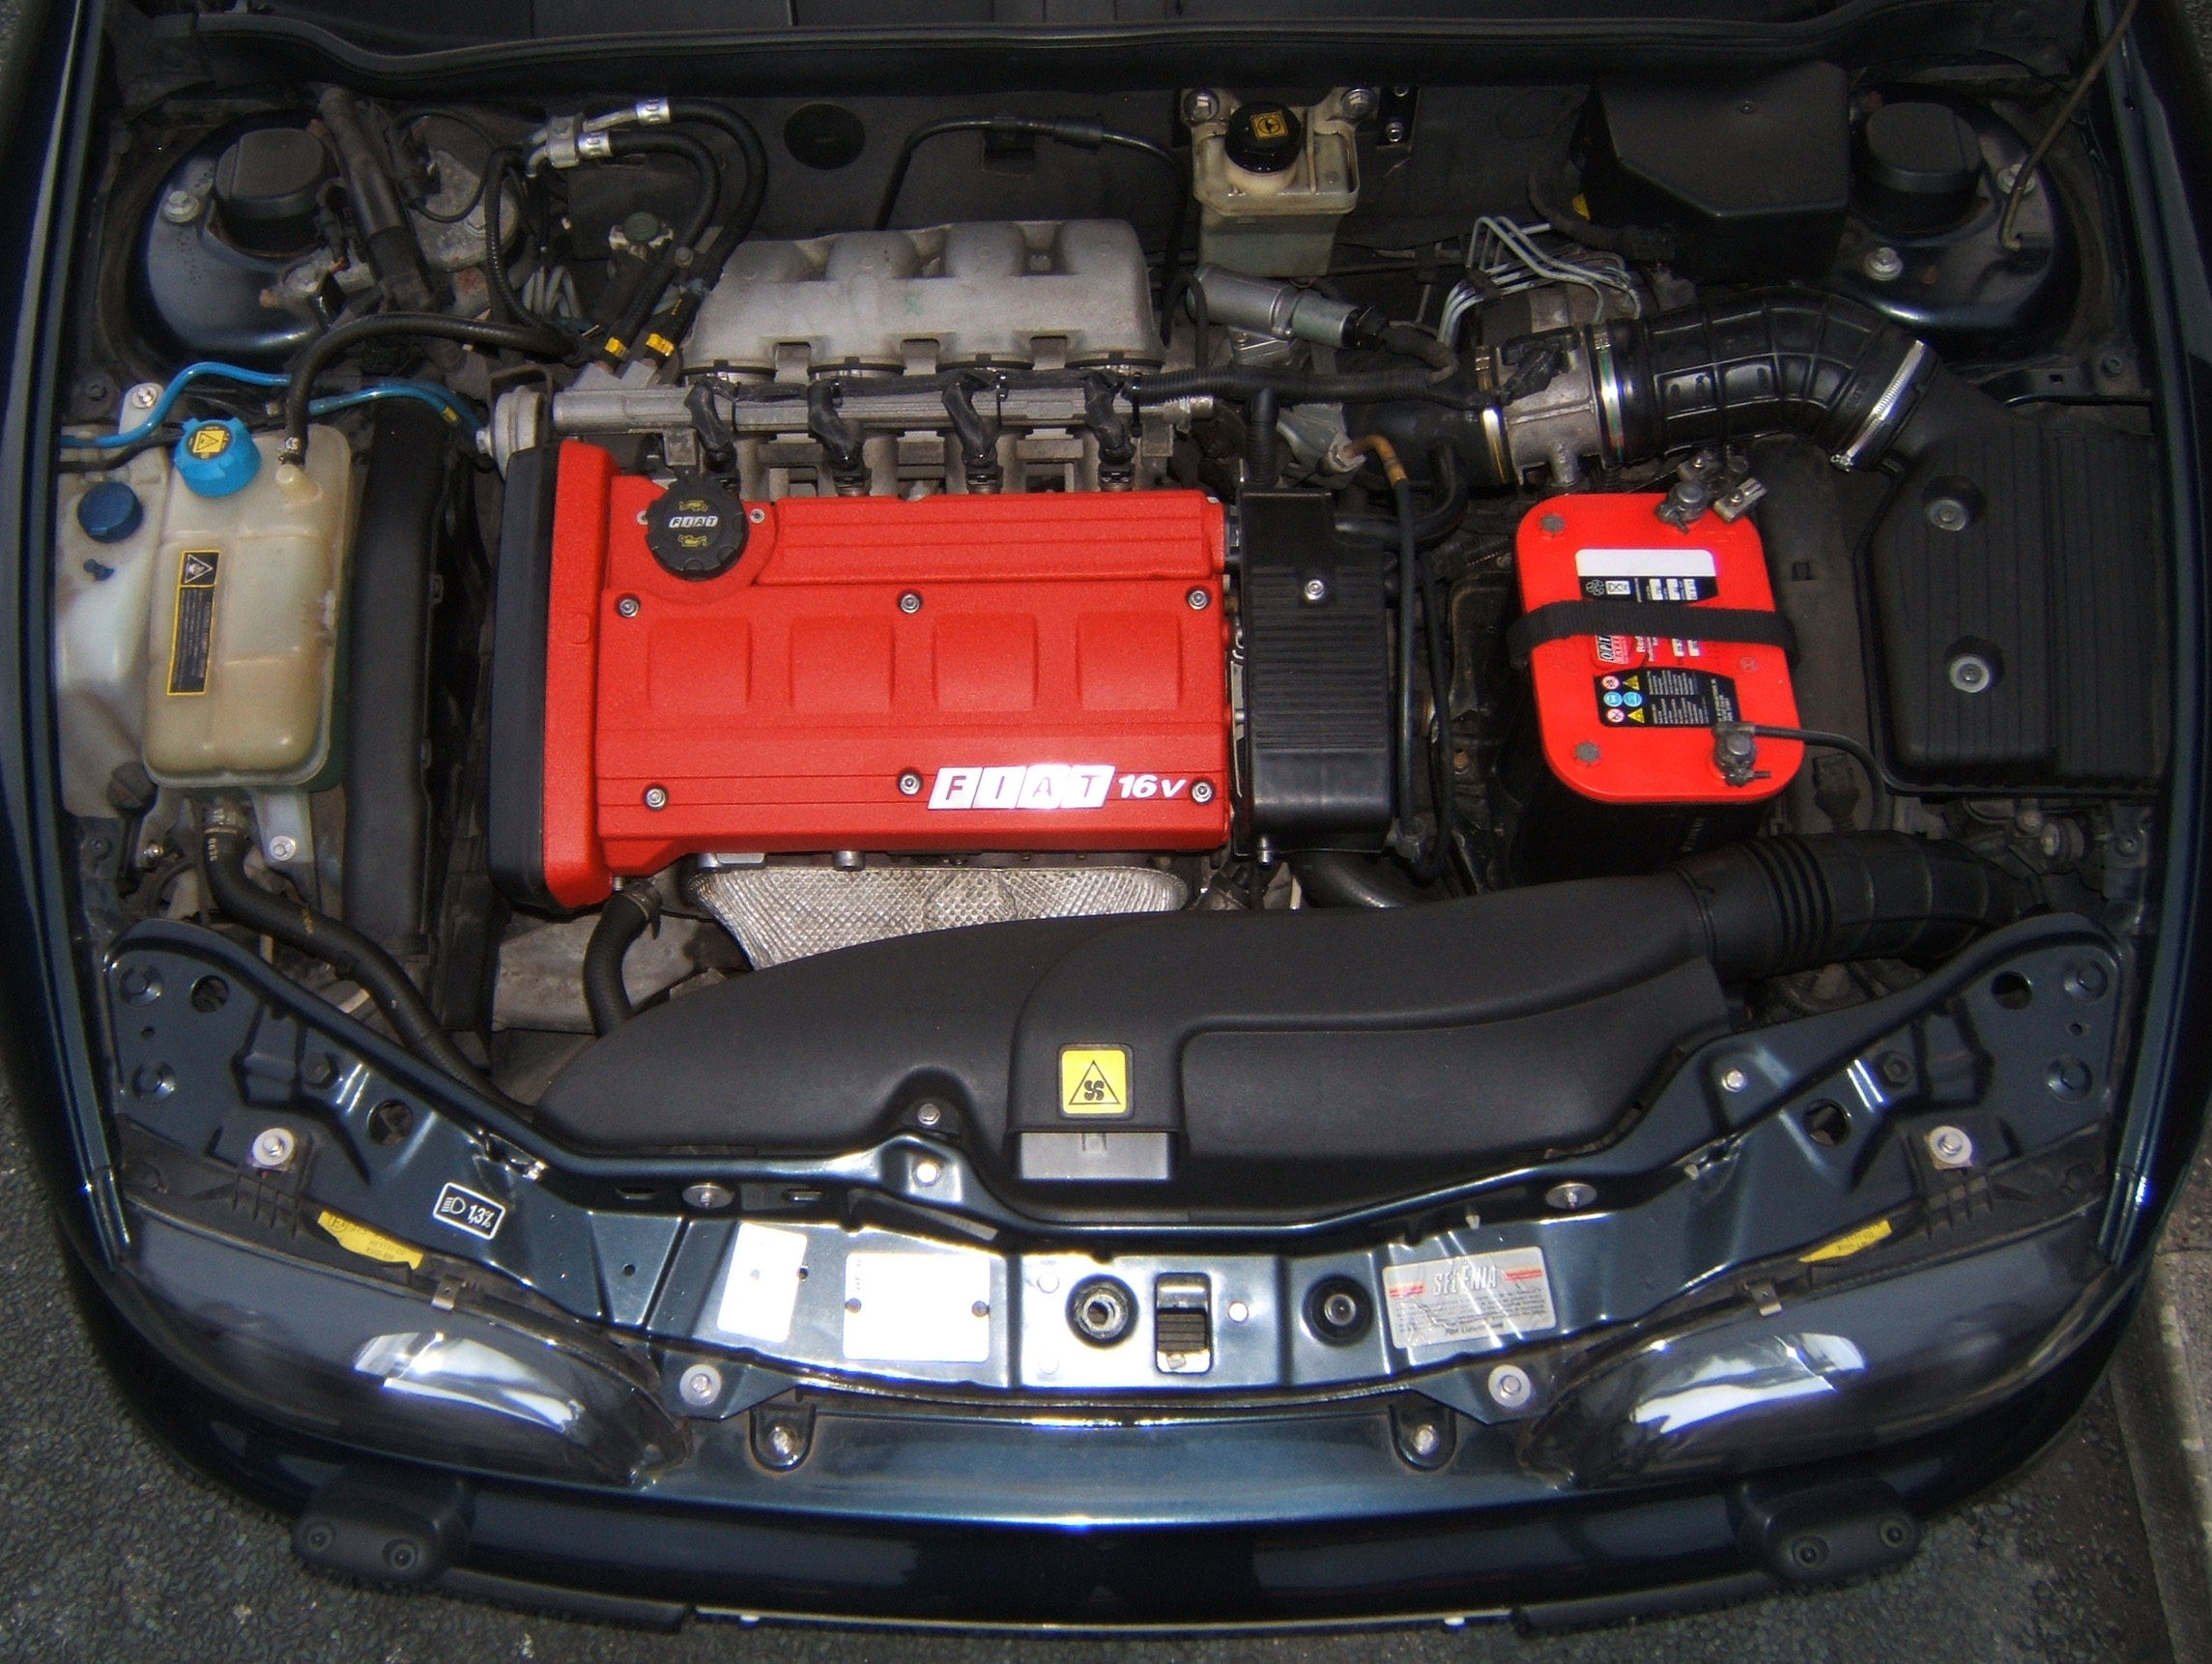
-Optima Red Top Battery
-Various engine bay bolts changed for Stainless Steel bolts
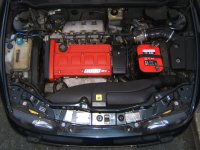
-Powdercoated Camshaft cover in crinkle Red
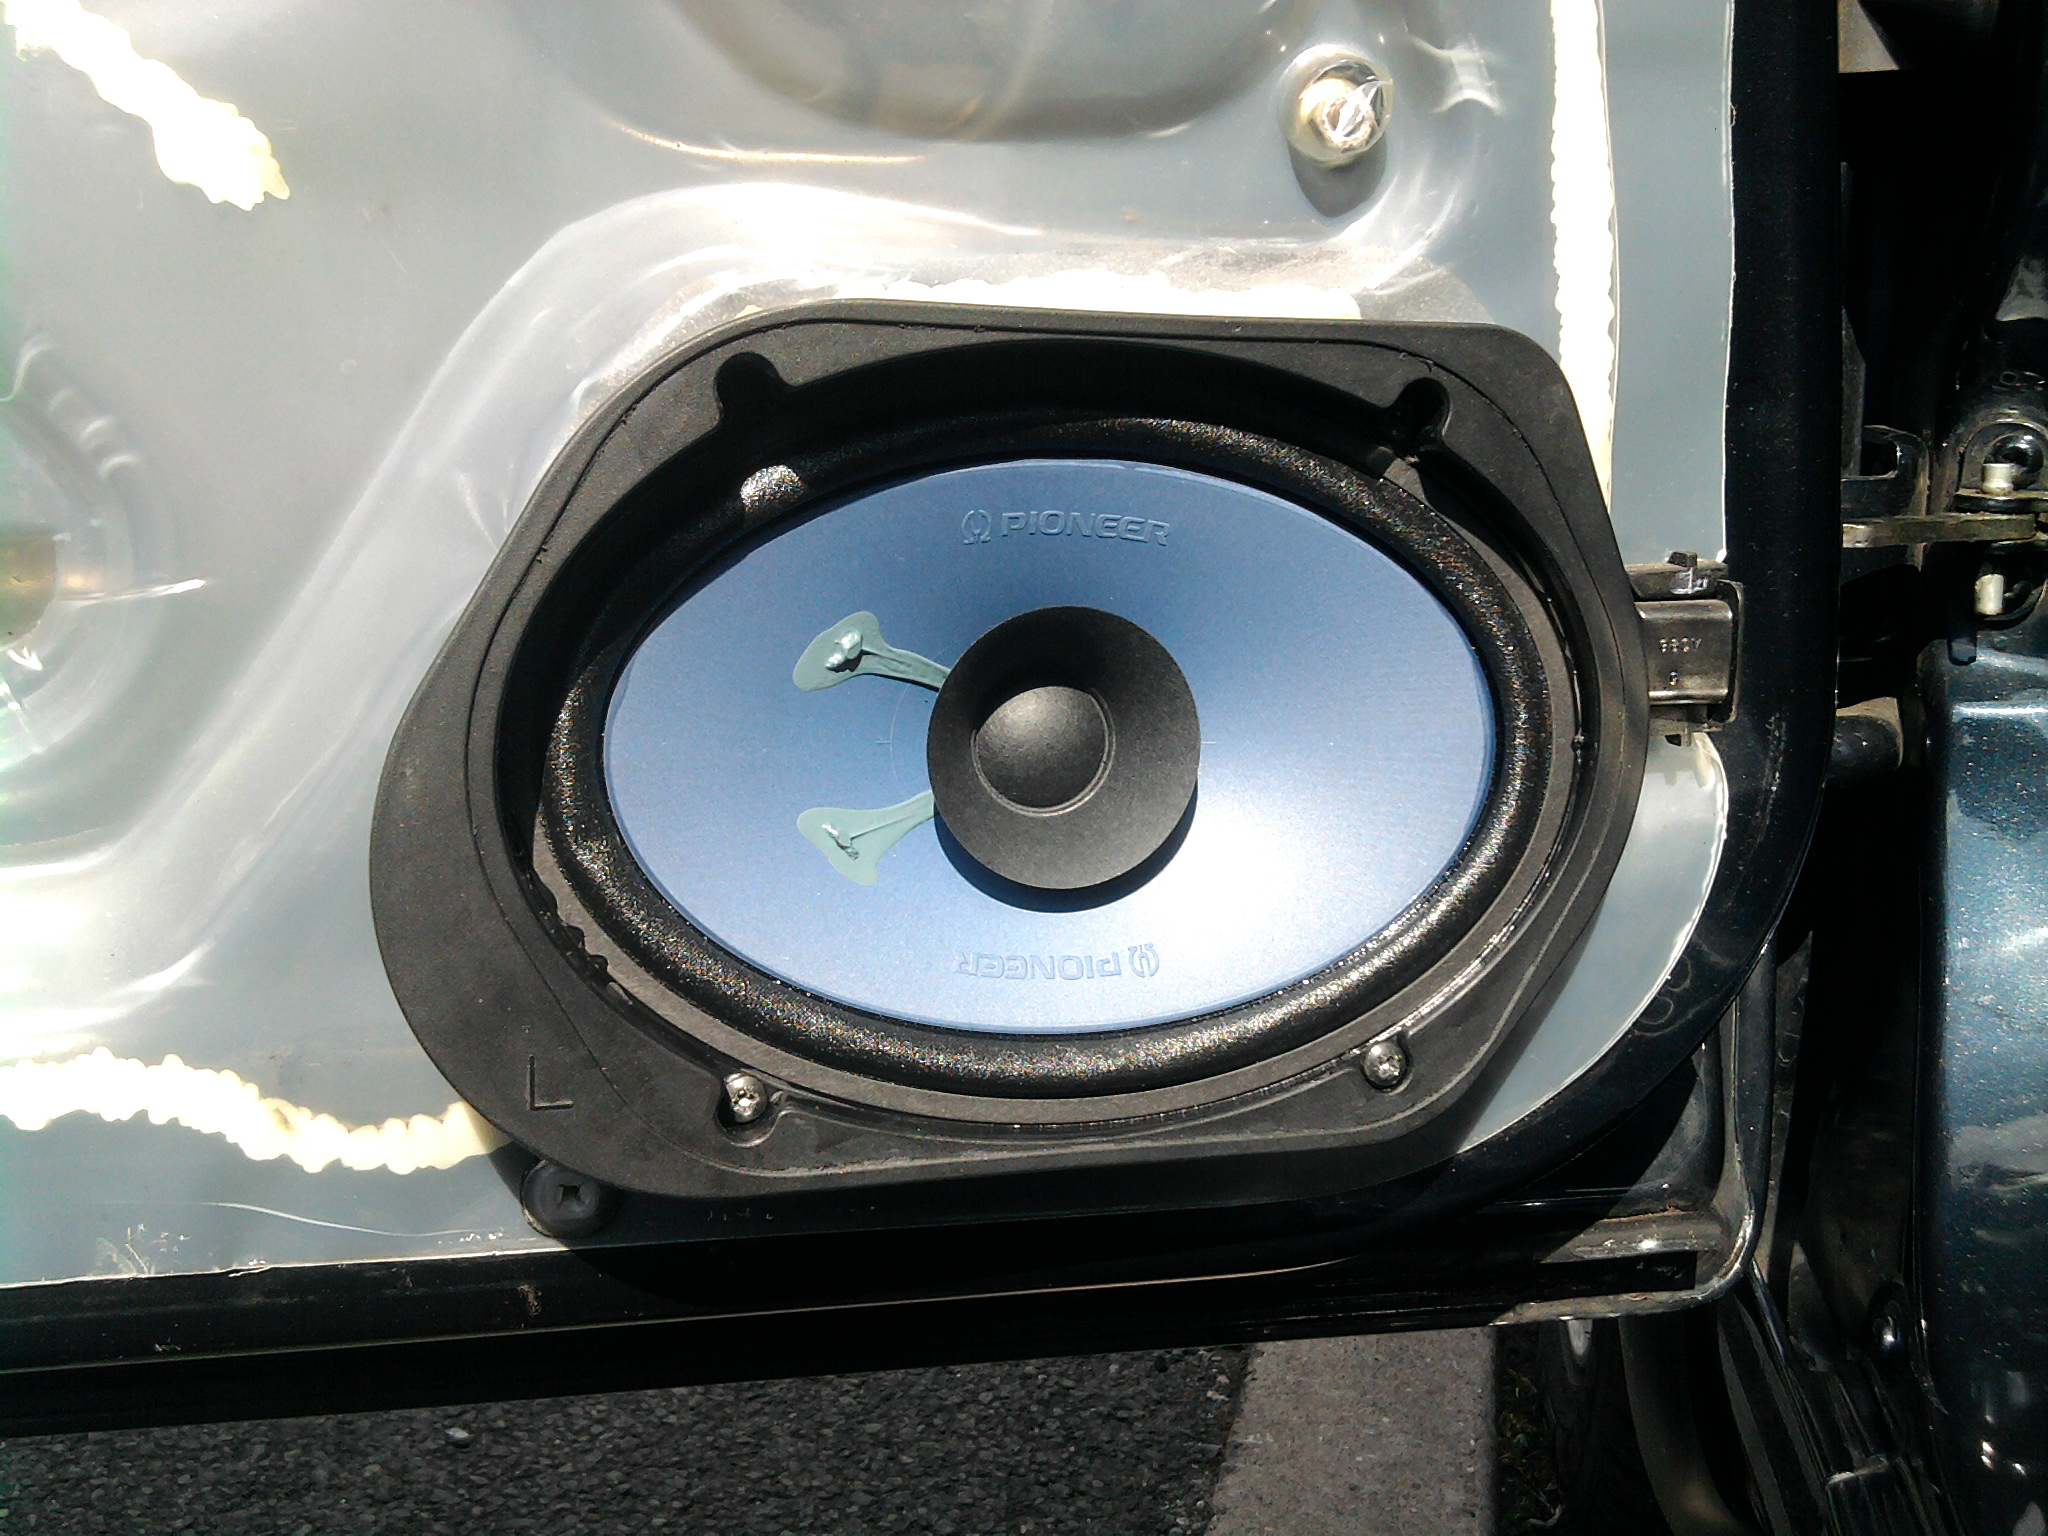
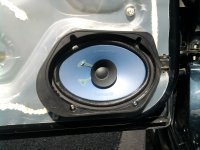
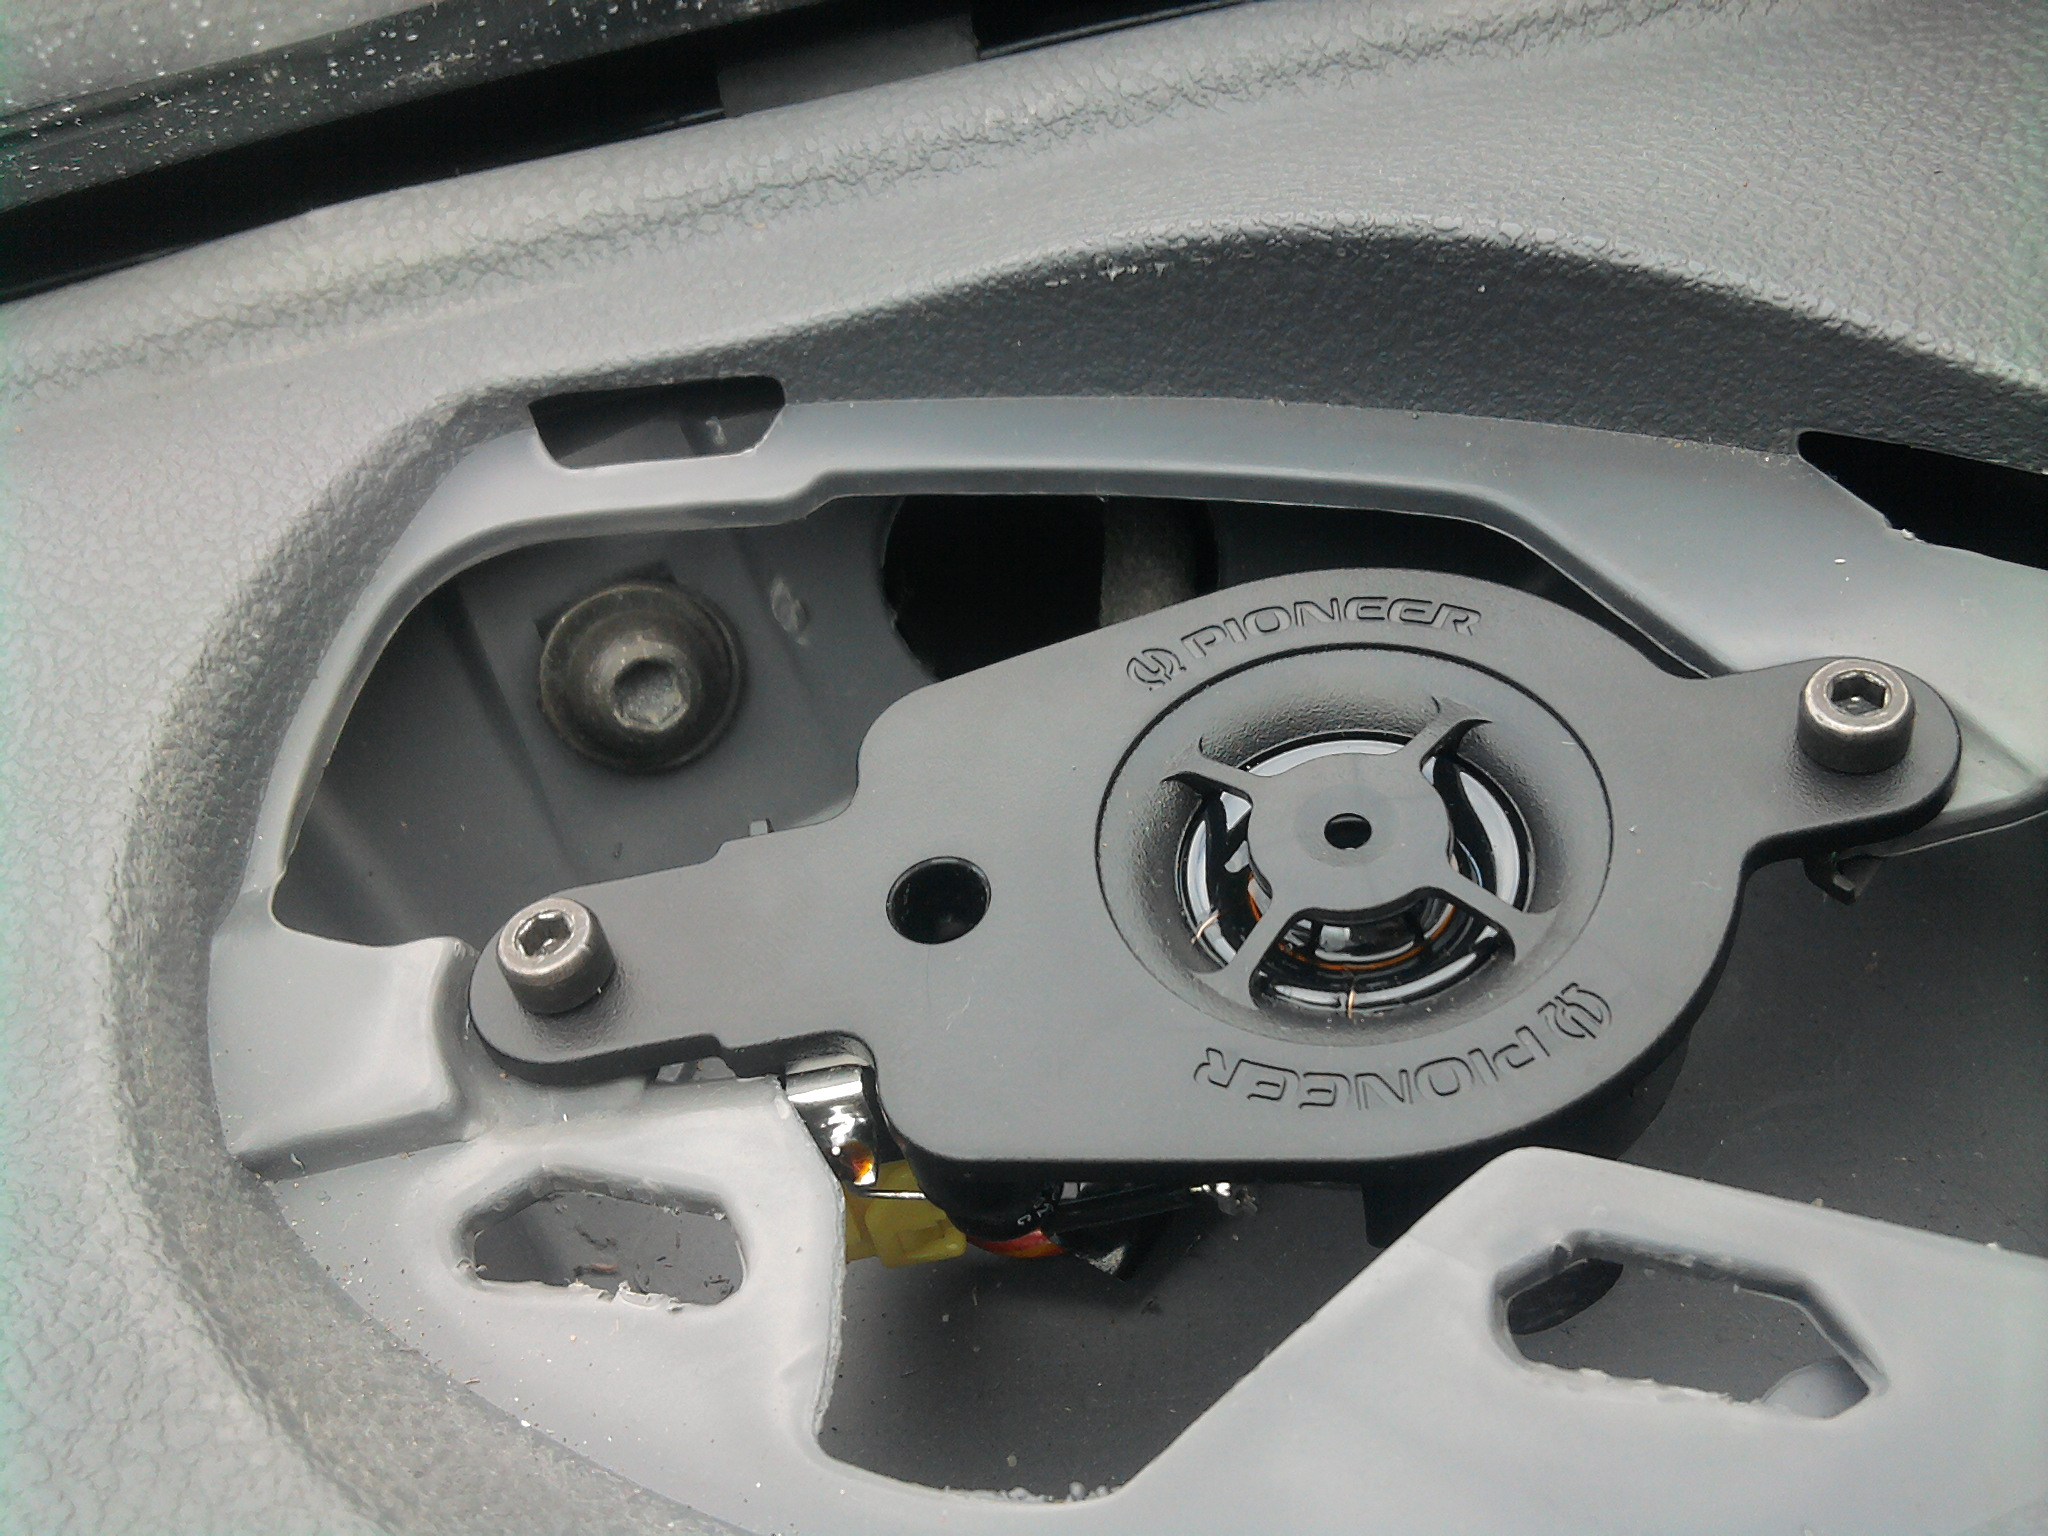
-Direct Replacement Pioneer TS-575 80W Speakers and Tweeters
-Original wheels refurbished and powdercoated. Michelin Pilot Exalto PE2 195/50/R15V tyres. All 16 wheel bolts use an internal key.
Stick on balance weights.
-Brava Mk2 Black Instrument Cluster Surround
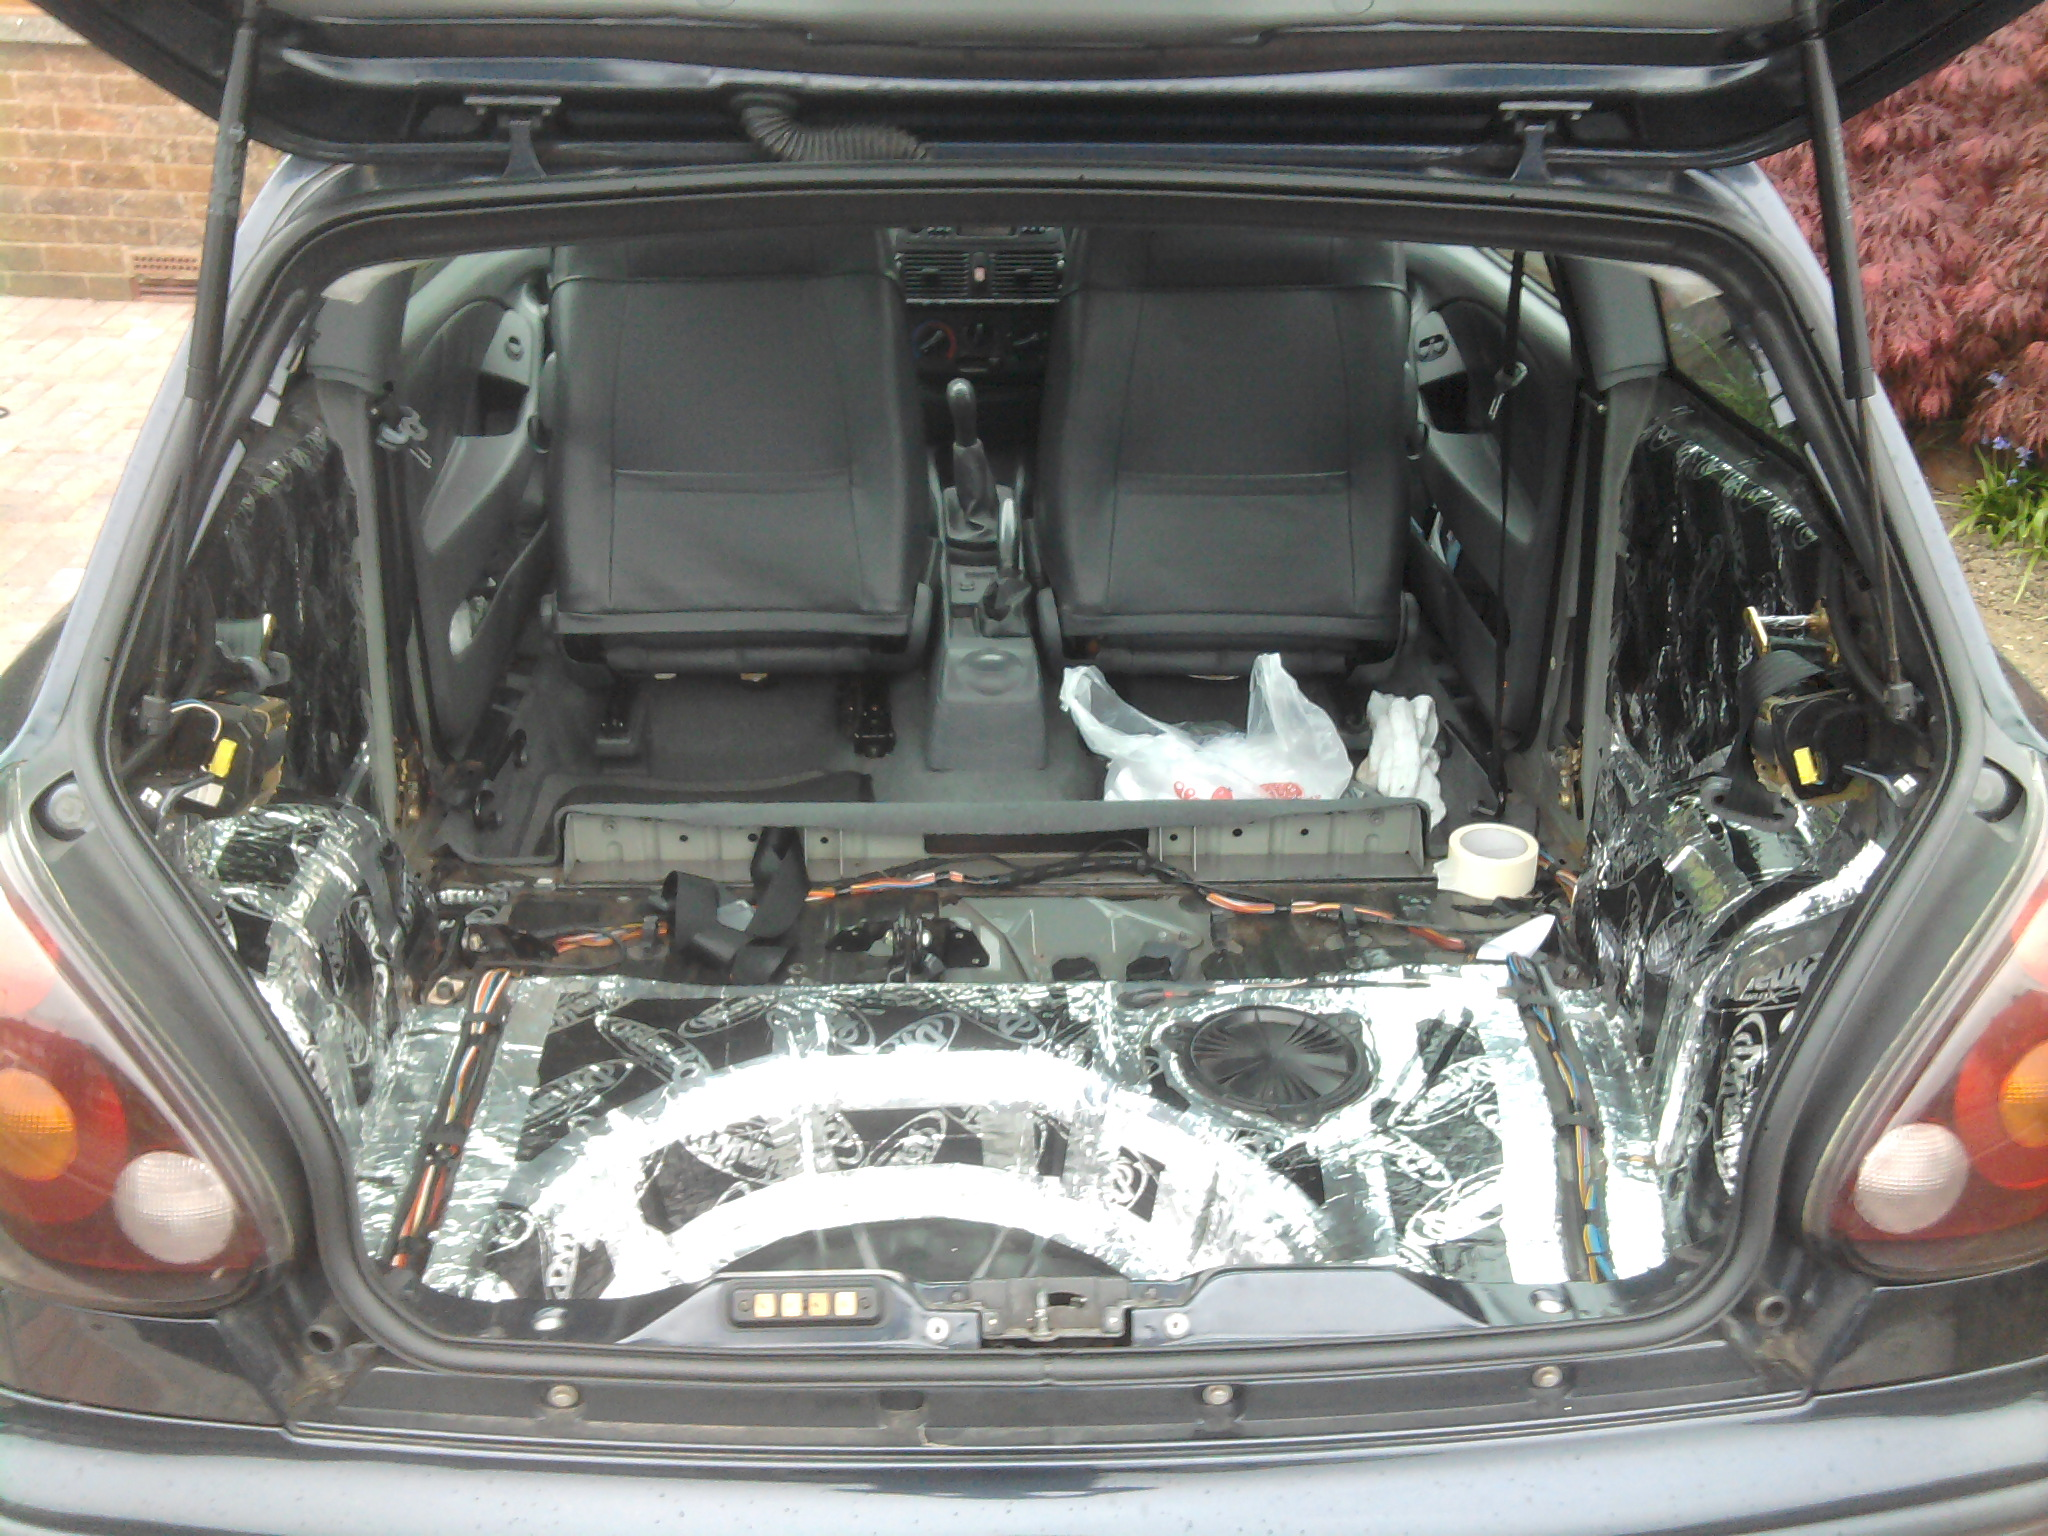
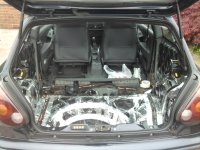
-Dynamat Sound deadening over rear quarters and rear floor area.
-Powder coated Battery Tray and Fuse Box
-Re-trimmed Leather Steering Wheel In Dark Grey


When I bought the car it was filthy with a few minor problems. The boot had been debadged. A Alpine stero had been installed in the process someone cut of the loom plug for the stereo, cut a hole in the glove box. The radiator had a small pin hole leak, someone had cut the brake pad wear sensor (loom side) and drivers check strap broken. All fixed now.

I bought it with 44500 Miles on the clock. If you average that over its age it has done 3423 Miles a year! 3 previous owners.

Some of the good points though, its very low mileage, every panel is good and original, has an undertray, new clutch slave cylinder, brand new tyres and tracking had been re-done.

For sale add picture
add-b.jpg


Pictures 12-04-2010 - Car Unfinished.

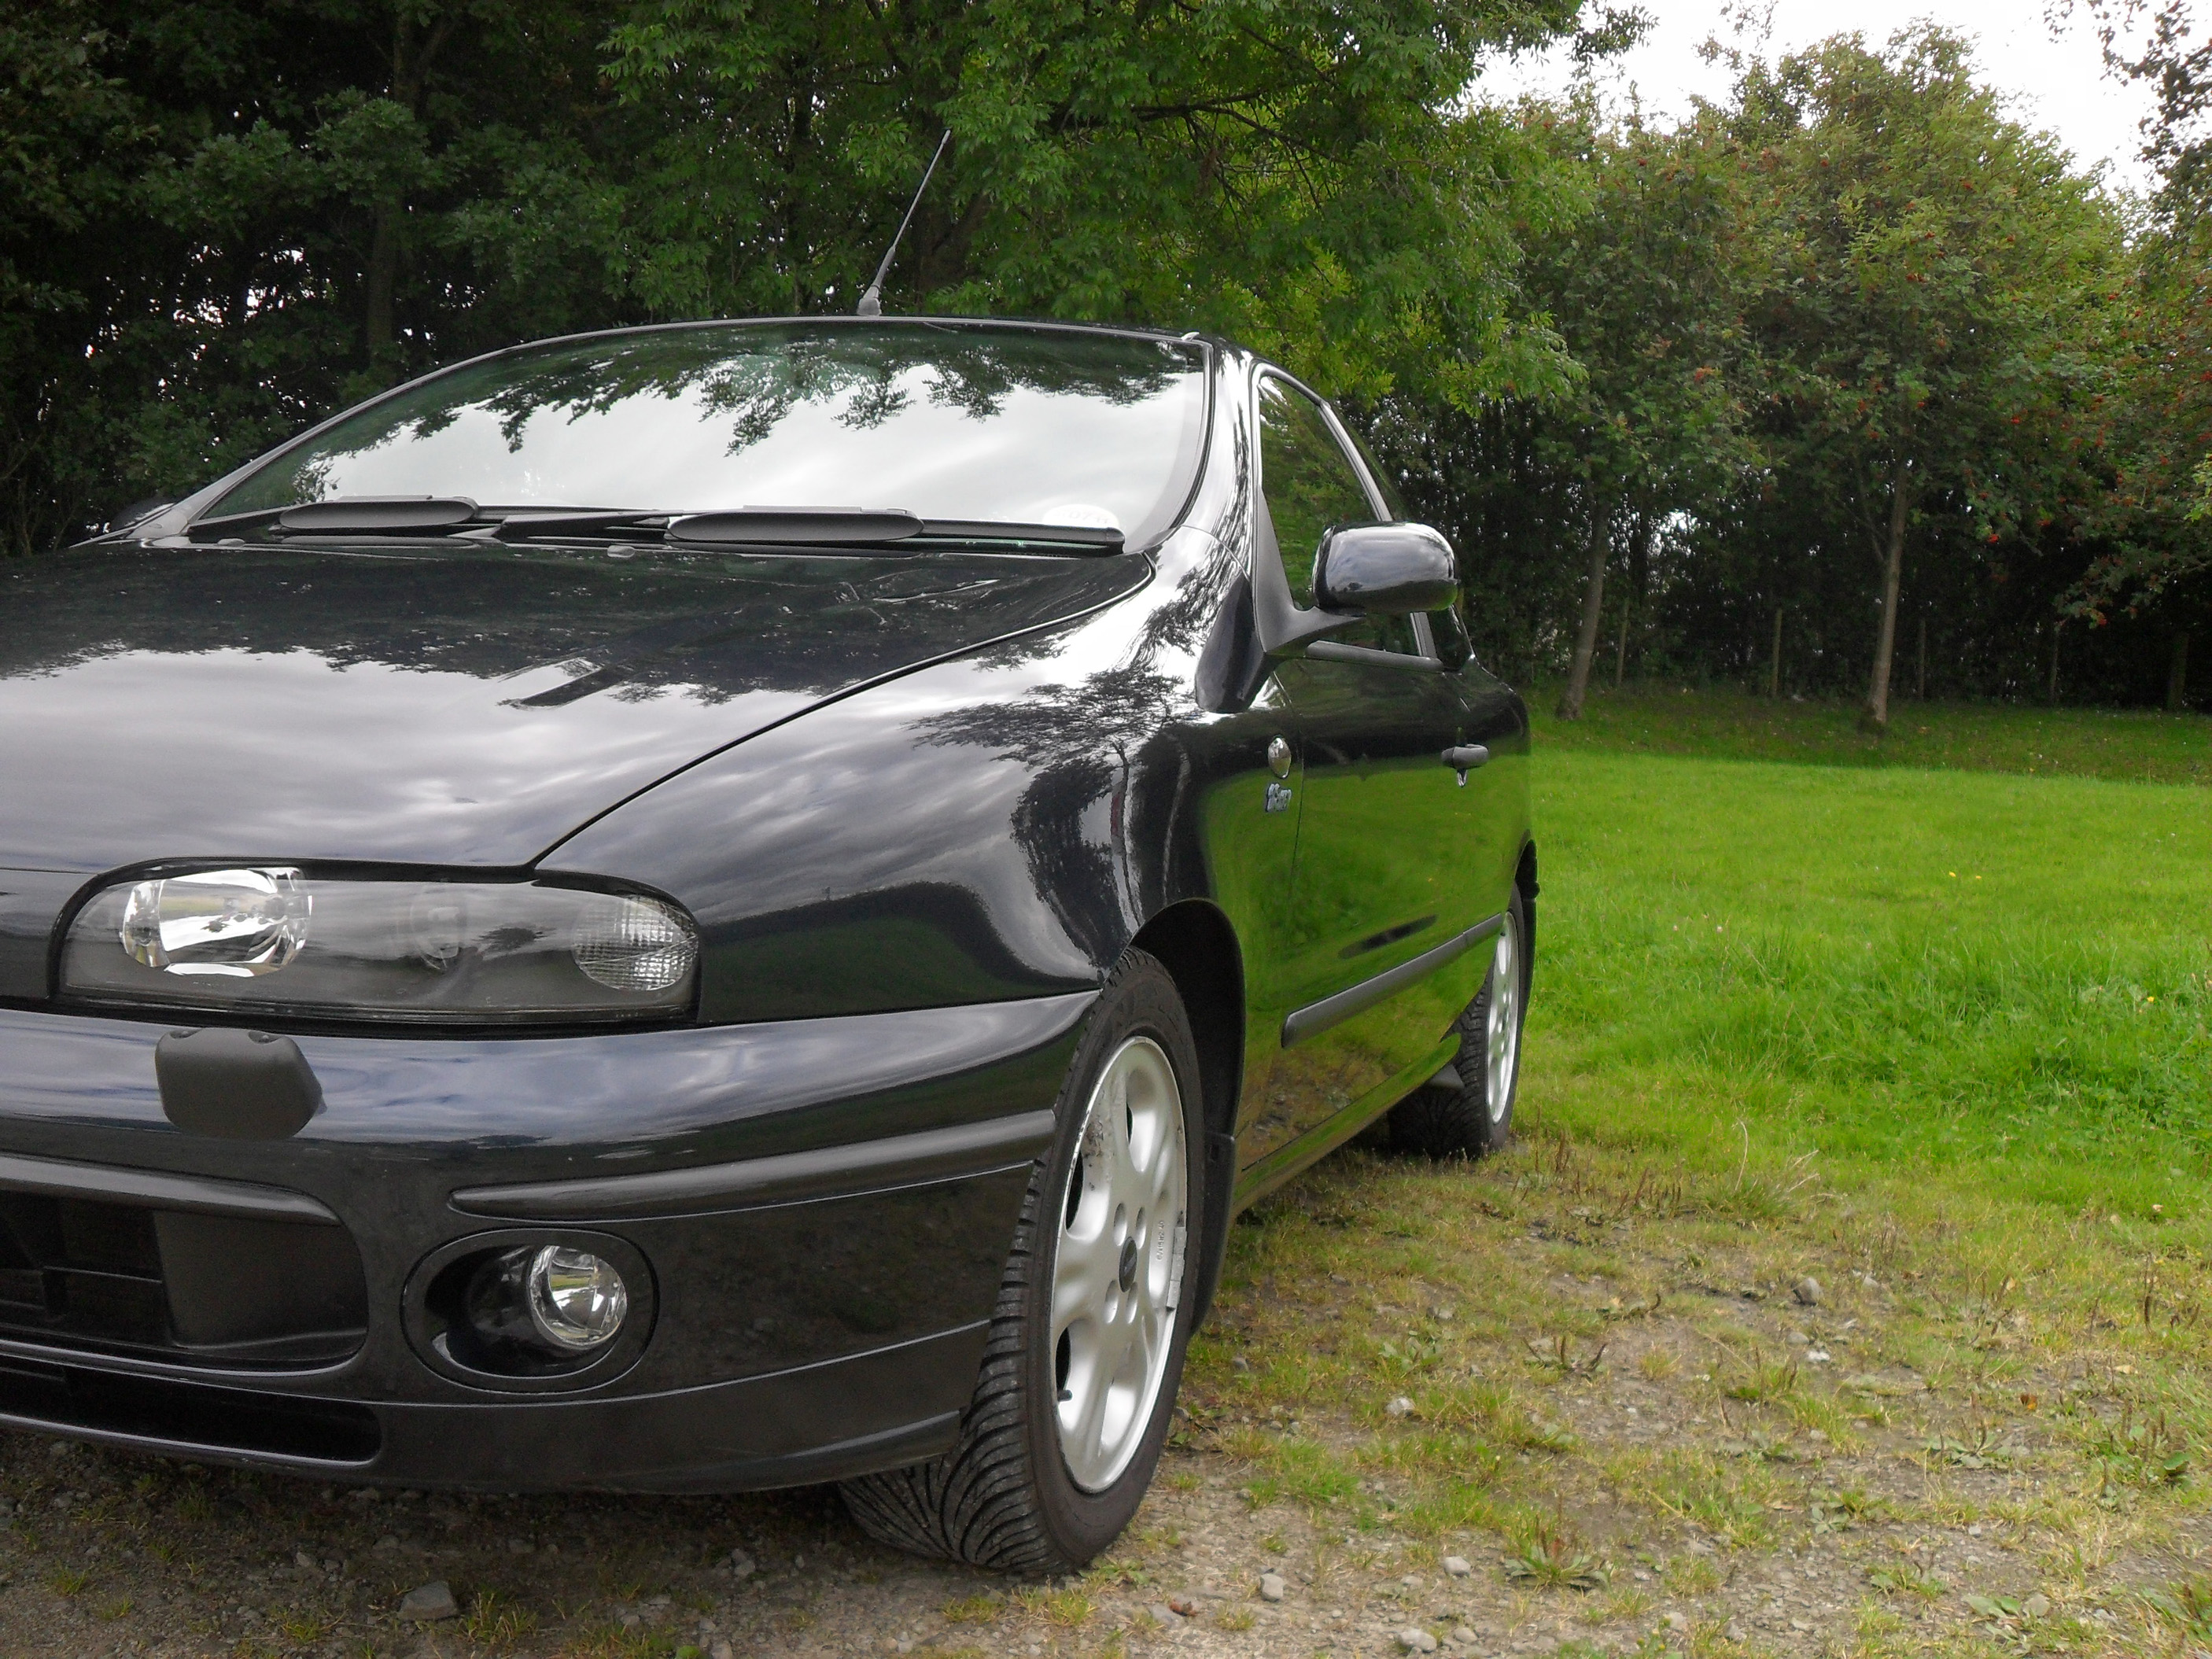
Pictures 30-08-2010 - Car Still Unfinished.


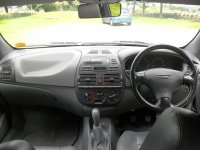
My leather interior


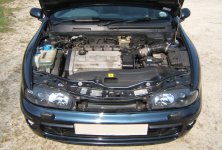
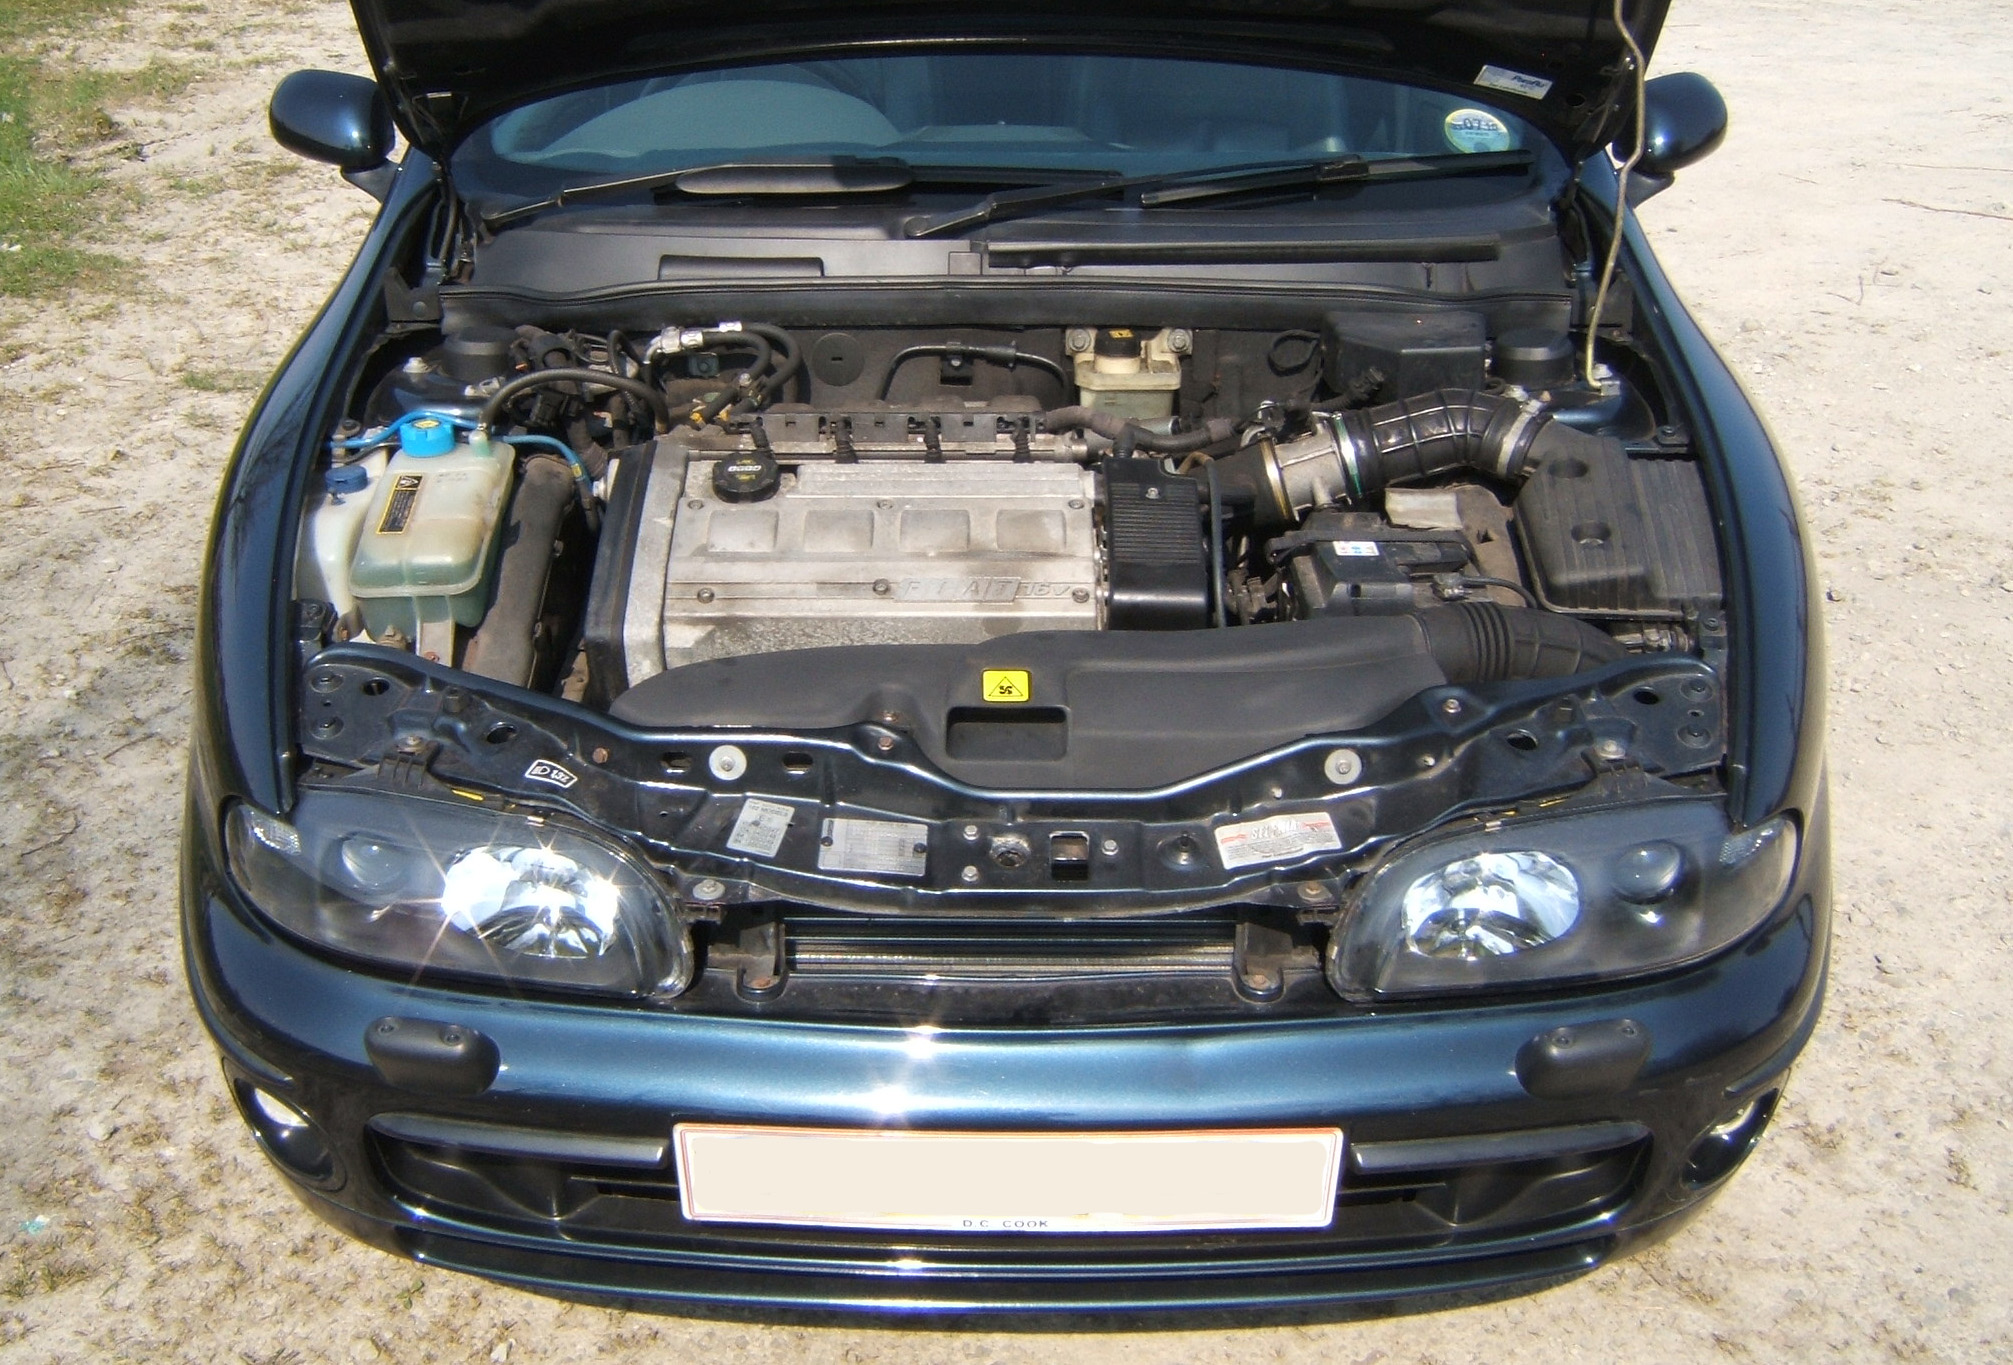
Engine bay needs a lot more cleaning


Lockwood Stainless Steel Kick Plates

Left hand drive rear cluster

Audio
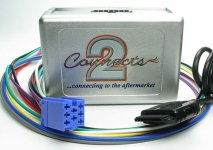
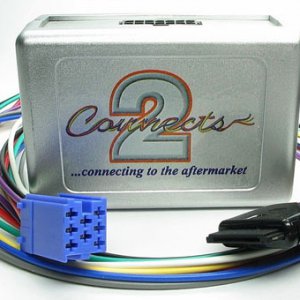
I really liked the original Head Unit. I found a small device that makes the Head unit think the iPod is a CD-Changer. It charges the Ipod I can control the music through the head unit or iPod.

The connects2 CTAFAIPOD007 iPod adapter is fixed inside the dashboard. I have used velcro.


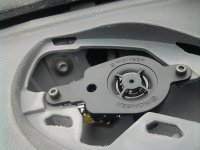
I found some direct replacement Pioneer Tweeters TS-575.


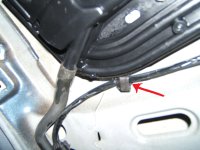
The sunroof was leaking, this wiring harness clip was pushing the gutter down a lot, also a drain tube was blocked.


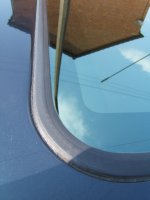
Here is a picture of how I have sealed the sunroof shut forever. I put masking tape on the metal edge with the roof open I put silicone all around the inside edge. Then closed the roof and unplugged it, then filled it from above with silicone.
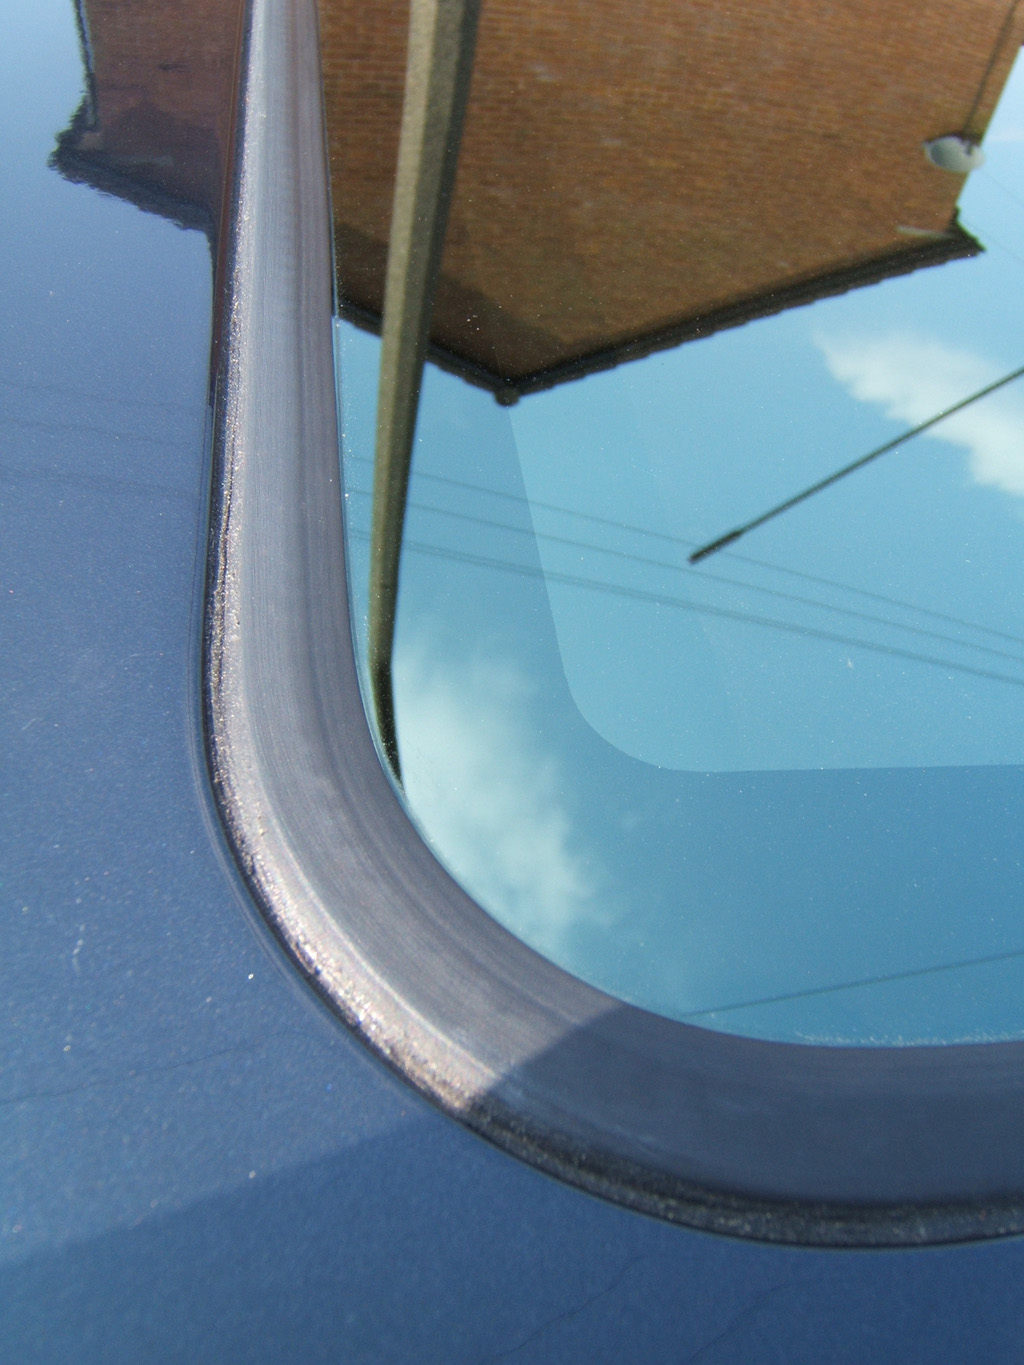


Before;


After;
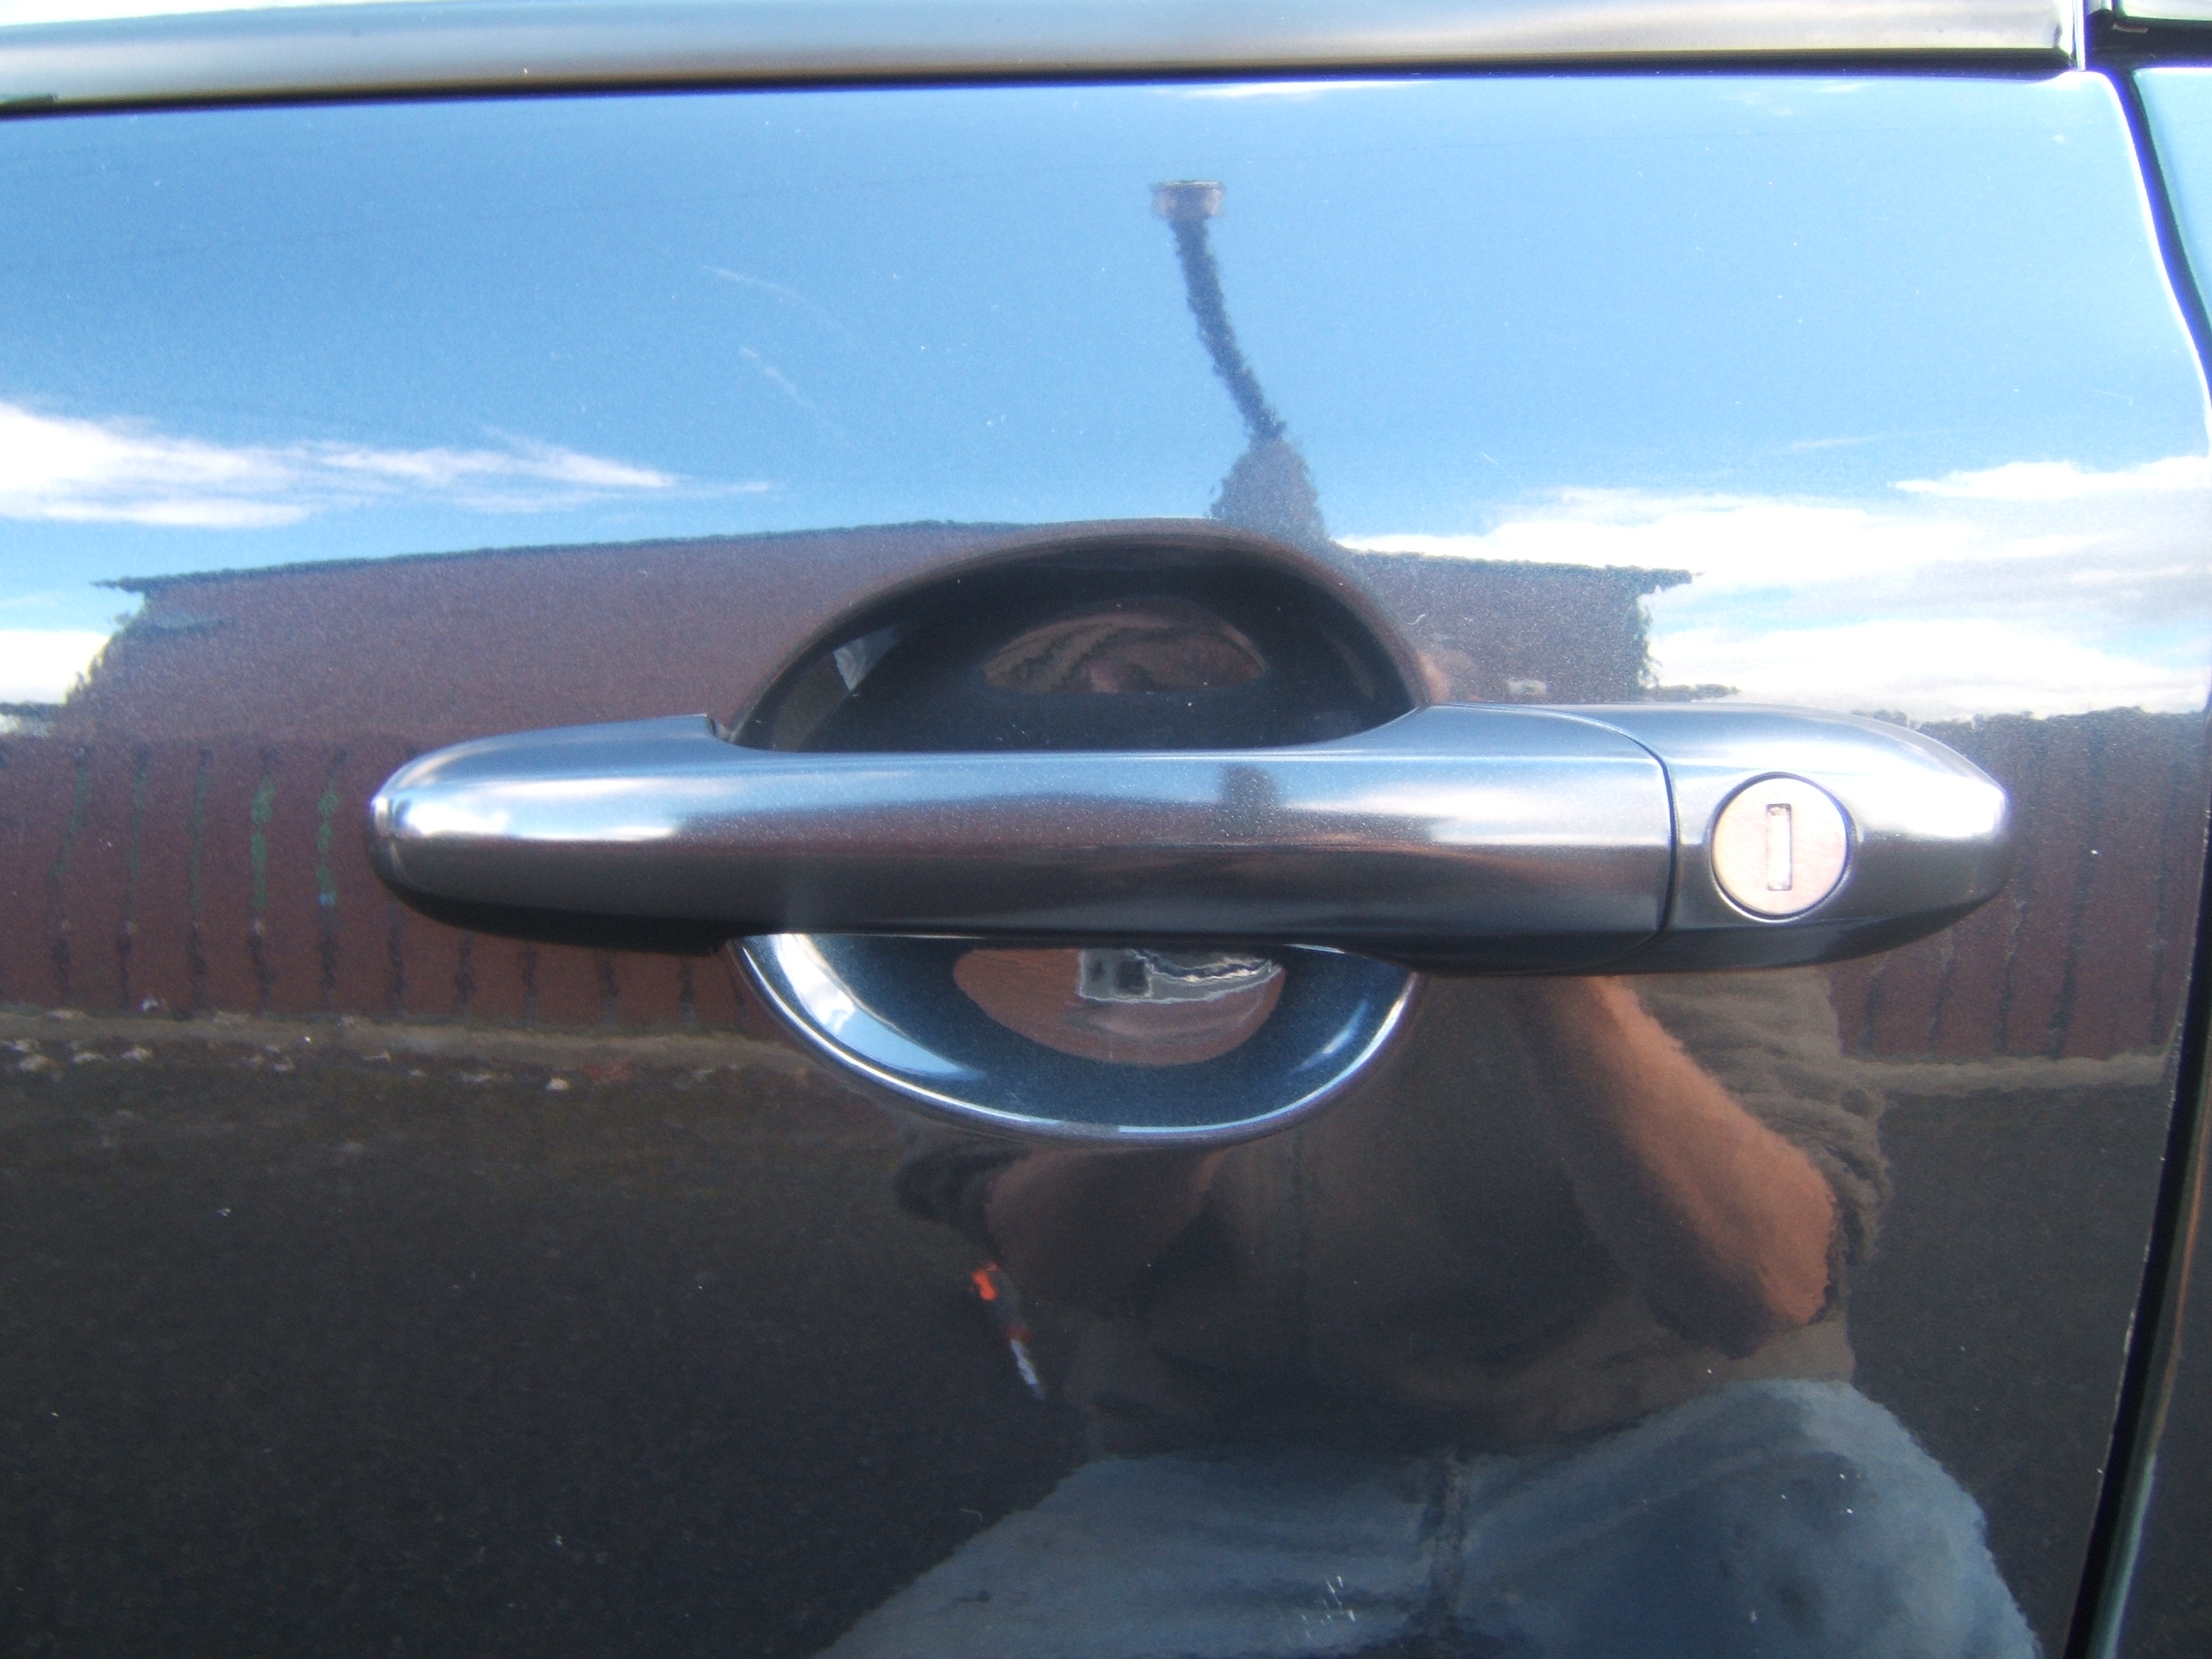


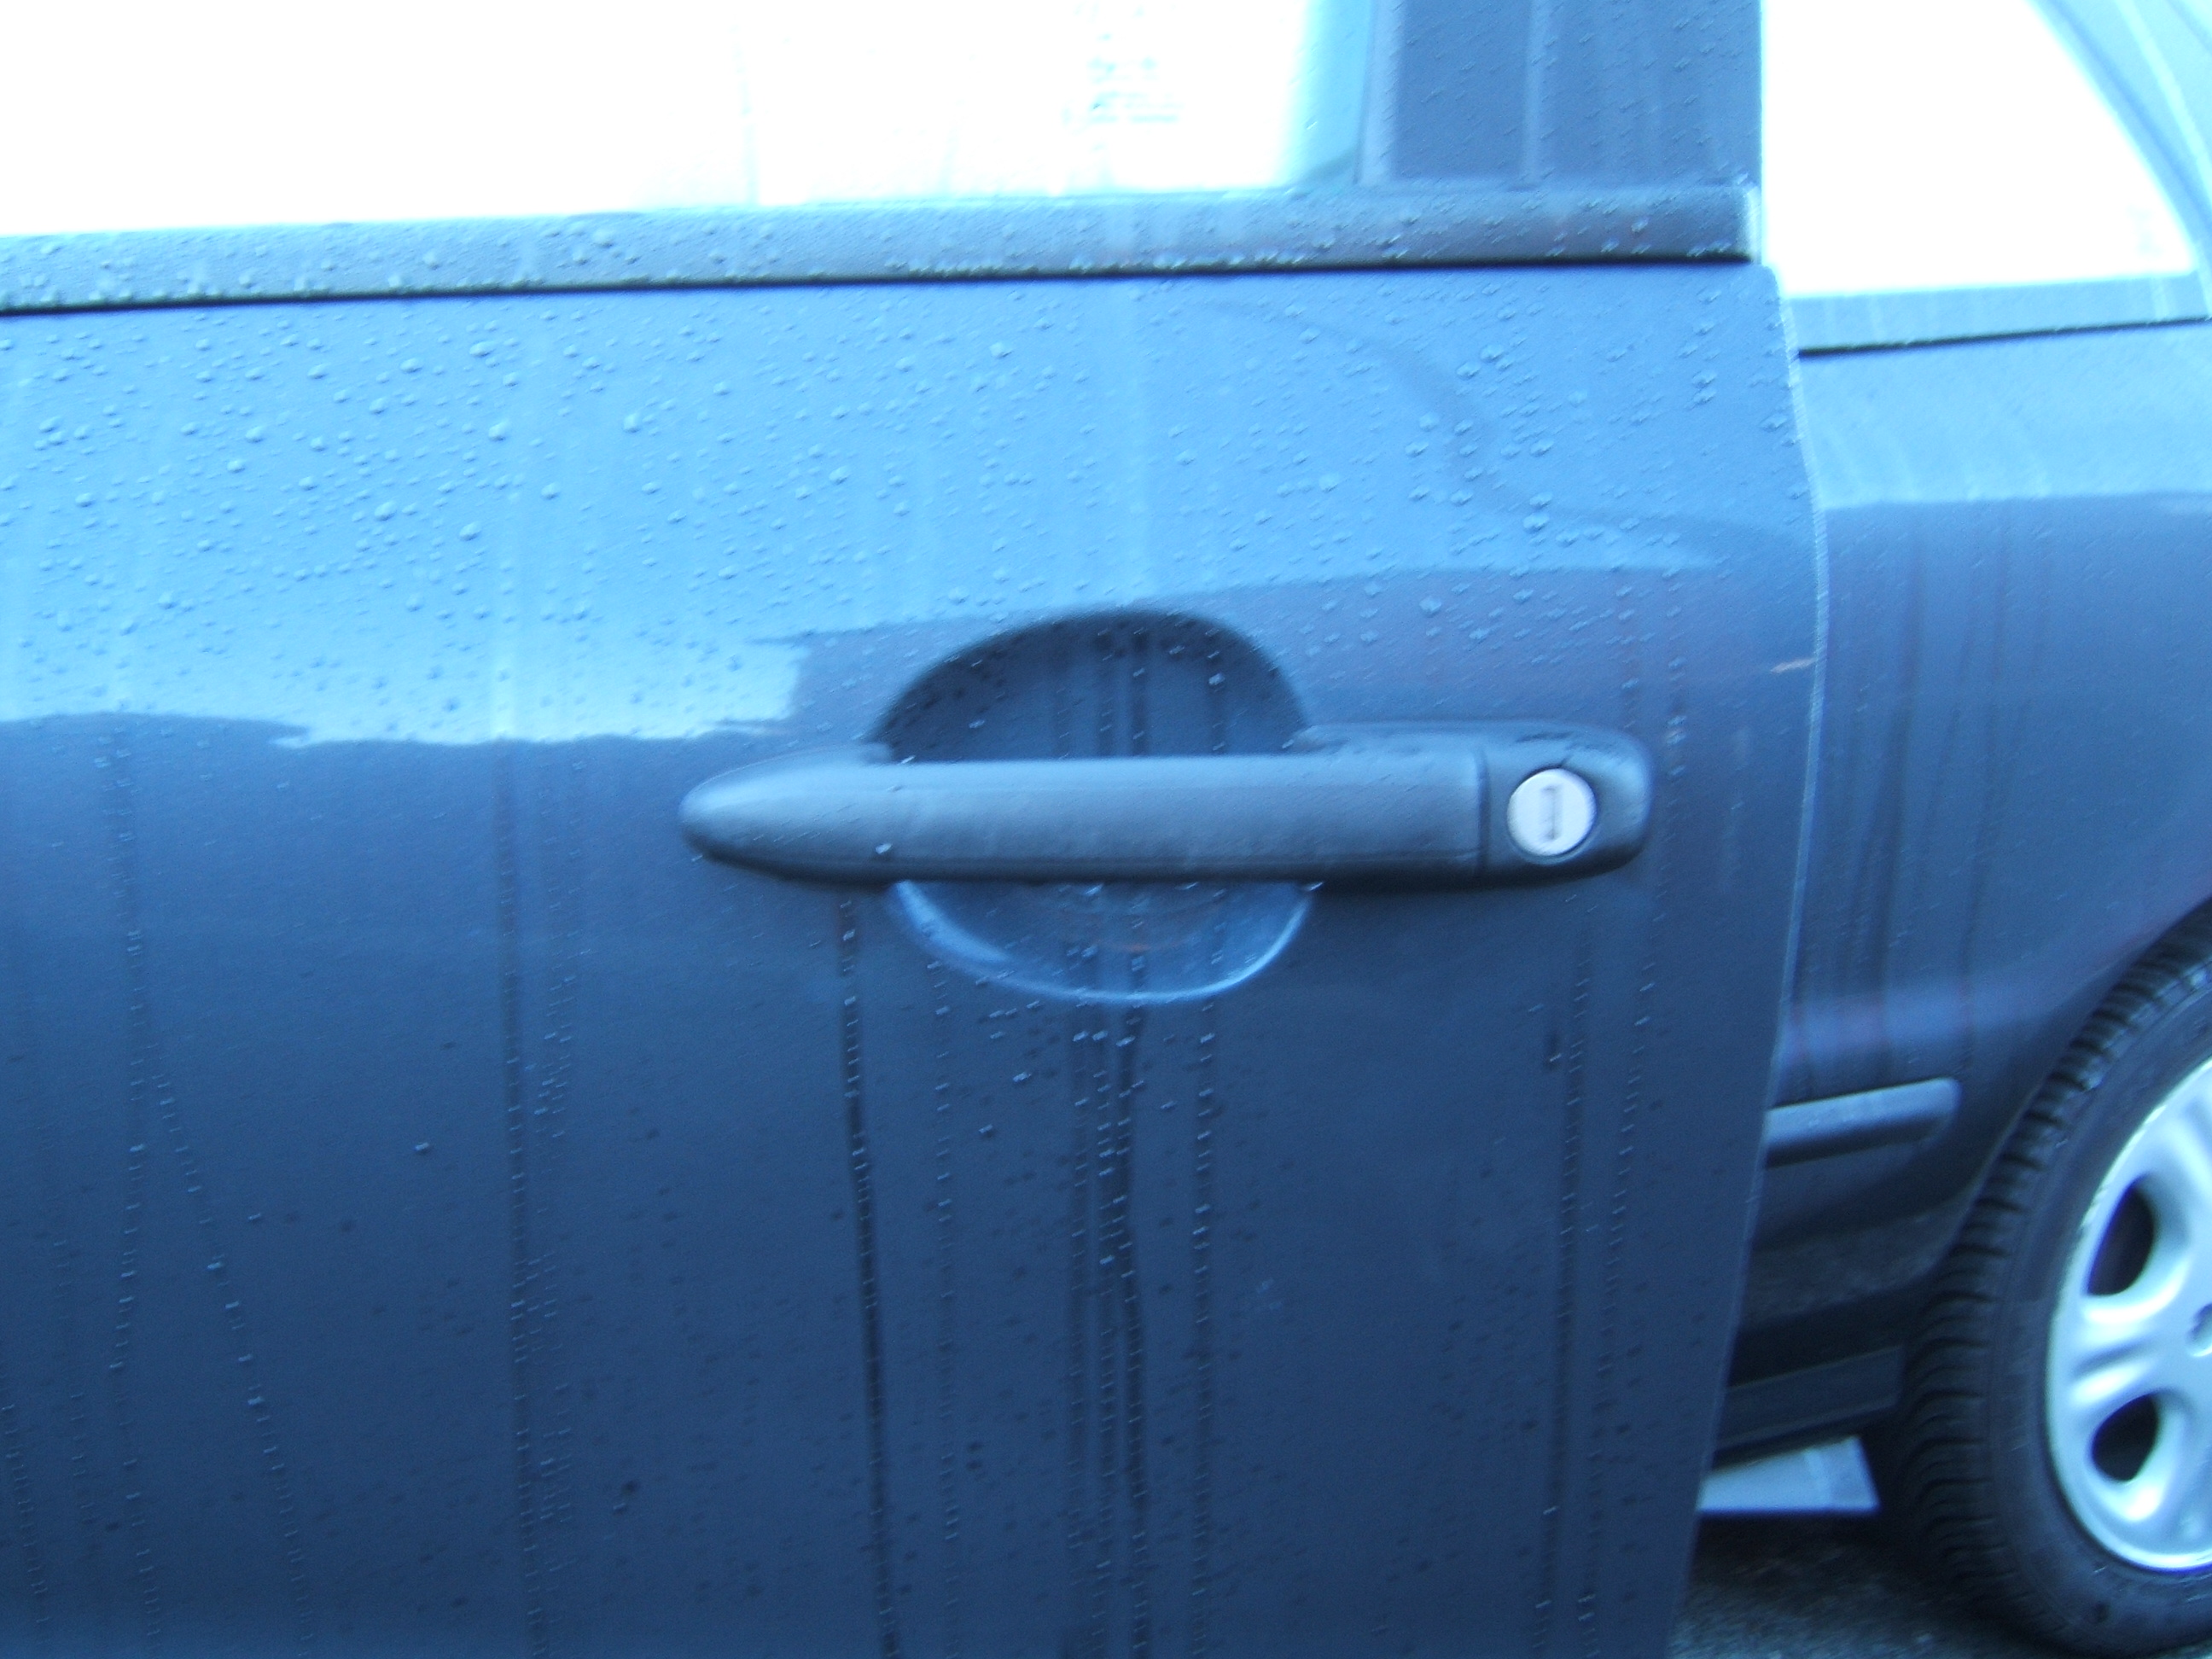
The 500 door handles are stylish and quality and fit the Bravo perfectly. New guide;
https://www.fiatforum.com/bravo-brava...iat-bravo.html


The 1.8 engine is lovely it flys along effortlessly. The 1.8's anti-roll bar and suspension is a really nice improvement over the 1.4. I am very happy with it :) The only thing I do not like is the sunroof, from a looks point of view it really ruins the Bravo's roof line. One day I plan to start a project Bravo that will be an all wheel drive car, the Bravo I base it on must not have a sunroof :)


Plans - March 2012;
-Abarth/Eibach progressive suspension springs or coilovers.
-Marea Centre Console.
-Stainless Steel Brake pipes.
-Supersprint Exhaust Manifold from Punto HGT.
-Powdercoated subframes with poly mounts.
-Marea smootherd fuel cap with cabbin release.
-Larger front callipers/discs.
-HGT rear anti-roll bar.
-Quaife LSD Diff.
-Alfa twinspark engine oil cooler (dont know if it will be a direct fit) Or generic.
-Renew as many parts as possible on each job, replace as many bushes as possble with polyurethane bushes. Replace as many engine sensors as possible.
-Maybe a strut brace.
-Front GT bumper (one with no washer jets)
or -Marea headlight washer jets colour coded.

Thanks for looking,

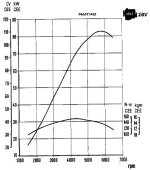
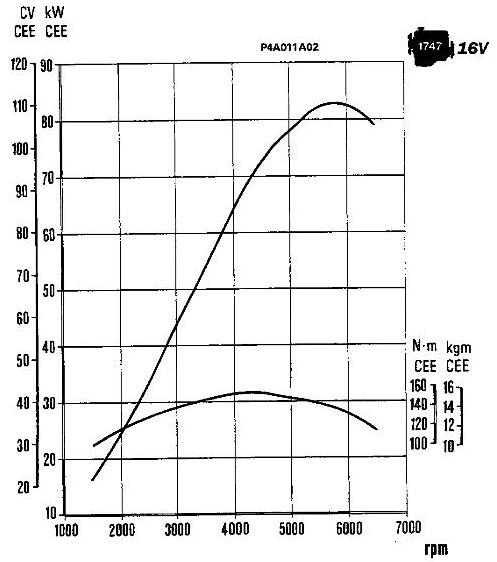
The 1.8 1747cc Bravo's bhp and torque graph from factory. I like how linier the graph is on this and the 20 valve engine.
On both my 1.4 and 1.8 the battery trays have a small stud on the front where the fuse/relay box bolts onto. So the fuse/relay box is a seperate part.

thats correct but when i did the clutch slave recently i had to be very carefull with this mount as its quite corroded and didn't want to snap it off......have to investigate the options more thoroughly.;)
 
I am going to add the other mod posts that are not on this thread here to get them all in one place since the thread has a lot of nice content already. It will be better for people coming here through a search engine. So Sorry guys ;)
When I was in Fiats fourcoute I noticed the Bravo 2007 washer jets looked like the might fit my Bravo so i took a chance and it worked with some small modifications.

There are two versions of the Bravo 2007 washer jets. One has a heating element and the other does not. Both include 27cm of rubber tube.

Now I got excited and thought cool heated washer jets. Unfortunately the housing for the heating element is the part you have to cut off to make the jets fit the 1966-2001 cars.

What you will need
2x Bravo 2007 washer jets.
Junior hacksaw maybe a small file if you weren’t too precise.

I would buy two non-heated jets because it is a lot harder to saw through the heating element.

Old vs New
You can see how similar the jets really are. The new (left) one has a sleeker lower profile and a nicer finnish. (Original right)


Highlighted in red is the bit you will need to cut off.

I made two cuts you can see the heating element in the second pic that I had to cut through.


The other difference is the neck. The original is 90 degrees the new is 45 degrees. Not a problem though. You can pull the neck's off and use the originals or just swivel them around.

The new nozzle does not have vertical adjustment, but it hits the windscreen in just the right place. I have passed 4 MOT's with mine fitted at varying garages. These are not mist type nozels but do have a good spray.

Modifying the Bonnet holes to take the heating element's would be an option if I ever had major bodywork done.
 
Last edited:
Water Seal's
I notice both my Mk1 Bravos and a lot ive seen suffer from leaking and steamed up rear clusters.

I found the Mk2 rear light seal is removable so you can fit it to your Mk1 light clusters.

seal comparison;


The mk2 seal is not glued to the cluster, apart from one corner where its glued just to hold it. The foam is far denser on the Mk2 I think this helps a lot.

The Mk1 seal is glued all the way round. I found this had come off on some of the lights. It is not actually one piece there is a join making the seal even worse. You will have to rub off all the mk1 seal glue.

Just slip the improved seal over your light and the fit the 3 white plastic washers, make sure they are all the way to the bottom of the thread. The shear surface area of the seal ensures a water tight seal.

Cleaning up the Lens
If your not confident about this it might be best not to bother, at least test on spare first. personally I have done five clusters and its been fine.

The clear lens is made of plastic and it gets quite scuffed. I used 2000 grit wet and dry sandpaper (wet) to get rid of the deeper scratches, this will leave the lens 'milky' I then buffed the lens with Tetrosyl rubbing compound and it comes up as good as new.

After


Painting an edge around the Lens
If you want to paint a line around your cluster you could also fill the gap behind with silicone. Some of my clusters have had cracks between the black and clear plastic, silicone should help stop water sneaking in. This can be a little messy so do it first. I just filled it then smoothed it down with my finger.


Then I masked off and filled this hairline gap with araldite


You can see how I masked the line around the cluster. Under the clear you can see a defined edge I just followed the outside of that edge. Rough up the area to be painted.


I used an direct to acrylic satin black followed by lacquer.
You can see the difference here. One is full of mould and the other is neat and tidy.
thumb.gif


Last edited:
Ever since I got my leather seats I have noticed how the leather on the base squeaks against the plastic trim making quite a lot of noise.

I could tell it was the plastic end covers on the inside of each seat rubbing against the leather. I decided to trim the covers down, I was going to take them off but they do hide a lot of gubbins from view.

I marked out how much material I wanted to cut out, at the widest point I cut 9mm off. I used a small cheap dremel to make the first cut then cut through all the way with a hack saw blade. I tidied the cut up with a small file and then some fine sand paper.


This worked really well for me the squeak has gone and I dont have to worry about the plastic cover rubbing through my leather, which it would have done eventually. The outer plastic covers do not make any noise for me.
 
Last edited:
The Goal
The goal was to fit Marea Poly Elliptical Headlights without modifying the Bravo’s wiring loom in anyway and without using stealers. In effect being able to plug the lights straight into a Bravo as you can with standard lights.

Ideas
Working from wiring diagrams without seeing a headlight up close my first thought was to create an ISO style connector. This turned out to be near impossible because 4 Pin male Junior connectors are not commercially available.


The male connector on the poly unit has the side light pin missing, plus it is removable. So all we would need is two male pins and two 2 pin female junior connector some wire and I could wire up the sidelight connector inside the poly. Making a very professional modification.

What You Will Need
· Marea Poly Elliptical Headlights
· 2x Junior Connector 2 way female
· 2x Junior Connector male pins
· 1x Crimping Tool
· 2x 4mm diameter ring connector
· 2x small rubber grommets
· Wire (earth 72cm total)
· Wire (Positive 92cm total)
· Heat Shrink tube (18cm each side)
· Black cable ties (small)


Make sure the male pins you buy are like this one. Not the ones with two fixing wings.

attachment.php


The male pins PN:192174 can be bought at Vehicle Wiring Products.
Be sure to buy the correct ones. I already made that mistake so you don’t have to
wink.gif

http://www.vehicle-wiring-products.e...s/housings.php

The Junior connectors are also available from The Toolbox Shop.
http://www.thetoolboxshop.com/

I had to order Heat Shrink tube on eBay. I could not find long enough lengths locally.
The Range has a motorfactor stand with the cheapest parts by a long way.


Preparing the Lights


Remove the grey light covers. Take a look at the Main light connector you can see three pins and a hole where the Bravo has the sidelight pin.


Remove the male connector. I used the biggest screwdriver to hand. You can see securing clips on all four edges of the connector.


Now the hard decision. Where to bring the wire back out of the light and to the sidelight plug.

There is a lot to consider. Clearance for the lens internally and being sure you don’t effect the strength of various mounting points. Also clearance for the covers and adjuster motor.

You can see in this image where I have decided to drill a hole for the wire to come out (marked in blue).


And here it is with a grommet. The size all depends on the gauge of wire. I made an 8mm hole. Double check everything make sure the hole will not effect the cover. When drilling I put masking tape behind to help catch any plastic swarf.


Wiring
First Make the female end of the cable.

Positive wire 46cm long
earth wire 36cm long
Heat shrink tube 18cm


I decided to mark the positive side on the poly sidelight bulb holder. In case LEDs are fitted.


I cut the Heat shrink tube to 18cm 16cm of it will be outside the light the rest inside.

The Heat shrink tube was not shrinking very much with the hair dryer, I heated it above a ring on the cooker.


Adding a zip tie inside the light stops the cable being pulled out.

Before pulling the wire back through add a ring connector to the earth and the male pin to the positive.


To get the earth connection I decided to undo one of the elliptical lens screws and put the ring connector behind that screw. If you prefer you could always solder into the original earth wires. I added electrical conductive grease on both sides of the ring connector.


Push the male pin into the lights main connector.


Finished

Push the main connector back in and you're finished.


Both right and left main connectors are wired identically, as shown in the image above.

The result is a Poly Elliptical Headlight ready to plug straight into your Bravo or Brava. No messing.


Don’t forget to get your new headlights aligned.
 
Last edited:
The Handles
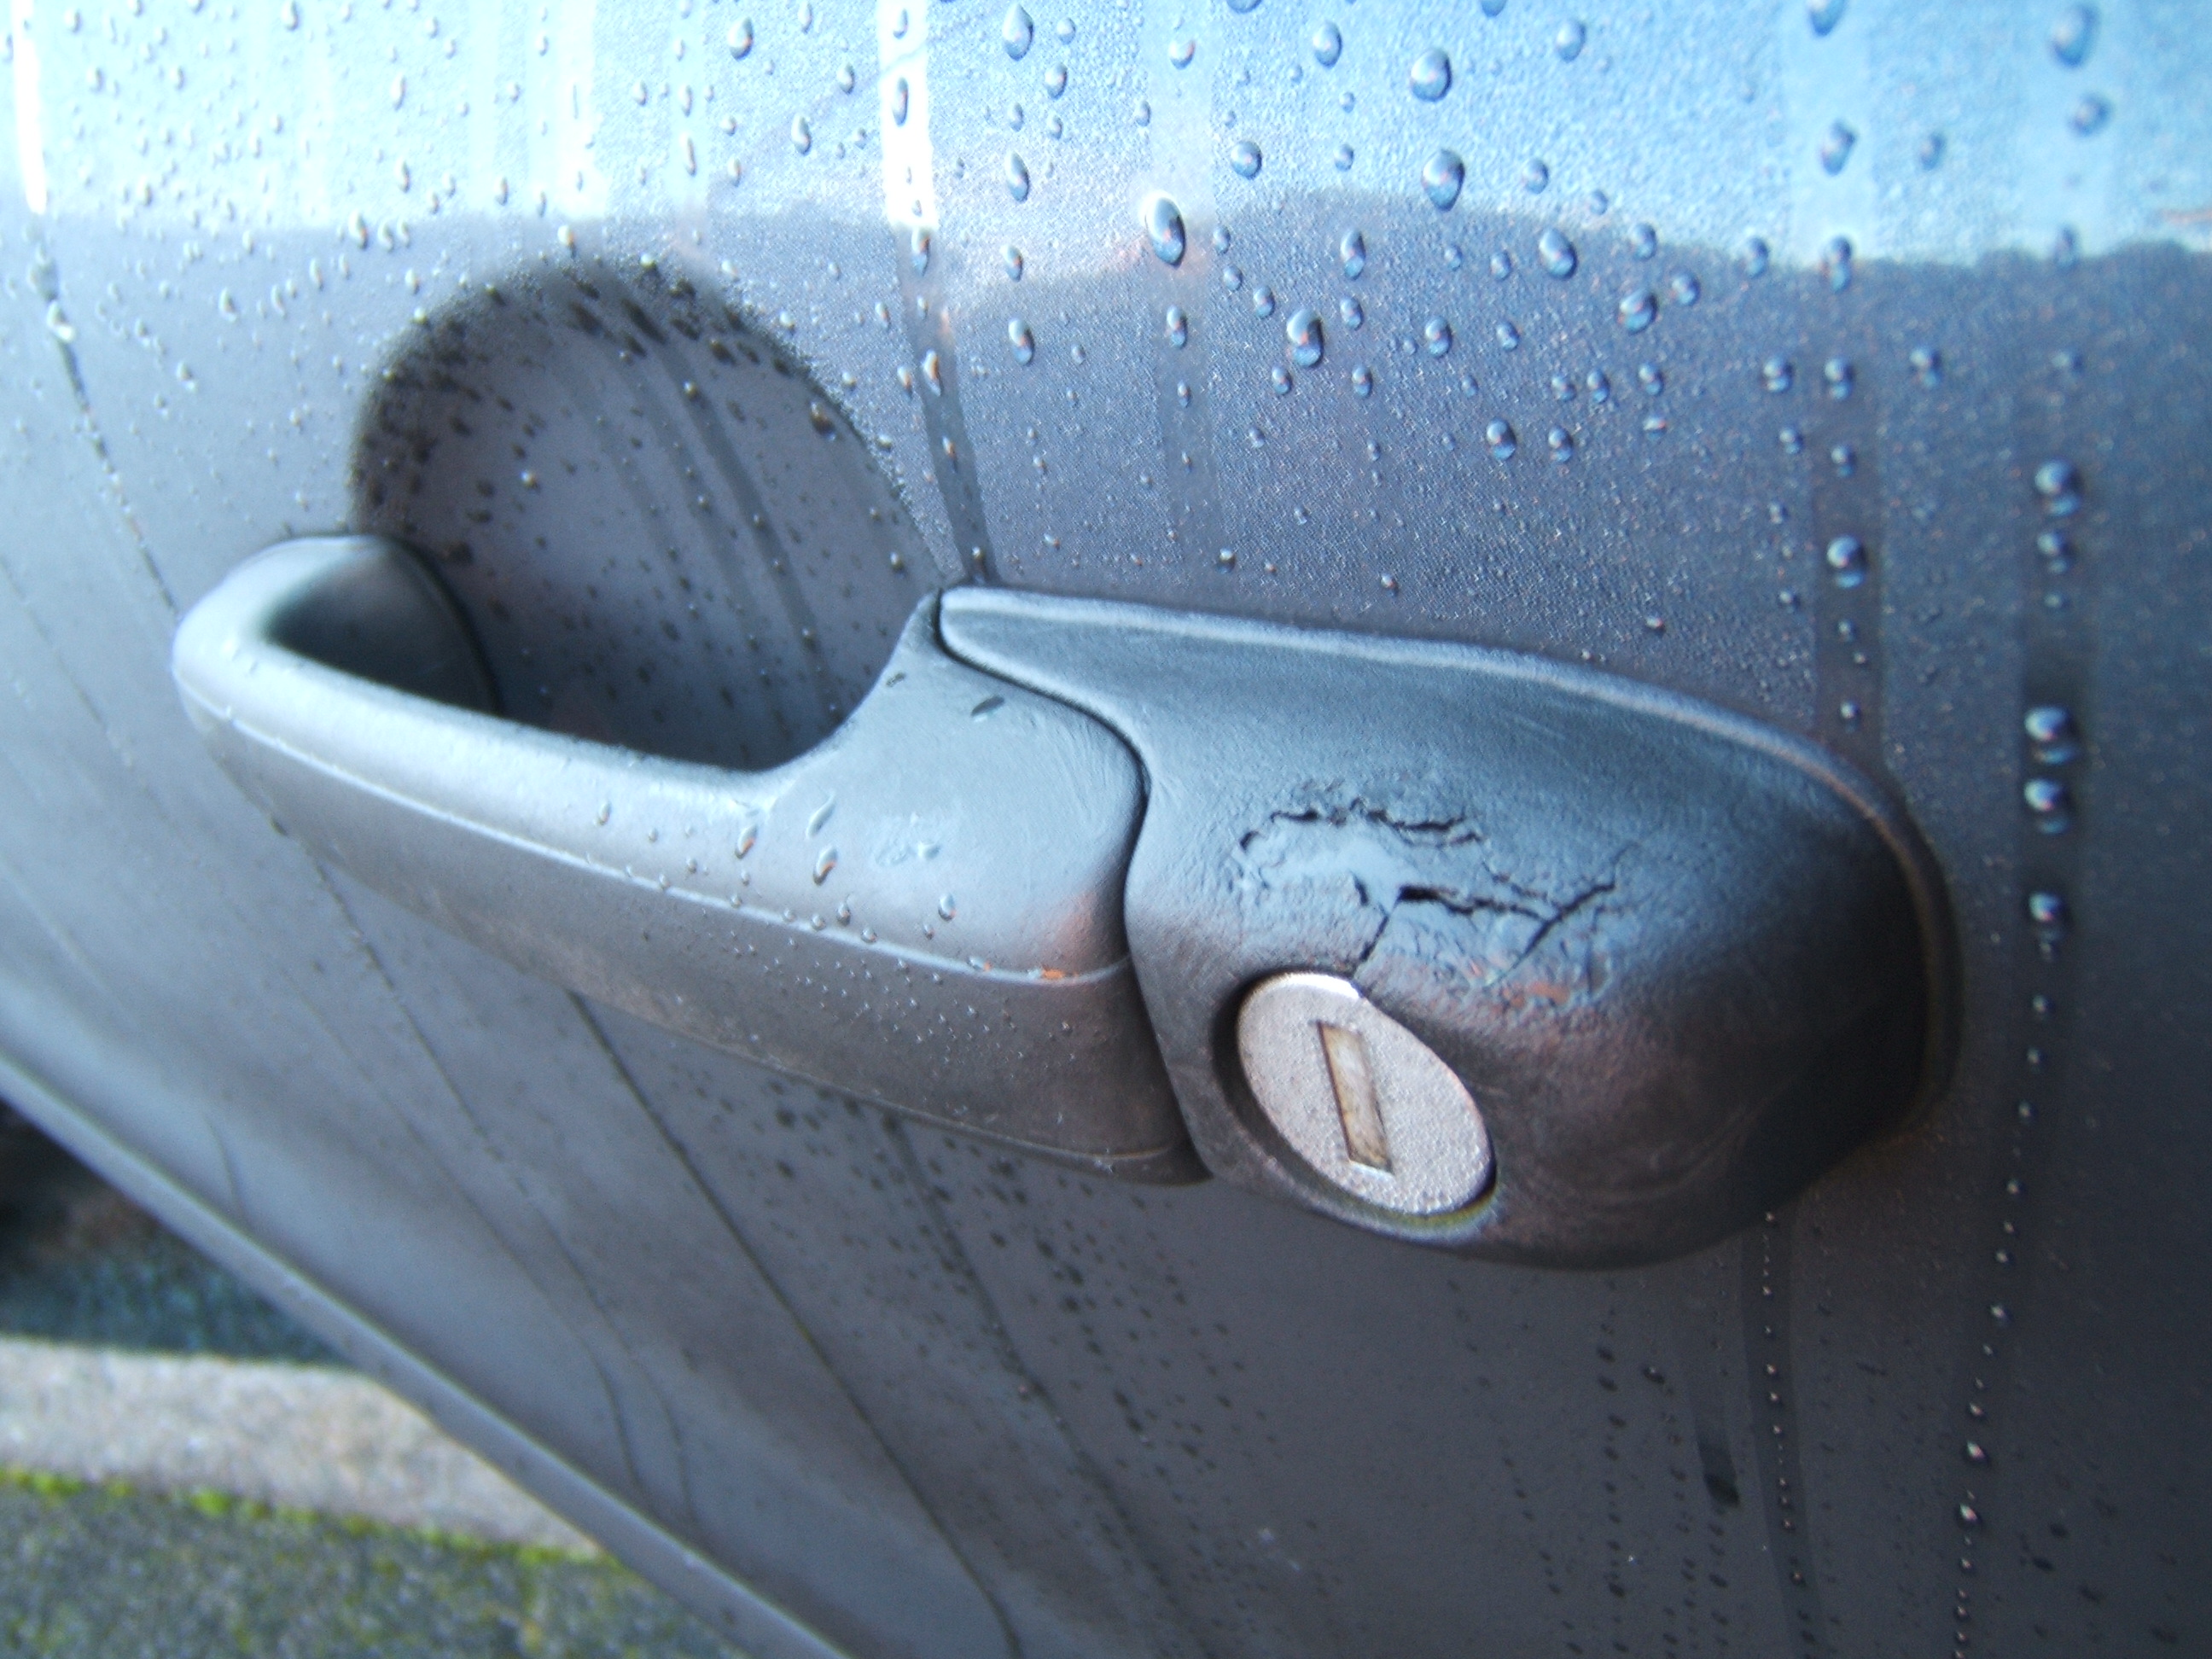
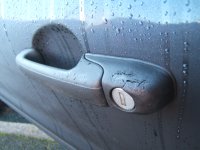
The Bravo handles as we all know rot with age. You can go for Marea hard plastic handles, Alfa 147 handles which have a gap between the bodywork and handle or original replacements that will rot again. I present to you the latest option Fiat 500 handles! When I was looking at a 500 in the showroom I realised the handle had all the right proportions so would most likely fit.

They are made by Valeo. The mechanism design is Identical to Alfa 147 handles The added bonus these handles give is being completely flat so they will fit flush with your body work. They are made out of plastic that has been metalised, a process where plastic is coated with a metal. The finish is a very nice mirror chrome.

0735485872 RHD Right Side Handle (has key hole)
0735485875 LHD Left Side Handle (has key hole)

If you wish to de-lock the passenger side order all right hand drive parts. If you wish to de-lock both sides then obviously you can order a mixture of left hand drive and right hand drive parts.


I think it’s a shame the pin that holds the handle mechanism is not removable like the old handles because this prevents you completely disassembling the handle.


Preparing The Handles

First remove the white handle rod clip. This is fairly easy, I pinched the tabs together with some long nose pliers. Keep this part you will need it later.


Second remove the lock rod. This could go very wrong if you don’t take some care. Make sure you do not brake the black part of the lock unfortunately it is only plastic. First lift the white clip and move the rod from under it, then the rod will just drop off. You are left with the white clip inside the black lock mechanism. Carefully squeeze the tabs together and it pops out easily if you get it just right.


Modifying The Handle Rod Connection

The big different between these handles and the originals is the Handle rod connection. This causes two problems 1. The size causes it to hit the window runner and 2. The rod connects to the wrong side of the handle.

I think the large piece of metal is there to add extra theft protection or to add weight in the handle pull mechanism. Either way its got to go for our use. It is relatively easy with a hacksaw though the metal is quite dense so a good hack saw blade is needed.

First cut off this section of the metal. Put some masking tape over the mechanism to stop filings getting everywhere.


Half way through the cut.


All the way off, You may need to file the back down to smooth off any sharp edges and level it out with the rest of the part.


Next you need to cut off the part that interferes with the window runner.


I filed down the sharp edges to prevent any paintwork accidents.


Next you need to remove the lock cover, this will give you a hell of a lot more manoeuvrability when fitting the handle to the car. . Take out the three smaller Philips screws, for the rearward one turn the black lock mechanism to the side. When the screws are out you can separate the metal base from the chrome body by a few centimetres. I found using cable ties to pin the handle mechanism in the open position is very handy.

Open it up and you will see a white plastic body held into the chrome outer body by four clips. The rear two clips are very easy to undo with a small screwdriver I just pushed the white tabs inwards.


The front two are a little harder to undo. Imagine this is still connected where you see the flat head screwdriver here I turned it clockwise against the white insert . This let the clips pop free.


You should be left with two hopefully unbroken parts.


Fitting To The Car

Removal of originals

You will obviously need to remove the door card first. On the end of the door is a torx bolt holding the handle remove this. Inside the door panel is a 10mm bolt holding the front of the handle.


Silde the handle forward towards the front of the car then pull it away from the door towards you. Next you have to remove the rods from the handle, put simply this is a nightmare and you will just have to do it your own way. I did it without causing any damage. You can leaver the handle rod of the door handle with a screwdriver from inside the door. Then remove the locking rod from the handle and the door mechanism.


Now remove the two plastic rod clips and fit them to the new handle. You should also have two spare originals in case you brake any.


Prise the lock barrel retaining pin from your original handle to get the barrel out.


You may need to wind the handle rod adjustment up a little so that the handle closes completely.


Now to the most miserable and difficult job I have ever performed on my car, Fitting the handles. I removed the back lower electric window rail, its just two 10mm bolts. Then remove this plastic support shown here, it is just one 10mm bolt.


Then you can undo the three torx bolts holding the latch mechanism. This will give you enough freedom to remove the locking rod. Fit the locking rod to the handle then fit the handle to the car without the barrel cover.


Back inside the door you will be able to fit the locking rod to the locking mechanism. Then you will be able to make any final adjustments to the handle rod and fit it to the handle.

Check everything works, and never ever leave the key in the car because it will lock itself if things are not perfect.

Finally fit the lock cover and put everything back as it should be. Well done that was extremely difficult.


To Paint

First remove the front hinge and weather seal, this is just one Philips screw.


I used cable ties to hold the handles in the open position. You can then paint in all the gaps with ease.


I wont give any advice on actually painting because it is a highly skilled art that I am certainly no master of. Check prices at your local bodyshop, your cost in materials vs a bodyshop price will not be that big.


I got a new expansion tank cheap so fitted that today.

Before


After

1996 Fiat Bravo 1.8 HLX Ink Black Enigne Bay

I made a rubber matt for the bottom of my Battery Tray to stop the batter rubbing the paint off. My battery is longer than the plastic leak catch tray my car comes with, that does not mattery because the Optima battery is a gel battery so the leak catch tray is not needed. This new battery try is going for powdercoating soon.

I have already got all stainless steel fittings for the new battery tray;
4x M8x20mm Hexagon head bolts - (Mounts the tray to chasis leg)
- with 4x Form A washers
4x Flanged M6 nuts (for the fuesebox and MAF mounts
1x M8 Flanged Nut - (for the battery strap)
- With 1x Form C washer
1x M6x20mm Flanged Button Head Allen Bolt. (for the battery strap mount end)


Last edited:
I sent off some bits for powdercoating in Semigloss black.

This was the scrap yard parts before (new parts are the battery tray and one of the engine steady brackets);


Heres the after;


I have a Powerflext Insert for this but im not sure if its 100% correct. I need to see how the dog bone on the car goes into the engine sway bracket. The Powerflex bush seems to not be tall enough.


All Stainless Steel fittings. and ive copper greased all the threads.


Got a job done today that I have wanted to do for a long long time, Changed my Mk1 horrible washed out grey coloured instrument surround for a Mk2 black surround.

Heres the pics;


The headlight adjuster had a different socket from Mk1 to Mk2. The Mk1 has a notchy movement it only goes into four positions, 0, 1, 2, 3. The Mk2 adjuster has a smooth movement but its still numberd from 0-3. Kinda annoying because I would have liked to have it for a spare. The dimmer switches where the same.
 
Last edited:
Loving all the work, time and devotion (y)
Can't wait to see more pics and progress, I really need my handles done next.

Great work dude.
 
I did a some service items today;


- New Oil Seleina 20k 10w40
- New Fiat Oil Filter PN:71736159
- New Spark Plugs 4x NGK BKR6EKC
- New Coolant Paraflu and distilled water 50/50


I though id post about the ignition coils. I have never seen any figures for the resistance of the primary winding on the Hitachi coils for the Mk1 1747cc 1.8


I have one original spare and the four on my car so here are my results.


New Spare: 0.7ohm
Cylinder 01: 0.7ohm
Cylinder 02: 0.7ohm
Cylinder 03: 0.7ohm
Cylinder 04: 0.7ohm


Here is a pic of the used spark plugs NGK BKR6EKC;
 
Since I bought the car the Mk1 sunroof blind was saggy and the sunroof frame twanged as I drove so I wanted to try and fix both problems. This means dropping the roof lining and taking almost all the trim out. I also want to try some Dynamat sound deadening under the rear quarter trim, rear floor and rear arches.

This pic might be useful for people looking for the CD Changer cable in the boot. You can see it wrapped in foam with a cap on the terminal.


Starting to take everything out.


Another tiny improvement here, I managed to find a courtesy light without the big black dome thing sticking out :D


The Mk2 sunroof blind is redesigned and does not sag, the one I got matched my roof lining colour.

These two pictures of the sunroof blind should be helpful to others. The black T sliders shown here are spring loaded they have a W shaped spring inside. So to get the blind out you have to carefully push the T's inward. The spring is stupidly strong though.


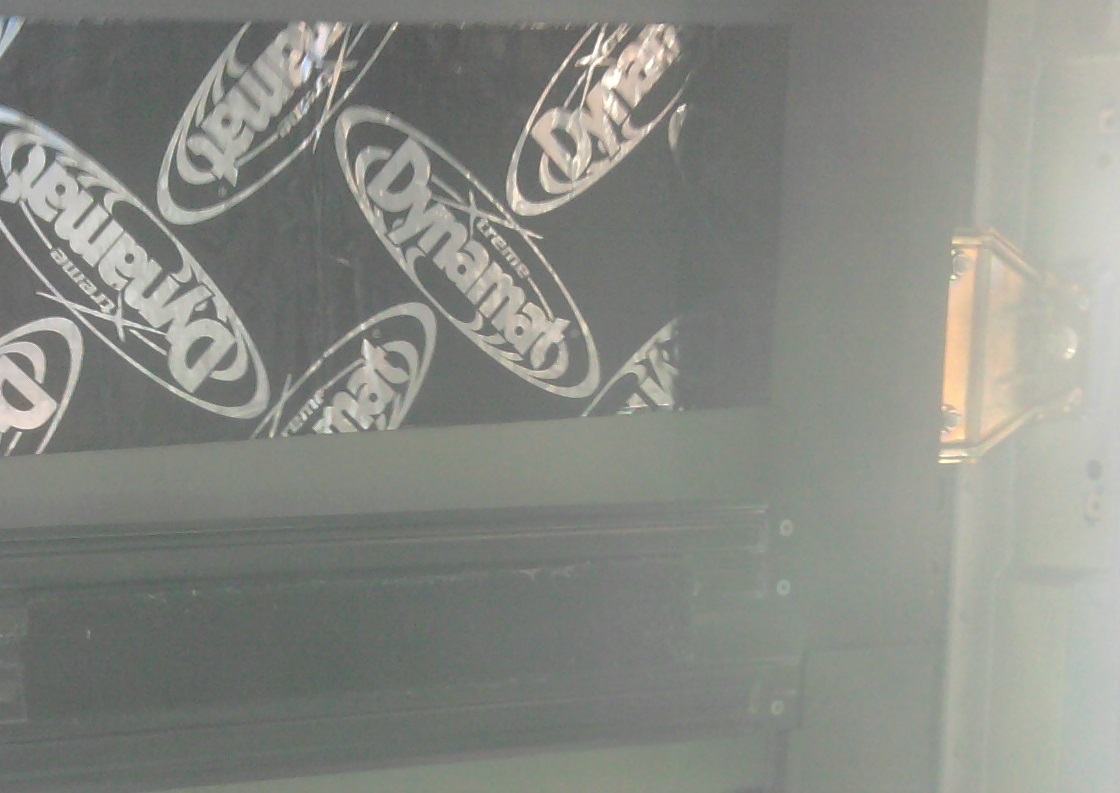
I put a strip of Dynamat on the back side of the rear aluminium sunroof frame rail but could not take a picture of that. I think it will stop it rattling, it has damped the movement. I could not put a strip on the front rail because it would have stopped the sunroof blind moving.

While everything was off I decided to put just a couple of narrow strips of Dynamat across the roof skin. If the sunroof frame was not in the way I would have covered the entire roof completely.


Tomorrow I should have the sound deadening done on the rear.

I will never buy a car with a sunroof again new or used. Just too many negatives. (n)
 
Last edited:
So the sunroof frame does not rattle anymore (y) fantastic!

Today I started putting the Dynamat Xtreme on my rear quarters. I think this area will give the biggest gains in road sound reduction, that area kinda looks like a megaphone with nothing but the door card between you and the amplified sound of the wheel arch inside.

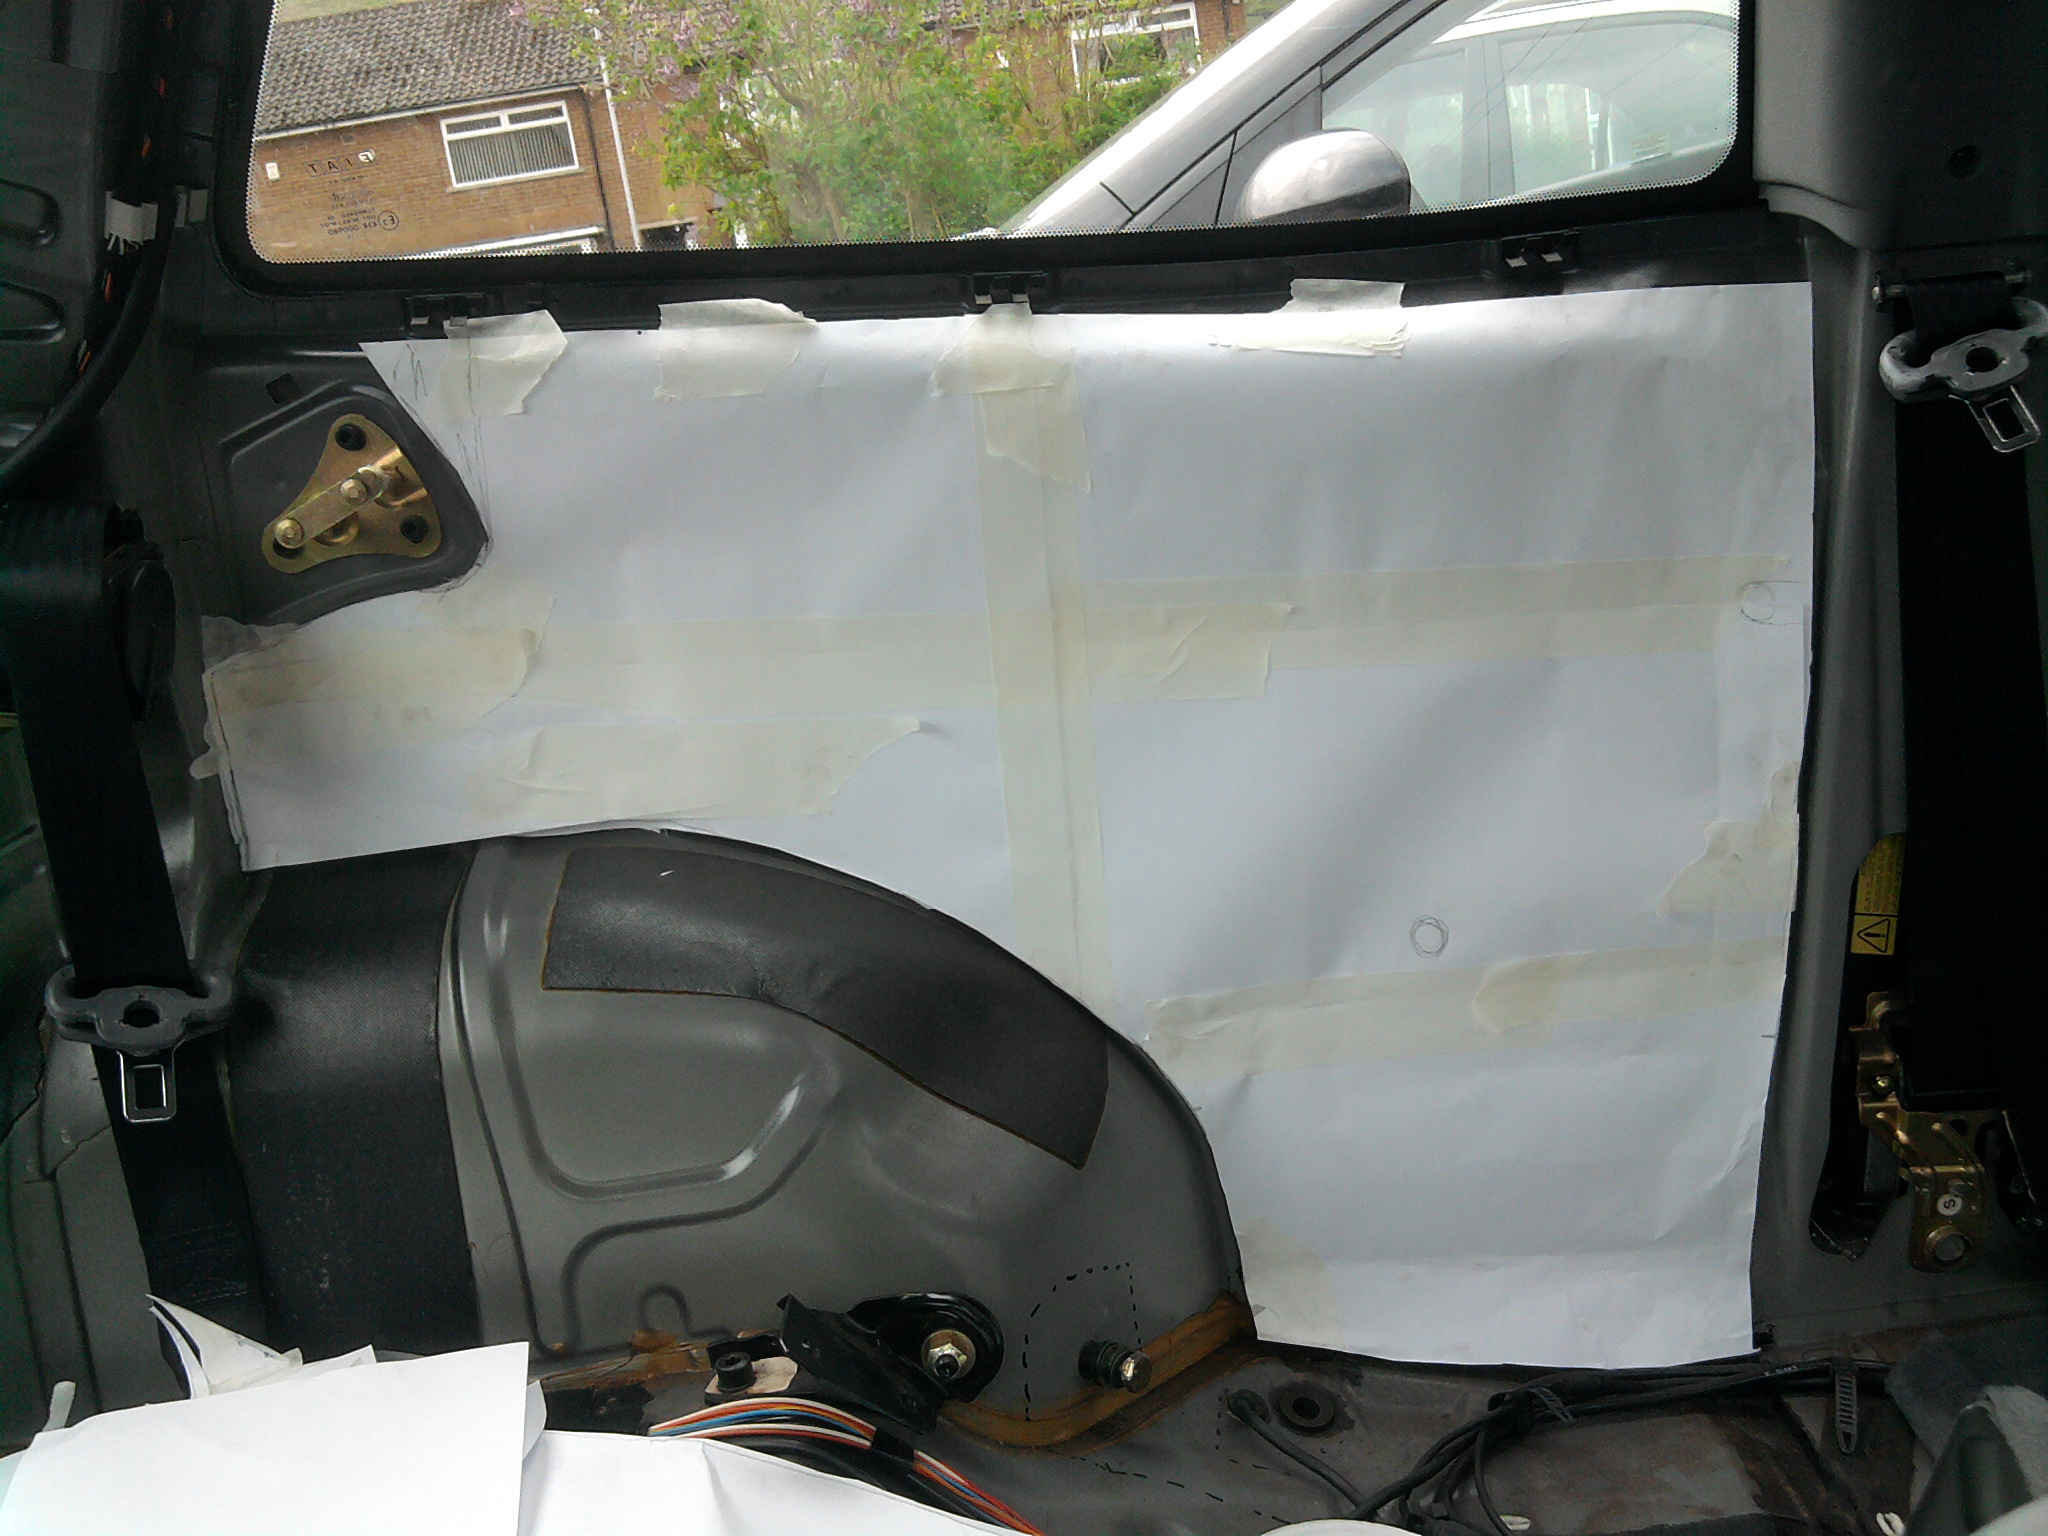
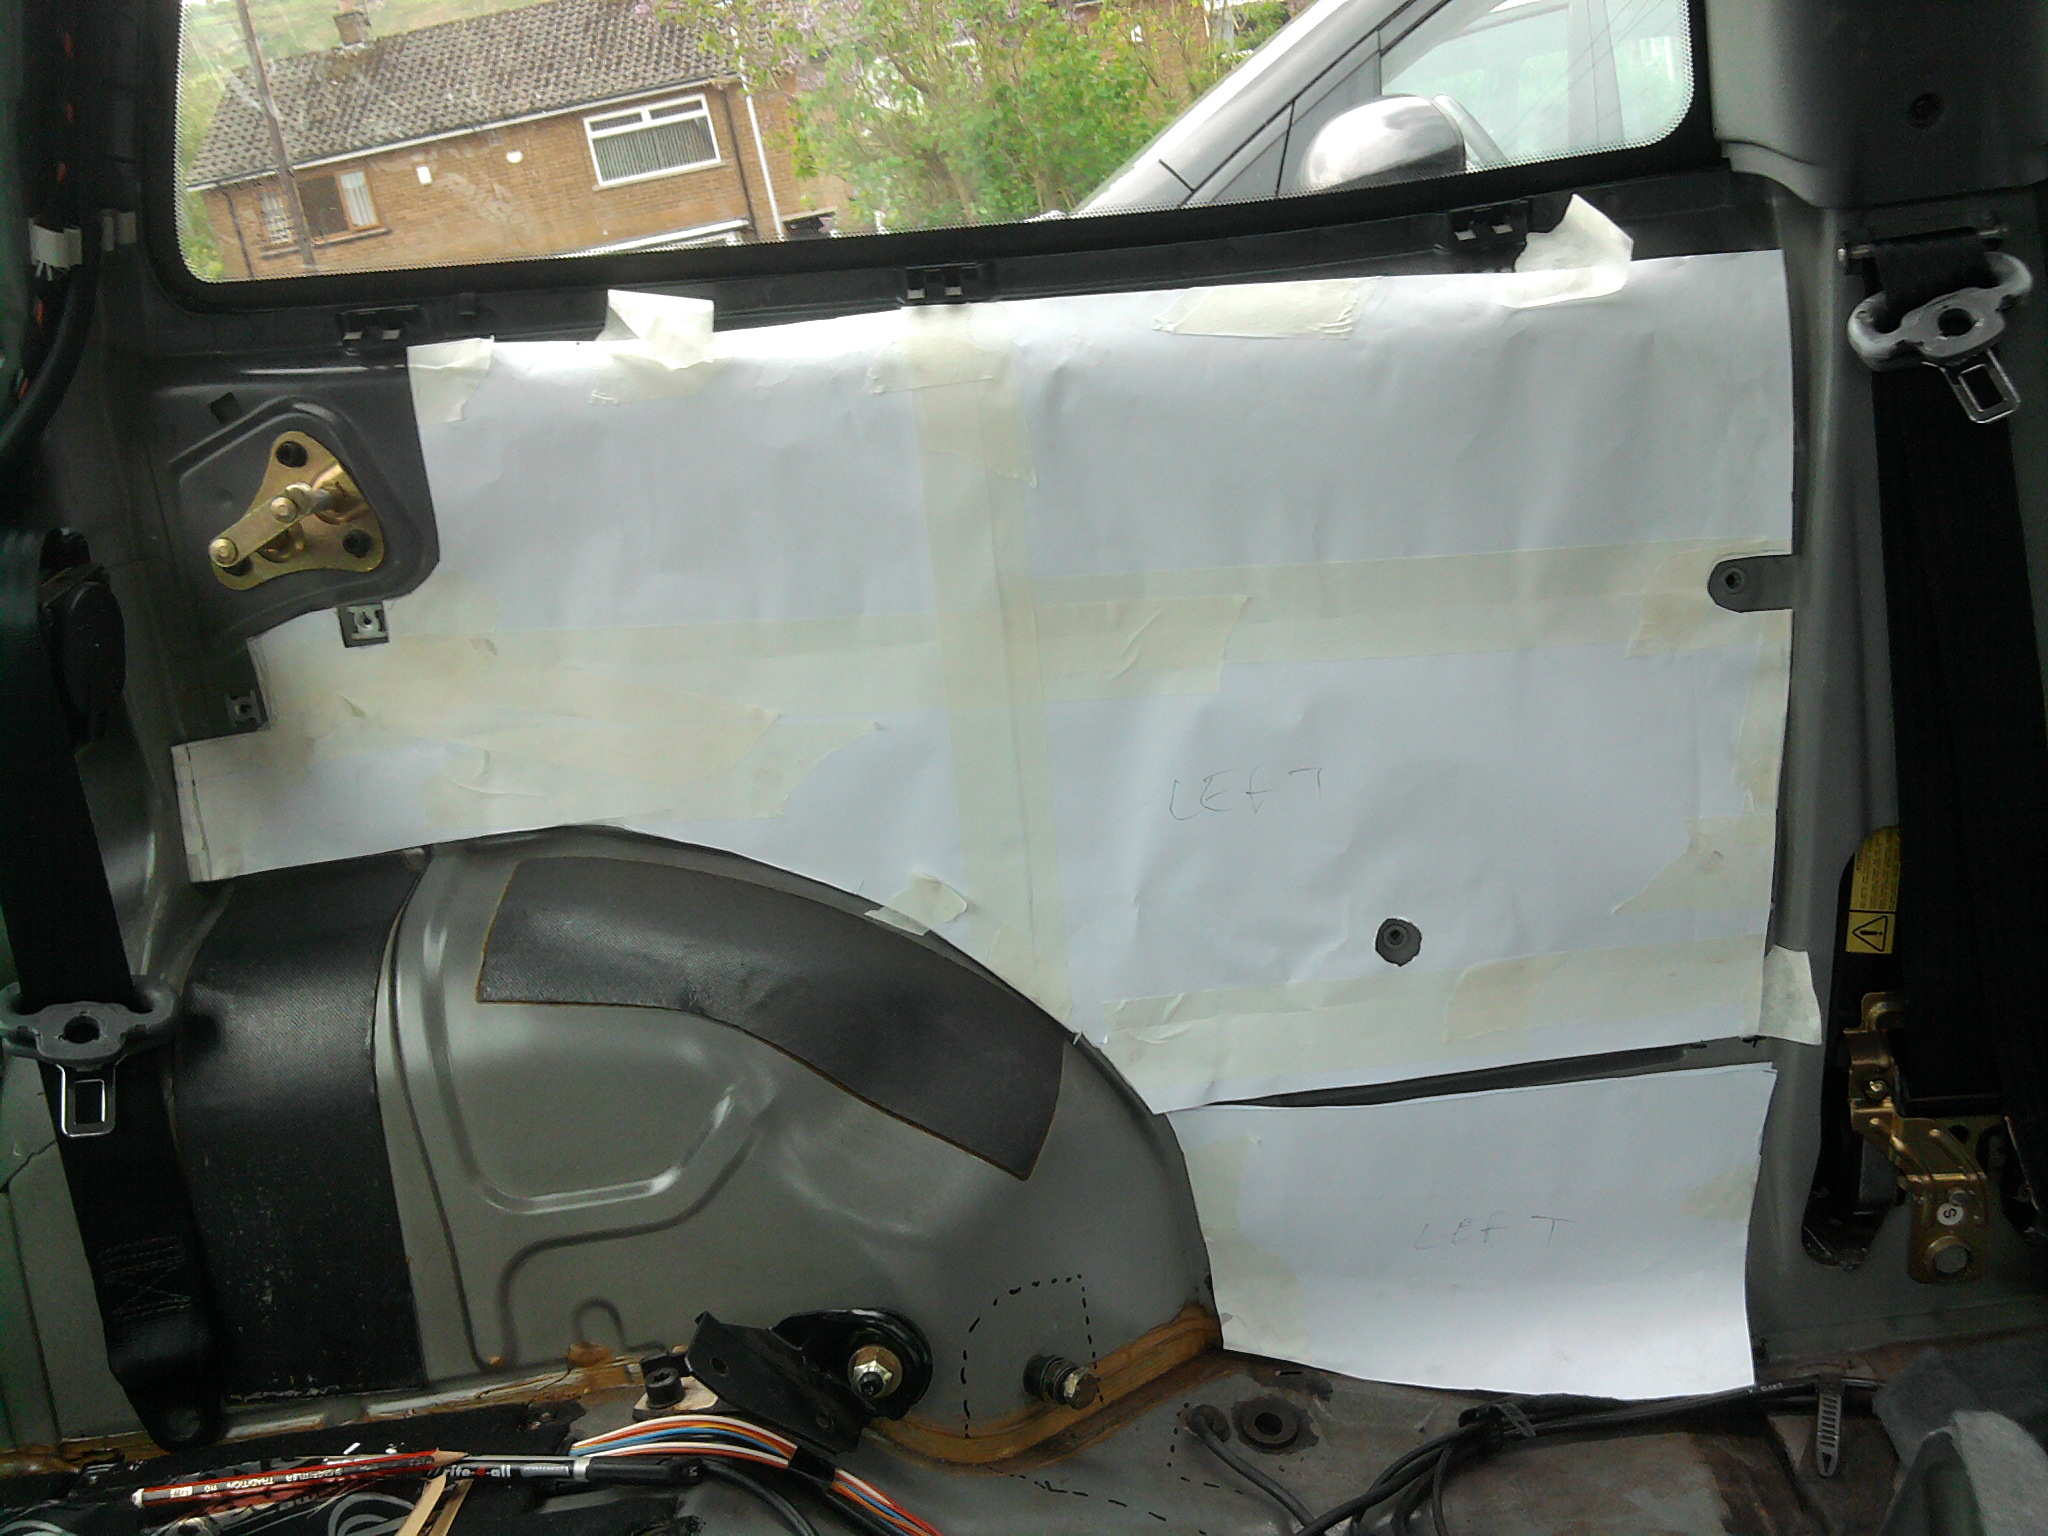
First I made some paper templates;


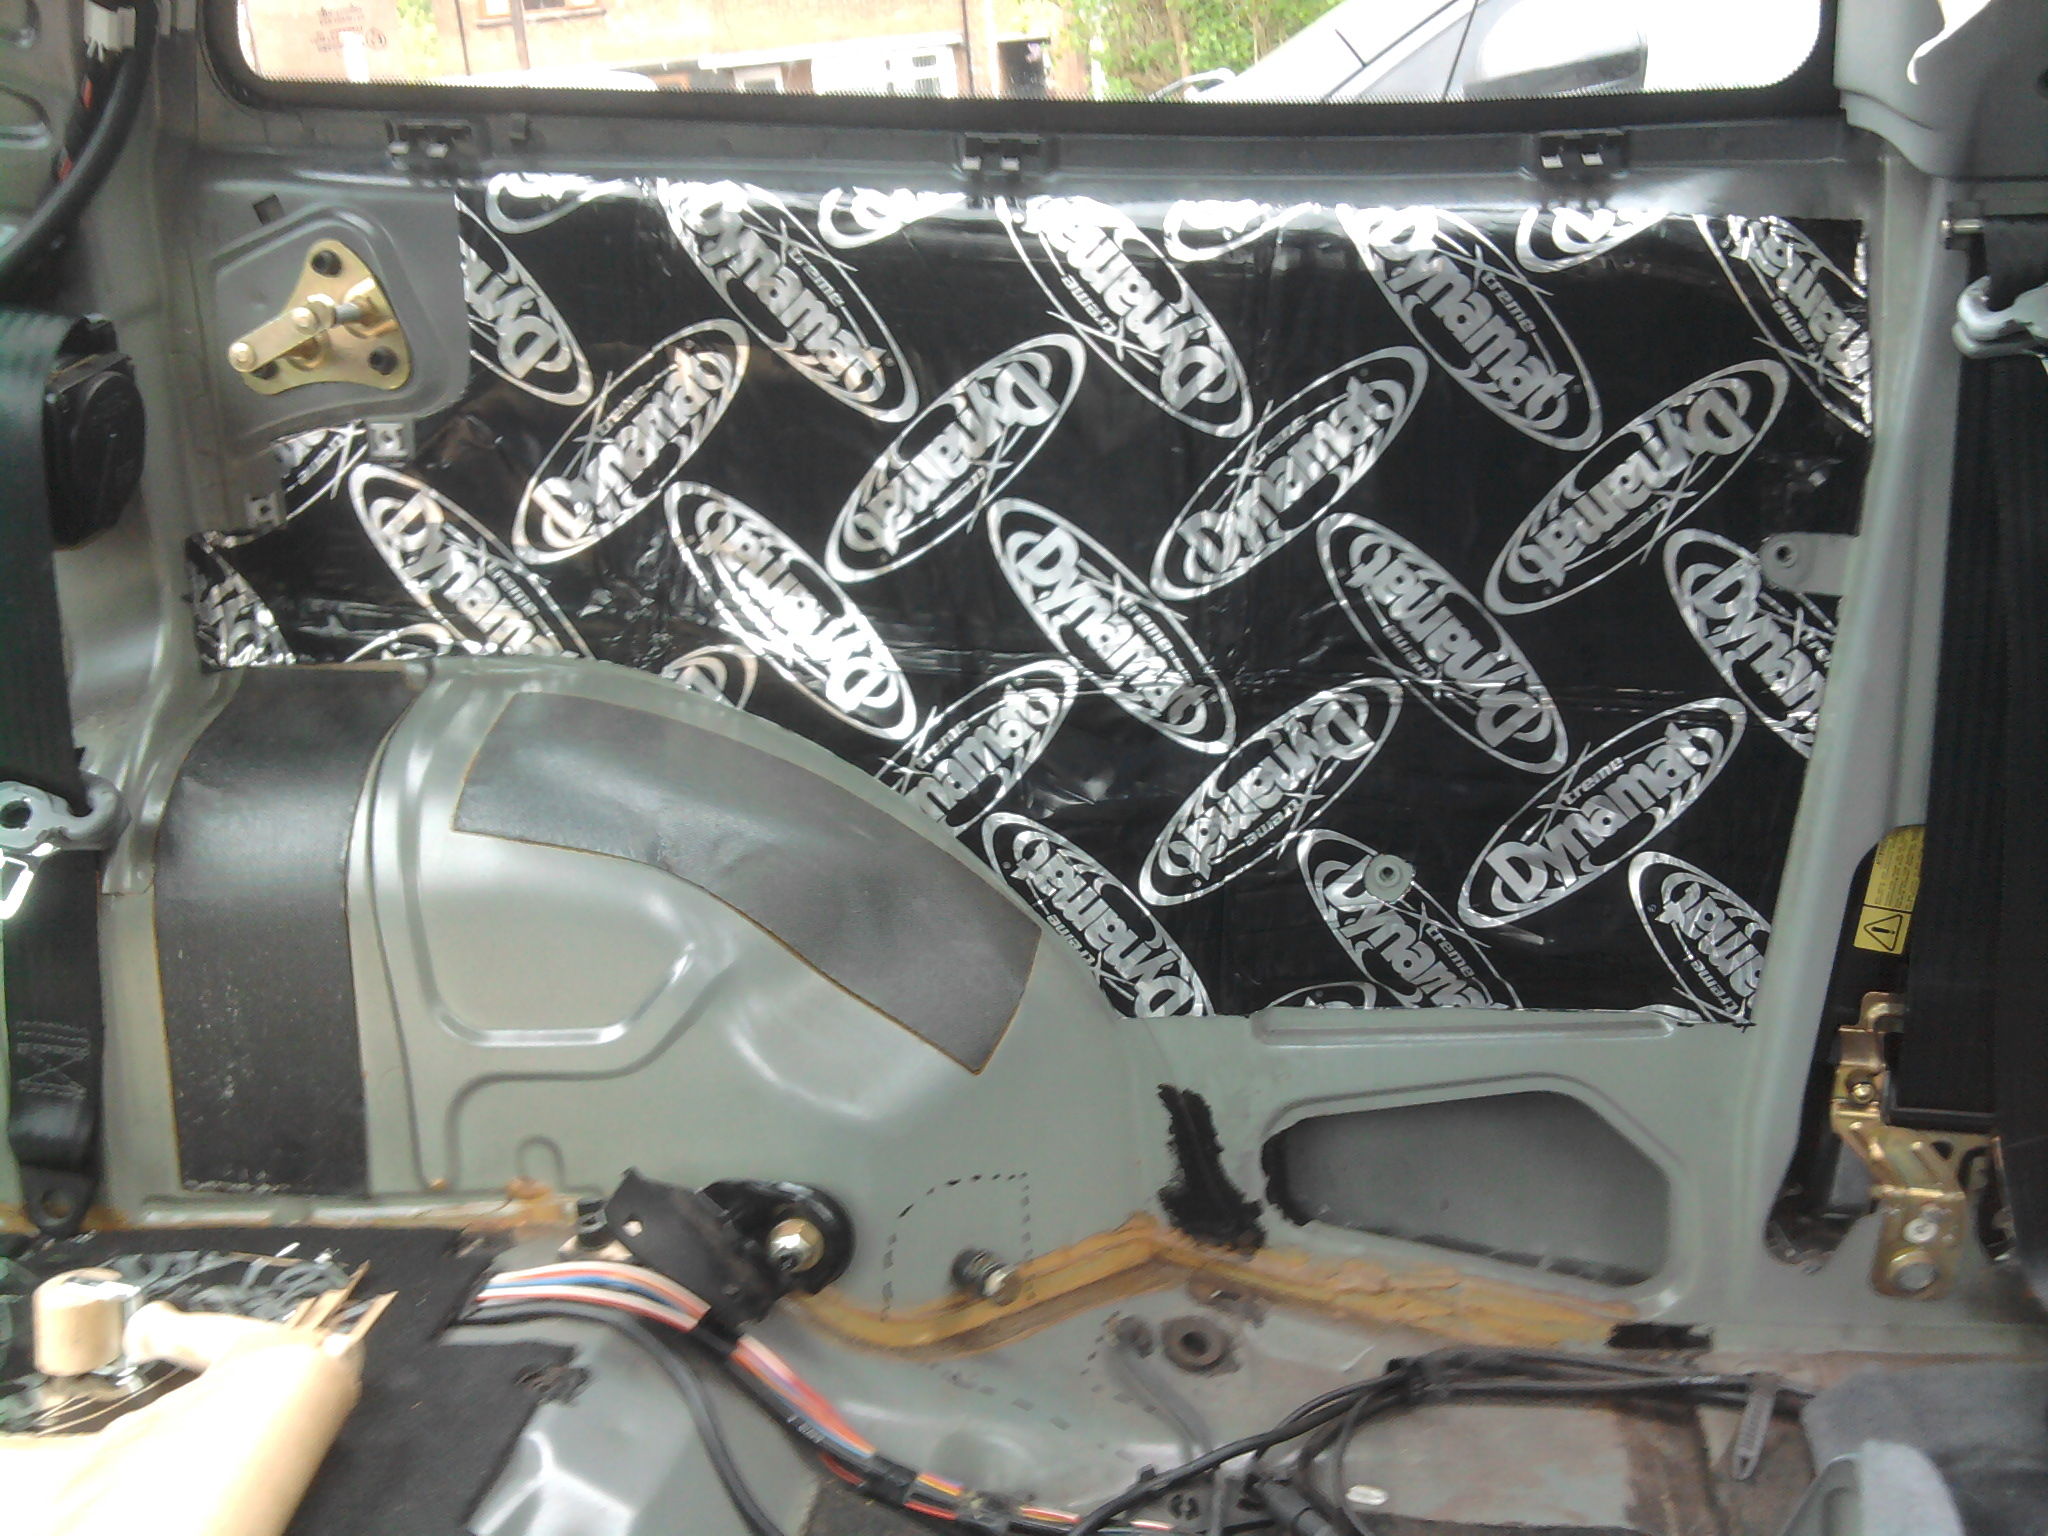
I made this in two parts because my sheets of dynamat where only just short to do it in one;


These Quarter templates where nice because I could just flip them over and reuse them for the right side of the car. I found a pair of scissors cuts the mat nicely;


You can see Fiat does have two small patches of sound deadening on the wheel arch;


The dynamat feels really good in the car, I think it will make a difference.


Left some space for the rear quarter card near the seatbelt bolt. The dynamat is much thinner than I though when rollered down onto the car, I had a small worry it would be a bit thick for the trim to go back.


This is how both sides looked at the end of today, it took a long time. I might do more of the silver seam tape tomorrow, I think its only point is to cover the sticky bits at the edge of each sheet.


Tomorrow I am going to do the spare wheel well and some of the rear floor, if I do not have enough I can do under the rear seat bases at a later date without having to remove half the car. So tomorrow I am going to do everything not accessible with the interior in then clean and refit the interior. Ill neaten up the wiring a bit as well.

If it makes a good difference I will probably do the front doors and inside the boot lid. Fiat already put a massive piece of sound deadening on the inside of the firewall up to the front seats.

Our garden has also been transformed into a Driveway, its made my life so much easier and helped with my sanity ;)
 
Last edited:
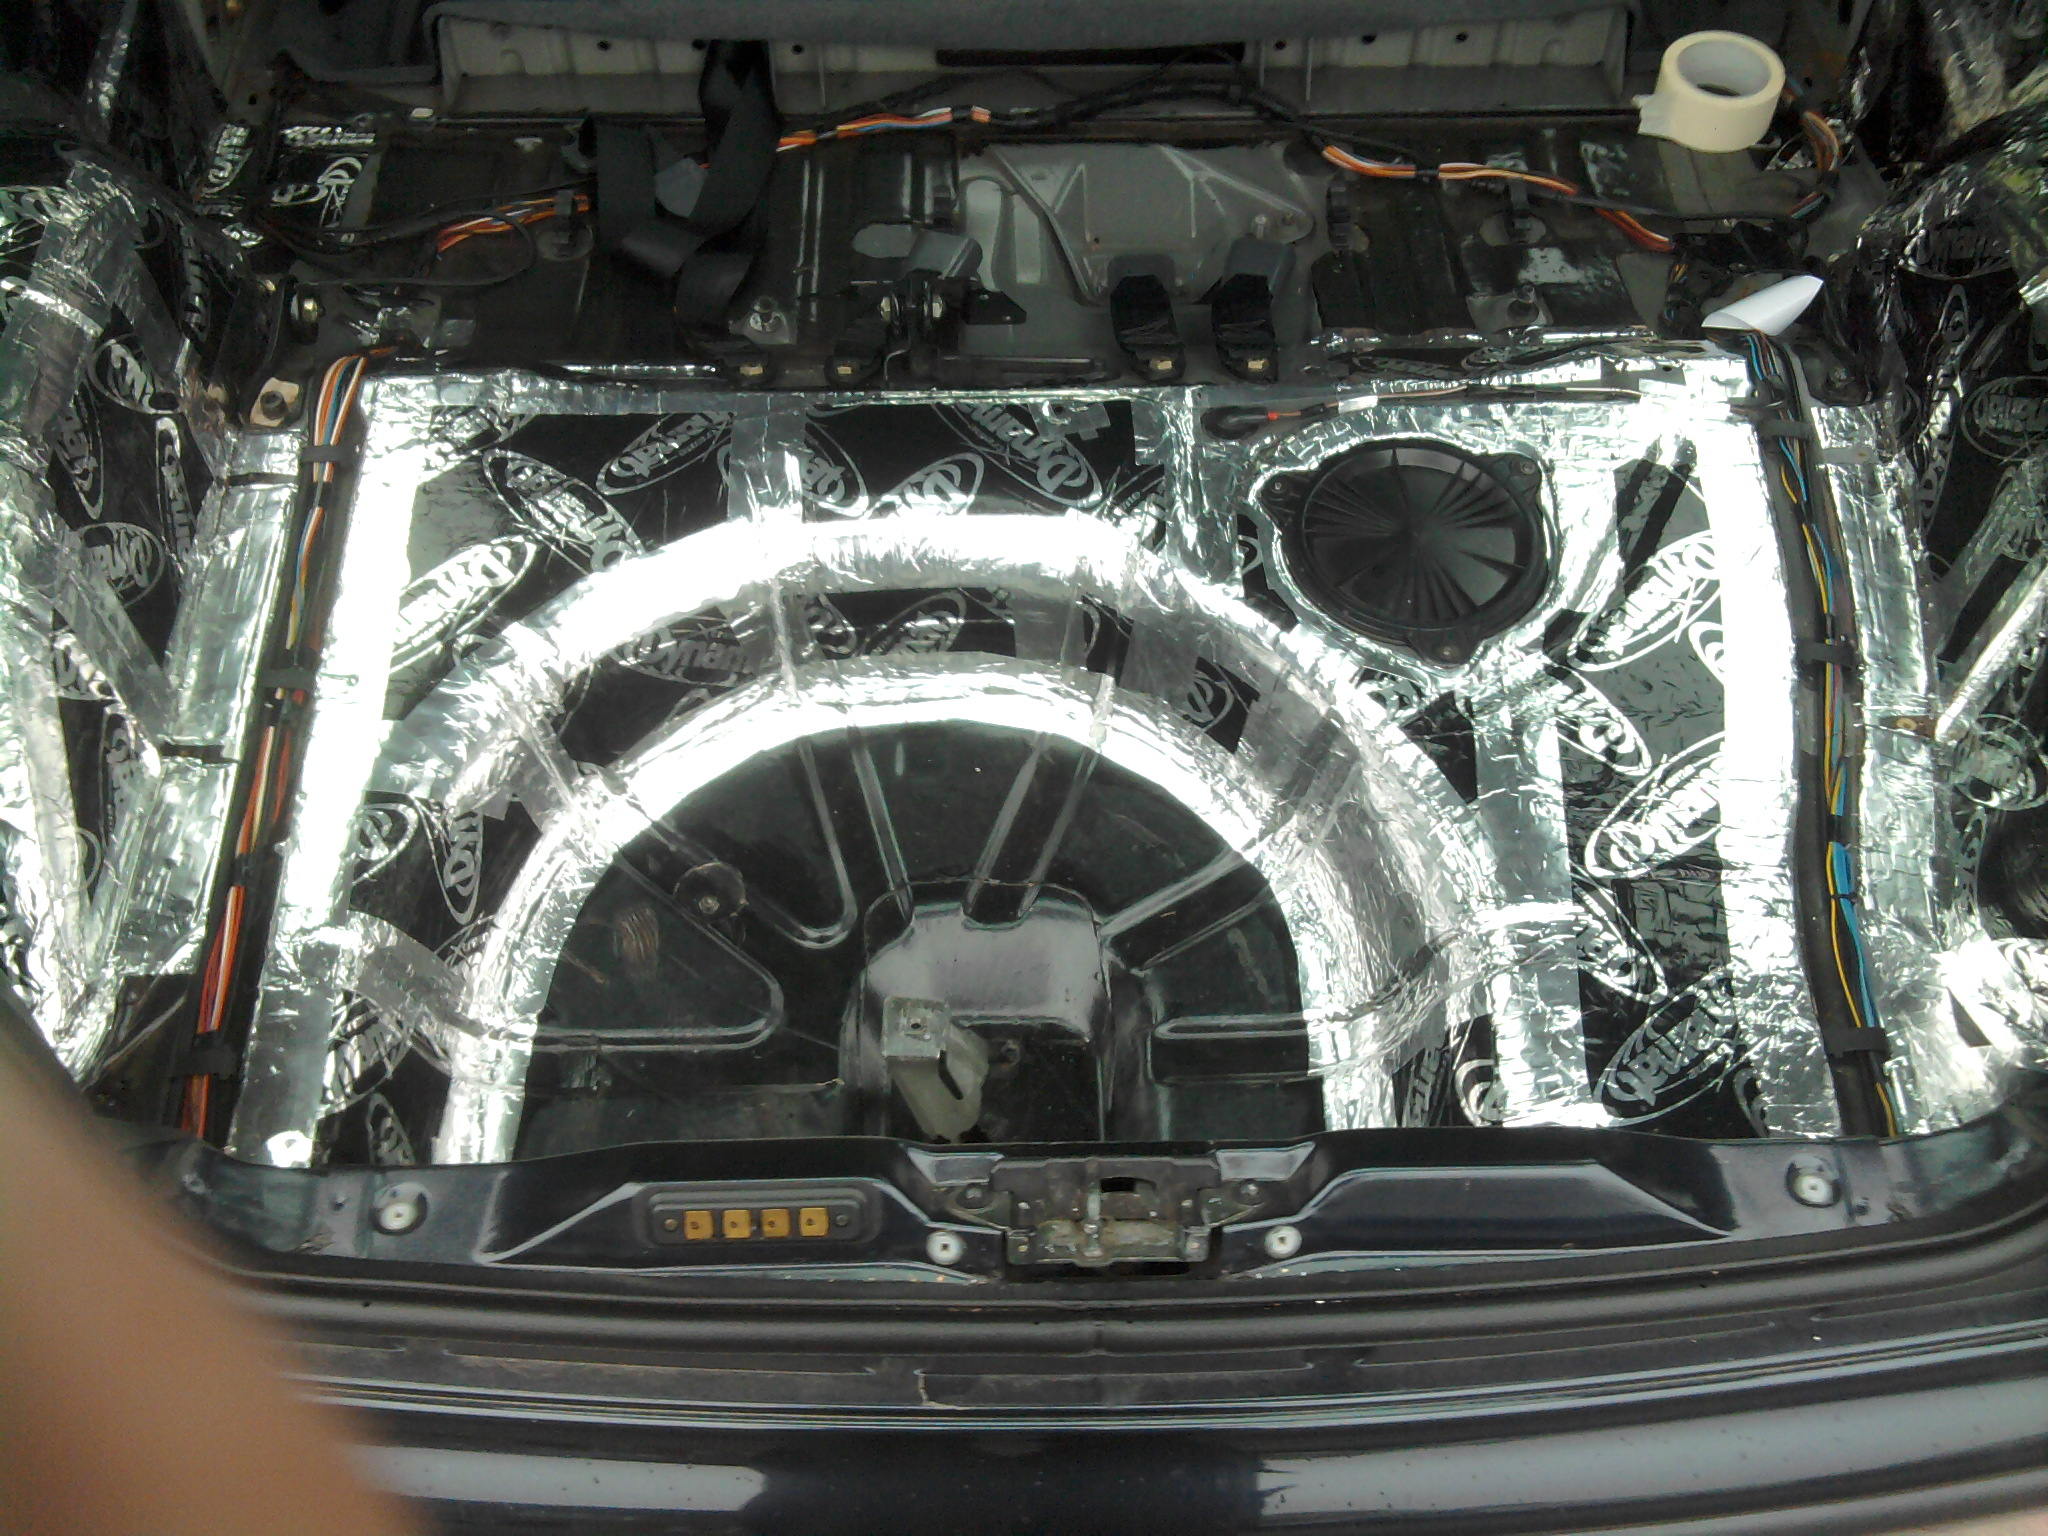
Have not driven it yet, got the rear floor area and spare wheel well done. Doing the tape over the joins took forever but it is necessary to stop the sticky gunk stuff getting everywhere. Got the carpet back in. I can put all the trim and seats back in tomorrow.

Had just enough mat to meet up to the factory sound deadening at the bottom of the spare wheel well. Its hard to see in the picture but the dynamat goes all the way forward to the factory stuff that goes under the rear seats. I could do that last middle bit under the rear seats at a later date.


You can see the three stainless steel bolts on my bumper with the stainless steel top hat's, and my matching rear lights :)


I might splash out on some new rear speakers to match my pioneer fronts.
 
Last edited:
Back
Top