


Introduction
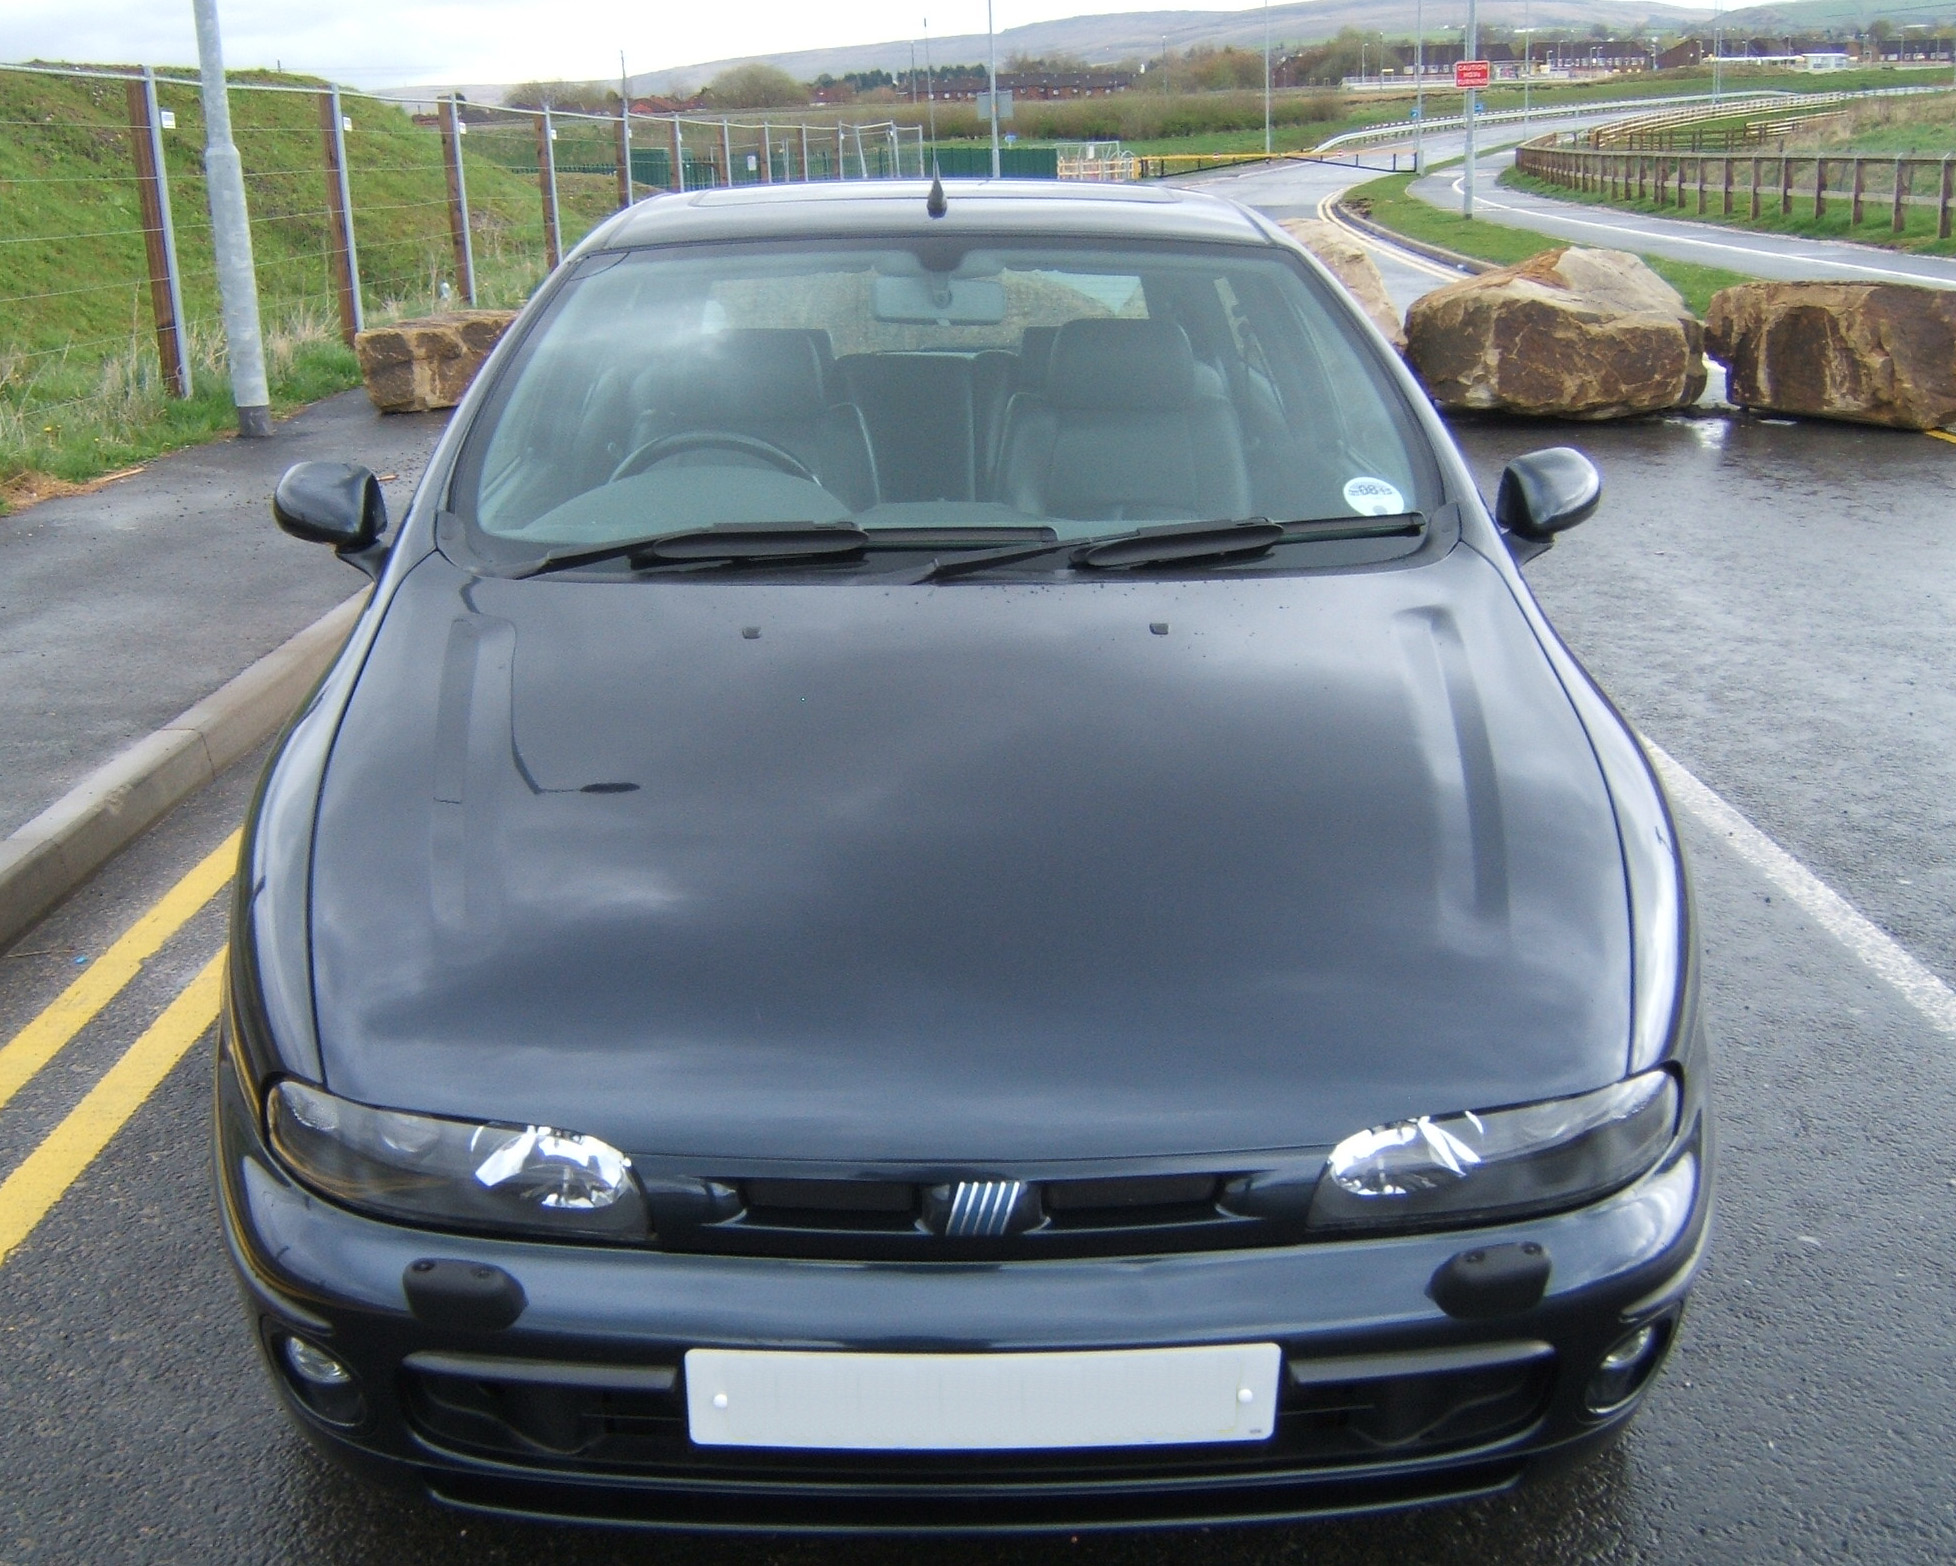
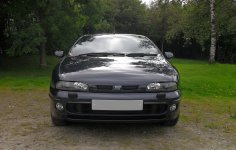
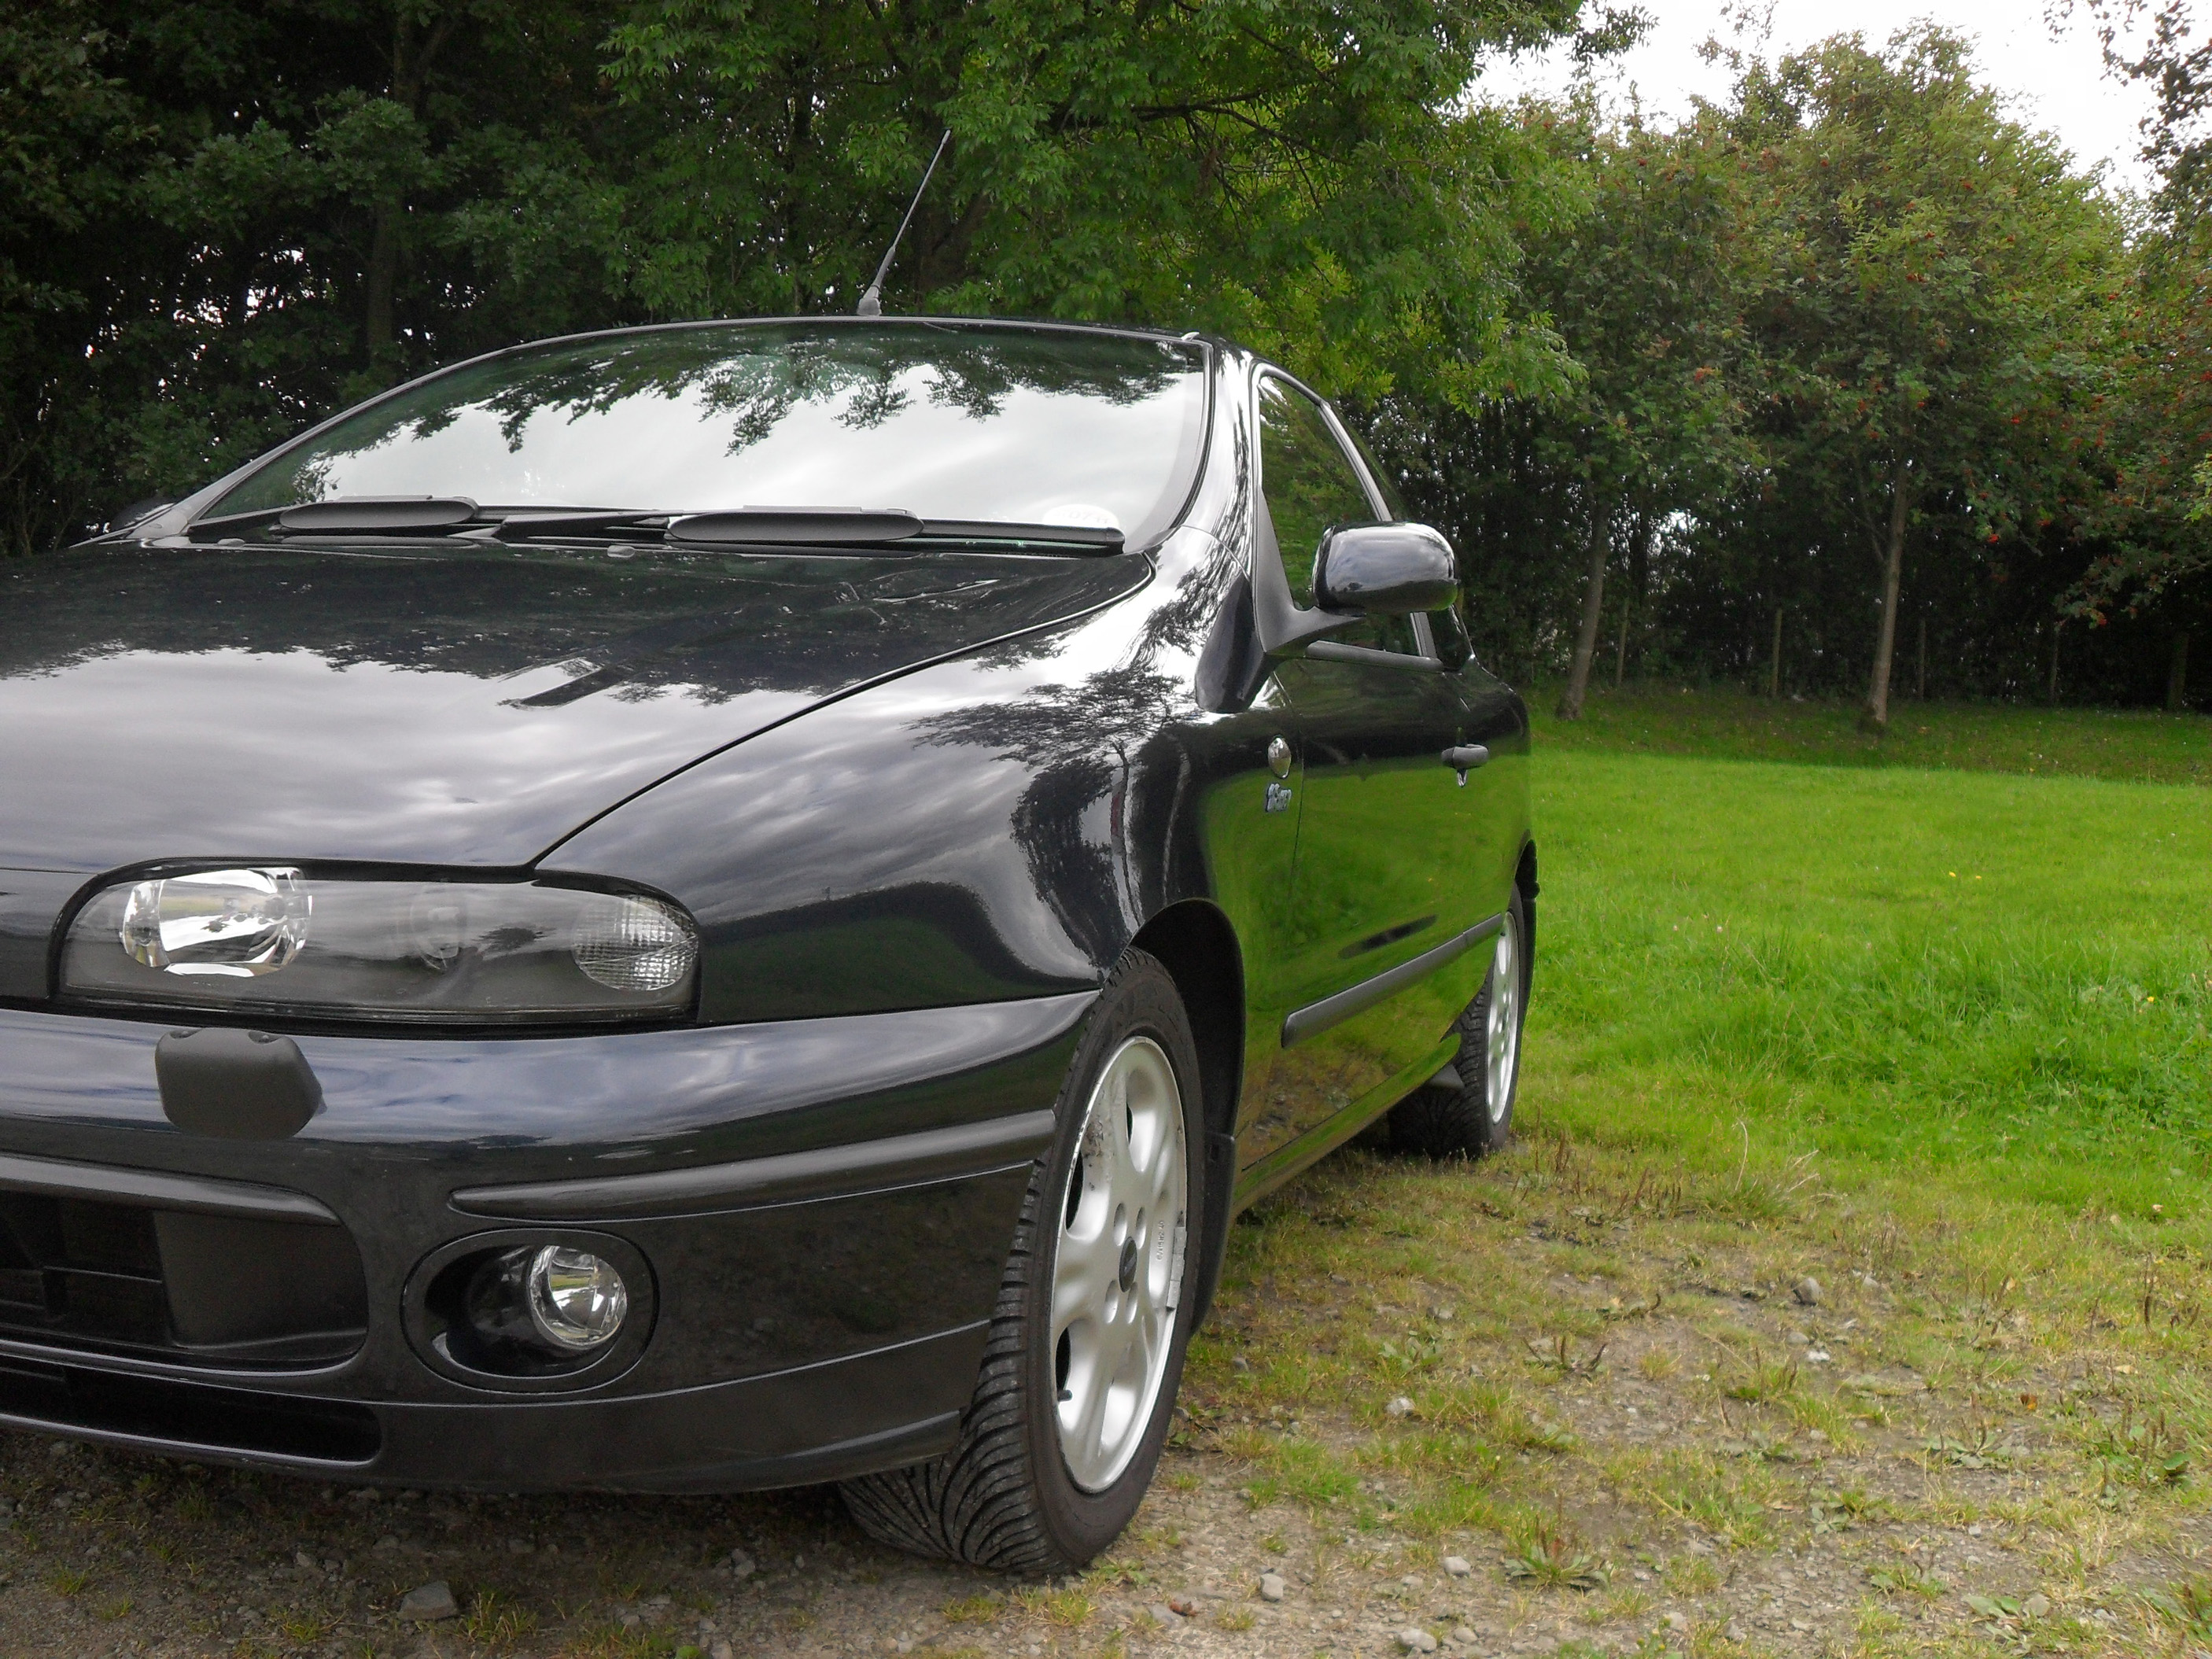
Thought I should finally post a few pictures of my new car. My goal is to keep it very tidy and well maintained. Keep the looks standard while improving the small details. And uprate mechanical parts as I go.
Specification
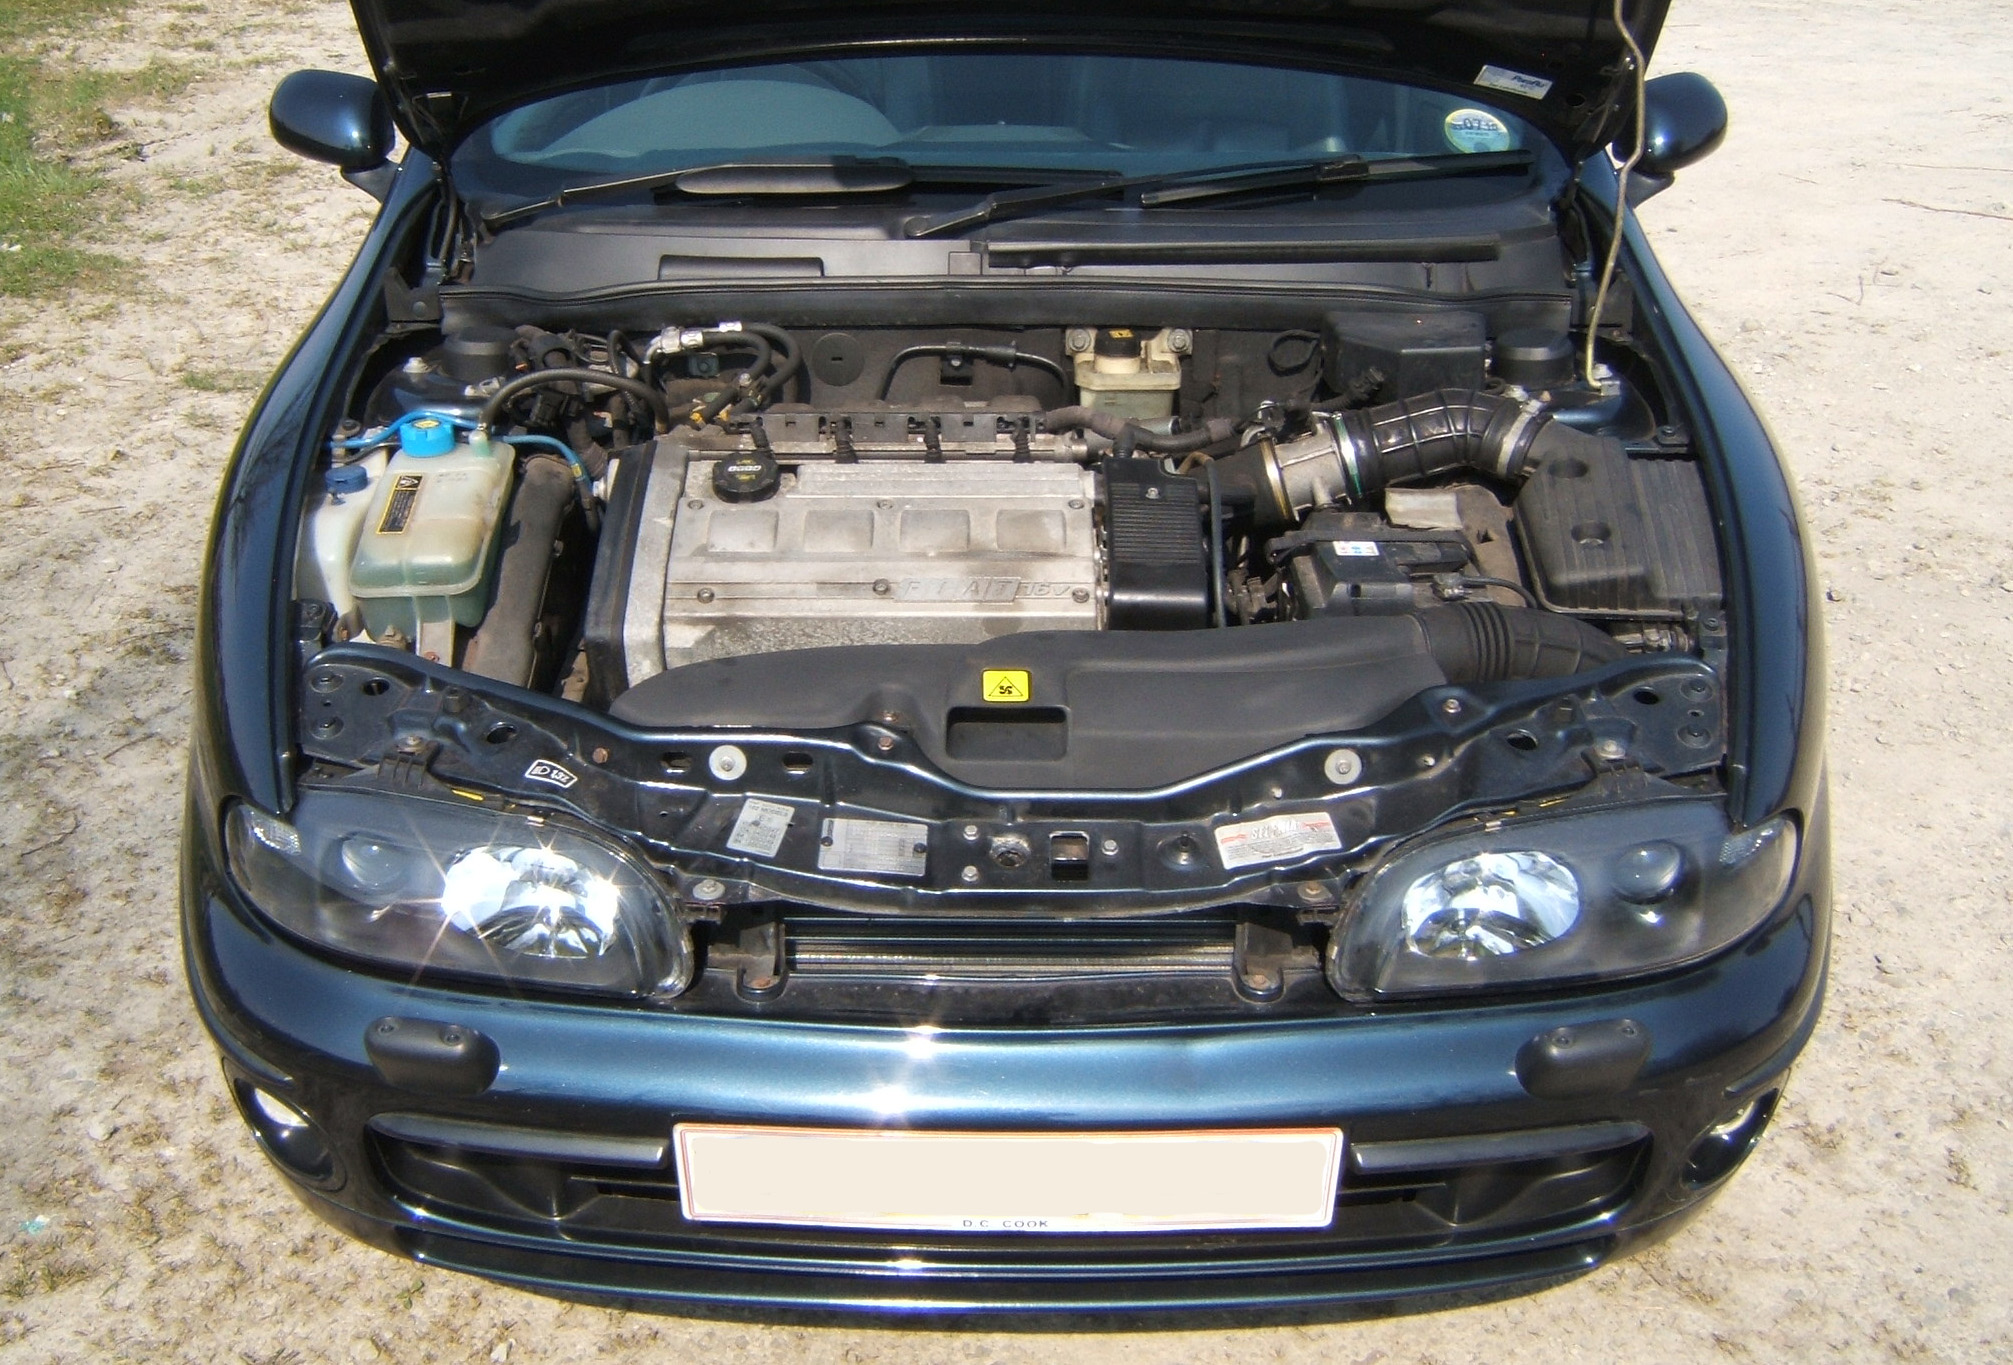
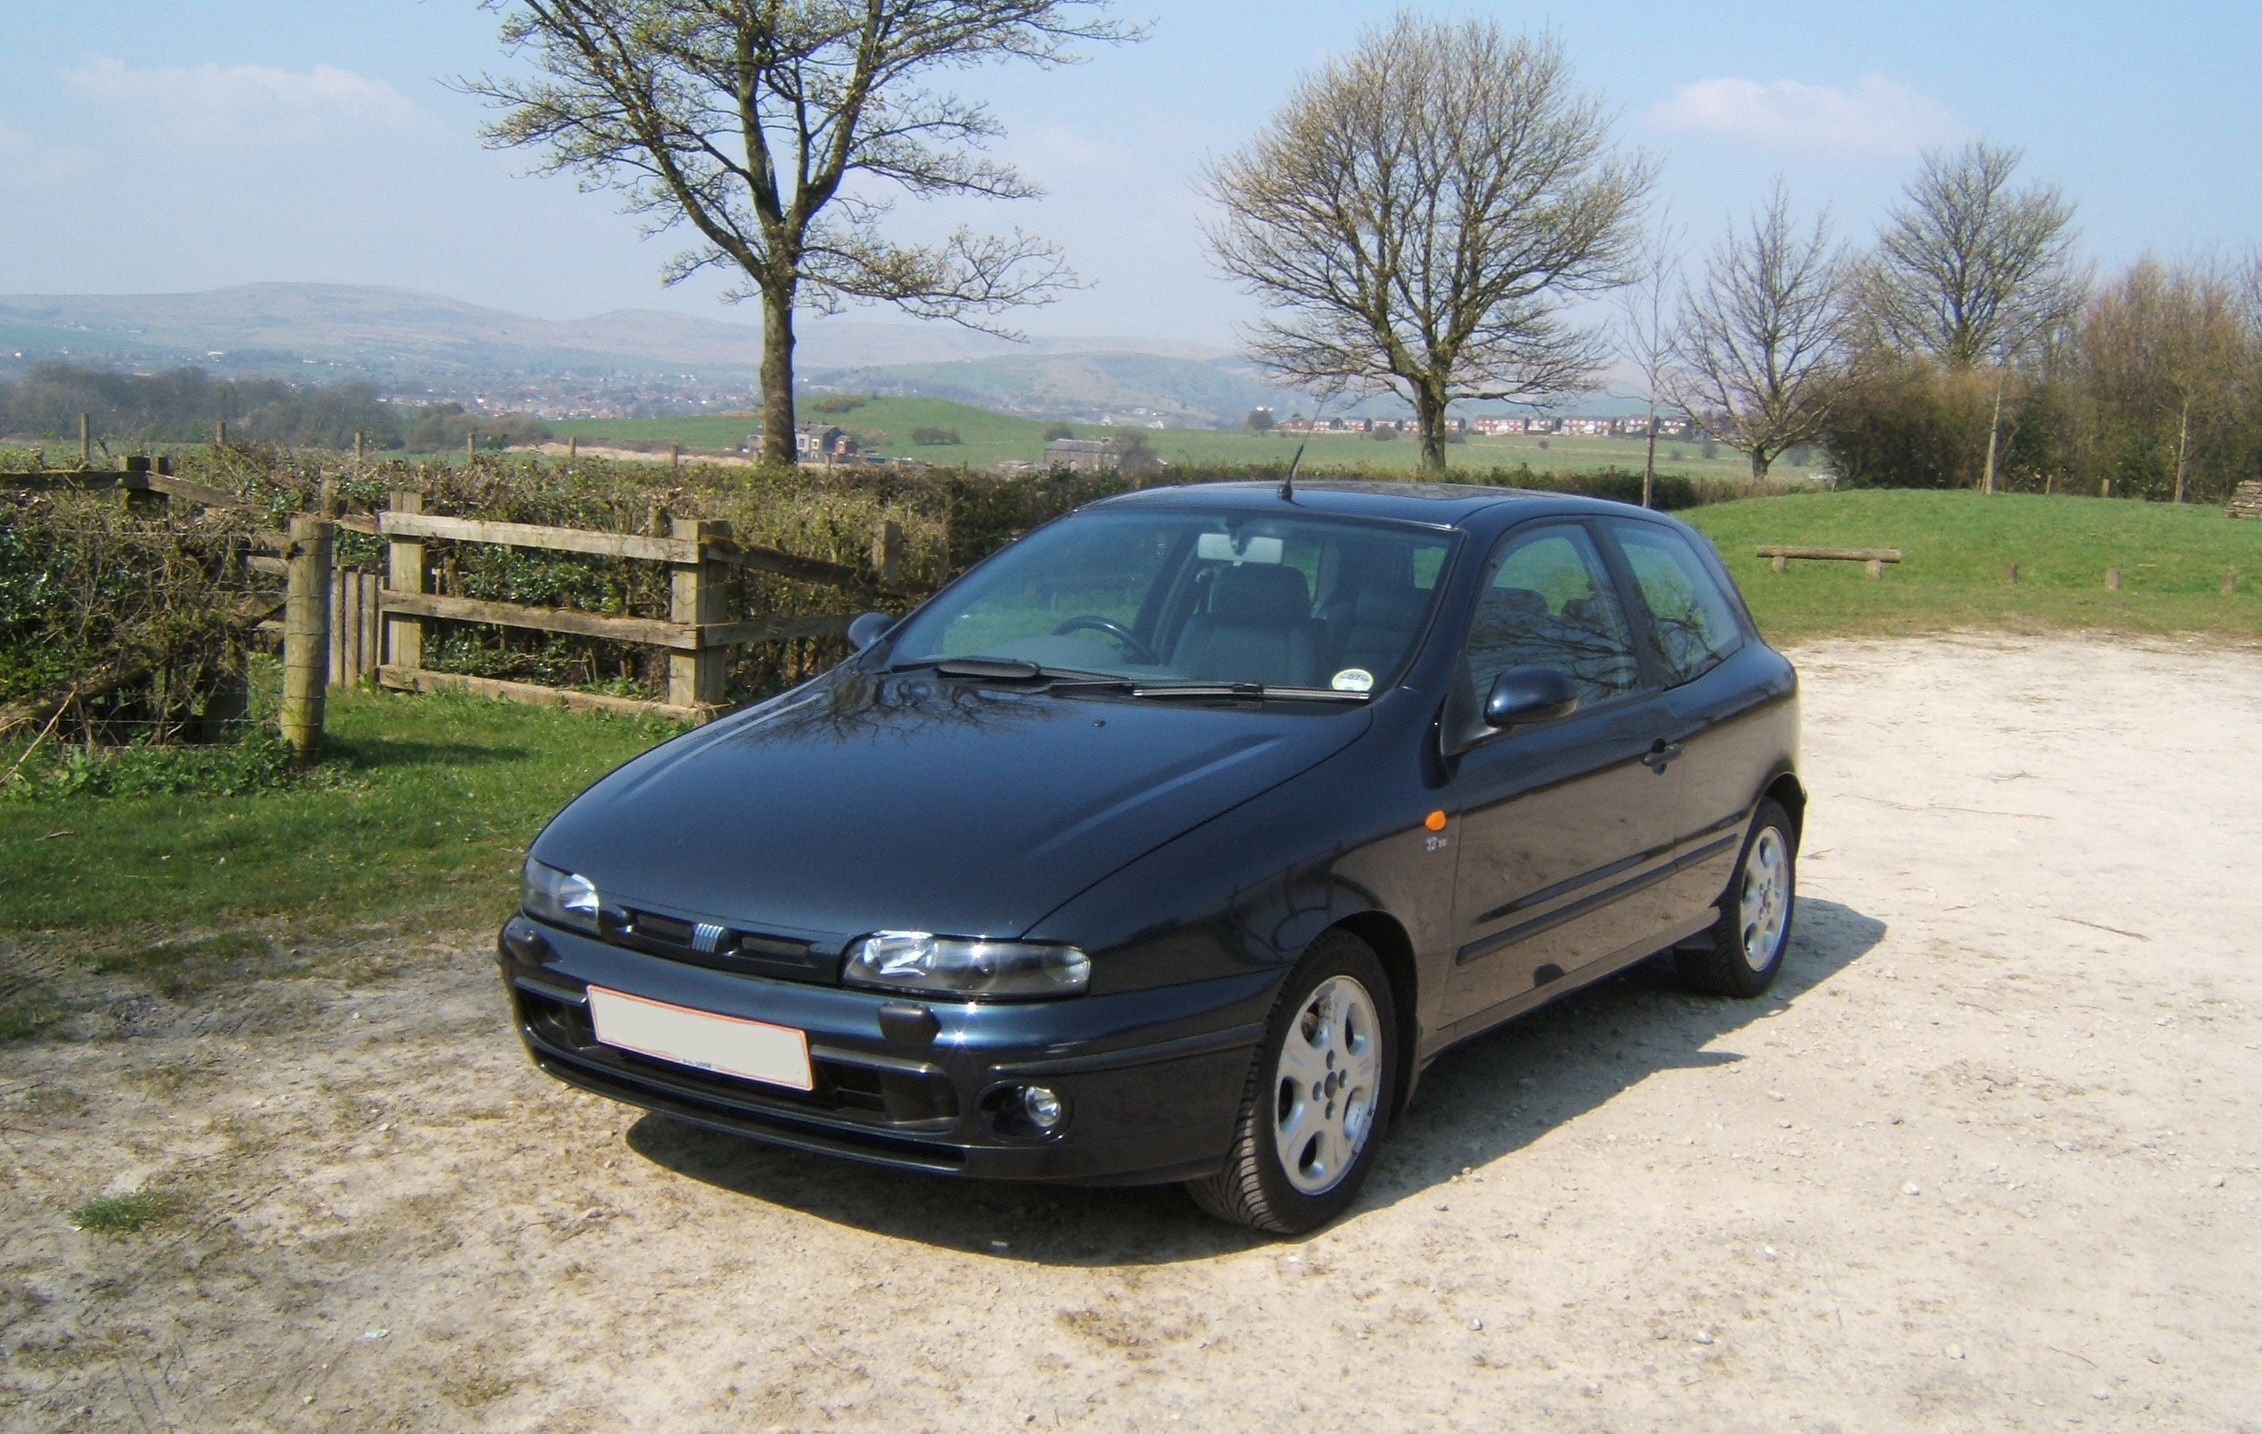
-1.8 16v 113BHP Mk1
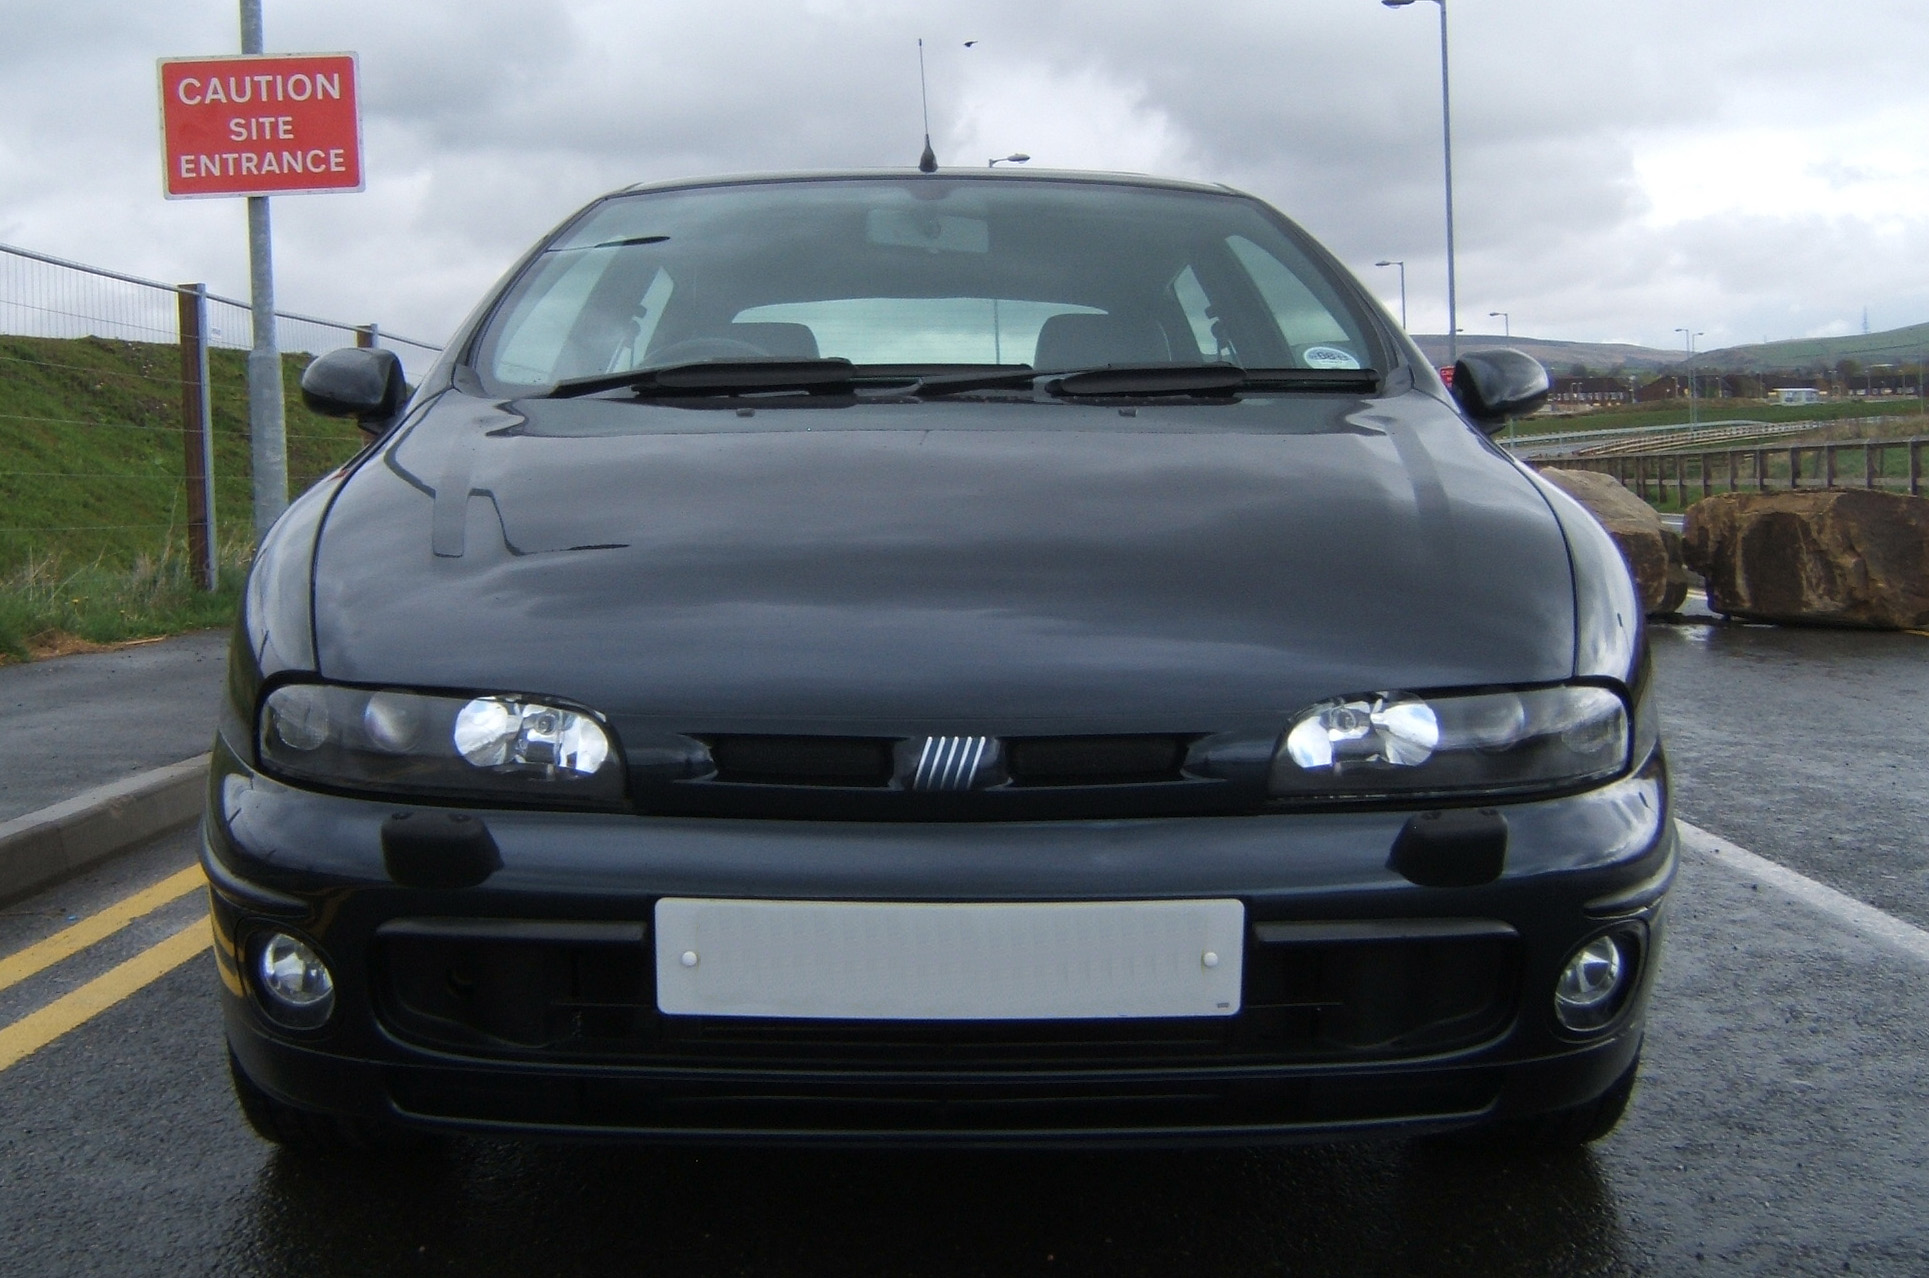
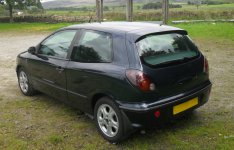
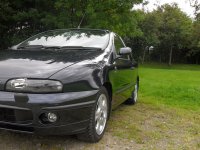
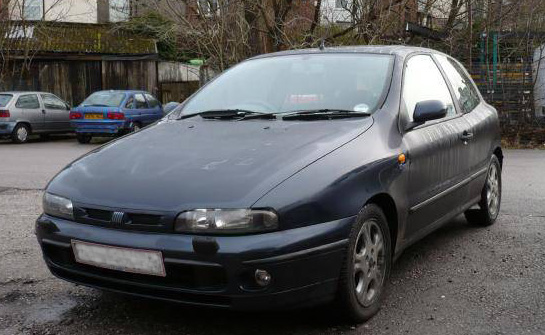
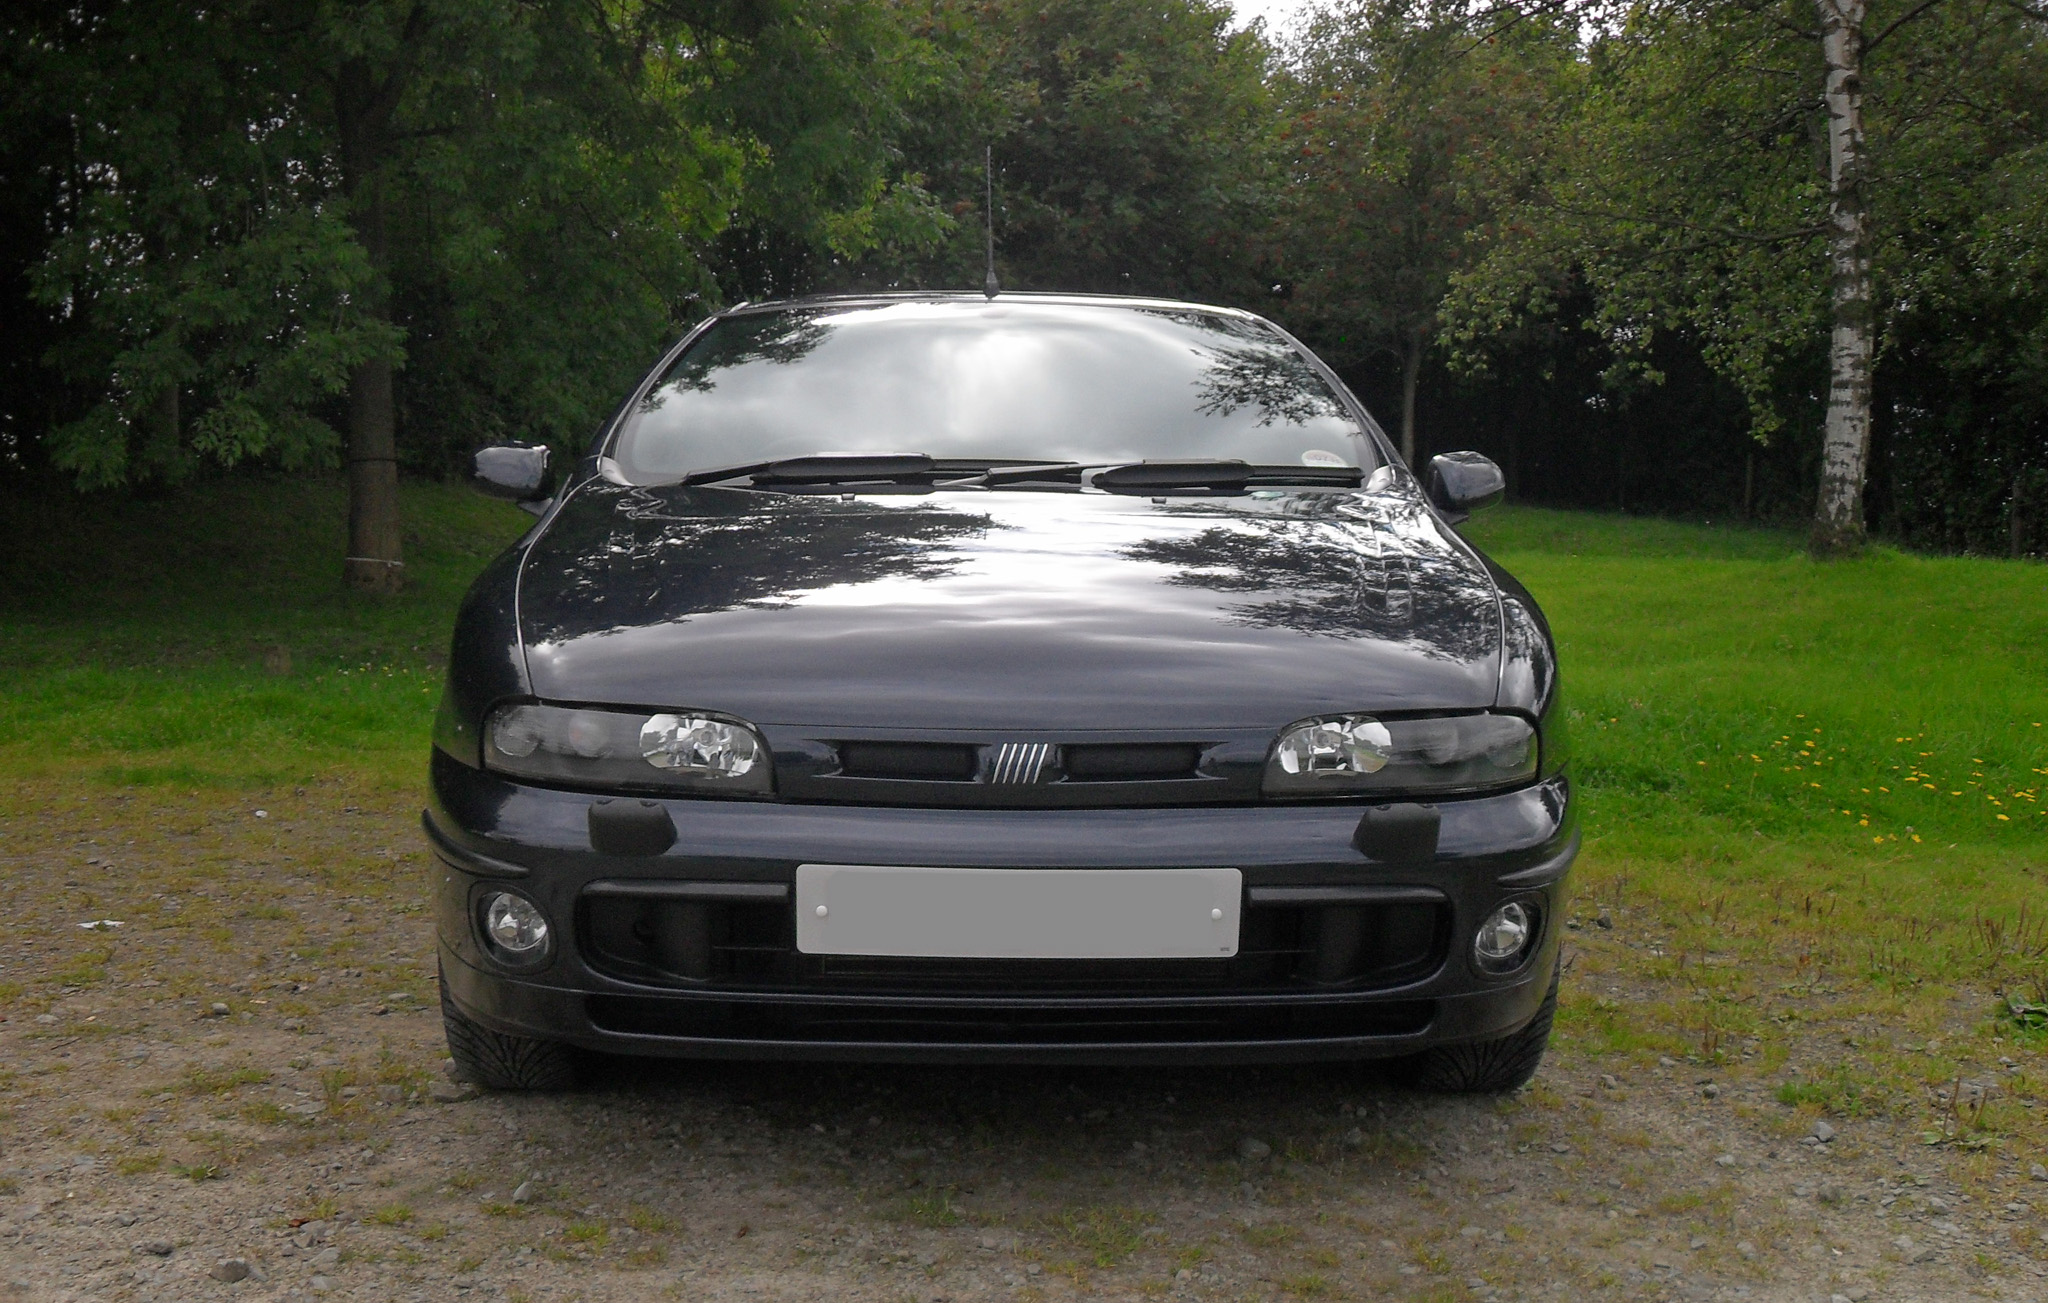
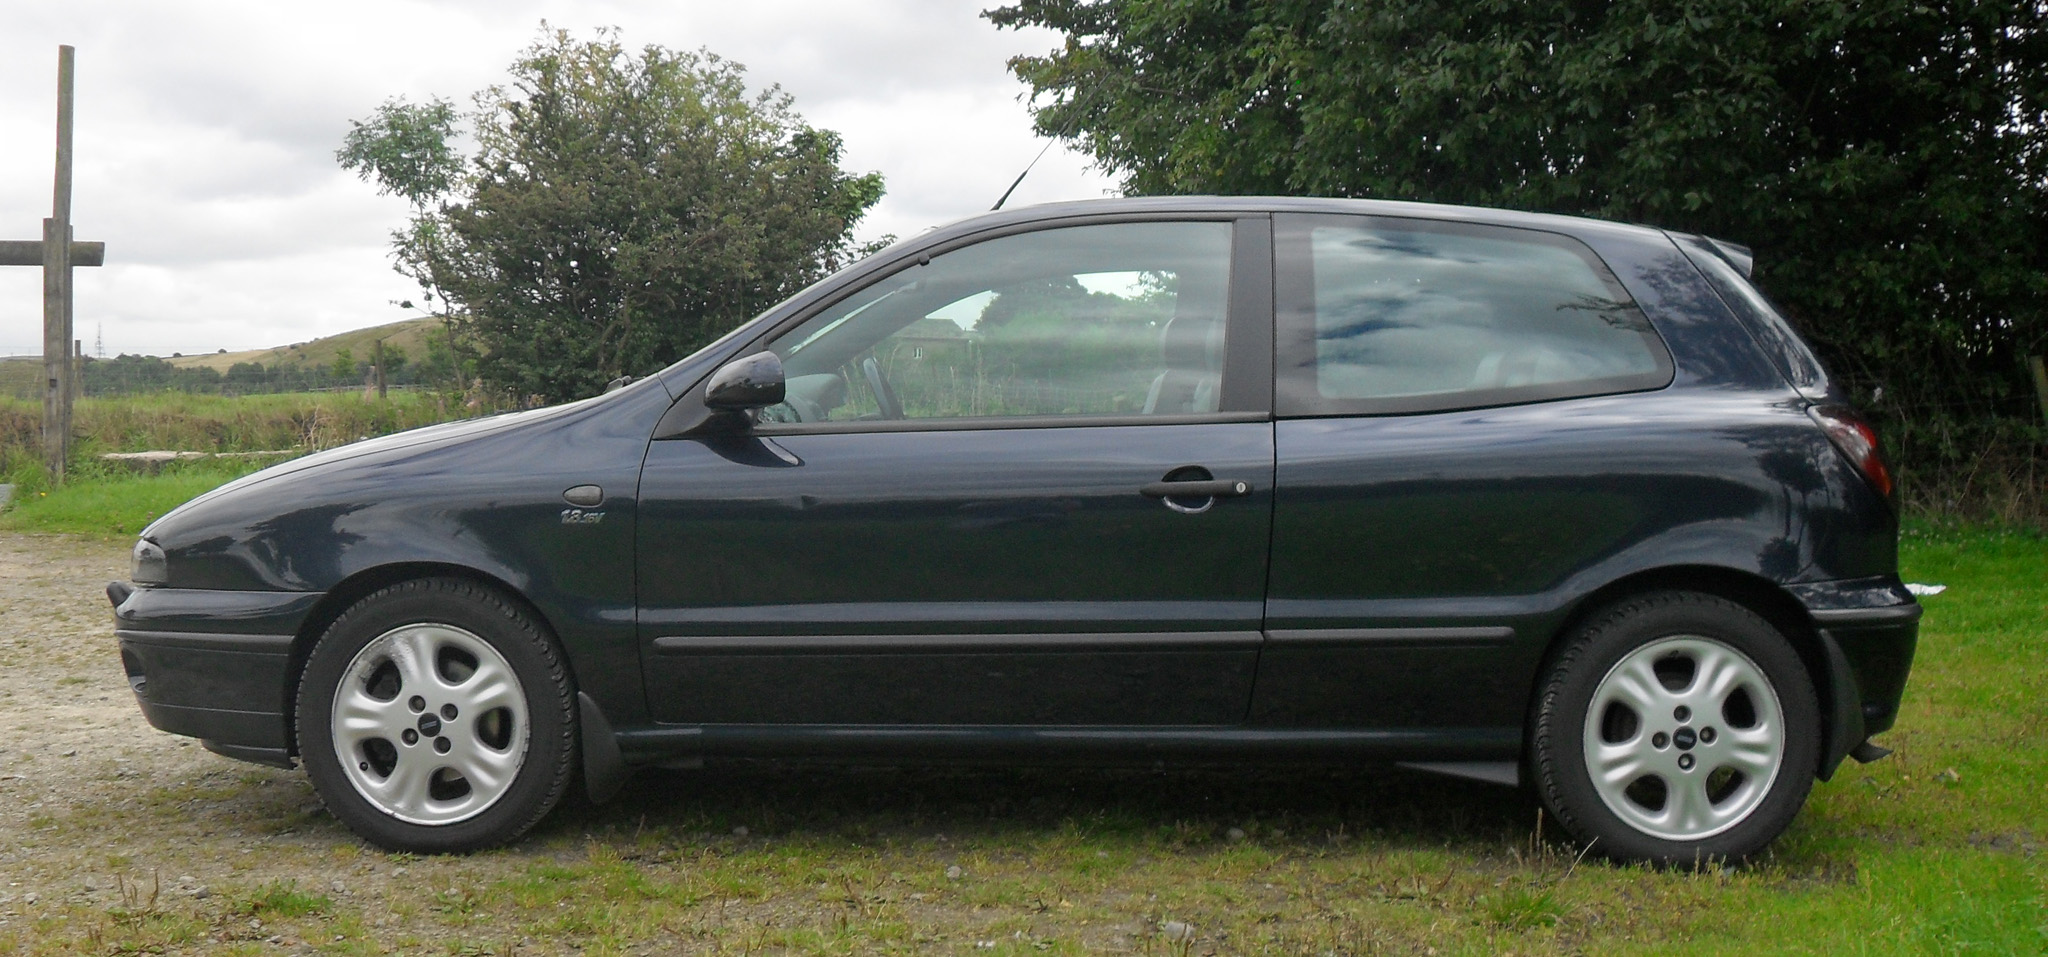
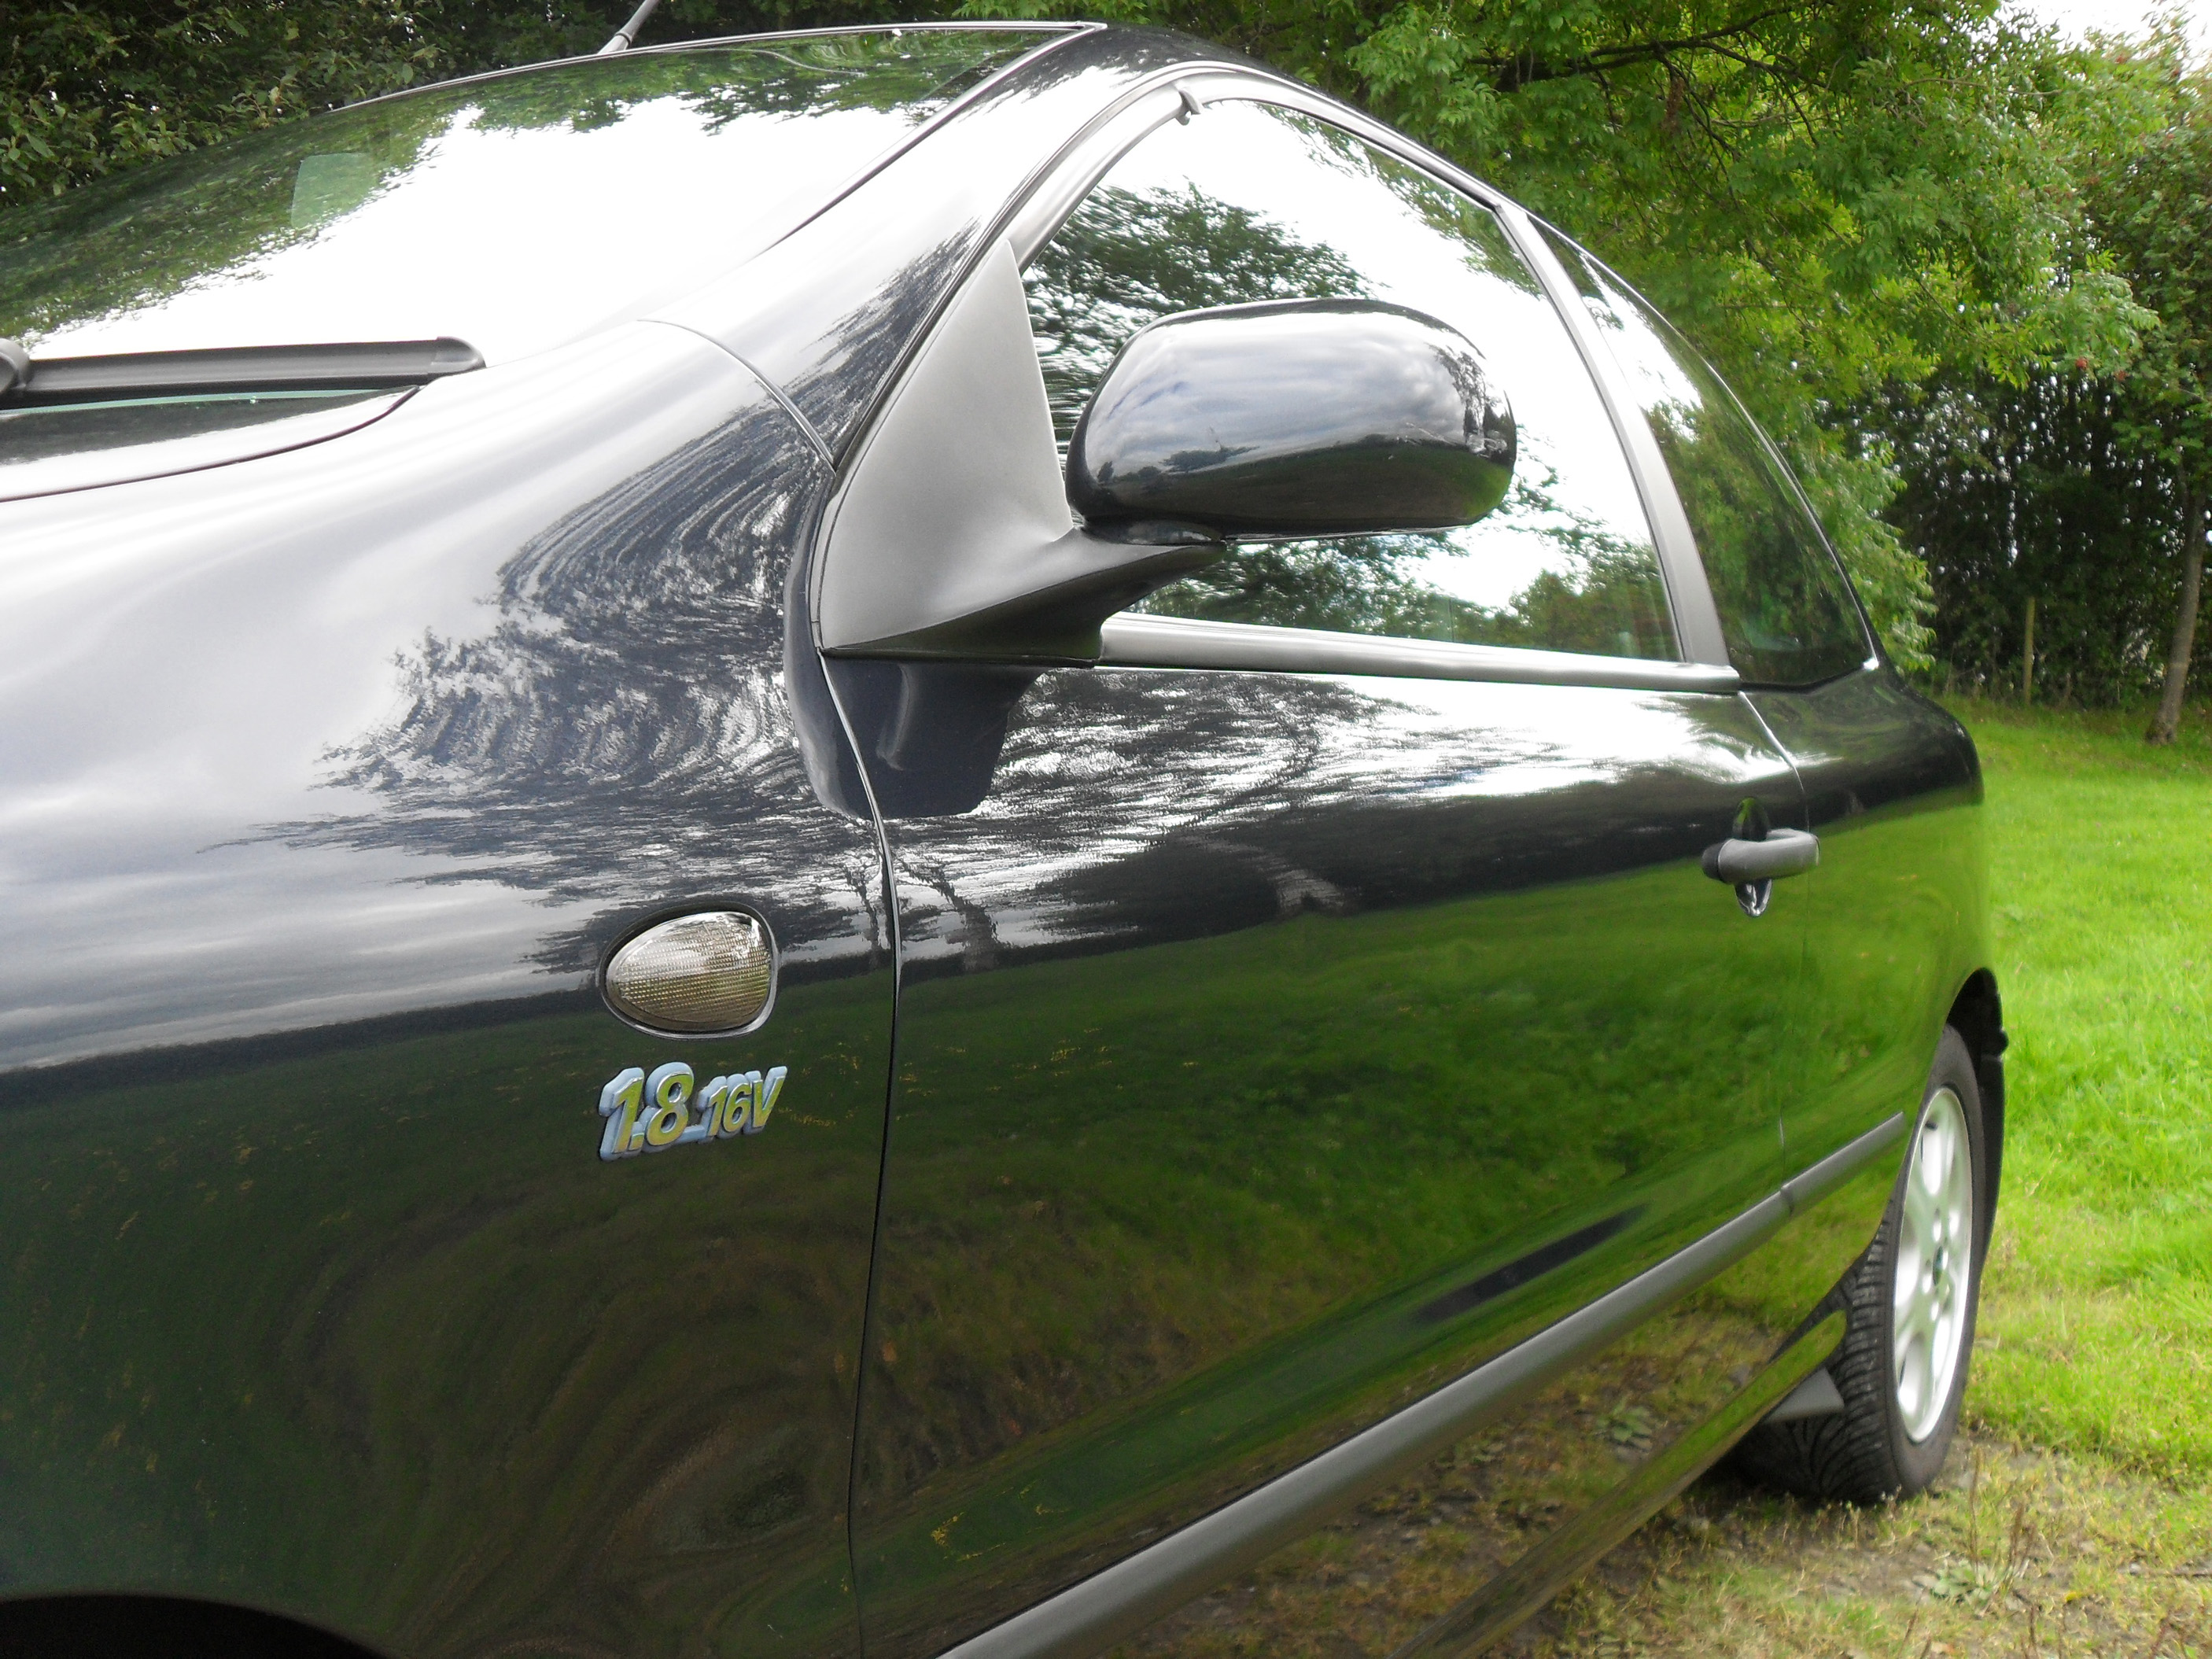
-Metalic Ink Black 820
-HLX. Fog Lights, Heated Seats, Heated Mirrors, Electric Sunroof, Electric Windows, Electric Mirrors, Remote Central Locking, Alloy Wheels, Immobiliser, Alarm.
Mods/Extras
-Fiat Marea Poly Elliptical Headlights With modified wiring
-Ipod/cd changer tricker interface to OEM stereo
-Leather Steering Wheel from HGT
-Vinyl Handbrake Gaiter
-K&N Panel Filter
-Brava Mk2 Passenger air vent Black
-Cap that reads 12V rather than a lighter
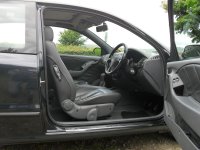
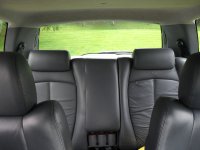
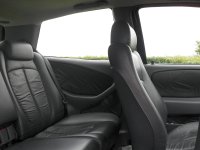
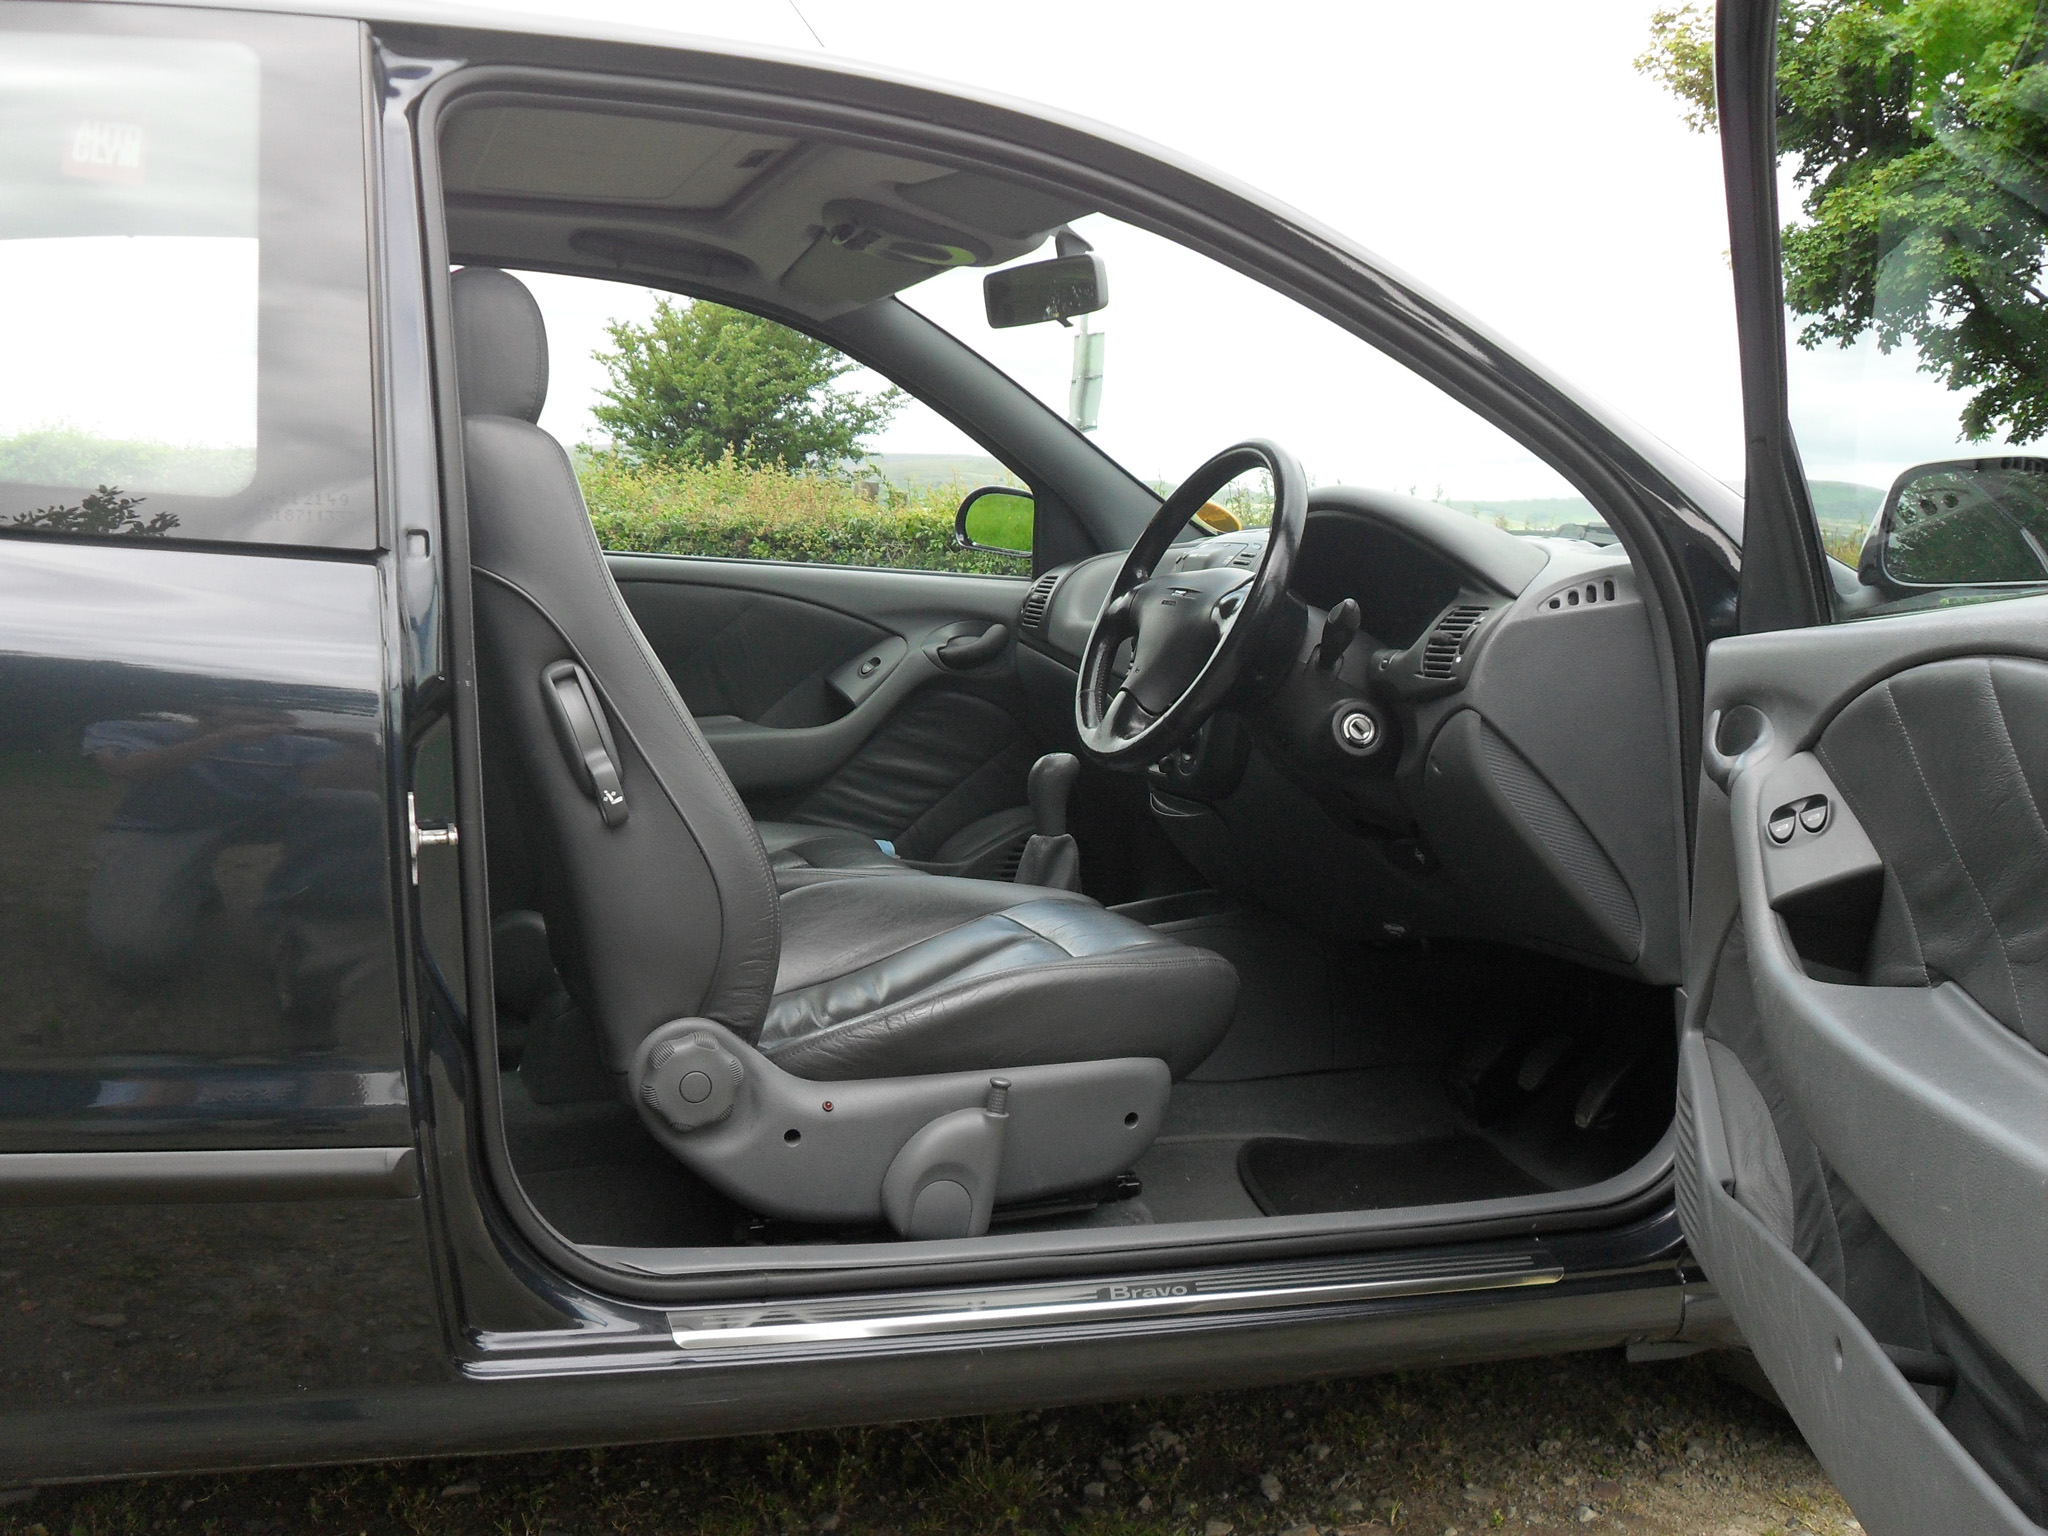
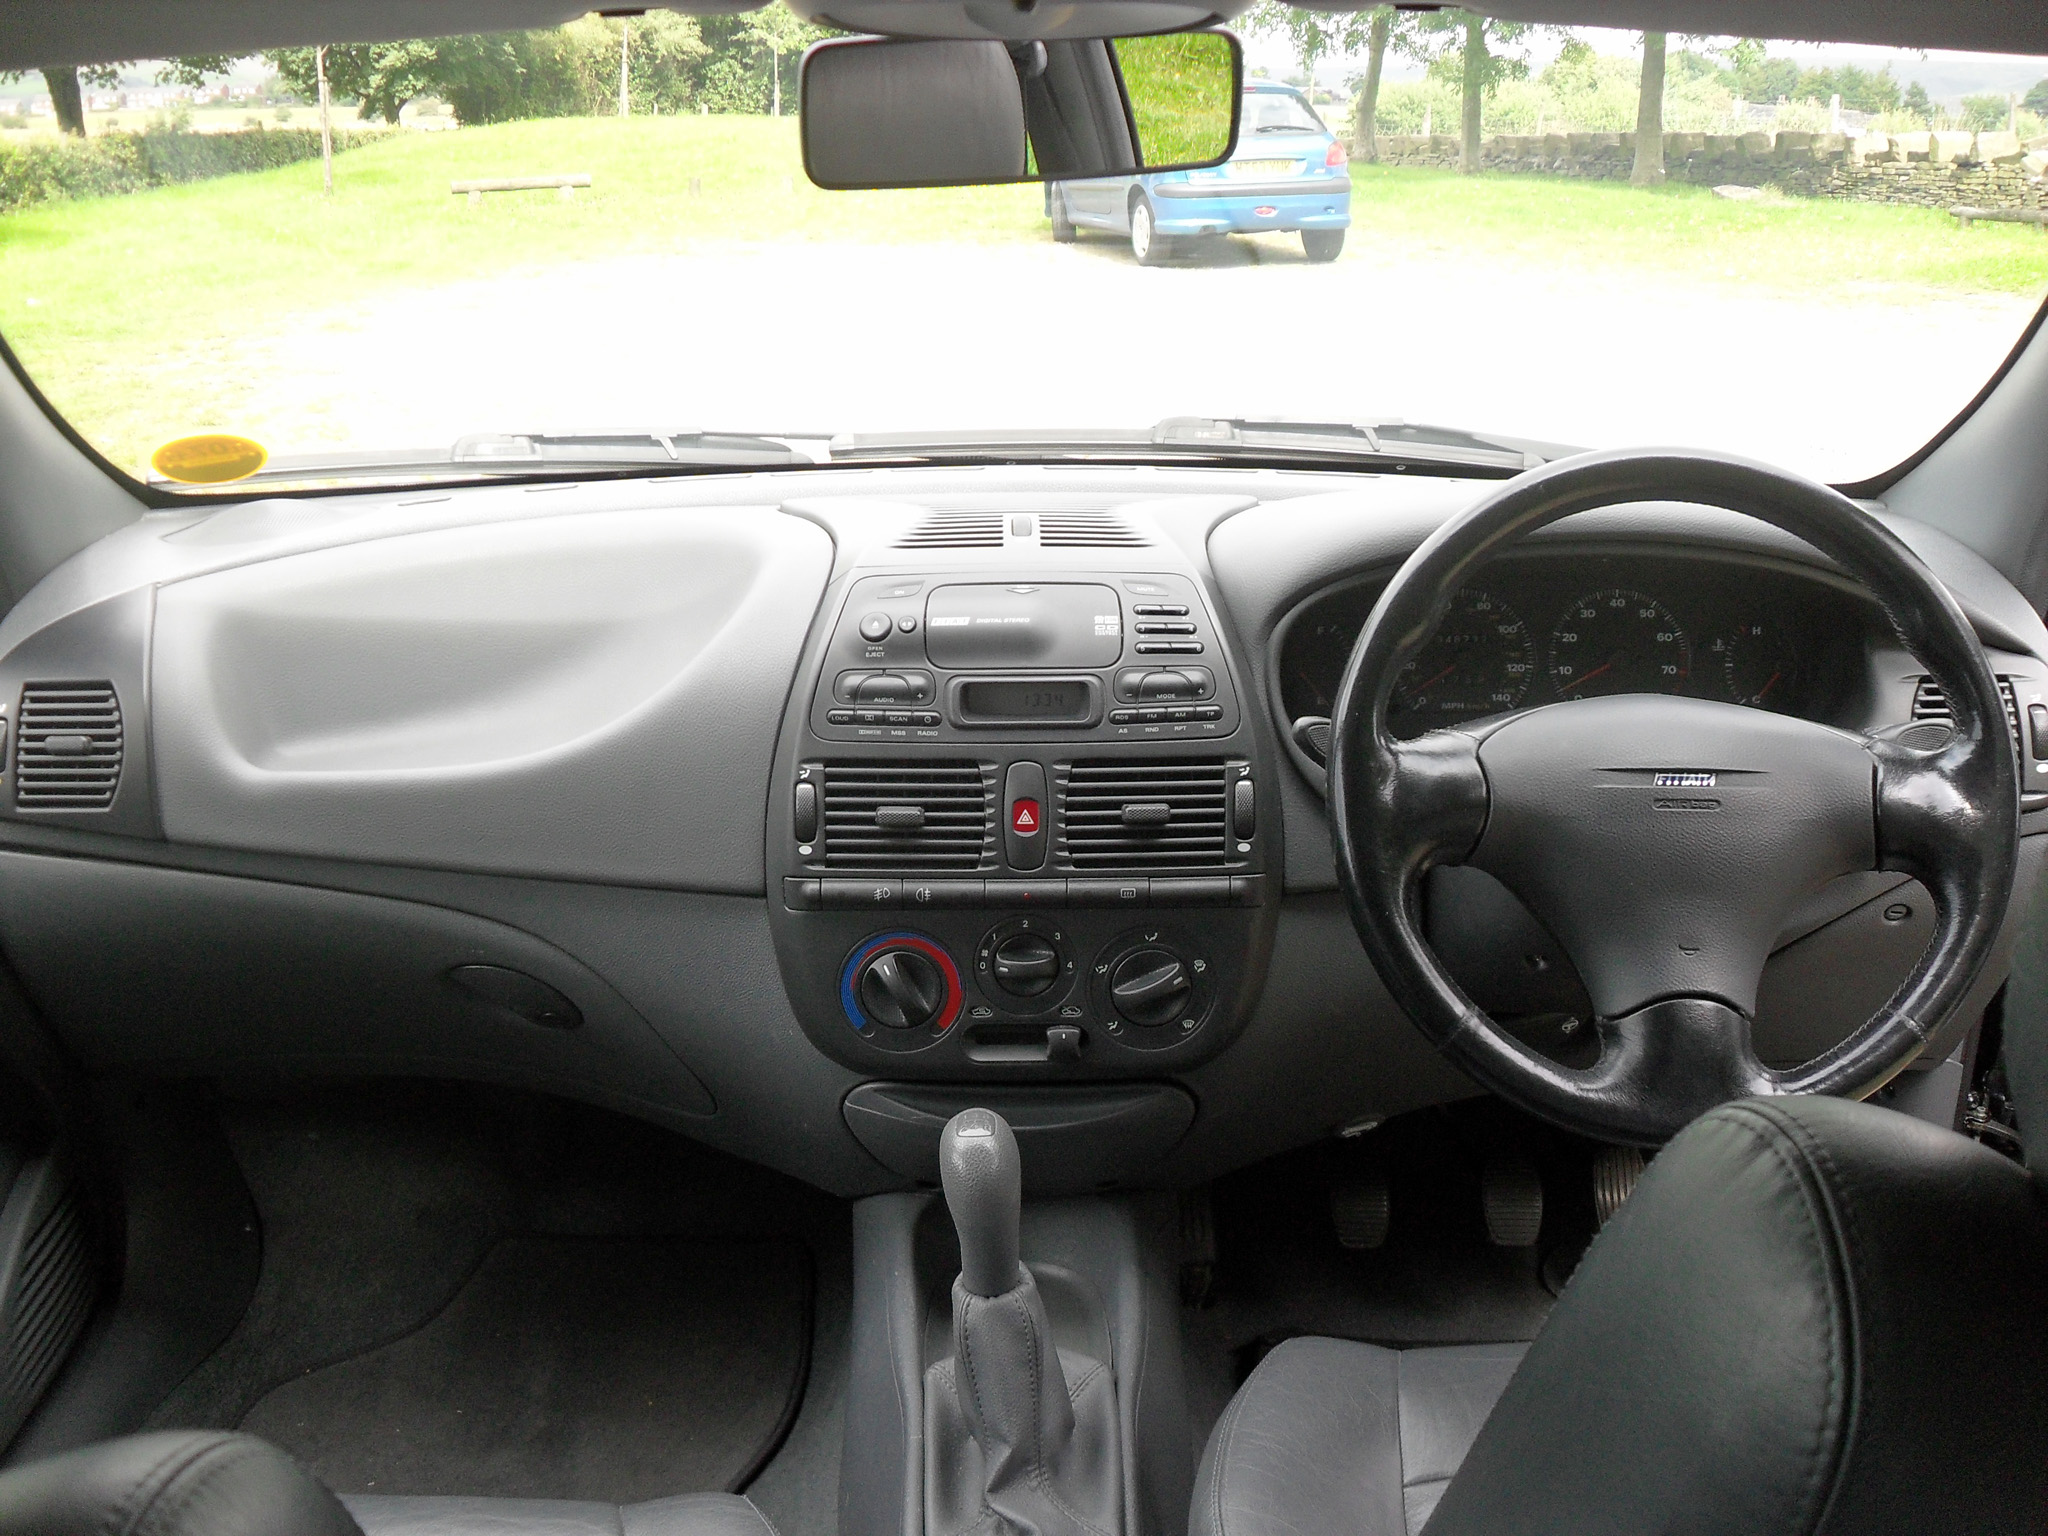
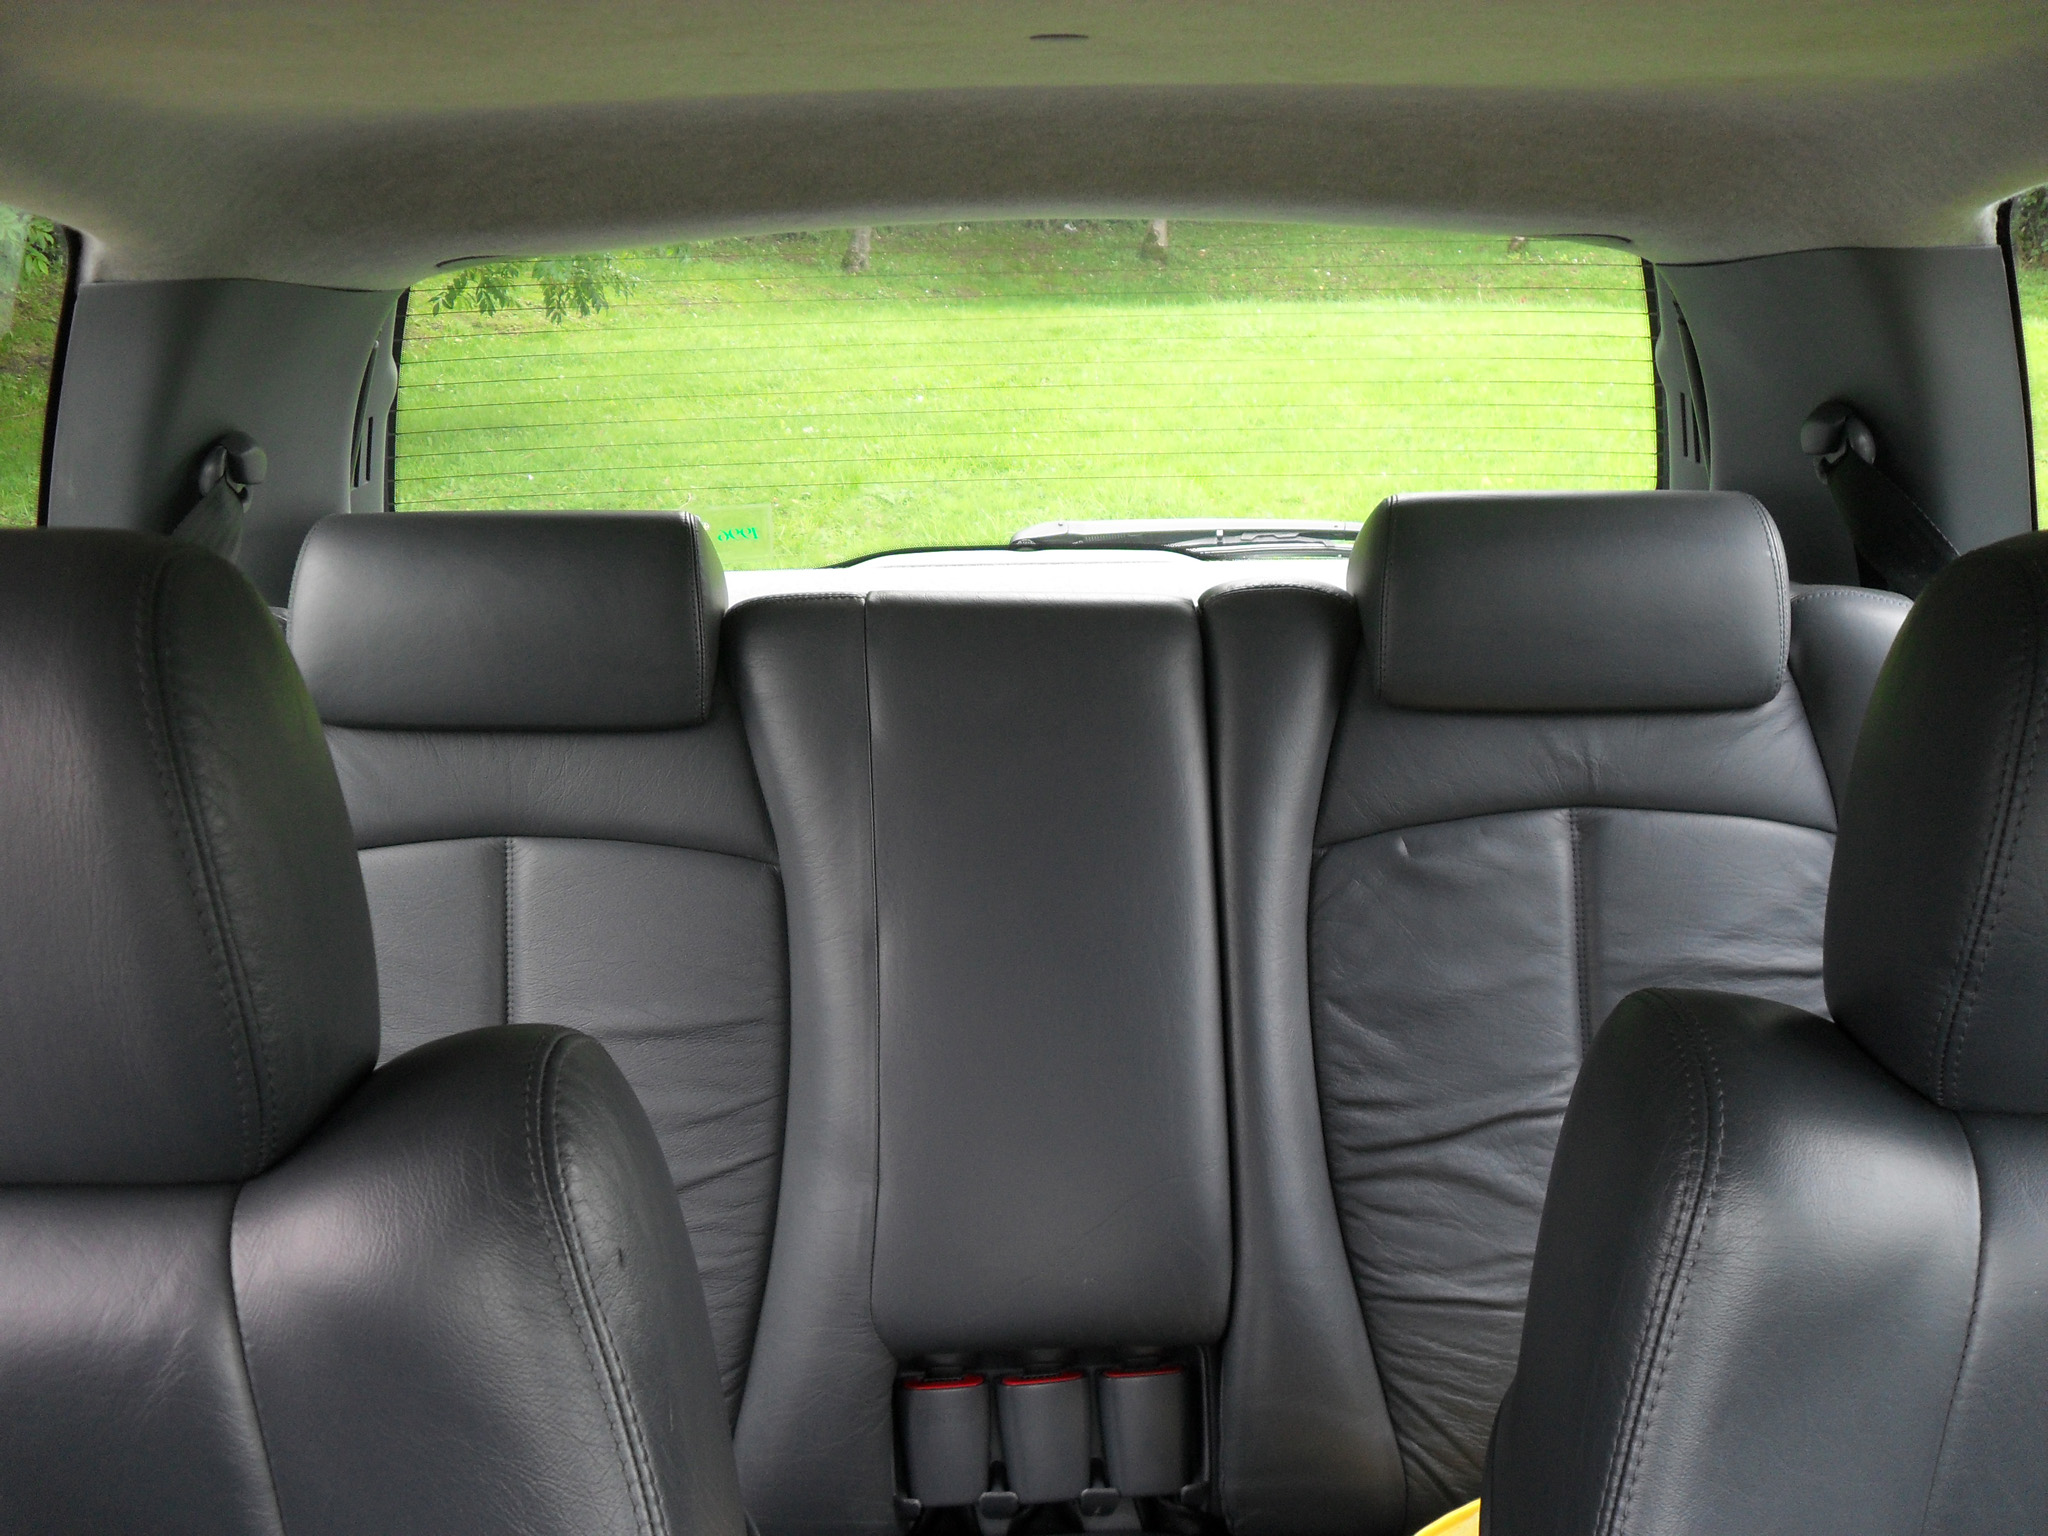
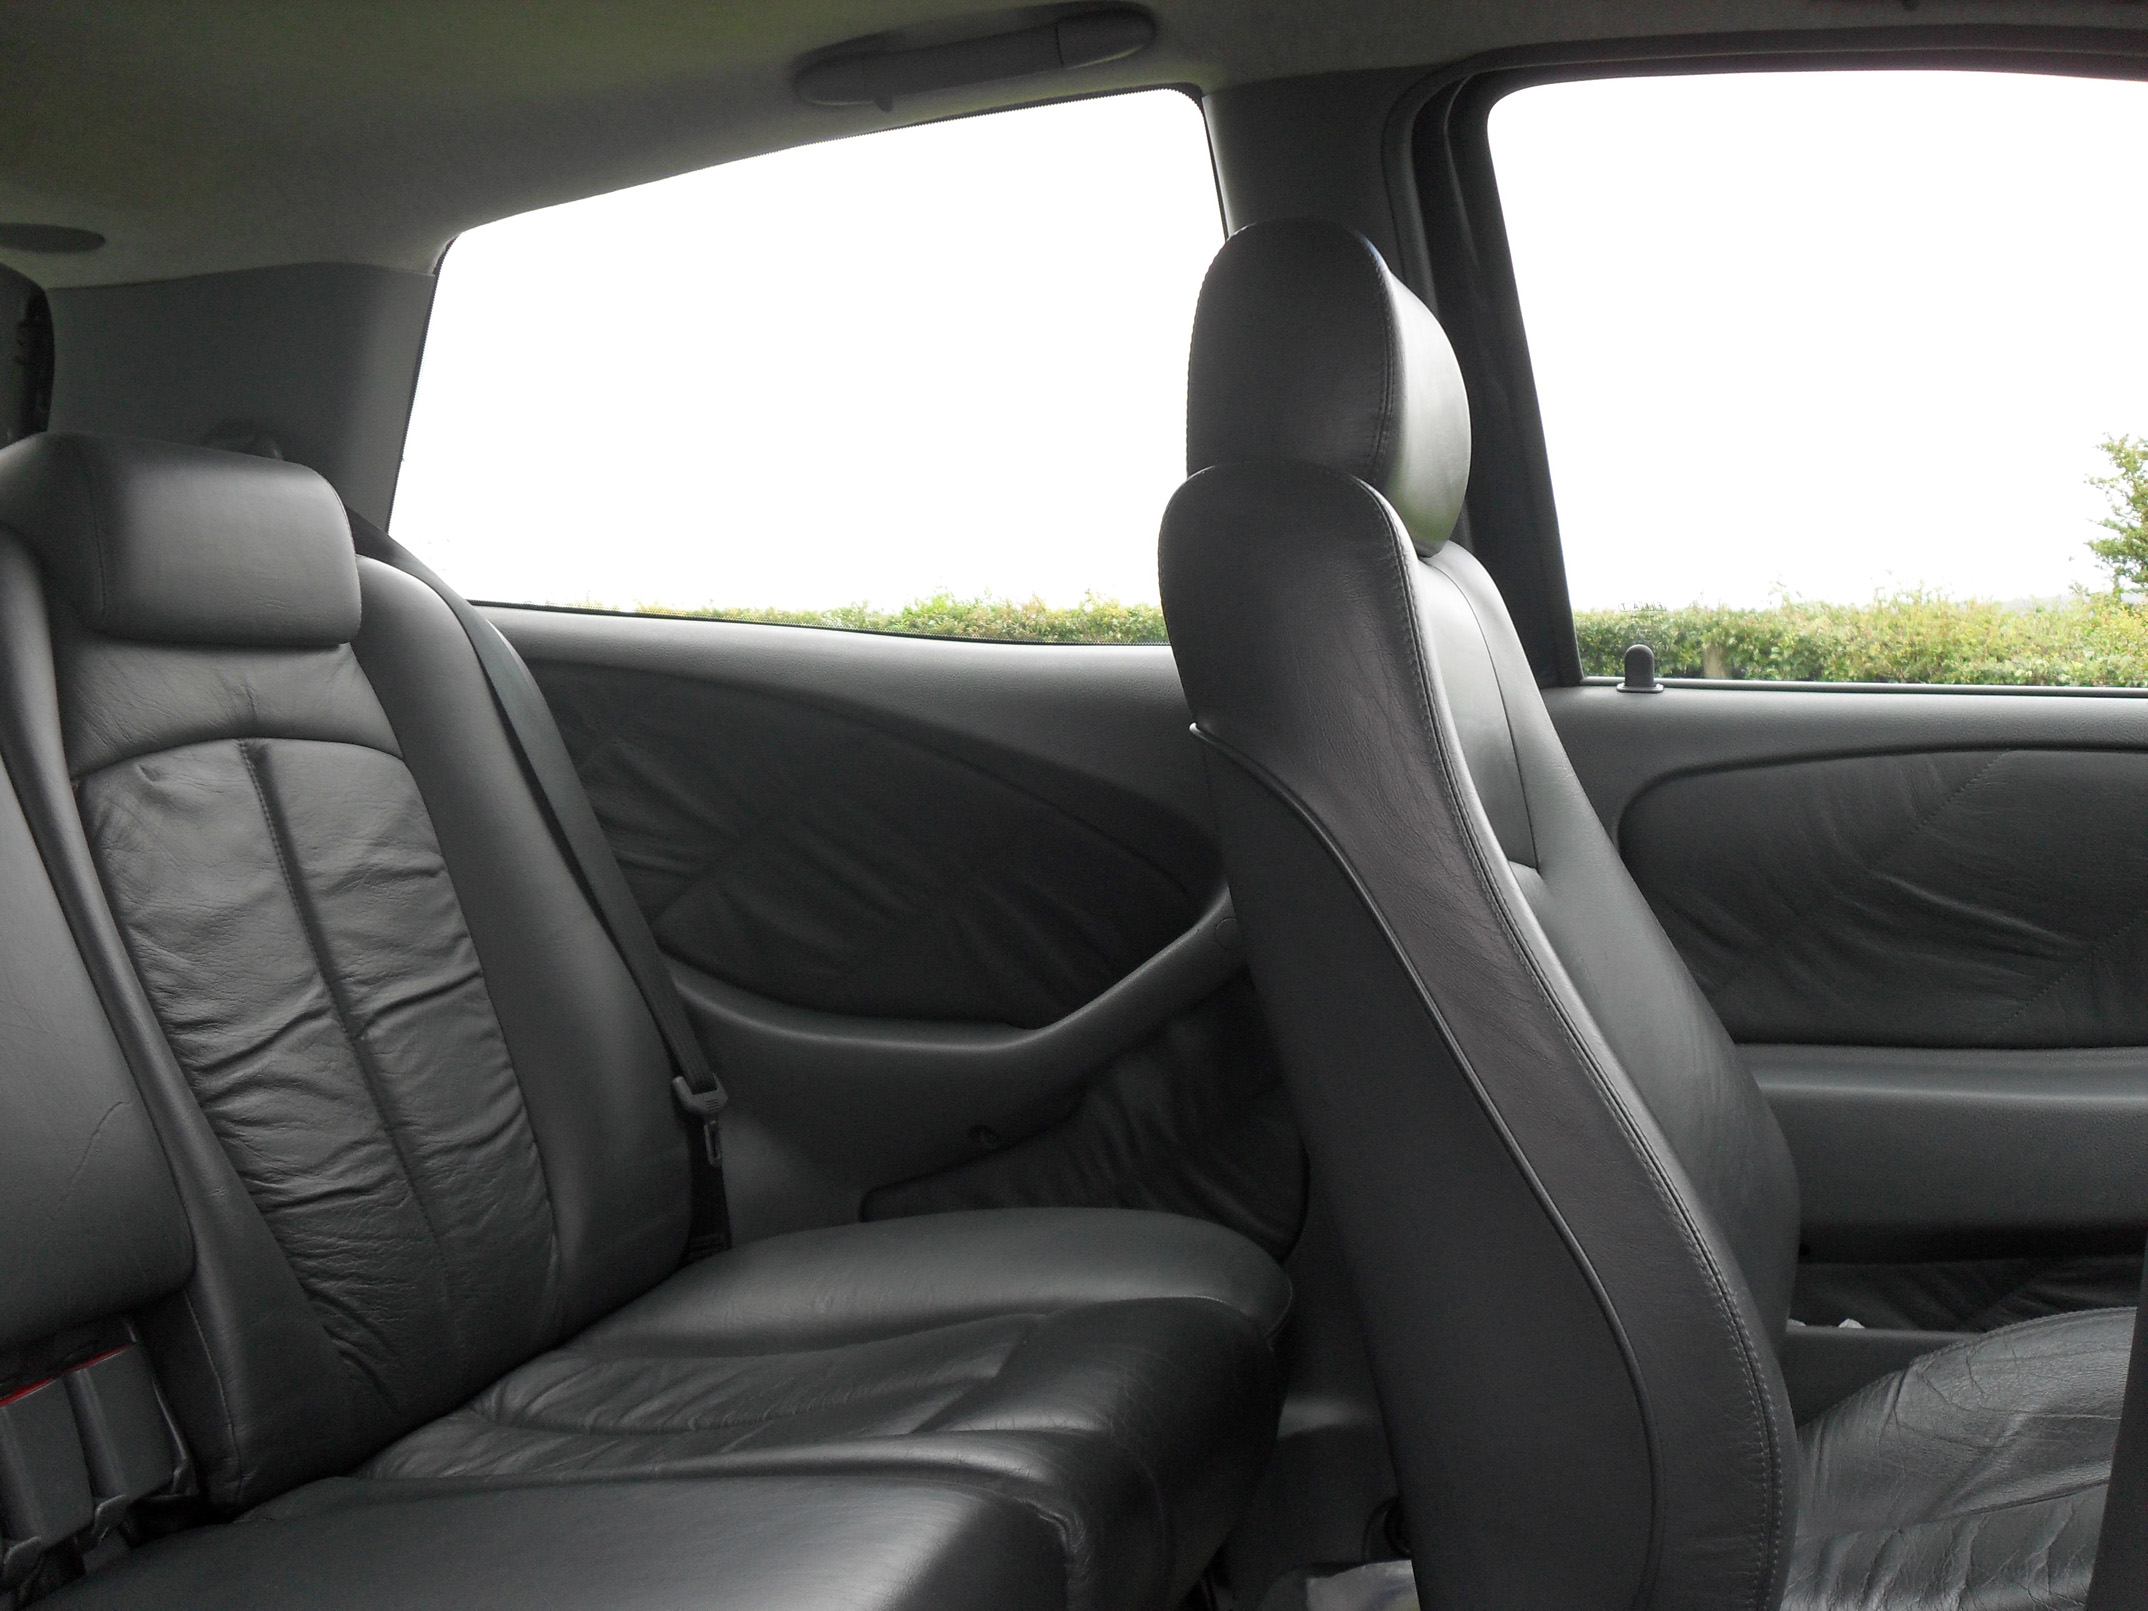
-Full Leather Interior
-Leather Squeak Fix
-Aircon cabin filter
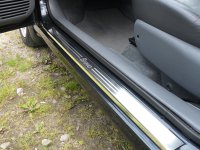
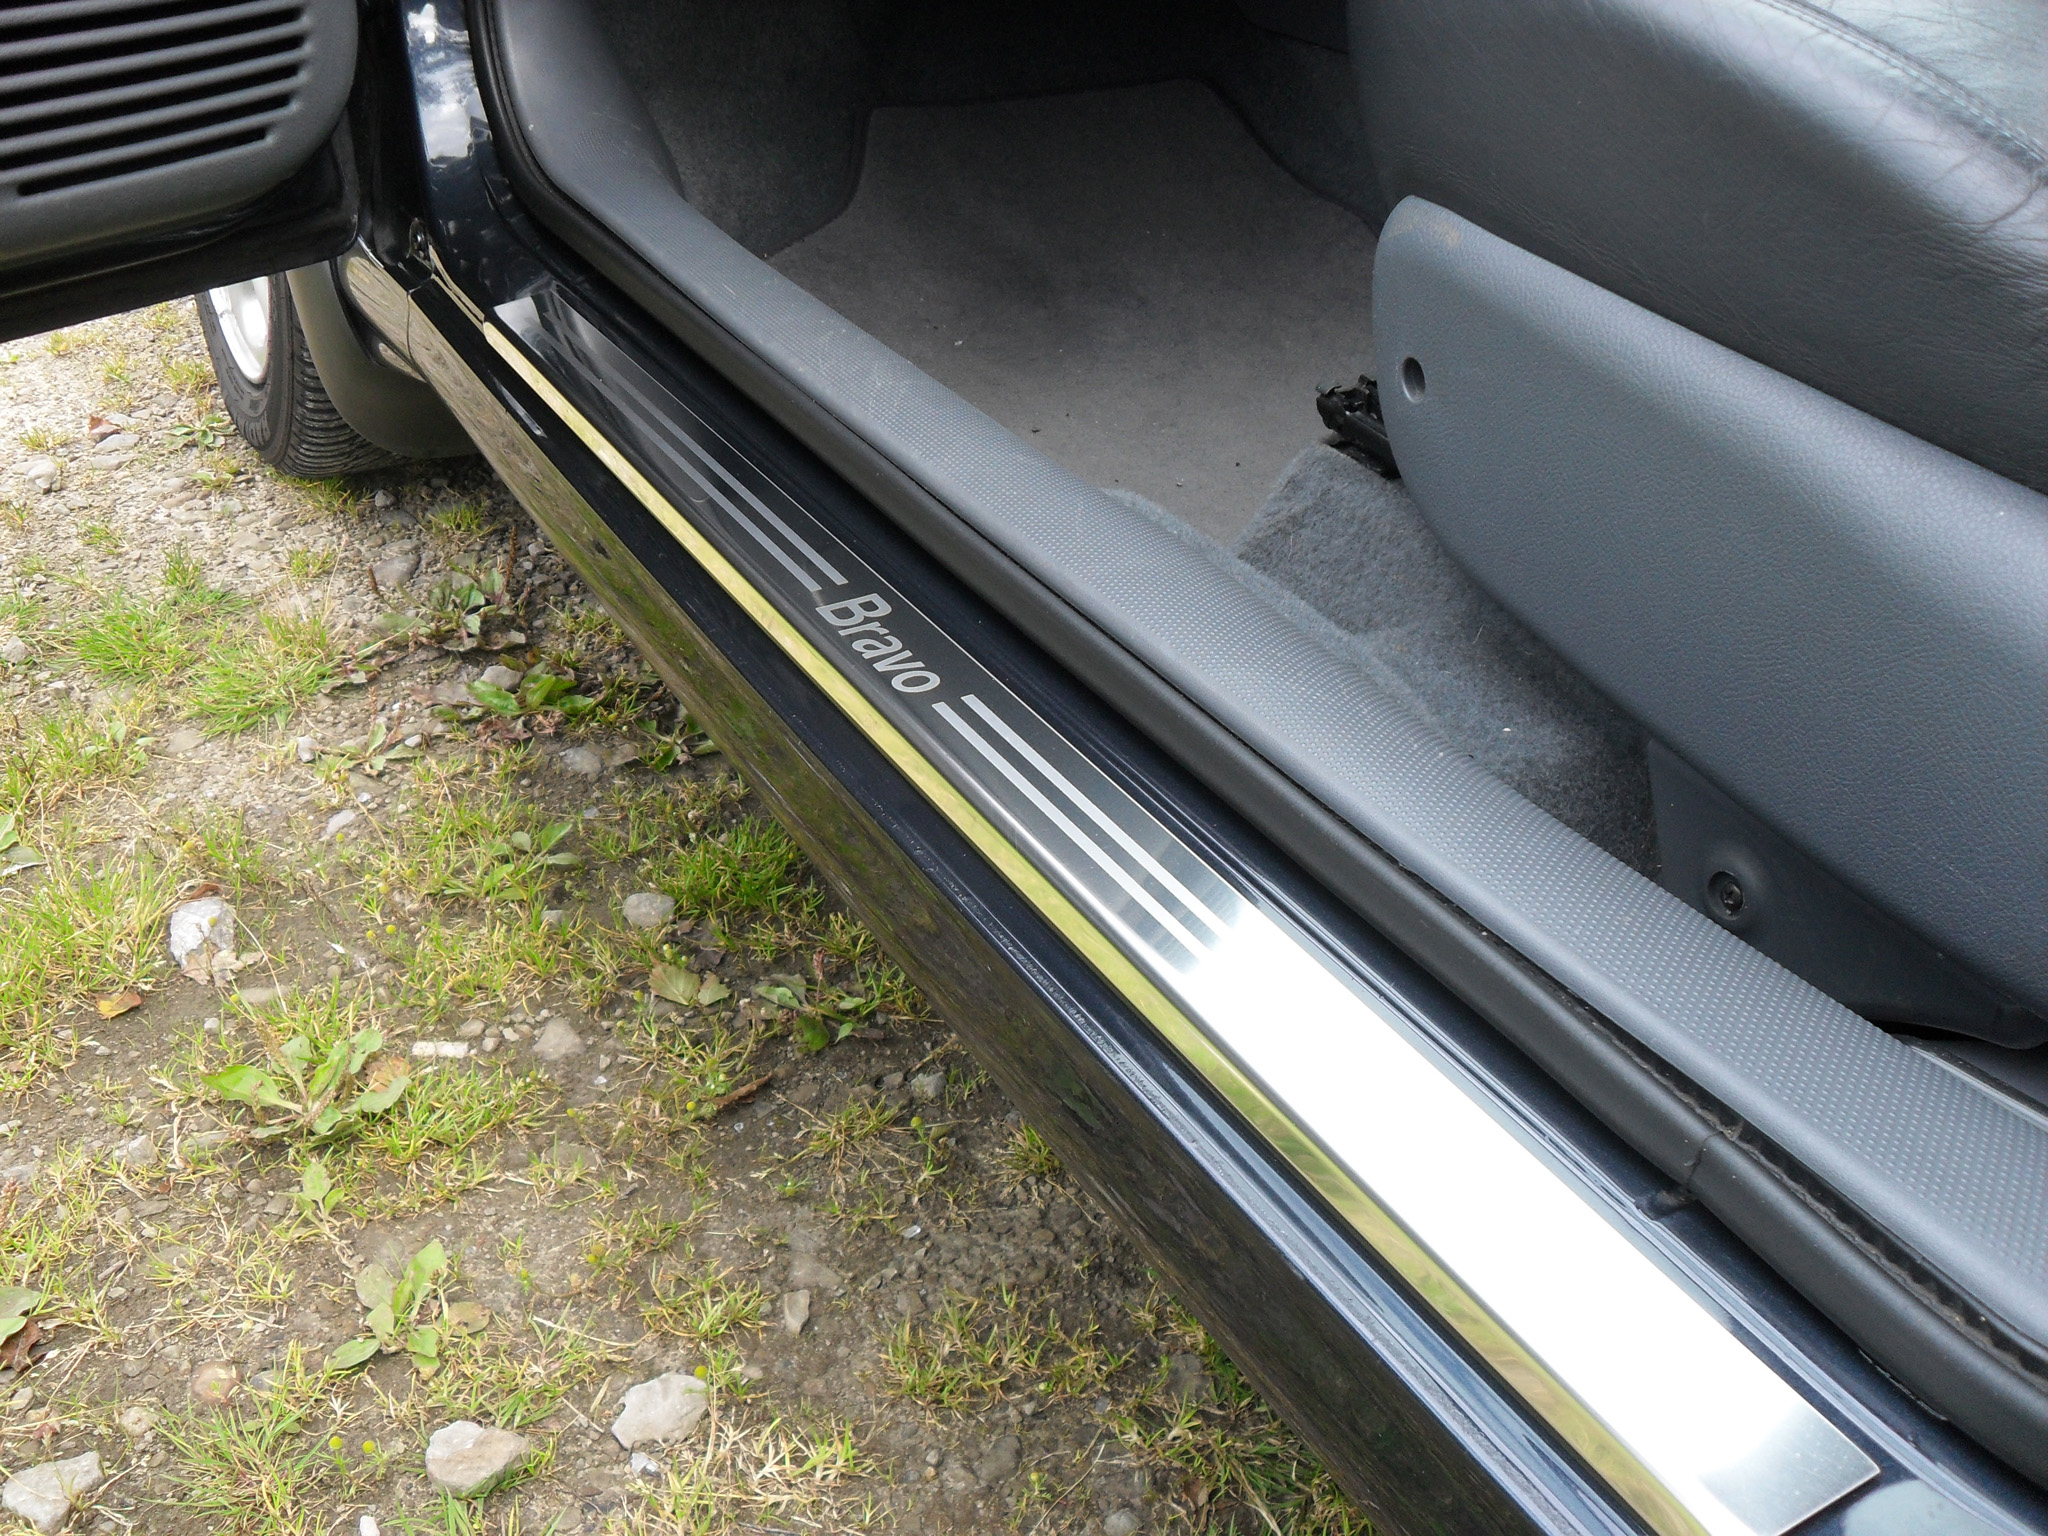
-Lockwood Stainless Steel Kick plates
-Bravo 2007 Washer Jets
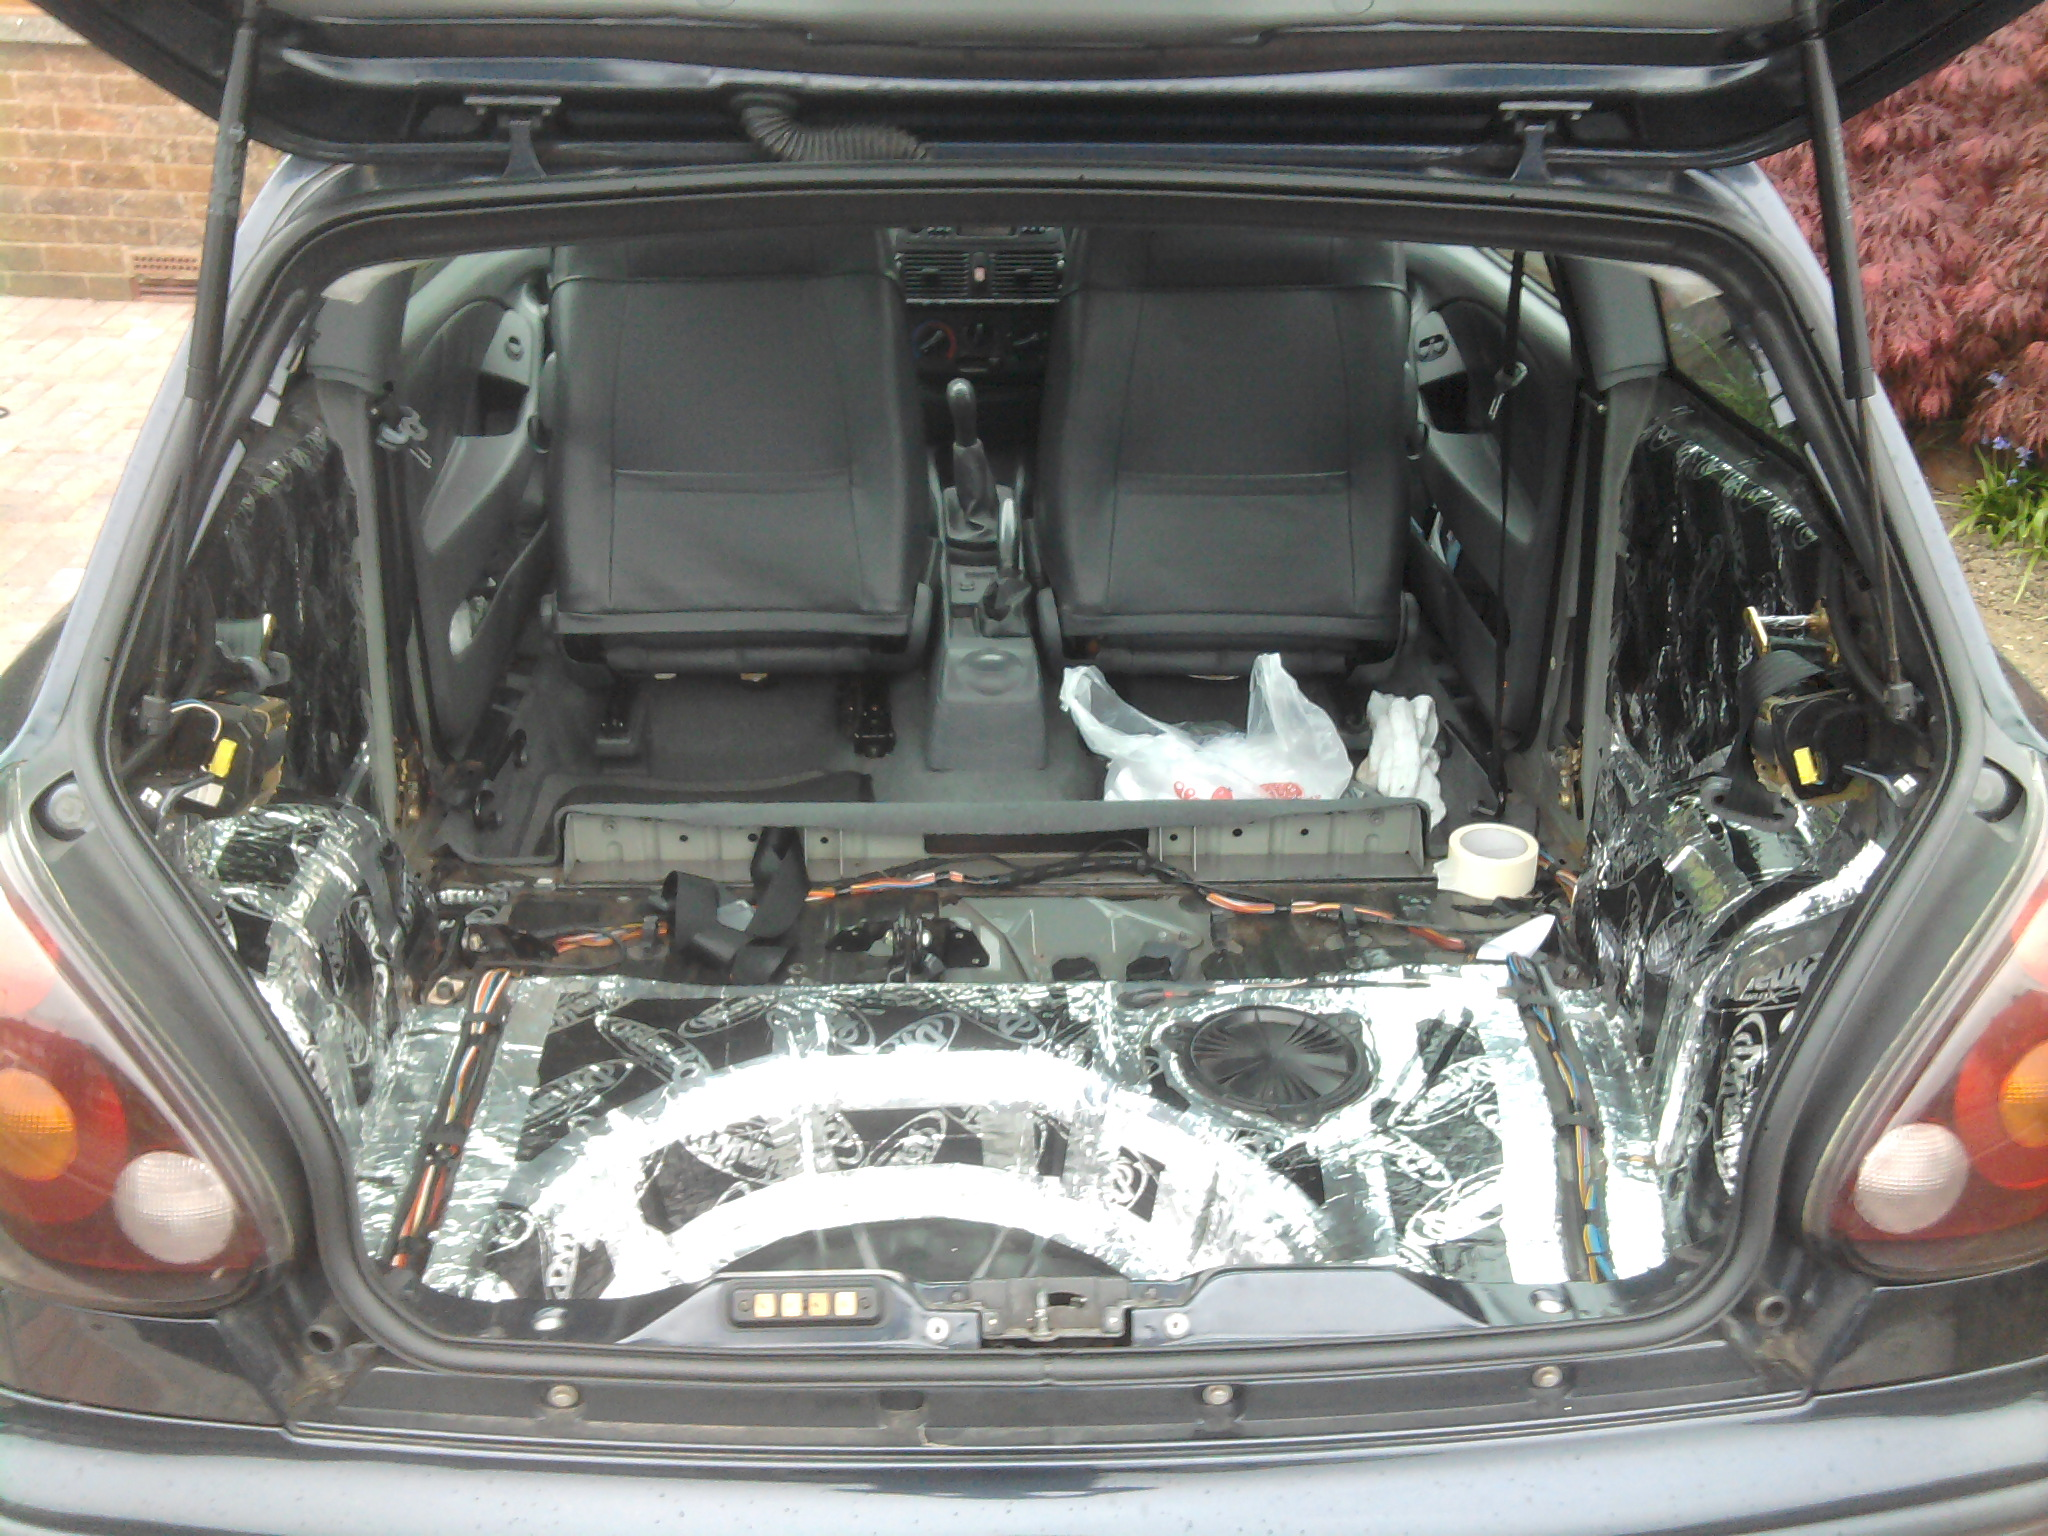
-Sound proofing on the rear wheel arches
-Front Mud Flaps (Fiat original PN:5908473)
-Rear Mud Flaps (Fiat original PN:5908745)
-Dark In-Pro Side repeaters (E marked)
-New totally plane number plates
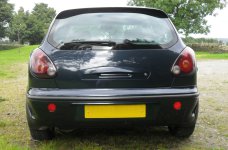
-European rear right cluster for extra symmetry
-Polished and Painted lip round rear light clusters
-De-badged boot
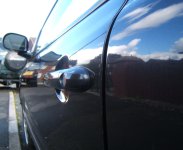
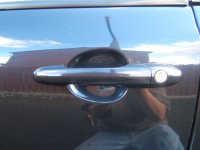
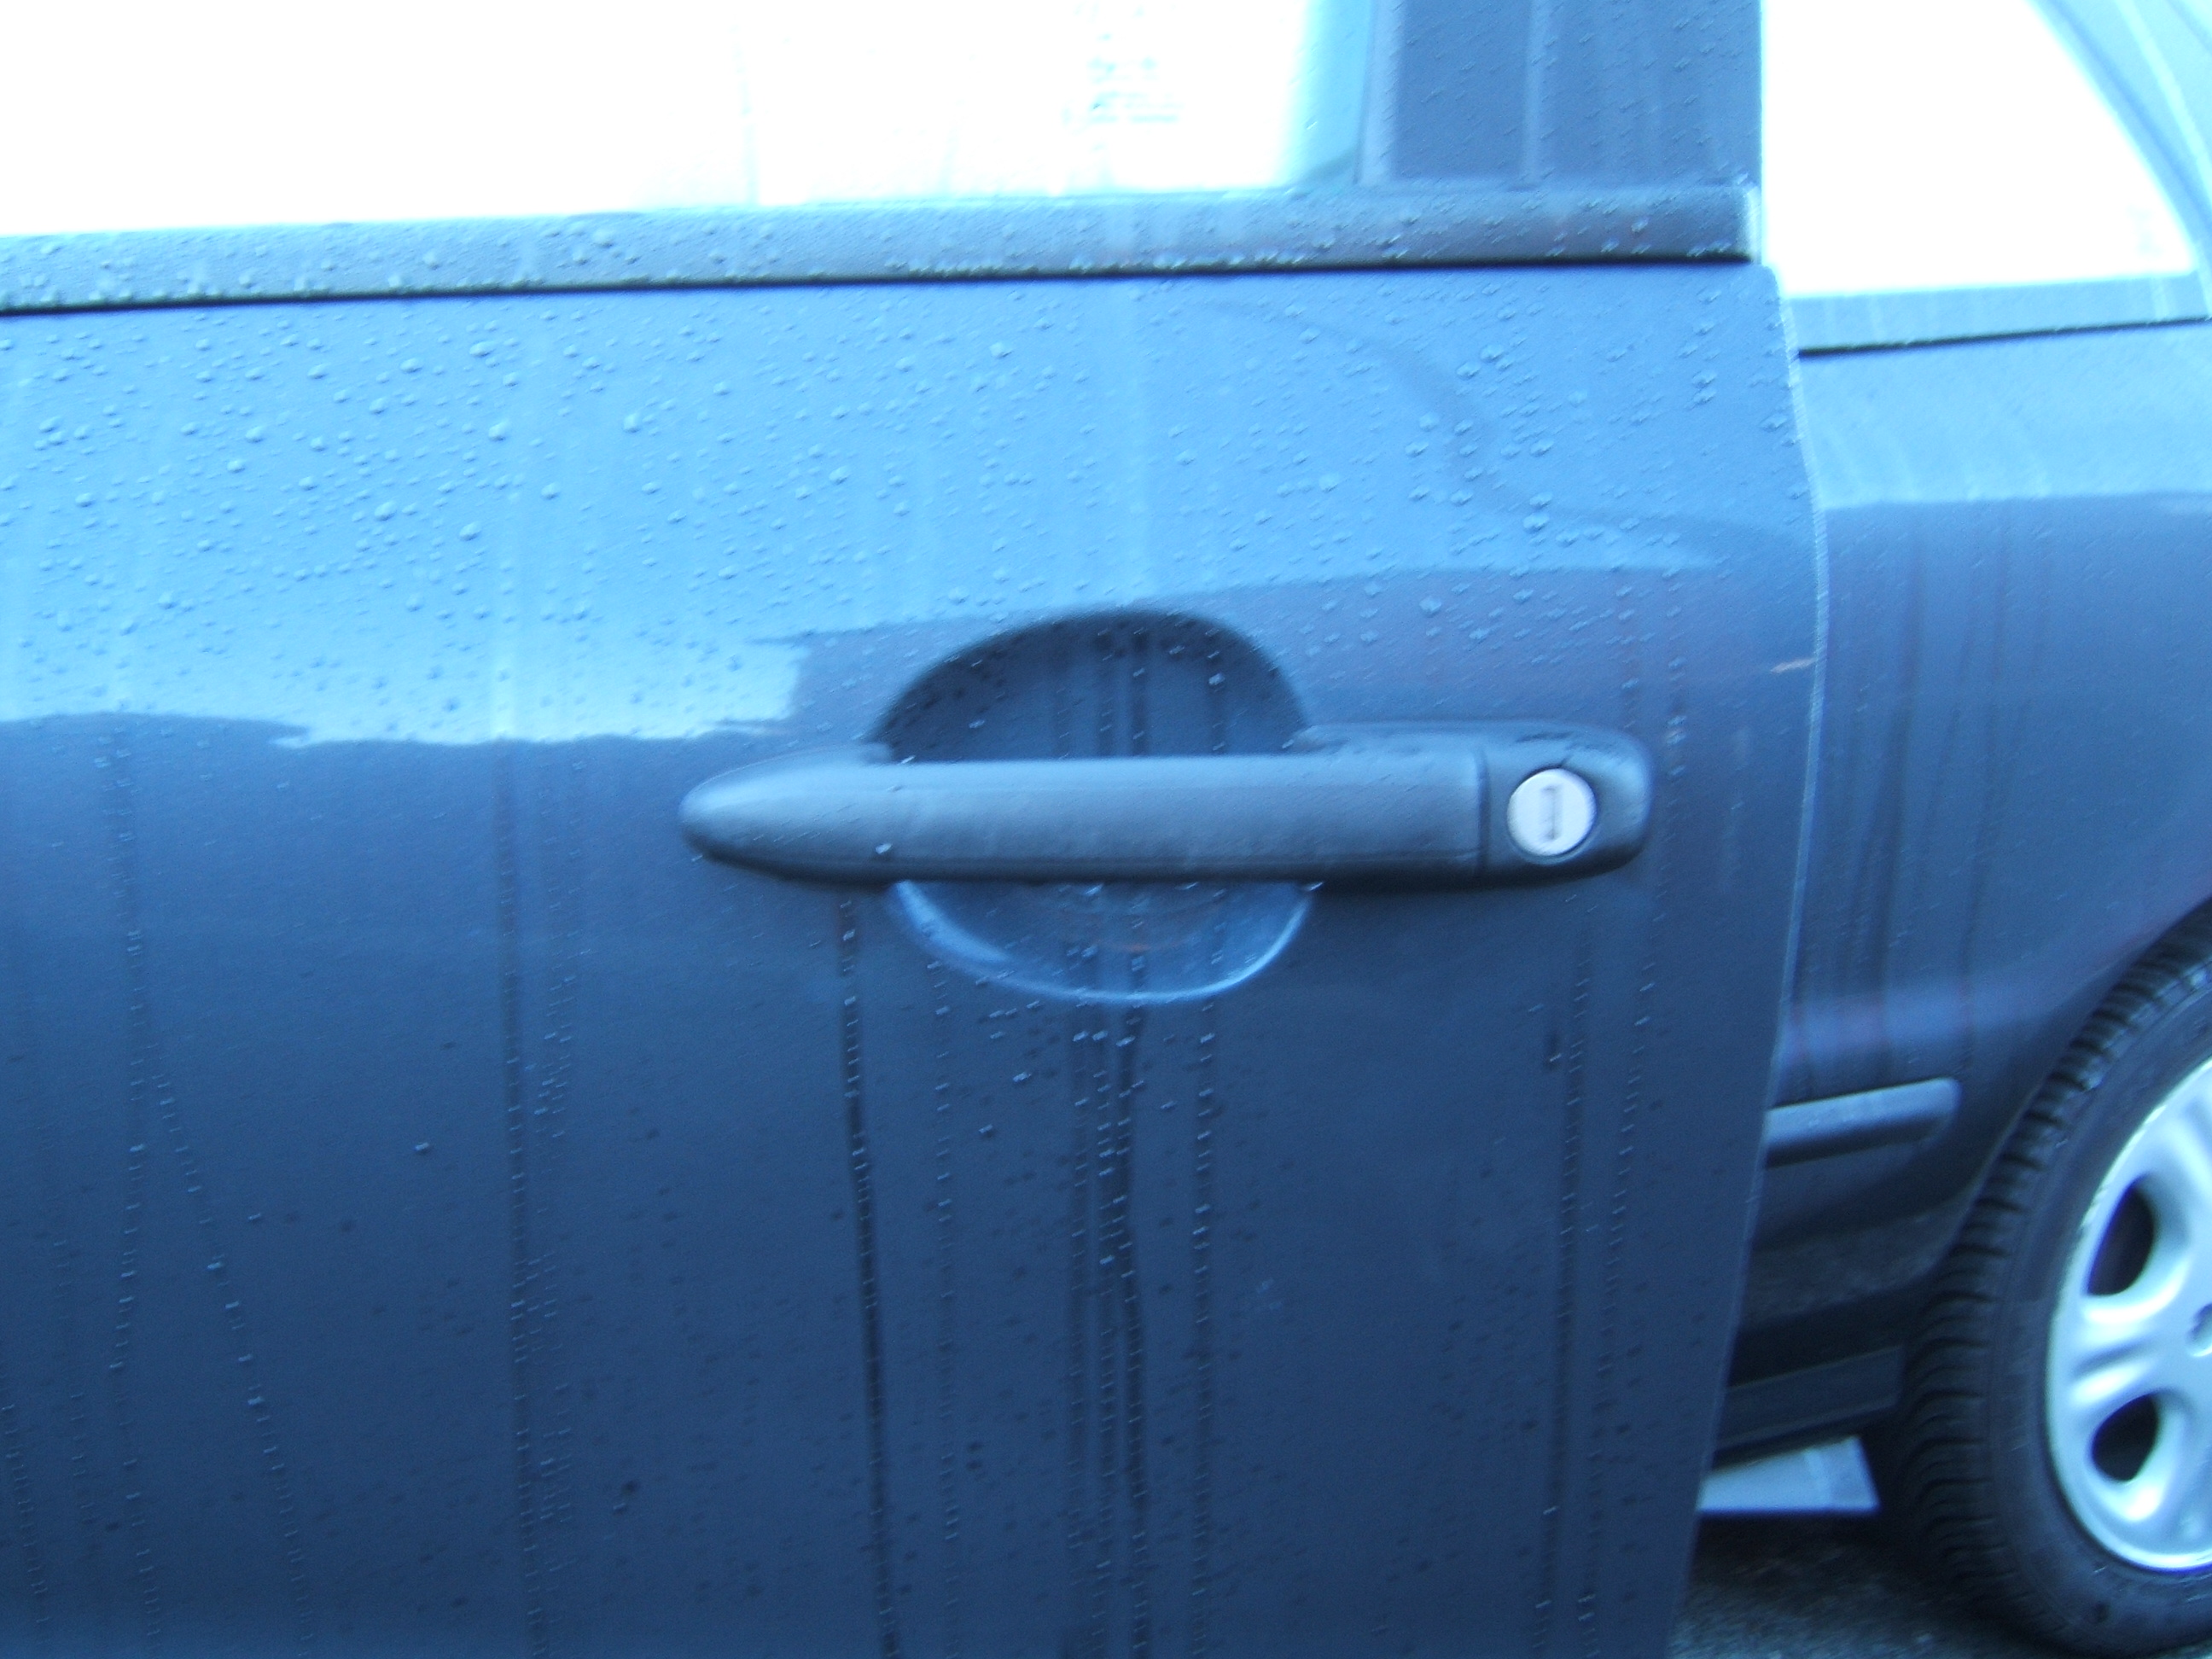
-2007 Fiat 500 Door Handles Colour Coded
-Shaped Grey Floor Mats
-Passenger Wiper wind deflector (Modified/Fiat original)
-Bosch AeroTwin AR551S 22"20" Wiper Blades
-Original Fiat CD-Player AD1802H4
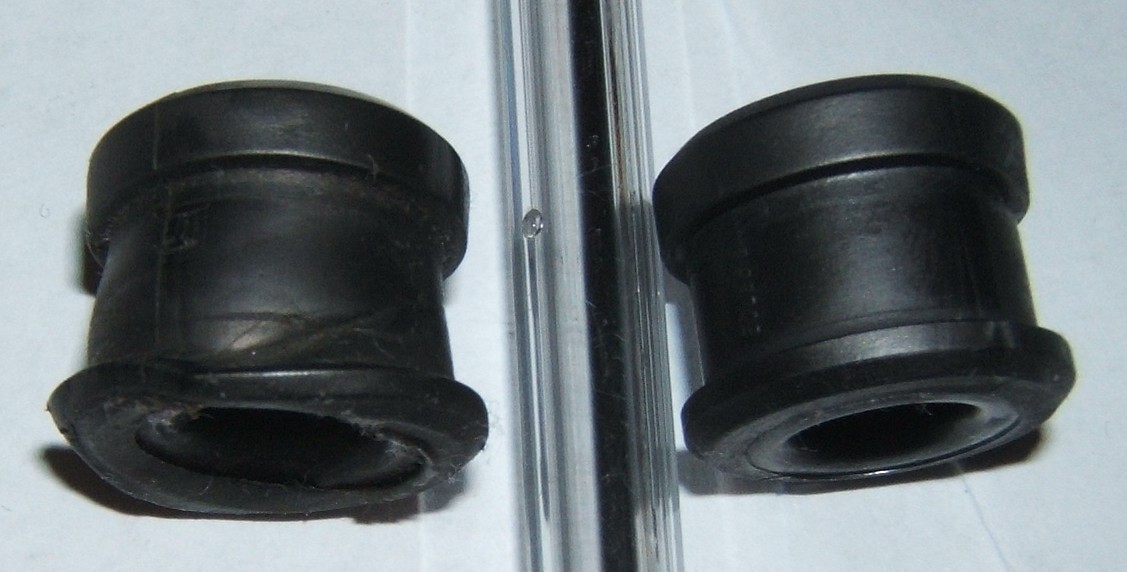
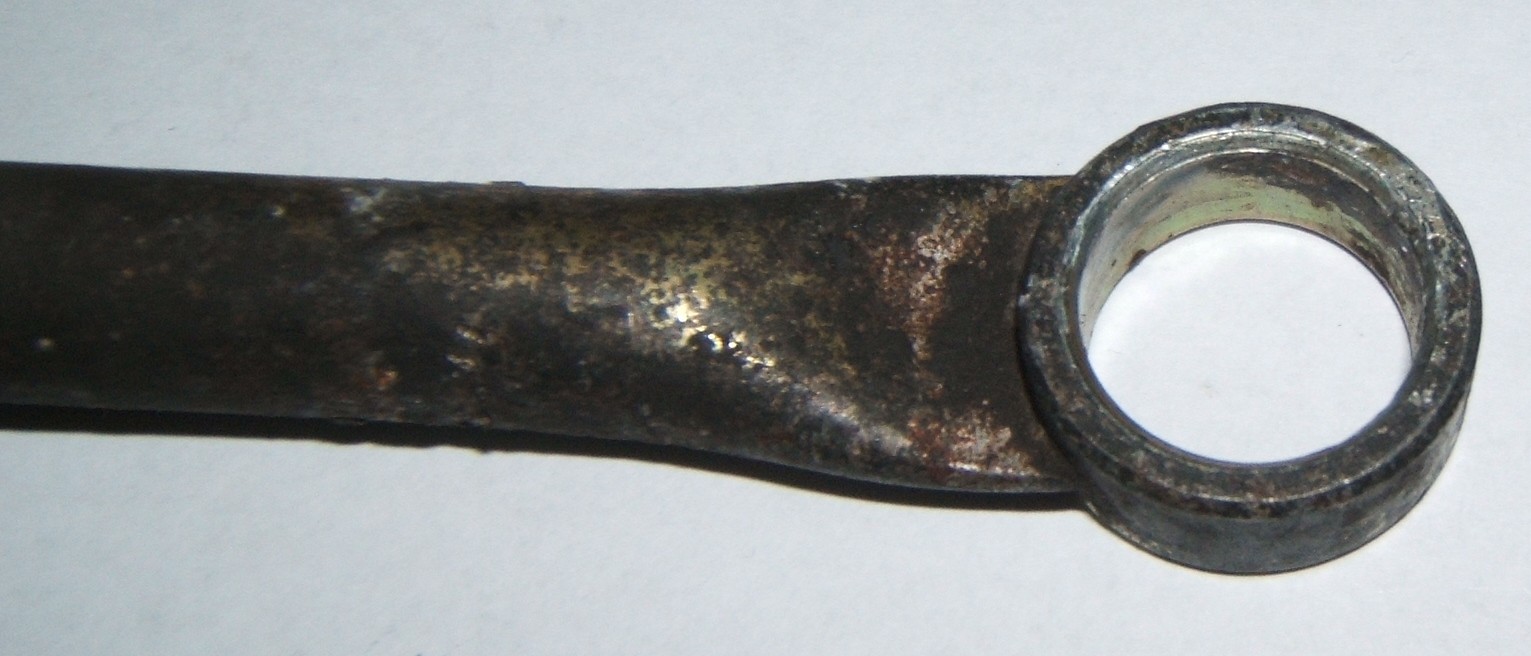
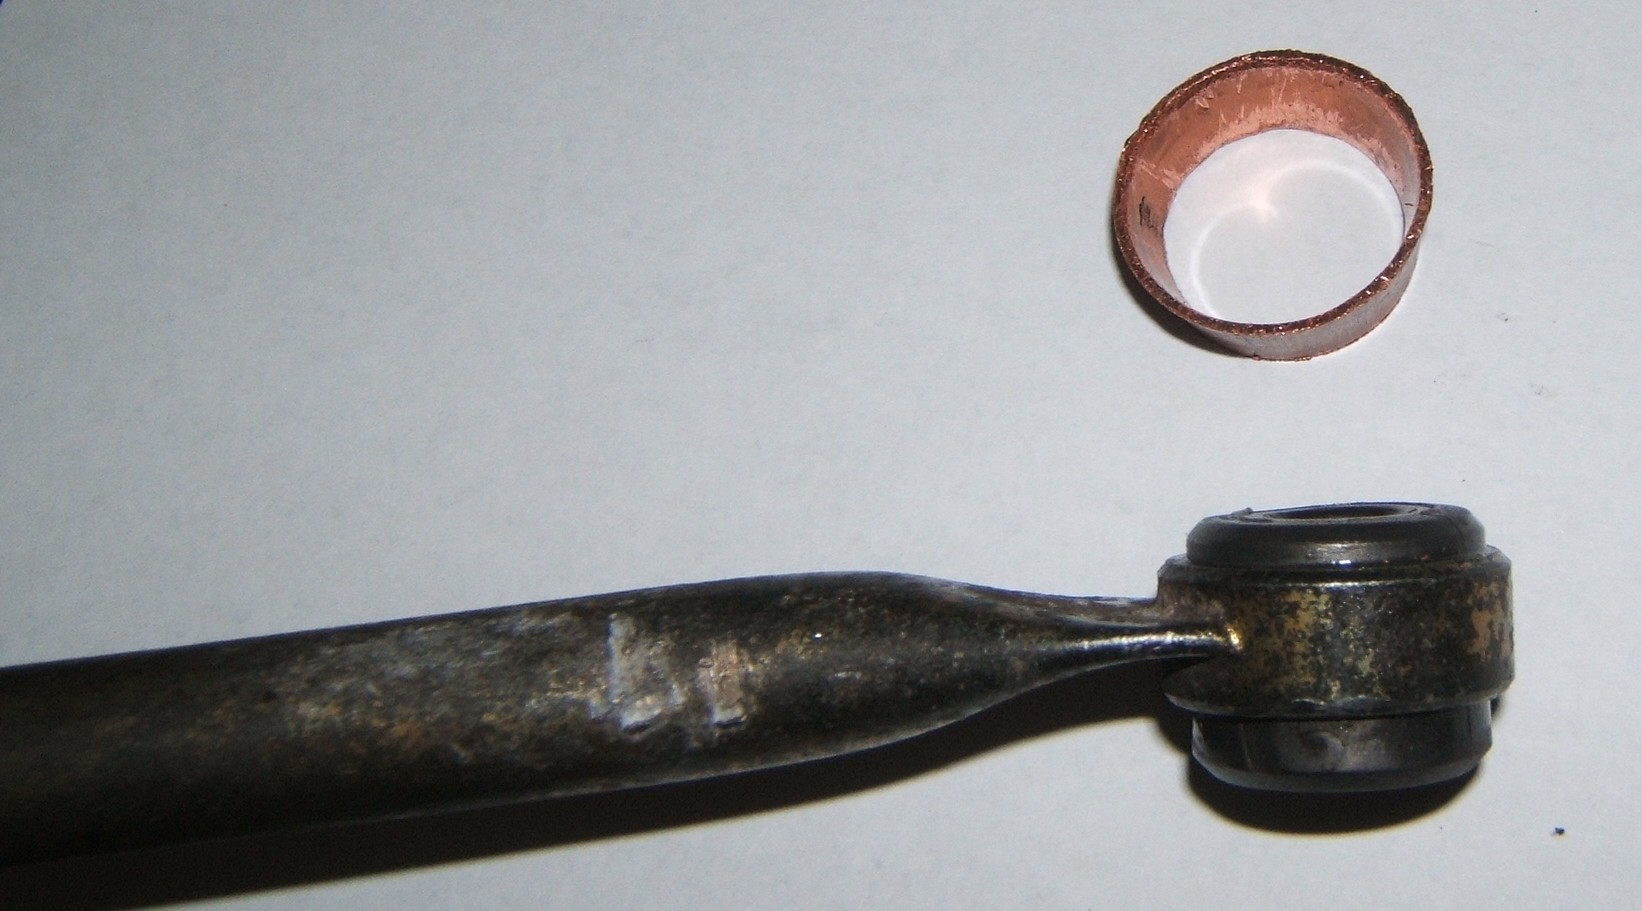
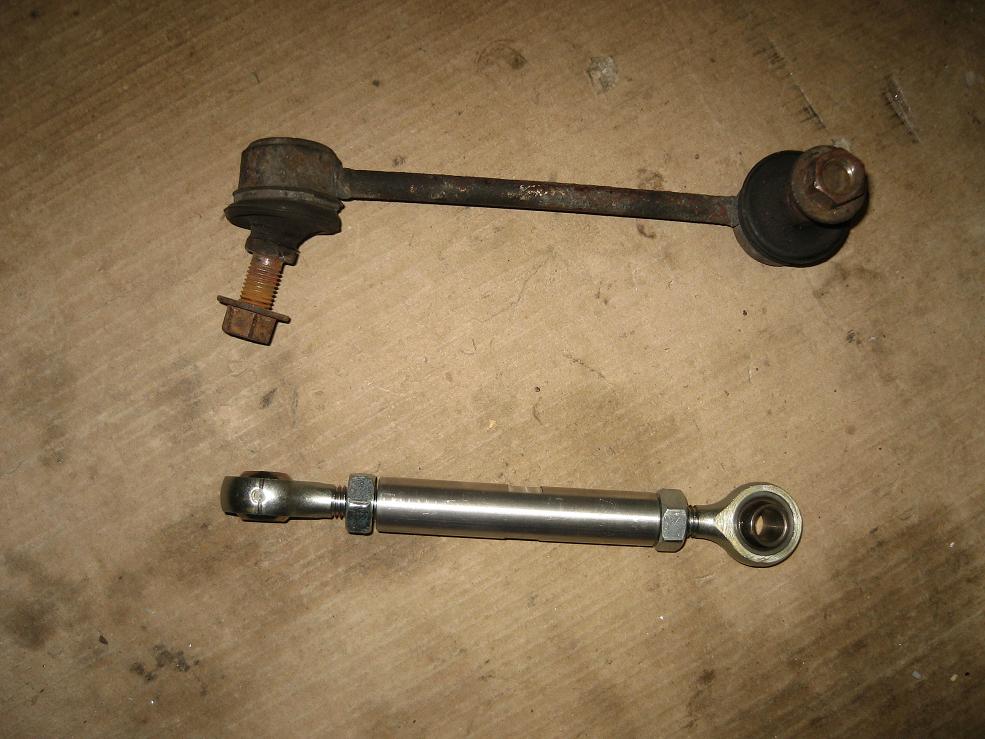
-Polyurethane anti-roll bar drop links.
-Flip Key Fob with remote central locking/alarm fitted (original keys untouched)
-Longlife Stainless Steel Exhaust System.
-Optima Red Top Battery
-Various engine bay bolts changed for Stainless Steel bolts
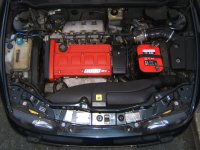
-Powdercoated Camshaft cover in crinkle Red
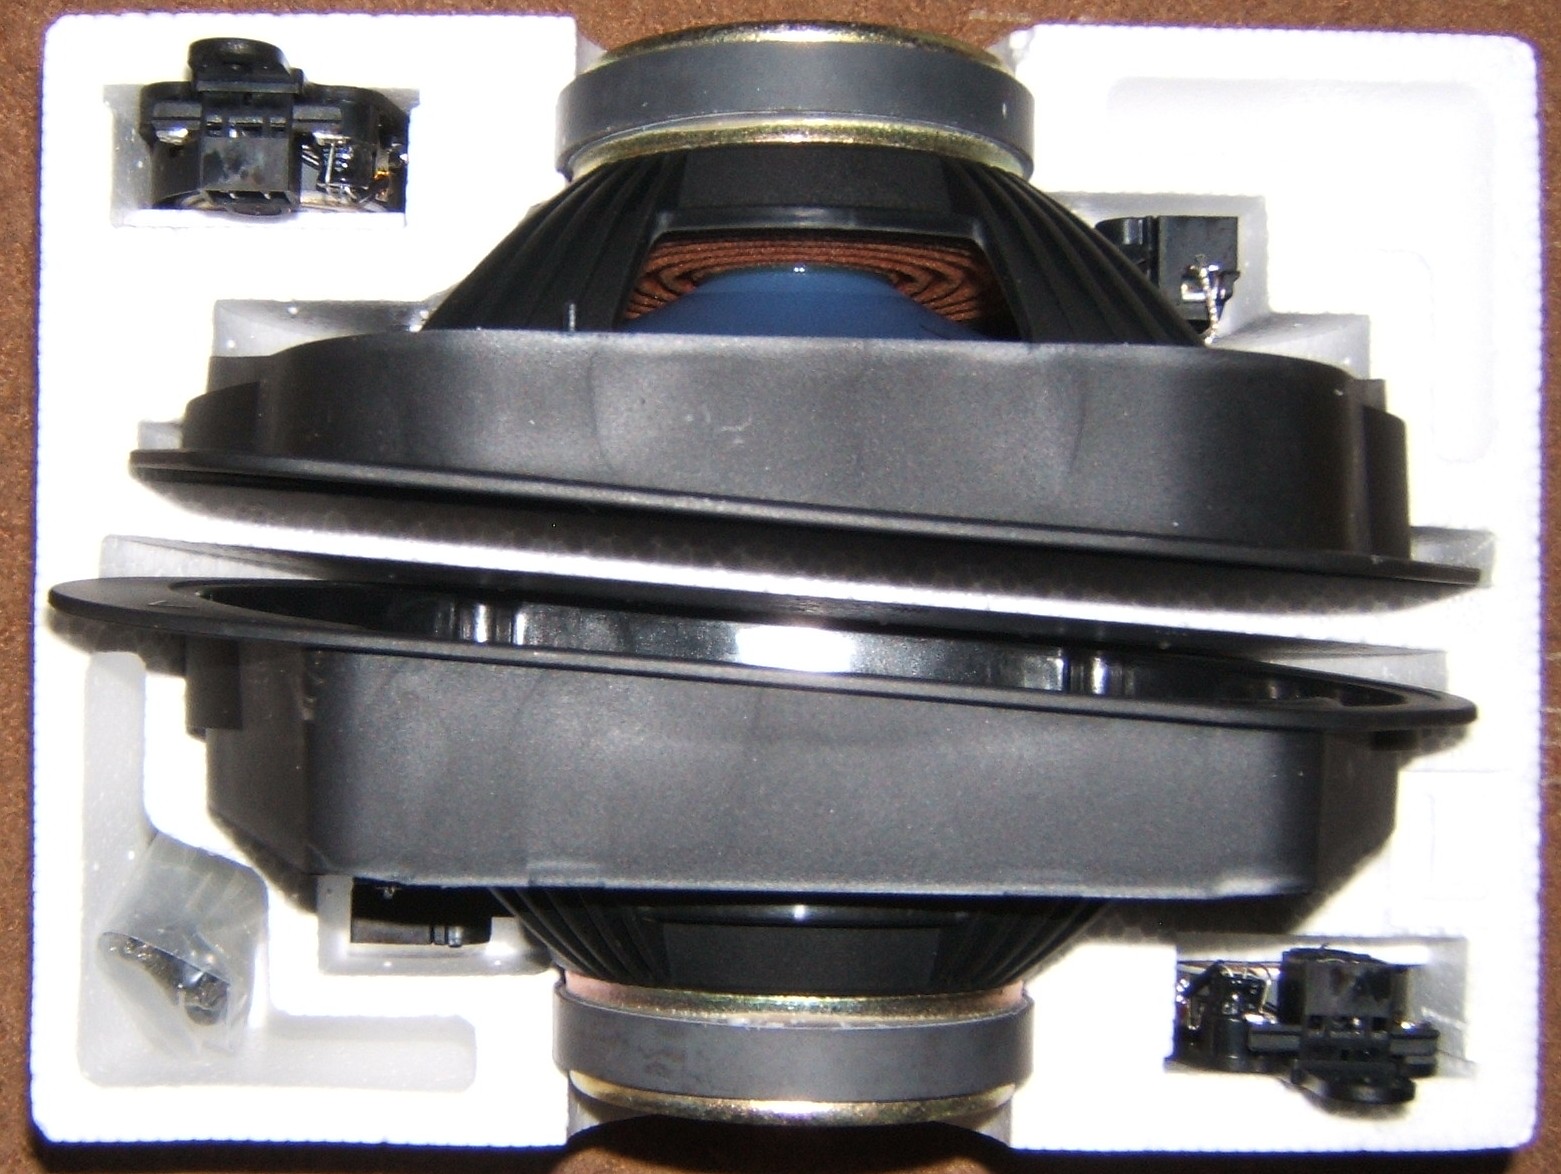
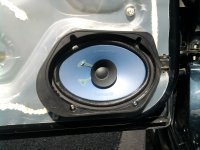
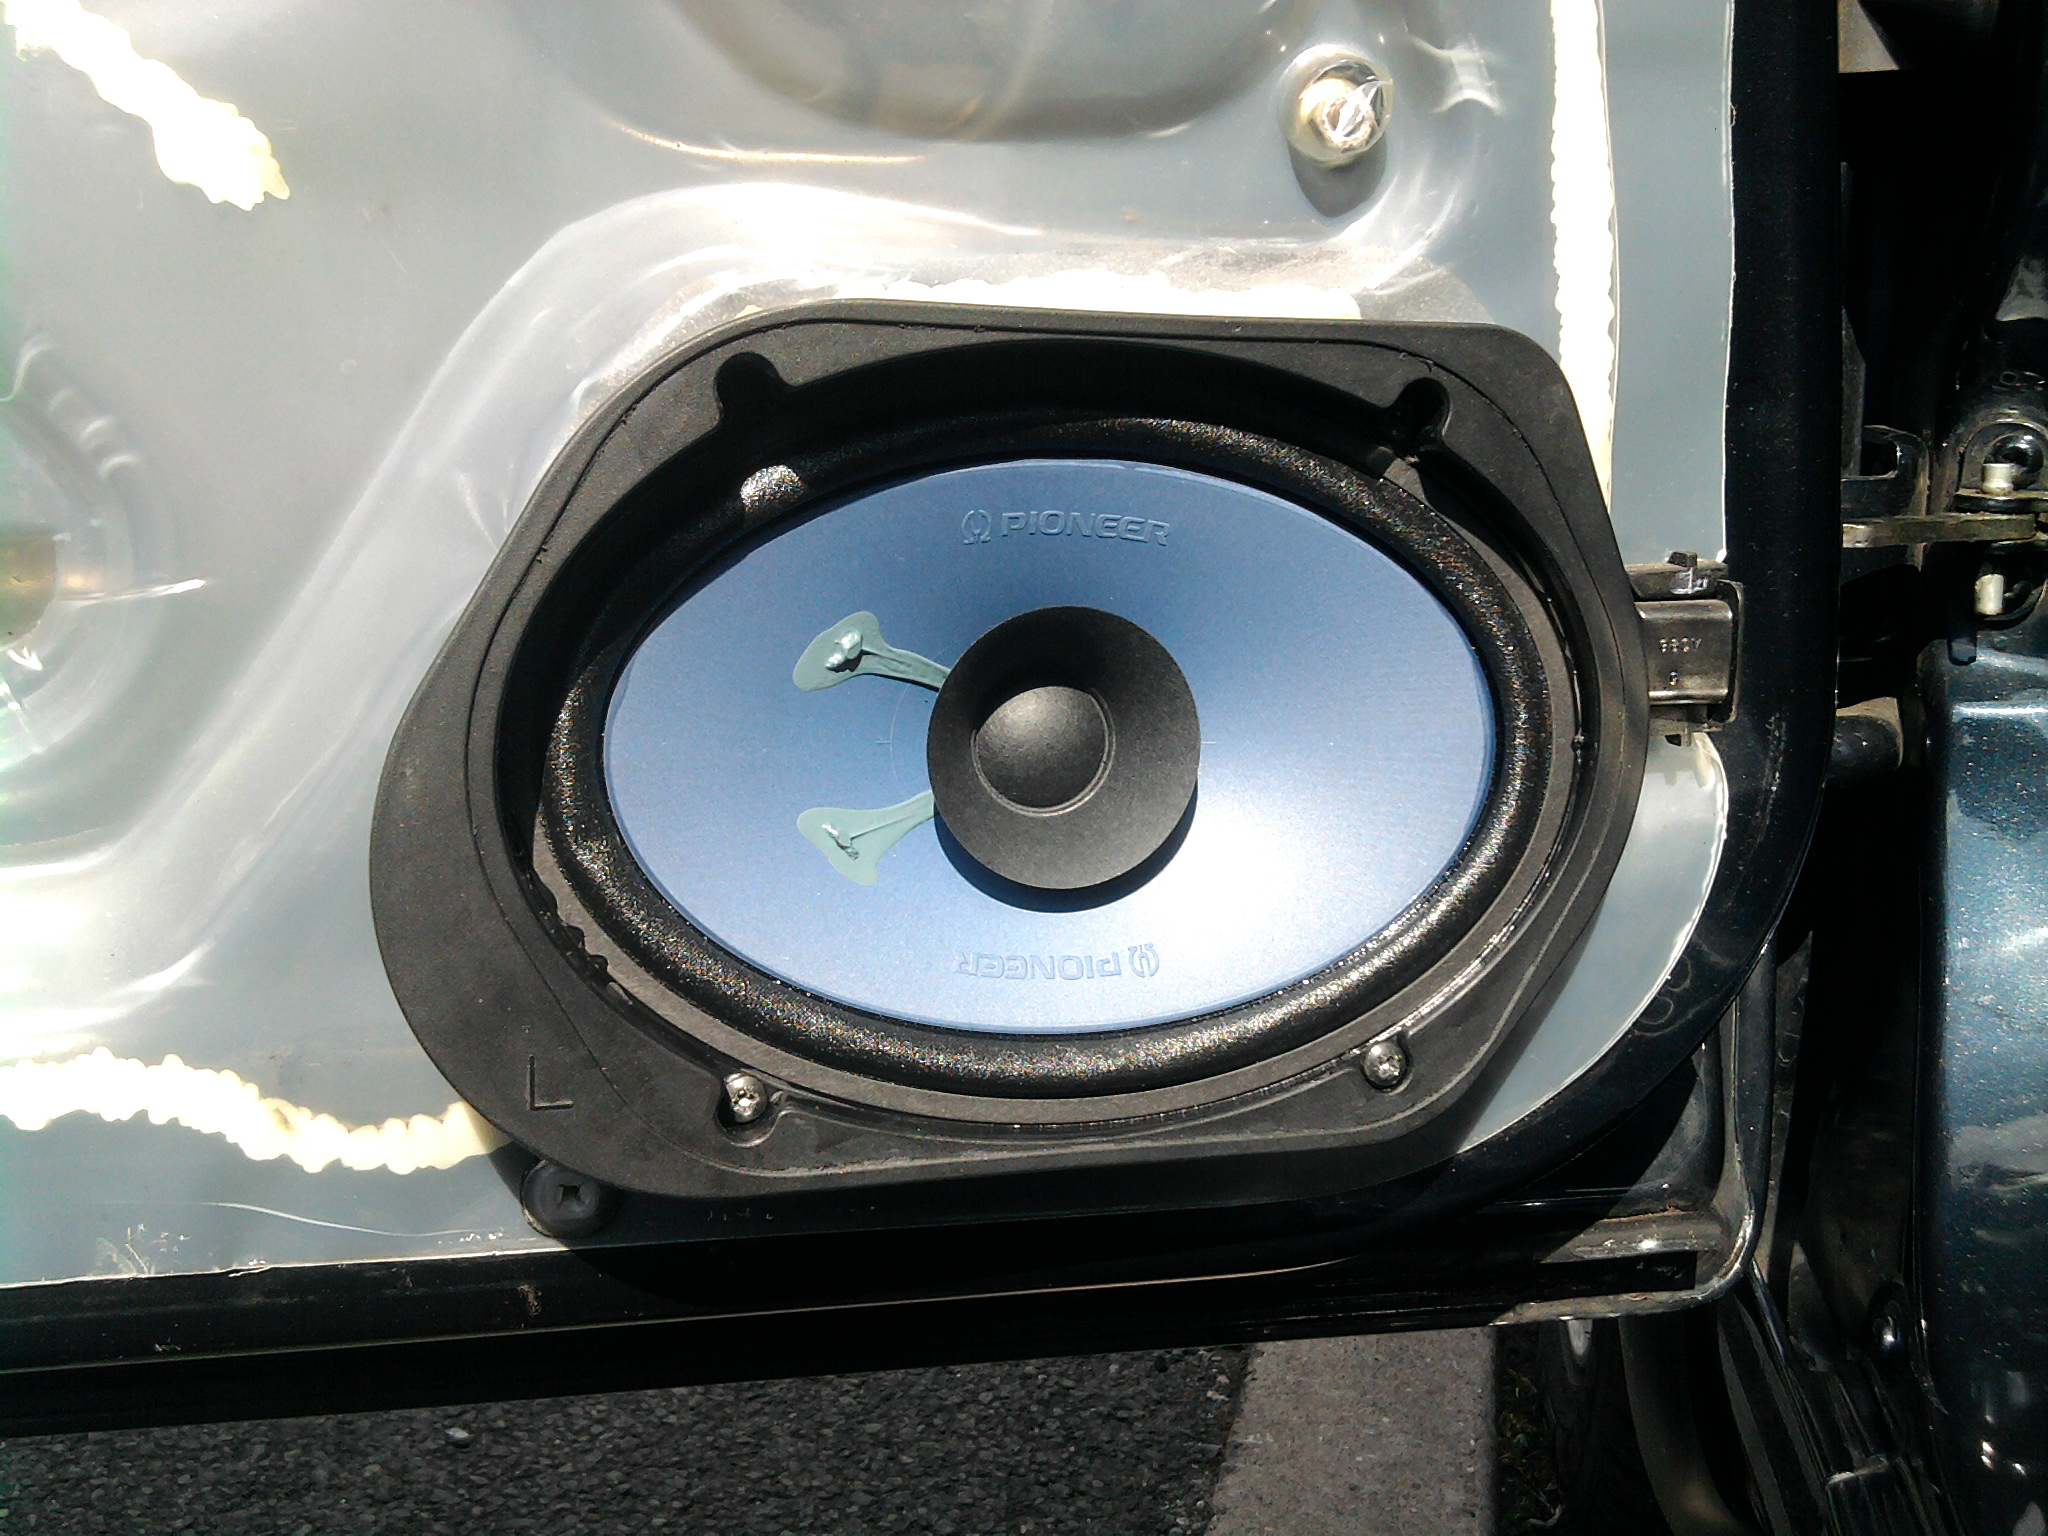
-Direct Replacement Pioneer TS-575 80W Speakers and Tweeters
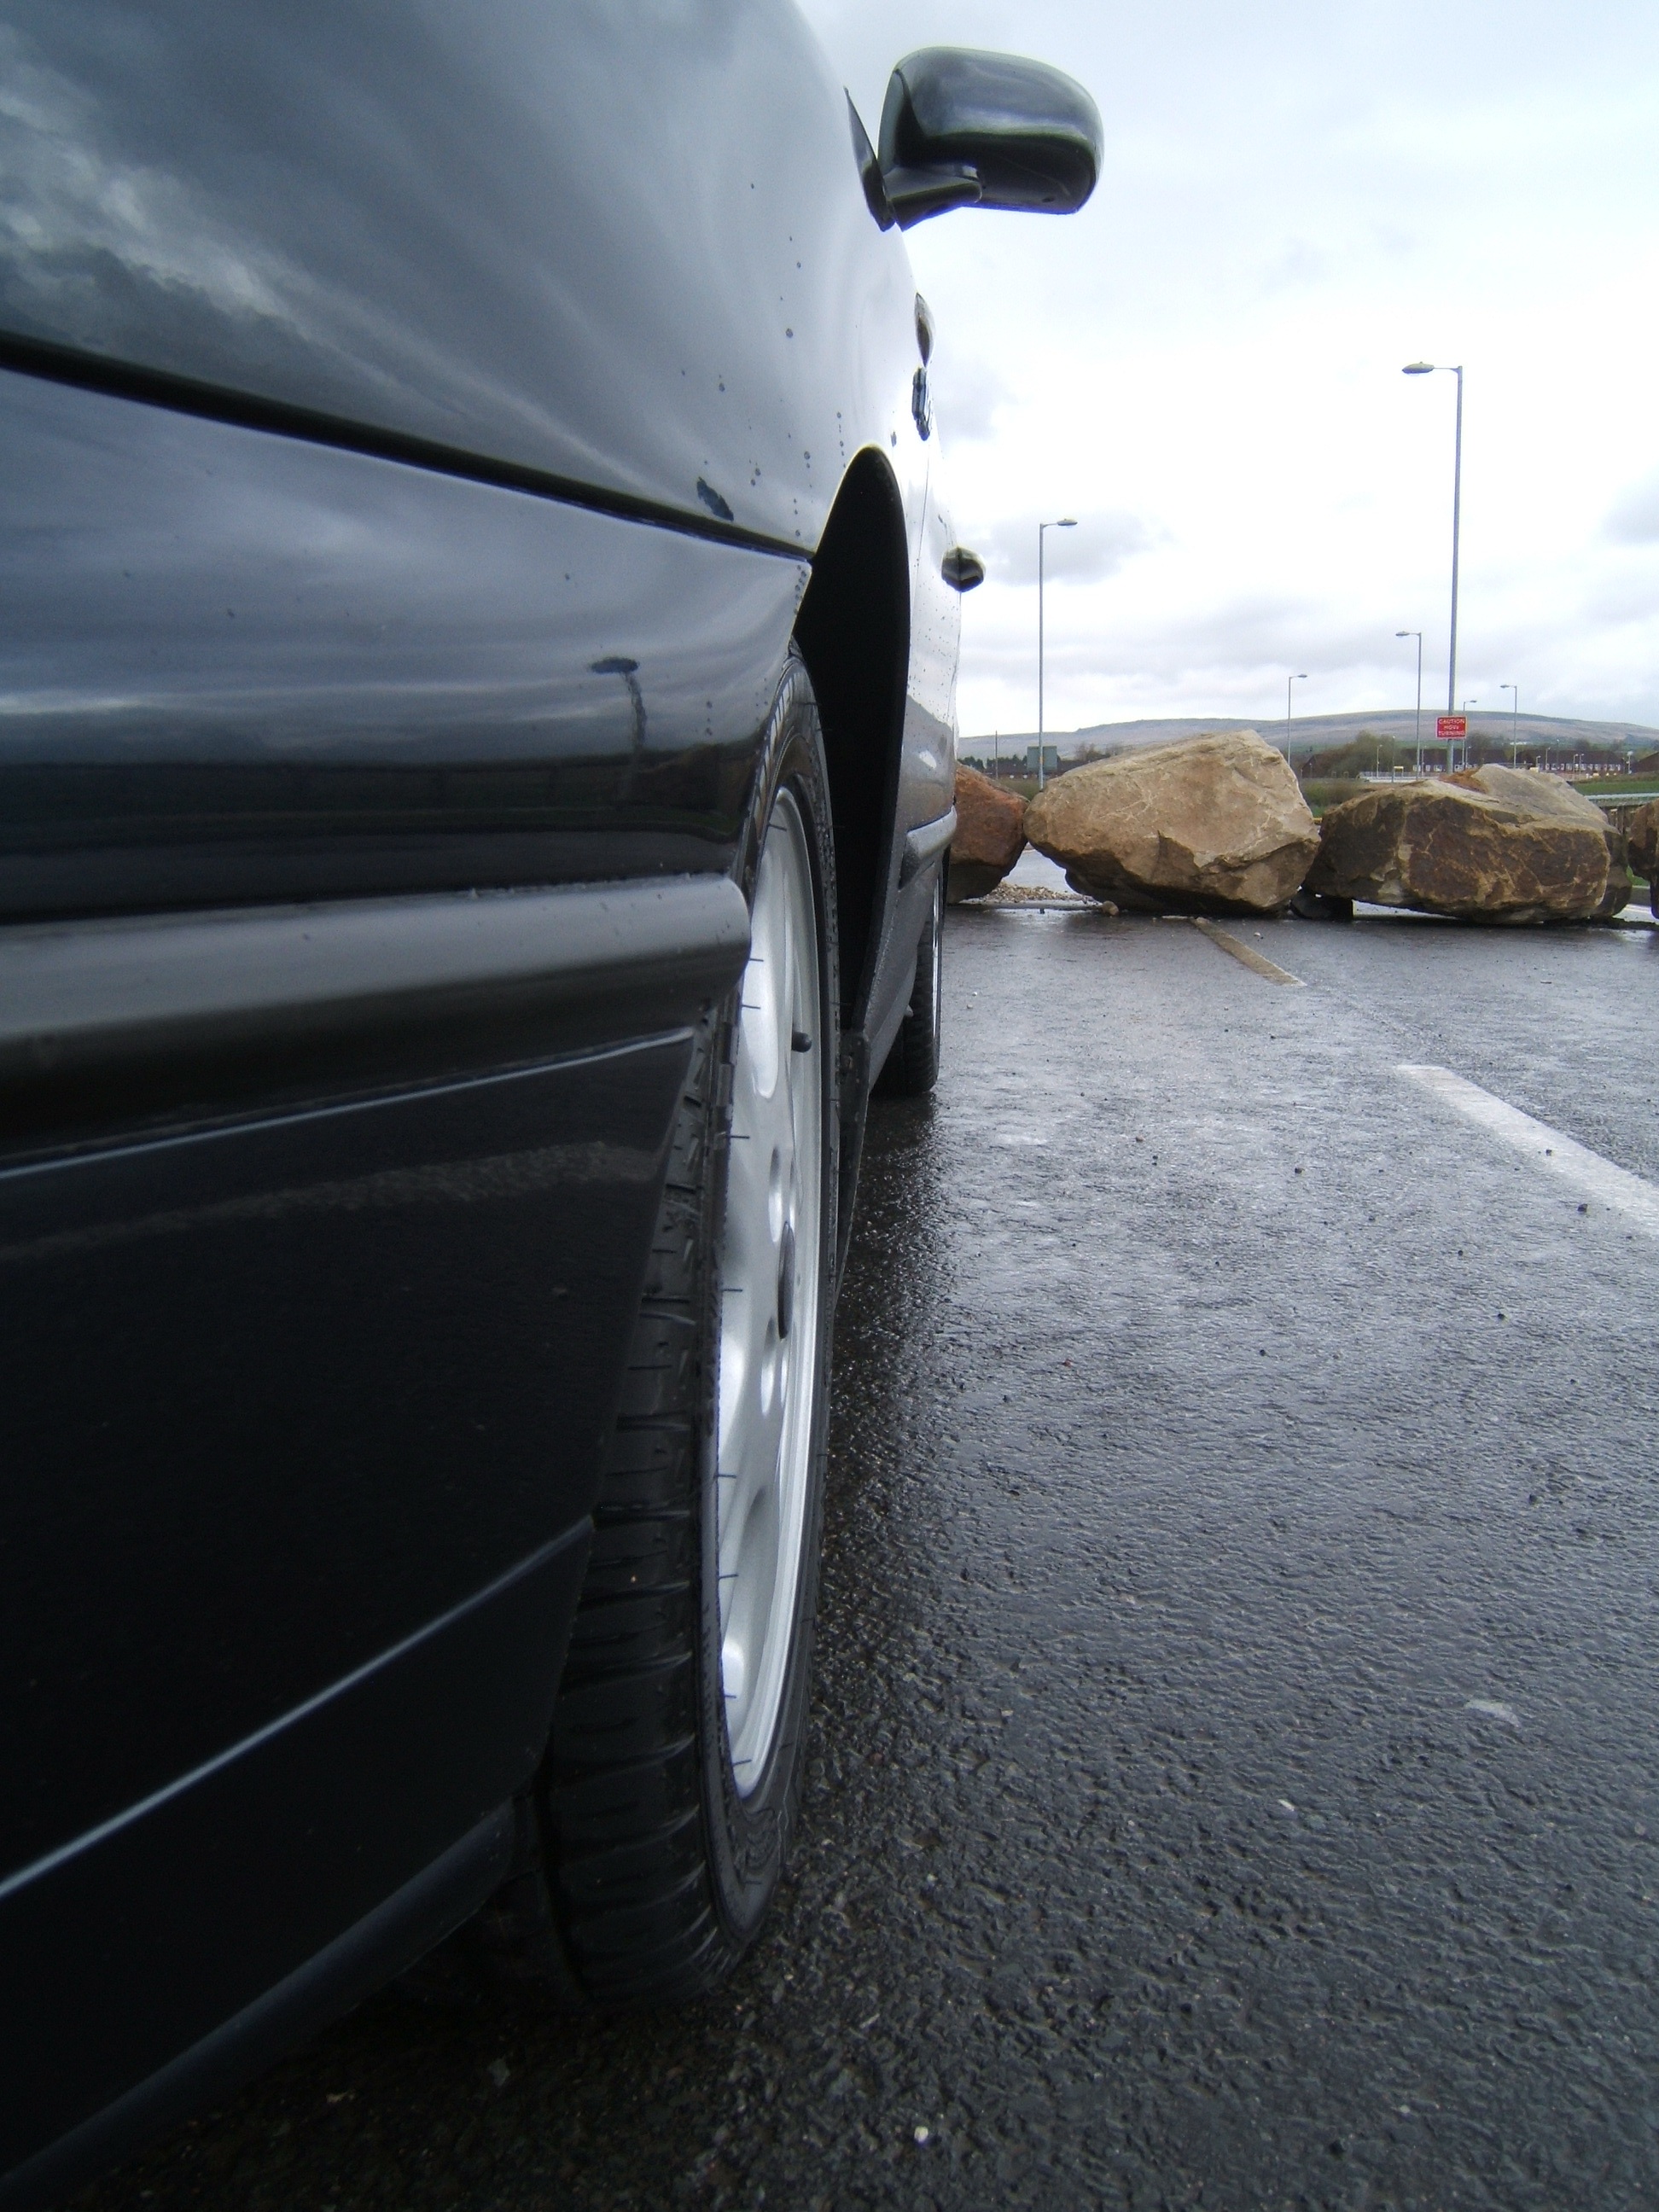
-Original wheels refurbished and powdercoated. Michelin Pilot Exalto PE2 195/50/R15V tyres. All 16 wheel bolts use an internal key. Stick on balance weights.
-Brava Mk2 Black Instrument Cluster Surround
-Dynamat Sound deadening over rear quarters and rear floor area.
-Powder coated Battery Tray and Fuse Box
-Re-trimmed Leather Steering Wheel In Dark Grey
When I bought the car it was filthy with a few minor problems. The boot had been debadged. A Alpine stero had been installed in the process someone cut of the loom plug for the stereo, cut a hole in the glove box. The radiator had a small pin hole leak, someone had cut the brake pad wear sensor (loom side) and drivers check strap broken. All fixed now.
I bought it with 44500 Miles on the clock. If you average that over its age it has done 3423 Miles a year! 3 previous owners.
Some of the good points though, its very low mileage, every panel is good and original, has an undertray, new clutch slave cylinder, brand new tyres and tracking had been re-done.
For sale add picture
Pictures 12-04-2010 - Car Unfinished.

Pictures 30-08-2010 - Car Still Unfinished.


My leather interior


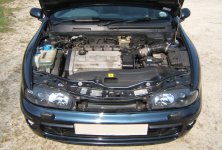
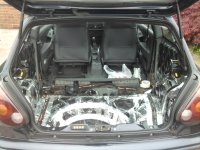
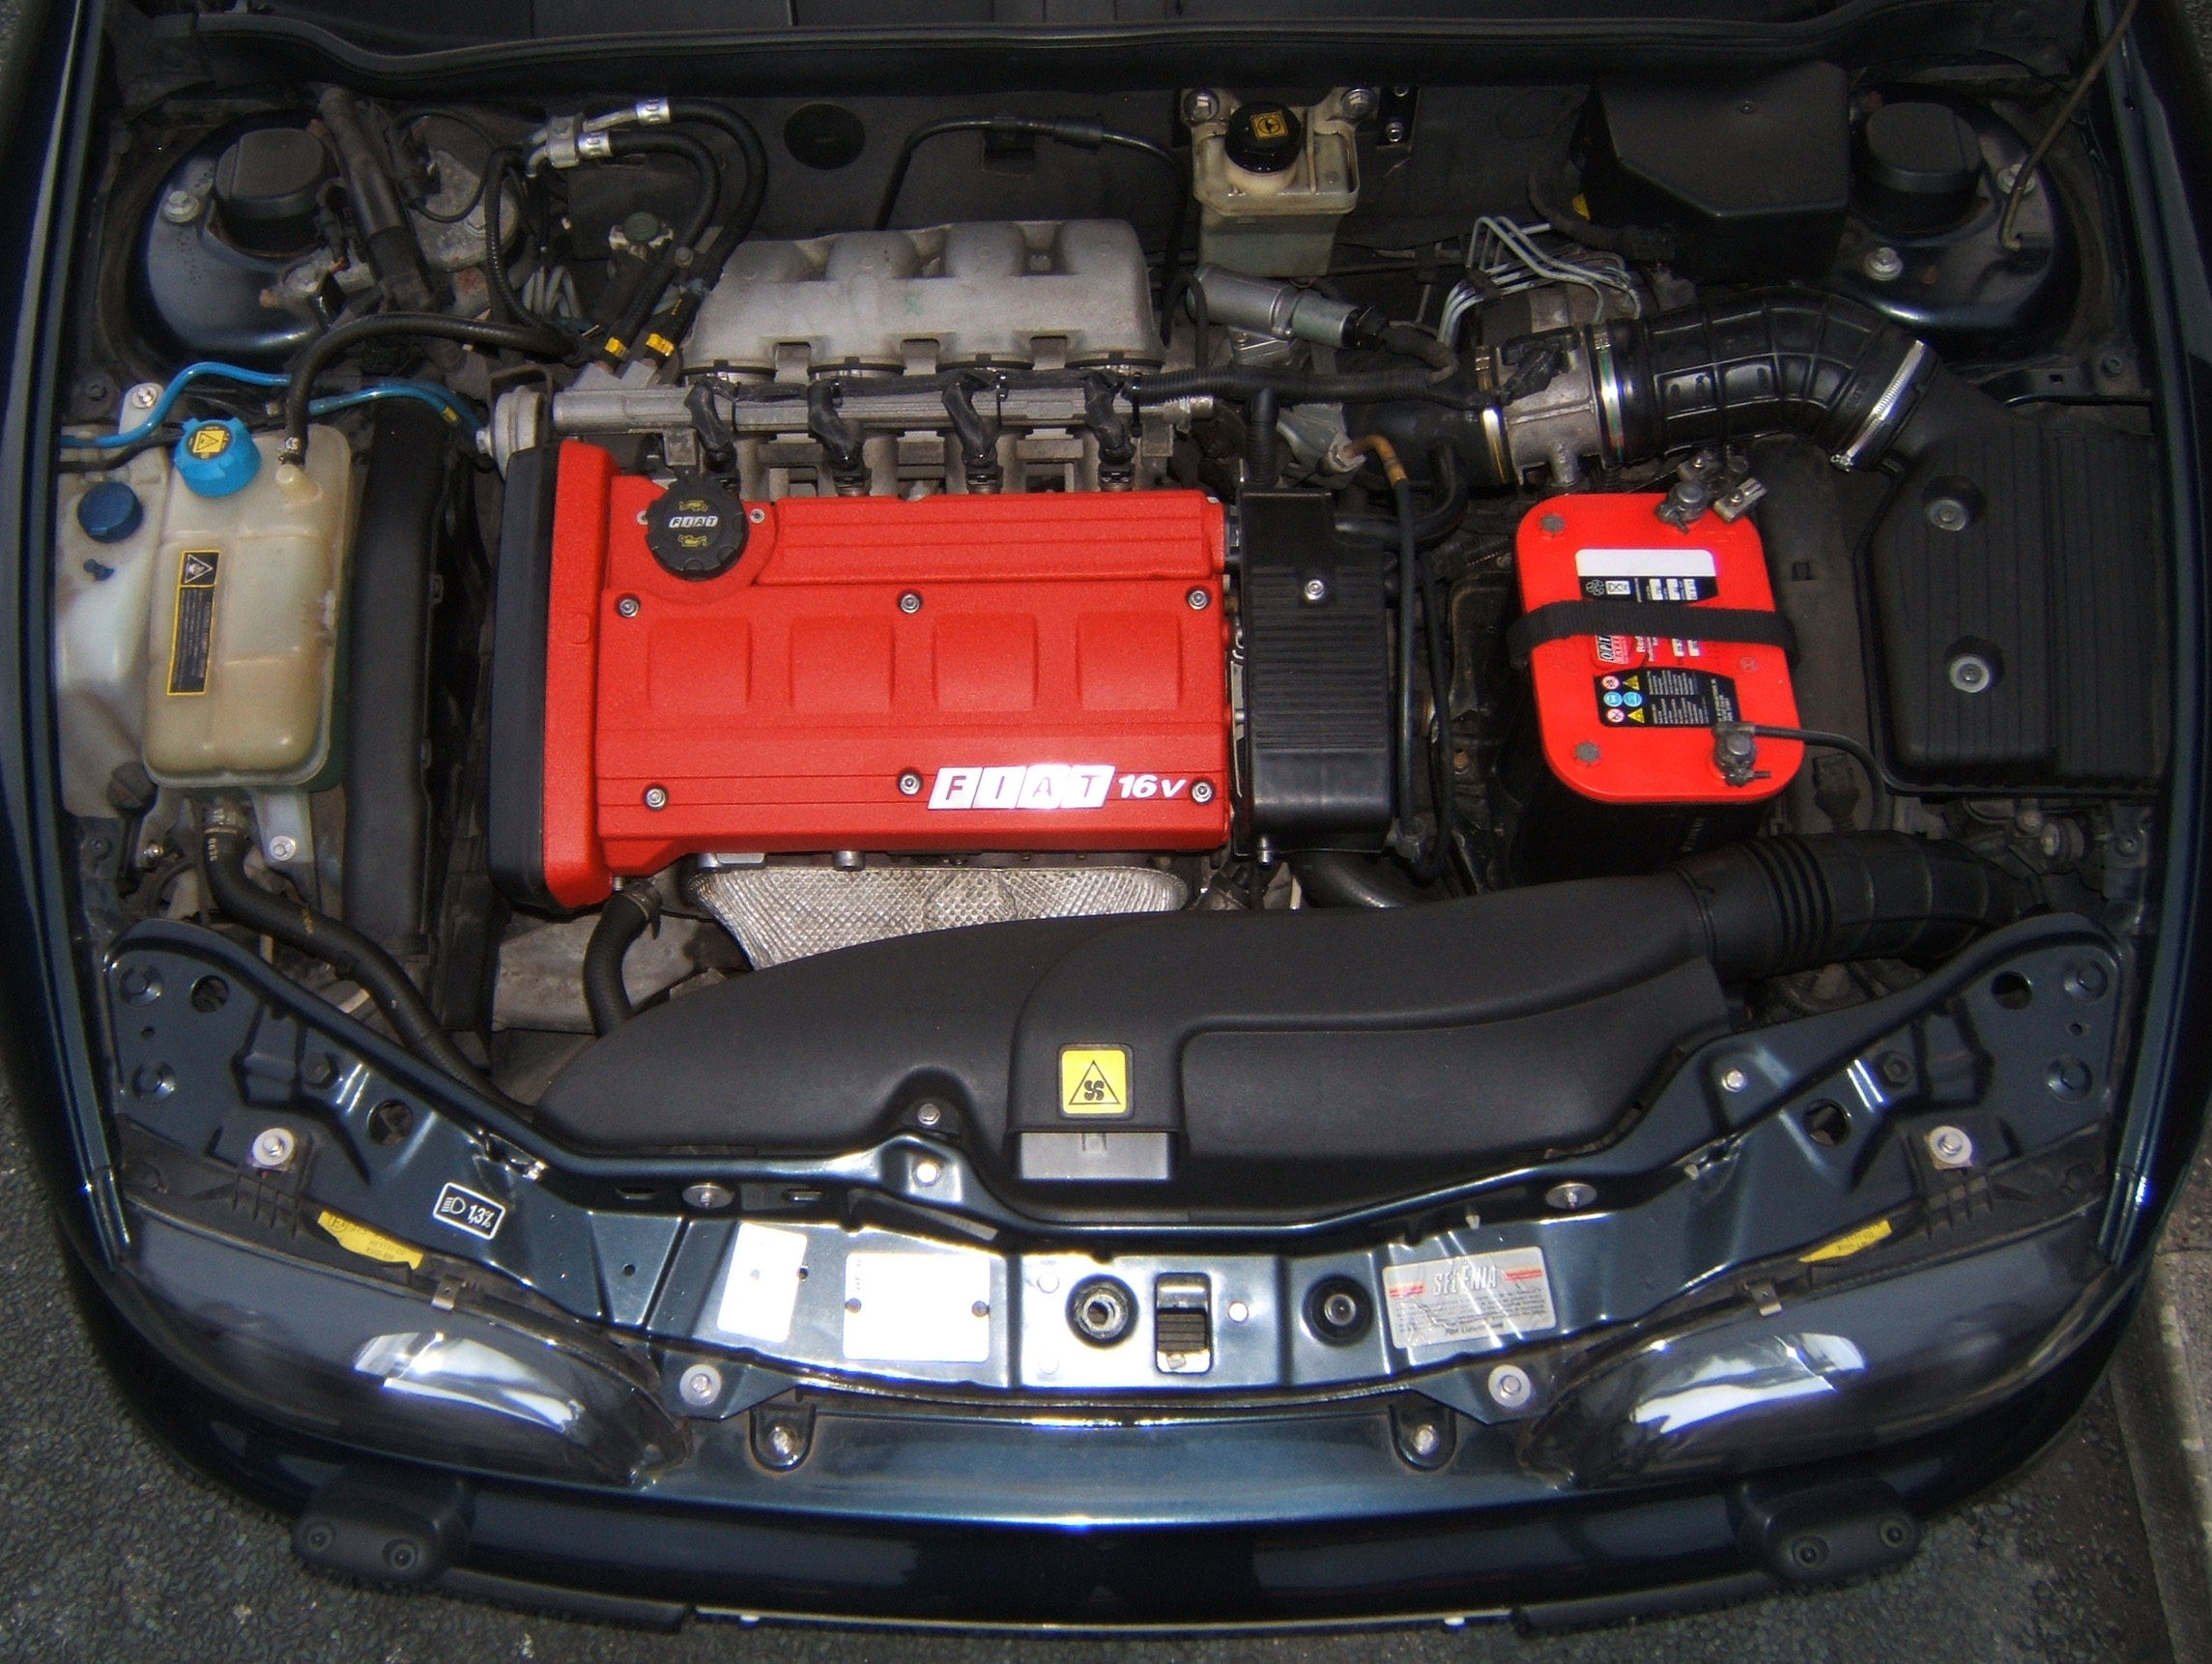
Engine bay needs a lot more cleaning

Lockwood Stainless Steel Kick Plates

Left hand drive rear cluster

Audio
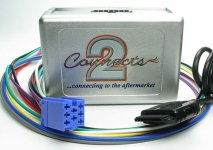
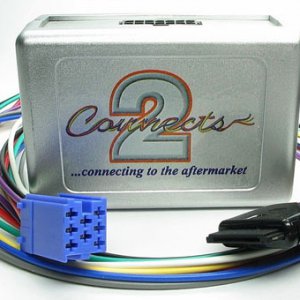
I really liked the original Head Unit. I found a small device that makes the Head unit think the iPod is a CD-Changer. It charges the Ipod I can control the music through the head unit or iPod.
The connects2 CTAFAIPOD007 iPod adapter is fixed inside the dashboard. I have used velcro.
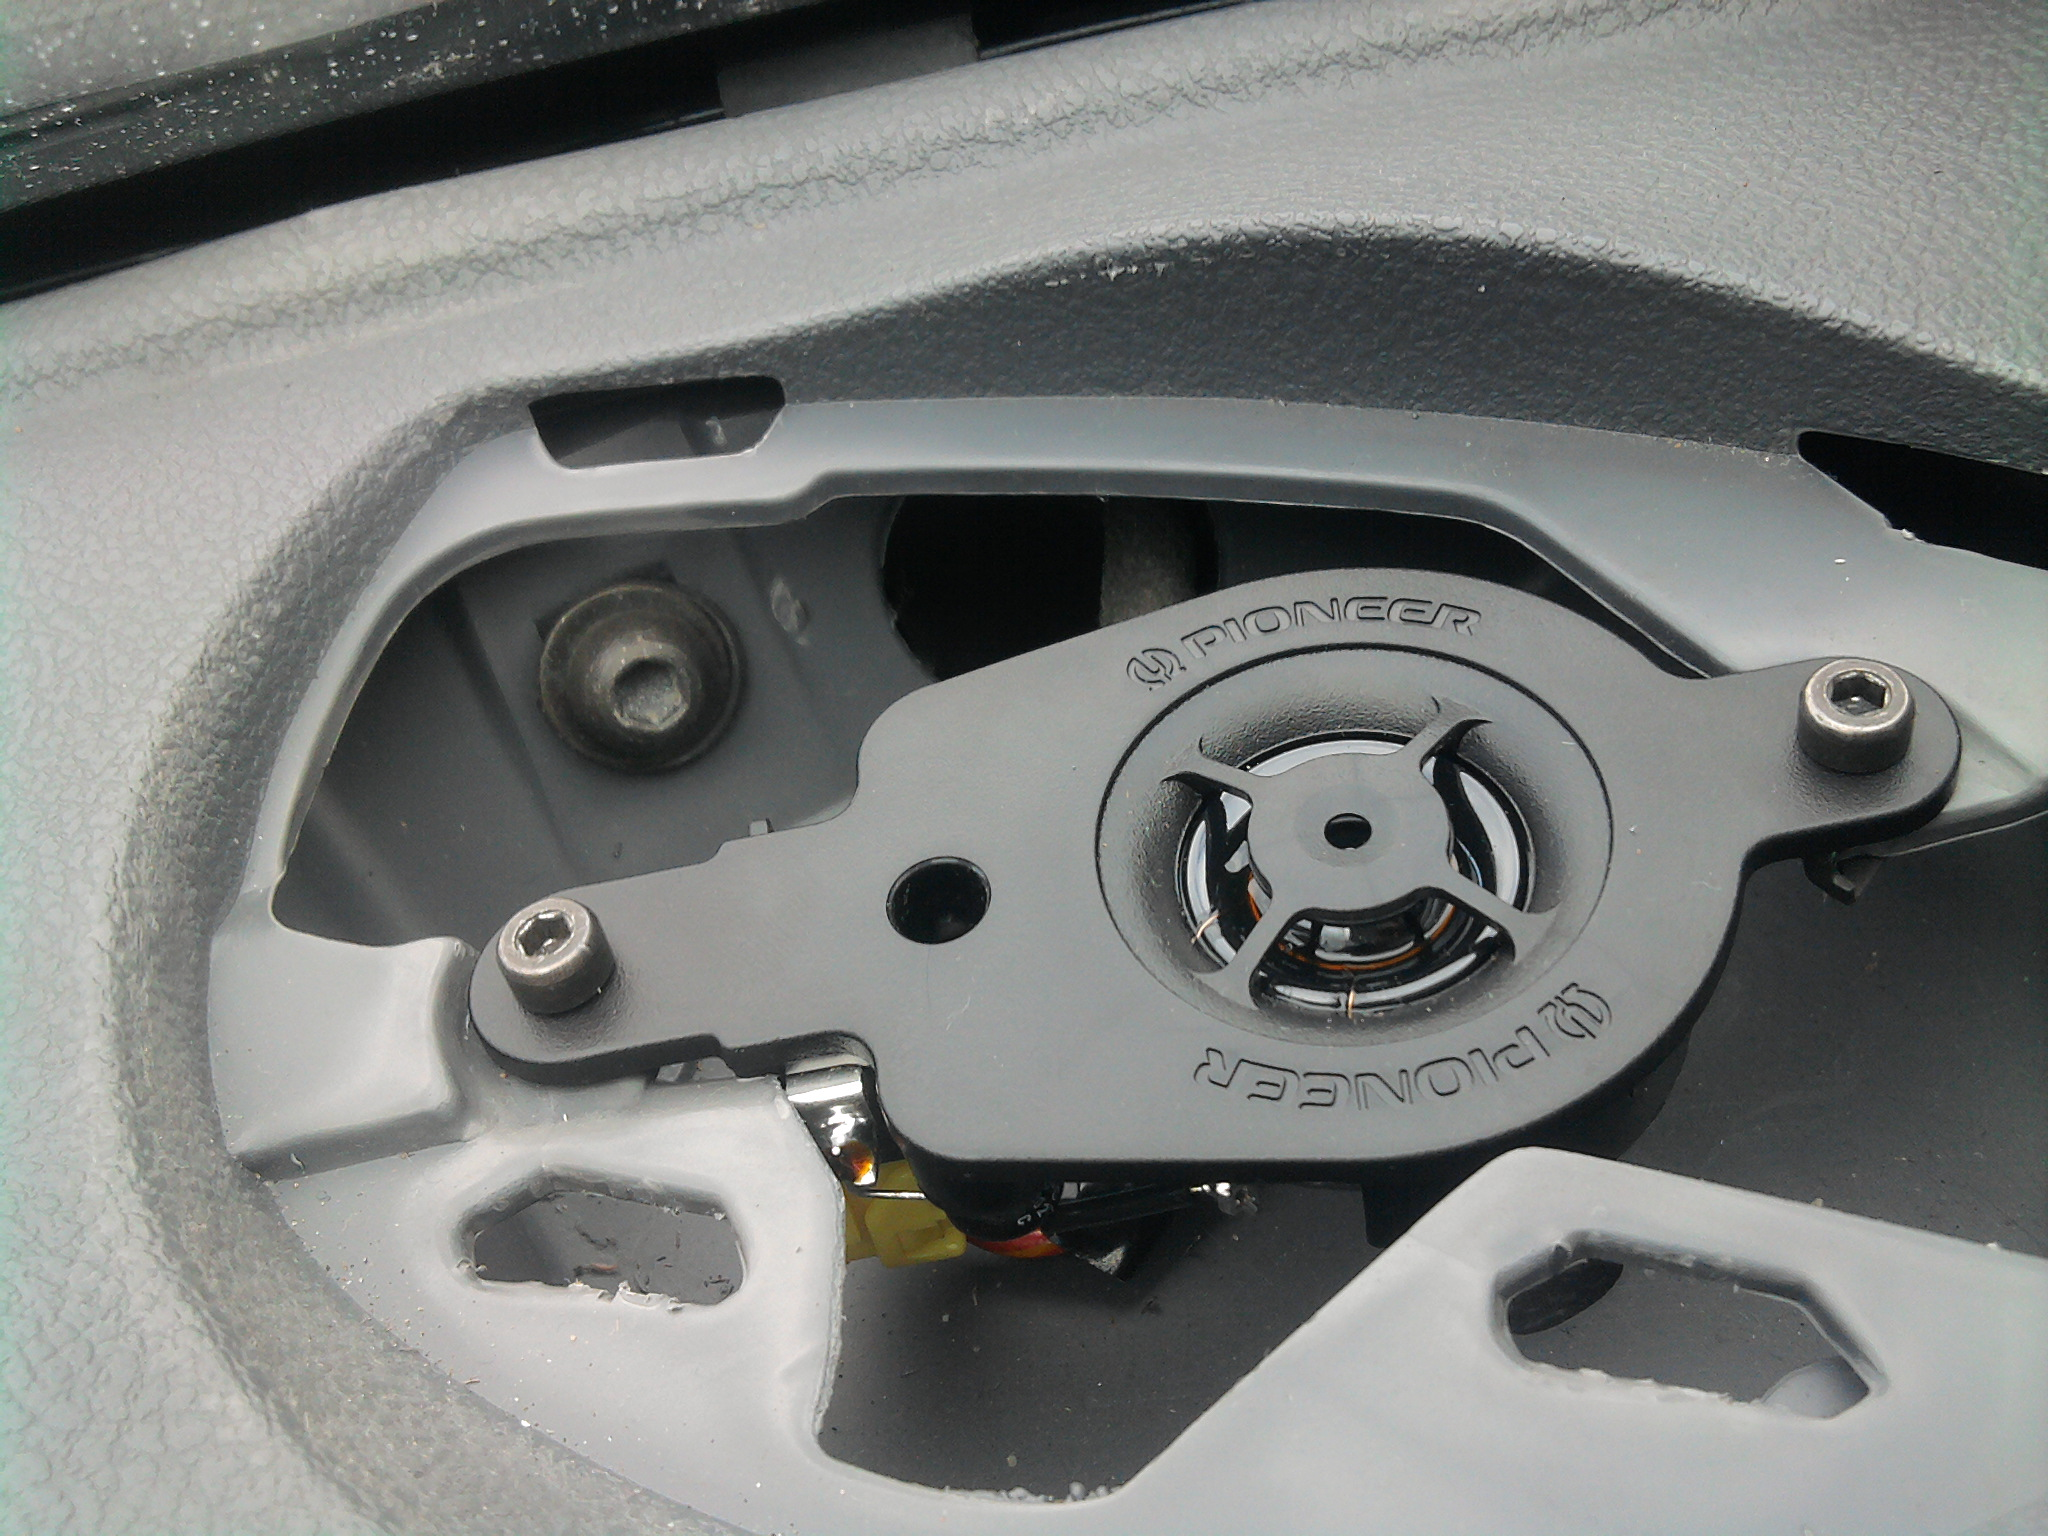
I found some direct replacement Pioneer Tweeters TS-575.

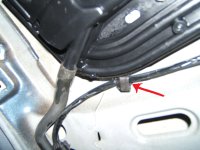
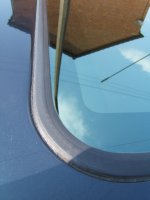
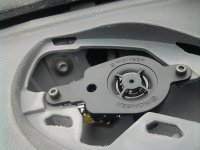
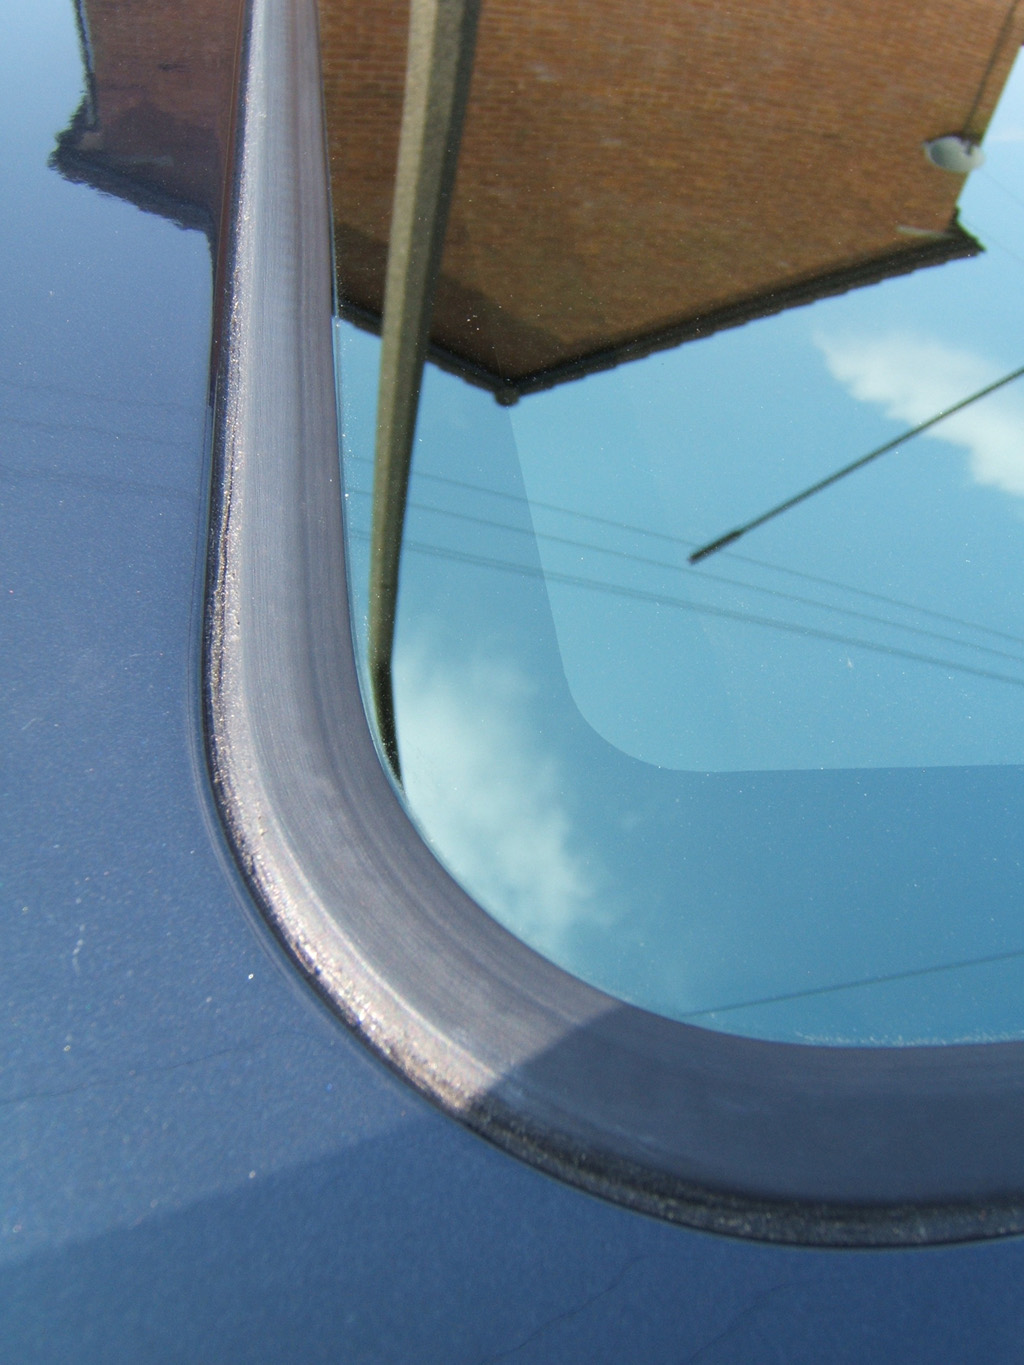
The sunroof was leaking, this wiring harness clip was pushing the gutter down a lot, also a drain tube was blocked.

Here is a picture of how I have sealed the sunroof shut forever. I put masking tape on the metal edge with the roof open I put silicone all around the inside edge. Then closed the roof and unplugged it, then filled it from above with silicone.

Before;

After;

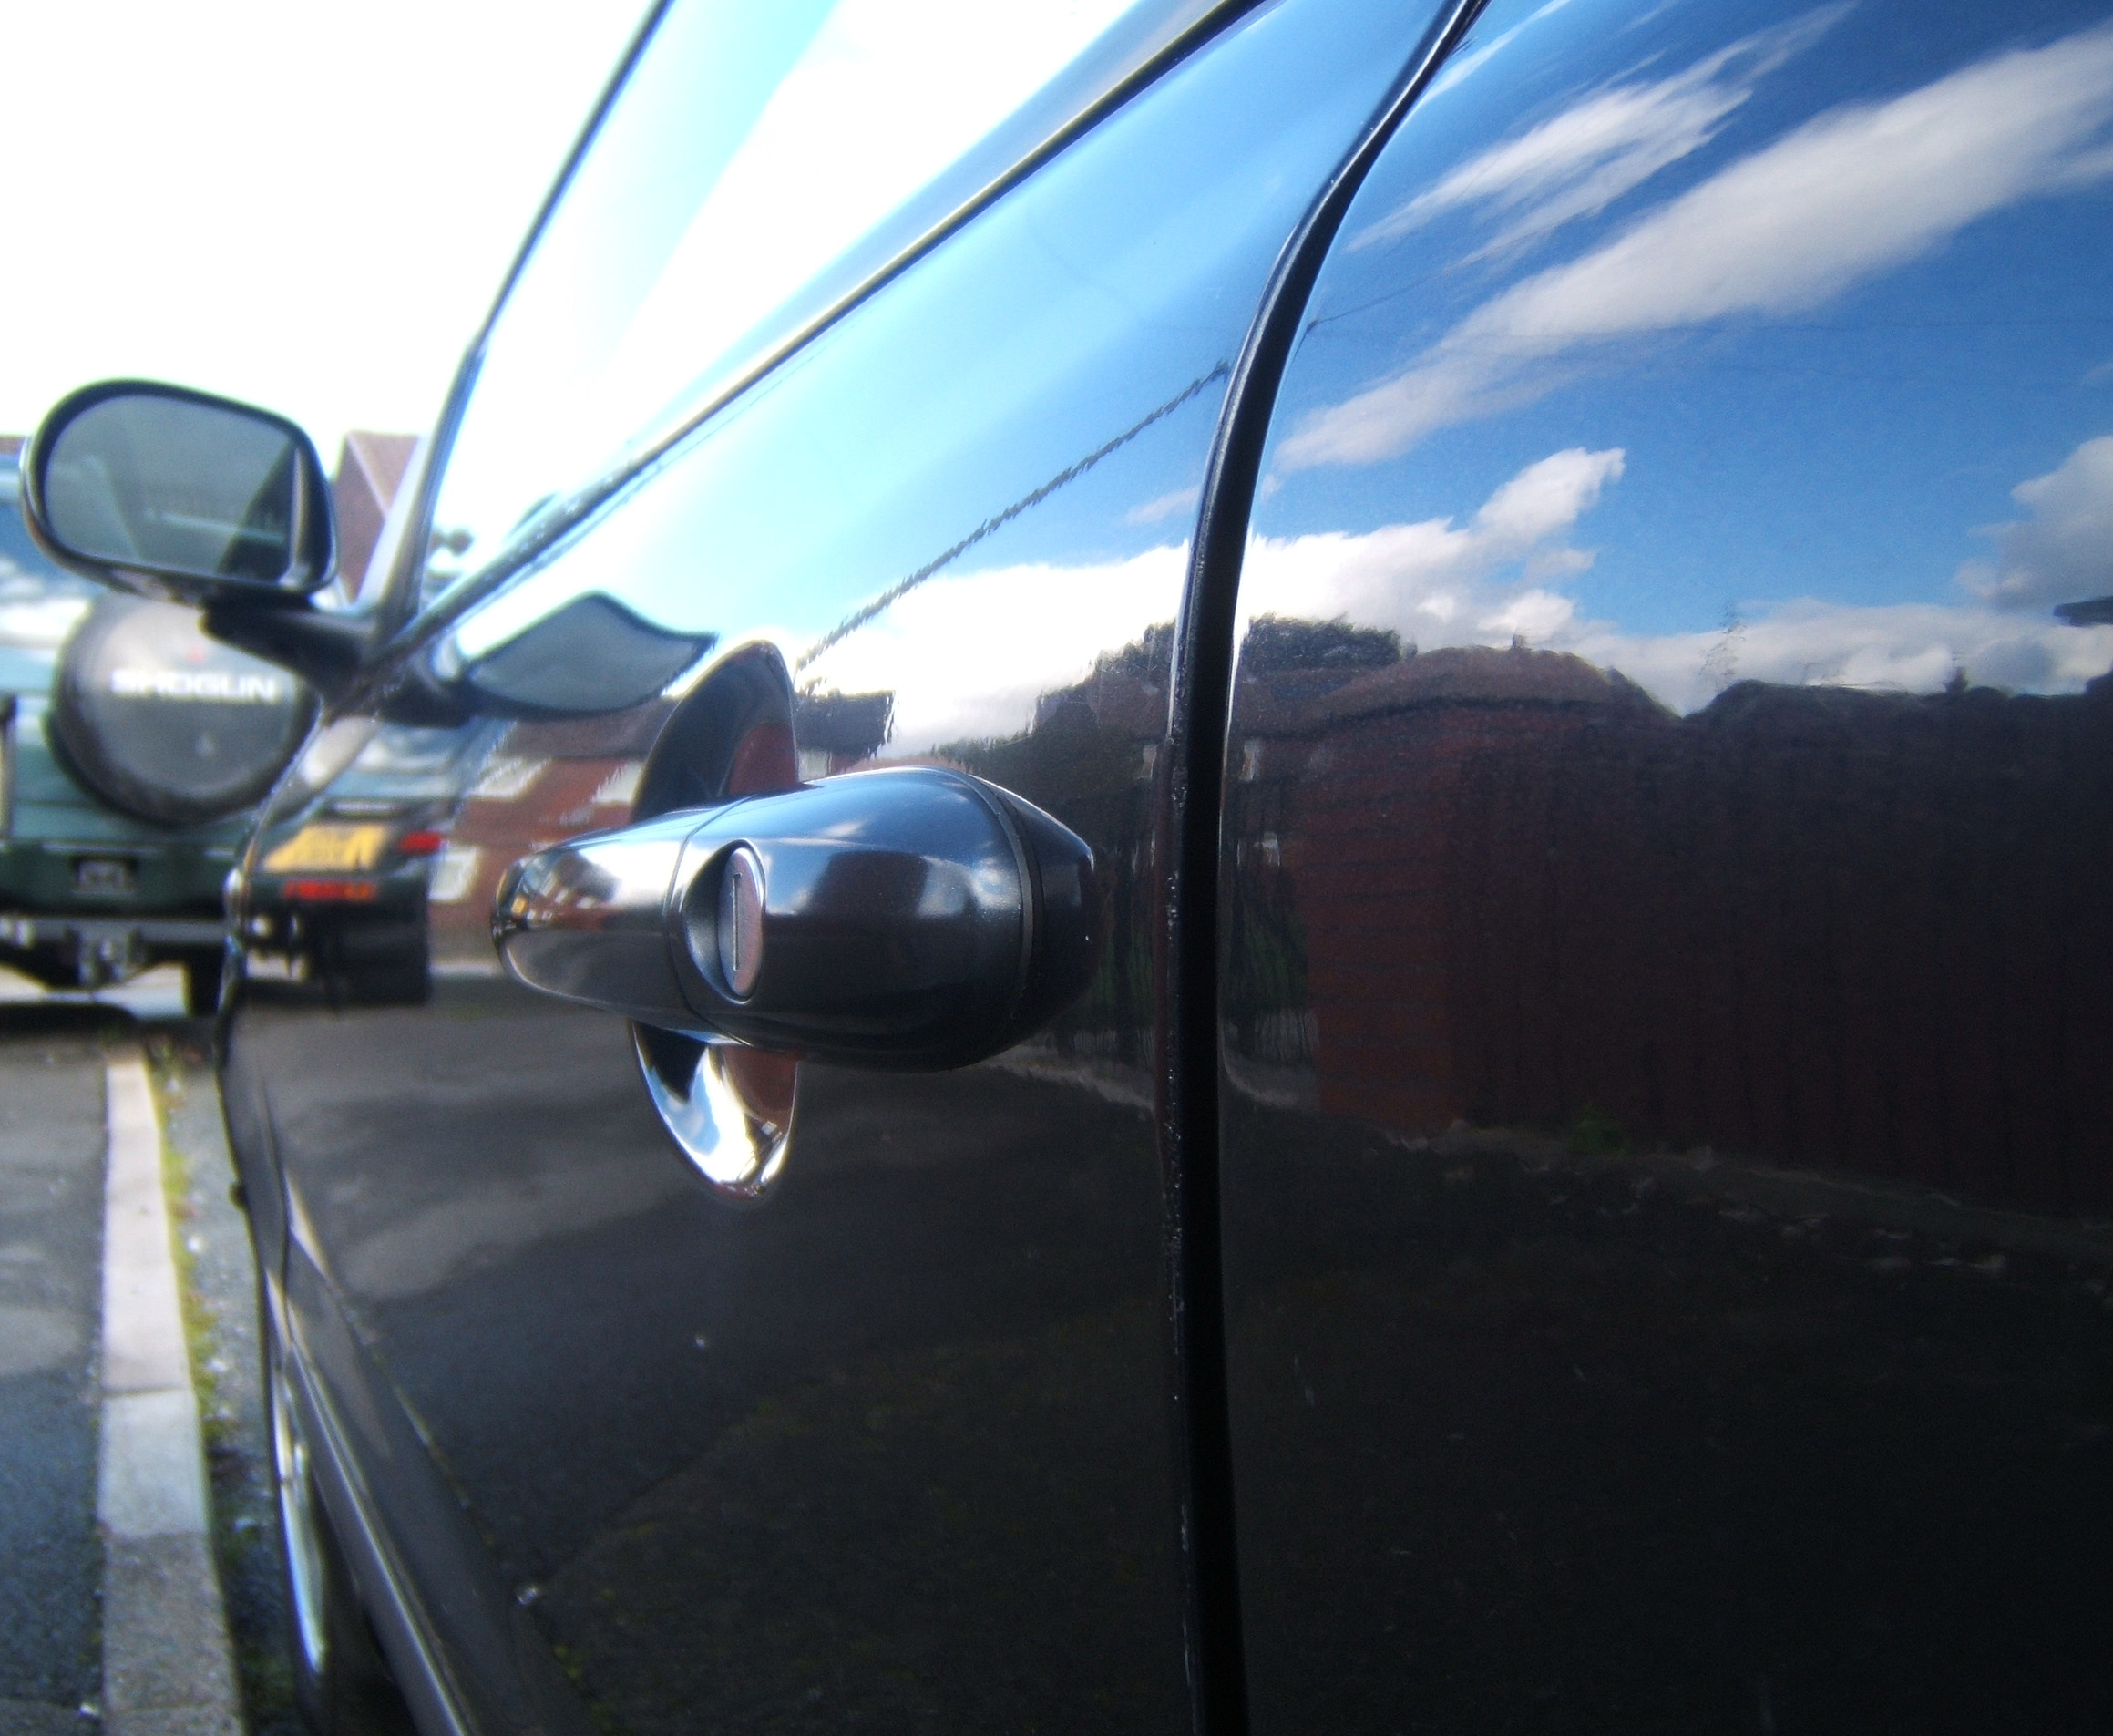
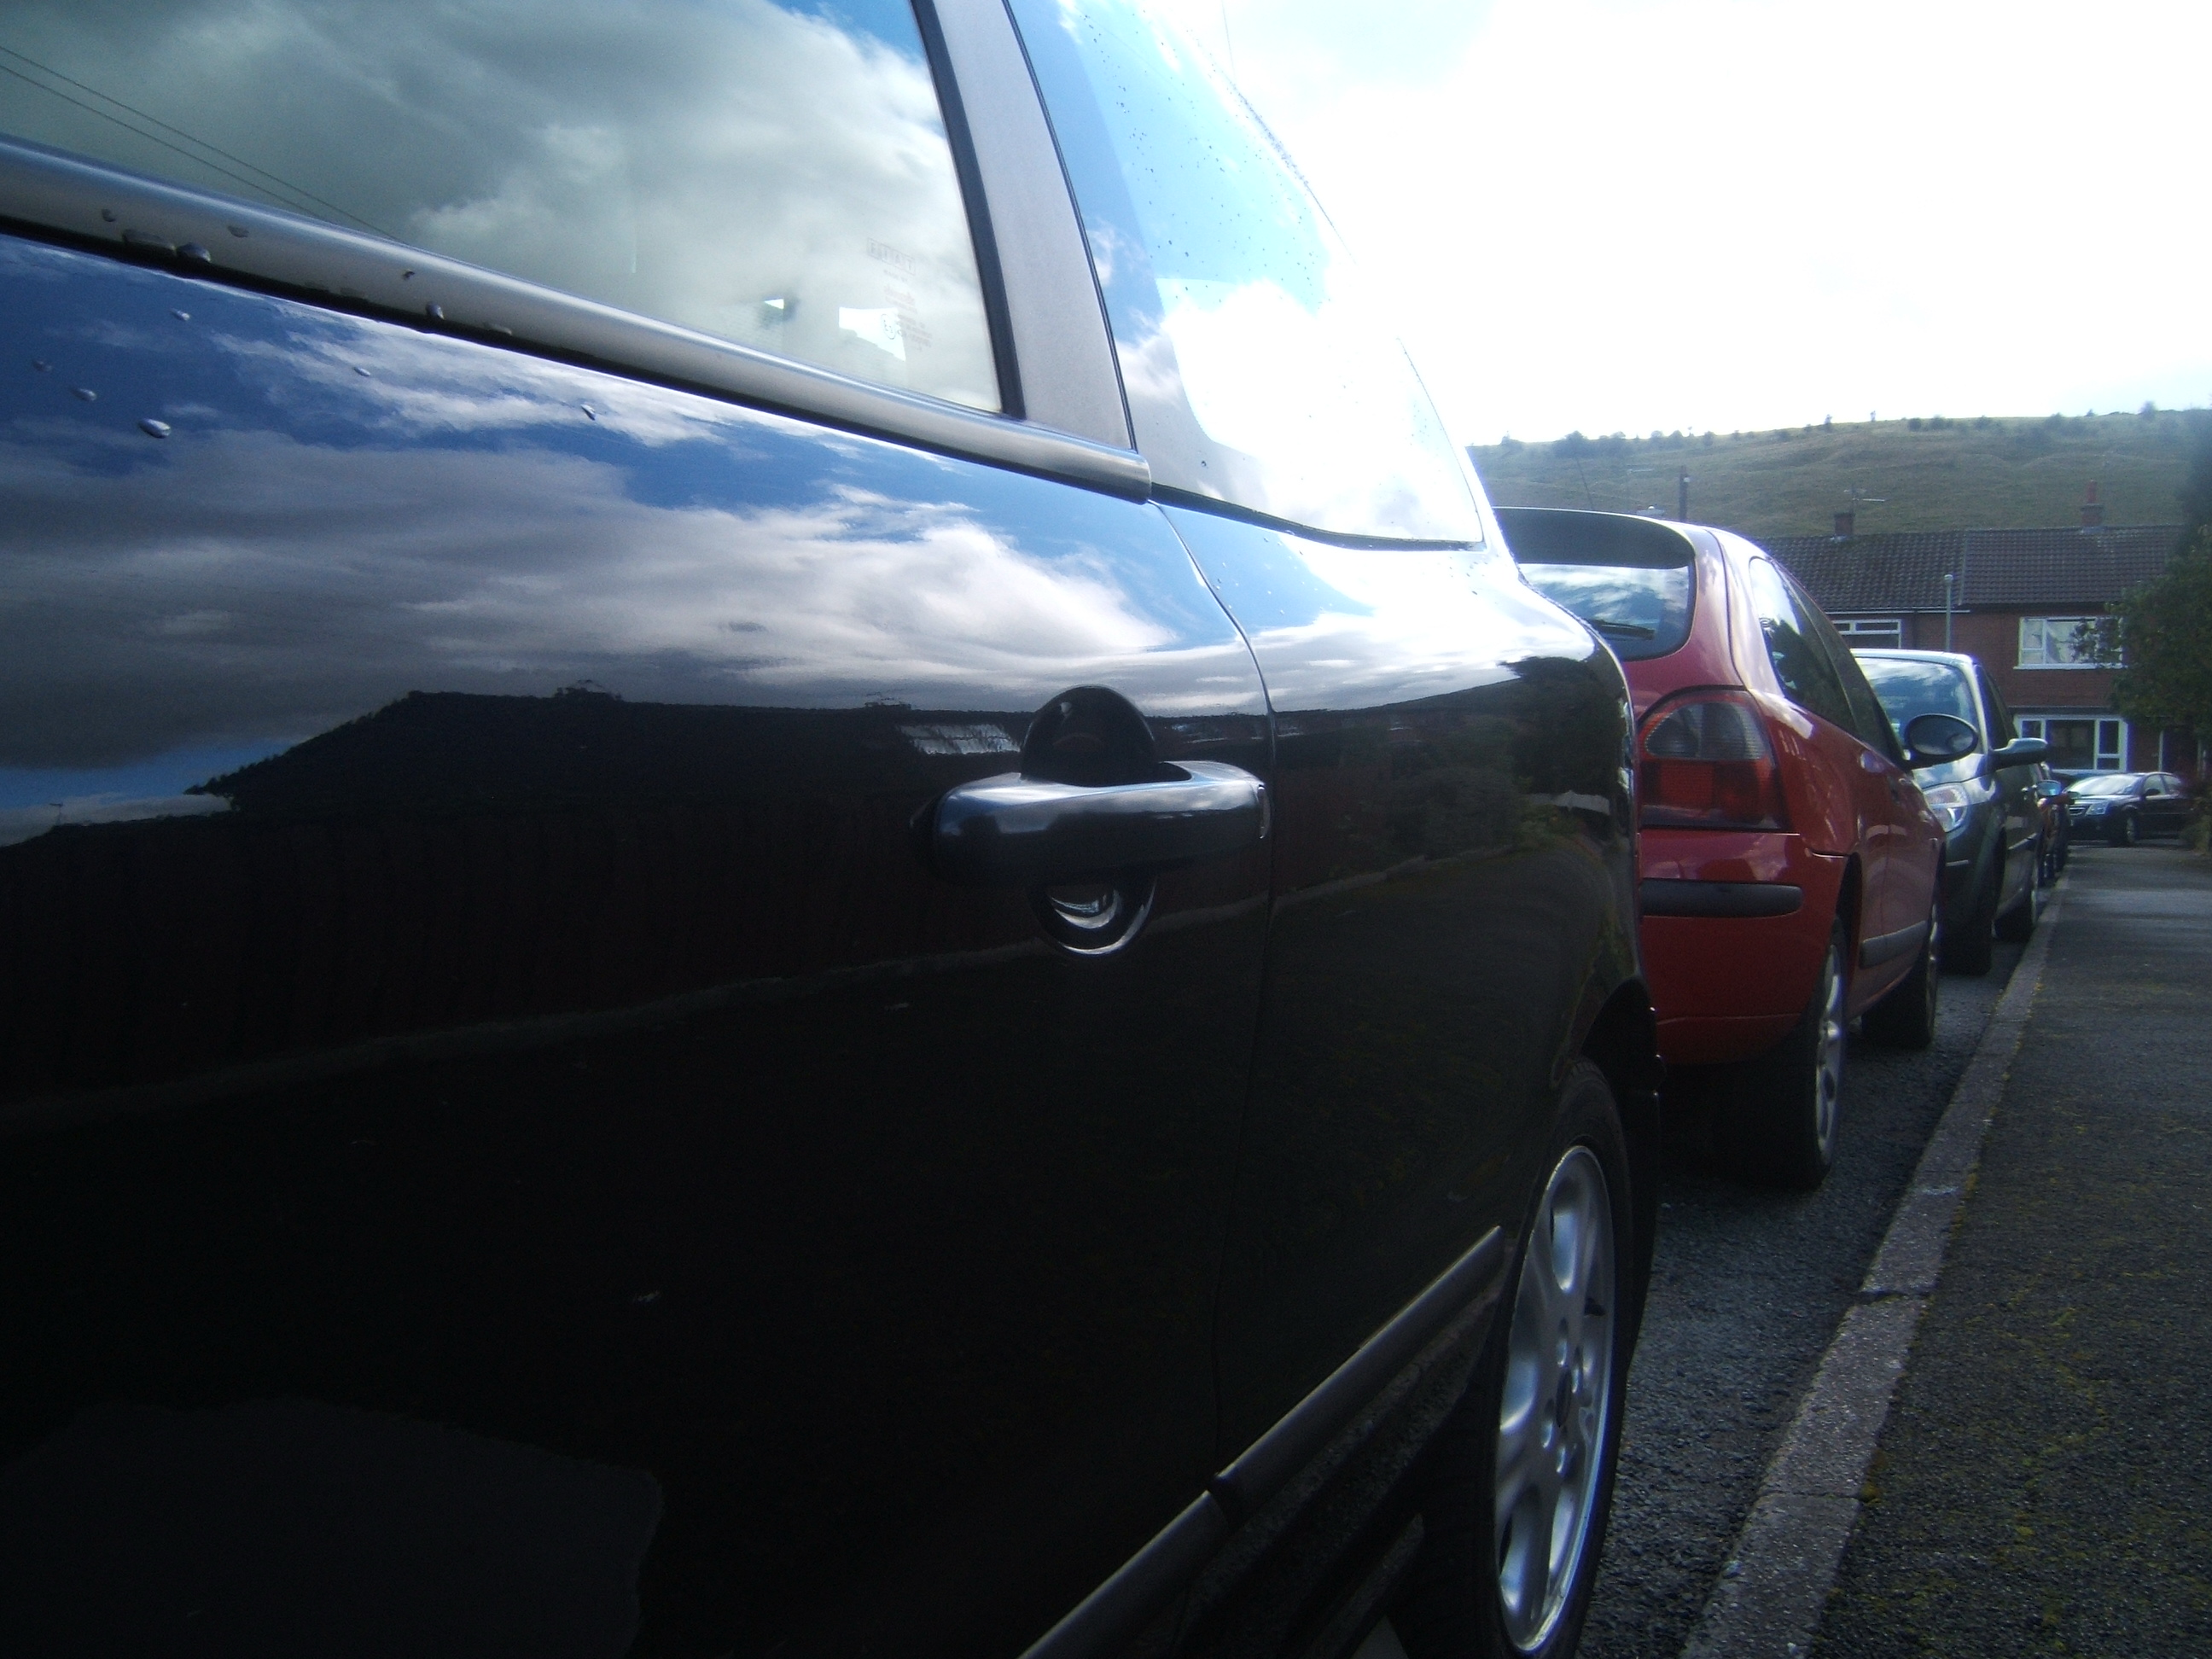
The 500 door handles are stylish and quality and fit the Bravo perfectly. New guide;
https://www.fiatforum.com/bravo-brava...iat-bravo.html
The 1.8 engine is lovely it flys along effortlessly. The 1.8's anti-roll bar and suspension is a really nice improvement over the 1.4. I am very happy with it") The only thing I do not like is the sunroof, from a looks point of view it really ruins the Bravo's roof line. One day I plan to start a project Bravo that will be an all wheel drive car, the Bravo I base it on must not have a sunroof
The only thing I do not like is the sunroof, from a looks point of view it really ruins the Bravo's roof line. One day I plan to start a project Bravo that will be an all wheel drive car, the Bravo I base it on must not have a sunroof
Plans - March 2012;
-Abarth/Eibach progressive suspension springs or coilovers.
-Marea Centre Console.
-Stainless Steel Brake pipes.
-Supersprint Exhaust Manifold from Punto HGT.
-Powdercoated subframes with poly mounts.
-Marea smootherd fuel cap with cabbin release.
-Larger front callipers/discs.
-HGT rear anti-roll bar.
-Quaife LSD Diff.
-Alfa twinspark engine oil cooler (dont know if it will be a direct fit) Or generic.
-Renew as many parts as possible on each job, replace as many bushes as possble with polyurethane bushes. Replace as many engine sensors as possible.
-Maybe a strut brace.
-Front GT bumper (one with no washer jets)
or -Marea headlight washer jets colour coded.
Thanks for looking,
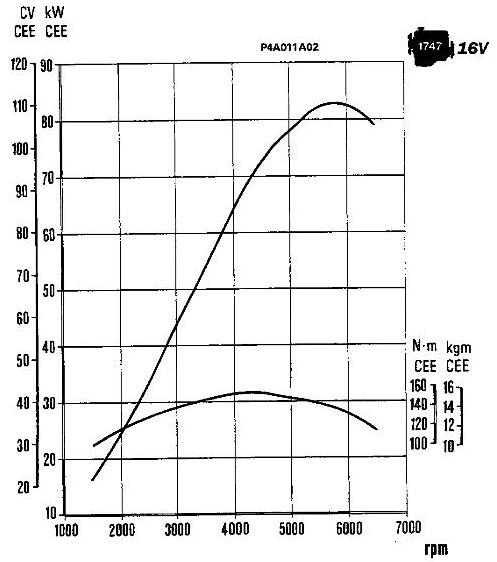
The 1.8 1747cc Bravo's bhp and torque graph from factory. I like how linier the graph is on this and the 20 valve engine.
Specification
-1.8 16v 113BHP Mk1
-Metalic Ink Black 820
-HLX. Fog Lights, Heated Seats, Heated Mirrors, Electric Sunroof, Electric Windows, Electric Mirrors, Remote Central Locking, Alloy Wheels, Immobiliser, Alarm.
Mods/Extras
-Fiat Marea Poly Elliptical Headlights With modified wiring
-Ipod/cd changer tricker interface to OEM stereo
-Leather Steering Wheel from HGT
-Vinyl Handbrake Gaiter
-K&N Panel Filter
-Brava Mk2 Passenger air vent Black
-Cap that reads 12V rather than a lighter
-Full Leather Interior
-Leather Squeak Fix
-Aircon cabin filter
-Lockwood Stainless Steel Kick plates
-Bravo 2007 Washer Jets
-Sound proofing on the rear wheel arches
-Front Mud Flaps (Fiat original PN:5908473)
-Rear Mud Flaps (Fiat original PN:5908745)
-Dark In-Pro Side repeaters (E marked)
-New totally plane number plates
-European rear right cluster for extra symmetry
-Polished and Painted lip round rear light clusters
-De-badged boot
-2007 Fiat 500 Door Handles Colour Coded
-Shaped Grey Floor Mats
-Passenger Wiper wind deflector (Modified/Fiat original)
-Bosch AeroTwin AR551S 22"20" Wiper Blades
-Original Fiat CD-Player AD1802H4
-Polyurethane anti-roll bar drop links.
-Flip Key Fob with remote central locking/alarm fitted (original keys untouched)
-Longlife Stainless Steel Exhaust System.
-Optima Red Top Battery
-Various engine bay bolts changed for Stainless Steel bolts
-Powdercoated Camshaft cover in crinkle Red
-Direct Replacement Pioneer TS-575 80W Speakers and Tweeters
-Original wheels refurbished and powdercoated. Michelin Pilot Exalto PE2 195/50/R15V tyres. All 16 wheel bolts use an internal key. Stick on balance weights.
-Brava Mk2 Black Instrument Cluster Surround
-Dynamat Sound deadening over rear quarters and rear floor area.
-Powder coated Battery Tray and Fuse Box
-Re-trimmed Leather Steering Wheel In Dark Grey
When I bought the car it was filthy with a few minor problems. The boot had been debadged. A Alpine stero had been installed in the process someone cut of the loom plug for the stereo, cut a hole in the glove box. The radiator had a small pin hole leak, someone had cut the brake pad wear sensor (loom side) and drivers check strap broken. All fixed now.
I bought it with 44500 Miles on the clock. If you average that over its age it has done 3423 Miles a year! 3 previous owners.
Some of the good points though, its very low mileage, every panel is good and original, has an undertray, new clutch slave cylinder, brand new tyres and tracking had been re-done.
For sale add picture
Pictures 12-04-2010 - Car Unfinished.
Pictures 30-08-2010 - Car Still Unfinished.


My leather interior


Engine bay needs a lot more cleaning


Lockwood Stainless Steel Kick Plates
Left hand drive rear cluster

Audio
I really liked the original Head Unit. I found a small device that makes the Head unit think the iPod is a CD-Changer. It charges the Ipod I can control the music through the head unit or iPod.
The connects2 CTAFAIPOD007 iPod adapter is fixed inside the dashboard. I have used velcro.

I found some direct replacement Pioneer Tweeters TS-575.

The sunroof was leaking, this wiring harness clip was pushing the gutter down a lot, also a drain tube was blocked.

Here is a picture of how I have sealed the sunroof shut forever. I put masking tape on the metal edge with the roof open I put silicone all around the inside edge. Then closed the roof and unplugged it, then filled it from above with silicone.
Before;


After;
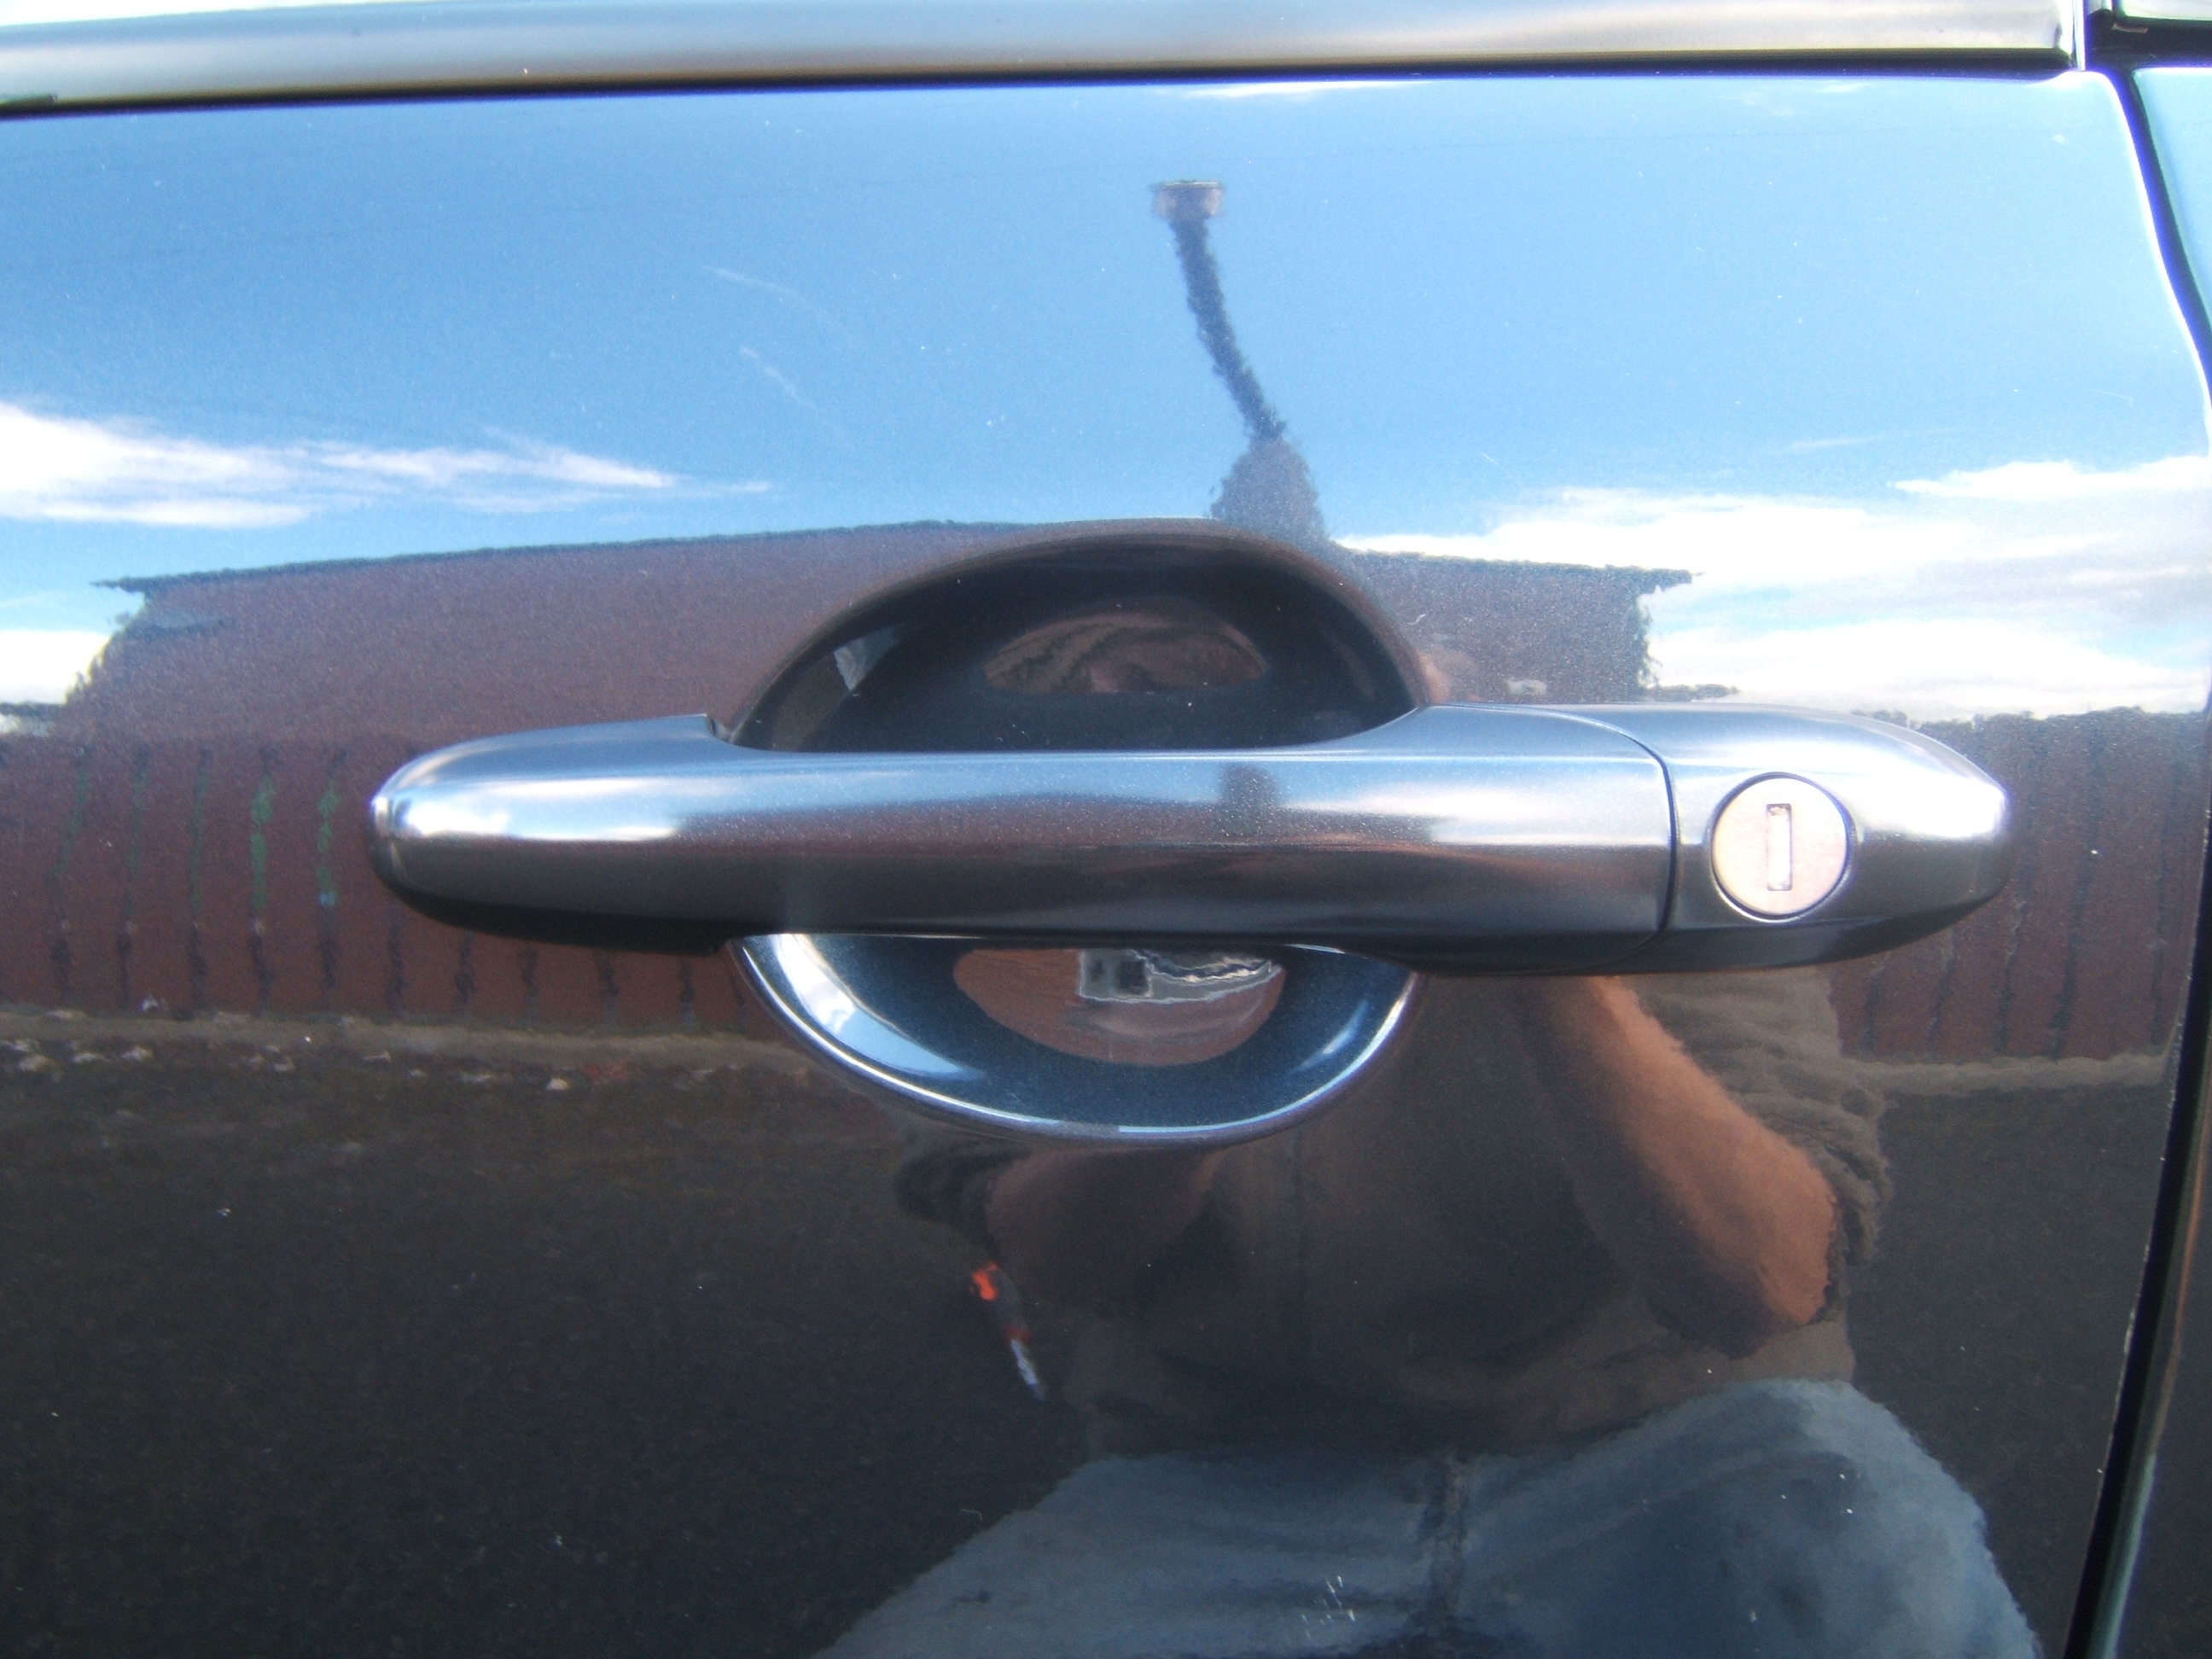


The 500 door handles are stylish and quality and fit the Bravo perfectly. New guide;
https://www.fiatforum.com/bravo-brava...iat-bravo.html

The 1.8 engine is lovely it flys along effortlessly. The 1.8's anti-roll bar and suspension is a really nice improvement over the 1.4. I am very happy with it
The only thing I do not like is the sunroof, from a looks point of view it really ruins the Bravo's roof line. One day I plan to start a project Bravo that will be an all wheel drive car, the Bravo I base it on must not have a sunroof Plans - March 2012;
-Abarth/Eibach progressive suspension springs or coilovers.
-Marea Centre Console.
-Stainless Steel Brake pipes.
-Supersprint Exhaust Manifold from Punto HGT.
-Powdercoated subframes with poly mounts.
-Marea smootherd fuel cap with cabbin release.
-Larger front callipers/discs.
-HGT rear anti-roll bar.
-Quaife LSD Diff.
-Alfa twinspark engine oil cooler (dont know if it will be a direct fit) Or generic.
-Renew as many parts as possible on each job, replace as many bushes as possble with polyurethane bushes. Replace as many engine sensors as possible.
-Maybe a strut brace.
-Front GT bumper (one with no washer jets)
or -Marea headlight washer jets colour coded.
Thanks for looking,
The 1.8 1747cc Bravo's bhp and torque graph from factory. I like how linier the graph is on this and the 20 valve engine.