


Introduction
Right, thought I would stick this up here as some may be interested.
Following on from this thread, you can read the transformation from standard to where she was before the conversion.
http://www.puntosports.co.uk/forums/showthread.php?t=75783
----------------------------------------------------------------------------
Anyway, here we go.
I started this way back before Xmas, and now Im finally getting somewhere. Due to working a lot and various other factors, I havent been able to work on this as much as I would like. That is now going to change.
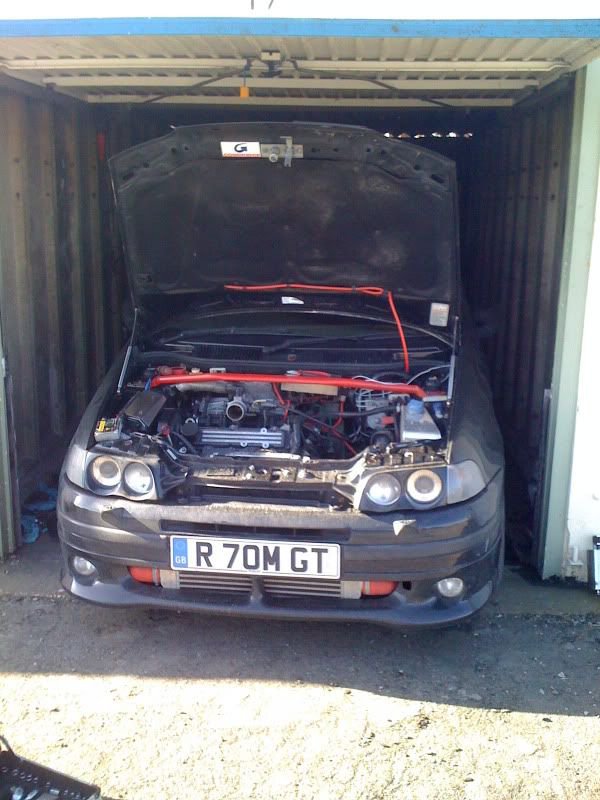
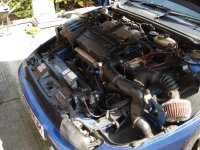
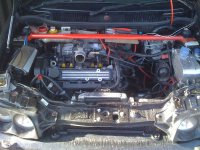
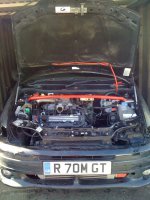
Anyway, what now seems a long, long time ago, I did some research into the famous 2 litre conversion and decided, **** it, Im bored with my GT atm Ill gove it a go. There was nothing wrong with my GT as it was, I just wanted to go further without tuning the reasonably unreliable 1.4. So I decided to tune the reasonably unreliable 2l 16vt instead!
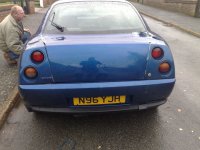
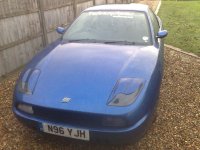
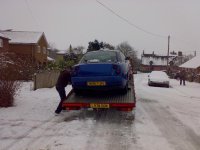
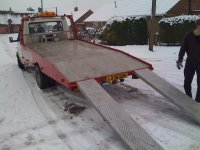
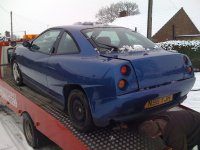
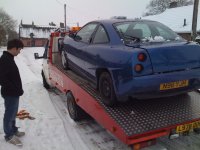
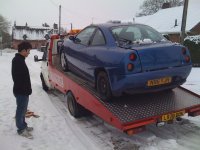
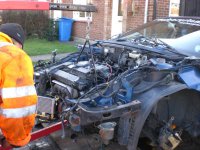
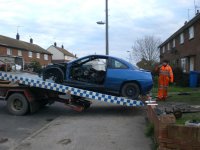
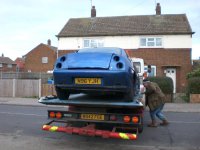
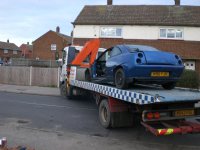
I bought a complete Fiat Coupe 16vt that had rear end damage, on 80k. The seller had started to break it, but then decided to get the rear sorted and track it. This meant he had to get replacement parts for the bits he sold, which has meant I get loads of brand new parts with it. It cost me £350, got it towed from Cambridge (I think) down to Sheppey, where Dean and Dan (from PSC) had agreed to help me out!


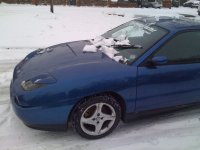
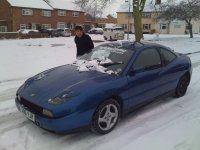
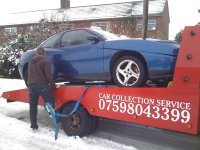
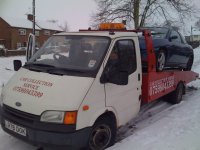
The day I picked it up it was bloody cold and snowy as you can see! Trekking up to pick it up in the GT was interesting as it was being used as a snowplough on most roads.


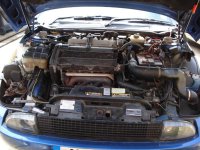
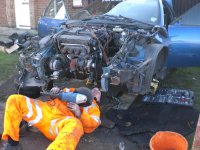
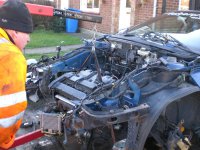
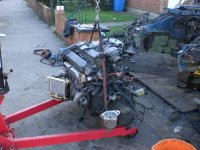
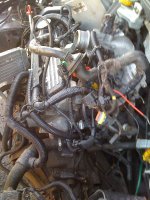
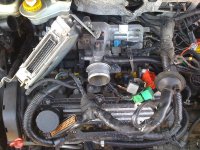
As far as I can remember it was about three weeks before we stripped it in a day and had it shipped off to the scrappers. Left the gear linkage in the car though!


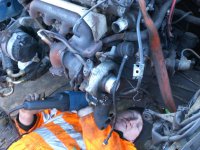
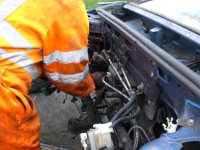
If in doubt, get the grinder out!!

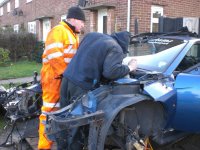
During all this, we were being watched like hawks....


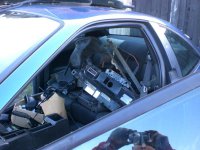
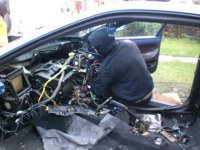
We continued...

and this was decided to be a little dangerous to do!


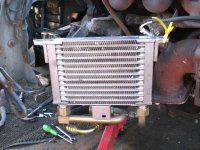
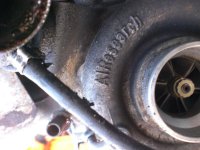
Spanking new cooler...


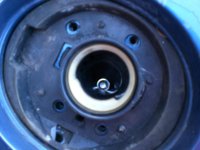
Warning! Dont attempt to poke the sprung fuel filler cap with a ratchet with extension bar on it. Dean found this out, and was very lucky not to lose it!


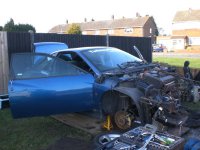
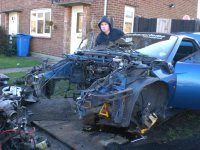
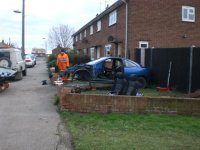
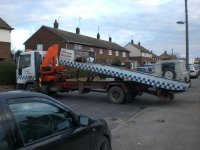
After a day of hard graft, she was dragged up the transporter on her bare ass, scraping all the way....


And that was the stripping day done. Was hard work, but was well worth it.
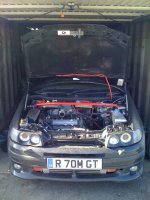
The engine from my GT also came out around this time and was sold.


Following on from this thread, you can read the transformation from standard to where she was before the conversion.
http://www.puntosports.co.uk/forums/showthread.php?t=75783
----------------------------------------------------------------------------
Anyway, here we go.
I started this way back before Xmas, and now Im finally getting somewhere. Due to working a lot and various other factors, I havent been able to work on this as much as I would like. That is now going to change.
Anyway, what now seems a long, long time ago, I did some research into the famous 2 litre conversion and decided, **** it, Im bored with my GT atm Ill gove it a go. There was nothing wrong with my GT as it was, I just wanted to go further without tuning the reasonably unreliable 1.4. So I decided to tune the reasonably unreliable 2l 16vt instead!
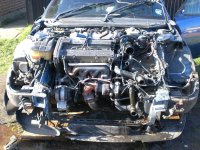
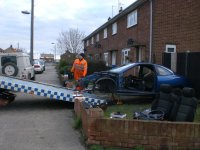
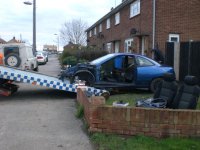
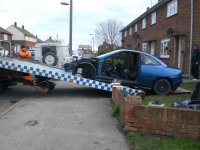
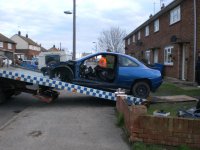
I bought a complete Fiat Coupe 16vt that had rear end damage, on 80k. The seller had started to break it, but then decided to get the rear sorted and track it. This meant he had to get replacement parts for the bits he sold, which has meant I get loads of brand new parts with it. It cost me £350, got it towed from Cambridge (I think) down to Sheppey, where Dean and Dan (from PSC) had agreed to help me out!
The day I picked it up it was bloody cold and snowy as you can see! Trekking up to pick it up in the GT was interesting as it was being used as a snowplough on most roads.
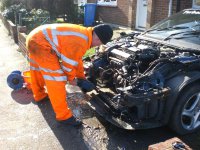
As far as I can remember it was about three weeks before we stripped it in a day and had it shipped off to the scrappers. Left the gear linkage in the car though!
If in doubt, get the grinder out!!
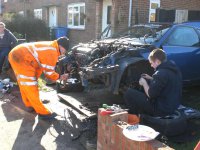
During all this, we were being watched like hawks....
We continued...
and this was decided to be a little dangerous to do!
Spanking new cooler...
Warning! Dont attempt to poke the sprung fuel filler cap with a ratchet with extension bar on it. Dean found this out, and was very lucky not to lose it!
After a day of hard graft, she was dragged up the transporter on her bare ass, scraping all the way....
And that was the stripping day done. Was hard work, but was well worth it.
The engine from my GT also came out around this time and was sold.


")


