

Introduction
Been on here for a while so i finally decided to make a car thread, hope you like ")
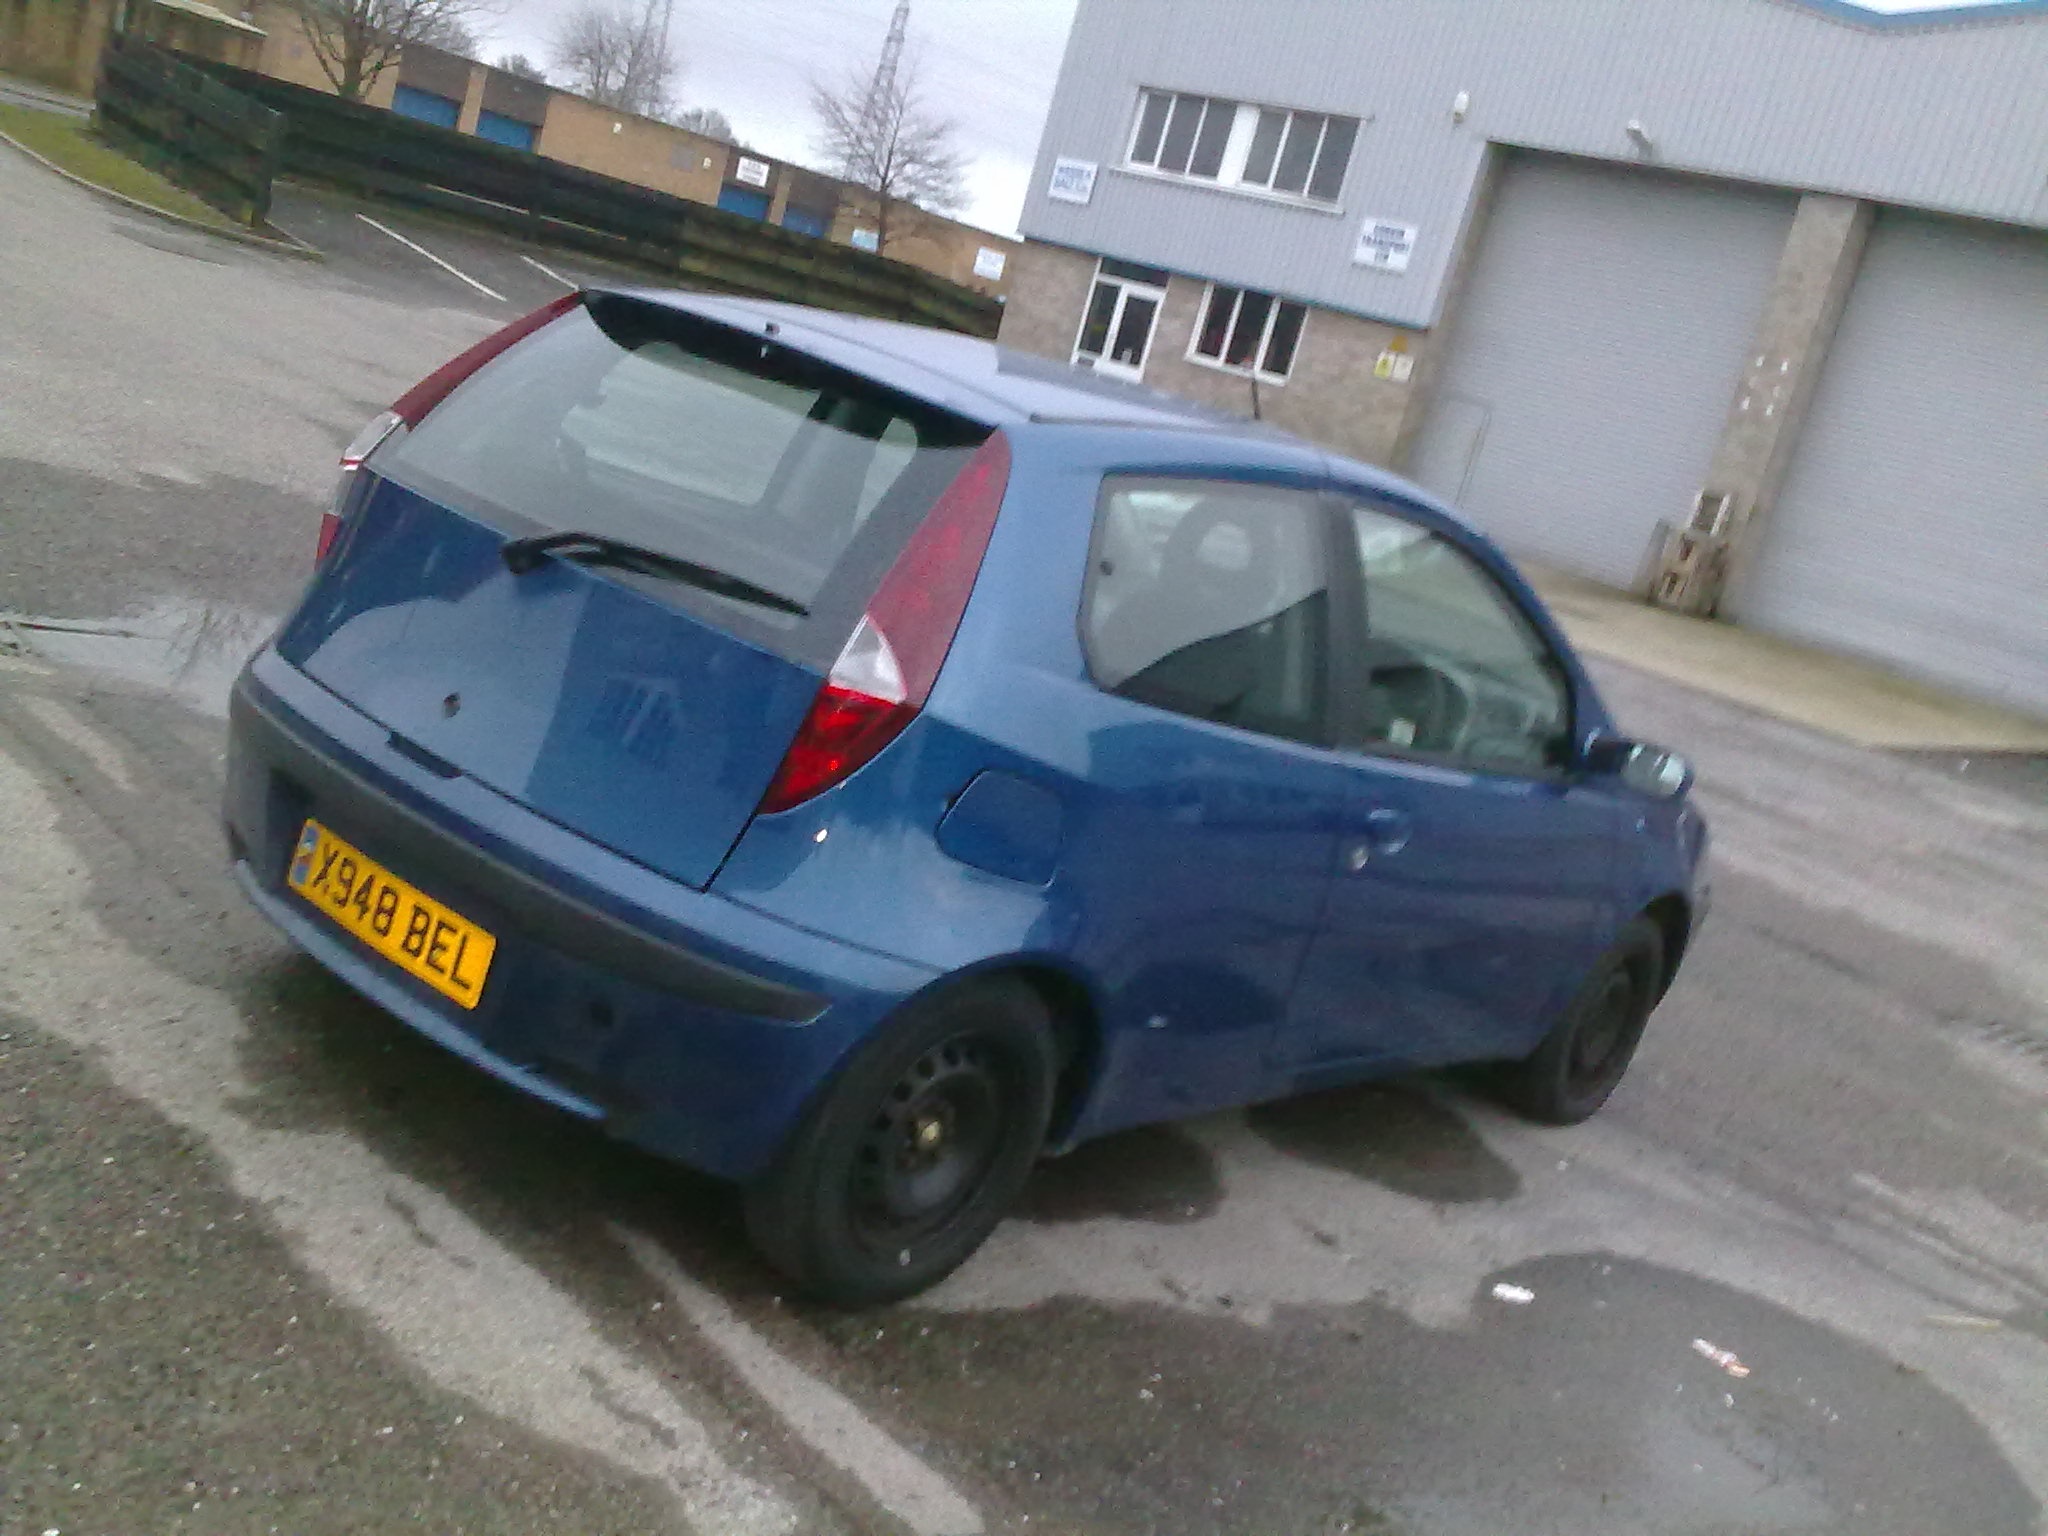
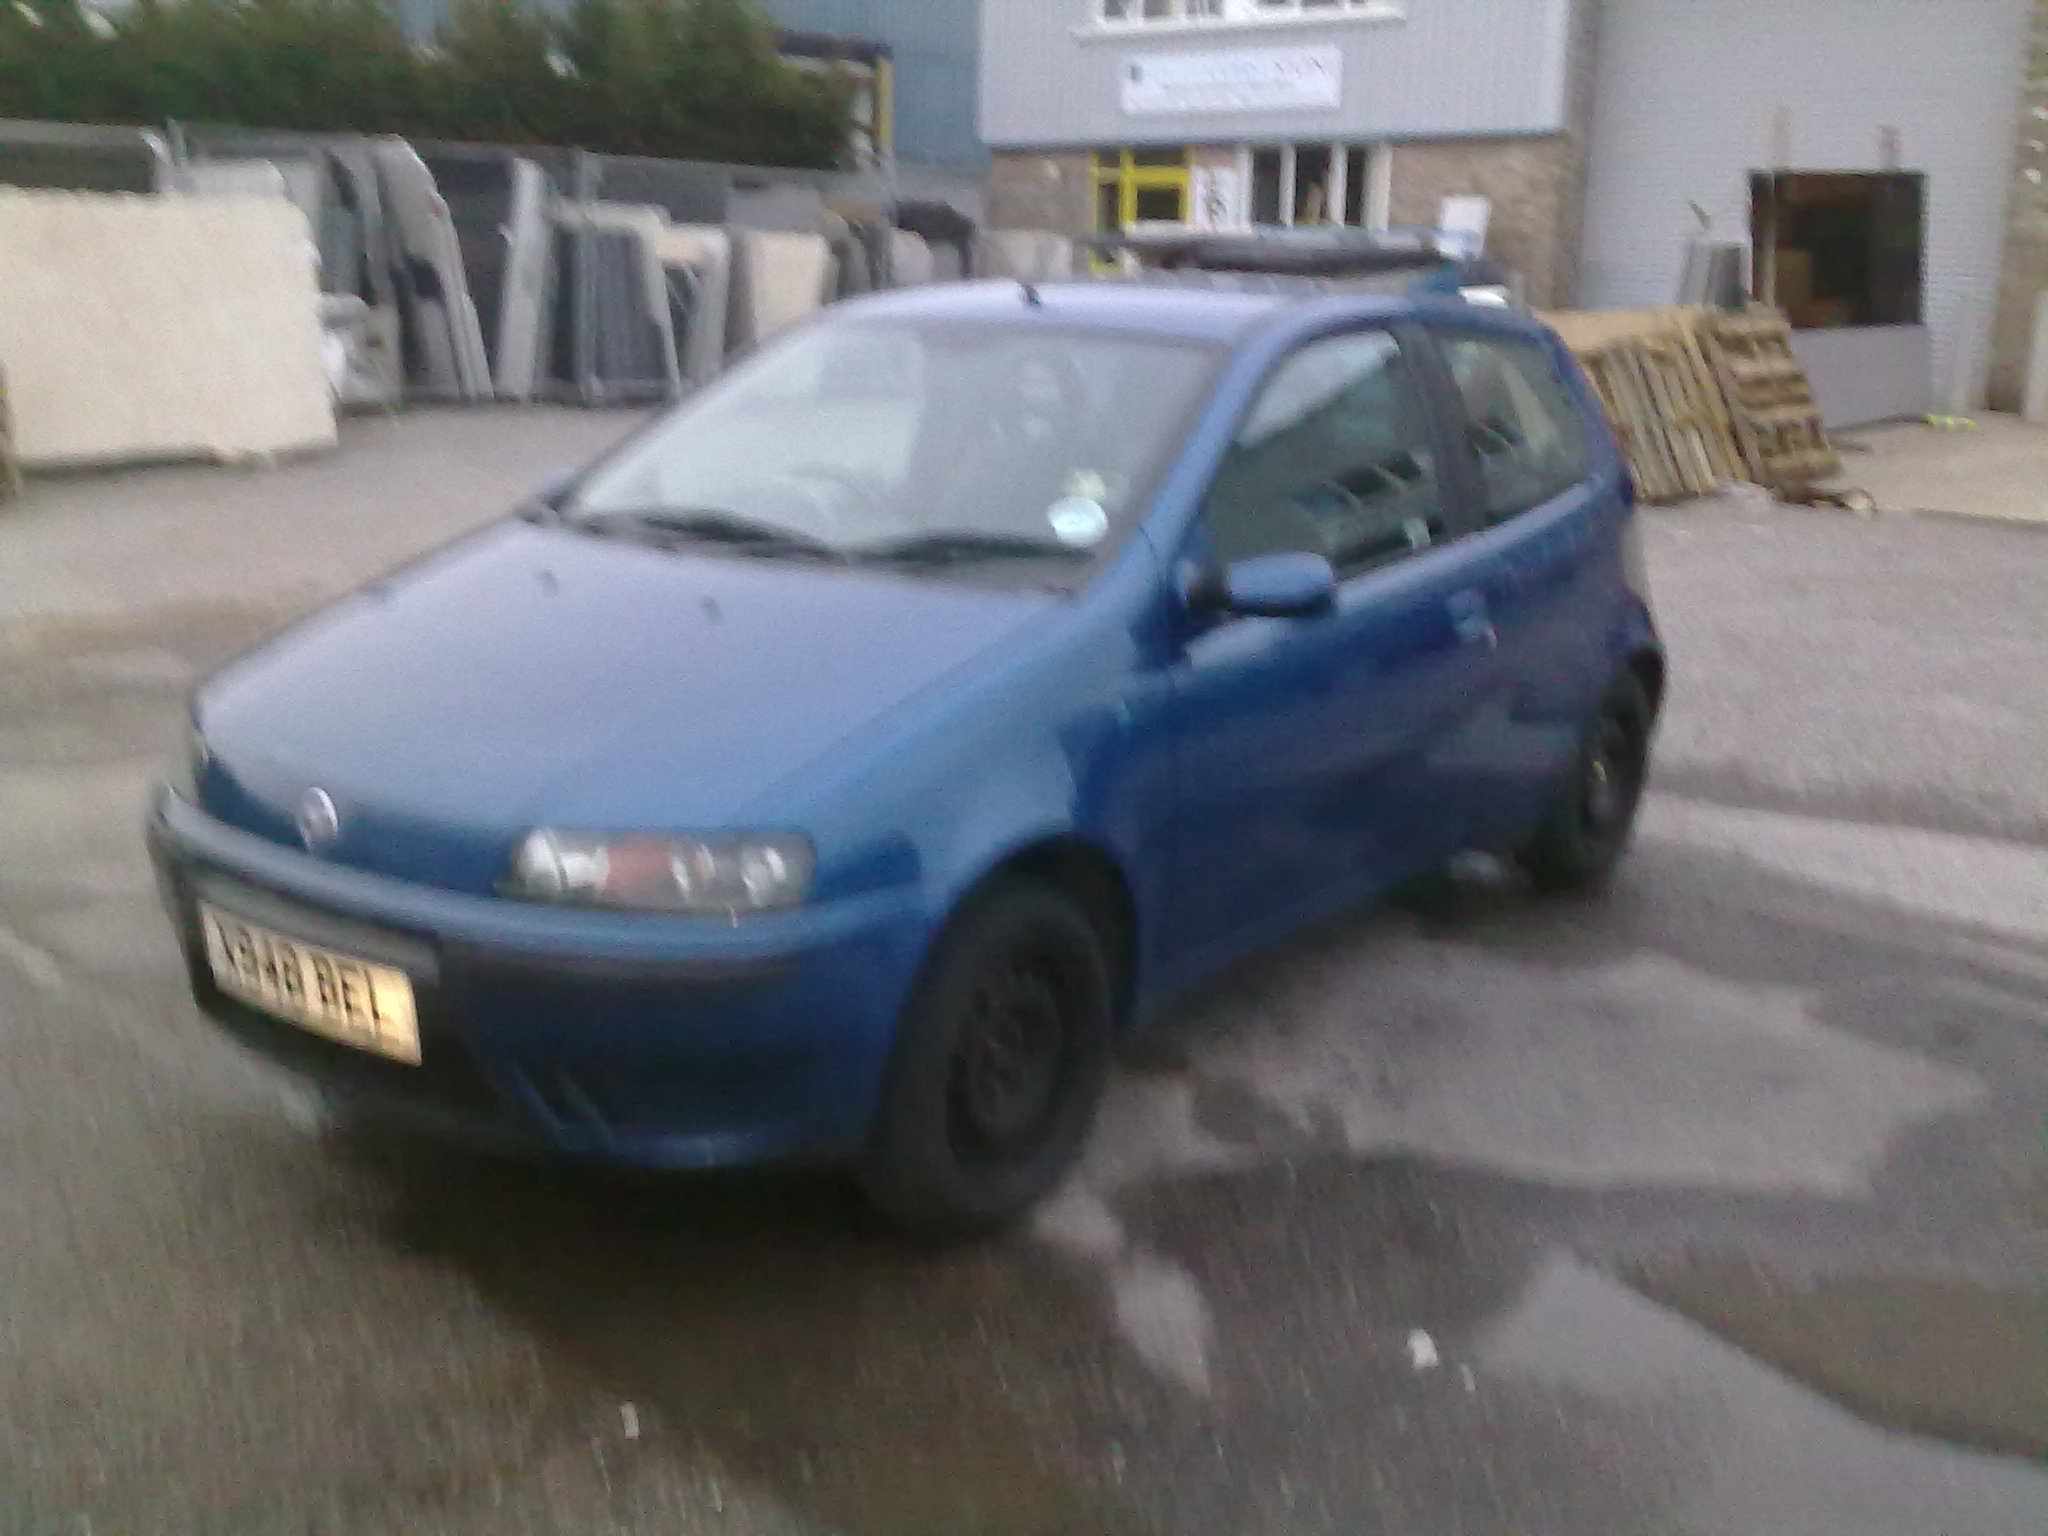
CAR SPECIFICATIONS:
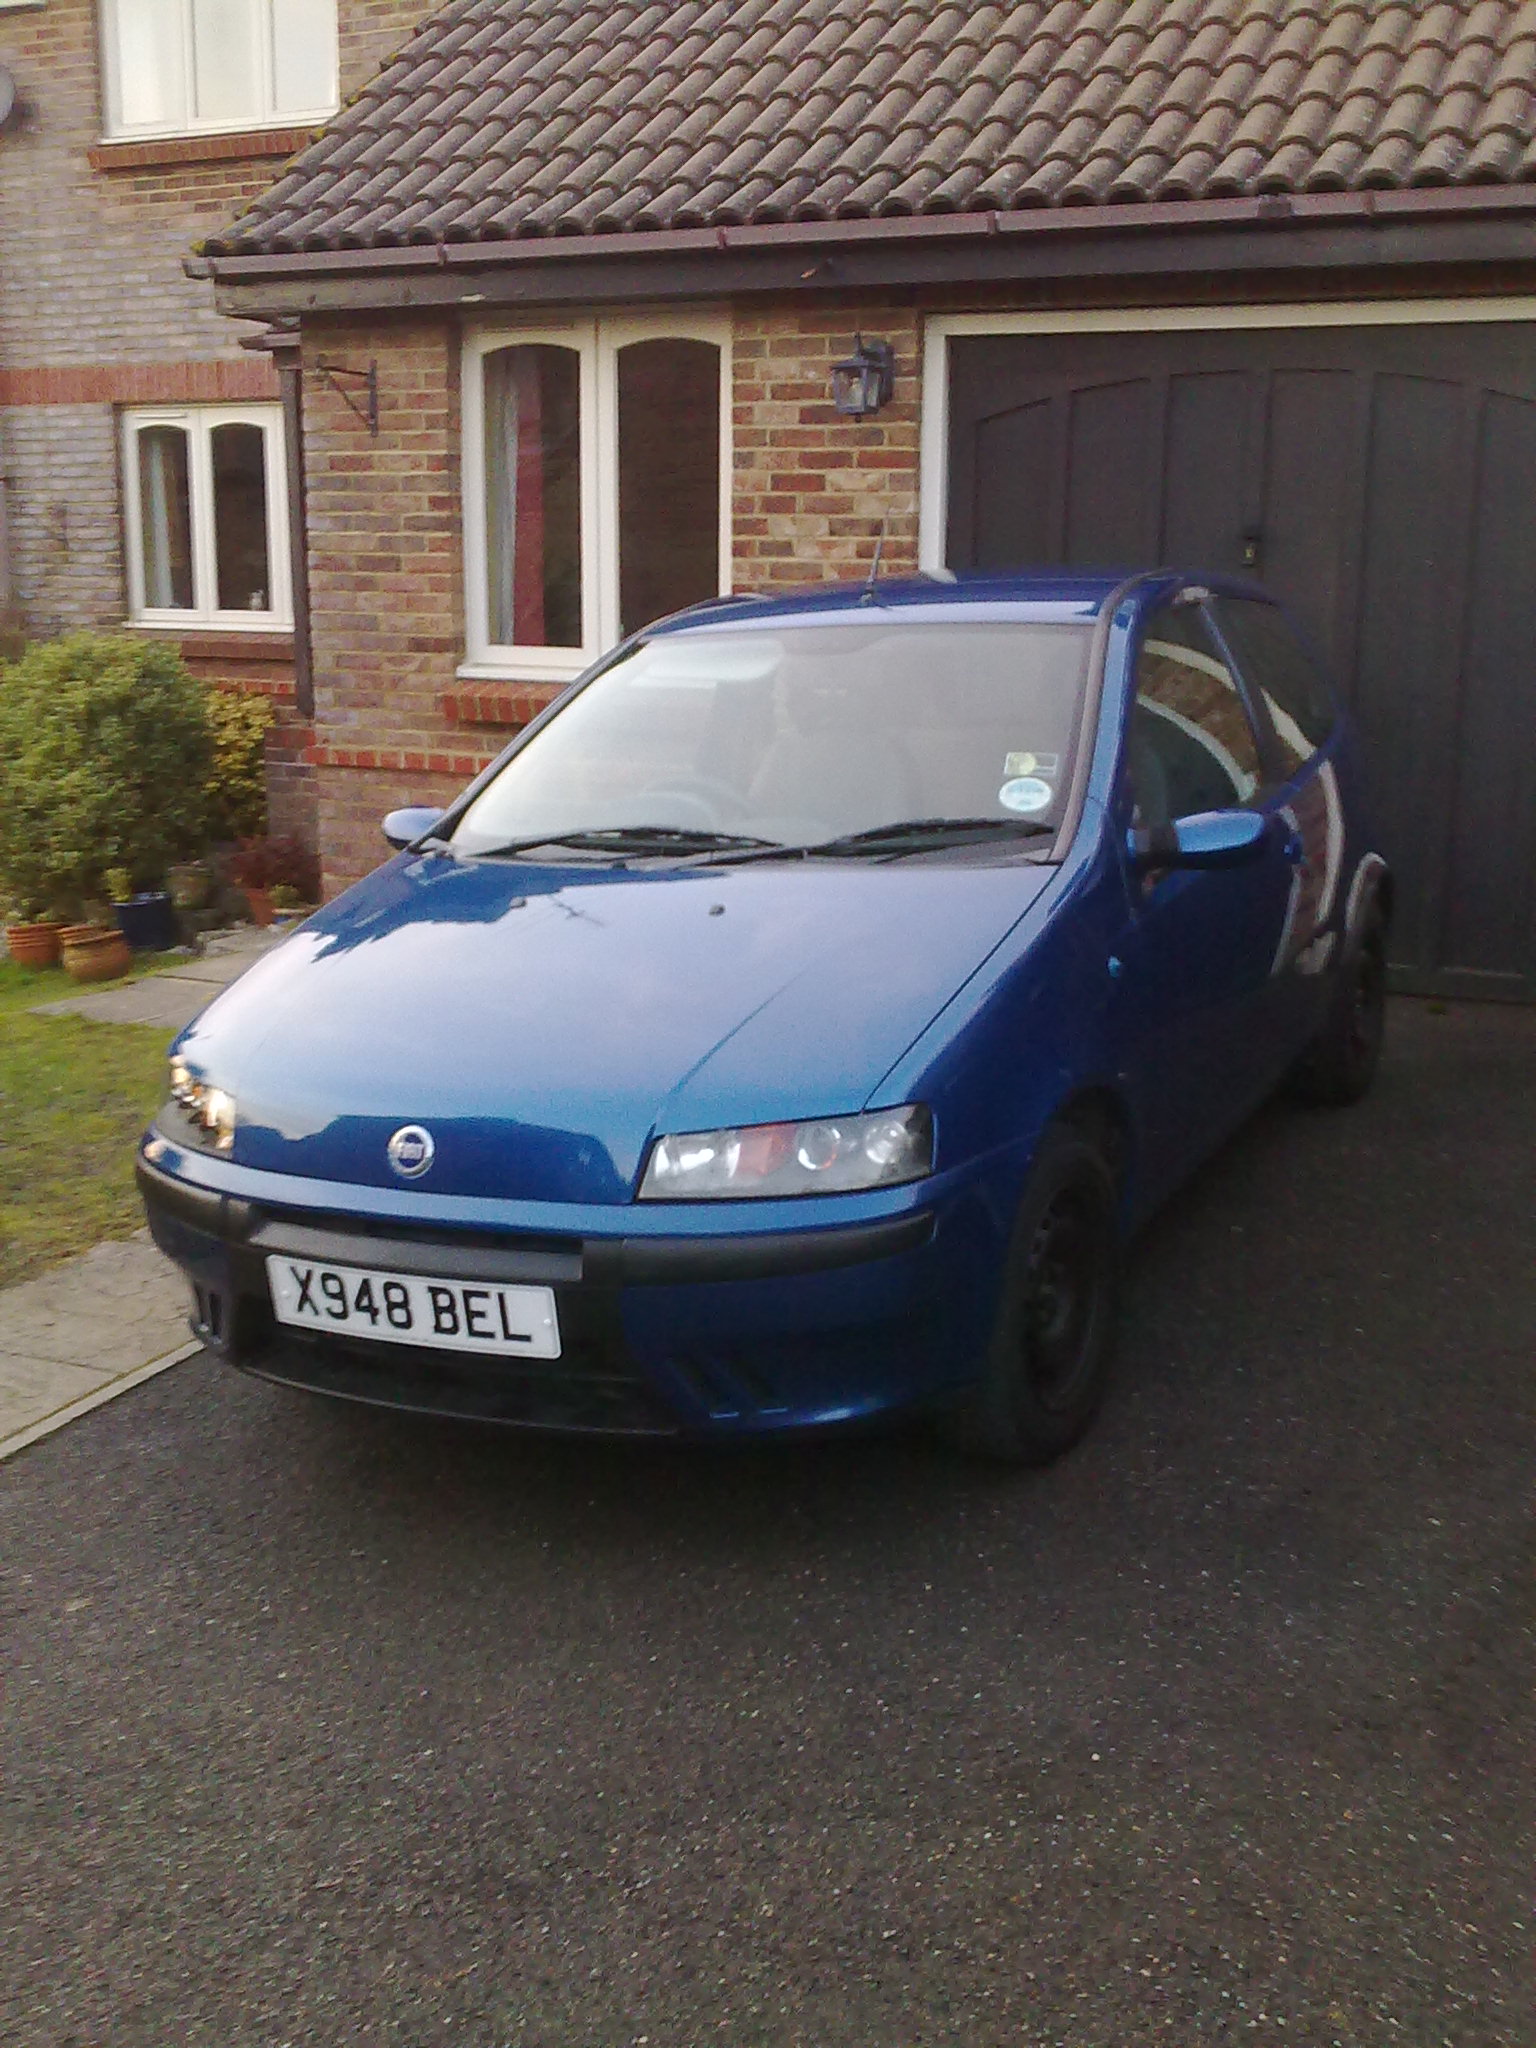
- Model : Basic
– Engine size : 1242cc 8v
- Year : 2000
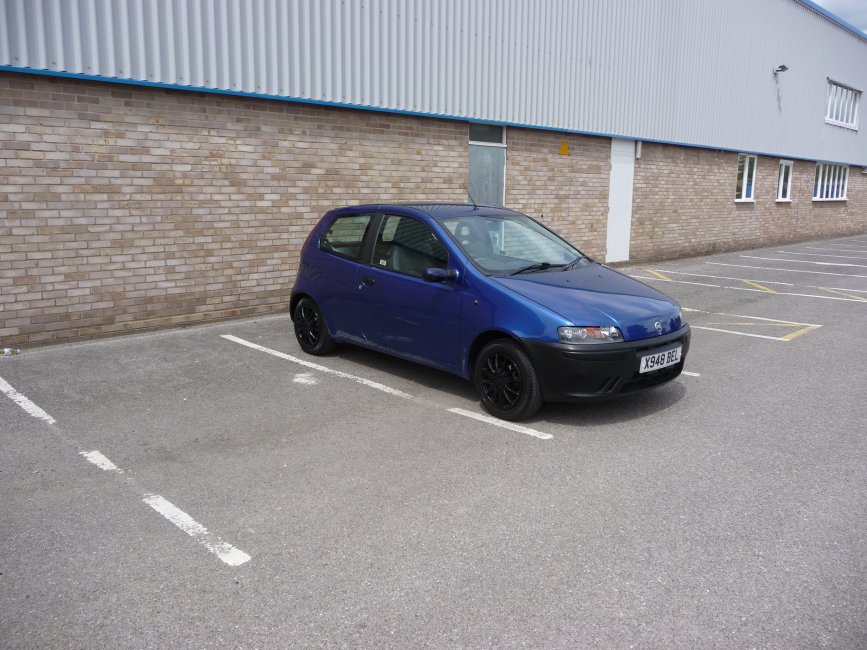
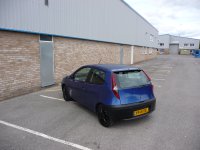
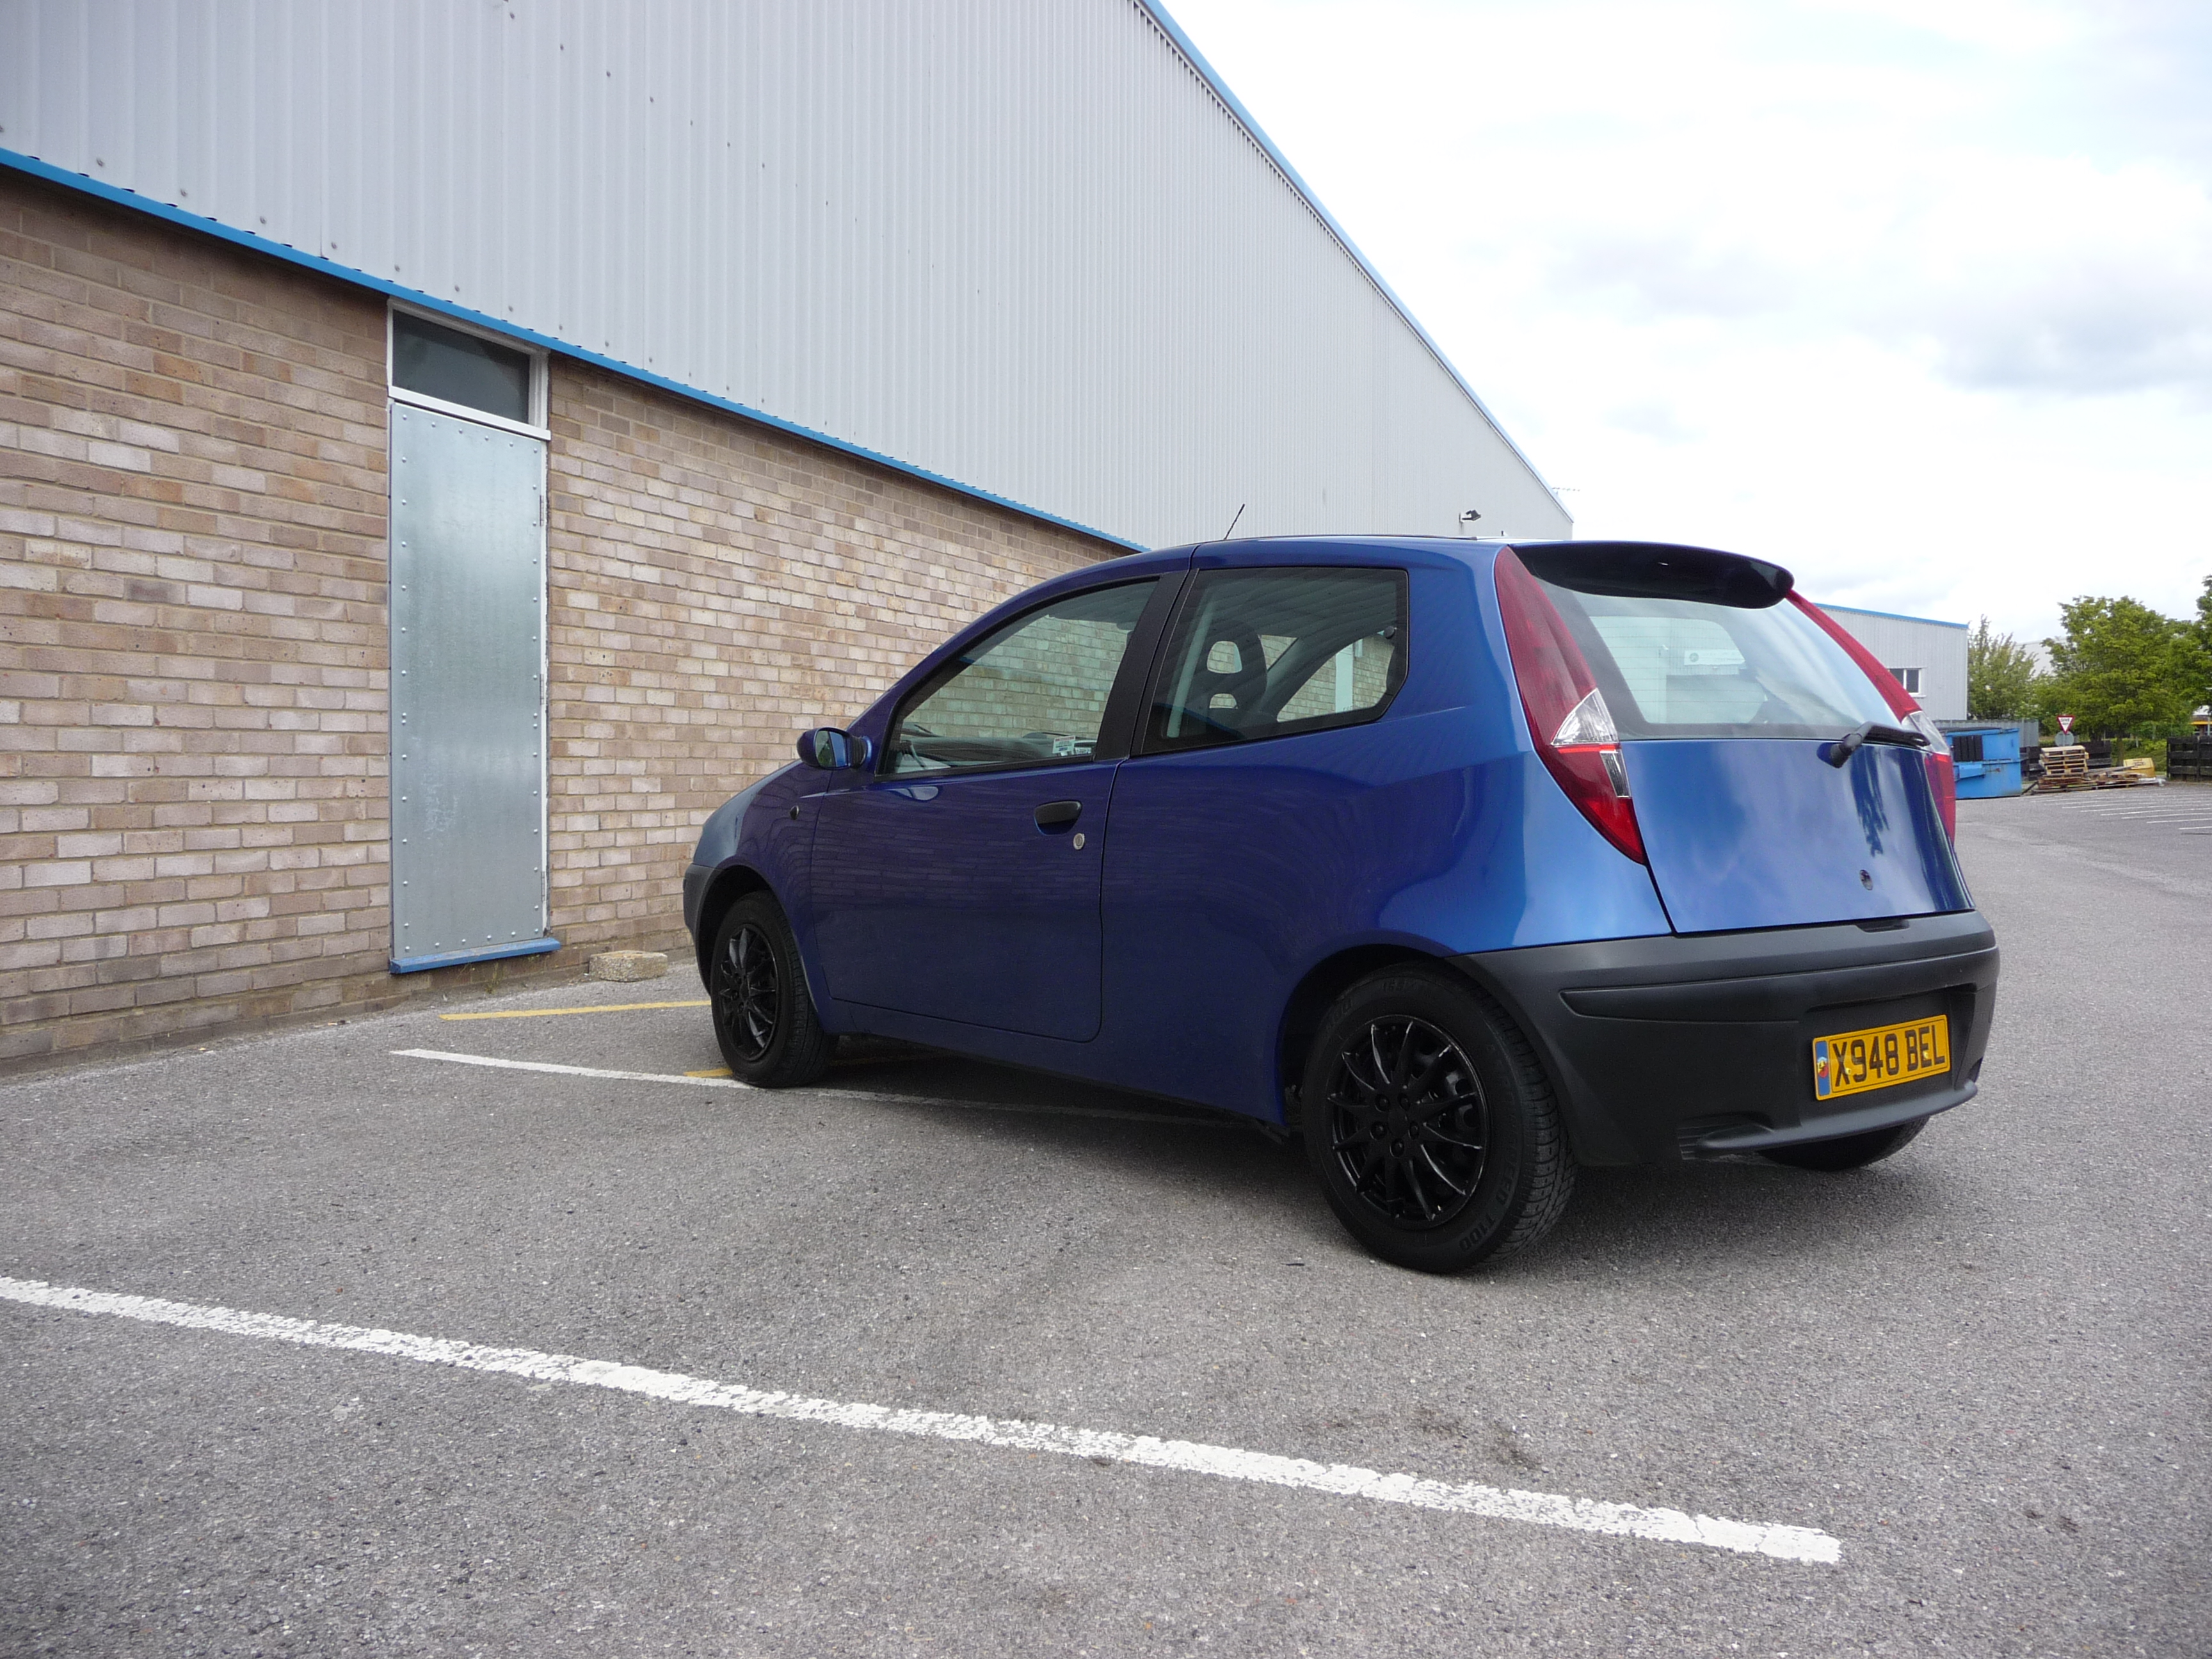
– Colour : Met Blue Teseo
ENGINE MODIFICATIONS :
- None
STYLING MODIFICATIONS:
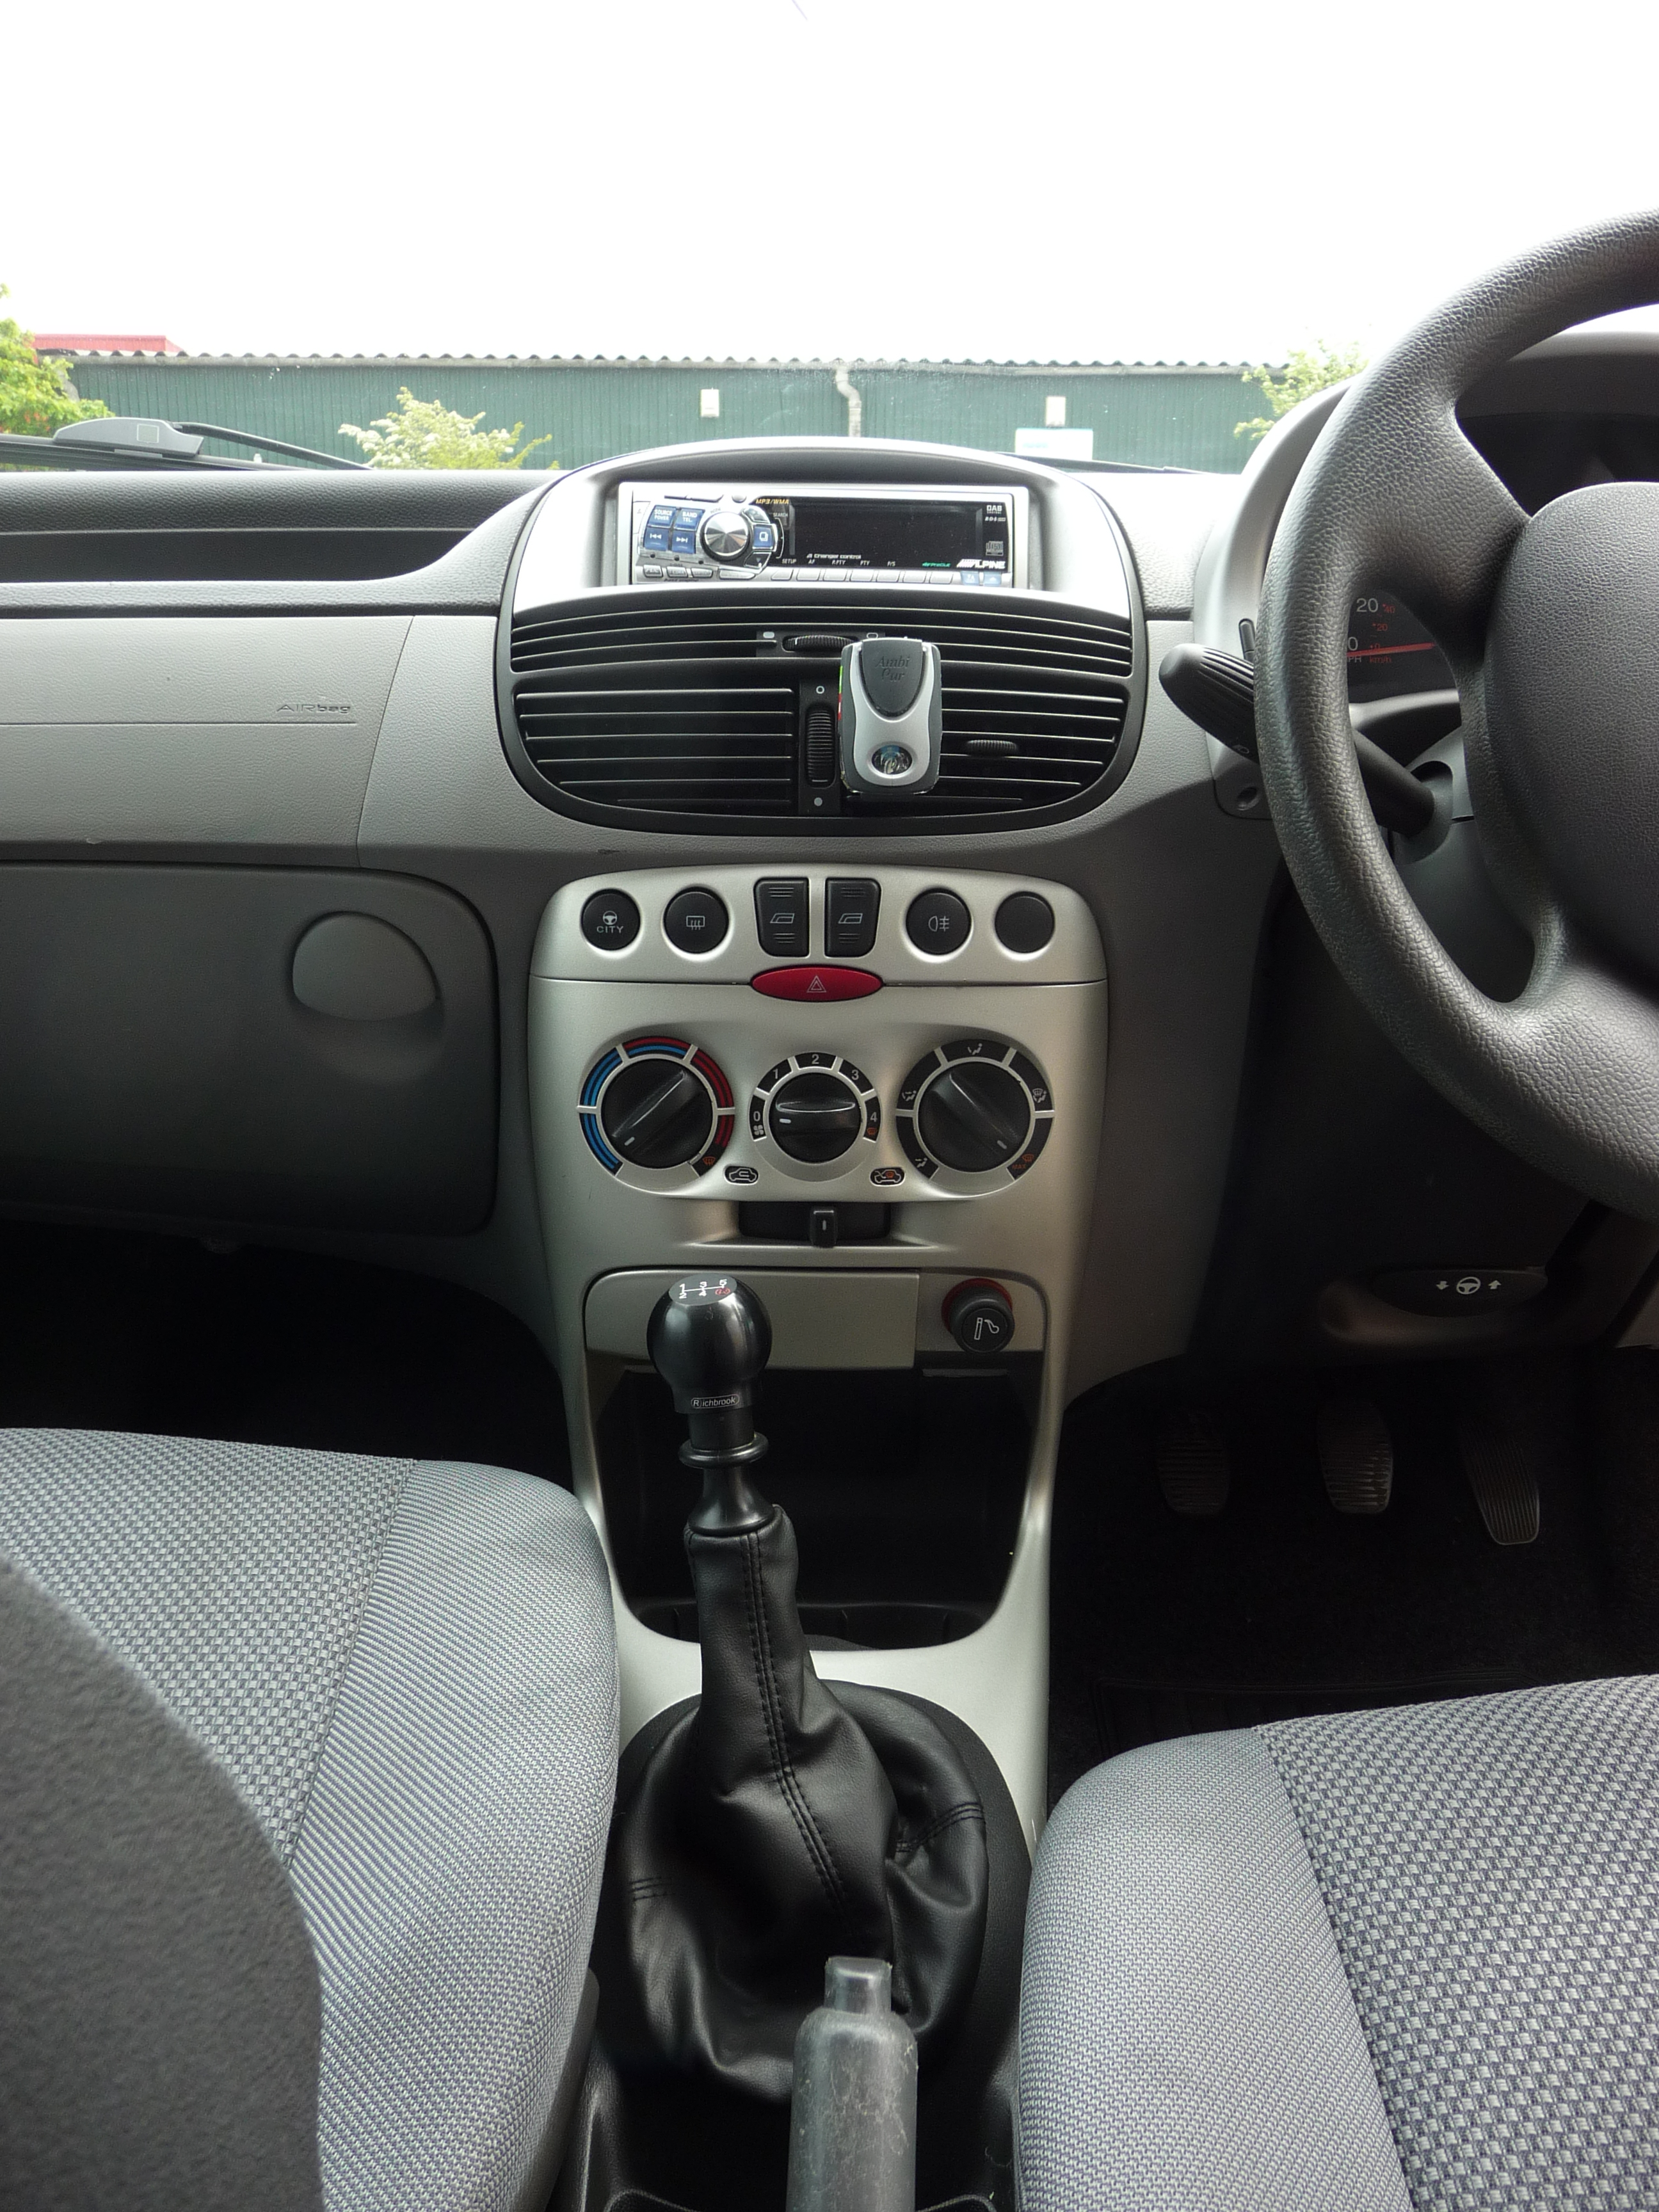
INTERIOR:
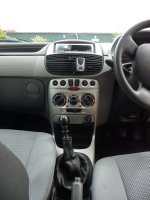
- Richbrook Gearknob
- Sporting Centre Console and Handbrake surround
- Silver fascia, air vents and speedo surround
EXTERNAL:
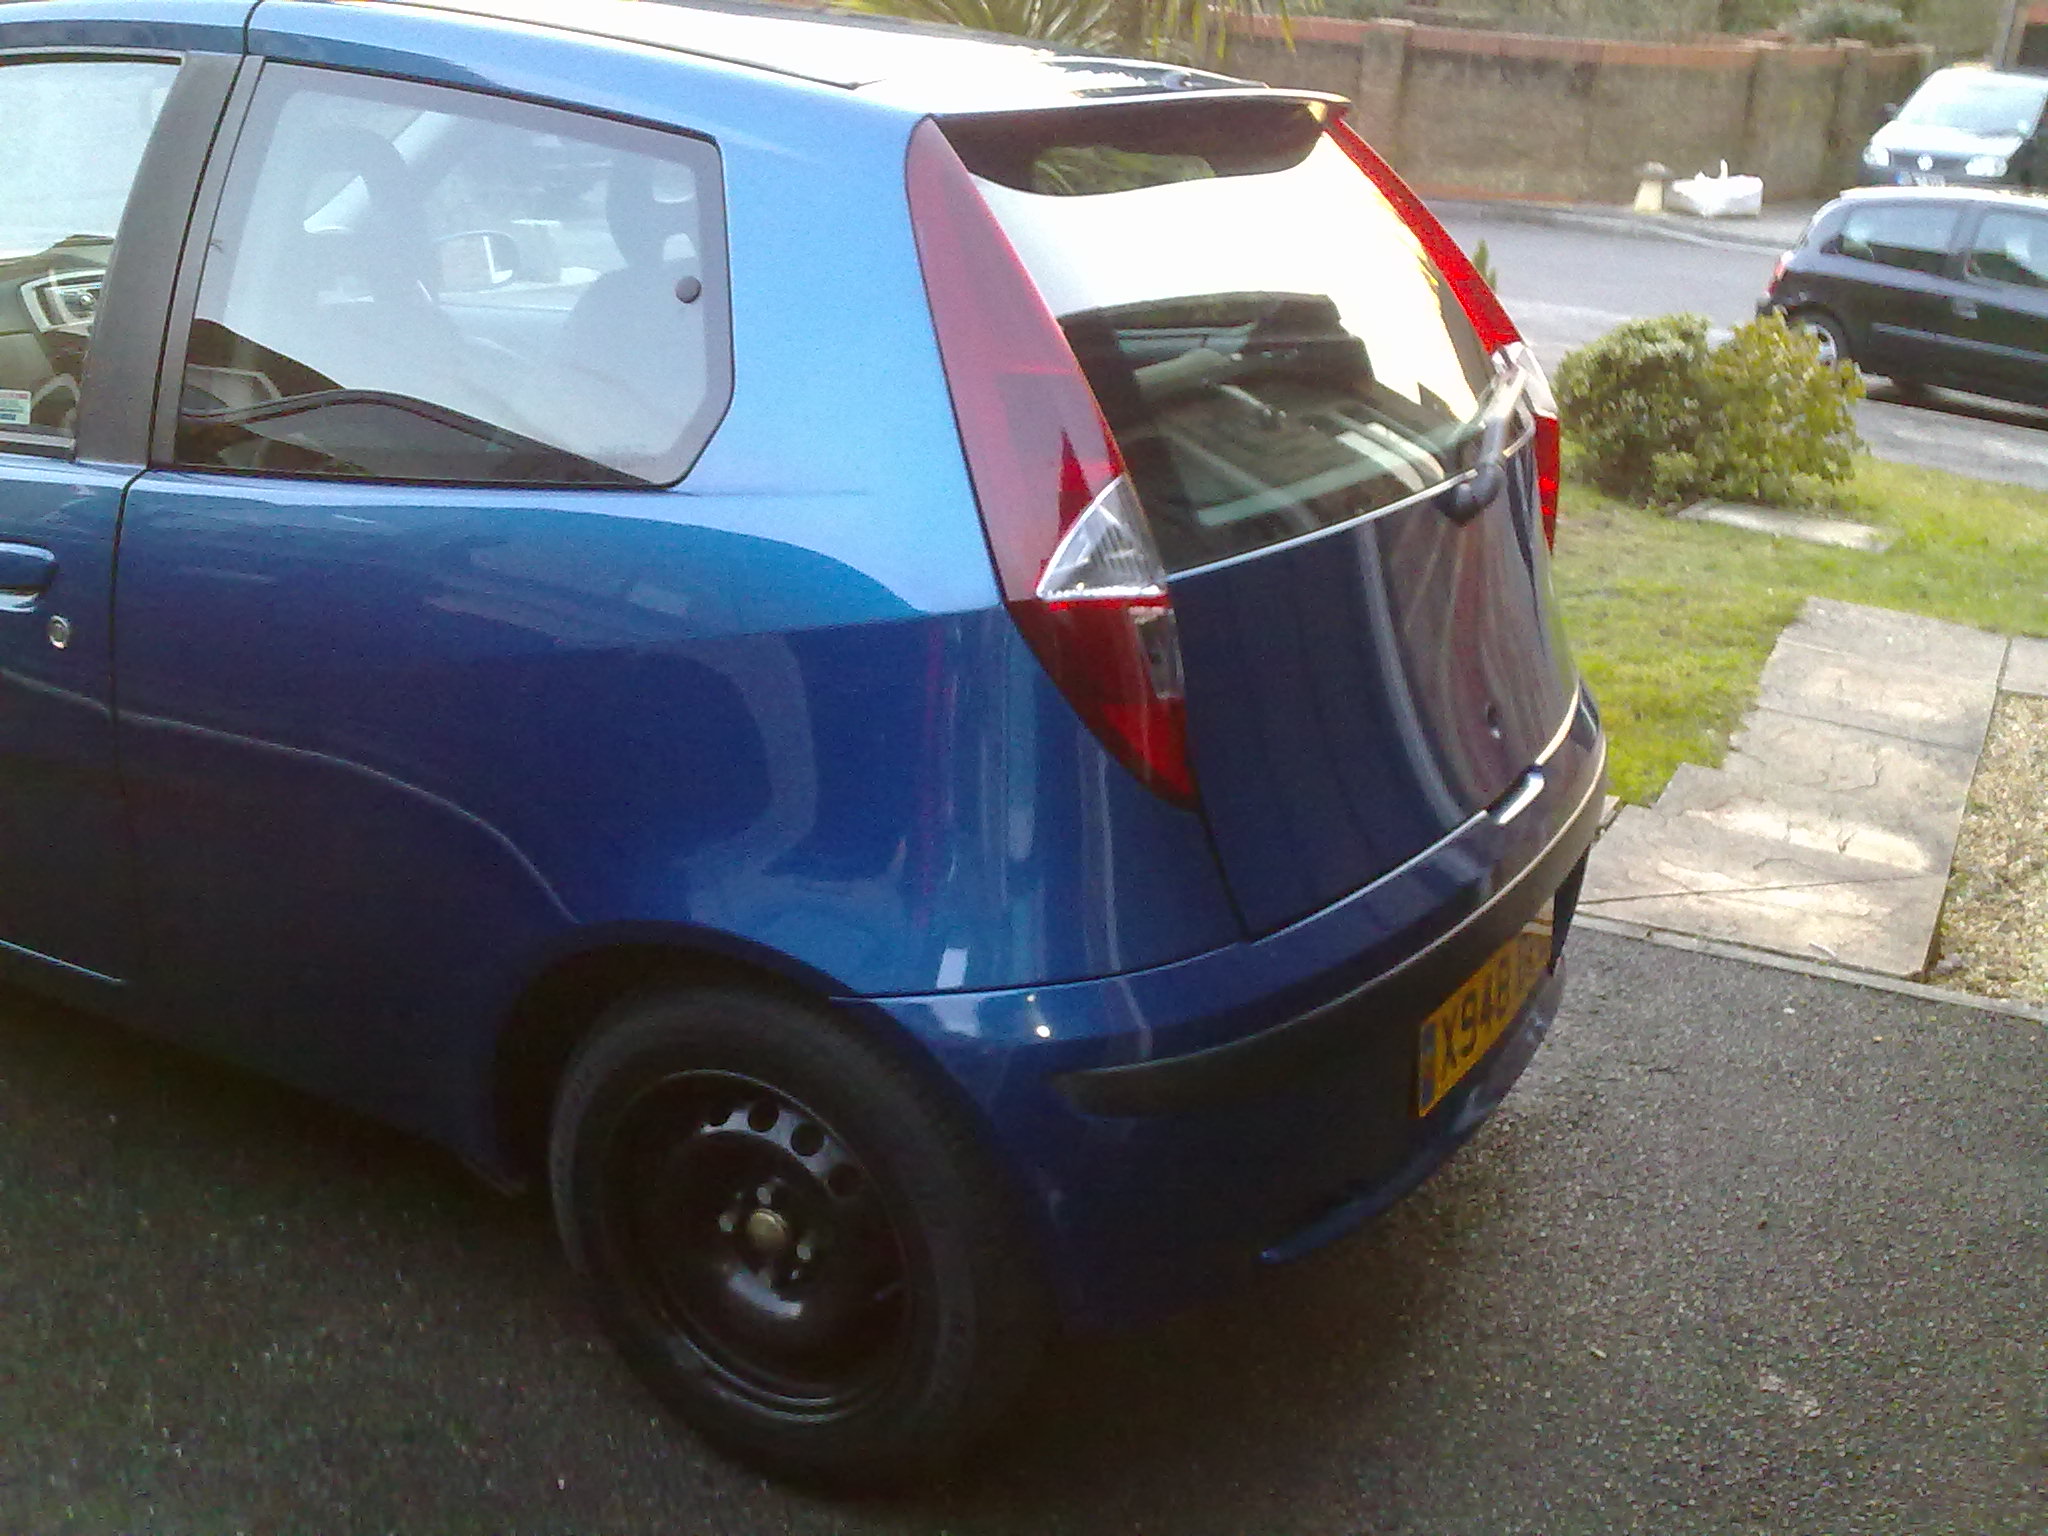
- Sporting Spoiler
- Mark 2B Rears
- Debadged
- Side strips removed
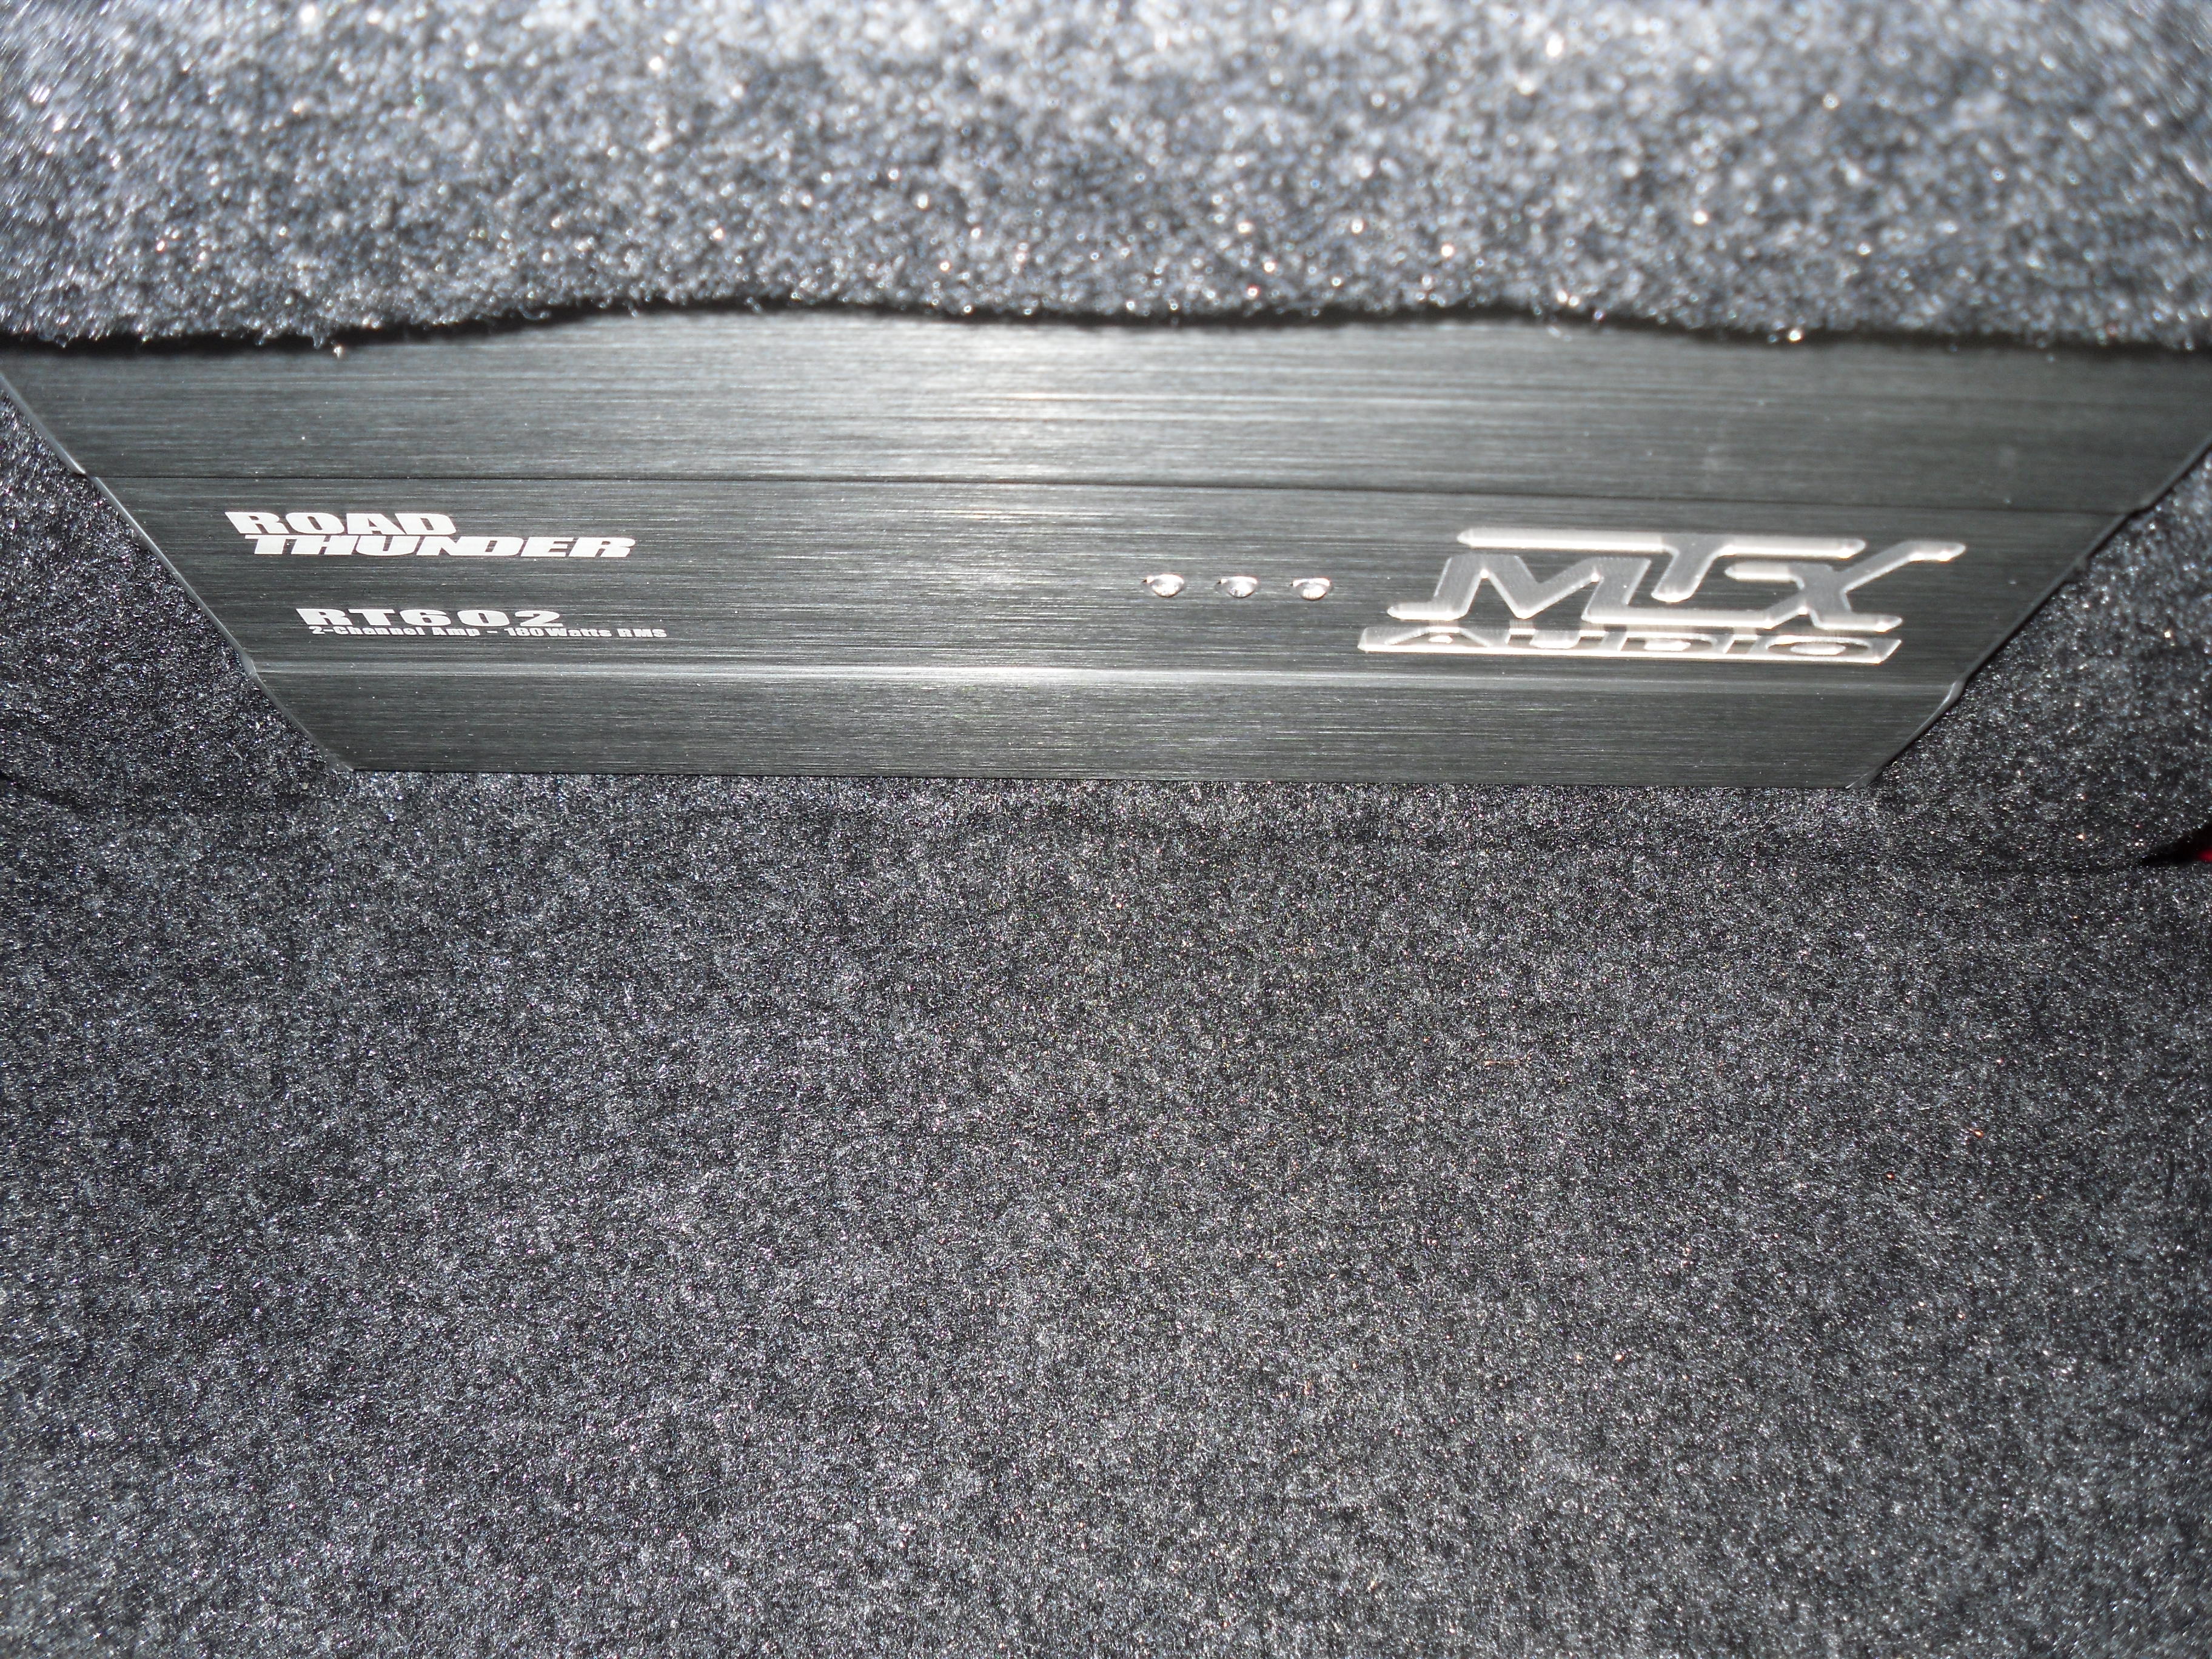
ICE:
- Alpine HU
- MTX front co-axials (changing to front components)
- MTX RTP 1000 Partypack - 12" Subwoofer with custom vented enclosure, MTX Mono Amplifier (pictures coming soon)
FUTURE MODS:
- Colour coded wing mirrors and door handles (also speaker adaptors)
- Sorting out a few little niggly things, like a wonky seat and no rear middle seatbelt!!
- Fiat wheel trims (perhaps refurbed in black)
- 'Polished' Rocker Cover
- Blue Side Repeaters
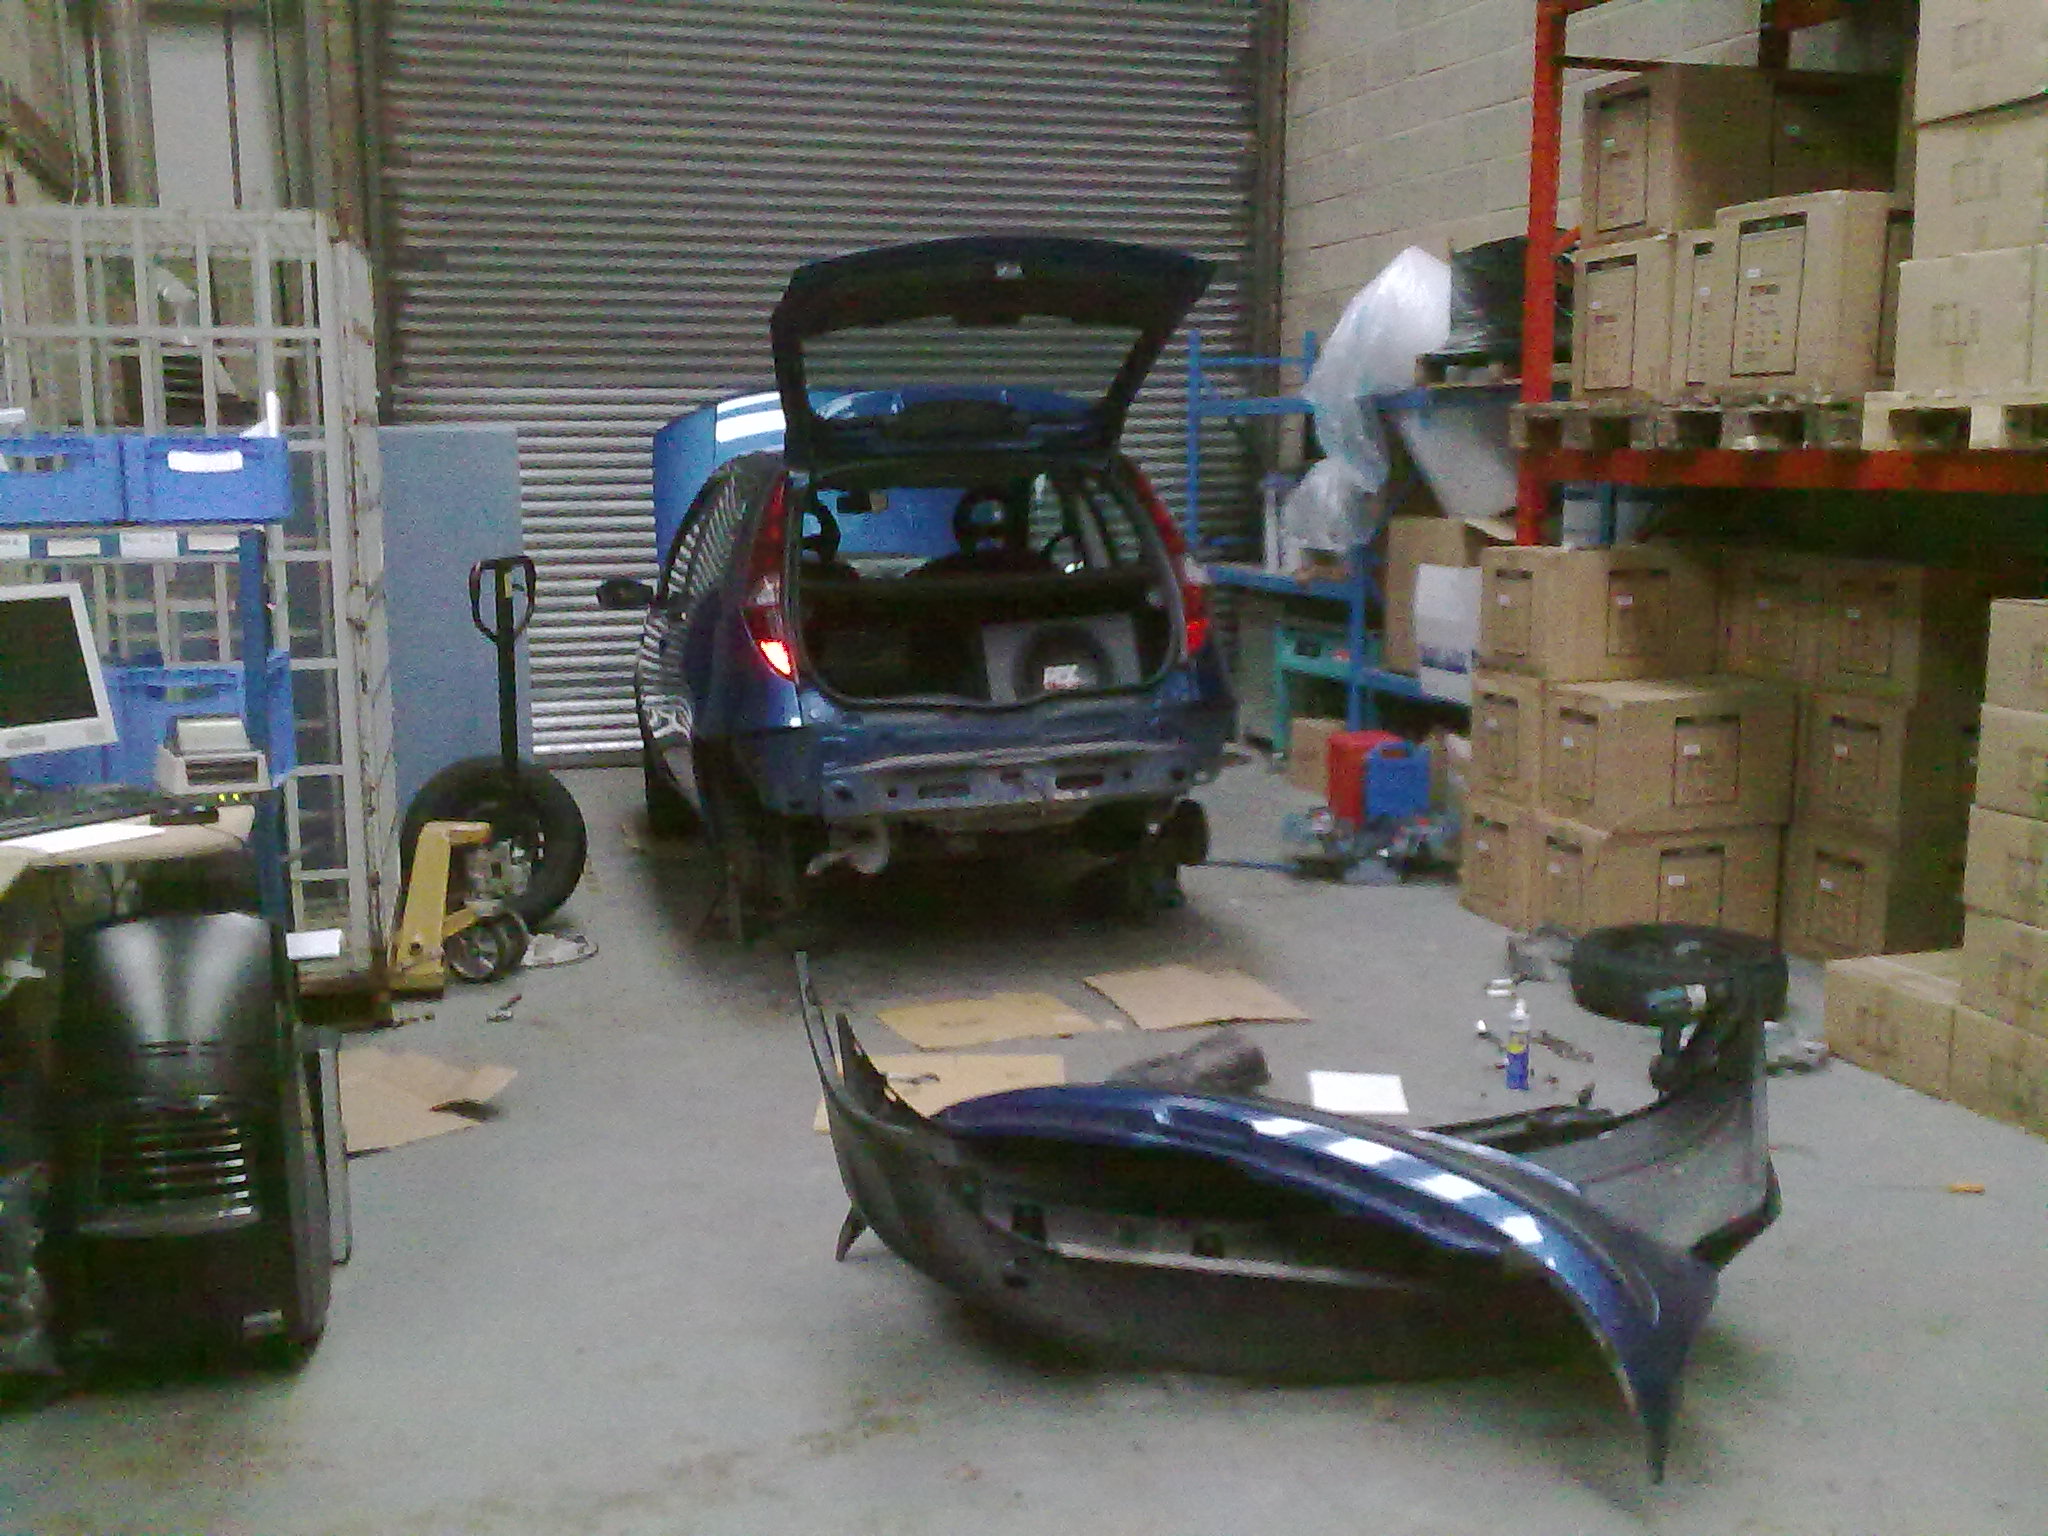
- Finishing off the 'bootbuild'. This includes carpeted wooden floor and carpeted wood on the rear seat with twin mounted amplifiers and a sub, as well as a few other small things. Possibly a door build as well


CAR SPECIFICATIONS:
- Model : Basic
– Engine size : 1242cc 8v
- Year : 2000
– Colour : Met Blue Teseo
ENGINE MODIFICATIONS :
- None
STYLING MODIFICATIONS:
INTERIOR:
- Richbrook Gearknob
- Sporting Centre Console and Handbrake surround
- Silver fascia, air vents and speedo surround
EXTERNAL:
- Sporting Spoiler
- Mark 2B Rears
- Debadged
- Side strips removed
ICE:
- Alpine HU
- MTX front co-axials (changing to front components)
- MTX RTP 1000 Partypack - 12" Subwoofer with custom vented enclosure, MTX Mono Amplifier (pictures coming soon)
FUTURE MODS:
- Colour coded wing mirrors and door handles (also speaker adaptors)
- Sorting out a few little niggly things, like a wonky seat and no rear middle seatbelt!!
- Fiat wheel trims
(perhaps refurbed in black)- 'Polished' Rocker Cover
- Blue Side Repeaters
- Finishing off the 'bootbuild'. This includes carpeted wooden floor and carpeted wood on the rear seat with twin mounted amplifiers and a sub, as well as a few other small things. Possibly a door build as well