100_1024.JPG

John Dragon Man's Citroen BX Diesel Estate

Introduction

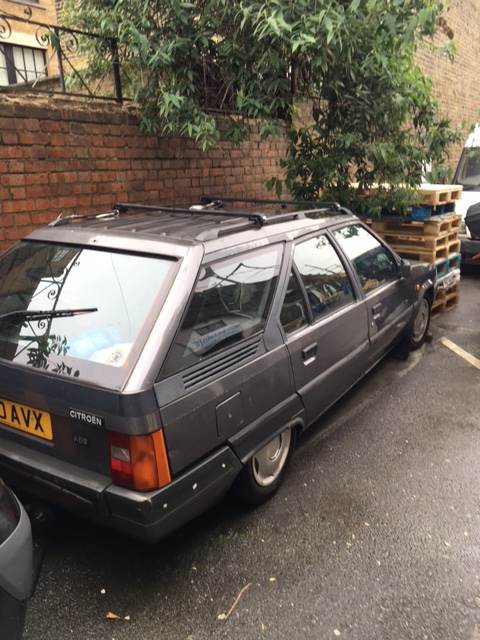
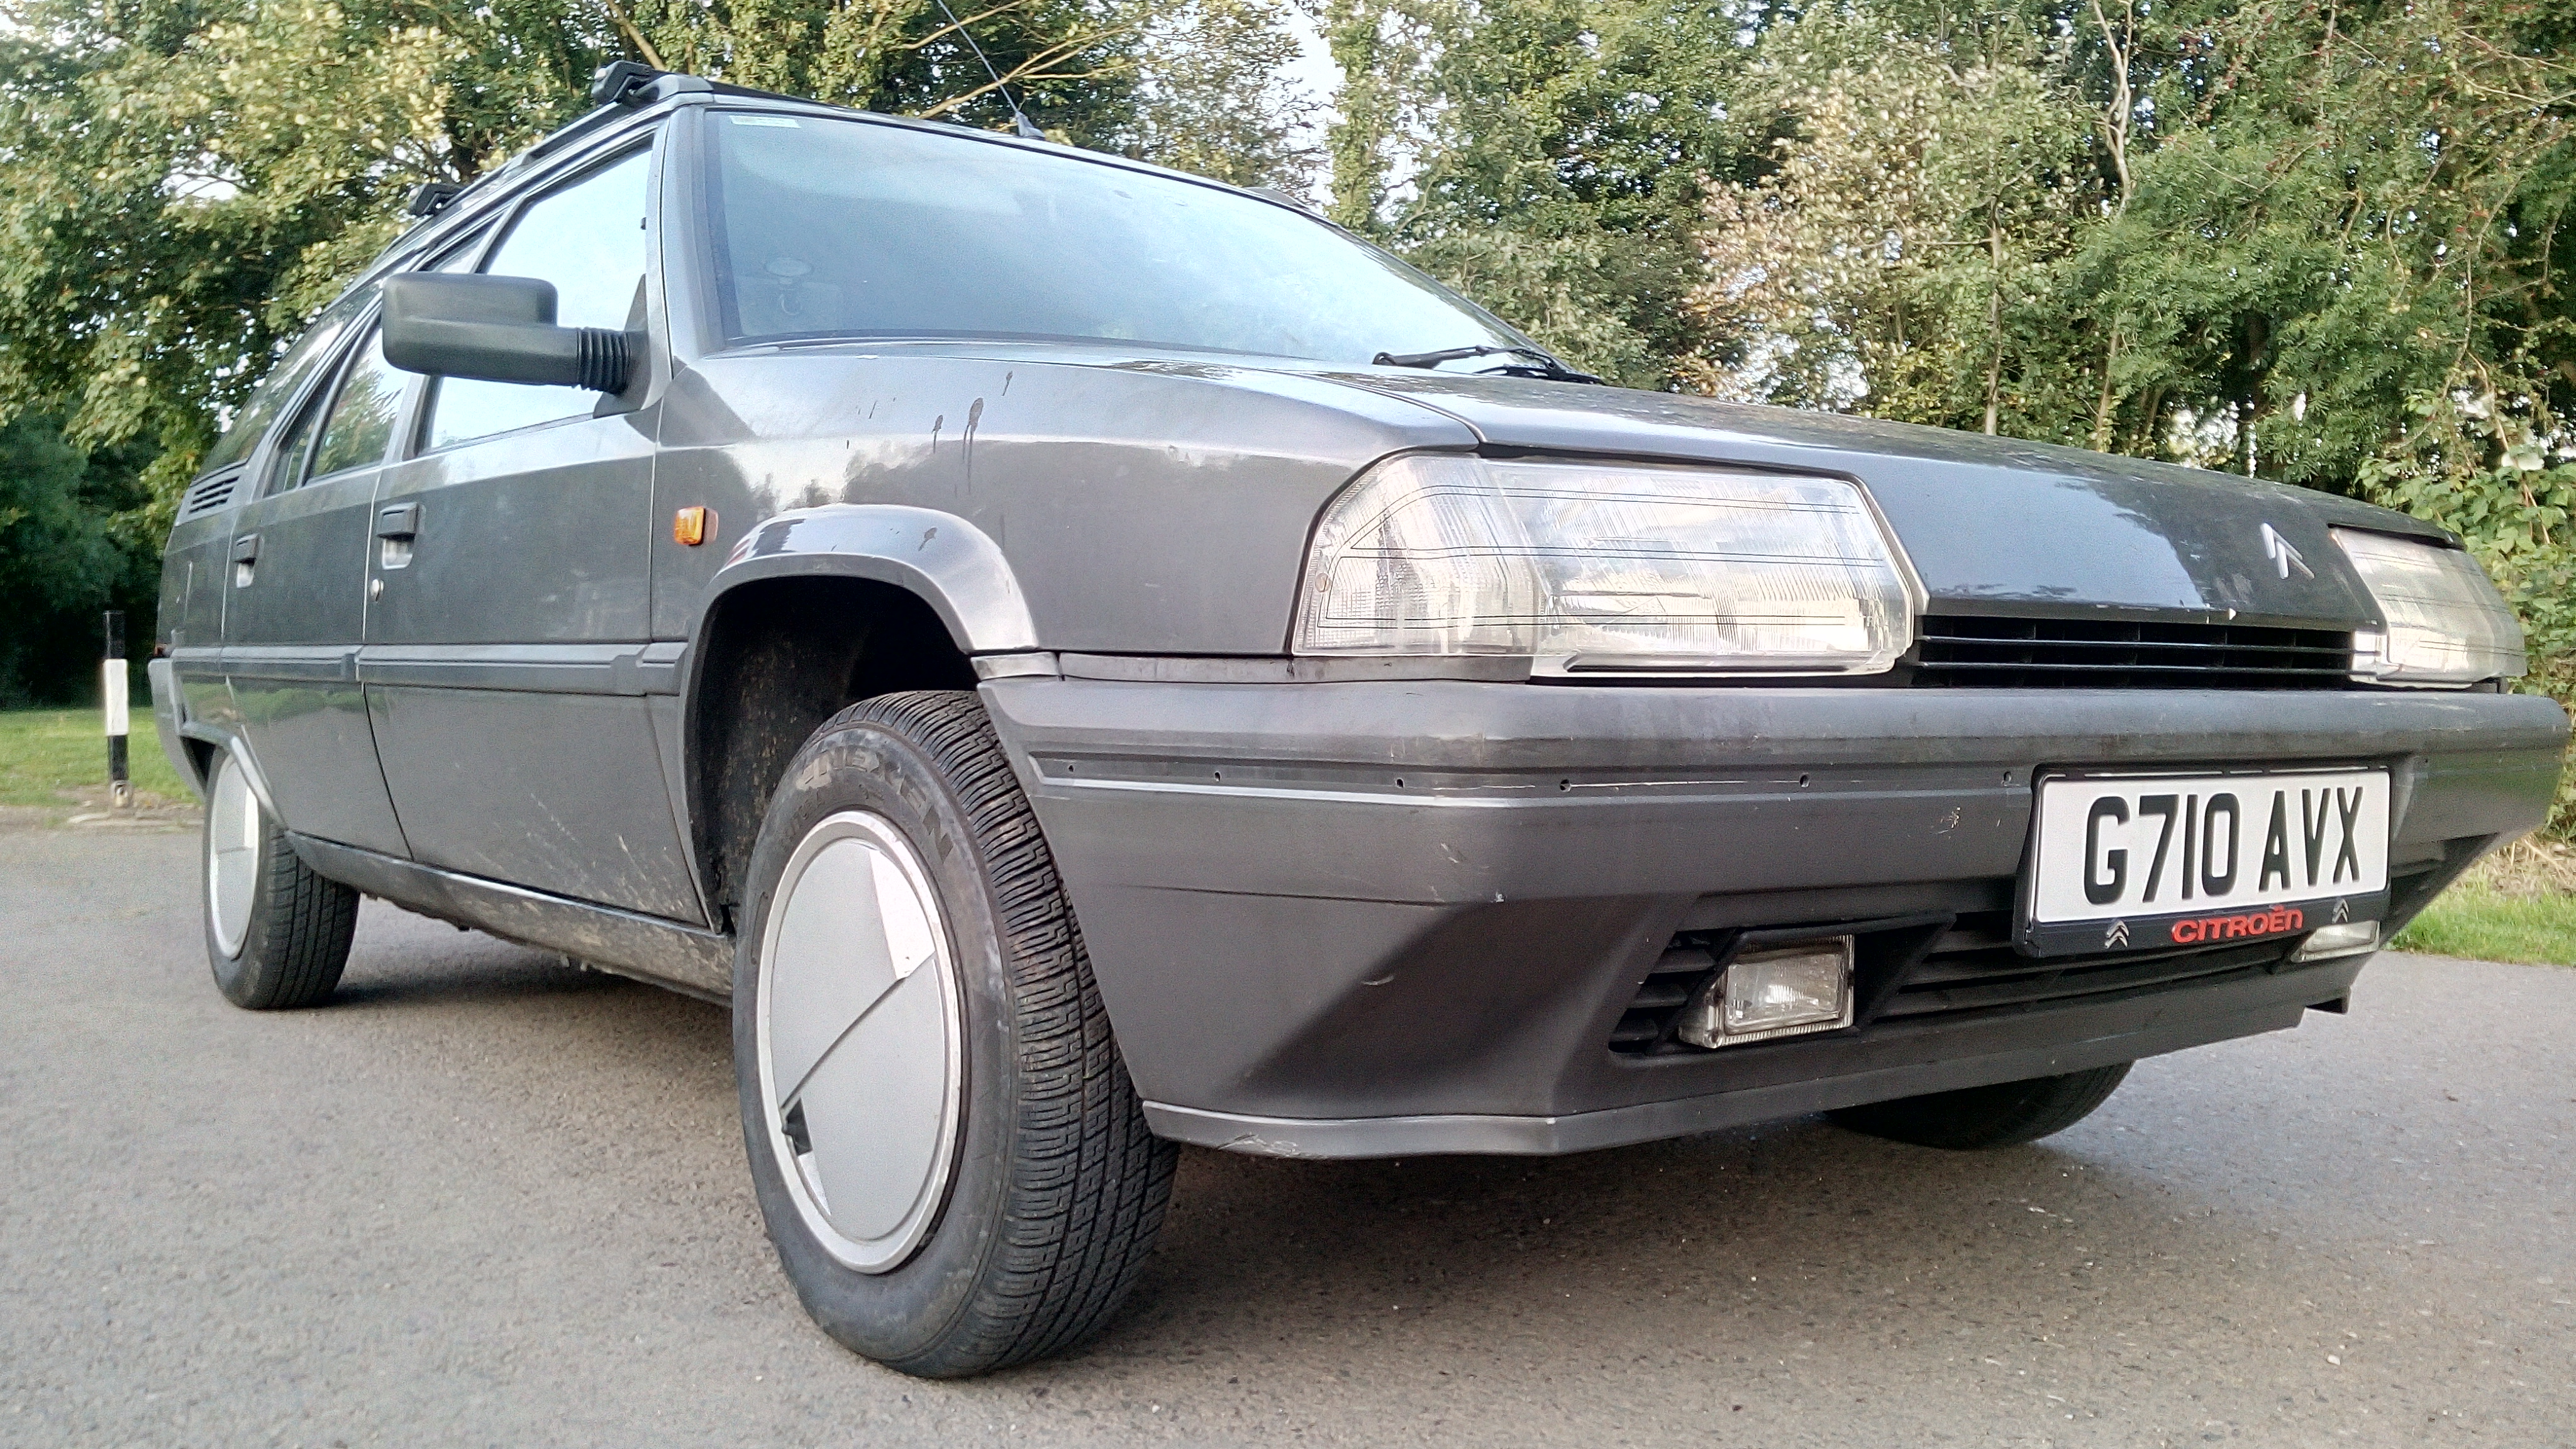
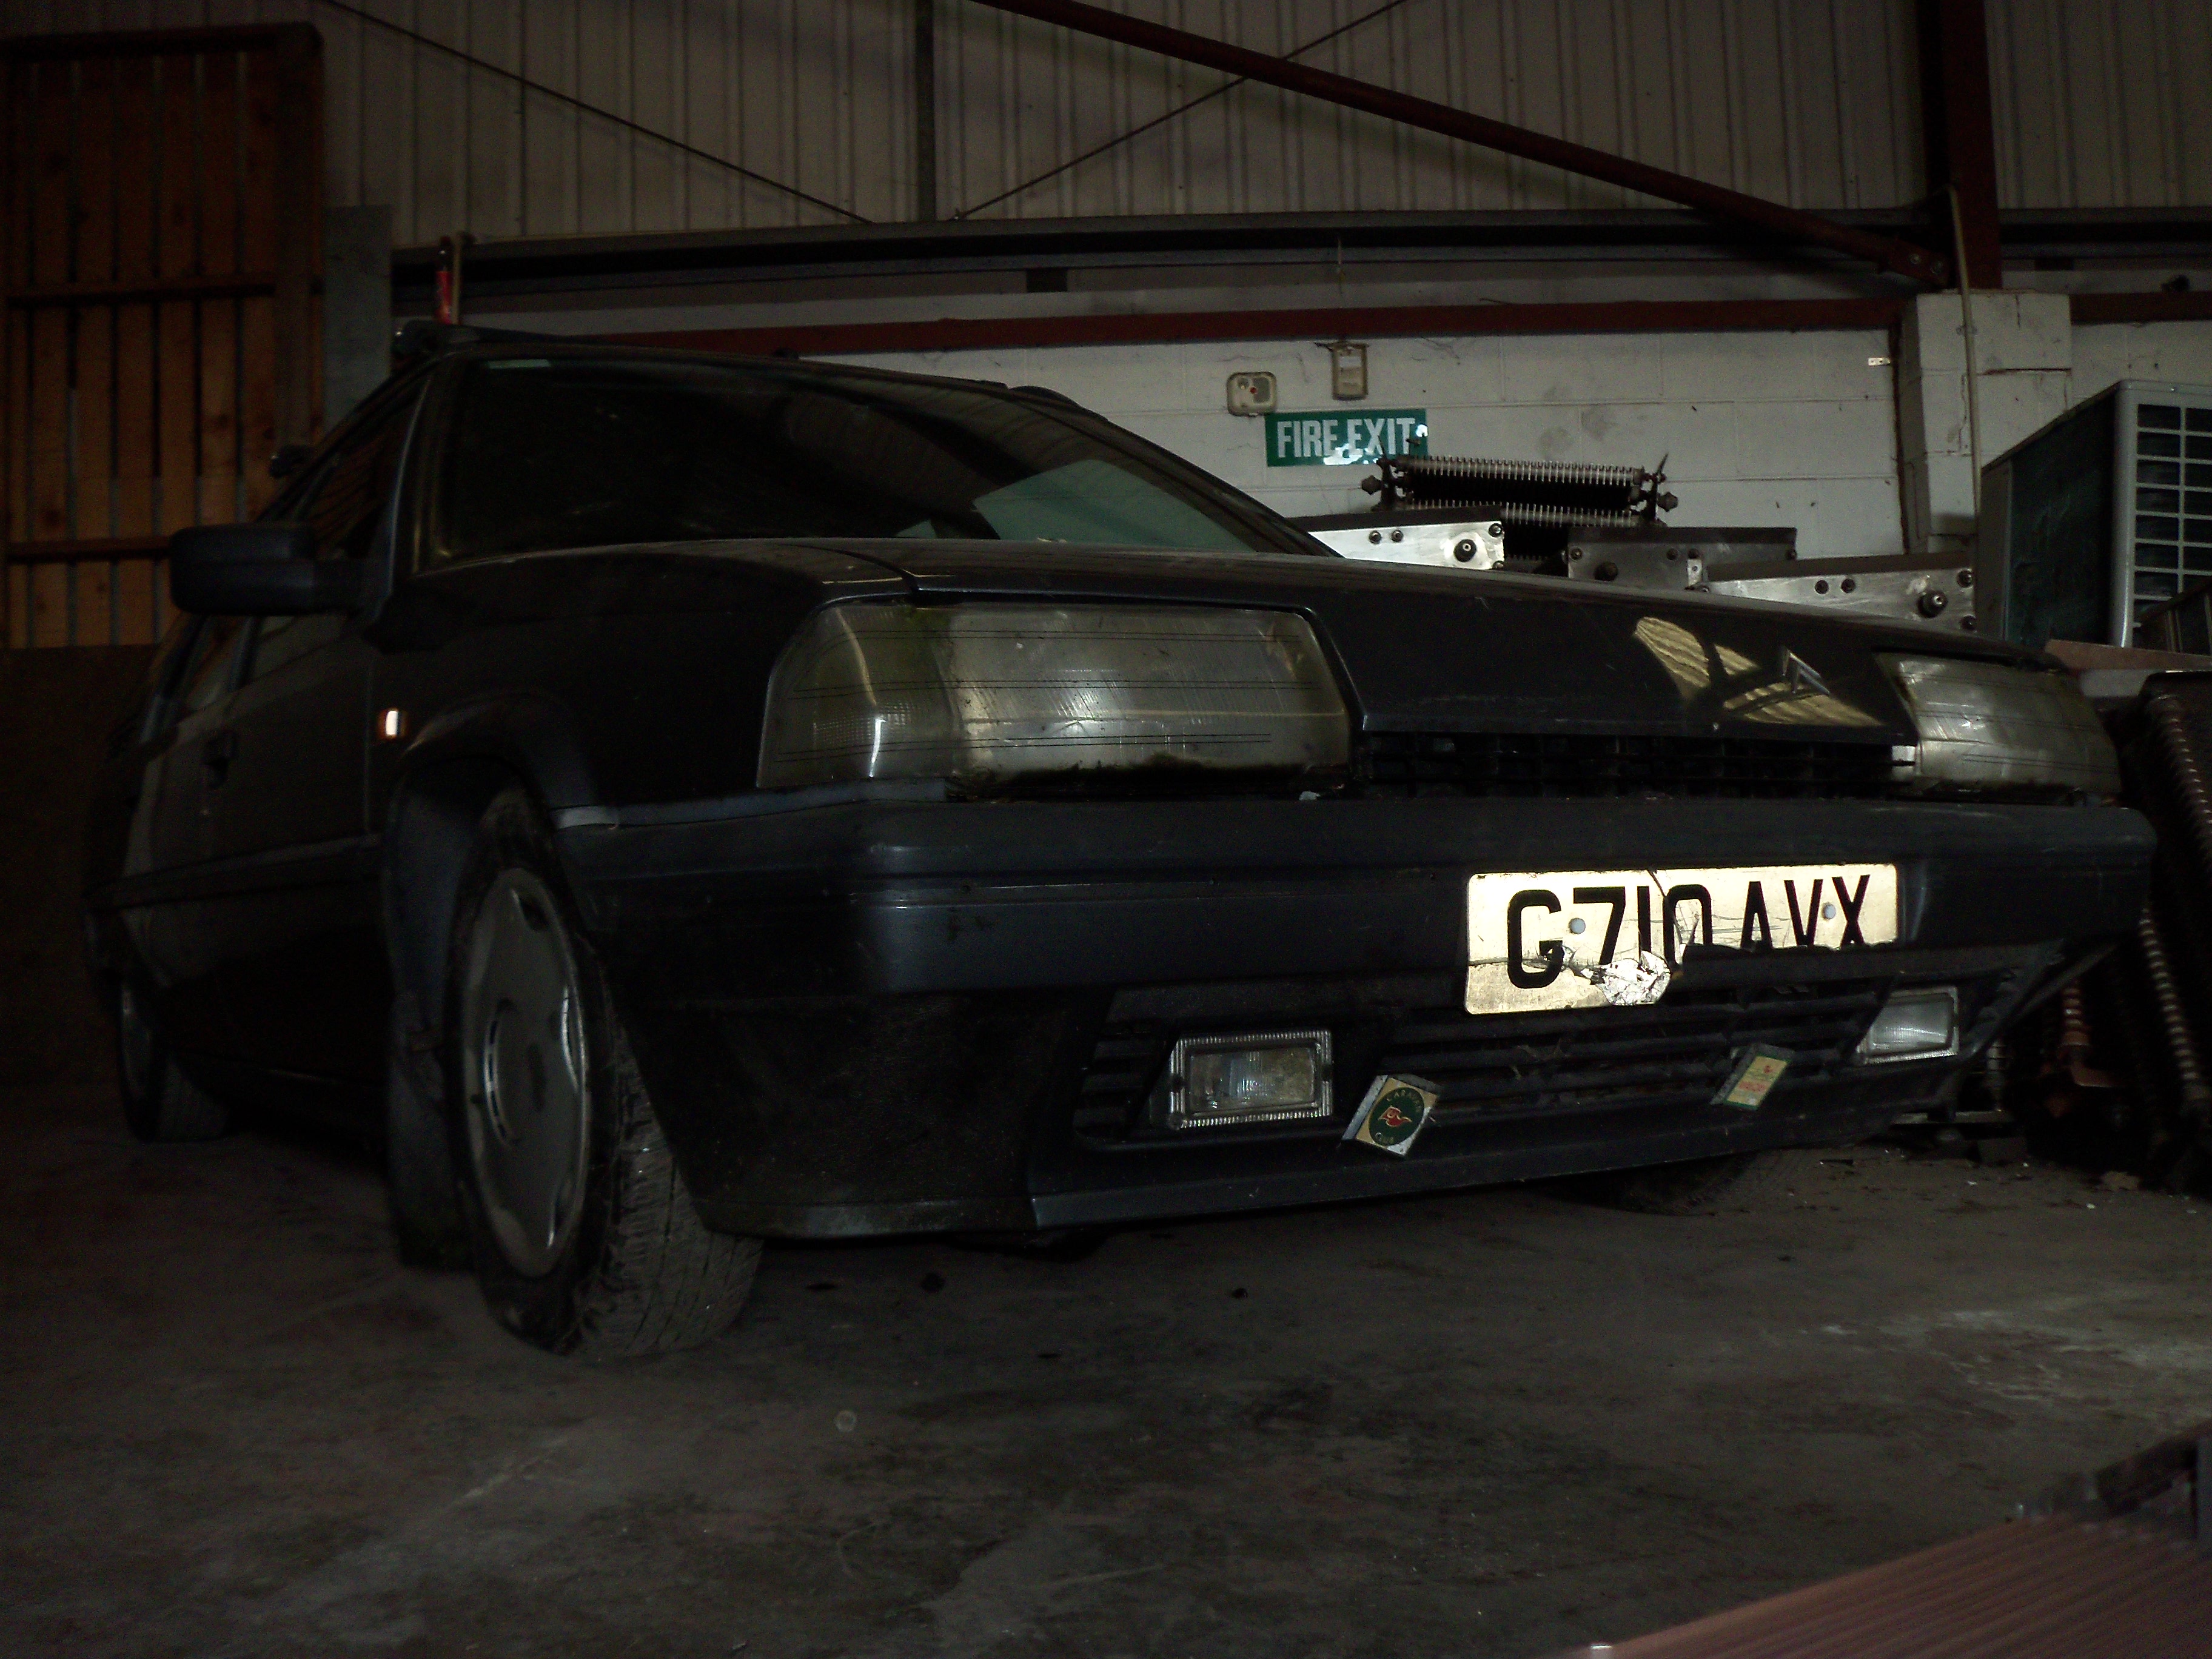
Well here I am, now an owner of a BX Diesel Estate in Sliver!

so yesterday (the 20th of June 16) i took a trip down to London with a car transporter and picked up this nice little... (umm.. a little more larger than i am use to) estate car!

i am pretty happy with it, the overall cost was £400 for the car and around £350 to get it delivered here to Derby (yes i know i could have got it cheaper now :x ).

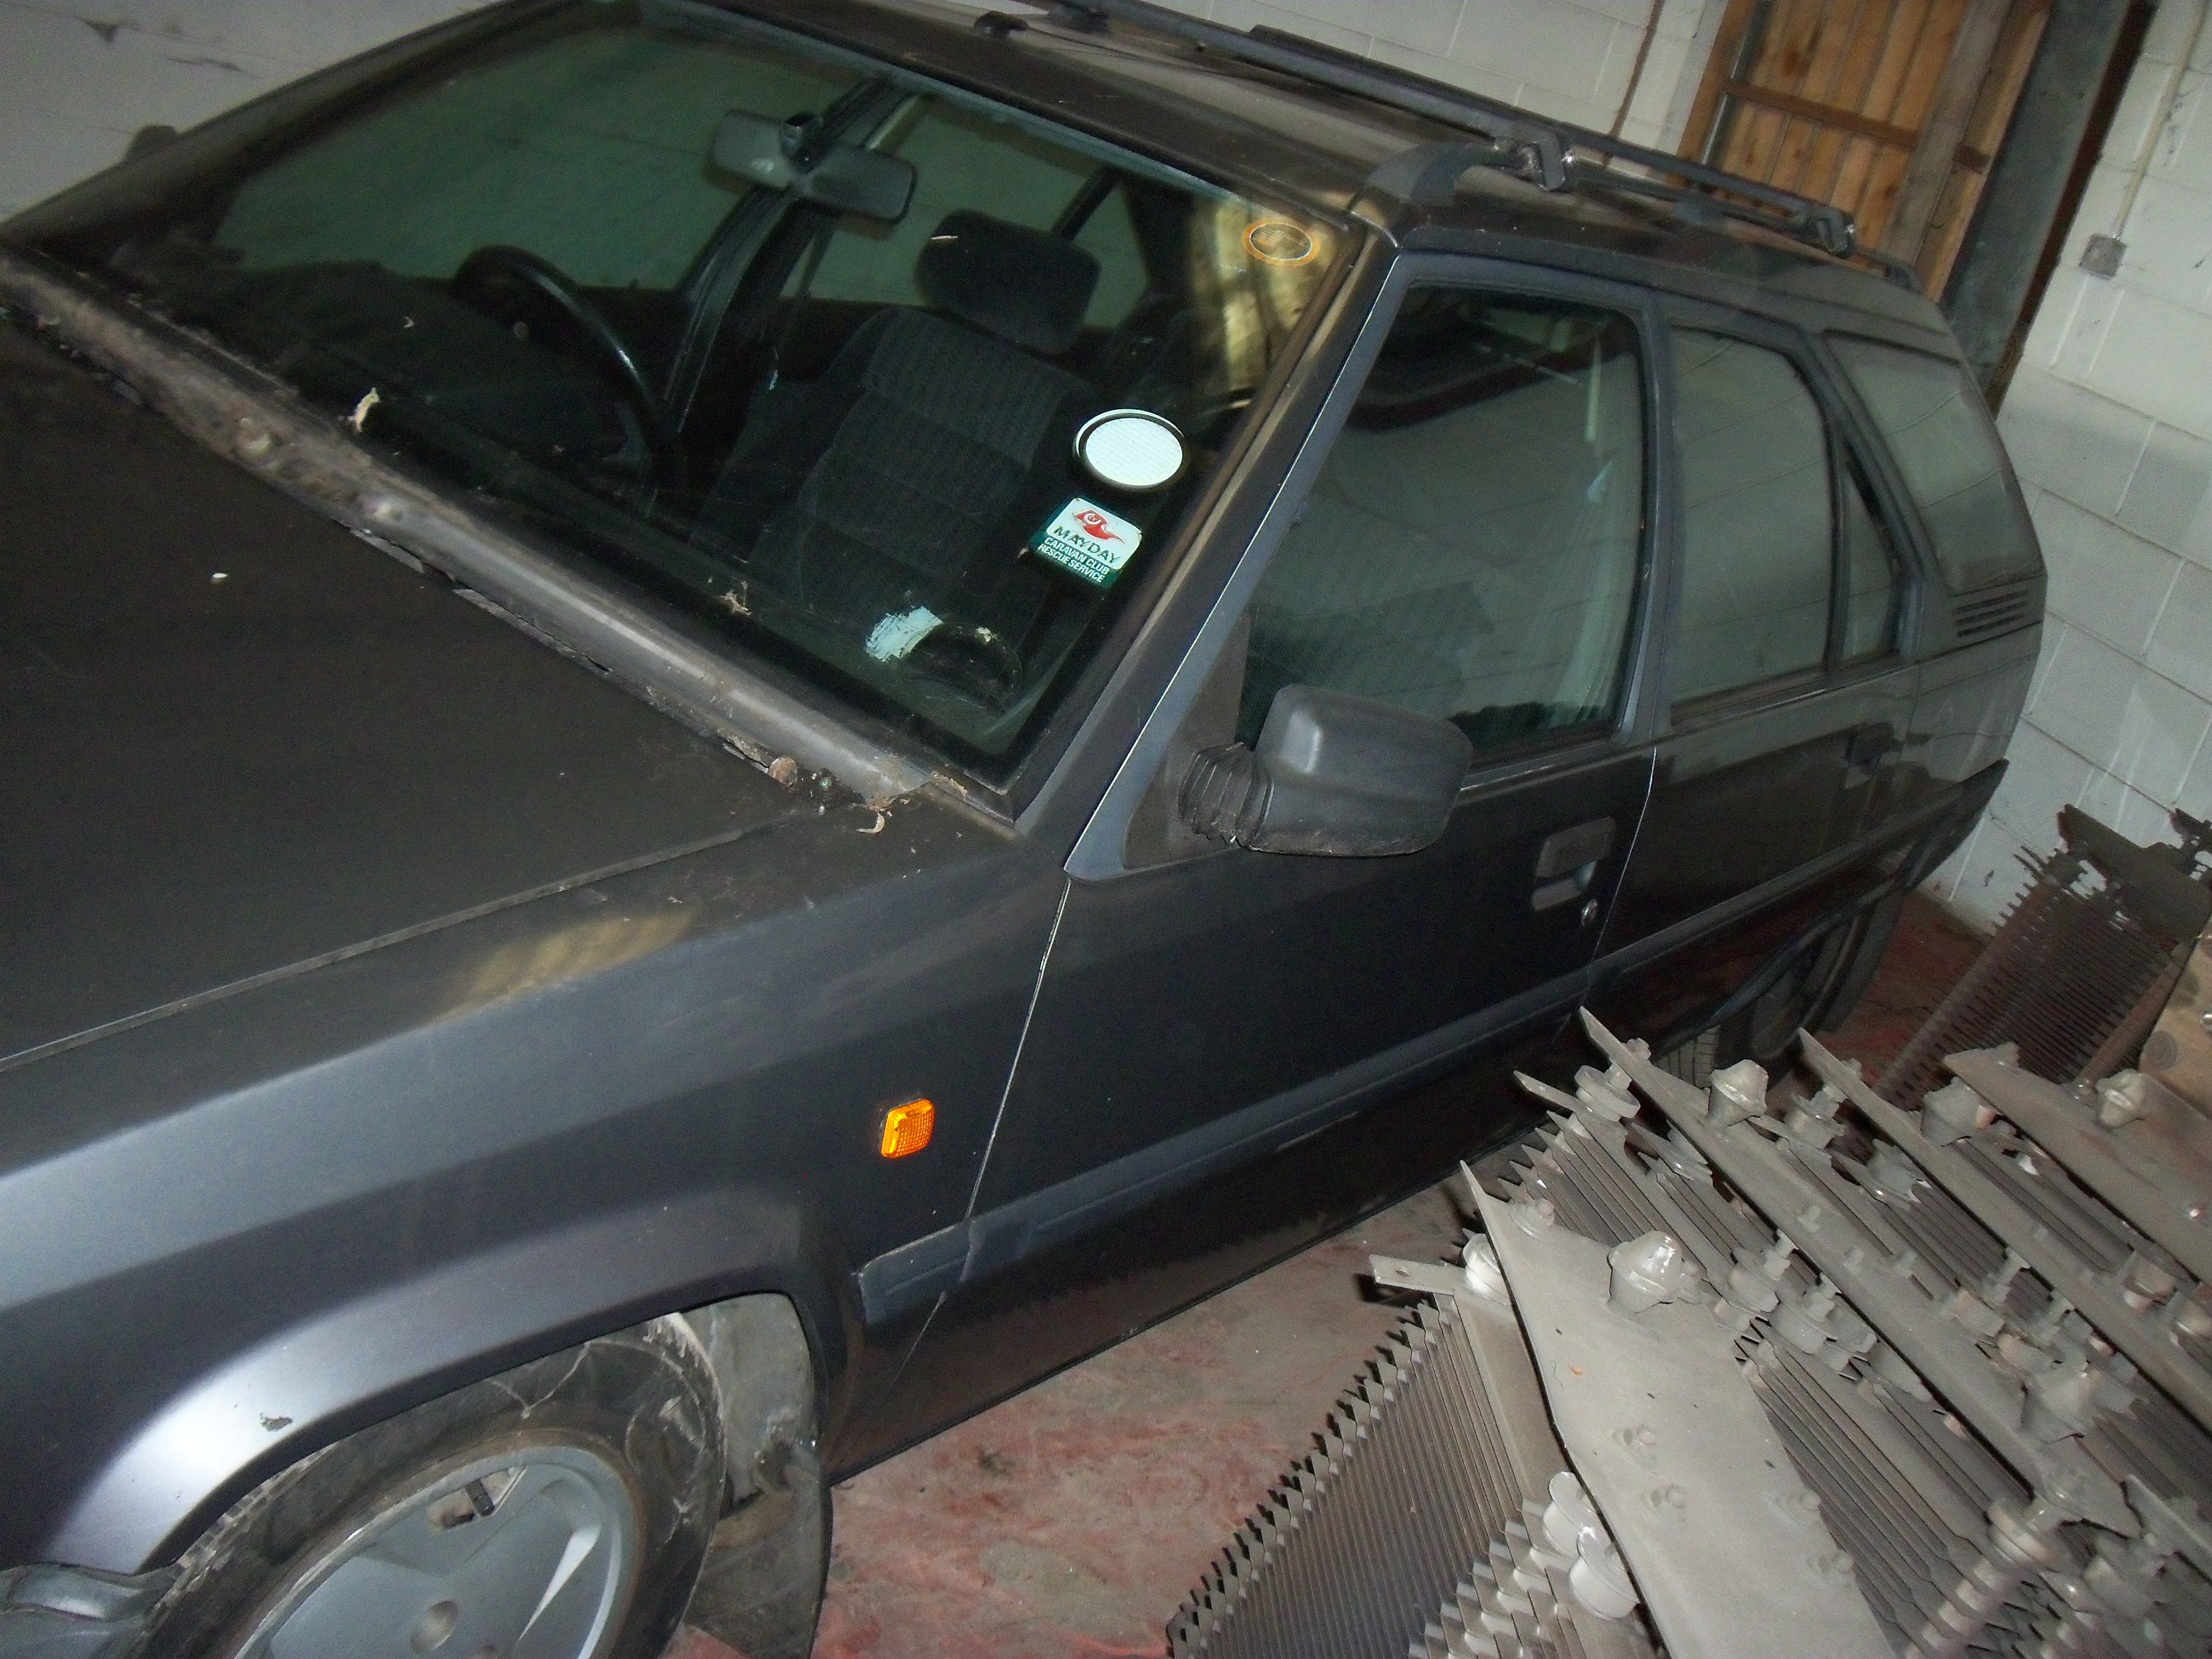
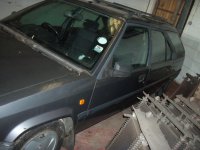
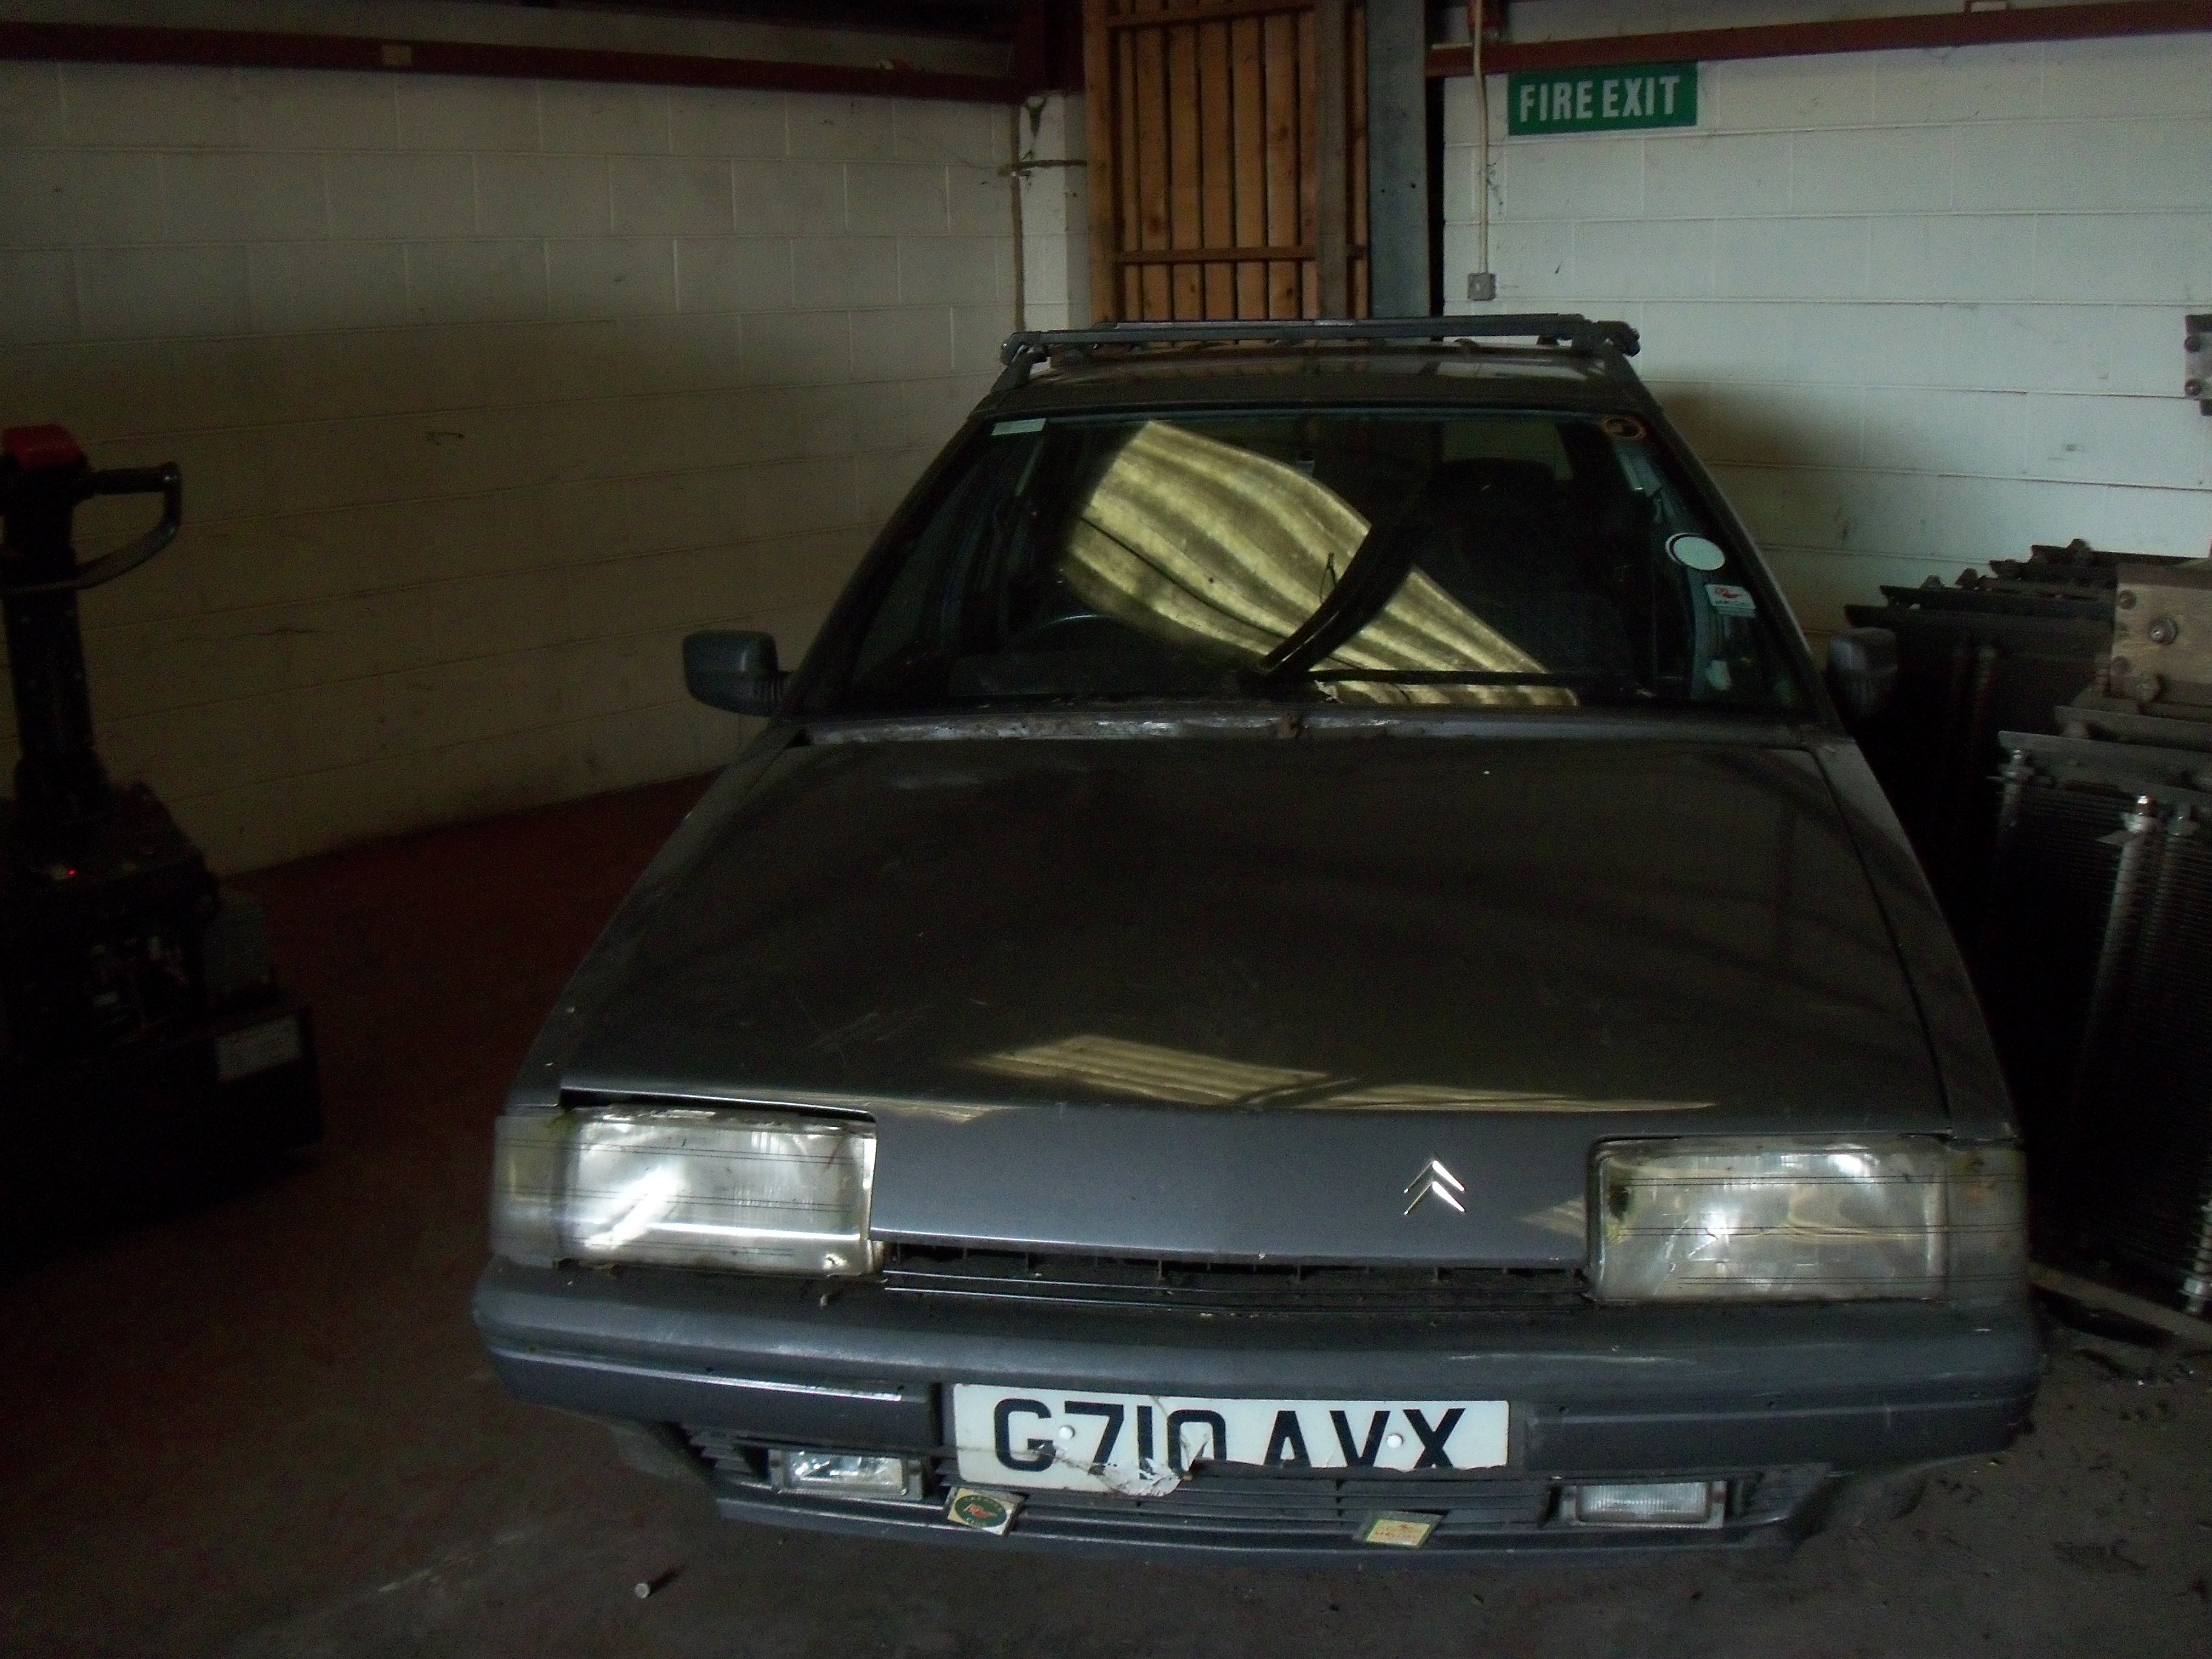
bodywork wise the car is a little "used". given what i have seen of London (first time i have been!) i think the car survived well!

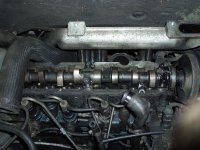
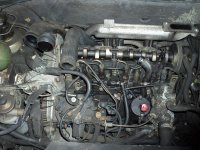
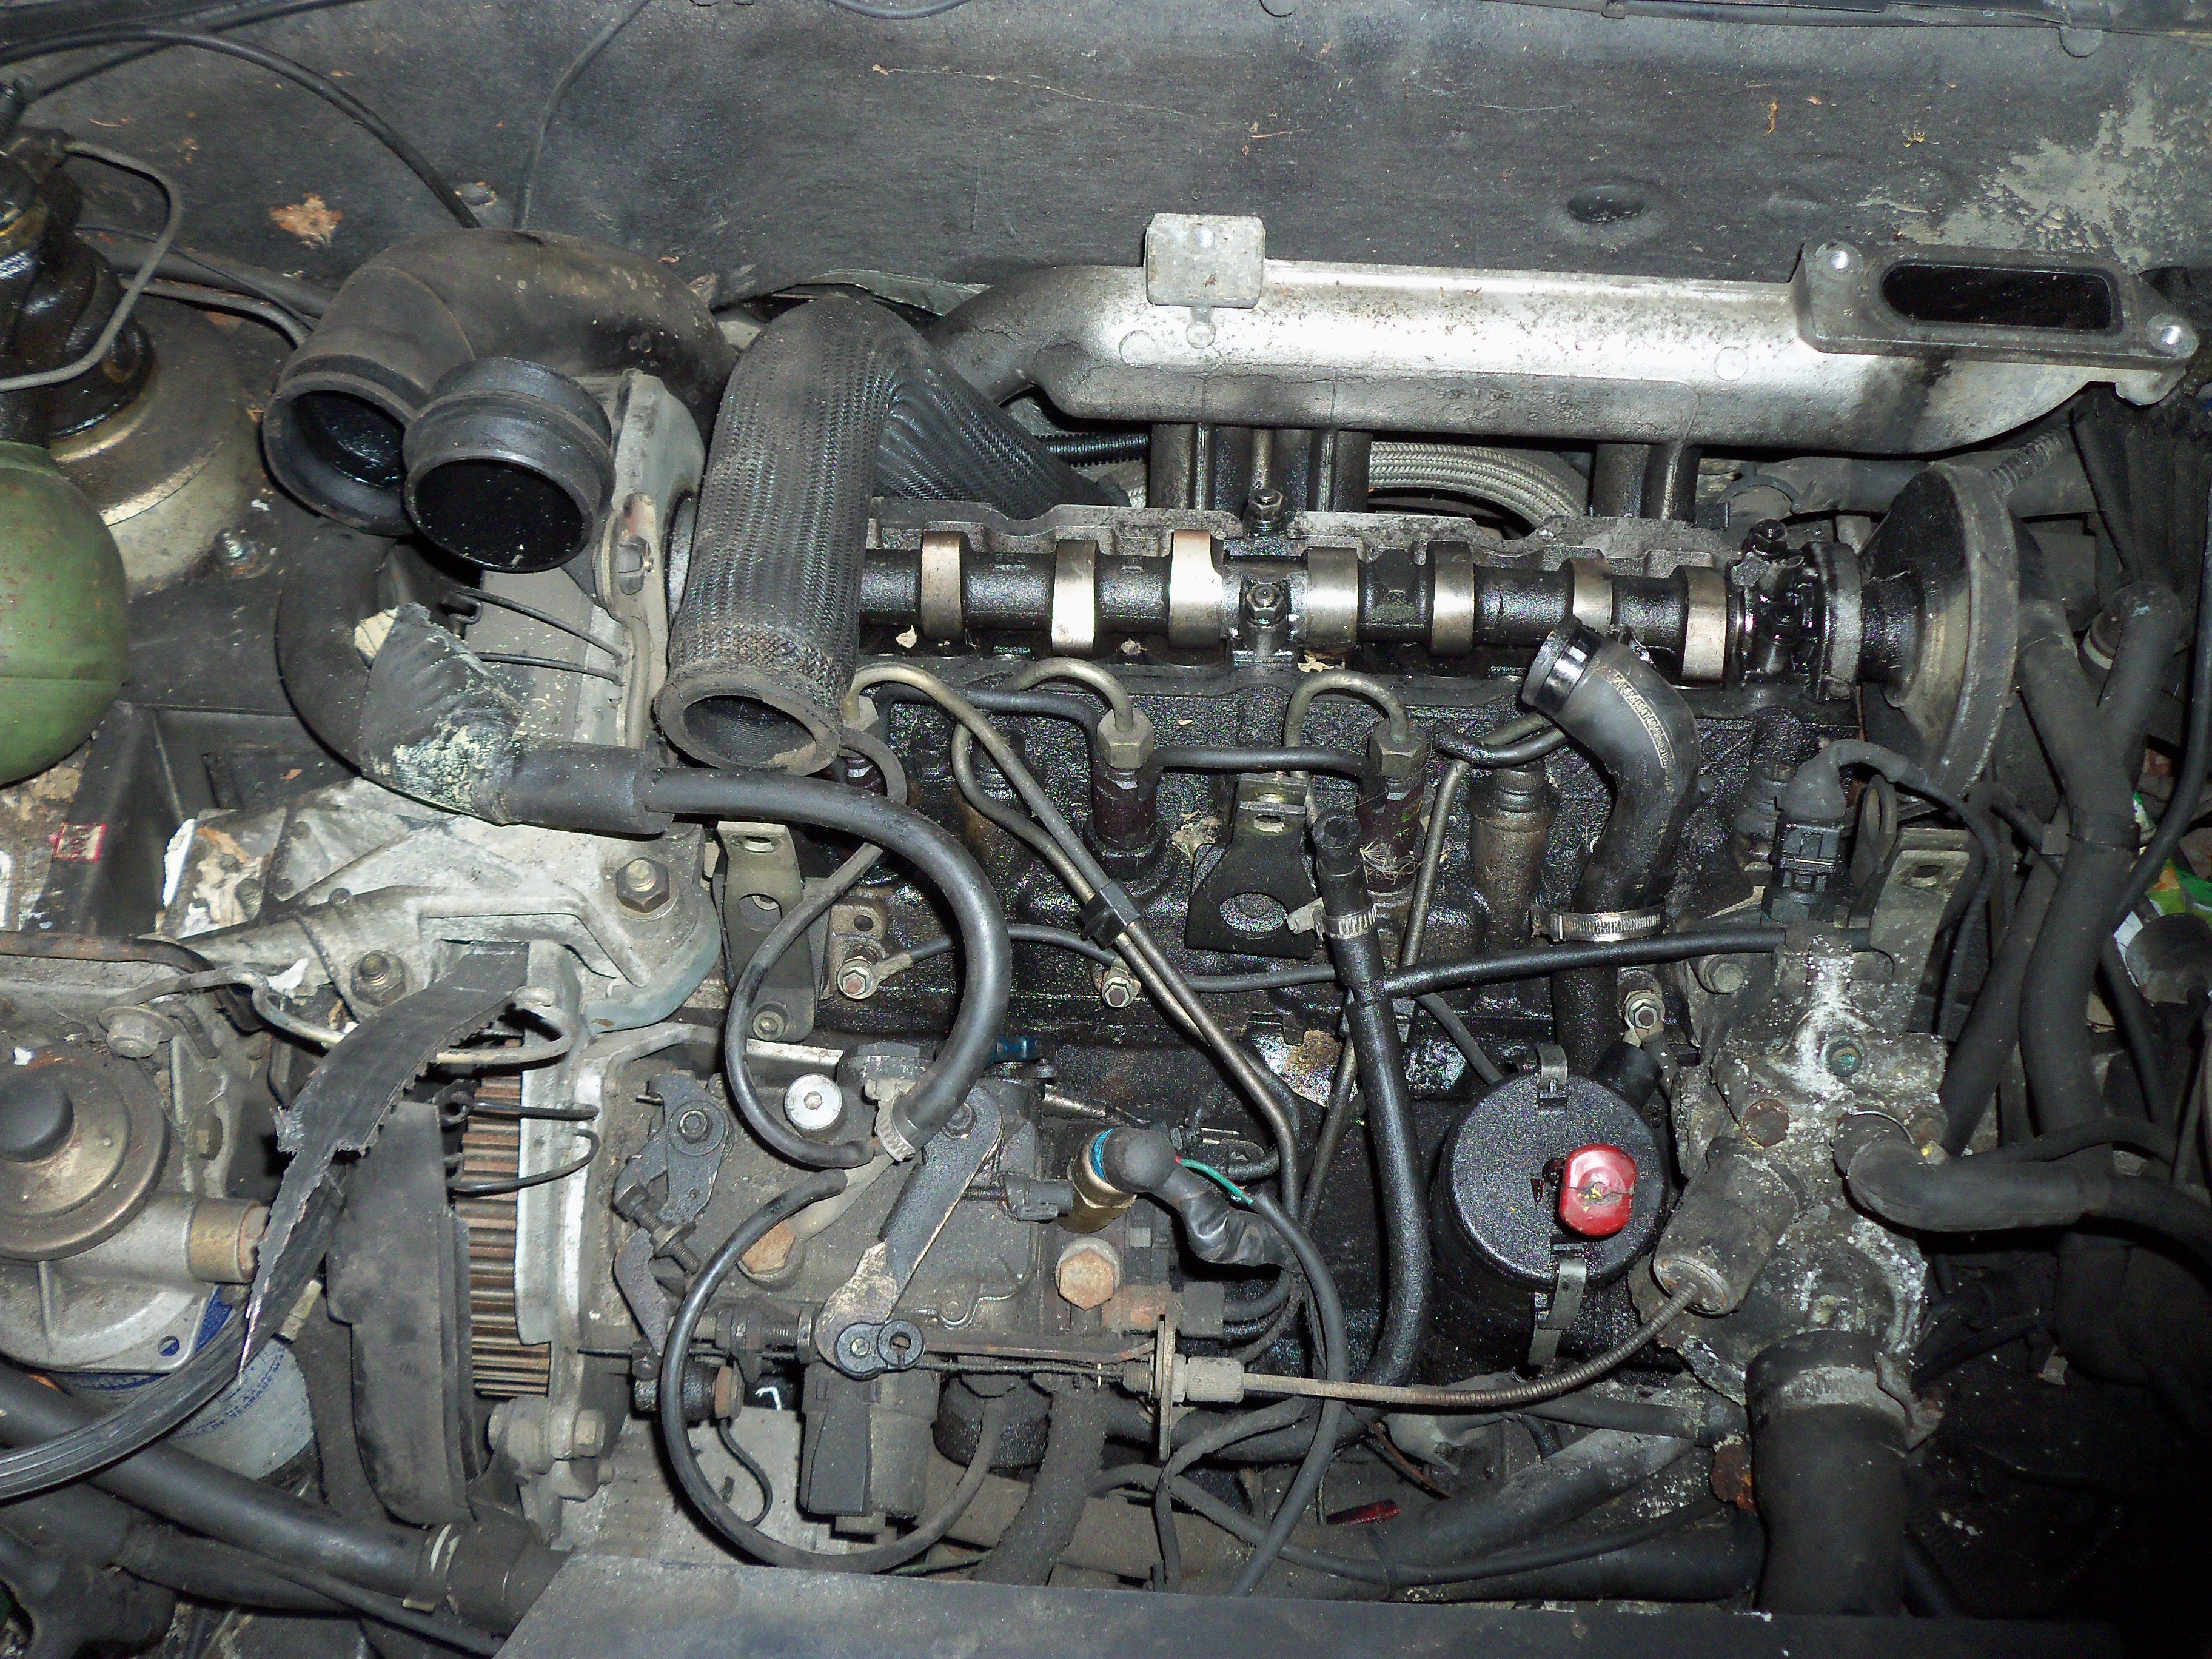
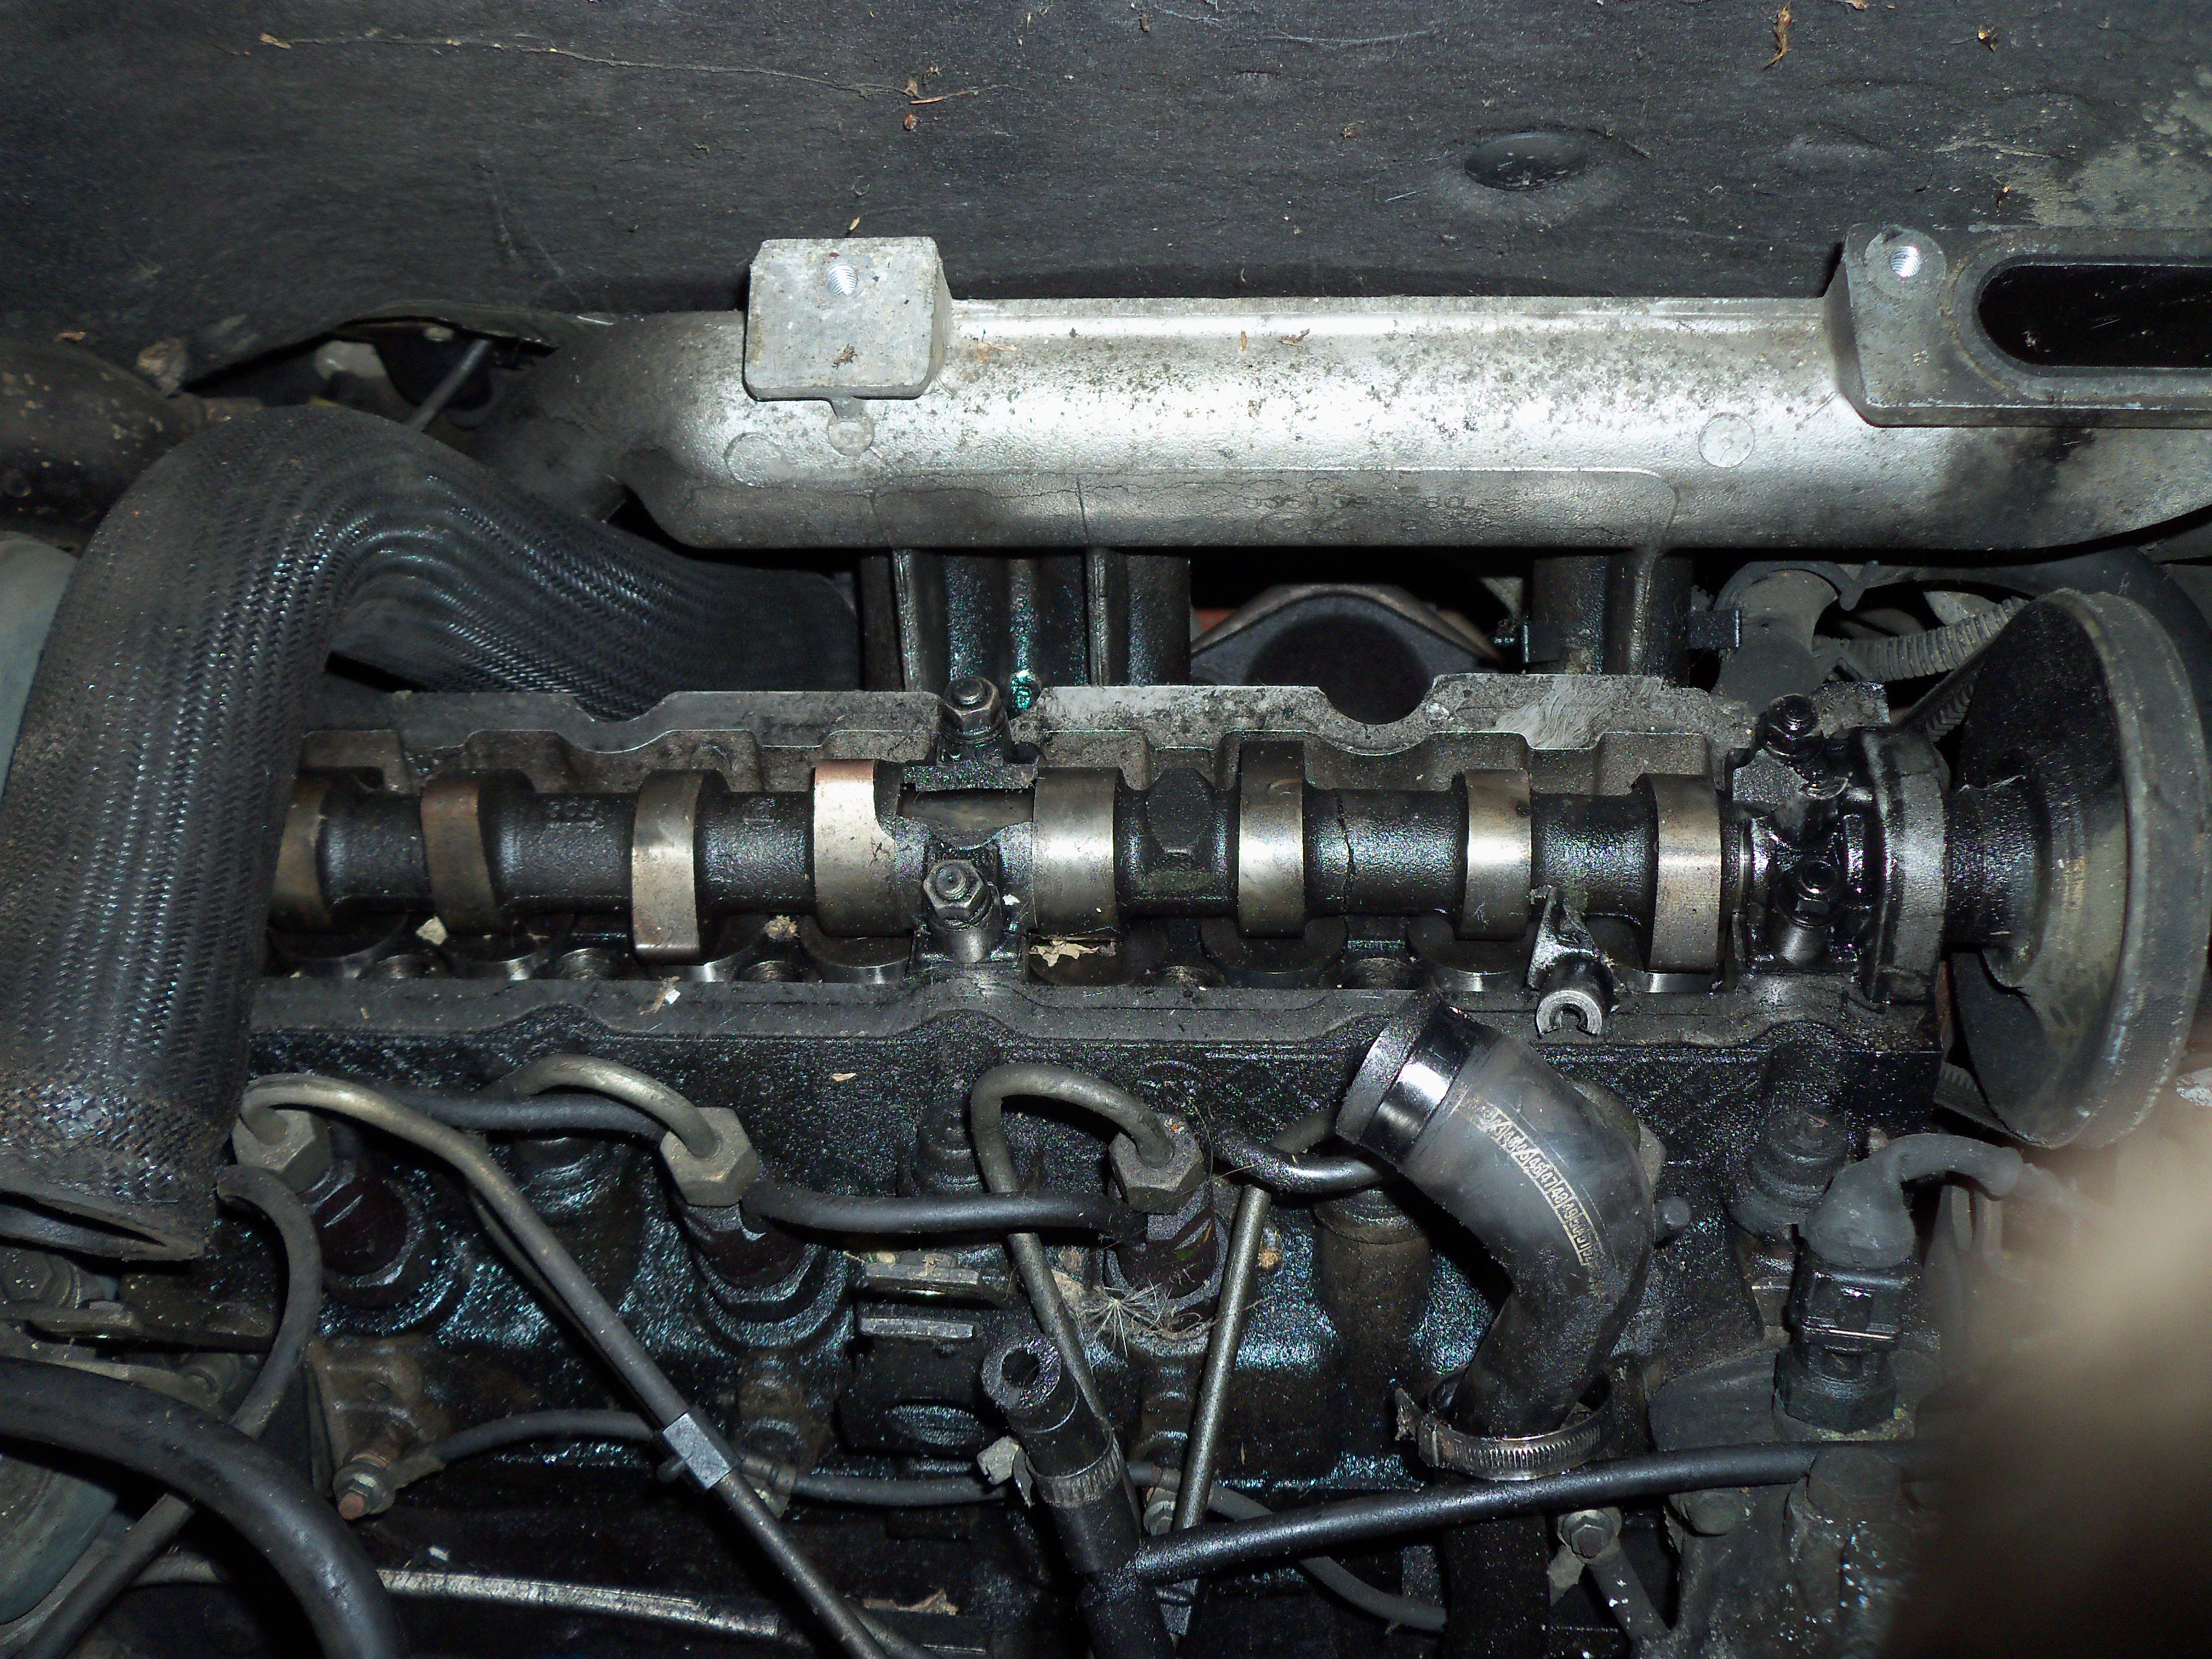
the engine is dead. the bottom end may be savable but i think i am going to go down the complete engine swap fix route. i am not sure if it may have damaged anything else bar the head. so that said i am now looking for a low miles XUD engine. be it a 1.7 or 1.9 (ill worry about that camshaft pump pulley further down the line)

the hydraulics are untested. the spheres are dated 2001 so are 15 years old they they need changing but are near the bottom on my list of things to change for obvious reasons. i will try and test the hydraulics by spinning the pump using an electric motor. being as it is cam driven it does not turn very quick even with the pulley ratio. maybe even a battery drill could do it.

the LHM fluid is more of a cloudy yellow/cream colour, i have read that it should be green. so i will change that when the engine is in and connected up.

who wants to see some pictures?

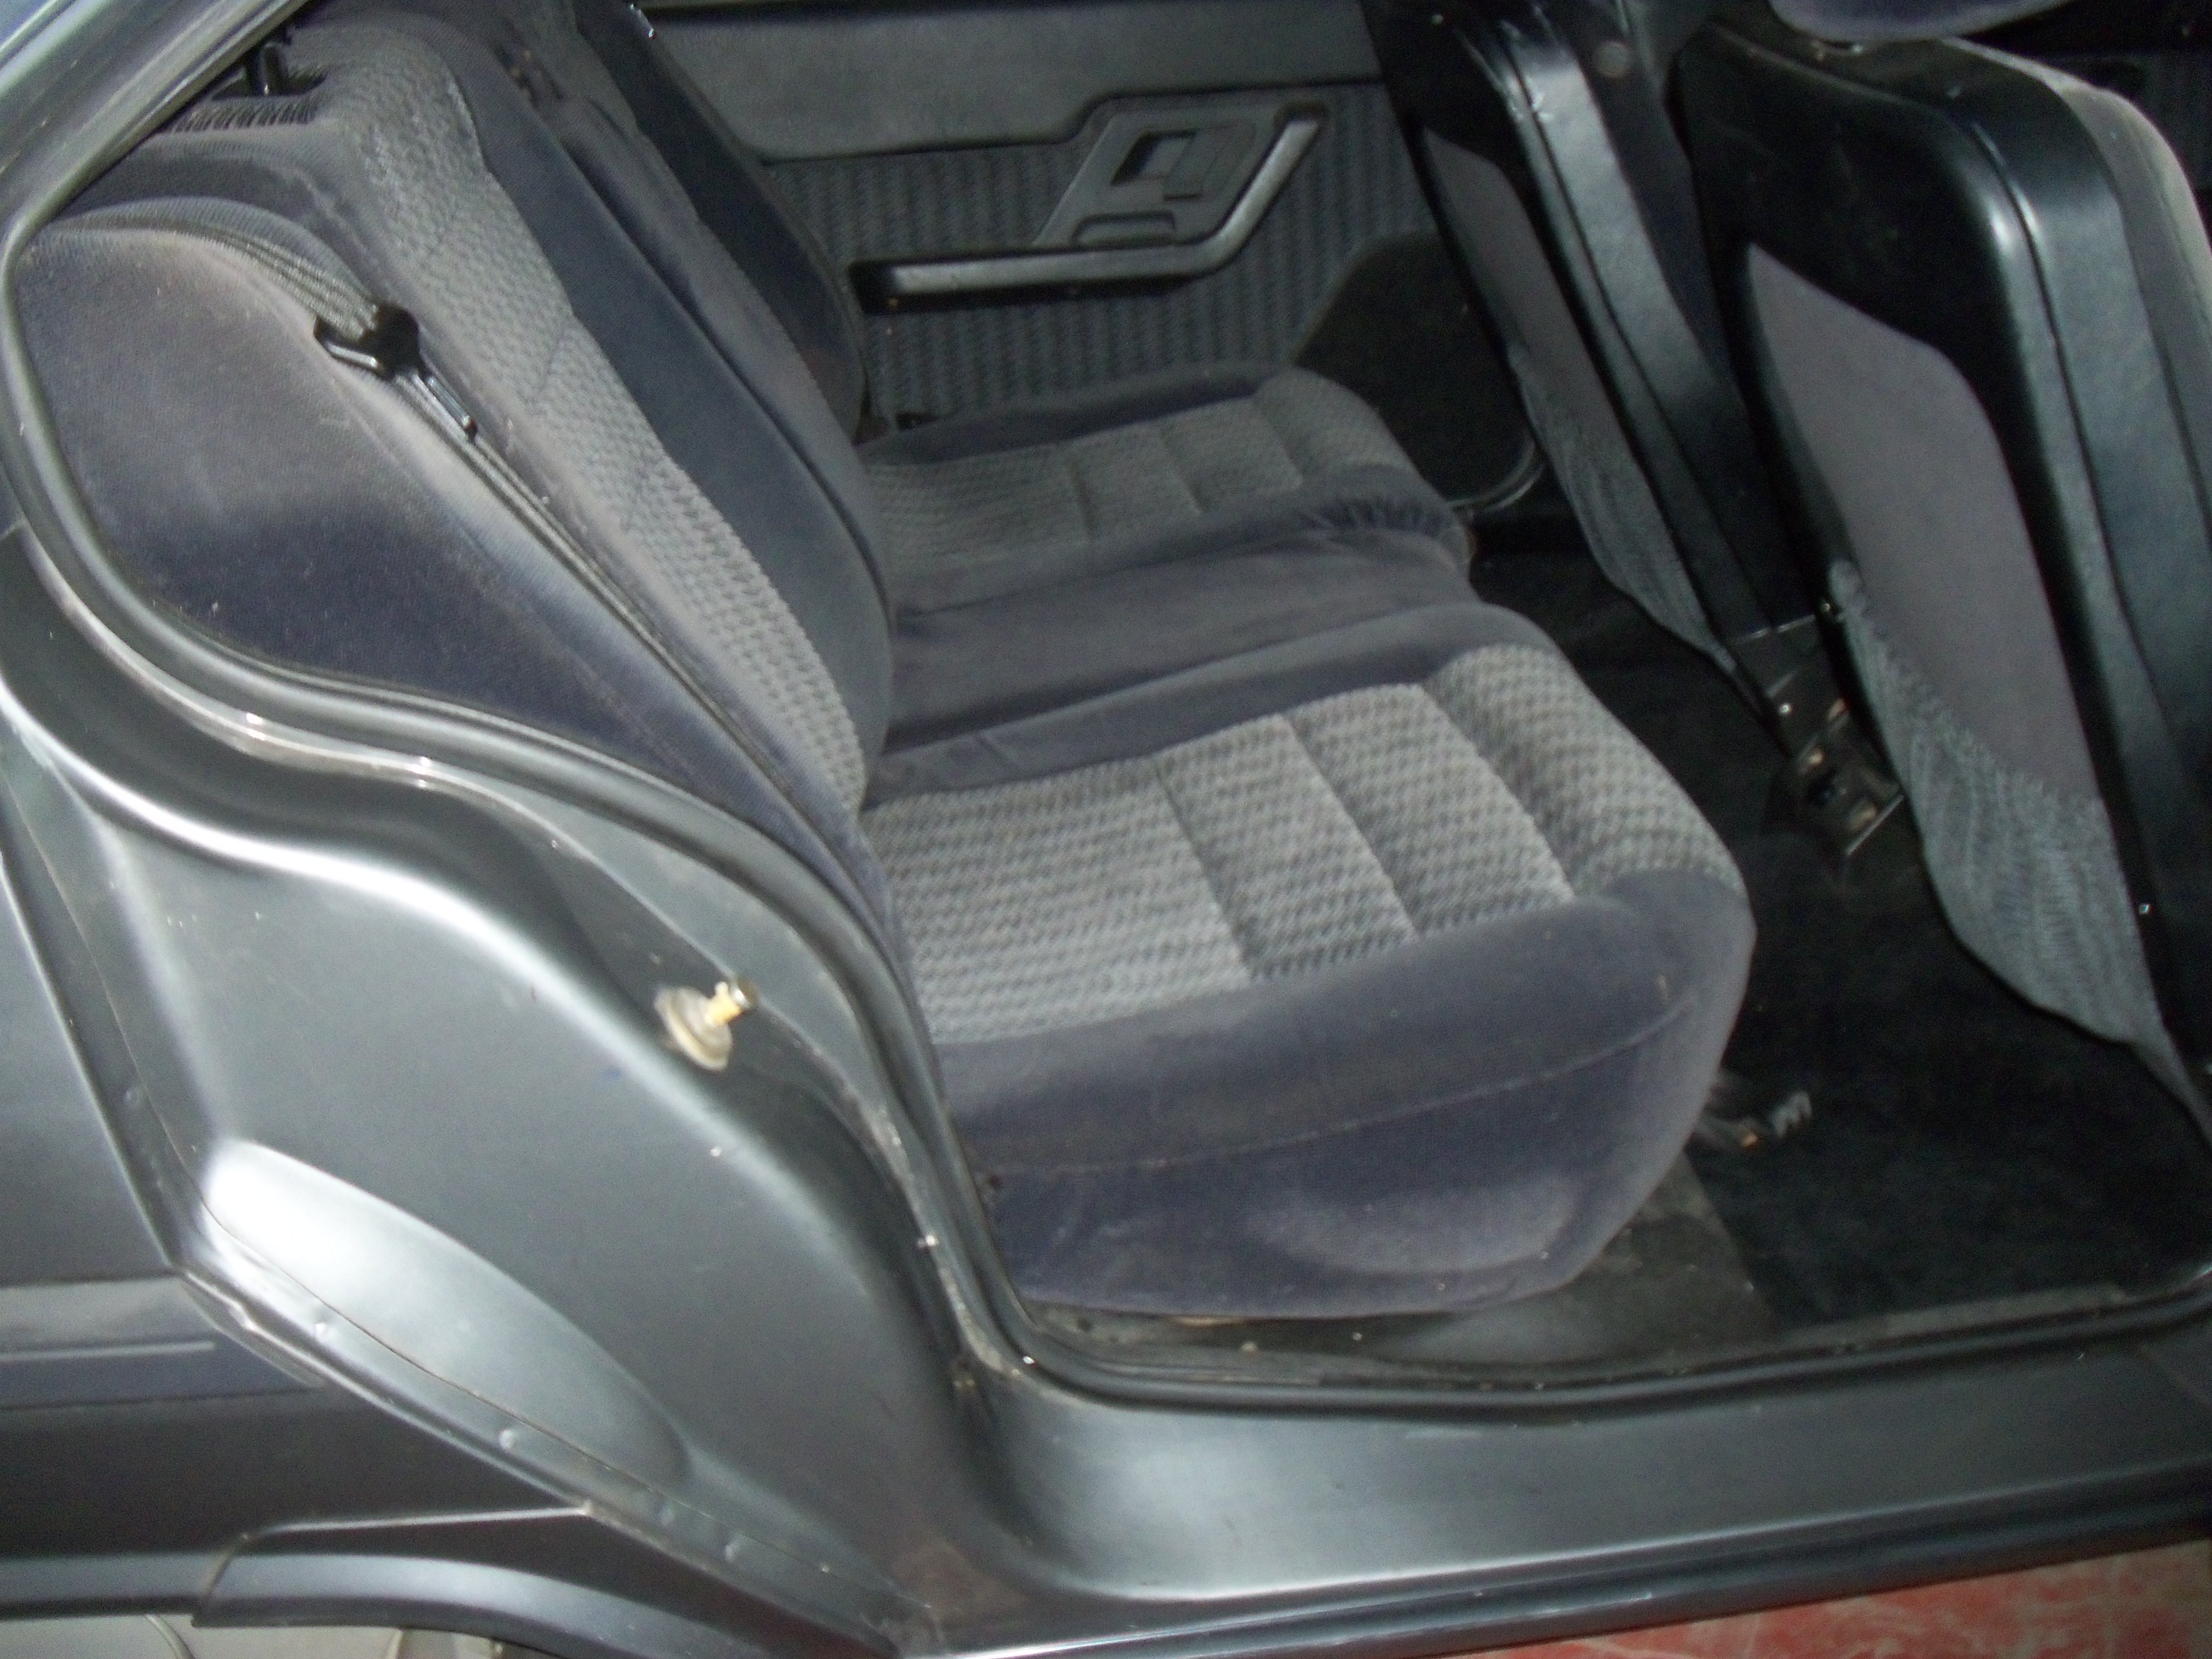
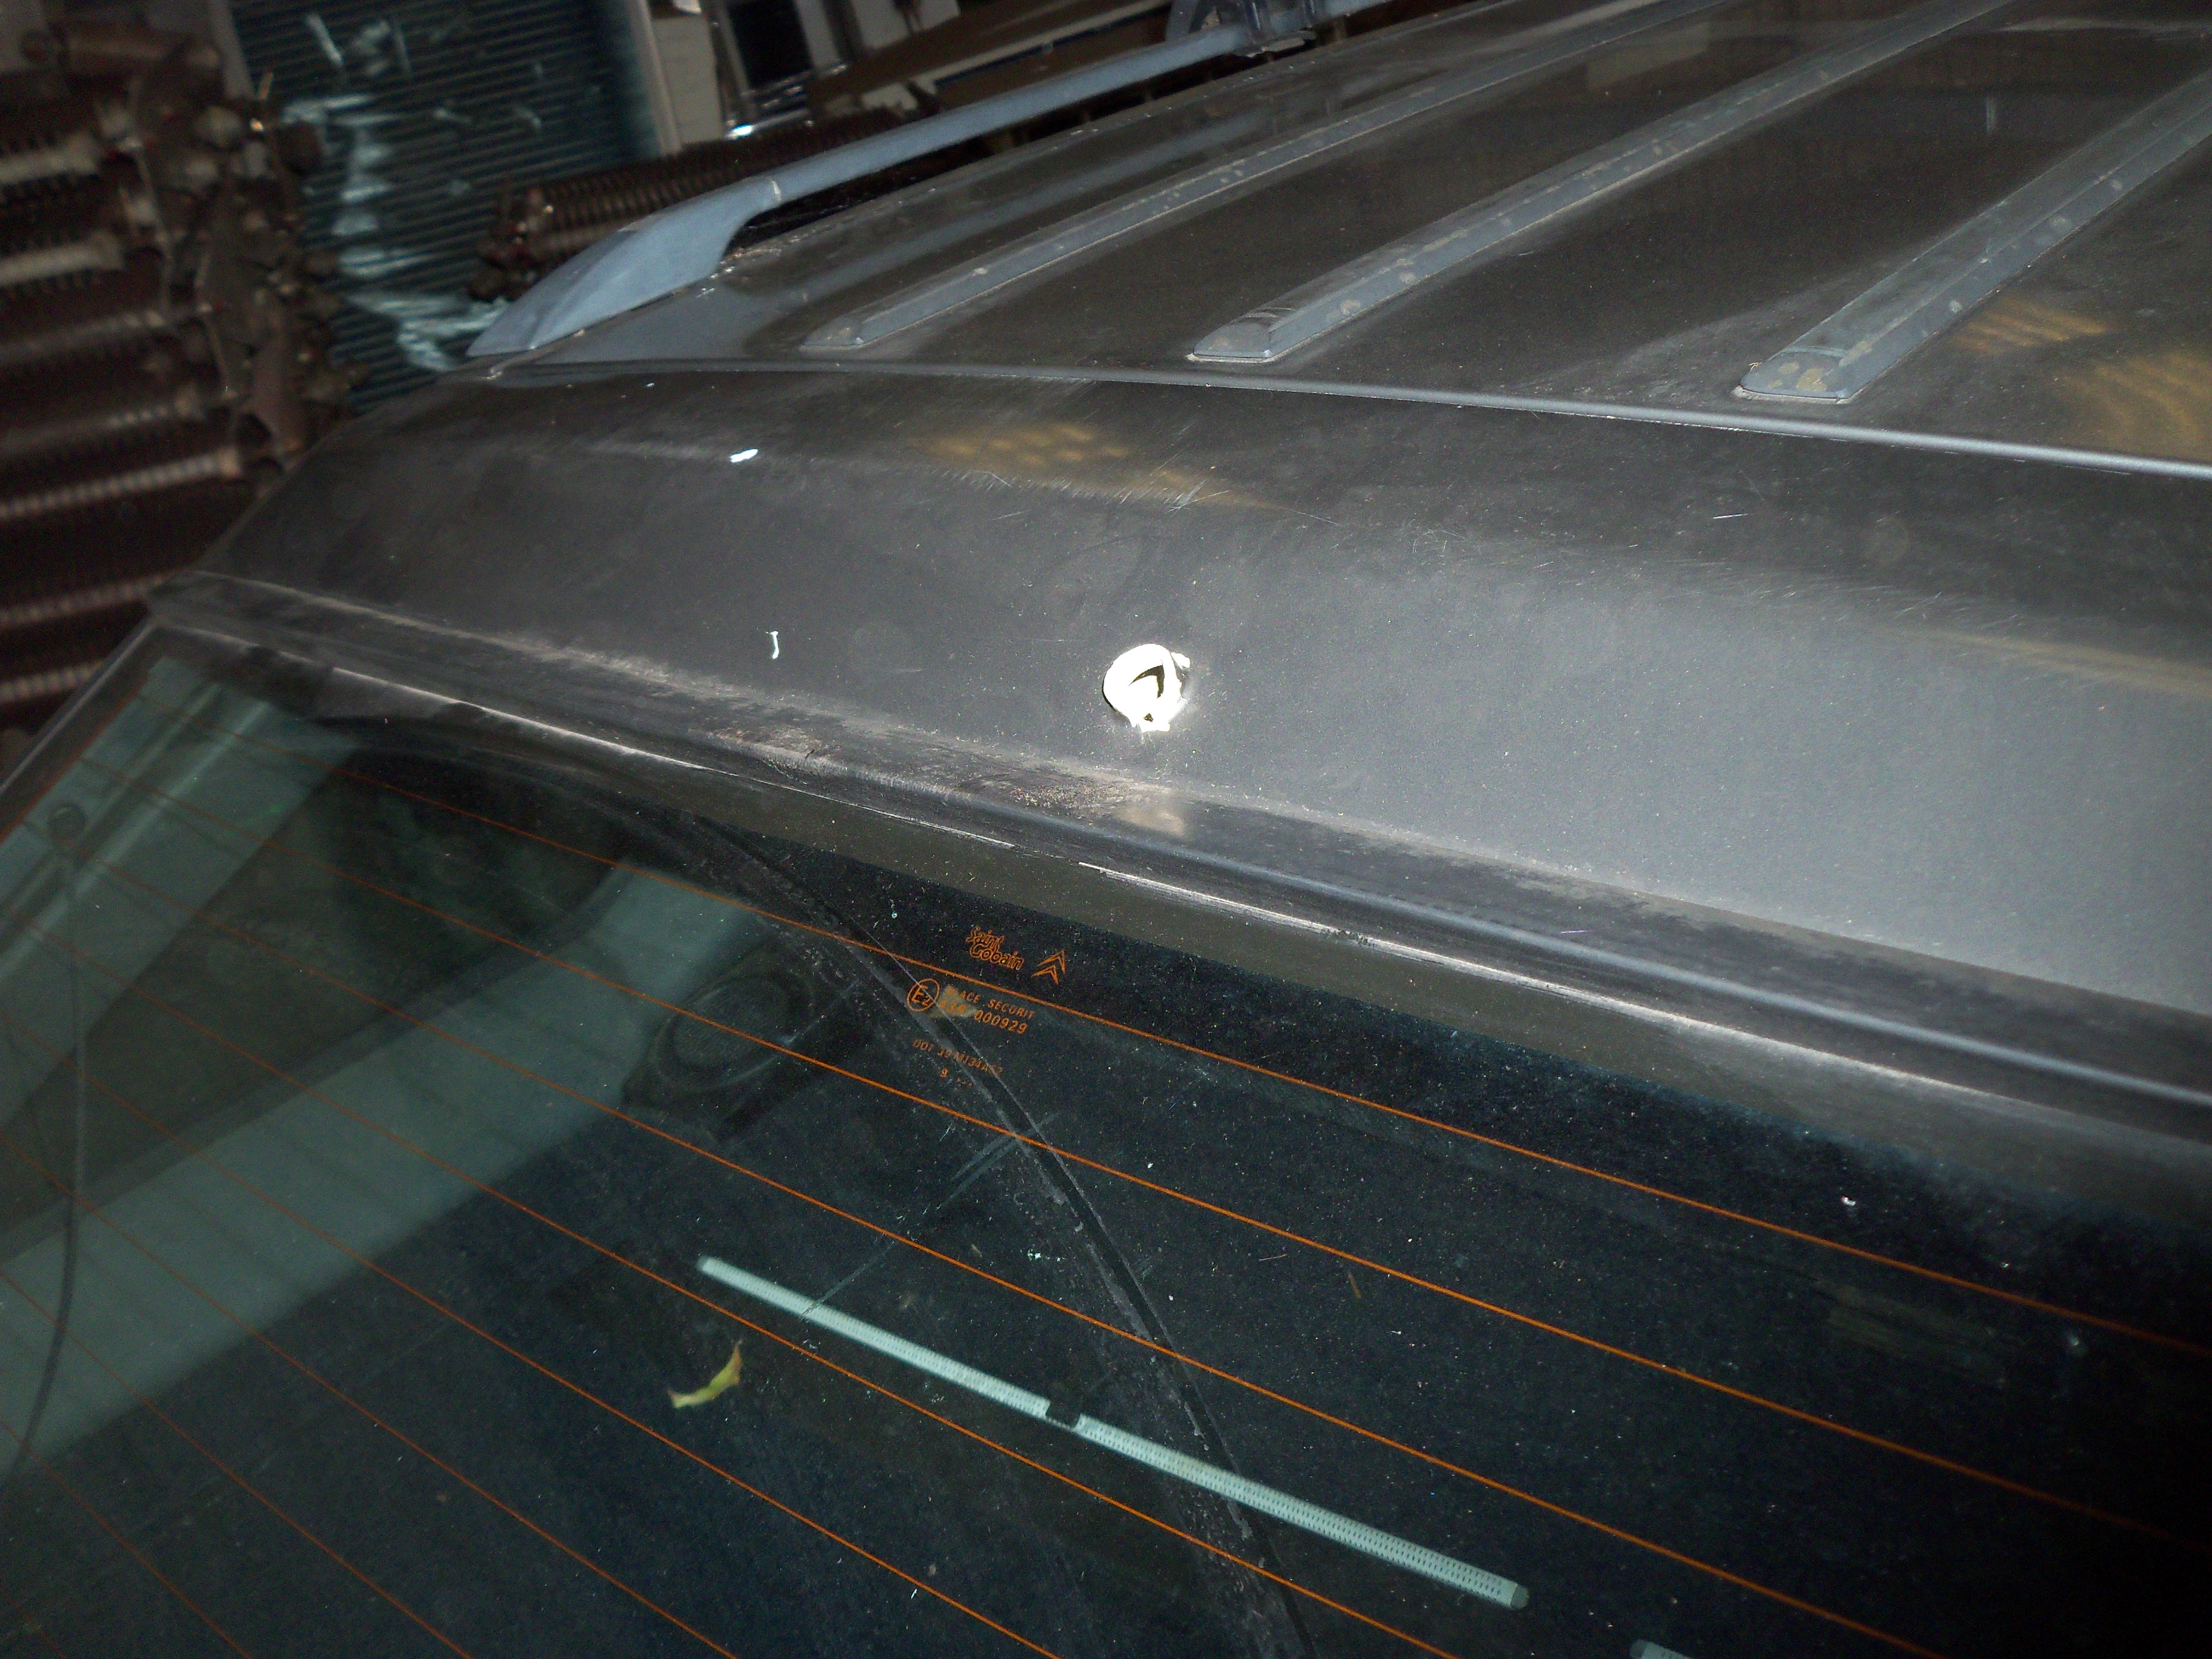
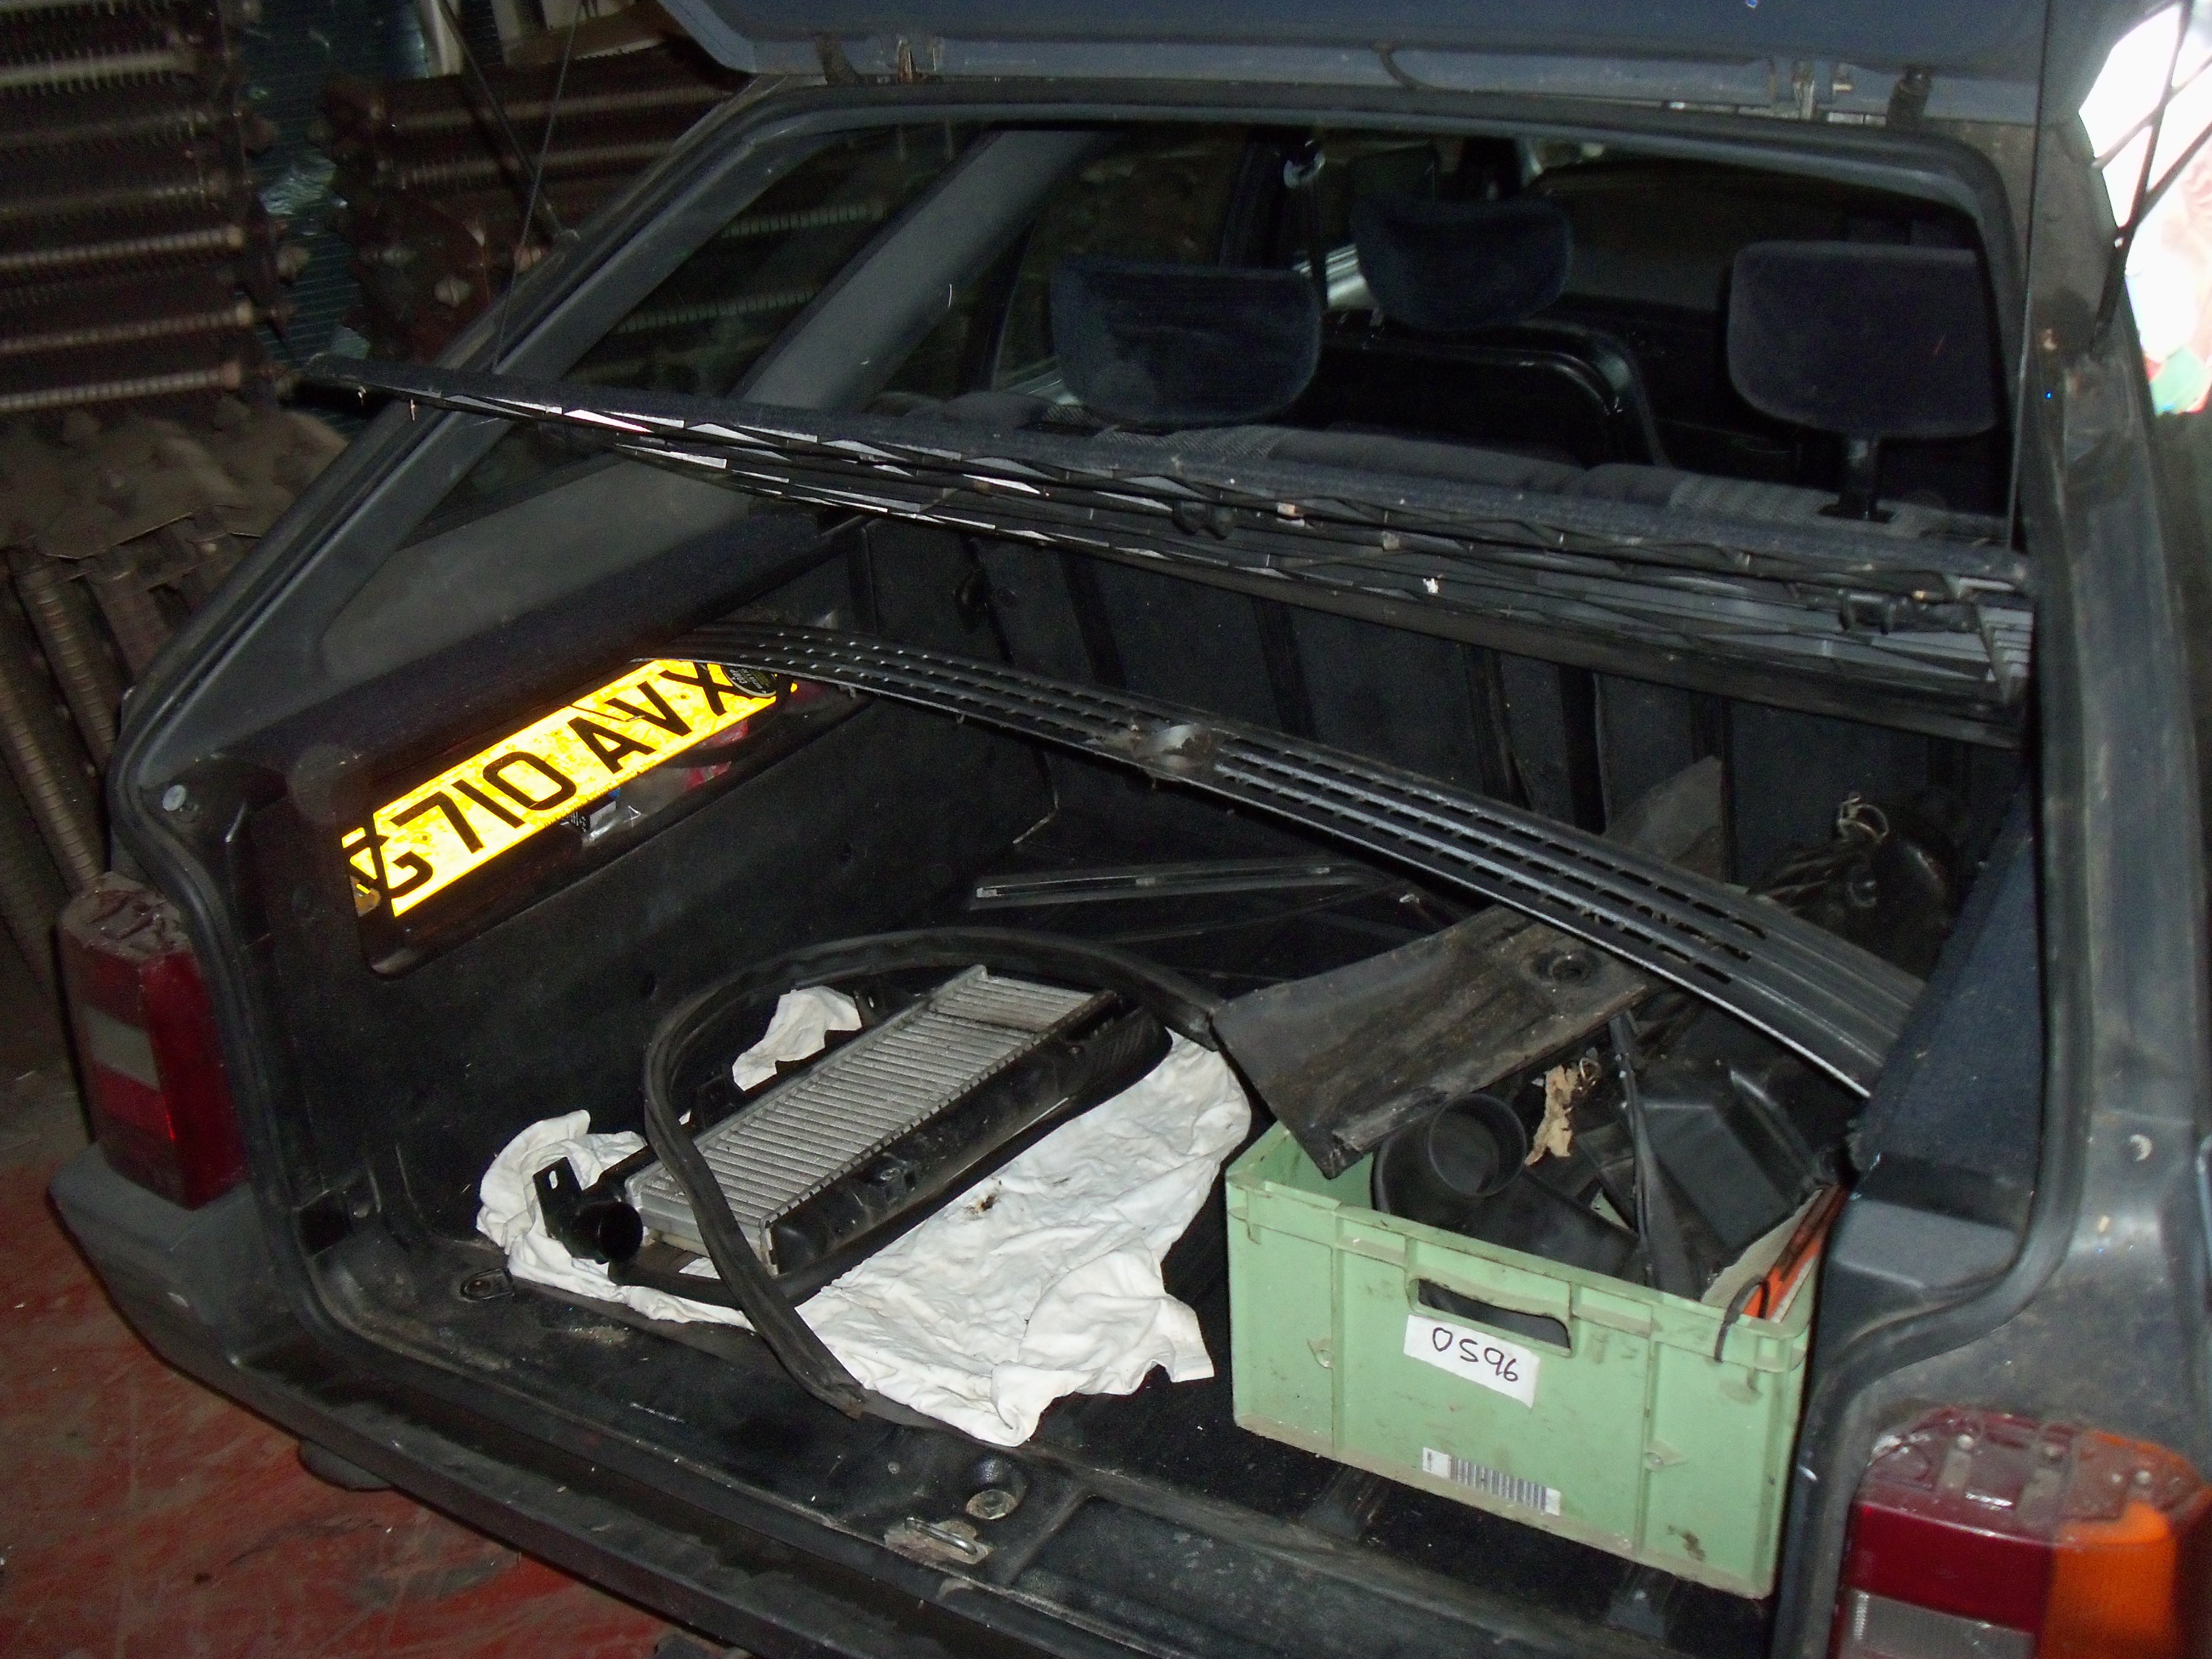
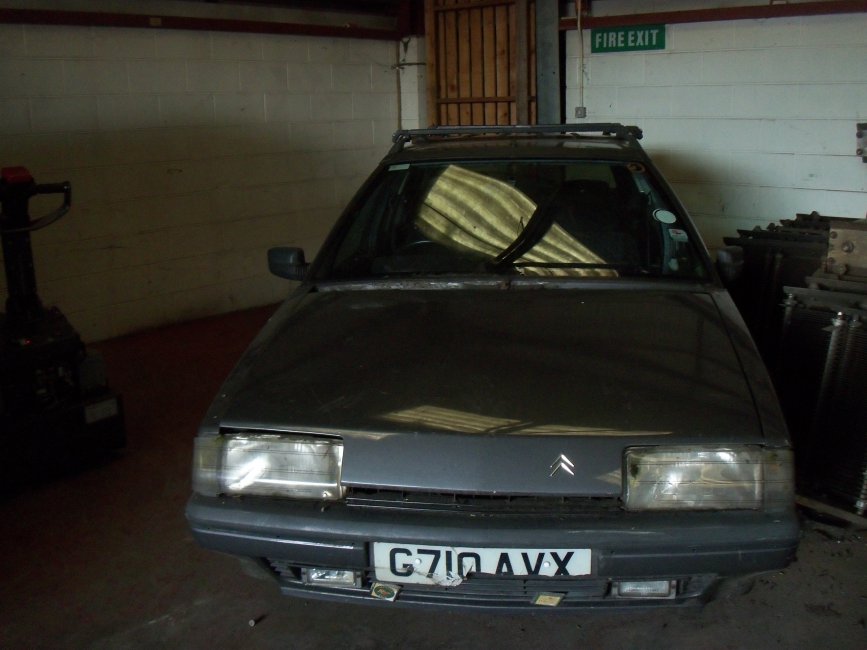
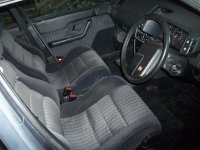
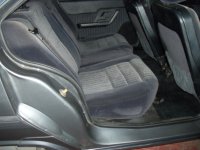
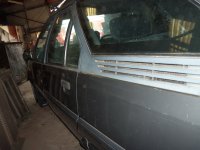
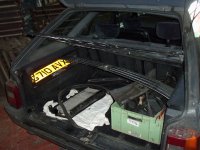
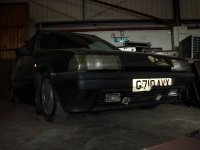
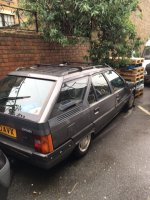
so these are the pictures that the seller sent me:
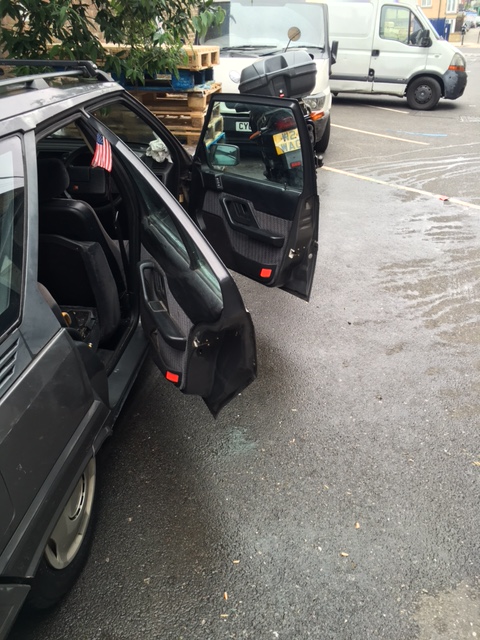


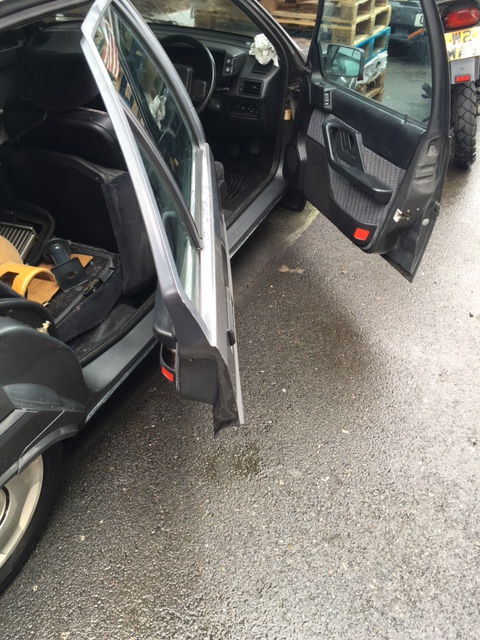
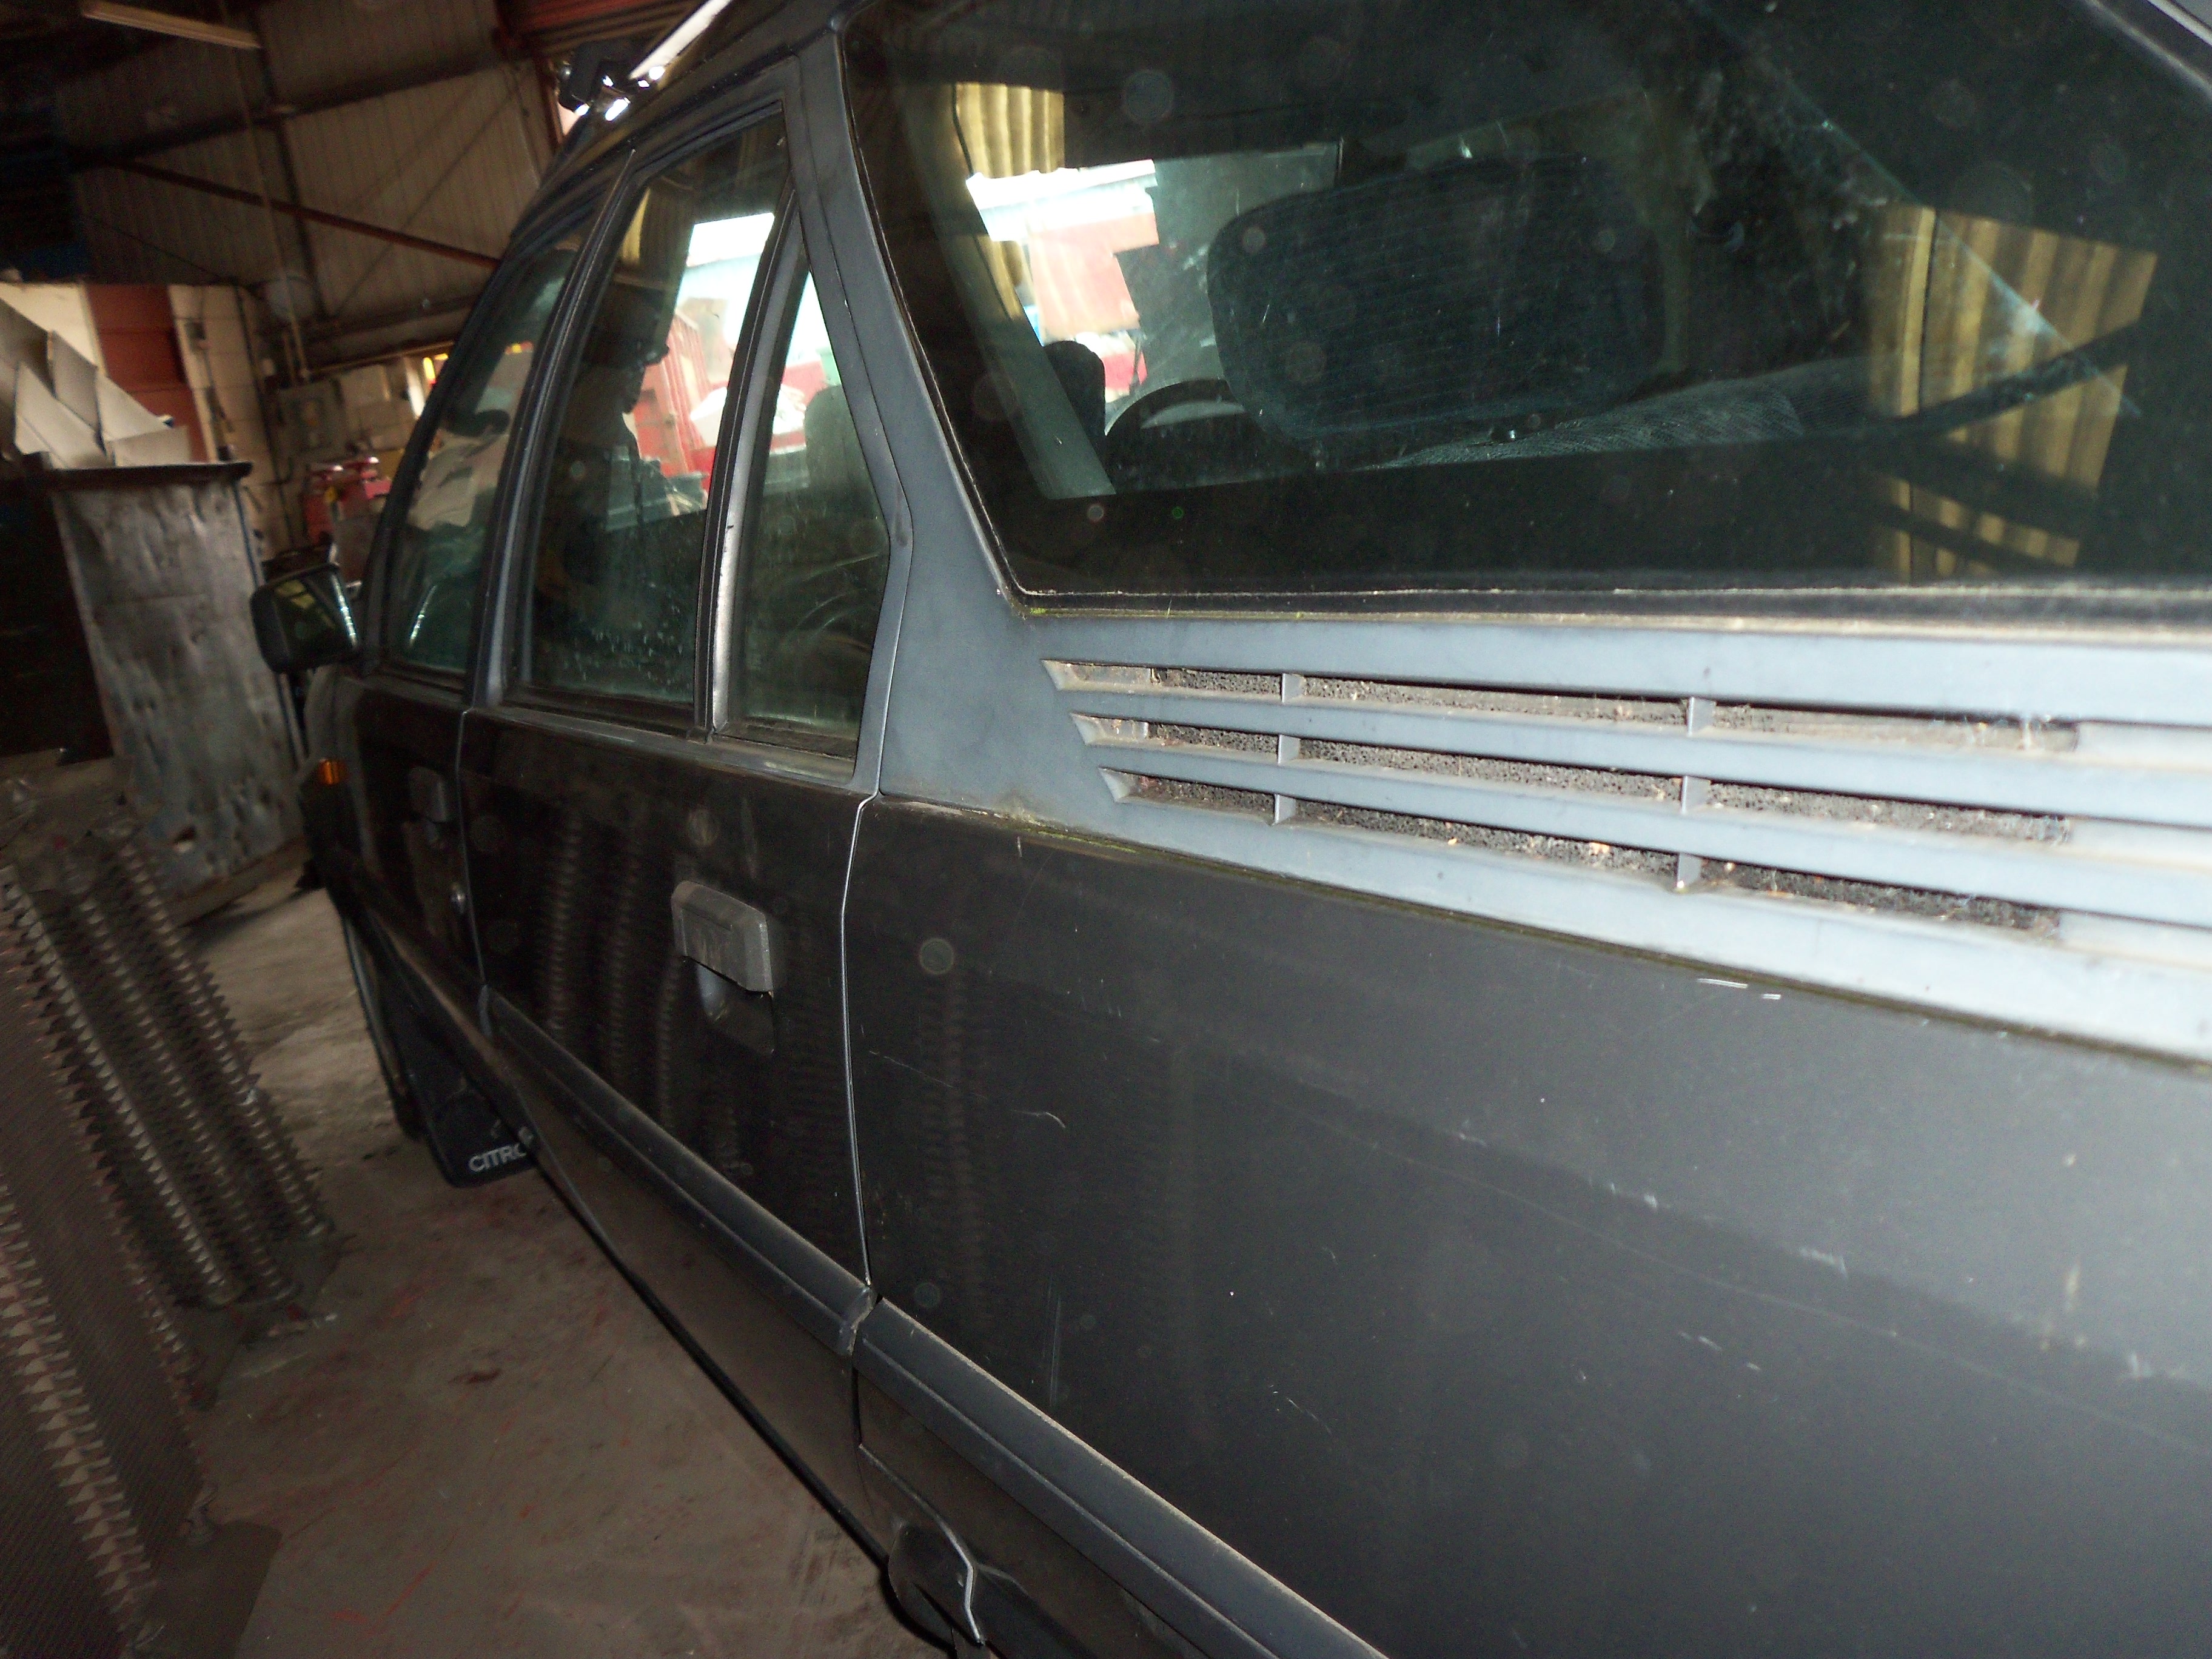
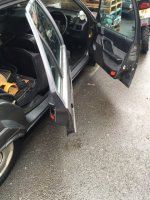
and these are from yesterday now i have the car at work:


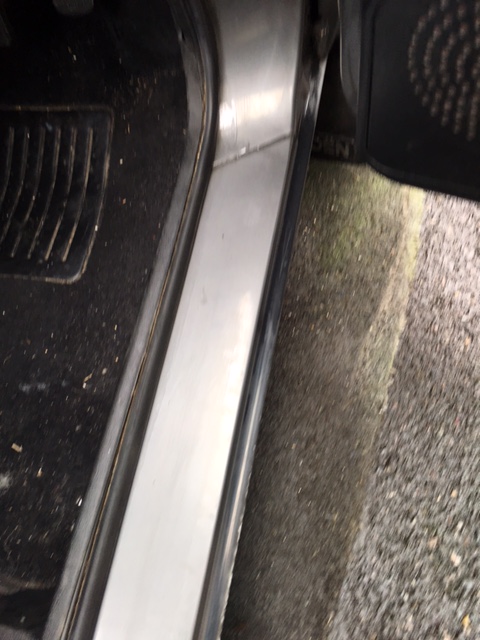
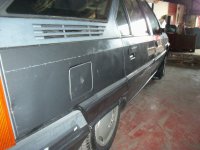
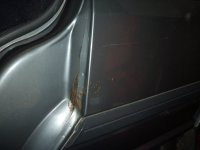
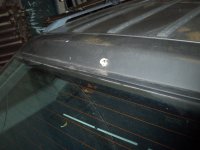
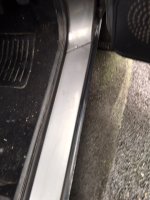
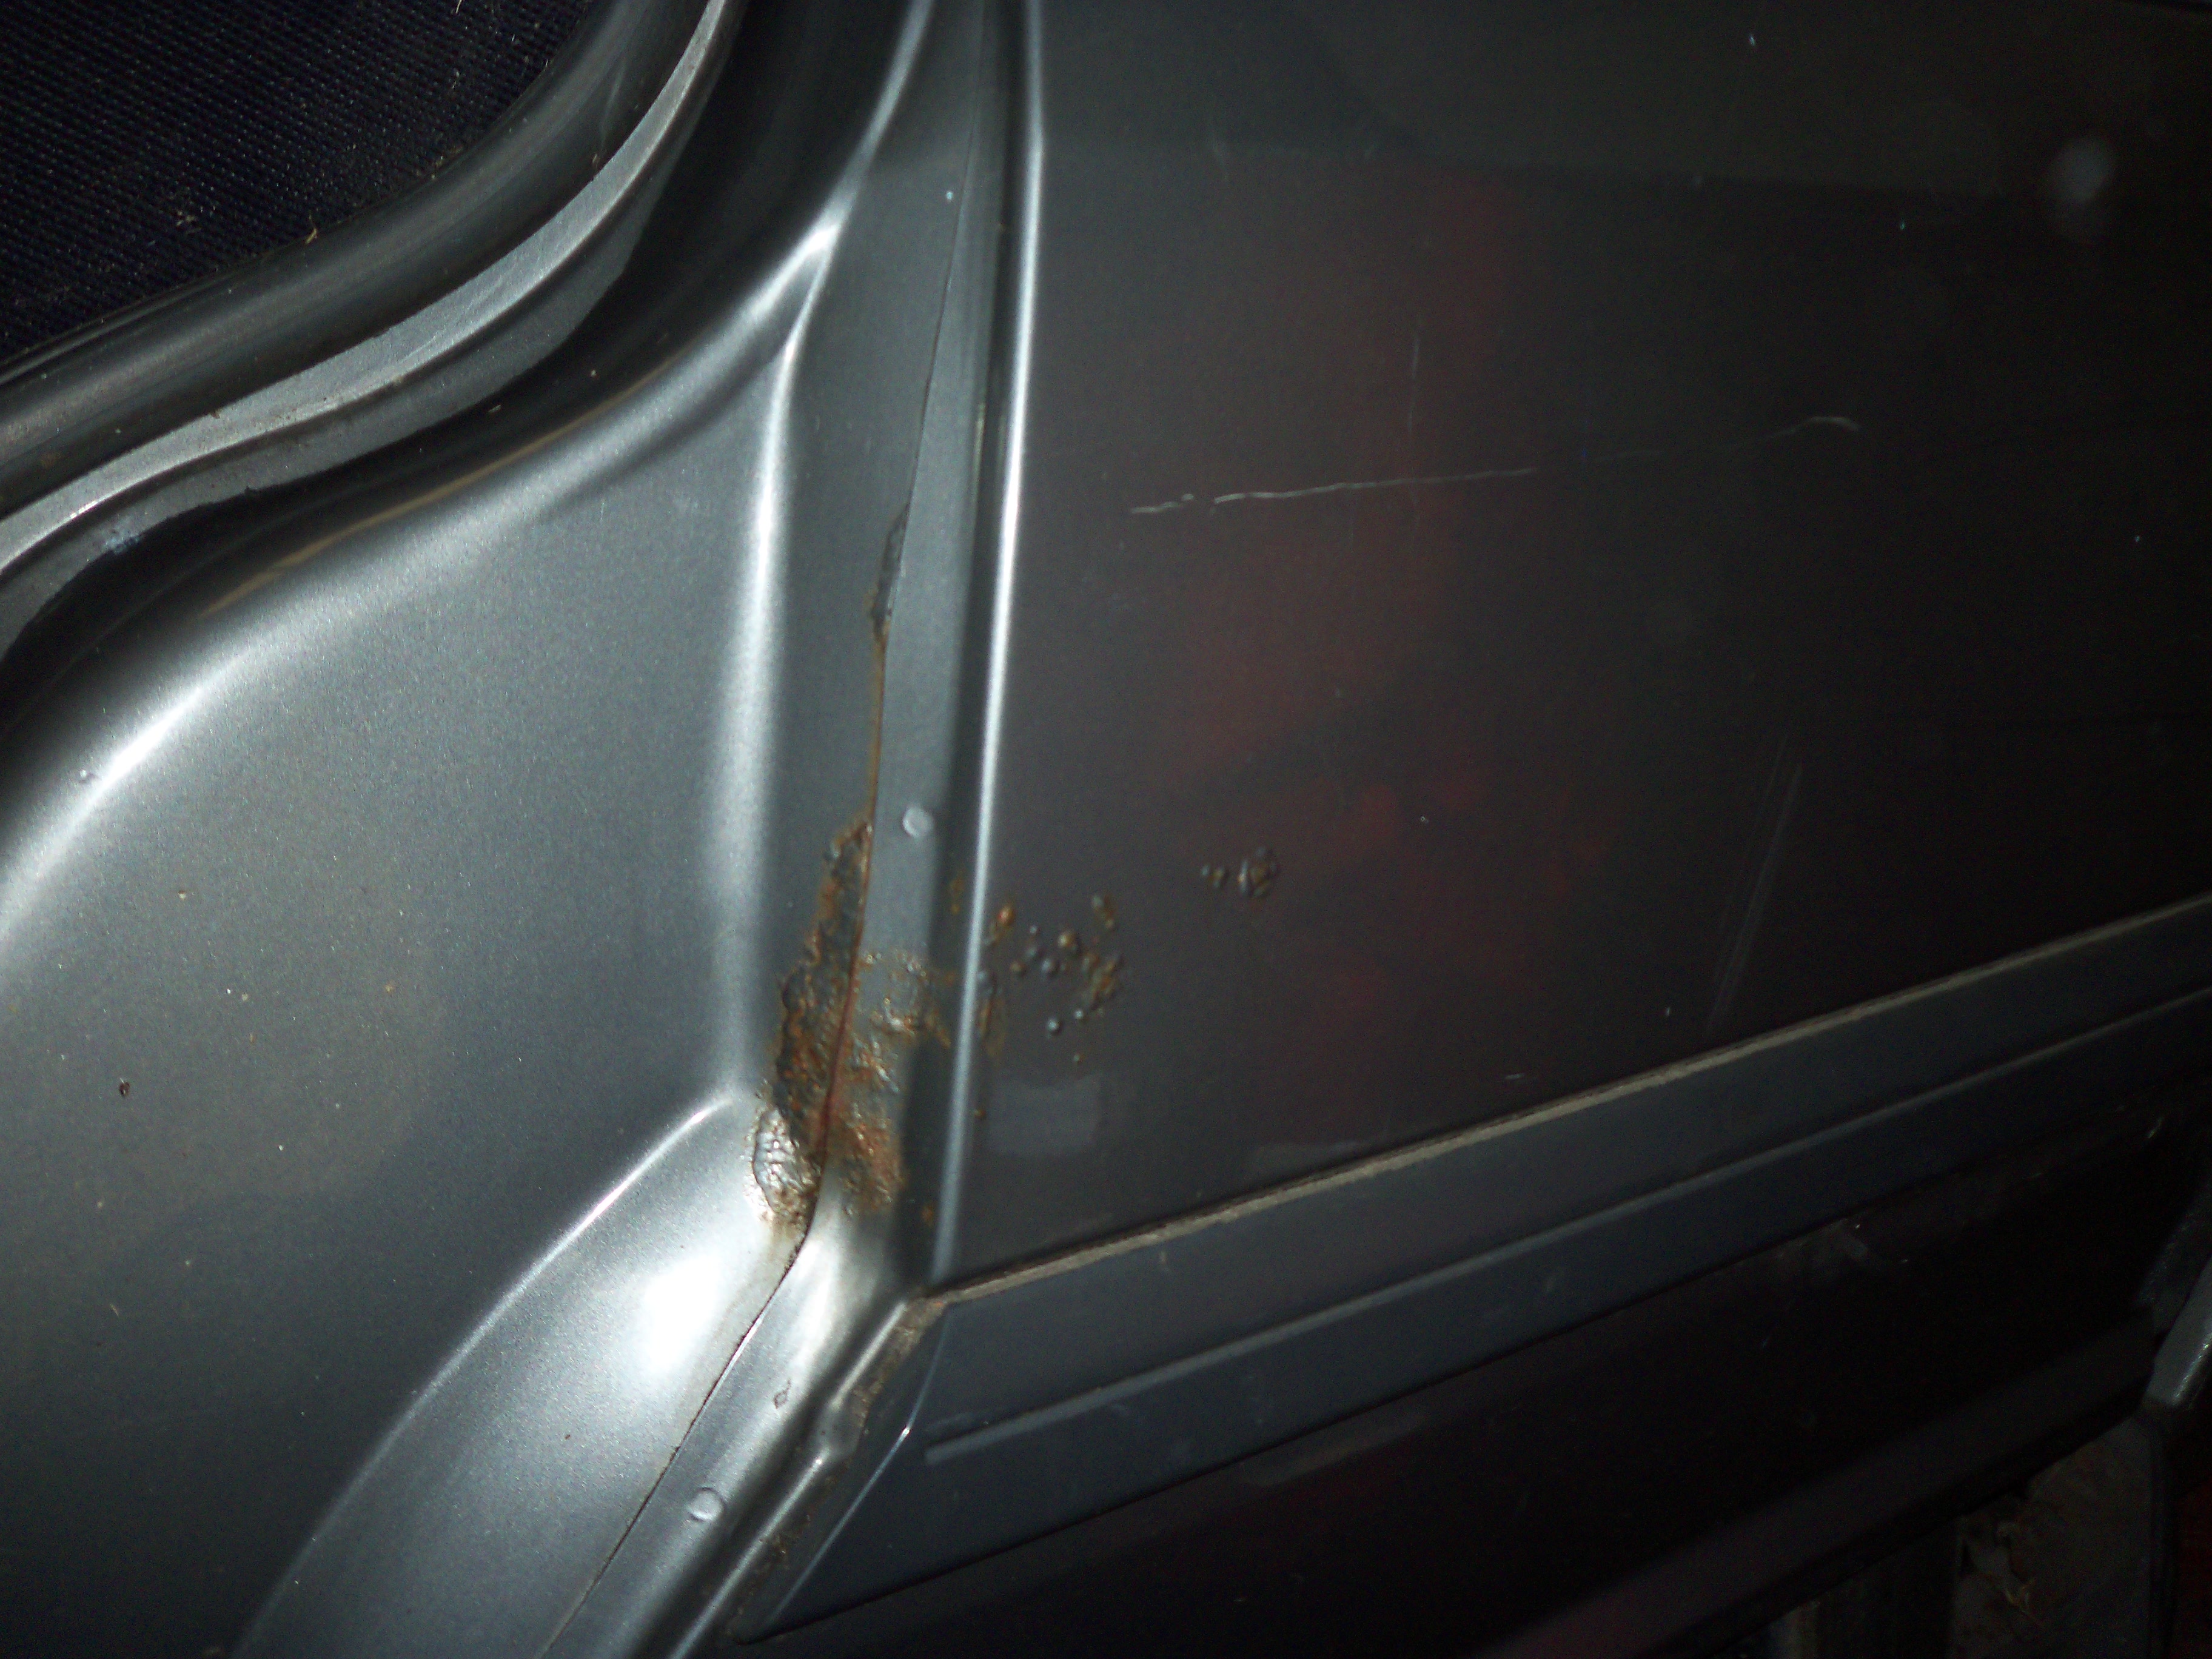
a slight bit of rust.. but nothing i cant fix..


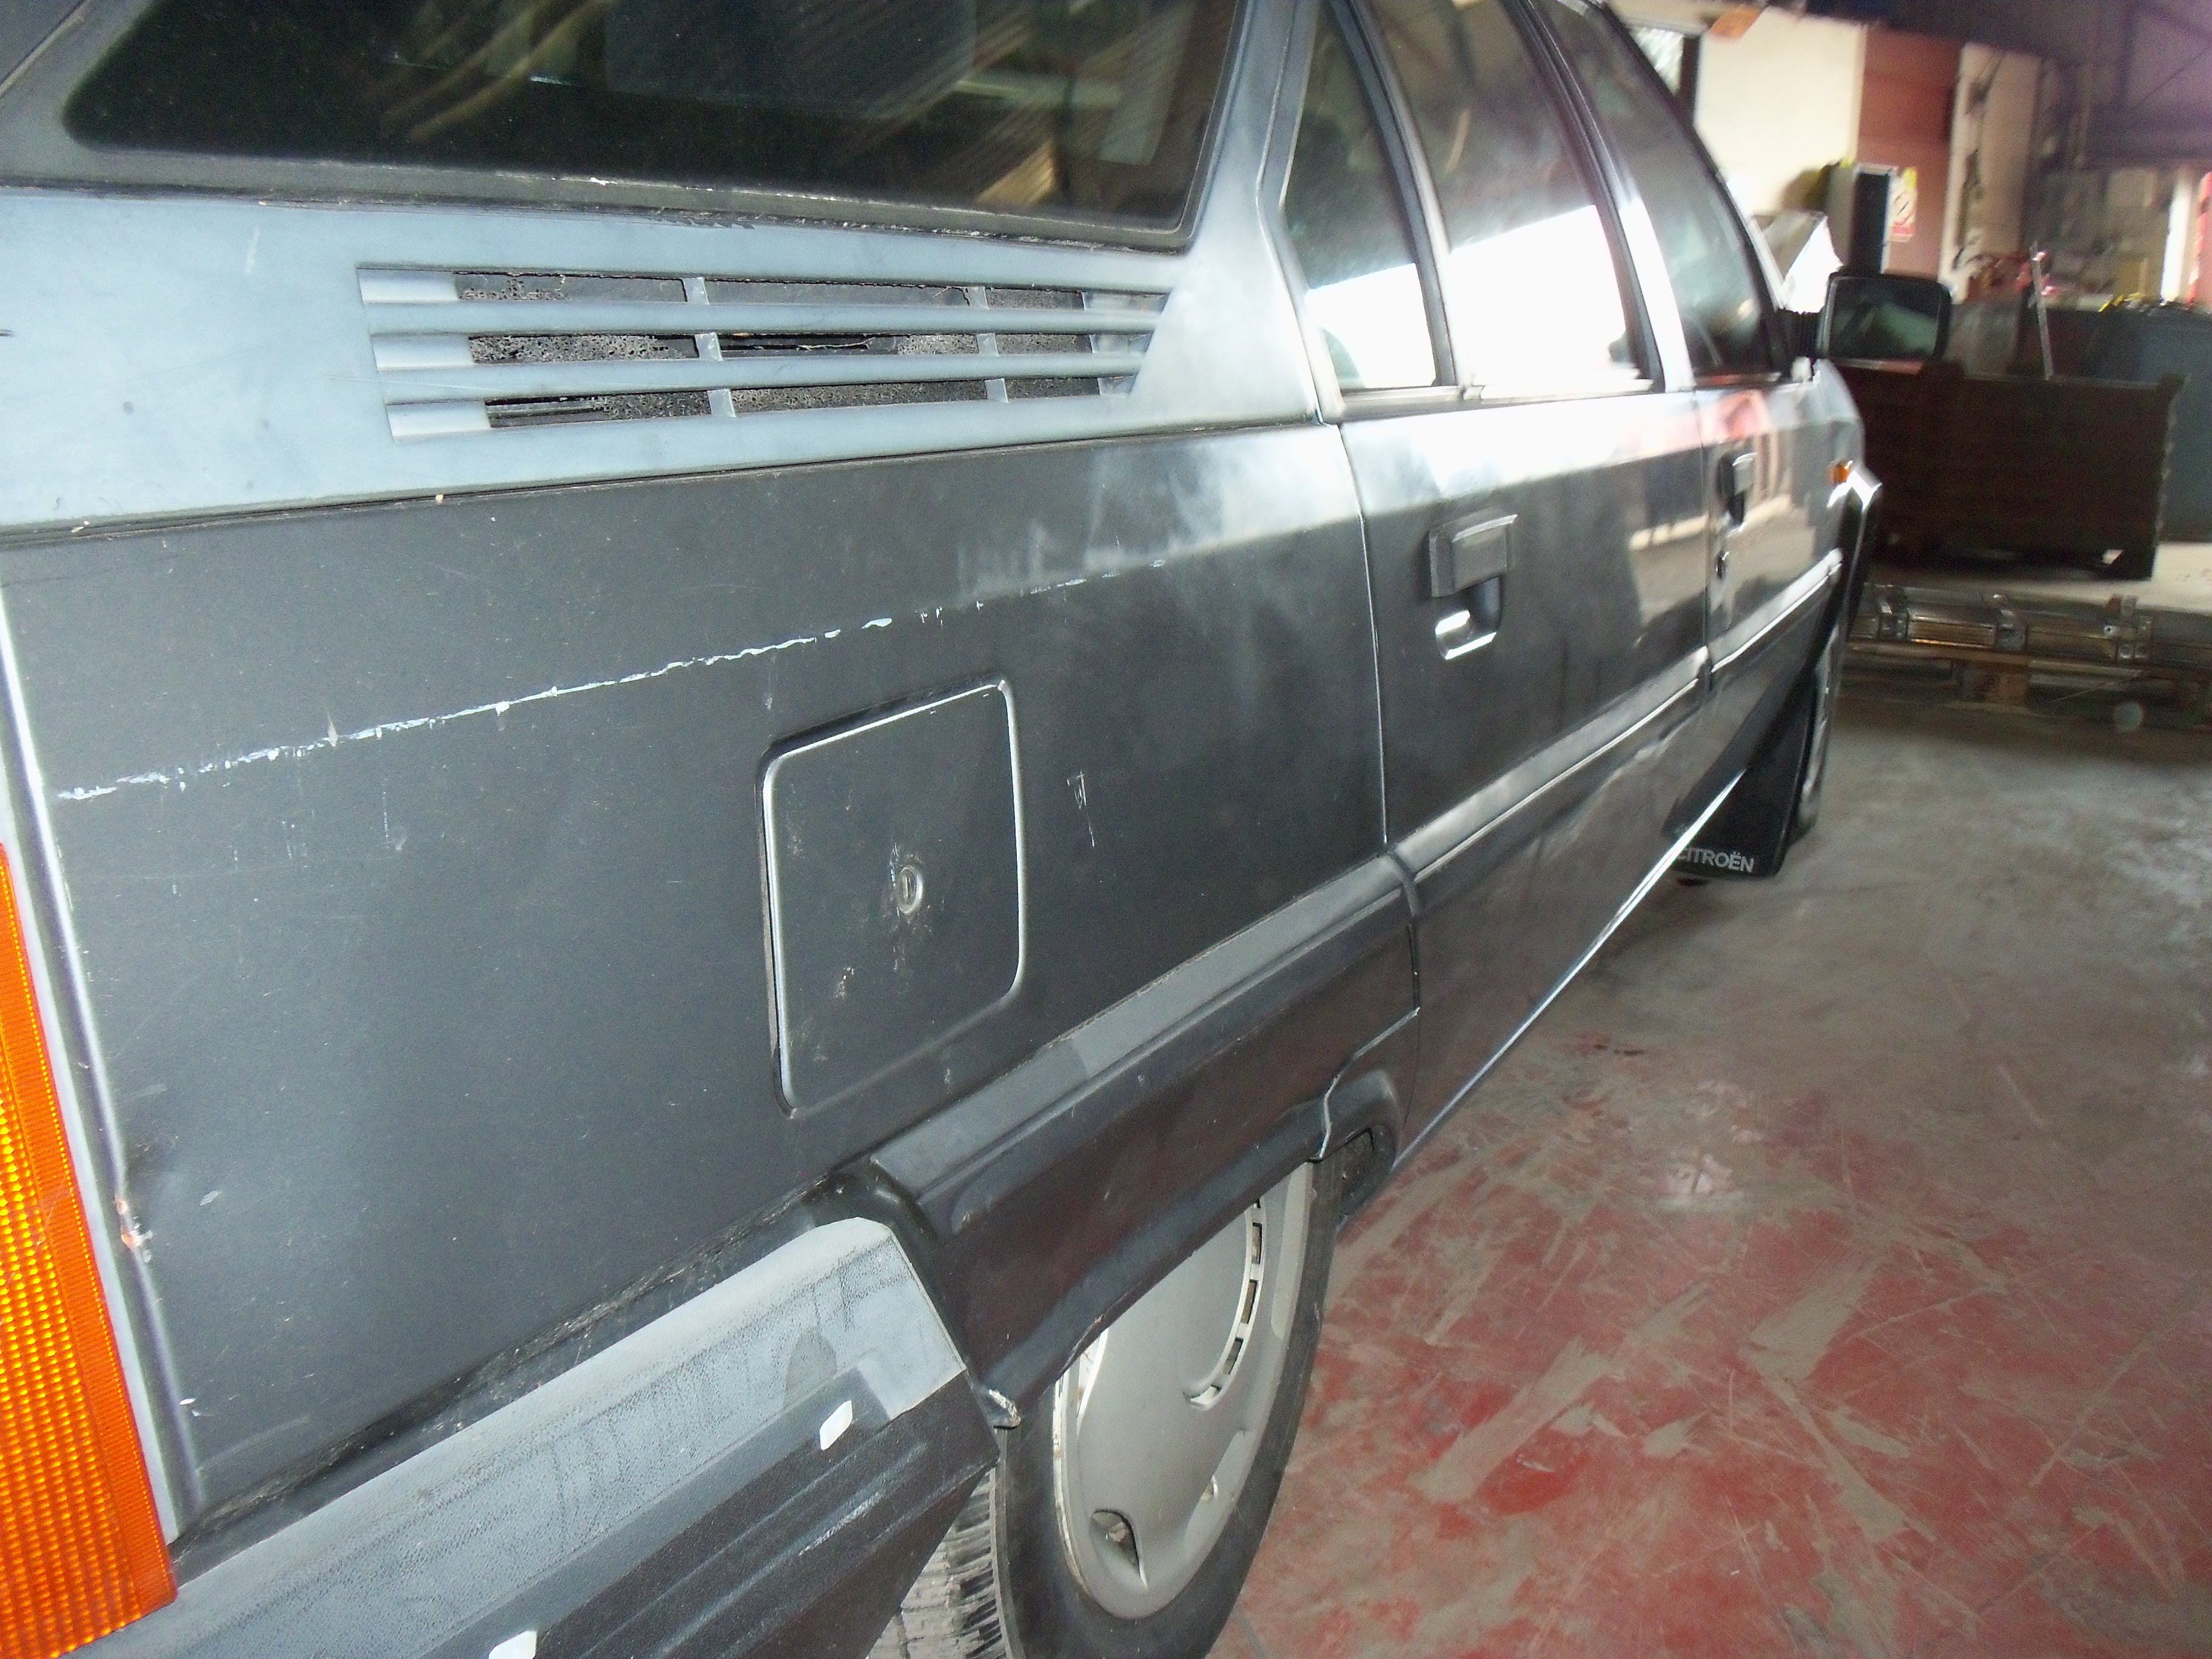
and now the really bad stuff...


ouch... smashy smashy


i will also be making online video logs. and here is the first:


see you in the next update!
ahh so where to start.

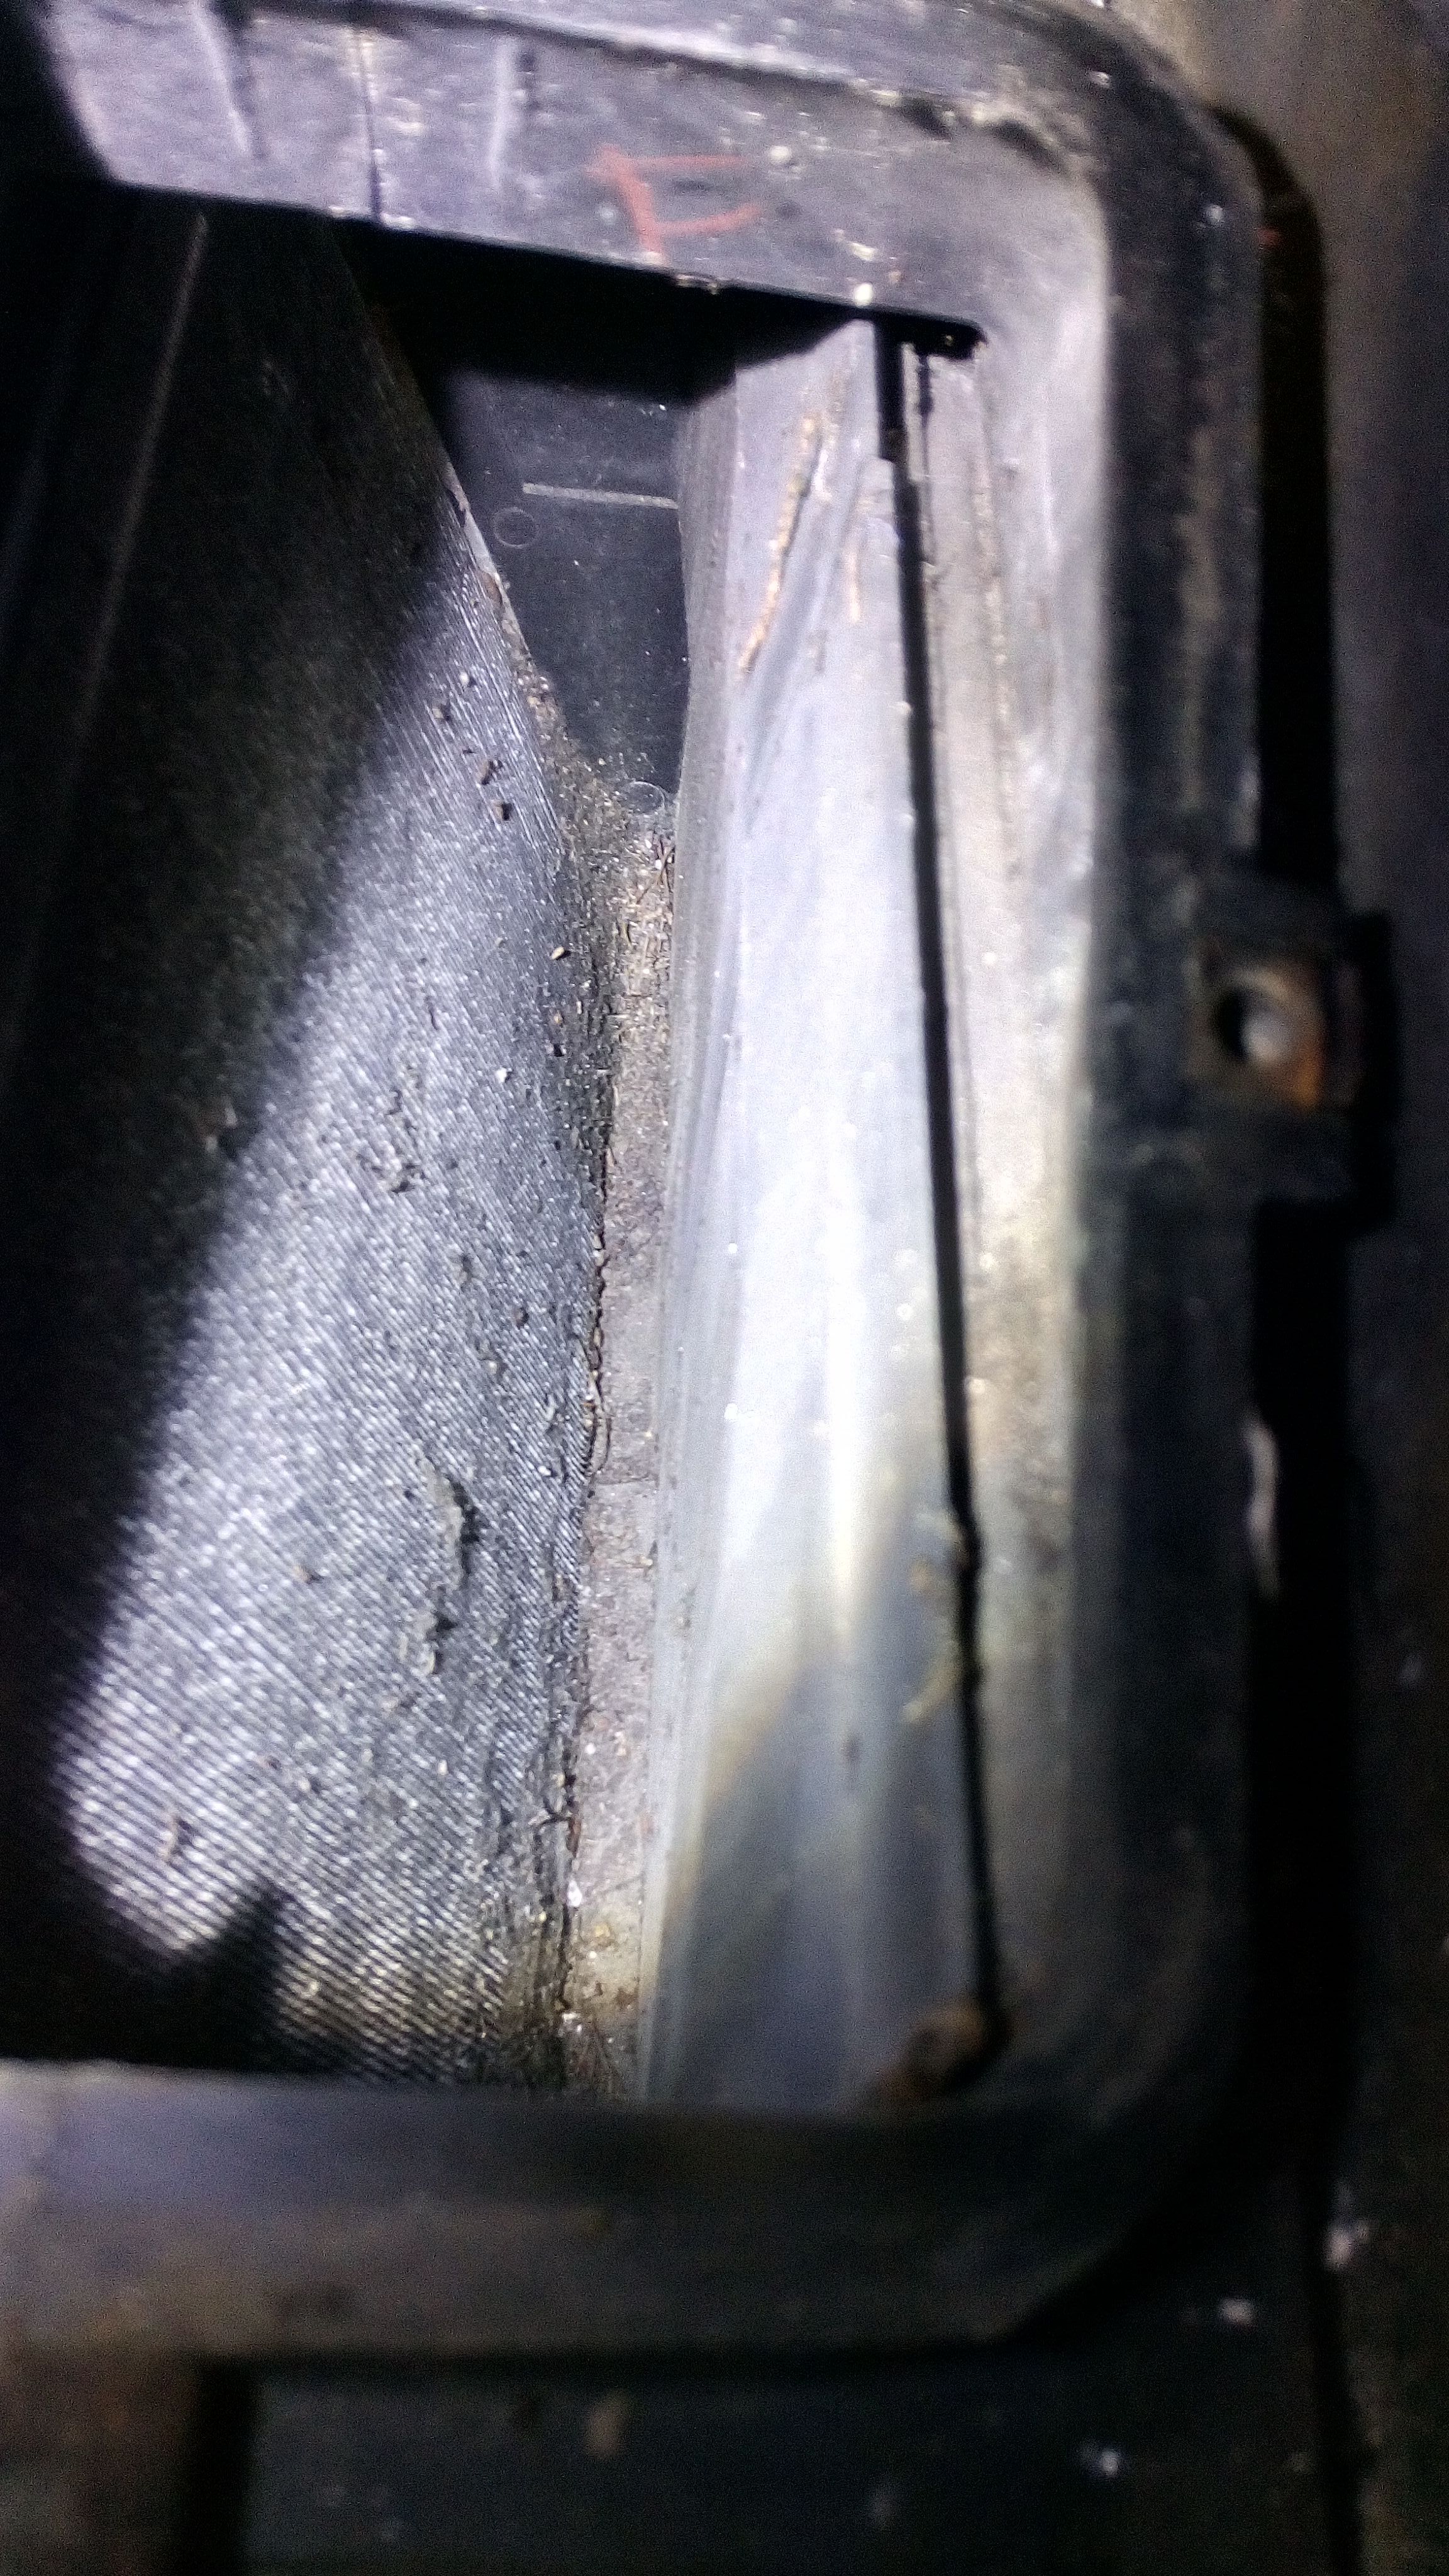
well i have repaired the air recirculation flaps. i have also painted them to stop future corrosion. they have had the rubber stuck back on using simple silicone sealant. not that the rubber would come off anyway its holds itself on pretty good.


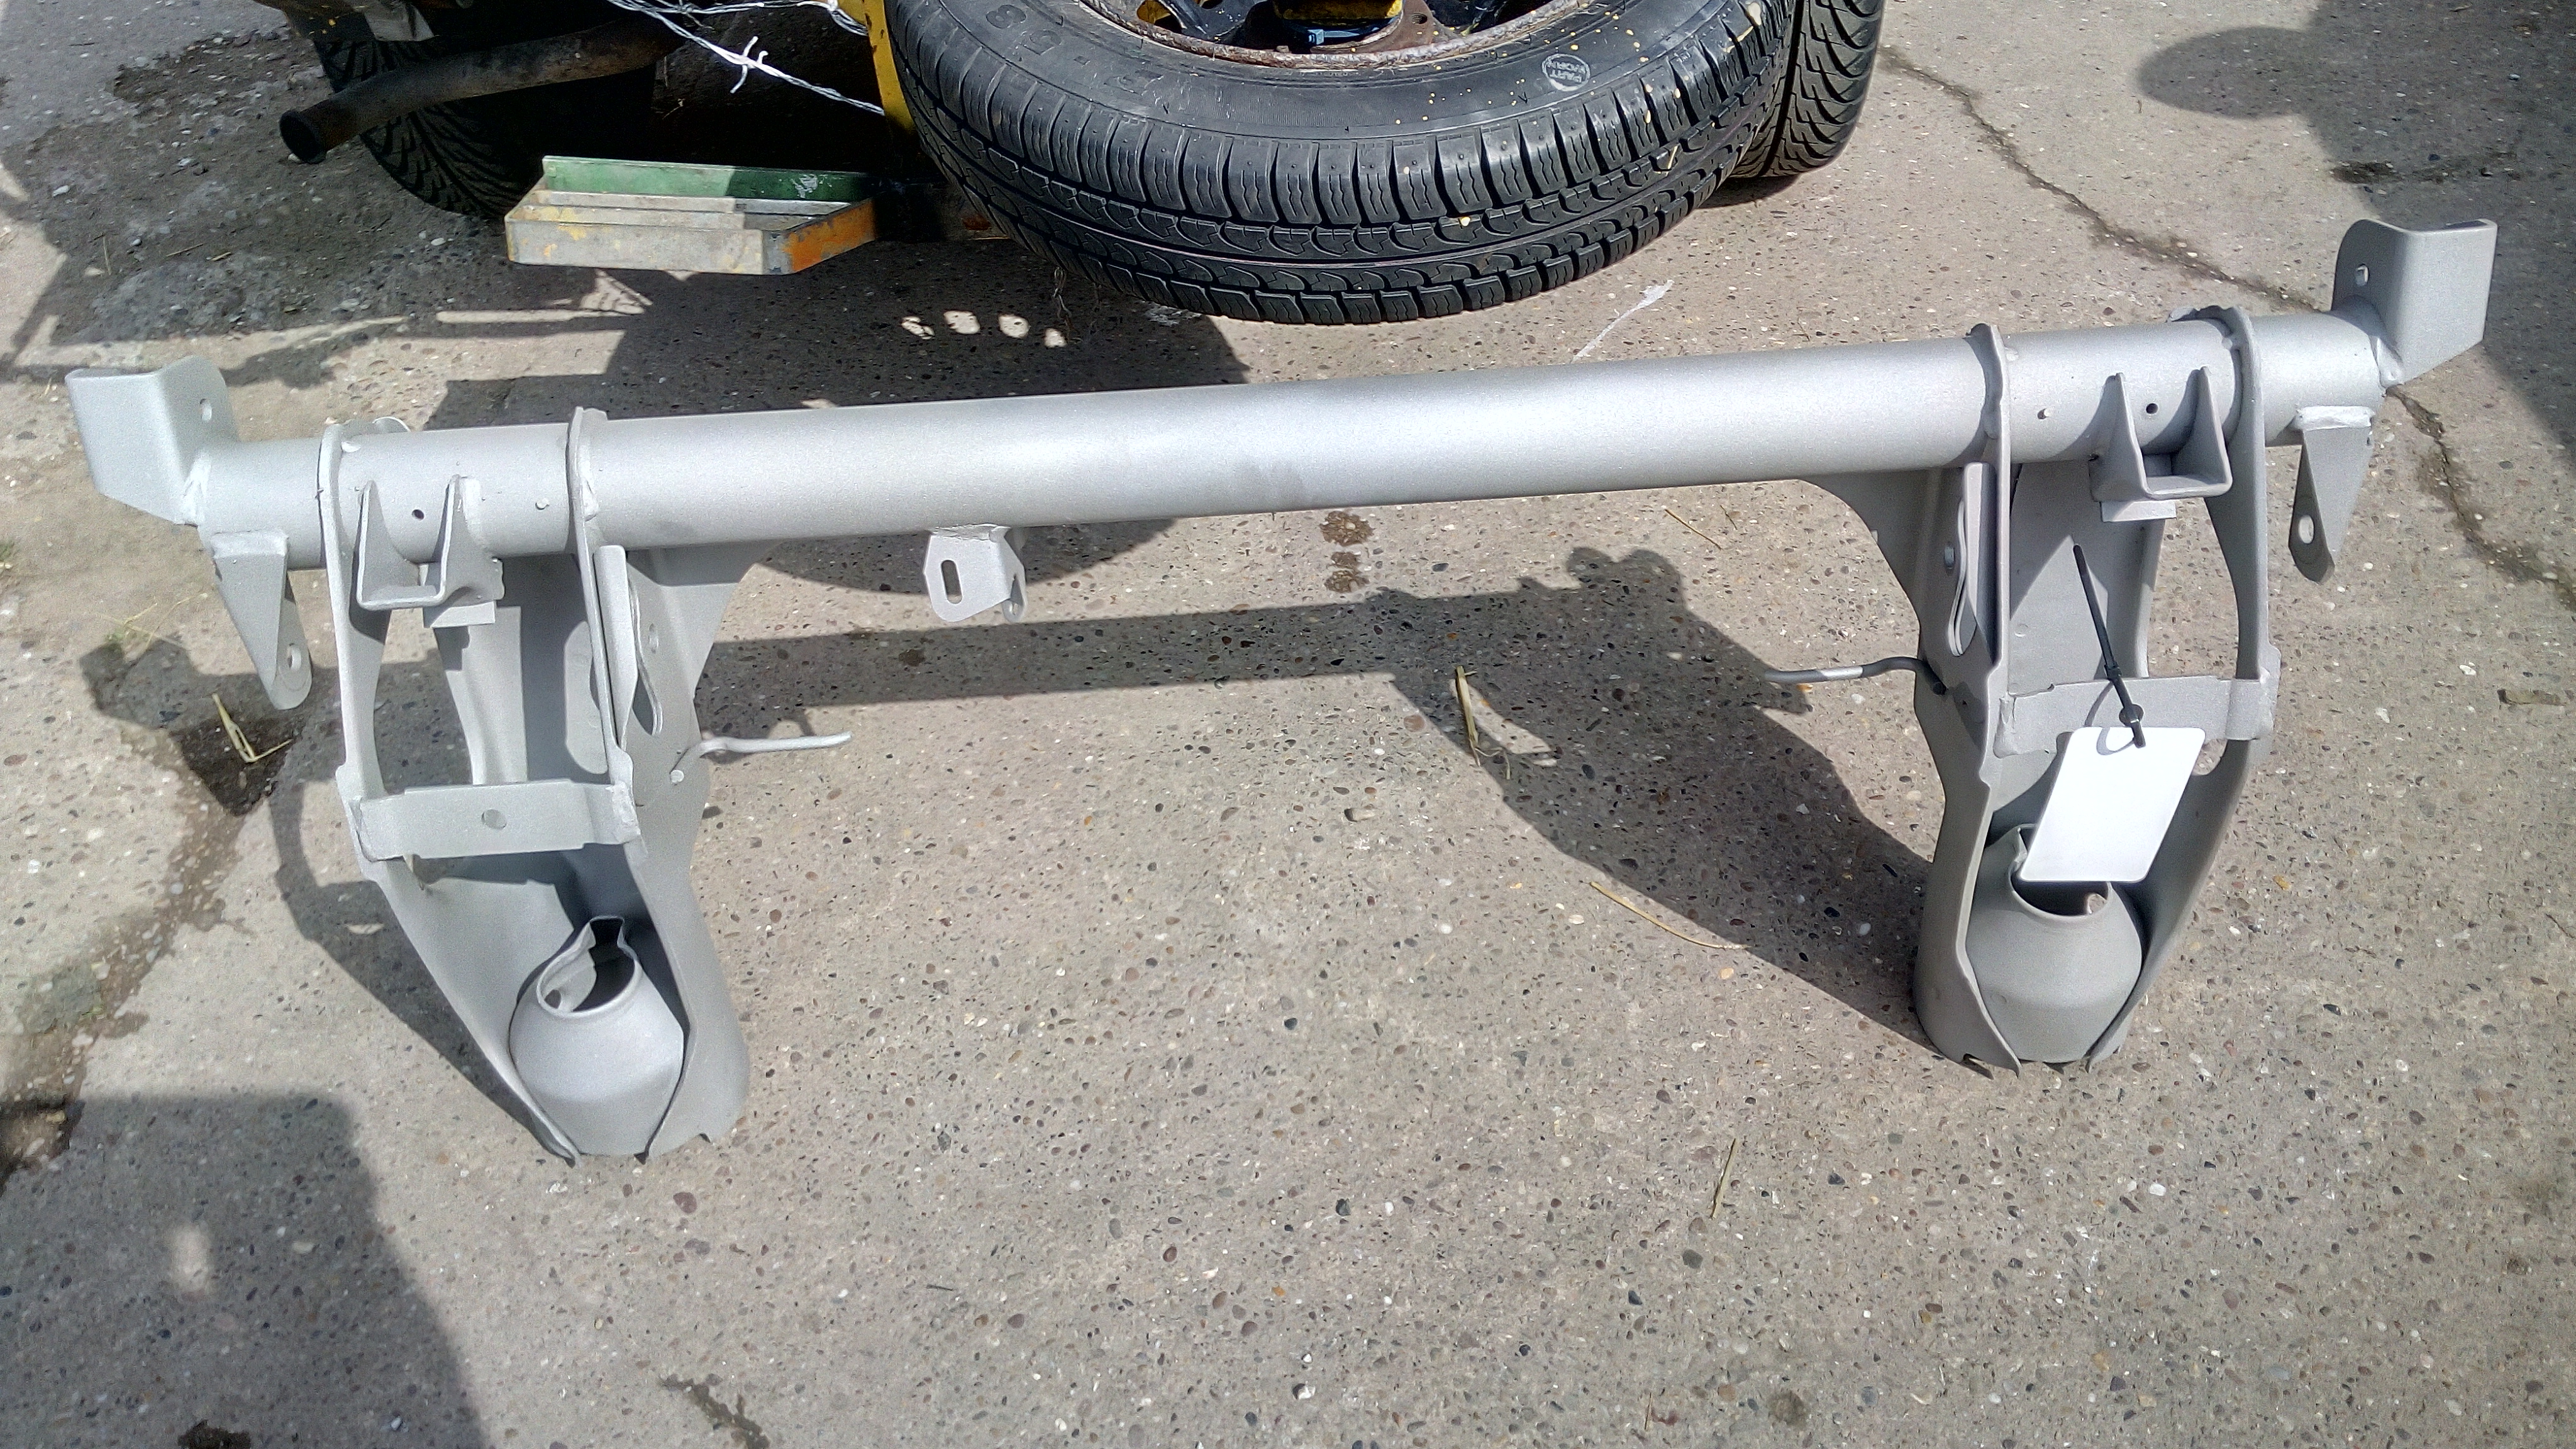
i currently have the rear subframe all in bits. the subframe itself is currently at a shock blasters. all of the bits that bolt on to the subframe has gone manual removal of corrosion. many hours of manual removal. everything is pretty much all painted up now and ready to be refitted. i still however need to wait on the shock blasters, then go through the prep and painting process of the actual subframe itself.


the bolts look in good shape and will be reused. inserting the back in with plenty of copper slip.


dont you think this part looks like the millenium falcon?


all but one bearing was shot. this is a picture i sent someone showing the condition of one of the good bearings from the outside:


here is another where the seal had failed, just showing the race. no roller bearings anywhere to be found:


i had a little issue with the damn new bearings i bought for the rear arms. the damn plastic just would not go in. i tried everything to get it to fit from heating it up to hammering it in with a socket. in the end i gave up and just tried to press it in while drifting in the new bearing race. it did not go well.


i have not bothered putting the plastic in. my plan is to weld/plug up the hole in the bottom of the rear arms and just leave it filled with a mixture of grease and very thick oil. it should self lubricate every time the car sits on its arse over night. if not, well its not like these are hard to change the second time around.. now i know what i am doing! it may pay to get another set of these rear arms as spare should they go again in the future.

and then theres this. its no wonder these bearings fail. i have never seen such utter crap. calling this a seal is like trying to hold water in a colander. from what i have seen of the original seals.. they are made of the same crap! another part thats designed to fail maybe.


guess which one is the replacement.


thats all for now.. well theres loads more i have done but just have no pictures of any of it.

i need to update my "total amount spent" heh. still not yet had the engine running fully. really want to get the fuel tank back on but i still need the fuel pick-er up-er... sadly i think ill have to make one as i cant find one anywhere. should be simple enough to do.
 
slow progress sadly, what with bank holidays and slow "24 hour" delivery which took 4 working days to get here.. sigh.

at least i have the sub frame at home so i can work on it :D

i took the axle to get shot blasted.. this is what it looked like when i collected it when it was done:


so pretty!


i acid etch primed it a few times.. painted it.. many times.. many layers.. and used waxyol where "seams" were just to give it a little more protection. i think i will waxyol the whole thing when its done. shame i cant just dip the whole thing in the stuff!

this js the result:


and the 2 rear suspension pistons have been painted and had new seals put in (even though it didnt really need new ones). this is how they look now:


a short update, sadly the car has not had me work on it for a while.. getting on for 4 weeks now!
 
a few weeks later and i have the rear axle bolted to the car!

heres some pictures of it before fitment:


a complete set of new spheres were bought for it (estate rear spheres too). £209.14 in total

the fuel tank is in situ with the replacement fuel sender installed, the rage extender is installed and all fixed up to the fuel filler. i still need to make a replacement metal band
support strap for it as my one is corroding. so i will make one out of some thin stainless sheet. i still have to connect the fuel lines up but i am reluctant as i want to underseal around the clips that hold it to the bottom of the car.

the axle is is all piped up, well at the back anyway. i have to run some returns and the feed for the rear suspension. (the one that goes to a T and then branches off the the pistons/spheres). the plastic pipes are going to be replaced with green nylon pipe like all the others.


the brakes are all bolted to the axle and should just need bleeding to get them to work.


the inside of the car is looking a mess to be fair, its more of a storage place. i need to fix the indicators as they dont work. all other electronics look to be working fine.


the turbo outlet it coming along too. it just needs to be welded up. the engineering firm that is doing it for me has managed to pretty much get it perfect.. i just need to do some slight modification to it so it fits then it can go back and get finished.


and here is a video too!

 
not much done this week to be fair.

i have finally finished off everything on the rear axle. all high pressure pipes have been connected with just a few return pipes that need connecting at the front.
thus the car has finally come off the "safe" supports it was on.

now flat on all 4 wheels.


only for it to be jacked up and rested on more "safe" supports so i can take out all of the clips that hold the various pipes to the underside so i can underseal, then put the clips back in and re-hang the pipes.


oh and i also took off the old spheres from the front and put the new ones on. the accumulator sphere i have left off while i work on putting new pipes around the priority valve.
engine still looks a bit of a mess.. i have done nothing on it since i started work on the back of the car.


thats all for now folks, i really need to get the damn turbo piped up! still struggling with that.
 
happy to report that i have most of the pipework on the back of the engine sorted out! the turbo inlet and outlet on the cold side are all piped in along with the coolant pipe from matrix to water pump.
i also have the drive shaft in on the drivers side and the fuel lines running up to the engine!
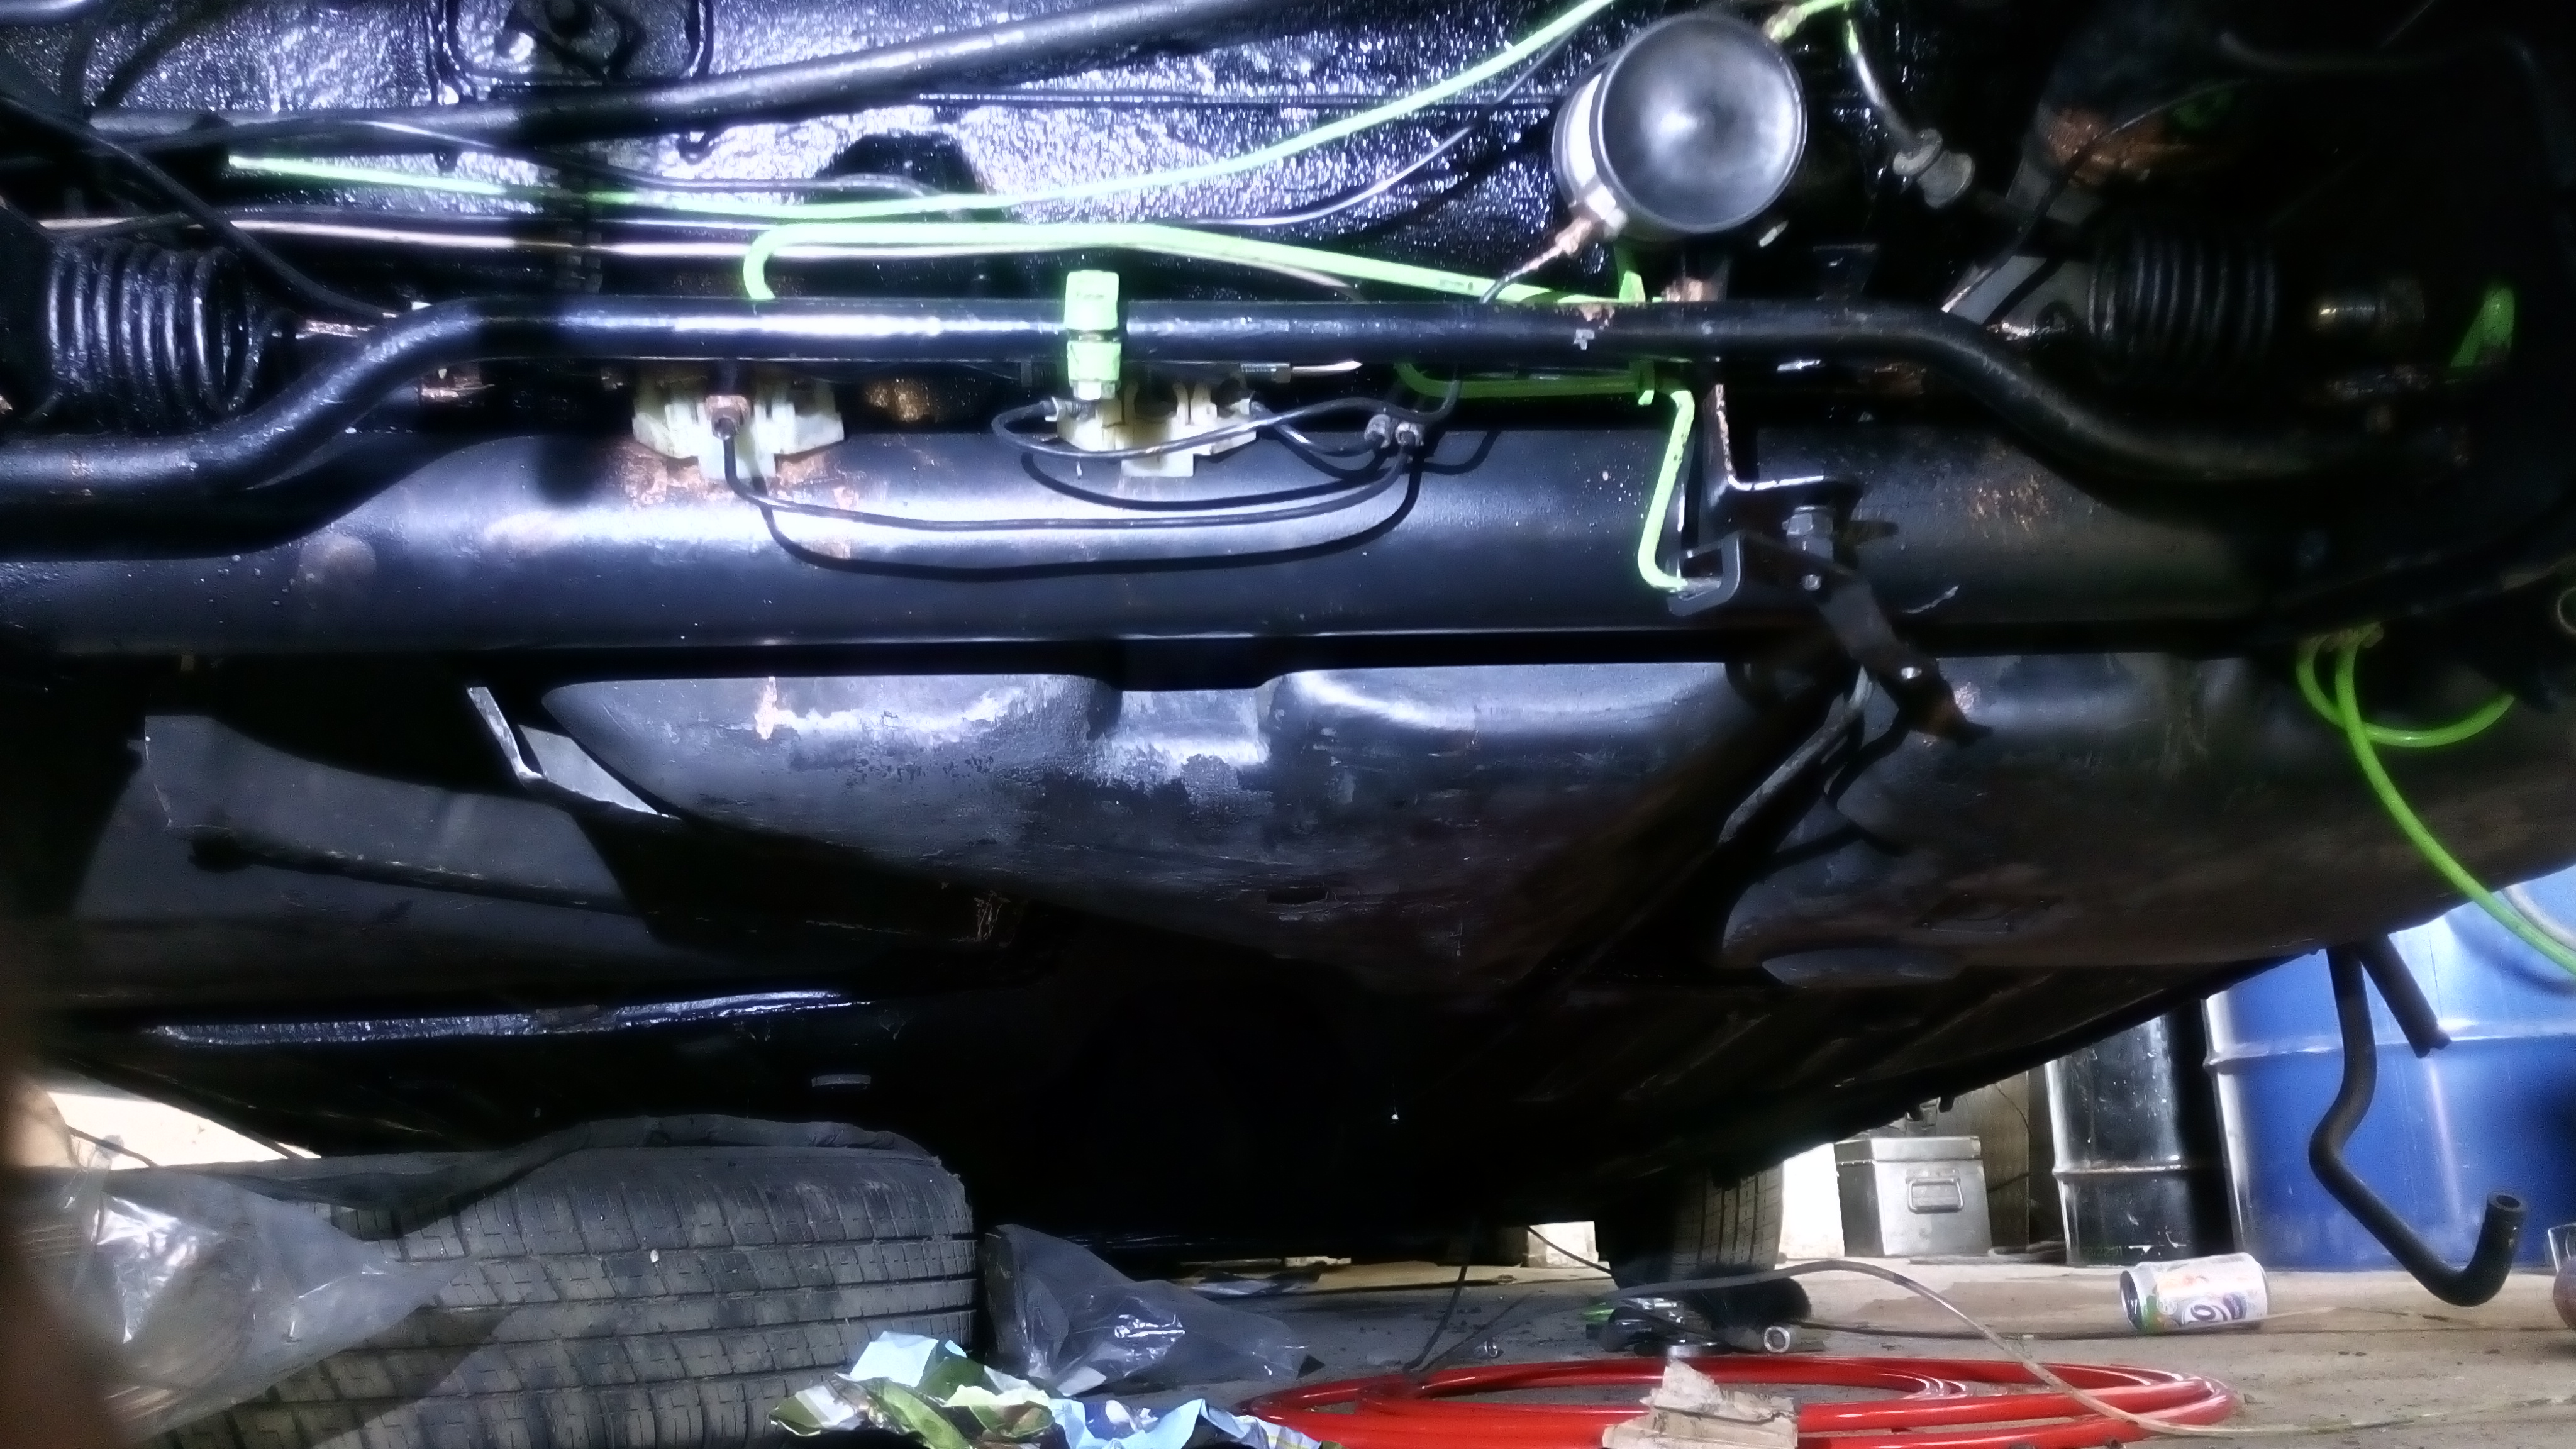
both sides of the floor pan have been under sealed prior to the pipes on both sides being ran with all pipe mountings being removed.

sadly the drain plug in the drivers front foot well has rusted out. i never saw this under the factory underseal but it is an easy place to get at and a relatively easy fix.

only a few hyd. pipes need to be plumbed in. the 2 curly ones that run under the engine, and some on the accumulator sphere.

waiting on the guys to finish the turbo exhaust outlet, which is the only thing stopping me from bolting the hyd. pump on the gearbox. soon as that is done i can fill with LHM and maybe run it on a battery pump to attempt to prime it.

only thing stopping me from running the engine is the thermostat housing is slightly differant on this replacement engine.. i am missing some pipe connections! may have to swap them over from the old engine.

no pictures sadly but stay tuned!
 
Ok so that is all of the return pipes connected. every one..... i think.

Glow plug relay is all wired in now and it actually works! no output to the cold start relay as i cant find how to actually wire that in! i assume that it connects directly to the glow plugs and gets its live from them.. makes sense.. the glow plugs only come on for long times if its cold.. so the cold start relay would be used then.

the shield on the bottom of the engine is also bolted on. the 2 hyd. pipes use it for a mounting point and it also covers the flywheel.

the fuel system is completely plumbed in i am actually running 2 fuel filters. the original BX filter that bolts next to the LHM tank, and the one built into the thermostat housing on the engine (which also doubles up as the fuel heater as that was originally on the back on the engine).

found out that my indicators won't work because the indicator relay is... just completely missing! gone! just a hole in the fuse box where it should be! i will have to adapt one i have. i noted that they are 4 pin and not 3 pin like most. i am not sure on the pinouts of the relay.. sadly every manufacturer uses different pin outs on that particular relay. for instance, both of my pandas both have completely different indicator relays with different pin outs!

think thats everything that has happened today...

next i would like to figure out what i am going to do with the coolant system. sadly this engine has pipes where the old engine does not. i could blank them to be fair as they are only small pipes. sadly however i am missing a pipe from the thermostat housing. this is going to make things interesting.

i need to find a coolant circuit diagram of both cars and try to make it somehow meet in the middle.

well wish me luck!
 
Ok, first of all the indicators are working now! managed to adapt a 5 pin one by just bending the extra pin flat haha. all i can think the extra pin is for is the dash light.. wich still works on the BX.

i also attempted an engine start which i got on video. sadly i have not yet bled the diesel lines after letting it suck air in the fuel line last time i tried to run it on the pallet in the other video.

all seems to be well so far. i still need to mount the intercooler and pick up the exhaust turbo outlet adaptor

then it will be on to the coolant system, then hyd. pump mounting.

im happy to say that the AC system still has absolute vacuum on the gauge which is great news. it means that i have no leaks!

here is the video!

 
hmm well its been an interesting day... so i have re-wired the brake pad ware sensors so they should all work now.

the hand brake wont adjust anymore sadly so i may need a new cable, or somehow find a way of shortening the cable. i am not sure if it will adjust at the bottom of the hand brake lever as i have not checked that yet.

i now have the engine running and able to sustain idle. however. theres a bad bad bad side to this.

the engine knocks.. badly. now i could be injector timing but i dont think it is. its smoking white smoke. what i more suspect is a sticking valve as if you rev it you can hear it sticking then freeing then sticking. now i know the valves dont sit well on the seats on this engine but i assumed it was because i cleaned all of the EGR build up off them. i never removed the cylinder head from this engine as well.. it ran perfect before.

one thing i am tempted to do is to get it running and spray some WD-40 in the intake. it will rev on it but at the same time it will give the upper cylinders some lubricant which should help free any sticky valves.

also the exhaust turbo outlet is done! i just have to go and collect it :D
 
If I remember correctly, my theory studies from 1975, white smoke is unburnt, poorly atomised or condensed fuel. Often present on startup due to cold cylinders and ineffective glowplugs. Can also be caused by low compression, or poor injection. Dirty or worn injectors will spray globs instead of mist, which won't burn.

I don't think WD40 will do much. It is not a good lubricant, especially in a hot or warm cylinder, and not much good as a solvent. A proprietary diesel additive, like Redex, might be a better bet.

Will it run with the cam cover off, and if so, could you see if a valve is sticking? Or might that just make a mess?
 
If it'll run with cam cover off just wrap the head with some clingfilm, reduces mess but you don't get very long to look before the cling film just becomes an oily mess itself

I don't think I'd ever be brave enough to risk gooey cling film falling into the drain channels and finding its way to the sump, oil pump or oilways. So take care if trying this. Perhaps a listing of 'oil-resistant' cling film brands is needed?
 
Don't worry about it till you get cooling system sorted out and can bring engine up to correct temperature. Doing so will also help bleed out any remaining air in injection system.
Do not be tempted to run engine with no coolant any more, diesel engines tight clearances and fast temperature rise don't go well together with no coolant .
 
Knock Knock

Who's there?

Whistle.

Whistle.. who?

Whistle.. Pheewwwwwwwwwwww!!


no knocks! the injection timing was well out i undid the pump and with the engine running moved it till it sounded more happy. it does need to be set properly though but for now it will do!

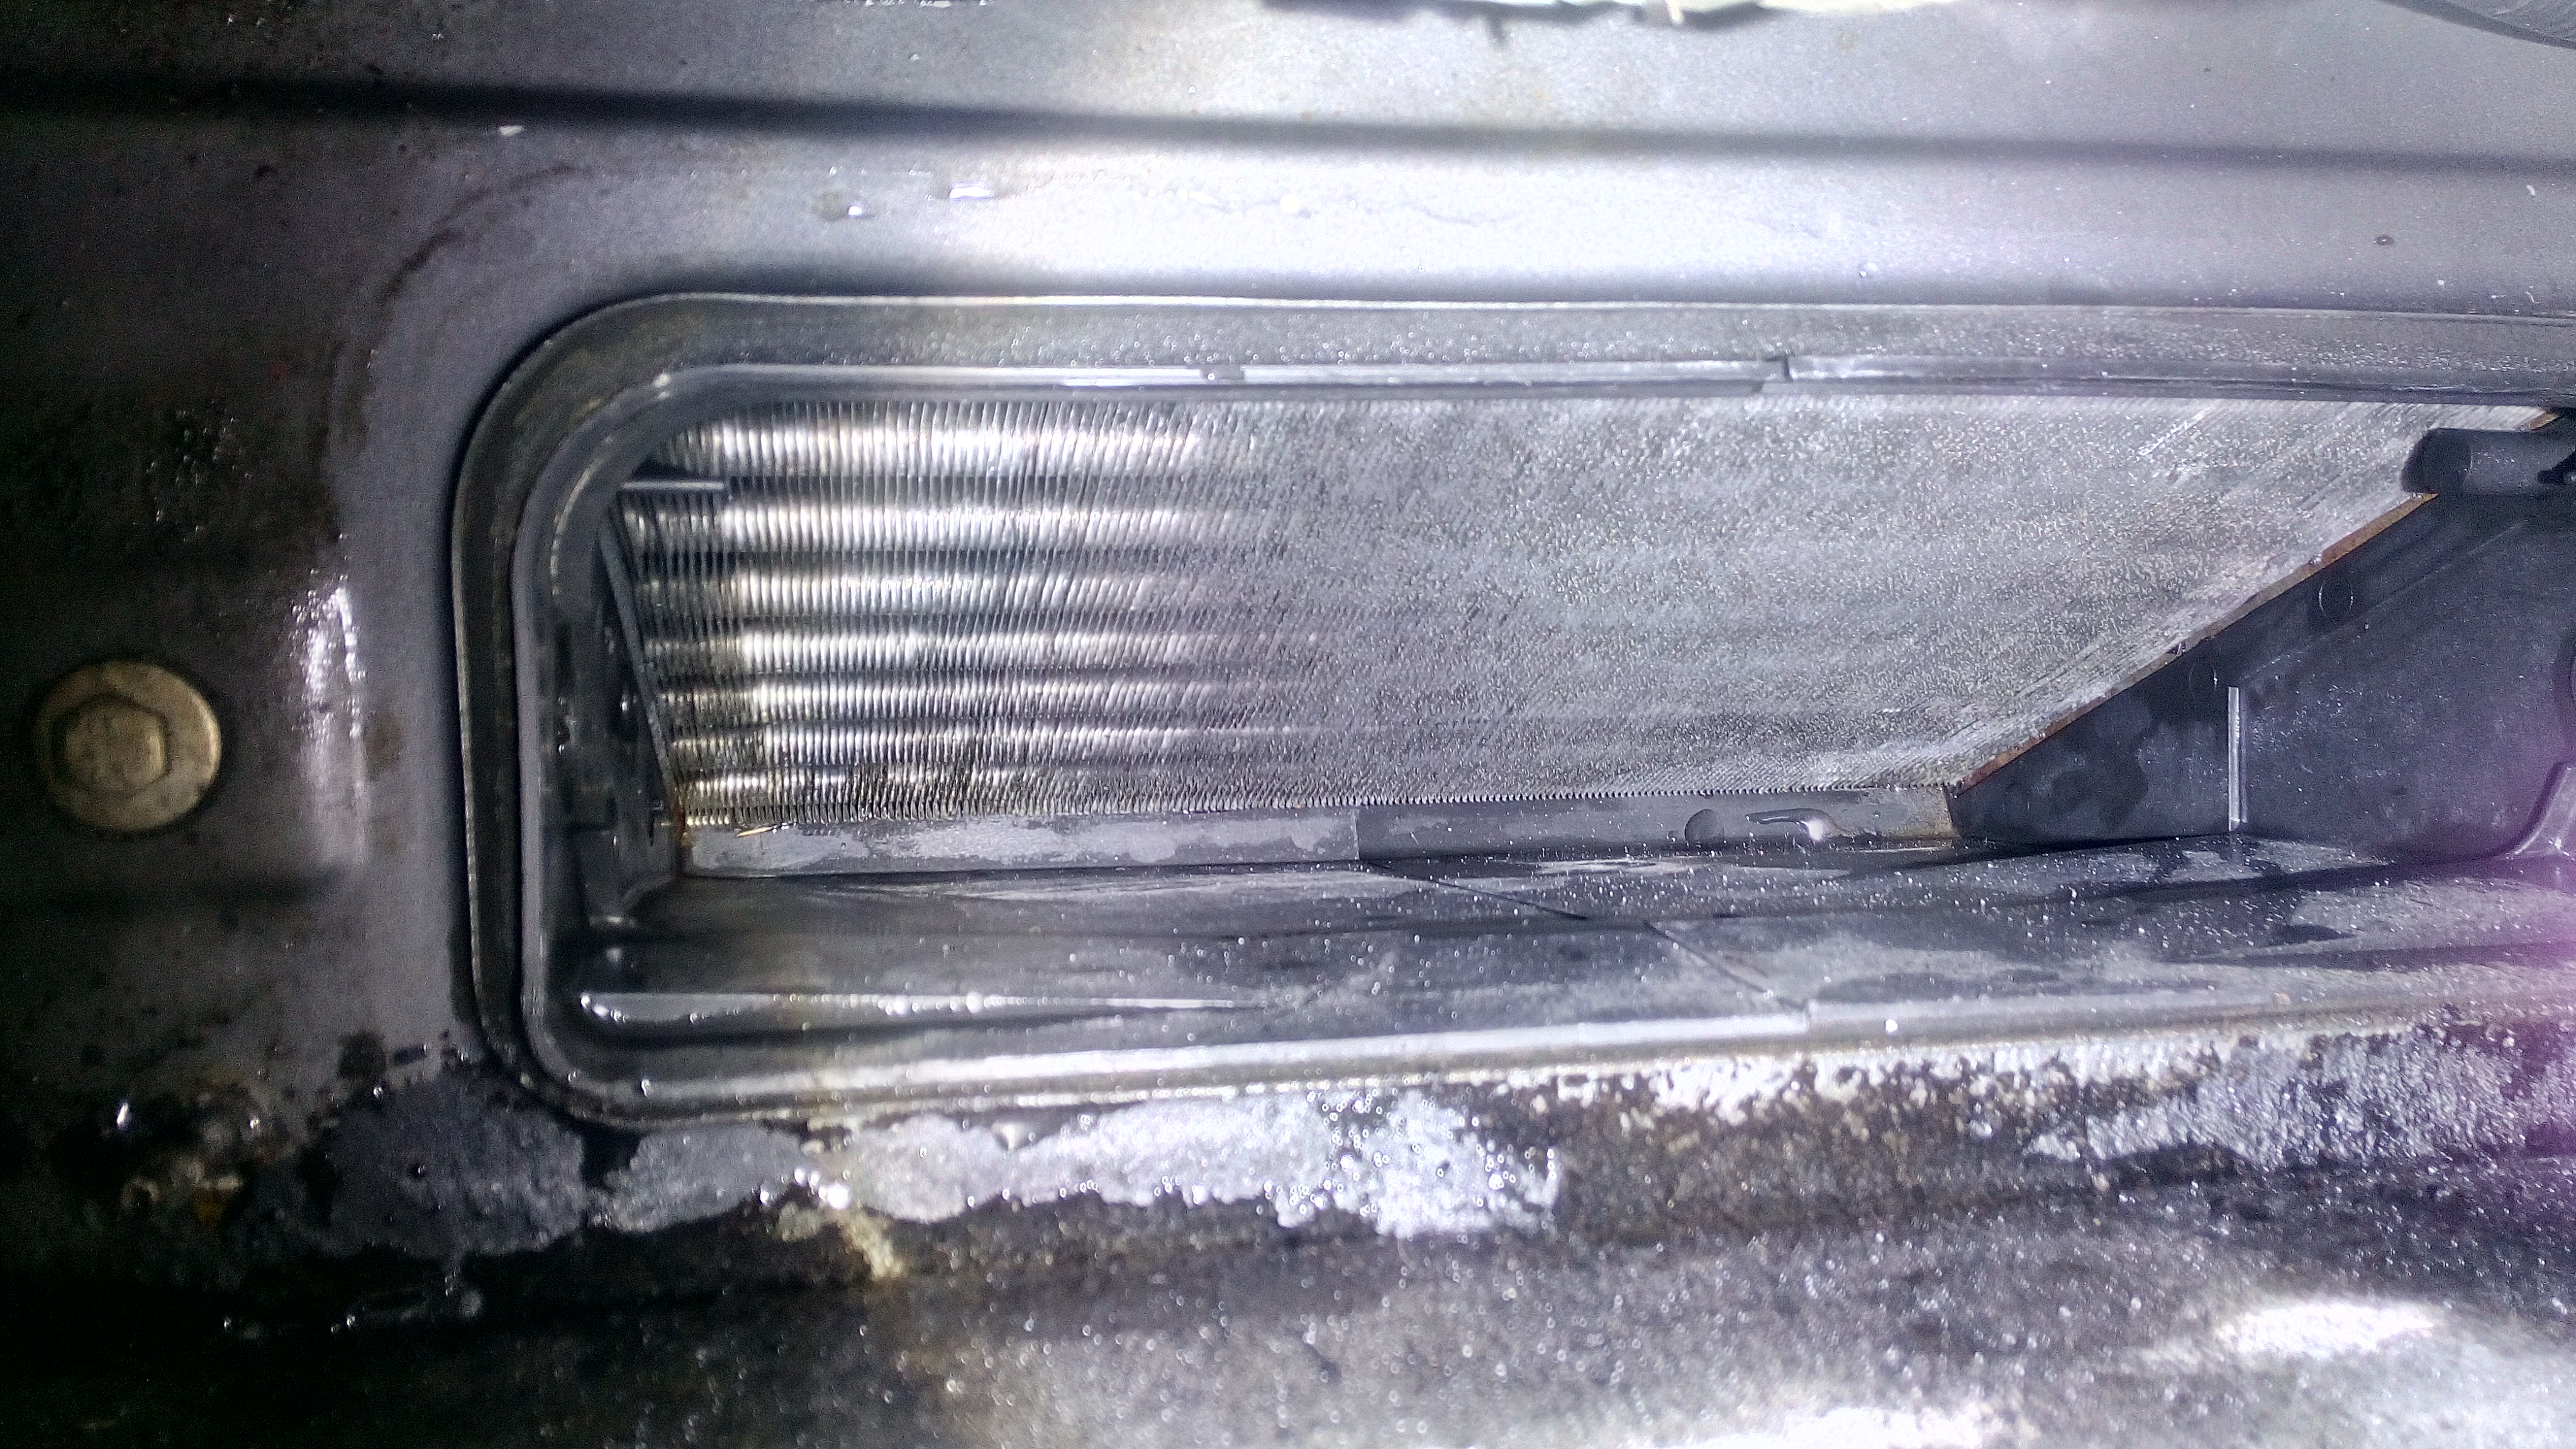
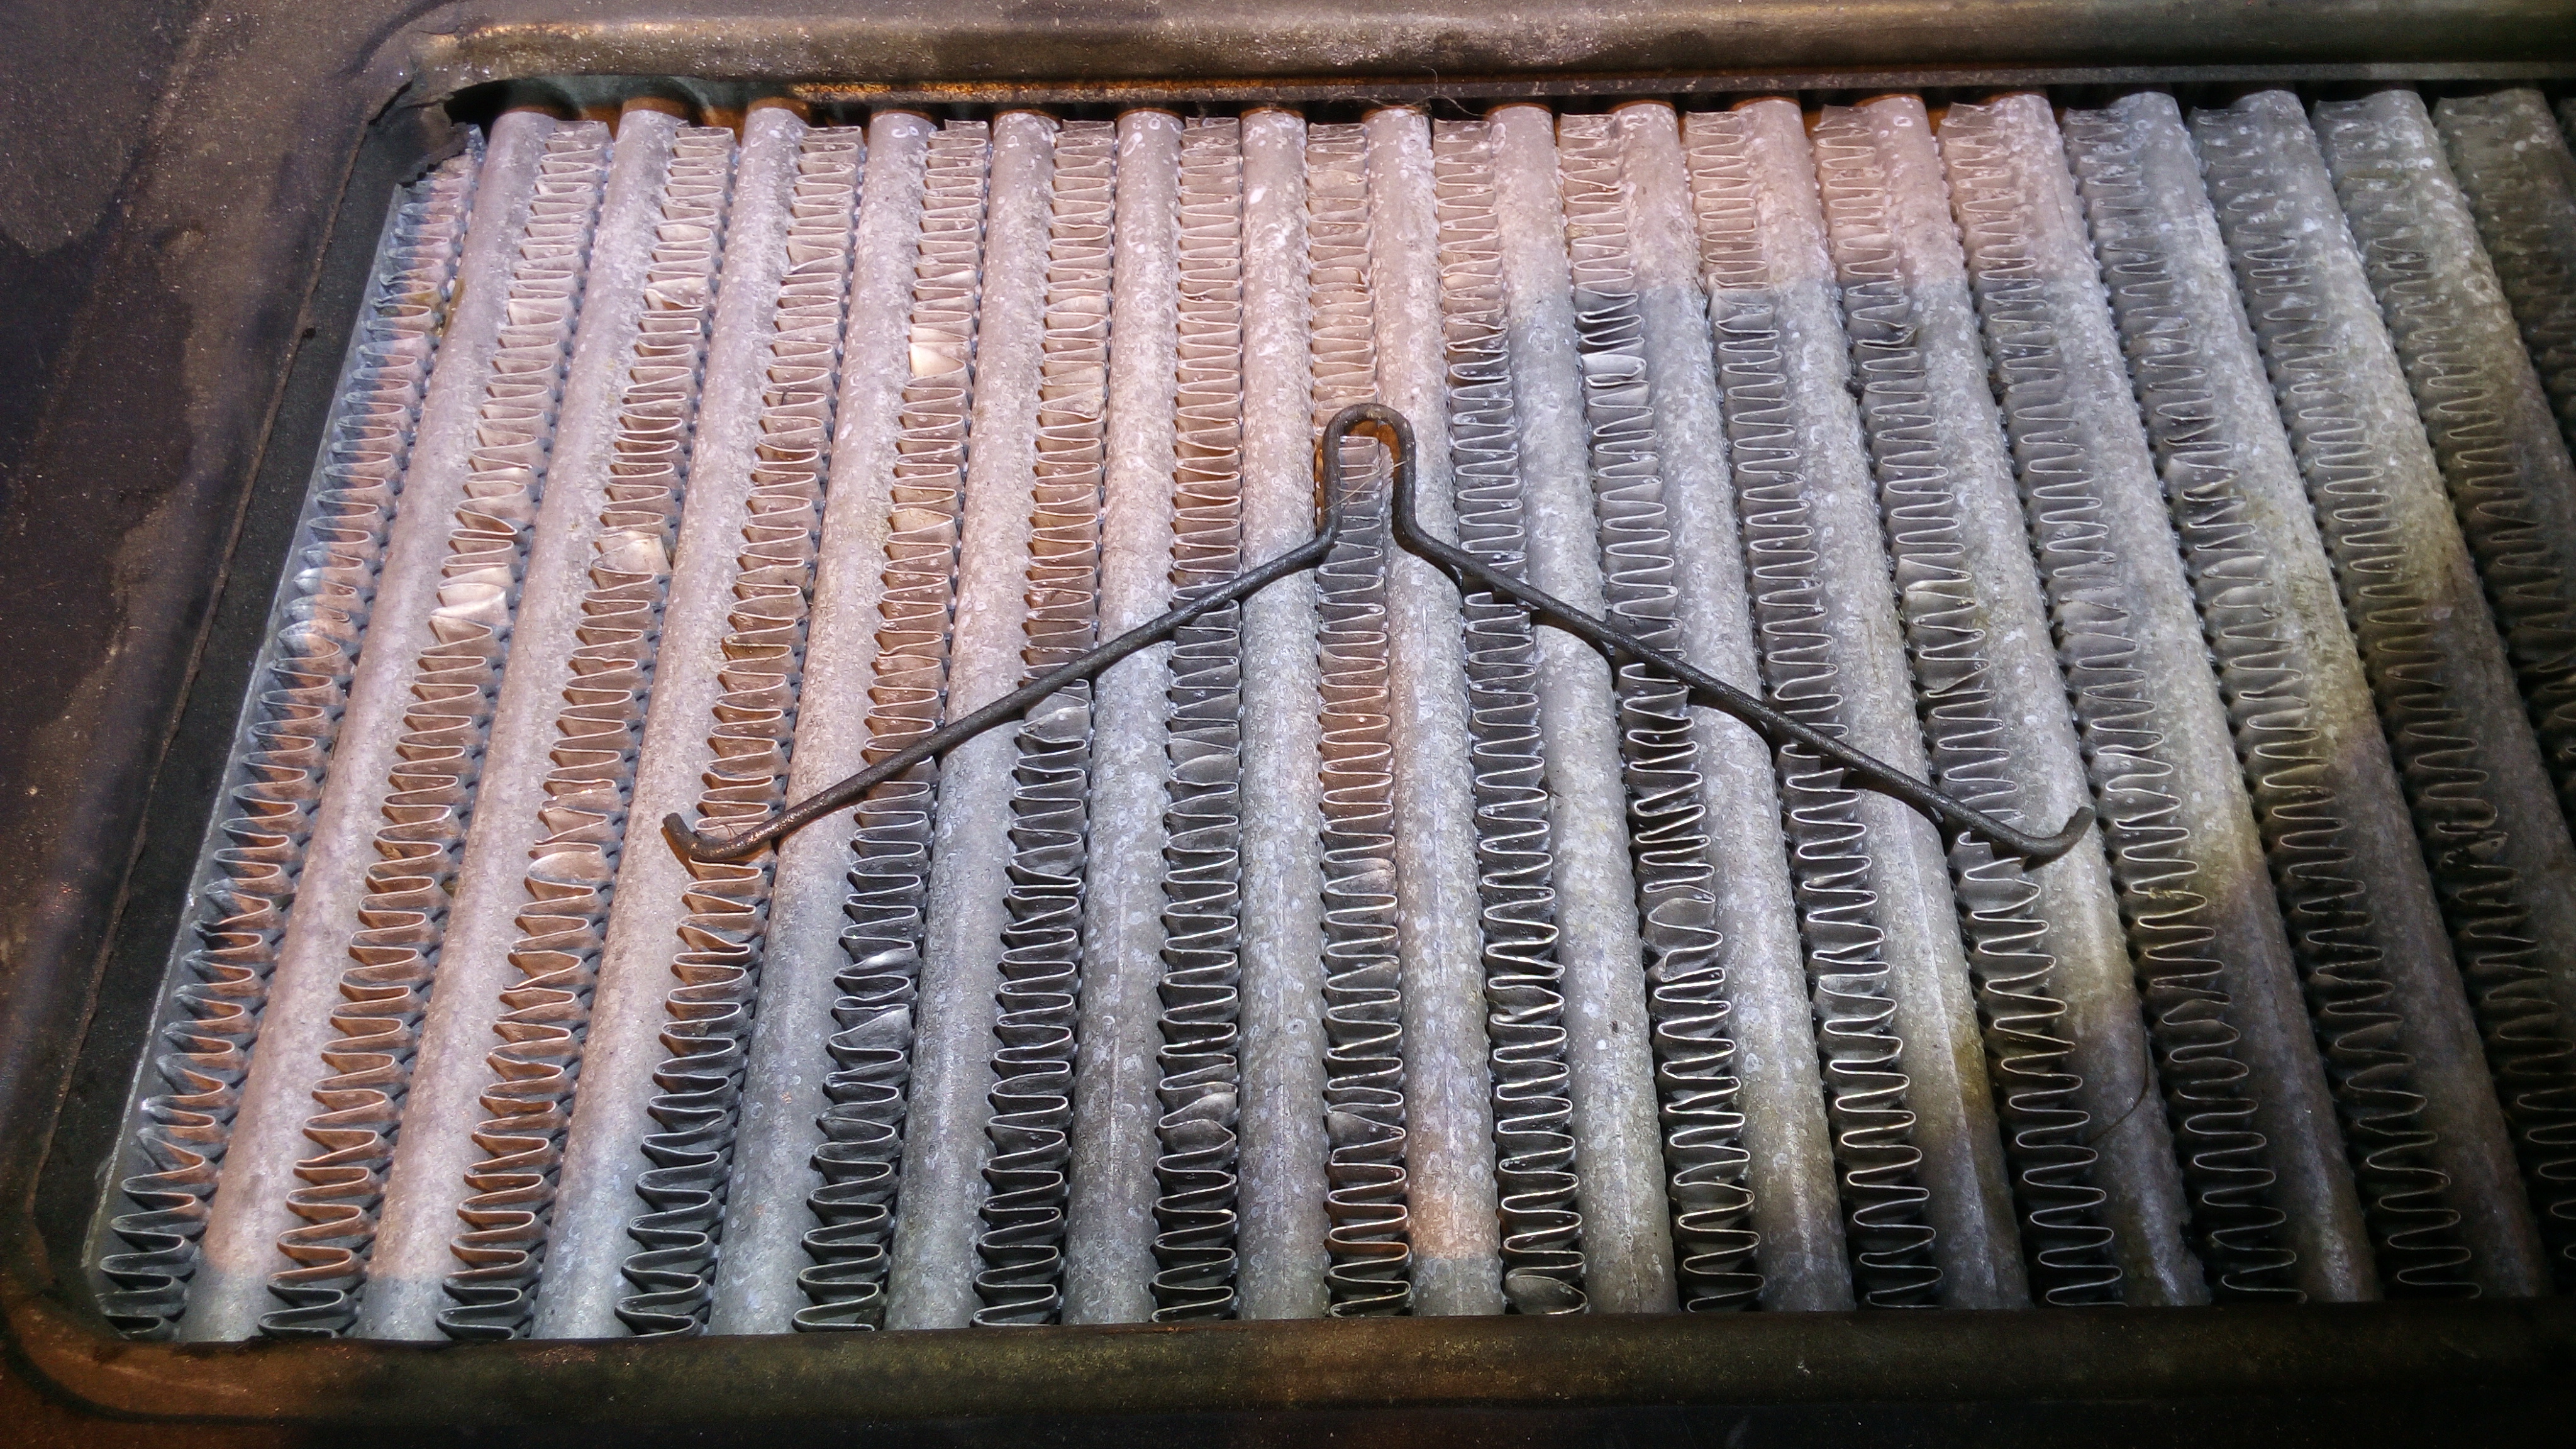
i have fixed ALL of the LHM leaks, ALL of the engine leaks. replaced the temporary turbo oil feed pipe with one made for me by Pirtek, pipped up the whole coolant system and filled with RODI water temporarily (no anti-freeze). fixed up the exhaust but due to be no measuring right i am going to have to use a exhaust flexi to compensate that no issue. cleaned out the AC evaporator. bled the whole hydraulic system (minus the brakes they still need doing but its a 2 man job), half installed the cabin air fans, cleaned and installed the rear lights.

the AC evaporator was really nasty. i bet when it was running it smelt pretty bad..


now all clean!


this stuff works so well!


i have taken the thermostat out to replace it as i do not think it was opening up. the engine seemed to be getting quite hot but the radiator stayed cool so for the £4.54 it costs to replace it, i just bought a new one.

and also heres 2 videos!

skip the 1st one if you want as its just me talking but check out the 2nd video to hear it running!


jobs left to do:

bolt exhaust back on, sort out front headlights, mount intercooler, routing induction pipework, mount coolant bottle, bolt cabin fans back in, put the scuttle panel back on and wiper arm, bolt bonnet back on, reinstall some interior trim panels, screw in glove box, get injection pump timed in correctly fix squealing alternator belt (has no way to tension it!).

peace all!
 
Its getting very close.

the exhaust is all fitted and hanging nicely with a U pipe made to replace the center silencer (which was very rusty and had holes in it), the blower motors are in, the recirculation flaps are in, the washer bottles are in, the coolant expansion tank and bracket is in, the various trim panels inside the car are all back in, the bonnet is bolted back on, i have the reducer for the boost hose to fit, i need to tighten the alternator drive belt somehow.. and even a new wiper blade has been fit.


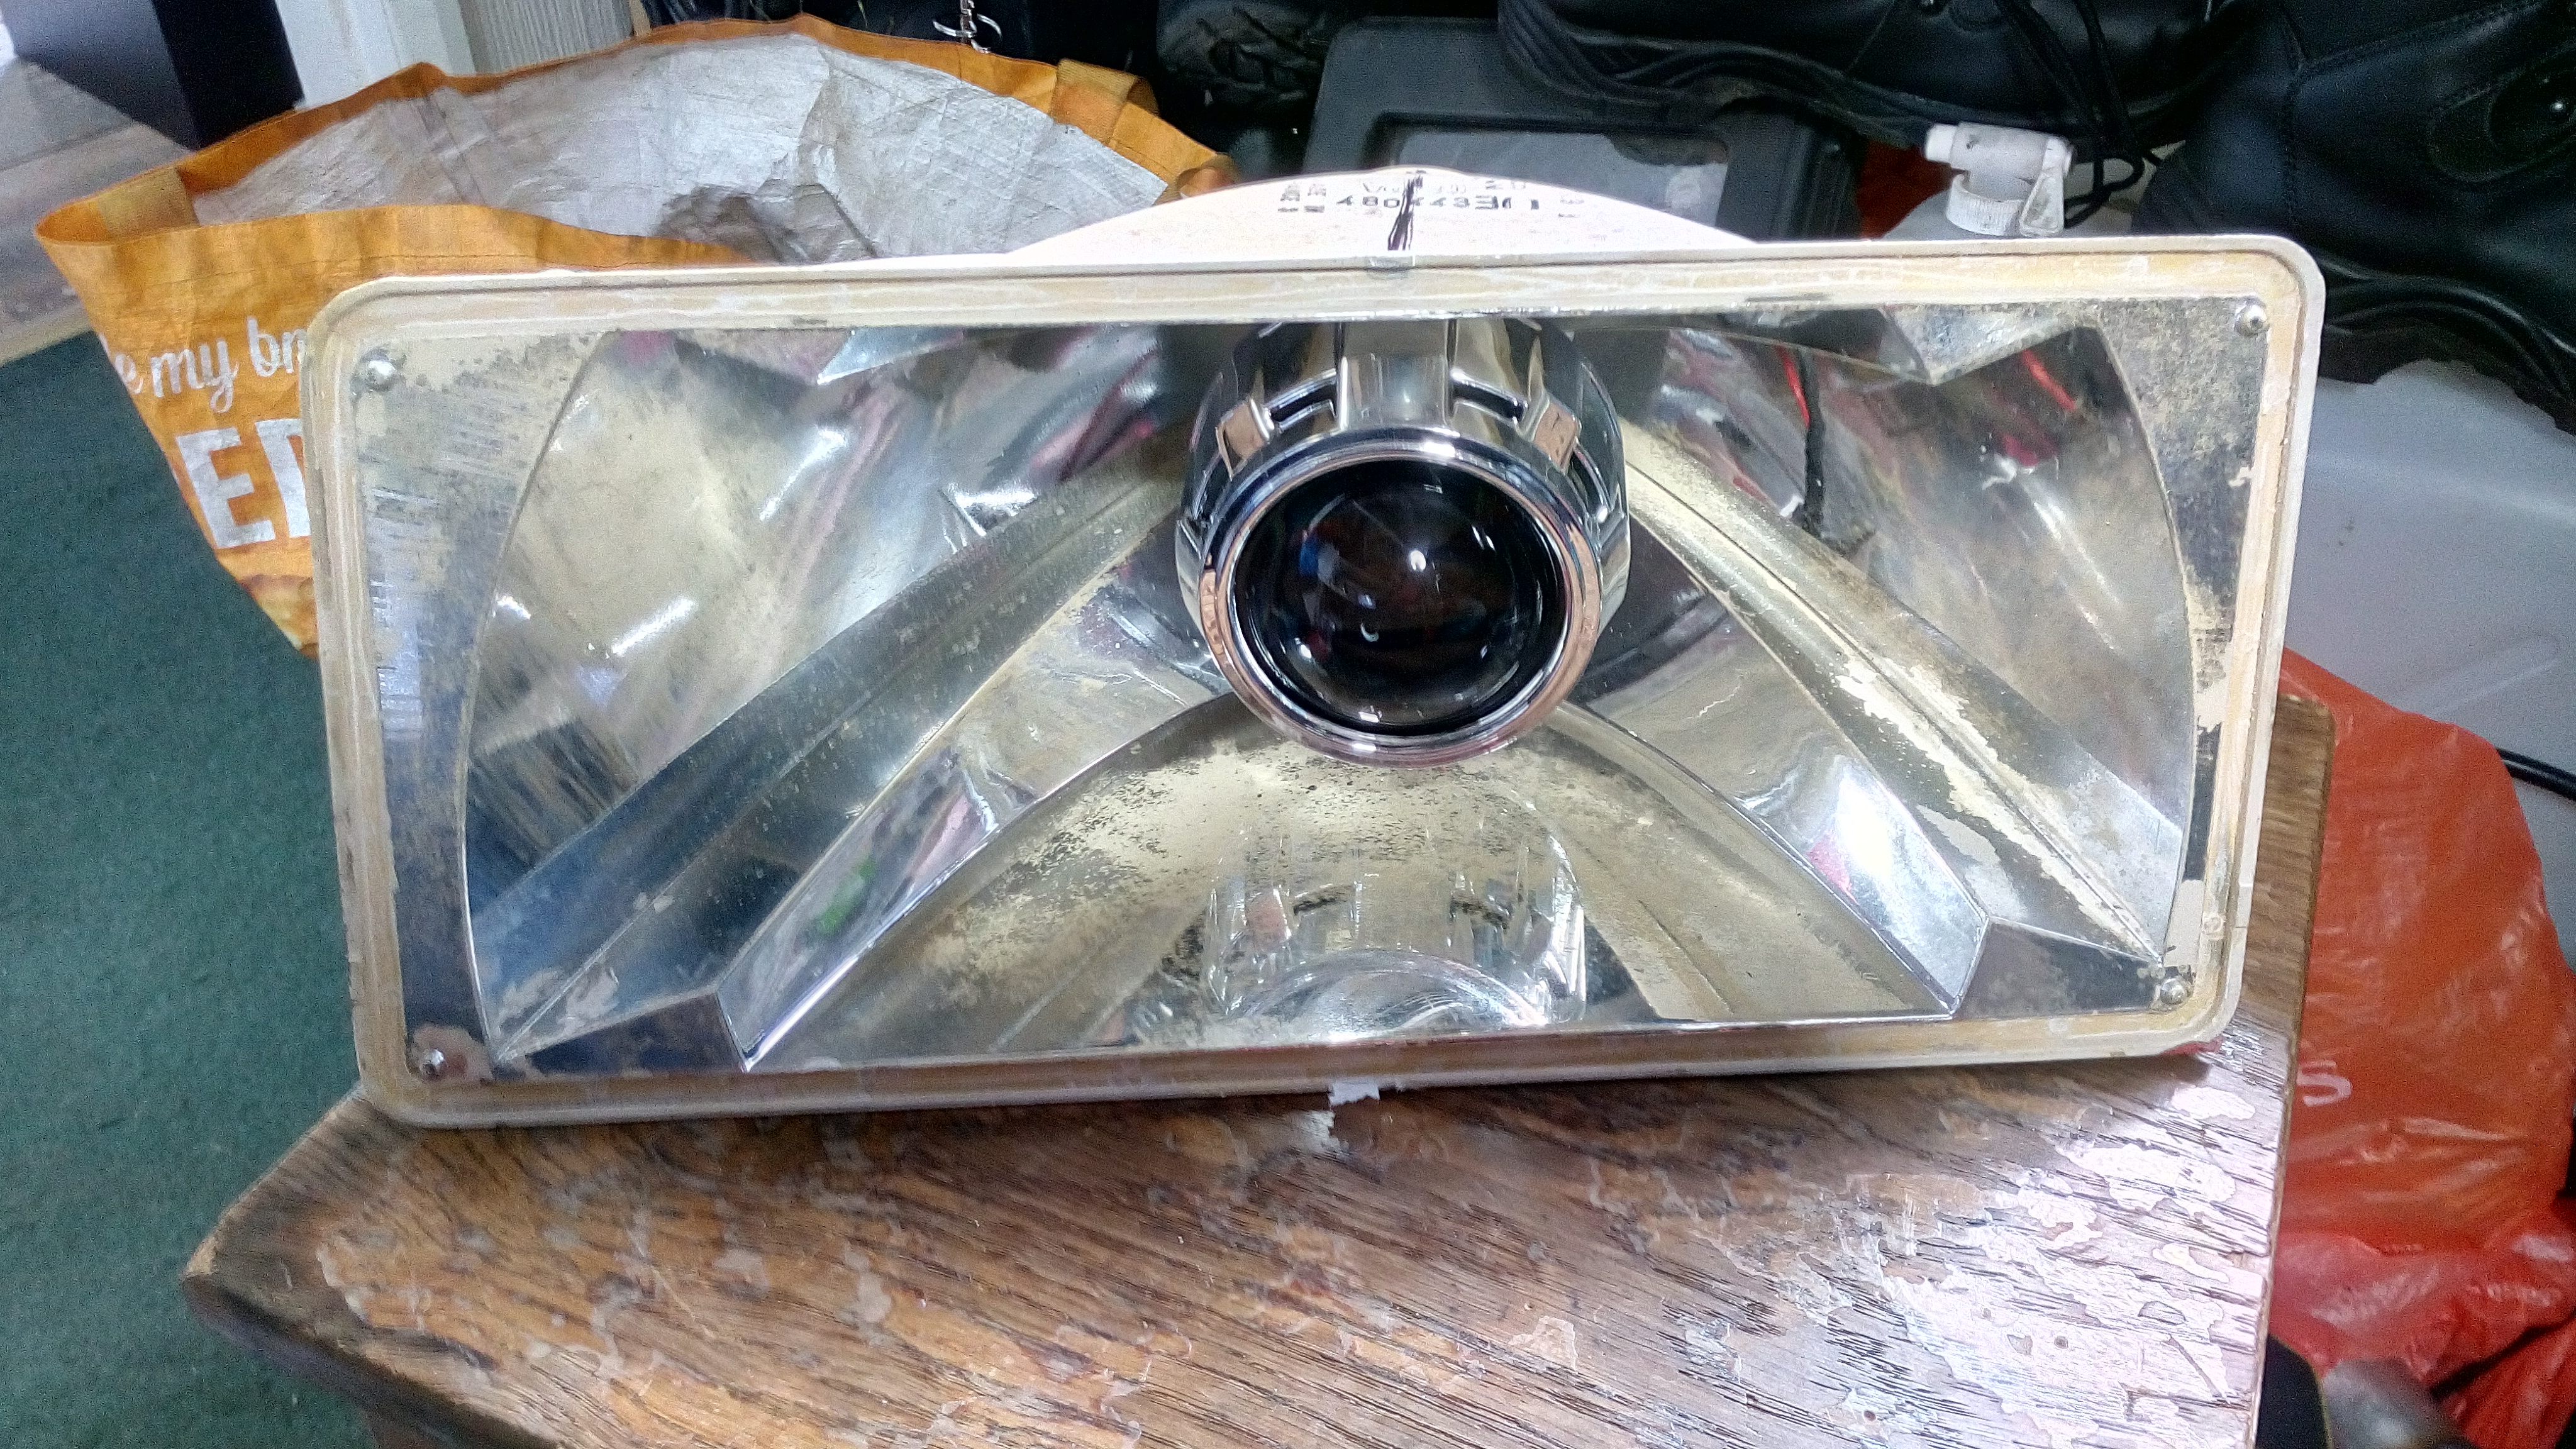
i have also managed to buy a brand new set of headlamps for the car. though i do still plan to go ahead with the original plans of fitting projector lenses to the original headlamps. i even have 2 spare headlamp glasses from a scrap yard in chesterfield (along with other BX bits i have as spare)

the original plan was to grind smooth an "0" into the headlamp glass, but to keep in with the square and angled styles i decided to make it am "[]".


the only job i need to do now is find a vacuum pump, vacuum accumulator, and some kind of vacuum switch to control the turbo actuator. oh and wire in the boost controller

i can take the car for MOT without a working turbo so long as it does not smoke too bad. a diesel of this age can pretty much get away with murder as far as soot/smoke production is at a test though.

oh i also need to fit the air filter box too should be easy.

i really should start looking at insurance quotes but i am reluctant to do so till i get paid. from experience, the more times you make a quote, the more expensive they become!
 
Hey guys, just an update on the car.

its looking pretty complete now! pretty much all electrics are working as they should. the wheel trims are on, all the lights are in and working, everything is looking good!

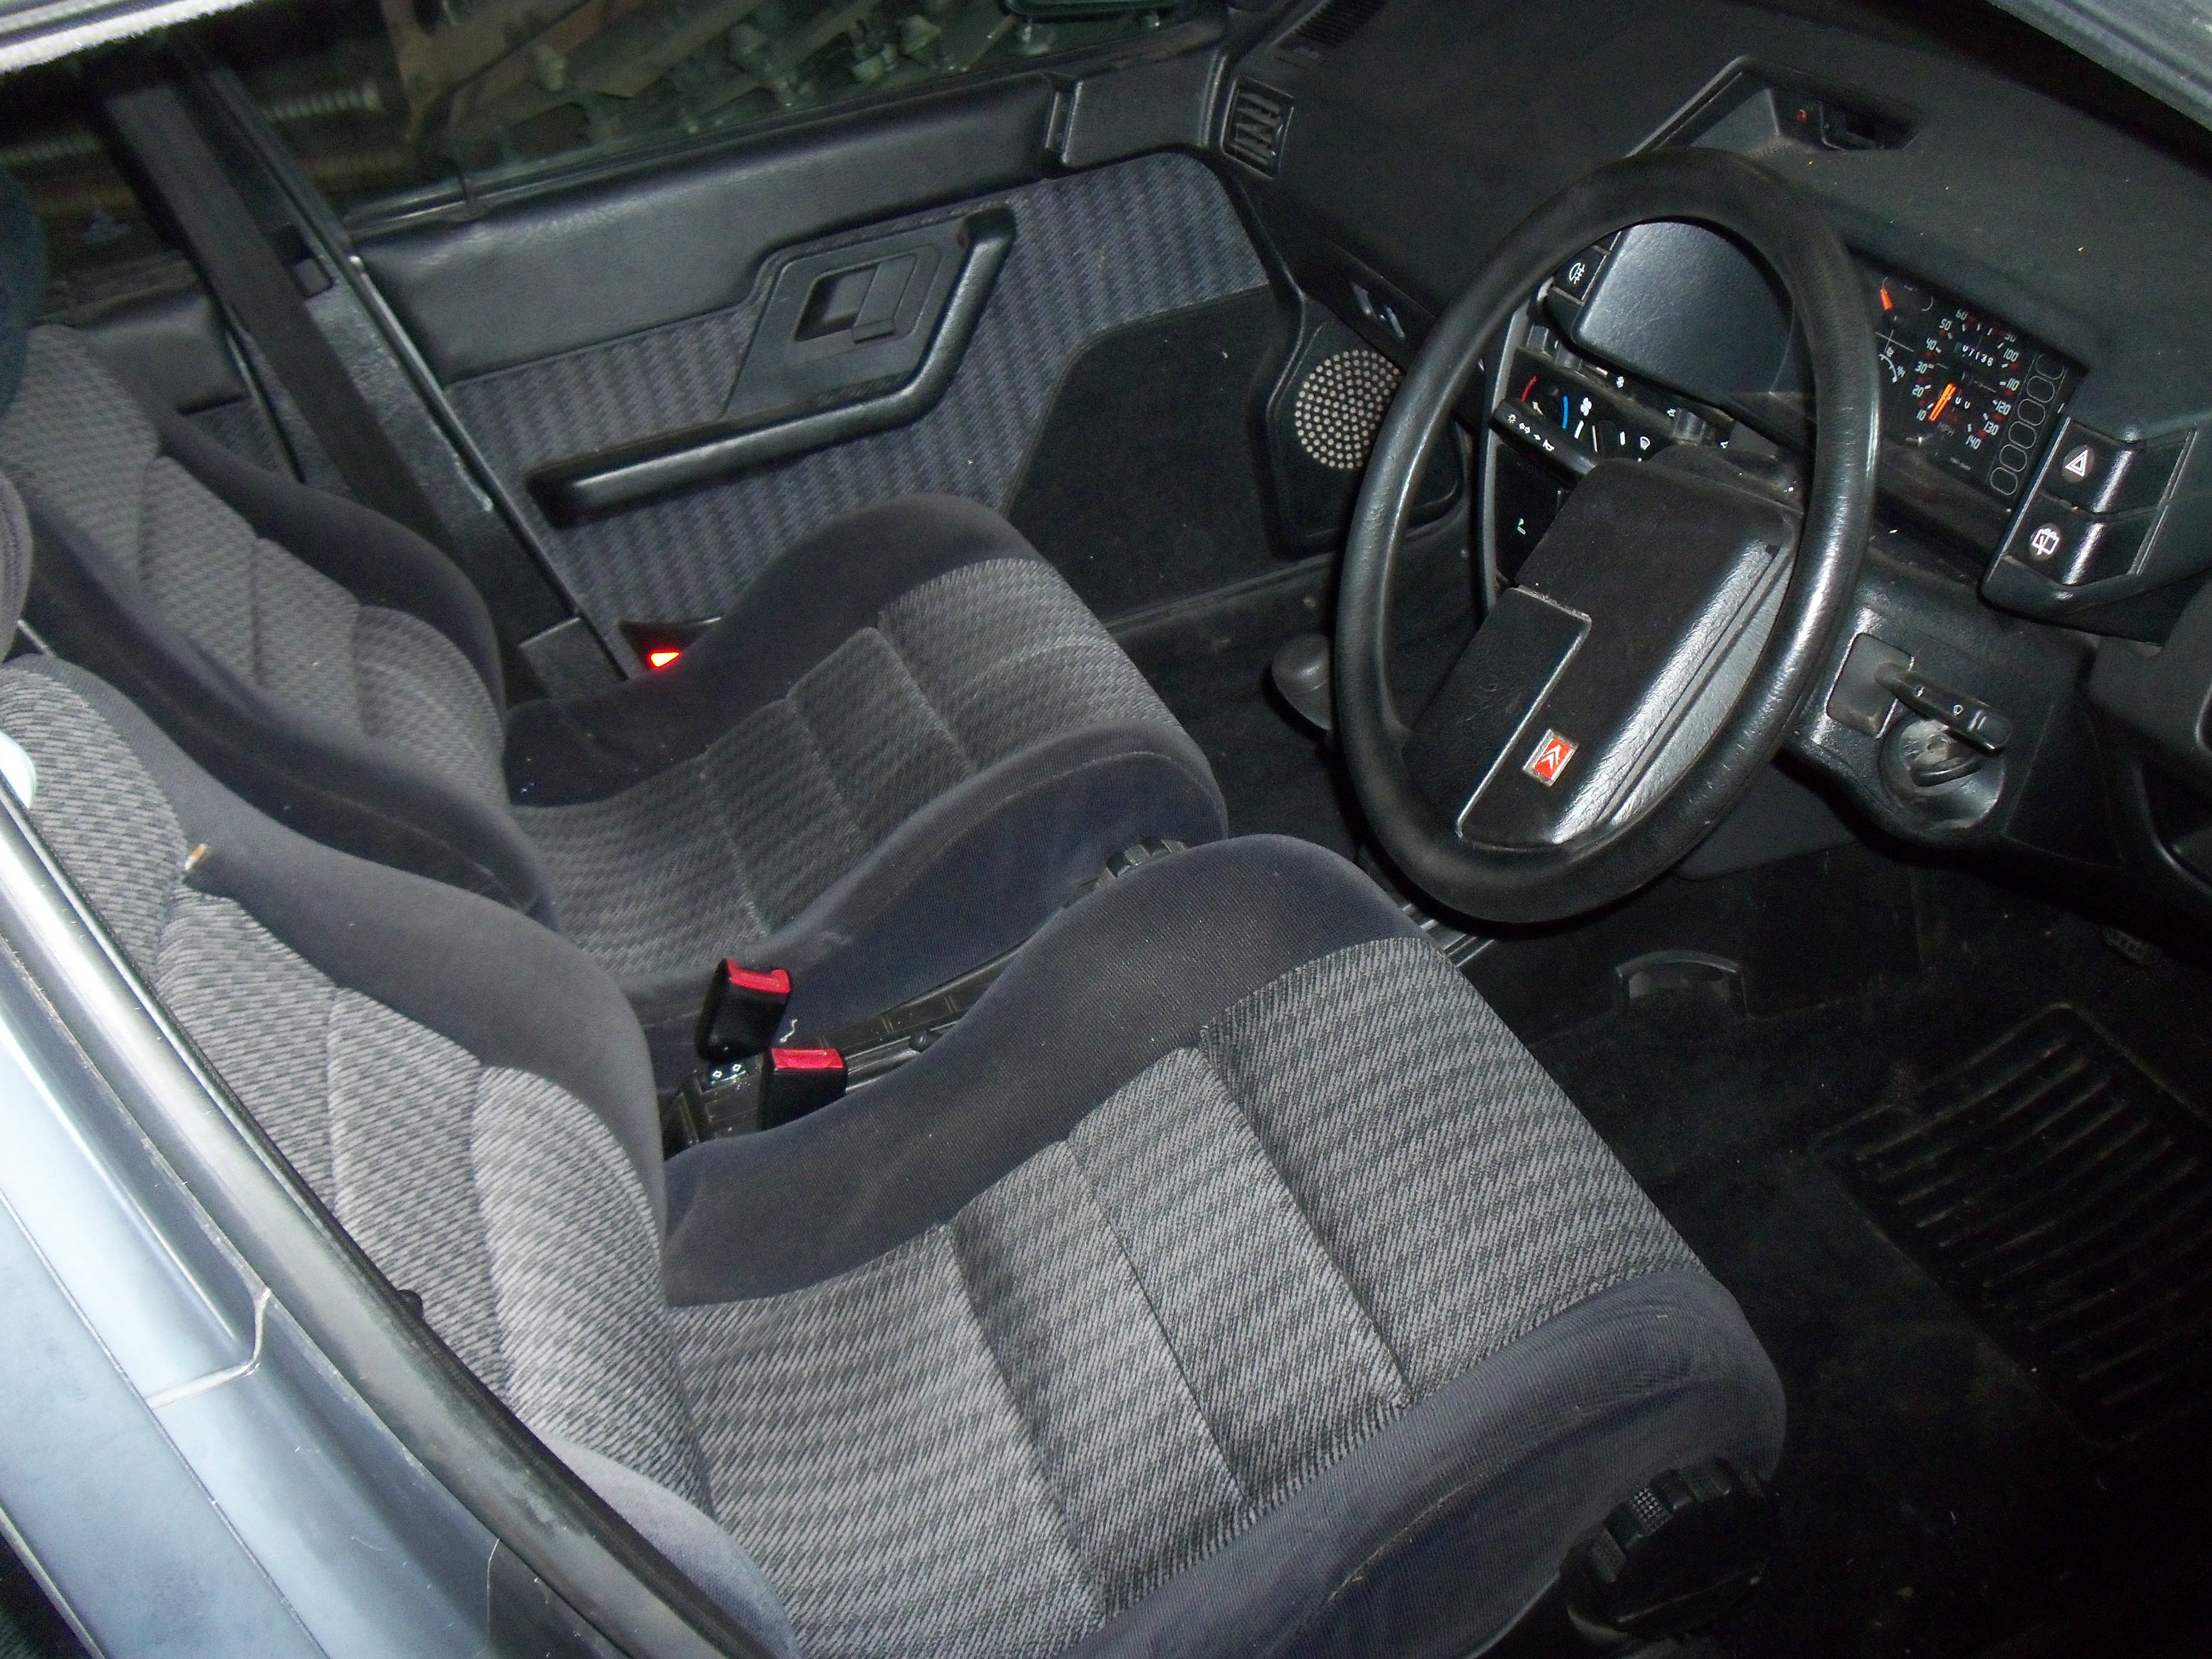
heres some pictures:


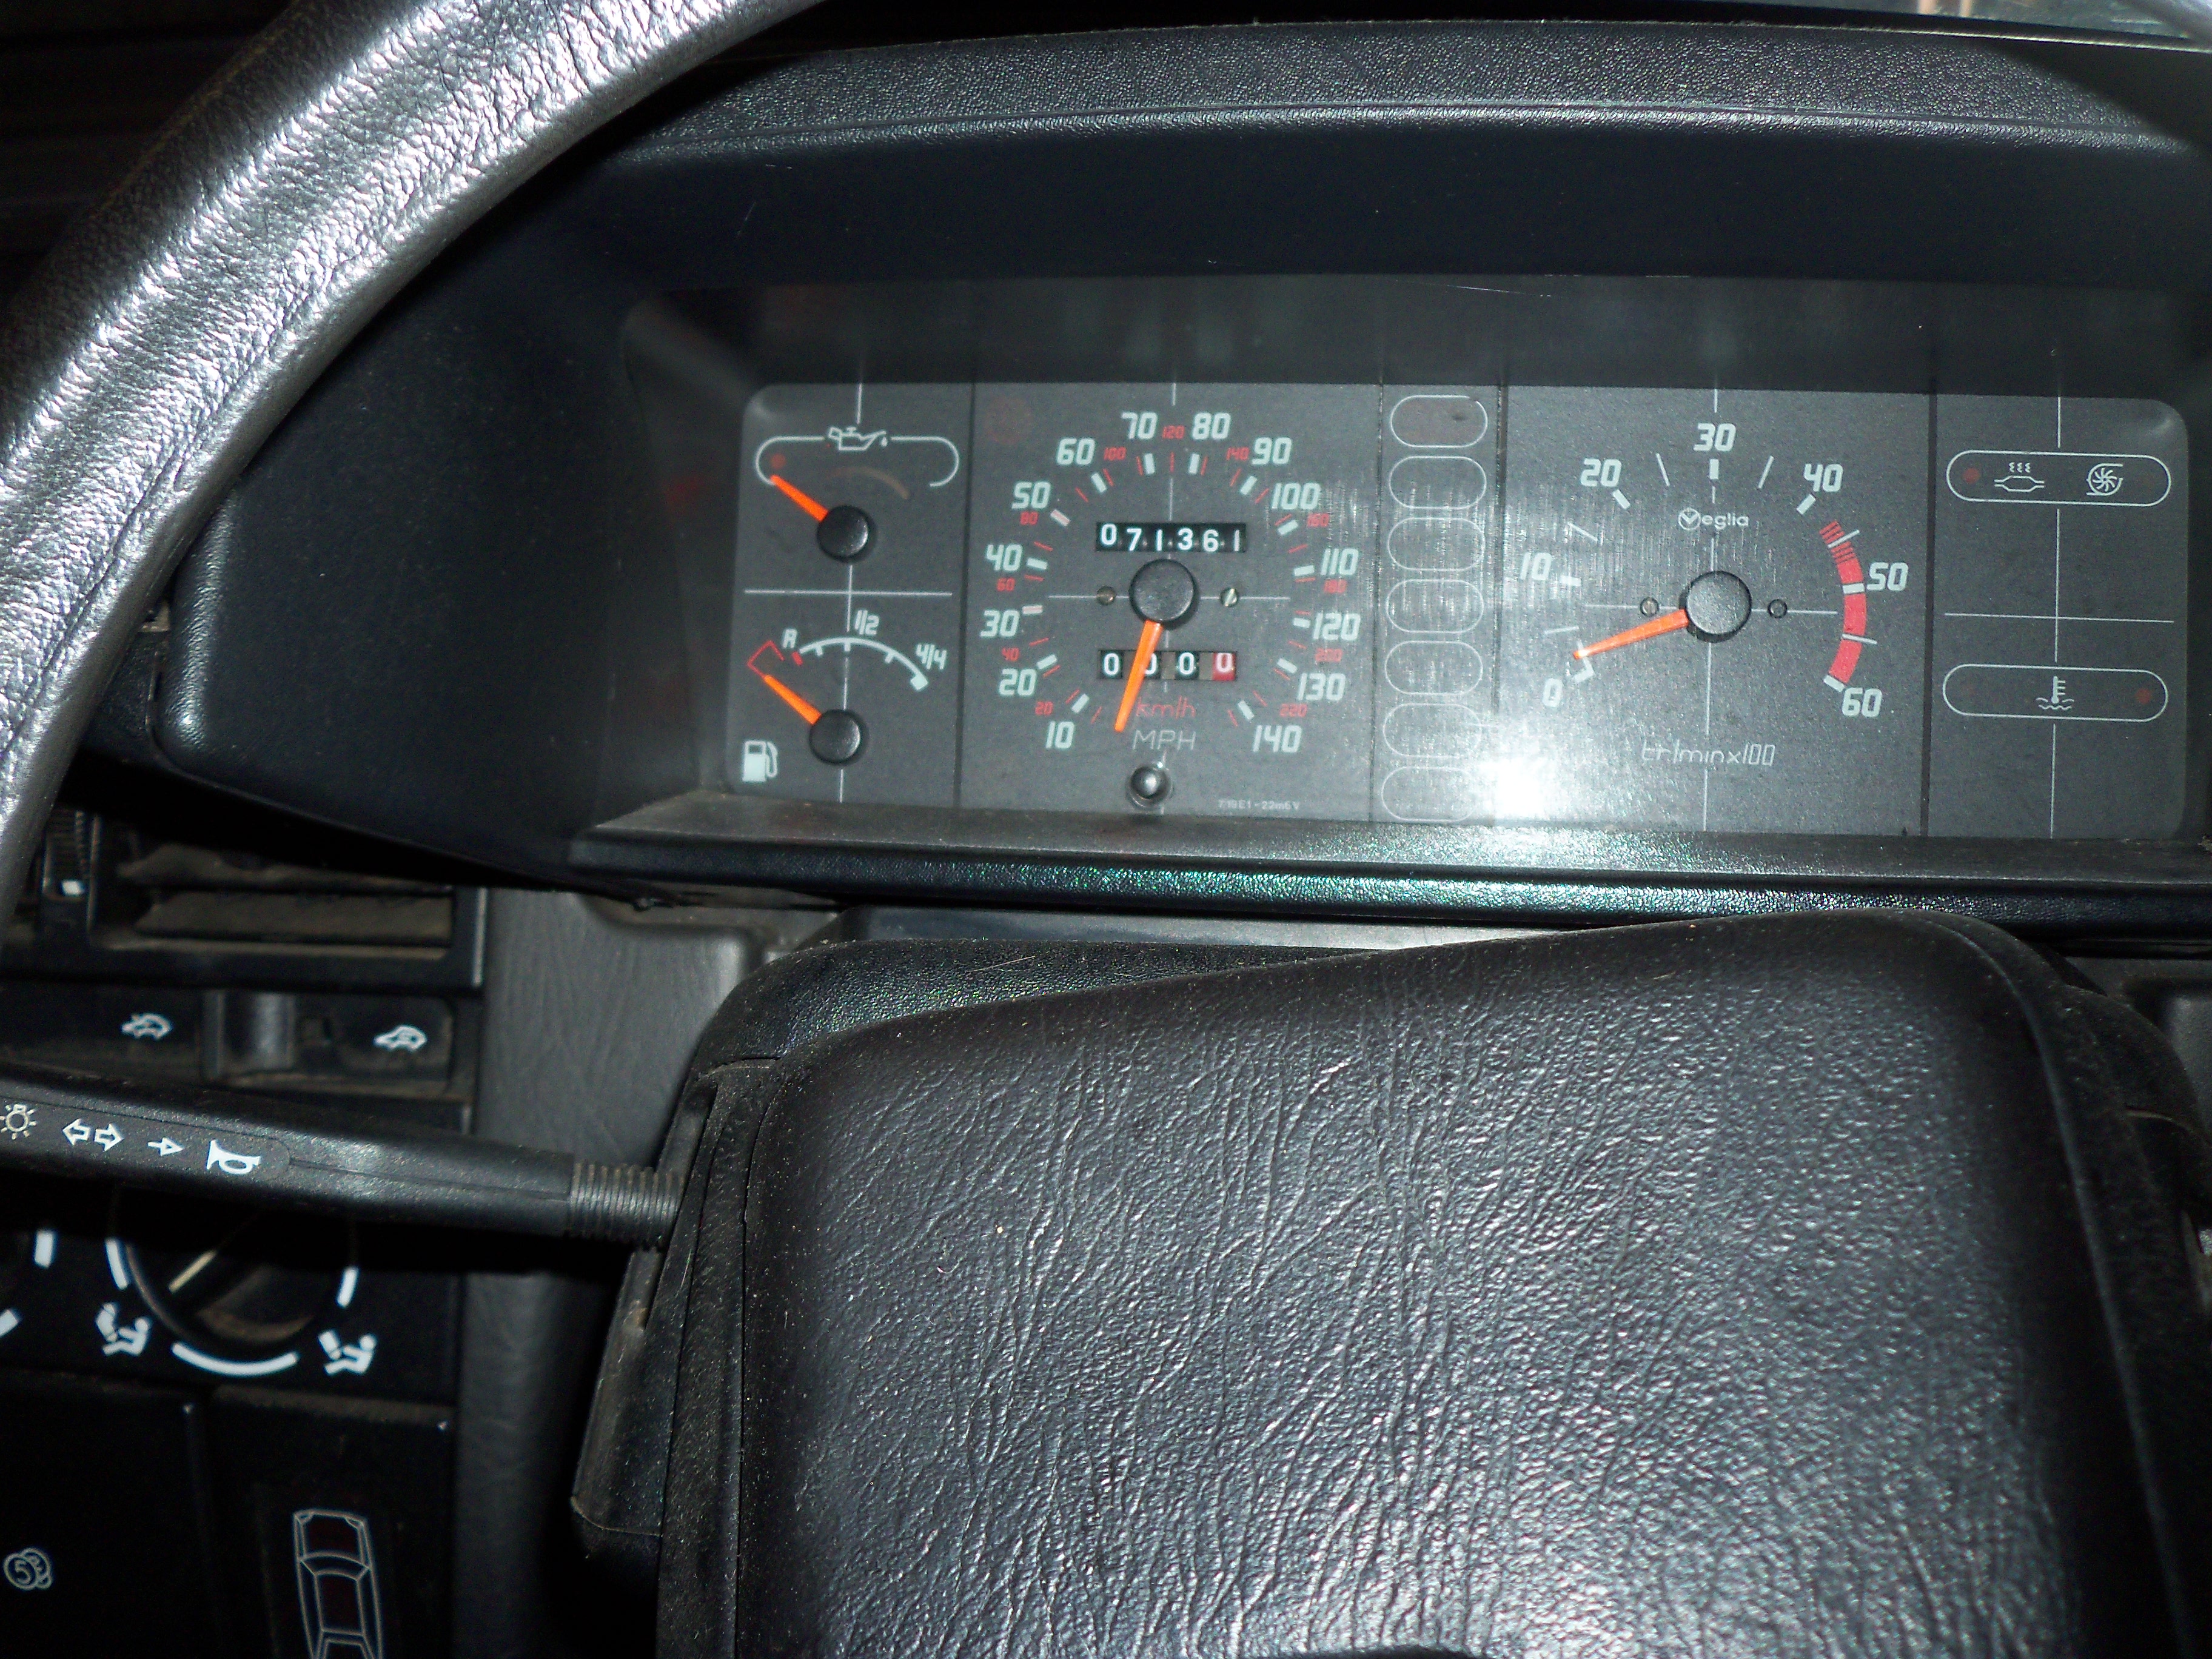
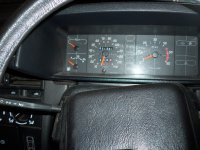
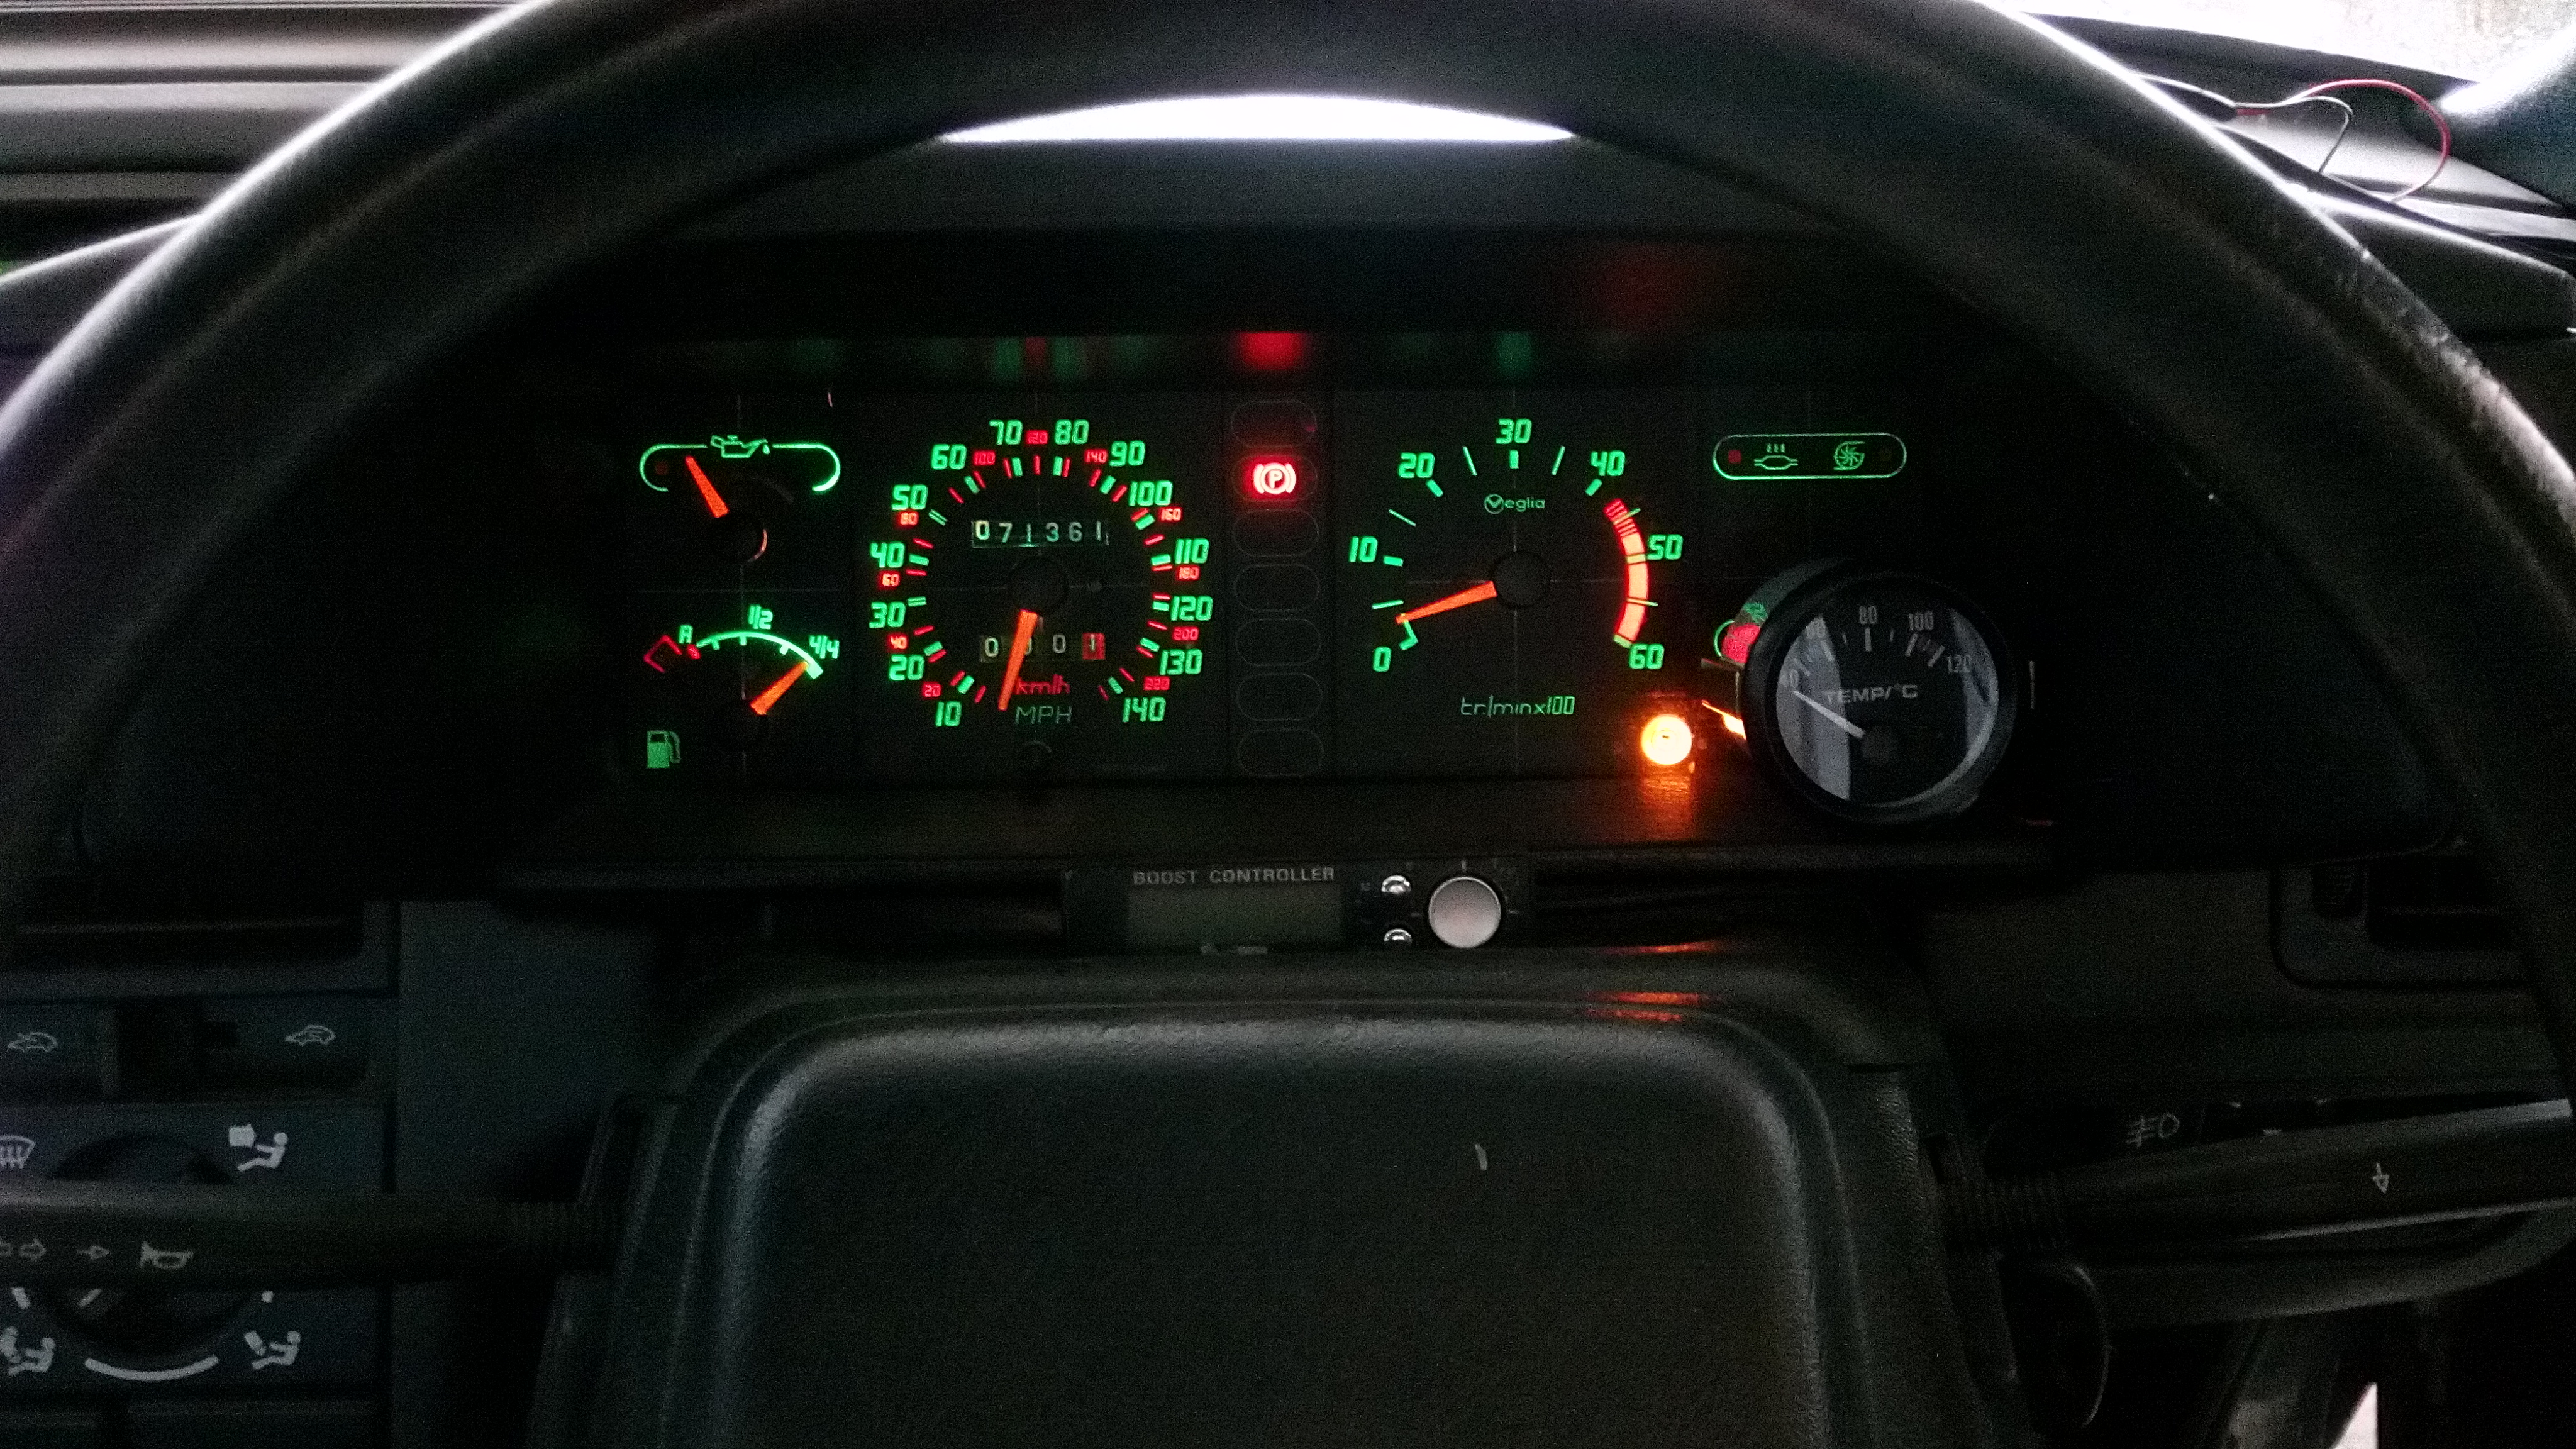
nice shot of the dash:


and again with the engine running.. rev counter is a little out i think but it soon works when you rev the engine.


note the ABS light on. i need to find out how to fix that.. no clue though!


just a few odds and ends now.

not sure what this plug goes to...


not sure what this does...


and need to fix this, but i could do with a replacement bit cut out of another car to weld in. i can be naughty for now and repair it using 2 sheets of metal and a nut and bolt and make a plate. ill rust paint it all first then brush some cavity wax over it. maybe for what it takes to clean off, underseal the underneath of it. should hold the rust off while i wait for a replacement bit to weld in.


still got that rust on the rear arch door shut seam.. i am kinda hesitant to fix it myself.. i'd rather a body shop do it. (Actually, panda1408 think its something you could do?

(i prised it all open to remove the flakey rust and treat it all to prevent it getting worse)


looking at insurance quotes. had one company (Flux direct) quote me £138.. however they think im a home owner, even though i selected "NO" on the price comparison website.. sigh. the rest of the quotes were £500+ most expensive being £17,000.. like who would pay that? why even quote that haha!

anyway i hope that the next pictures will be the car at the MOT place! who knows! so long as it does not smoke, it should pass with the turbo not actuating. (and on a diesel this old.. it has to smoke... a lot to fail haha)

its been a long journey.. and its almost at its end.... but its only the beginning!
 
Last edited:
a few days ago i got insurance on this car for £230!

this morning i did something naughty. i went in to work.. looked at the car.. walked down the street to a garage and asked them if i could MOT the car.. they said bring it down and we will do it now.

this car now has a MOT. this car is also now TAXed from the 1st of August. on the 1st of august i will drive the car home for the first time since i have had it.

happy does not cut it.

the car has also had a mini valet done to it so now it looks nice too.

sadly i was cut for time to get the car back to work before 5 so i never took any after pictures but these are the pictures of the car before it went in at the MOT place.


man.. people just say that the ride in these is nice. i can not get it over to you in words, just telling you how good it feels to drive.. the road feel is lovely and bumps are.. what bumps. feels so nice.
 
hey guys, well since the 2nd of the month i have had the car finally at home.

i have used it for a few jobs so far like collecting some new internal doors for the house and just transport. Very comfy car! the ride is like nothing i have felt. "very impressed" does not cut it!

so the jobs i have been doing on it mostly was getting the electric windows winding quick and a bonus unintentional fix, getting the central locking (on the key) working.

here are some pictures:

fixing the doors went a little something like this...

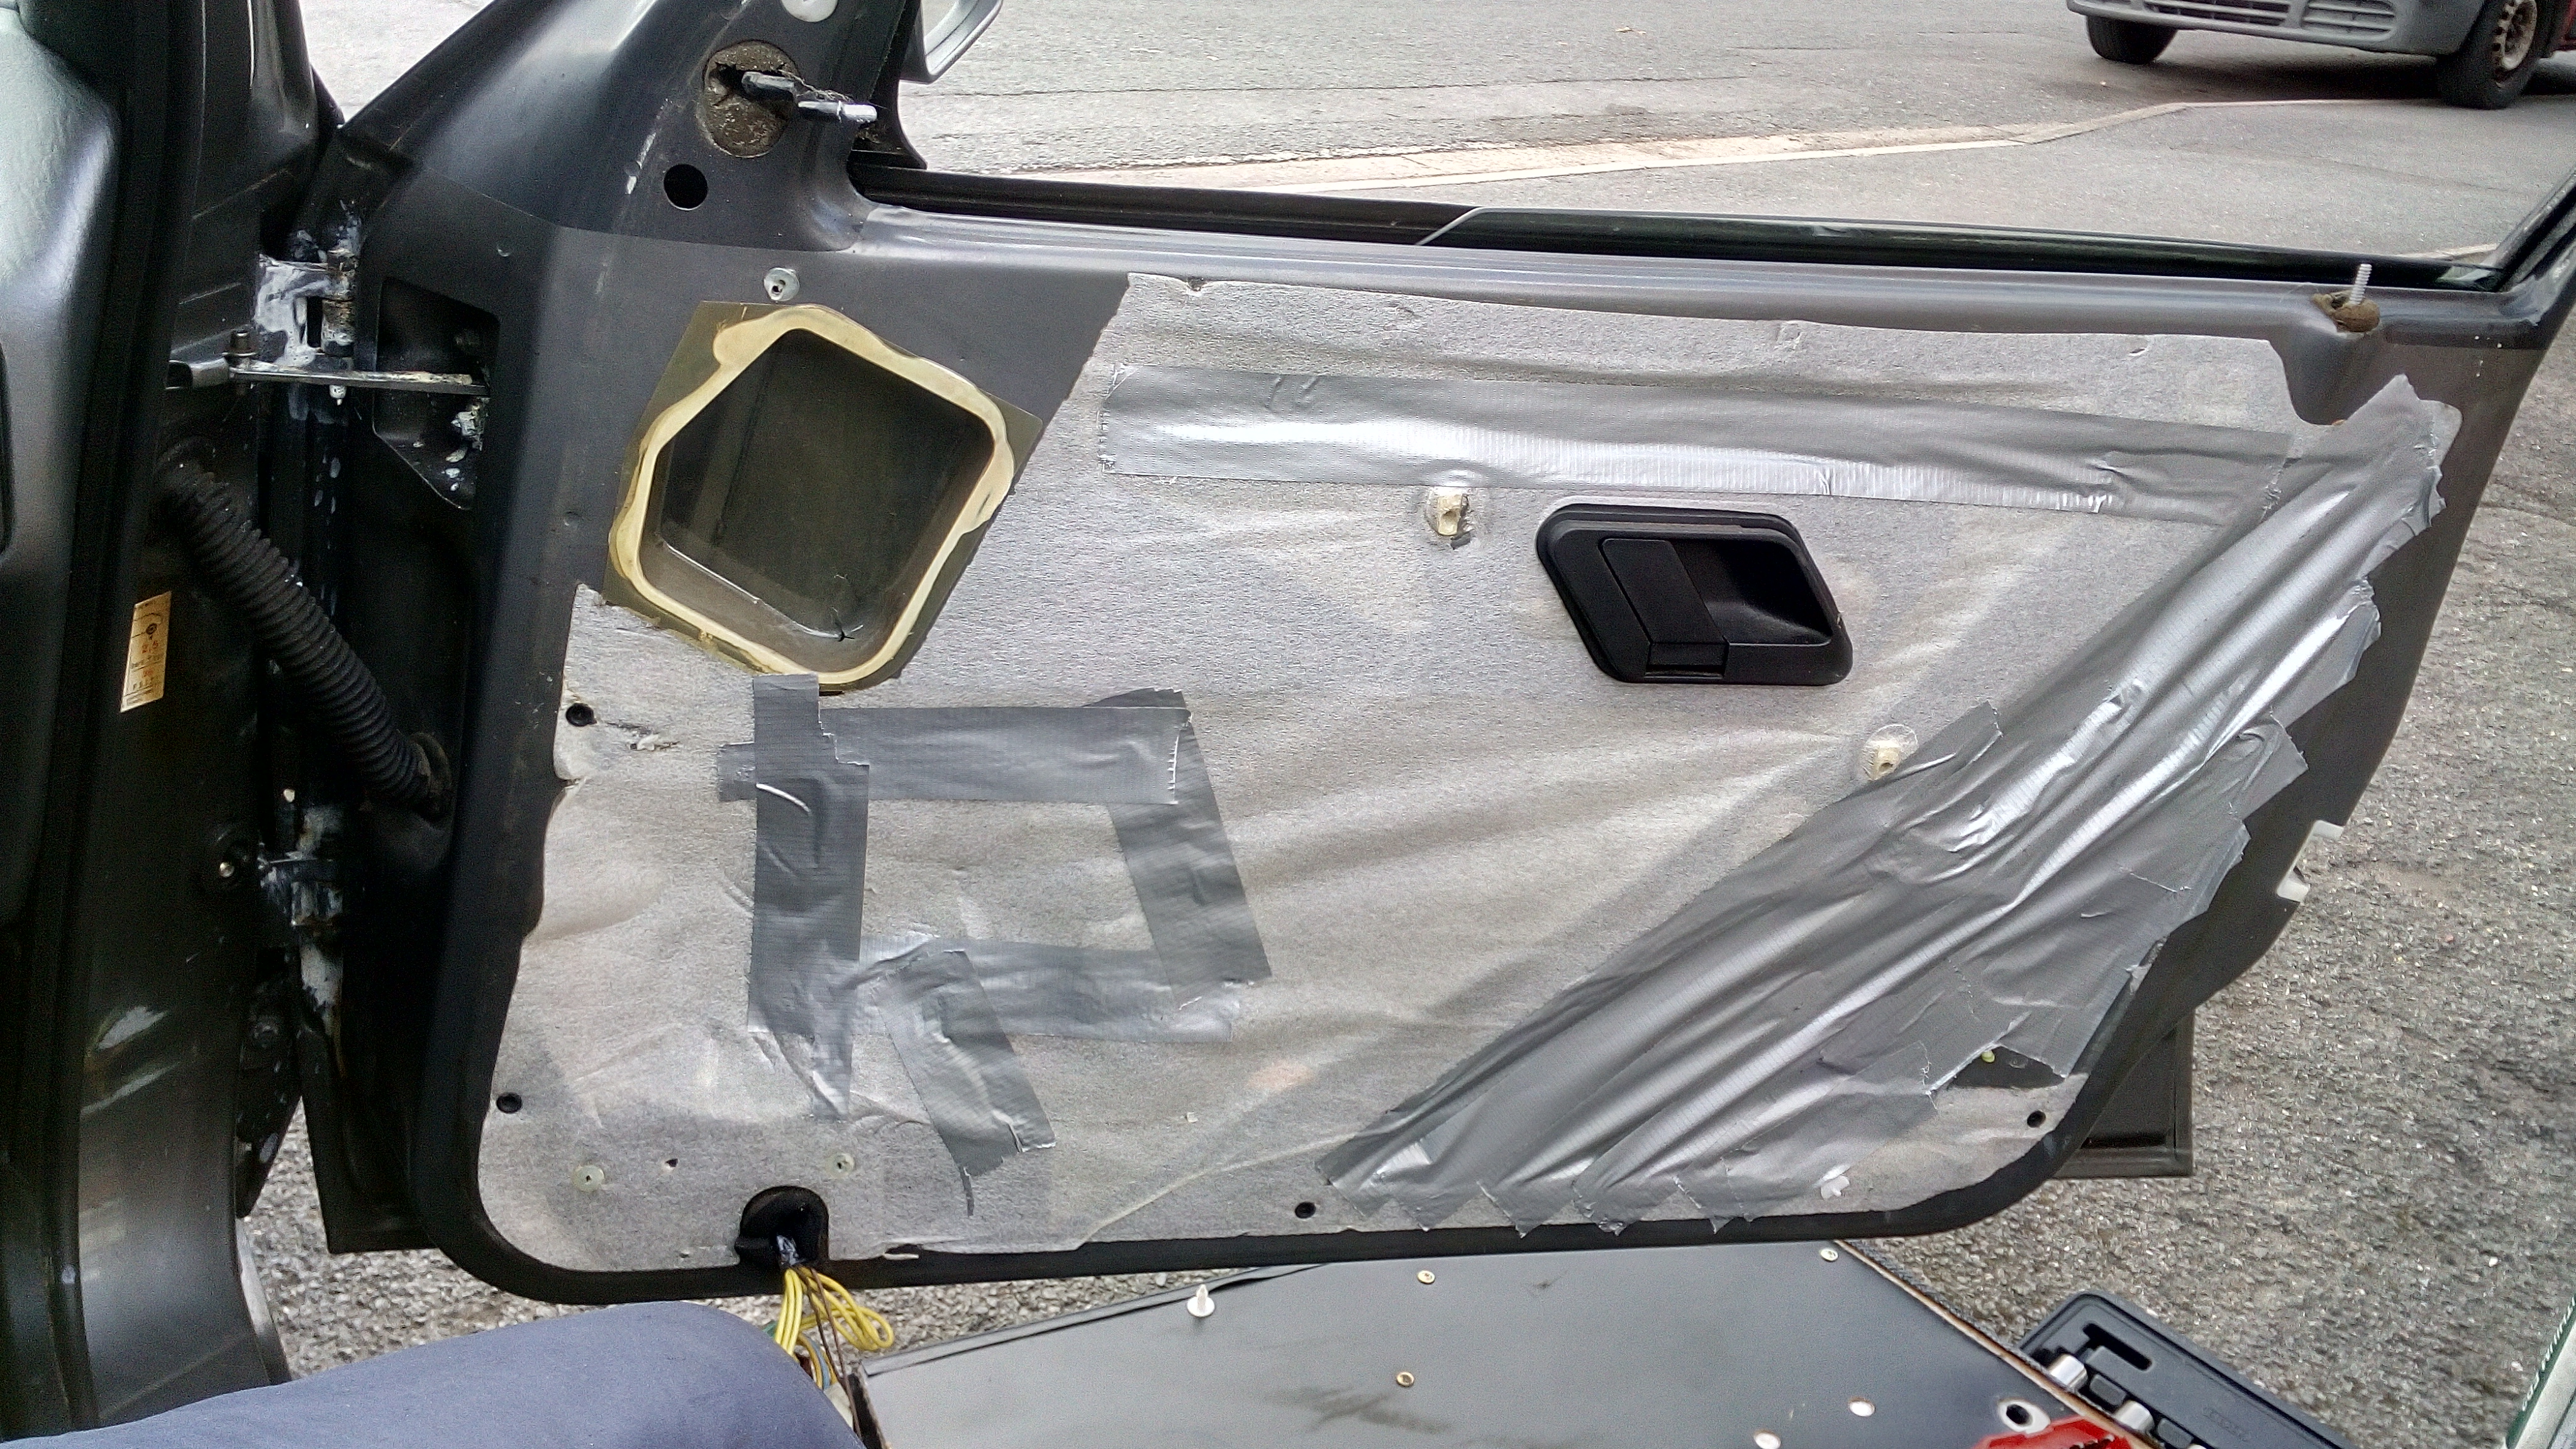
some one has been in the doors before me...


good guy speaker collecting screws that must have vibrated out over time:


after greasing up all the window rollers, runners and gears.. then unintentionally fixing the central locking (which i didnt know would even work without the remote central locking fob receiver box thingy)
i stuck all of the membrane together using tape:


upon replacing bulbs in the dash i found out that i have a 4x4 light haha


i also took out the center heater controls to replace the bulbs that had ALLLL blown. even the cigarette lighter socket now lights up! :D


cleaned up and attempted repair of the blower fan, but its not a fault of the PCB.


i also did all the work on the other door but only snapped a picture of it when i finished the work oops


and finishing the post with a nice high ISO picture of my car in the lowest of the low position.


on and theres a video somewhere of it too!

here you go, a nice walkthrough of fixing the slow electric windows!

 
well its been a while, and faults have surfaced!

it eats belts! the belt that drives the LHM hydraulic pump. as i have been using the car i can only assume that muck in the system has found its way into some of the pin hole openings of a thing called the flow distribution valve. its known that these can get blocked and when they do it can cause the pump to become hard to turn... which is what i am getting at speed. turning the pump by hand is easy!

i have got in contact with an ebay seller who is breaking a citroen BX.. i hope that he has the bits i am after.


anyway in between almost constantly tightening the belt up i managed to take the car out to get these nice pictures of it!


how low can you go?


thats all for now!
 
Back
Top