100_1024.JPG

John Dragon Man's Citroen BX Diesel Estate

Introduction

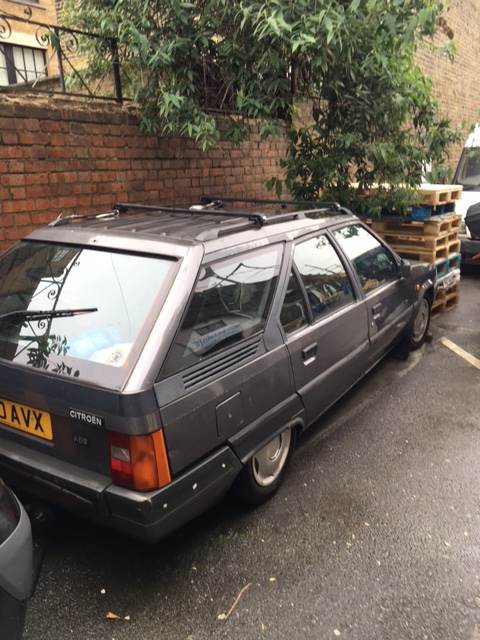
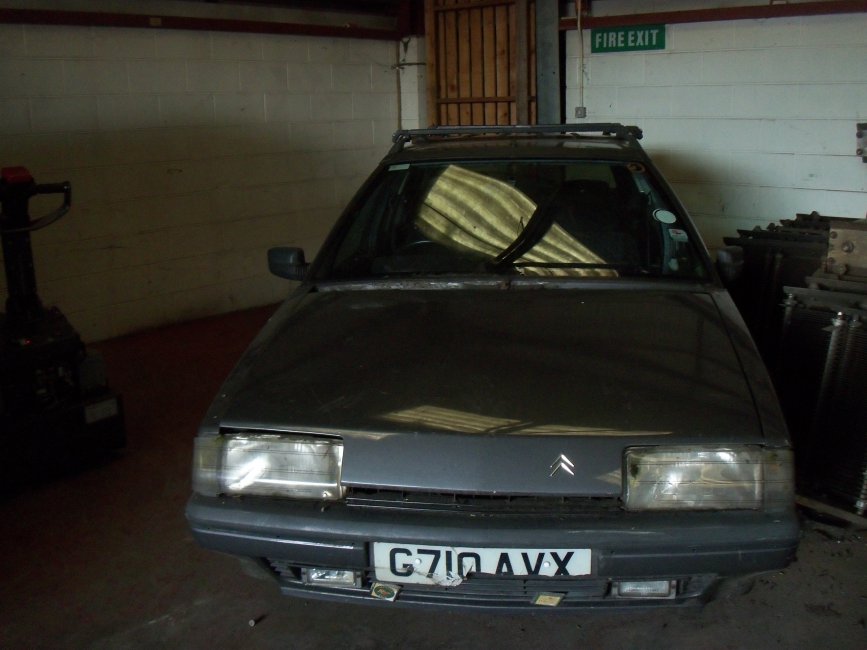
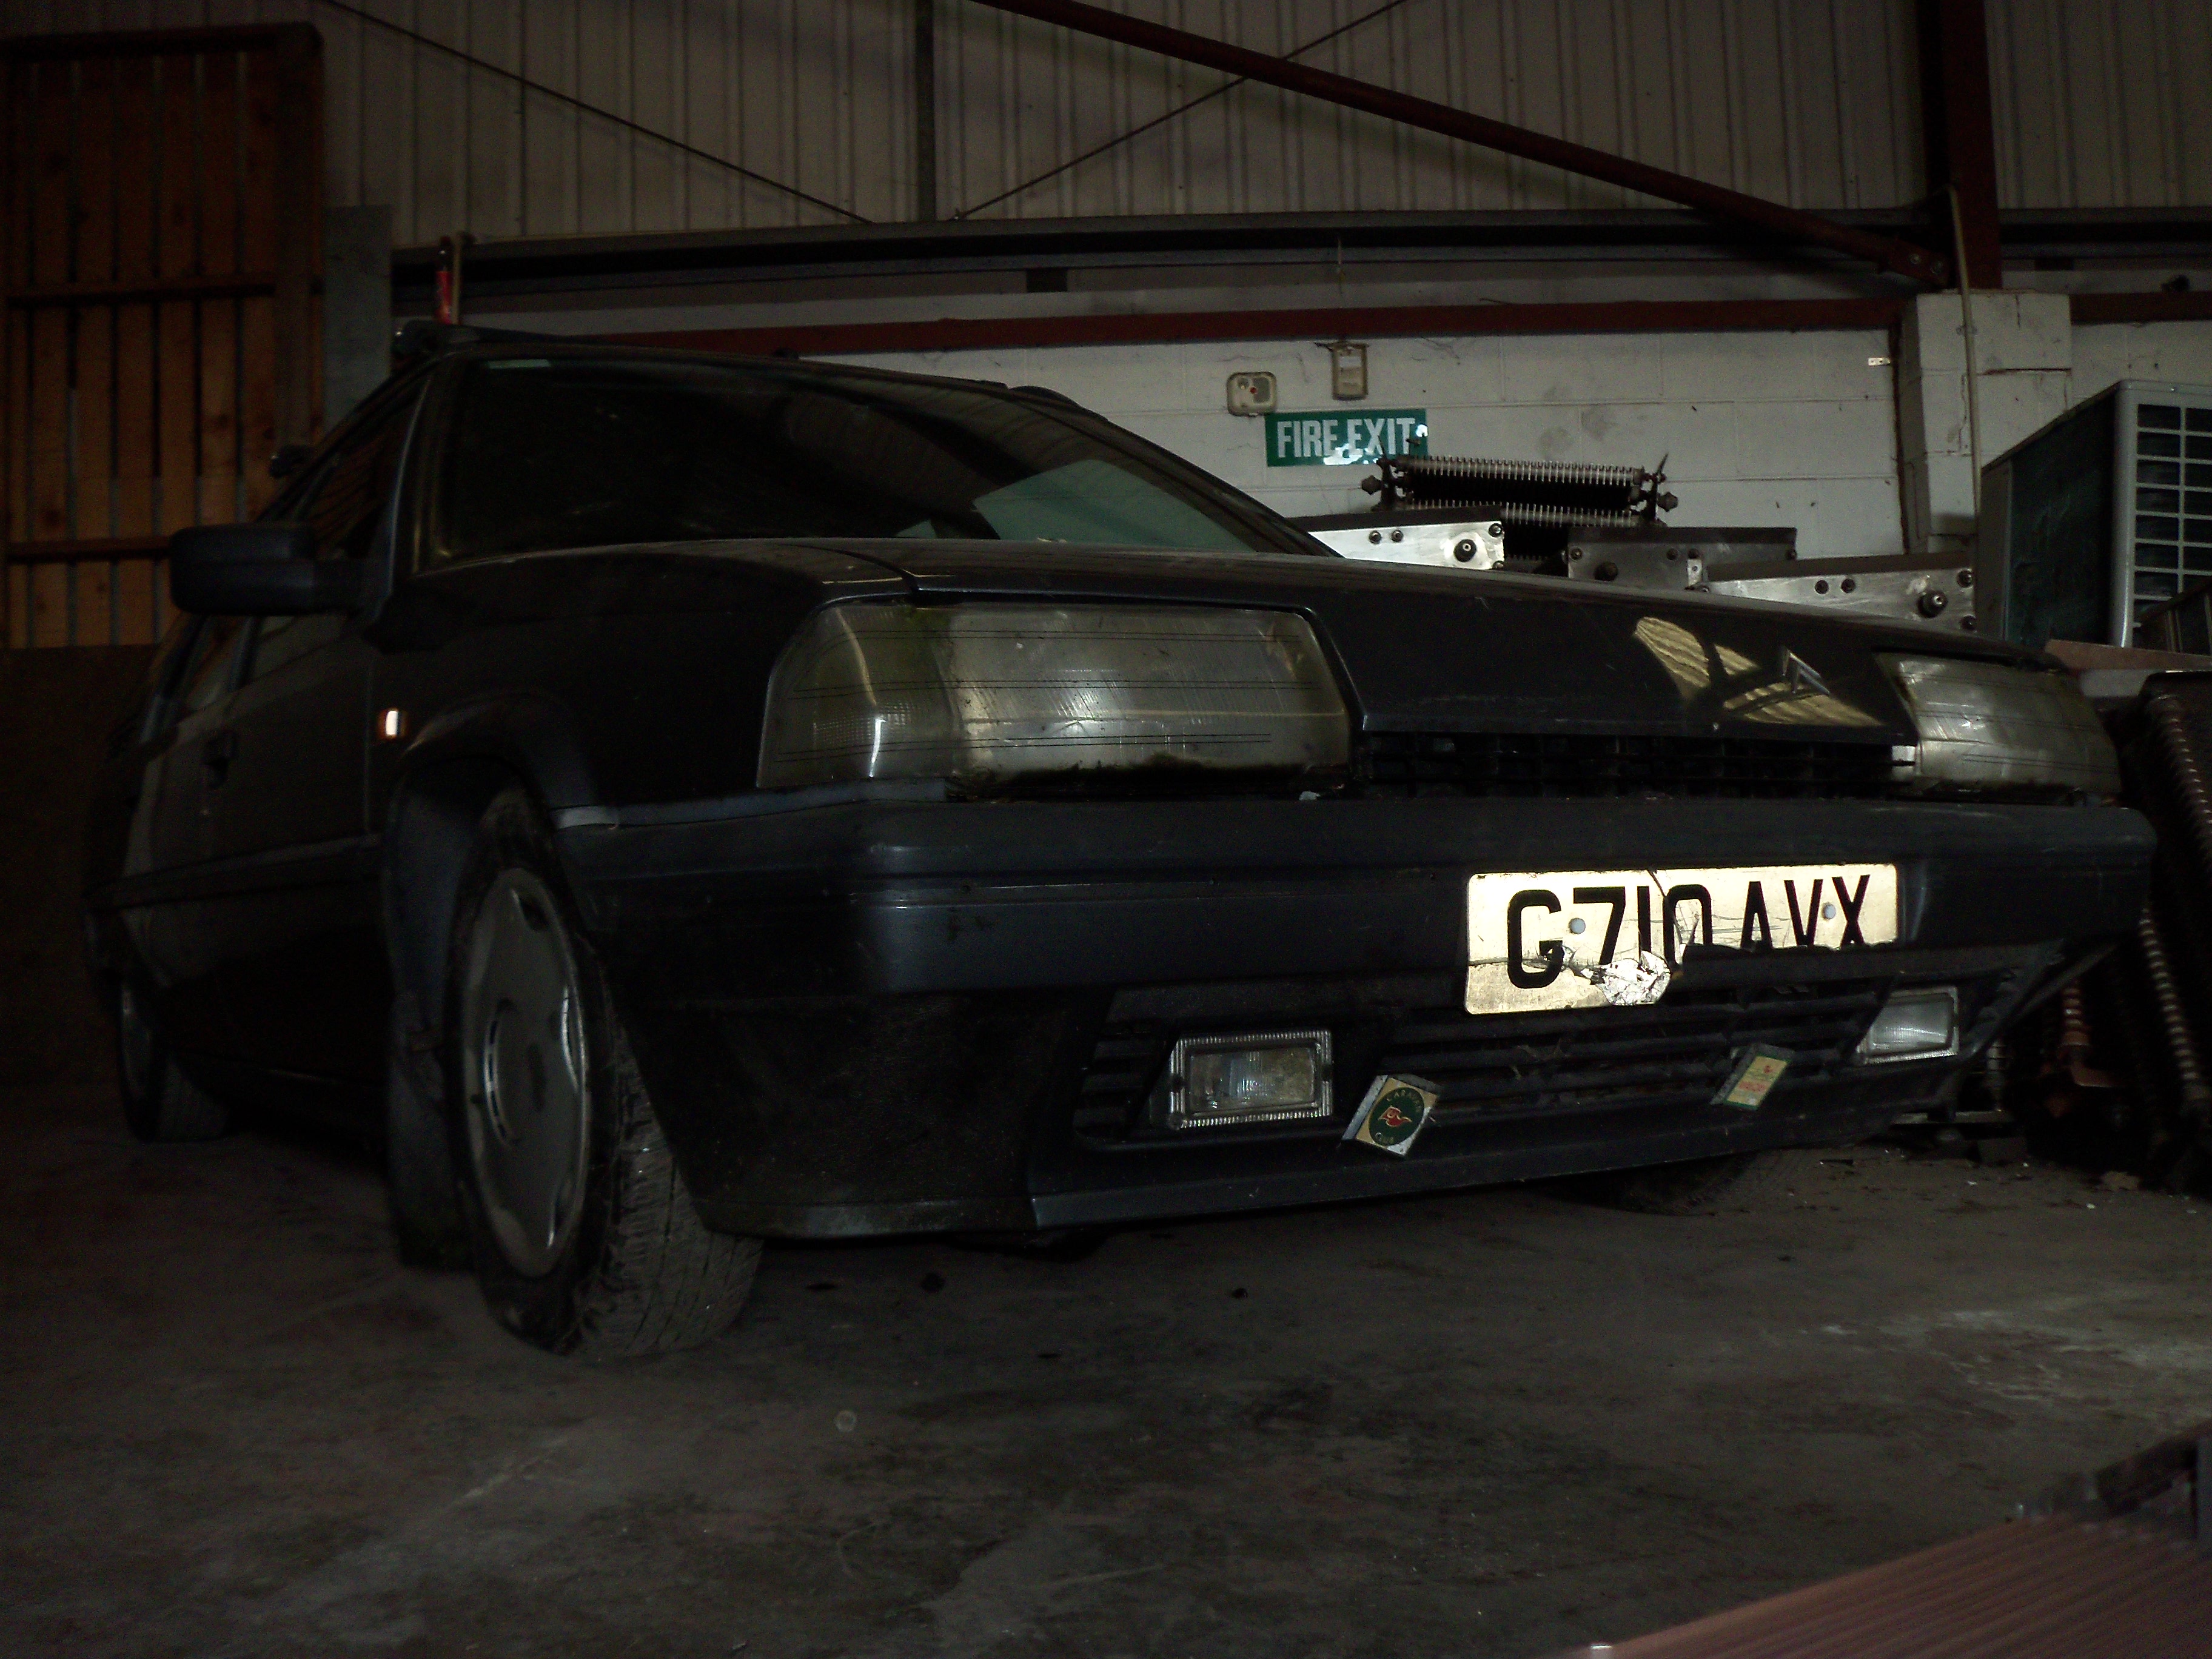
Well here I am, now an owner of a BX Diesel Estate in Sliver!

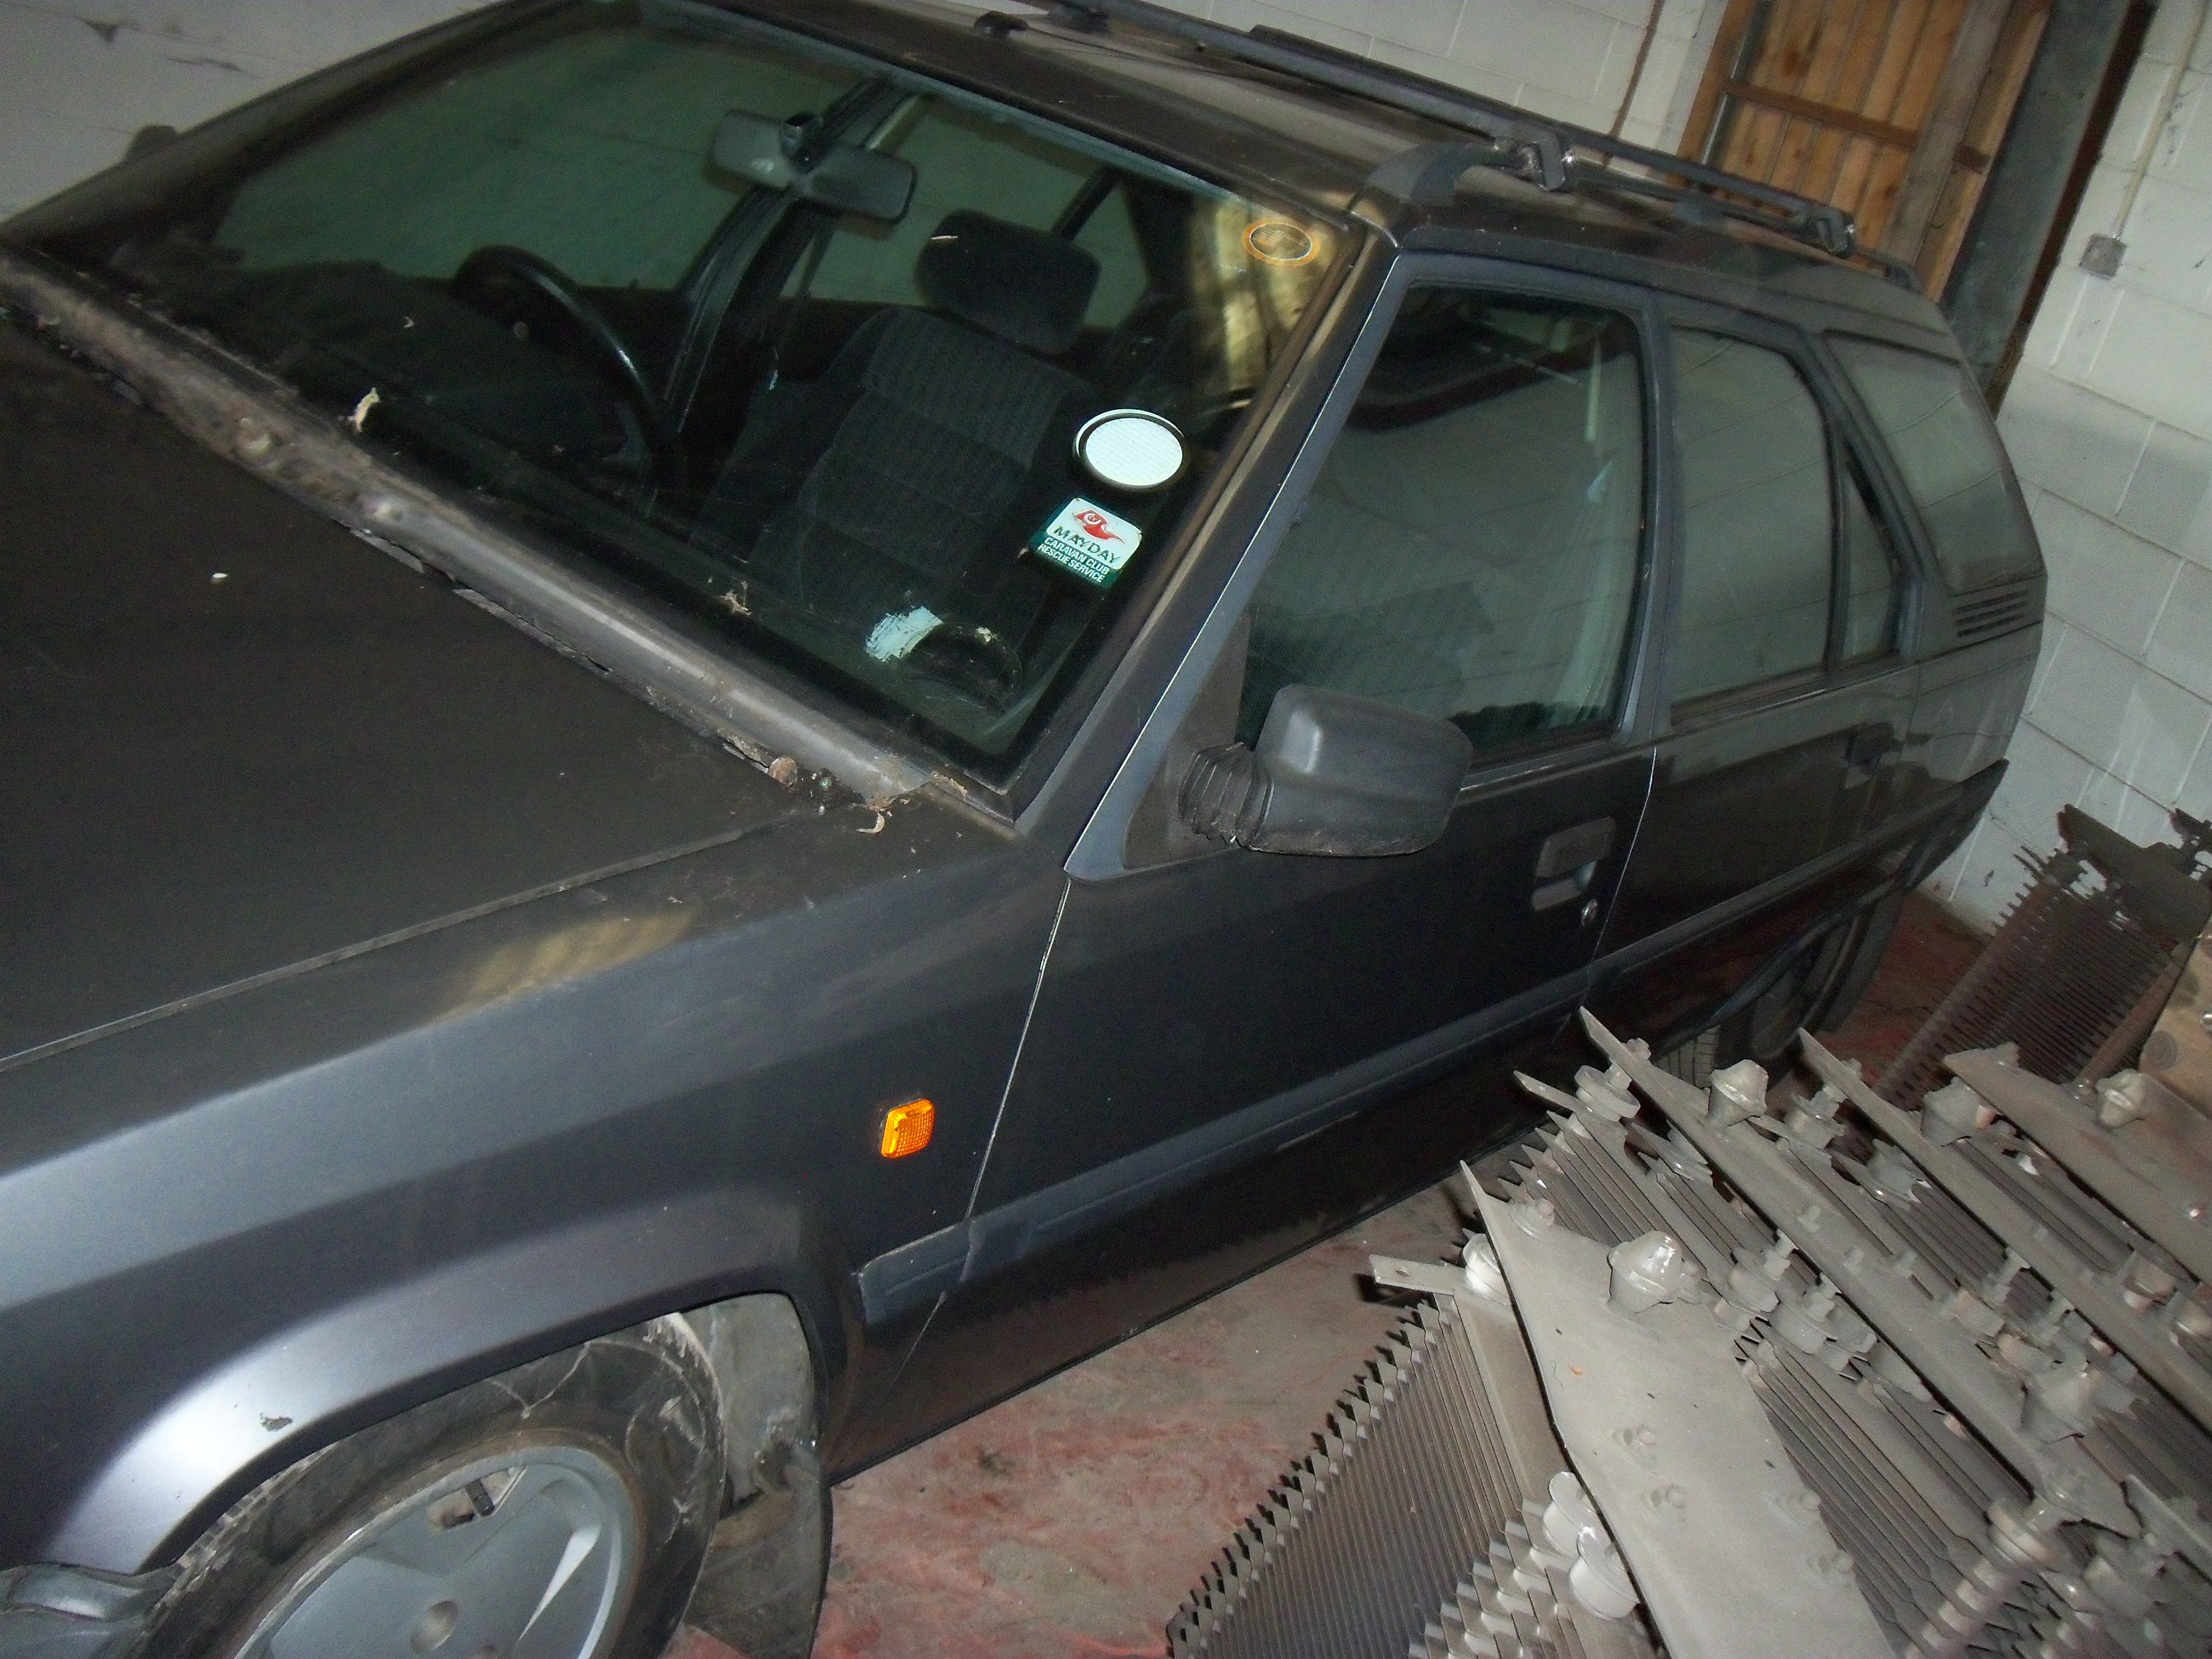
so yesterday (the 20th of June 16) i took a trip down to London with a car transporter and picked up this nice little... (umm.. a little more larger than i am use to) estate car!

i am pretty happy with it, the overall cost was £400 for the car and around £350 to get it delivered here to Derby (yes i know i could have got it cheaper now :x ).

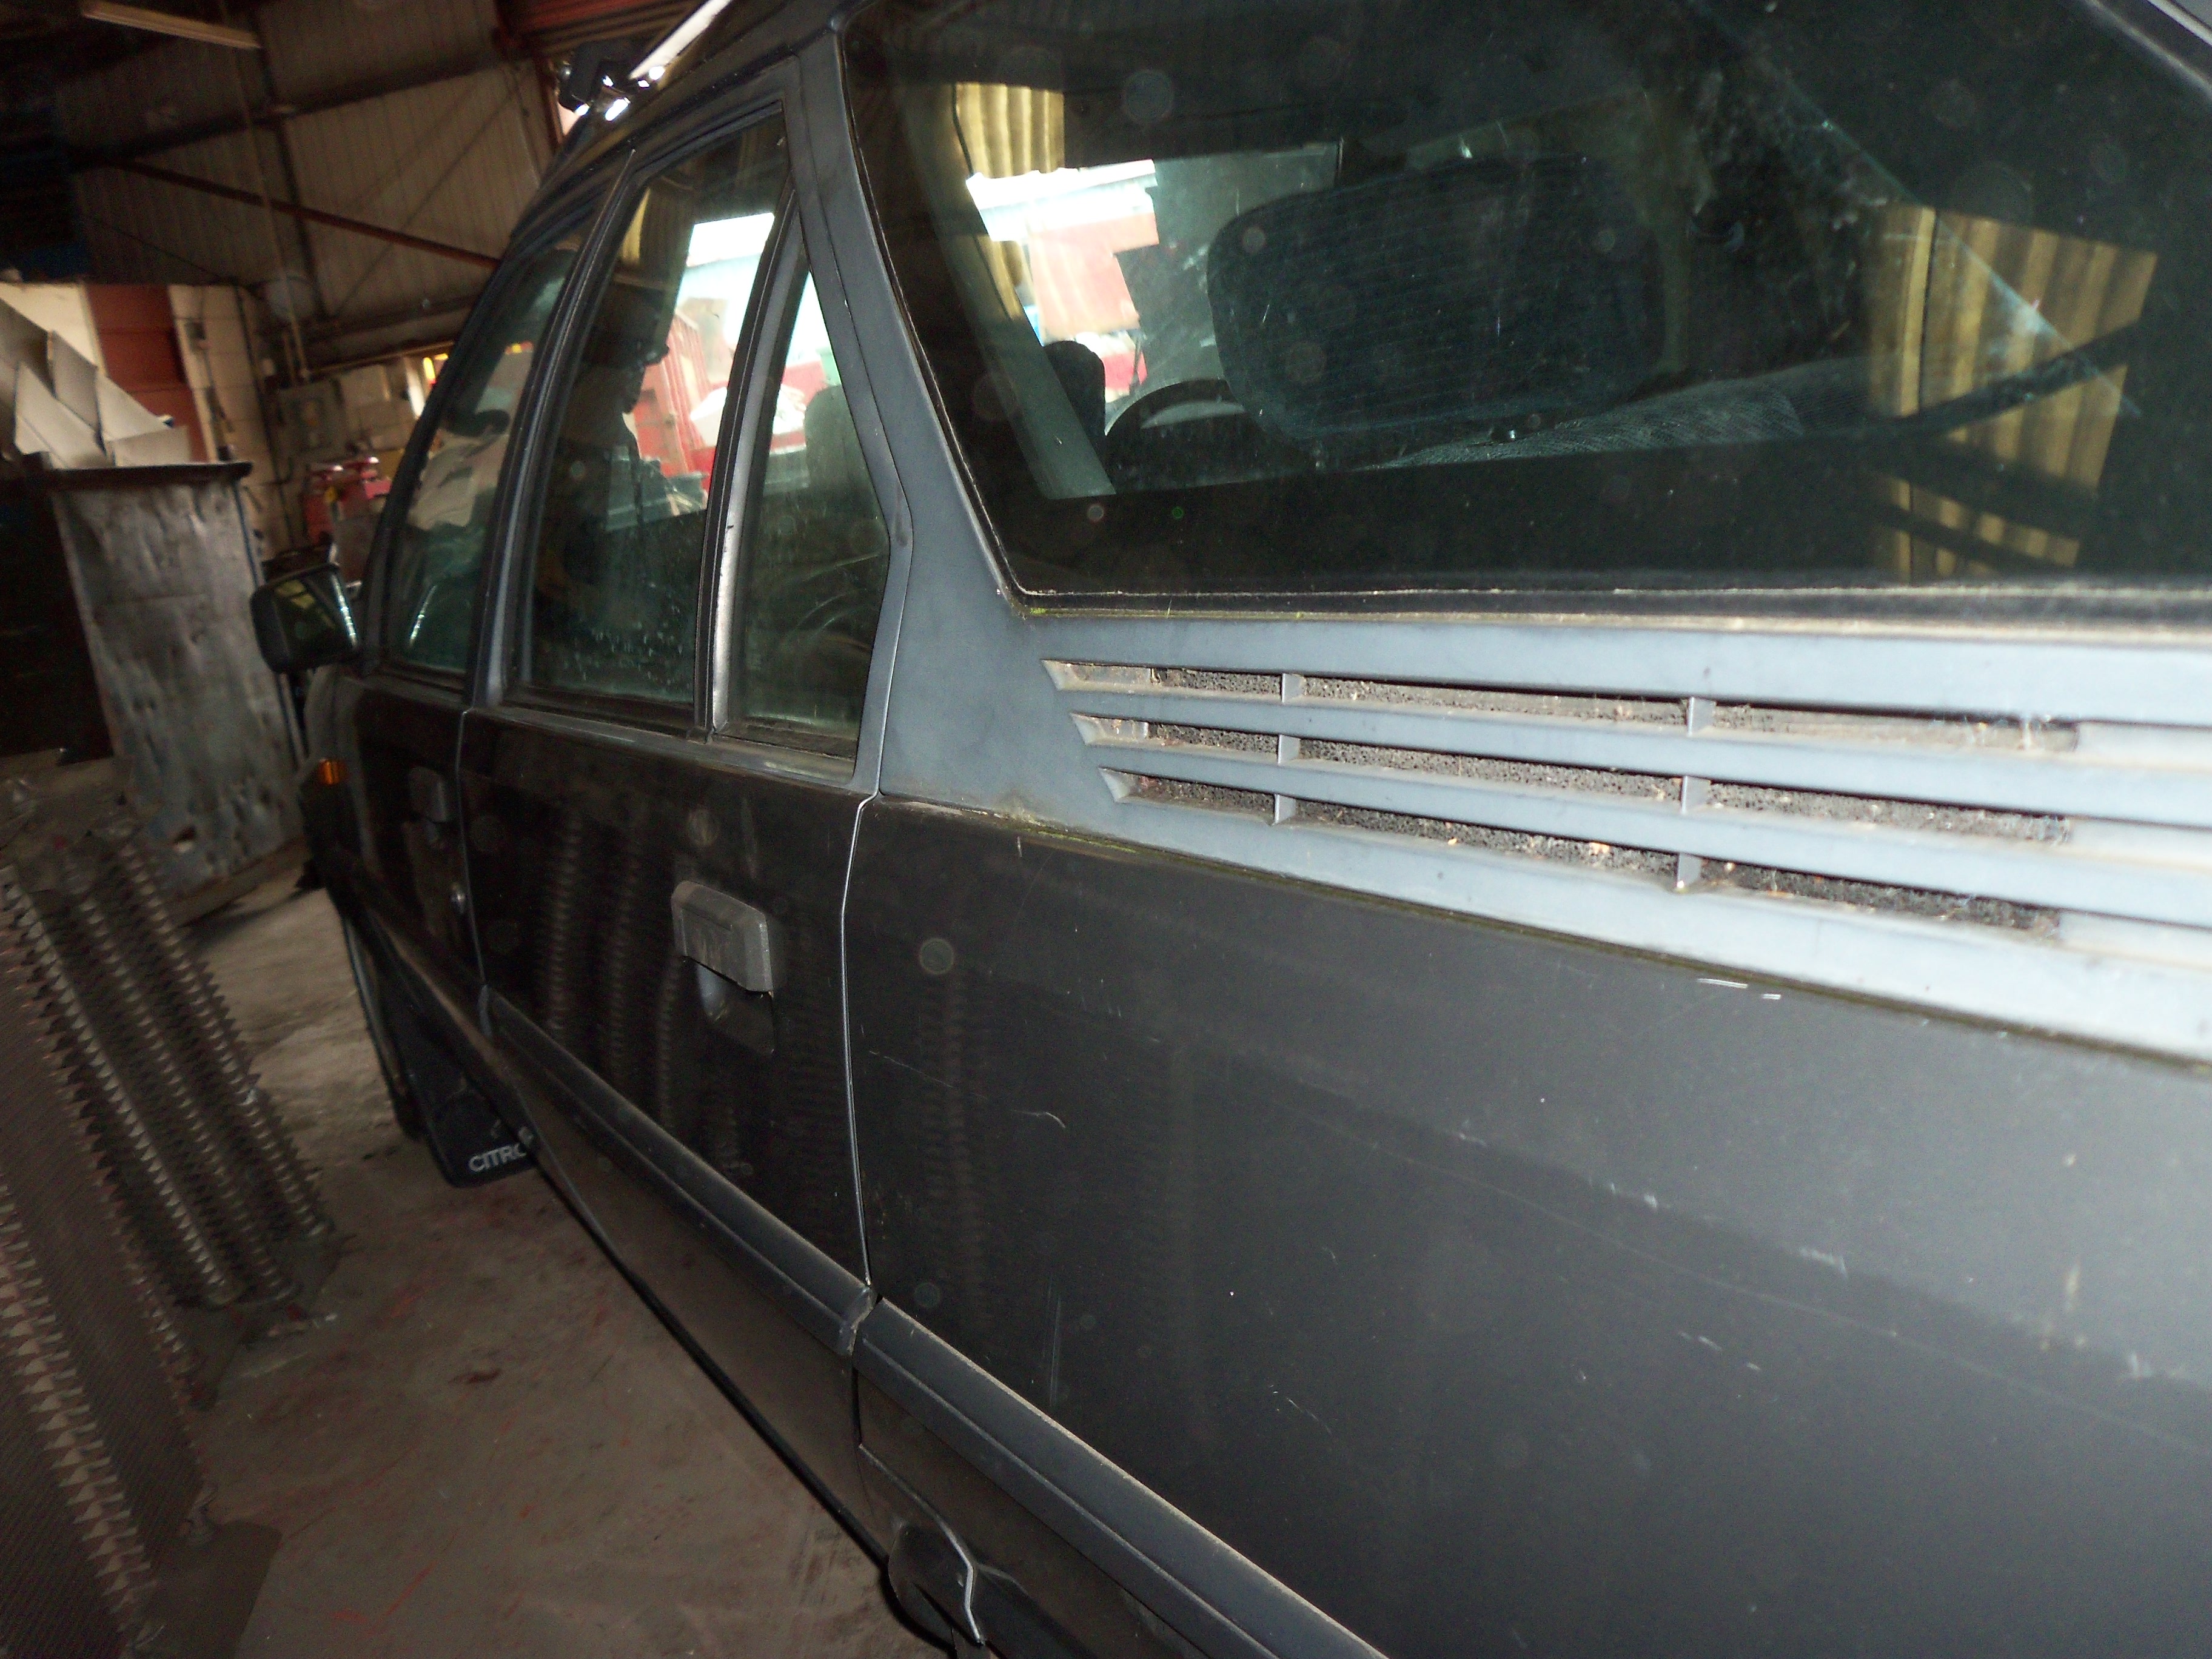
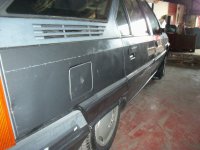
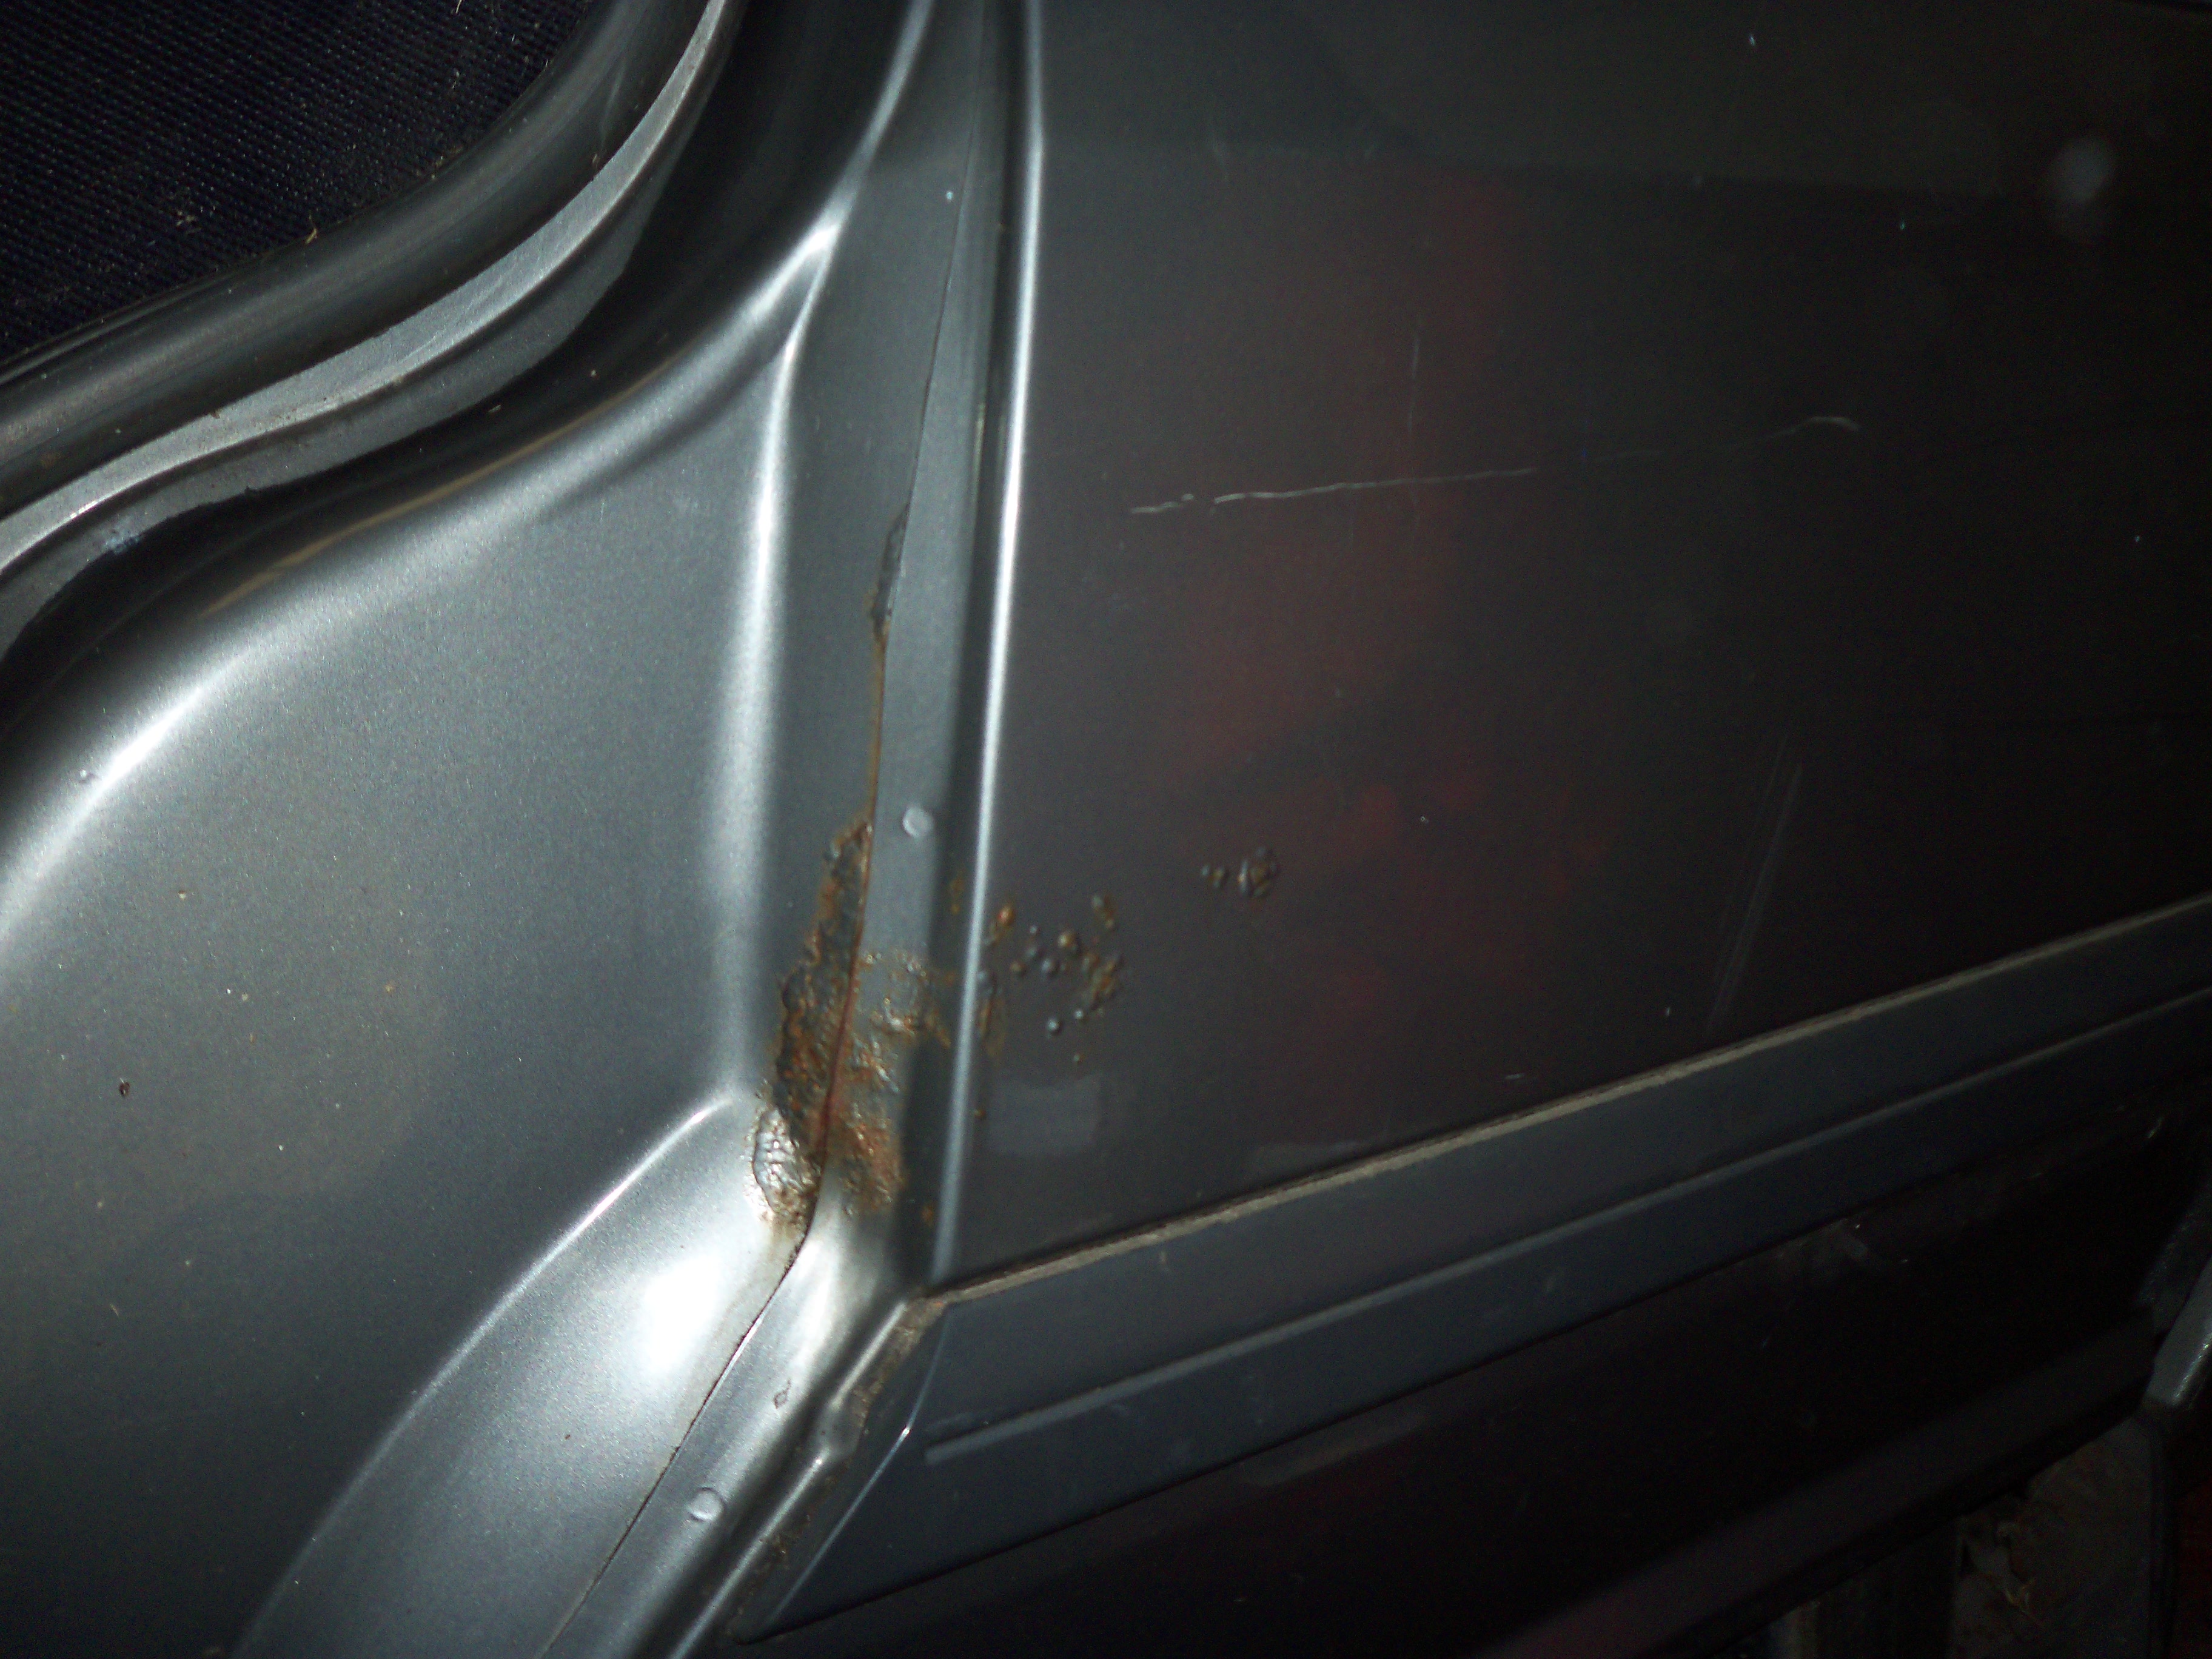
bodywork wise the car is a little "used". given what i have seen of London (first time i have been!) i think the car survived well!

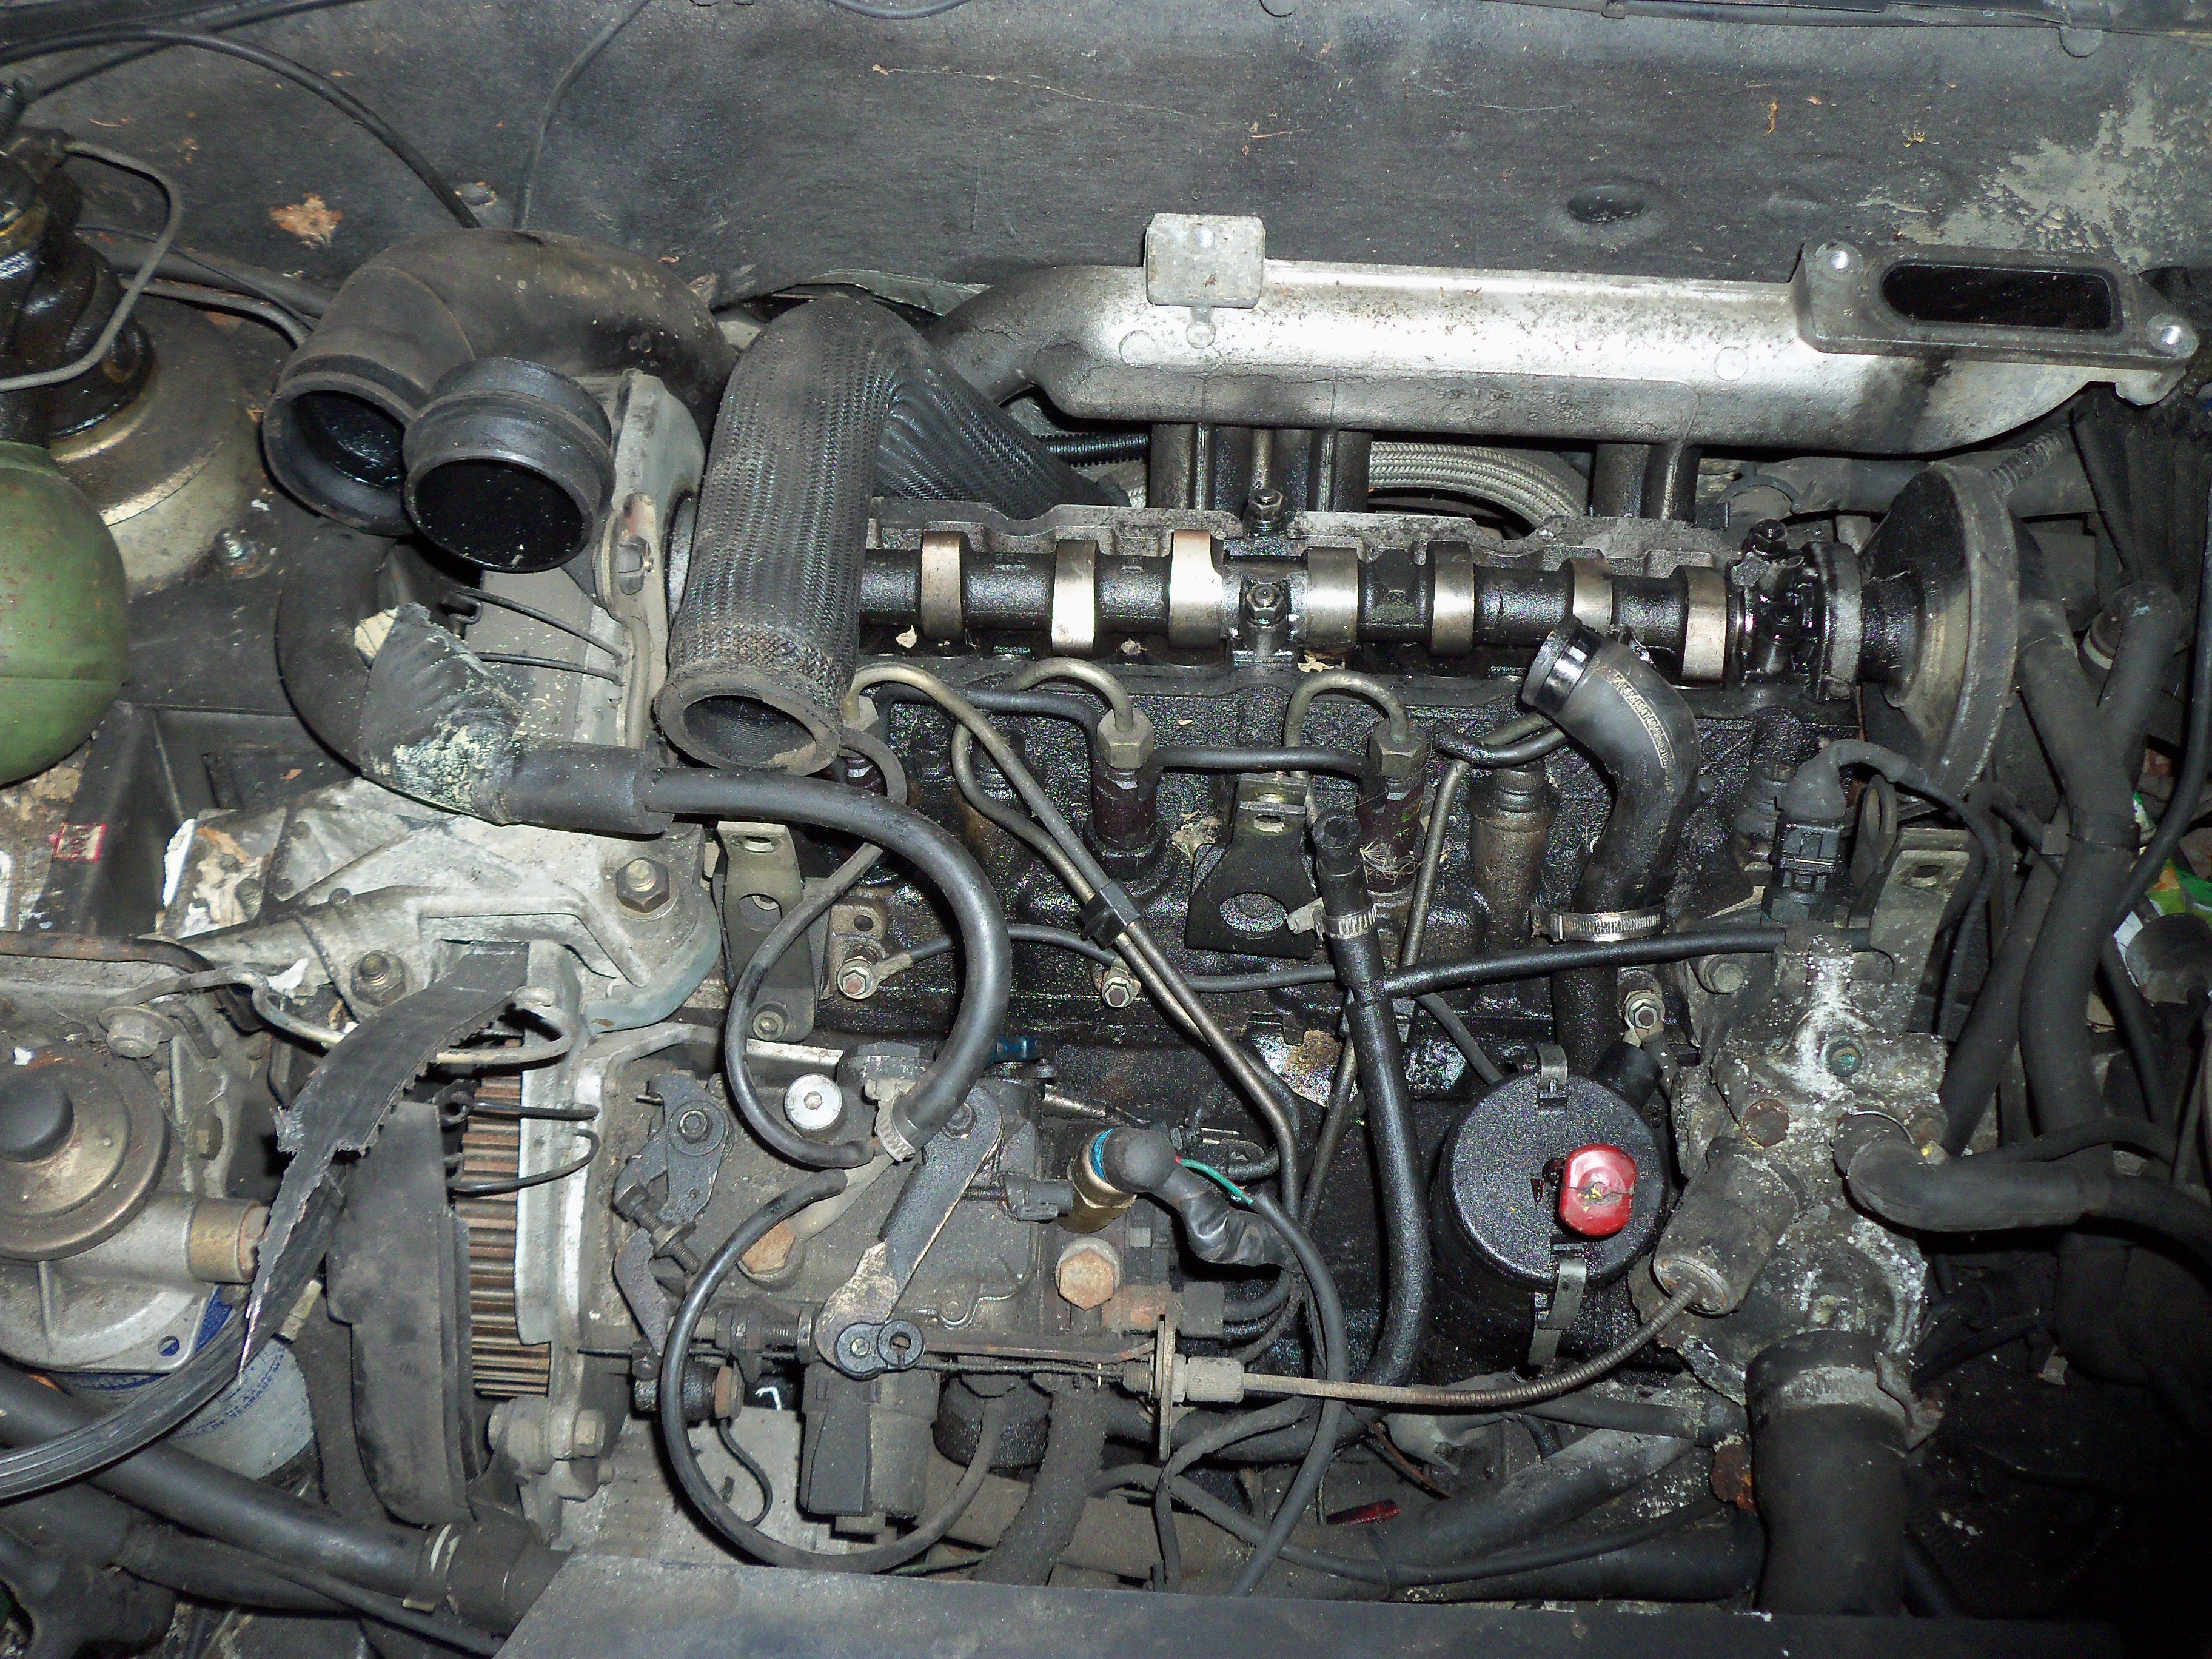
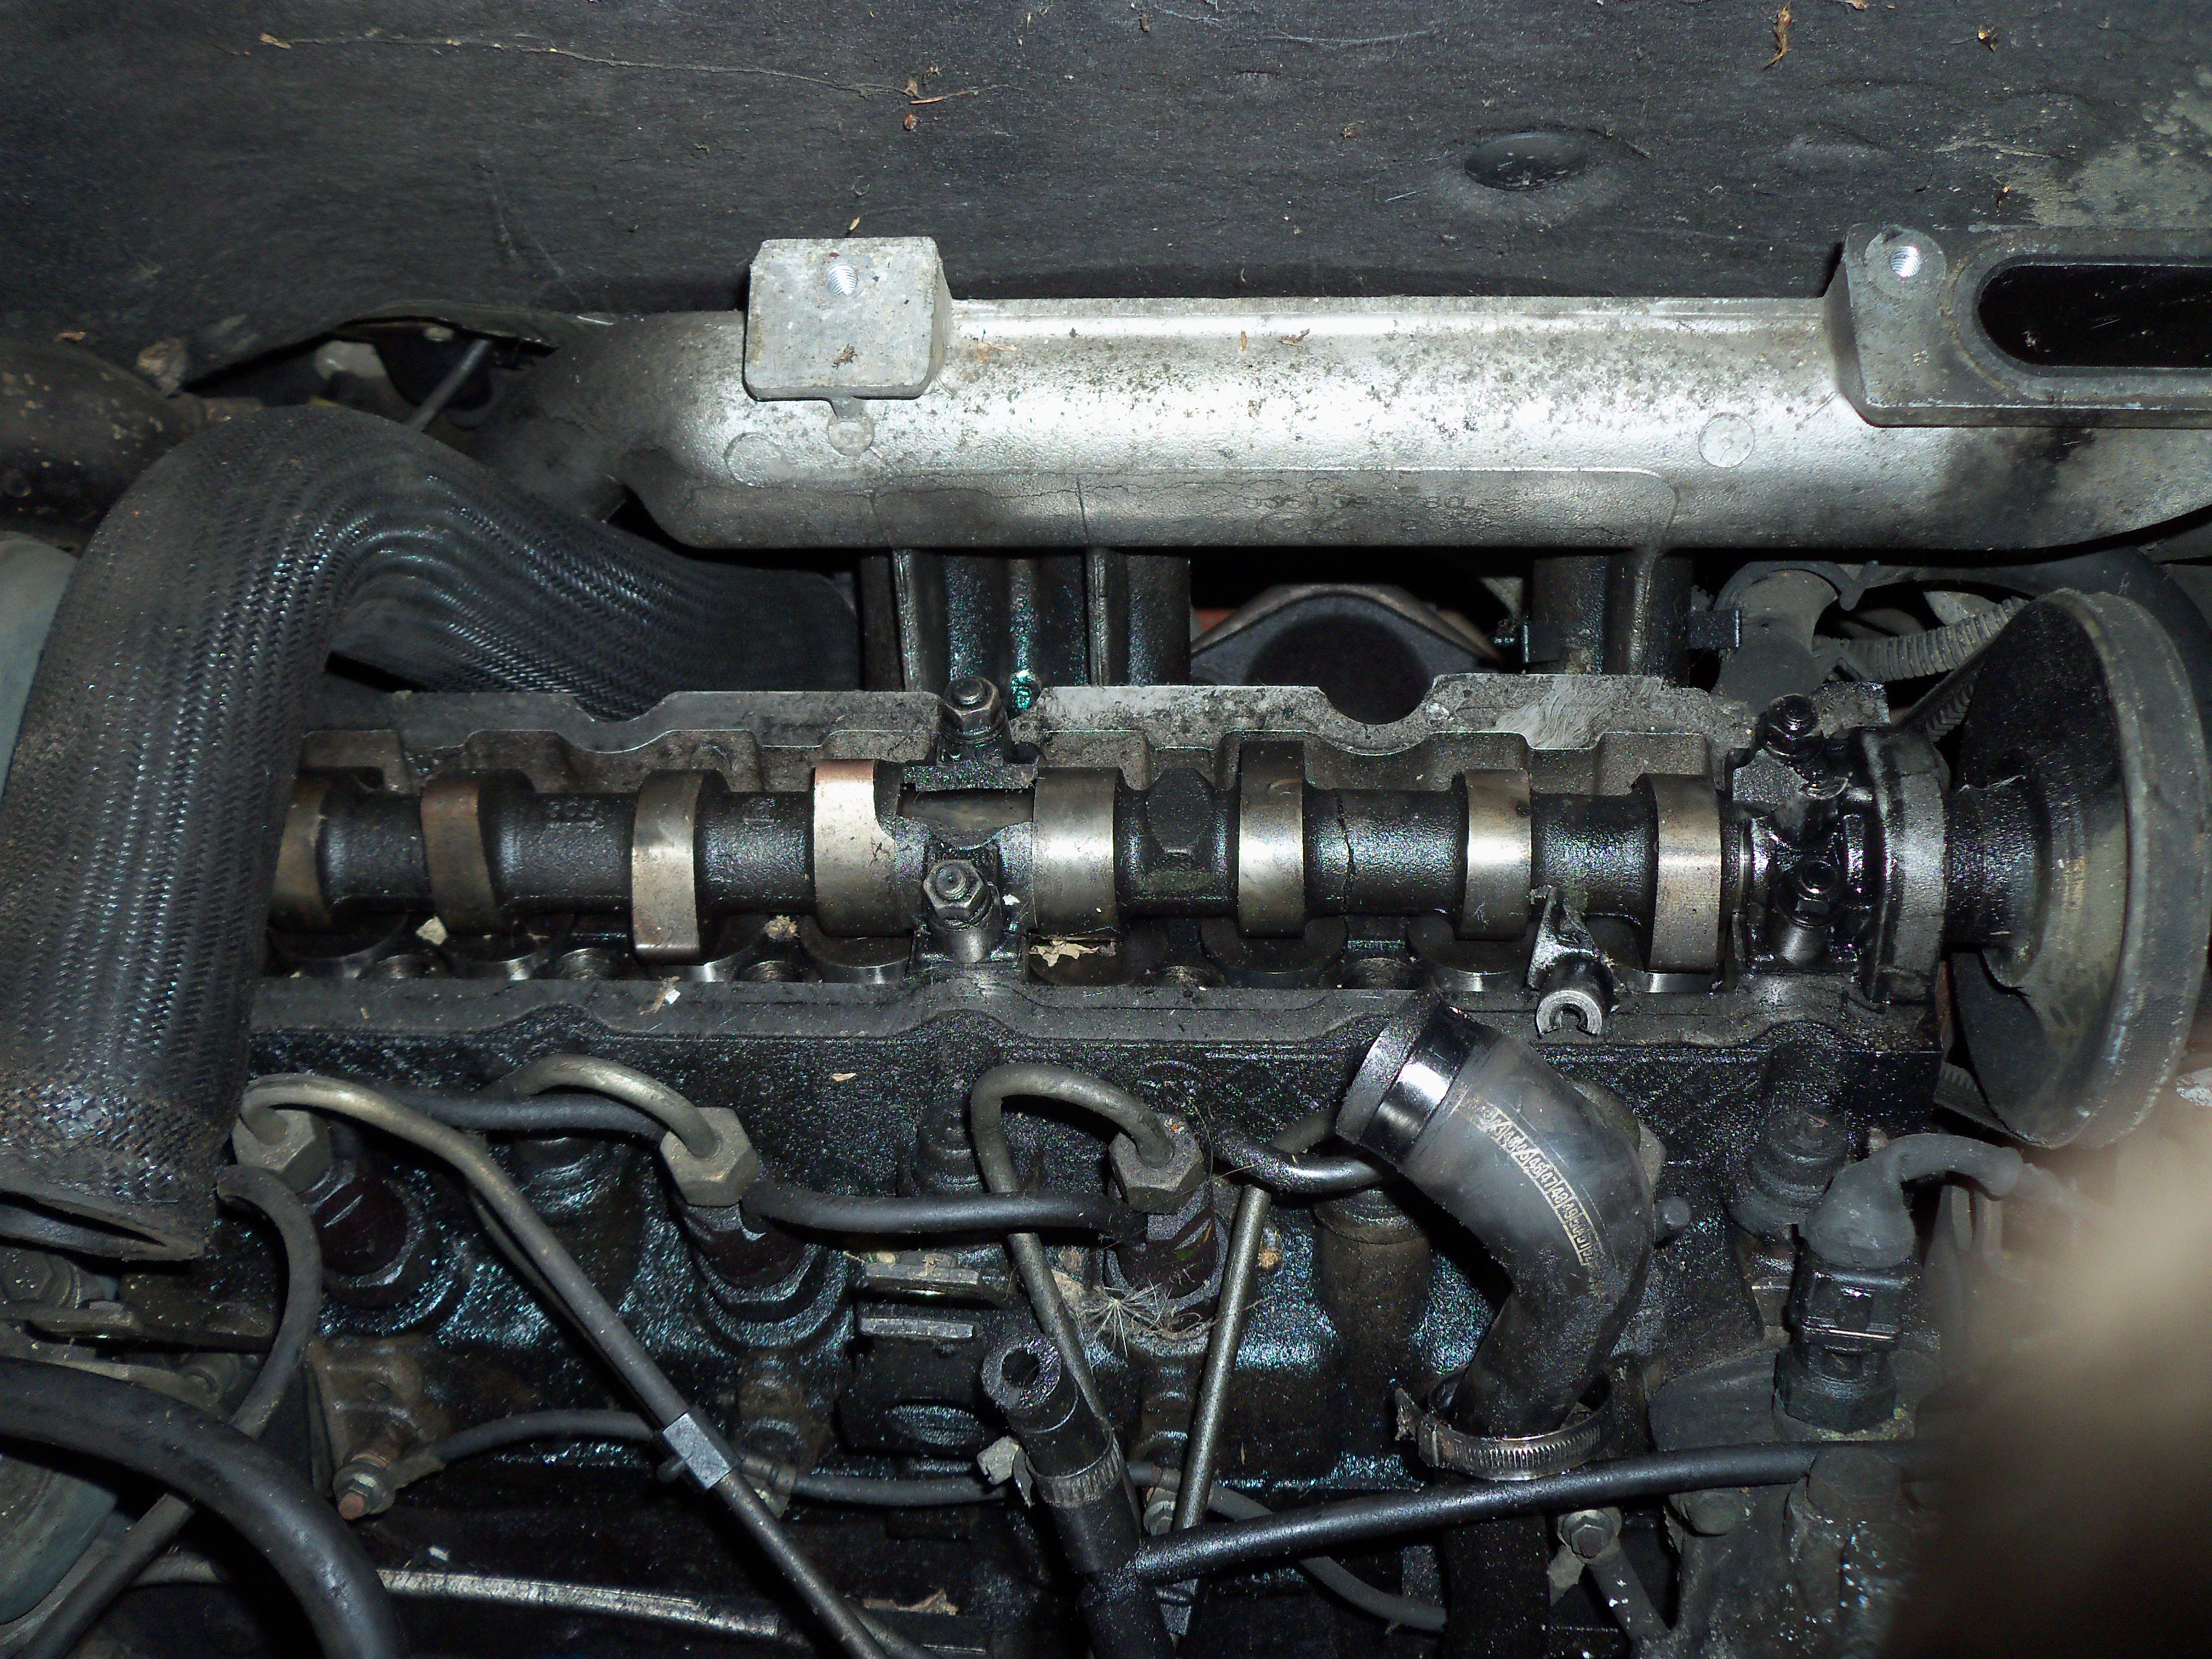
the engine is dead. the bottom end may be savable but i think i am going to go down the complete engine swap fix route. i am not sure if it may have damaged anything else bar the head. so that said i am now looking for a low miles XUD engine. be it a 1.7 or 1.9 (ill worry about that camshaft pump pulley further down the line)

the hydraulics are untested. the spheres are dated 2001 so are 15 years old they they need changing but are near the bottom on my list of things to change for obvious reasons. i will try and test the hydraulics by spinning the pump using an electric motor. being as it is cam driven it does not turn very quick even with the pulley ratio. maybe even a battery drill could do it.

the LHM fluid is more of a cloudy yellow/cream colour, i have read that it should be green. so i will change that when the engine is in and connected up.

who wants to see some pictures?

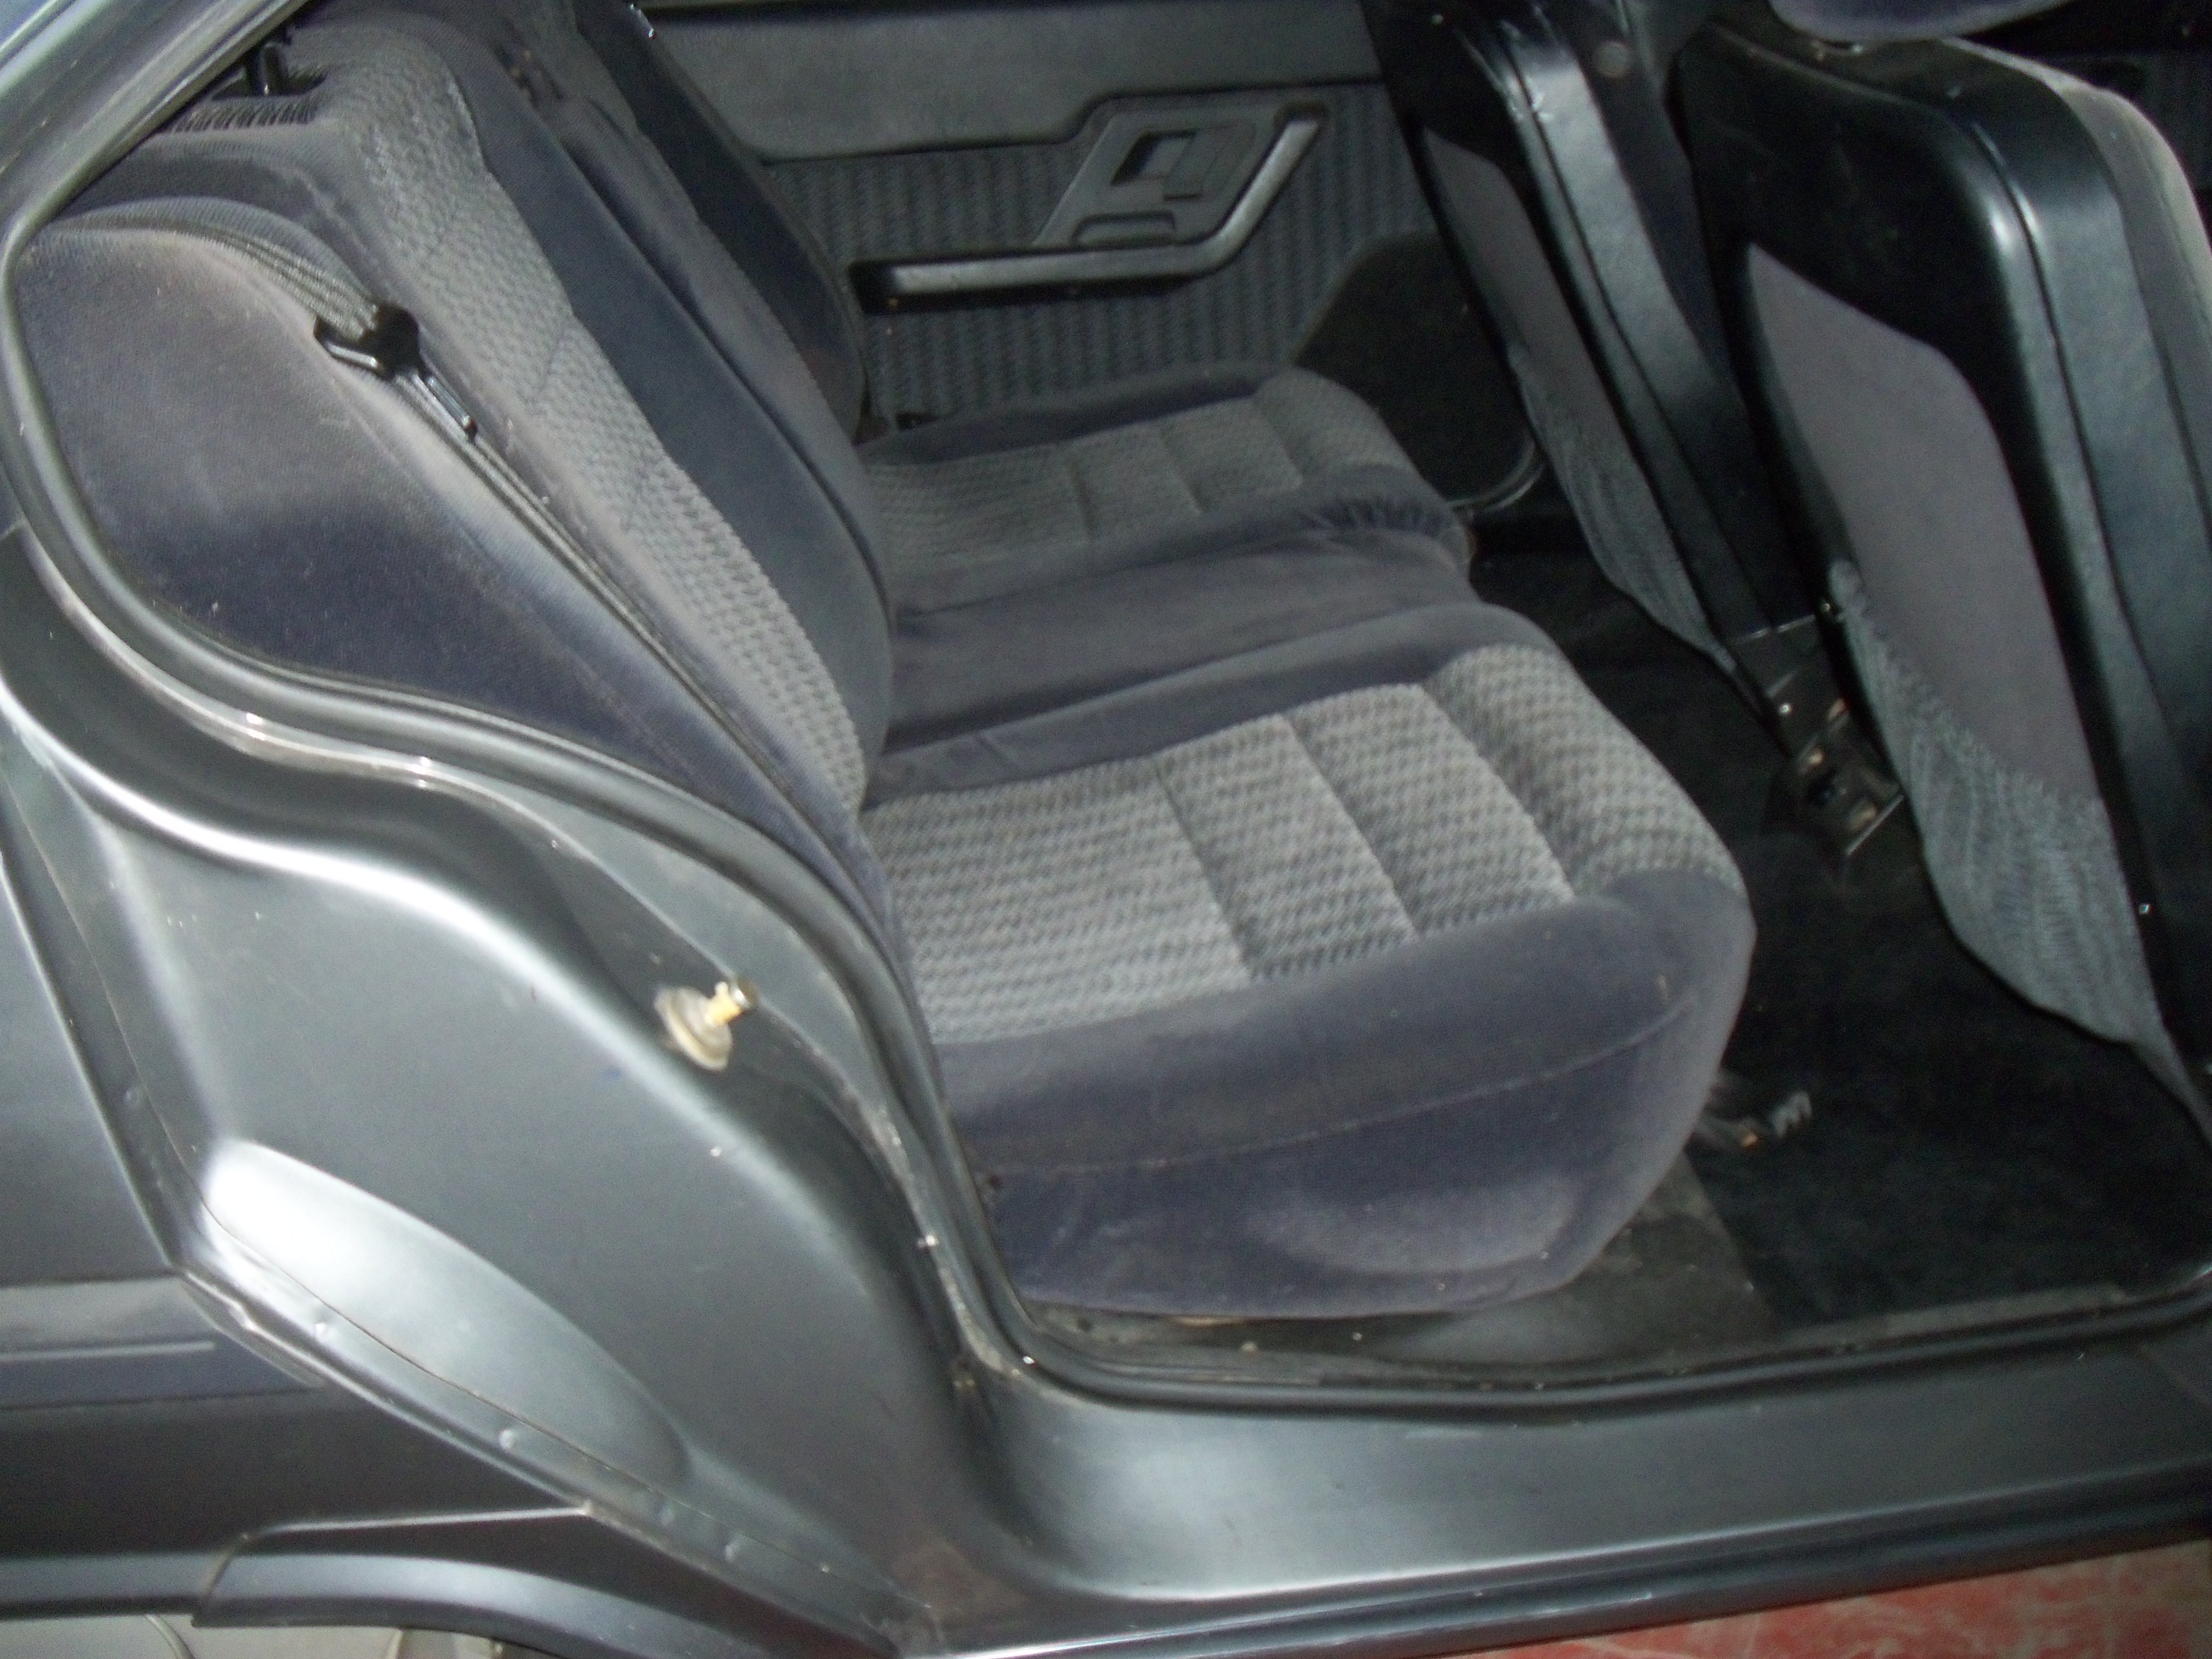
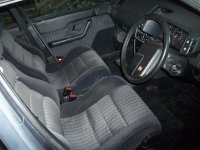
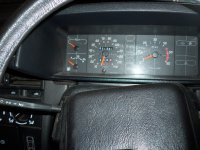
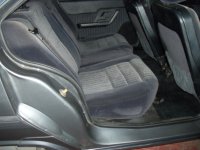
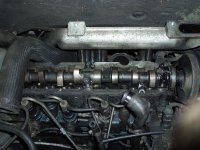
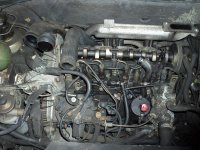
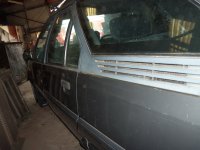
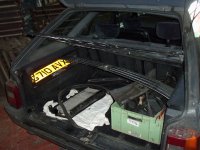
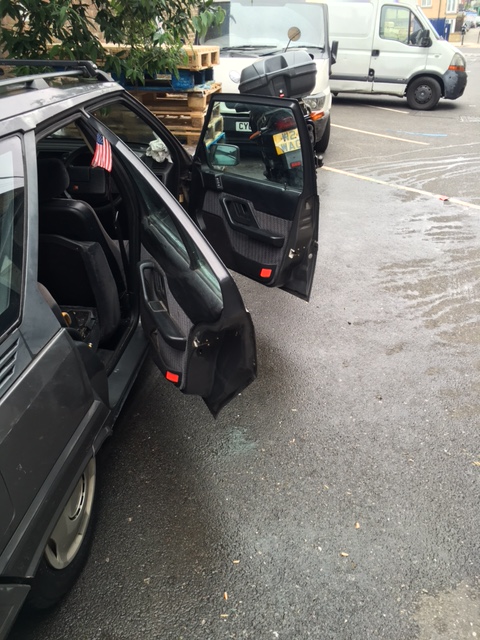
so these are the pictures that the seller sent me:


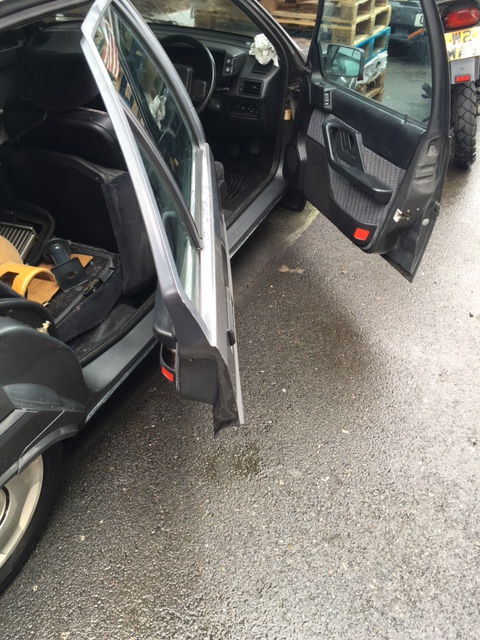
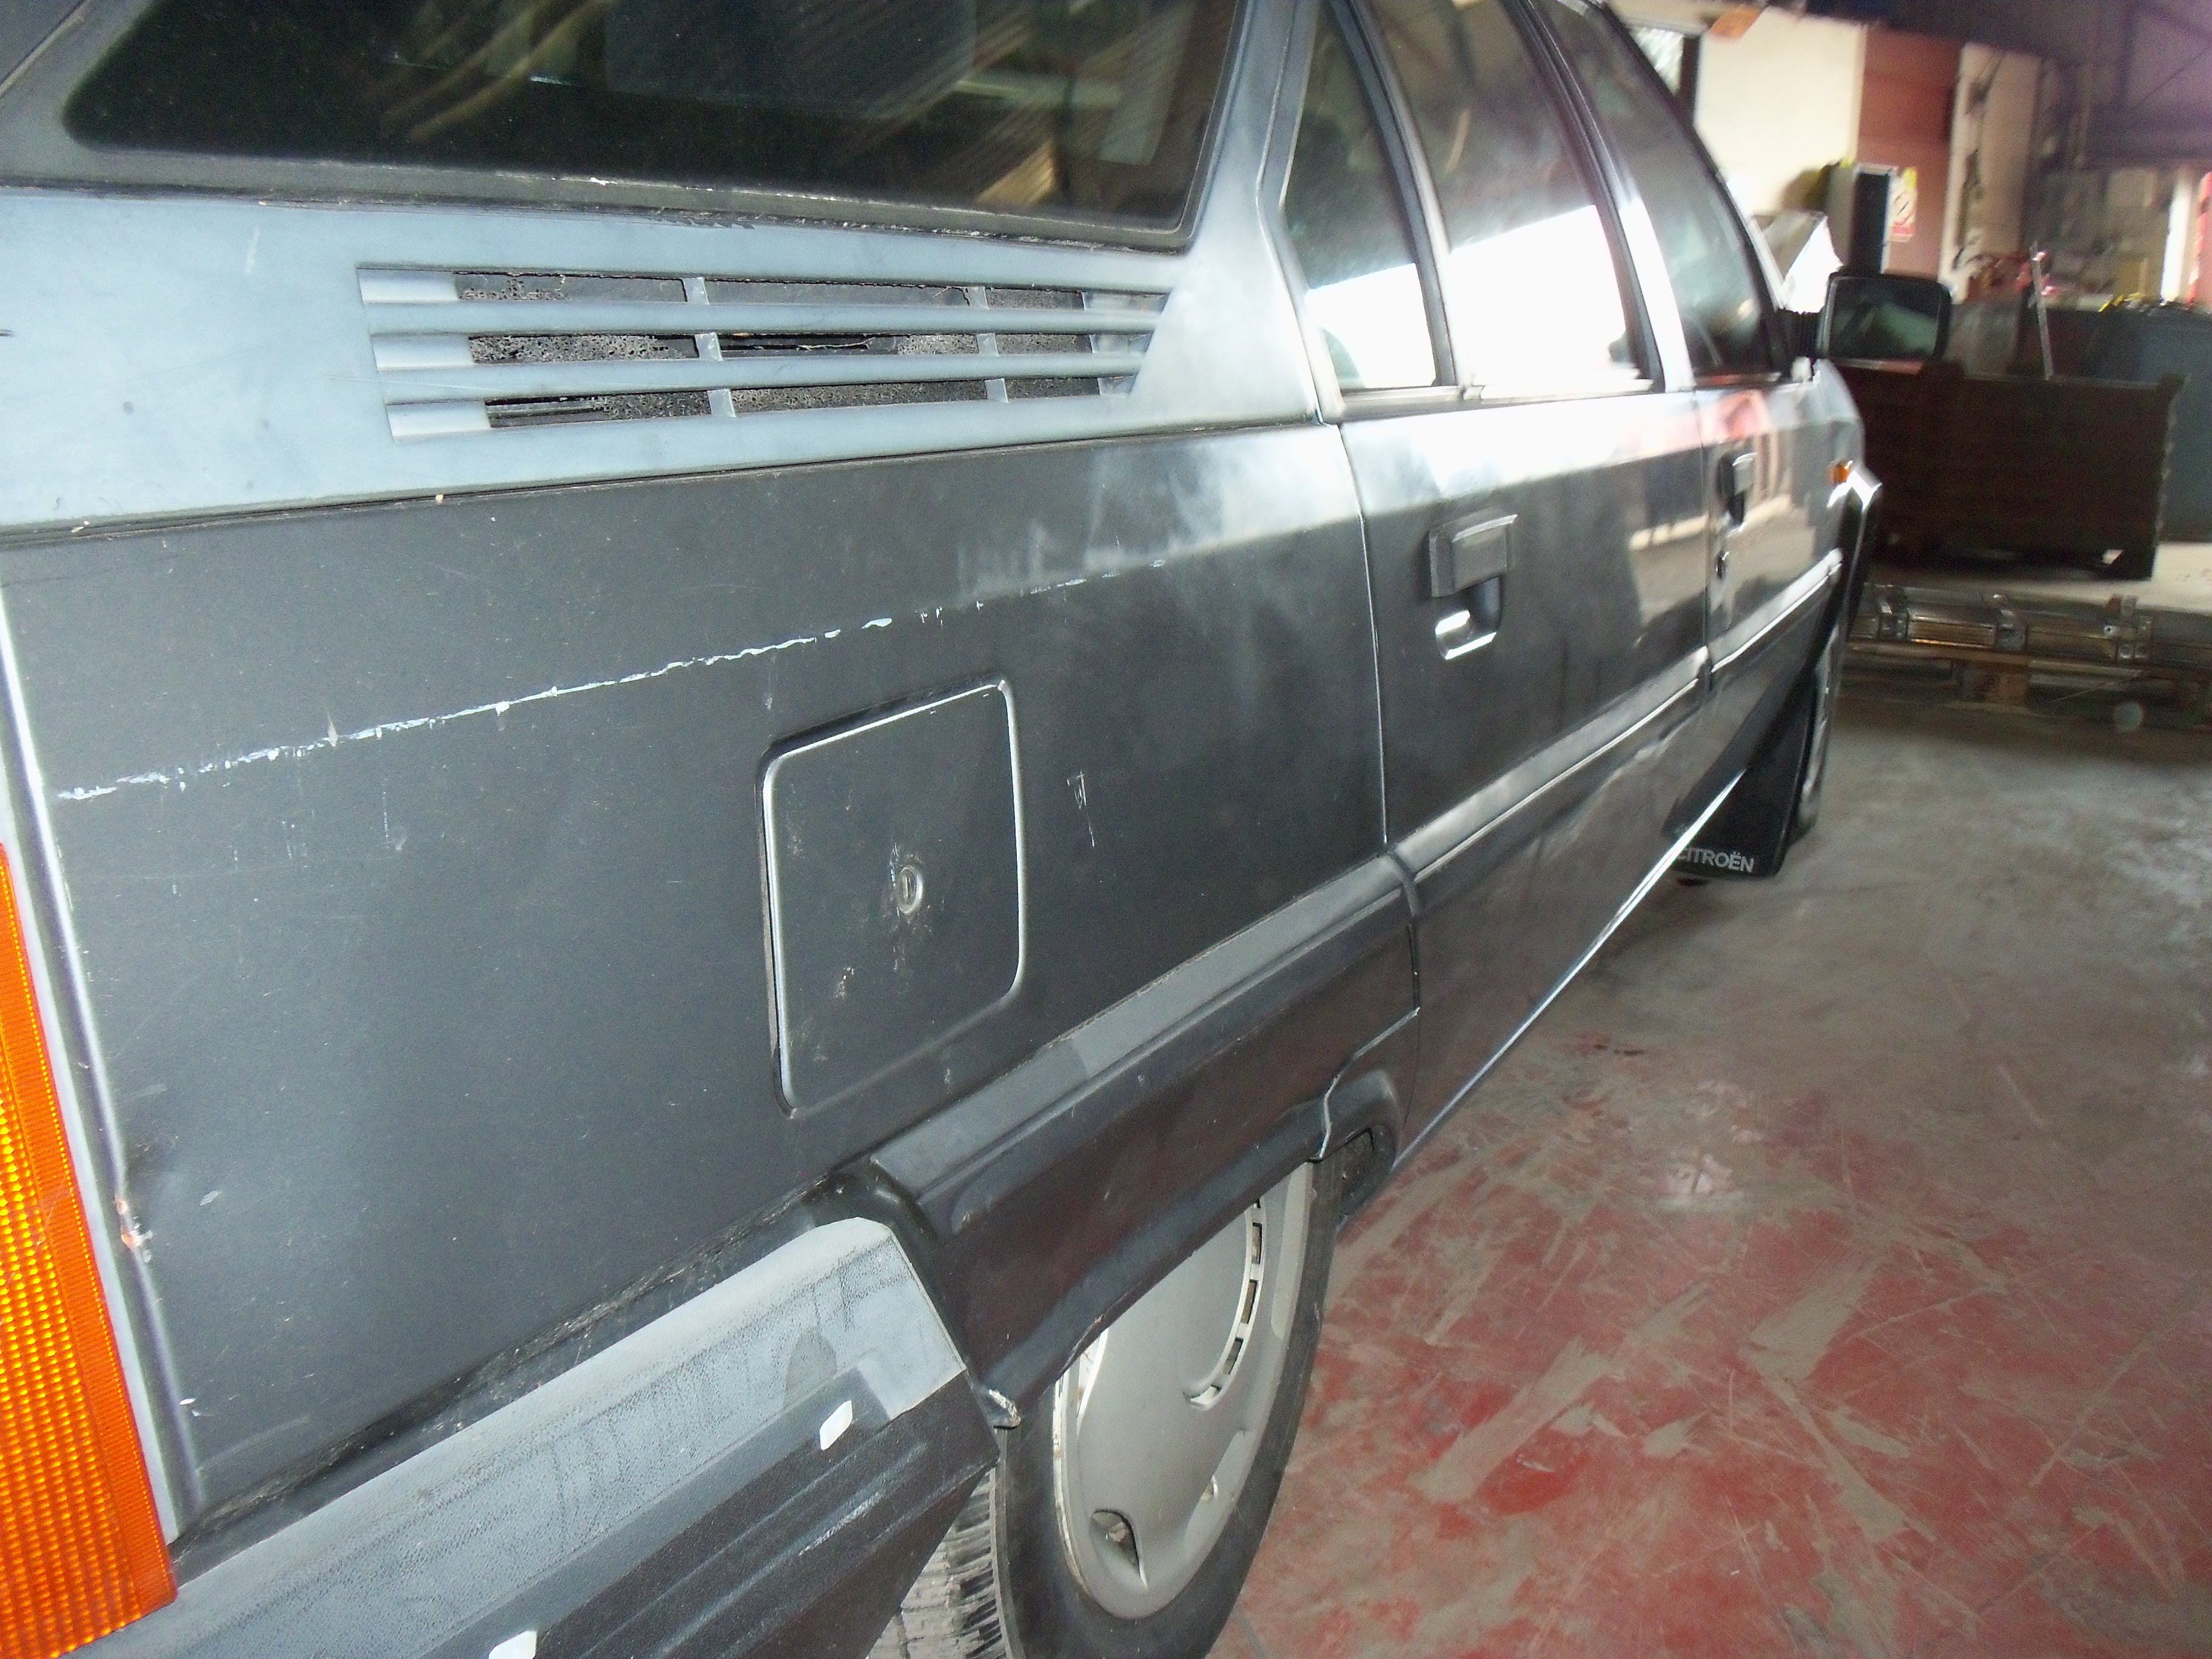
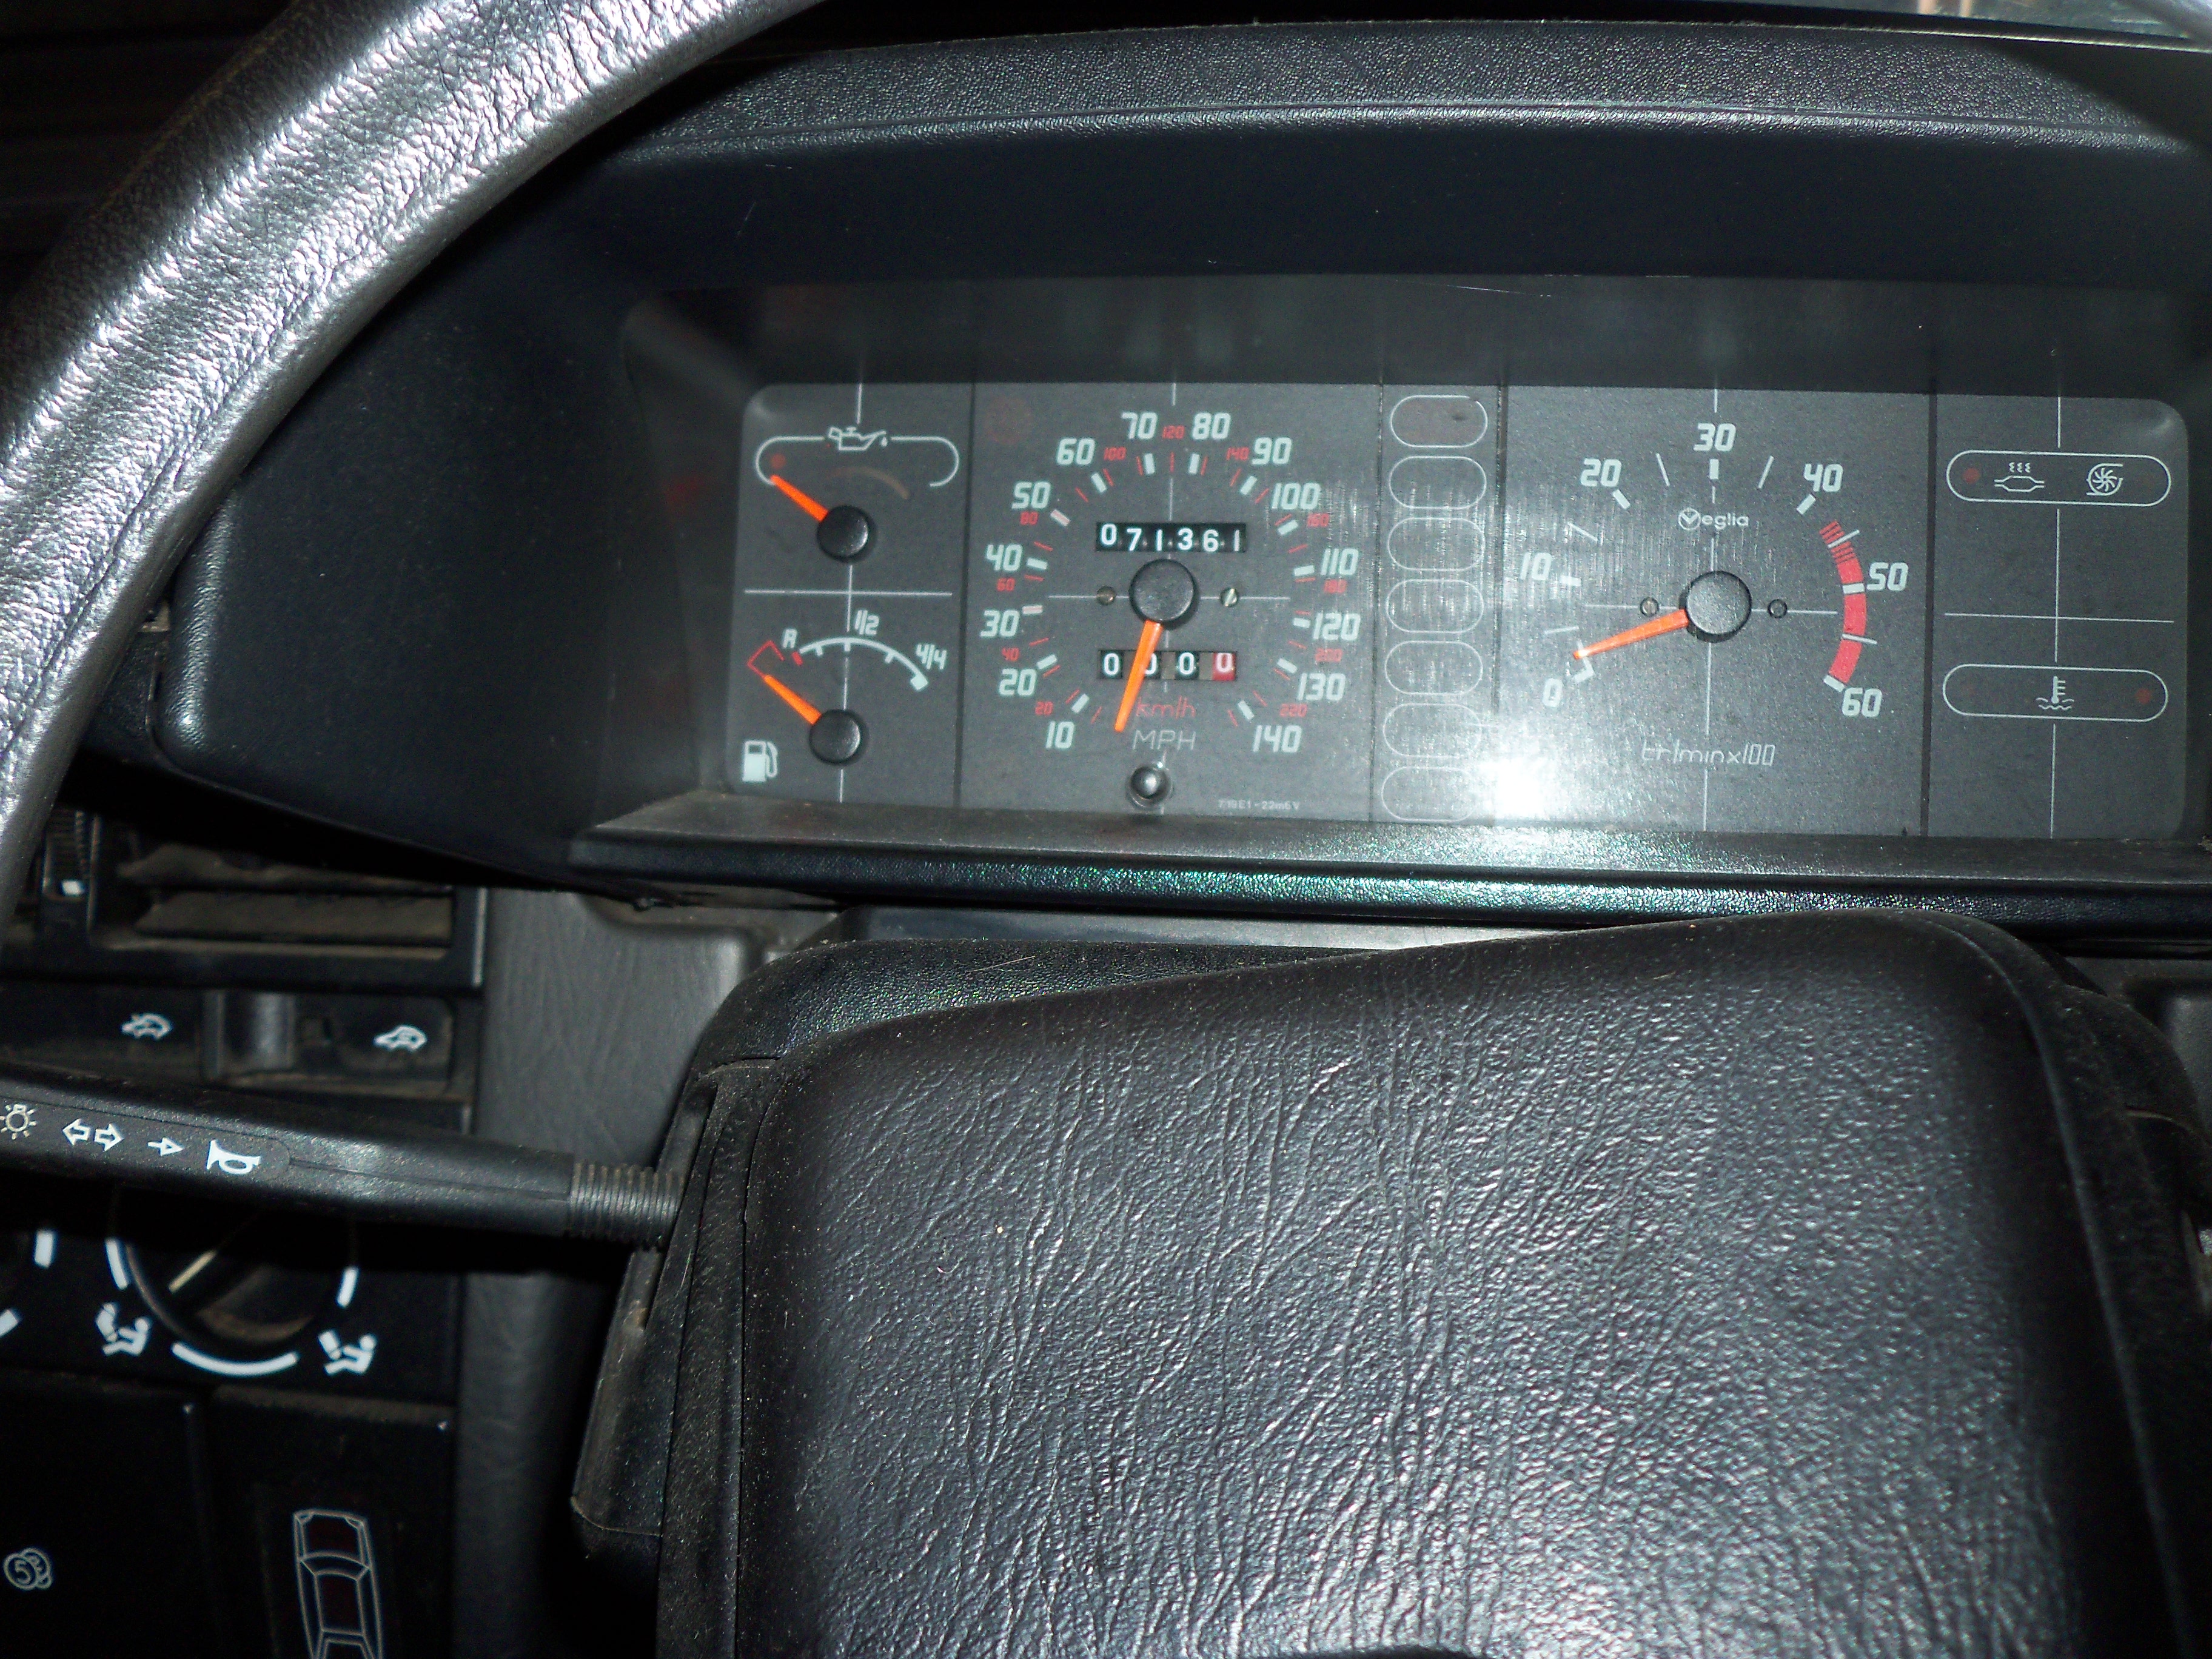
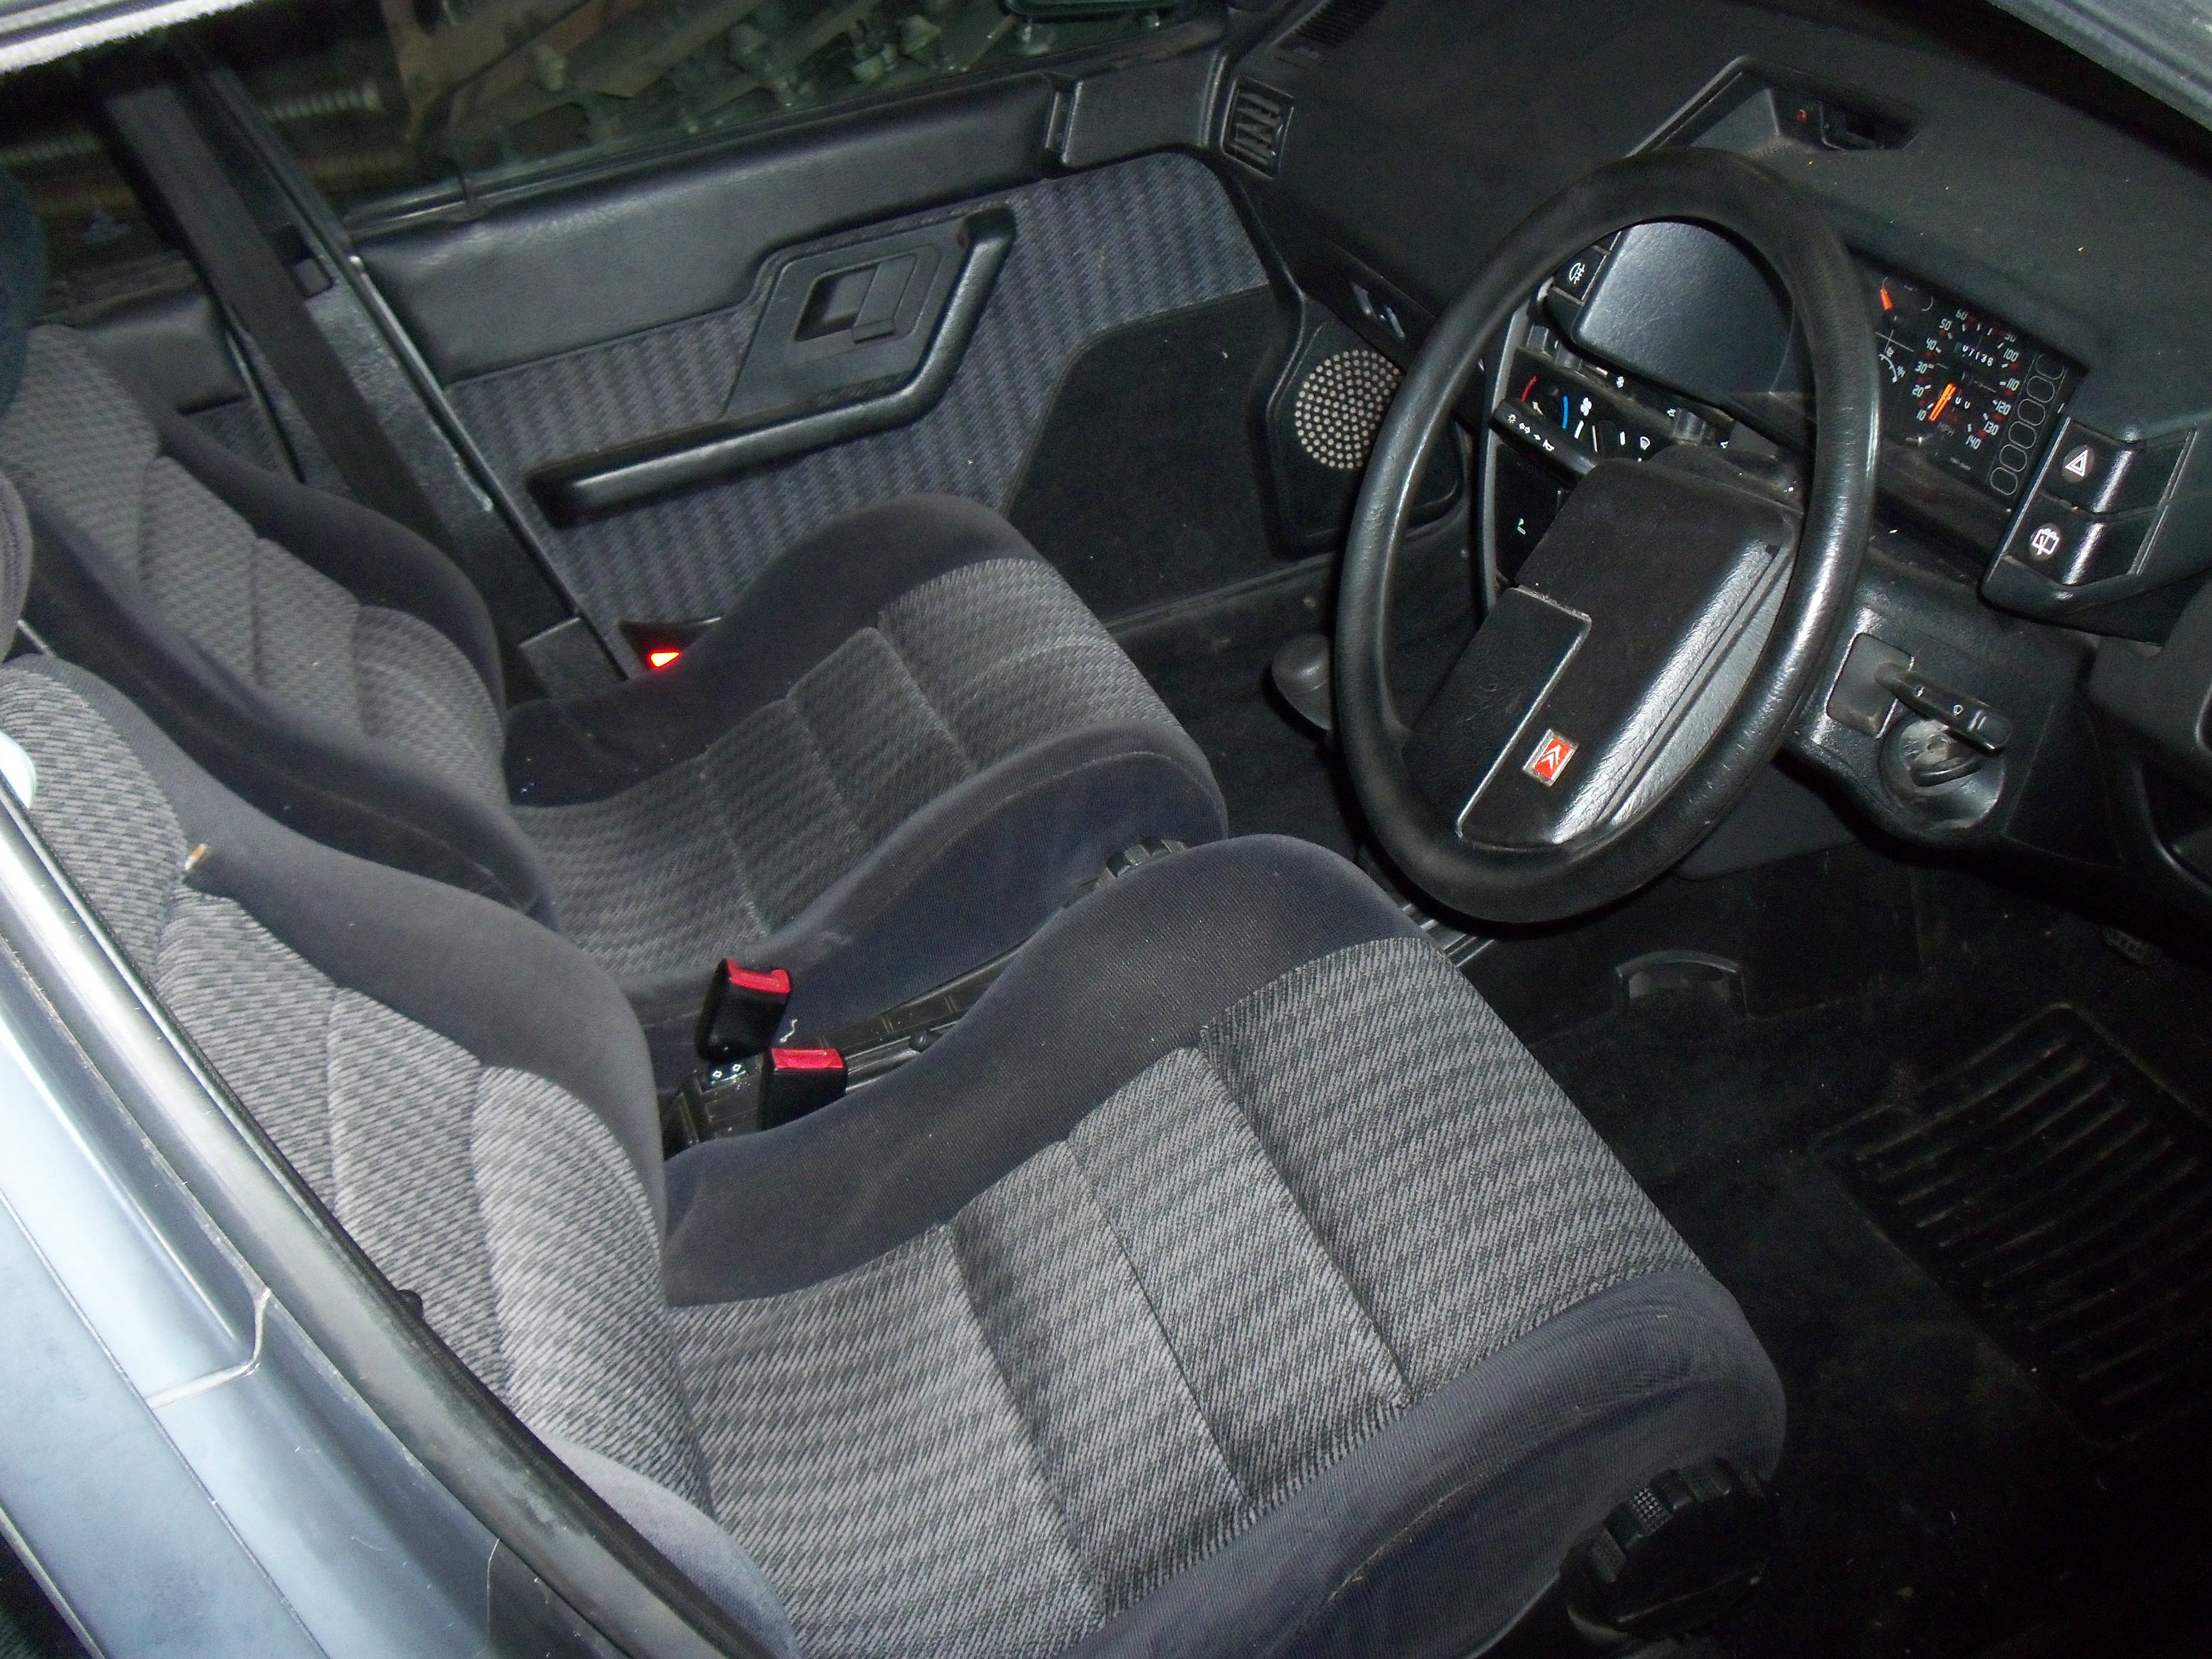
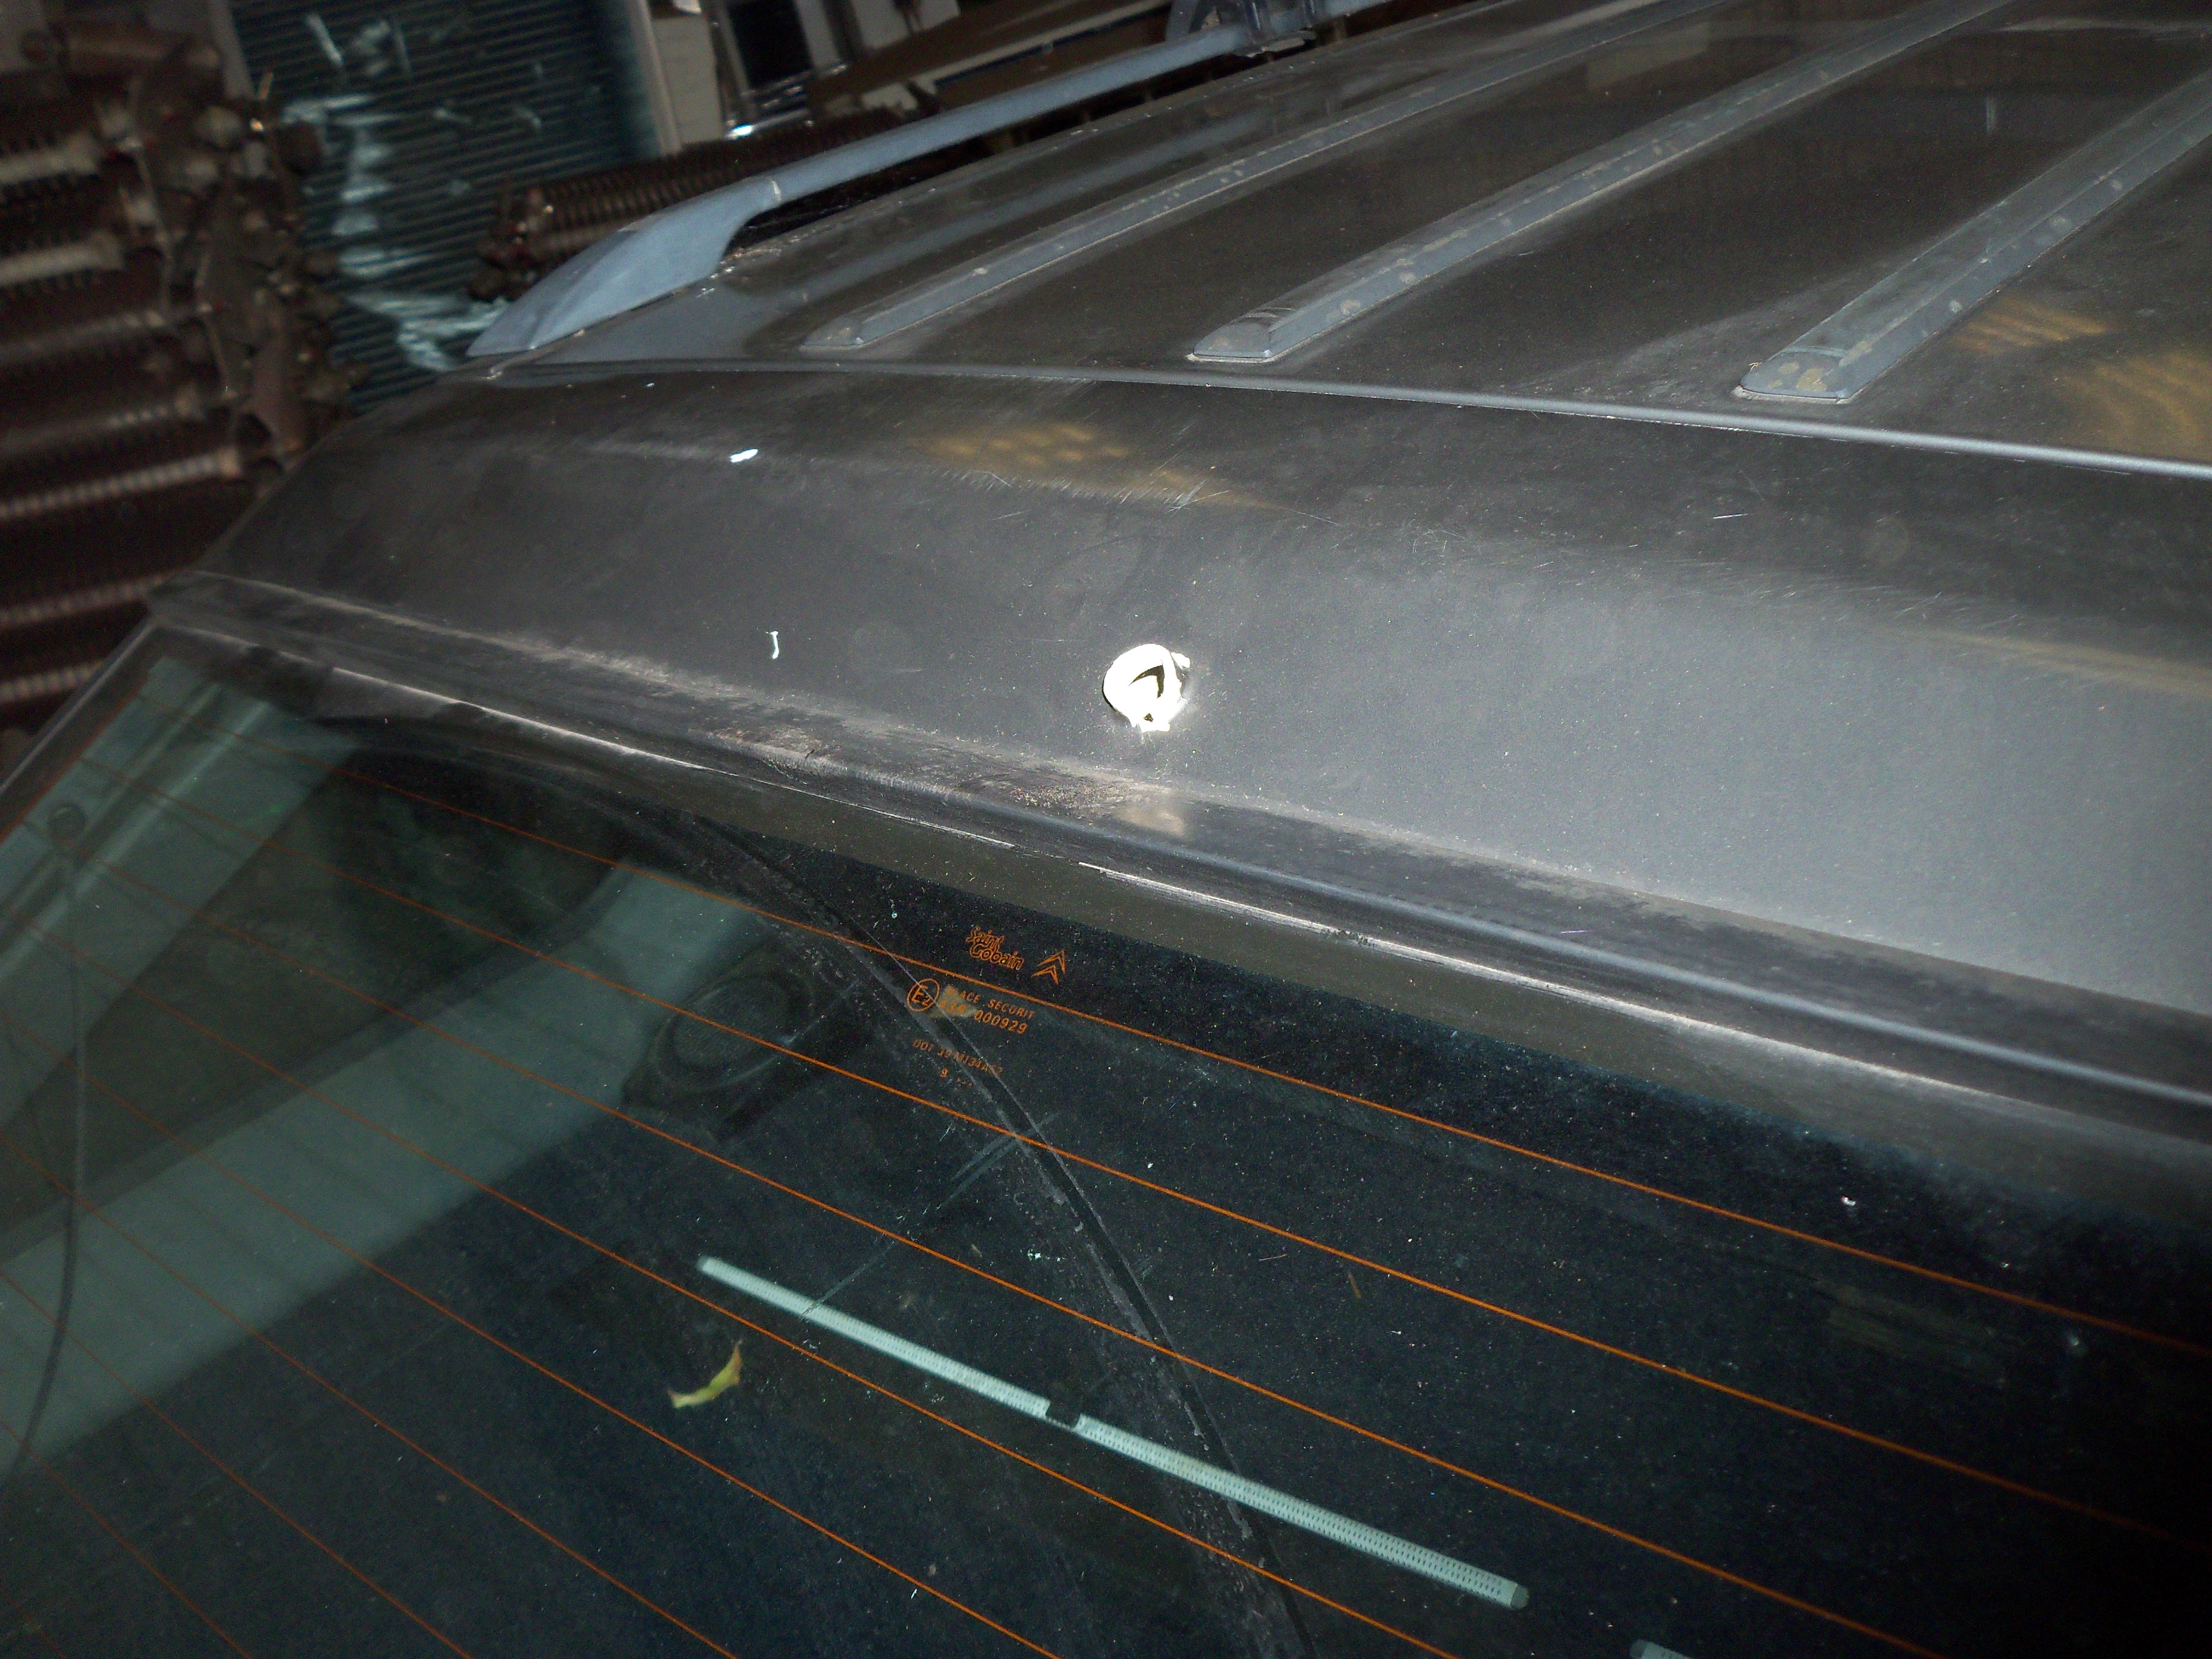
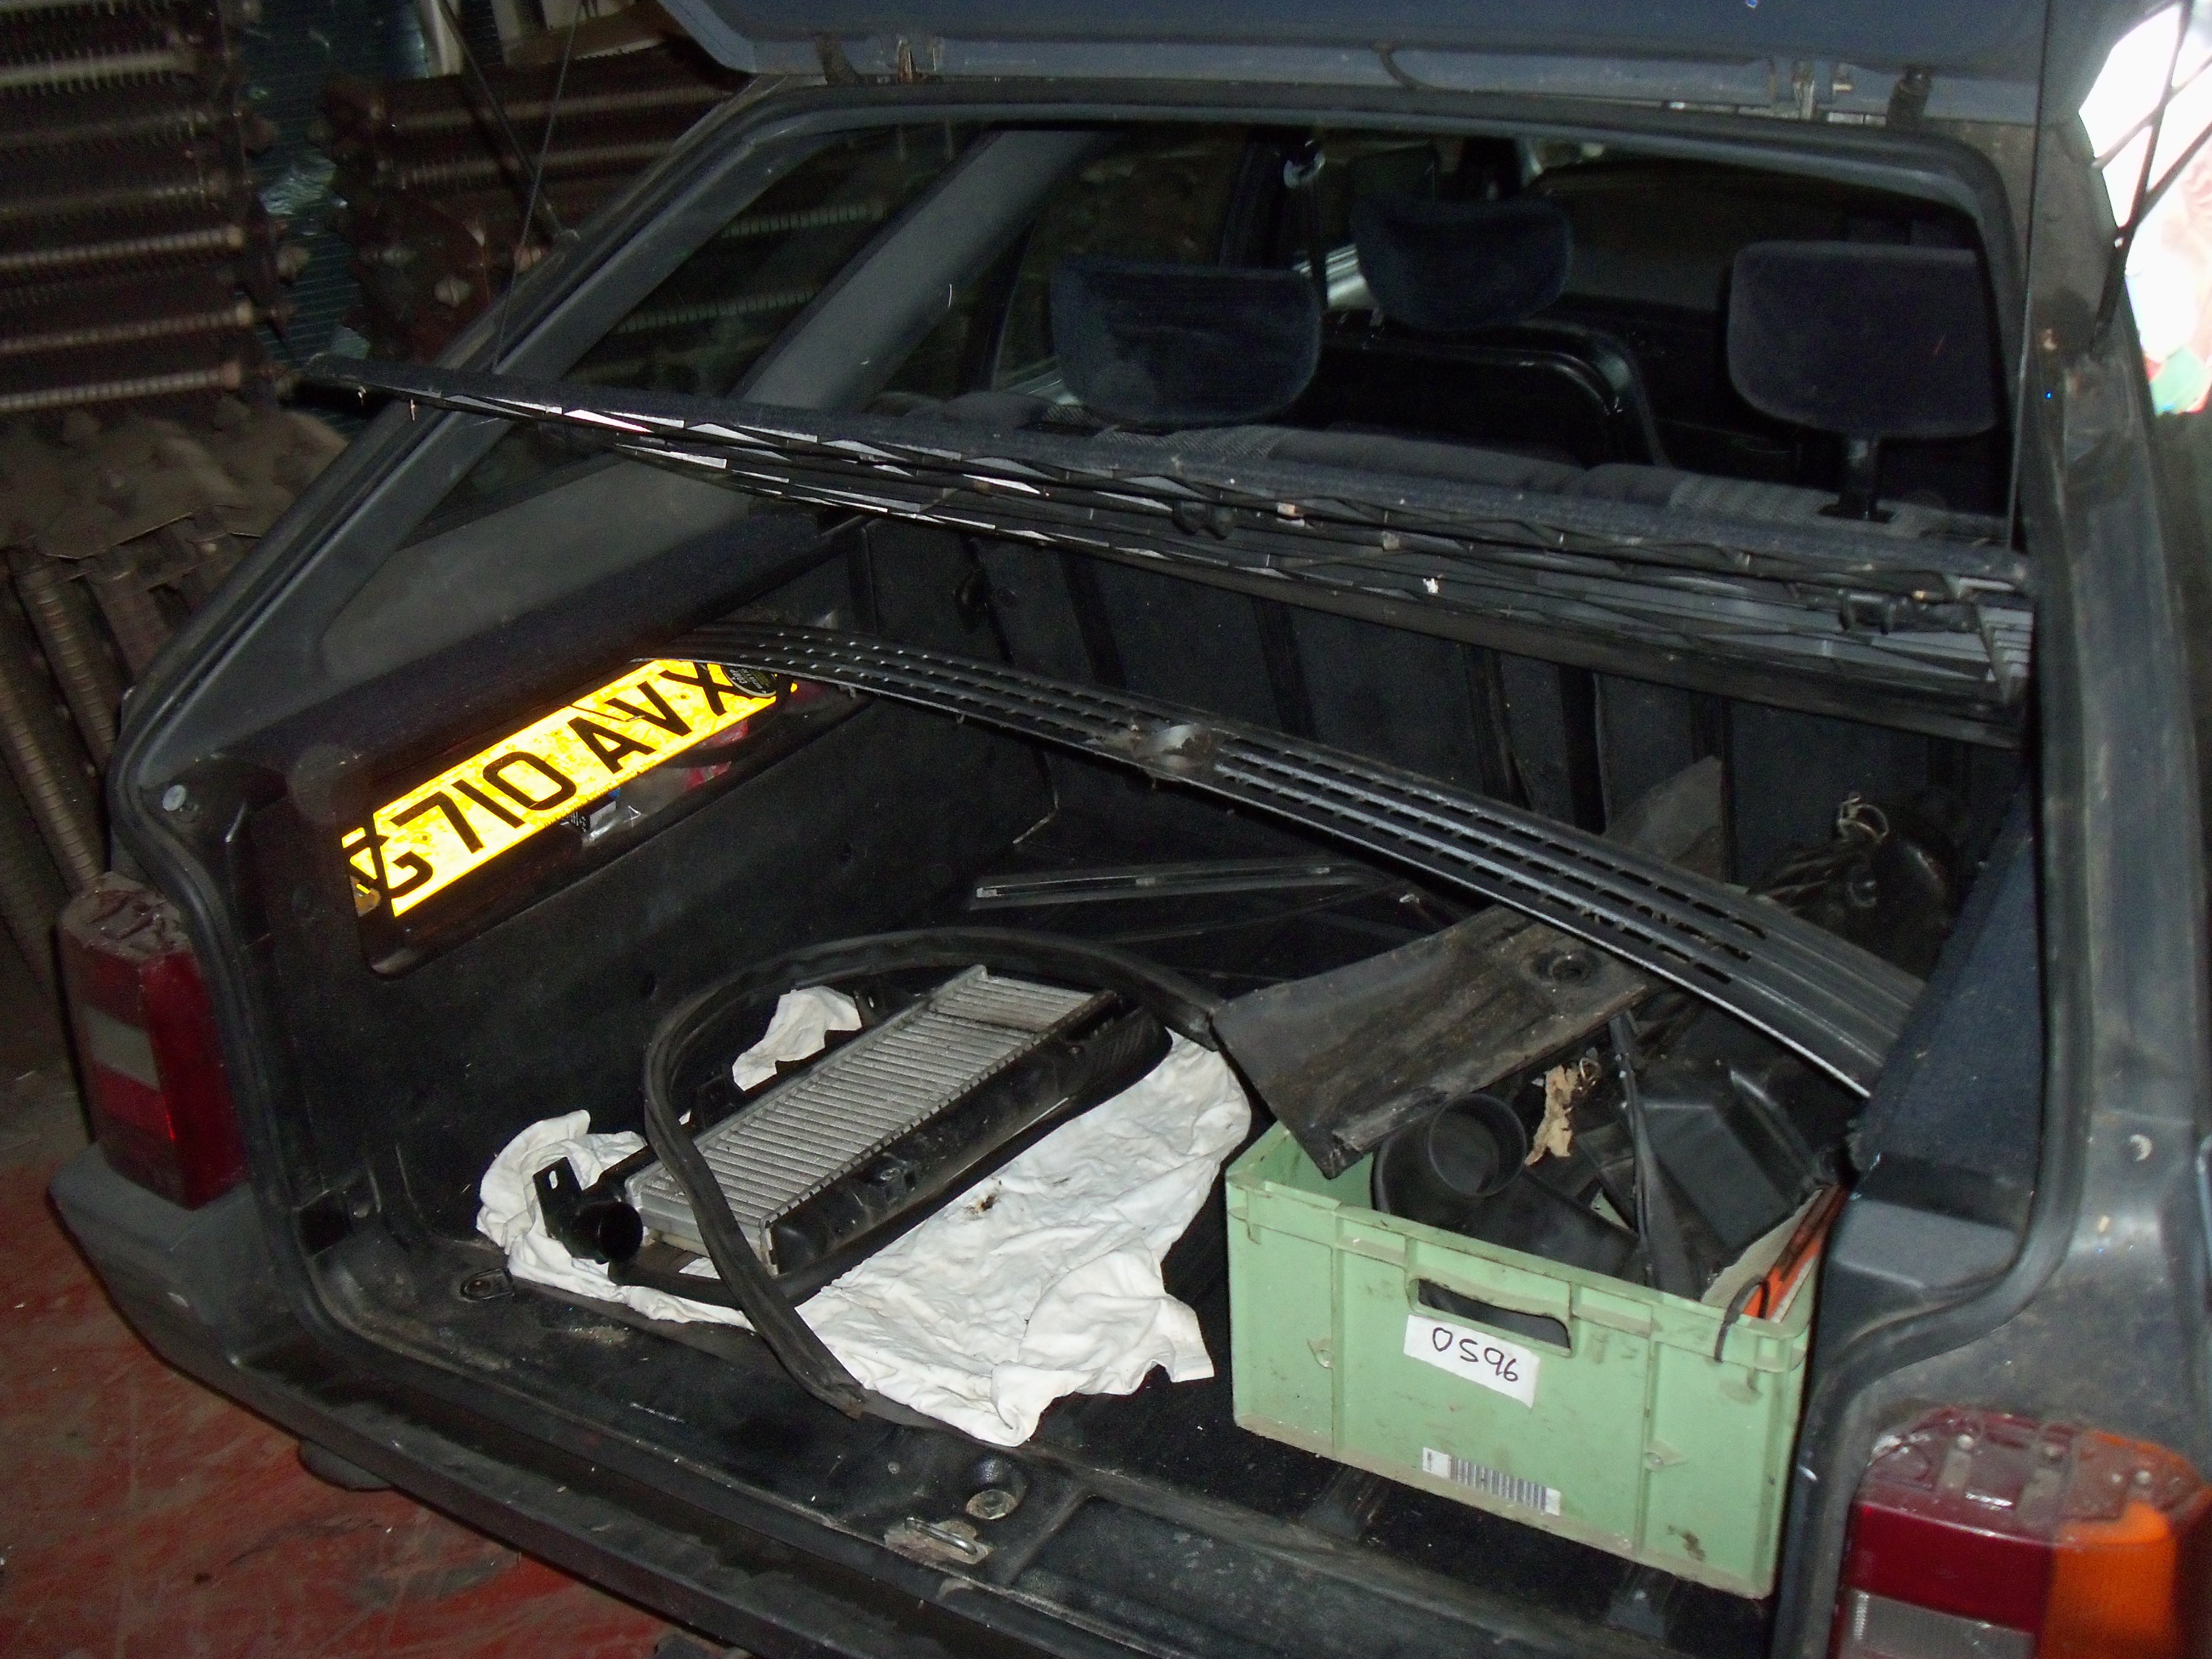
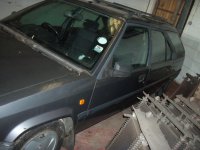
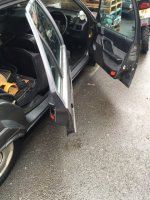
and these are from yesterday now i have the car at work:
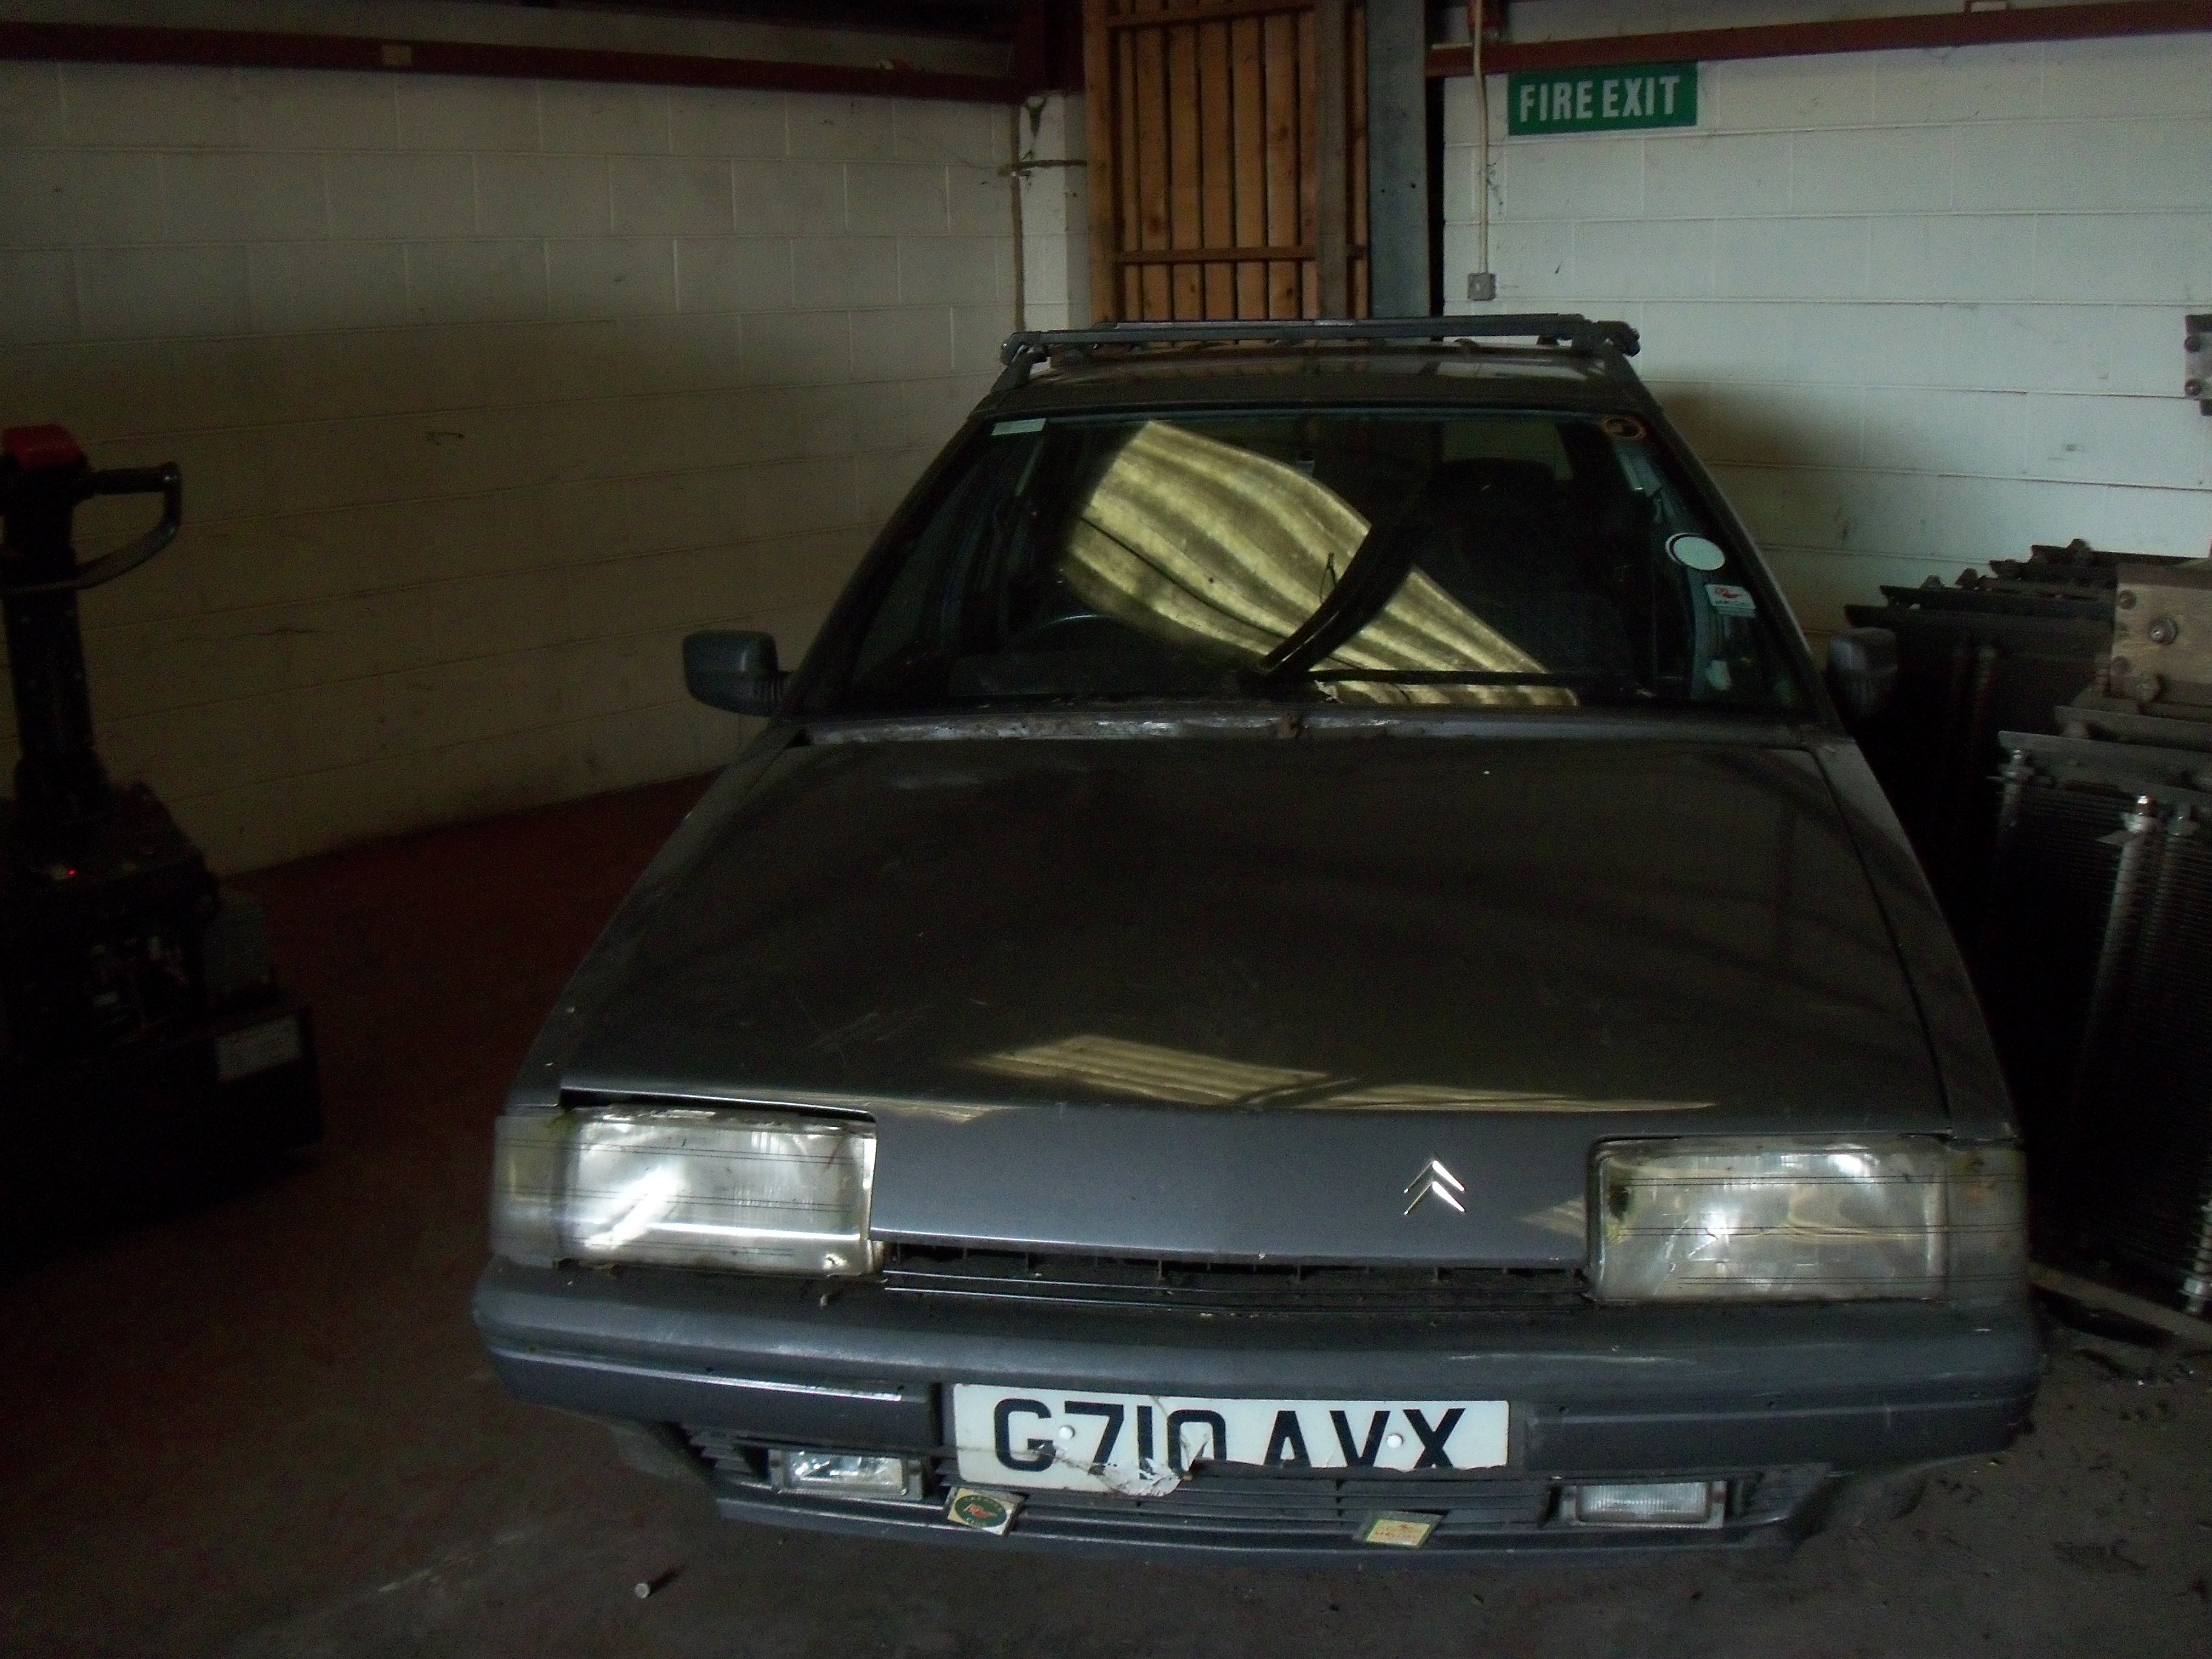


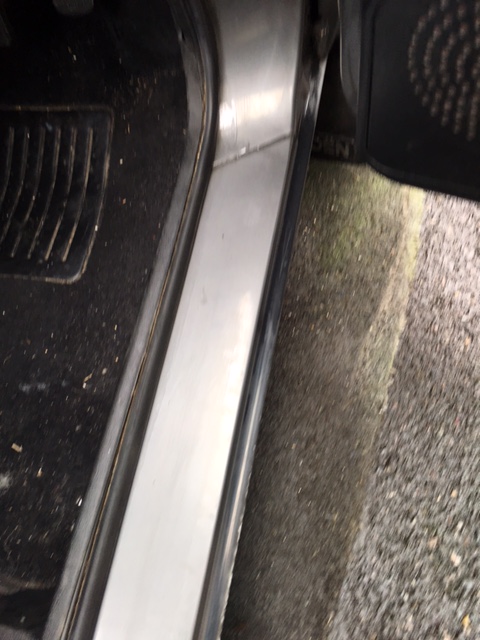
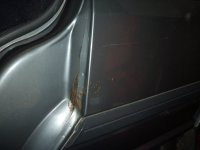
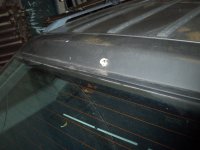
a slight bit of rust.. but nothing i cant fix..


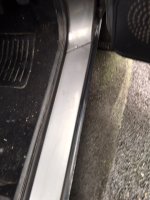
and now the really bad stuff...


ouch... smashy smashy


i will also be making online video logs. and here is the first:


see you in the next update!
bit of bad news though, i think the fuel tank is cracked. i have been getting diesel from scrap cars and sticking it in the BX's tank. ready for when i get the engine in.
sadly it has got to a point where diesel goes in to the filler.. but out through somewhere onto the floor. i dont know if the tank is cracked of if yet another pipe has burst.. only time will tell i guess.

Quite likely to be a rusty tank, if it has a seam along the middle, that is a likely place.

All fuel absorbs a little water. On a warm day, some evaporates off, then condenses onto the inner tank surfaces above the fuel level. Any air above the fuel also contains moisture. Chilly nights can cause a lot of condensation. As well as rusting out the tank from inside, if enough collects together, it drains down and of course falls to the bottom below the fuel, to be drawn into the injection system. A full tank discourages this, which is why many van and lorry fleets have a routine of filling the tanks every night, not just ready for the next day. If any car has been lightly used, or only ever had a few litres put in at a time, the fuel tank deteriorates more quickly. Good luck with finding the leak, hopefully repairable.
 
it has a plastic tank on this.. not sure if the mk1 had a metal one though.
yeah i know what you mean. diesel is the worst for moisture. i am happy that it is a plastic tank as rusting goes.. but with it not being metal, i cant weld it :(
the fuel filter has a water trap on it that can be drained, i plan on replacing the filter so will clean the whole thing out when i do it.

all of the pipes on this thing are mild steel, bar some of the return hydraulic lines and flexible pipes. they are all hard to find, expensive and stupid sizes and use a stupid flare (called an LDS type flare) that takes a rubber seal that naturally starts to leak over time. no good old never fail metal on metal flares on this. :(
i am looking into converting some of the pipe over to the 3/16 of an inch pipe found on everything. the BX's hydraulic system is pretty low pressure running at about 100 bar (i have only ever seen 50 bar on tests though) i know that 3/16 copper and nickel brake pipe is good for 350 bar. i just need to get some adaptors made up to convert the smaller threaded holes to take the standard M10 unions the 3/16 pipe uses.

i also now have a very nice clean LHM (Hydraulic fluid) tank now :D there was more water then LHM fluid in it when i got the car! should be a nice lime green colour but this was like clotted cream with a hint of green :/


the cap was quite hard to clean and had loads of gunk in it


now nice and clean inside too
 
Last edited:
A plastic tank you'd hope would last the life of the car. Hopefully not split. Good luck with the search.

I understand about the odd sizes of stuff, it is a Citroen thing. I remember years ago, the front bumper on a GS being held on with 7mm diameter bolts, only available from the Citroen dealer at horrendous expense.

yeah, citroen love to do that. i am sure they go out of there way to make things last about 5-10 years then fail, just so they can keep getting money from you. those hydraulic lines are proof of that. really, i dont know what they were thinking.. high pressure hydraulics through rubber sealing unions. pretty crazy and expensive.
 
ok, so the engine is ready to be collected.. thursday will be the day. i'll clear out Fallouts boot and throw it in the back. when i take it to work ill lift it out with the forklift... i hope

or i can just nick works pickup truck haha. i'm sure they wont mind me.. ahem borrowing it.

when i get the engine to work i will set about stripping all of the un-necessary items from it (which there is not much!) i will replace the 3 parts of the clutch, all the belts and pulleys, and swap around my AC compressor. hmm i may also have to change the intake manifold too.. the one that is on it has an ewwww... EGR. i am looking forward to seeing what the intake manifold looks like inside.. and see how restricted the intake ports now are from it.

ill also swap over turbos too.. thats if i cant find a nice VNT turbo to put on it. im all for economics.

nothing much else to report.. still no new pictures or a video.
 
hmm i dont think so.. haha i still have my engine out of the car.. in bits!

so here is the plan, the replacement engine is nice, it runs great and for saying the EGR was jammed open and the waste gate on the turbo was seized solid it does not smoke! (always on boost, but all the pressure was leaking through to the exhaust.. sigh.)
yes.. the EGR.. we will get to that in a moment.

picture time first!

so here is my little work place.. 2 engines.. a good tool set and in the background there.. on hell of a lathe (13 inch deck! sadly missing its chuck)


here is the engine. so far i have stripped off all the bits bolted to the sides, taken the belts and pulleys off. it needs vigorous cleaning. i will jetwash it for now and see how that makes it come up. the plan is to paint this Red with engine enamel. (red for a diesel, green for a petrol.. its just how it has to be)


guess which ones are the intake...


pesky oil seal behind the flywheel was leaking... gahh. well may aswell change it as i have it all to bits to paint it :D


the other end (timing belt end) is ok.. but for what it takes, i will change that too.


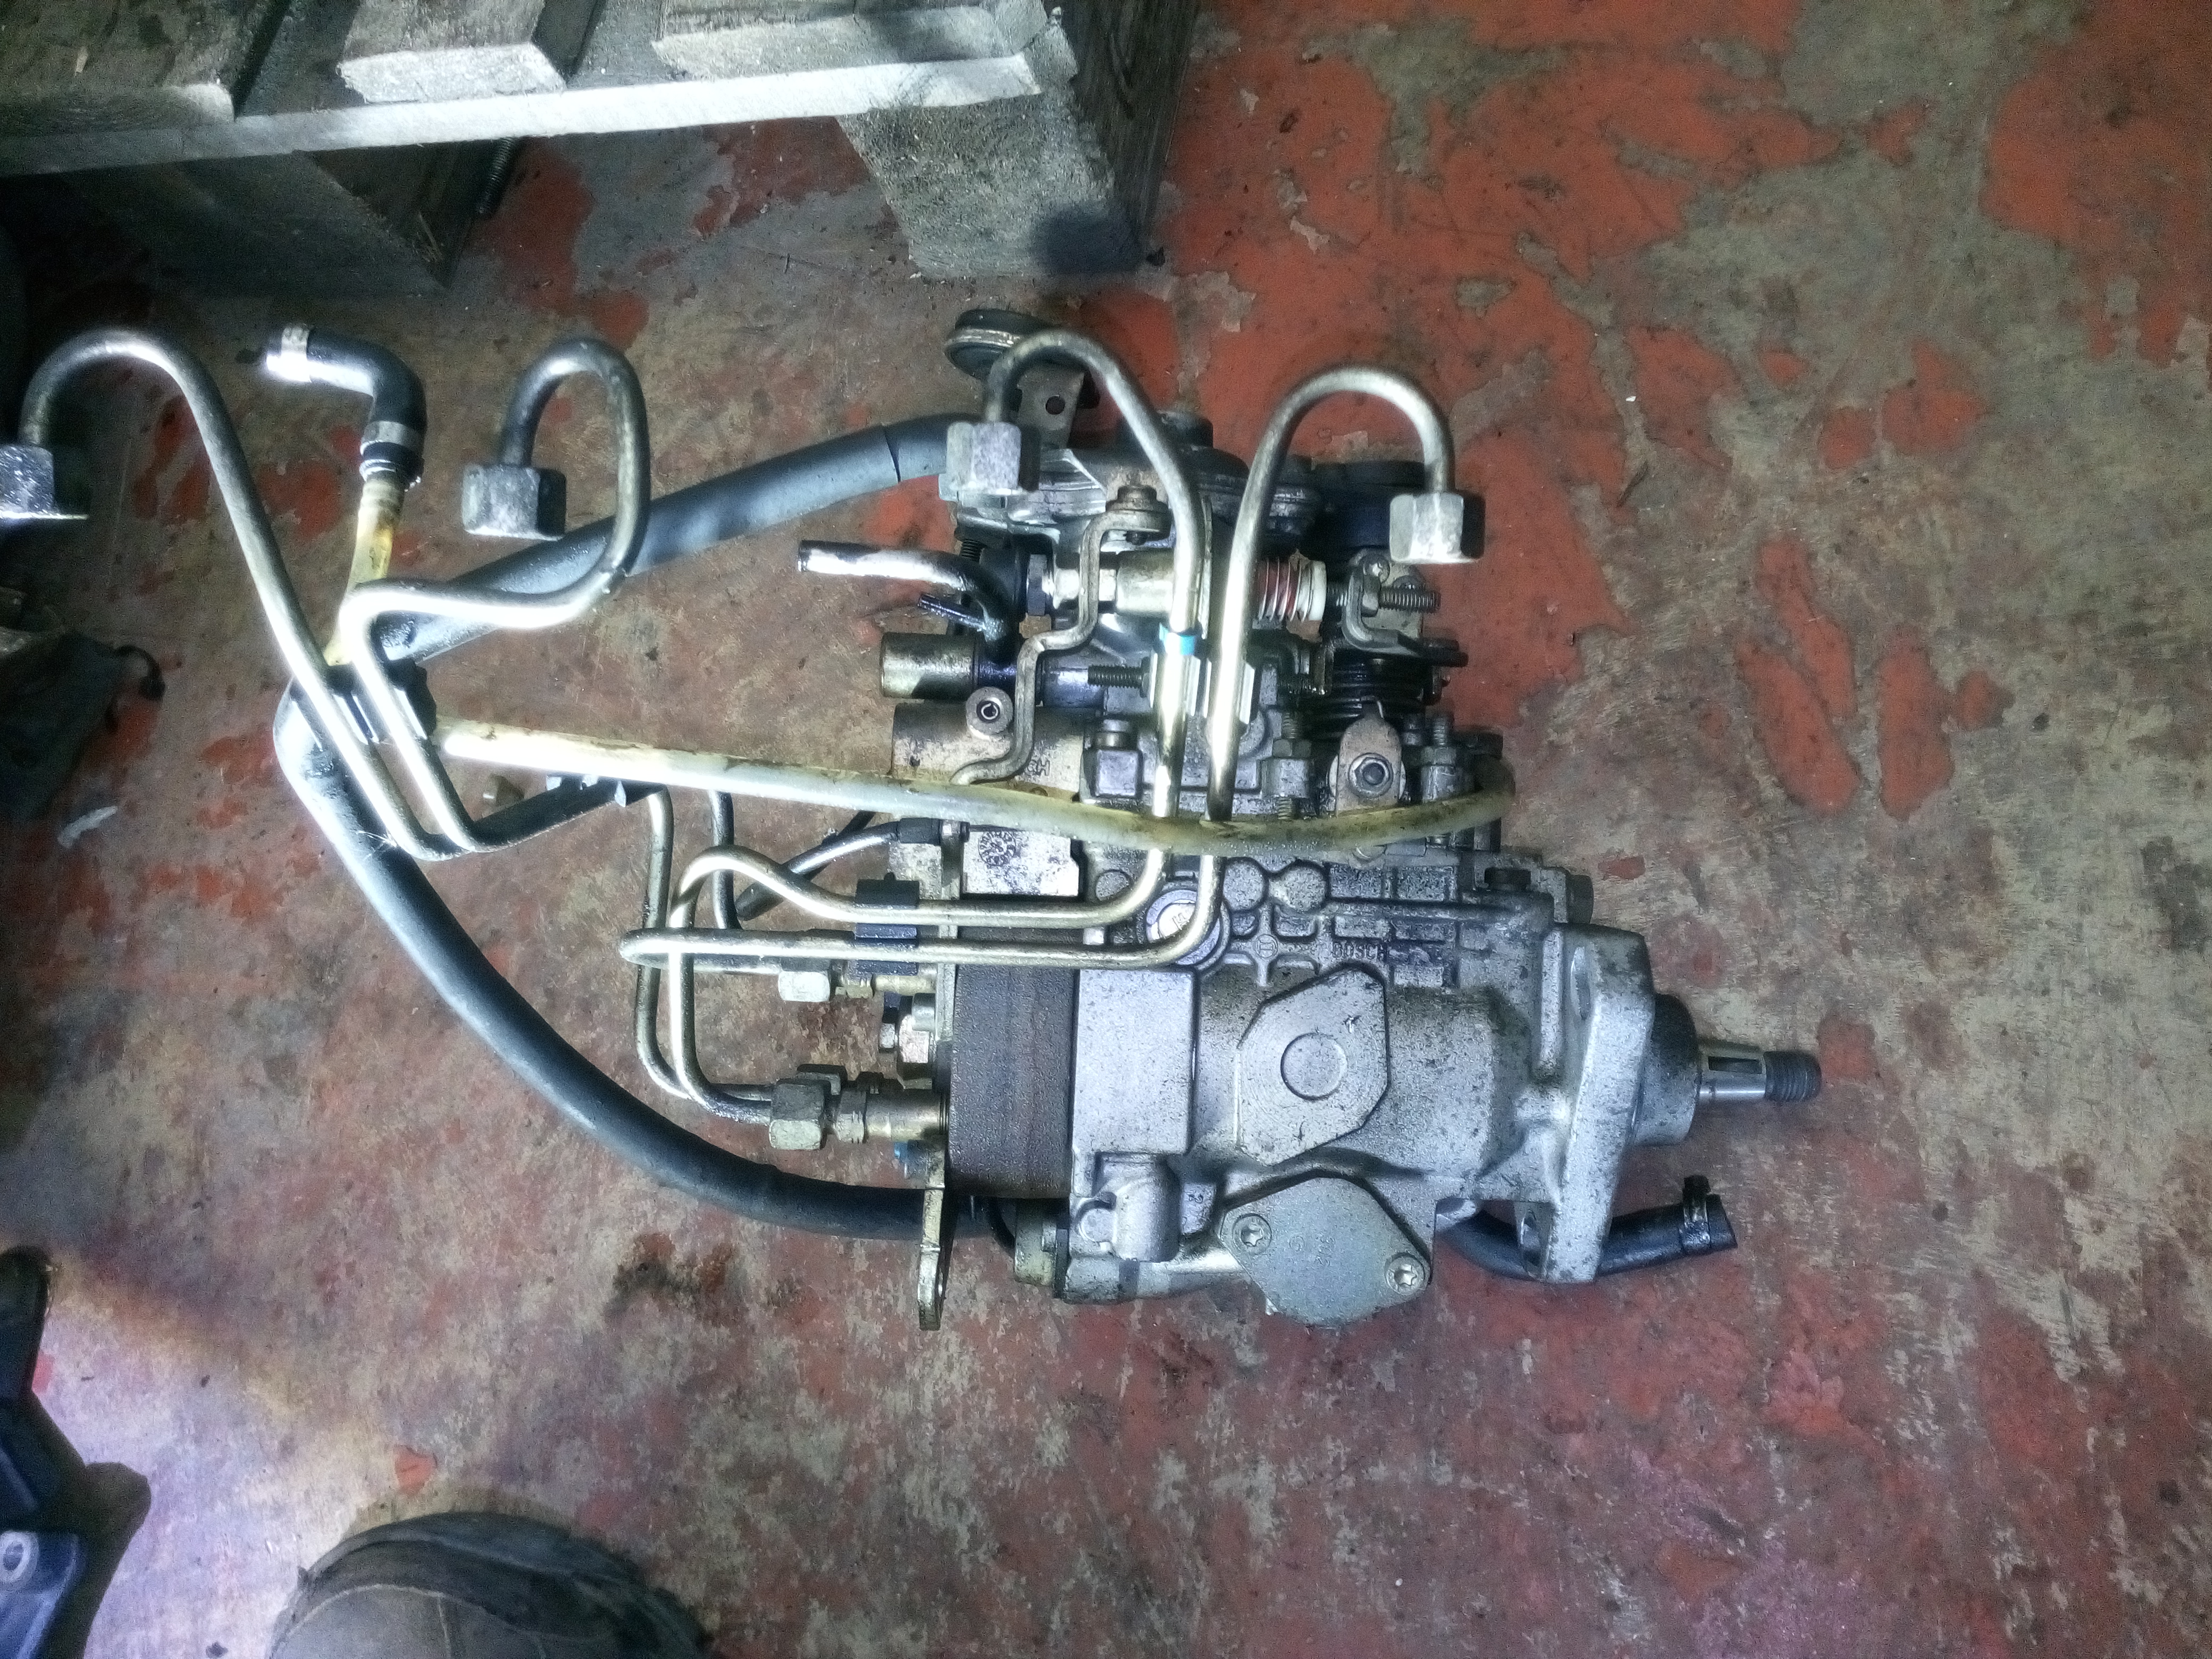
oh whats this.. it all came on the Ulysse's engine.. could it be? the magical Bosch pump everyone raves about?? oh my.. so it is!


right.. so now we get back to that EGR thing i was on about earlier.

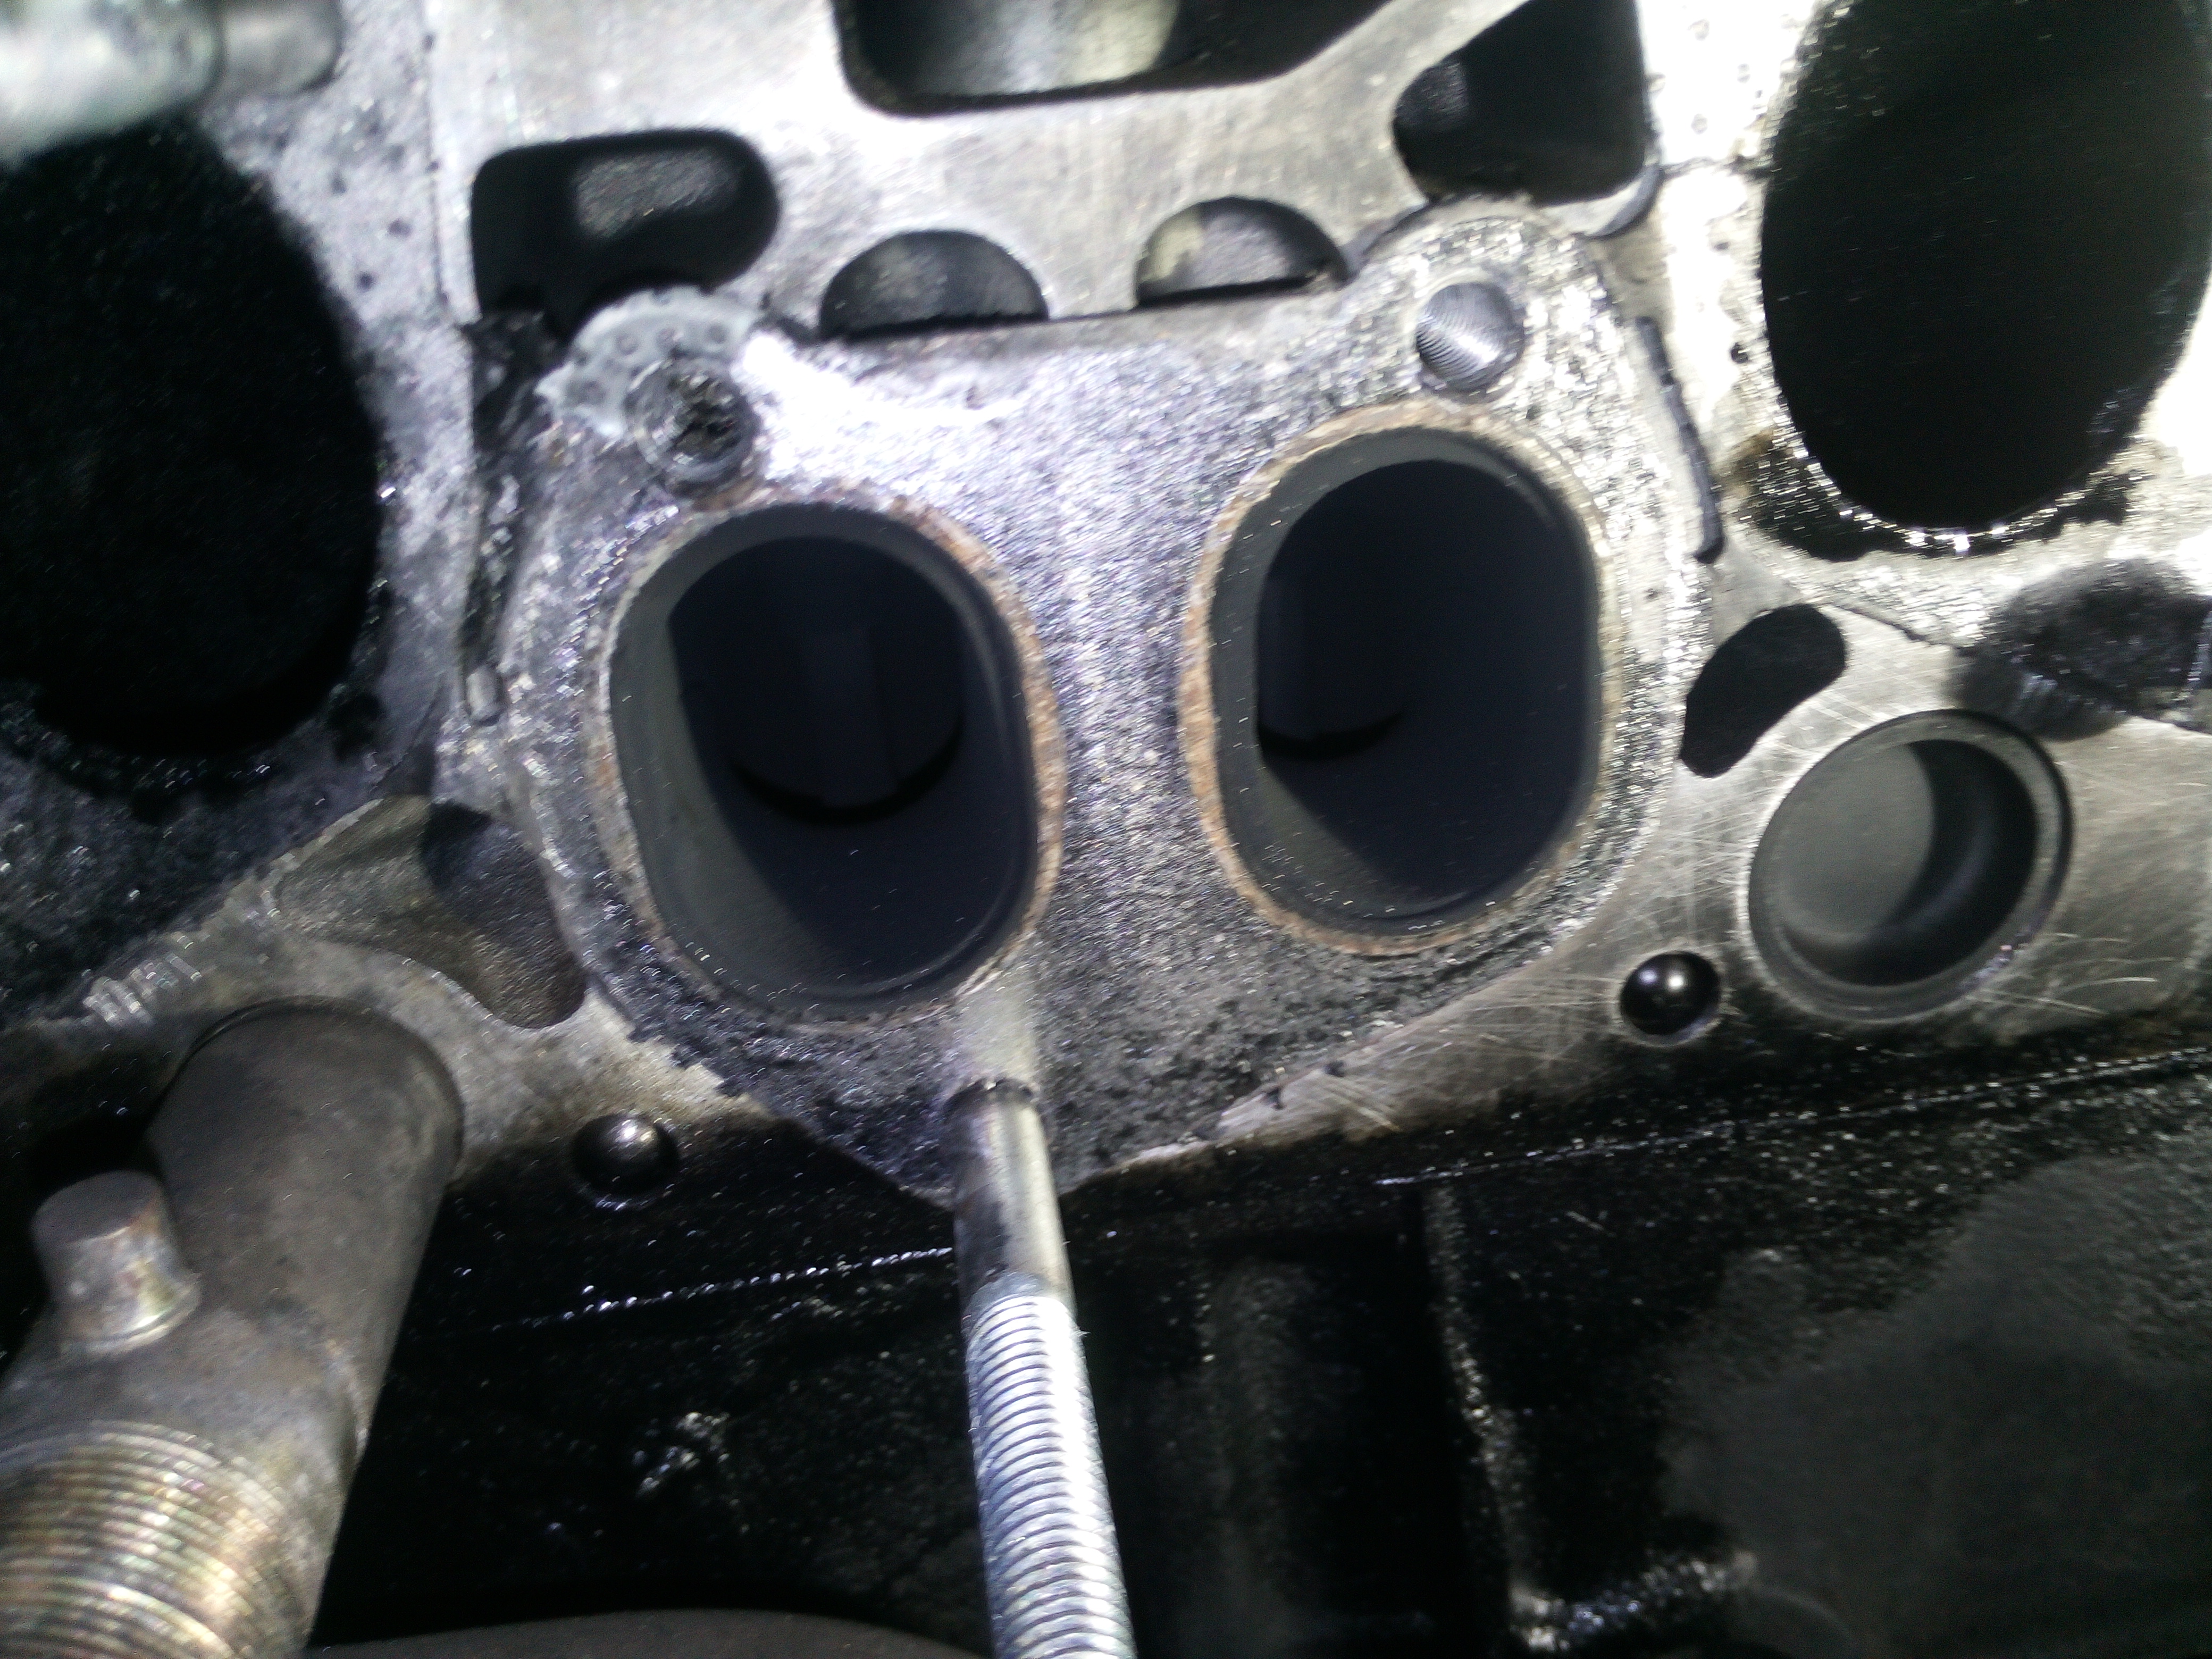
here we have the 2 center exhaust ports. nice and clean. these are as i took the manifold off. i have not cleaned these.


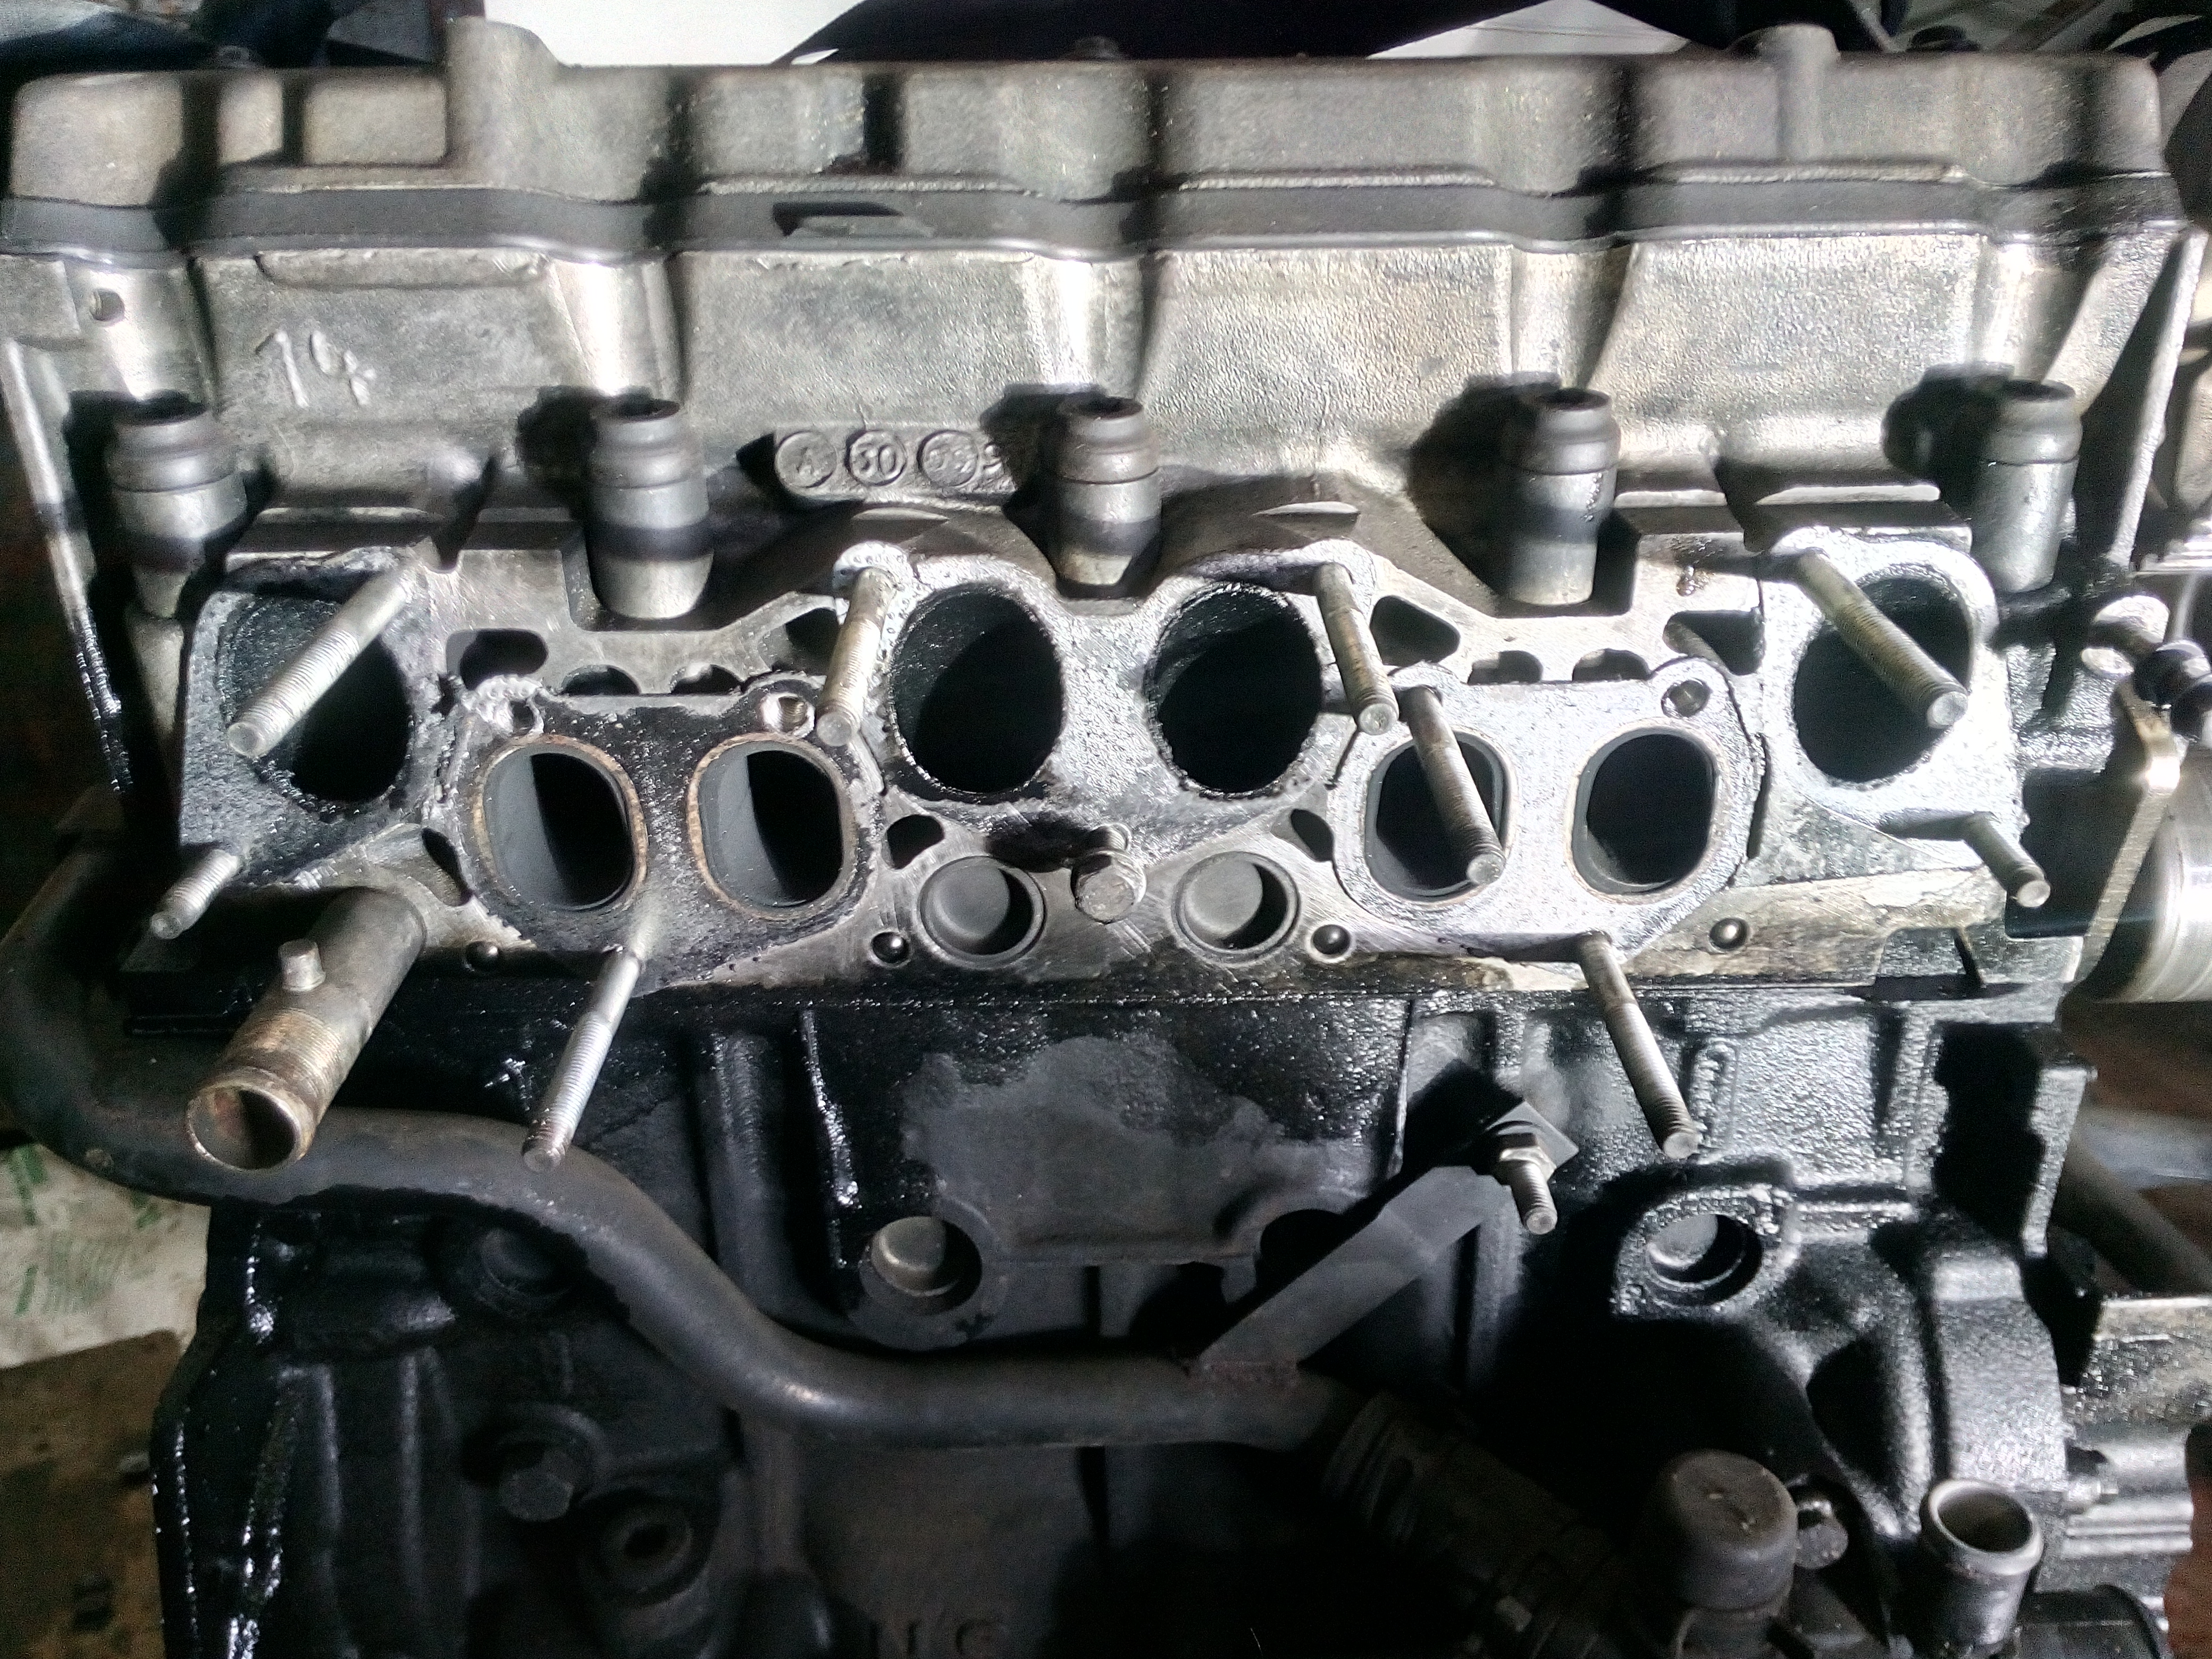
now for the true horror of the EGR.

these are the clean air intake ports.

cyl1

cyl2

cyl3

cyl4


big deal huh.. well..
in better light:

cyl1

cyl2

cyl3

sadly torch batteries died at cyl4.. but it was just as bad.

ERG.. the creator of "diesel engine cholesterol"
i give you, the grand finally.
this is looking into the intake manifold, at the EGR/clean intake air from turbo mixing point. behold. strangulation at its finest.


even just me blowing through the intake manifold, i was greeted with quite a resistance. its no wonder the waste gate on the turbo was jammed closed! poor thing had to boost all the time to combat this incredible restriction.

needless to say, the manifolds and turbo (if i cant get my hands on a VNT turbo before i get the thing built up) from off the old engine will be going on this replacement engine. the old engine was before the days of EGR's on diesels so the intake manifold and ports are still shiny! even the turbo does not pass oil!

well, till the next update keep rocking :slayer:

and dont let those EGR pictures give you nightmares!
 
I will never understand why cars have EGRs?!?! This is all thats gonna happen, it doesn't matter how well the engine is designed, if it has an EGR this is the end result eventually - and much much quicker if its a diesel. Yeah I get they reduce emissions but c'mon, they are just a silly idea. The only thing I can think of is that because stuff (in general not just cars) seem to just not be built to last anymore that they just don't care that it will fail, even before they fail the inlet is totally minging. Grrr, I could rant for houras about how stupid they are - needless to say, all cars i have owned that have them i have blanked them - mmmm except my 500, will have to look into that and how hard it is to do without an EML or if you can get rid of said EML, figured it out on my old 159 eventually.
 
There is a good reason why old Peugeot / Citroen diesels carry on trucking through Africa for hundreds of thousands of miles, but you frequently see modern diesel cars 'rollin coal' down the highstreet smoking like Bob Marley and the Wailers... a well maintained modern diesel engine is efficient, but most people don't maintain them and don't want to pay for someone else to do it properly.

Great to see the progress, you're totally correct - red is the only choice for the paint!

Bosch pump (and matching injectors) are what you need to run on veg oil (I know you know this, but some Fiat people following might not) - the other type is Lucas which is what I have on my 309, sadly just before I got it someone replaced it all with brand new Lucas stuff so no point swapping it out. I've still had 60+ mpg out of it on a run so not too shabby. Now the speedo and mileometer are fixed on the BX I'll be able to see if I can beat that!
 
EGR's have one good point and that is they really reduce nox gasses (which is not something that has to meet requirements on a UK mot test). they do slightly help to heat the diesel engine when cold starting too.

the EGR on most diesels are normally service items requiring cleaning at given intervals but they always get overlooked.

this one i dont think has ever been done looking at it. its pretty chock-a-blocked in there.

new set of glow plugs bought for it too.. ill change them over to help with starting
 
ahh so i have done a bit more work on the BX.

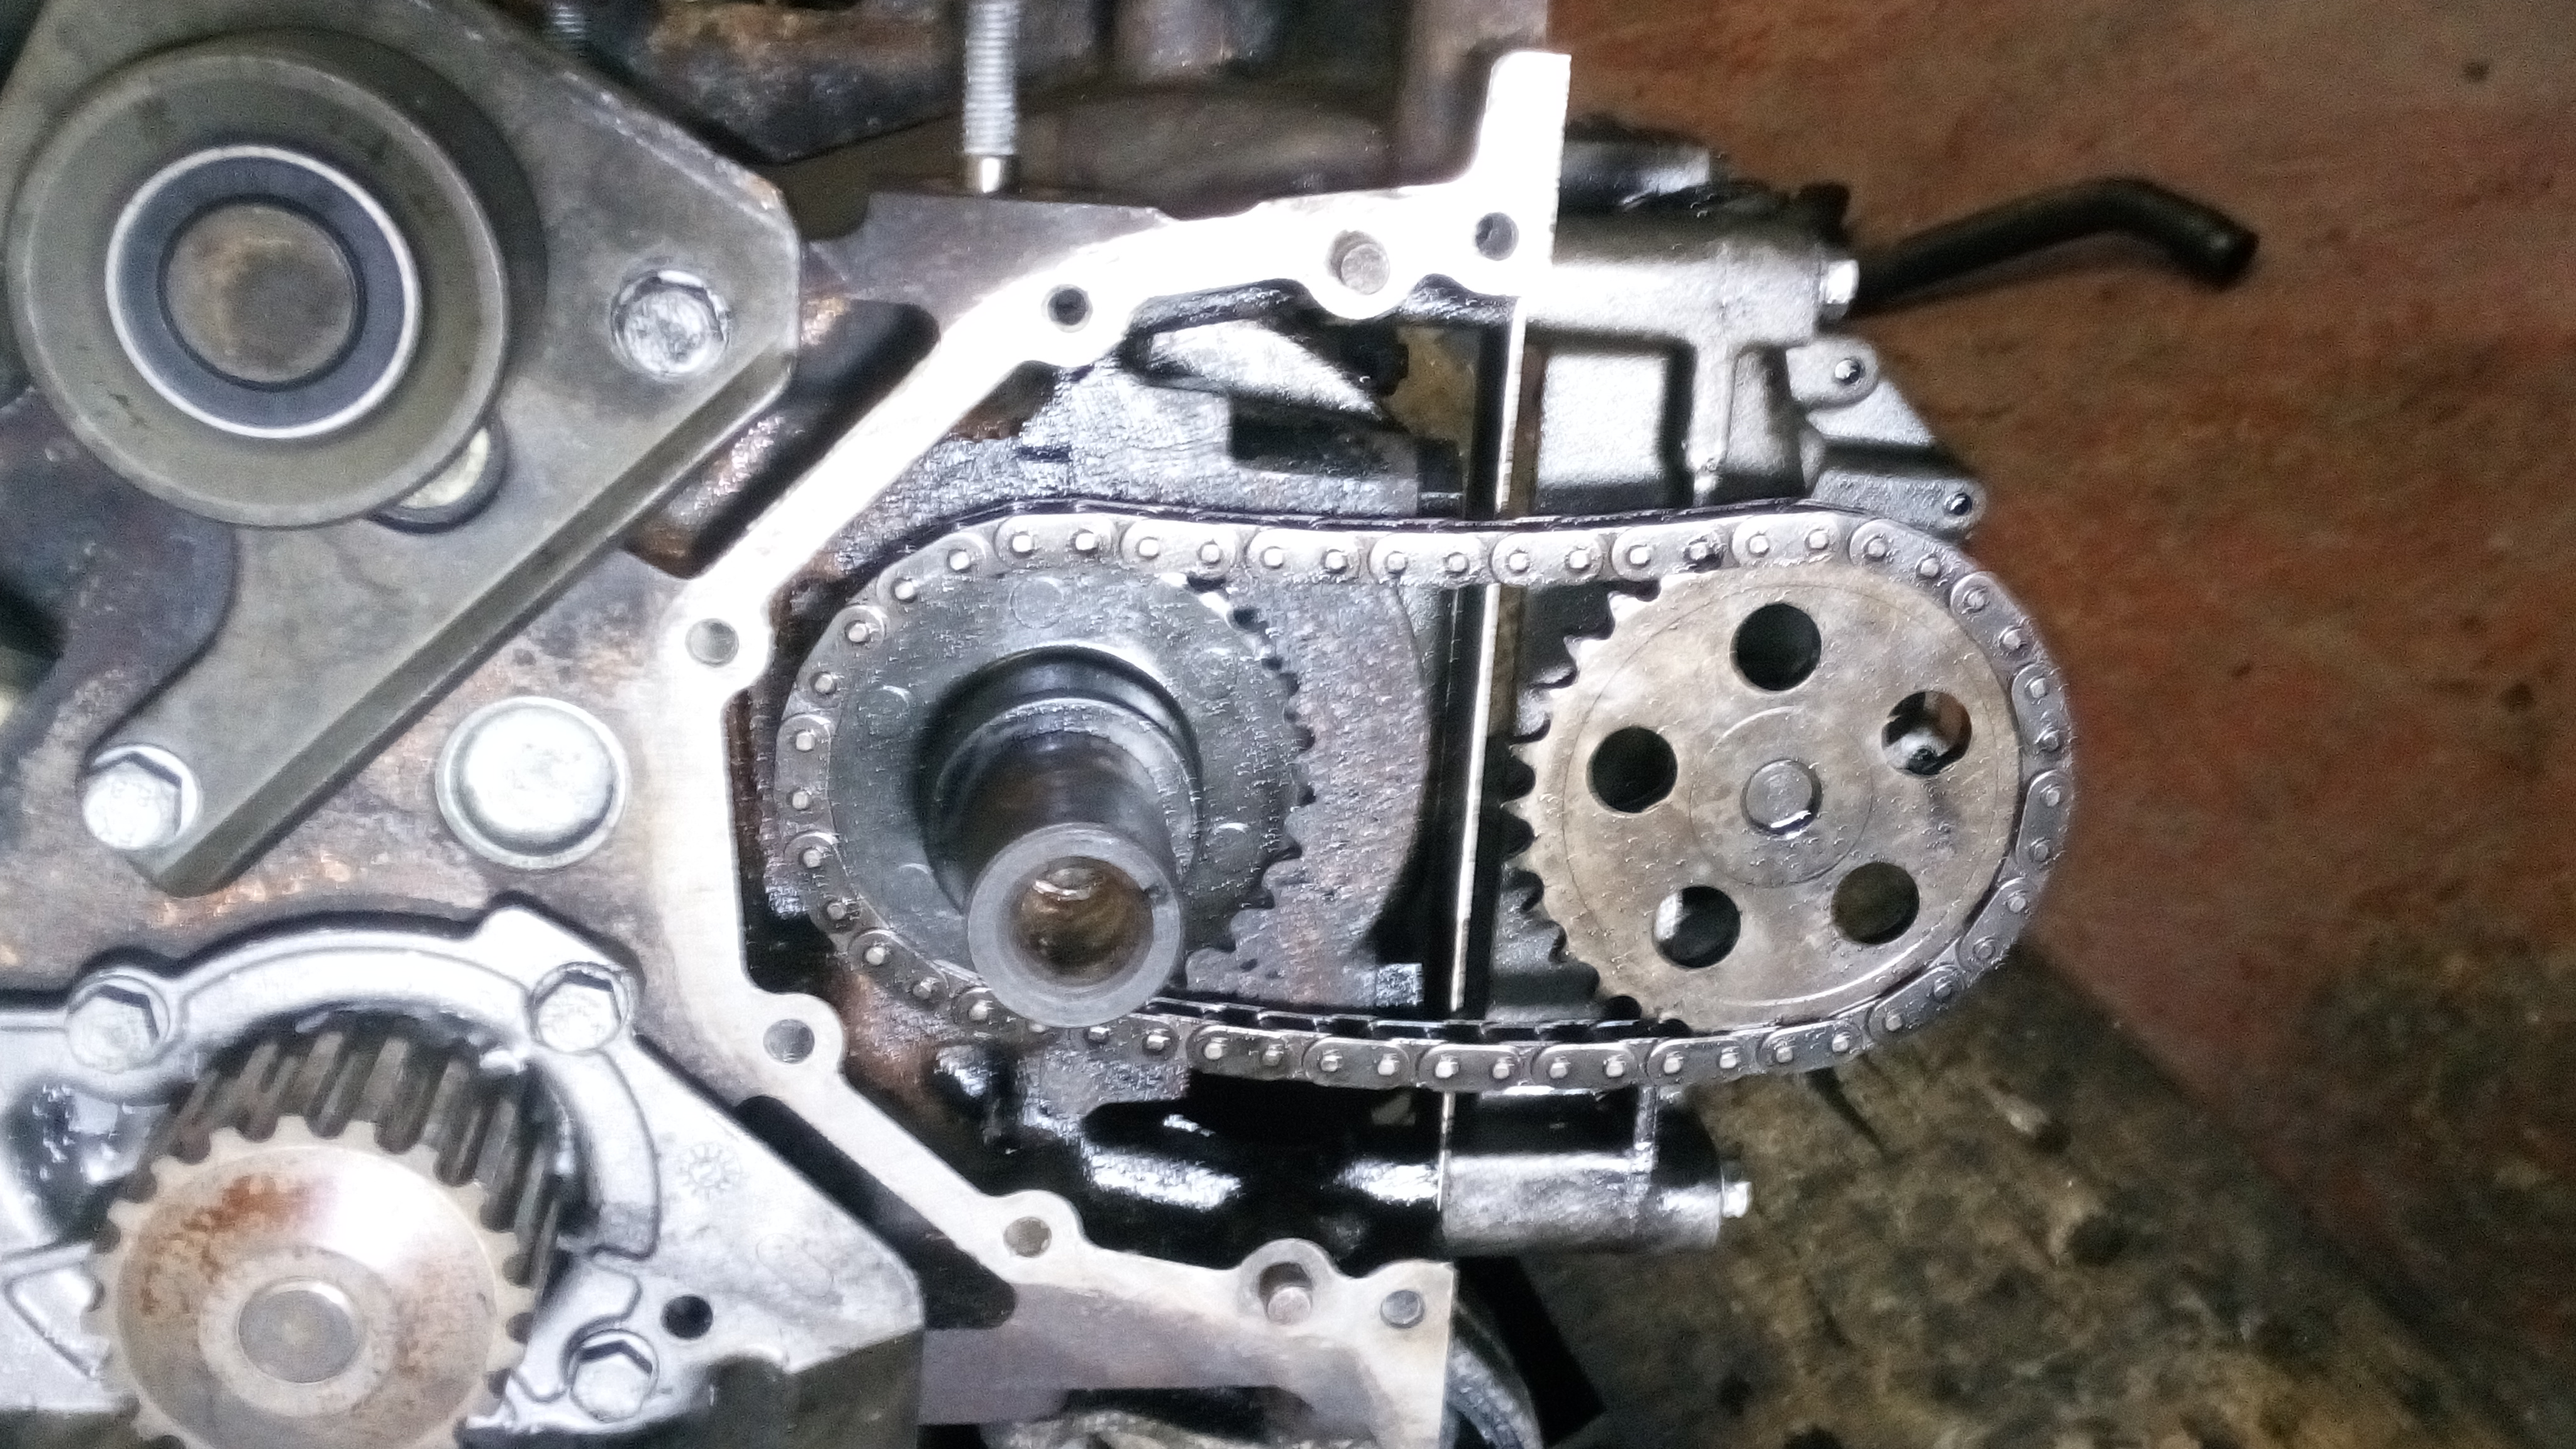
so the engine now has had the oil pump swapped over (for the slightly lower miles one). i am not sure if i should have, but i made a gasket for the oil pump chain cover too.


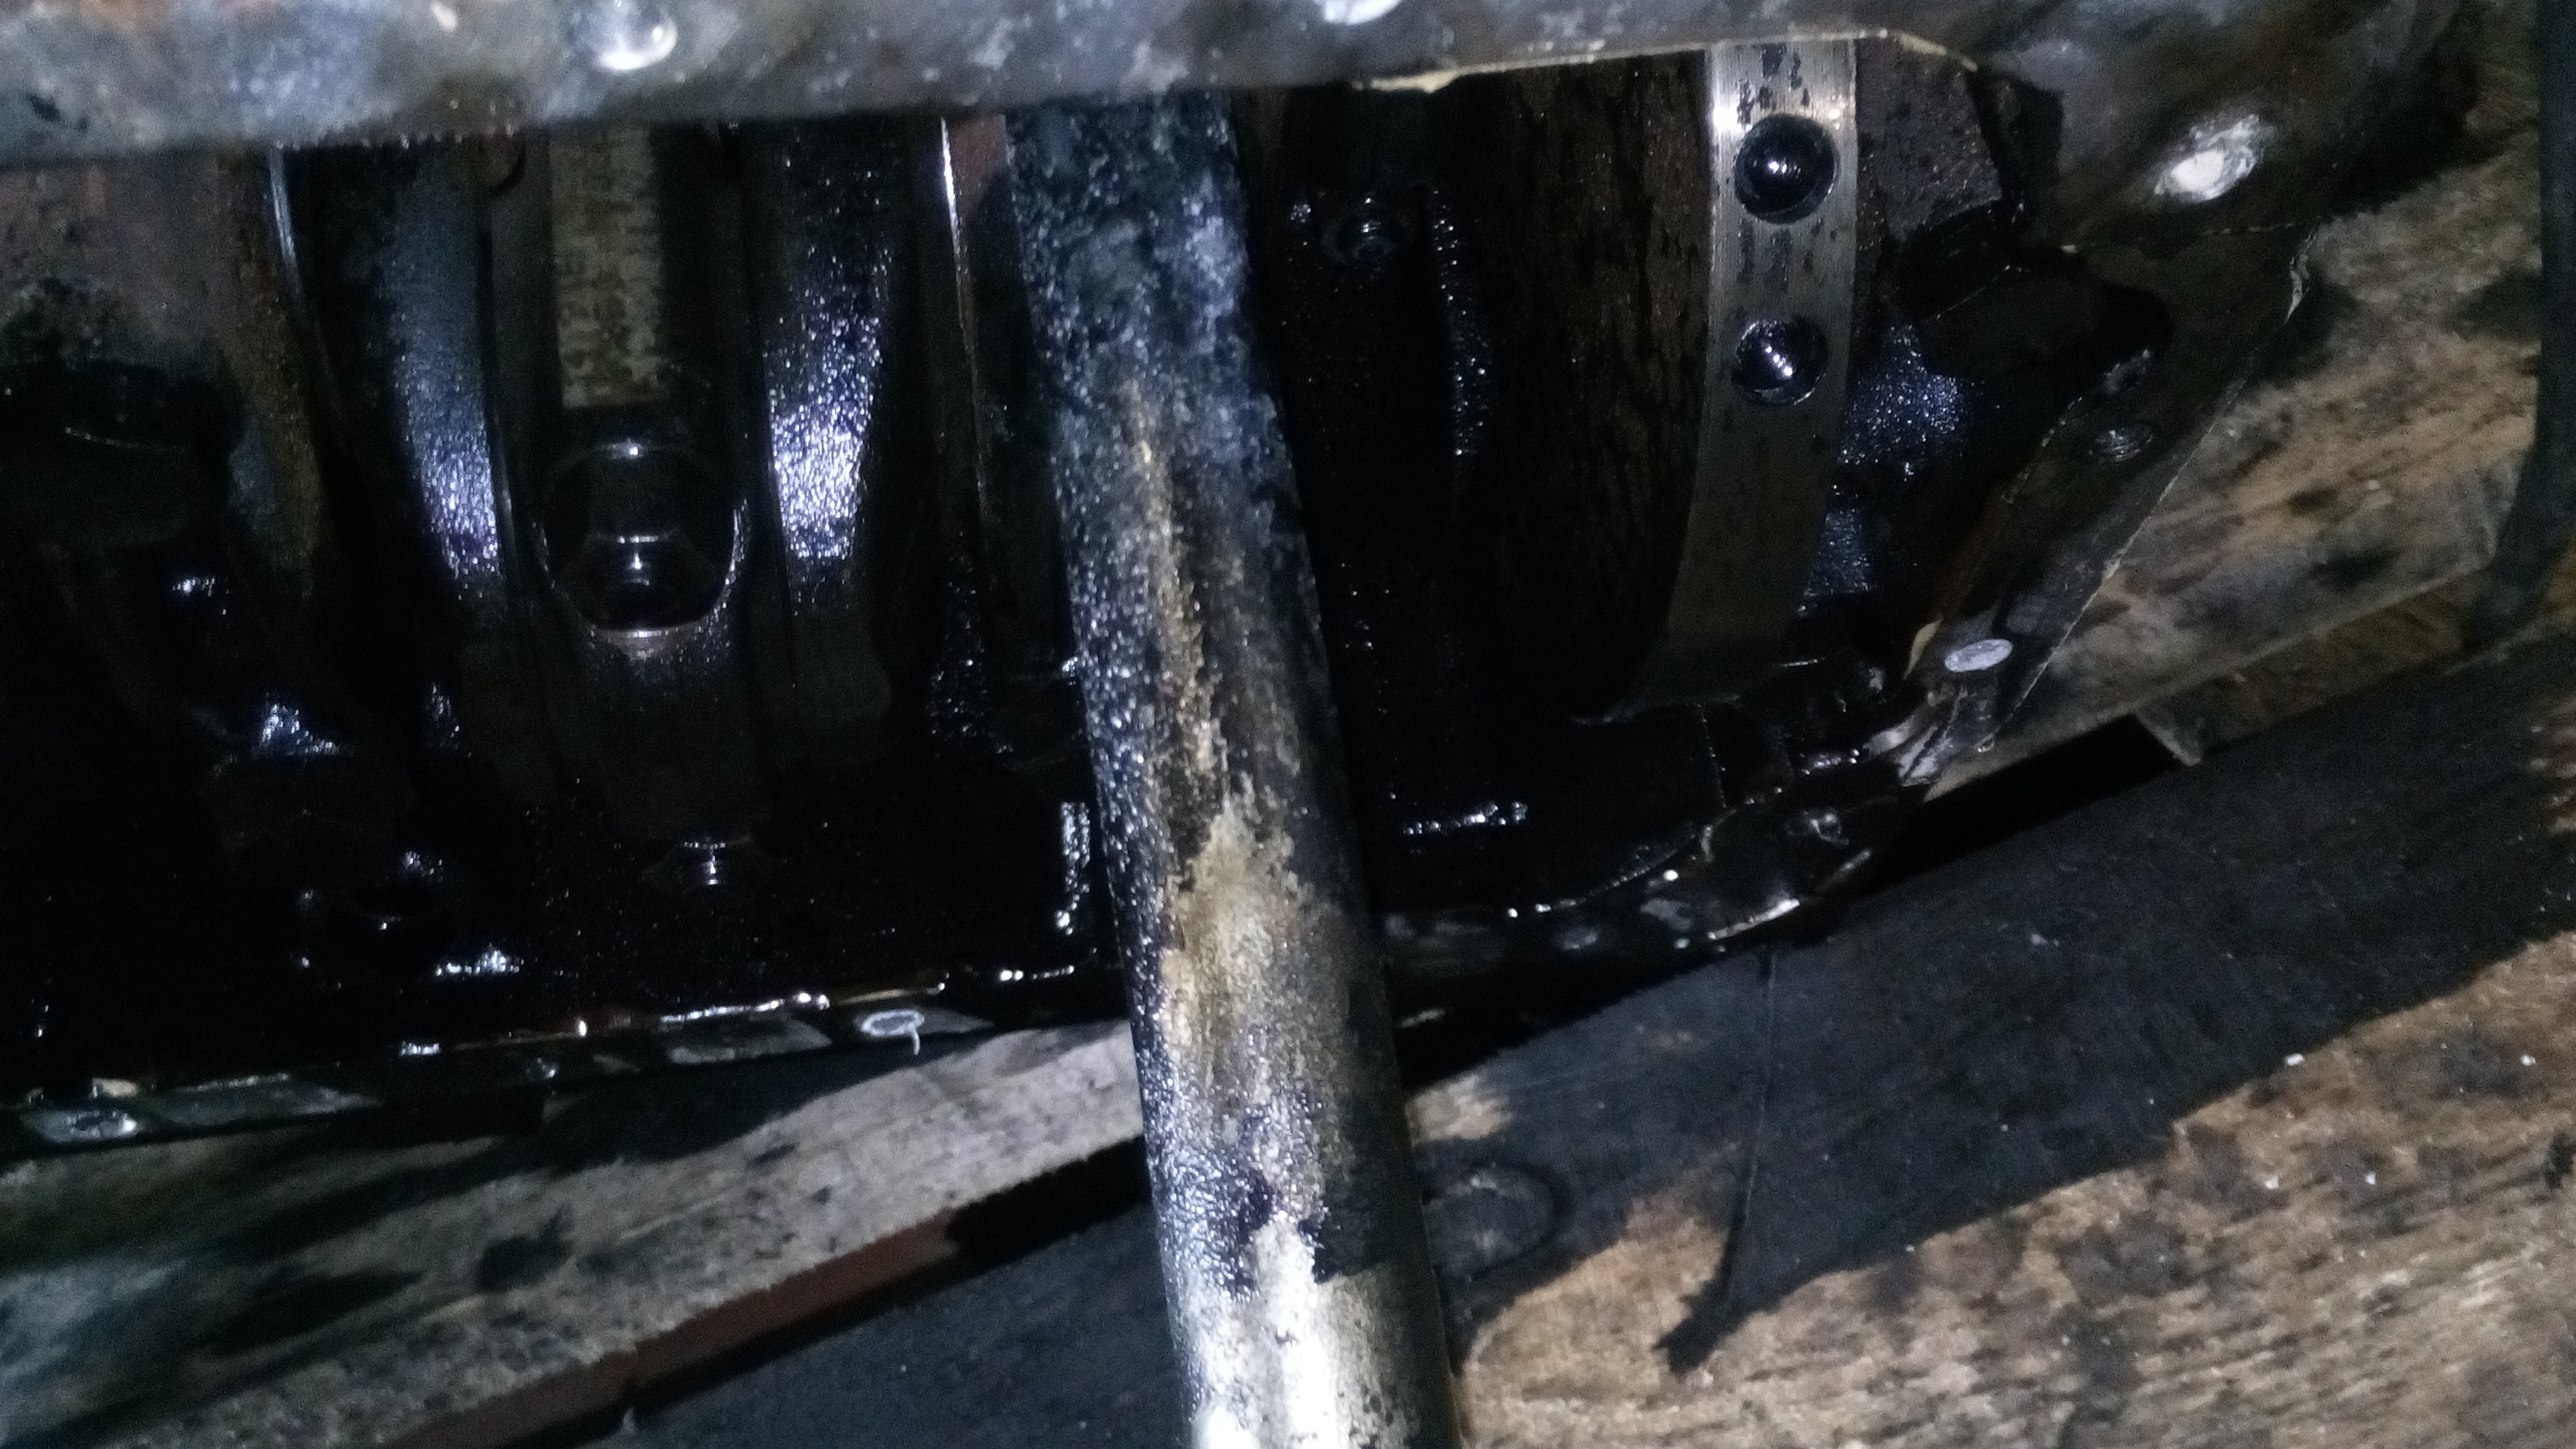
its a bit mucky inside with some oily buildup, i cleaned it out the best i could but when i have built it all up and running i will run some cheap oil through it with some engine flush.


anyway. the replacement BX cam shaft has been installed, the 4 shaft oil seals have been renewed (crank and cam), the oil sump from the original engine has been swapped over to the replacement engine, the cam cover oil seal and sump oil seals have been renewed, the water pump has been changed, new Bosch glow plugs installed, and the engine has had a bit of a quick lick of paint just to see how it's going to look.. and boy does it look nice!


:eek::eek::cool::cool::D:D

i will be painting the whole engine red plus the gearbox, pumps and alternator. agricultural/marine style.


i then started to remove the drivers side wing, the wing skins (both sides) themselves are in fantastic condition. ok the paint has gone a little thin but dent and rust wise, there's none!
under the skins on the shell its another story. though not bad (given the age of the car) we do have a little rust. i knocked out as much as i could and even got the jet wash in there to clean it up a little more.


i also took all of the brakes apart too as i am replacing all of the brakes.. the fluid in the brake pipes.. did not look like LHM :/

i also found this nice pipe with a few good splits in it, the one on the other side was completely split with a section of the 2 pipes missing!


now for the other side to be removed.. and.... oh my! it looks good in here!


just a little bit here..

... and a bit more..


but as it goes.. better than the other side. nothing i cant fix!

aaand of course.. here is another video log (4th one) for you guys to watch:

https://www.youtube.com/channel/UC4NITc0ipeX_hCgTEygva7A


till next time!
 
righty ho!

so today i have been pulling most of the returns out of the engine bay, they are a pretty sorry state with multiple splits laddering all the way up the pipes. needless to say i will be replacing the lot with nylon "air tubing" pipe. i have had great success with this stuff before using it to transfer oil on the waste oil burners i have built for my workshop (even used it as petrol fuel line on my old panda!).

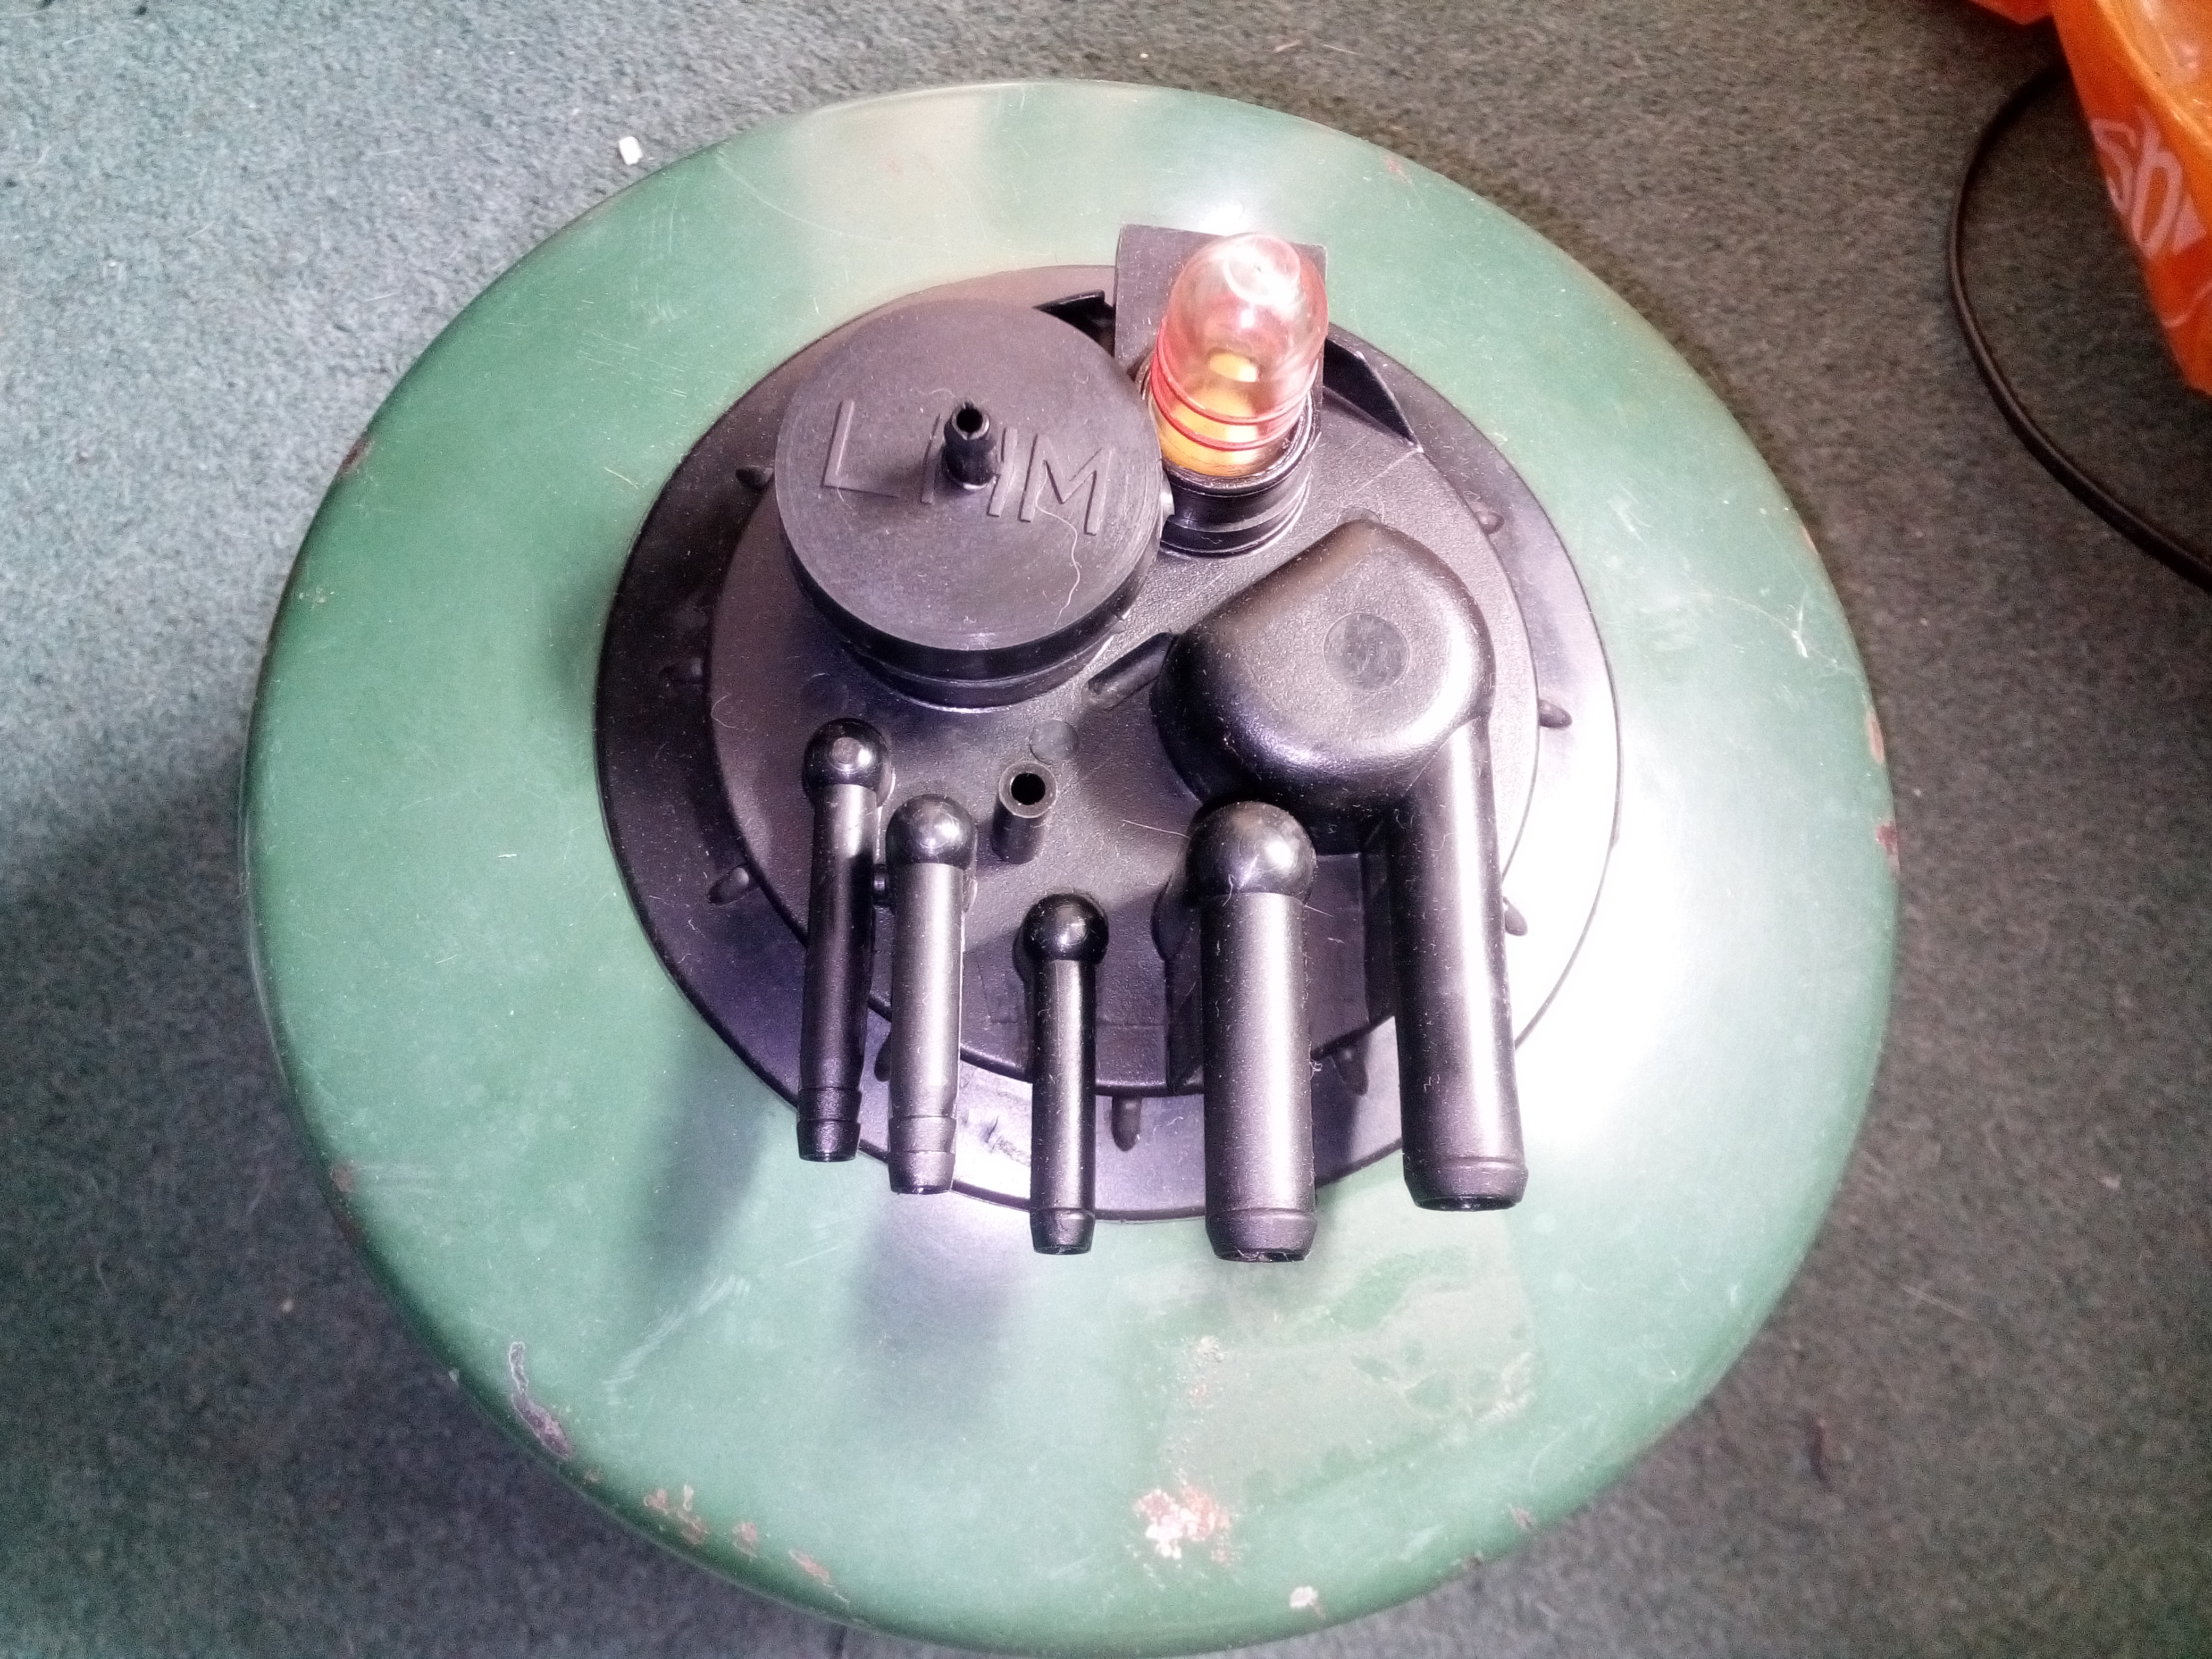
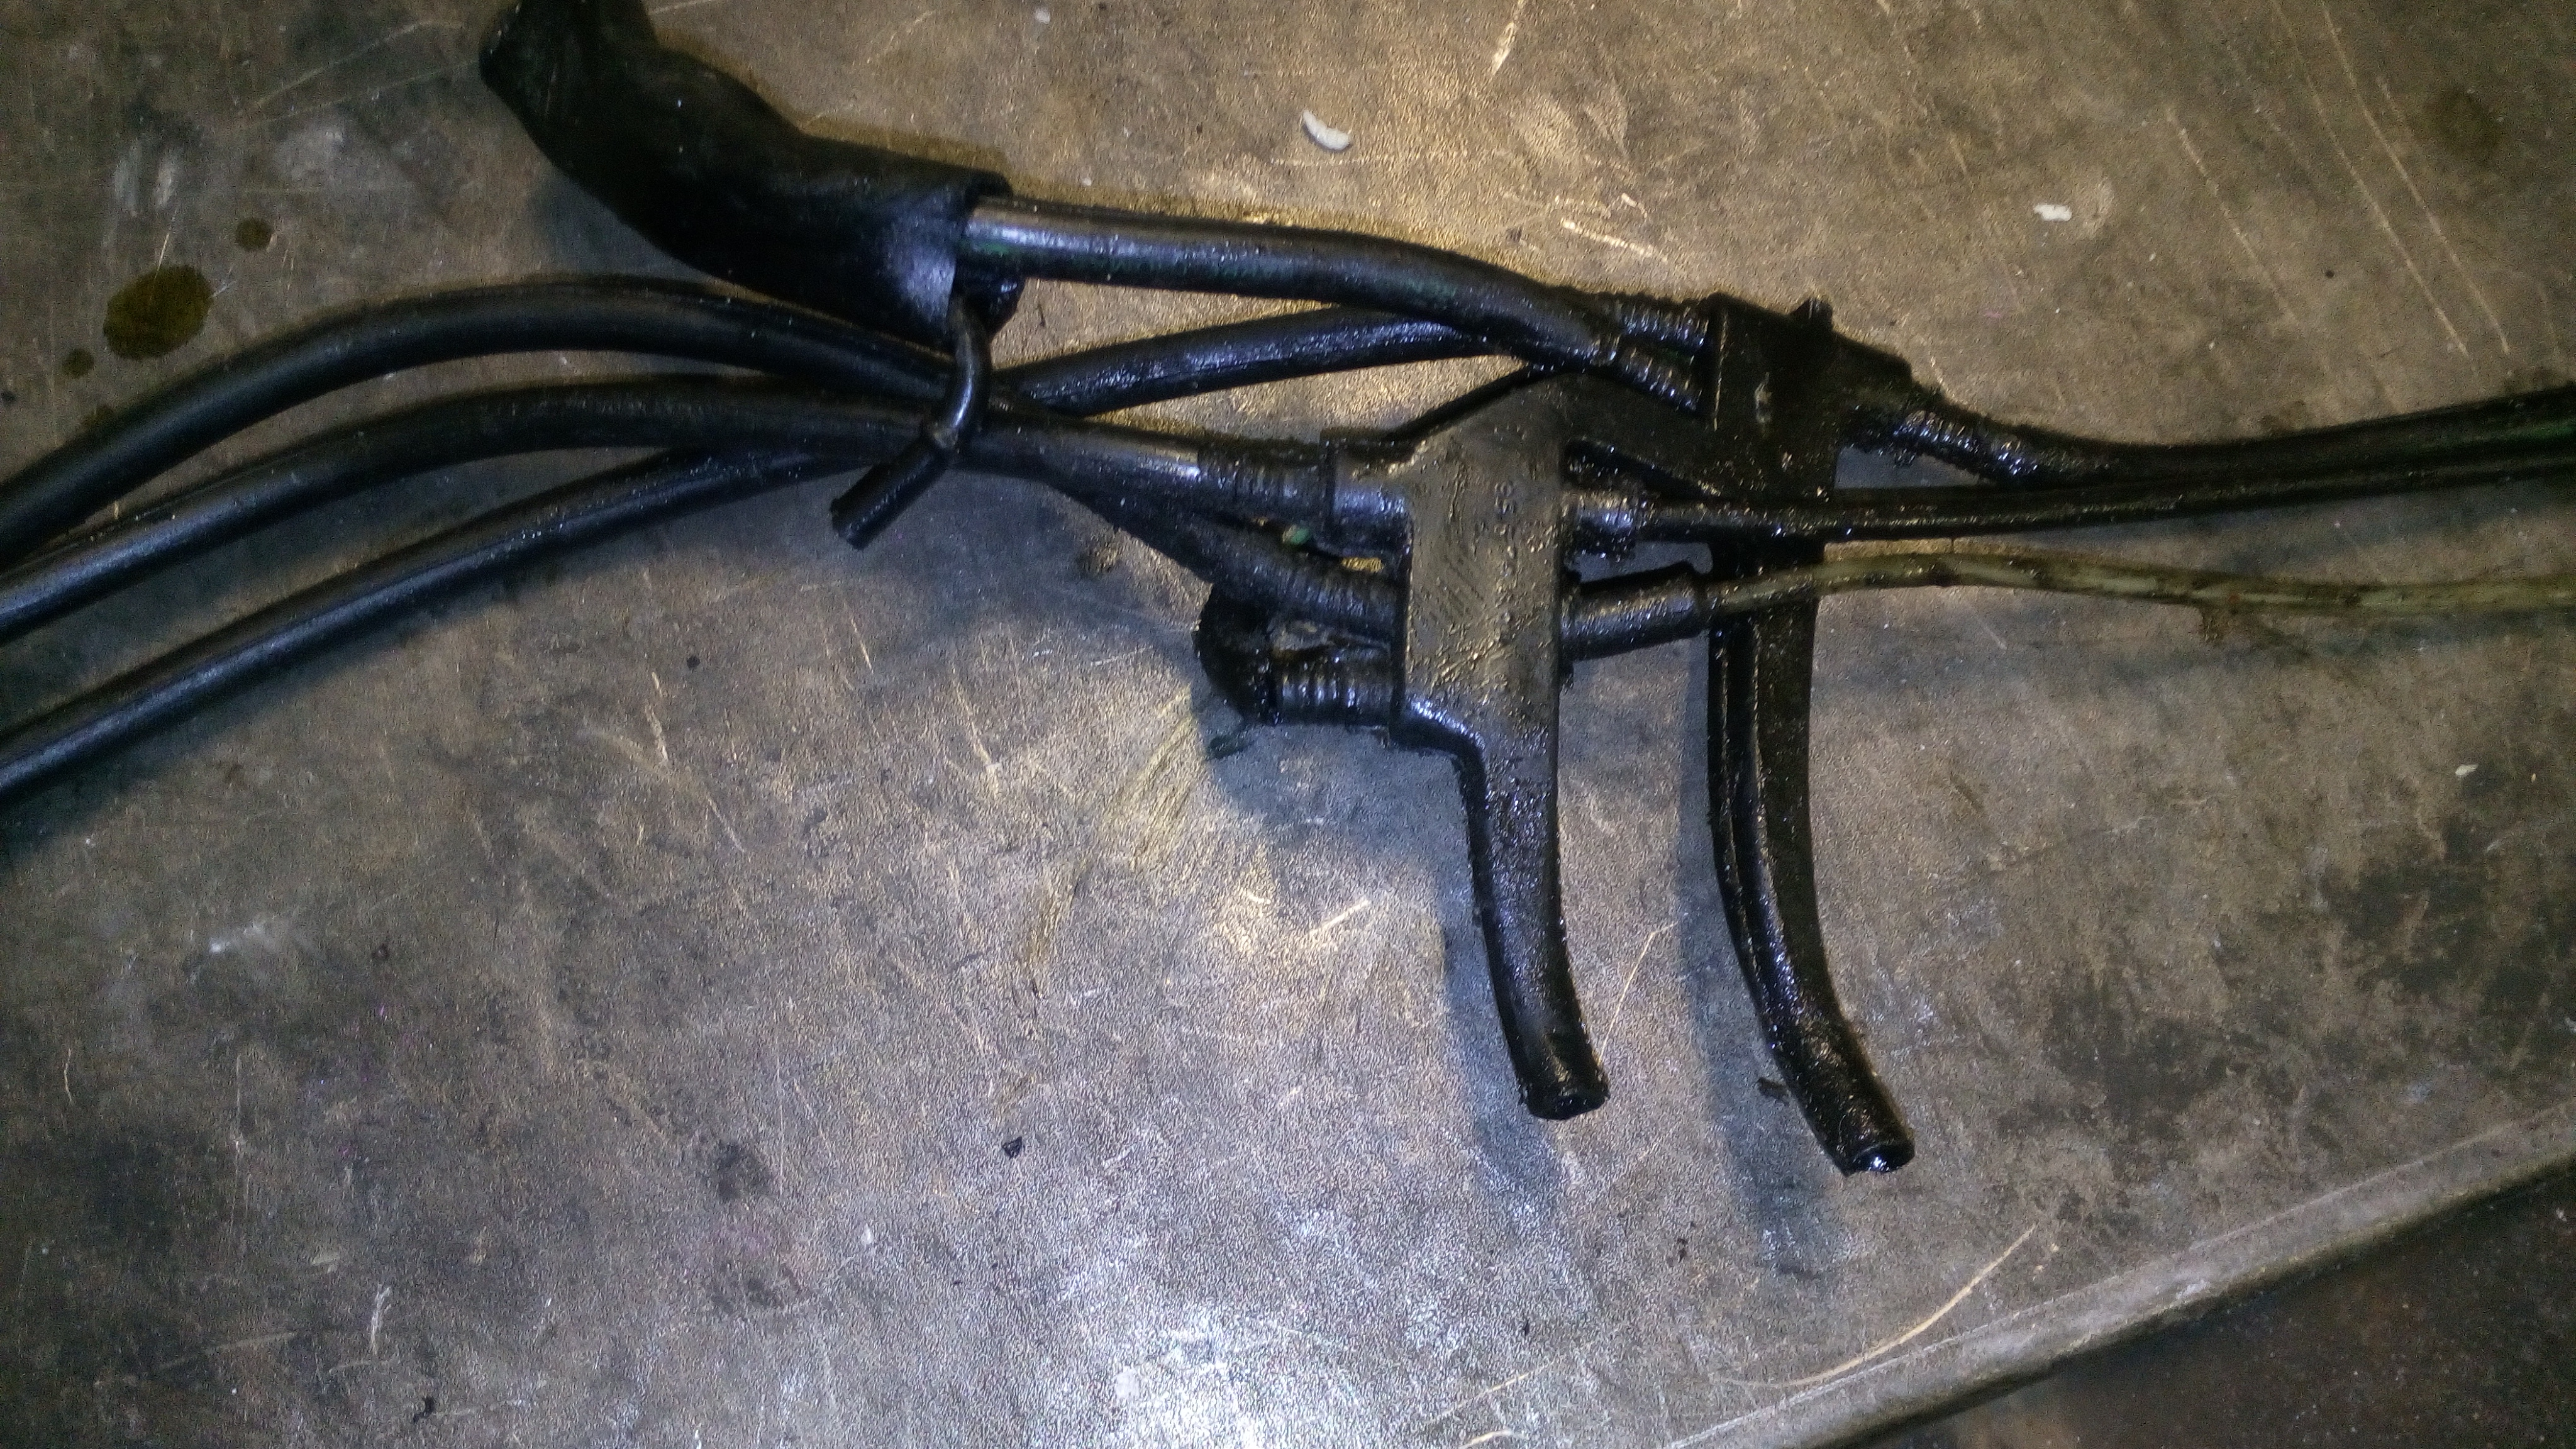
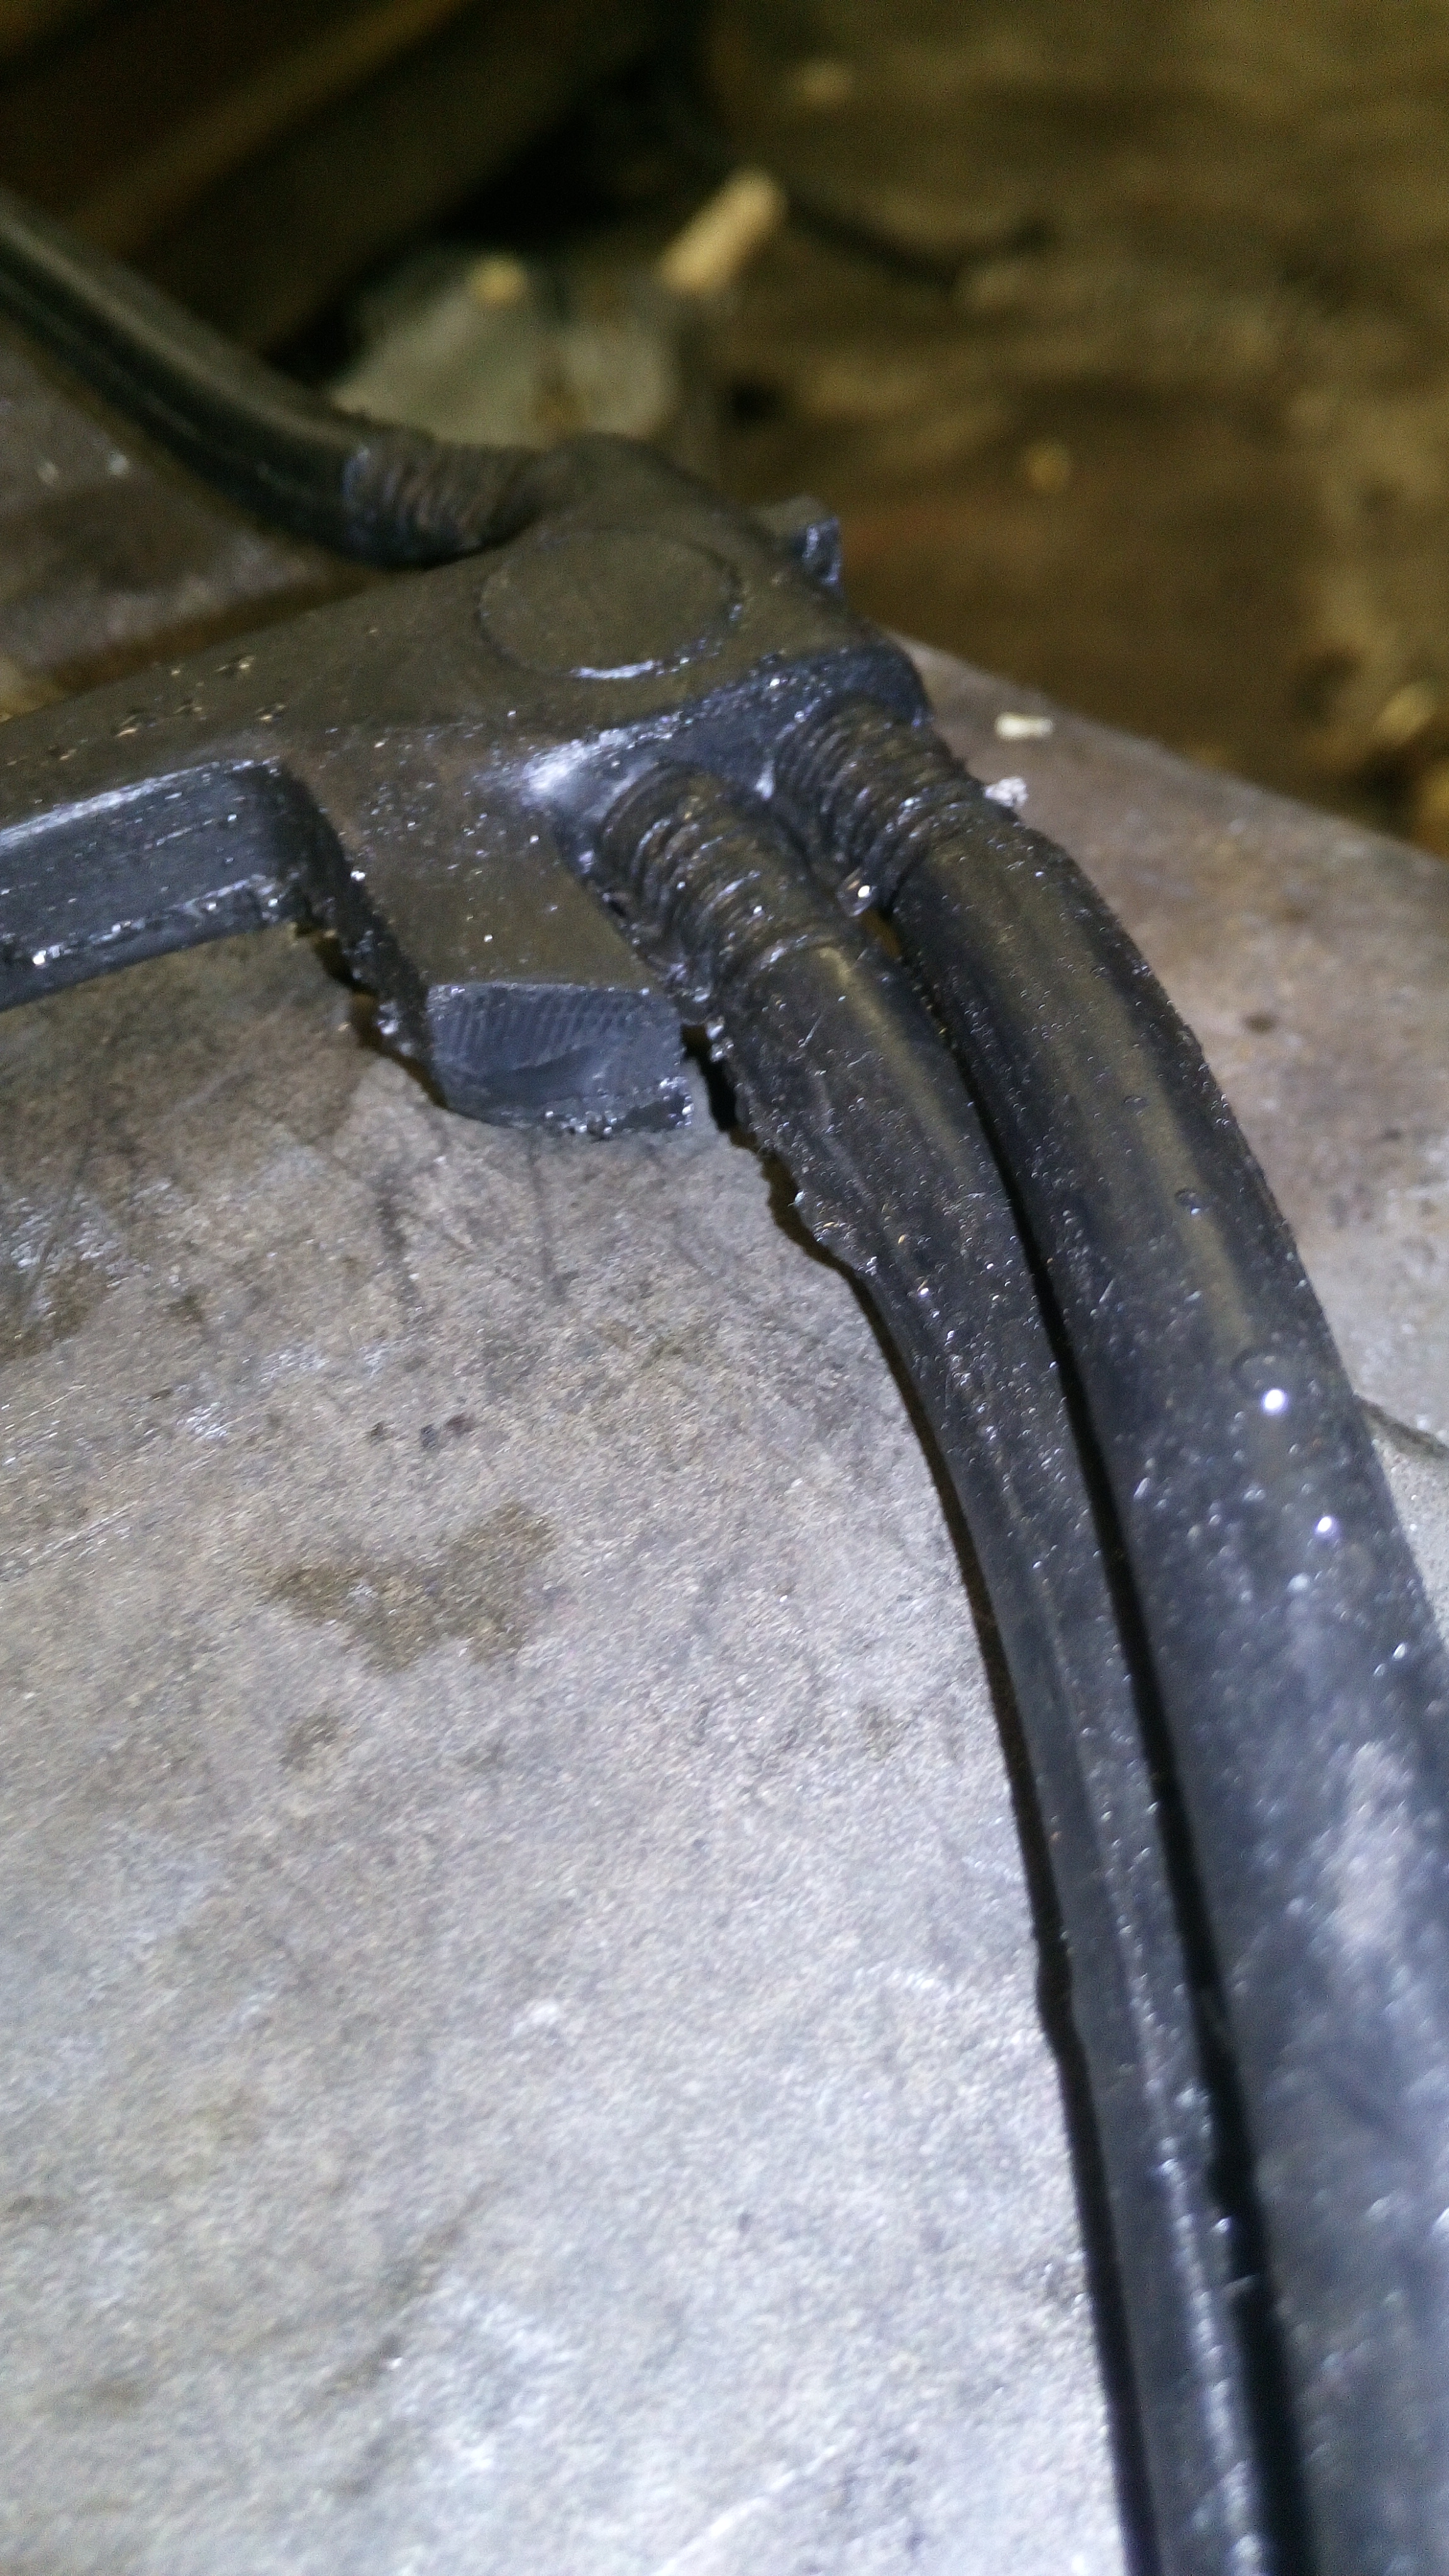
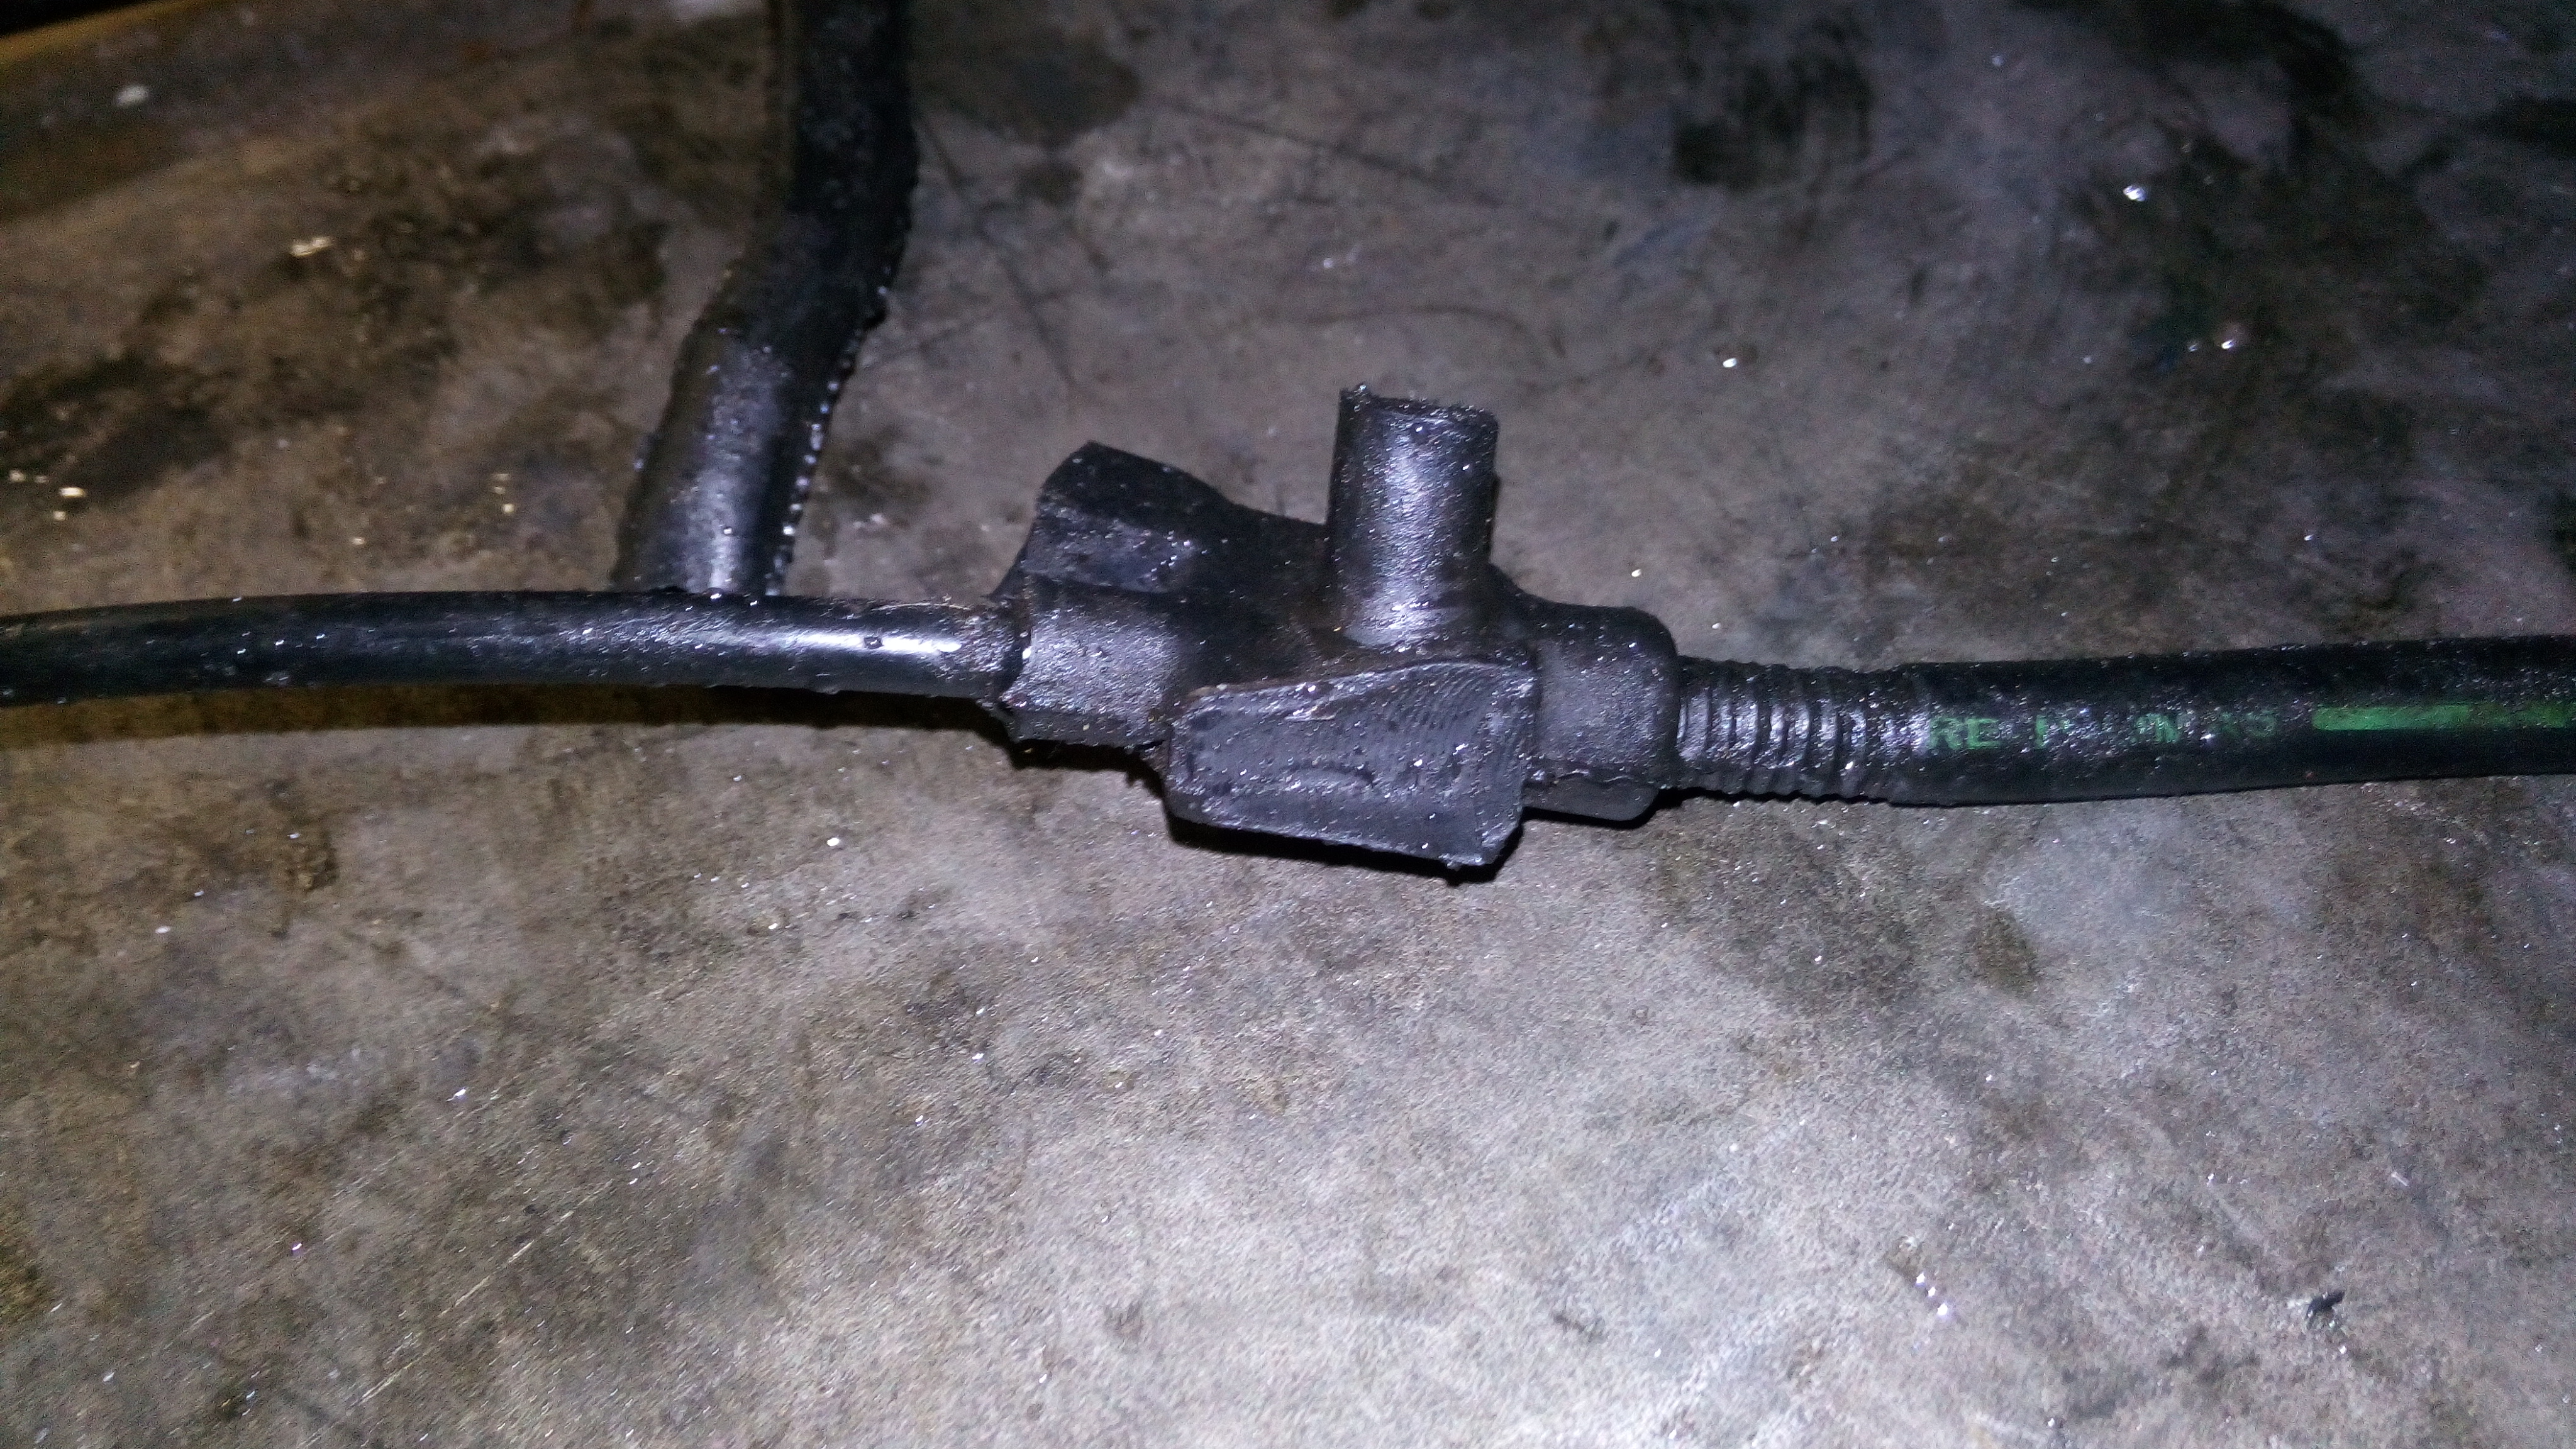
so i have uncovered "The Octopus". i am not going to say how i feel about this thing other than wanting to nominate the designer for a great design award.

with most things broken i decided to take it apart.. as i will make my own haha.

so here we have it as i took it off the car.


splits n all


so i found out what all of the pipes do and what pipe connects to what... and i found out that the octopus is in 3 parts.


and where i have cut it, there are no internal pipes


as seen:


so that said, it looks like this thing would be quite easy to make out of simple T pieces and say 6mm push fit tubing (which is rated at a 10 bar connection! 16 bar for the other kind!)

so to be a little colourful i am going to buy a 30m reel of lime green 6mm air line, a load of push fit connectors and renew all of the return pipes. just wish you could do the same for the high pressure stuff.. sigh.

i will of course have to use some rubber (fuel line) pipe for connecting to metal returns, but that is stuff i can keep an eye on more easy than the whole lot!

while i was under the car i also changed the drivers side steering rack boot/gator. nice and easy on that side! the pass side looks a little more hard.. i think i have to unbolt the hydraulic actuator arm from the rack to fit the boot over it.. i will have a go at it tomorrow!
before i put it all back together, i will replace the ball joint dust covers and give them a little more grease too. i am shocked that none have any play in them! then again, all the dust covers are in pretty good condition!
even the anti roll bar bushes do not seem to have any play or even ware in them! makes a nice change to be fair..

all of these pipes though.. its giving me a little bit of bewilderment.. i just hope i can figure out where they all go!
i did see a nice picture of the top of an LHM tank on the BX owners forum and it was labelled as to where all of the pipes came from. if i follow that, i should be OK. the best bit about using this air line is you can just cut a pipe anywhere and use a connector on it. really, if you have never used this stuff before, i recommend it! (i have even used it on model steam engines!)

i will report back tomorrow on the success/failure of fitting the pass side steering rack boot/gator.
 
My brother had a 'H' reg Citroen BX 16v for a number of years. Thing was a beast, the sound system was worth more than the car! Pulls well for an old timer.
 
hmm guess i forgot to reply back to this.. anyway.. one week later.. ahem..

the gator has not been done yet.. heh i have some universal ones that i have used on the drivers side and was going to use on the pass side. however i find that they do not "fold" small enough. the gator gets sort of crushed when on full lock to the point where it actually folds in on its self!

it looks like it would happen on the hard side to replace them on too. so i went out and bought from ebay, a pretty expensive gator.. and found that it will do the same thing as the cheap universal one. sigh

i have to get this black rubber gator OVER that sticking out thing (that the hydraulic actuator bolts to) so it covers up that shiny metal part where the grease is! thats some stretching!


i also painted the rest of the engine.. making sure i got the paint everywhere on all of the pulleys (not intentional). i am not too fussed about that as it will be under the plastic covers. i will scrape off the paint for the manifold gaskets.


i managed to get hold of a none ECU controlled bosh fuel pump! ... and painted that red too.. along with the bracket


the gearbox has also been painted red. this enamel paint has got to be the best paint i have ever used!

i also managed to rip out the cars original alarm (i assume a dealership fitted alarm). i have no remote fobs for this so it is pretty useless. it was however all tied into the original engines fuel pump so i assume it had a built in immobiliser.
i will be fitting a different alarm in its place, something along the lines of a Toad ai-606 alarm. i quite like them, all of my other cars have them fitted (they are easy to pull out of scrap cars) it wont be something i'd do till i got the car parked on the drive at home.
the thing was also wired into the front fog lights.. maybe as night time illumination lighting? sadly theres not much info on this alarm so i dont know!

the tow bar wiring is a bit crazy as its involved with the alternator AND blue glow plug relay box thing.. ill have to dig around that a bit to see how its wired in.. my guess is its some kind of system where it only gives power to the rear socket ONLY when the engine is running.. the tow bar electronics look dealership fitted. (different to the alarm). also wow so many wires behind the glove box! cant wait till i get to have a play in all that lot :D (i am one of the very few people that love auto electronics and wiring its nice to have a car that has more than 20 wires for once!)


not started running the pipes yet.. and not yet bought the new replacement high pressure stuff.

i need to replace the heater tap which i have had come through the post.. and while i am at it i will install the brand new heater matrix.

after the replacement high pressure pipes, the only thing i need to buy next would be a VNT turbo and that should be all of the big spending done!

i know i need pretty much ALL of the rubber pipes that the XUD engine uses. that includes oil pipes, breathers and some coolant pipes. i dono where i am going to find them.. sadly every pipe i took off split.. on both engines!

well it will be next Thursday till i get a chance to do any more playing with the car. (i can only get to work on it every Thursday and Friday :(
 
Last edited:
i also painted the rest of the engine.. making sure i got the paint everywhere on all of the pulleys (not intentional). i am not too fussed about that as it will be under the plastic covers.

I think you'll need to get the paint off the pulleys, as it will affect the way the cambelt operates. A cambelt will naturally run on the centre of the pulleys, but the paint may change that. May be a bit of a risk.

Of course, the belt may just take the paint off quickly, more easily than you scraping it, but it may require a belt change sooner rather than later.
 
Careful with a wire brush. Pulley dimensions are important, so no surface damage wanted. Careful use of paint stripper might be possible, or the softest abrasive brush you can find. If such a thing exists. Do Dremel do harsh nylon brushes or similar? Or ruin an electric toothbrush on it.
 
Back
Top