Cagllari HF project (picture heavy)

Currently reading:
Cagllari HF project (picture heavy)

Joined
Jun 19, 2006
Messages
8,235
Points
1,014
Location
Cumbria
been meaning to do a project thread for ages about this. Ive really enjoyed doing it so far, and it is all coming together now.

this is the condition that the bike was in when i aquired it:

DSC00286.jpg

DSC00287.jpg


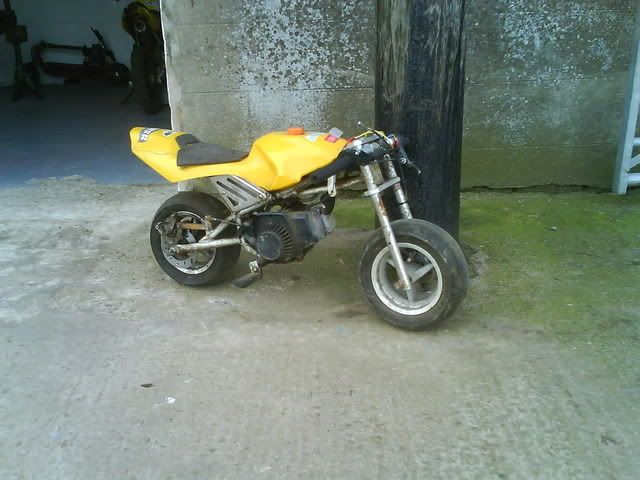
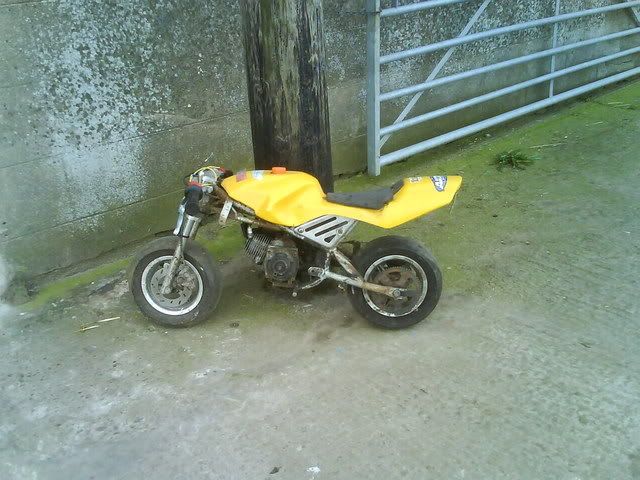
it was in a horrible state, in every way. Most things were broken, and there were plenty bits missing.

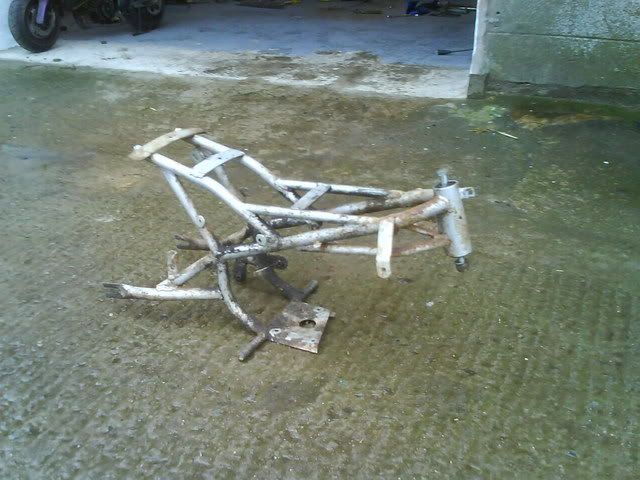
Complete strip down to the bare frame, before wash:

DSC00292.jpg


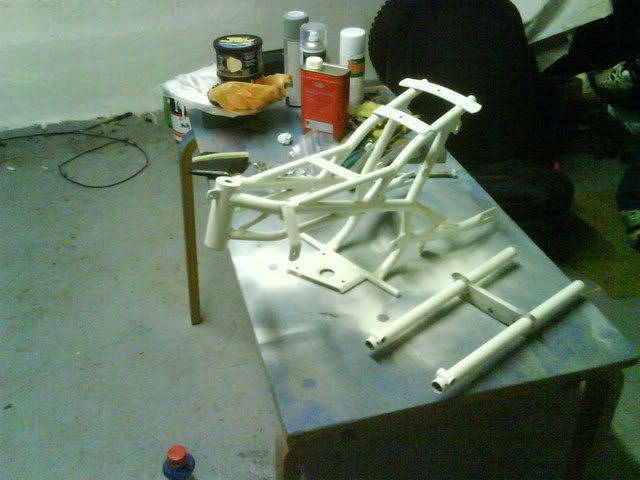
wire brushed, primered, and several coats of Ford Diamond White later:

DSC00298.jpg


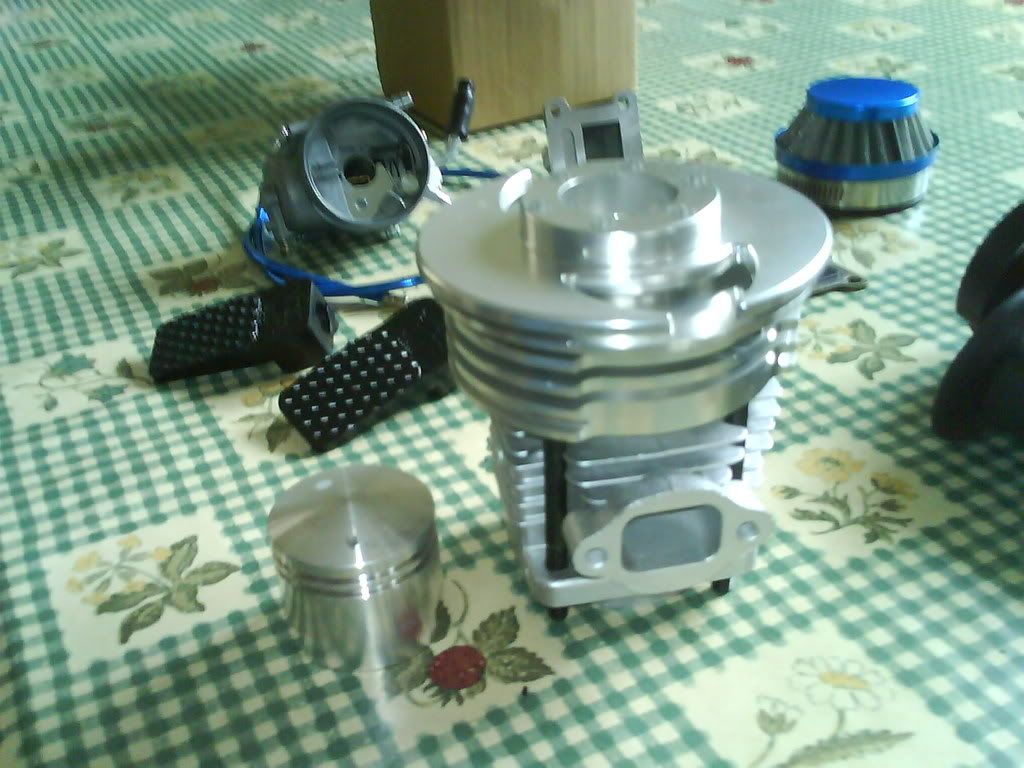
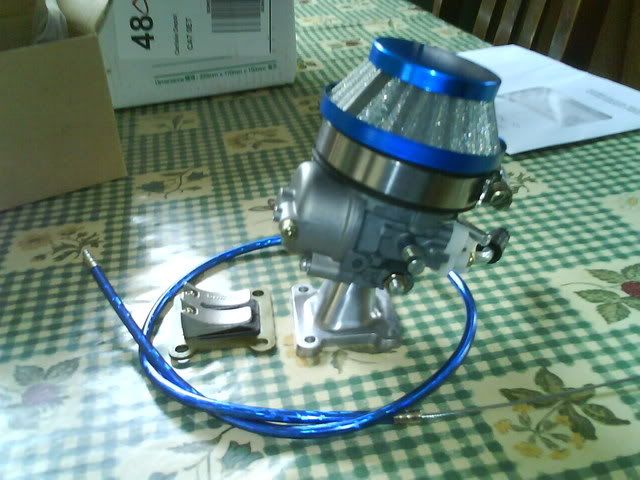
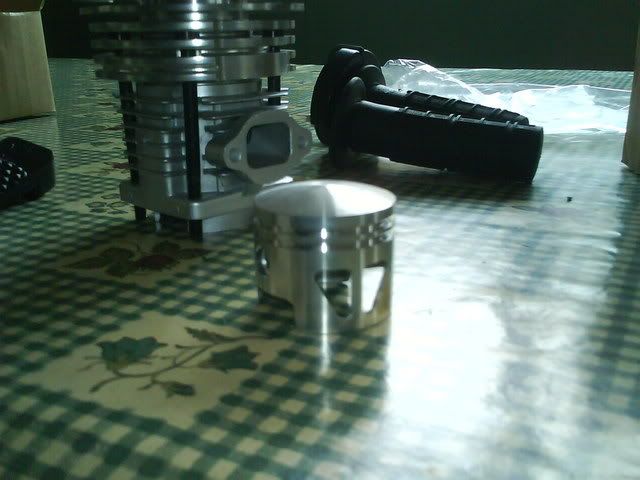
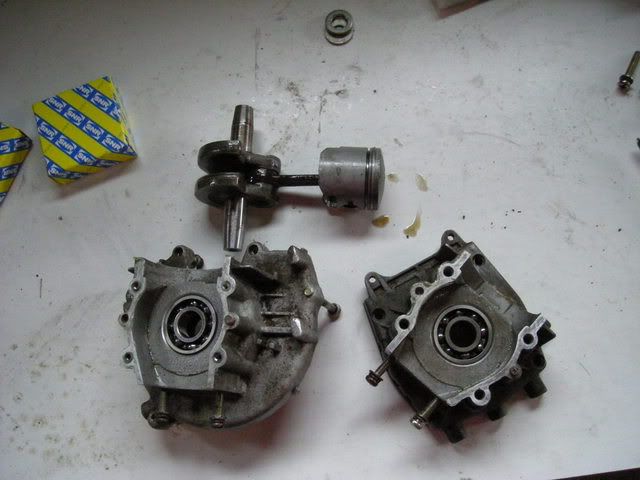
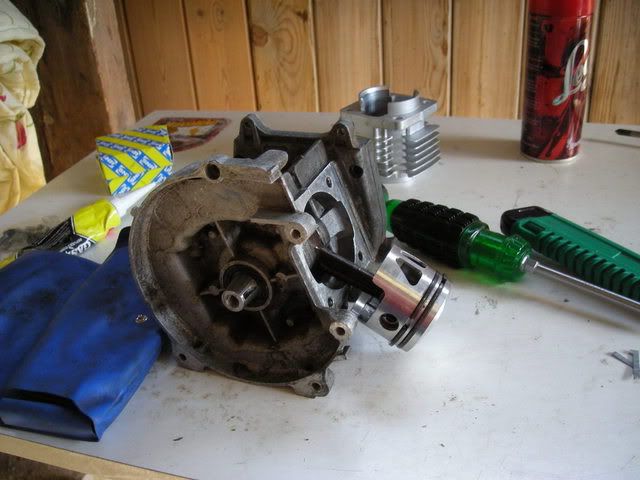
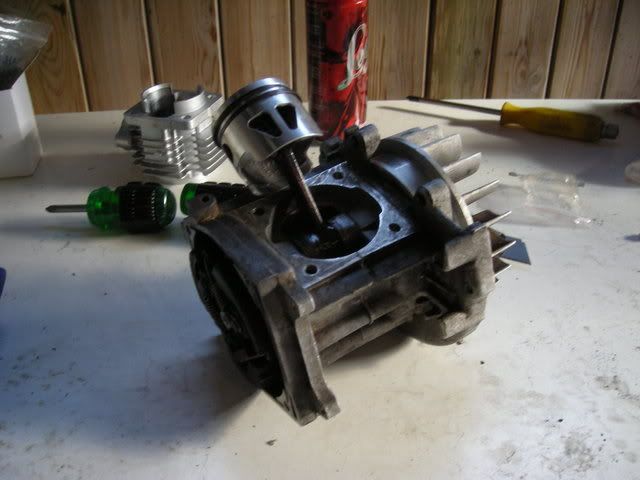
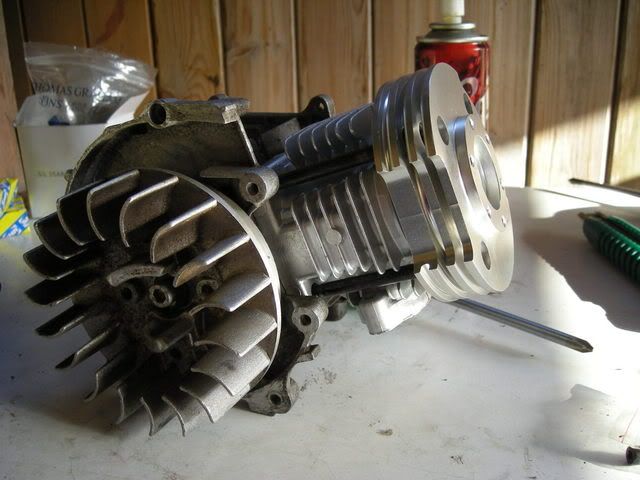
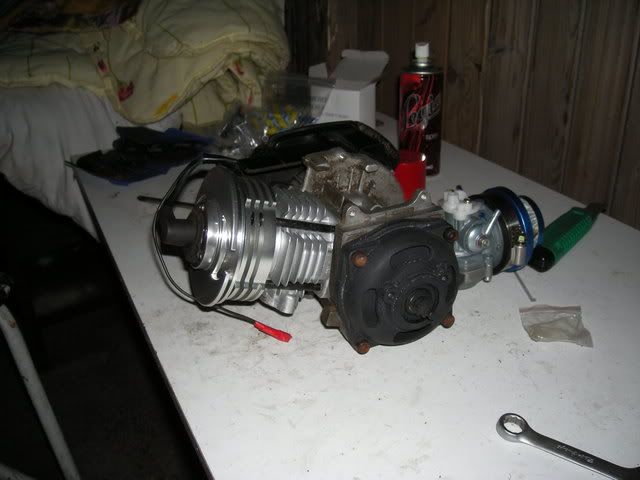
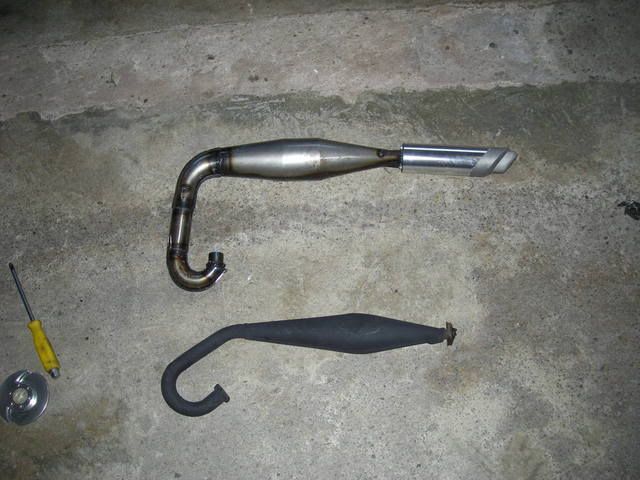
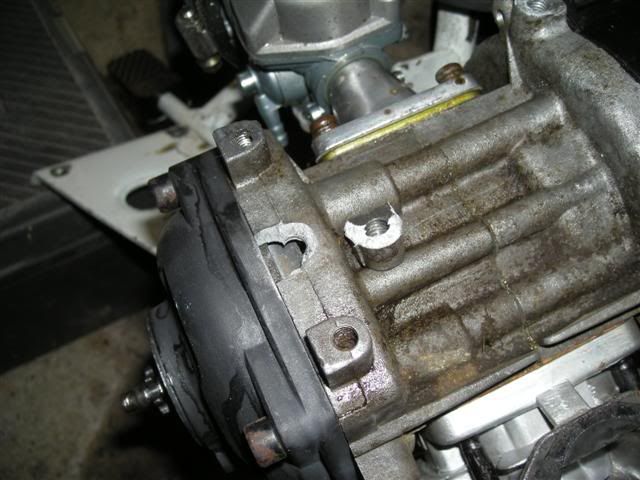
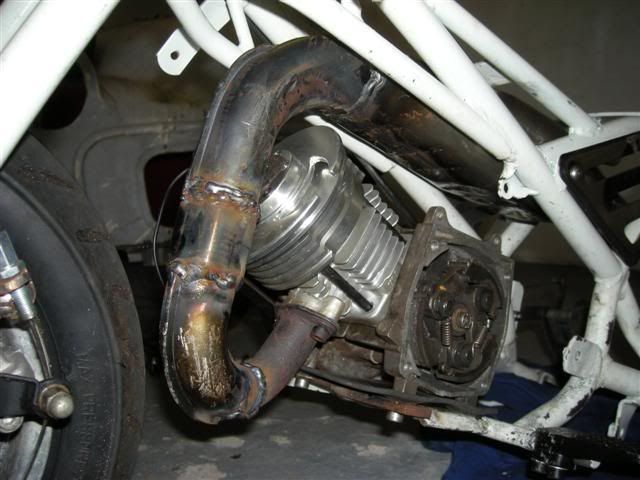
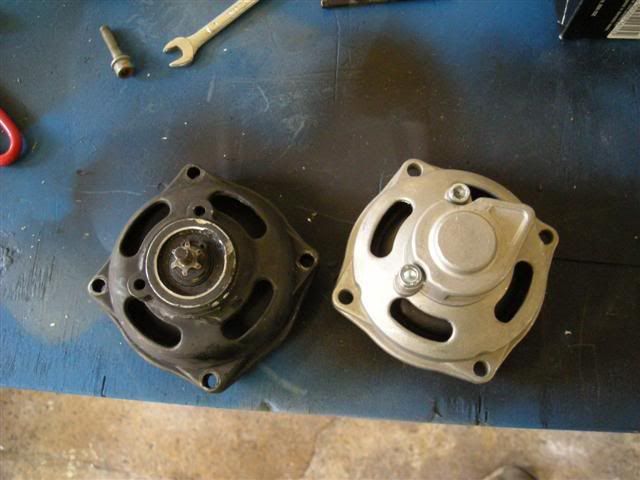
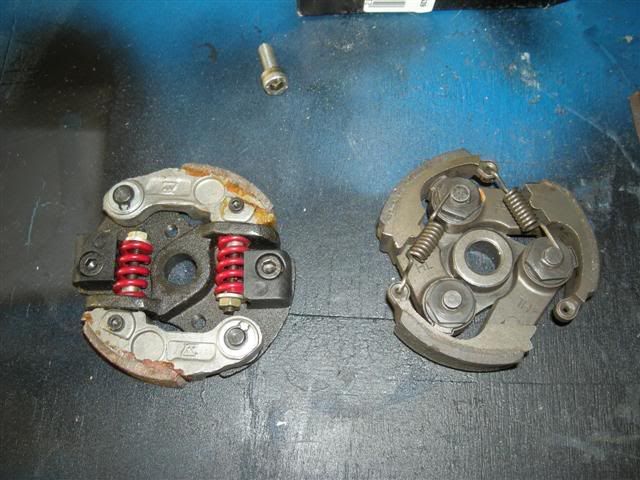
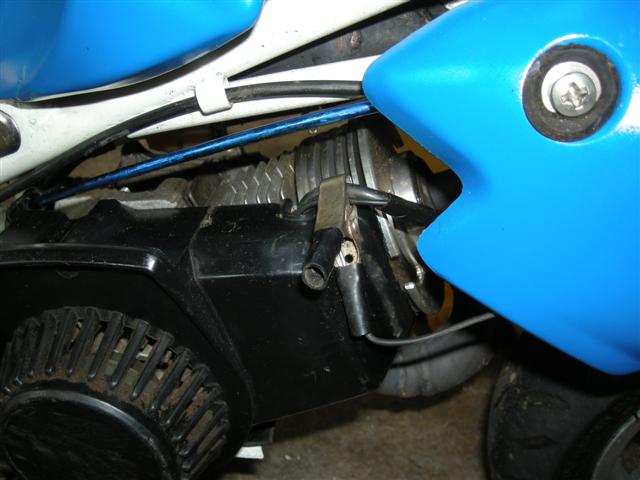
I then turned my attention to the engine, which was fully stripped (and half put back together for this pic)

DSCN0312.jpg


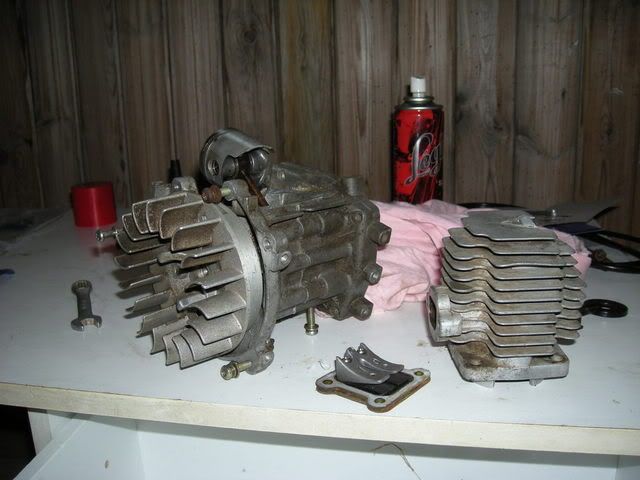
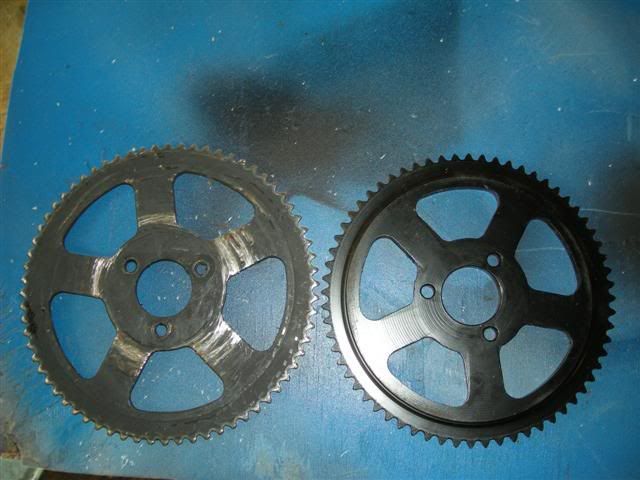
the engine itself was in ok condition, but it was all going to get changed anyway....

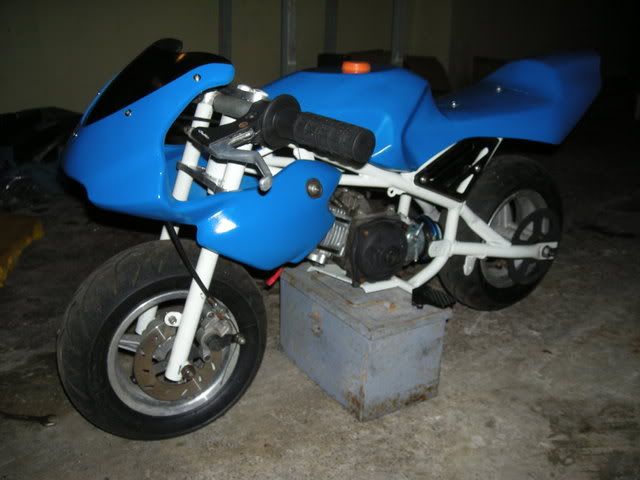
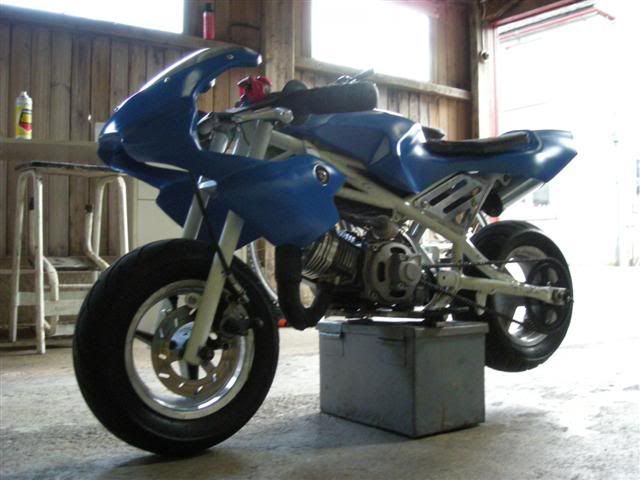
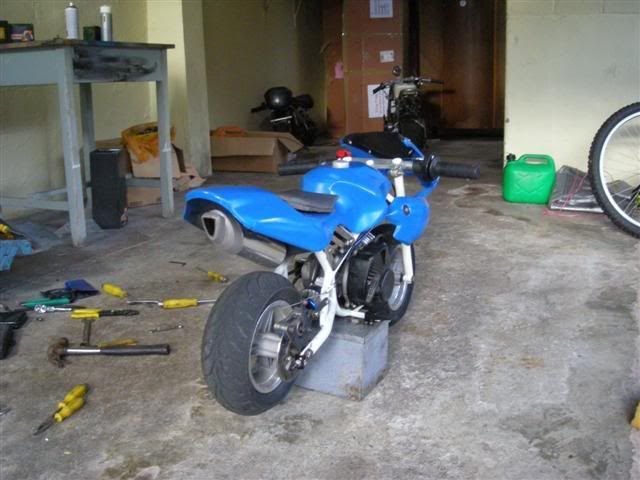
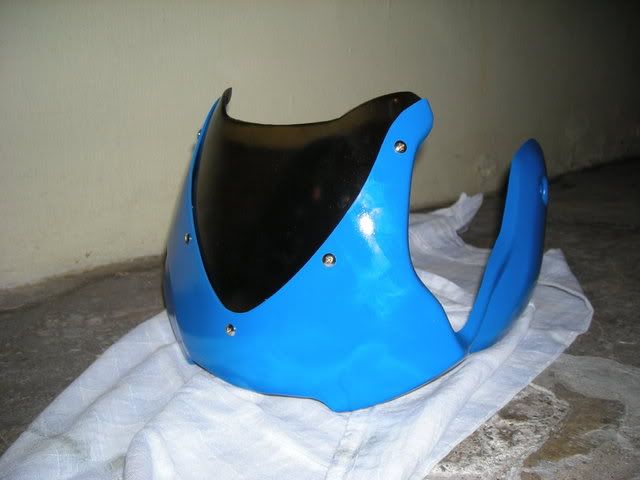
on to the plastics, which were mended with fibreglass paste and reinforced with steel mesh, then sprayed Fiat Sprint Blue :)p)

DSCN0313.jpg

DSCN0314.jpg


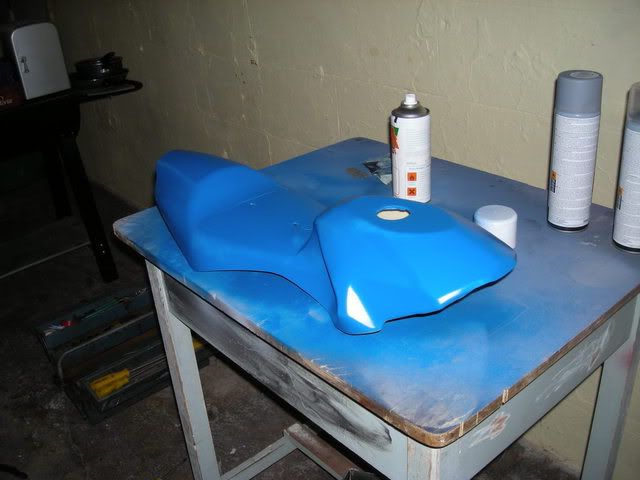
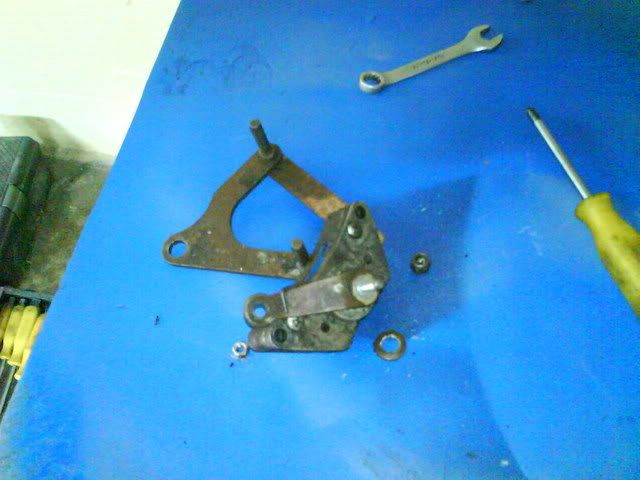
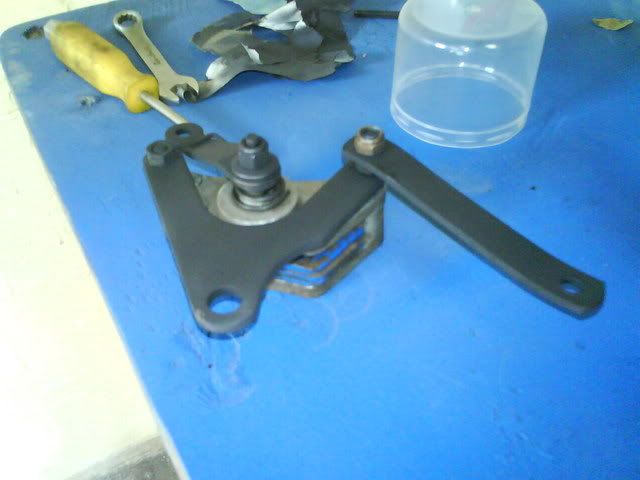
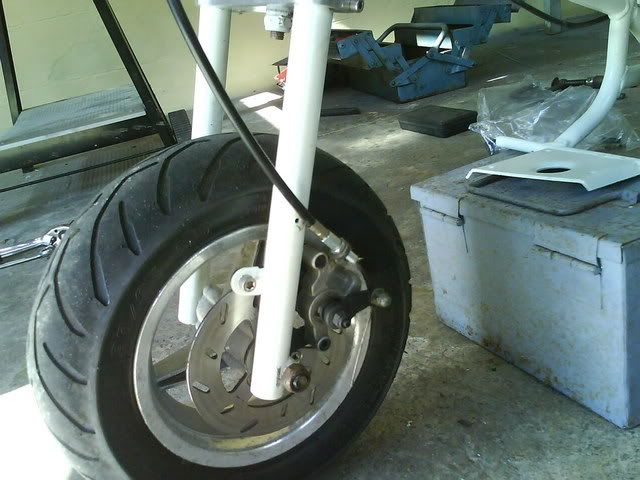
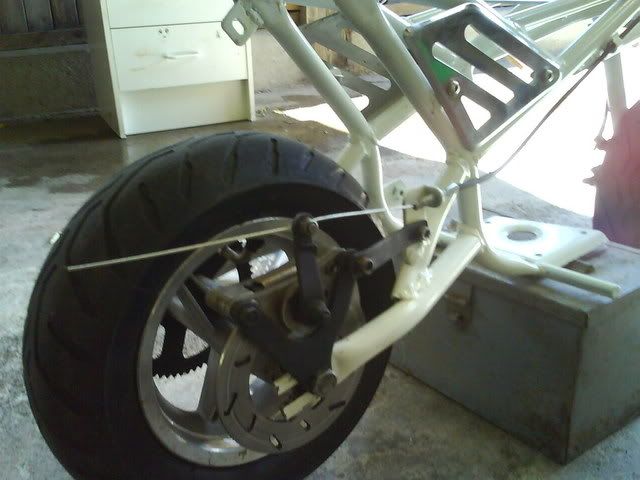
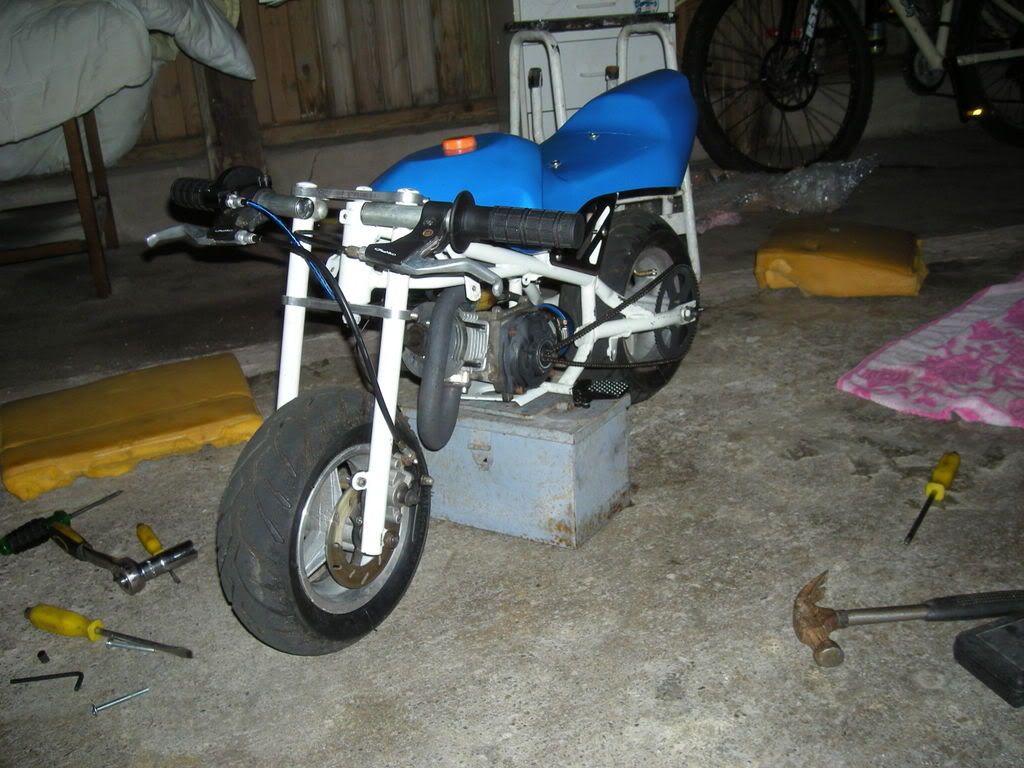
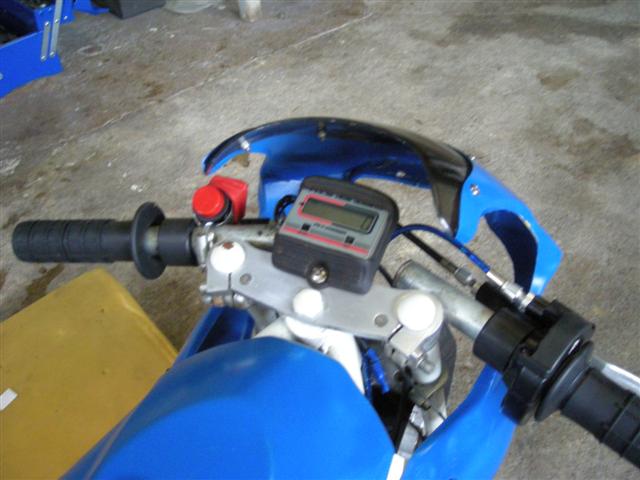
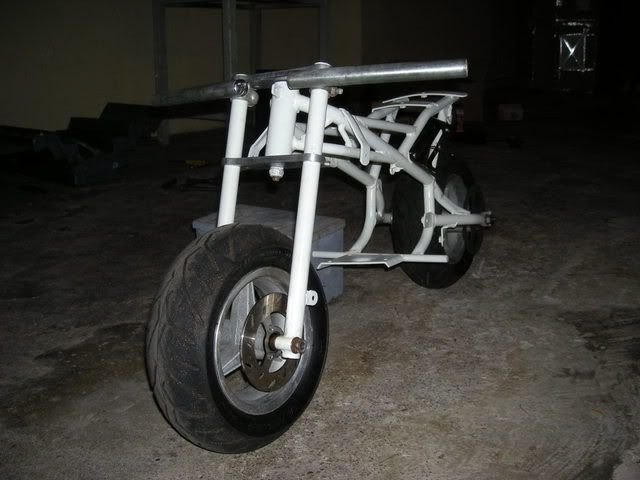
the rest of the chassis, including the wheels, brakes, handlebars etc were cleaned or painted, and some "rain tyres" put on (dont tell me that the front tyre is on the wrong way round, i noticed but cba to sort it atm):
DSCN0308.jpg


more updates to come later today
 
right. The project is drawing to an end now :) so all i need to do is document it properly for any other nerds that might be interested :p

Other bits of the bike were cleaned up properly, including the brakes.

before:
DSC00554.jpg


after:
DSC00557.jpg


the brakes were then fitted to the bike, with mountain bike levers, and custom cable brackets (the old ones were lost or broken)

DSC00559.jpg

DSC00560.jpg


New engine parts time :D

"big bore" 5 port cylinder with 4 piece billet head, 44mm bore and 17:1 CR:

DSC00565.jpg


15mm Dell'orto replica carburettor with carbon reeds:

DSC00566.jpg


44mm ported piston:

DSC00567.jpg


and various other bits, such as gaskets, throttle, pegs, etc.

Rebuild time!

DSCN0318-1.jpg

DSCN0327.jpg

DSCN0328.jpg

DSCN0329.jpg


Complete engine!
DSCN0333.jpg


Engine fitted into bike, with all plastics as well:
DSCN0335.jpg


At this point, there was very little left to do. Chain was fitted, everything was tensioned (used mountain bike wheel tensioners, which were infinitely better than standard chinese rubbish)

At this stage i had a problem. I had bought an exhaust made for a Blata B1 replica and thought that i would modify it to fit. Unfortunately, the expansion chamber wouldnt even fit under the frame! Therefore, i put the original exhaust on for the time being. It is broken and has no end can, and further more, is not tuned like the B1 exhaust.

Comparison (B1 top):
DSCN0337.jpg
 
Great job that, must admit I never heard of that bike, what capacity / bhp is it? I want a garage bike project to occupy me!
 
After checking everything, fitting new fuel line (with halfords fuel filter) It was time to fire her up!

Fuel mixture - Because of the supposedly high compression ratio, the reccomended fuel waas either alcohol or 116 octane race fuel :eek:

however, because of the chinese tendency to cut corners, the tolerances mustnt have been very good when making the interchangable high compression dome (either that, or the supplier thought that he would chuck in a lower CR dome, hoping that it would do me) so as a result, the compression felt no-where near as much as expected. In fact, it felt like standard compression.

Then again, i had also installed a "rocket key" which advances the ignition by 2 degrees, so i still needed to use some decent fuel to ensure engine longevity.
therefore, i used shell 98 octane with NOS octane booster, with 2stroke oil at a ratio of 30:1

DSCN0338.jpg


I must admit, i was really embarrased to be seen buying octane booster in halfords, everyone knows that only ignorant boy racers buy it "to make more bhp innit":p


Starting of the engine! once fueled up and ready, it started first pull!!!:eek::eek::slayer::slayer::D:D Unbelievable really - no carb tweaking was necessary, it settled to idle perfectly! Result!

Whilst running the engine in, it was time to tune the carb with the correct size jet, and i quickly came to the point of putting the largest jet i had (.96mm) into it, whereupon the spark plug showed that it was running pefectly.
Picture of end state last night :p
DSCN0339.jpg


Today, having been running it a lot and no problems so far apart from the penchant for throwing the chain off (the brand new chain was twisted last night, so will never be good untill new one is got)

Next: Need a proper kill switch (been earthing the wire off the engine to stop), a proper exhaust sorted out, a chain guard, new chain, new adjustable clutch (one of the original clutch's springs has broken) and a padded seat sorted out.
 
Great job that, must admit I never heard of that bike, what capacity / bhp is it? I want a garage bike project to occupy me!

its otherwise known as the generic "minimoto" that terrorises all urban estates :p

originally they have a capacity of 41cc (dispite being sold as 50 or 49 cc) and the "big bore" kit increases the capacity to just uner 49 cc.

small and not really impressive, i know, but i love them for the size, they are a lot of fun (y)

Stock cagllaris are fairly slow, the european bikes (blata, origami, polini) are all waayy faster and better made. I have had the option of buying a polini, but wanted to restore this and see what they are like power wise after being modded :)
 
bummer.

one of the engine mounts on the engine casing snapped last night, tried to araldite it together but broke immediately after, meaning that the engine is no longer held firmly.

this then caused the chain to keep comming off, including the last run today where the chain wrapped itself round the rear sprocket, destroying chain, sprocket, and a fair amount of paintwork on the frame :(

time to work out some other way to mount it (and also cut down on vibration, which was probably what killed it in the first place)

i no longer like chinese minimotos:(:p
 
Last edited:
snapped engine mount - the one that is broken off is the only mount to the frame on that side, as the chinese in their infinite wisdom decided that one bolt would suffice.

DSCN0340Small.jpg


I then welded on an extension peice and drilled two more holes, so that there are two mounts per side, and also mounted the engine on a rubber pad to limit the chances of this happening again.

DSCN0343Small.jpg


The next job was the exhaust, which was peiced together today from a selection of bits off the B1 rep and the original manifold (bored and cleaned up the flow)

DSCN0344Small.jpg


the exhaust was pressed in a vice to clear the top struts, and as a consequence there is about 2mm clearance either side of the frame, such is the size of the expansion chamber :D

DSCN0345Small.jpg


Im really happy with this, spent all afternoon on it making the flow of it as nice as possible, and saved a fair bit of money (properly tuned Cag exhausts are few and far between in this country). The only thing that really could have been better was the manifold section, which has a smaller bore than the rest, but is should still allow a lot more power than standard, because looking at american attempts some of them use the stock pipe as a basis anyway.
Finished result:

DSCN0348Small.jpg
 
Last edited:
new parts came today.

new clutch housing (bearings on old one were noisy) with chain/sprocket guard

DSCN0349Small.jpg


2 shoe adjustable clutch, as opposed to three shoe non-adjustable clutch (also with broken spring, the whole assembly fell apart whilst running inside the housing and it was a miracle that it didnt do more damage to the engine casing)

DSCN0351Small.jpg


new rear sprocket, has 65 teeth opposed to scratched, bent, worn-out-teeth old sprocket that has 68 teeth

DSCN0352Small.jpg


plus new chains. The beast rides again! i notice the difference immediately in gearing, power, and the later clutch bite point (y)

nice big red stop button too :)

new pics, its a far cry from the original state, although the frame could do with a lick of paint again around the chain area :)

DSCN0355Small.jpg

DSCN0354Small.jpg
 
Last edited:
Cheers - yes its been running well for the past few days, just wearing out knees, pants and shoes from getting my knee down :cool:

The engine is going to be stripped again. I want the boost ports enlarged, and the CR dropped some more, and the cylinder head smoothed. Not to mention the piston indexed with the exhaust port.
 
got second hand engine tacho through the post this morning (going home sick seemed to work out well for me!) it has the capacity to measure the revs of any engine up to a 4 cylinder 2 stroke, and down to a 1 cylinder 4 stroke. Looks pretty cool too ;)

DSCN0362_Small_.JPG


it has a single croc clip to measure ignition pulses, and it doesnt even need direct contact!

DSCN0363_Small_.JPG


Quality piece of kit and well worth the money i paid (they still go for over £50 normally S/H on ebay)

havent had chance to run it yet, but will be able to see the rise in revs before and after engine rebuilds. Also, i will be able to monitor clutch bite points and powerband (y)
 
Last edited:
10,320rpm recorded on the recall:) not bad when you consider standards only rev to 7,000-8,000 :D

and looking at the engine before it went together before last time, i know i can get better than that when it comes apart again.

clutch bites at 6,000, and a noticable powerband is present from 8,500-9,700

:slayer:
 
Last edited:
the engine is now dead :slayer:

dunno why.
as i slowed down i heard some clunk noises, its stopped and wouldnt start again. Lost half its compression and felt woolly to turn over.
conrod? bearings? piston? rings?

dismantled the top end, and all we found was a score down the piston, and bits where it looks like theres been a foreign object bouncing on top of the piston. That, or its been pinking, but im no expert in this. There also were some inperfections in the bore, but im putting this down to poor casting quality.

pics later
 
the marks on the piston face sound to me like the powervalve has been catching. maybe a bit of it broke off and that is what scored the cylinder. or maybe its just the usual 2 stroke overheated ring failure.

this type of thing will happen every few weeks, but soon you'll be able to repair it in less than 20mins.
 
powervalves? WTF are those? the only valves it has are the reeds and the piston ports for intake and exhaust :p thats why they rock, like you were saying earlier, its so much cheaper to tune engines using oldschool techniques. To adjust the timing all you need is a spacer gasket or two.

il get pics up tonight if i remember to take em. the more i think about it the more i think it was a foreign object (maybe a burr from the crankcase) but i took care to make sure that sort of thing didnt happen. In any case, it looks more like a melt mark than a scratch.

confusing :confused:
 
Back
Top