Tools you will need:
1 1/4" ratchet & 10mm socket & a long extension bar
1 stubby phillips screw driver
1 T25 torx driver
1 10mm spanner (make that 2)
A small but sharp knife
1 tack remover/pry bar small.
1 1/4" ratchet & 10mm socket & a long extension bar
1 stubby phillips screw driver
1 T25 torx driver
1 10mm spanner (make that 2)
A small but sharp knife
1 tack remover/pry bar small.
First steps
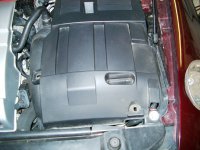
First remove the battery/fusebox cover which is attached with 3 10mm bolts
so you can get your hands below to where the inlet hose is.
Removing the undertray
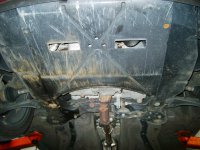
Then jack the car up (either on axel stands or ramps) & remove the undertray which is held on by 3 10mm bolts & 4 T25 torx screws
Removing the side shroud
Original airbox
Once the side shroud has been removed you should have access to the original airbox
This is attached with 1 10mm bolt at the back in the corner & this should be removed first.
Separating the Airflow meter
You then should separate the airflow meter from the main loom by disconnecting the wiring plug
There is a little yellow clip on the side of the plug push this up & squeeze the sides of the plug together & it should pull free.
Then remove the 2 10mm bolts that hold the airflow meter to the airbox(one at the front & one on the back)
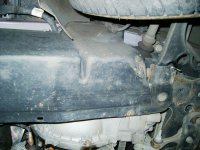
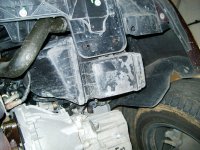
Underneath the car you will see 2 prongs moulded onto the airbox these just pop out. Unsrew the jubilee clip that links the airflow meter to the hose from the inlet manifold. Once you have done this the airbox should pull free. Be very carefull not to drop the airflow meter as it will break easily & is an expensive part.
Attaching the CDA
Next attach the airflow meter to the BMC unit using the seal provided & srew together with 2 small self tapping srews. Push the airbox back up onto the hose (AM end & make sure you don't forget the jubilee clip) & secure with the jubilee clip.
Final steps
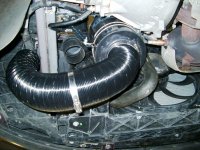
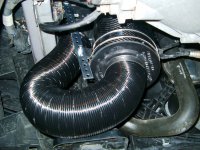
Attach the metal bracket & align to the original mounting point & tighten all bolts to secure it. Using the alloy hose provided cut & stretch to fit onto the original inlet hose & secure both ends with the jubilee clips provided.
Putting it back together
Replace all plastic panels & covers & make sure all fittings are well tightened. Remember what you take off first you put on last & have patience as it's quite fiddly.


