Valves emergency repair.
In reality, there was also valve job performed. Simplified. Remember, repair was experimental, educational. Again - if you are not comfortable, don't have time to fool-around, outsource the job. This is NOT a full guide.
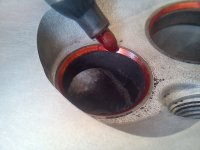
49. Valve seats visual check. Painting with marker. Then quick lap.
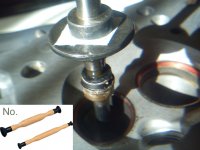
50. Old valves may be rough, so rubber valve tool ("sucker") will not work. Double-sided tape is better. Old valve seals protect the valve guides (against abrasive contamination).
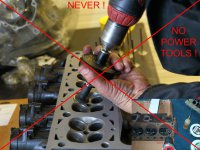
51. Do NOT use power tools, like drills, etc. It can (and it will) spoil geometry.
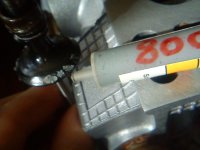
52. Typical valve grinding compound/paste. Use small amount, clean and "recharge" when needed.
53. Other abrasives can be used too. Like diamond paste.
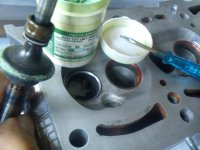
54. Quick lap (the quicker the better) cleaned valve seats. So, seats are OK...
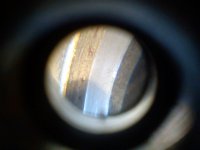
55. Valves (especially exhaust) not so much. Too big/wide contact "ring". Junk.
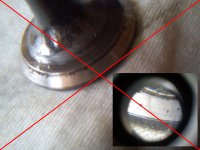
56. Interesting phenomenon. Diamond compounds cut more precisely, preserving geometry (shapes, angles, etc.). Not always, but generally that's the case.
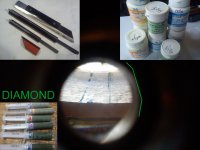
https://www.pistonheads.com/gassing/topic.asp?h=0&f=66&t=980840
57. On the other hand, classic valve compounds can be more tricky to master. There is a tendency to cut concave shape on the seat and valve. Looks like abrasive particles want to group in the middle/centre. That can spoil good valves. That's why "visual check grinding (lapping)" should be quick.
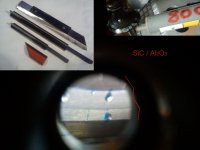
Purpose of the lapping is to quickly check (eyeball) machining work, if it will seal. Lapping itself does NOT produce sealing action in the valves.
58. Surprise. After cleaning and soaking in the kerosene for about 2 days, some valves turned out to be cracked!
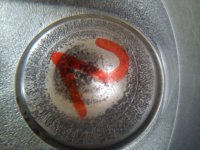
59. Obviously there was an overheating going on (a lot of residue, check picture 7 on the first page), plus some chemical etching (during engine work). Note, that cleaning valves with a drill + some abrasive cloth (or "scotch brite") can hide ("smear") such defects (and spoil geometry). Be careful.
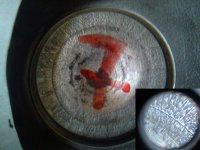
After head gasket and valves replacement there is a "break-in" procedure, kind-of, in practise that means you should ride gently ("eco-driving") for first week or so. Avoid high RPMs. There can be noticeable lack of power first day, don't worry, things will smooth out.
As you can see, it's not That complicated. Just another messy, exhausting (pun intended) job.

