Replacing with the new bearing
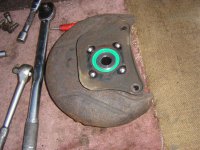
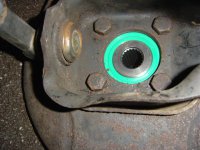
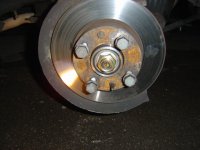
Now get the New bearing, disc cover and mounting plate and arrange in the order shown now attatch using the 4 bolts to the wheel pillar. You will probably still find crud on the bearing after bolting the new one on so give it a clean once the bolts are attatched.
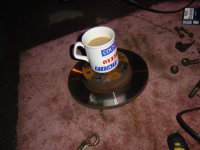
Now go into the house and shout at the Mrs for not giving you coffee in your fav mug (Jim, Paulo make your own arrangements
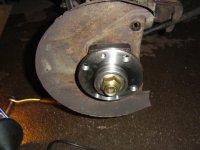
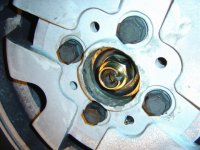
Next feed the driveshaft back through the bearing (not forgetting the inner spacer) and loosely tighten the driveshaft nut again don't forget the washer and look proud of your new shiny part's
Put all back as was disconnected. I will list the more important bits...
When replacing the disc I always find that it aligns better if you loosely fit the 4 wheelnuts before replaceing the two fixing bolts (remove the wheel nuts once in place or the wheel wont go back on :nutter
Do not forget to replace the alignment bracket between the shock & caliper mount.
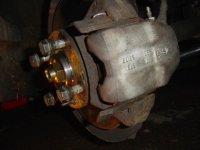
On replacing the pads don't forget the anti-rattle clips just push the clip down as you are fitting them.
When replacing the sliding plates on the caliper smear a little copper grease between the surfaces and tap back into position (you may have to lever the caliper up or down for the plates to fit in. Once in replace the pins the flat of a screwdriver will help push them back in if they are tight (watch your fingers)
Replace the wheel and lower the car to the ground then tighten the Hub nut to the required torque? (can't remember)
Finally tap in a grove on the hub nut to prevent it comming off later
Some may be wondering about my method but as the ball joints are gennerally ruined by removal, this saves that problem. If you want to remove the ball joints use a decent removal tool or you can gaurantee they will be knackered.
The only ball joint left on the car to be replaced is the o/s tie rod all the others are new.
The original bearing I replaced if you noticed is completely different on the inner surface of the second replacement so may have been the reason for the noise.
Sorry about the dirty wheels.
I've done this to help the members so if the admin want to PDF it move the pics about etc to make it look better help yourself
I'm outa here.


