This is a guide for the top grille on your Bravo, although the steps taken in this guide would be very similar for the bottom grille as well.
Firstly, you need to remove the grille off the front of your Bravo.
This is done by pulling each end, one at a time, until the clips release. Once you have the grille released from its retaining holes guide the grille out trying not to bend it to much either way.
Now to dissembling the grille. This is pretty easy, just work your way around with a screwdriver prying up the tabs that hold the chrome surround in place. As you pry upwards on the clip, pull the chrome surround away from the black plastic, keep doing this until the surround is off.
Then, using an 8mm socket, remove the Fiat badge from the grille.
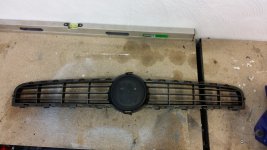
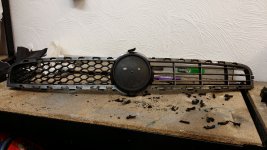
Once complete you should have something like this.

Making the Template
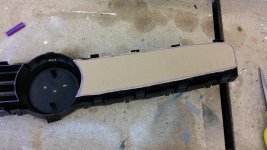
Next step is to make a template for your new mesh. I did this buy getting a marker, in this case purple (you'll see why later), and colouring the outer edge on the back of the grille.
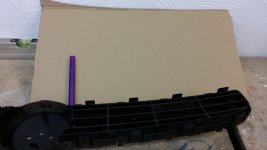
Quickly press the card/paper onto the back of the grille, if you do this quick enough and you will have a rough outline of the back of the grille on the card/paper to follow. This will allow you to get roughly the right size and shape for future cutting.
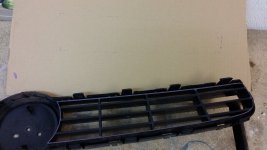
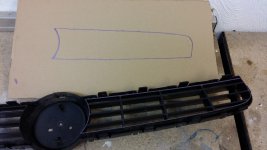
To make my life easier I then cut this out.
Hacking the old Grille Up
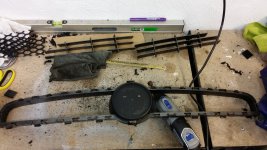
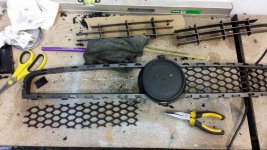
Now the time consuming part, you now have to cut the centre of the standard grill out and prepare it for the honeycomb mesh. For this I used a saw blade and a Dremel.
Firstly, I used the saw blade to cut around the outside of the grille... on the outside of the inside, if you catch my flow. The only issue was the top right/left part which is joined on at the corner making it very hard to use a blade without damaging the outside of the grille.
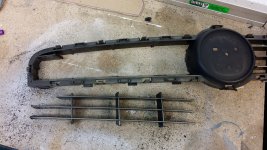
What I did was cut it off as close as I could then using the Dremel, sand the rest of it flat.
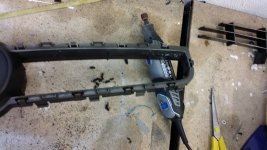
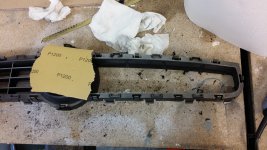
I then wet sanded any high spots ready for painting later on.
Cutting the new Mesh
Now we have the part where a Dremel can save you a lot of arm and head ache, cutting the new grille.
Using the template you made earlier, offer this up to the mesh and using a marker go around the outside of the card. This should make the mesh to big to fit, this is fine though, as trimming is far easier than trying to add more mesh on
Here you can see why using a colour other than black was helpful.
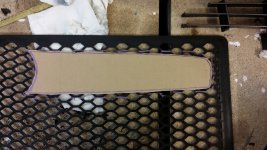
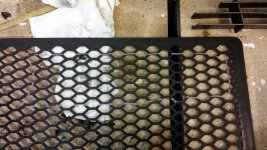
I then, using the Dremel cut the shape out as neatly as possible. Top tip: cut on the back of the mesh especially if using a Dremel, if you catch the front of the mesh it will be very obvious.
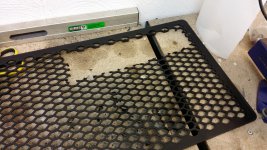
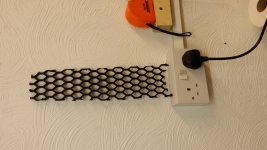
Next, keep trimming the mesh until you can slide it into the gap left, I found it was best to go from the slightly slanted front of the grille and push towards the back than to come in from the back.
Once in, it should look something like this.
Anddddd Repeat
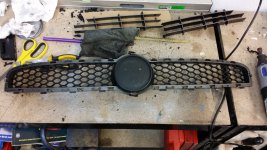
Repeat the last couple of steps to get the same effect on the other side of the grille. I Would advise against jumping in and gluing the one side in right now and you will be bending and forcing the other side in soon, and that movement may dislodge the grille.
Glueing
To secure my mesh I used Loctite All Purpose Adhesive. This is fine and will work, but, I would advise something like epoxy to ensure the grille isn't going anywhere.
This step is pretty simple, put your sticky stuff anywhere where the mesh meets the outer surround. If there are gaps, like there were in mine I would advise "filling" these in with the glue. As one of the next steps will help hide the glue and will look like a better fit
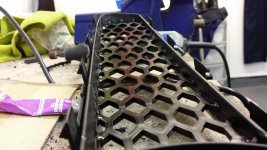
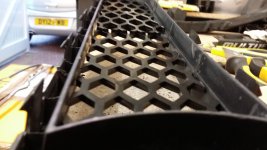
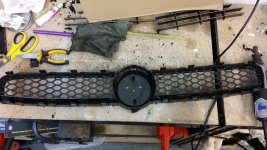
Painting
Now to paint the whole grille. You can do what you like, but I went for black, to contrast the chrome surround and the Fiat Badge.
I put 3 coats of black paint on leaving 15 minutes between each coat.
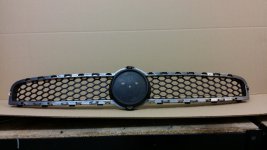
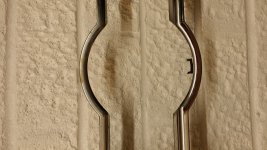
I used this time to clean up the chrome and badge, using for polish and All Purpose Cleaner.
Assembly and Refitting
Now the easier part of this whole ordeal
Refit the badge and the chrome surround. Admire your work.

Then, go out to your car, gently push the grille back into place using the outside of the grille, not the mesh.
Take a step back and enjoy your handy work... Then realise you have to do the lower grille as well

Well Done!

