Getting it done
Ok, opening the bonnet - you'll see the following:
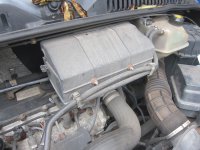
You see that big box, that needs to come off - as without doing that, you'll never be able to reach the pipes around the back. So use your socket set to get the two nuts undone - if they won't budge, add a bit of WD40 to losen them
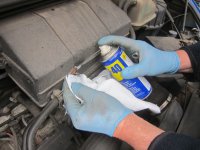
Once undone, you can remove the cover which will enable you to get to the glow plug relay.
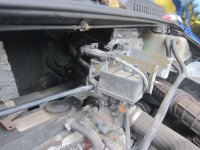
Remove the two nuts found at the top of it, then drop it down out of the way.
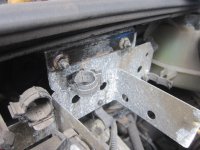
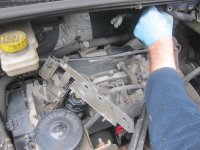
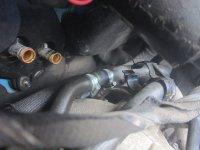
You can then see the two pipes behind which lead to the heater matrix in the cab.
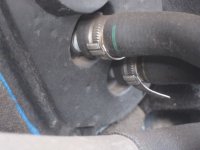
Now for the fun part - you need to use the diagonal pliers or the flatblade screwdriver to prize the clips on the hoses apart, then flip the metal bit out. When opened up, the clip looks like this:
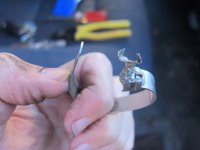
Starting with the left one, get the clip off, then grip the rubber hose with your pliers and try and rotate it forwards and backwards until the seal breaks. You'll know when it's about to go as fluid will start to drip.
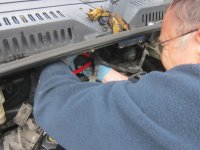
With the seal broken, you can then pull the hose away from the pipe to be left with this:
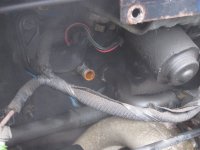
Now repeat for the pipe on the right
You can make the hoses loser by pouring boiling water over them, or simply doing it when the van has been running for a while. Watch out if you do choose that method though, as the coolant fluid will be boiling hot, so make sure you don't pour it over yourself!
Once you've got the second hose off, you can now pull them out the way - and insert your piece of copper pipe in between the two to join them, using the jubilee clips to tighten them up.
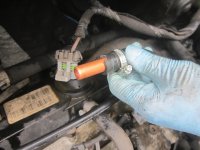
And then there you go, slip the newly connected pipe back over into the back of the engine bay, reverse your steps to put back the glow plug relay and its cover - then go get a cup of tea, you're all done
