Styling Dashboard options on Red Grande

Currently reading:
Styling Dashboard options on Red Grande

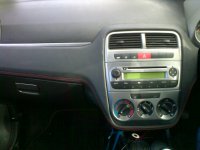
i like the front bit in suede/alcantara, but im biased.

jamies is Carbon and looks pretty good though, my alcantara has faded slightly and looking at flocking the front panel only as taking the dash out is a bit major for me.
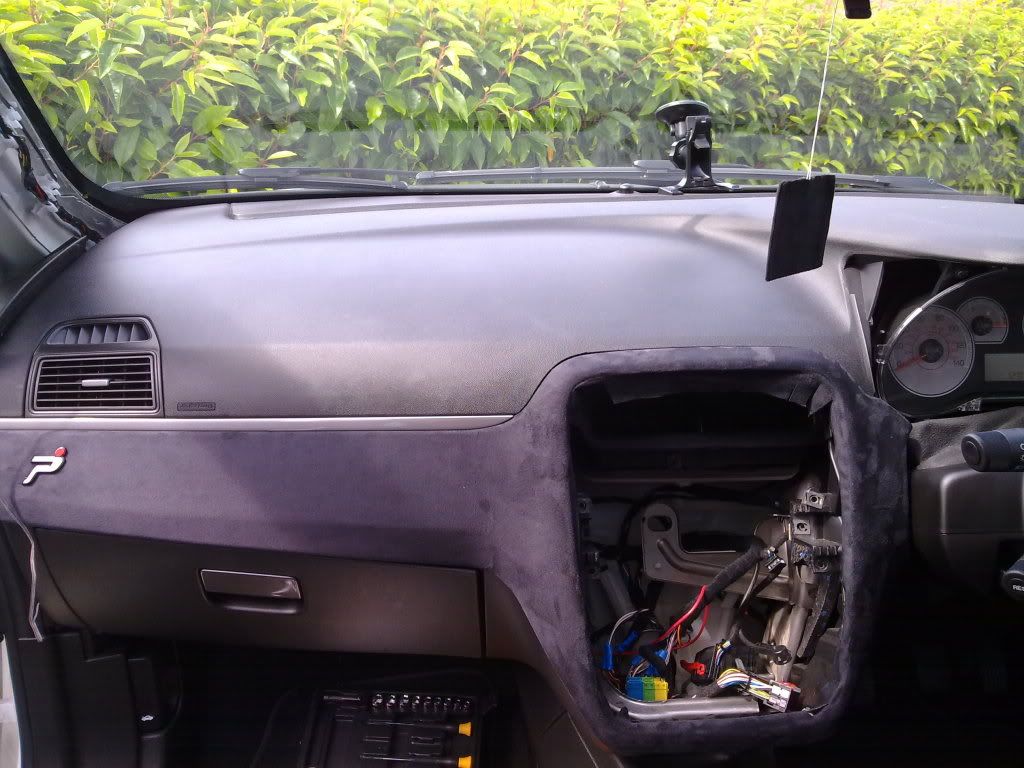
29072009106.jpg
 
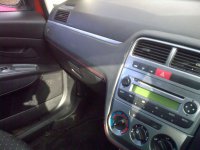
Just got the Abarth fitted looks ok beter than the old grey dash anyways:)
24022012215.jpg

24022012212.jpg

24022012214.jpg

24022012213.jpg

Hope you like. And if anyone wants the old dash trim or the whole thing to cover or paint get in touch
 
Looks very nice. Was is difficult to do?

The silver handle where the window button is, was that standard on your model or something you've done?
 
Looks very nice. Was is difficult to do?

The silver handle where the window button is, was that standard on your model or something you've done?


Thank you.:) No was really easy surprisingly just popped the old grey trim off and glued the new Abarth one on with JB cold weld.

And no I took them off and sprayed them myself along with the steering wheel controls, CD player and heater panels make the car look much better IMHO
 
Ah cool.

Im getting quite tempted to try this re-painting/spraying. I saw a pic of someones GP on here the other day where they had painted there center console white and it looked very impressive.

One of the main reasons I want a new headunit is to brighten the center console up - Its looking rather dated now, however dont want to lose Blue&Me and the bluepak kit you can buy dosent control the volume of the Blue&Me USB.

Seems like painting spraying may work out cheaper, solve the problem of blandness - However is it easy?! Dont want to be getting it over any buttons!
 
Seems like painting spraying may work out cheaper, solve the problem of blandness - However is it easy?! Dont want to be getting it over any buttons!

Yes it very easy buttons just pop out of the black surround once you have it away from the steering wheel same goes for the heater controls.
It just takes time but as with any painting job the hardest step is the prep:p

I have some pics of mine when I was doing it ill try to find them for you(y)
 
as promised not the best quality photos but enough to get a rough idea:p
01042011067.jpg

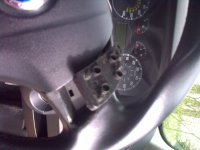
Thats what is left when you take of the volume controls on steering wheel. can pop them out with your fingers


01042011070.jpg

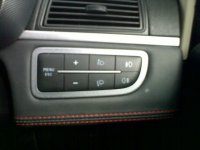
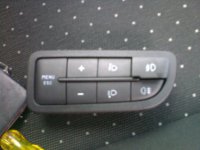
Just need a small flat head screwdriver to pop the buttons out. (see top right button) I only have a photo of the light controls but its the same heater control buttons and all the rest, then you can paint the outside trim without any hassle. Just takes time.(y)
 
Thanks for that (y)

Did you do the standard head unit as well? If so, did you have any problems with those buttons and knobs?

One more question! What prep did you do and what kind of paint/spray would you recommend?
 
The CD head-unit was the only thing I couldn't get the buttons out of so I just used masking take and taped over the screen, buttons and knobs but it works fine just need to take your time doing it.

And I primed with grey primer, then sprayed silver with a VW/Audi colour (can't remember exact name) 3 coats I think and finally a couple of layers of clear.

You don't need the primer I just did because I had some laying about and thought I might as well.
 
GotGrande,

Ive done the steering wheel controls and also the Menu/Fog light switch, but was wondering how you got to the heating controls.

Is it a case of removing the headunit and doing something from there?
 
GotGrande,

Ive done the steering wheel controls and also the Menu/Fog light switch, but was wondering how you got to the heating controls.

Is it a case of removing the headunit and doing something from there?

Yes you need to remove the head unit use a wire coat hanger to remove using the four allocated holes.

then you will be able to see the heater unit now you don't need to take the whole thing out just the facia plate that the dials are on.

Before you do this set all the dials to the center point so you know were they are set when you put the facia back on.

with the head unit out of the way you will be able to see four clip pop these over the plastic tangs BE VERY VERY VERY CAREFUL NOT TO BREAK THEM!! :bang:when you do this it should just pull off from the heater controls main body.

The dials and buttons are removed the same way as all the others(y)

hope this is of a little help:p

Thats great, Cheers GG (y)

Is it pretty similar for the section above the head unit? Believe it has the city button, hazards etc on.
 
Hi, the trip (which seems to be covered in some fabric above" does it just pop out? Any tutorials/instructions in how to take it apart. I want to redo my vinyl (see gallery "speeder")
 
Back
Top