Well i thought i would start a project thread after talking with Martyn, although i have other progress threads on other forums but i may as well add one in here to
I will make it as brief as i can and just list what i have done and still to do it,
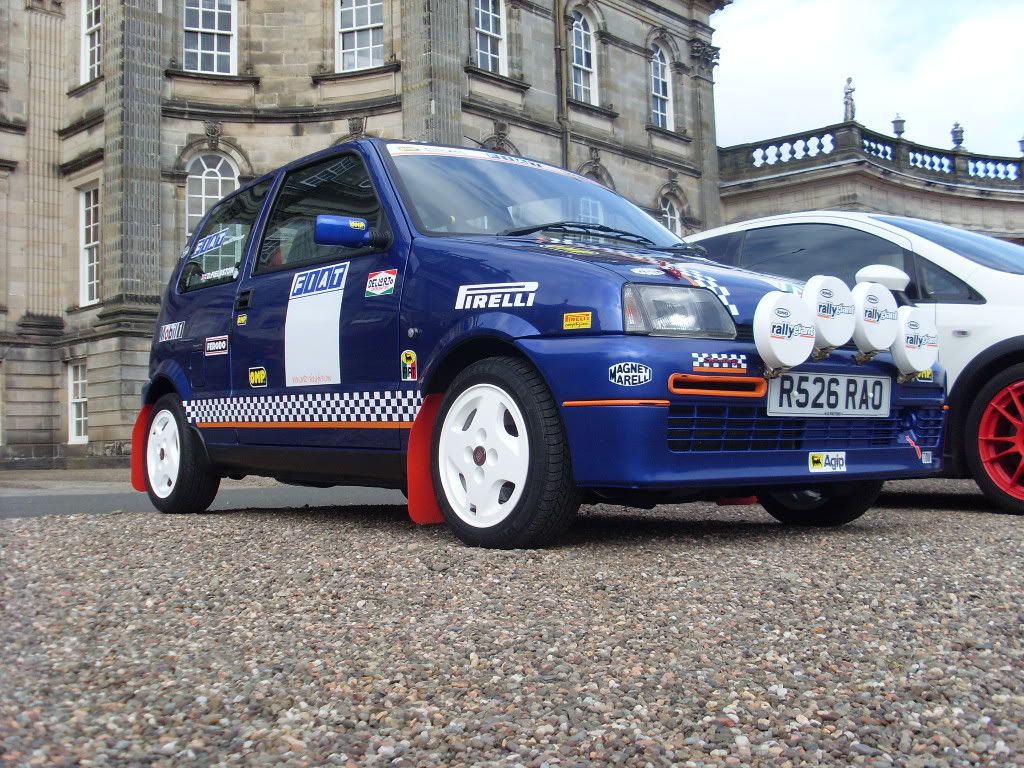
Well for those of you that don't know me or my car its a 98 Cinquecento Sporting 1108cc Fire that iam afraid to say iam in love with but hay i could do far worse...or could i lol??
I bought the car in October 2008 and to be honest it wasn't in good shape but it did have a years mot when i bought it but god knows how:thumb_down:,
Its now a year and four months on and i have been coming and going doing my heed in thinking of what i wanted to do with it but iam pretty sure i have that sorted out in my mind,Iam going to use it as a track car but keeping it road legal at the same time as i only live a few miles from knockhill so i can drive it back and forth as and when i wish to do a track day and i think iam only about 35 miles from Crail too so that makes things a little easier although i do plan to buy a trailer if and when i have the funds,iam also going to use it for meets and events as after attending a few last year i have to say i did enjoy going to them so thats something i wish to keep up,
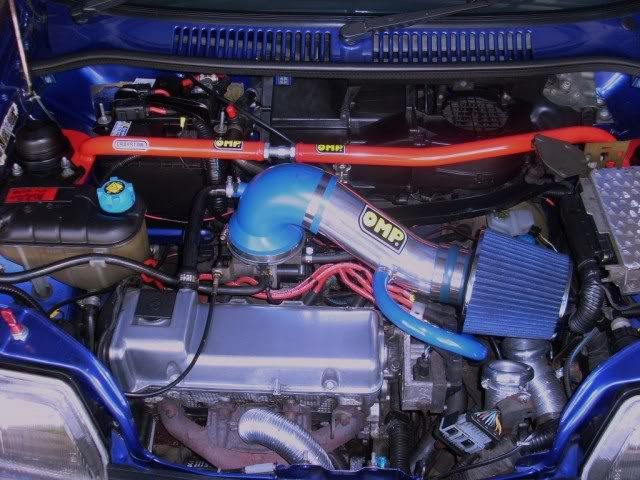
Engine
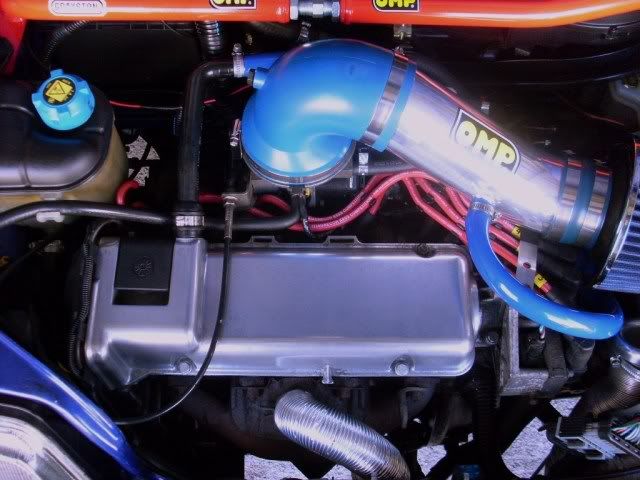
Focus Induction Kit
Donner 96 ECU Chipped
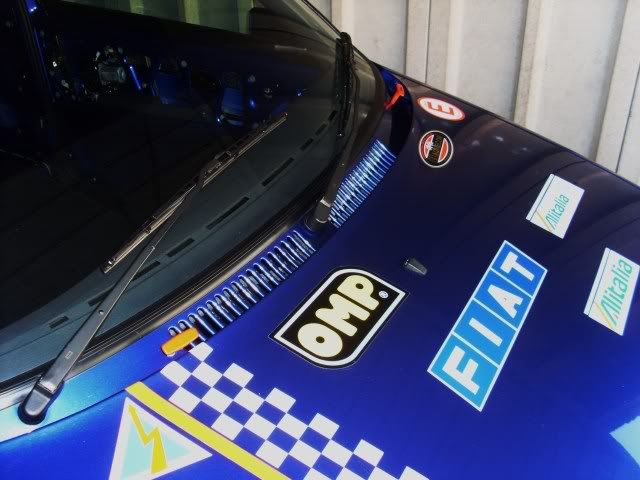
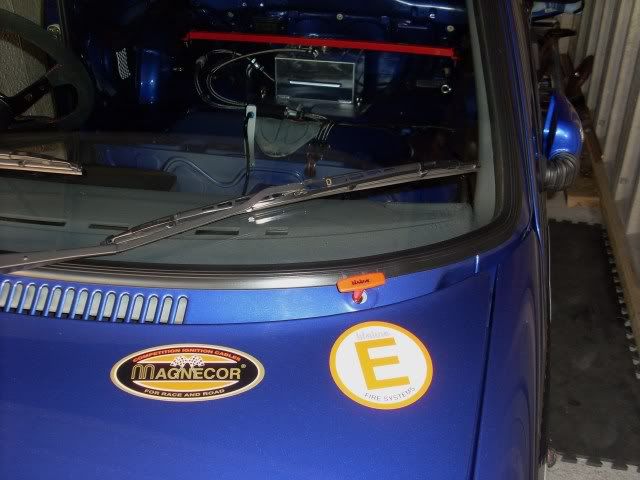
Magnacor Ignition Leads
Punto 75 Cam
Ashley Twin DTM Rear Silencer
Suspension & Running Gear
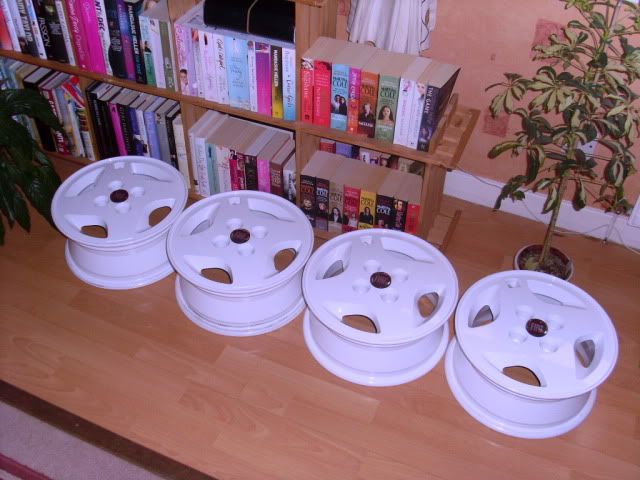
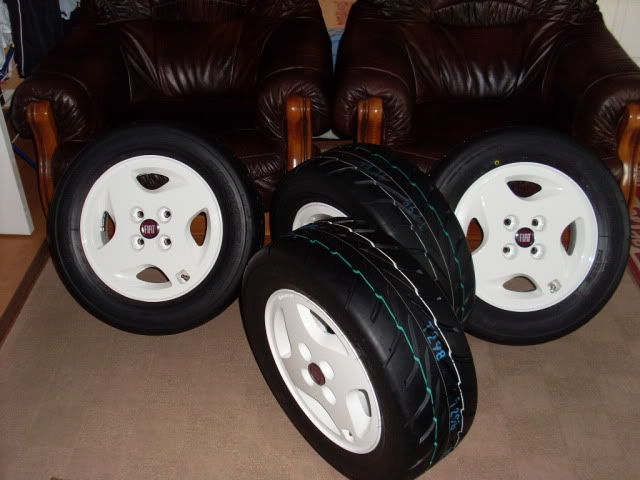
Stock 13" Alloys Powder Coated White
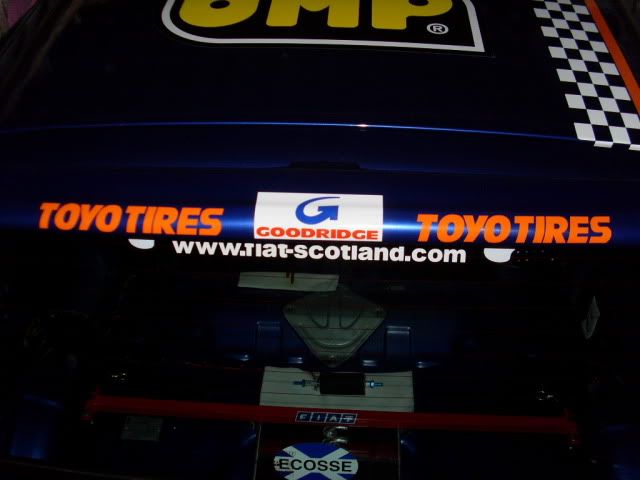
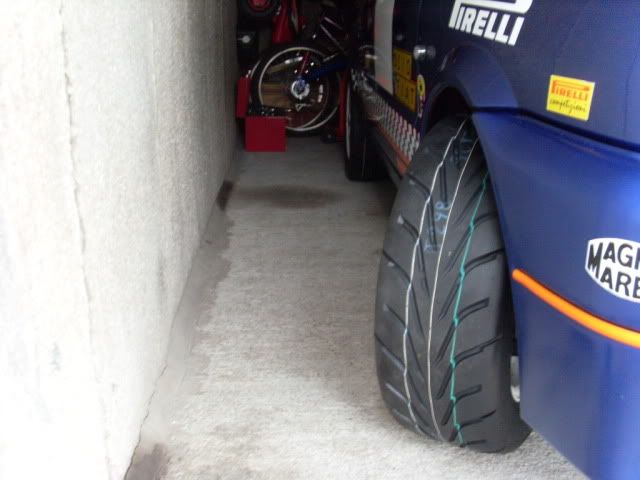
Toyo Tyres 175/60/13 R888 Medium Compound Proxy's
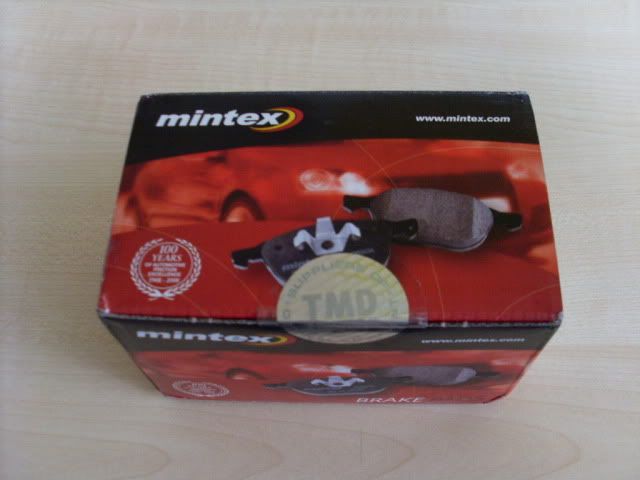
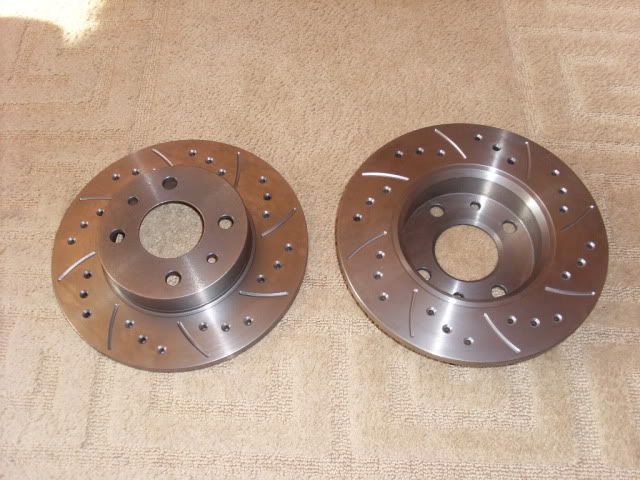
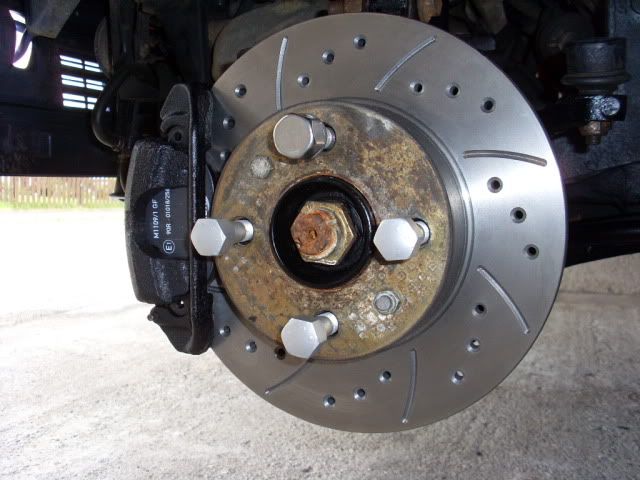
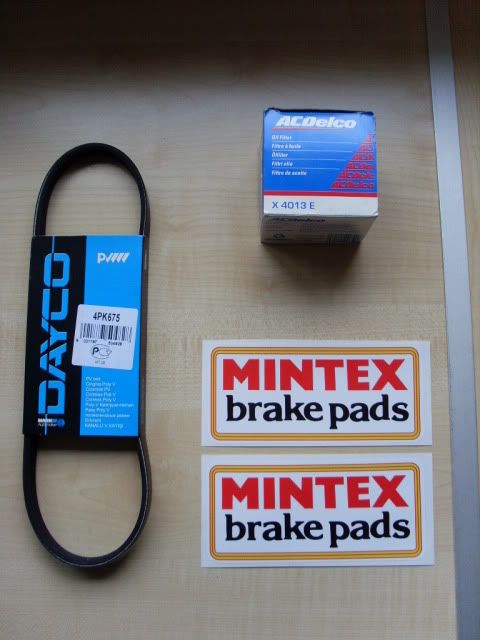
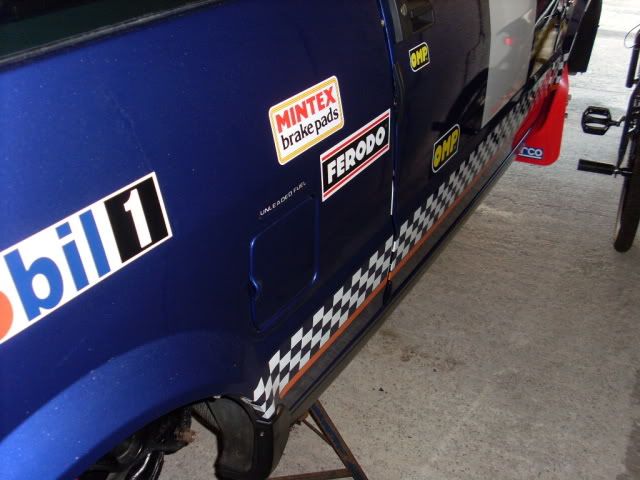
Mintex Front Cross Grooved & Drilled Disc's & Pads
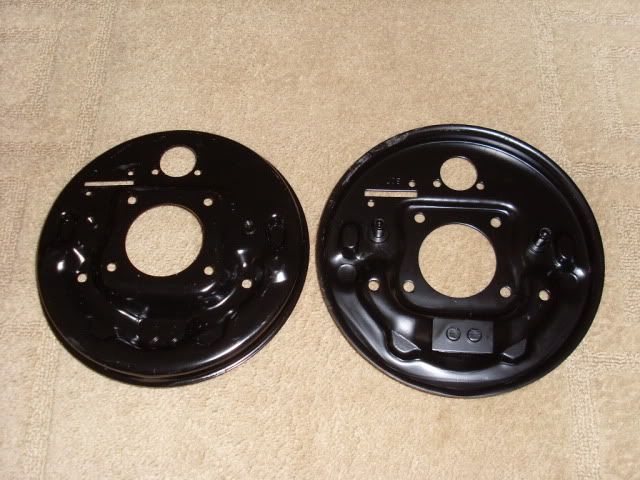
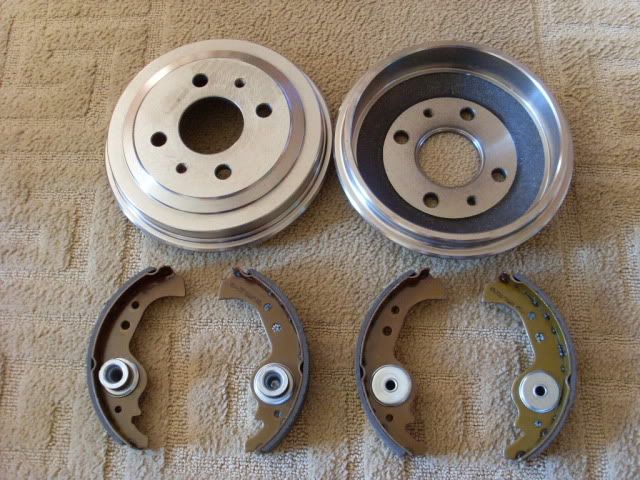
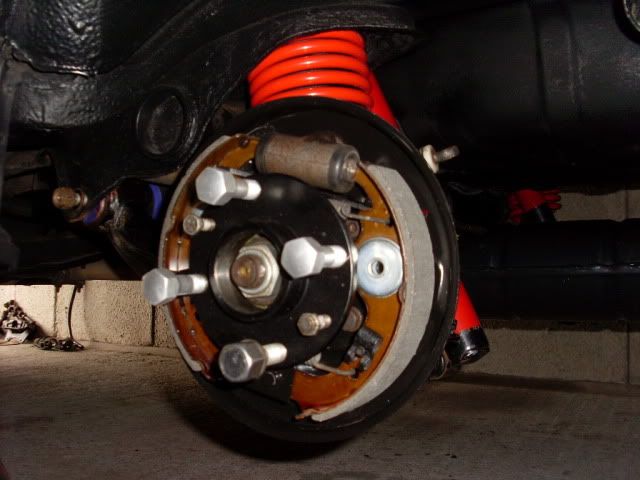
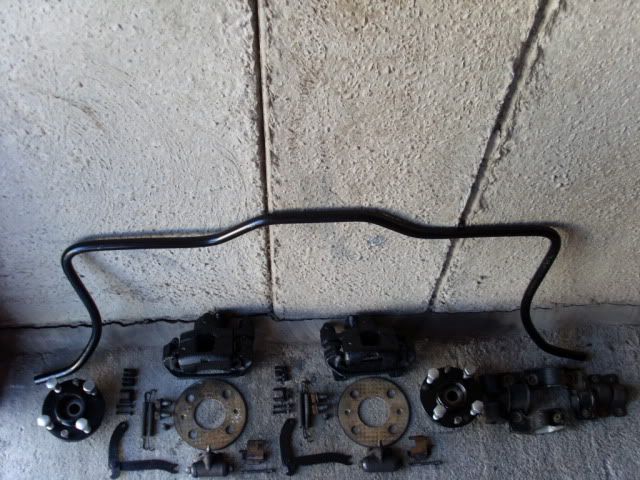
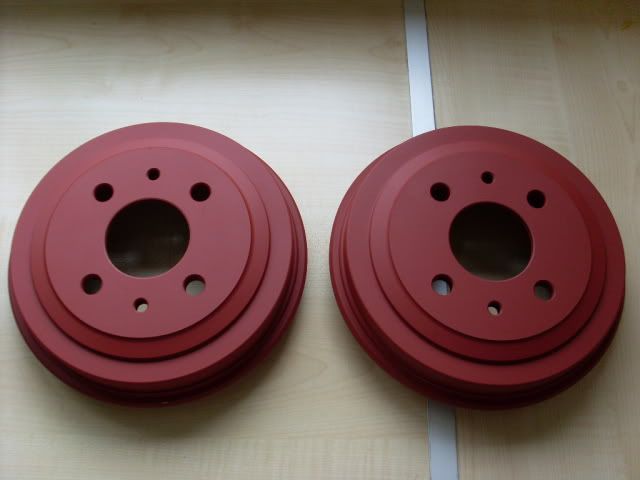
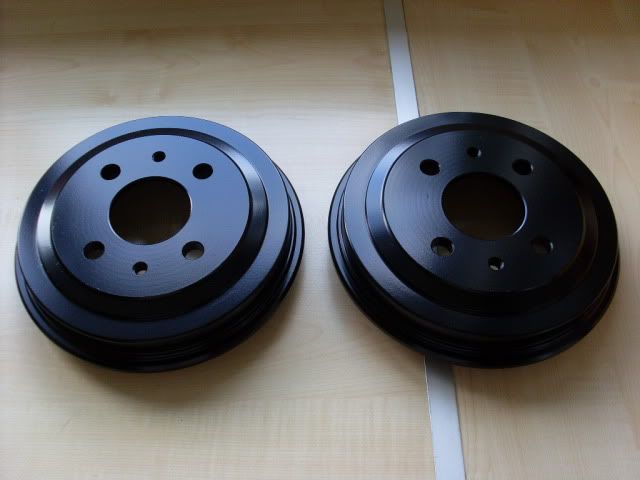
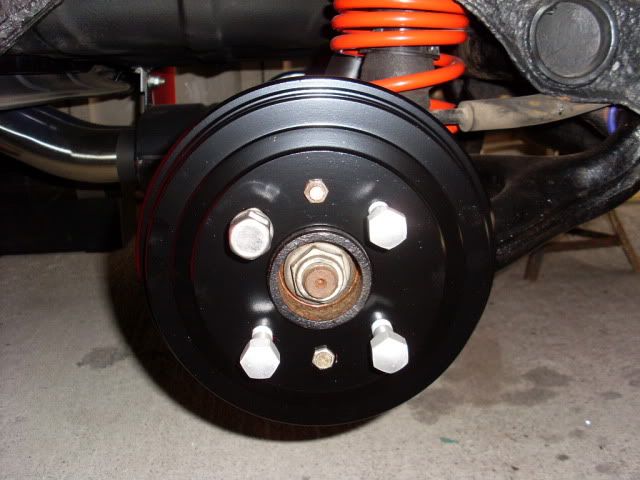
New Stock Drums,New Backing Plates & Shoes
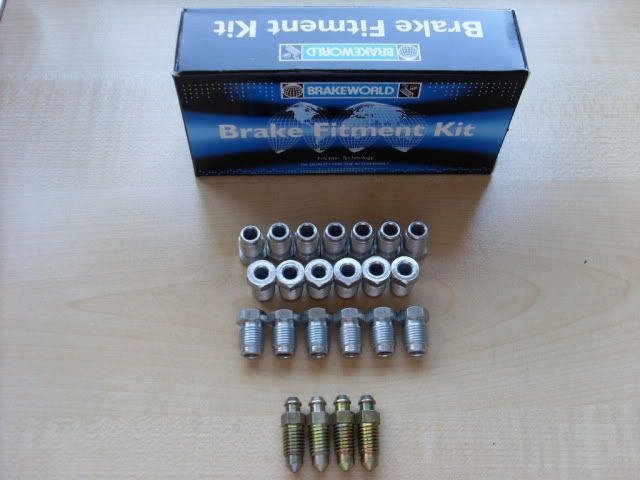
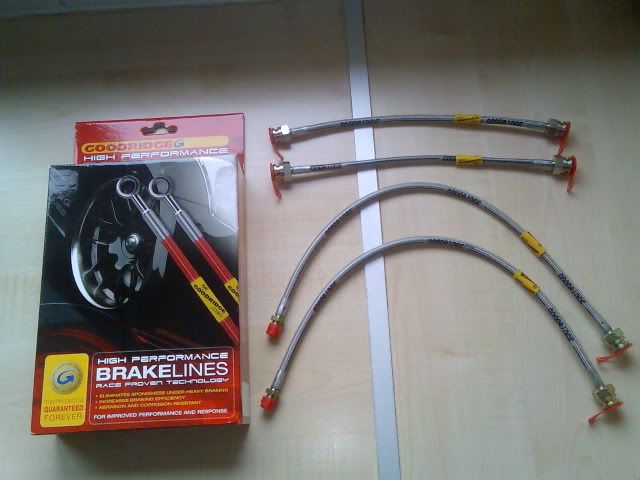
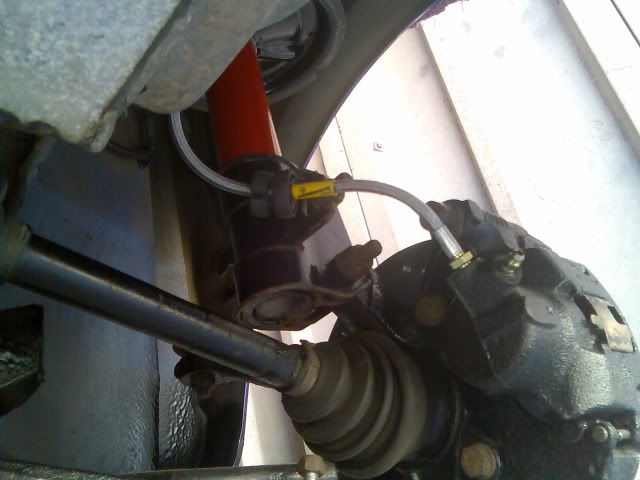
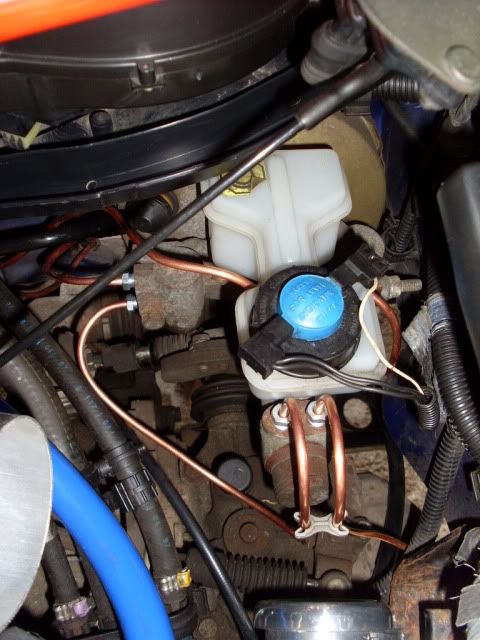
Goodridge Front and Rear Brake line Flexi's
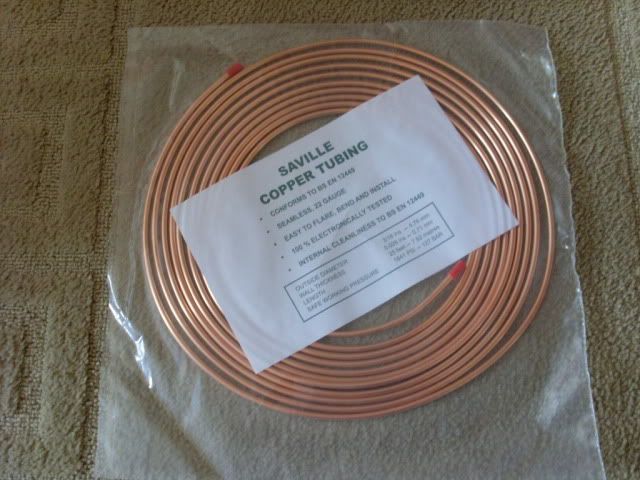
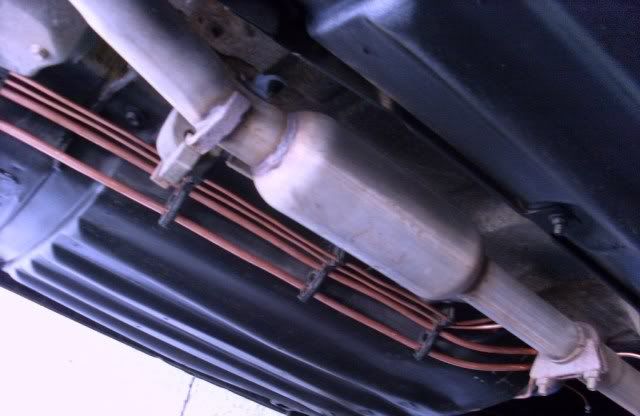
All New Copper Brake Lines
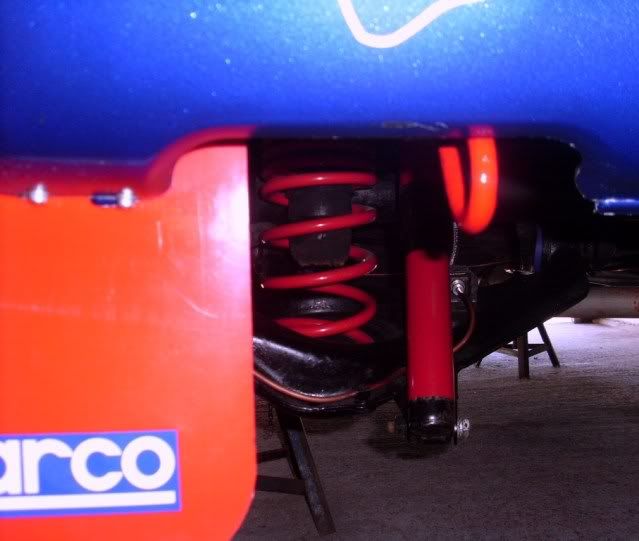
30mm Lowering Springs
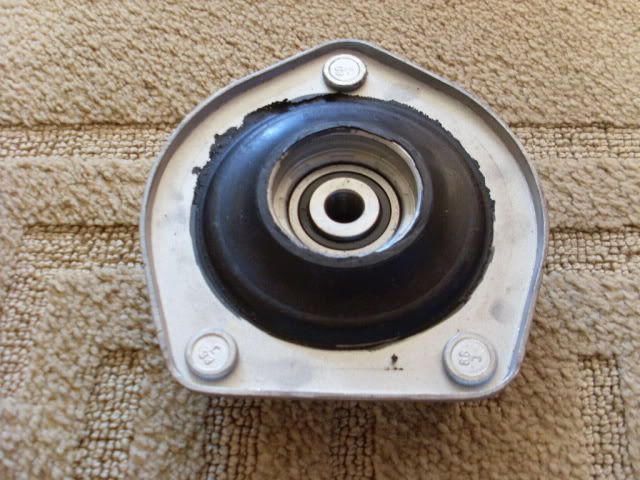
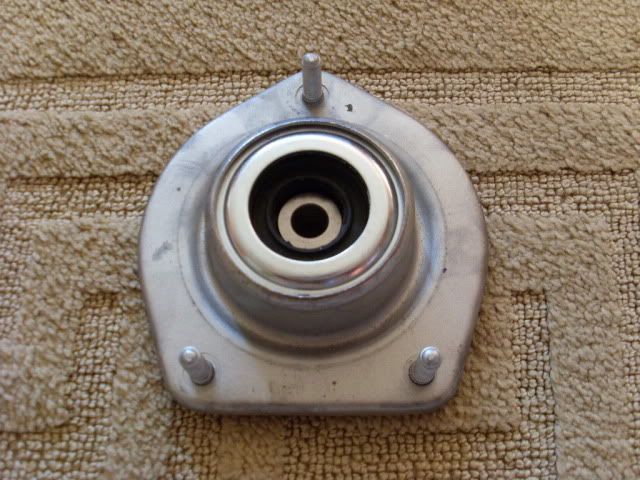
New Stock Struts & Shocks
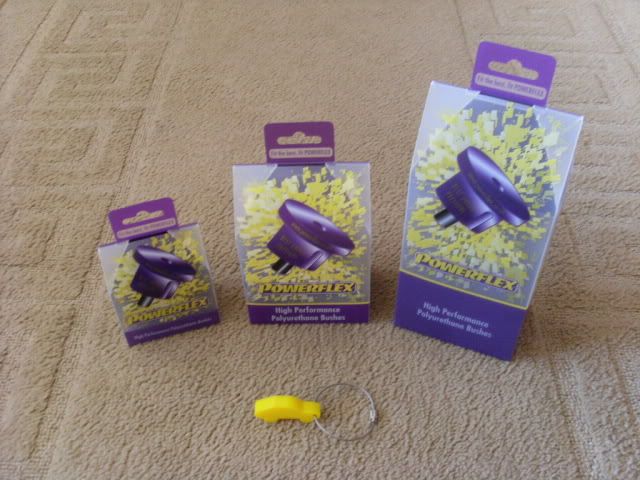
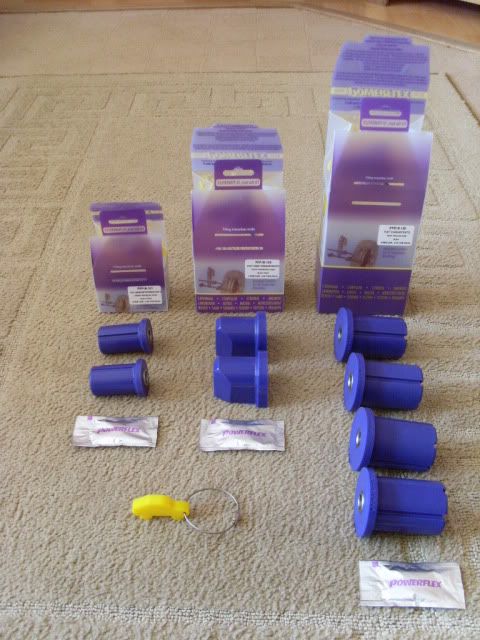
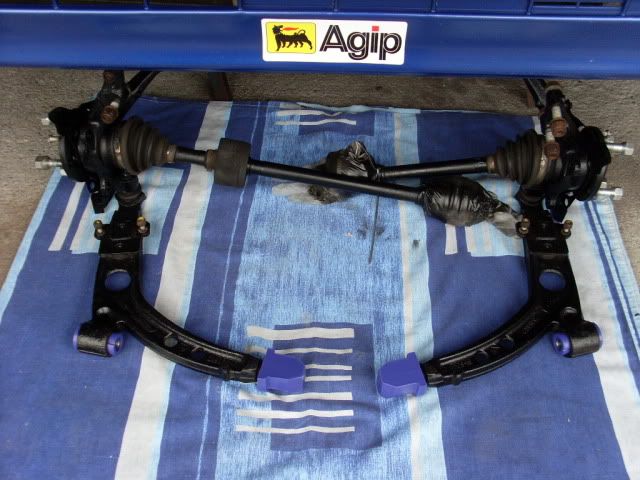
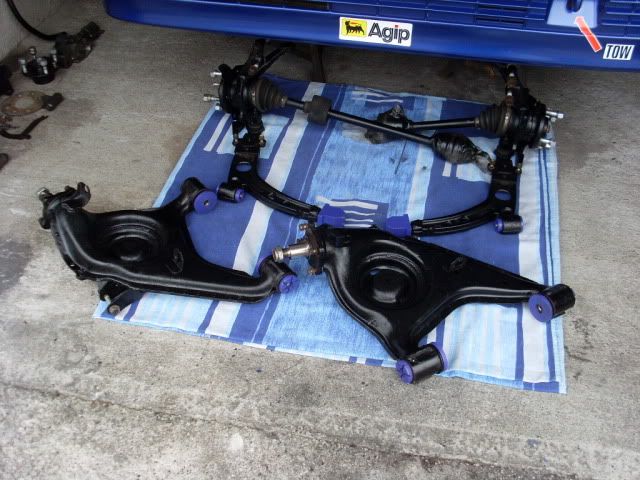
Complete set of Powerflex Bushes Front & Rear
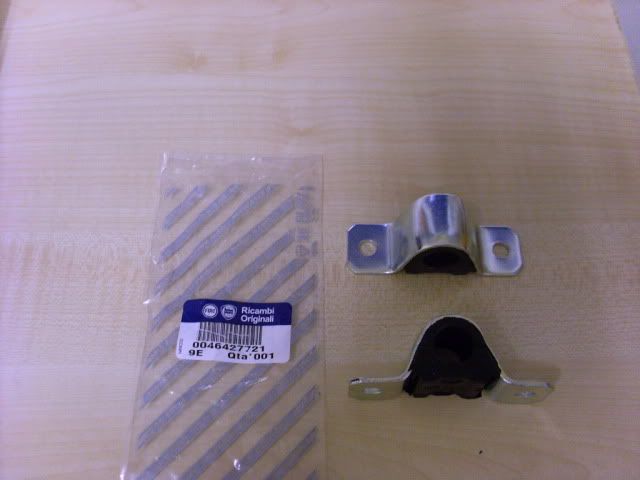
New Inner & Outer Anti Roll Bar Bushes
Front Upper OMP Strut Brace
Rear Custom Brace
Sparco Style Mud Flaps
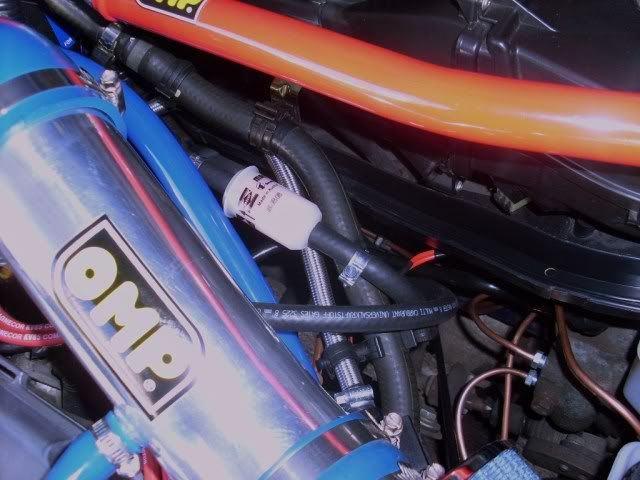
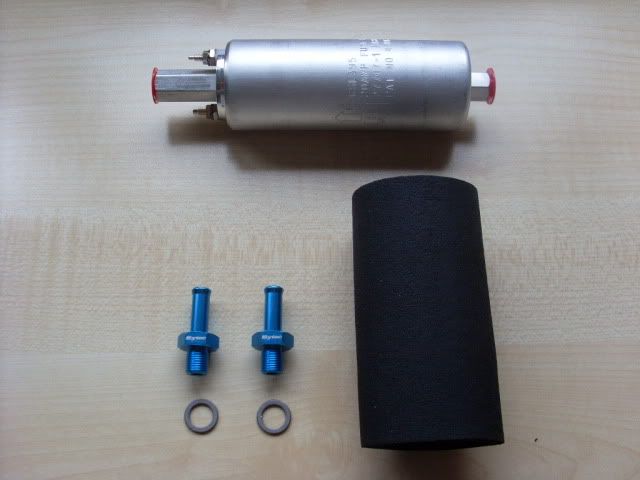
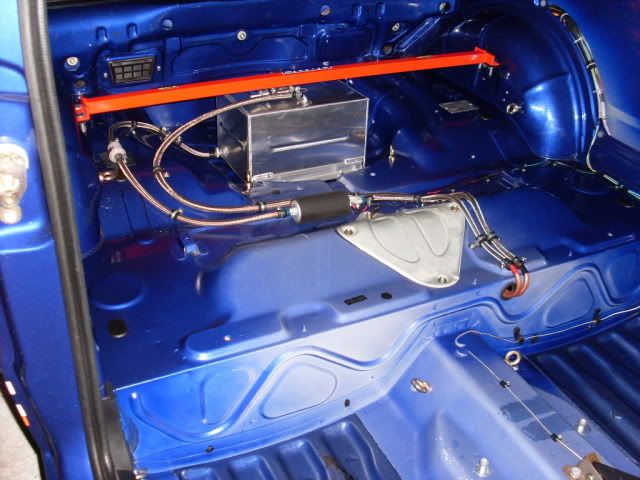
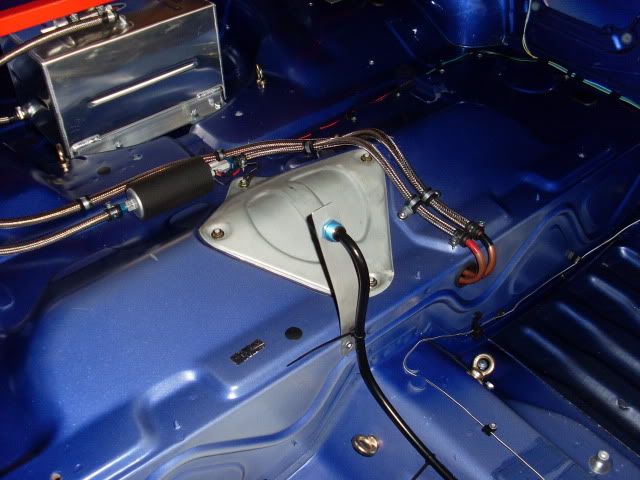
Fuel System
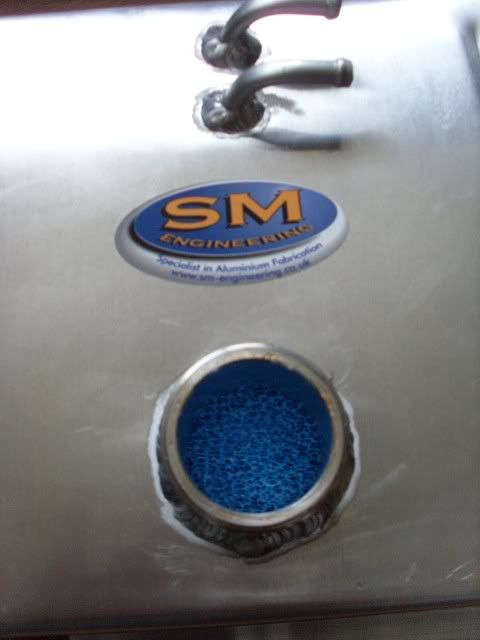
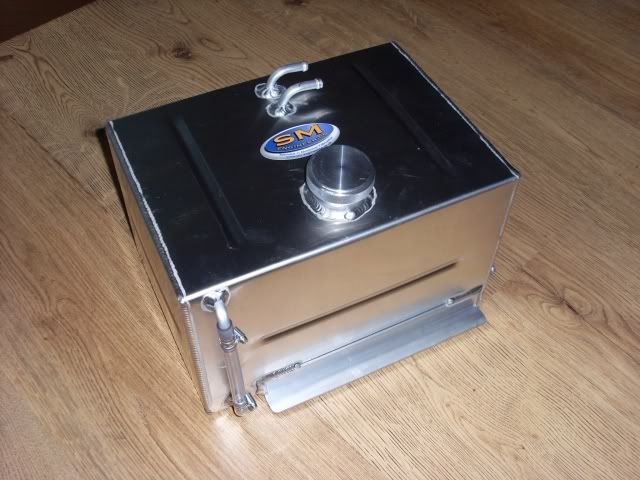
Alloy Foam Filled Fuel Tank
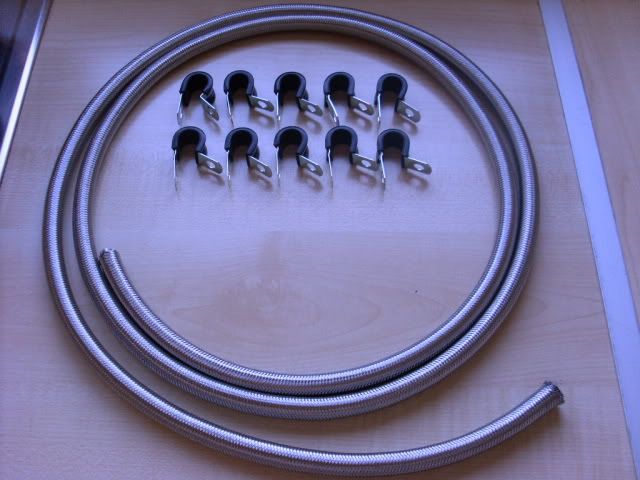
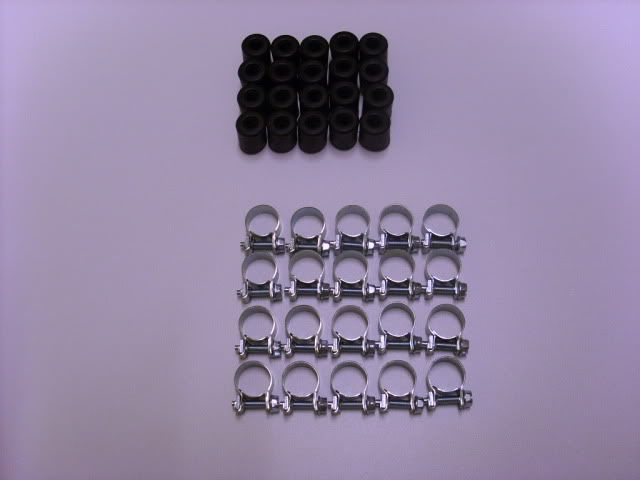
All New Copper & Stainless Steel Braided Teflon Fuel lines
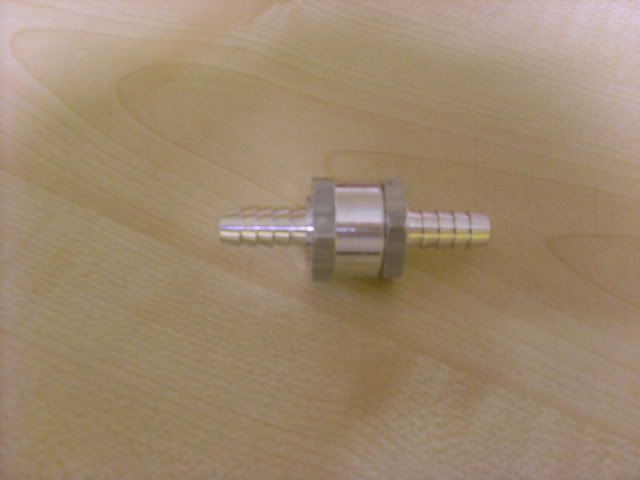
2 x Alloy None Return Fuel Valves
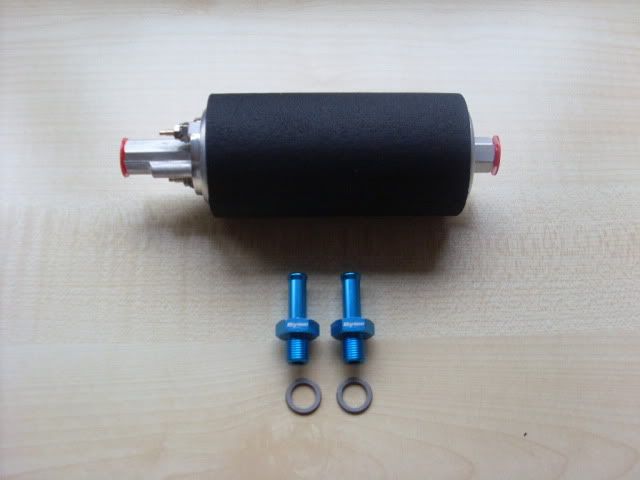
Welbro In-Line Low Pressure Turbo Pump
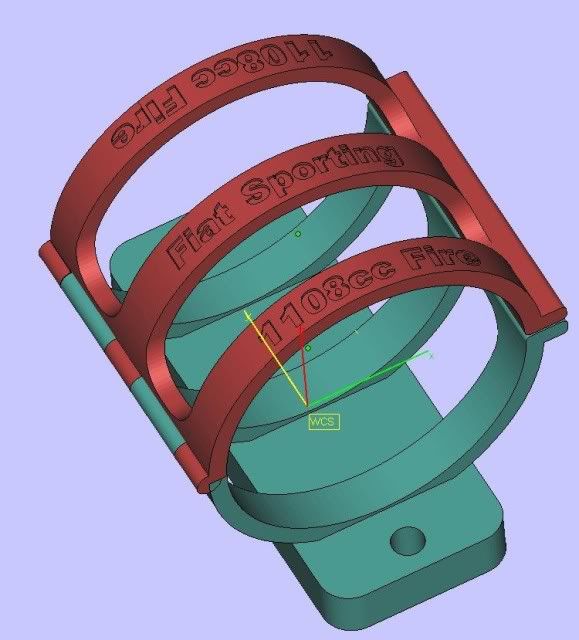
Pump Bracket WIP
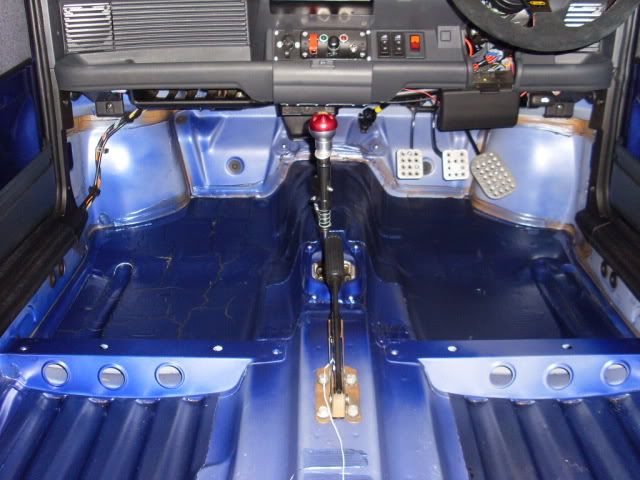
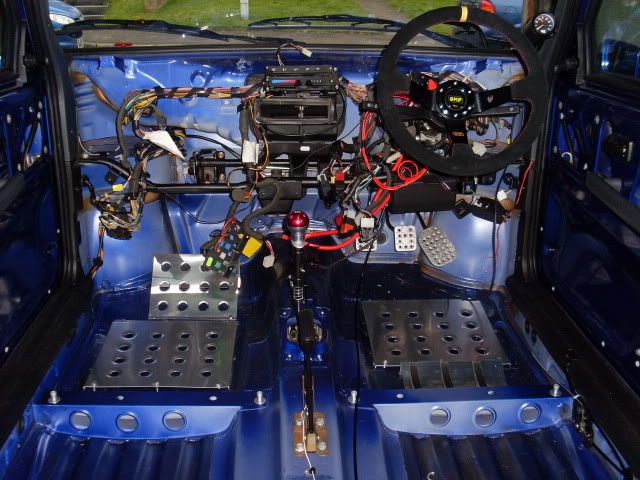
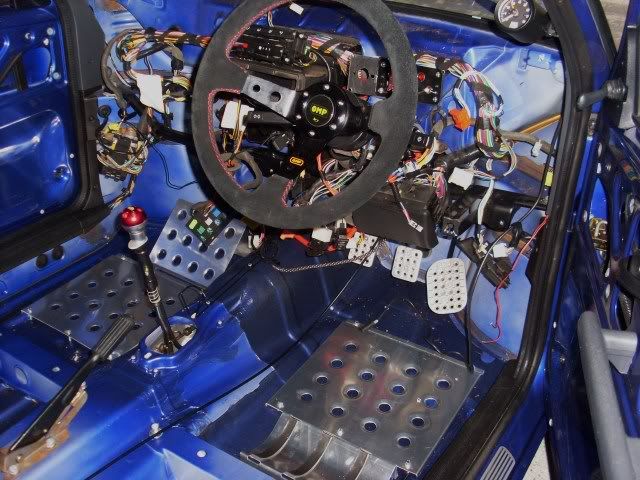
Interior
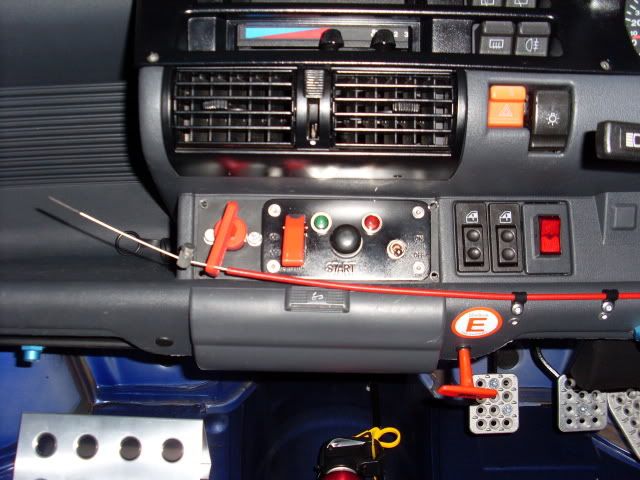
Stock Tim Rev Gauge
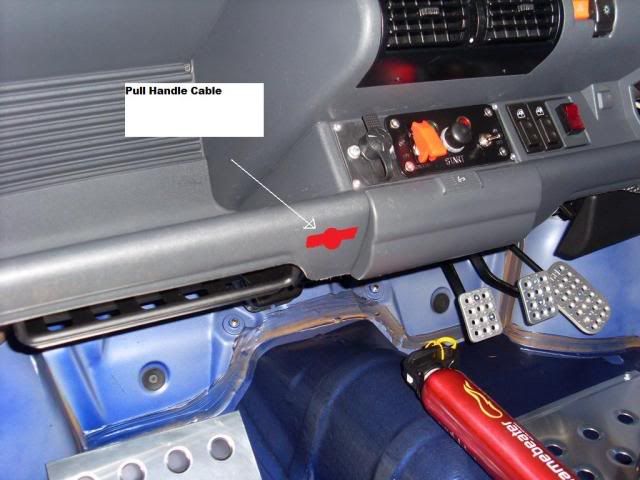
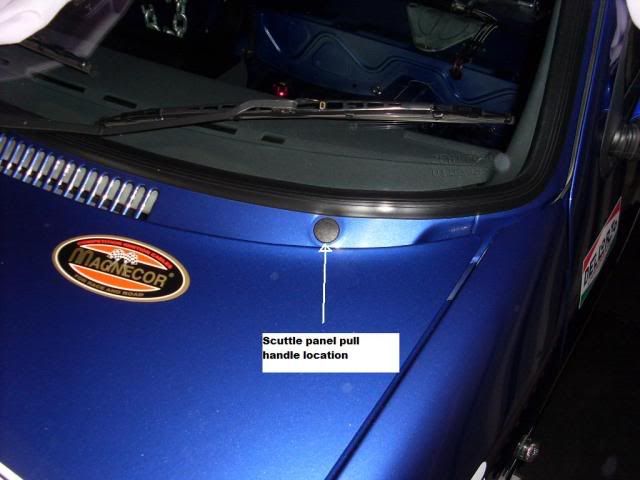
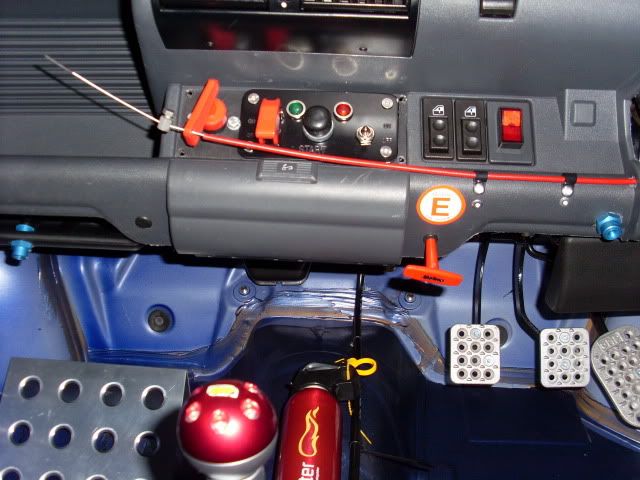
Dashboard Master Battery Cut Off Switch,Battery Scuttle Panel Cut Off Switch is WIP
Push Start Button
Alloy OMP Gear Knob
Steering Boss
Deep Dish OMP Corsica Steering Wheel
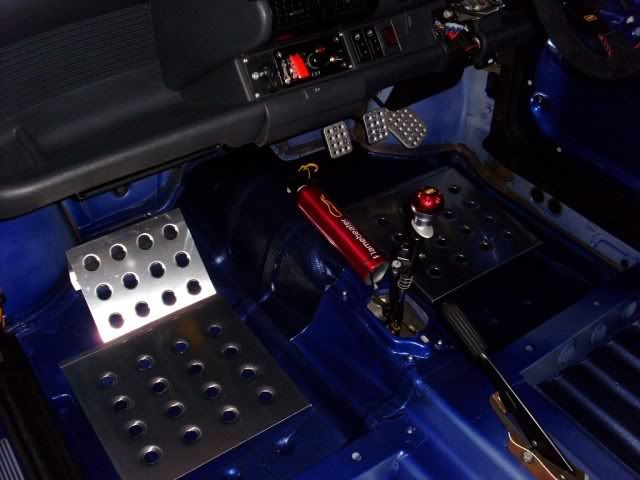
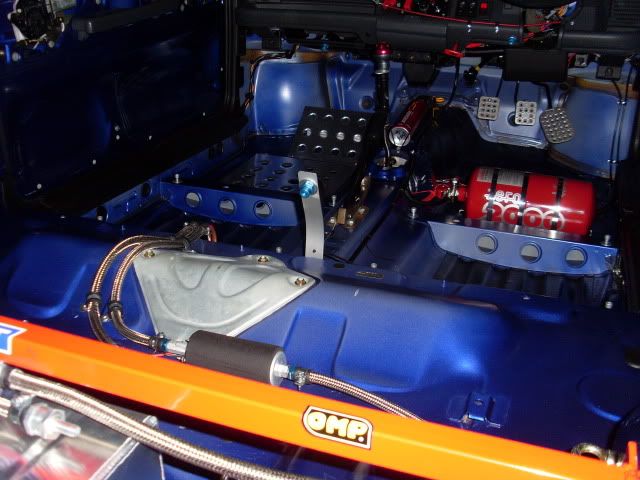
Alloy OMP Foot Pedels
Alloy Co-Driver Foot Rest
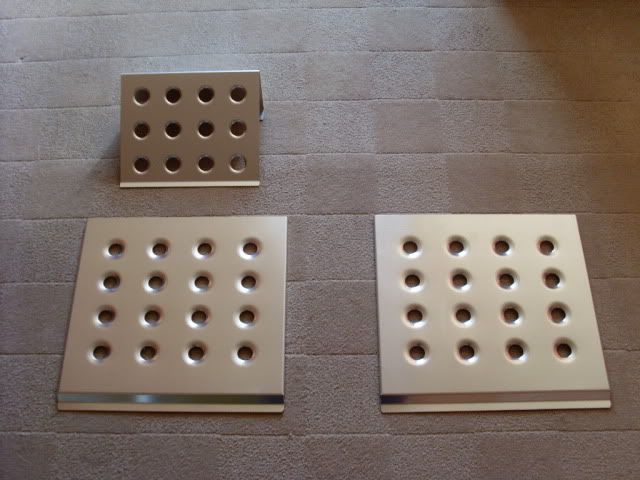
Alloy Driver & Co-Driver Foot Plates
New seat bracket Bolts
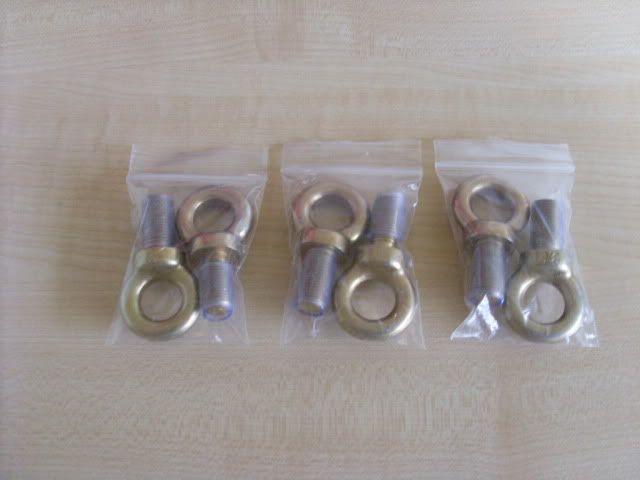
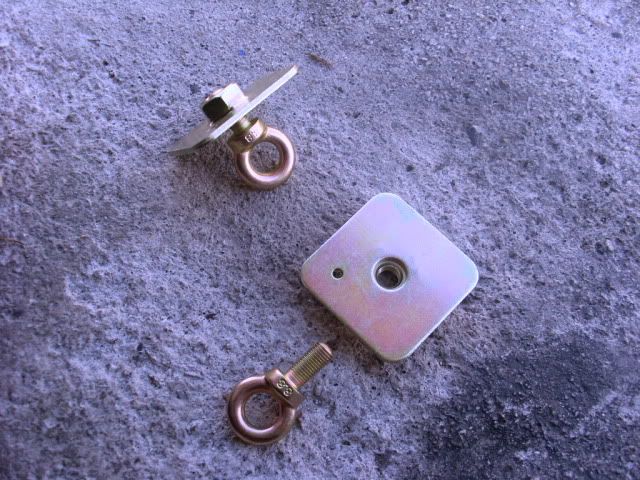
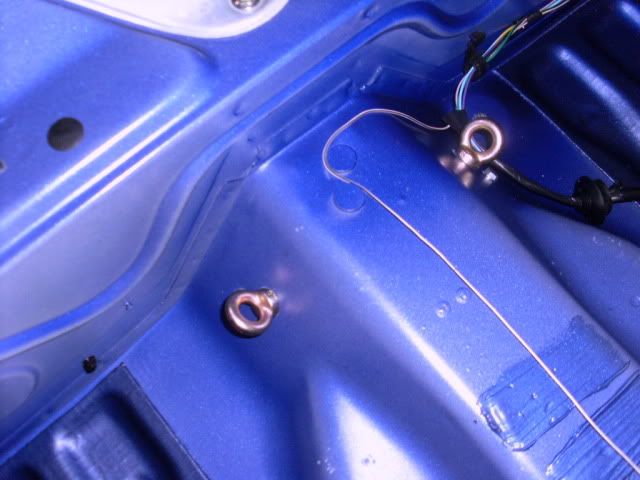
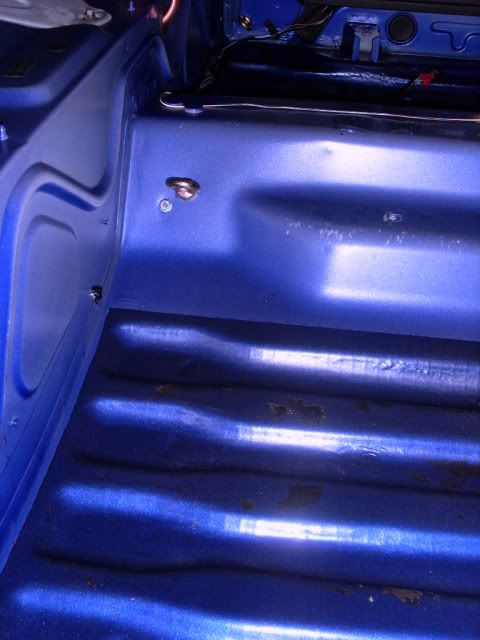
6 x Clip On Harness Eyes & 3mm Mounting Plates
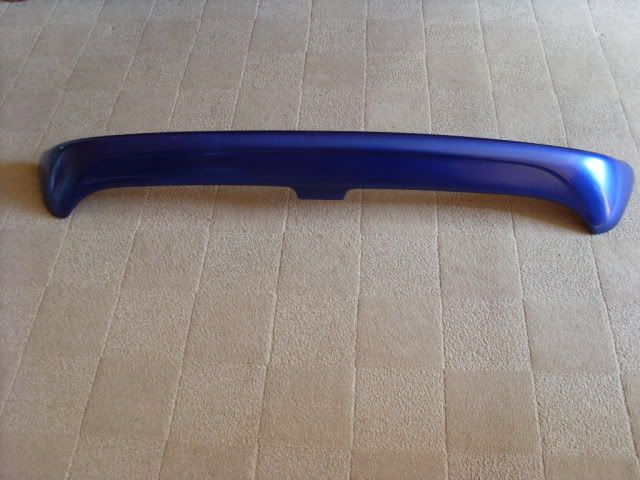
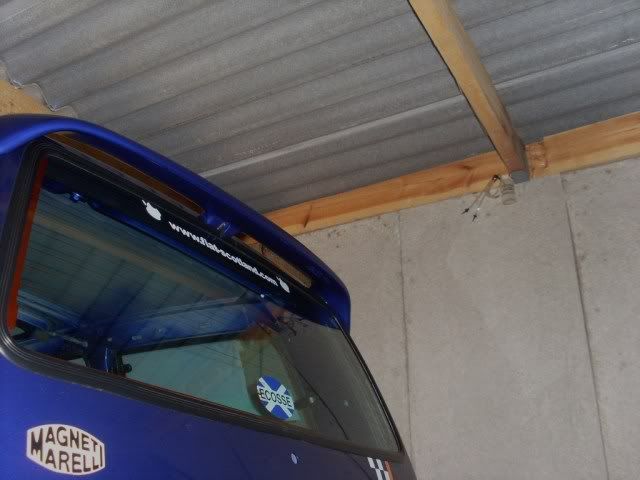
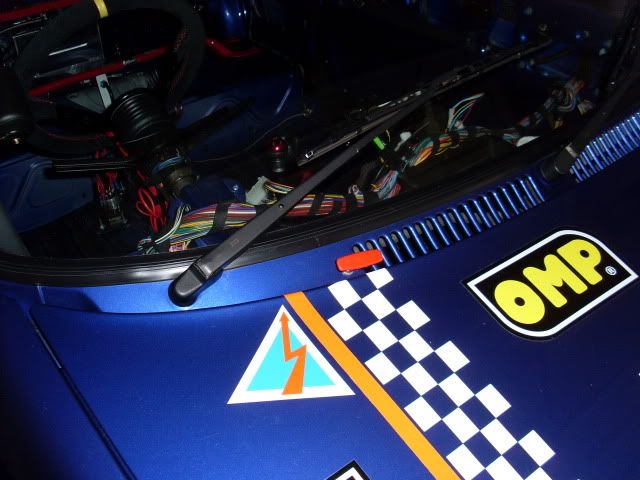
I have also fitted 4 rally giant spot lights bonnet and rear hatch pins and even an Imola Blue rear spoiler that i bought second hand on Fiat Forums, iam sure there is more but my head is hurting trying to think here so if i have missed anything i apologies,
Now since i took it off the road last year in September 09 after the tax and mot ran out i totally striped it underneath as well as all its running gear and suspension components and gave it a good clean down and gave the underside a good paint to help keep it weather tight and keep the rust at bay which iam pleased to say there is still not a drop of lol but with it being garaged that helps and as i said on another forum there is not going to be many good uns left about soon so iam keen to keep it as good as i can for many years to come:thumb_down:
Well thats now been a year from a changed the timing belt and replaced the tensioner and replaced the plugs,Oil Filter,Engine Oil,Gearbox Oil,AUX Belt and it done just under 1500miles and one track day at Knockhill,
I have also replaced the:
Heater Matrix
Cam Seals
New Rocker Cover Gasket
New Steel Coolent Pipe O-Ring
Re-Greased the CV Joints & Bearings
New Water Pump
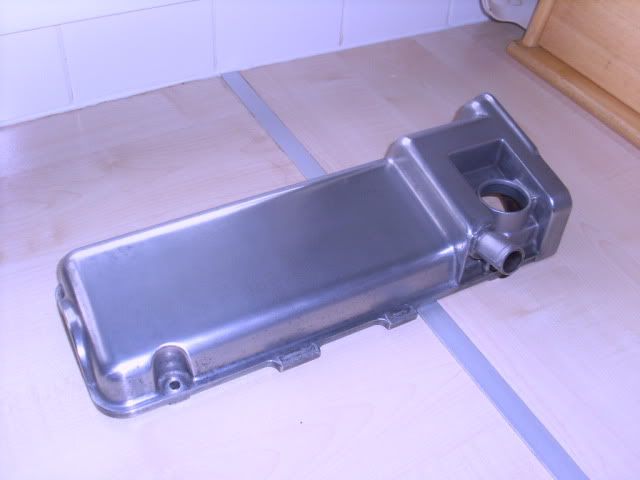
Polished the Rocker Cover
Flushed The Coolant System & Replaced With Fresh Summer & Winter Coolant
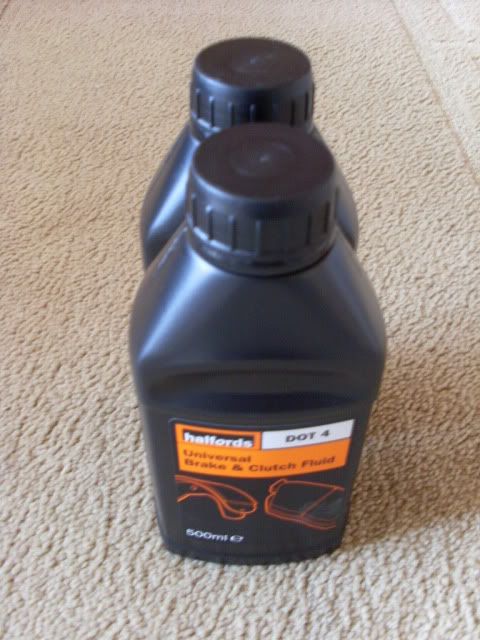
Replaced Brake Fluid with DOT 4 When i renewed the Brake System,
I have also started to buy spares as you never know when your going to need them there and then when it comes to cars and even track cars so i hope to build them up so when it comes times to use it as much as i can at least i will have some of the parts i may need?,
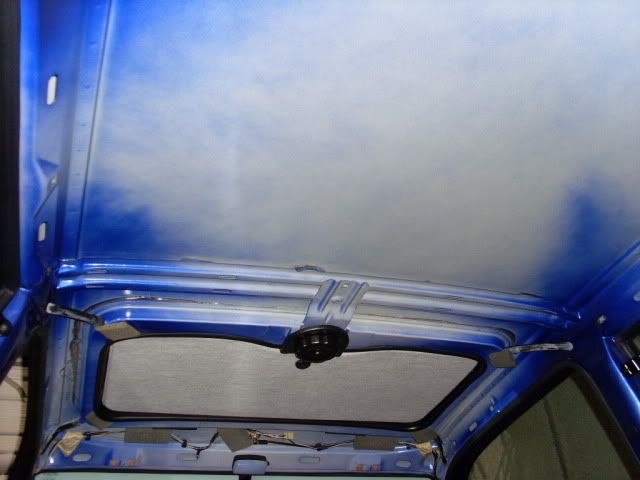
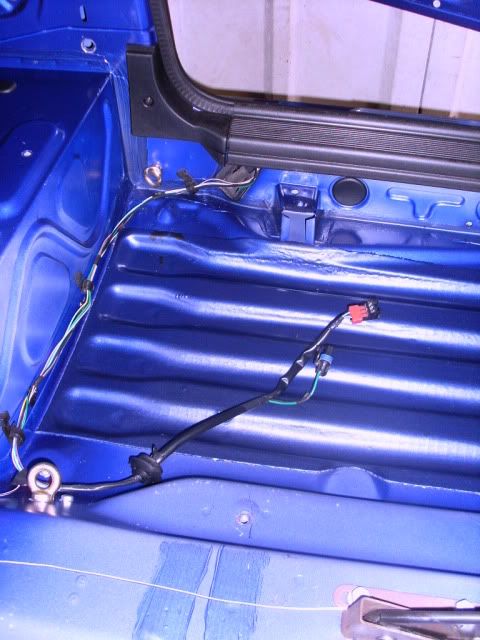
I have also removed all the sound deadening from the engine bay and all the evop system as well as the complete Interior inside the car to help loose some weight but nothing drastic,
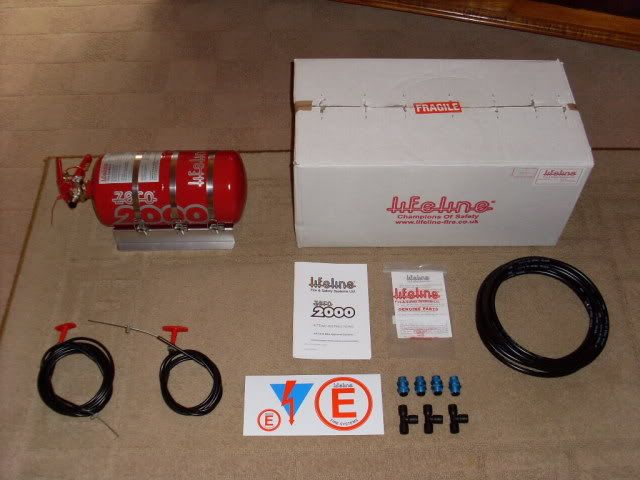
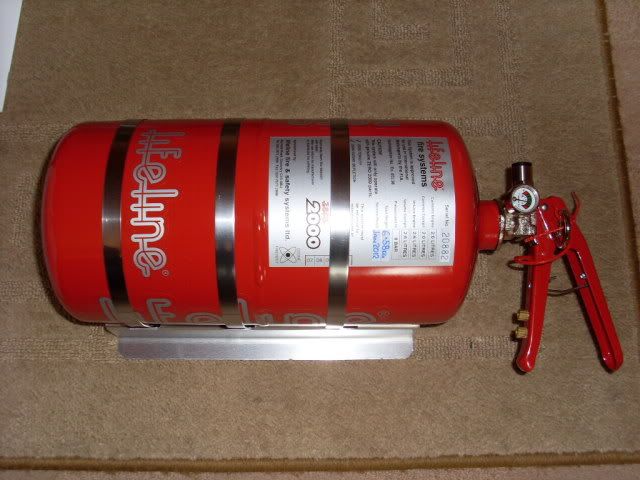
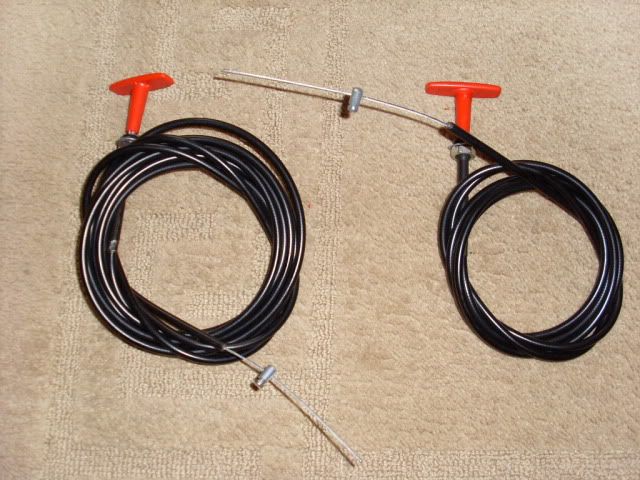
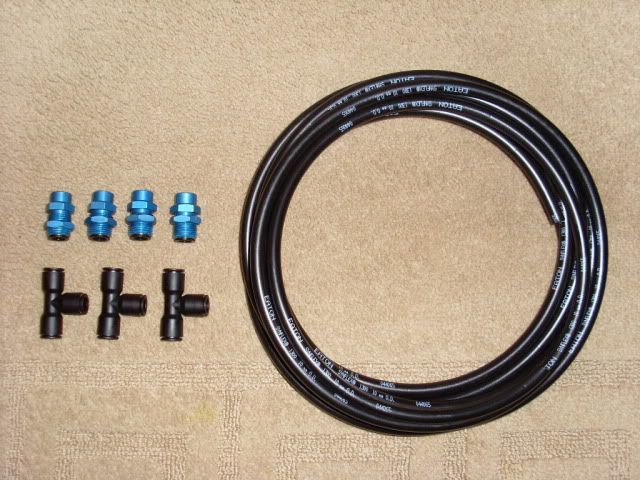
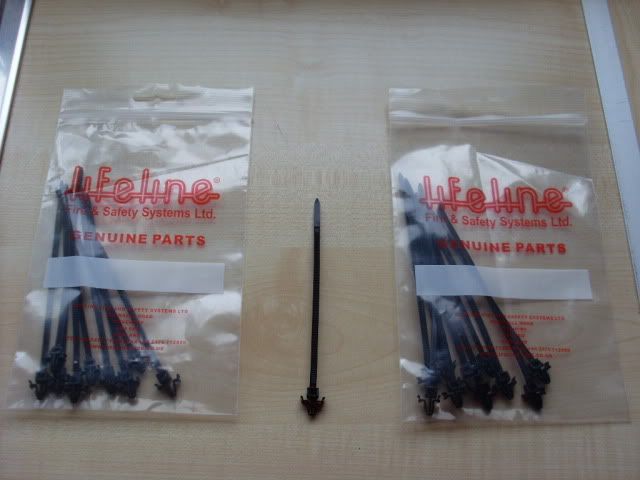
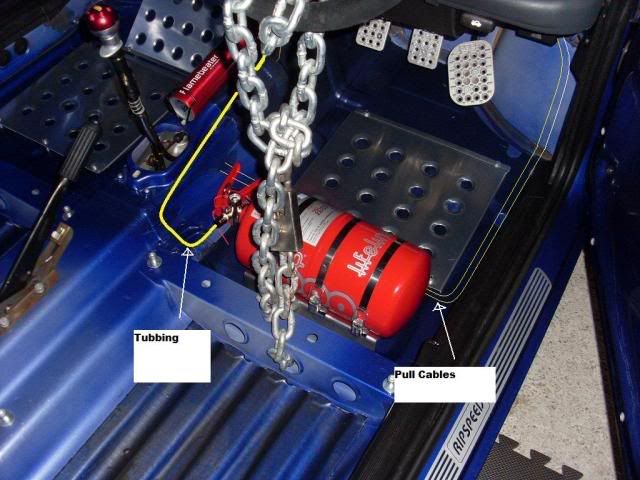
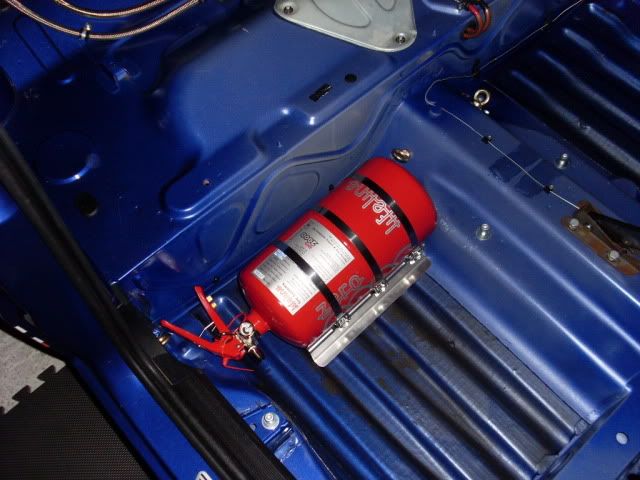
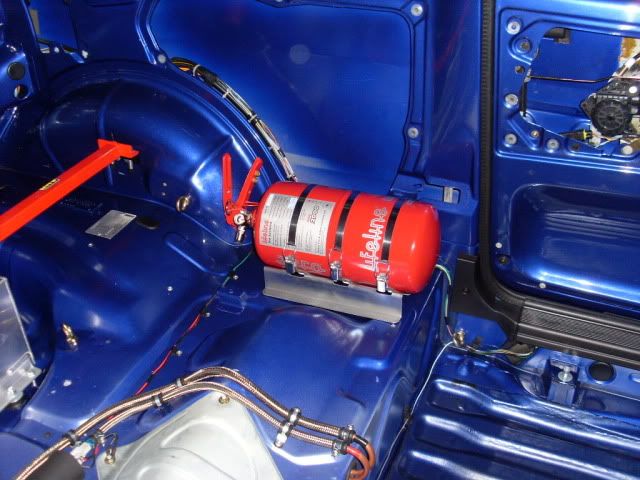
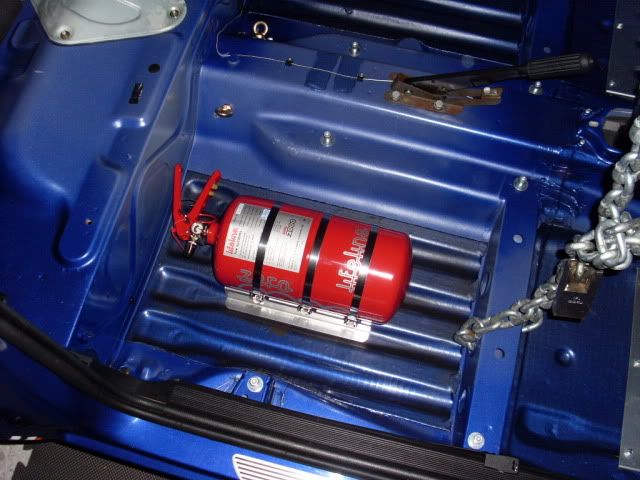
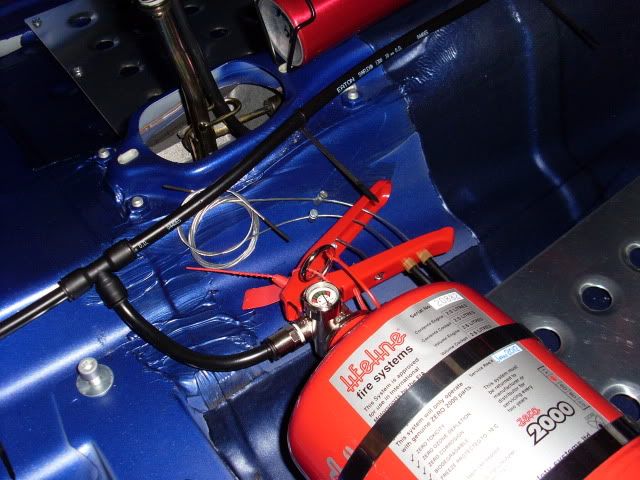
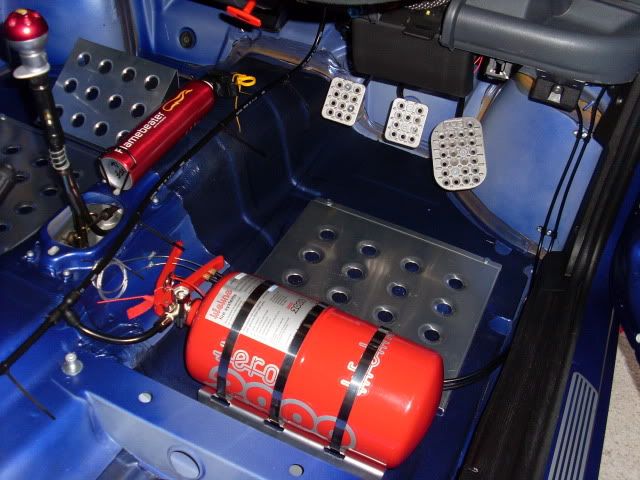
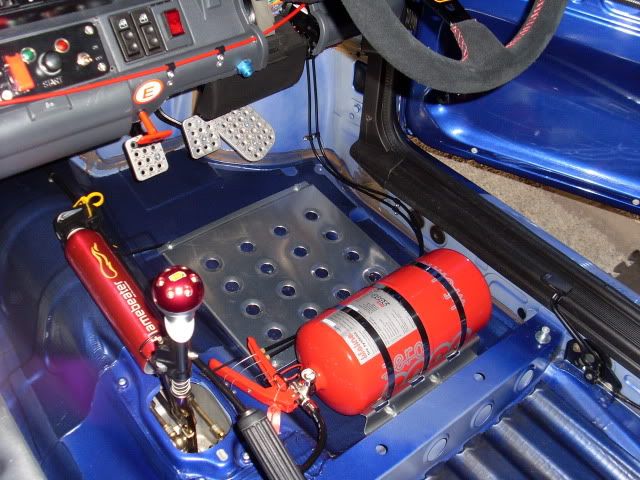
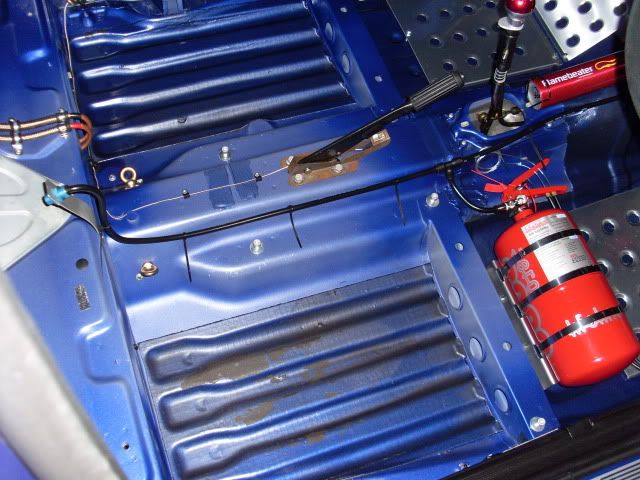
I have also just bought a mechanical Zero 2000 fire Lifeline system for it this week but iam afraid thats WIP so more on this in the coming weeks,
Now iam sure i have missed alot out but if it comes to be me i will keep you updated,
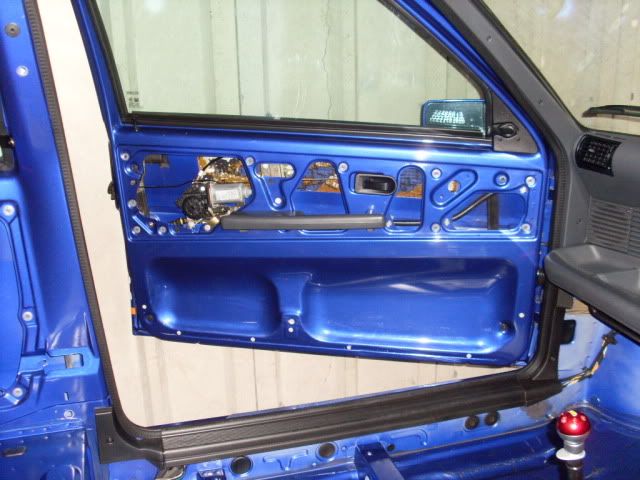
Now i hope over the coming Months to buy a 6 point cage,2 x bucket seats and mounting brackets,2 x 4 point harnesses and get an alloy sunroof dish fabracated and bolted on to under the sunroof just in case the glass decides to come in round us if i manage to overturn it,i hope to replace the passenger and drivers door windows with plastic but with all cars its time and money as always but iam sure in time i will get there,i hope lol
Now when thats all done then it will be time to get the engine and gear box out as i have decided to keep the 1108cc Fire and rebuild it from top to bottom and have the head skimmed to get the compression up and also have the head ported and polished then replace the chipped 96 ECU back to the stock 98 ECU and have it remapped,i have also got another flywheel but as yet i have not had the time nor money to have it lightened yet but not by much and finally replace the exhaust system with a custom stainless steel,but like i said its all times and money so i guess we will see how things go,
This has took me hrs to do this so iam sorry but i will add the pics later
All the best Scuderia
but i may as well add one in here toI will make it as brief as i can and just list what i have done and still to do it,
Well for those of you that don't know me or my car its a 98 Cinquecento Sporting 1108cc Fire that iam afraid to say iam in love with
but hay i could do far worse...or could i lol??I bought the car in October 2008 and to be honest it wasn't in good shape but it did have a years mot when i bought it but god knows how:thumb_down:,
Its now a year and four months on and i have been coming and going doing my heed in thinking of what i wanted to do with it but iam pretty sure i have that sorted out in my mind,Iam going to use it as a track car but keeping it road legal at the same time as i only live a few miles from knockhill so i can drive it back and forth as and when i wish to do a track day and i think iam only about 35 miles from Crail too so that makes things a little easier although i do plan to buy a trailer if and when i have the funds,iam also going to use it for meets and events as after attending a few last year i have to say i did enjoy going to them so thats something i wish to keep up,
Engine
Focus Induction Kit
Donner 96 ECU Chipped
Magnacor Ignition Leads
Punto 75 Cam
Ashley Twin DTM Rear Silencer
Suspension & Running Gear
Stock 13" Alloys Powder Coated White
Toyo Tyres 175/60/13 R888 Medium Compound Proxy's
Mintex Front Cross Grooved & Drilled Disc's & Pads
New Stock Drums,New Backing Plates & Shoes
Goodridge Front and Rear Brake line Flexi's
All New Copper Brake Lines
30mm Lowering Springs
New Stock Struts & Shocks
Complete set of Powerflex Bushes Front & Rear
New Inner & Outer Anti Roll Bar Bushes
Front Upper OMP Strut Brace
Rear Custom Brace
Sparco Style Mud Flaps
Fuel System
Alloy Foam Filled Fuel Tank
All New Copper & Stainless Steel Braided Teflon Fuel lines
2 x Alloy None Return Fuel Valves
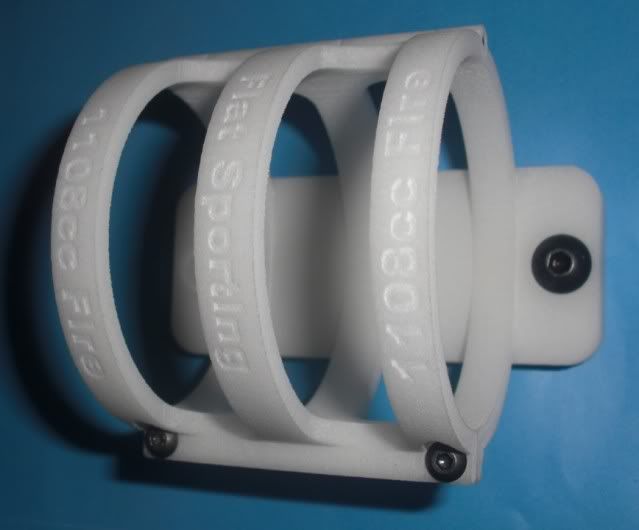
Welbro In-Line Low Pressure Turbo Pump
Pump Bracket WIP
Interior
Stock Tim Rev Gauge
Dashboard Master Battery Cut Off Switch,Battery Scuttle Panel Cut Off Switch is WIP
Push Start Button
Alloy OMP Gear Knob
Steering Boss
Deep Dish OMP Corsica Steering Wheel
Alloy OMP Foot Pedels
Alloy Co-Driver Foot Rest
Alloy Driver & Co-Driver Foot Plates
New seat bracket Bolts
6 x Clip On Harness Eyes & 3mm Mounting Plates
I have also fitted 4 rally giant spot lights bonnet and rear hatch pins and even an Imola Blue rear spoiler that i bought second hand on Fiat Forums, iam sure there is more but my head is hurting trying to think here
so if i have missed anything i apologies,Now since i took it off the road last year in September 09 after the tax and mot ran out i totally striped it underneath as well as all its running gear and suspension components and gave it a good clean down and gave the underside a good paint to help keep it weather tight and keep the rust at bay which iam pleased to say there is still not a drop of
lol but with it being garaged that helps and as i said on another forum there is not going to be many good uns left about soon so iam keen to keep it as good as i can for many years to come:thumb_down:Well thats now been a year from a changed the timing belt and replaced the tensioner and replaced the plugs,Oil Filter,Engine Oil,Gearbox Oil,AUX Belt and it done just under 1500miles and one track day at Knockhill,
I have also replaced the:
Heater Matrix
Cam Seals
New Rocker Cover Gasket
New Steel Coolent Pipe O-Ring
Re-Greased the CV Joints & Bearings
New Water Pump
Polished the Rocker Cover
Flushed The Coolant System & Replaced With Fresh Summer & Winter Coolant
Replaced Brake Fluid with DOT 4 When i renewed the Brake System,
I have also started to buy spares as you never know when your going to need them there and then when it comes to cars and even track cars so i hope to build them up so when it comes times to use it as much as i can at least i will have some of the parts i may need?,
I have also removed all the sound deadening from the engine bay and all the evop system as well as the complete Interior inside the car to help loose some weight but nothing drastic,
I have also just bought a mechanical Zero 2000 fire Lifeline system for it this week but iam afraid thats WIP so more on this in the coming weeks,
Now iam sure i have missed alot out but if it comes to be me i will keep you updated,
Now i hope over the coming Months to buy a 6 point cage,2 x bucket seats and mounting brackets,2 x 4 point harnesses and get an alloy sunroof dish fabracated and bolted on to under the sunroof just in case the glass decides to come in round us if i manage to overturn it
,i hope to replace the passenger and drivers door windows with plastic but with all cars its time and money as always but iam sure in time i will get there,i hope lolNow when thats all done then it will be time to get the engine and gear box out as i have decided to keep the 1108cc Fire and rebuild it from top to bottom and have the head skimmed to get the compression up and also have the head ported and polished then replace the chipped 96 ECU back to the stock 98 ECU and have it remapped,i have also got another flywheel but as yet i have not had the time nor money to have it lightened yet but not by much and finally replace the exhaust system with a custom stainless steel,but like i said its all times and money so i guess we will see how things go,
This has took me hrs to do this
so iam sorry but i will add the pics later All the best Scuderia