when debadging,and filling holes, i got a little walk through for you
")
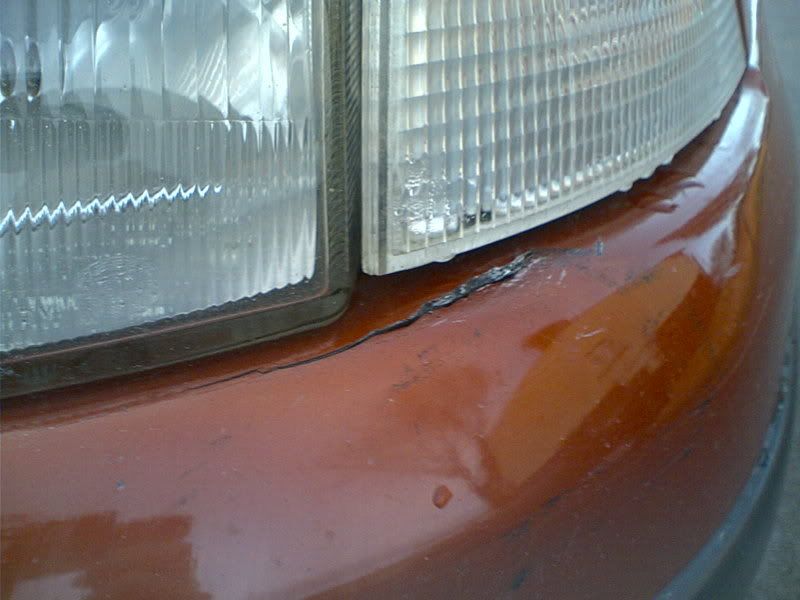
-step 1. remove badge,remove any excess glue around it and remove any interior trim to allow you to get to the rear of the hole left by the badge(if any)
step 2.glue in place a small piece of metal,a 2 p or 1p if ya rich enuf
from behind then stand around looking stupid while the glue dries
step 3. (do this if the hole doesnt got all the way through)
fill the small hole with filler,wait for it to dry,start of with 120grade,move to 180,then 600,then finaly 1200 until perfectly smooth(keeping the paper wet).
step 4.use your touch up stick to carefuly build the paint up just proud of the original paint.
step 5.t cut the built up paint back to the original paint level.
step 6.hey presto! debadged,de holed car!
OR
if your rubbing down for spraying, again use the filling the hole,skimming with filler sanding down technique.but start with 120 grade on a rubber sanding block ,and then 180 grade, (keeping it wet)
then go to 400,then 600,then 1200,give it a light priming ,sand out any imperfections.then a light mist coat of black( black shows up imperfections brilliantly,hence why the preparation to spray a black car cost costs more
) ,get rid of any final blemishes,then paint!
hope this helped you