20170616_120145.jpg

850T 850T Restoration

Introduction

Having bought our 850T off ebay around 4 years back we're finally starting to see some light at the end of the tunnel.

Had some work done on the interior (optimistic starting point) - R+R bed in the rear, new cab seat made - the back rest can flip to face forwards/backwards.

Gearbox, steering box and radiator have all been reconditioned. Fuel tank stripped and cleaned.

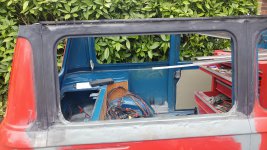
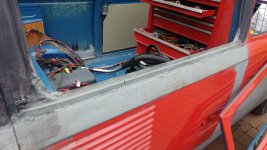
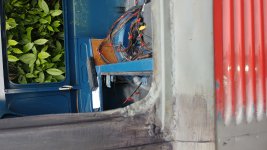
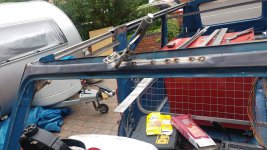
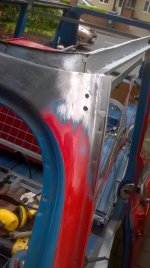
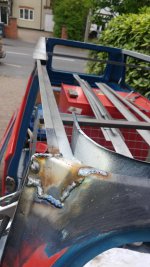
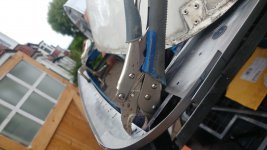
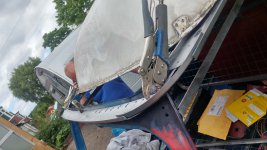
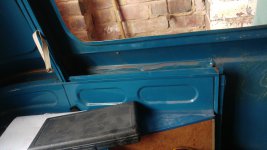
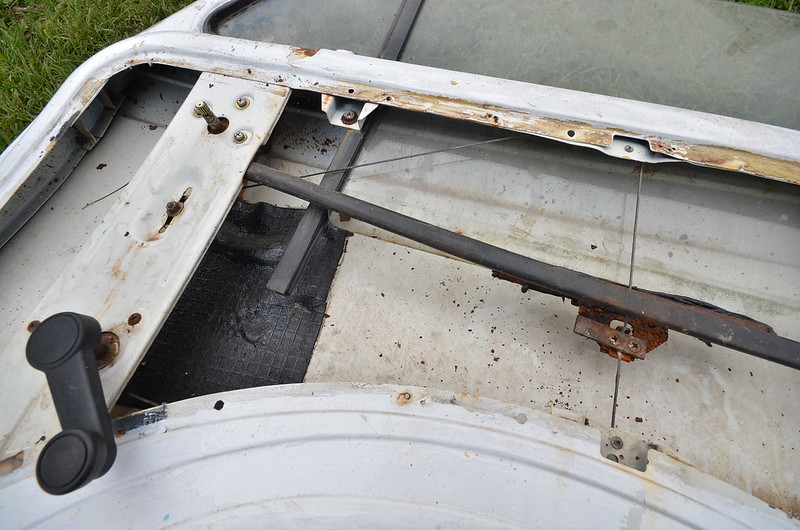
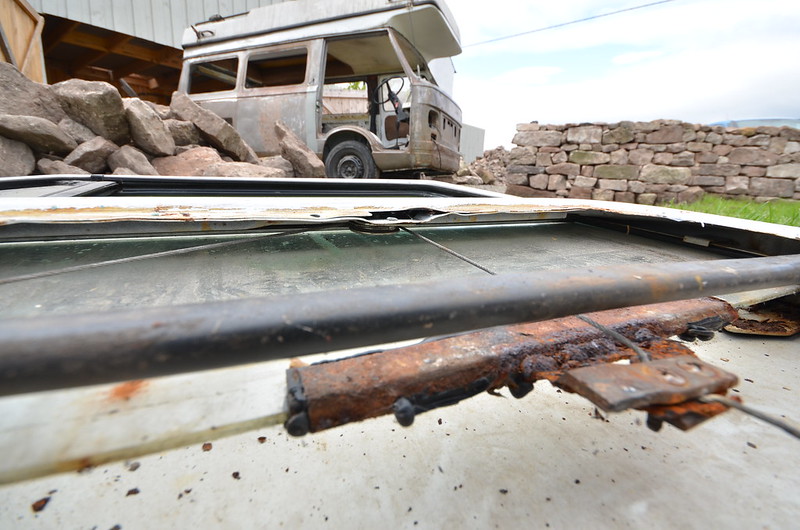
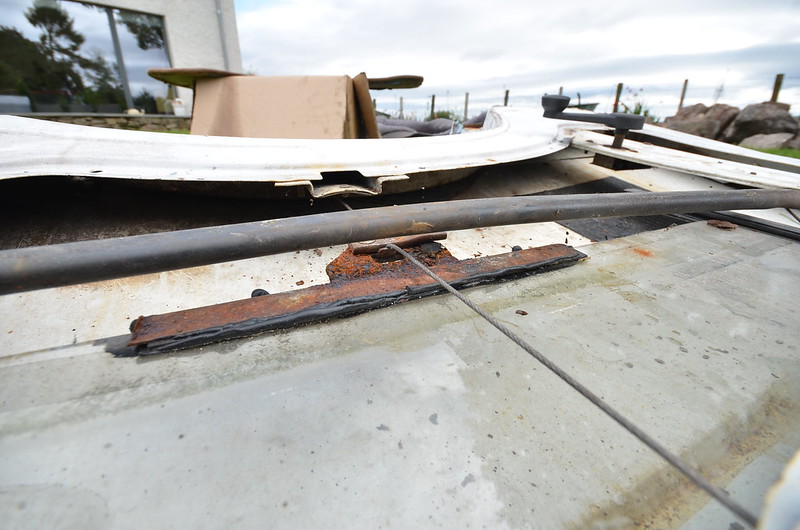
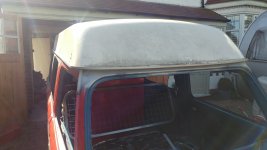
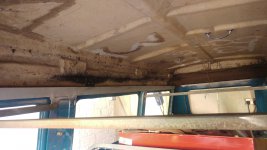
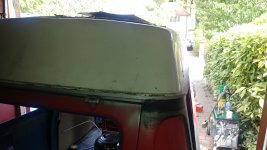
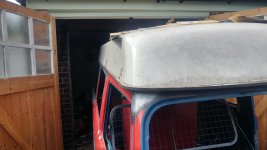
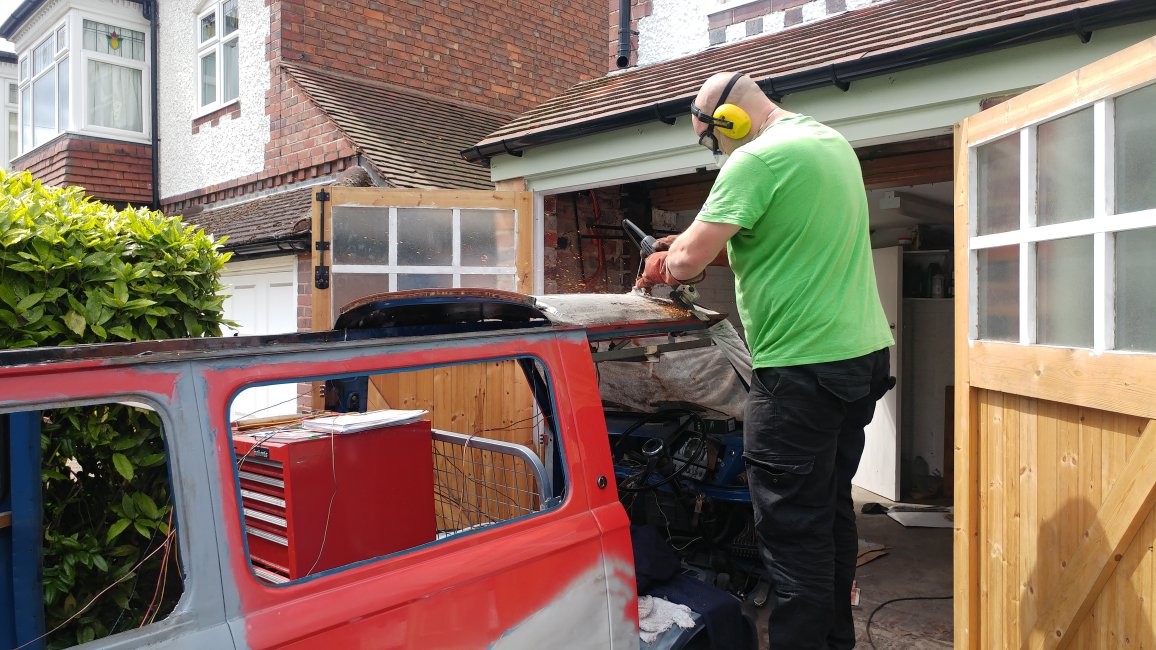
The body work is starting to take shape. All bottom sections has been welded, new sills, wheel arches etc. Now starting on the roof. Time will tell if this was wise but we took the decision to replace the whole roof and fabricate a new one from scratch! Working on the plans now and aiming to start next week.

Will post some pics early next week.
Actually starting to think we might get the little bus back on the road.
  • Like
Reactions: fiat500
Andy, I haven't stripped down the driver or passenger door yet, but I'll have a look later this week. I have a pair of doors for the coachbuilt Coriasco which are different in detail from the standard Fiat offering, but there is a chance that they have the same winder mechanism.
 
Thanks Peter. I've seen the winder mechanisms (or at least part of it) on ebay fairly cheap but my doors have been hacked around and it's now impossible to see how they were originally fit. If you have time to take a look (and a few pics) that would be a great help. The alternative is to take a trip to the scrappies and see if I can get a winder out of a similar size car which we could adapt to fit.
 
Peter, here are the pics of the window we need to repair. We're working on the roof at the moment so won't get round to this for a while. I've been taking a look on ebay.it but will be around £200 (with postage) to get a panel I can cut the repair sections from.

At the moment we're thinking the whole bottom section of the window will need to come out, and the profile underneath and a new section made. If you have anything left of the panels you've been cutting up let me know and we can arrange some recompense so all happy!
 

Attachments

  • 20170714_104641.jpg
    20170714_104641.jpg
    7.4 MB · Views: 72
  • 20170714_104707.jpg
    20170714_104707.jpg
    6 MB · Views: 66
  • 20170714_104652.jpg
    20170714_104652.jpg
    5.6 MB · Views: 62
Been working on the new guttering this week. Progress slower than expected with rain and messing around to get the panels to fit. Also had to fit a few repair panels to the top of the A posts and the middle of the roof line above the front window, but things now starting to take shape.

We've exposed all the metalwork running along the roof lines now so know there is no rust left in there. :)

Really happy with the lines of the corner sections and the slight bend on the front panel. Shrinker/stretcher definitely worth the investment.

A week off next week so will have to wait to finish fitting the guttering.
 

Attachments

  • 20170714_104801.jpg
    20170714_104801.jpg
    6.2 MB · Views: 59
  • IMG-20170713-WA0000.jpg
    IMG-20170713-WA0000.jpg
    197.8 KB · Views: 61
  • 20170714_104732.jpg
    20170714_104732.jpg
    3 MB · Views: 68
  • 20170714_154726.jpg
    20170714_154726.jpg
    4.2 MB · Views: 67
  • 20170714_154736_HDR.jpg
    20170714_154736_HDR.jpg
    4.7 MB · Views: 63
The guttering does look good. I dont have it across the front of the screen as it heads straight down the door-front.

On the fibeglass roof, what do the hinge-rivets get a purchase on? Is there a steel plate behind?

On your van, the internal, square-topped constructions that act as a kind of cowling above where the louvre-vents go appear to be parallel with the window aperture. That worries me because on mine they seem to be at a slight squint to that datum. If you understand what I mean it would be helpful if you could confirm or deny please.(y)
 
The hinges were pop riveted on to the roof, the hinge on one side of the fiberglass and a steel plate on the inside. Not sure what else is inside the fiberglass to strengthen it but judging by the weight there is something fairly solid. I'll have a closer look next time it's out.

We're thinking of changing the roof to lift straight up rather than to hinge as it should give us a little more space but we'll wait to decide until the inner roof has been built.

I'm not sure what you mean by "the internal, square-topped constructions that act as a kind of cowling above where the louvre-vents".
 
Peter

Do you mean these?
It's hard to see by eye as there is a thick run of sealant along the joins and the drivers side panel is a bit of a mess.
On the passenger side, measuring from the top of the box to the bottom of the lip on the window there is a difference of 4-5mm (lower at the back than the front).
 

Attachments

  • 20170709_194548.jpg
    20170709_194548.jpg
    3.9 MB · Views: 52
  • 20170709_194602.jpg
    20170709_194602.jpg
    5.2 MB · Views: 53
Thanks for that info Andy. Hard to explain the bit I'm on about, but on the inside at the rear at the sides of the raised part of the floor there are those very complicated bits of metalwork that make the whole construction into the shape of a very uncomfortable armchair. So it's the "chair arms" I'm thinking about....at the back of this picture with the two oval pressings. They look like the tops should be parallel with the window frame but they are set a an odd angle to it on mine and I dont know if this is normal.
 

Attachments

  • 20170714_104641.jpg
    20170714_104641.jpg
    7.4 MB · Views: 53
If you want me to take any measurements for you to check let me know.


Thanks Andy..take a break from answering my questions.:D:D
That's solved a little worry I've had for quite a while.:thumb

Your images are detailed and sharp anyway, which is really helpful with a few puzzles. One of the things I've also noticed is that your van has the simpler type of internal side-door handle which is the same as on the spare door I bought.
 
I hope all is going well with the roof rebuild Andy AndyBense.
Since I've been messing with the doors I took the opportunity to look at the window winder mechanism. I haven't dismantled it but someone has been at mine before me....what a surprise.:rolleyes:

MAL_2719 by Peter Thompson, on Flickr

MAL_2720 by Peter Thompson, on Flickr

It appears that there are two/three little pulleys slightly out of sight, which carry the wire. Possibly the height is adjusted by the position that the cable is clamped in and there may be a tension pulley...I haven't looked that closely.

MAL_2721 by Peter Thompson, on Flickr
 
Last edited:
Thanks Peter, that's really useful.

The roof rebuild is taking a little longer than expected.
The guttering is on - will post some pics later - but the fabricator making the cross members ran into some problems with the curved profile we'd drawn up.

I'm in the process of mapping the fiberglass roof and the guttering in google sketchup to draw out a new design and get an idea what it will look like.

Will be working on the doors this week and hoping to start on the roof beginning of September.
 
Holiday season over. Not been too active on the van for a few weeks but posted some pics below of the new guttering which is now on and ready for the new internal roof - design of this still in progress. We've replace the guttering all round the van and made a few repairs above some of the doors - just a couple of patches in the corners to finish it off.
 

Attachments

  • 20170817_161920.jpg
    20170817_161920.jpg
    2.4 MB · Views: 60
  • 20170817_164858.jpg
    20170817_164858.jpg
    5.8 MB · Views: 53
  • 20170817_160137.jpg
    20170817_160137.jpg
    2.5 MB · Views: 54
  • 20170817_160158.jpg
    20170817_160158.jpg
    4.1 MB · Views: 56
  • 20170817_160127.jpg
    20170817_160127.jpg
    2.8 MB · Views: 51
  • 20170816_141023.jpg
    20170816_141023.jpg
    4.6 MB · Views: 54
  • 20170816_141006.jpg
    20170816_141006.jpg
    5.5 MB · Views: 46
  • 20170816_140915_HDR.jpg
    20170816_140915_HDR.jpg
    4.1 MB · Views: 52
Door repairs also underway. Drivers door was fairly badly hammered into shape by a previous repair so have replaced quite a bit of the panel. Pretty pleased with the shape once tacked in place.
 

Attachments

  • 20170816_140936.jpg
    20170816_140936.jpg
    5.2 MB · Views: 70
Back
Top