17717052334_1044bd2216_b.jpg

900 Bluebell the 900e Amigo

Introduction

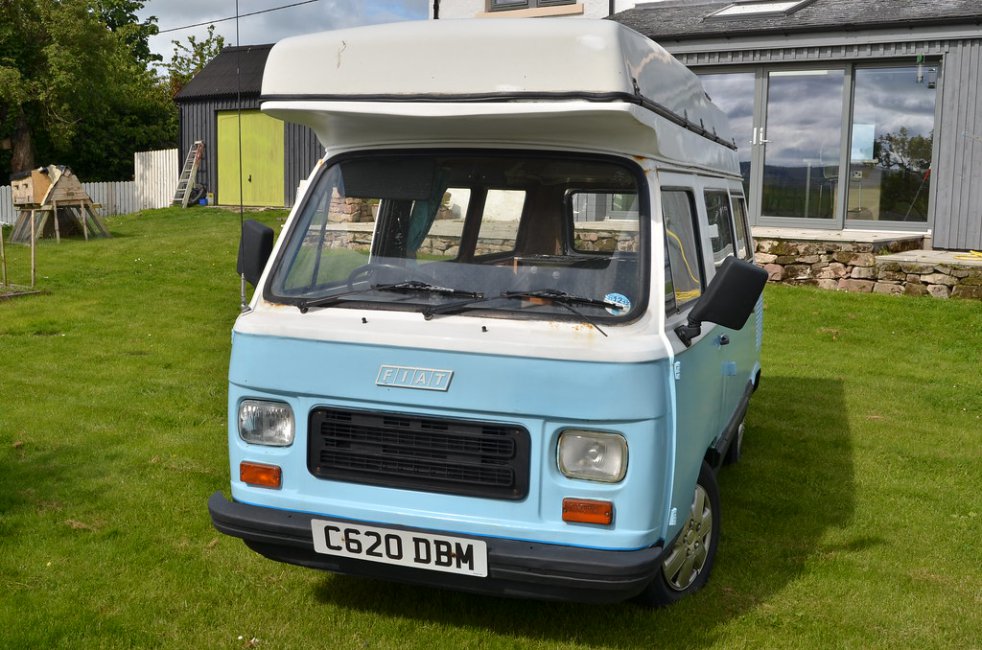
We have just taken on the ownership of this camper from Kelly and Karl and hope to have it on the road within the next six months.
17717052334_1044bd2216_b.jpgDSC_6177 by Peter Thompson, on Flickr
Not only is it a really lovely vehicle, it was also a pleasure to buy it from such a genuine and really nice couple. There was a huge amount of interest in the sale and I am really appreciative that I was favoured to be the buyer ; so many thanks Karl.:)
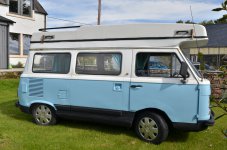
18335728502_1005bcd374_b.jpgDSC_6176 by Peter Thompson, on Flickr
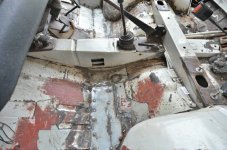
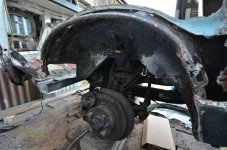
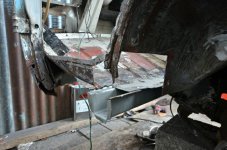
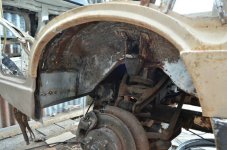
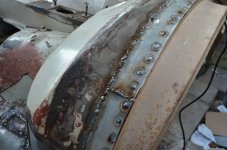
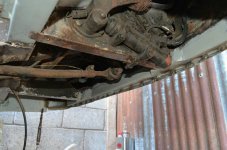
There is a certain amount of essential welding to do underneath, which will add to the welding that has been done in the past. It is currently pretty solid underneath but not as pretty as it could be. I hope to tidy as I go and then work around the bodywork. This has signs of a lot of filler and there is rust poking through in places, but it looks like we will be able to get using it soon.
There are a number of mechanical issue but nothing too onerous and it starts and runs really well.
So a rolling restoration to usable standards.
I just need to get the roof open now!
Watch this space as I document my progress.
Gary...you MUSTN'T make Connie into a day van, she was made for sleeping with ;)
If you can get sleeping arrangements in the roof for two then the van itself can be pure picnic paradise. That's how mine will be.
The double is OK for me and I'm average height... ie less than a six footer. But It might be squeeze for two.
The roof has a clever sliding support and this extends over the cab. I don't fancy my chances on a windy night though.
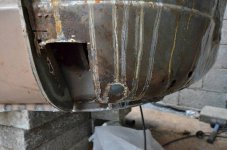
Today I welded on the patched up and panel beaten valance. It doesn't look pretty in the raw but excellent welding, if I may say so.
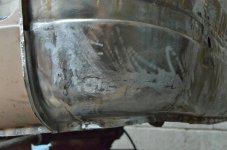
The whole front now needs fully stripping of paint and then phosphoric and epoxy.
HeHe
I thought my comment about dumping the beds would cause a reaction :)
Seriously though, the only thing that I'm certain of at the moment is a front bench seat that will flip over front to rear. This will allow the rear bench seat to come forward and should allow enough space between the rear seat and cooker for the dog.
One idea I’ve seen is to lower the height of the cooker/sink and put a bed on top and hang your feet out of the back. Adding a canopy from the rear hatch – not sure if it would be wide enough for a double.
Great welding by the way… it looks like you have had years of practice.
 
I like the bench seats but mine is later than that.
I had to fix the floor before fitting any seats. There had already been some welding to the big cross member, which seems really strong. But I have had to gradually patch in a series of repair pieces. I have nearly finished that job today.
Now it's onto the complex corners of the front valance.
 

Attachments

  • 1454703697444.jpg
    1454703697444.jpg
    72.4 KB · Views: 80
  • 1454703769537.jpg
    1454703769537.jpg
    53.5 KB · Views: 74
  • 1454703869498.jpg
    1454703869498.jpg
    53.5 KB · Views: 62
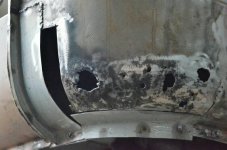
This morning I repaired that front corner. A skilled panel beater would just make a new one from one piece of steel. I had to do it in sections. First I used the stretcher tool to shape two angled pieces which were then welded in place. Then I needed a piece with compound curves...ie
in two directions. I used the shrinker to put a kink in it and then with some careful trimming and manipulation I got almost the right curves. Quite a bit of filling will be going into the valance anyway so a bit more won't hurt.
 

Attachments

  • 1454777310714.jpg
    1454777310714.jpg
    51.2 KB · Views: 63
  • 1454777354378.jpg
    1454777354378.jpg
    49.4 KB · Views: 61
Last edited:
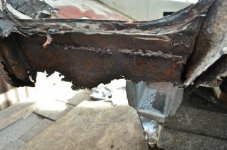
There was no way I could tell where your picture was supposed to be, there appears to be so little metal left. Good job you told us - any chance of a wider angle so we can see it in context?
Can't wait to see what you can salvage.
Oh, and your welding is alot better that what someone did before :)
 
I'm working most days this week so progress will be limited. I have already cut away the useless bits but there is at least something worth reusing, unlike the driver's side. I have so little space in my temporary lean to that it's hard to take the bigger picture but I will. At least my new outrigger gives some stability and locational guidance for the new bit I will have to make.
 
If you're getting one go for the Lancaster model
It's a bit pricier than my Metz but as I had one before, it is slightly better made. The great thing is that no skill is needed to use them and complicated things literally take a few minutes to make
You can even undo things if you overstretch or over shrink.
The beading tool has been less useful though.
As for temperature, my aim is to peak out in warmer weather for filling and painting
Considering it's quite a bit bigger and even rustier than the 500 progress has been good so far.
 
I like the original look, with the gaps. If you look even at modern vans, they're still done the same way. I will try to get the epoxy paint in deep and then use PU sealant, which is killer stuff.
Having said that, the van should have those modern bump pad trims all down the sides and they cover some of the joins; they won't be going back as they are rust traps.
 
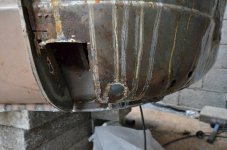
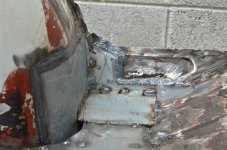
I just put in a couple of hours welding in a strip at the edge of the wheelarch. Originally this came to me with a horrible patch lapped well over into good metal, with extra patches below. Although I obviously need to do a lot of grinding here and on the floor if it is to look tidy; by welding on the top it was much easier to do and looks good underneath. It is all honest butt welding. I was a fan of lap welding in hidden places like this, but now find it makes stronger welds which can be finished to look very acceptable by doing it "properly".
The puddled welds are where spot welds held the original to the cover panel under the arch.
 

Attachments

  • 1455737066367.jpg
    1455737066367.jpg
    57.9 KB · Views: 67
Last edited:
Back
Top