17717052334_1044bd2216_b.jpg

900 Bluebell the 900e Amigo

Introduction

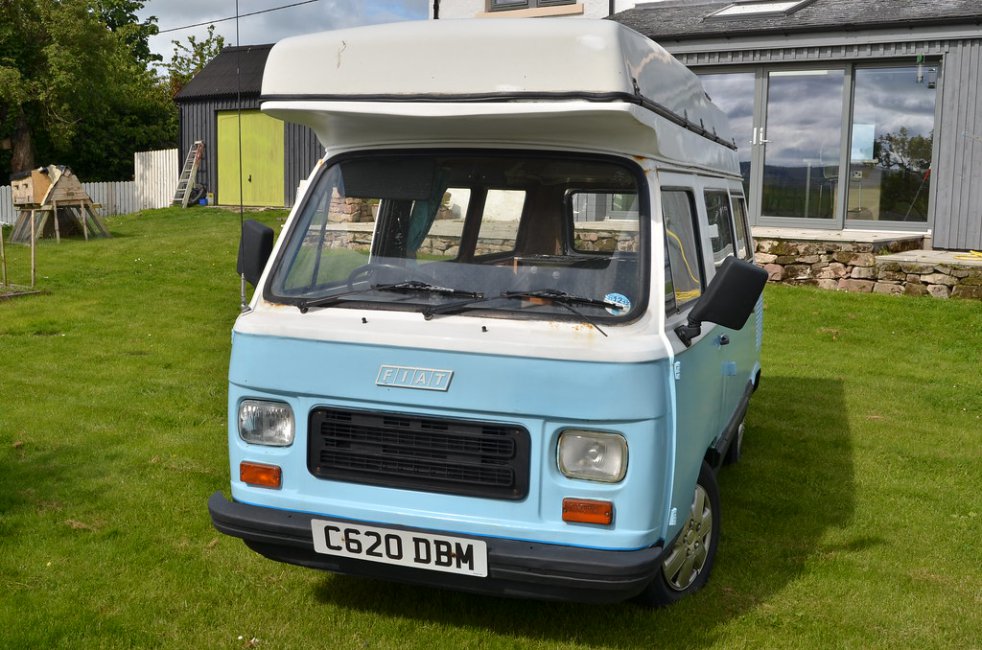
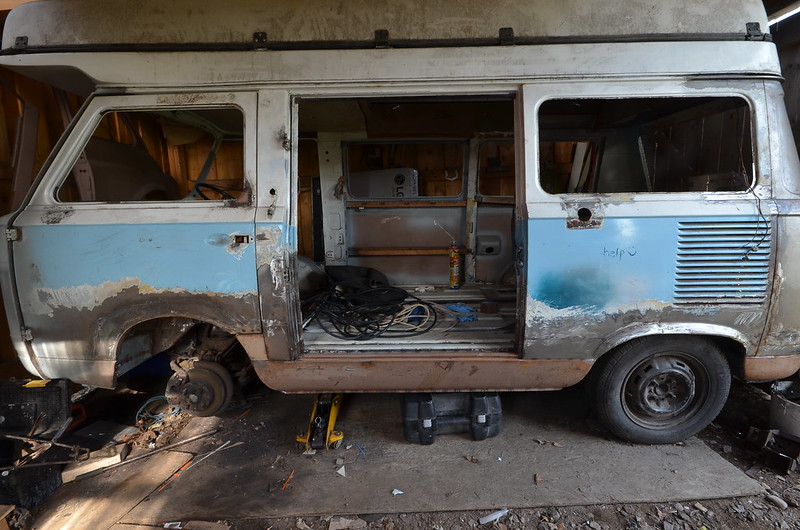
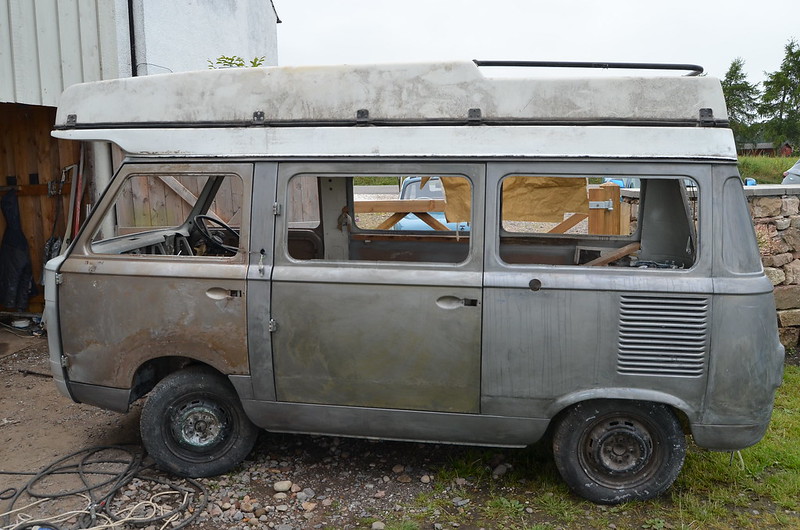
We have just taken on the ownership of this camper from Kelly and Karl and hope to have it on the road within the next six months.
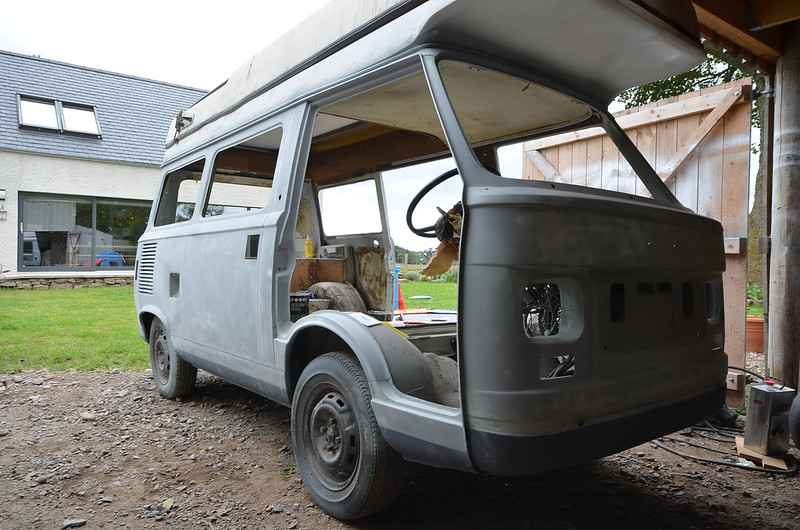
17717052334_1044bd2216_b.jpgDSC_6177 by Peter Thompson, on Flickr
Not only is it a really lovely vehicle, it was also a pleasure to buy it from such a genuine and really nice couple. There was a huge amount of interest in the sale and I am really appreciative that I was favoured to be the buyer ; so many thanks Karl.:)
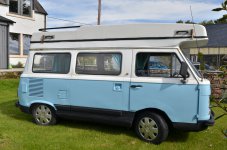
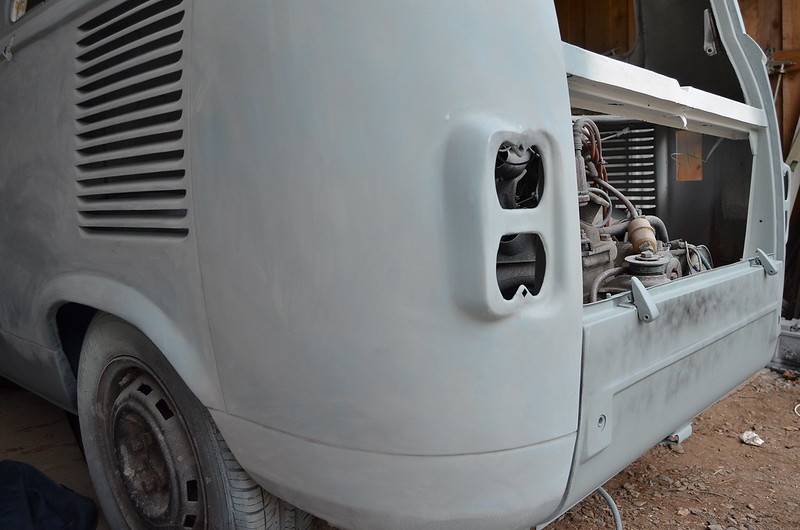
18335728502_1005bcd374_b.jpgDSC_6176 by Peter Thompson, on Flickr
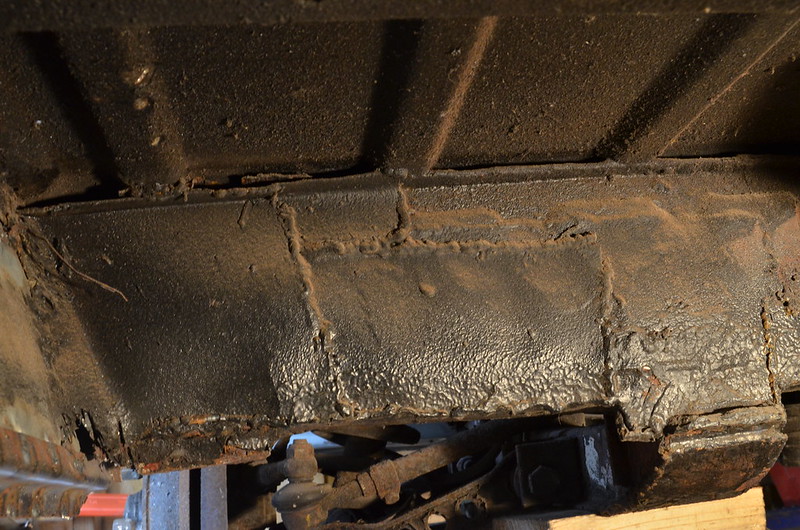
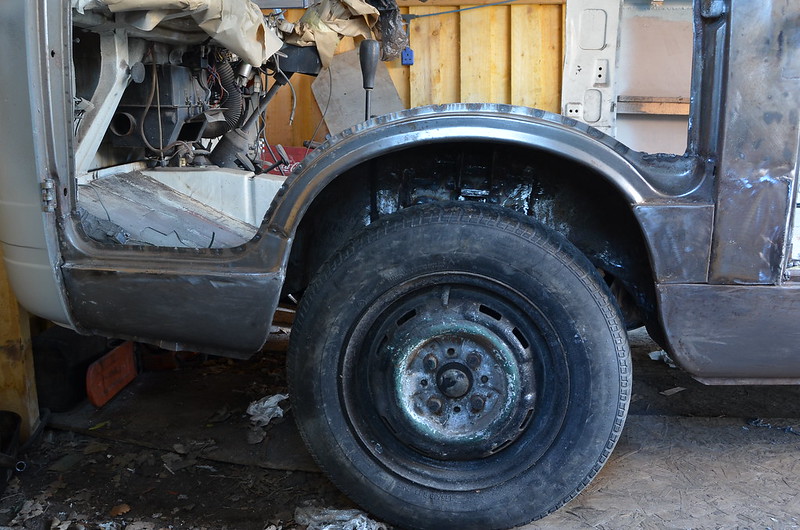
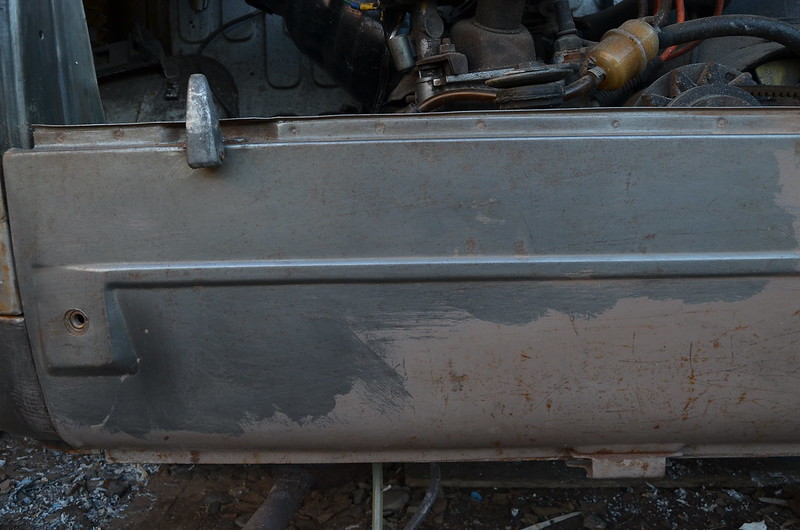
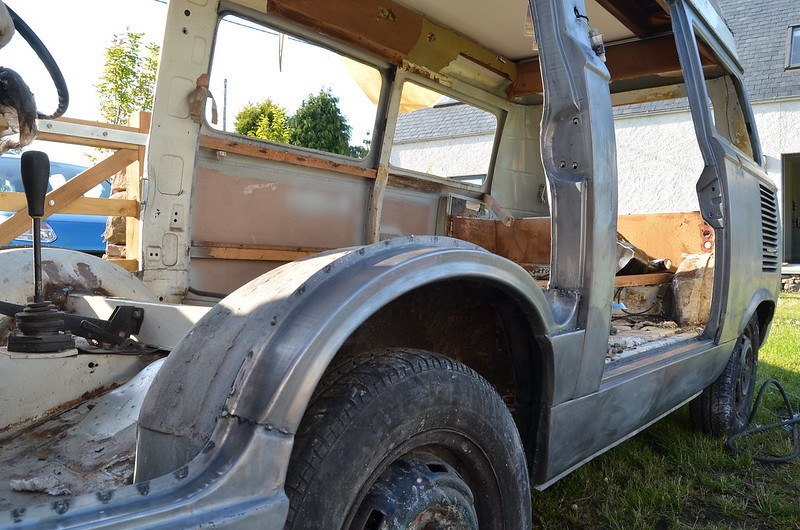
There is a certain amount of essential welding to do underneath, which will add to the welding that has been done in the past. It is currently pretty solid underneath but not as pretty as it could be. I hope to tidy as I go and then work around the bodywork. This has signs of a lot of filler and there is rust poking through in places, but it looks like we will be able to get using it soon.
There are a number of mechanical issue but nothing too onerous and it starts and runs really well.
So a rolling restoration to usable standards.
I just need to get the roof open now!
Watch this space as I document my progress.
I've finished those support parts and welded everything in, so I now have a much more stable and tidy chassis. Once it has all been primed, sealed and covered in stone-chip paint it should look pretty tidy.

FER_9384 by Peter Thompson, on Flickr

FER_9387 by Peter Thompson, on Flickr

....what it looked like before I started...

DAL_6734 by Peter Thompson, on Flickr

I now have a bit of floor, a bit of wheelarch and some fiddly area around the suspension mounts to do. :cry:
 
Last edited:
I'm motoring on towards completing the welding and after this afternoon's stint there isn't anything particularly challenging left to do.
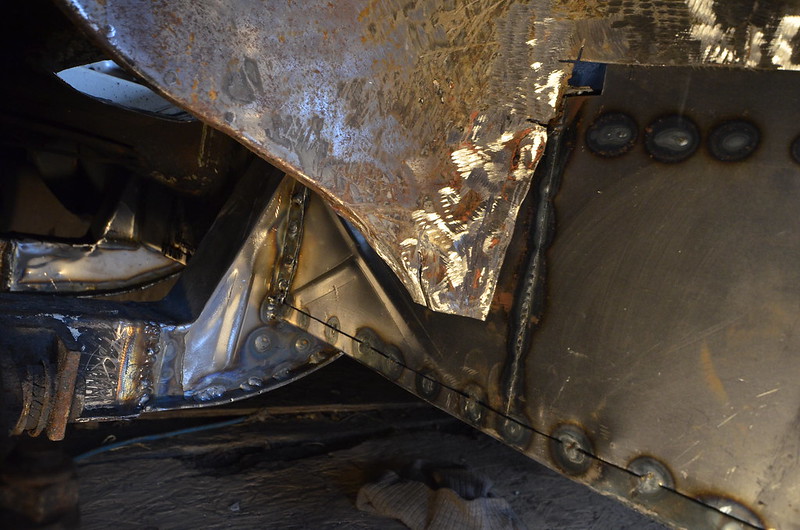
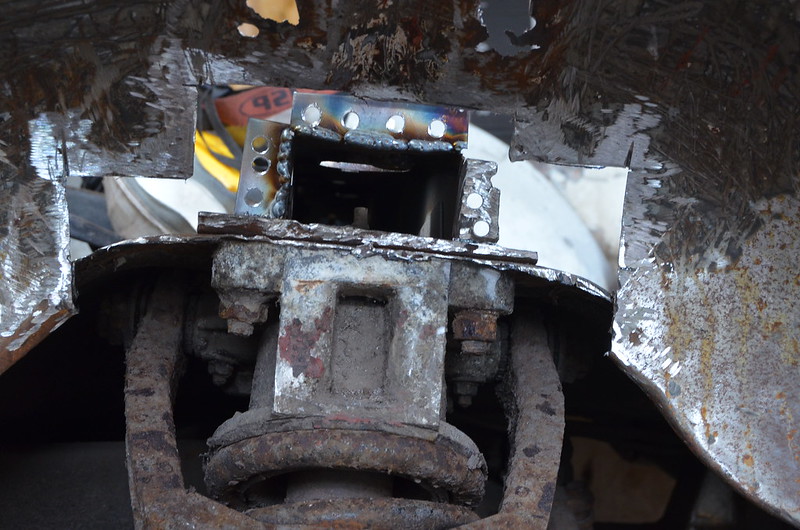
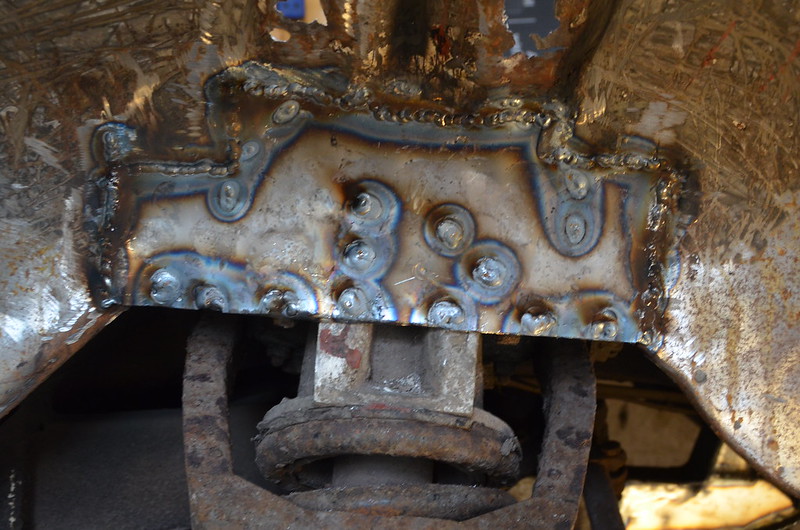
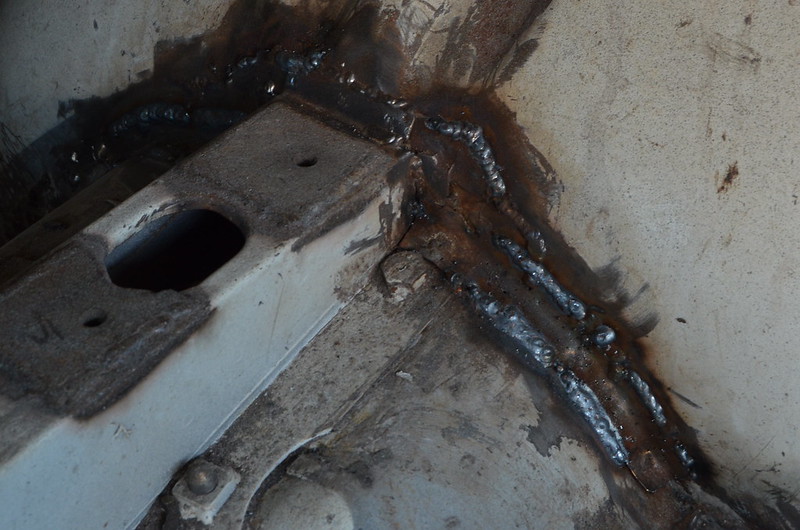
I completed the serious corrosion in the multiple layers if different thicknesses of steel that are found where a substantial cross-member under the seats meets the wheelarch. it does this just above the mounting for the suspension spring. This spring is located using an aluminium housing and obviously there is a lot of electrolytic action there.
But I took a deep breath and cut out everything that was rotten and then logically replaced the pieces using appropriate thicknesses of steel until it's all back together and very strong again.

The rust removed and a couple of flanges replaced.

FER_9391 by Peter Thompson, on Flickr

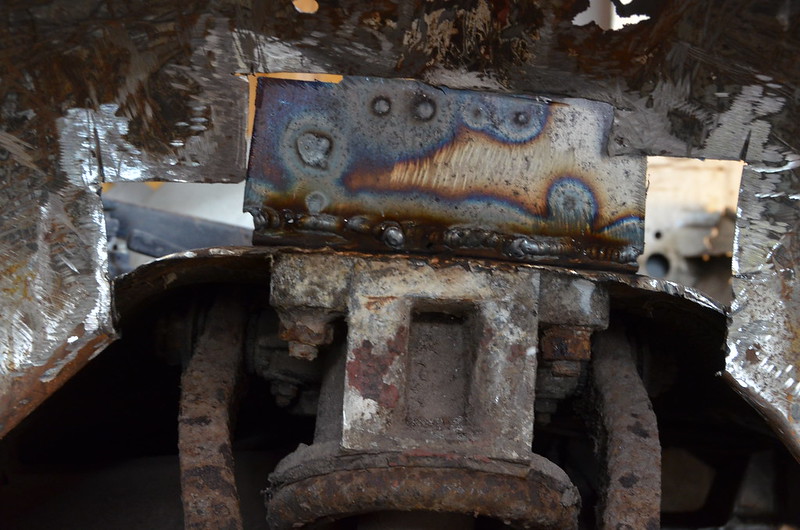
A section of 1.5mm steel which folds under the cross-member is plug-welded from the back through the tabs made previously.

FER_9394 by Peter Thompson, on Flickr

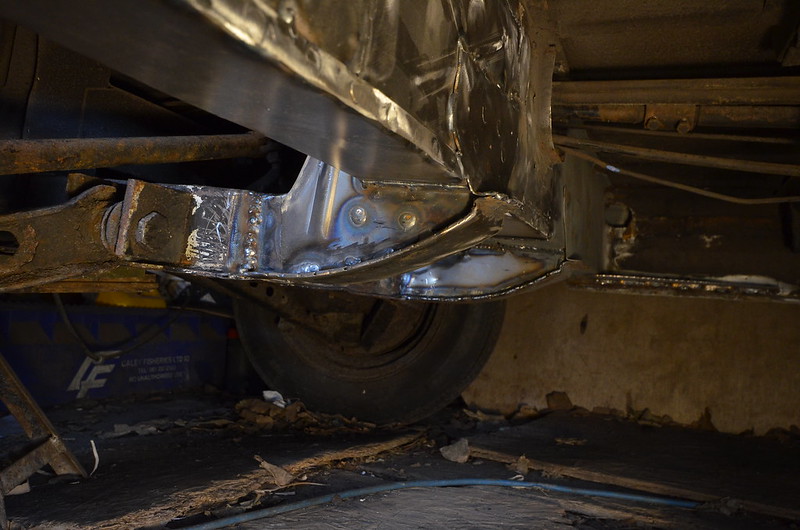
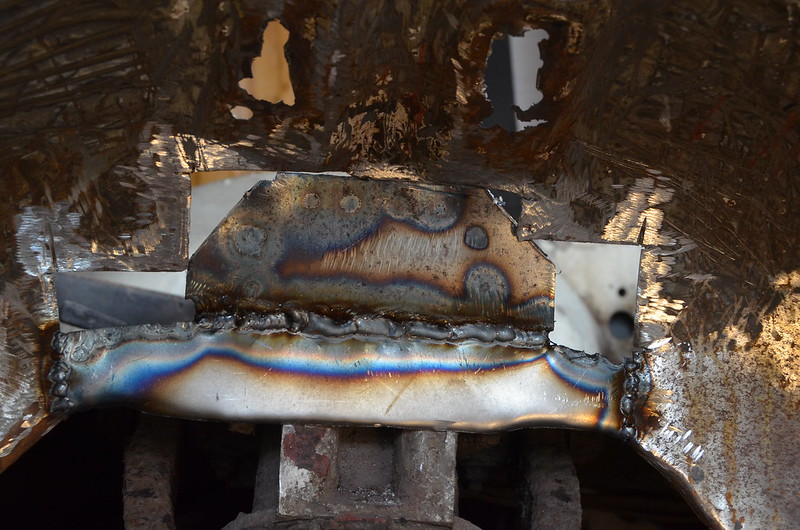
Then I had to replace the part of the floor that folds over.

FER_9396 by Peter Thompson, on Flickr

[II was finally able to repair the lining of the wheel-arch and plugged it through to the backing plate etc.[/I]

FER_9397 by Peter Thompson, on Flickr

There's still raggy area where the bracket for the bump-stop is attached but sorting that out is fairly simple after all this.
 
I've had a week away on holiday and I'm desperate to get going again. I have no more essential, structural or cosmetic welding to complete although there is a little bracket to make, which retains the spare wheel carrier under the floor and I'm wondering if I should strengthen the four jacking-points as I haven't remade the sockets that the original jack would have fitted; there will be a need to prop the van on the chassis for MOT's etc.
So very soon, I can properly start the straightening of this side of the body.

FER_9475 by Peter Thompson, on Flickr
 
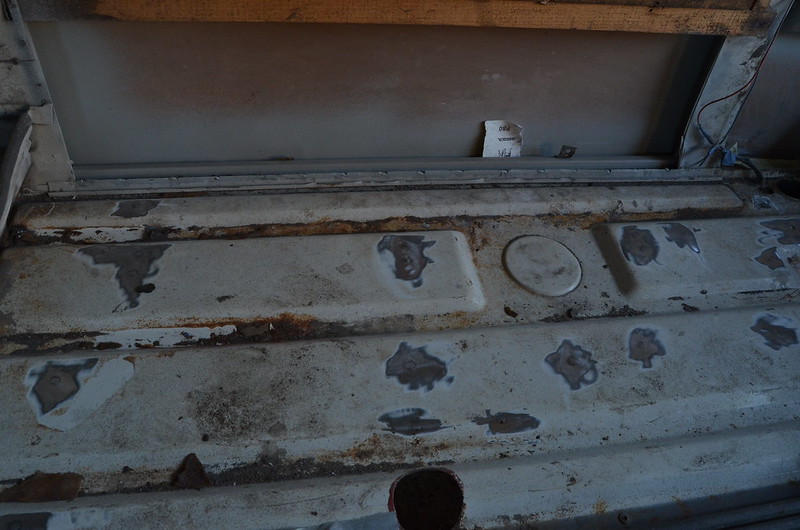
During the last few weeks I completed all those little welding tasks such as filling all the tiny screw holes that the floor has acquired over the years.and so that chapter is (almost) finished.

FER_0321 by Peter Thompson, on Flickr

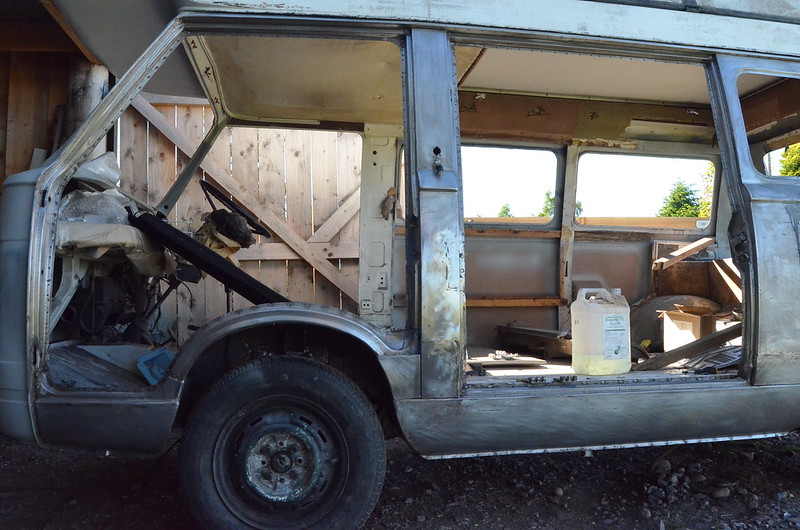
I have stripped all of the remaining paint from the body and door so that Bluebell is no longer blue.

FER_0319 by Peter Thompson, on Flickr

FER_0315 by Peter Thompson, on Flickr

I have got the hang of removing the factory primer on new panels and after paint-stripper it needs only steel wool to loosen it.

FER_0313 by Peter Thompson, on Flickr

So now I'm about to embark on the task of rubbing down all the metalwork and treating it with acid to remove all rust. Under the paint I have already found a couple of small but sneaky areas of corrosion that need dealing with.

FER_0318 by Peter Thompson, on Flickr

I also did a bit of top-up welding to strengthen some of the parts that were the first to be dealt with three years ago; my welding has become a bit more confident.:)

FER_0324 by Peter Thompson, on Flickr

It all suddenly feels quite daunting.:eek:
But it is good to be looking at paint colours and obtaining things such as the water inlet for the underfloor tank knowing that holes need to be cut in the bodywork before painting.
 
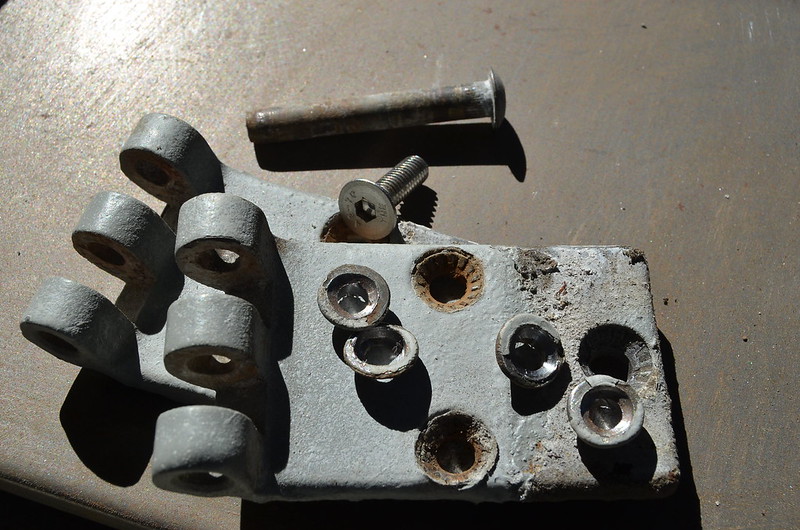
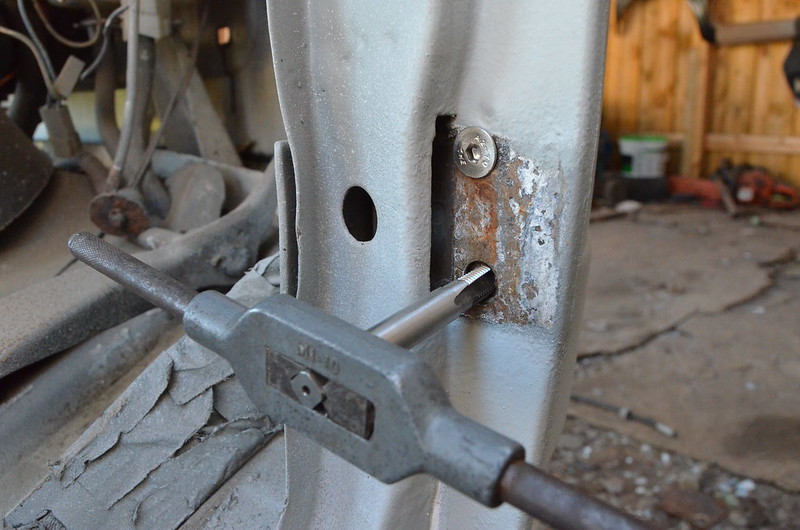
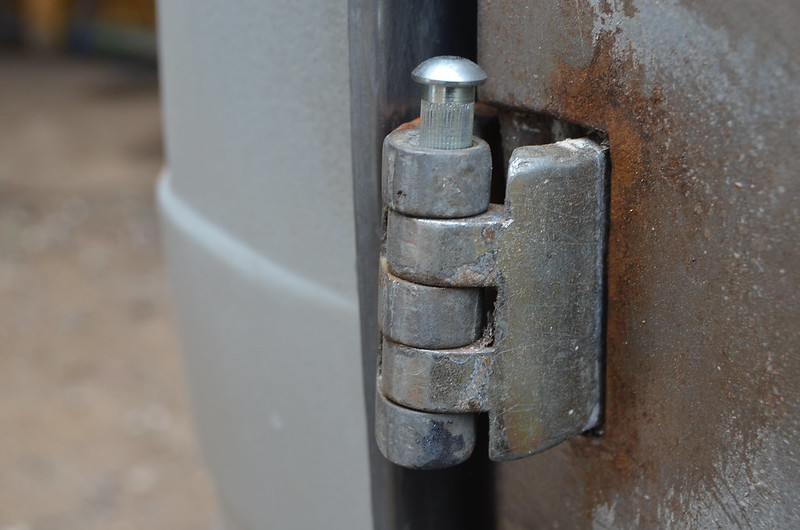
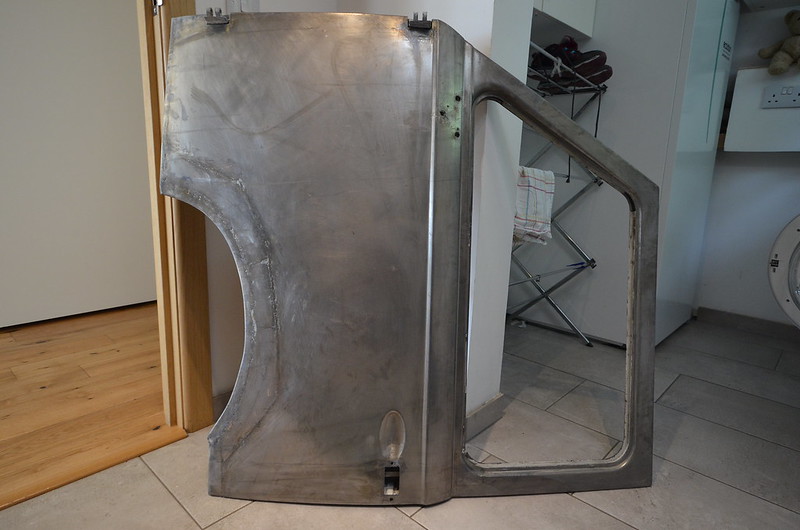
I couldn't get the front doors to fit well because most of the hinge-screws were seized. They needed to come off so that I could get that adjustment, bend them if needed in order to centralise the door in the opening and so that I could paint behind them properly. As someone who doesn't normally have great success at "precision" work I was pleased to extract most of the hinge-screws without damaging the threads. As a precaution I put thread inserts into a couple of holes that were a bit loose. I was able to buy stainless-steel, countersunk screws from Screwfix; hex-head, not slotted but OK with me.

FER_2151 by Peter Thompson, on Flickr

FER_2154 by Peter Thompson, on Flickr

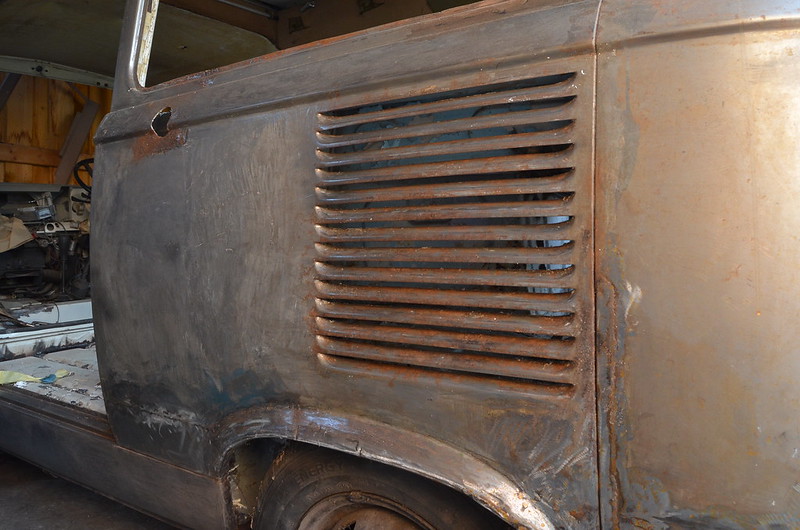
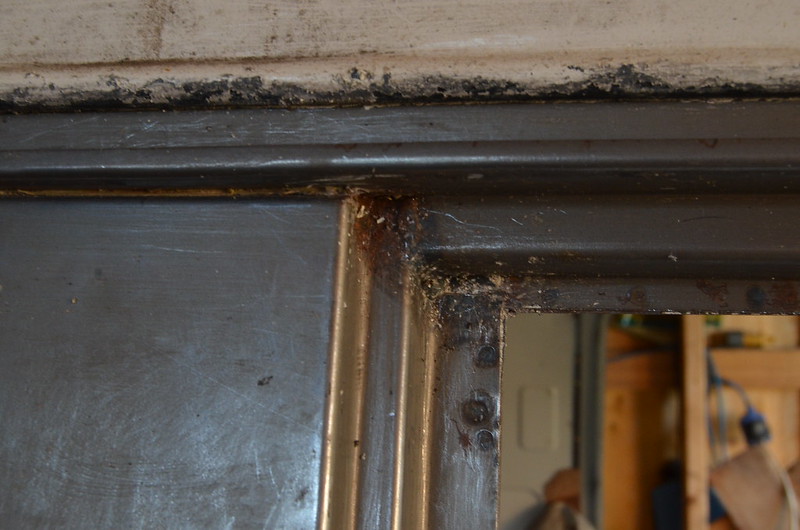
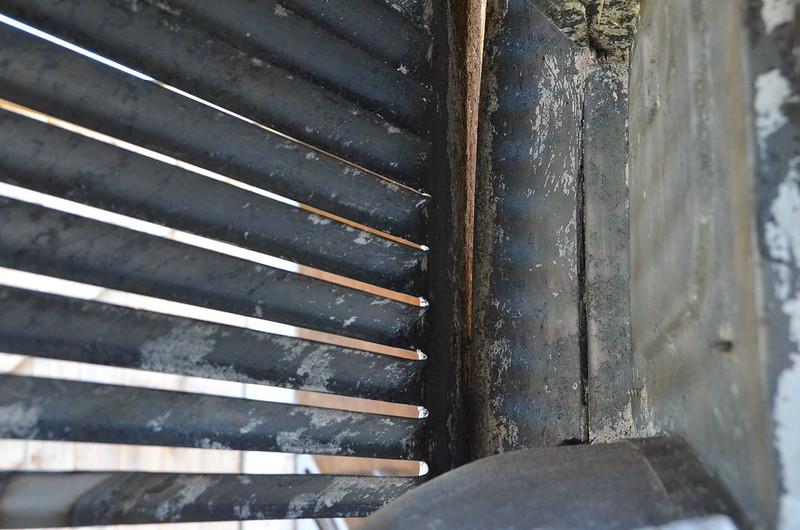
As the phosphoric acid dug deeper into the rust it was obvious that a 50mm section of one of the cooling louvres needed to be replaced. It was quite challenging both to make the section and then to weld it without distortion.

FER_2155 by Peter Thompson, on Flickr

I also had to squeeze my head into the back of the engine bay so that the inner side of the louvres and the inner bodywork that it obscures could be cleaned of paint and rust.

FER_2156 by Peter Thompson, on Flickr

FER_2157 by Peter Thompson, on Flickr

Now I am nearly finished at the job of acid-etching the bare steel and eliminating the few remaining , tiny pockets of rust using the Dremel.
 
The hottest day of the year so far and the 27C was very useful as I decided to give the treated metal a final scrub with wire wool and a degreasant solution. Then I hosed it down to drive the impurities out of the steel. There was hardly any need to blow the thing dry as the intense heat evaporated the steel almost immediately. There was some flash rust....not very flash to my mind!:D

FER_2181 by Peter Thompson, on Flickr

So the next job was to make up a very dilute acid solution and to wipe the whole surface again with paper-towel. It will need a final degreasing with panel-wipe and then I'm good to go with the primer.

More thought has gone into the colour and the type of paint to use. I have read some glowing reports about Rustoleum, which is inexpensive and easy to apply, but I'm veering back towards cellulose and a RAL 6027, which is technically green but looks light blue to me. :bang:

FER_2190 by Peter Thompson, on Flickr
 
I admire your ability to work on Bluebell and to meander in Murf at seemingly the same time. Do you not ? ? ??
 
I admire your ability to work on Bluebell and to meander in Murf at seemingly the same time. Do you not ? ? ??

Well the thing is, when I'm at work, (which isn't all that often), :D I'm in the Fiat 500. When I'm at home and not looking after grandchildren, cooking or involved in another garden project, the chances are that I'm working on the van or Murf. :)

I defied requests to get on with some crazy paving that I had started last week, and continued with the final de-rusting of panels; so now there's only the front doors to do and then I'm ready for paint.

I obtained some new hinge-pins as these turn out to be the same as fitted to the Fiat 500N.

FER_2534 by Peter Thompson, on Flickr

This allowed me to adjust the doors for an approximate fit prior to priming. It was easier than I expected although the new driver's door needed a bit of manual twisting to get things lined-up. The door gaps aren't bad but are definitely not factory-finish when seen close up, but given the life this van has had, I'm quite happy with what I see.

FER_2532 by Peter Thompson, on Flickr

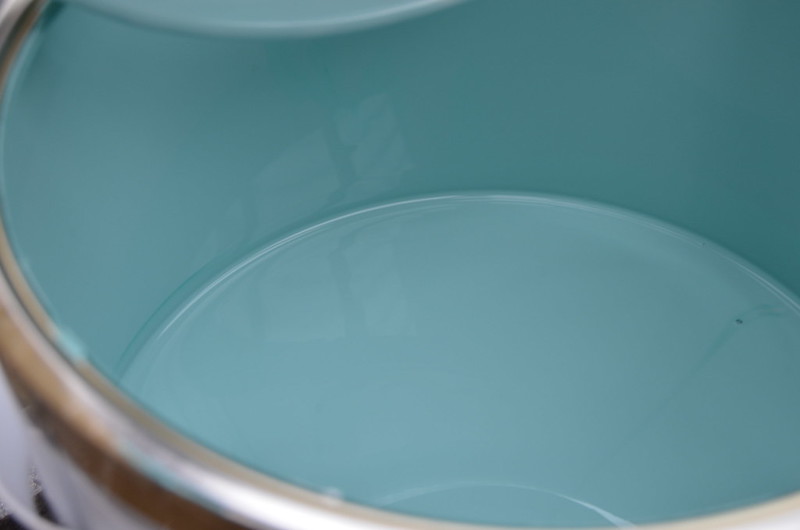
In anticipation we had another discussion about the paint colour and then went ahead and ordered it. Delivery from Autopaint at St. Helens was amazingly quick and having it in stock is a great kick to keep me moving on. The colour took a bit of getting used to when I looked inside the tin, but it suits Sheila as it's sort of modern and retro at the same time; the top of the van will be Corfu White.

FER_2537 by Peter Thompson, on Flickr
 
At last I got a couple of coats of primer onto the side of the body and the middle and rear doors; the front doors still need some de-rusting and final shaping.
I tried using a roller because this thick paint is very hard to apply with my little compressor. But the foam roller, which did a good job at the beginning, soon started to break up. So I resorted to a slow process with the spraygun and kept the fan-width quite narrow.
After leaving overnight it's time for filler, which is applied over epoxy so that the steel is properly protected. I read of people saying they're just using "a skim" and wonder if that's true, but some of the best of my welding is almost covered by the high-build primer so I am only using skims.....but a lot of them with a lot of sanding between applications.

FER_2558 by Peter Thompson, on Flickr
 
Looking good Peter. Love the colour. Looking forward to seeing it in on.

....not half as much as I am and even SWMBO is getting mildly excited by progress.
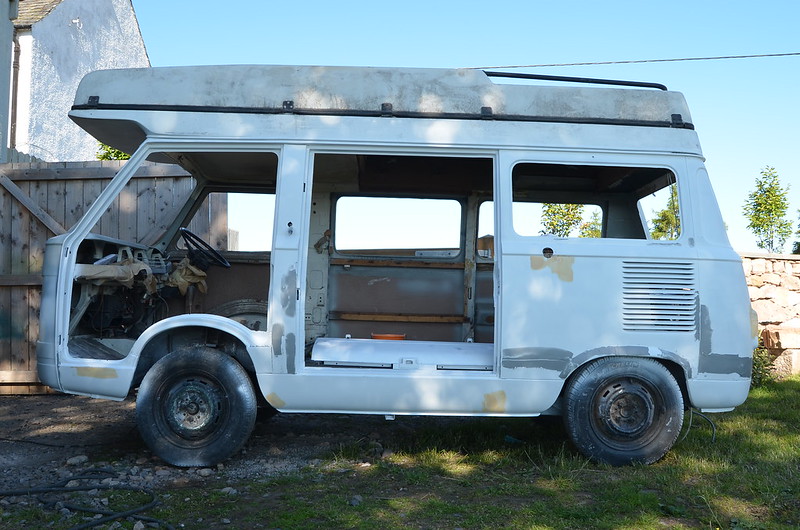
But as many of you will know, it takes ages and is very repetitious, to keep rubbing back the filler and stopper to get a good surface for top-coat. The body is now ready for a final primer-coat over the filler and I'm starting the front doors tomorrow, so I'm reasonably on-course for painting it before the end of the month.
 
The passenger door was welded up ages ago; it was stripped of paint a couple of months ago and today I equalised all the surfaces by treating with a 75% solution of phosphoric acid.

FER_2775 by Peter Thompson, on Flickr

I don't know how I managed before buying a Dremel, as with a tiny die-grinder bit it is so easy to work the acid into even the most serious areas of rust and eventually turn it to shiny steel.

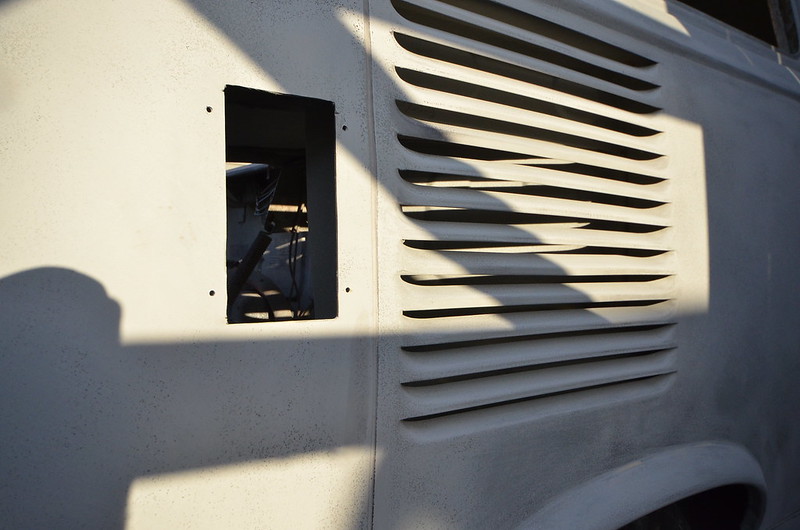
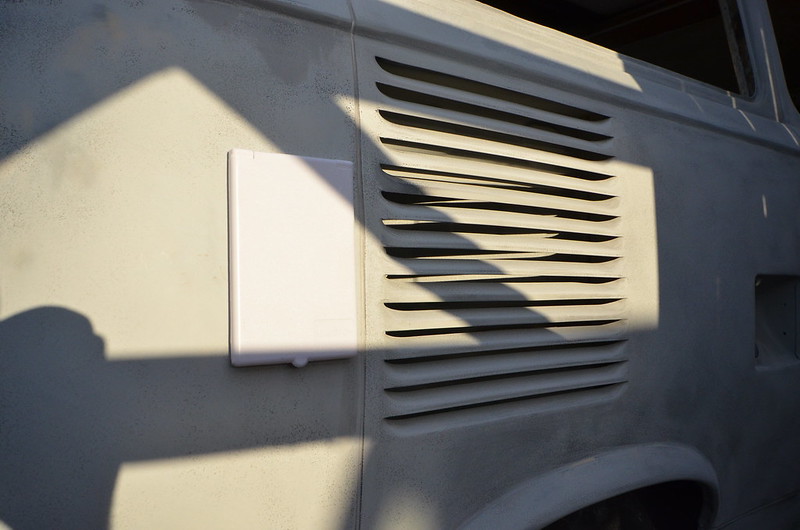
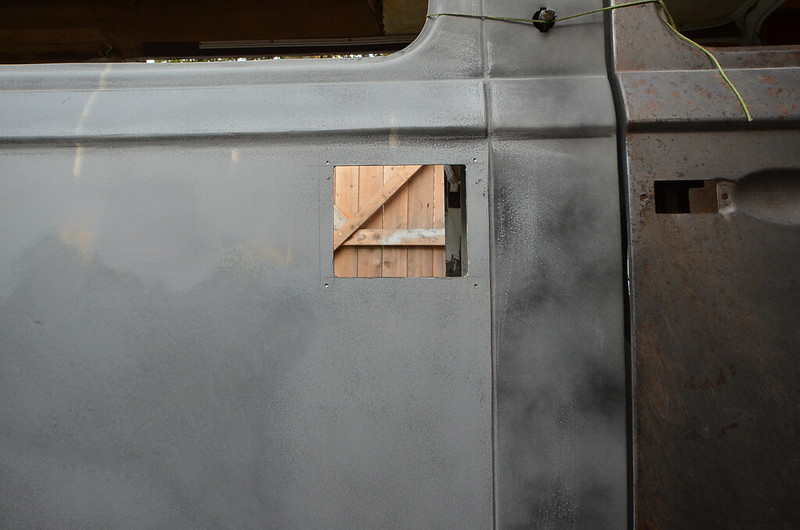
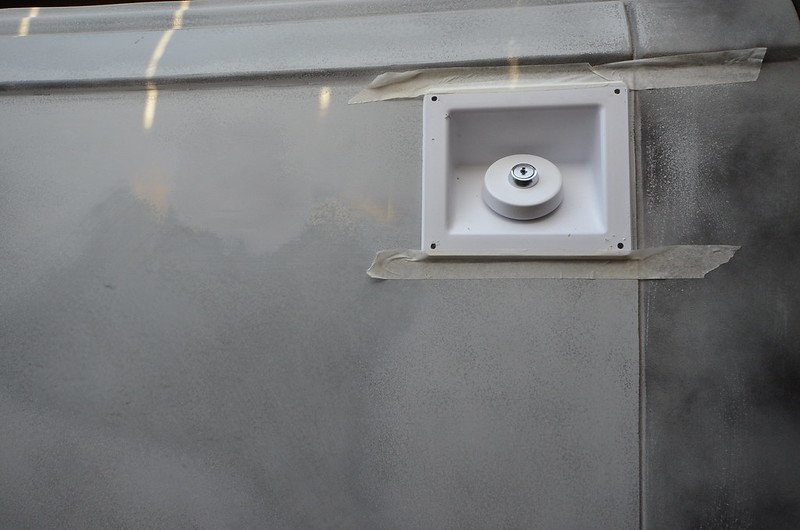
A significant moment came when I decided to cut the holes to fit the water -filler cap and the 240v mains inlet box. I had several good images of the original positions:

DSC_6176 by Peter Thompson, on Flickr

When the holes were originally cut the edges appear to have been given a quick slap of red-oxide primer which didn't protect things too well from corrosion. I'm hoping that by priming the edges and then the multiple layers of paint afterwards I will give the steel a better chance.

It was quite stressful cutting into the smooth bodyshell, but this tiny step forward makes it feel a bit more like a campervan-in -waiting. :D

FER_2786 by Peter Thompson, on Flickr
FER_2789 by Peter Thompson, on Flickr
FER_2783 by Peter Thompson, on Flickr
FER_2779 by Peter Thompson, on Flickr
 
When you look at that original picture it really highlights all the dodgy repairs that had been carried out previously.
 
When you look at that original picture it really highlights all the dodgy repairs that had been carried out previously.

Yes, I could see a lot of it but didn't realise how deep the rot went.:eek:

Since that last post I've done a lot of stopping-up of the epoxy-primer and repeatedly sanded back to get a reasonable level and to reduce the "orange-peel" of the surface. This left me with large areas of stopper and the odd spot where the steel had been rubbed through. So I re-coated these bits with epoxy, diluting it to 30% with thinner; a lot higher than advised but the only way to make it flow. I added a small amount of green cellulose so that the white primer is discoloured enough that I will know if I'm rubbing it back too far.
I spent a lot of time detailing around the edges of the bodywork with epoxy. the technical term appears to be "stripe-coating". We all know that the bottoms of the sills, the guttering and the lip of the wheel-arches are prime places to go ragged and rusty on these vans, so I've made sure that the protection is continuous inside the guttering, under the edges of the arches and beneath the van. At a later date I will prepare the underfloor and inner wheel-arches and join the two areas together with underseal.
Whilst the epoxy is freshly applied is a good time to put on the cellulose primer. I decided to use this after all so that I can be sure to even out all the blemishes of the hard epoxy.
One side of the car is still waiting to be completed because I need to fill the panel-joins with PU sealant. When it's all primed I will leave it for a week or two to thoroughly harden and shrink back whilst I complete the preparation on the front doors.
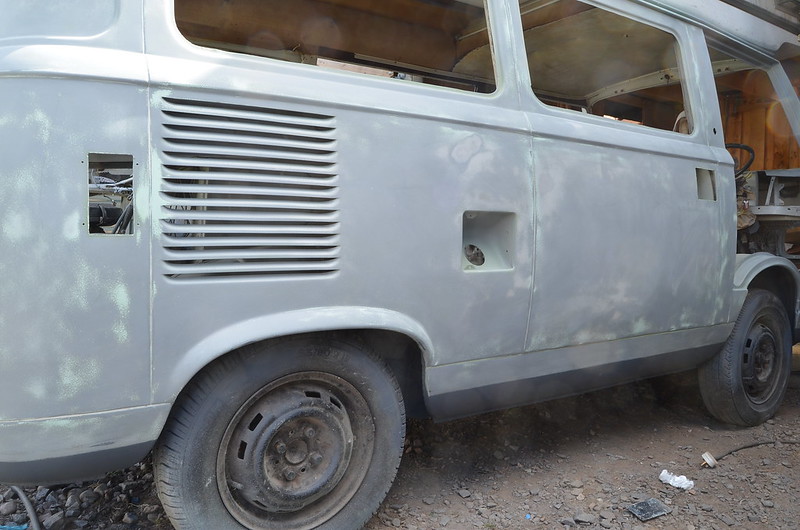
FER_2801 by Peter Thompson, on Flickr

FER_2803 by Peter Thompson, on Flickr
 
I'm still going backwards and forwards with preparation. I messed up by using an aerosol of paint as a guide coat which turned out to be an enamel which the label stated was incompatible with cellulose. So followed a lot of wiping with panel-wipe, although letting it dry properly and then sanding was the real answer.
I had filled the panel joins on one side with PU sealant but lately I came across a 3M product called Drip Chek. It's a rubberised, cellulose,-based sealant specifically for this job and it's a nightmare. I'm on the third attempt as it dries so quickly it's hard to smooth out. The primer that I originally overpainted on the PU quickly cracked. I think this was because it was flowing too well with a lot of thinners and creating a valley of paint which shrinks on drying. So I will revisit with a fairly dry mix.No pictures because our internet is broken. :(
 
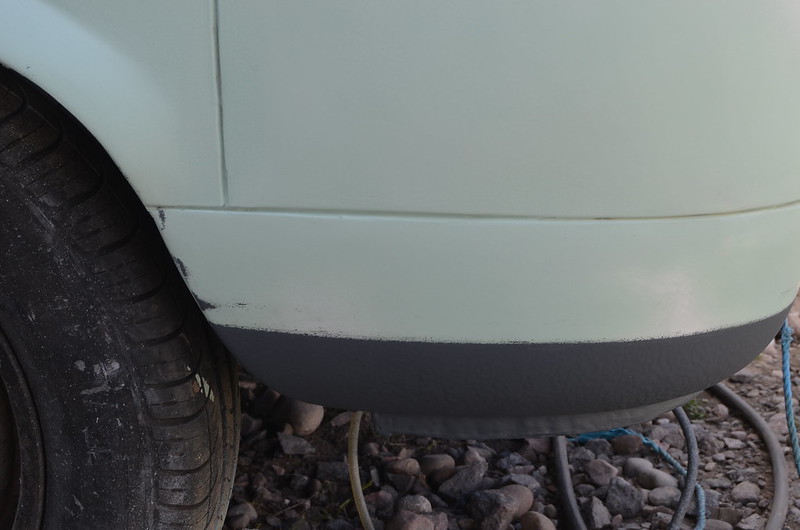
After I had restored my Fiat 500 I always regretted not spending enough time in preparing and protecting the lower areas of the car. I theorised that keeping it all smooth and with as few layers of material as possible I would reduce water-traps and hence future corrosion. But modern vehicles are daubed with sealant and coatings and don't rust quickly, so I'm going the same way with the van. So after sealing any seams or exposed joints I decided to coat the lower parts with stonechip paint. I didn't want an obvious join where the stonechip ended and discovered that a foam strip called soft-edge masking tape is the secret to getting the "factory" look. The downside is that this has a very tenacious adhesive which in places proved difficult to remove afterwards.
I masked the body so that I could put a layer of stonechip on the lip of the wheelarches.

FER_2810 by Peter Thompson, on Flickr

The stuff whizzes on and you have to move very fast and as it dries it shrinks back to a subtle ripple effect. I will be priming and painting it and plan to use more of it underneath the body.

FER_2806 by Peter Thompson, on Flickr

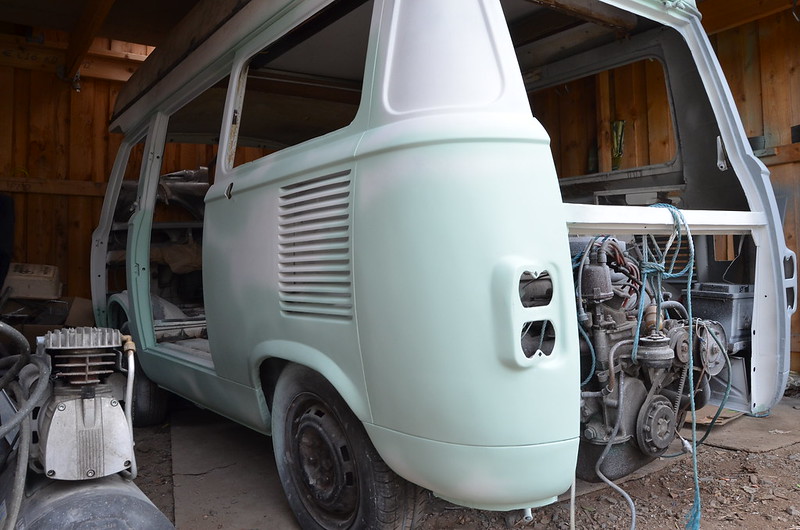
The whole van is now in primer and almost completely rubbed down and ready for the first of the topcoats..
 
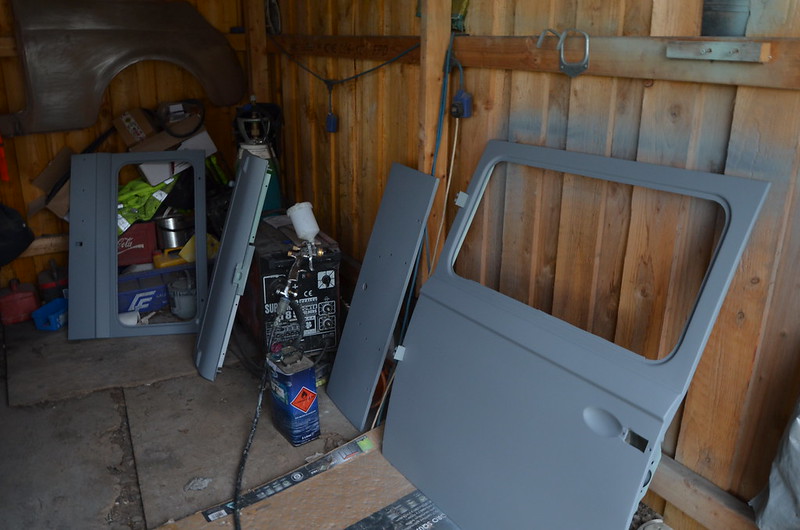
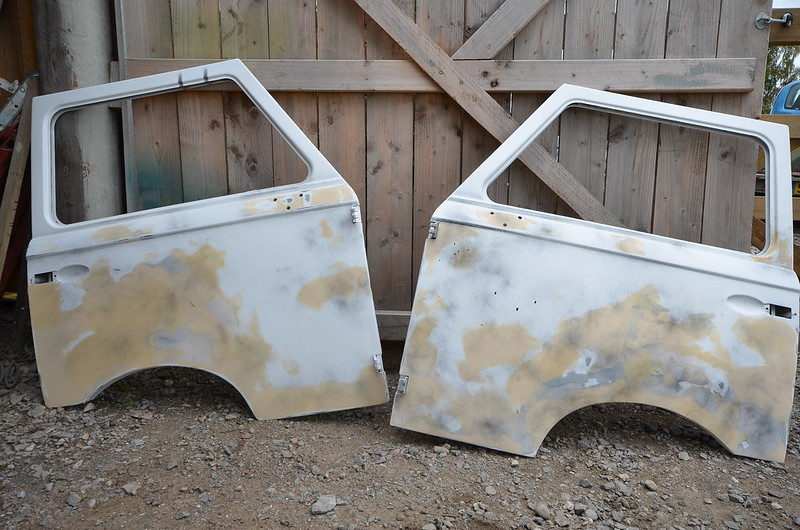
The two front doors which have lagged behind the rest of the project have now just about caught up. A bit more rubbing down needed before final priming. It's surprising that the one on the left, which was brand new bar for some slight storage dents, a need to relocate the mirror fixing holes to the later type and a small hole in the centre of the main panel where a water drip must have corroded it , has possibly needed more filling than the original one on the right which has had extensive surgery.

FER_3042 by Peter Thompson, on Flickr

I can't decide whether to give a couple more coats of primer just to unify the surfaces as the stonechip and a few stopped areas need priming in any case.

FER_3045 by Peter Thompson, on Flickr

Unfortunately we saw alovely VW T2 van today in white over buttercup yellow; it made us wonder if the somewhat "teal" shade we have chosen is teh right one. So my plan now is to stick on acouple of coats of this blue-green to see how we feel about it. If it seems wrong then we're back on track for yellow. :)
 
Last edited:
Unfortunately we saw alovely VW T2 van today in white over buttercup yellow; it made us wonder if the somewhat "teal" shade we have chosen is the right one. So my plan now is to stick on acouple of coats of this blue-green to see how we feel about it. If it seems wrong then we're back on track for yellow. :)

I had a better idea yesterday whenit came to painting a full side-panel which I bought as a potential display item a few years ago I gave it two coats of the Teal and submitted it for inspection. I liked it more than expected but we came to the conclusion that each of us had been inaccurately second-guessing the preferences of the other......we both really wanted yellow in any case. :bang: So if anyone has a use for the best part of three litres of good quality cellulose in RAL6027 at half the price I paid for it, please get in touch.

FER_3495 by Peter Thompson, on Flickr
 
The yellow paint has been ordered and so I had time to give the van another couple of coats of primer. After completely rubbing down the bodywork with 400 grit paper I wasn't looking forward to doing it again. But it's evening things up a bit more and allowing me to see a few flaws that I had previously missed.

FER_3959 by Peter Thompson, on Flickr

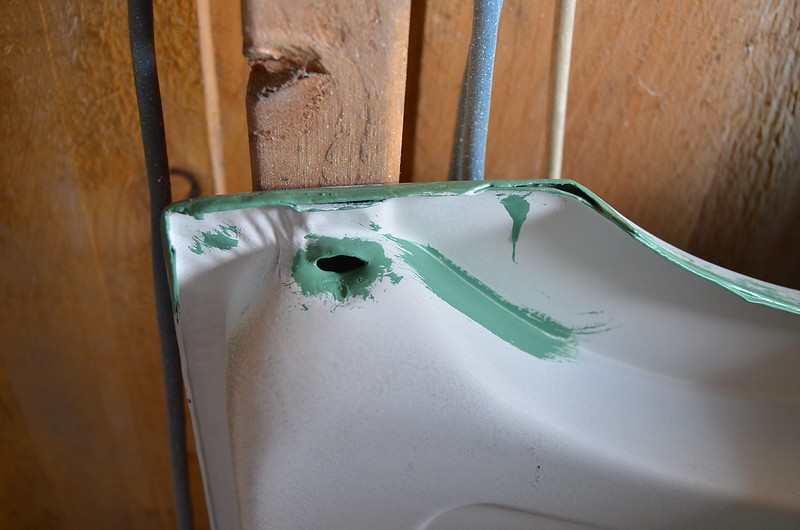
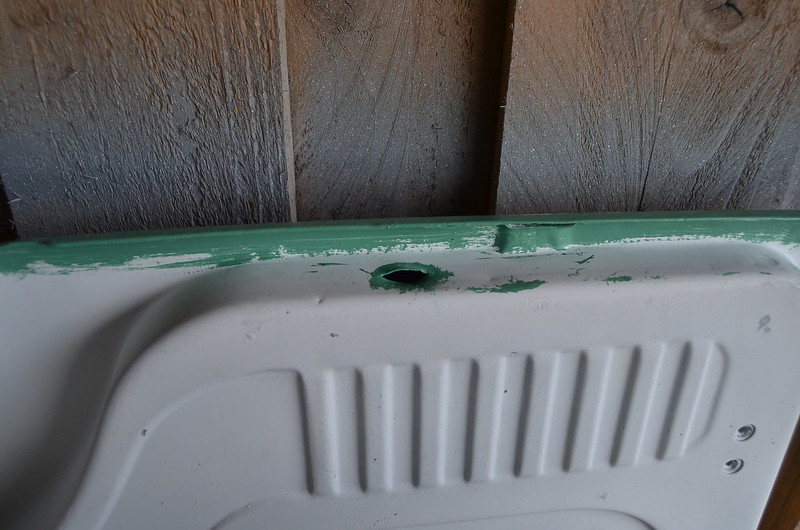
I had some last minute tweaks to do to the doors. The odd shape of them at the bottom will mean that they naturally collect water and the drainage slots as designed are probably ineffective as they are almost obstructed just by the thickness of paint. So I've cut these additional slots which. although a bit crude, should allow the water to exit more quickly.

FER_3963 by Peter Thompson, on FlickrFER_3962 by Peter Thompson, on Flickr

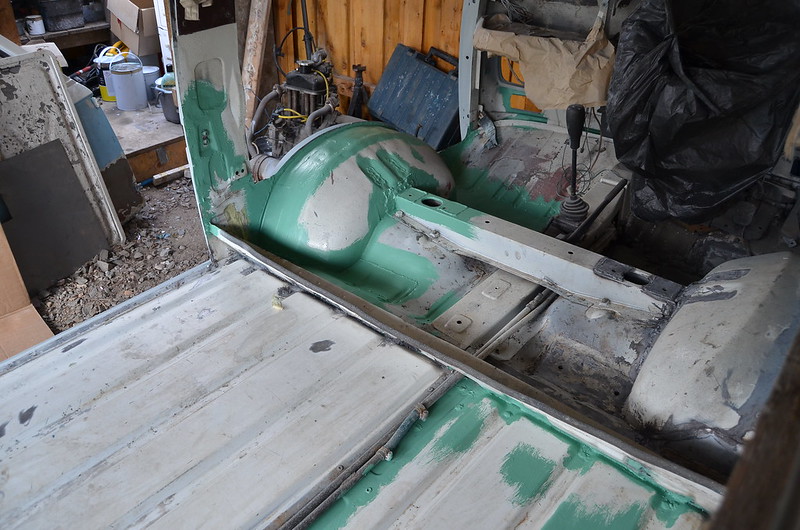
The green paint is some of white epoxy primer which I've coloured with a bit of cellulose so that I can see where I'm putting it. From previous experience I know the extra detailing now will enable the paint to stay looking good for longer. I've also started painting the inside floor, starting with all the areas where I've welded as well as anywhere that has needed significant rust treatment........ ie. quite a lot of it. :D

FER_3961 by Peter Thompson, on Flickr

So the painting that I hoped would be finished by the end of July is now about a month late.:bang:
 
Last edited:
Back
Top