17717052334_1044bd2216_b.jpg

900 Bluebell the 900e Amigo

Introduction

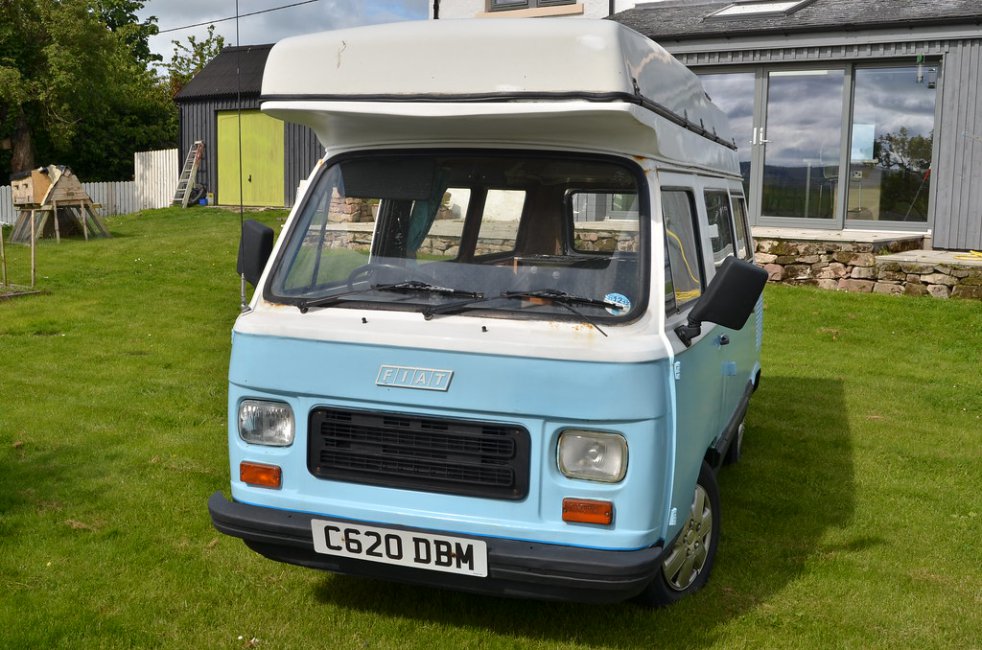
We have just taken on the ownership of this camper from Kelly and Karl and hope to have it on the road within the next six months.
17717052334_1044bd2216_b.jpgDSC_6177 by Peter Thompson, on Flickr
Not only is it a really lovely vehicle, it was also a pleasure to buy it from such a genuine and really nice couple. There was a huge amount of interest in the sale and I am really appreciative that I was favoured to be the buyer ; so many thanks Karl.:)
18335728502_1005bcd374_b.jpgDSC_6176 by Peter Thompson, on Flickr
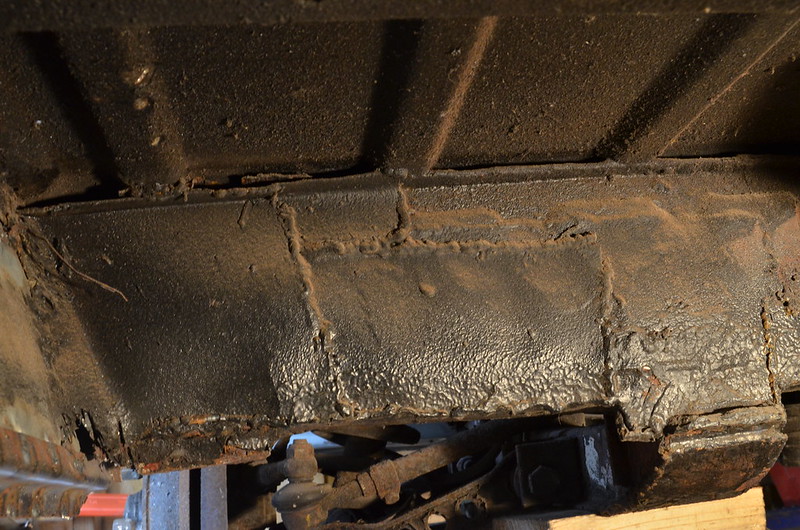
There is a certain amount of essential welding to do underneath, which will add to the welding that has been done in the past. It is currently pretty solid underneath but not as pretty as it could be. I hope to tidy as I go and then work around the bodywork. This has signs of a lot of filler and there is rust poking through in places, but it looks like we will be able to get using it soon.
There are a number of mechanical issue but nothing too onerous and it starts and runs really well.
So a rolling restoration to usable standards.
I just need to get the roof open now!
Watch this space as I document my progress.
Nice work as always.

:D
Sometimes its a bit rough around the edges and it's always going to need filler, but this rarity of panels is pushing my ability to the limit.
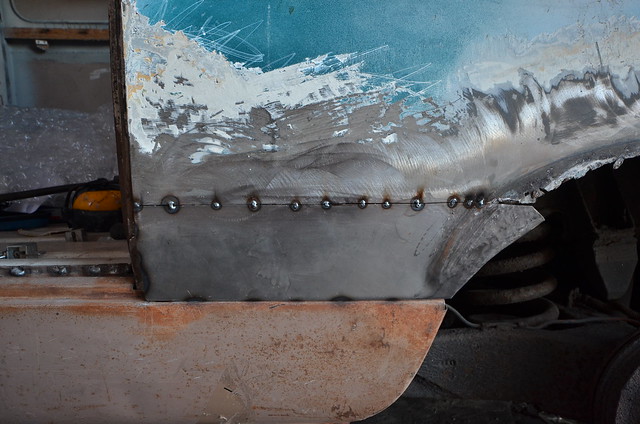
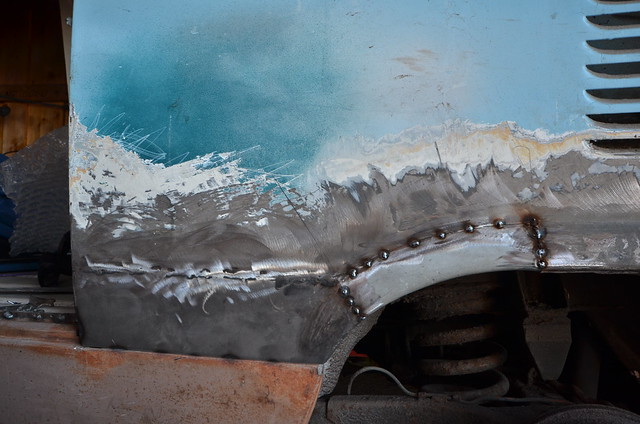
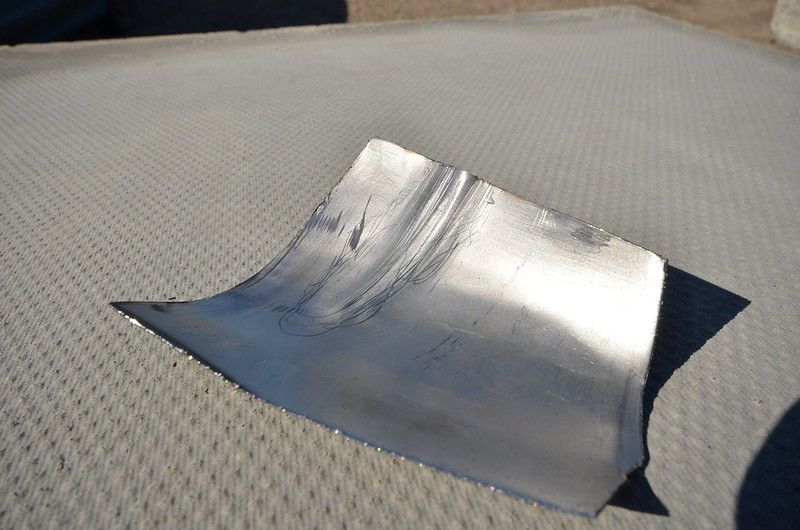
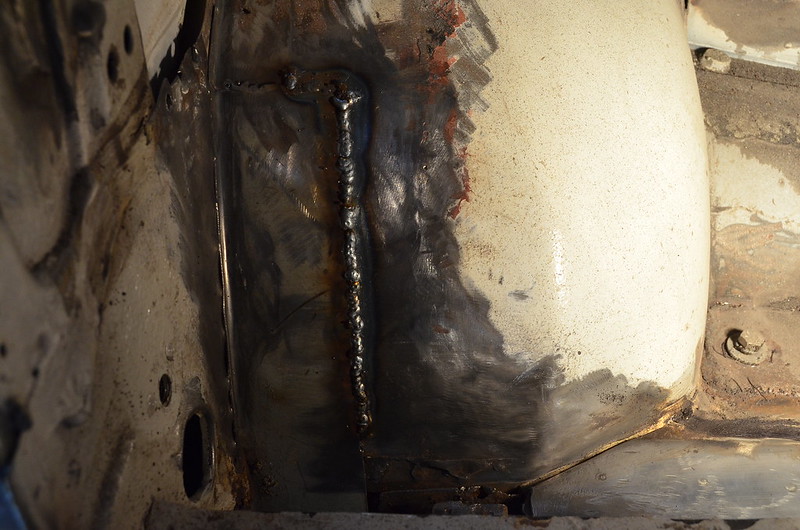
The first thing I did today was to make a panel to fit the bottom of the door-post. By using some crude bashing and twisting I made a rudimentary replica of the bottom of the wheel-arch.

DAL_3732 by Peter Thompson, on Flickr

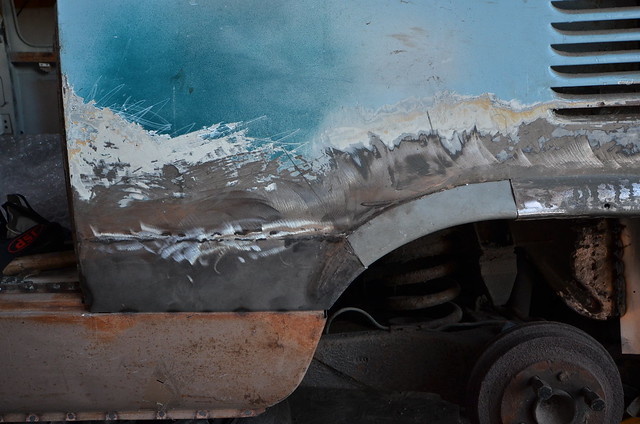
Then I unleashed my secret weapon to complete the curve by using an off-cut of Fiat 500 wheel-arch which although a totally different radius and pressing looks not too bad over a small part of the arc.

DAL_3735 by Peter Thompson, on Flickr

DAL_3750 by Peter Thompson, on Flickr

There are a few more small dodgy bits to fix and then it's onto the inner arch.
 
Over the last few days I've been struggling with the inner arch where it meets the outer. As an obvious designed rust-trap I had to trim away a band of "steel" which was about 70mm wide over the entire edge. On the other side of the van I replaced the whole wing panel so I had good access for this job, but here I have to jam my head underneath and suffer the pain.
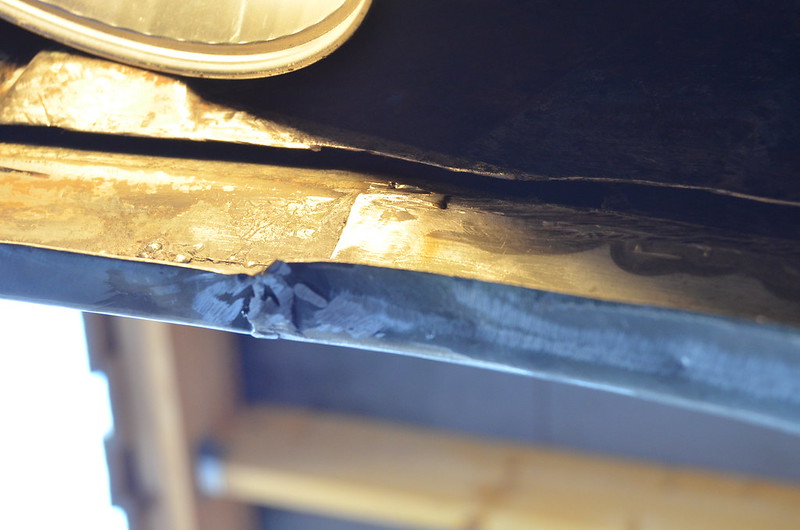
To anyone who doesn't know the van well the following images will mean nothing. here it is looking upwards at a couple of my outer repairs.with the round thing being an old lamp I'm using.

DAL_5505 by Peter Thompson, on Flickr

As with the outer I have had to make a patchwork of in-situ pieces and then weld them together.

DAL_5508 by Peter Thompson, on Flickr

It all needs tidying up although it will never be visible and will be well-coated in protection when finished. But for now I have to hold back before welding it into place until the temperature (currently below freezing) warms up sufficiently for me to load it and the parts that it will hide with primer.
 
Whilst it's still too cold for paint to dry (too cold to do anything really :eek:) I can at least prepare for the next bit of the inner arch. Obviously this crude set of repairs needed removing; You can see the end of my inner sill repair poking through:

DAL_5510 by Peter Thompson, on Flickr

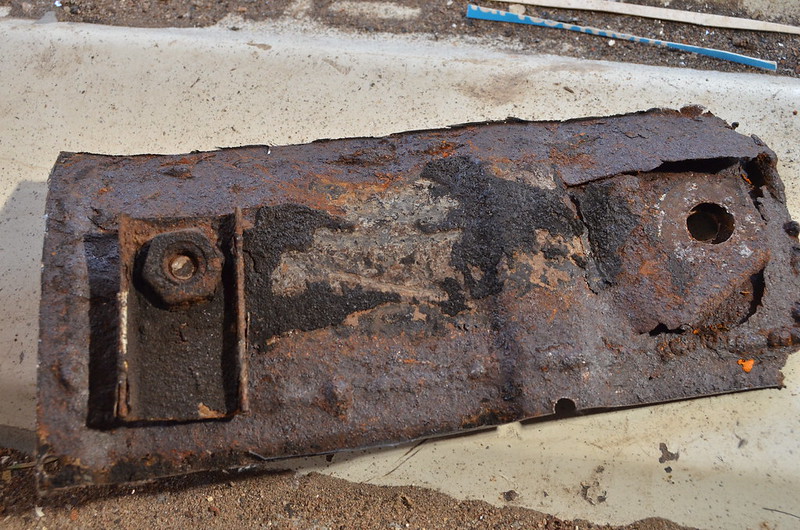
Removed it looks like this:

DAL_5511 by Peter Thompson, on Flickr

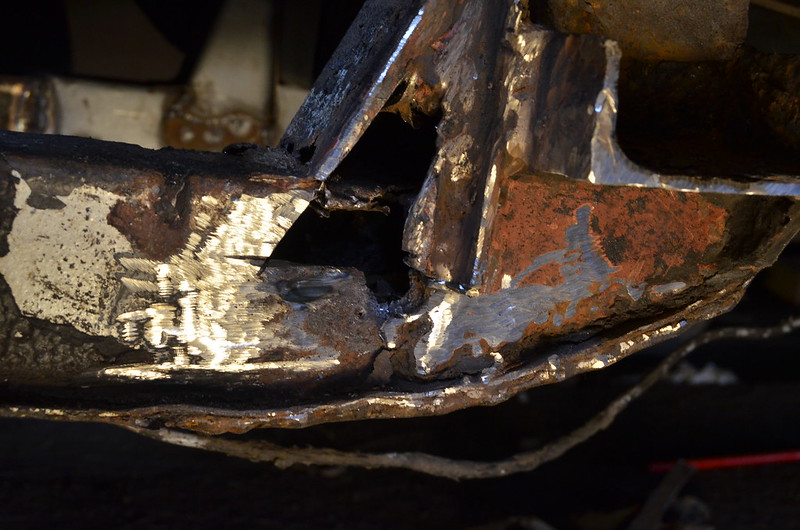
Once I had this lot removed I could see that the manky end of the rear chassis outrigger was much easier to access than it will be when the arch is repaired. So I've started to dissect the rust and dodgy previous repairs but it was too dark to get an image of the tidied-up chassis. But it wasn't a pleasant job cutting and grinding away layers of heavily welded plates and flaky rust with my head jammed under the van which is barely off the ground.

DAL_5512 by Peter Thompson, on Flickr

DAL_5513 by Peter Thompson, on Flickr
 
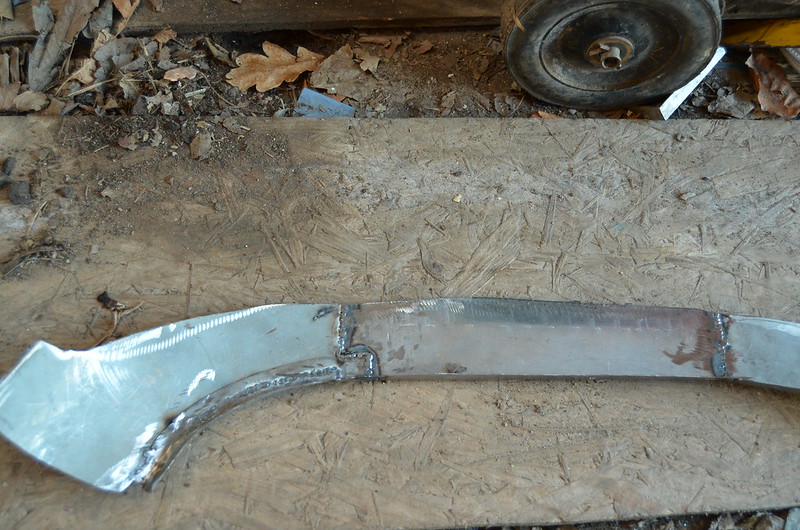
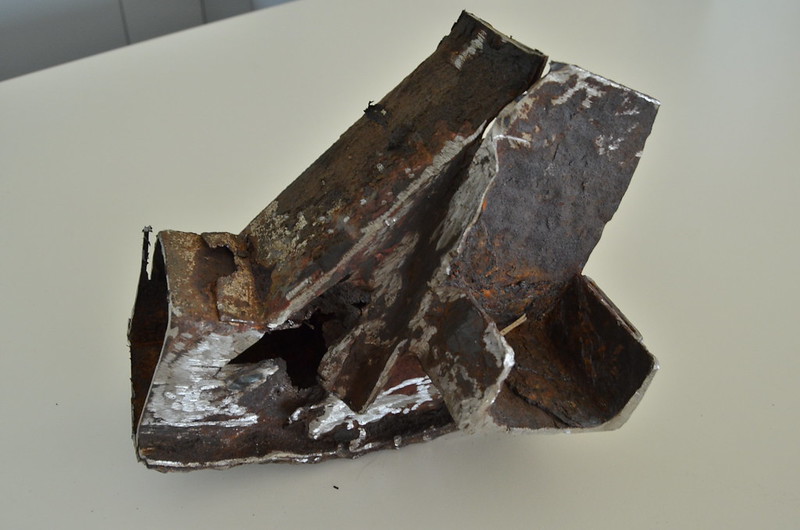
When I fixed the chassis end at the other side I decided to make an entire repair section off the car and then welded it back in one piece. I've got a bit more confident about welding and abandoned all hope of the van hiding all of its repairs underneath, so I decided to do this side piecemeal.
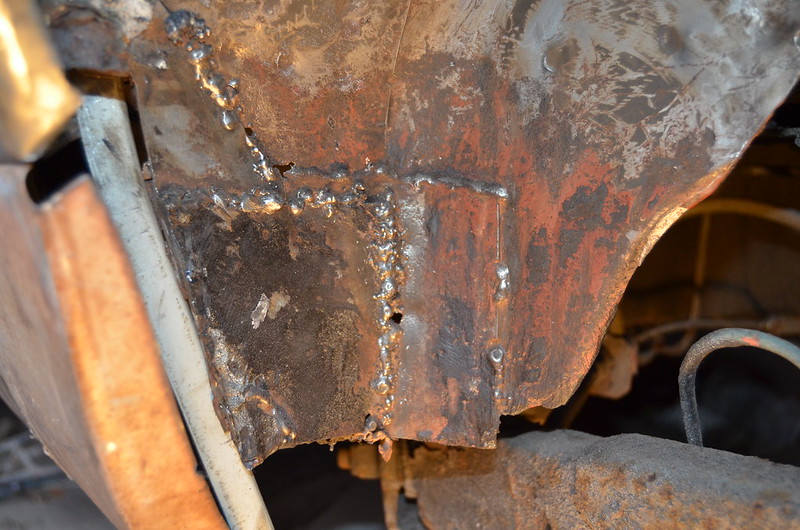
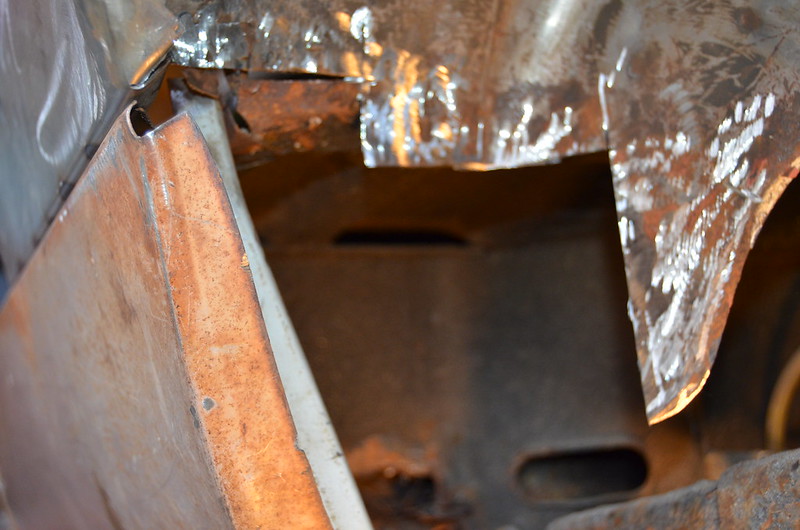
First of all I cut out all the bad bits and did my best to clean up the welding surfaces. Here's a view of the back part from under the wheelarch:

DAL_6248 by Peter Thompson, on Flickr

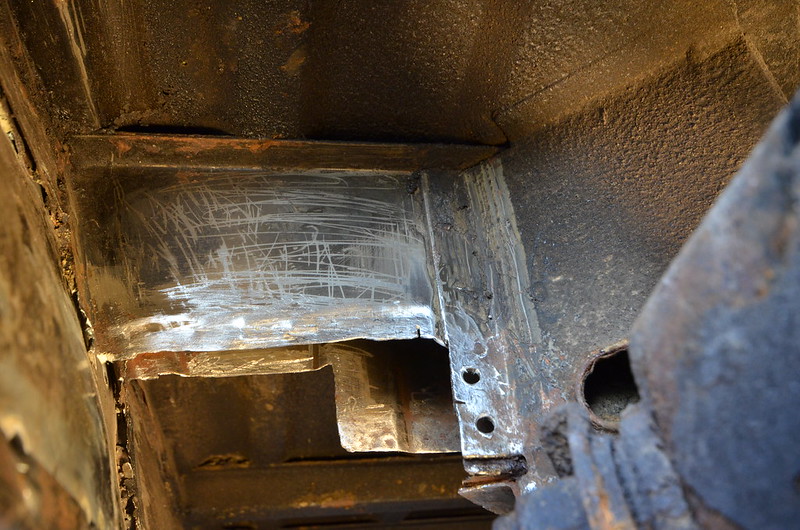
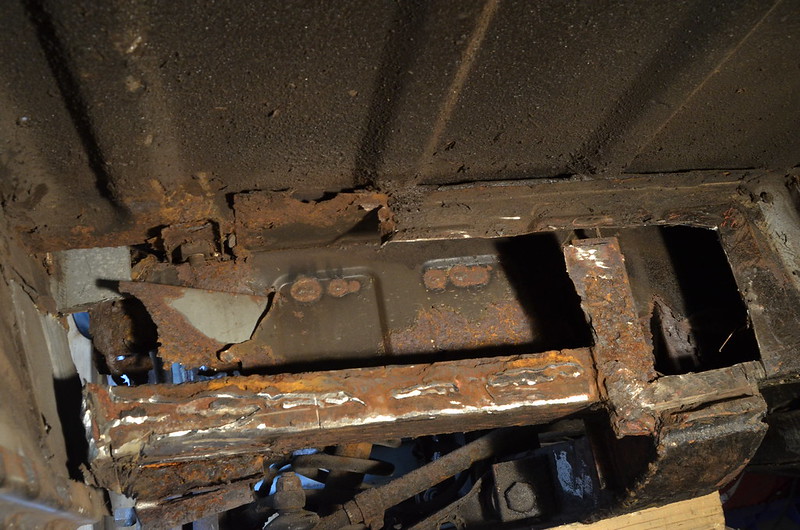
Some joins were better done with laps so I used my joddling tool to prepare the chassis and the repair plates; here is one side lined up and ready to weld:

DAL_6249 by Peter Thompson, on Flickr

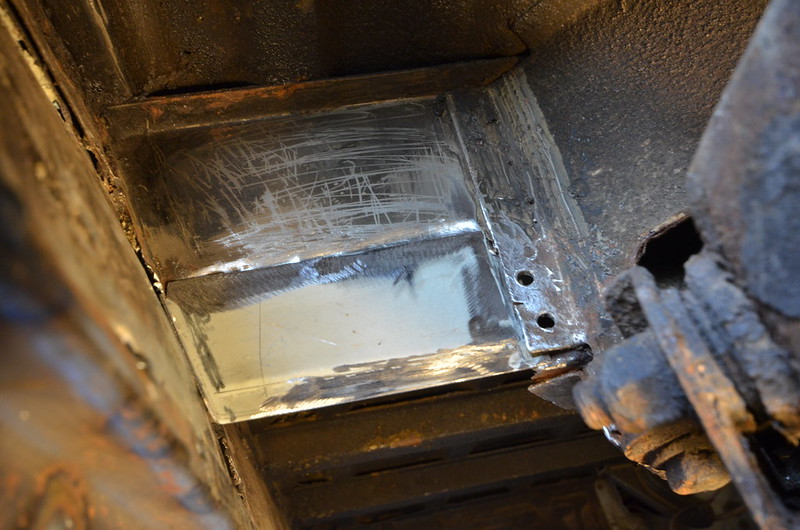
Here's the front-facing side:

DAL_6252 by Peter Thompson, on Flickr

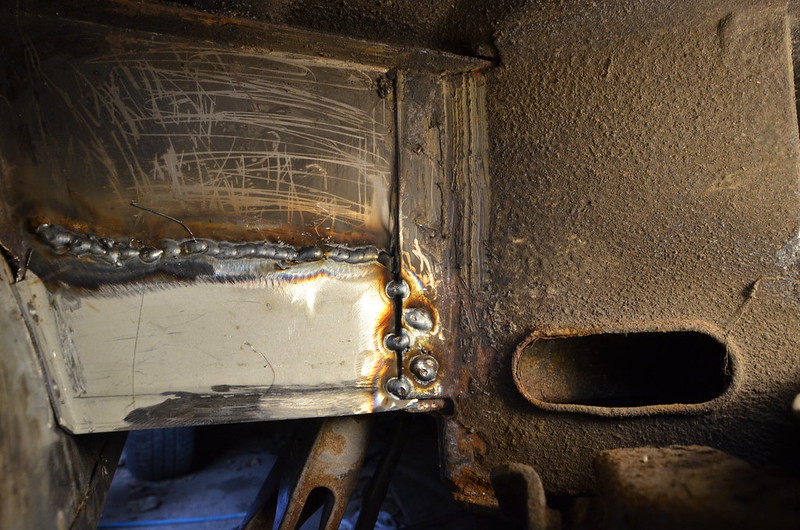
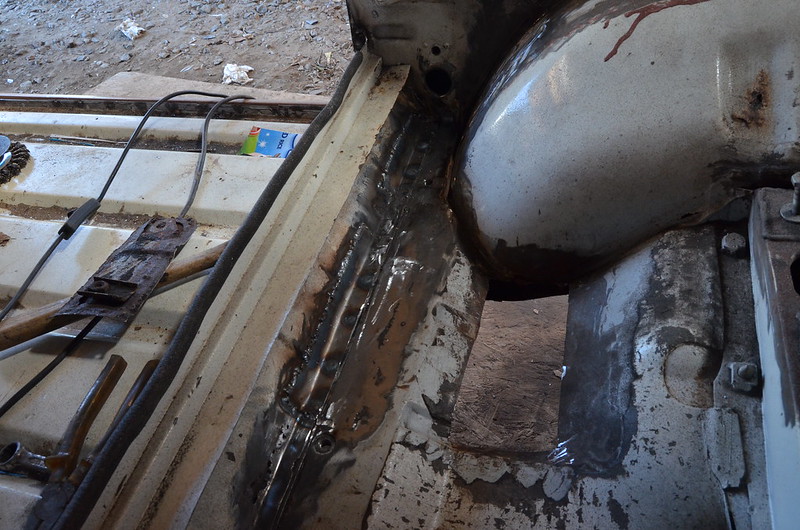
This is sample of the welding which will need dressing down. I didn't get the final shot where I made a bottom plate to complete the box section which was seam-welded to each side.

DAL_6250 by Peter Thompson, on Flickr
 
With that chassis repair diversion out of the way, over a few hours during the last week I've been completing the bottom inner wheel-arch repair that obscures the chassis-end from view.
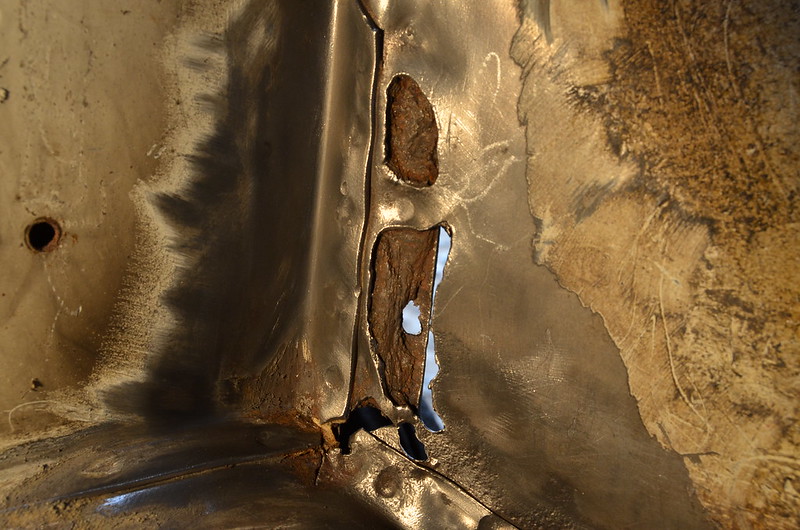
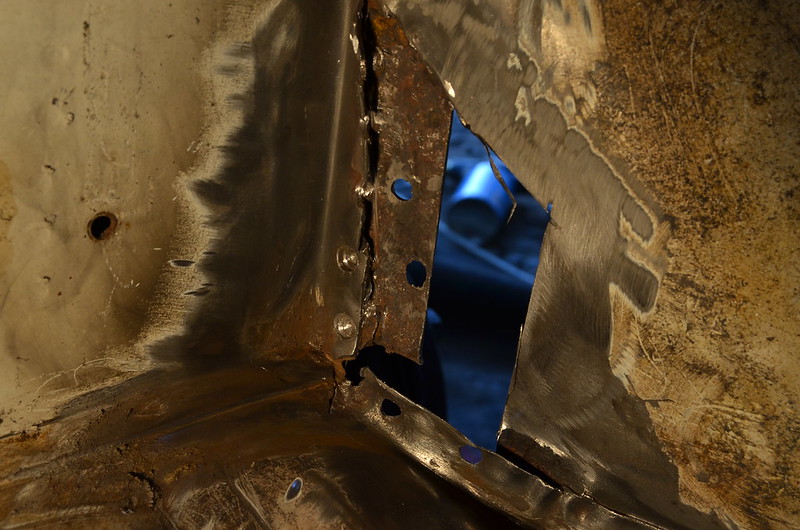
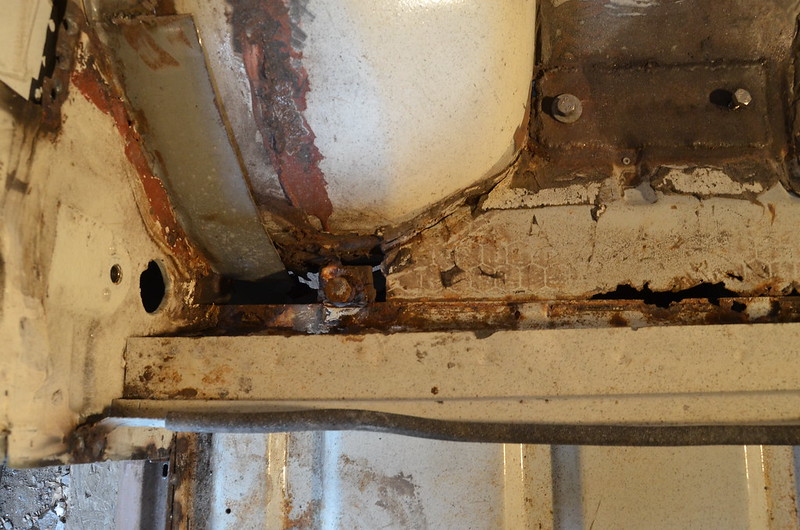
But then I knew that there was a small fibreglass repair to the upper part of the wheel-arch viewed from inside the cab, but when I chipped the crud away it turned out to be a huge hole in a double-skinned area.
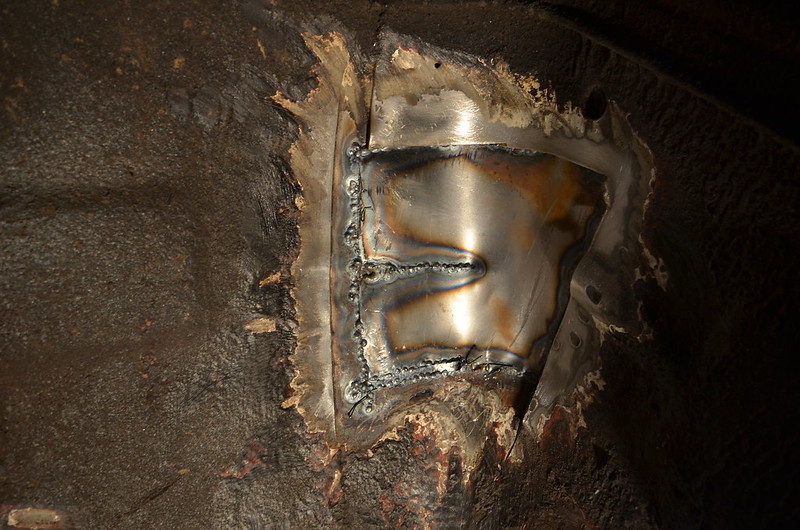
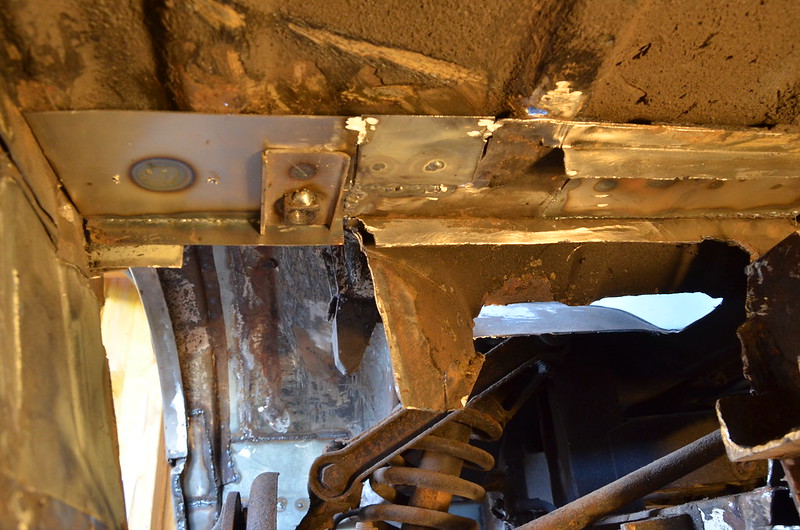
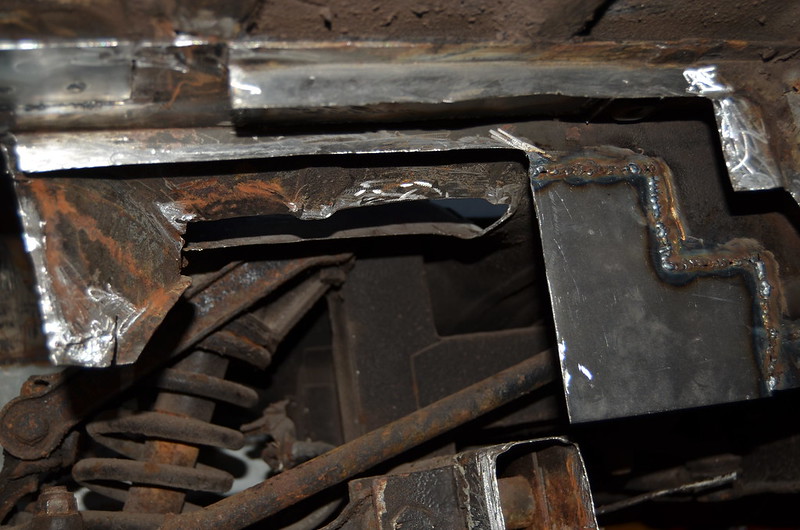
I figured that if I did a good job then a single layer of 1.2mm steel would suffice; here seen from under the arch showing the cut away reinforcement plate.

DAL_6718 by Peter Thompson, on Flickr

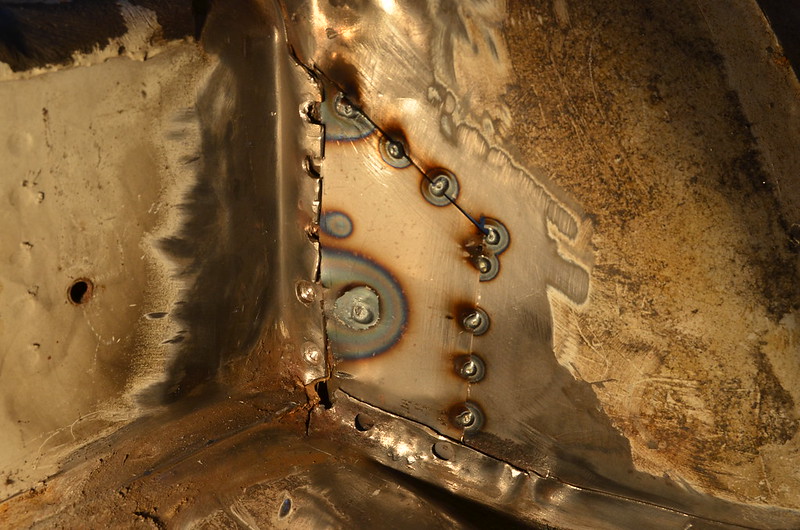
But when I looked again I could see that the doubling was to provide strength in a stressed are of the inner-arch. So I had to cobble-up this additional piece and seam-weld it in upside down and do some puddle-welds between the two pieces.

DAL_6716 by Peter Thompson, on Flickr

Whilst poking around I've found some more corrosion which will be a bit fiddly to repair, but after that I think I'm onto the final stretch with a complicated repair to the front chassis cross-member. Phew!
 
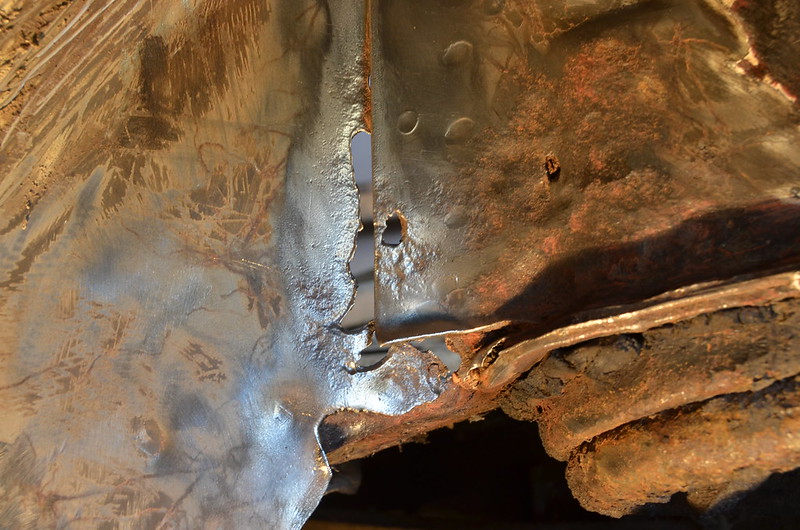
It started as a little hole just where the inner arch meets the spring-mount. But after a bit of digging around I realised I was going to have to unpick a few spot-welds and had a bit of a job on my hands.
DAL_6724 by Peter Thompson, on FlickrDAL_6722 by Peter Thompson, on FlickrDAL_6727 by Peter Thompson, on Flickr
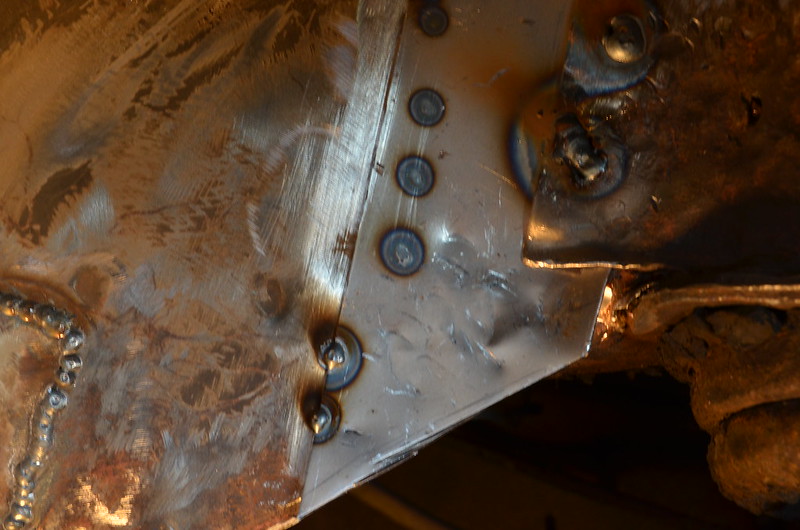
The actual patch of steel was quite small but needed a bit of manipulation to fit just right before tacking into place.
DAL_6731 by Peter Thompson, on FlickrDAL_6729 by Peter Thompson, on Flickr
Some dressing-down of welds is now needed, especially inside, where a patch of trim goes over the top of the repair.

All of my new welds and joins as well as the good originals, are going to need seam-sealing; a process which I don't think was done very well in the first place.:bang:
 
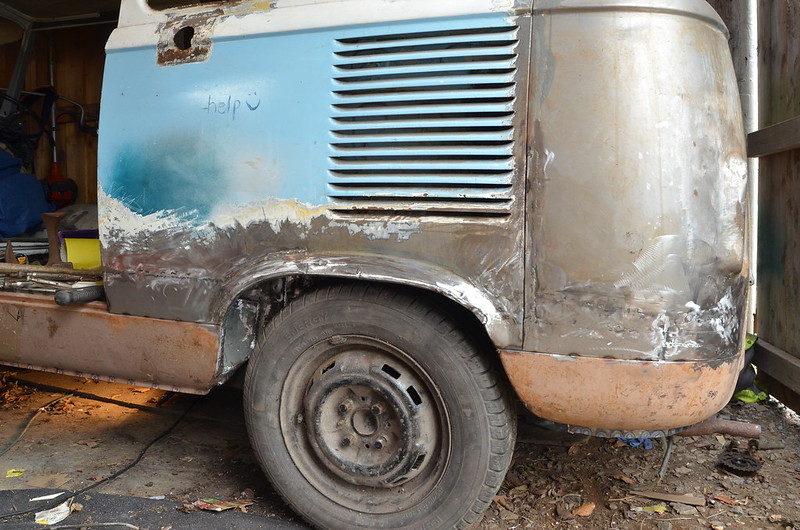
The rear wheel-arch and all of its associated repairs......finished.

DAL_6732 by Peter Thompson, on Flickr

So now onto the passenger side of the front cross-member and the horrific, multi-layered mess of ancient repairs.

DAL_6734 by Peter Thompson, on Flickr

Only one thing for it, so out with the grinder and into attack mode. Some parts of it just peeled off as the welding was so poor. It looks like one of the earliest and best repairs on the base of the chassis used some extremely thick gauge steel; the original is mainly made from 1.2mm. There are terrible layers of rust and road dirt and it will be hard to cut out but in the first instance I will leave it in place as a datum for aligning my new sections and to keep the stability of the floor.
After an hour of dirty work I am left with this:

DAL_6735 by Peter Thompson, on Flickr
 
Oooooohhhh!!!!!

There’s only one word for that mess? Ugly:eek:

PS I am referring to the last two pictures. Good luck:D
 
Oooooohhhh!!!!!

There’s only one word for that mess? Ugly:eek:

PS I am referring to the last two pictures. Good luck:D

:D
Thanks Tony...I do need it.
In the distant past someone, whose main trade was probably shipyard-welder, has done a very good job of welding-in some steel of a thickness that would armour-plate a tank. So there is some good strength but loads of rust-scale and non-original construction.
I think I will remove all that as soon as I have started to reinforce the missing bits. I am waiting for more steel-sheet supplies and a few quiet days to get on with it.:bang:
 
The whole of the Easter holiday has gone and I only achieved two hours' of work because of commitments to little chocolate egg-eaters.
I got so fed-up of lying in fine rust particles that I cleaned out the van and the garage floor and started to patch things up from above the cross-member instead.
Here we are looking down on the floor on the passenger side of the van. You can see the outlines of someone else's very basic repair to the seat-mounting screws. There is also the unfinished installation of a Zintec repair patch which I fitted ages ago as a part of the wheel-arch repair. There are three layers of steel across the top of the cross-member and the rot has randomly attacked them all in different ways.

FER_7939 by Peter Thompson, on Flickr

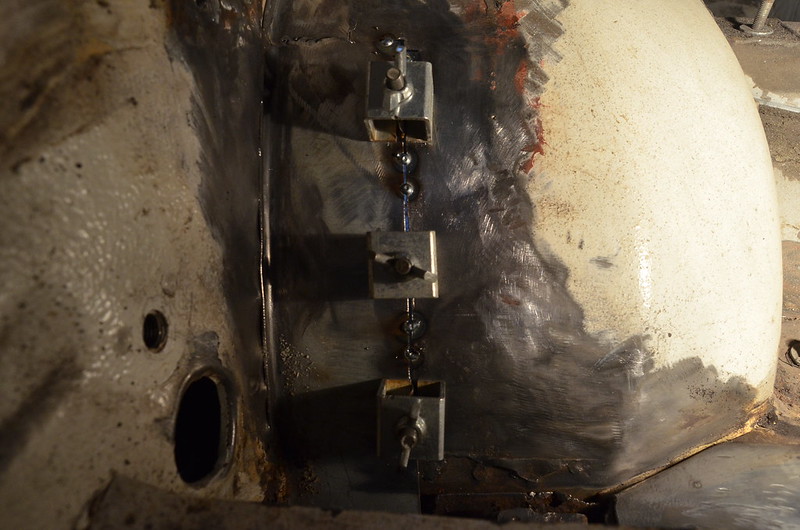
I have started to dissect it all so that I can rebuild in stages, but first I treated myself to the easy job of completing the welding of the wheel-arch. The Intergrip clamps are very useful for this sort of job.

FER_7940 by Peter Thompson, on Flickr

FER_7941 by Peter Thompson, on Flickr
 
Last edited:
When I started this restoration I tended to completely remove areas where the rust had made a serious mess of things. Now I am more confident at welding and value any bits of originality the poor old bus still has, I’m more inclined to patch things. So I have been doing a metal jigsaw which needed to start with the floor above the front cross-member and had included making a new mounting for the seat-belt. It's a multi-layered affair that I should have photographed in stages.

FER_8399 by Peter Thompson, on Flickr

FER_8403 by Peter Thompson, on Flickr

I’ve also needed to repair some sections of the base of what would have been the bulkhead panel that divided the cab from the back of the van. (I think these campers must all have come off the production-line as panel vans as there are other signs that things such as the window-openings were cut out after assembly.)
I also noticed that an old repair to the seat-mounting captive-nuts which looked superficially acceptable was very ropey, so that’s chopped out.

FER_8400 by Peter Thompson, on Flickr

Gradually I have been whittling pieces off the chassis-rail which stabilises the suspension-mountings. I made a complete new piece for the other side which was enjoyable but long-winded, so I hoped to get away with it on this side; but it’s going to have to go completely.

FER_8401 by Peter Thompson, on Flickr
 
After spending lots of time cutting rust back to good metal and then cleaning that metal of paint, underseal and wax, I have a significant amount of patching to do. I have deliberately left every every fragment of good, original metal because I decided that it couldn't be any harder or take longer to replace things piecemeal than it did when I re-made the entire component on the other side.
Welding from under the front arch with the suspension still in place would be tricky so lucky that I can now access the back face of the cross-member. The welding is a bit messy because even with all my prep. and degreasing there always seem to be wax residues to interfere with the arc; but from the outer face all looks good.

FER_8415 by Peter Thompson, on Flickr

I've built up the "jigsaw" and I'm now at a the stage when I can fit relatively large pieces of metal. Originally this area had lots of pressed mouldings to help with strength and to reduce "drumming". This is where the swageing tool comes in handy to give an easily-produced and fairly professional finish.
Several more days of this will be needed before I can cap off the bottom and move on to the next stage.

FER_8418 by Peter Thompson, on Flickr
 
Nice to see the progress you are making

Thanks Geoff. If I hadn't been rebuilding my stepson's kitchen this last few weeks, the warm weather and low job input required would mean I would have finished the welding. As it is I need a solid couple of weeks to finish. I'm even on my second welding helmet having worn out and trashed the last one.
Looking back now it's been the automotive equivalent of underpinning the foundations of a house with just about every bit of supporting metal in the bottom 200mm having to be replaced.:eek:
 
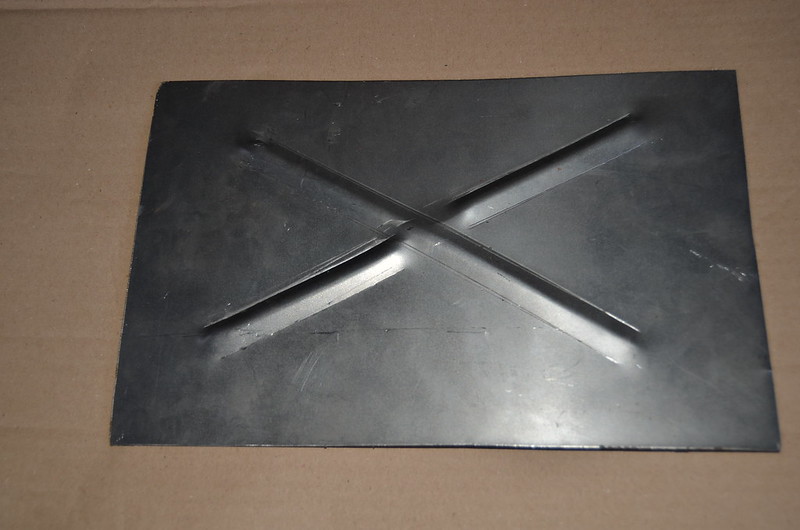
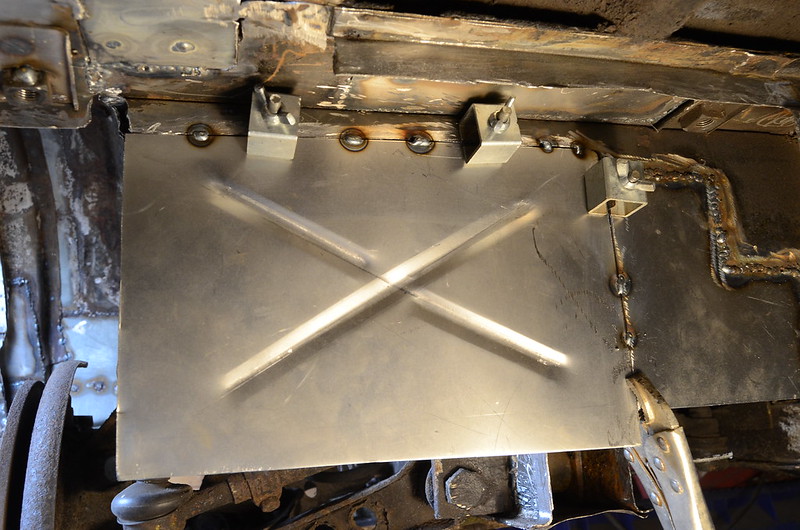
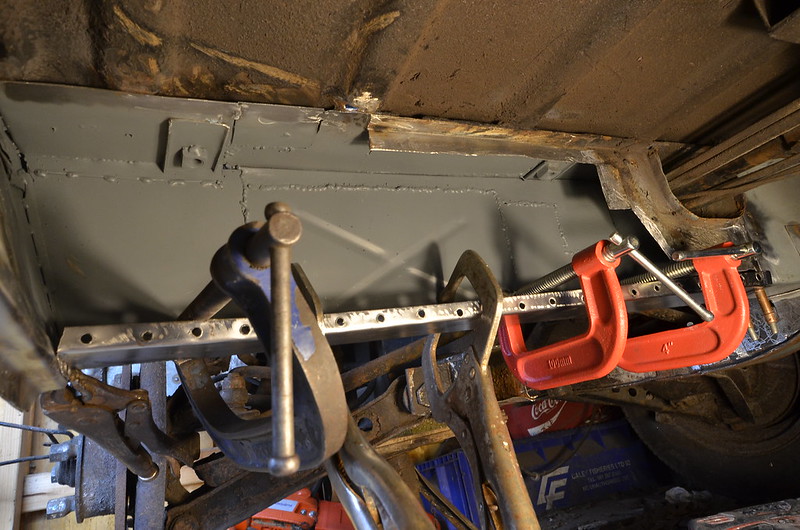
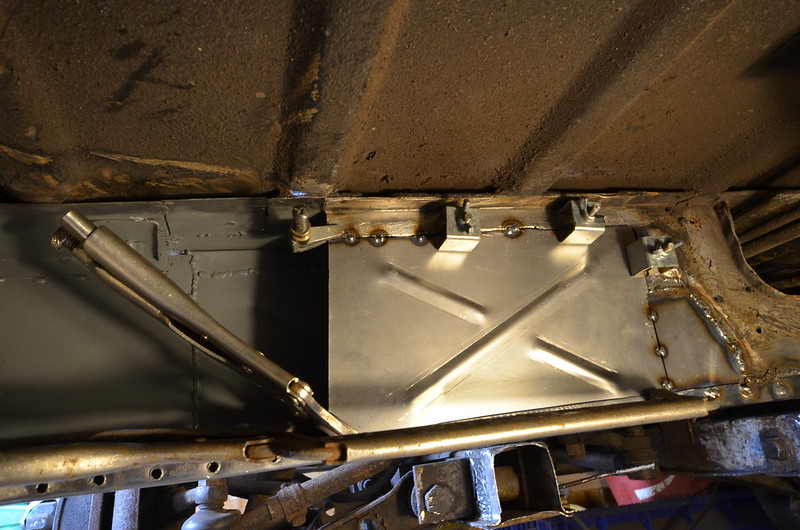
So much welding has gone on that I now need my fourth huge gas bottle. So until I can collect it I've been making and aligning a capping piece for the bottom of the cross-member. As this is an unconventional way to make the structure I'm also welding it in an unconventional way by making a series of plug-welds to attach the base. I am convinced that this will be more than adequately strong and less likely to become warped than the massive seams I would otherwise need to tackle
It's quite a job simply to clamp this in place and prepare things before welding.

FER_9153 by Peter Thompson, on Flickr

FER_9154 by Peter Thompson, on Flickr
 
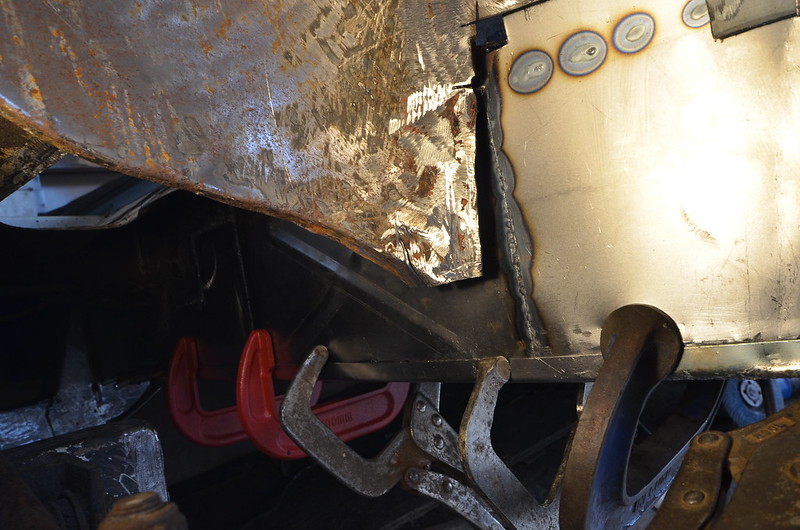
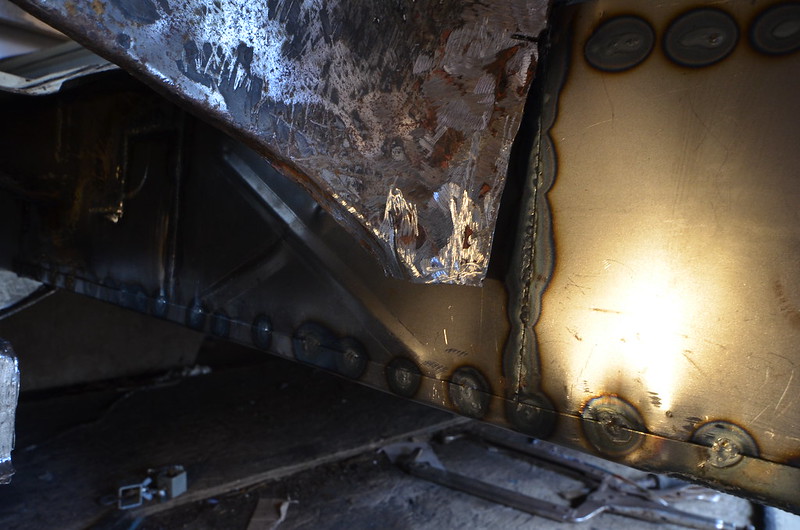
A new gas bottle obtained and another hour's work has got things a bit closer to completion.
Whilst it makes a difference to the strength of these things to put in the swages, I messed up here because there is another strengthening plate that needs to go partly across this area and I'm going to have to partly dress it down again.

FER_9158 by Peter Thompson, on Flickr

FER_9159 by Peter Thompson, on Flickr
 
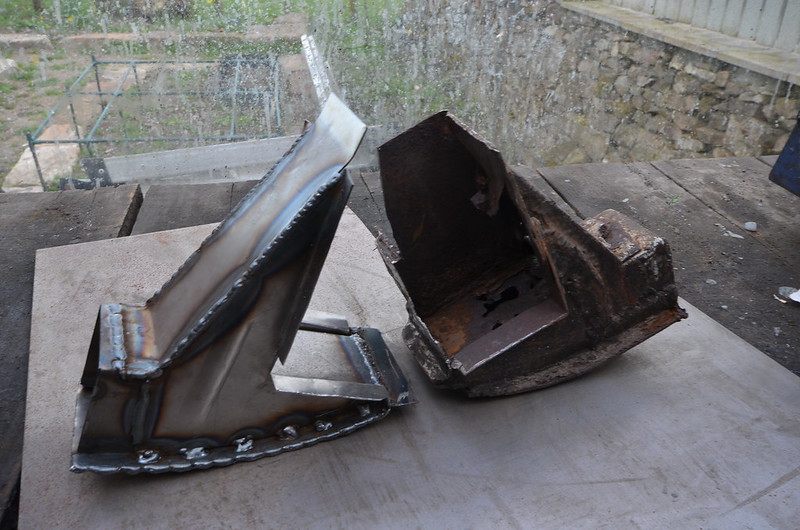
I rushed about for an hour and a half cutting out and folding some fairly complex shapes, tried them out against the chassis and then rushed to get it all joined together whilst I was "on a roll".
It could have been a bit tidier and I think I'll tidy it up with a sanding disc, but it's an excellent fit and a good reproduction of the messy original.
It's a joy welding with 1.5 and 2mm steel after so much time with 1mm and less. I have now drilled a lot of holes in the flanges ready for plug-welding this item into place.
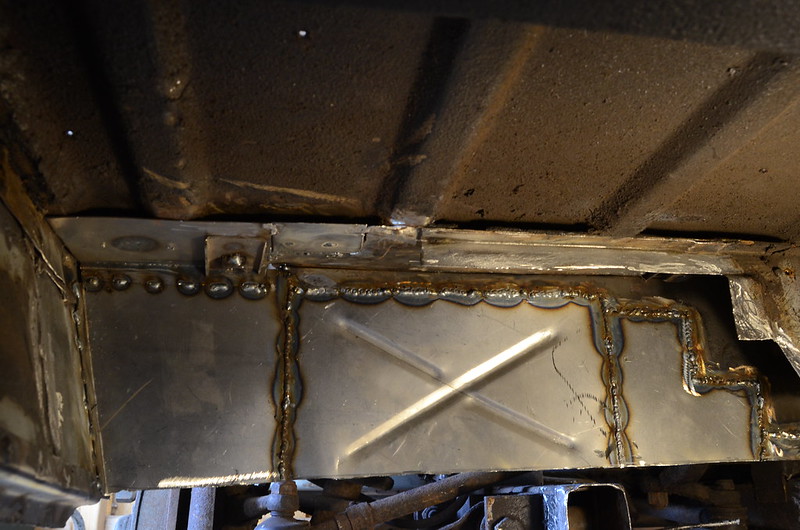
FER_9380 by Peter Thompson, on Flickr
 
Back
Top