- Joined
- Oct 15, 2005
- Messages
- 687
- Points
- 170
Hi Guys,
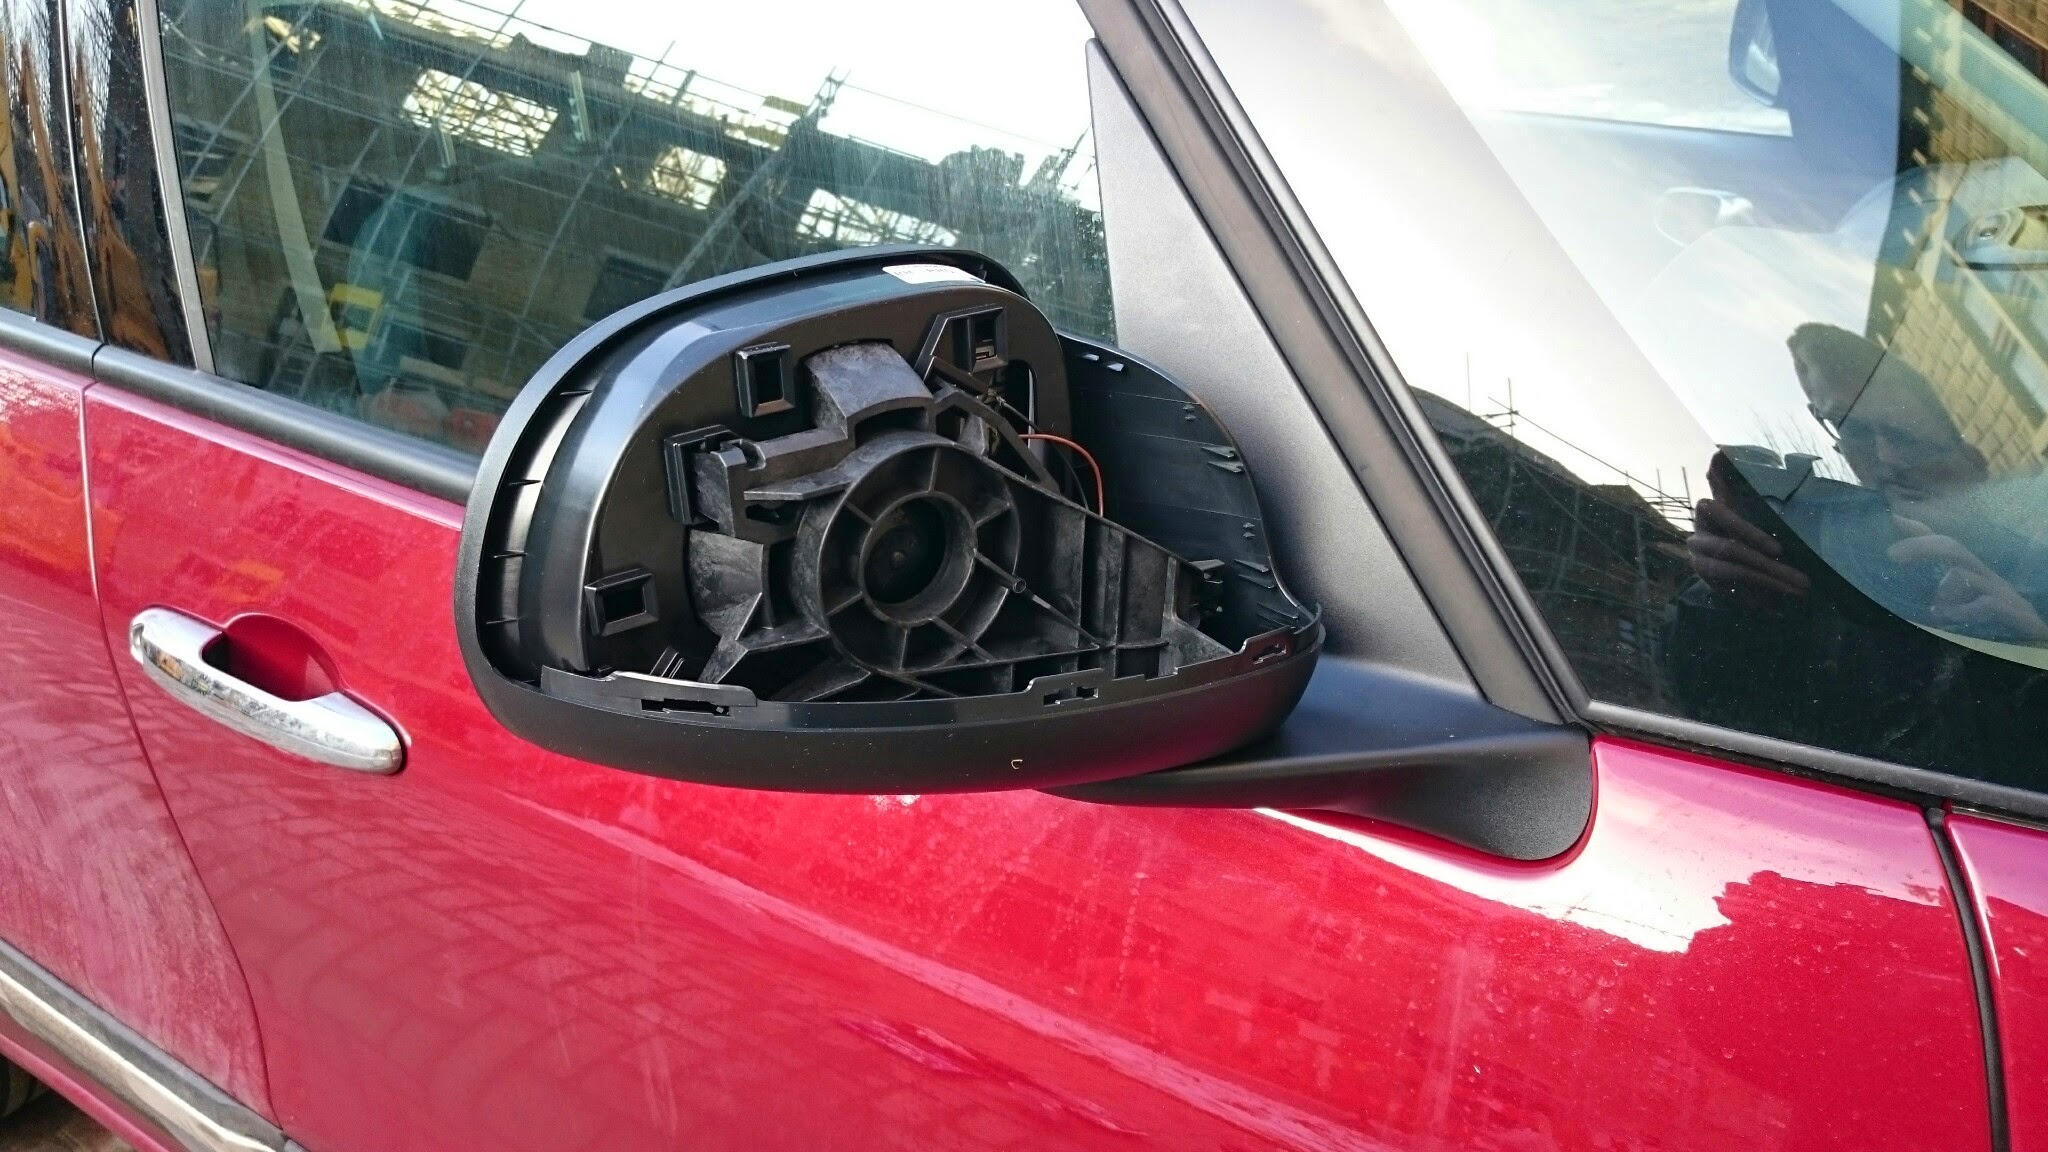
Some tit in a huge Range Rover pulled out around some parked cars on a narrow road and driving down the wrong side of the road smashed the black plastic lower front end of my 500l wing mirror. They then drove off. It was dark and I didn't get the plate. My dashcam wasn't on . I had a quote to repair it based on a photo but when I took it in they said the hole is to big to repair.
Looking at a copy part on eBay for £65:
http://www.ebay.co.uk/itm/Fiat-500L...=Car+Make:Fiat|Model:500L&hash=item27ed8fb19e
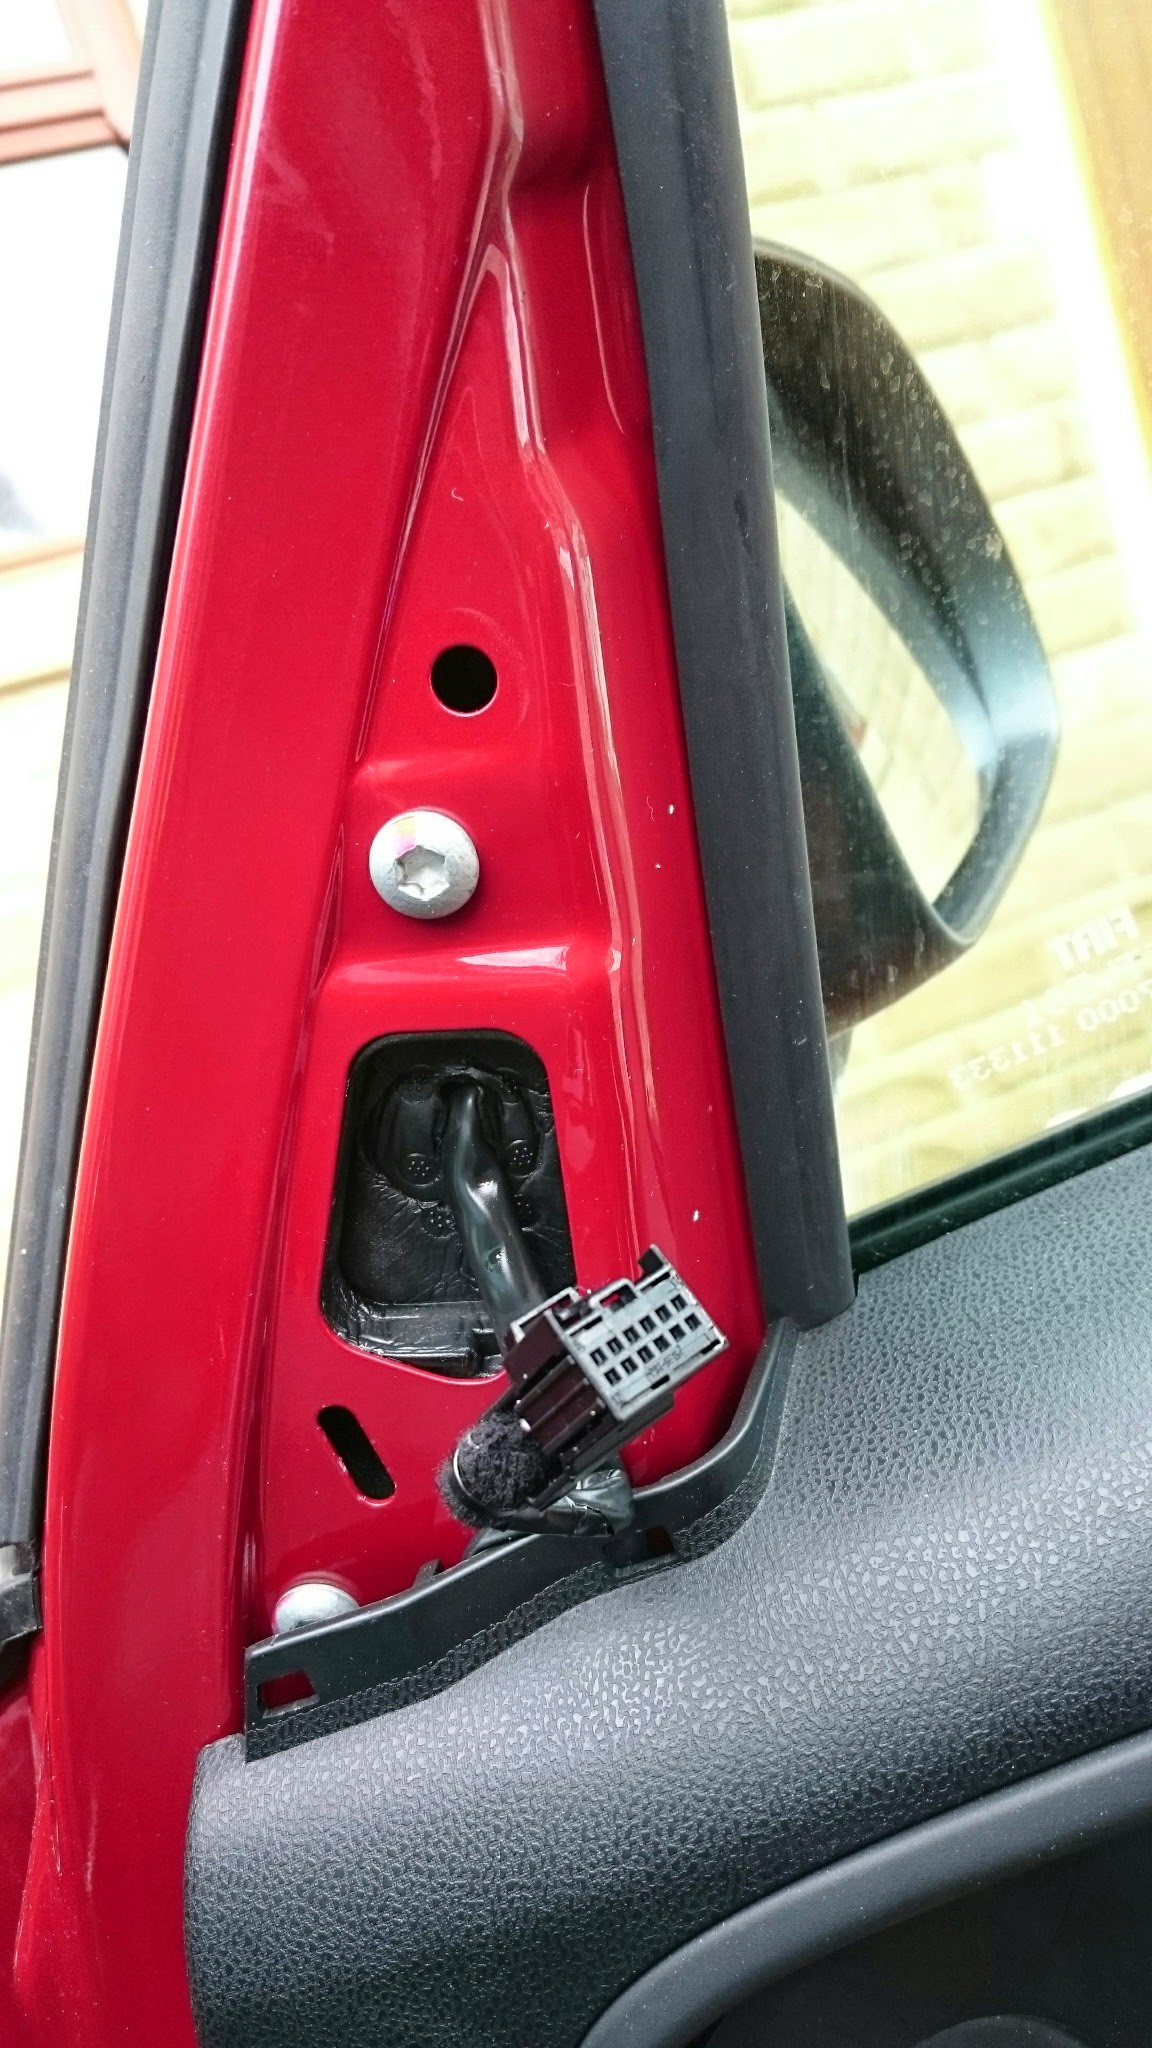
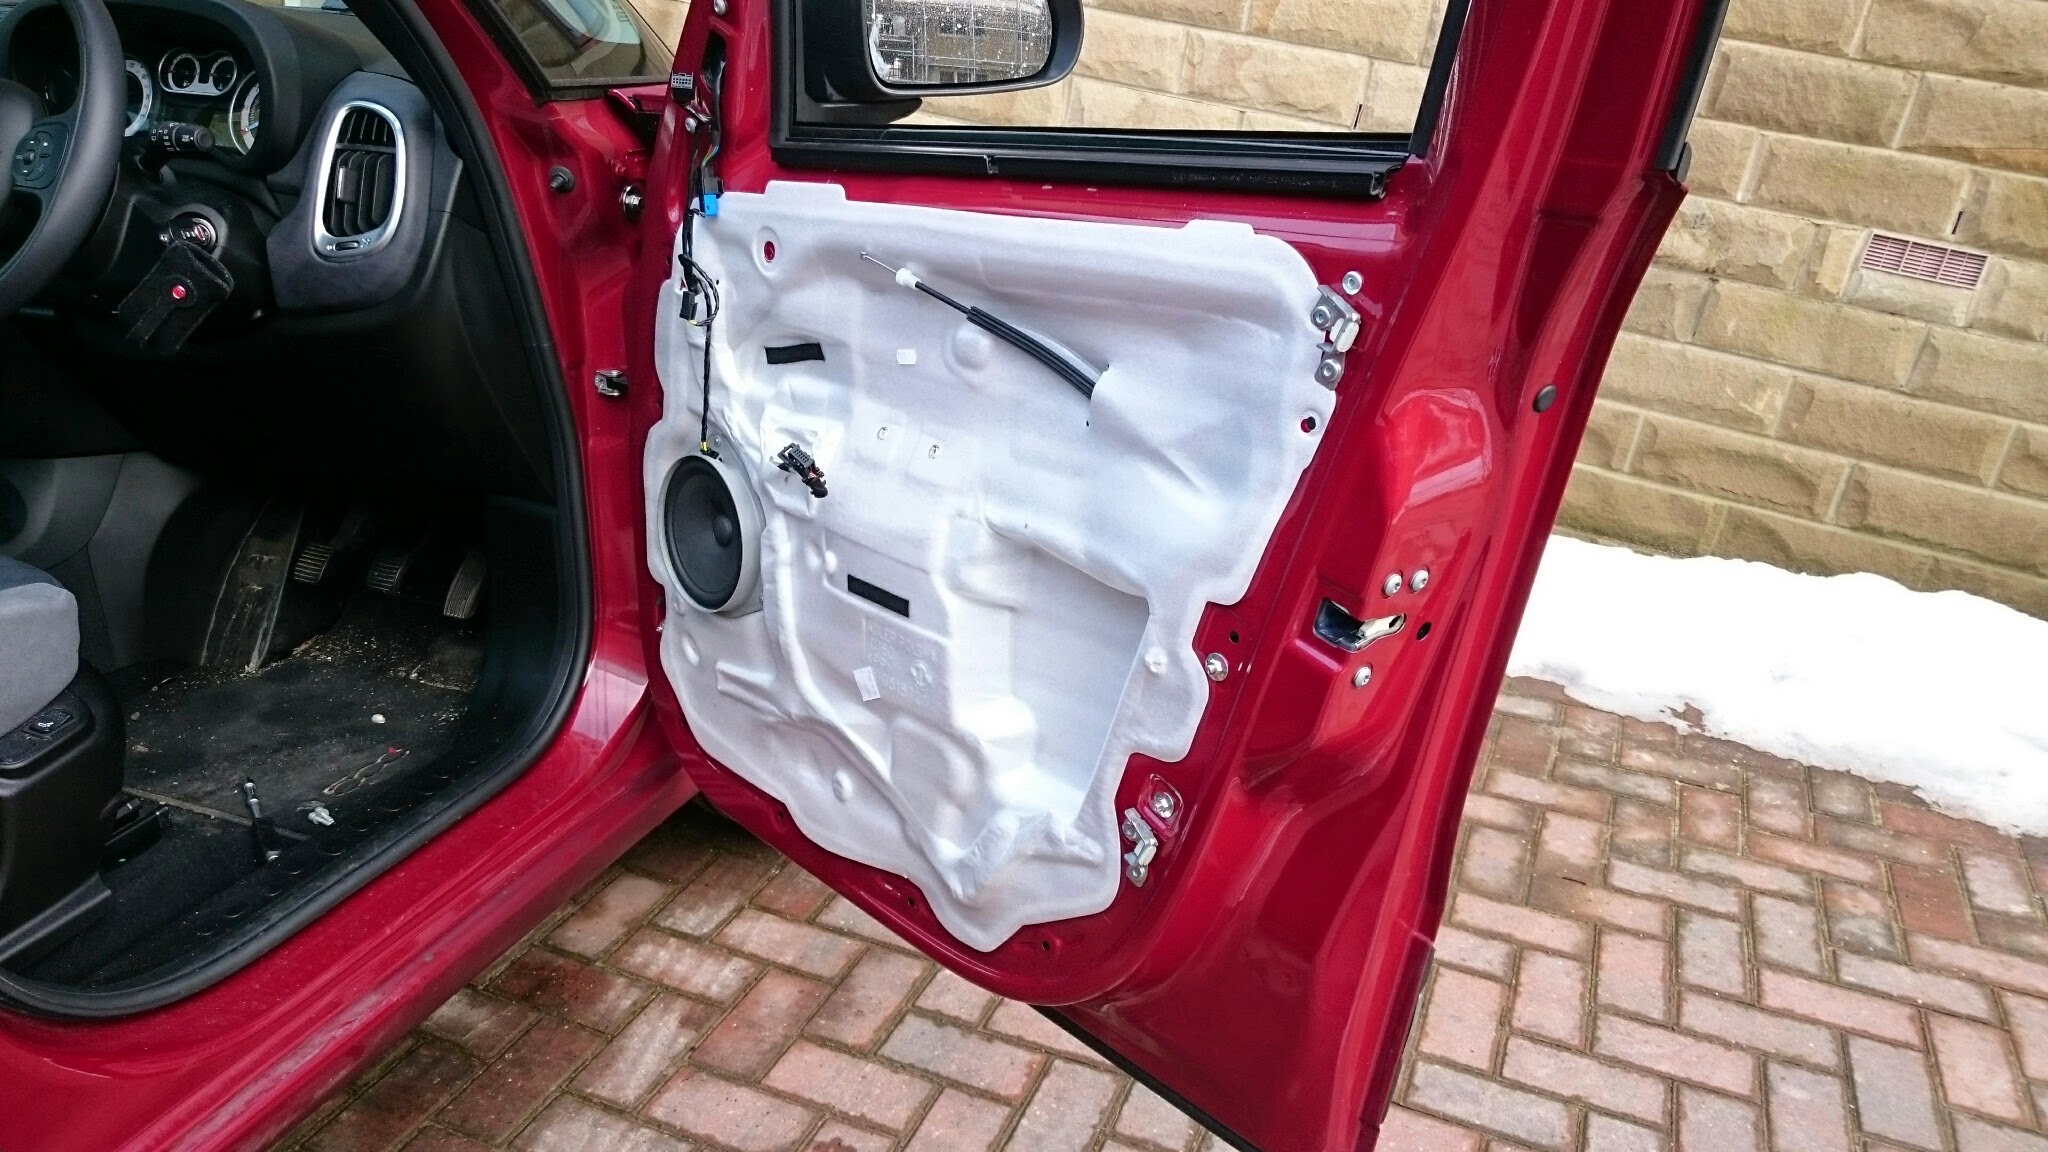
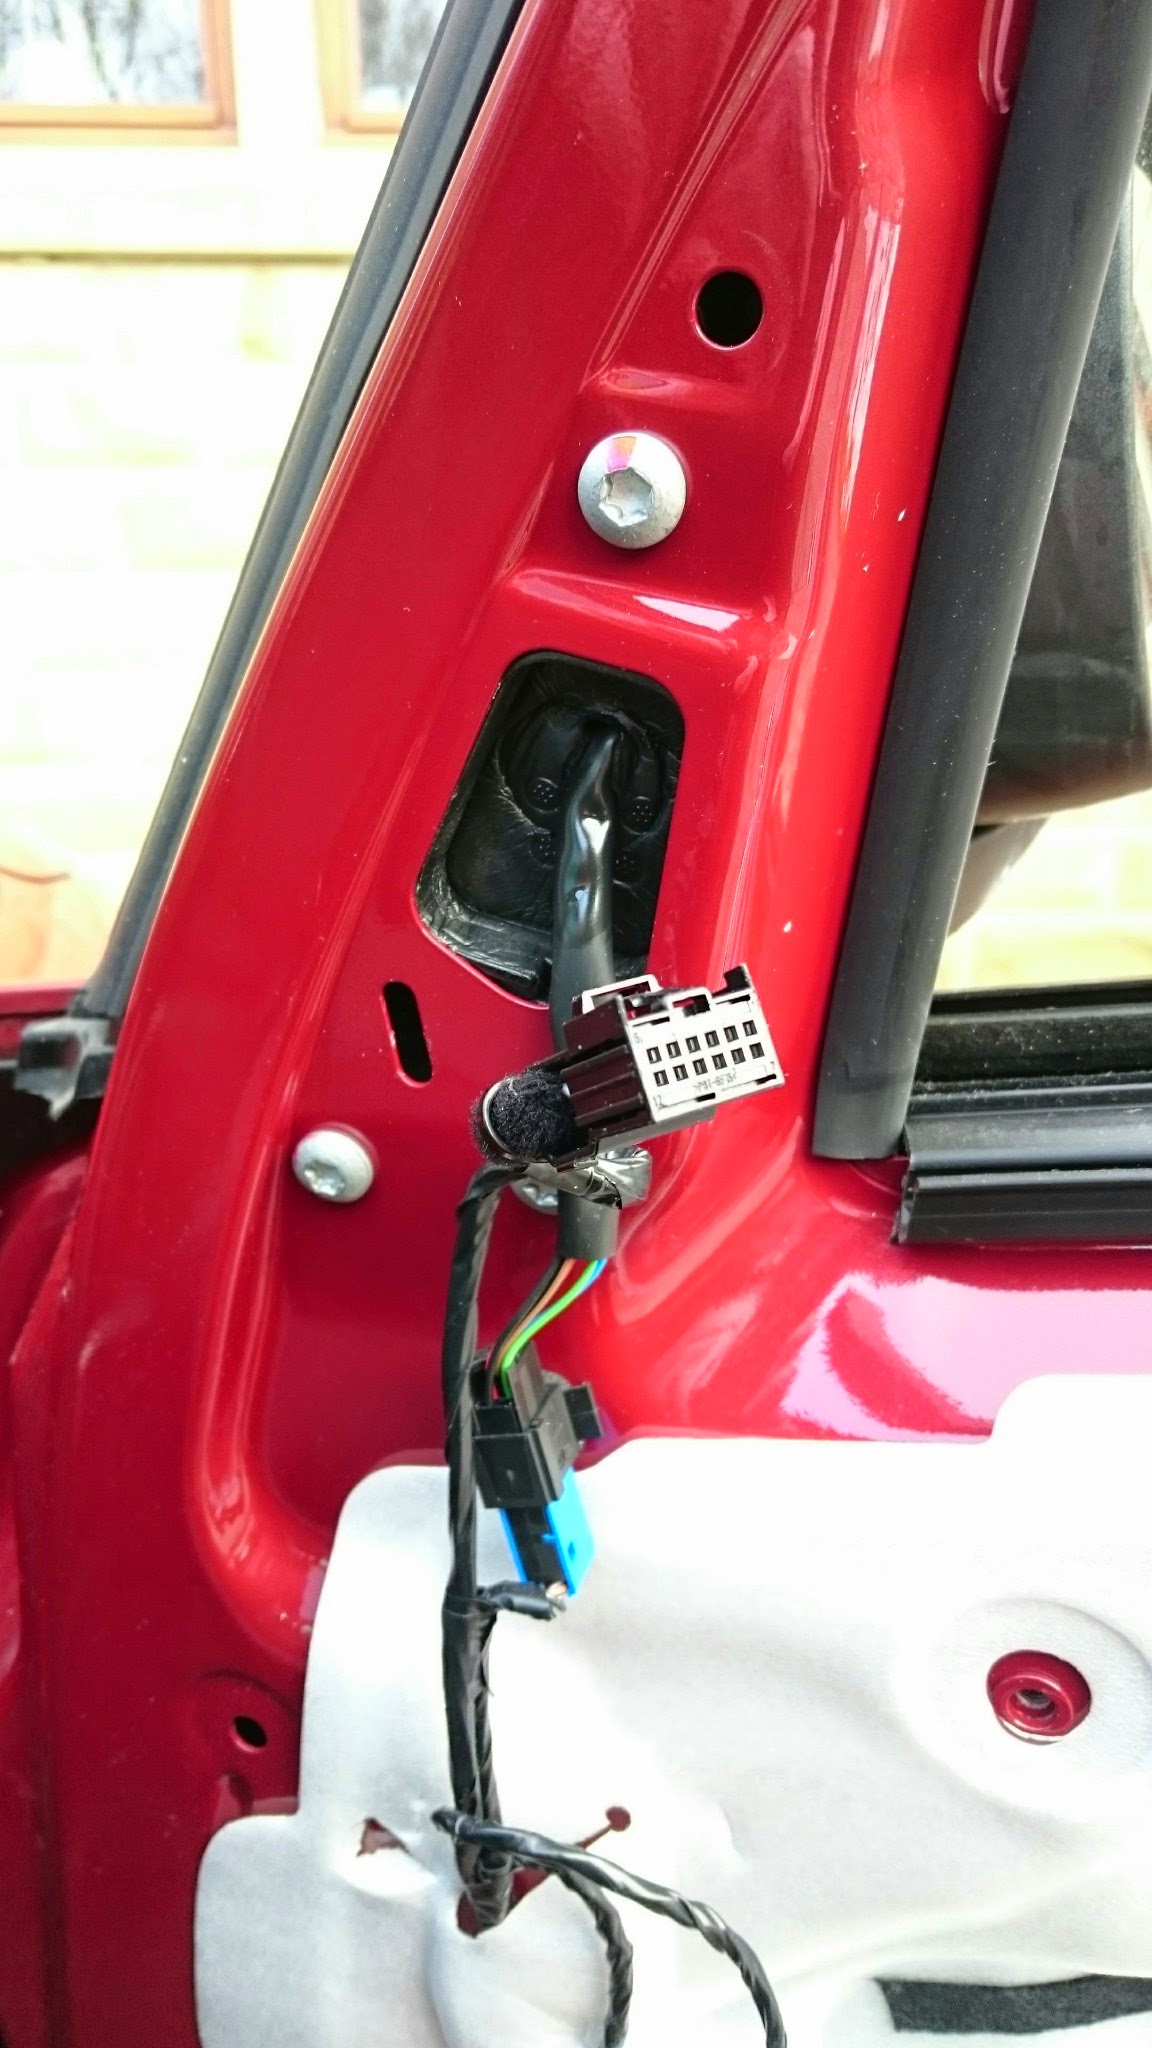
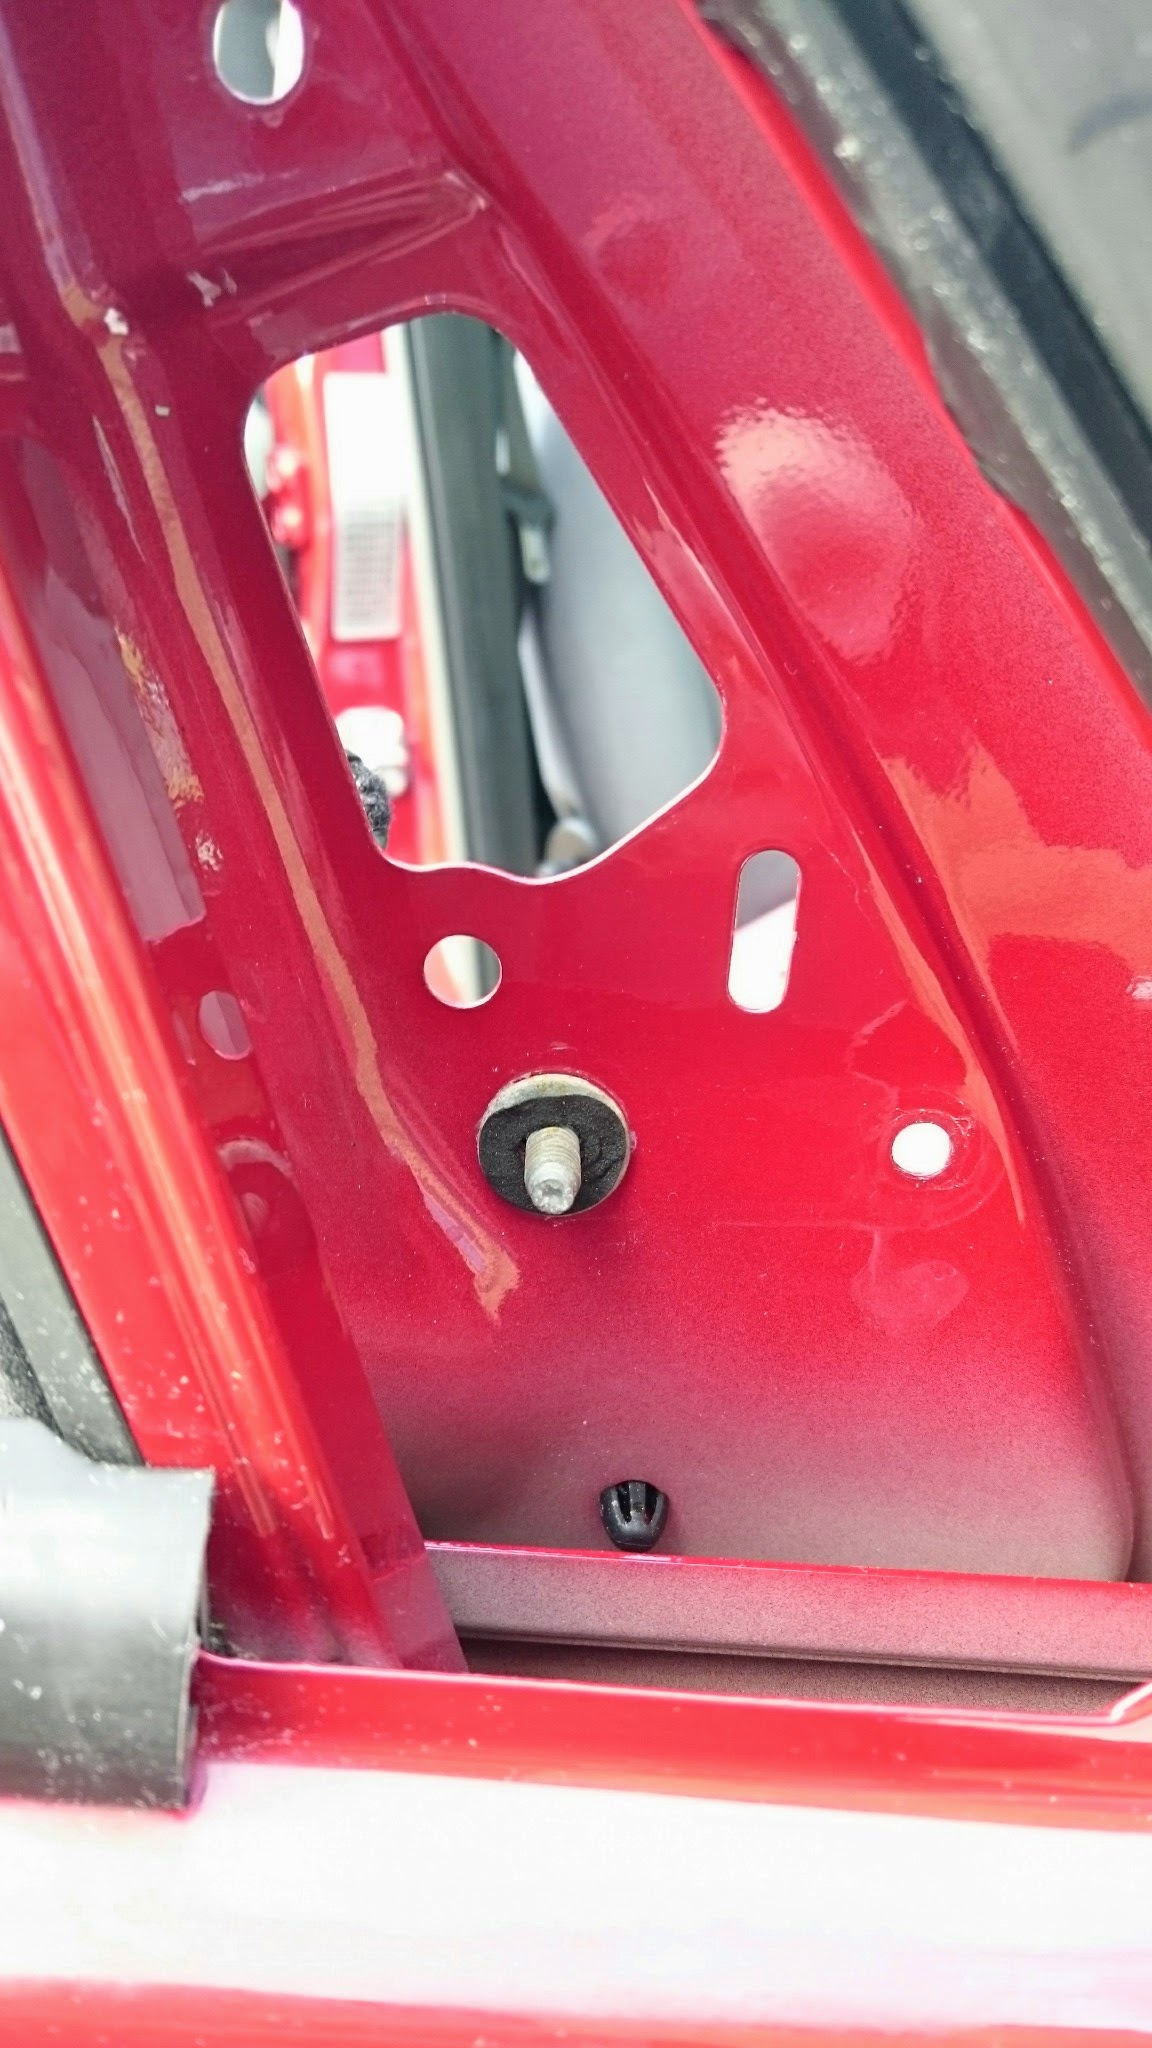
Has anyone tried removing a 500L wing mirror?
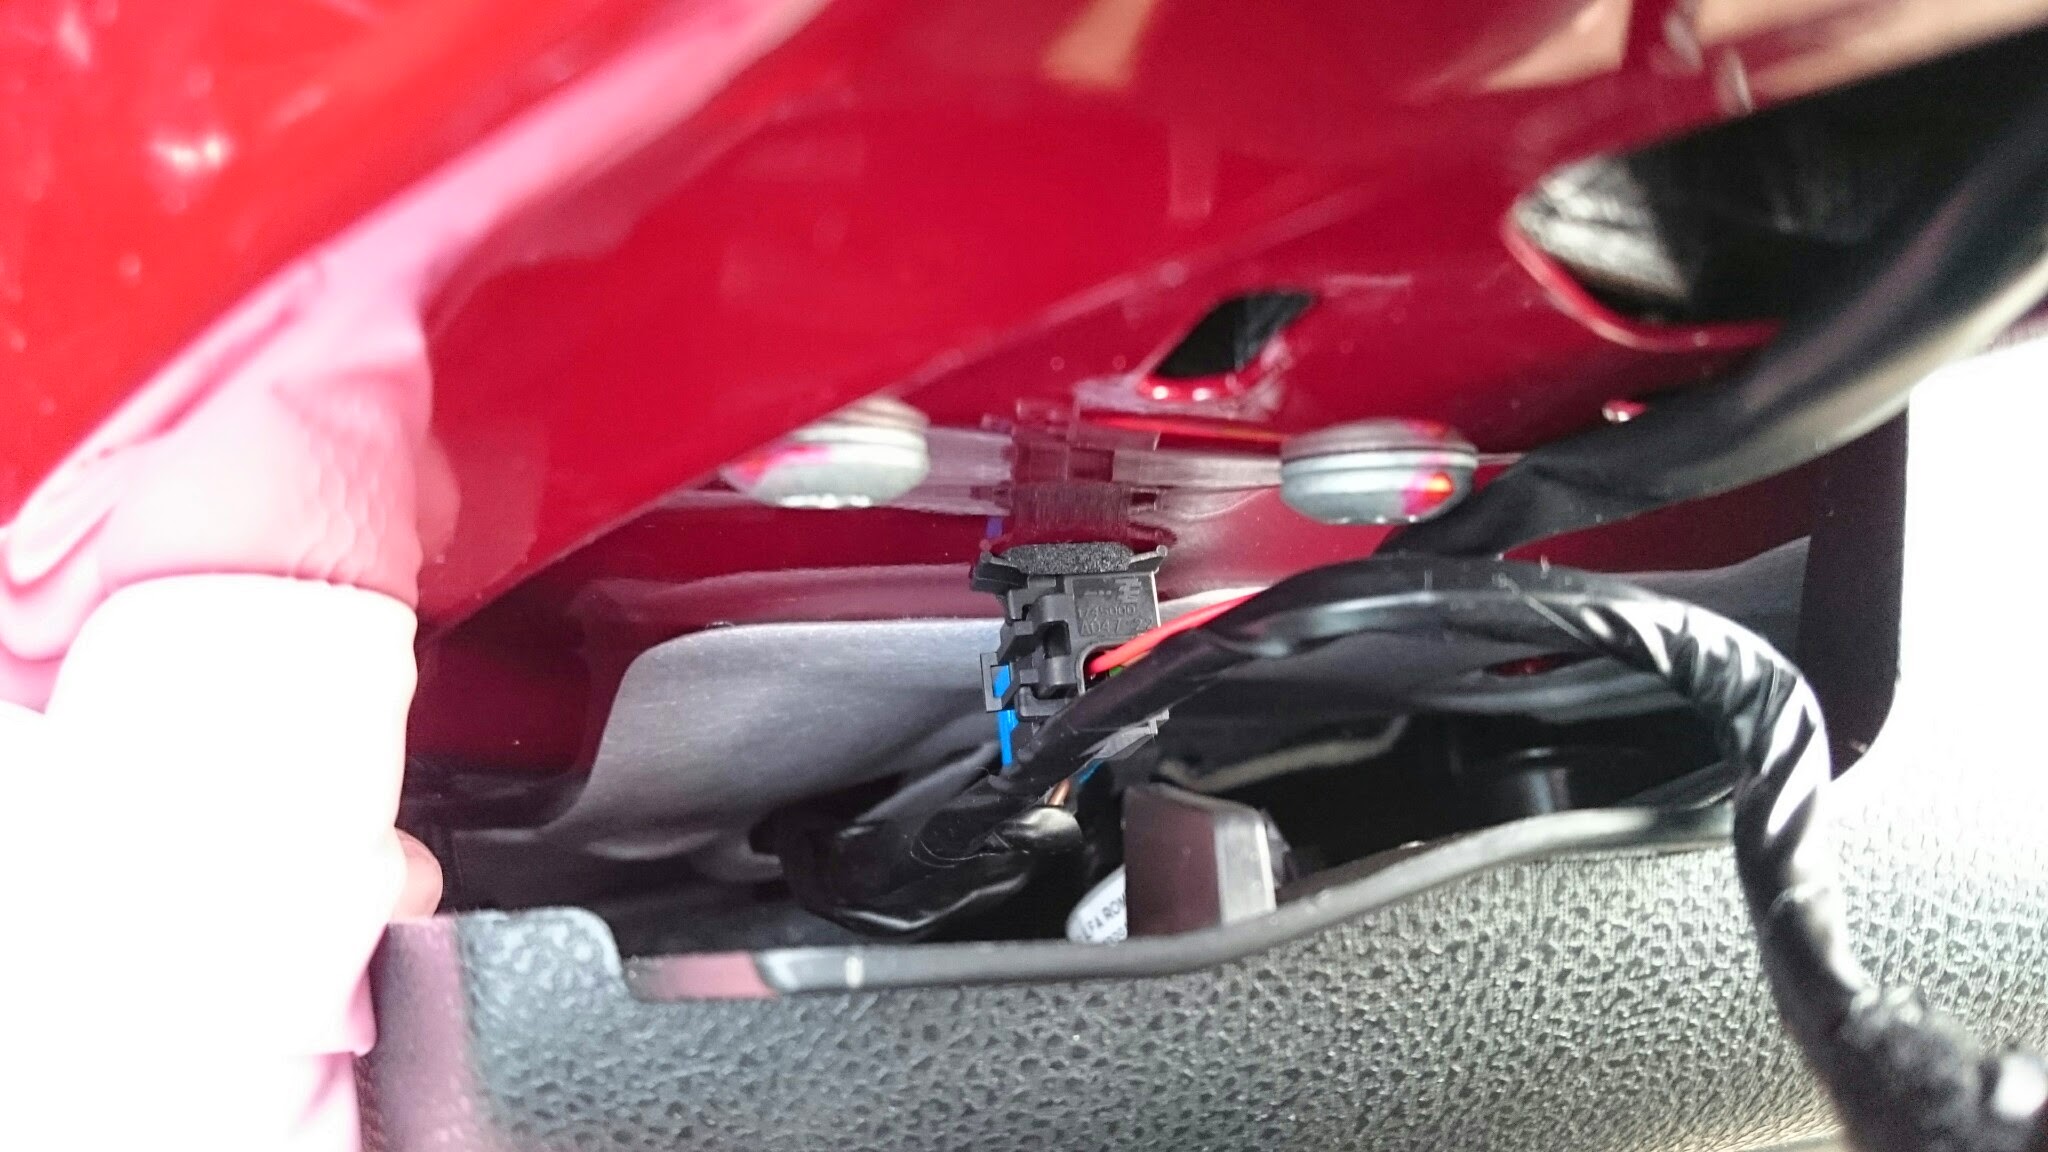
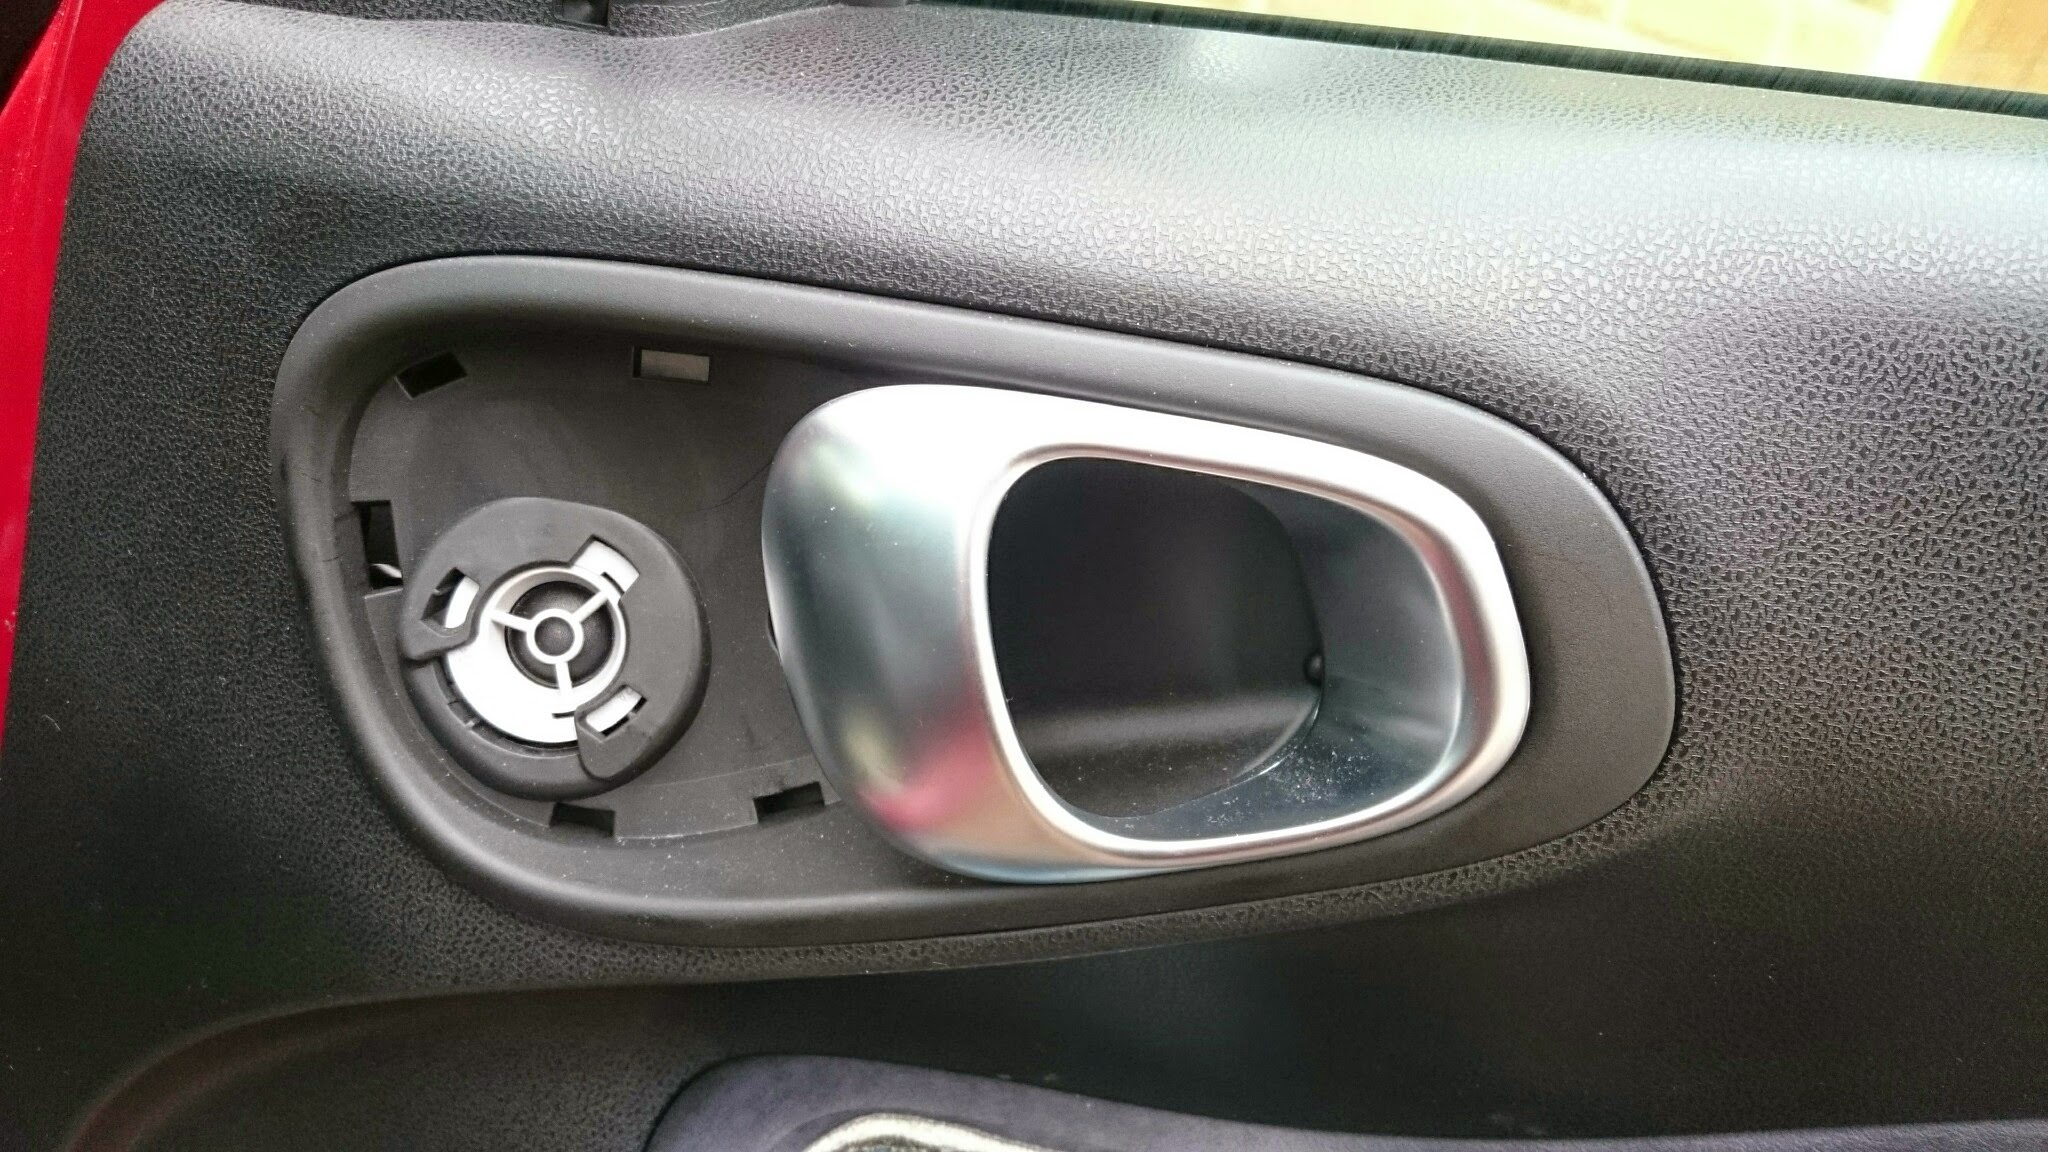
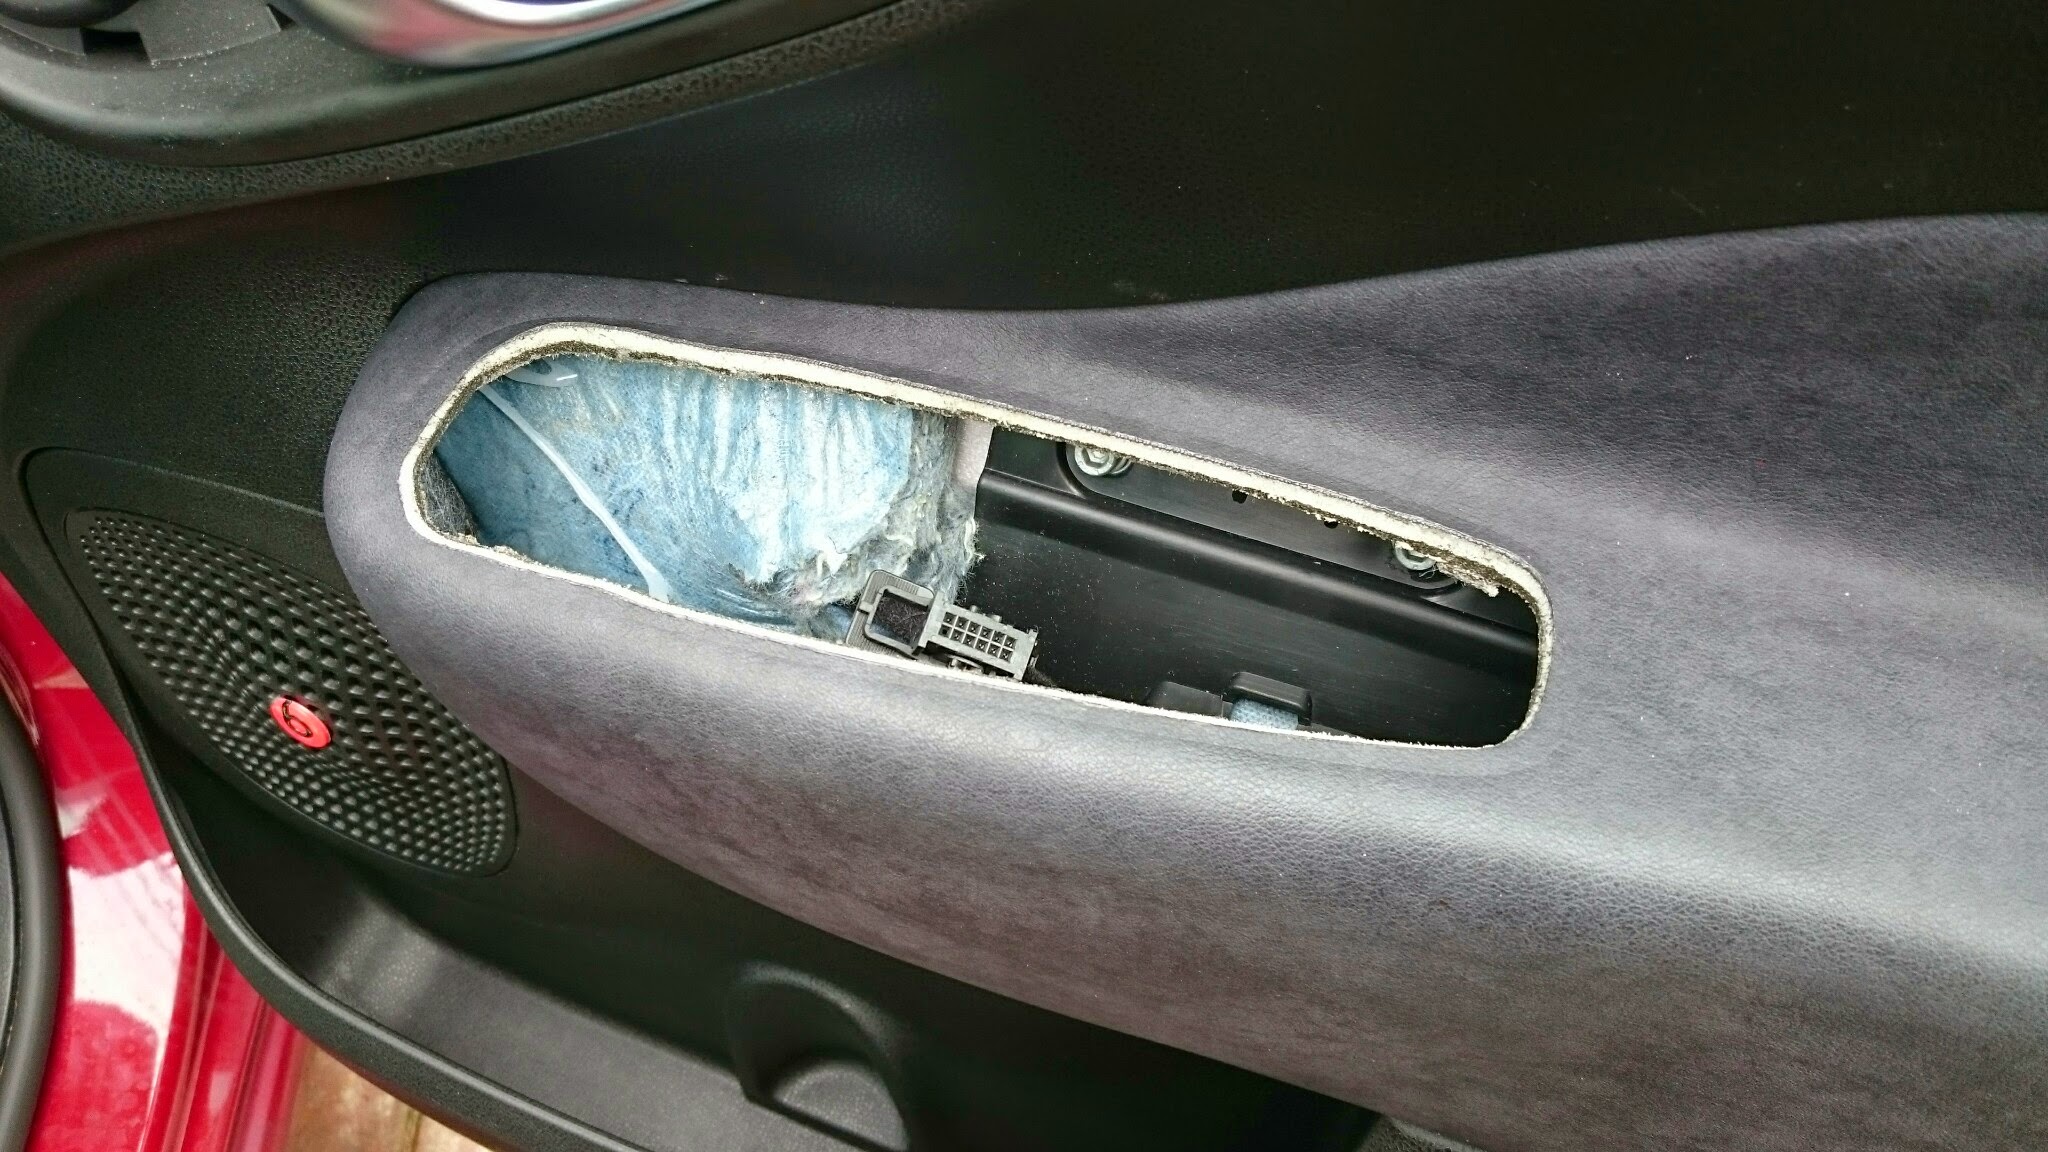
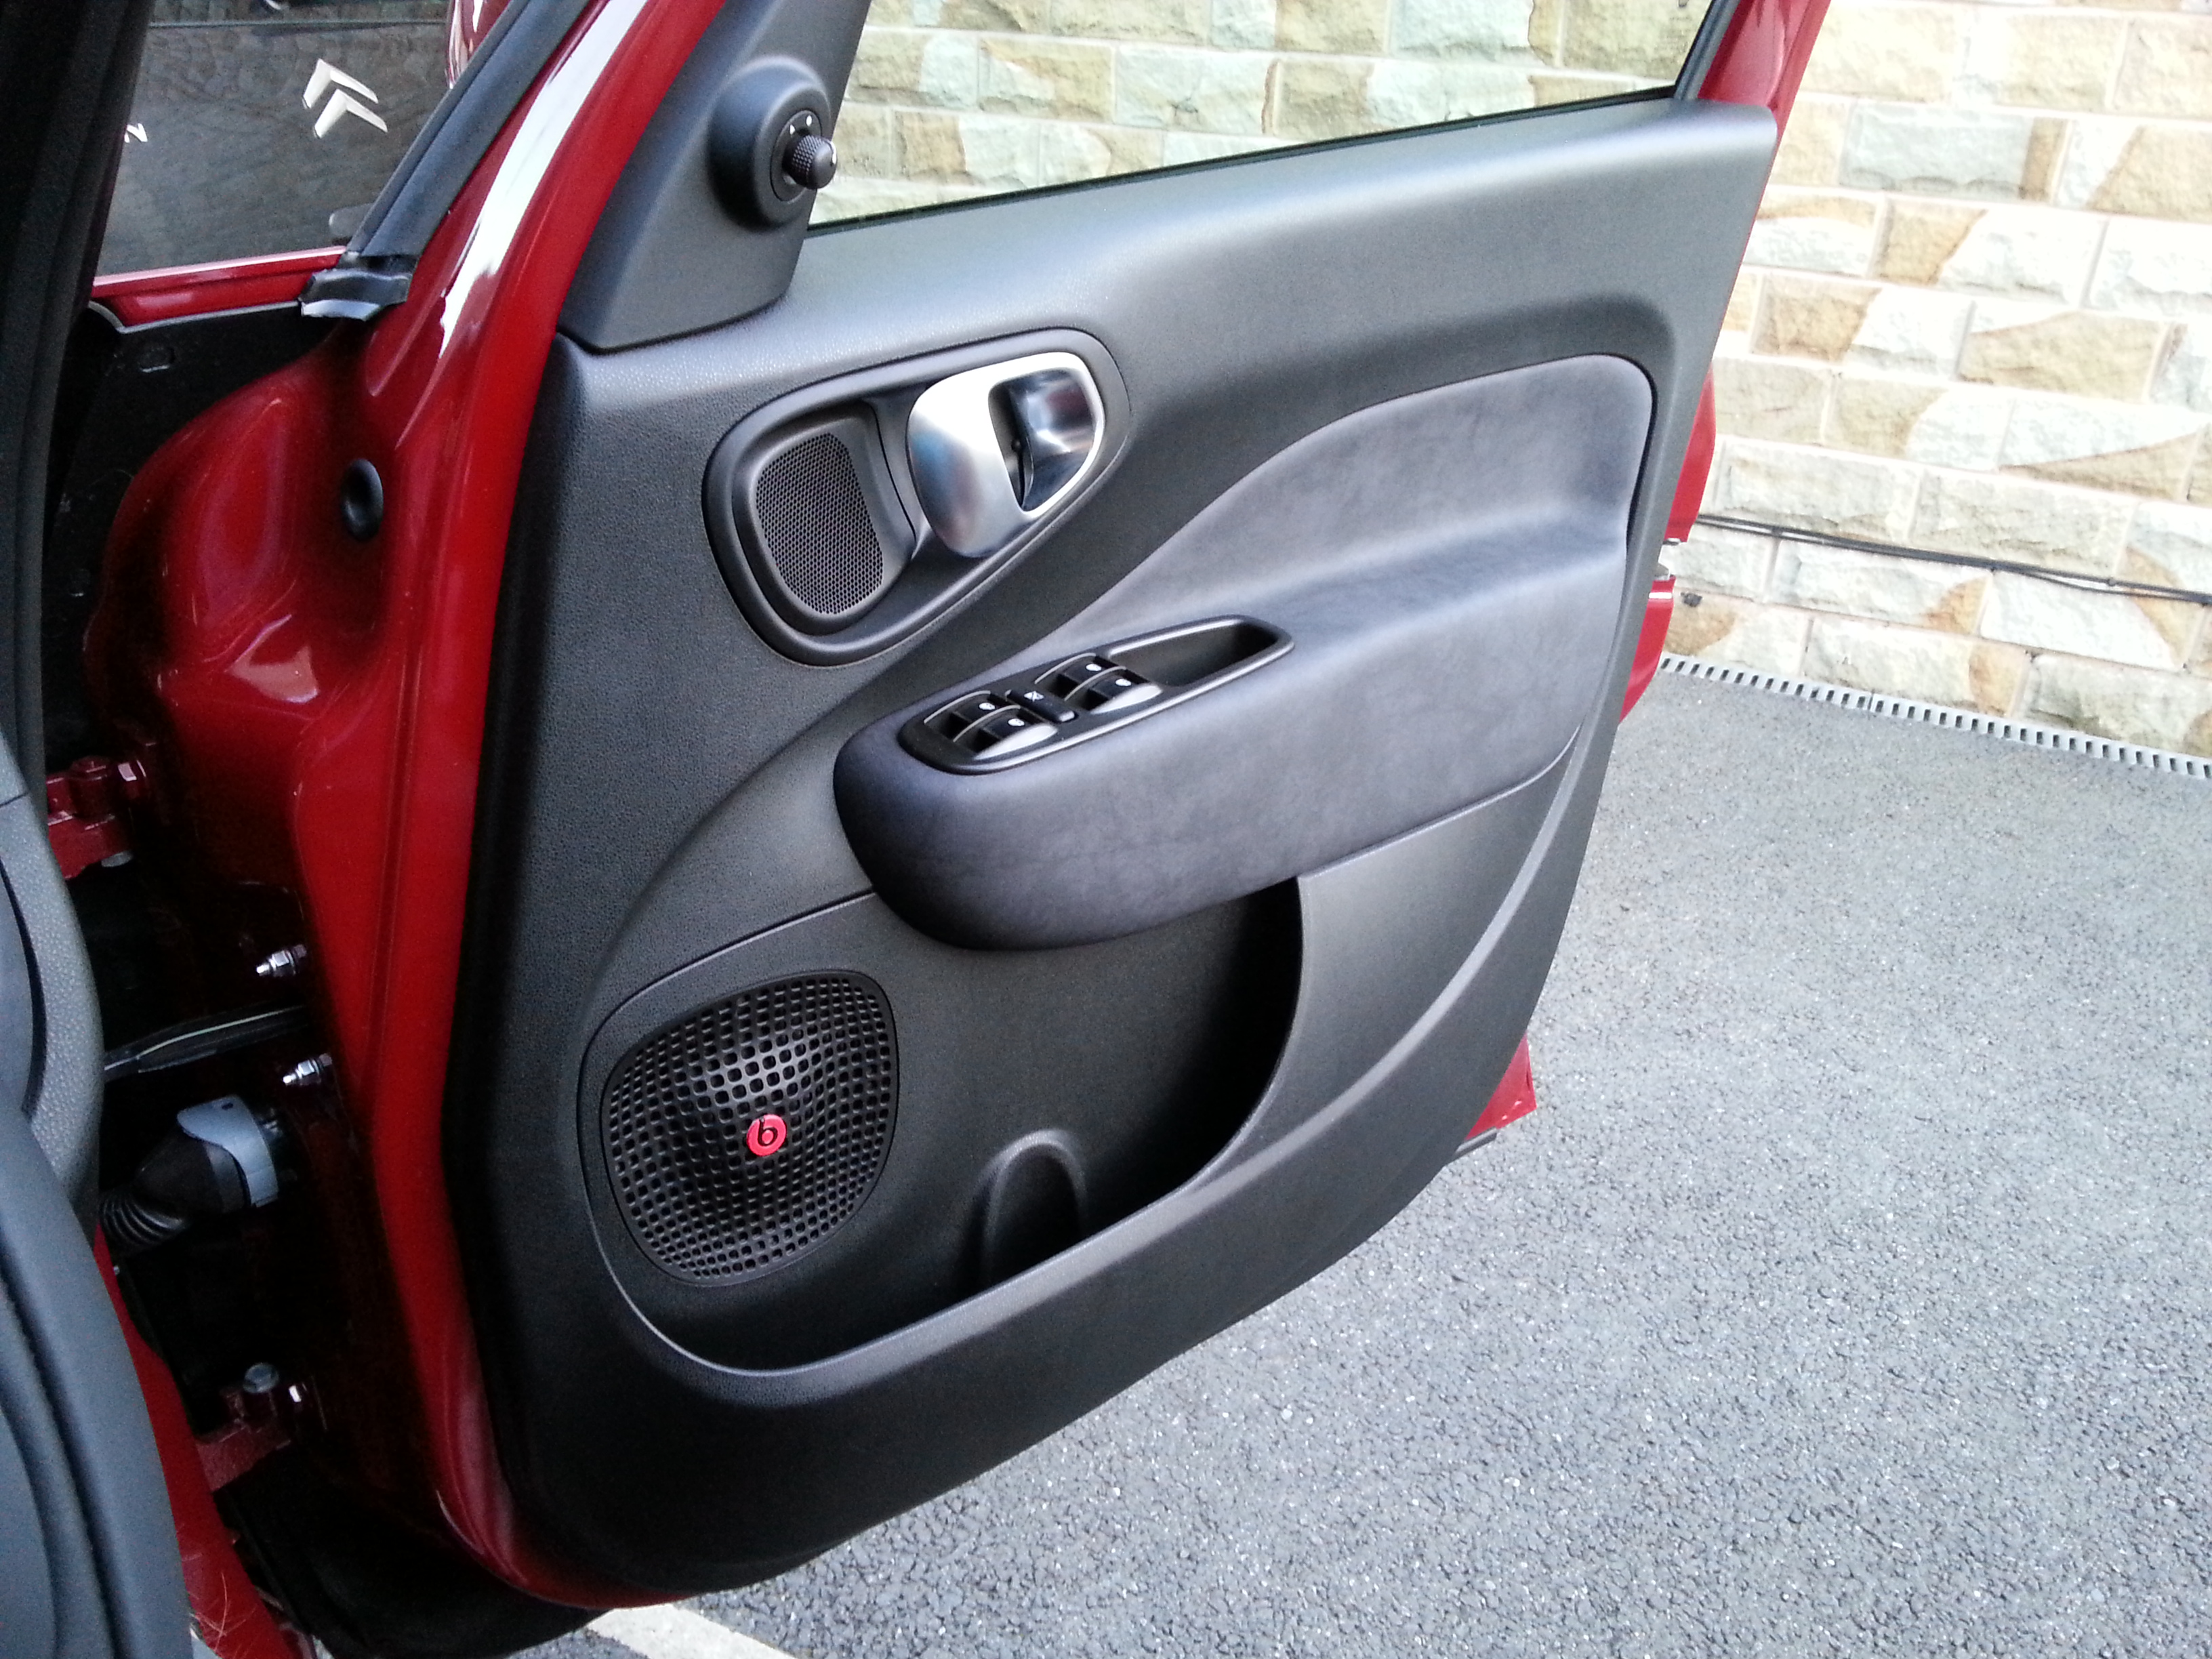
I assume the cosmetic cover around the mirror adjust joystick simply pulls off and then there are ~3 bolts to undo and a molex or equiv. connector to disconnect?
The body coloured cover is OK, <1cm hairline crack, might super glue it from behind and then touch up on the front.
Thanks for any tips in changing this
Some tit in a huge Range Rover pulled out around some parked cars on a narrow road and driving down the wrong side of the road smashed the black plastic lower front end of my 500l wing mirror. They then drove off. It was dark and I didn't get the plate. My dashcam wasn't on
. I had a quote to repair it based on a photo but when I took it in they said the hole is to big to repair.Looking at a copy part on eBay for £65:
http://www.ebay.co.uk/itm/Fiat-500L...=Car+Make:Fiat|Model:500L&hash=item27ed8fb19e
Has anyone tried removing a 500L wing mirror?
I assume the cosmetic cover around the mirror adjust joystick simply pulls off and then there are ~3 bolts to undo and a molex or equiv. connector to disconnect?
The body coloured cover is OK, <1cm hairline crack, might super glue it from behind and then touch up on the front.
Thanks for any tips in changing this
Last edited:
This post contains affiliate links which may earn a commission at no additional cost to you.