

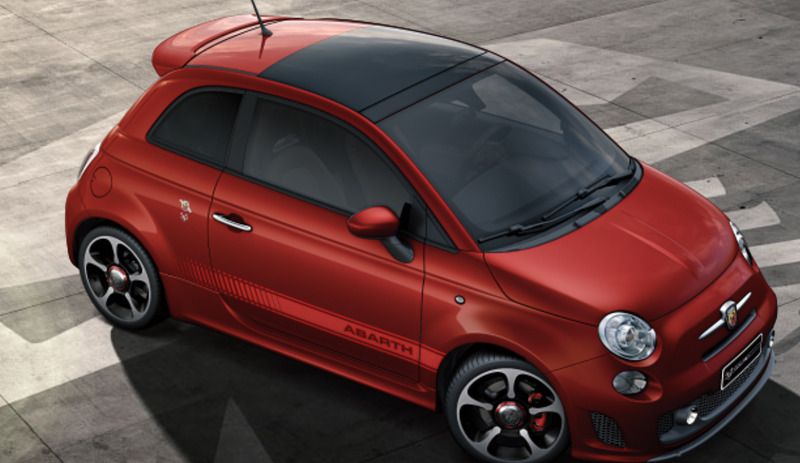
This a workload of my new project, a Cordolo red 595 Turismo with MTA gearbox, Competzione wheels, sunroof, and grey leather interior.
So far all I have is the configurator pic...
Delivery is 'sometime in June' so I thought that during my enforced wait I would prepare a few enhancements to make my new car a little more like it should have been in the first place. Having a car that is basically the same shape means I can make all the parts and measure out cables etc ready to fit in the car on the day I get it >gulp<
Things I don't like about my new car / what I'm doing about it.
I want a bright red car, I don't want a bright red dashboard / Cover the dash panel with grey leather to match the seats and door panels.
The back of the rear seats are painted unlike most hatchbacks so when you fold them down and put something in the boot they get scratched and make a racket / Make up boards with carpet on the back to match the boot carpeting.
Fiat do not offer an integrated navigation option and blue & me has irritating behaviours such as playing radio first before starting to play from USB and the random play not being random! / Remove the standard stereo and replace with a Pioneer SPH-DA120 CarPlay unit and an underseat subwoofer, along with a rear view camera and hard drive storage.
The boot light is partially hidden by the parcel shelf and is tucked way on one side, barely illuminating anything / Organise a power supply to the parcel shelf to power a strip of LEDs to light the boot up properly.
First progress to follow...
So far all I have is the configurator pic...

Delivery is 'sometime in June' so I thought that during my enforced wait I would prepare a few enhancements to make my new car a little more like it should have been in the first place. Having a car that is basically the same shape means I can make all the parts and measure out cables etc ready to fit in the car on the day I get it >gulp<
Things I don't like about my new car / what I'm doing about it.
I want a bright red car, I don't want a bright red dashboard / Cover the dash panel with grey leather to match the seats and door panels.
The back of the rear seats are painted unlike most hatchbacks so when you fold them down and put something in the boot they get scratched and make a racket / Make up boards with carpet on the back to match the boot carpeting.
Fiat do not offer an integrated navigation option and blue & me has irritating behaviours such as playing radio first before starting to play from USB and the random play not being random! / Remove the standard stereo and replace with a Pioneer SPH-DA120 CarPlay unit and an underseat subwoofer, along with a rear view camera and hard drive storage.
The boot light is partially hidden by the parcel shelf and is tucked way on one side, barely illuminating anything / Organise a power supply to the parcel shelf to power a strip of LEDs to light the boot up properly.
First progress to follow...
Last edited:
")


