Hi all,
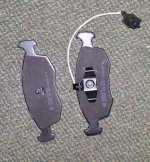
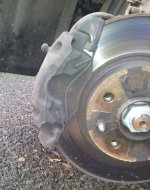
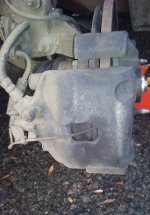
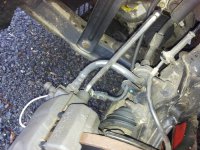
After some advice. I've gone out to change the front pads on my twinair today.
I've changed more pads than I care to remember so was expecting a straight forward job.
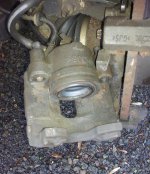
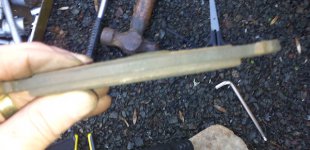
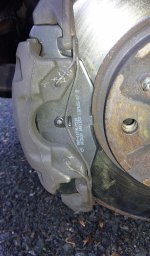
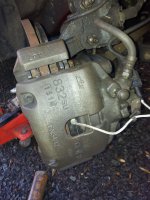
However it can't for the life of me get the caliber up. There is a pin on the front but is there one on the back or a bolt that I'm not seeing. Really appreciate any help.
Thanks
After some advice. I've gone out to change the front pads on my twinair today.
I've changed more pads than I care to remember so was expecting a straight forward job.
However it can't for the life of me get the caliber up. There is a pin on the front but is there one on the back or a bolt that I'm not seeing. Really appreciate any help.
Thanks