

You are using an out of date browser. It may not display this or other websites correctly.
You should upgrade or use an alternative browser.
You should upgrade or use an alternative browser.
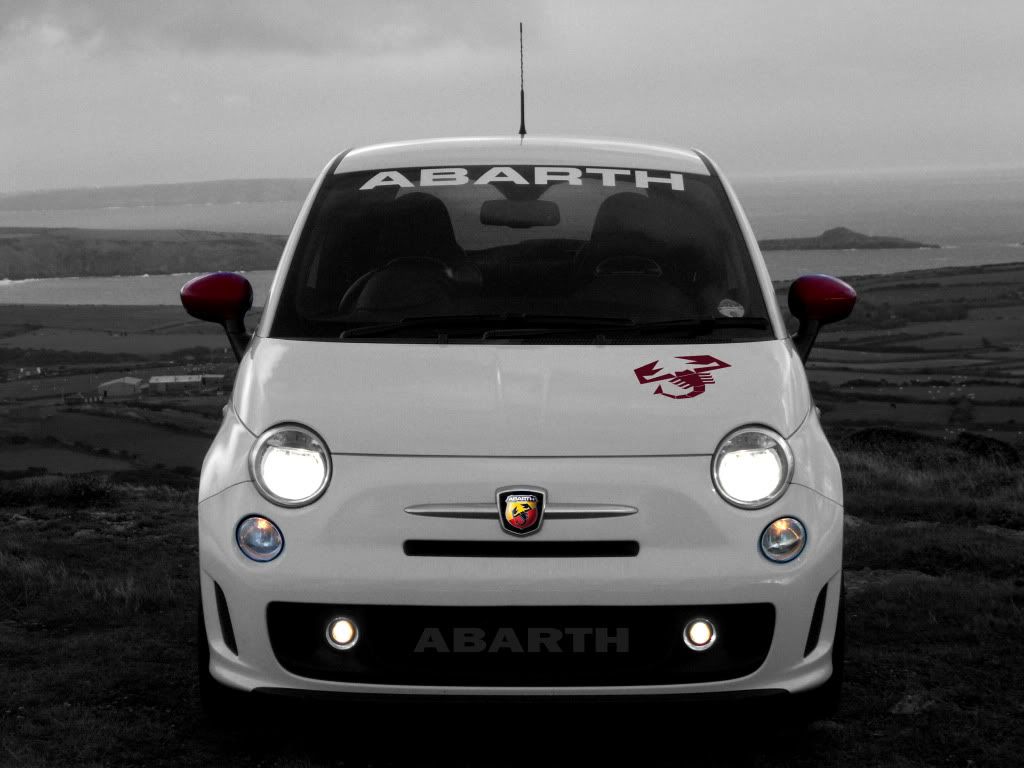
Styling A black & white picture of my bumpy 500.
- Thread starter Sealobo
- Start date
Currently reading:
Styling A black & white picture of my bumpy 500.

awesome!!! I took a similar picture and i want all the rest to be black and white and leave my car's colour as it is. Red. Do anyone know how is the effect called?
i am not sure if there is a name for that particular effect. But that can easily be done using Photoshop.
awesome!!! I took a similar picture and i want all the rest to be black and white and leave my car's colour as it is. Red. Do anyone know how is the effect called?
I guess it would be something like Selective Desaturation.
Nice pic btw, I love the long exposure blurring the people. You could never do that in this country as you'd get the camera stolen fairly quickly!
BTW how is the exhaust?
Looks like Ricks Bar from Casablanca! ")
Wow. Nice photograph.
Nice pic btw, I love the long exposure blurring the people. You could never do that in this country as you'd get the camera stolen fairly quickly!
BTW how is the exhaust?
The exposure time was 1/5 second... can't really say it's long exposure; i didn't use a tripod.
The exhaust got a bit louder after 1,000km break-in or so... but it's nowhere loud enough to turn heads. You do get a small hum cruising at speed though. I was hoping it'd be louder but now i think it's a perfect match; after all the 1.4 isn't a fast car.
Are you really from the Happy Valley? I've never spotted you around and i live pretty close to there. Have you spotted the Abarth?
EDIT: Ok never mind, you're in Hong Kong (i should have realised) i live near Happy Valley in Wales!
EDIT: Ok never mind, you're in Hong Kong (i should have realised) i live near Happy Valley in Wales!
Last edited:
Are you really from the Happy Valley? I've never spotted you around and i live pretty close to there. Have you spotted the Abarth?
EDIT: Ok never mind, you're in Hong Kong (i should have realised) i live near Happy Valley in Wales!
I often get told I live in happy valley....in my head
Awesome pic.
awesome!!! I took a similar picture and i want all the rest to be black and white and leave my car's colour as it is. Red. Do anyone know how is the effect called?
you can do it on photoshop - I'll try to explain how!
- open the picture,
- create another layer of the same picture and make it black and white
- on the black and white layer, erase the section that you will want to be coloured.
- Make sure the B&W layer is the top one. You have effectively created a hole in the b&w layer, allowing the image from the coloured layer to show through
I have done it in the past and it works really welll, this is not exactly a step by step guide, but if you have used photoshop, hopefully knowing what you are aiming for, you should be OK
look forward to seeing the results!
Last edited:
There are a number of ways to do this, the way Booklady described is by far the quickest/easiest. Here's one I'm working on at the moment:
That looks amazing!