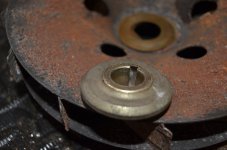
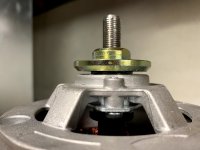
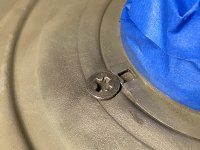
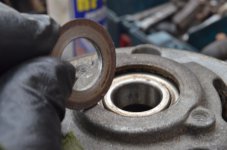
Matt...duff info that I gave previously; the image was of a spacer for the dynamo version, which reminds me, I must dig out all my 499cc-specific, engine parts and move them on to someone who needs them.
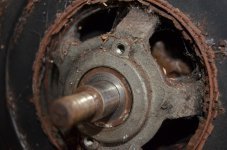
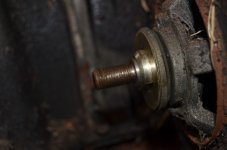
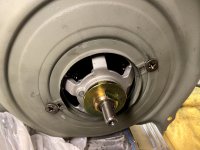
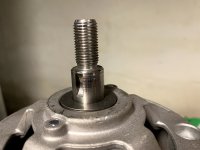
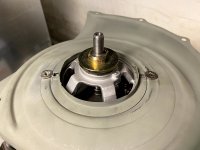
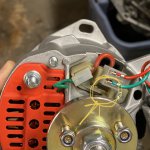
Anyway, in seek of forgiveness, I've hauled out an untouched-from-factory, 652 engine, with Marelli alternator. The spacer is just as the one you have. The clearance at the back of the alternator is minimal, but there is a disc covering the view of the alternator bearing. I can't remove this without dismantling the alternator, so I'm unable to give a thickness. Chances are that they used exactly the setup that you have decided upon, with shim-washers.
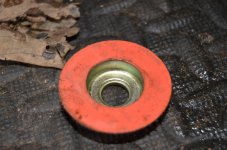
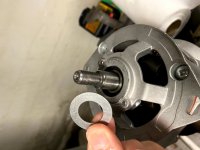
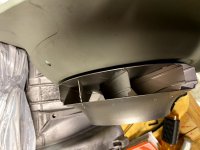
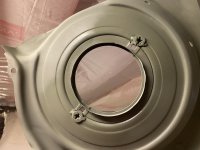
Incidentally, they used a good number of shims to keep the impeller from catching on the inside of its cowling...the most I've ever seen. And there's also some nice, bright, fabric washers fitted.
So you're on the right track and doing it exactly as ex-factory.
")