DSC09035.JPG

500 (Classic) Dexter the 1962 Fiat 500D

Introduction

Welcome to my blog for my 1962 Fiat 500D.

I had already started a blog although I wasn't able to change the title and thought it would be best to start a new one with a more descriptive title for others to search and hopefully aid them in their own restoration.

I have split it into 2 sections. This part will be the main vehicle.
The other part will be the engine of which you can find here:
https://www.fiatforum.com/500-classic/444739-fiat-500d-engine-1962-a.html

I took ownership of this 500 in April 2014. This was just after I bought my first restoration project, a 1971 Fiat 500L.
https://www.fiatforum.com/500-classic/345169-franko-1971-500l.html
Sadly I was too far into the L to stop and so the D had to be tucked away until I had the time to start it.
I eventually decided to call him Dexter.

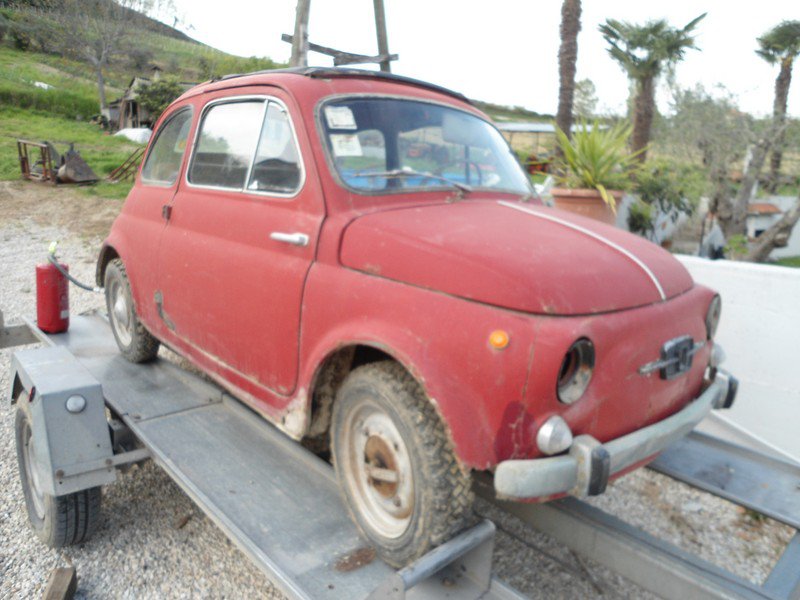
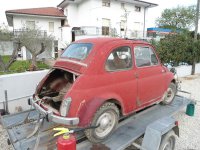
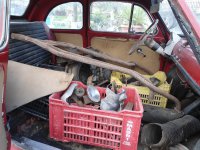
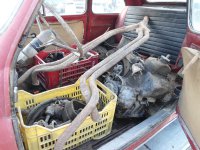
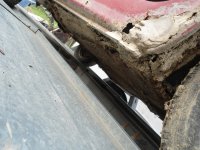
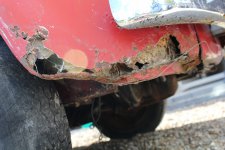
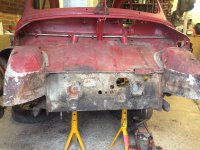
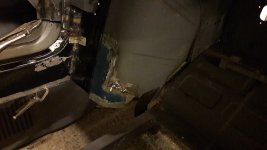
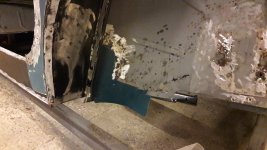
Here' some photos of the vehicle when it was first offered to me. It was at the time on the back of a trailer in southern Italy.
I confirmed I was interested in it, but really wanted to see it before being fully committed. Although I did have a certain forum member that was like the devil on my shoulder saying "Buy it"
devil.gif
New panels ordered!
Should be here Friday.
I have ordered a complete floor panel. They used to just do the floor with the 126 re-enforcements. Now they do it without any so its good for the 500.


Then the fun begins...
biggrin.gif
 
That floor panel will take some delivering.:eek:
Would it not be possible to fit the type which has the front supporting members? From images I've seen it looks like the "R" versions had those supports and there must be a consequent increase in the rigidity of the shell.
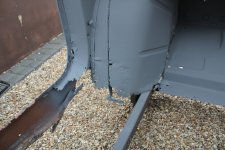
I'm thinking that will be a ball-ache to fit but I'm very keen to let you do it so that I can watch.:D
 
I understand that as long as they fold it up they can deliver it quite cheaply.
biggrin.gif


It should be ok. Mark at Motobambino is supplying them.
He supplied my panels for my L and they all arrived in perfect condition.
I couldn't fit those monster supports on a D. It wouldn't be right.


It should be easy. Lets face it I haven't got a floor at the moment so how hard can it be?


I have to pull off some impressive panel work to out do you camper van
thumb.gif
 
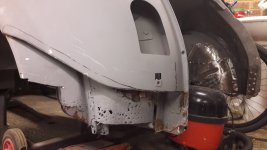
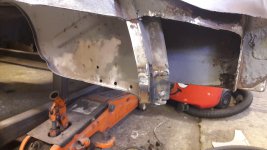
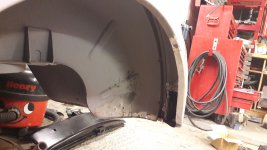
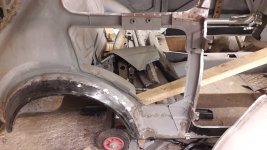
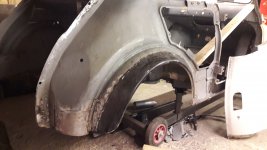
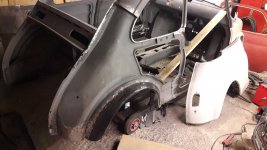
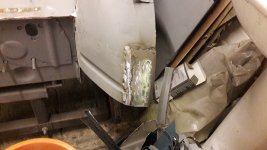
I attacked the NSR 1/4 rear section this weekend.
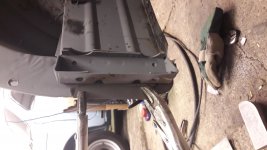
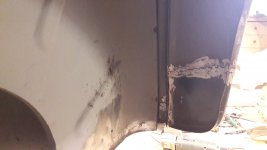
It was originally heavily corroded and I removed most of the panel to expose the inner section before it went off for blasting.
Although I have a new nsr 1/4 panel I have decided not to fit it as the sill panel covers all the front area and I thought it would be better to replace the rear section and leave the main panel still in tact.
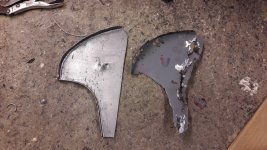
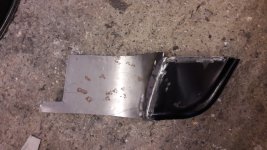
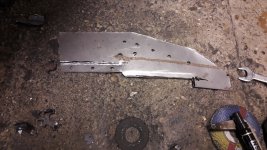
I made a new closing panel to match the old one first.
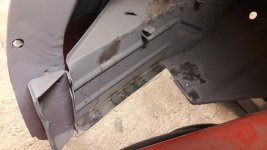
There was a small section of the inner arch re-enforcement panel to repair.
The inner rear arches are different to the later ones. They have the same actual arch profile but they are not so deep. This should prove interesting when I come to do the other side.
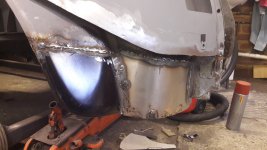
I only needed a small section and this was welded to a new inner wing closing section.
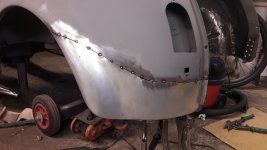
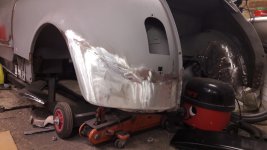
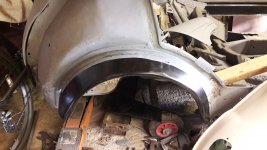
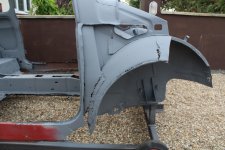
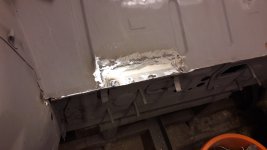
The rear arch 3/4's section I purchased was again for a F/L so I had to modify the panel slightly as there is an additional swage line that runs parallel with the engine panel/inner 1/4. The pressing was quite poor so I also carried out some dressing up to remove some ugly creases and deformations.
This was then cut with about a 1mm gap from the 1/4 panel and after a lot of trial fitting it was then tacked in place and then welded up an inch at a time. The lower flange was plug welded and ground off.
The arch will get spot welded when I next have the spot welder out and I will probably run some spot welds round the lower seam just to give it that original look.
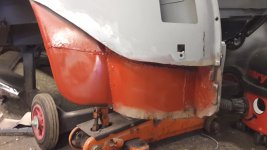
With the weld ground back the panel looks really good and will just take a skim of filler to finish it off.
 

Attachments

  • IMG_1245.JPG
    IMG_1245.JPG
    5.7 MB · Views: 64
  • 20181201_165554.jpg
    20181201_165554.jpg
    2.5 MB · Views: 66
  • 20181201_165543.jpg
    20181201_165543.jpg
    3.8 MB · Views: 67
  • 20181202_113429.jpg
    20181202_113429.jpg
    3.1 MB · Views: 60
  • 20181202_125334.jpg
    20181202_125334.jpg
    2.8 MB · Views: 56
  • 20181202_152616.jpg
    20181202_152616.jpg
    2.4 MB · Views: 61
  • 20181202_151452.jpg
    20181202_151452.jpg
    2.2 MB · Views: 63
  • 20181202_144323.jpg
    20181202_144323.jpg
    2.6 MB · Views: 61
  • 20181202_143031.jpg
    20181202_143031.jpg
    2.4 MB · Views: 56
  • 20181202_143013.jpg
    20181202_143013.jpg
    2.9 MB · Views: 69
  • 20181202_163511.jpg
    20181202_163511.jpg
    2.4 MB · Views: 67
  • 20181202_163523.jpg
    20181202_163523.jpg
    2.9 MB · Views: 54
  • 20181202_165622.jpg
    20181202_165622.jpg
    2.7 MB · Views: 55
  • 20181202_165540.jpg
    20181202_165540.jpg
    2.6 MB · Views: 68
you're not bad at this welding rusty stuff.....

I think you should have a go at a really rusty car...
 
Looking really good Sean!
When you finished practicing on your D are you going to buy an N from peter����
 
No.
This is going to be my last restoration...
smile.gif

Now I'd swear that you said that once before.....

I'd hate to use my favorite phrase.... "Told you so....!"

I think you need a difficult challenge.....
I could acquire a 500N Sport...... Yes i know where there is one in a scrap yard!!!
 
Last edited:
I doubt that this will be your last restoration Sean; it seems to be a compulsion for some nutty people. ;) But to face a third Fiat 500, even if No.3 was a 500N! :eek:

It's great to see you taking the more challenging route of letting in a repair section rather than replacing a whole panel. I think that if you maintain that approach you will find that the end result is a subtly more authentic contour to the whole car. Maybe there's not such a range of economical panels available for the "D"? Whatever the reasoning. (y)(y)(y)
 
........It's great to see you taking the more challenging route of letting in a repair section rather than replacing a whole panel. I think that if you maintain that approach you will find that the end result is a subtly more authentic contour to the whole car. .........

I do like this approach to restoration.....
in the past I was guilty of panel replacement as an easy option... but then my welding was crap..... hopefully better kit and more practice I hope to follow this example.....

I always love to follow restorations where guys have bashed metal and made stuff that was unavailable....
 
in the past I was guilty of panel replacement as an easy option...

I don't think that full panel replacement is an easy option. In fact I find the tedious unpicking of spot-welds and the problems in aligning non-original panels along several planes at the same time quite a challenge.:eek: But where a decent amount of "thick" original metal remains I just feel that it's more appealing to keep the tightness and precision of the factory-fit wherever possible.
Some people also argue that it makes it easier for a future restorer to carry out further repairs if the car deteriorates again....relevant in my case but certainly not applicable to Sean-autista-per-il giorno-secco. :D

I think if you look at the number of online restoration pics of cars on Fleabay etc I don't think you don't see many of these cars that have had just the rot replaced, nor much reshaping of ill fitting repro panels...
This is so evident in the poor panel alignment..

Most pro garages have the correct Sport weld removal tools rather than the DIY cutters etc so that makes removal very easy...
I replaced a few front ends of cars and remember the blowtorch and mole grips to make things bend to fit... a slap of filler and some stone guard.. looked as good as new.... Those were the days...

I have even seen an approved Dealer repair to a car a few years ago..using factory panels where the whole rear wing of a car was covered in filler....
 
Slowly getting there.
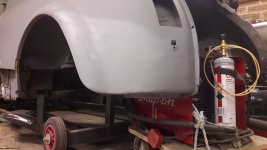
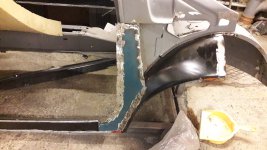
The rear wheel arch panels are different on the D to the F/L/R.
They have the same arch profile that fits the 1/4 panel but they are a lot deeper than the original D ones as the later models were made using separate panels as opposed to the early ones being a one piece.
I cut the old one off leaving about 1/2 inch and then cut the arch panel to approximate shape. Fitted them in place, then clamped the 1/4 in place and drilled through both arch panels and fitted some clamps.
This allowed me to then remove the 1/4 panel, tidy up the arch panels, drill some holed and plug weld it together.
This gives a nice overlap joint under the arch that will get sealed and then a good layer of stone chip.
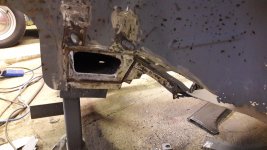
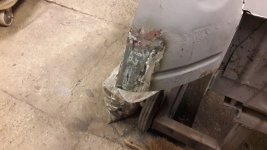
Amongst a few other jobs I removed the nsf brake hose bracket as it was corroded. This exposed some additional corrosion to the inner arch. So this was removed, a new piece formed up and welded in.


more to follow.
 

Attachments

  • 20190126_124204.jpg
    20190126_124204.jpg
    3.2 MB · Views: 57
  • 20190121_180707.jpg
    20190121_180707.jpg
    3 MB · Views: 54
  • 20190121_180655.jpg
    20190121_180655.jpg
    2.7 MB · Views: 59
  • 20190121_180649.jpg
    20190121_180649.jpg
    3.1 MB · Views: 69
  • 20190121_132407.jpg
    20190121_132407.jpg
    3 MB · Views: 62
  • 20190126_124219.jpg
    20190126_124219.jpg
    3.4 MB · Views: 59
  • 20190126_131613.jpg
    20190126_131613.jpg
    3.2 MB · Views: 64
Slowly getting there.
The rear wheel arch panels are different on the D to the F/L/R.
...........
I cut the old one off leaving about 1/2 inch and then cut the arch panel to approximate shape. Fitted them in place, then clamped the 1/4 in place and drilled through both arch panels and fitted some clamps.
This allowed me to then remove the 1/4 panel, tidy up the arch panels, drill some holed and plug weld it together.
This gives a nice overlap joint under the arch that will get sealed and then a good layer of stone chip.
............

Ohh are you saying that Early Prototypi cars are different to later mass produced ones? Well I never......

does the "plug weld together.... slap a load of stone chip...." mean that the stds are slipping compared to Franko?...:devil::devil::devil:
 
Last edited:
A few extra corroded parts taken care of.
That's just about all the corrosion gone.
The front inner wheel house sections will be finished off when the floor goes in - that will allow me a little wiggle room.
I made some good use of the old bonnet off of Franko. It provided me with some metal that was pretty much formed to the shape that I wanted which saved a lot of forming.
Sadly my old spot welder of over 30 years packed up. It kept tripping the whole house out. So I took the cover off and found that the insulation had broken down on most of the wires. It had gone hard and brittle and a few wires were either touching each other or the body.
I was going to rewire it but then a wire broke from the transformer. Sadly that cant be fixed easily. There is a local company to me who makes transformers so I might get them to take a look.
Meanwhile a really decent chap has offered the use of their spot welder.
So hopefully I should make some really good progress soon.
 

Attachments

  • IMG_2113.JPG
    IMG_2113.JPG
    1.6 MB · Views: 55
  • 20190127_172411.jpg
    20190127_172411.jpg
    2.9 MB · Views: 55
  • 20190127_172406.jpg
    20190127_172406.jpg
    2.9 MB · Views: 52
  • 20190127_172359.jpg
    20190127_172359.jpg
    2.4 MB · Views: 60
  • IMG_7430.JPG
    IMG_7430.JPG
    2.5 MB · Views: 57
  • 20190127_172429.jpg
    20190127_172429.jpg
    3.1 MB · Views: 60
  • IMG_2132.JPG
    IMG_2132.JPG
    2 MB · Views: 54
  • 20190127_172449.jpg
    20190127_172449.jpg
    3.1 MB · Views: 58
  • 20190127_172422.jpg
    20190127_172422.jpg
    3 MB · Views: 56
Ohh are you saying that Early Prototypi cars are different to later mass produced ones? Well never......

does the "plug weld together.... slap a load of stone chip...." mean that the stds are slipping compared to Franko?...:devil::devil::devil:


No...It's just that this is actually a stronger method than a seam weld.
Its also out of sight and to try and reshape the arch panel to fit will be a nightmare.


So my challenge to you is to start one of your N's and show us how to do it
biggrin.gif
 
No...It's just that this is actually a stronger method than a seam weld.

As further reassurance, (although a craftsman like Sean definitely doesn't need it), that is exactly the way that Fiat joined the sections of the 900e inner arches; that joint has defied the general destiny for the van and remained intact. [emoji3]
 
Back
Top