MattGibson
Member
- Joined
- Jan 8, 2012
- Messages
- 211
- Points
- 100
Having wanted a Fiat 500 for more years than I care to think, and having hired one from Cotswold 500 earlier this year, I now definitely want to go ahead and get one. I want to use it as a daily driver (much to the shock and bemusement of my friends and relatives, especially as I have a Jag as my daily driver at the moment!) so I'd like to have an engine which can keep up with modern traffic, as well as giving me some fun if I find myself on a country lane. To this end I recently bought the engine Abarth 695 had for sale and I've decided to completely strip it down and rebuild it; partly to see if any parts need renewing/replacing, and partly because I've never done a full engine rebuild before and thought a small, 2 cylinder engine would be a good place to start. I mean, really, how hard can it be? 
I've read, re-read, and then read again Bambino's thread on his 695 engine build which has given me a lot of enthusiasm and knowledge. It's a sticky - I recommend reading it if you're thinking of undertaking a similar engine build.
I'm going into this with very little mechanical experience, so I've got a couple of manuals and, most importantly, my dad to hand just in case... I'm hoping it's going to be a great learning experience (providing nothing goes catastrophically wrong!)
I realise I'm putting the cart before the horse, but as my garage has been temporarily taken over by my Dad's MGB, and because I don't have the cash at the moment, I've bought an engine and gearbox, but don't actually own a 500 (yet) to put them in! All in good time.
When I told my dad I'd bought the engine and gearbox he was concerned he wouldn't have enough room to work on his car (my garage is a slightly larger-than-normal single garage) until he saw it. He commented that he'd worked on larger motorcycle engines!
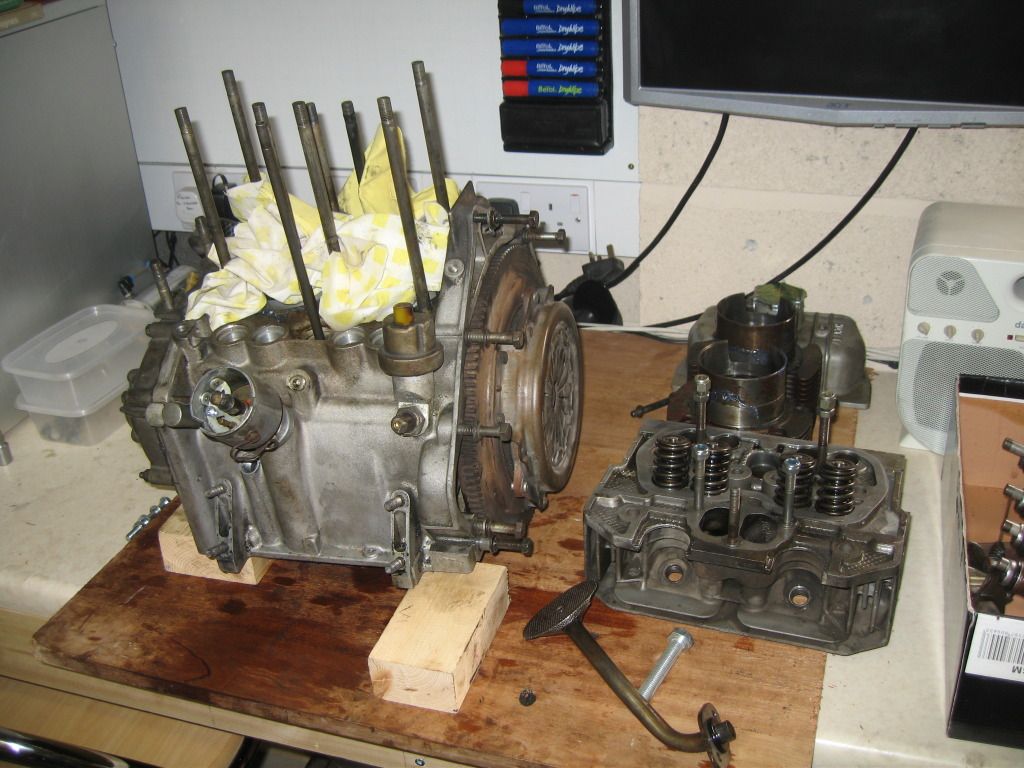
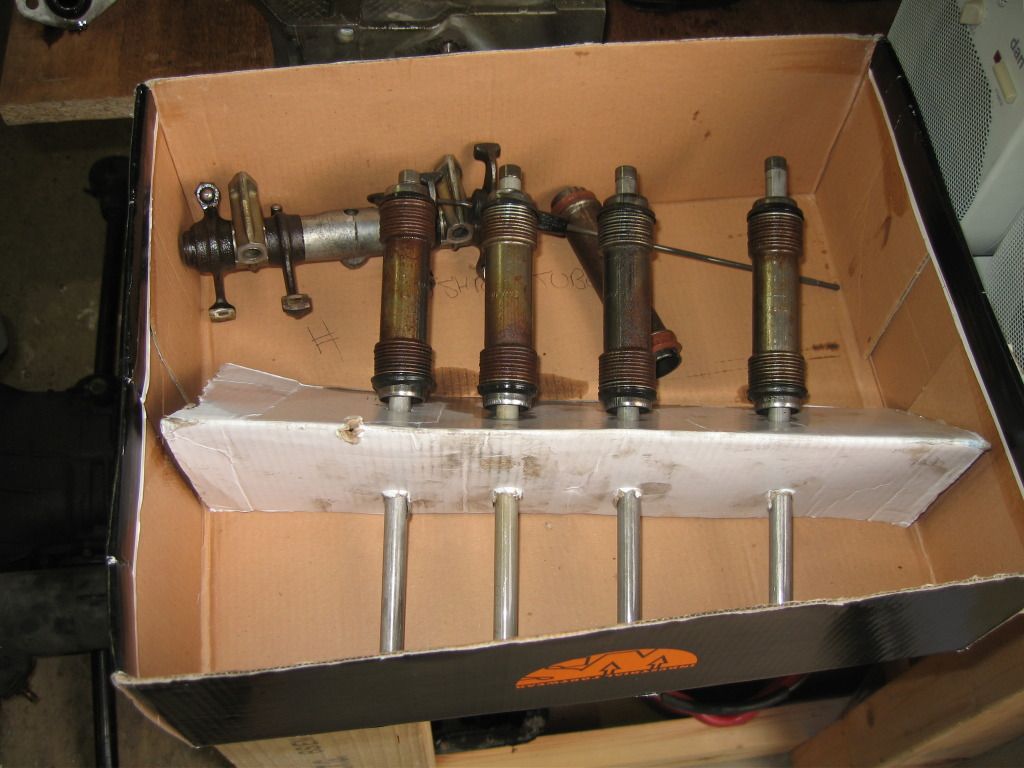
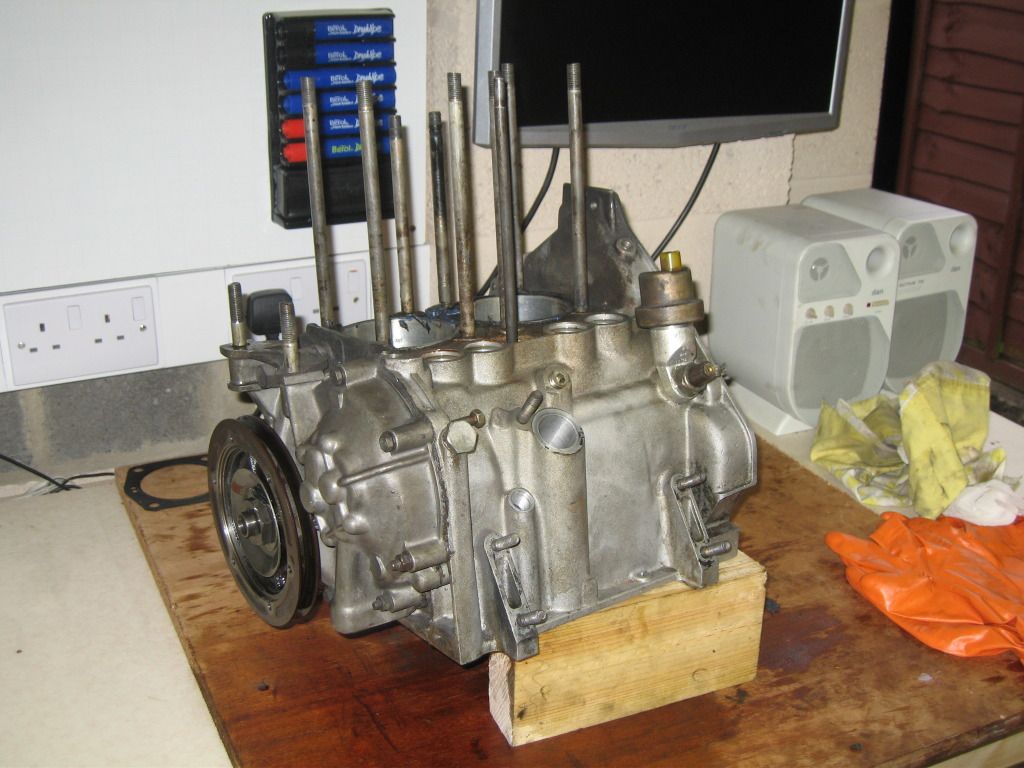
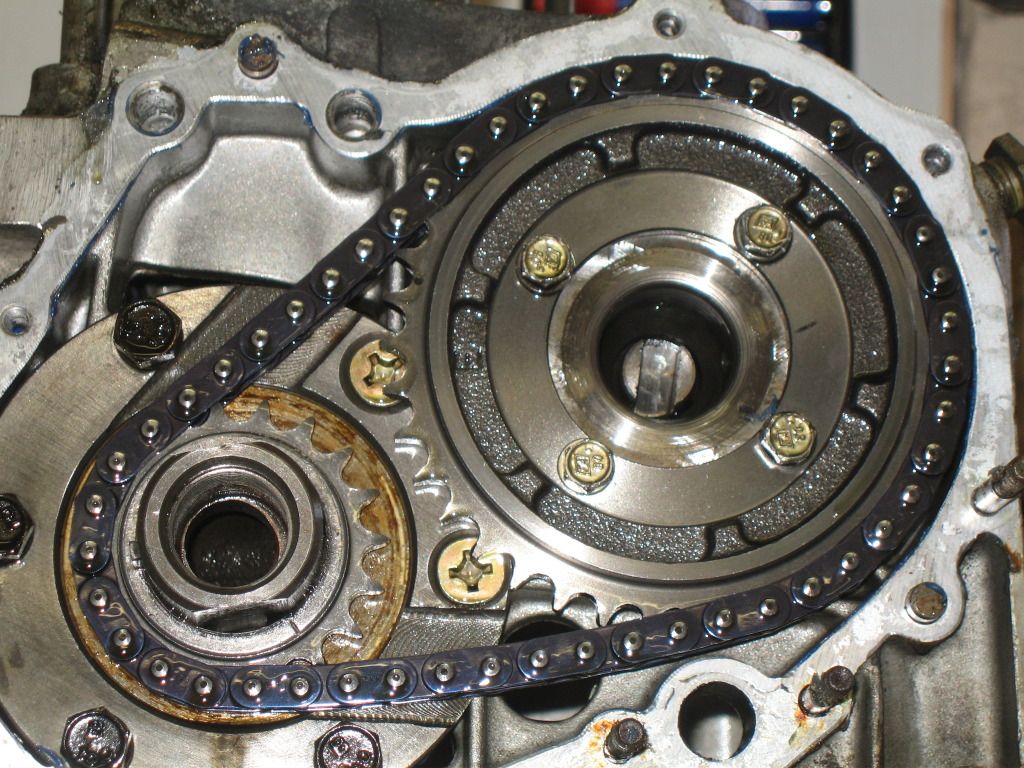
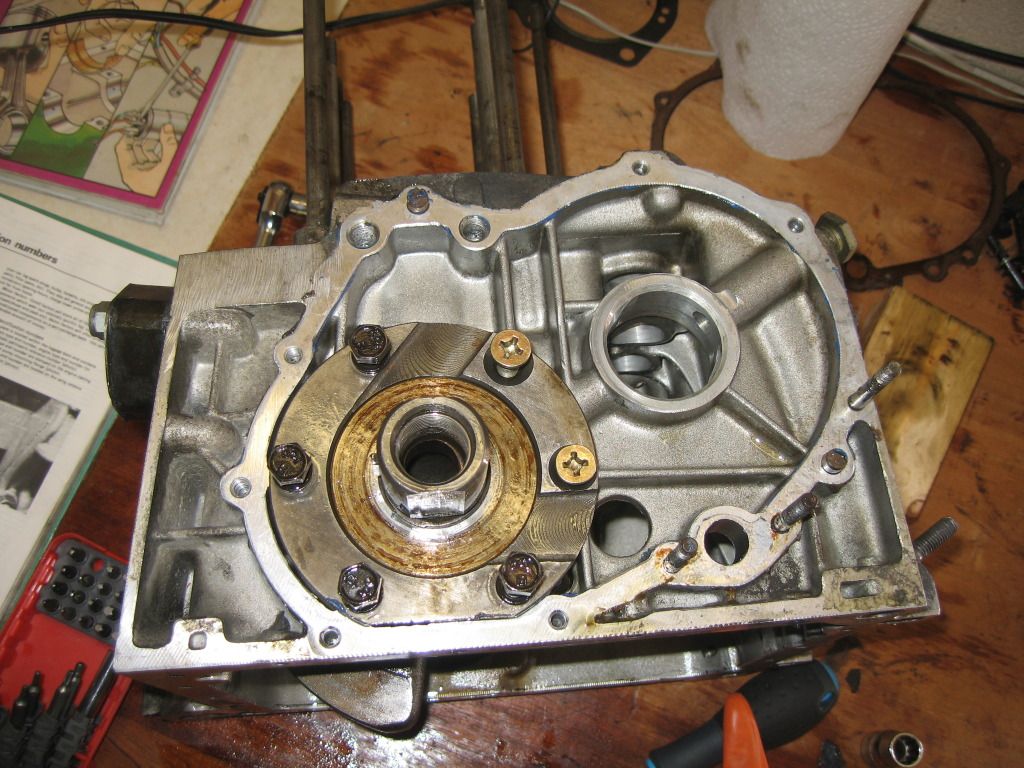
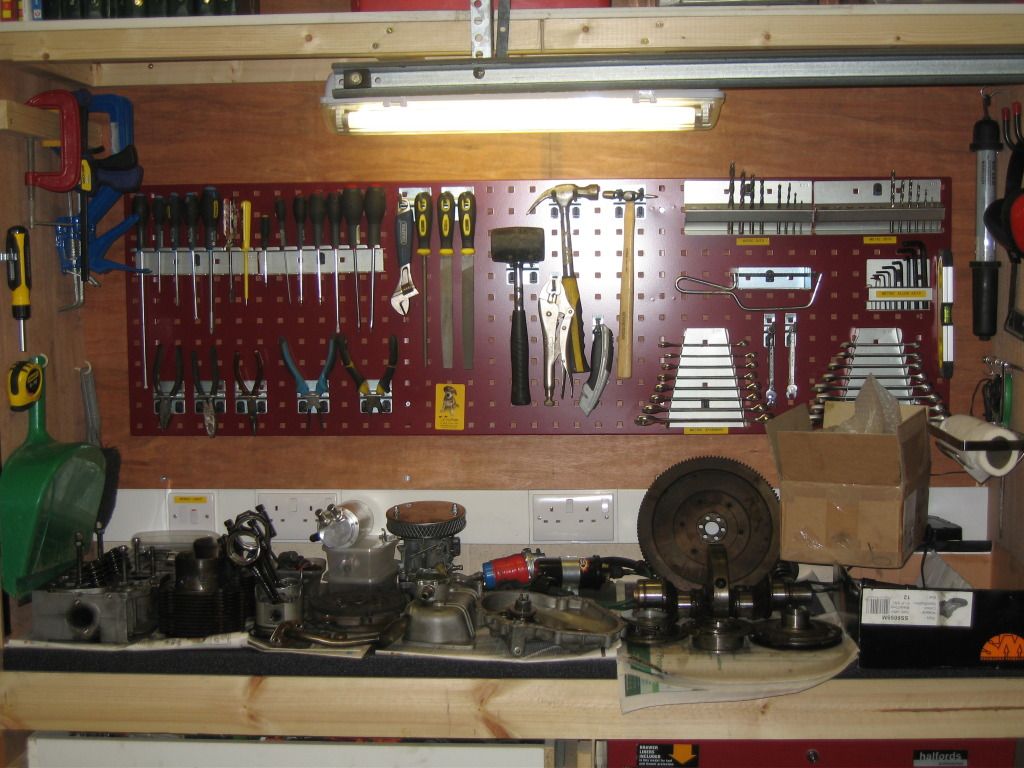
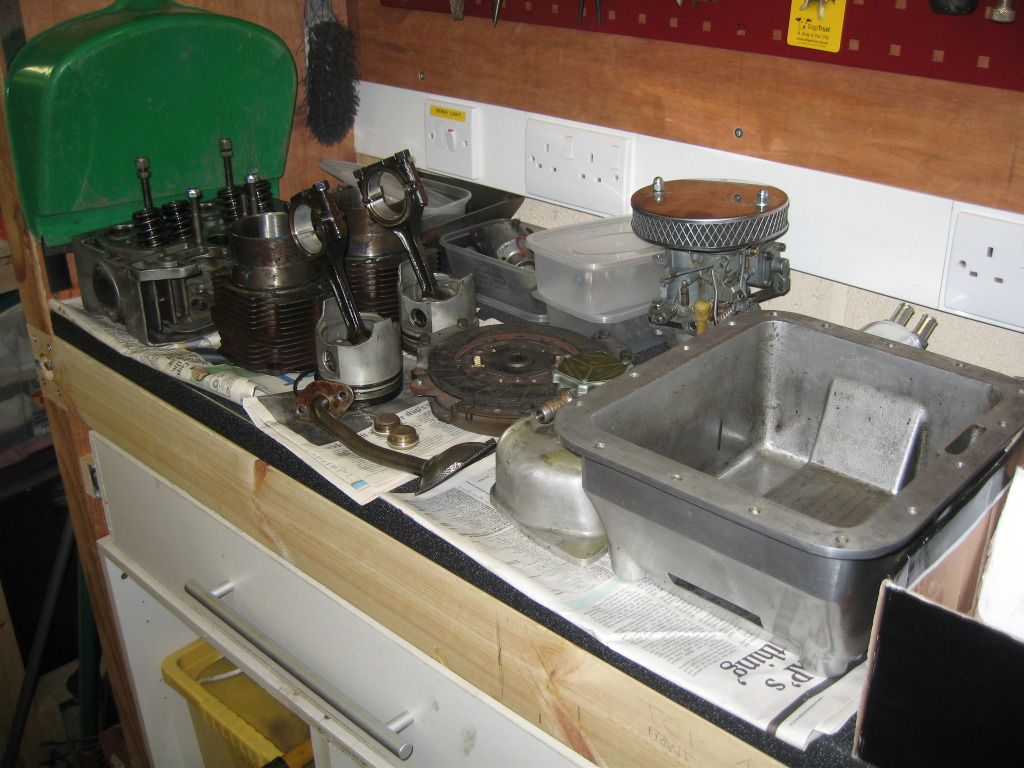
We managed to get most of the engine stripped down in an afternoon. It took a little longer we'd hoped, mainly because the sump plugs were well and truly stuck in place, and I was a bit reluctant to go at them with my impact wrench. To drain the oil out I had to remove the dipstick and then very slowly tip the engine onto its side to remove all the oil. The rest of the engine came apart without too much hassle. I spent a lot of time sorting all the parts into various containers, labelling everything, and photographing every stage, so at least I'll have a fighting chance when I come to rebuild it.
My plan is to rebuild the engine with some slight alterations. The engine crankcase has already been rebored and had larger cylinders and pistons fitted. Unfortunately I don't have a micrometer or a pair of vernier callipers to accurately measure the bore of the cylinders. I *think* they are 79.5mm, but I might take them along to a local engineering firm to have them accurately measured (or buy a set of digital callipers). Abarth 695 measured the stroke of the pistons (something I should have done before I dismantled the engine - you live and learn) and got a measurement of around 70-71mm. Looking at the manuals, the engine has a stock stroke of 70mm, so I assume that's what it still is.
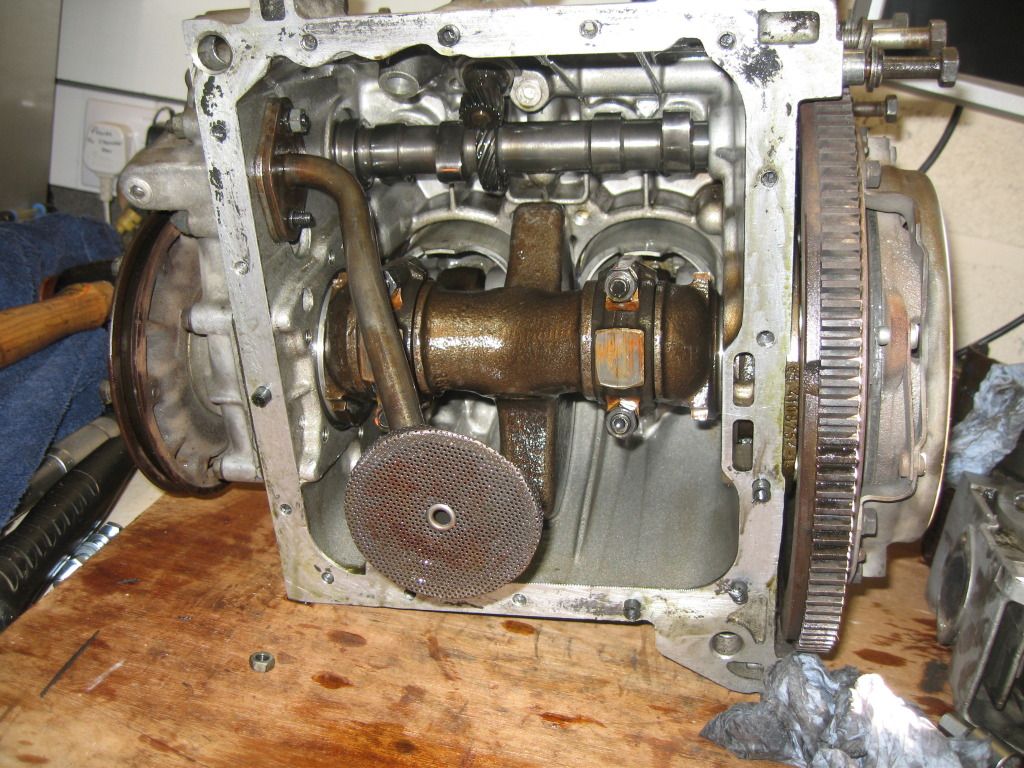
Having taken the sump off the crankcase, it seems to be a 3.5 litre sump. I filled it to the level with water, and it took 3.5 litres. I was working in London last week so I called into R Proietti (if nothing else just to ogle the bambinis) and bought an engine gasket set. They mentioned that if you have an alloy sump that, instead of fitting the sump gasket, you should refit the sump with silicon seal. I noticed my sump has silicon in place of a sump when I removed it and wondered if that is how it should be fitted? Anyone else have experience of this, or should I use the gasket?
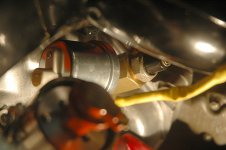
Abarth 695 fitted the engine with a petronix magnetic electronic ignition system and coil, so this will definitely be staying on the engine.
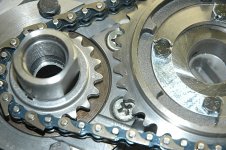
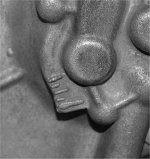
One thing I'm not sure of is what cam is fitted. I found some markings on the cam, but as I've no idea who originally machined it, I don't think I'm going to work out what they mean. I'll take it, along with the other parts, to the engineering firm to see if they can work out what it is. I'm hoping it's something like a 43/73 or a 40/80.
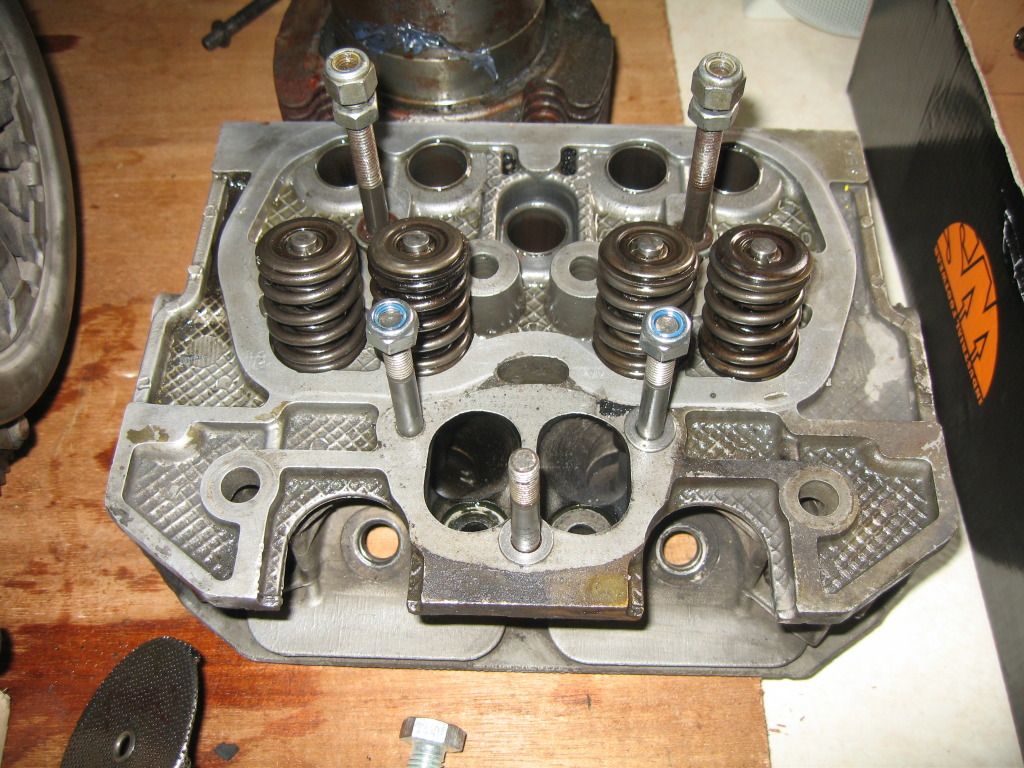
The head is a twin port Panda 30 head, with a Weber 30 DIC carburettor. Before buying the engine I'd already sourced a Dellorto FZD 32/28 carb from Italy, so I plan to replace the head and carb with a standard 126 head (with 35mm intake valves fitted) and the Dellorto carb. I'll need to source some original tinware (fan and thermostat housing), as the tinware on the engine has been modified to accomodate the Panda head. As the tinware can be bought in the UK from a number of suppliers as either new, reconditioned, or 2nd hand, this shouldn't be too much of an issue.
I'm selling the Panda head if anyone is interested. It comes with 35mm inlet valves already fitted.
One thing I didn't know until this week was how the displacement of an engine is calculated. I'll probably be teaching grandma how to suck eggs by posting this here, but someone may find it useful.
The following was copied from Wikipedia:
Engine displacement is the volume swept by all the pistons inside the cylinders of an internal combustion engine in a single movement from top dead centre (TDC) to bottom dead centre (BDC). It is commonly specified in cubic centimetres (cc).
The bore (not me, the engine bore!) is the diameter of one of the cylinders.
The stroke is the distance one of the pistons travels from BDC to TDC.
Displacement (in cc): pi/4 x bore x bore x stroke x no. of cylinders (if you want to calculate the displacement in cubic inches, rather than cubic centimetres, simply convert your measurements from metric to imperial)
To calculate the displacement of a Fiat 500/126 engine, the following is true:
Stroke: 70mm (7cm)
Number of cylinders: 2
Bore: for a standard 500 engine it's 67.4mm (6.74cm). For a standard 126 (650cc) engine it's 73.5mm (7.35cm). For my engine it's 79.5mm (7.95cm). By plugging these figures into the formula above we get:
Displacement: 10.9958 x bore x bore
500 engine: 499.5
126 engine: 594.0
My engine: 694.9
You should see the way my wife's face lights up with enthusiasm and interest when I explain stuff like this to her
So based on the measurements, the engine should definitely be, on paper at least, a 695. If I bolt on some parts with Abarth stamped on them, surely this makes it an Abarth 695?
If you're planning on dismantling a 500/126 engine, definitely make sure you've got a 13mm spanner and socket to hand. Almost everything on the engine seems to be held in place with 13mm bolts or nuts!
As I don't have a car yet to bolt the engine and gearbox into once it's complete, I'd like to build a dolly to set the engine up on and run it in a bit. I've just been on a welding course and bought myself a MIG welder, so I can see a bit of an A-Team project coming on. I saw this on youtube
I then found an abandoned shopping trolley close to my house which I've *acquired*. I love it when a plan comes together. There are many bambinos, a few frankenbinis, but I think this will be the World's first and only... shoppingbini! An Abarth 695 shoppingbini no less


I've read, re-read, and then read again Bambino's thread on his 695 engine build which has given me a lot of enthusiasm and knowledge. It's a sticky - I recommend reading it if you're thinking of undertaking a similar engine build.
I'm going into this with very little mechanical experience, so I've got a couple of manuals and, most importantly, my dad to hand just in case... I'm hoping it's going to be a great learning experience (providing nothing goes catastrophically wrong!)
I realise I'm putting the cart before the horse, but as my garage has been temporarily taken over by my Dad's MGB, and because I don't have the cash at the moment, I've bought an engine and gearbox, but don't actually own a 500 (yet) to put them in! All in good time.
When I told my dad I'd bought the engine and gearbox he was concerned he wouldn't have enough room to work on his car (my garage is a slightly larger-than-normal single garage) until he saw it. He commented that he'd worked on larger motorcycle engines!
We managed to get most of the engine stripped down in an afternoon. It took a little longer we'd hoped, mainly because the sump plugs were well and truly stuck in place, and I was a bit reluctant to go at them with my impact wrench. To drain the oil out I had to remove the dipstick and then very slowly tip the engine onto its side to remove all the oil. The rest of the engine came apart without too much hassle. I spent a lot of time sorting all the parts into various containers, labelling everything, and photographing every stage, so at least I'll have a fighting chance when I come to rebuild it.
My plan is to rebuild the engine with some slight alterations. The engine crankcase has already been rebored and had larger cylinders and pistons fitted. Unfortunately I don't have a micrometer or a pair of vernier callipers to accurately measure the bore of the cylinders. I *think* they are 79.5mm, but I might take them along to a local engineering firm to have them accurately measured (or buy a set of digital callipers). Abarth 695 measured the stroke of the pistons (something I should have done before I dismantled the engine - you live and learn) and got a measurement of around 70-71mm. Looking at the manuals, the engine has a stock stroke of 70mm, so I assume that's what it still is.
Having taken the sump off the crankcase, it seems to be a 3.5 litre sump. I filled it to the level with water, and it took 3.5 litres. I was working in London last week so I called into R Proietti (if nothing else just to ogle the bambinis) and bought an engine gasket set. They mentioned that if you have an alloy sump that, instead of fitting the sump gasket, you should refit the sump with silicon seal. I noticed my sump has silicon in place of a sump when I removed it and wondered if that is how it should be fitted? Anyone else have experience of this, or should I use the gasket?
Abarth 695 fitted the engine with a petronix magnetic electronic ignition system and coil, so this will definitely be staying on the engine.
One thing I'm not sure of is what cam is fitted. I found some markings on the cam, but as I've no idea who originally machined it, I don't think I'm going to work out what they mean. I'll take it, along with the other parts, to the engineering firm to see if they can work out what it is. I'm hoping it's something like a 43/73 or a 40/80.
The head is a twin port Panda 30 head, with a Weber 30 DIC carburettor. Before buying the engine I'd already sourced a Dellorto FZD 32/28 carb from Italy, so I plan to replace the head and carb with a standard 126 head (with 35mm intake valves fitted) and the Dellorto carb. I'll need to source some original tinware (fan and thermostat housing), as the tinware on the engine has been modified to accomodate the Panda head. As the tinware can be bought in the UK from a number of suppliers as either new, reconditioned, or 2nd hand, this shouldn't be too much of an issue.
I'm selling the Panda head if anyone is interested. It comes with 35mm inlet valves already fitted.
One thing I didn't know until this week was how the displacement of an engine is calculated. I'll probably be teaching grandma how to suck eggs by posting this here, but someone may find it useful.
The following was copied from Wikipedia:
Engine displacement is the volume swept by all the pistons inside the cylinders of an internal combustion engine in a single movement from top dead centre (TDC) to bottom dead centre (BDC). It is commonly specified in cubic centimetres (cc).
The bore (not me, the engine bore!) is the diameter of one of the cylinders.
The stroke is the distance one of the pistons travels from BDC to TDC.
Displacement (in cc): pi/4 x bore x bore x stroke x no. of cylinders (if you want to calculate the displacement in cubic inches, rather than cubic centimetres, simply convert your measurements from metric to imperial)
To calculate the displacement of a Fiat 500/126 engine, the following is true:
Stroke: 70mm (7cm)
Number of cylinders: 2
Bore: for a standard 500 engine it's 67.4mm (6.74cm). For a standard 126 (650cc) engine it's 73.5mm (7.35cm). For my engine it's 79.5mm (7.95cm). By plugging these figures into the formula above we get:
Displacement: 10.9958 x bore x bore
500 engine: 499.5
126 engine: 594.0
My engine: 694.9
You should see the way my wife's face lights up with enthusiasm and interest when I explain stuff like this to her
So based on the measurements, the engine should definitely be, on paper at least, a 695. If I bolt on some parts with Abarth stamped on them, surely this makes it an Abarth 695?
If you're planning on dismantling a 500/126 engine, definitely make sure you've got a 13mm spanner and socket to hand. Almost everything on the engine seems to be held in place with 13mm bolts or nuts!
As I don't have a car yet to bolt the engine and gearbox into once it's complete, I'd like to build a dolly to set the engine up on and run it in a bit. I've just been on a welding course and bought myself a MIG welder, so I can see a bit of an A-Team project coming on. I saw this on youtube
I then found an abandoned shopping trolley close to my house which I've *acquired*. I love it when a plan comes together. There are many bambinos, a few frankenbinis, but I think this will be the World's first and only... shoppingbini! An Abarth 695 shoppingbini no less
Last edited: