Photo44.jpg

500 (Classic) 1961 Fiat 500d bare metal restoration + 650 motor

Introduction

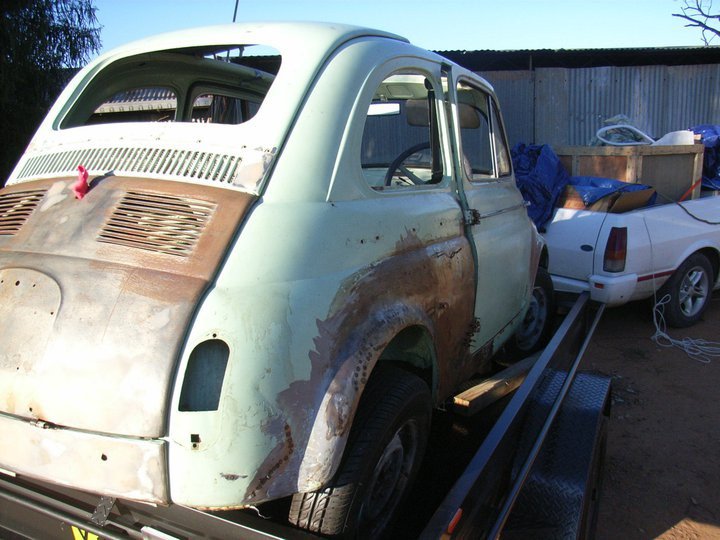
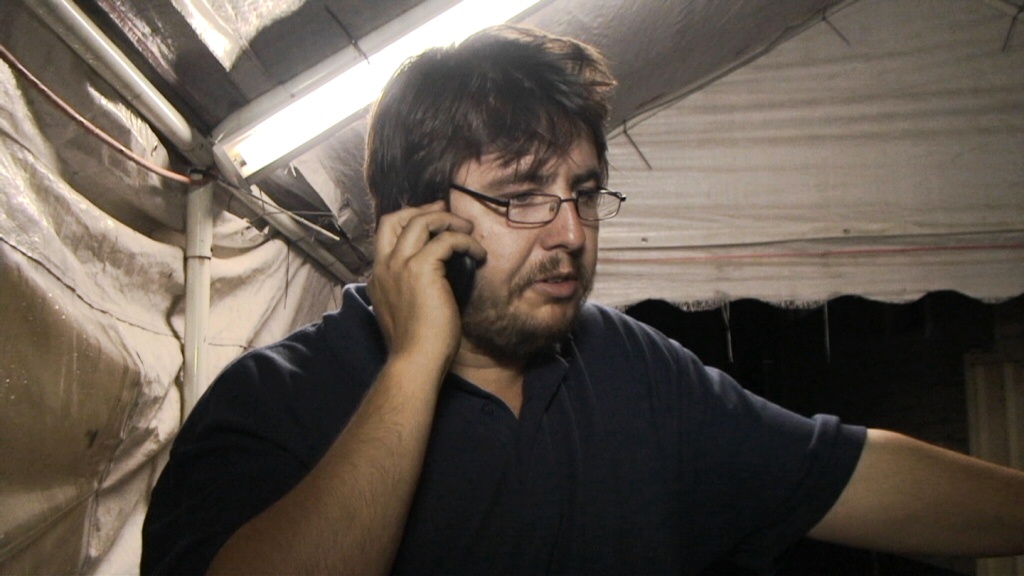
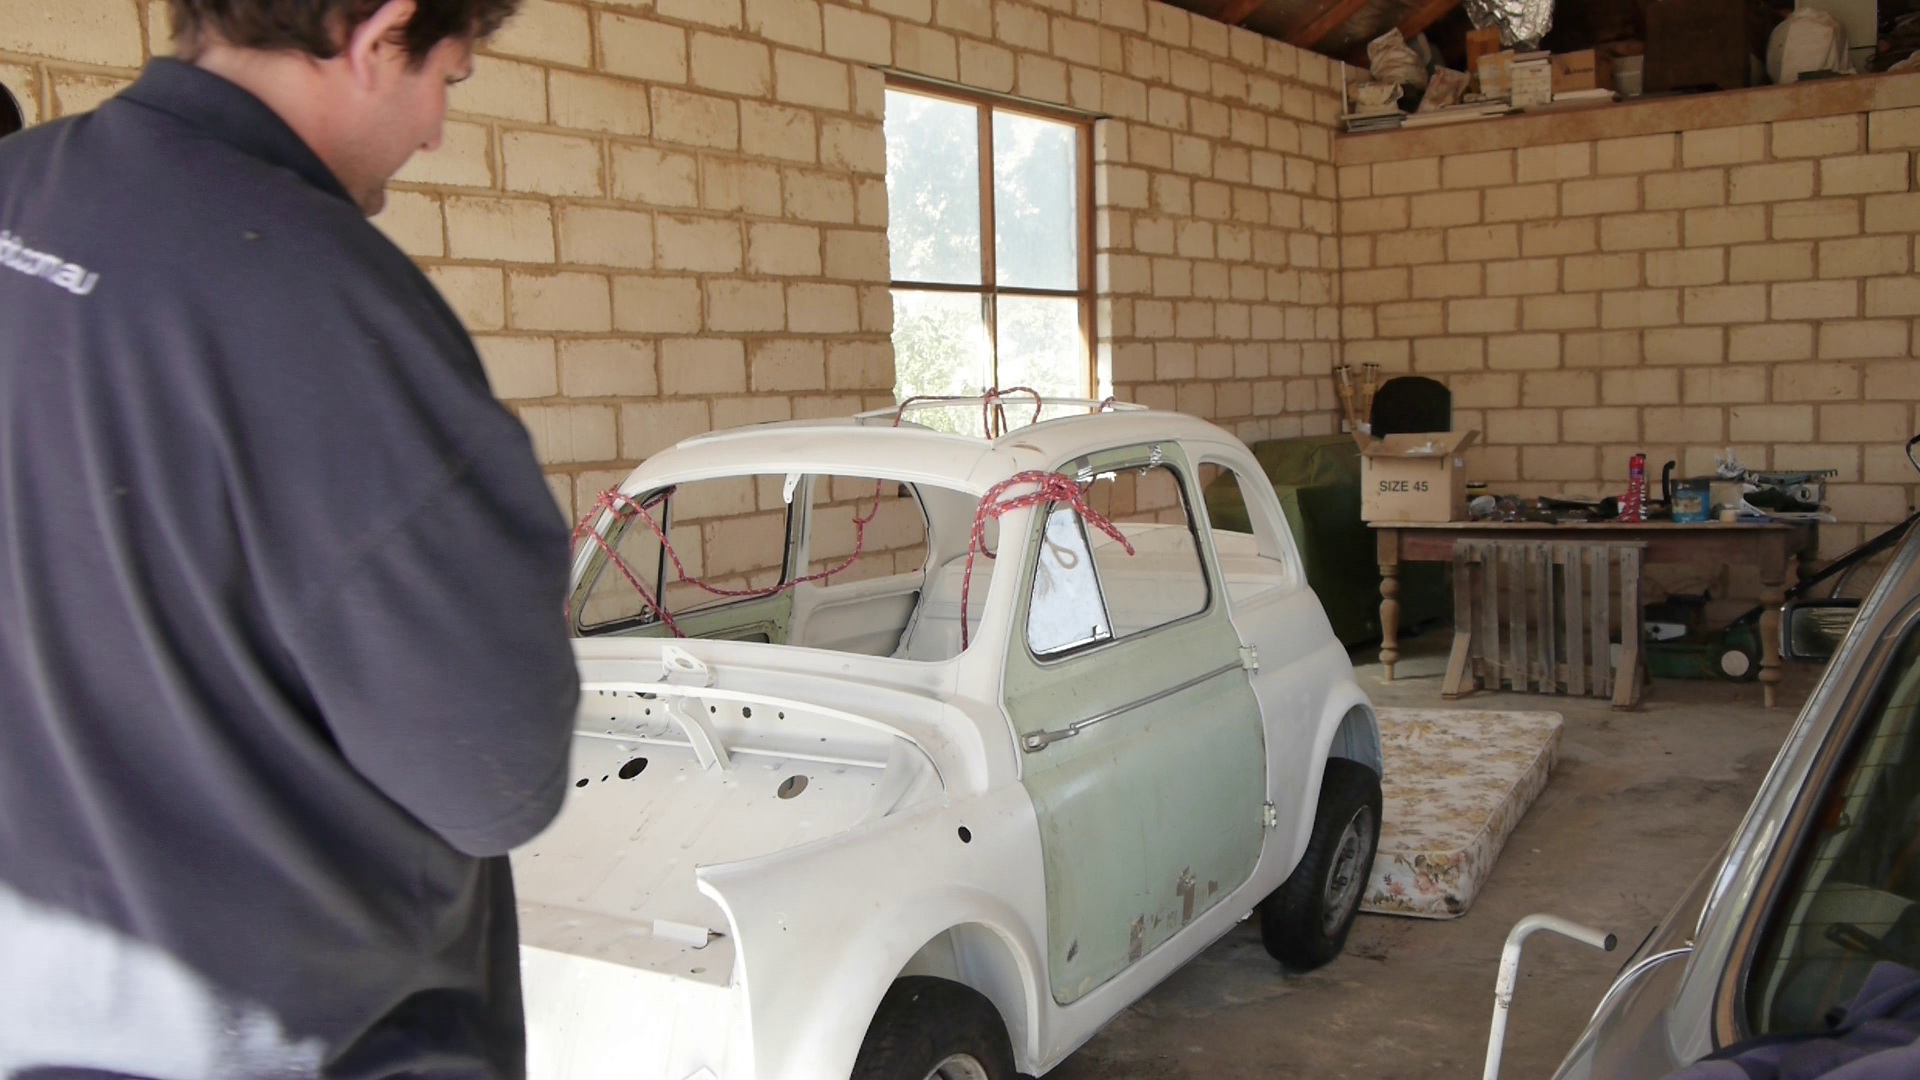
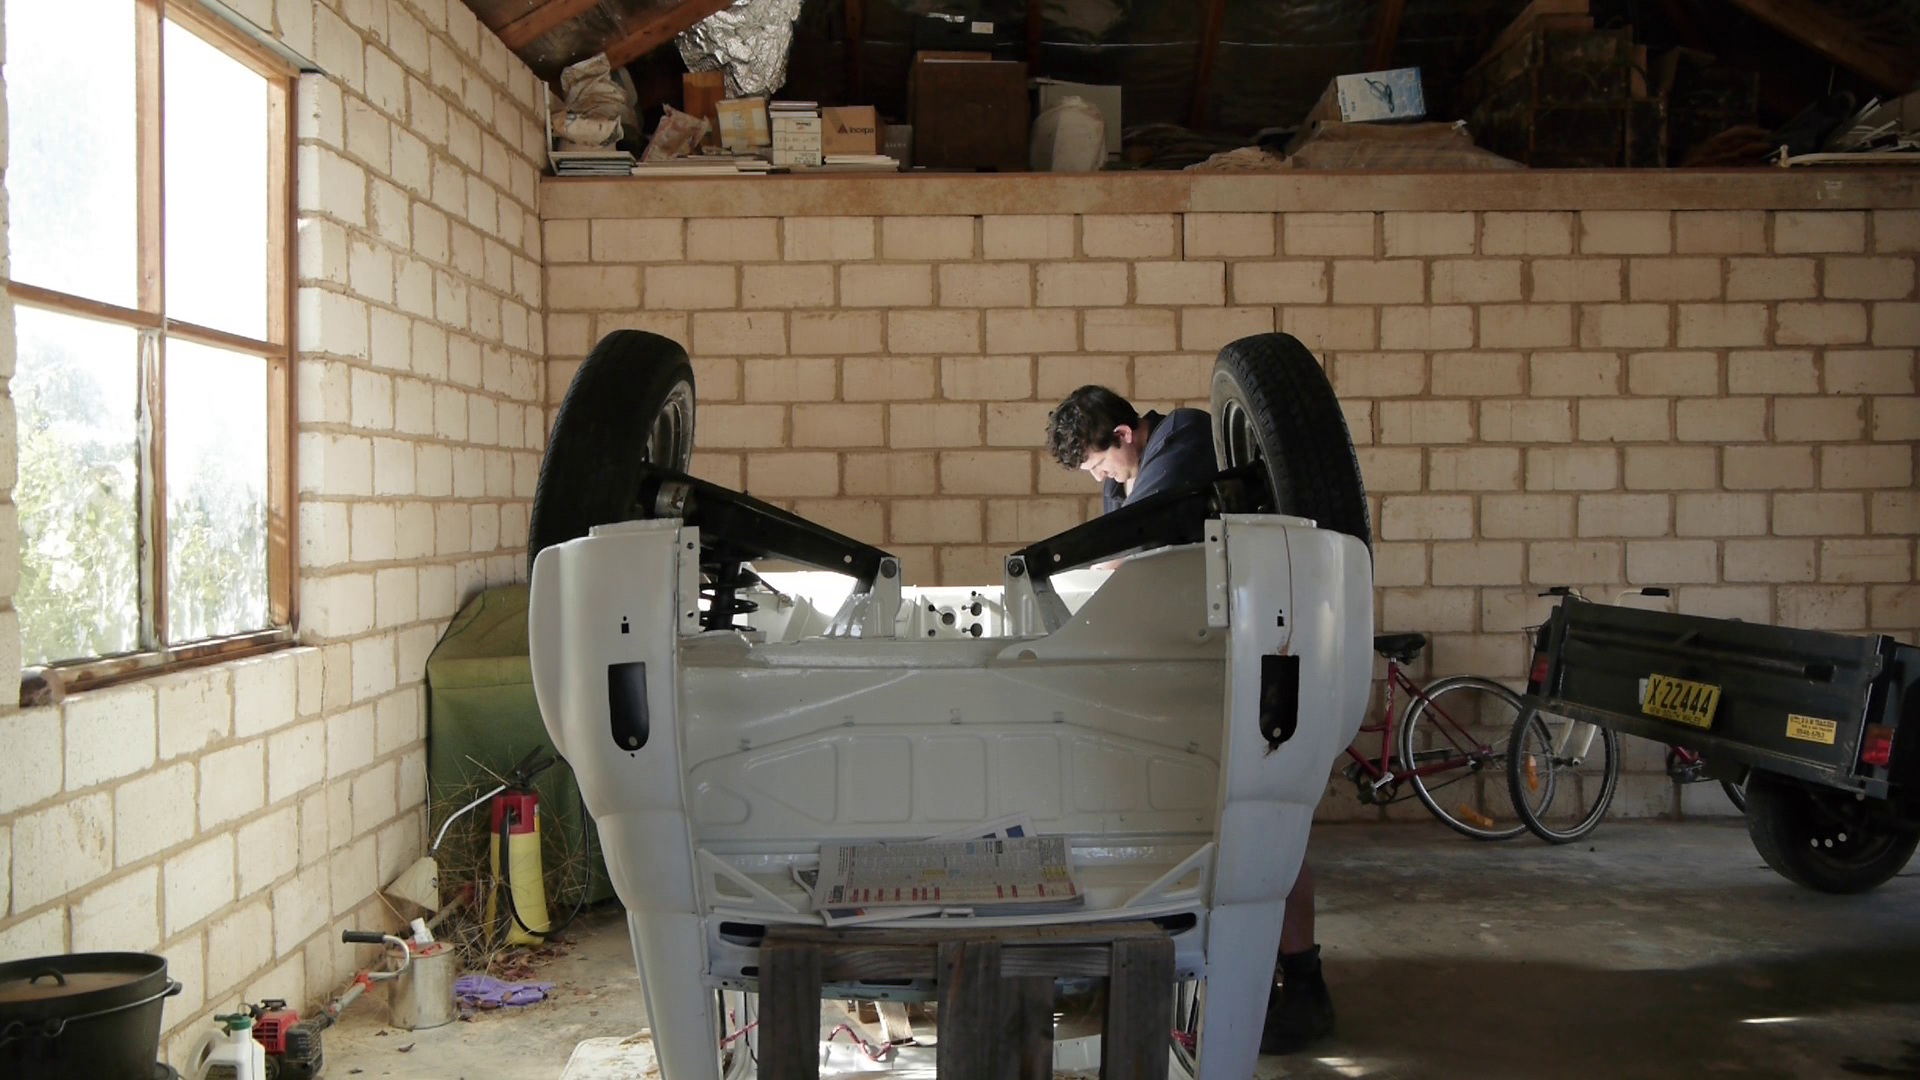
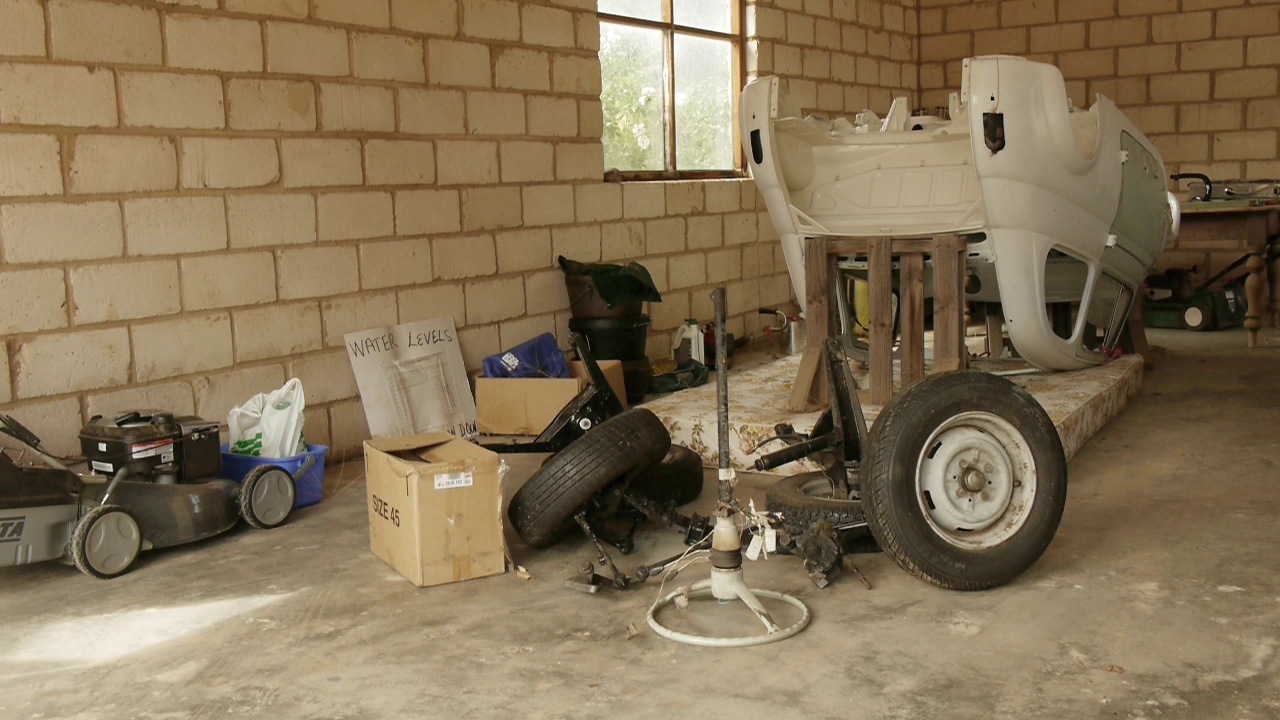
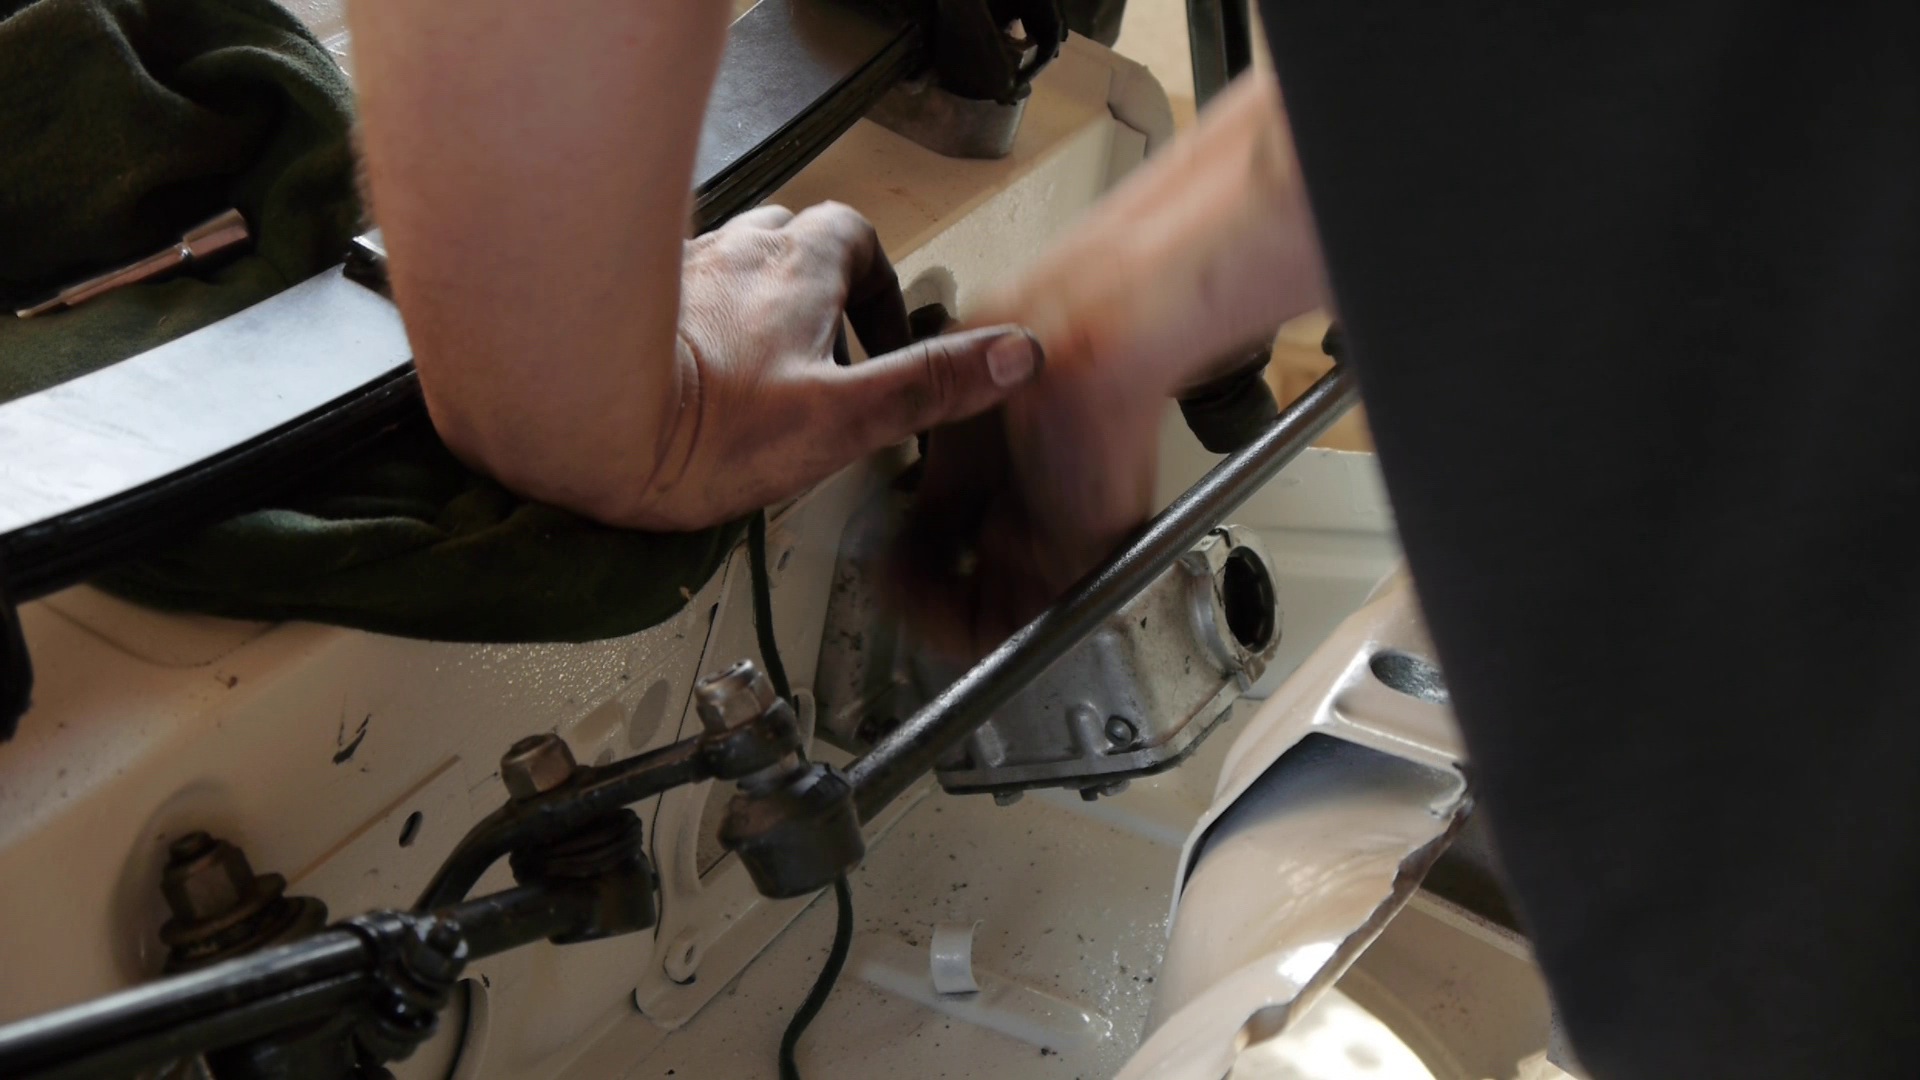
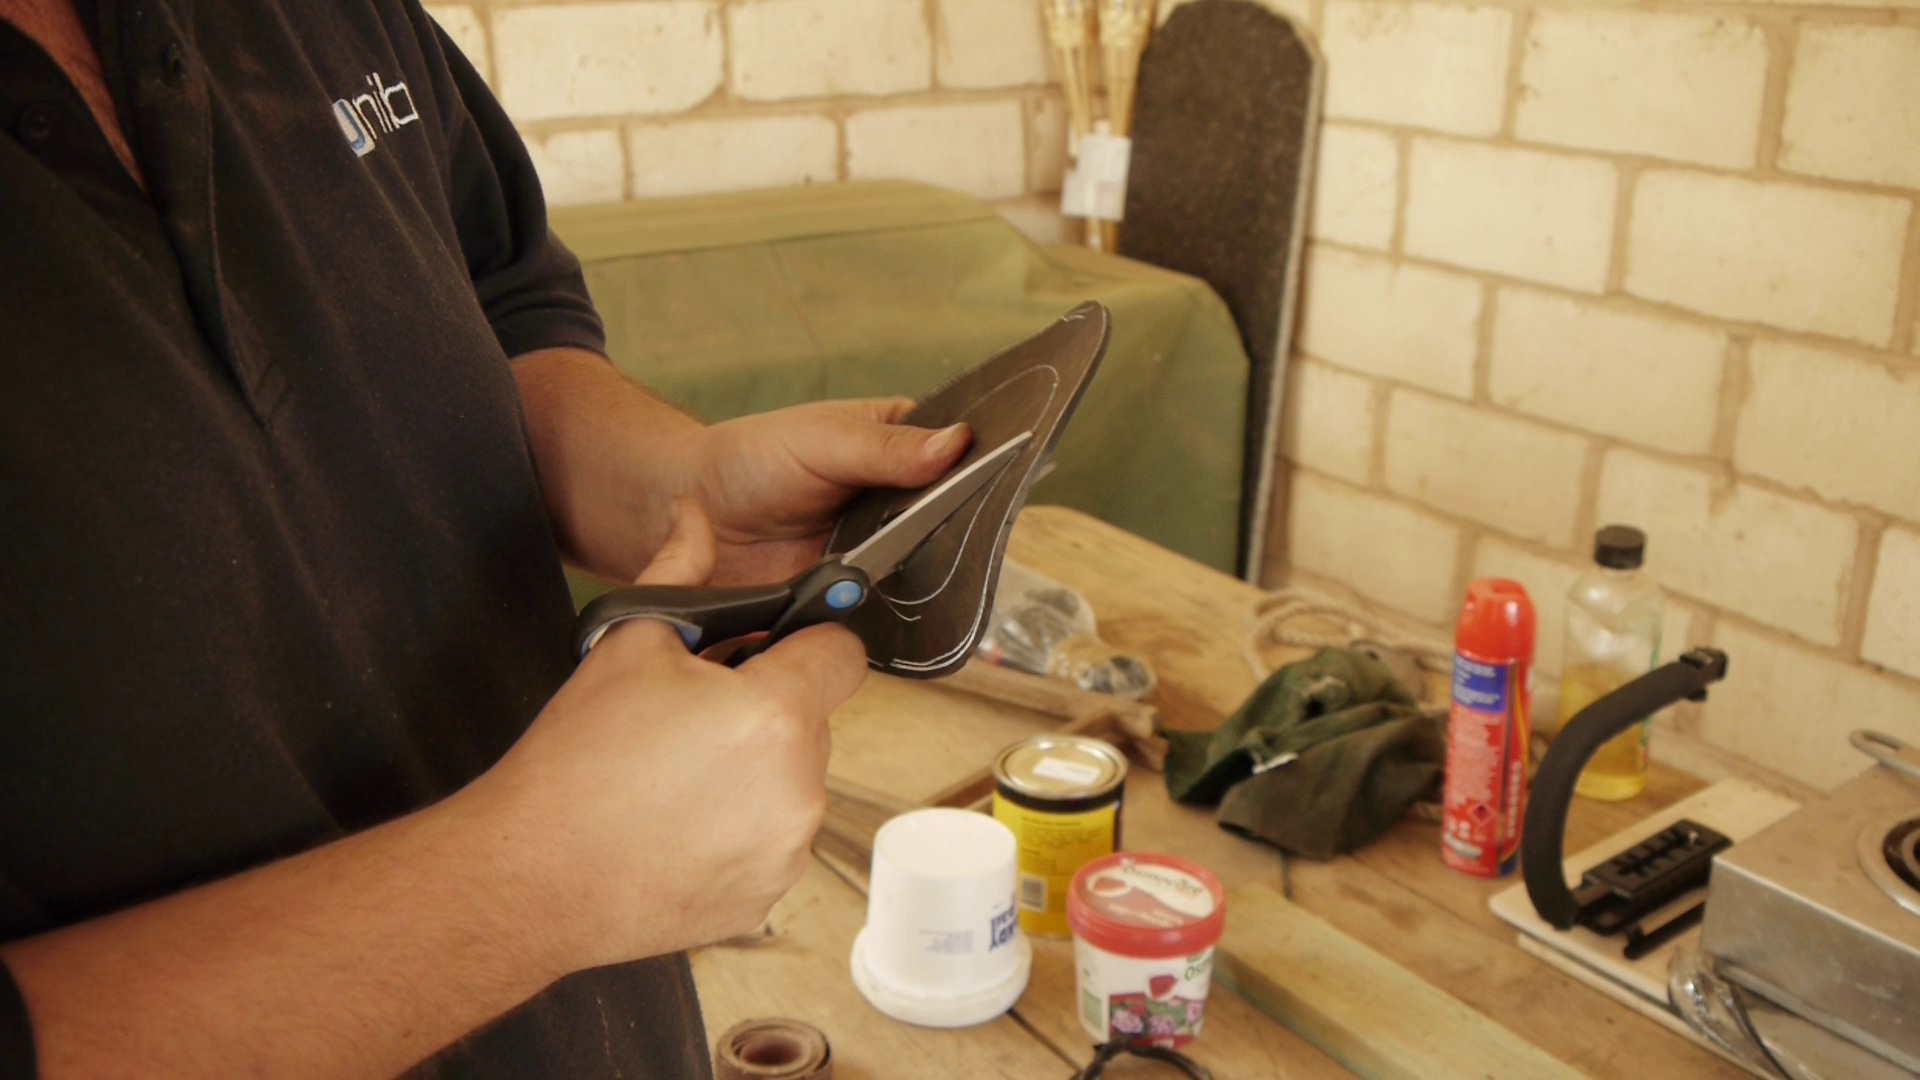
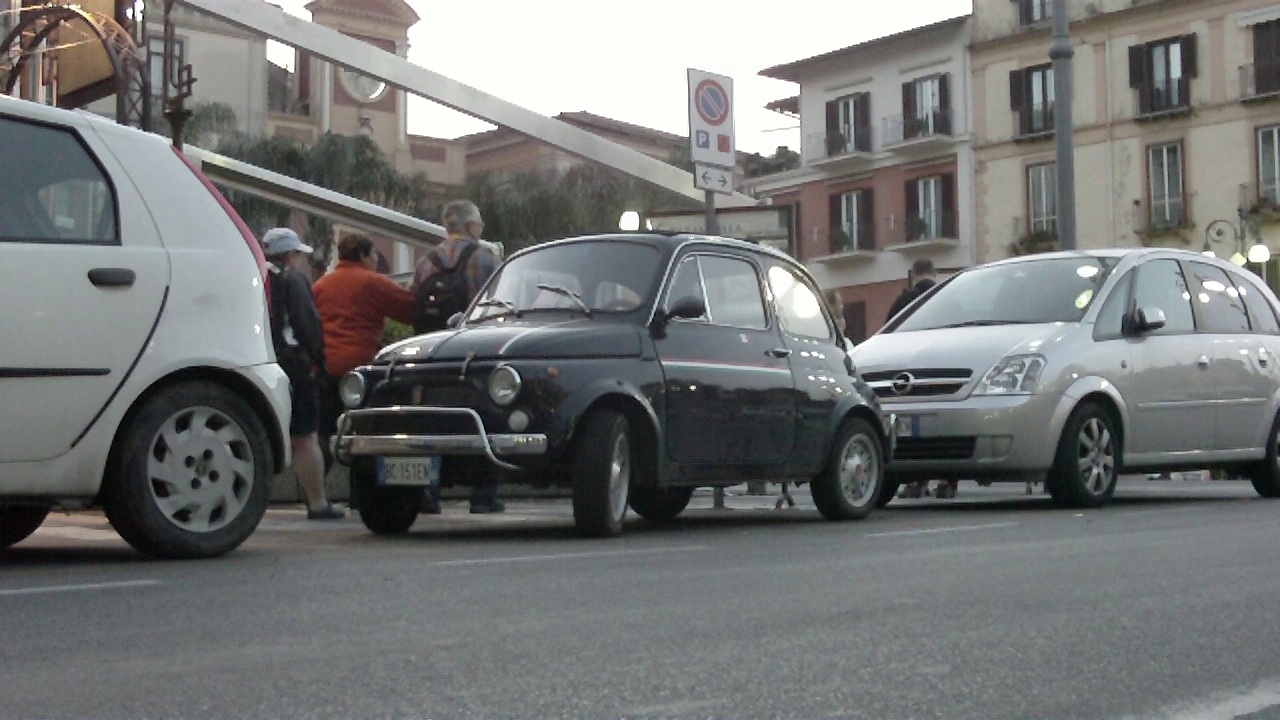
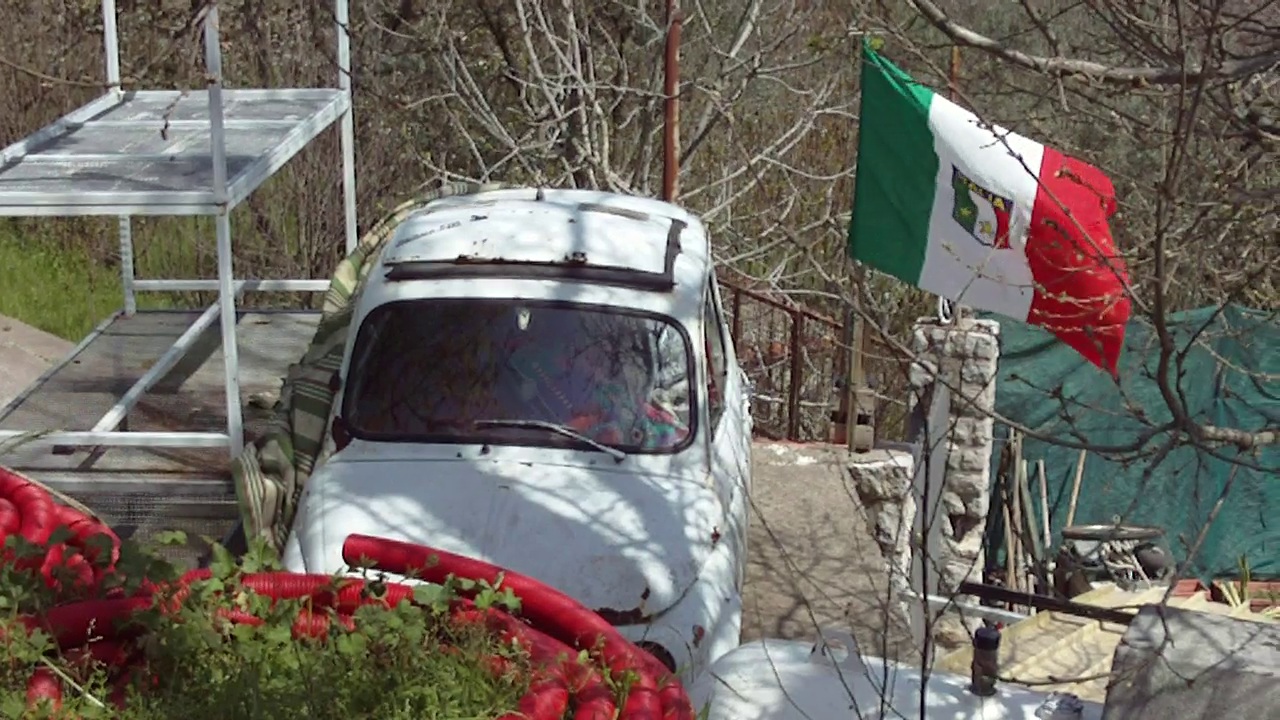
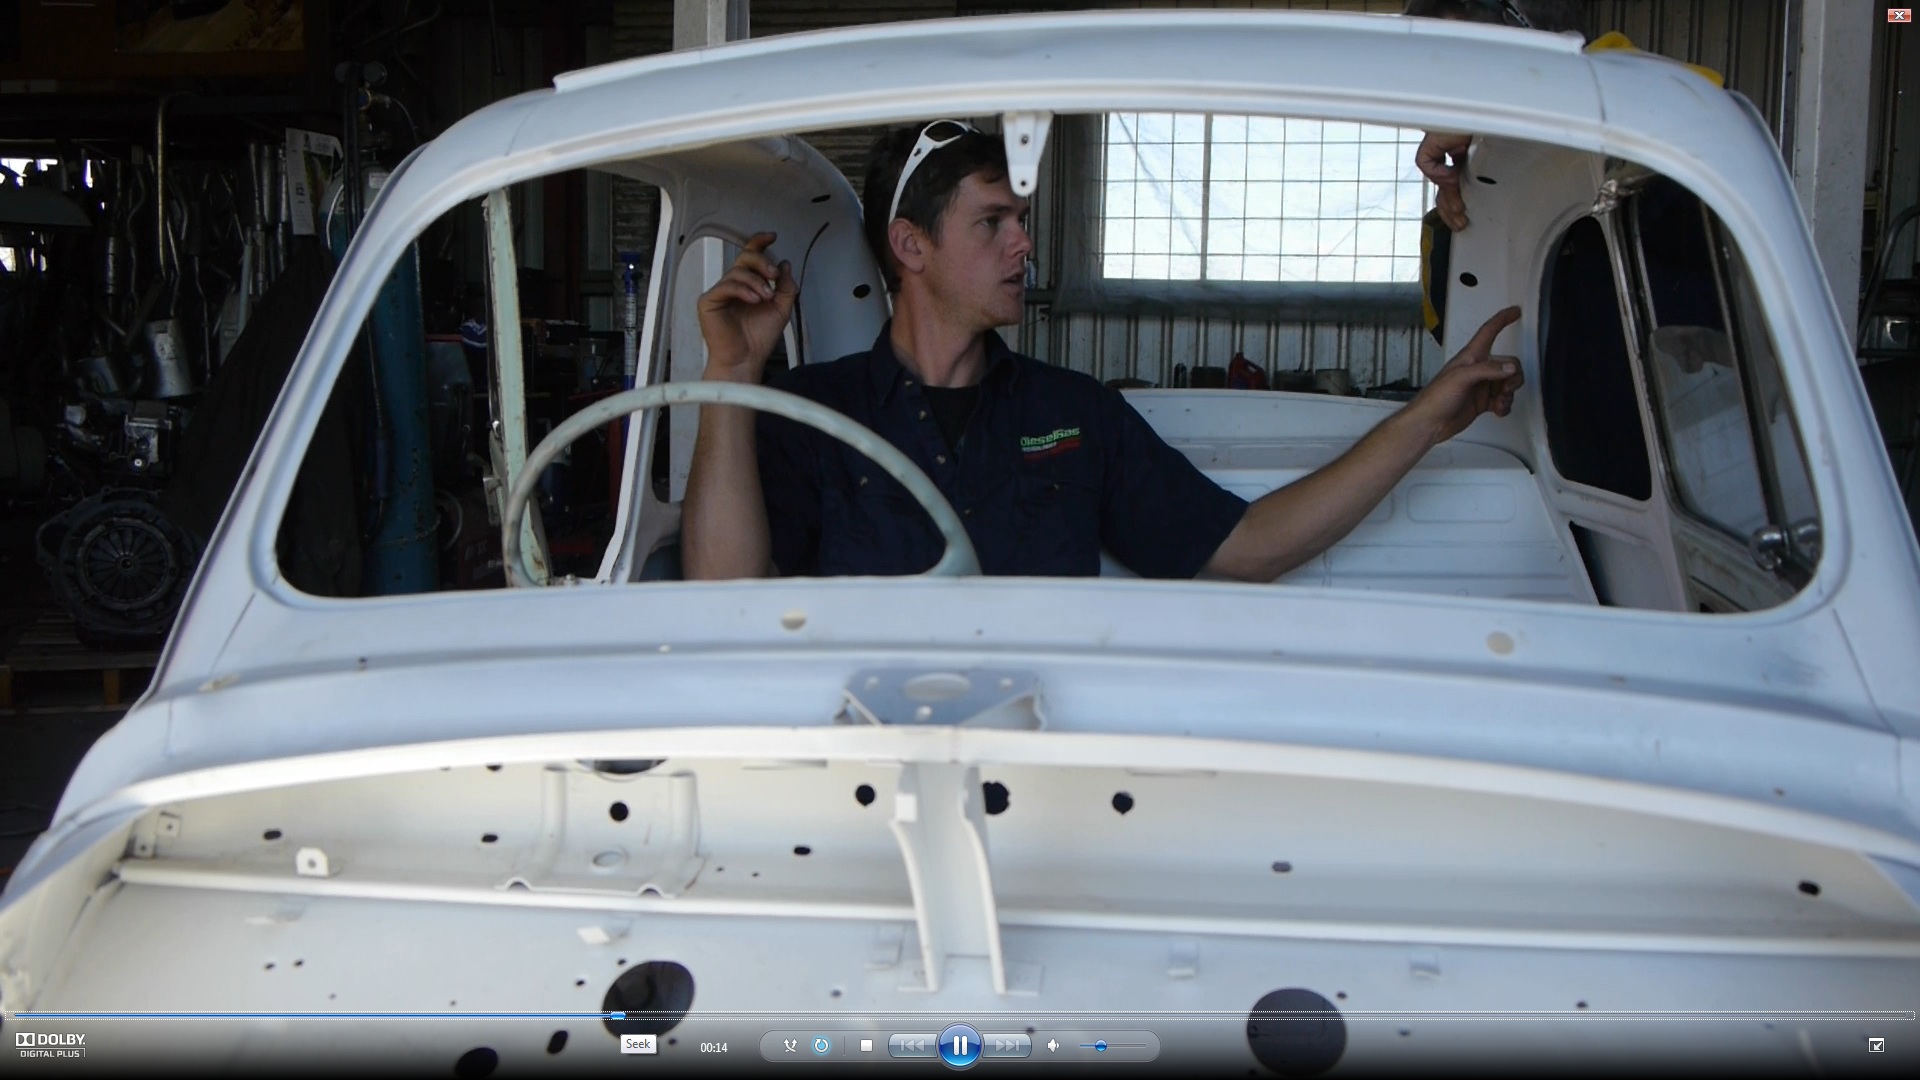
Hey everyone, I'd like to share the restoration of Kate's 1961 Fiat 500d with you guys. This is a big one! 650 motor with race girdle, comp lubrication and high compression internals, full length roll-top, period rally essentials and more. She's been kind enough to let us film the build for a new youtube channel (OperationResto) for publication in 2013 - hopefully.


I'll get into more detail, and share some of the harrowing back story (2 year battle, plus great Canberra fire) later on. PS, If I don't post every fortnight, it's only because we're flat out filming or editing. Also, I'll let you all know when we start uploading content to youtube, so if you want to subscribe to that, you can.

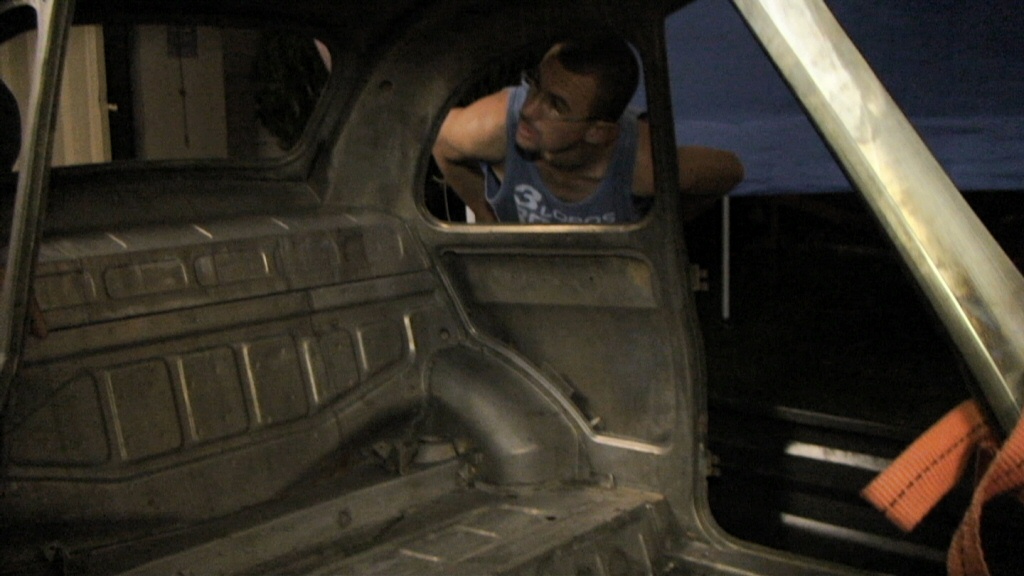
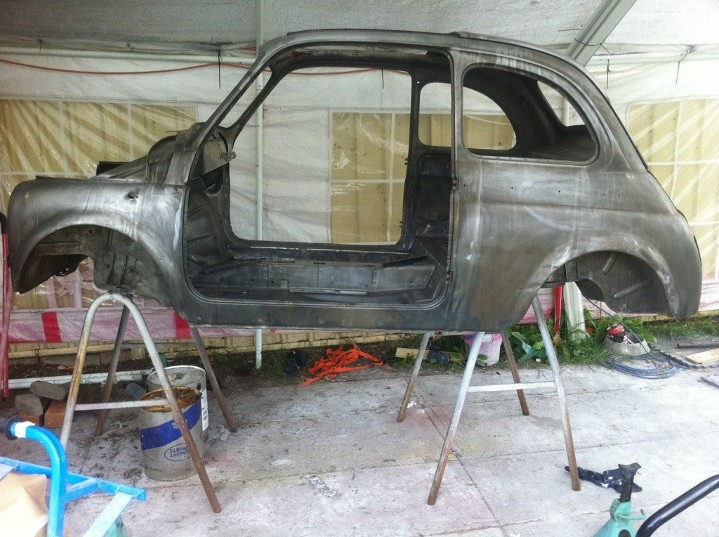
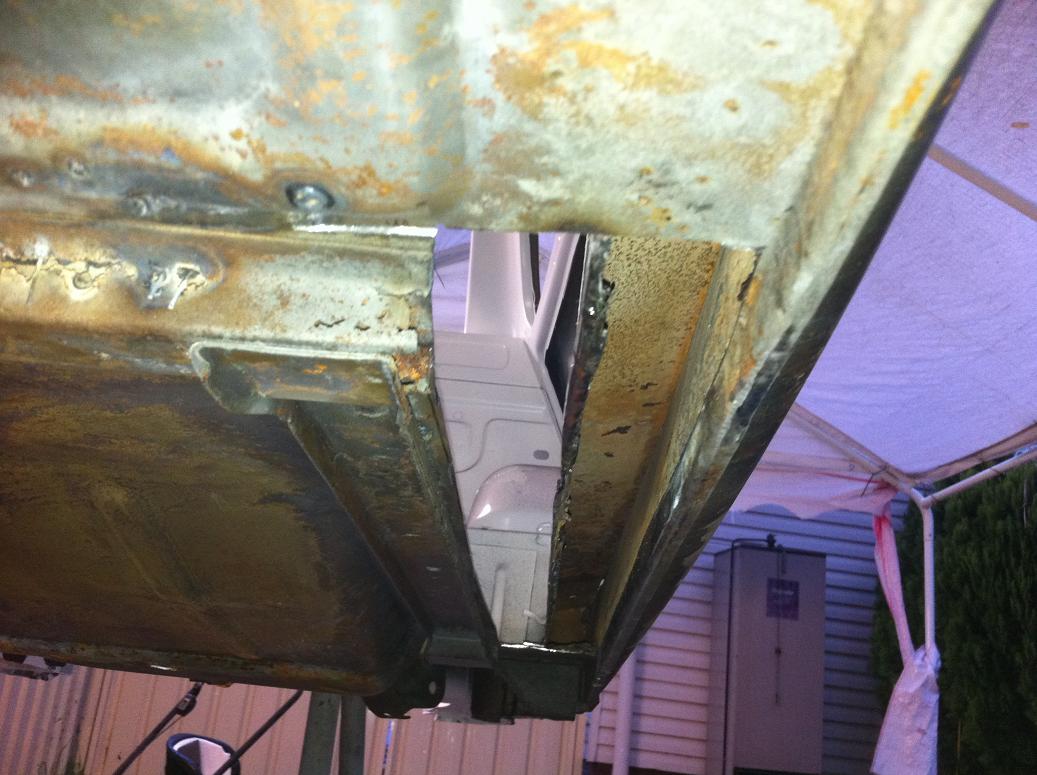
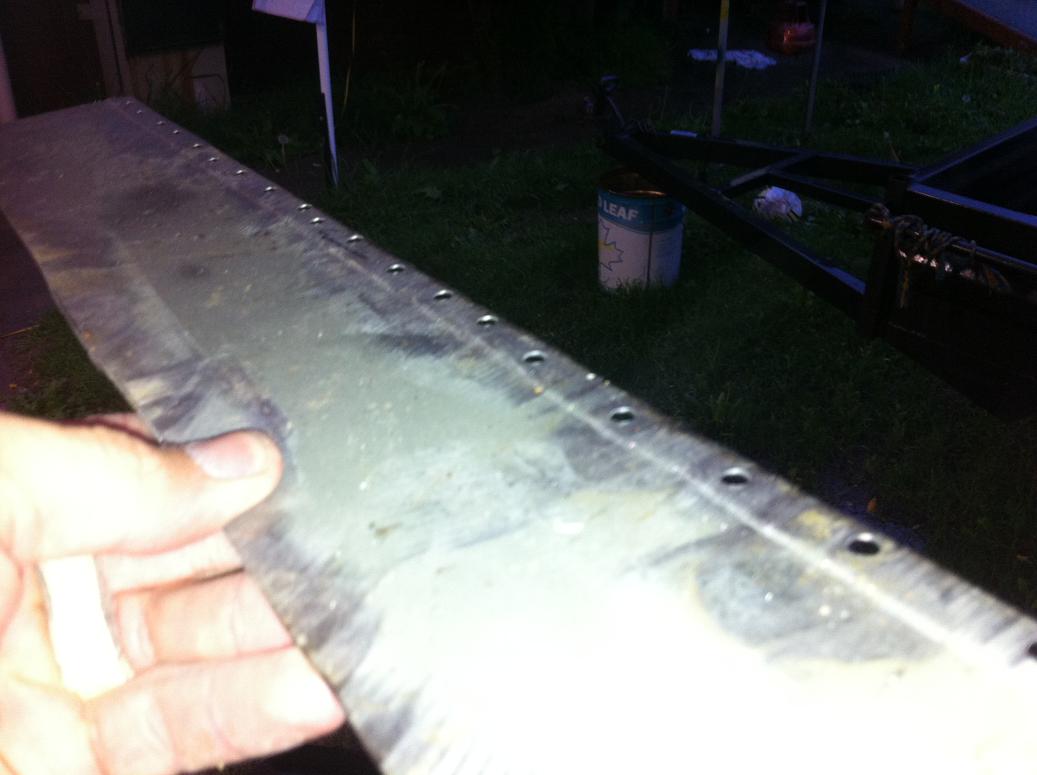
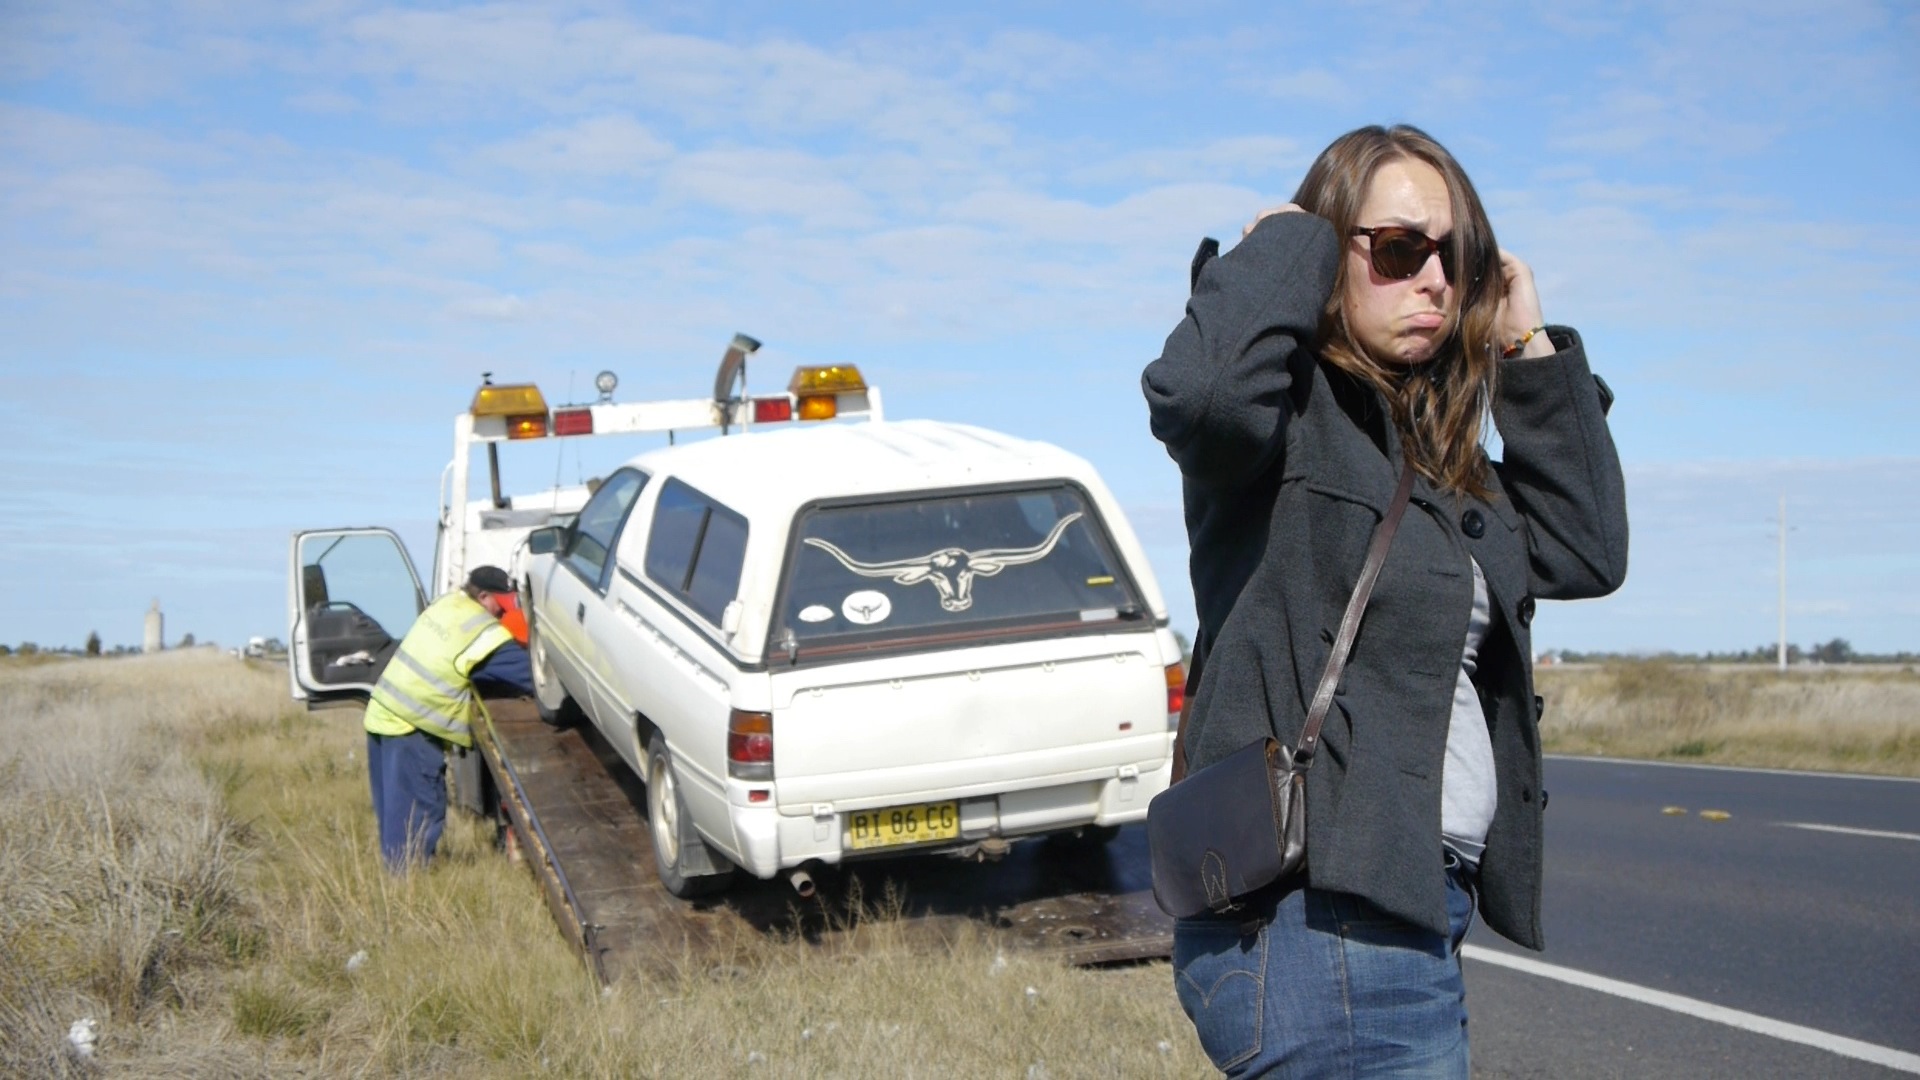
Let's start with a trip to the Acid Dippers at ReadiStrip, Blacktown:


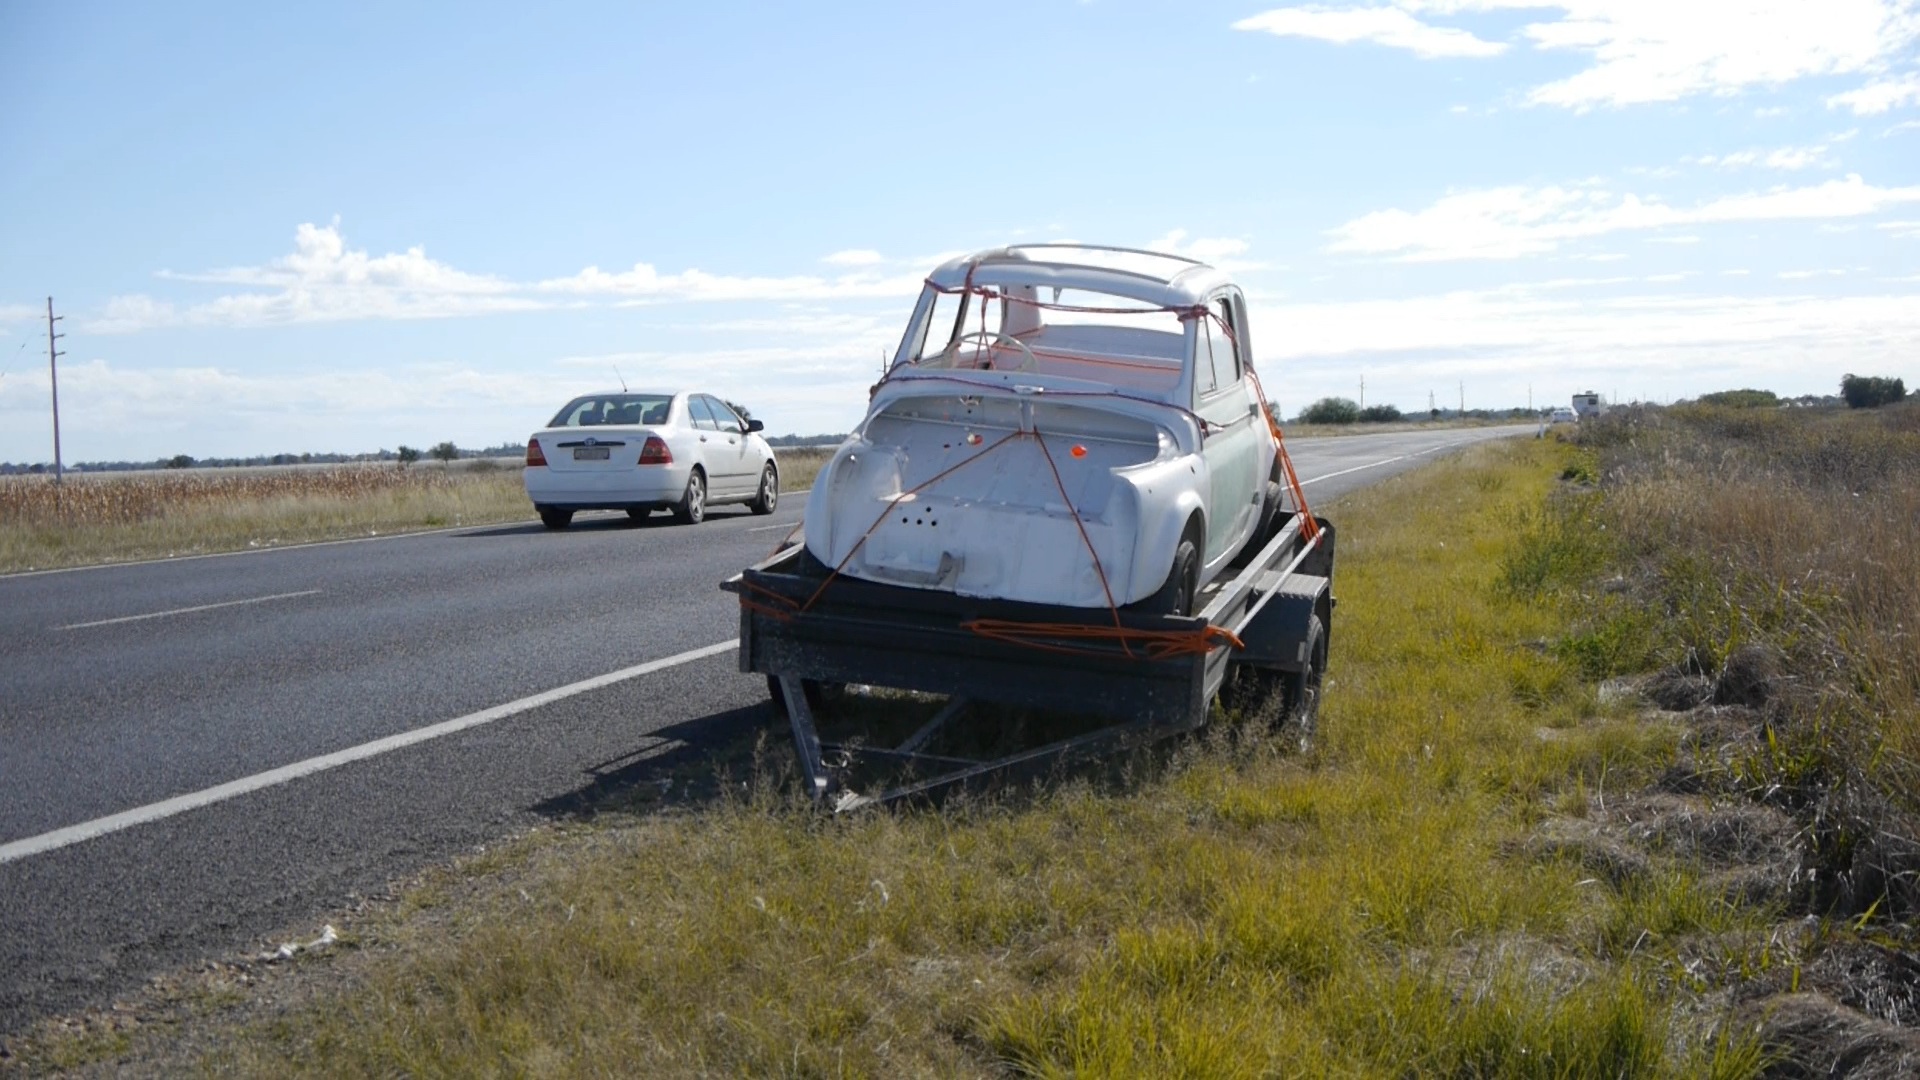
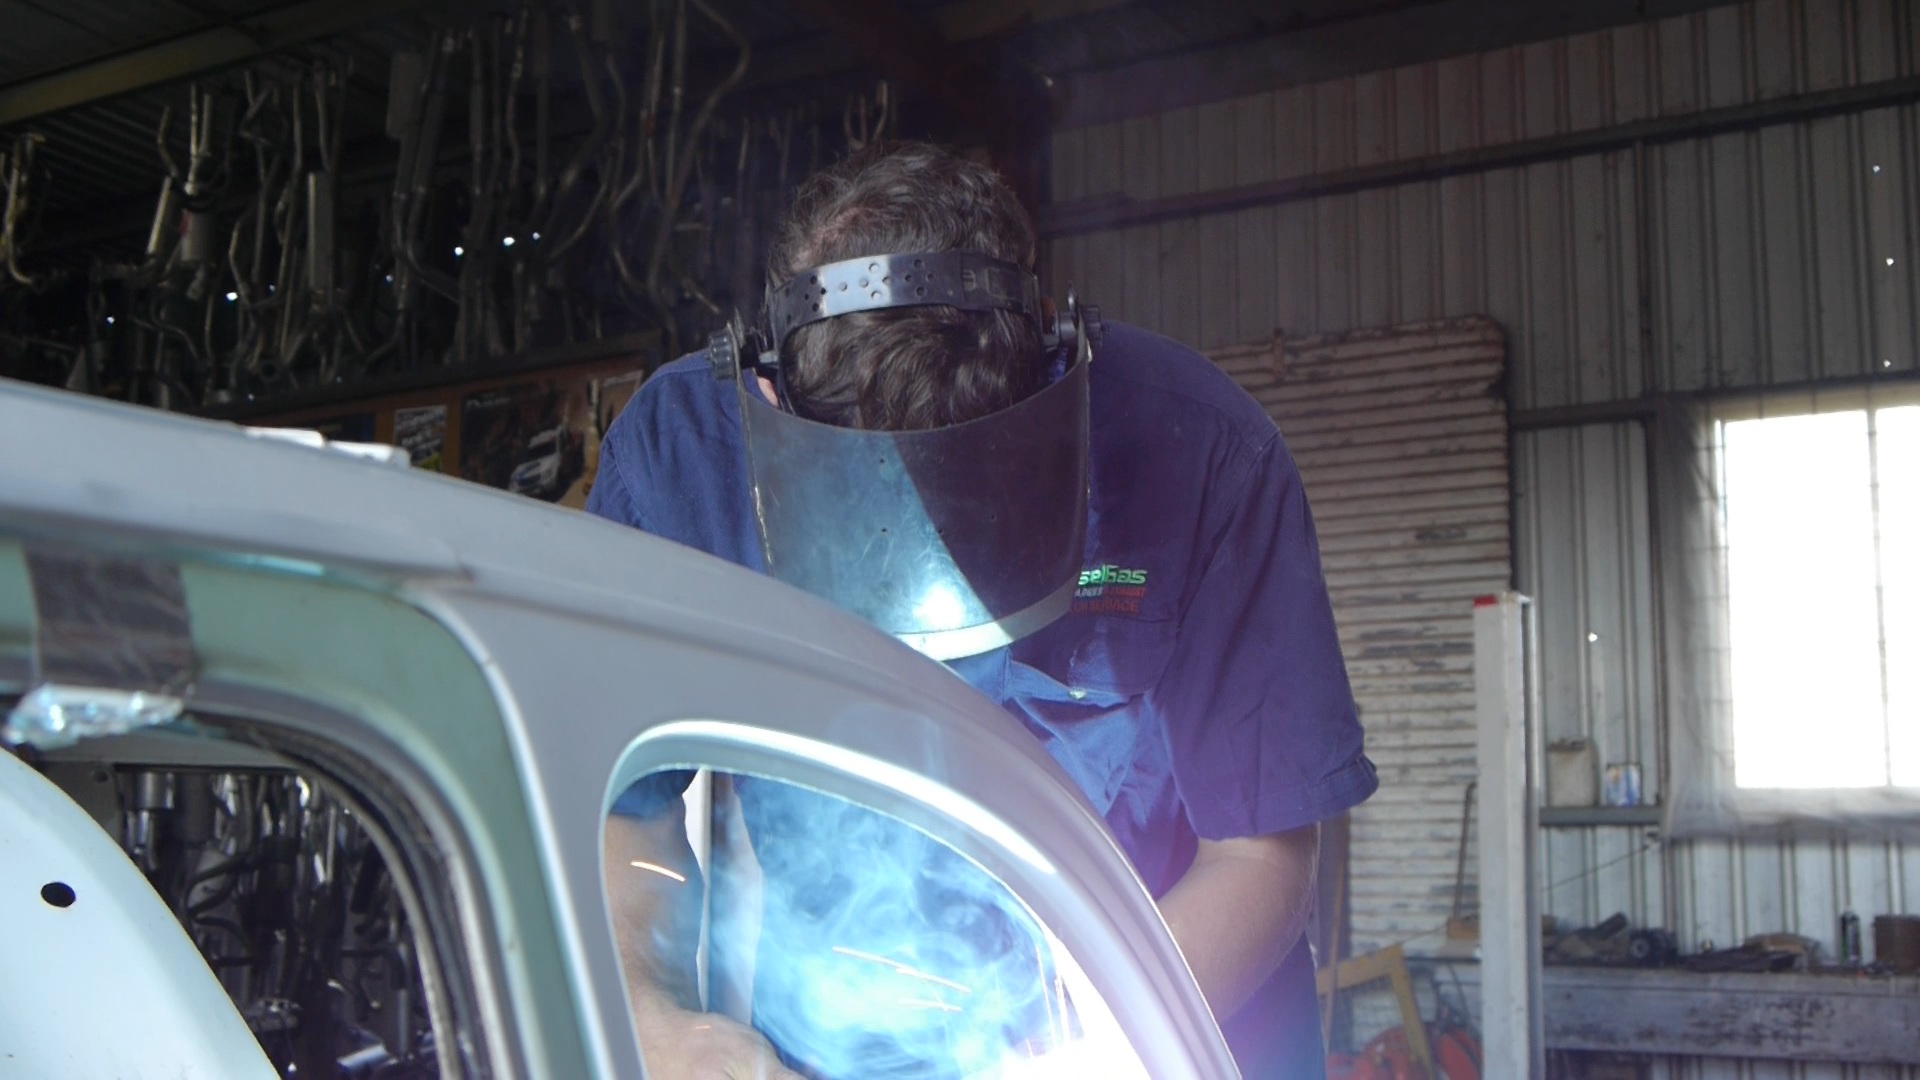
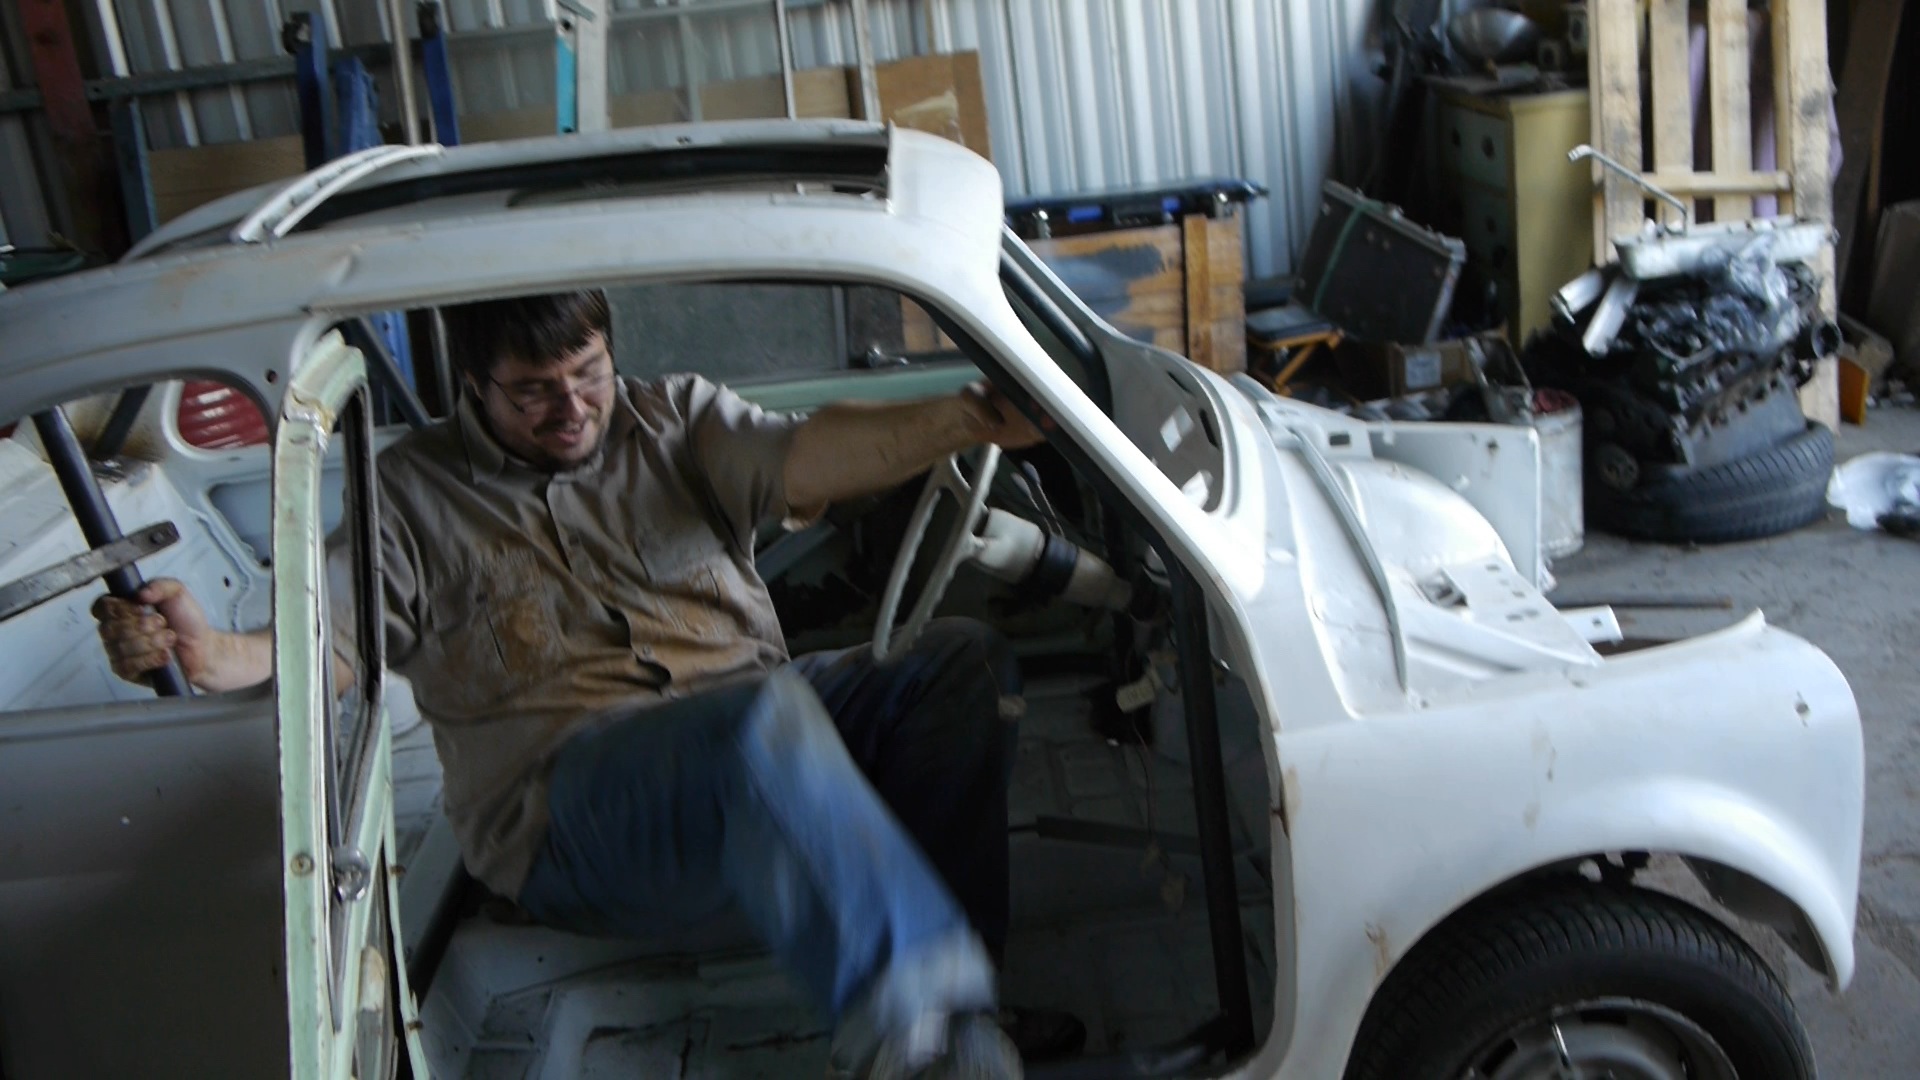
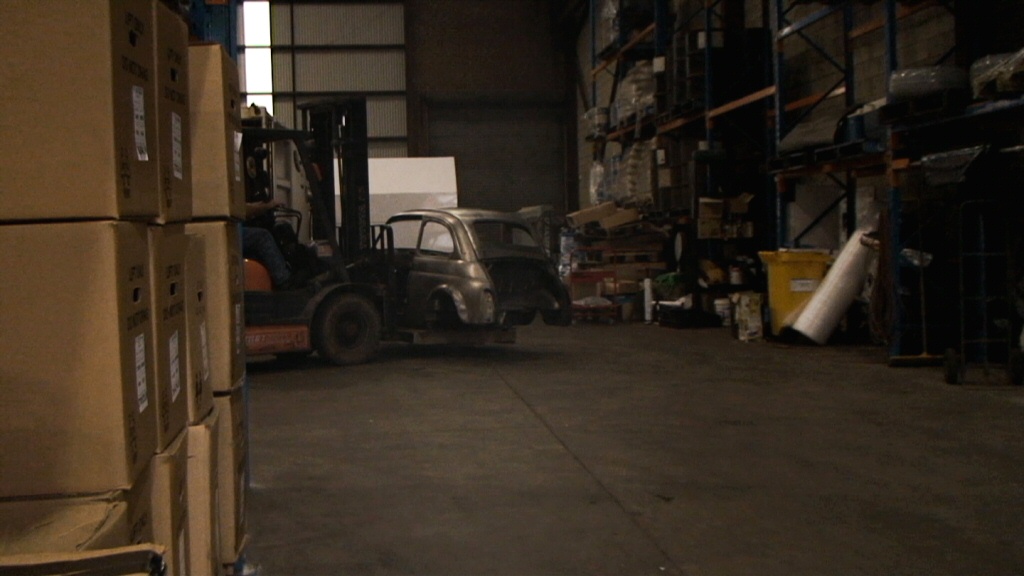
And then off to David Taylor's in Orange:


Please comment or ask questions and I'll try to help you with your own builds etc. -

Nat.
Wow, your timing could not be better! I'm new to the forum and am just beginning almost exactly the same project on a 61 d in NZ. I wish mine looked that solid though, my first job is new inner and outer sills and floor on both sides... I'll be watch your posts with great interest. One small question that may seem a long way off when just starting out on a resto but can anyone enlighten me on the relative merits of either using a modified 500 loom or a modified 126 loom in cars with a 126 conversion?

Cheers Roger
 
...can anyone enlighten me on the relative merits of either using a modified 500 loom or a modified 126 loom in cars with a 126 conversion?

Cheers Roger

Hi Roger! I'll subscribe to your build if you have a thread set up - let me know.

We're running Nikki hybrid engine combo (Nikki block with VW Beetle barrels), and the loom changes are minimal. Maybe 3 extra wires 'out back, and some new sensors. It's not finalised yet, but I'll give more detail when we start fitting and finishing the driveline. I don't think there's enough difference to warrant a loom swap, but if you're putting all t he 126 bits in, it only takes 15 minutes to refit the loom (assuming a stripped shell). Hope this helps!

Okay, update time: Body repairs and Epoxy Priming continues at David's shop. He found that there were too many tiny holes in the floor to weld individually, so some plating has to be done (shown in pics).

 
Our little 500's looking much better now that the metalwork is properly sorted! David, our painter has been busy repairing the underside. He's applied sound deadening/stoneguard in a similar style to the factory. The underside, wheel wells and engine room have received a nice coat of beige paint, and some careful hand finishing. The rest of the body remains in white primer. We'll get to this when the mechanical work is well underway.


Andrew (pictured) has been busy re-fitting the rebuilt suspension and larger brakes. Some parts need to be made, like the rubber coil boots. We had aftermarket replacements (origin unknown) that simply fell apart when tightened down - so some industrial rubber was cut to size instead.


And here are some stills from our time in Italy (Sorrento) - I loved this little 500r (or L?) Arbarth replica. It had a matching scooter to go with it, but sadly I don't have a picture of it. (If you know the owner we'd love to know more about the car) Also, a sad little Bambino up in the hills above the city.

If you're restoring a 500 and have any questions I'm more than happy to help out, also, we'll subscribe to your builds if you have a thread going. Have fun!
 
Operation Resto Fiat 500 "Bambino" gets a vintage-style Roll Cage

First things first: Yes, that's our tow car on a tow truck... oh the irony. Thanks to the local NRMA boys from Moree for towing us in so we could make our workshop appointment, and Aaron for rescuing the trailer.


As our little Fiat 500 is destined to be used as a city car, some chassis reinforcement is installed so that Katy (pictured looking sad) doesn't get squashed by impatient SUV drivers. An original style roll cage is a good option because the modification to the vehicle is minimal. To return the car to stock, one need only unstitch 4 to 6 weld points on the body, and the cage can be cut out in 4 sections. We've opted to do the installation before the interior is painted, so the cage can be painted up as well. Intrusion is minimal and all interior fixtures will fit around the bars, although the sun visors require 1.5" extension rods which we'll cover later on. Aaron from DieselGas Moree shows us how to cage a classic in less than four hours!


Note the small-radius bends and pinch-mouth joints. Combine these elements with narrow, thick wall tubing and you get a nice 60's boy-racer feel.​
 
Back
Top