I have been "bricking it" occasionally when encountering unexpected hold-ups on the twisting and unlit roads where I do most of my driving. It's scary to be round a corner or in a dip in the road when 38 tonne lorries are battling to keep up with timings. There is also the very remote possibility that a Fiat 500 might break down...in fact mine did just that, in the dark, a week ago.

The original posting wasn't much help to me but with a bit of research I found that you can get a switch that's not too ugly, is easy to fit and which has its own relay so that the hazards can function independently of the direction indicator. The one I bought was on Ebay UK for about £13; no point linking to it as Ebay links can die.
I found that there are some unused holes under the dashboard, one of which is in just the right place, so I drilled an extra one and used two M6 nuts and bolts, using one to secure the earthing eyelet, and fixed it firmly:
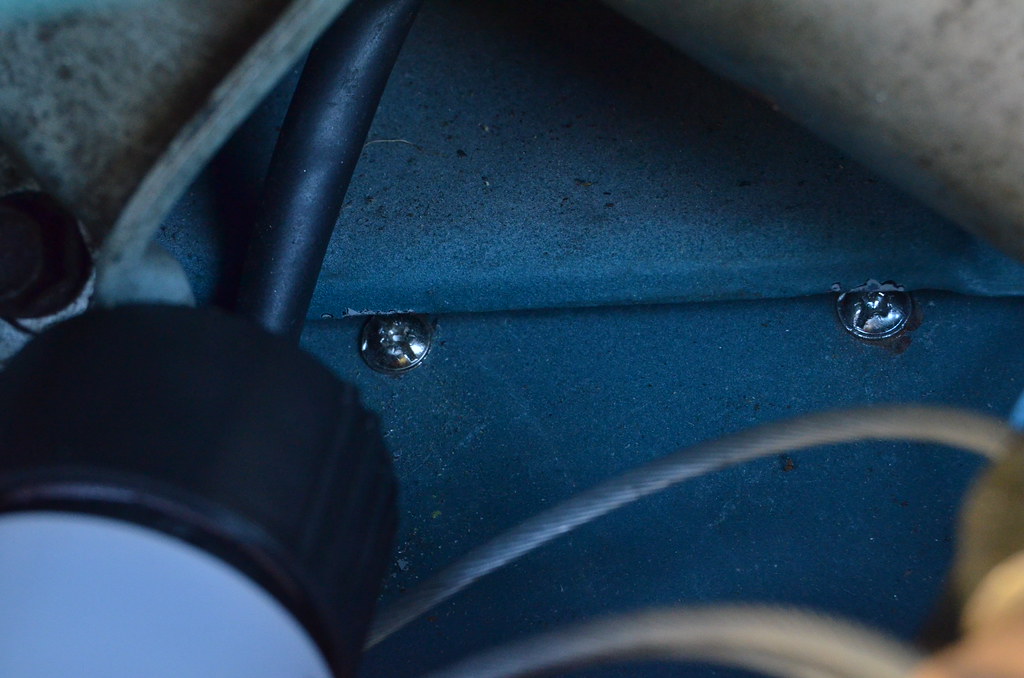 MAL_5740
 by
Peter Thompson, on Flickr
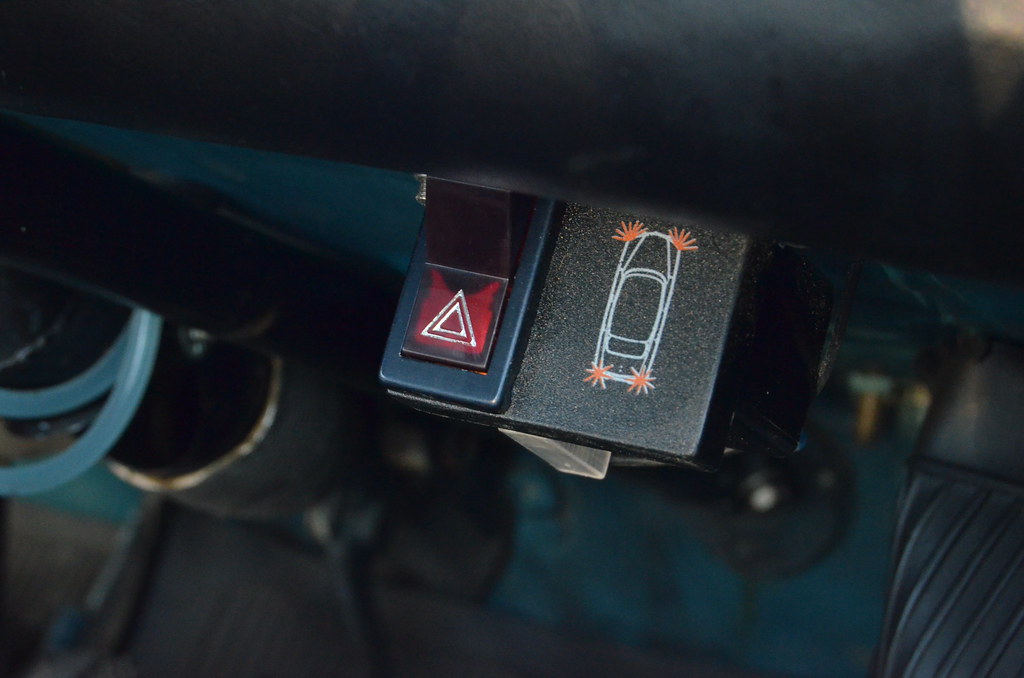 MAL_5734
 by
Peter Thompson, on Flickr
In addition to the earth cable, the prewired unit unit comes with two outputs which are to be connected to the indicator circuit for each side of the car and the supply feed cable. These are in a cute, sleeved loom which I threaded through a grommeted hole that I had to drill through the bulkhead. The cables needed extension; I joined the cables using solder and then heatshrink sleeving.
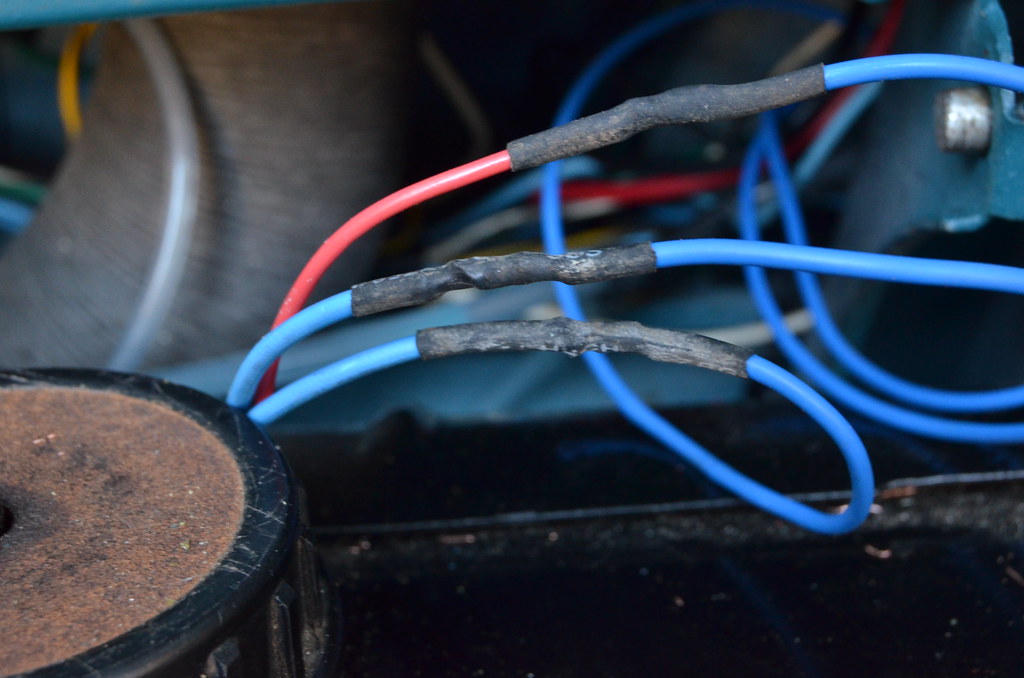 MAL_5729
 by
Peter Thompson, on Flickr
I wanted to have minimal impact on the original wiring and having been warned off Scotchloks I needed to get into it at existing terminals. I found that the fused terminal 1 of the fusebox has an unswitched feed from the battery, which would ensure that the switch could operate when the ignition was turned off...a legal requirement in the UK. Just above the fusebox there is a square connector that links the front an rear indicator circuits and the sidelights. The spade connectors have a special tag which lock them into the connector. It took a bit of force to remove them and then the tag needs bending back before reinserting. I cleaned up all the spades and soldered the appropriate cables in place. A bit of insulating tape gave some extra security.
 MAL_5731
 by
Peter Thompson, on Flickr
All cables were tidied up and taped together into the existing loom and secured under the metal tabs.
So now I have hazards. Hooray. What do I modify next?
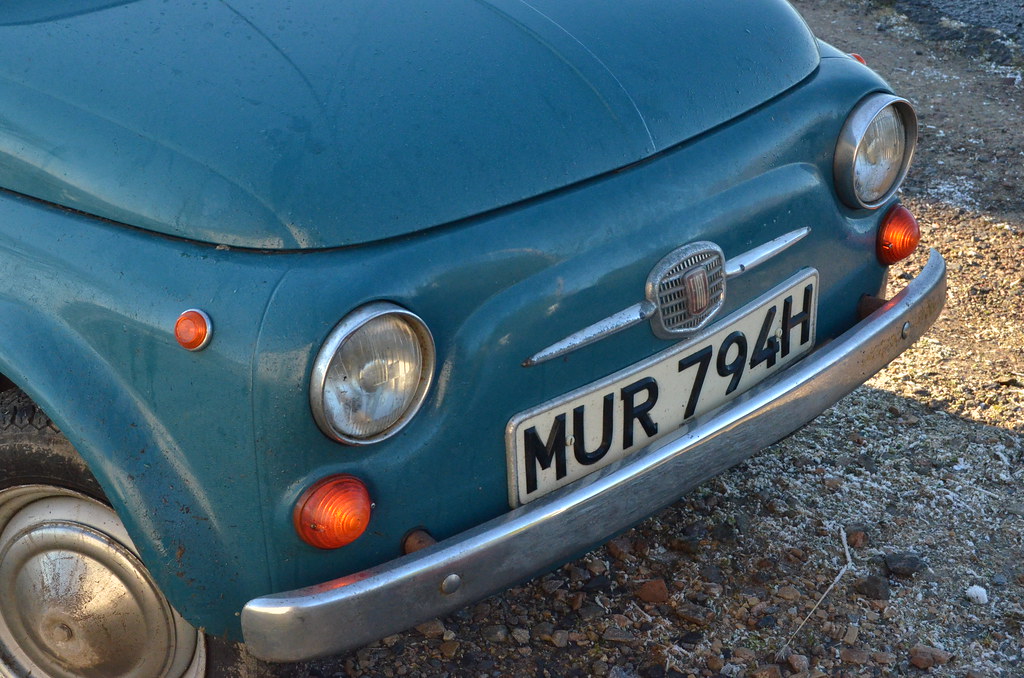 MAL_5739
 by
Peter Thompson, on Flickr
Yes I know it needs cleaning.

