General Internal door panel removal

Currently reading:
General Internal door panel removal

Dave G

New member
Joined
Jul 10, 2006
Messages
28
Points
12
Can anyone tell me the sequence and parts I need to remove to get access into the front doors?
I can just pull at stuff but dont want to break any of the fasteners because I dont know where to pull or what kind they might be.
Thanks in advance.
 
I take it most dont know or havent needed to access the bodywork in anyway.
Do these workshop CD manuals sold on ebay contain this info or is that all about squish clearances and injector pressures(ie purely technical and no use to me).
Oh for a humble Haynes manual:rolleyes:
 
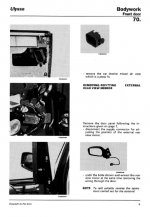
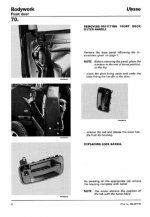
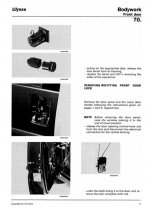
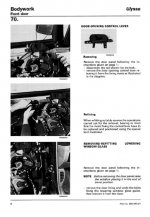
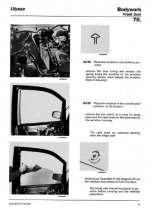
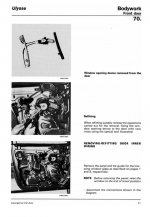
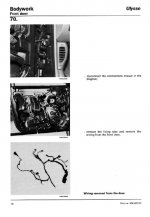
The following jpegs are from the CD Manual (from ebay). The pdf is too big to upload.
If you can't read them then PM me.

Edit: Oops. Just noticed you have the new shape Ulysse, and these diagrams are for the Mk.1 :eek:

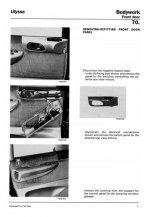
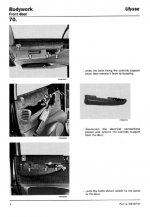
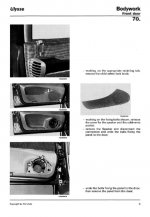
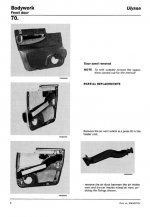
Slide1.JPG

Slide2.JPG

Slide3.JPG

Slide4.JPG

Slide5.JPG

Slide6.JPG

Slide7.JPG

Slide8.JPG

Slide9.JPG

Slide10.JPG

Slide11.JPG

Slide12.JPG
 
Last edited:
Thanks cardiff
Thats actually more useful than you think.
If its an example of what I can get on the CD manual then its worth my while getting one. I can do the little jobs myself quite easily but if I cause more damage than I solve then its not worth attempting.(y)
 
Ok, removing the front door panel is a bit hit 'n' miss the first time but once you found all the screw locations, it's a doddle.

1. Prise out the electric window control panel using a flat-head screw driver. Disconnect the two connector blocks.

2. Look down through the hole you've just exposed and you'll see the door release mechanism (wiggle the inside door release lever if you're not sure). You need to unhook the long silver rod/bar from the interior door release lever. It can be a bit awkward but should 'pop' out with a bit of force. Don't worry, it won't fall away, and is easy to pop back in when you refit the door.

3. Prise out the white interior light. Disconnect the connector block.

4. Now the screws! The locations are as follows:
- Under the little black cover in the handle/hole you use to close the door (that thing where you keep spare change and sweet wrappers).
- Down the panel edge nearest the door hinges (might be two here?)
- Two on the bottom panel edge
- Under the red reflector (prise this off gently with screwdriver)

5. Now lift the whole panel slightly and begin to pull away from the door. All the "pop" connectors will now cause you to have a heart attack as they release with a loud snap, but don't panic.

6. Once released, don't yank the panel too far as the (crap) speaker will still be connected. Disconnect the wire block connection for this and your done.

Fitting is the reverse of the above.
 
Last edited:
Sorry to Hi-jack your thread but this is similar to a problem i have but only in the rear seats, and didn't think starting a new thread would be needed.

What it is, I need to remove the plastic panel from the rear passenger seats (driver side) to knock a slight dent out, I can see 2 visable screw heads but is there any others? below the seat level? etc..... I've looked high and low and well it seems that there is only two screws, If you've got any ideas, any help you could offer would be much appreciated. (y)(y)(y)

Thanks in advance!

Appaz88


(Sorry i only used search engine to find similar posts, turns out this is Fiat MPV's and i want info on Punto MK2, I'll leave this up in here, Just in case)
 
Last edited:
Back
Top