

downhuman
New member
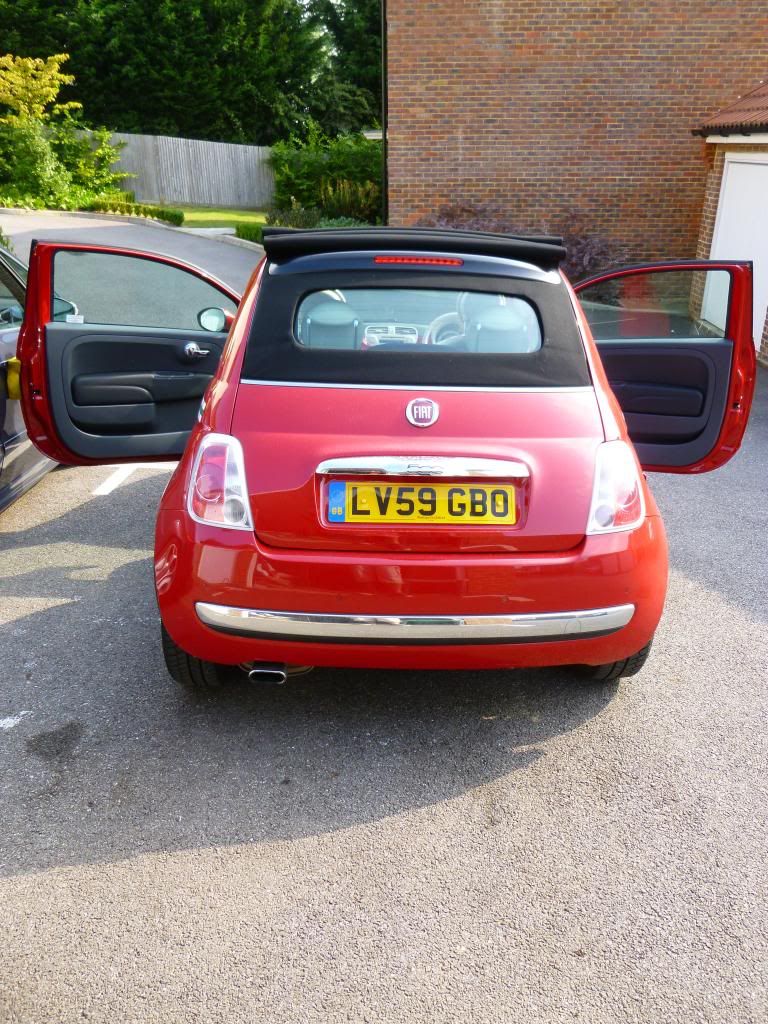
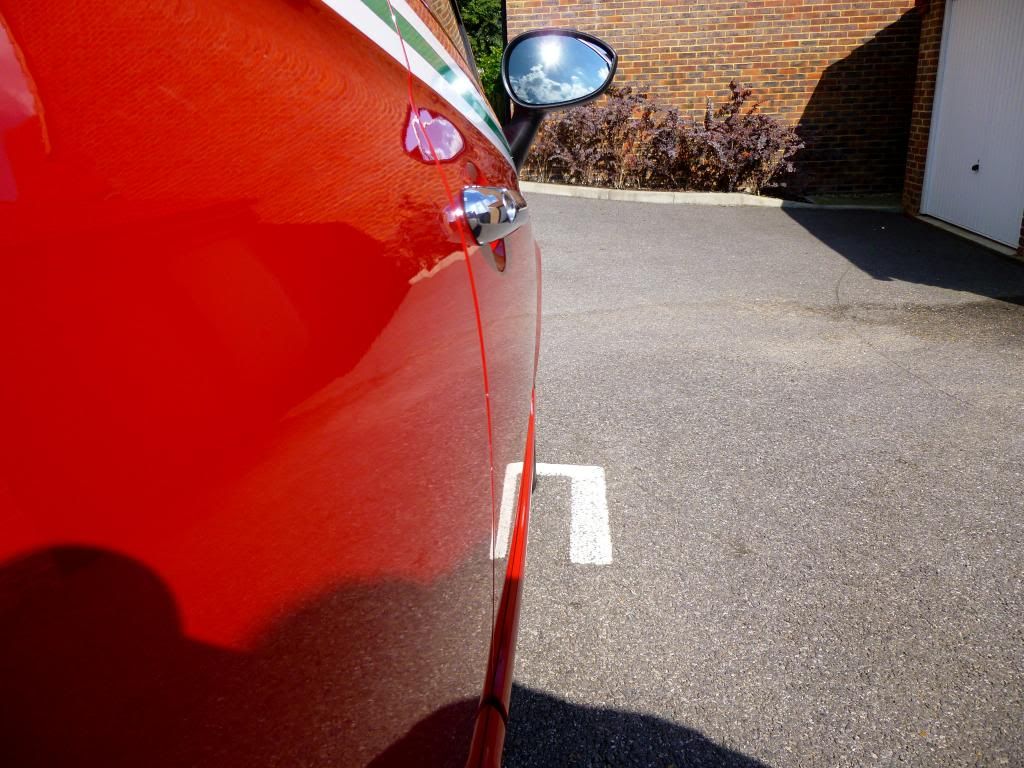
So, after a week or average weather today finally yielded the right conditions to do a detail of our new 500c (something I've secretly been looking forward to)
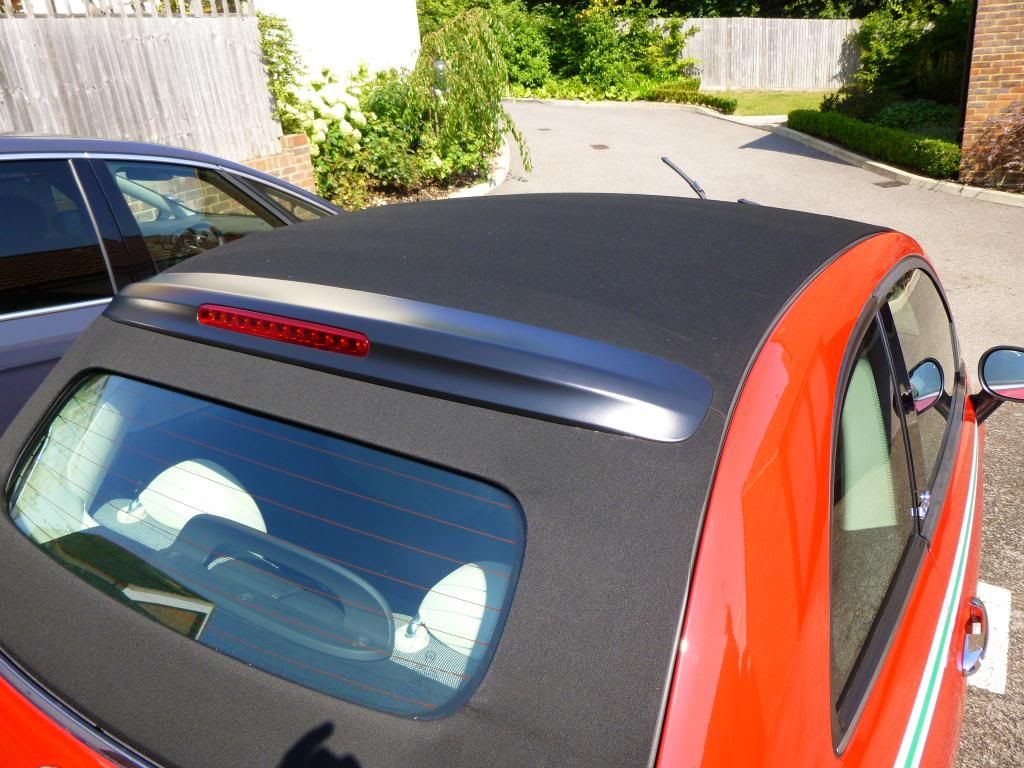
Of primary concern for me was roof maintenance as it clearly hadn't been done in ages. So, hand detail only - no time for a machine polish. But, to be fair, the swirling isn't too horrific and the results I'm pleased with for now!
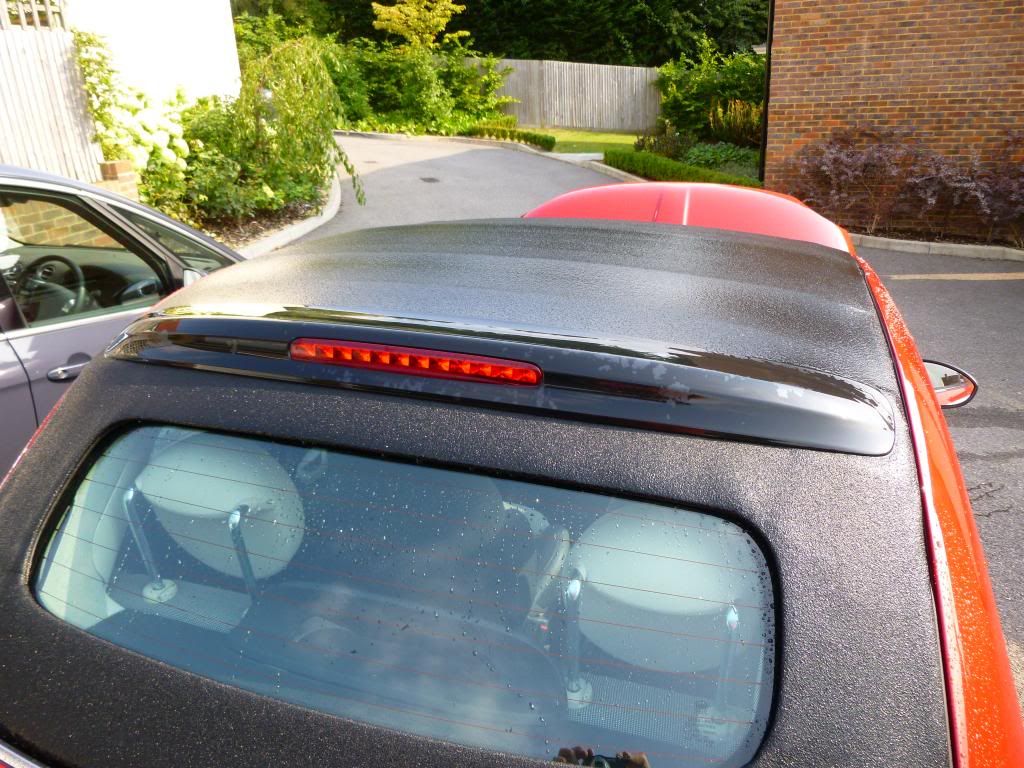
Before I started:


Old polish on the roof :S
So, not too bad - we bought it a week ago and the dealer had valeted it. The pics can't pic up the details but I wanted to ensure the following were sorted:
So, first steps first - the roof!
Wound it back:
And vacuum the runners etc before applying silicone grease to the mechanisms and a spray silicone to the exposed plastic under the roof.
Closed the roof again, then wetted down with an open hose
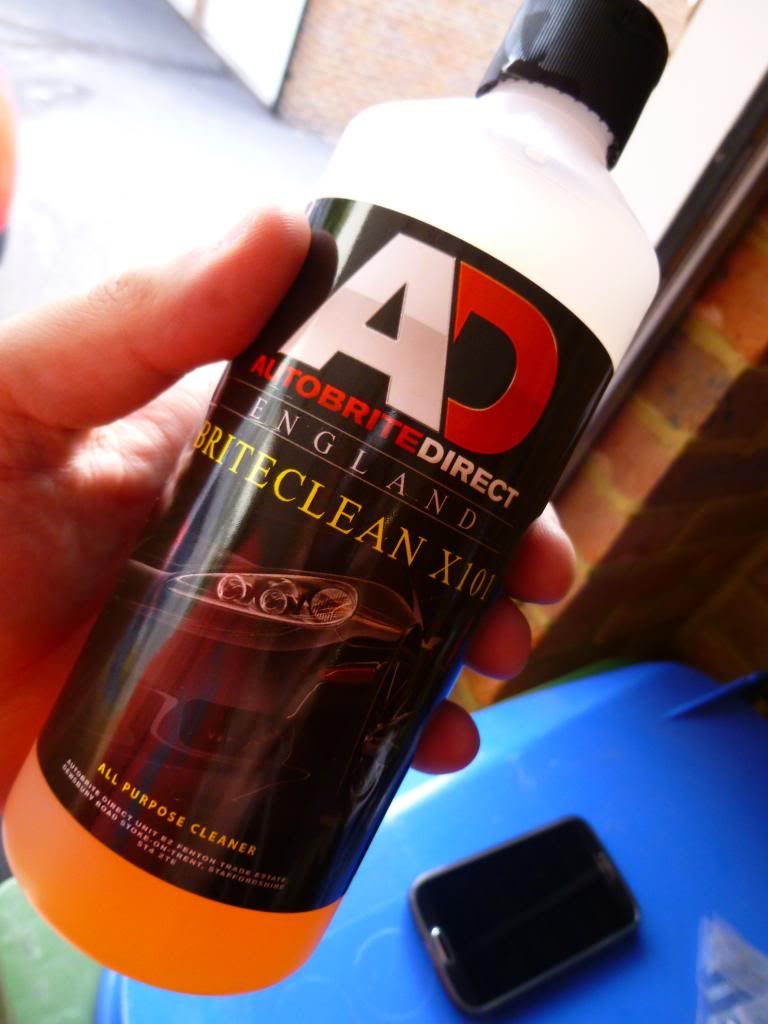
Applied a dilute mix of Autobrite APC
Then brushed it carefully through the roof

Rinsed off with hose
I wanted to leave this to dry properly so moved onto the interior and other jobs...!
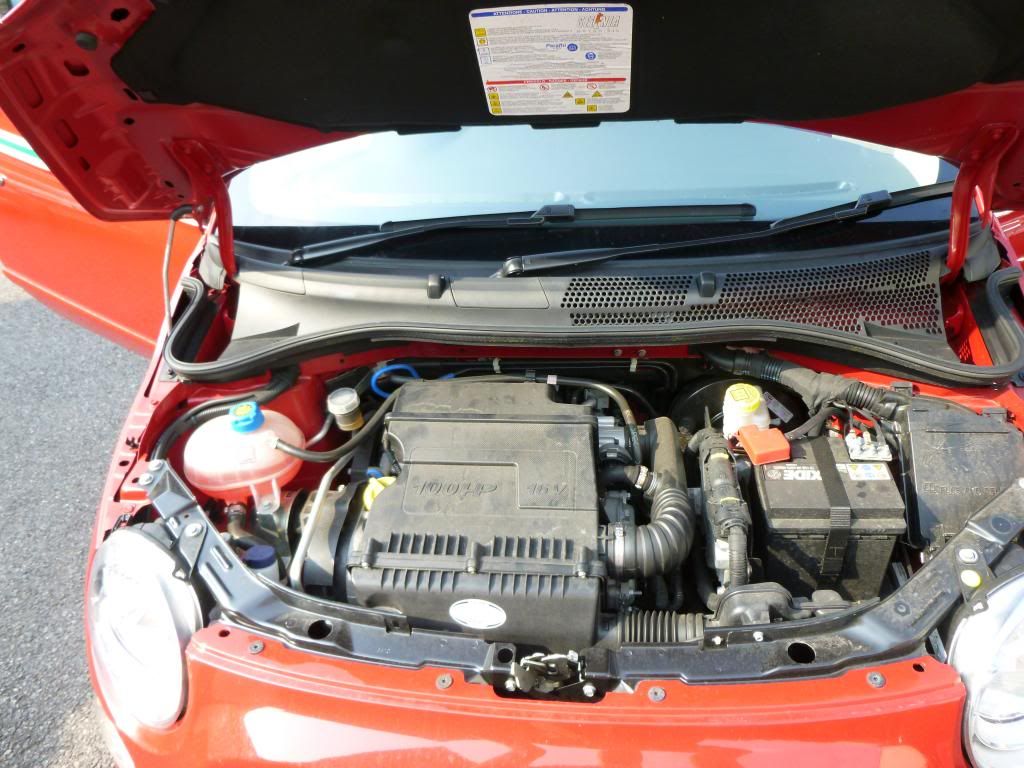
I'd popped the hood as Id wanted to tackle this before focussing on the interior...
So I applied Bilt Hamber DeOx rust converter and left it to do its thing.... I wanted to leave this to dry properly so moved on...
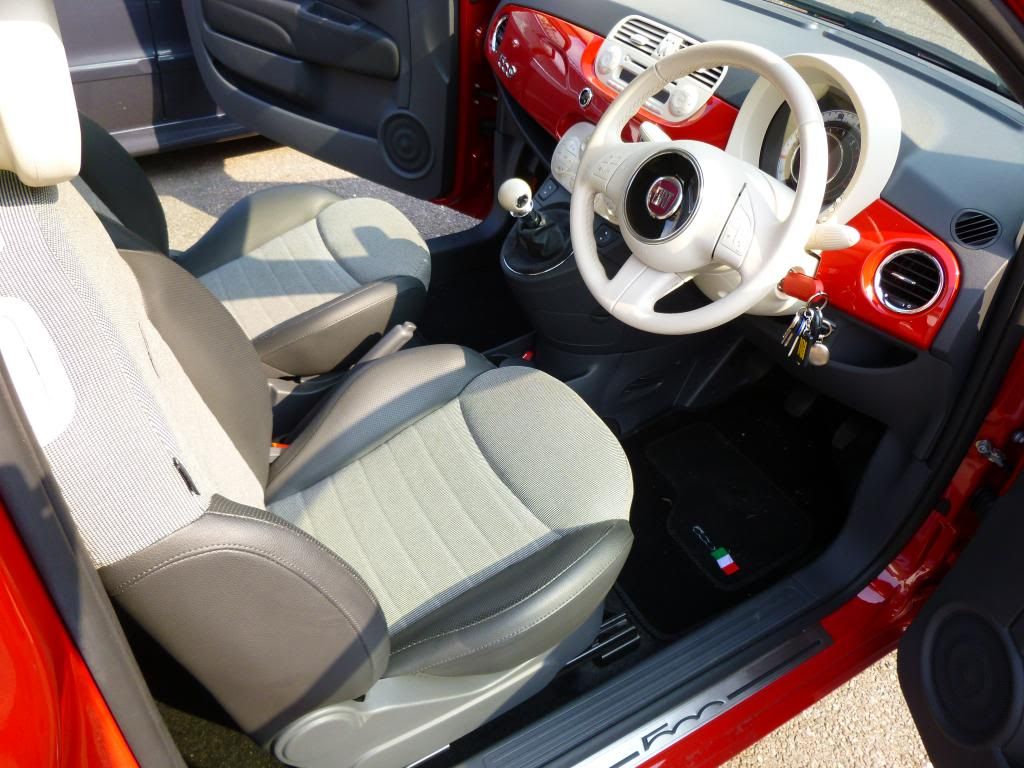
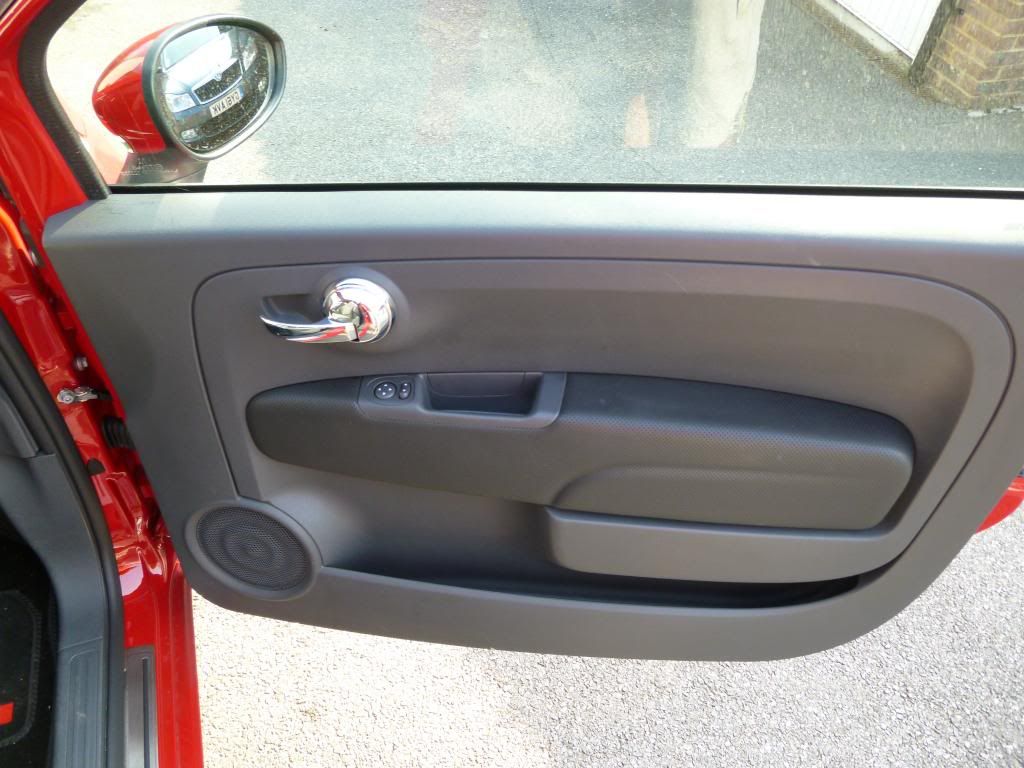
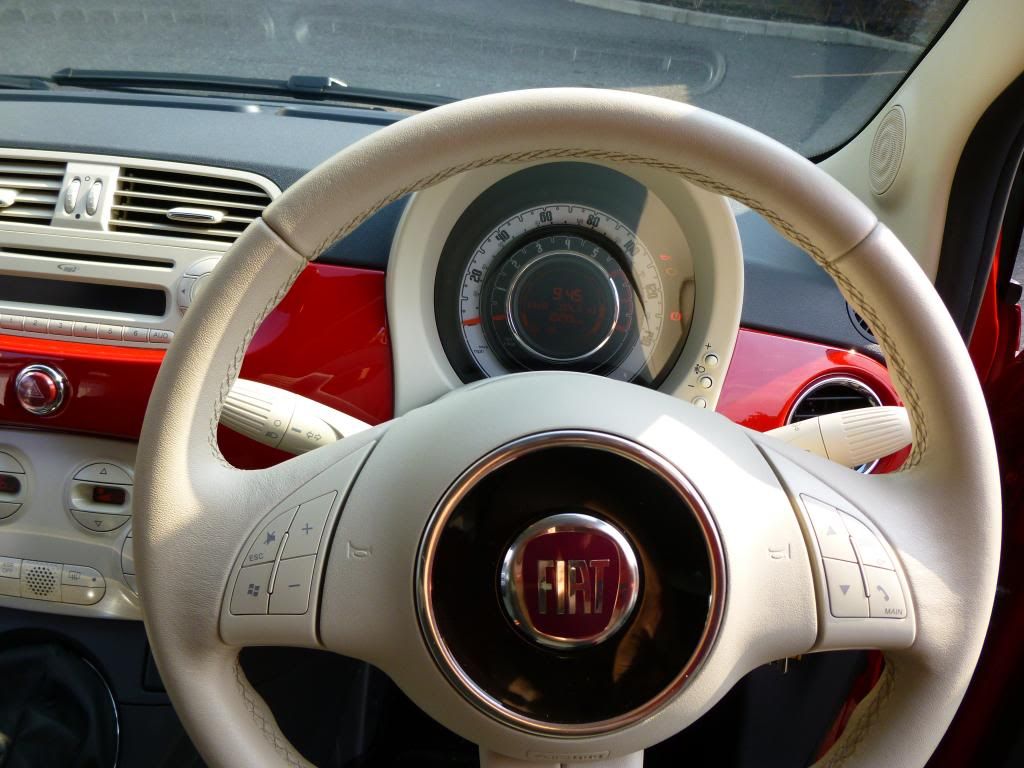
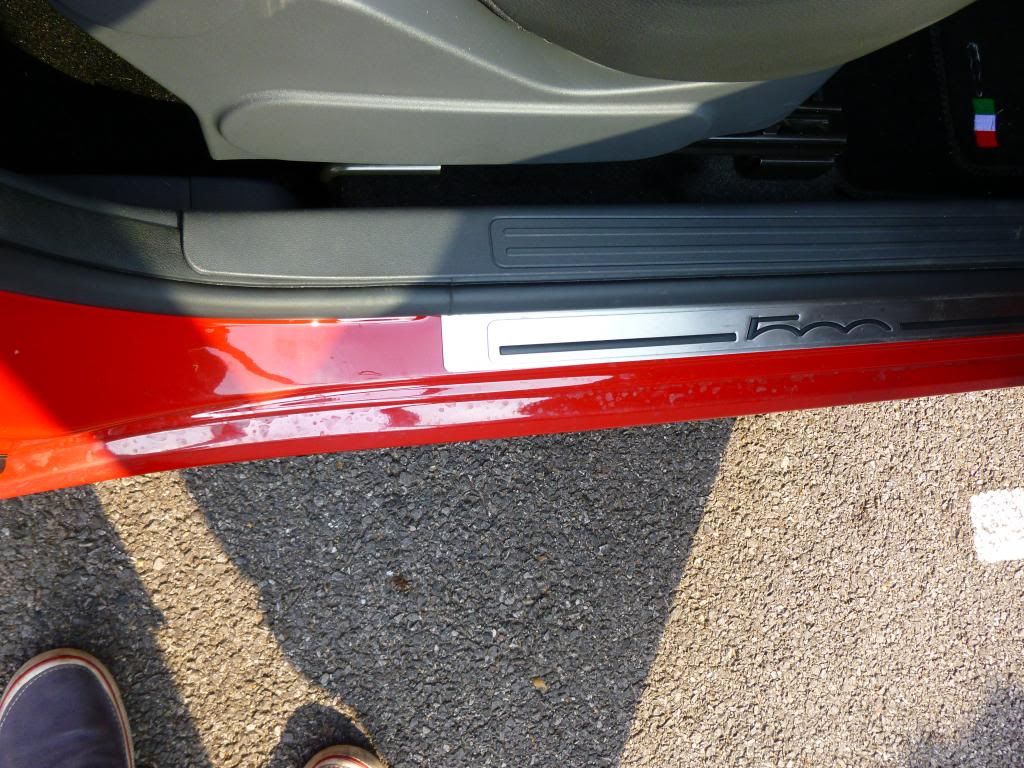
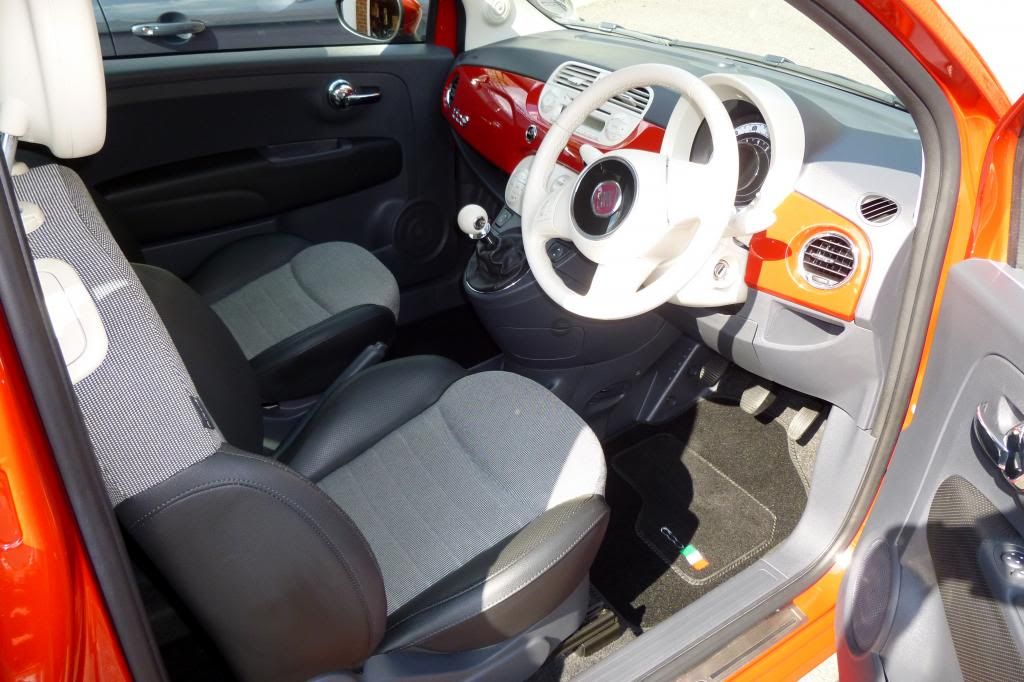
Interior:
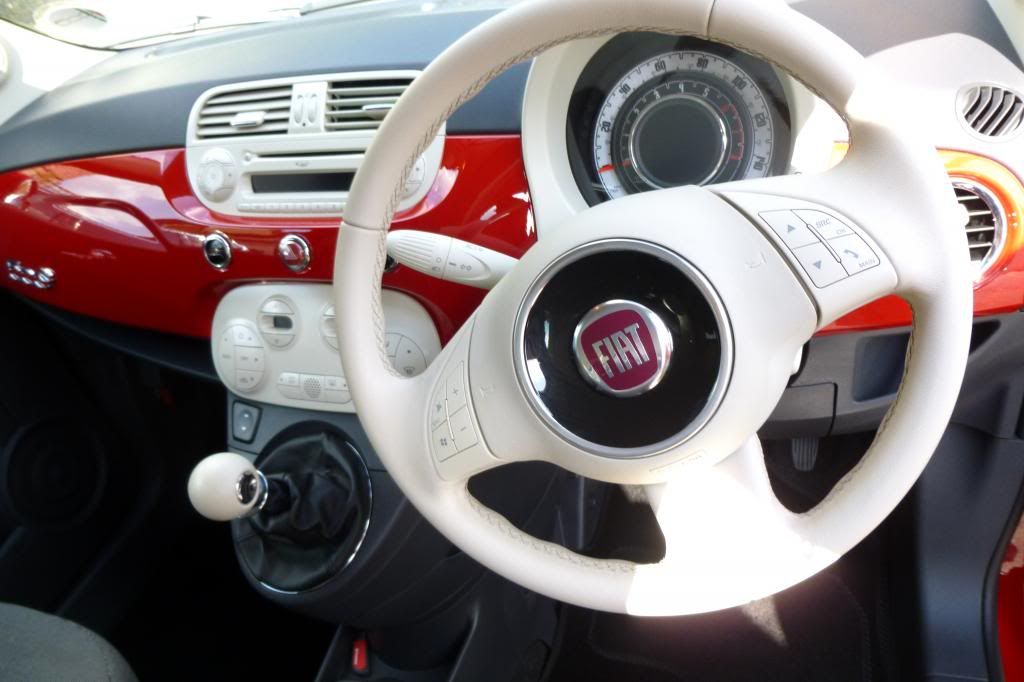
Hard to show the grime on the steering wheel - but this was the magic sponge:
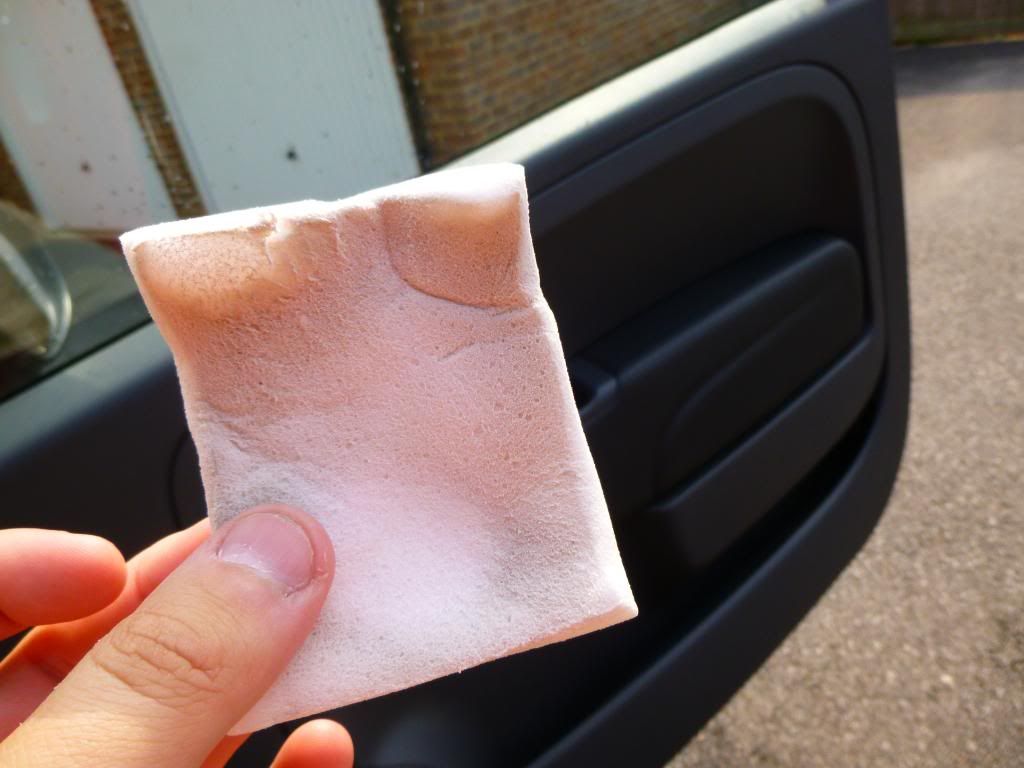
Clean:
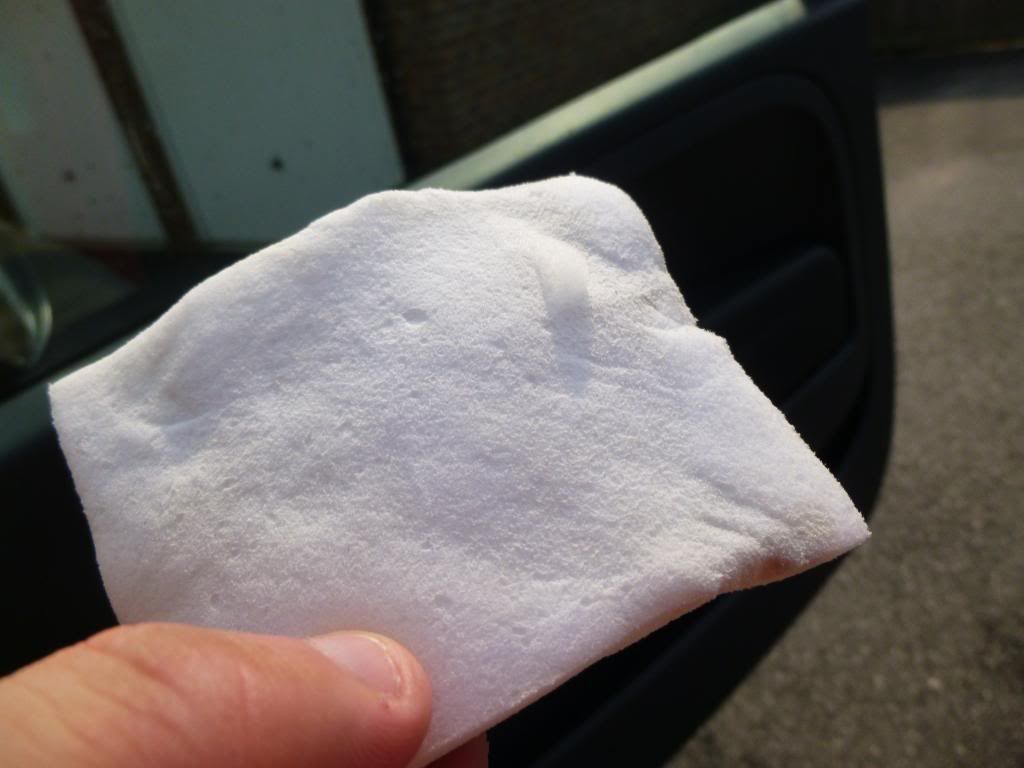
Dirty:
Now the interior was essentially done, shut the doors and popped back to the engine bay.
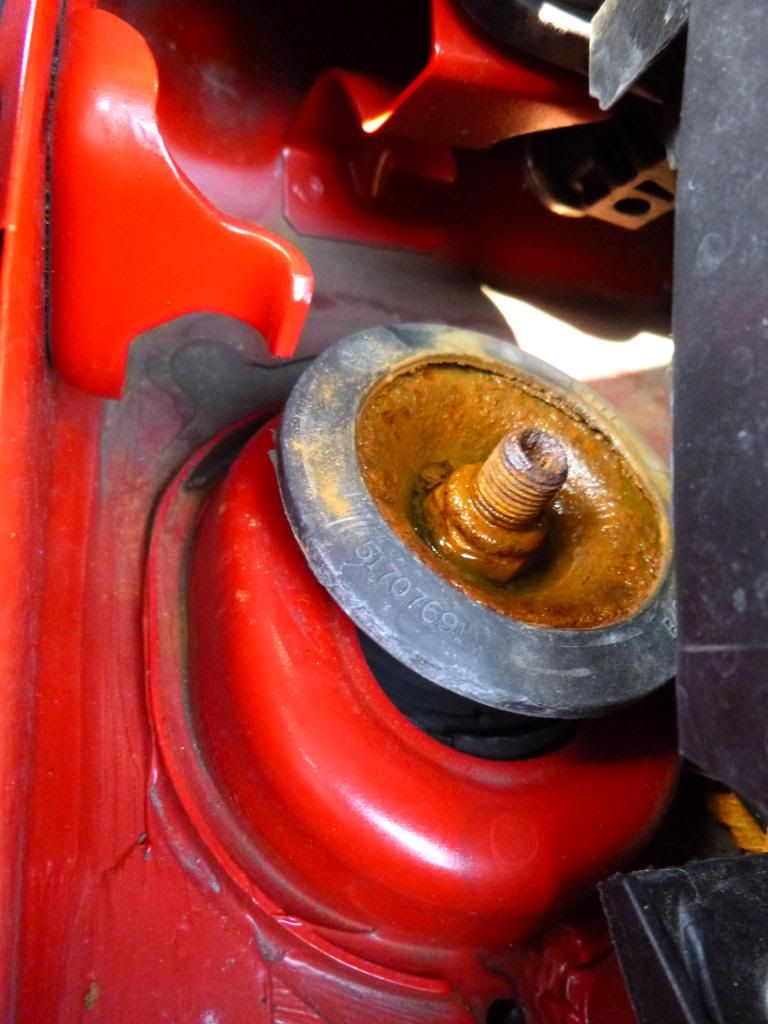
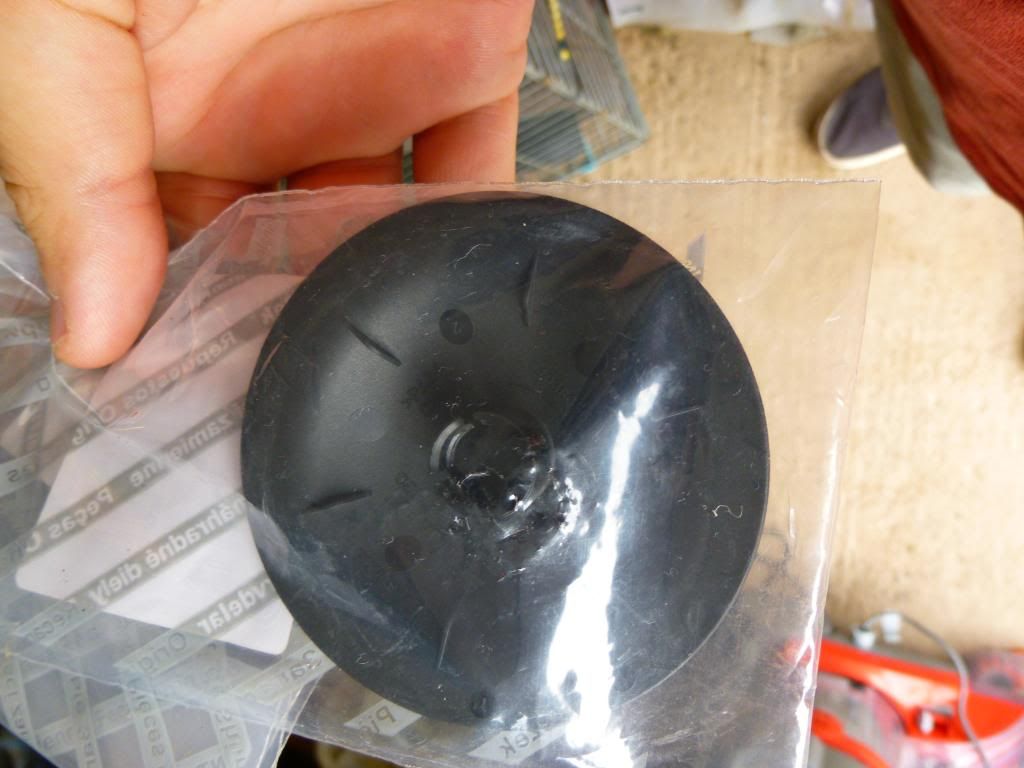
The DeOx gel was removed, then a small layer of this applied to the strut top:
And then these applied to prevent further issues!
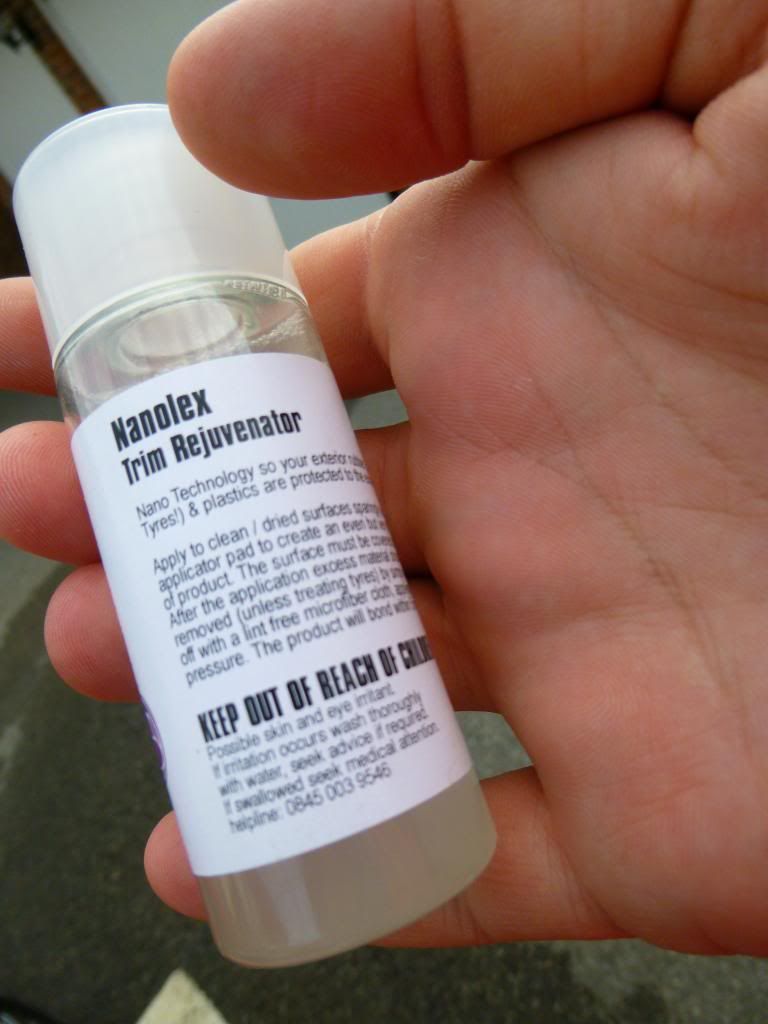
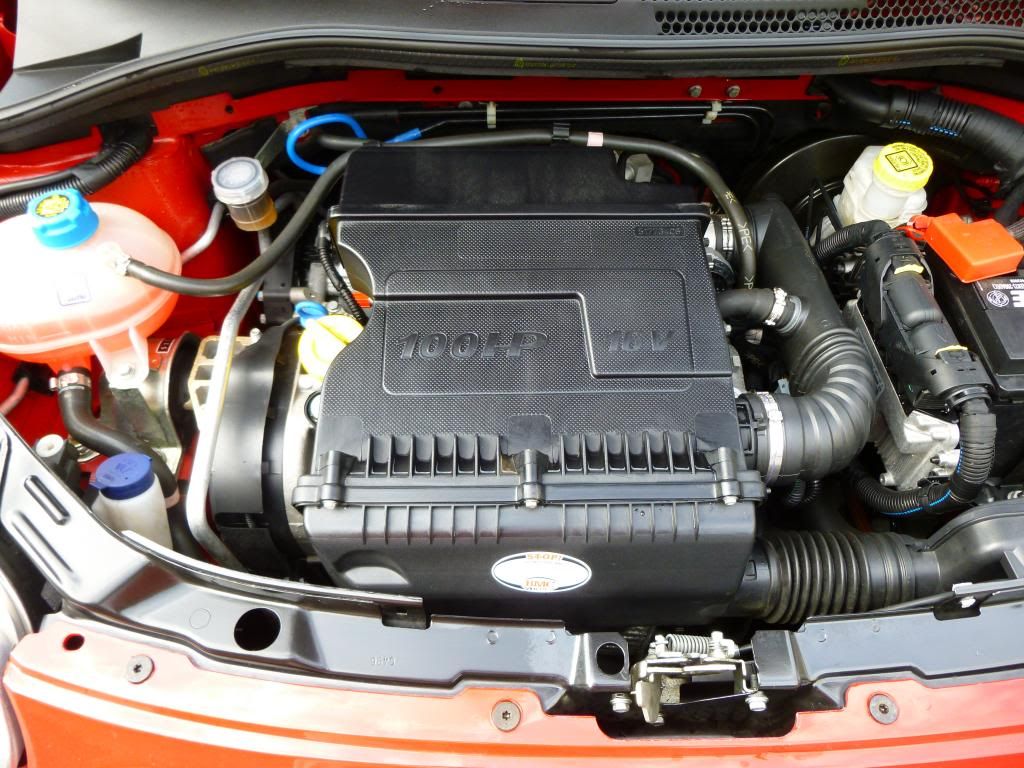
Engine bay was sprayed with Autobrite Jaffa, brushed and rinsed. Then, when dry, Nanolex trim rejuvenator applied:
Giving this:
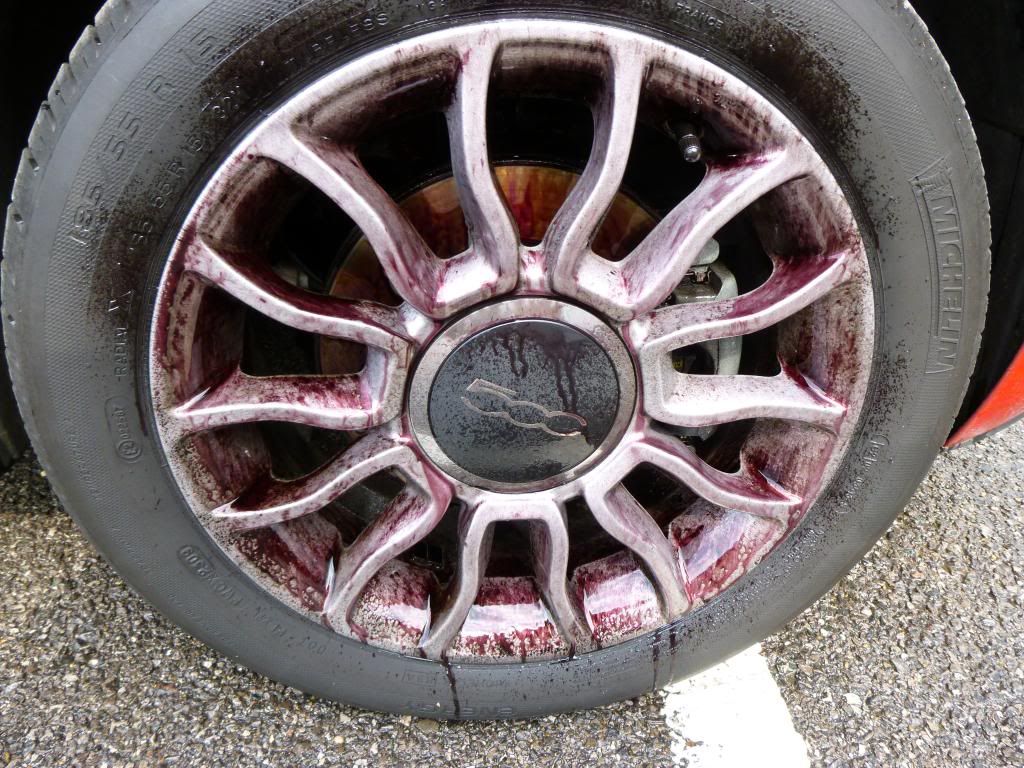
Now, onto the exterior. First job - those wheels! Broke out the best wheel cleaner going to see how far it could get with filthy wheels and no brush work...

Dwelling:
Sucking the grime off them!
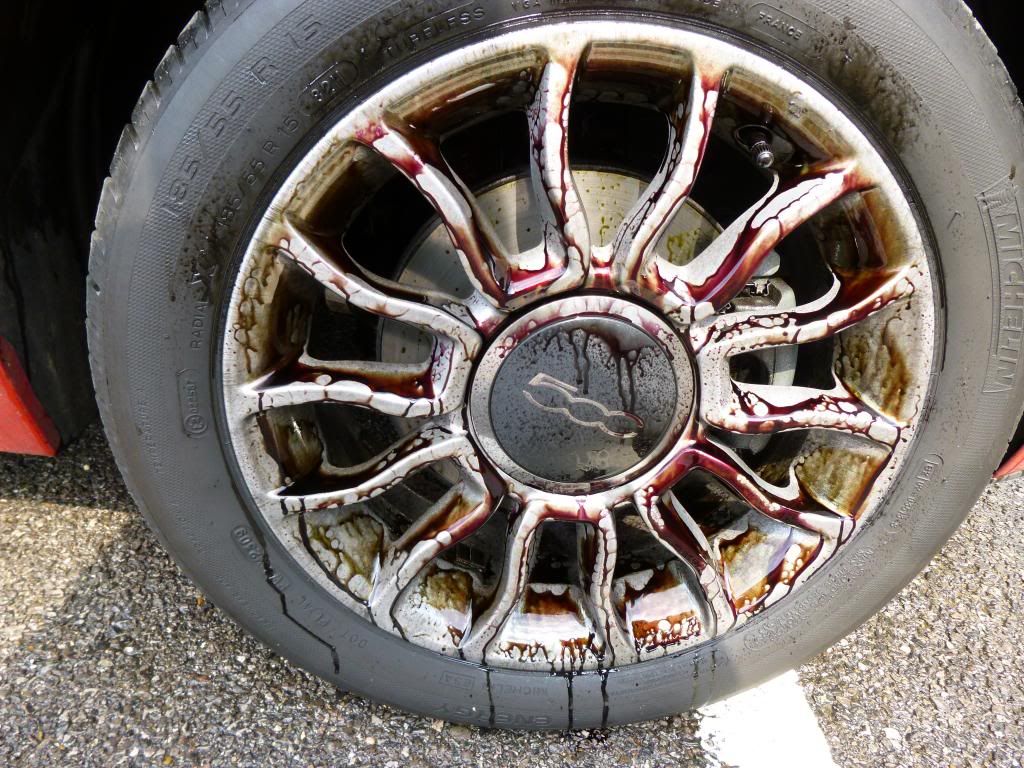
Rinsed to this:
Not perfect, but not bad!
I gave the wheels a hit with the same product and my brushes- tyres brushed down with APC too.
Then I washed the car, 2BM, with Dodo Supernatural shampoo, which I don't like but had to use up... Didn't dry it off and lots of decontamination to do.
Applied IronX Soap, left to do its thing (hardly any Iron deposits in the paint) and rinsed off.
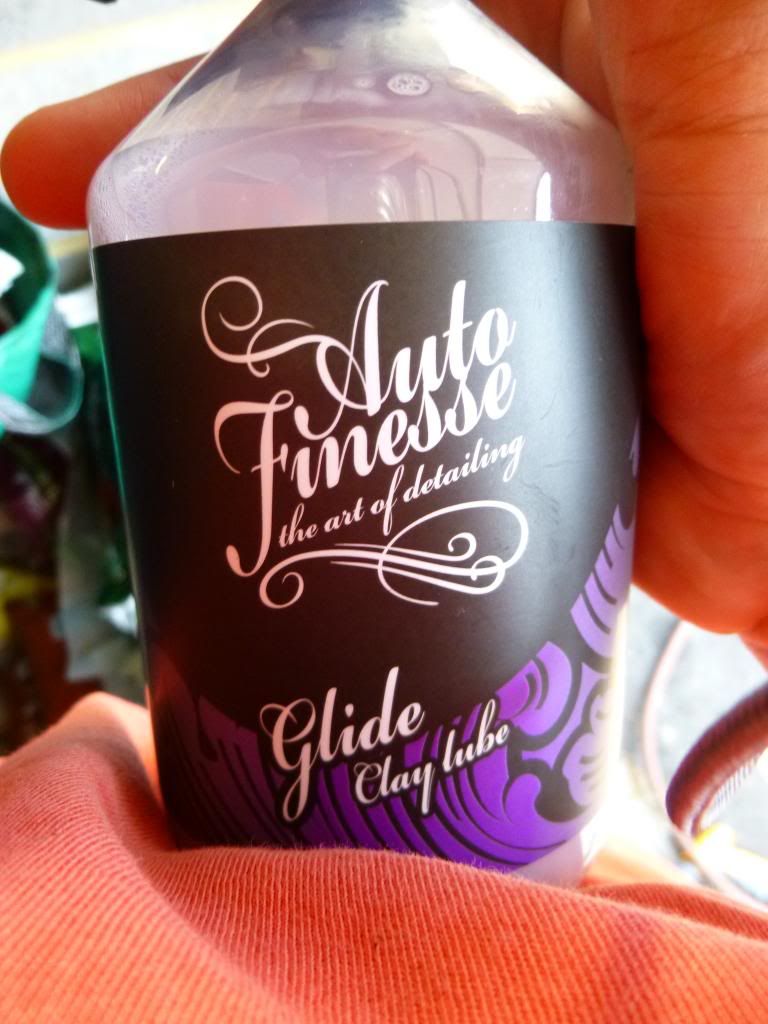
Then clayed using Zaino Clay and this:
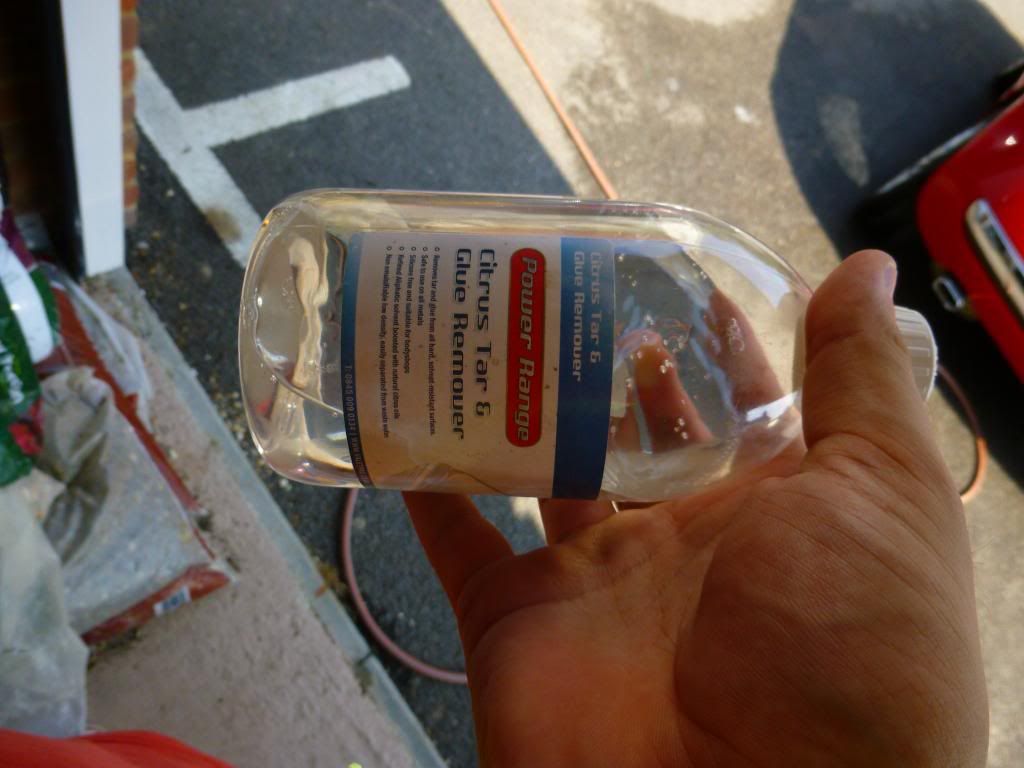
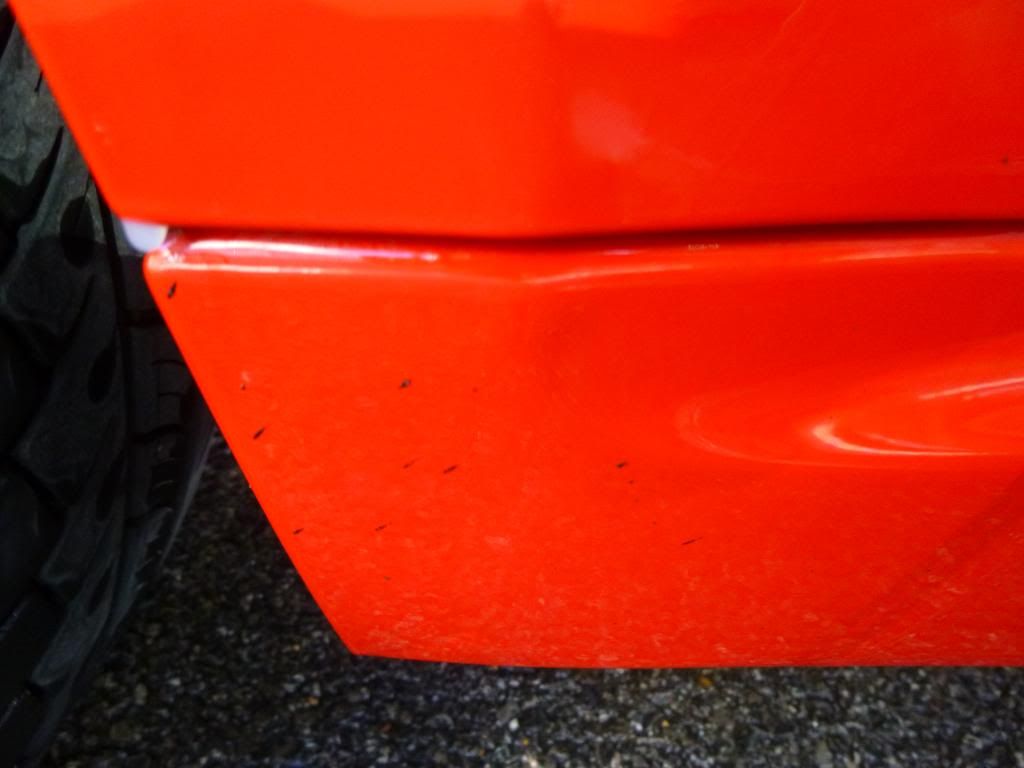
Hardly anything on the clay - which surprised me - but tonnes of tar to shift.
Spent a while de-tarring the car, rewashed it and rinsed off with filtered water - then dried with plush towels leaving this:

Not bad, but small swirling evident:
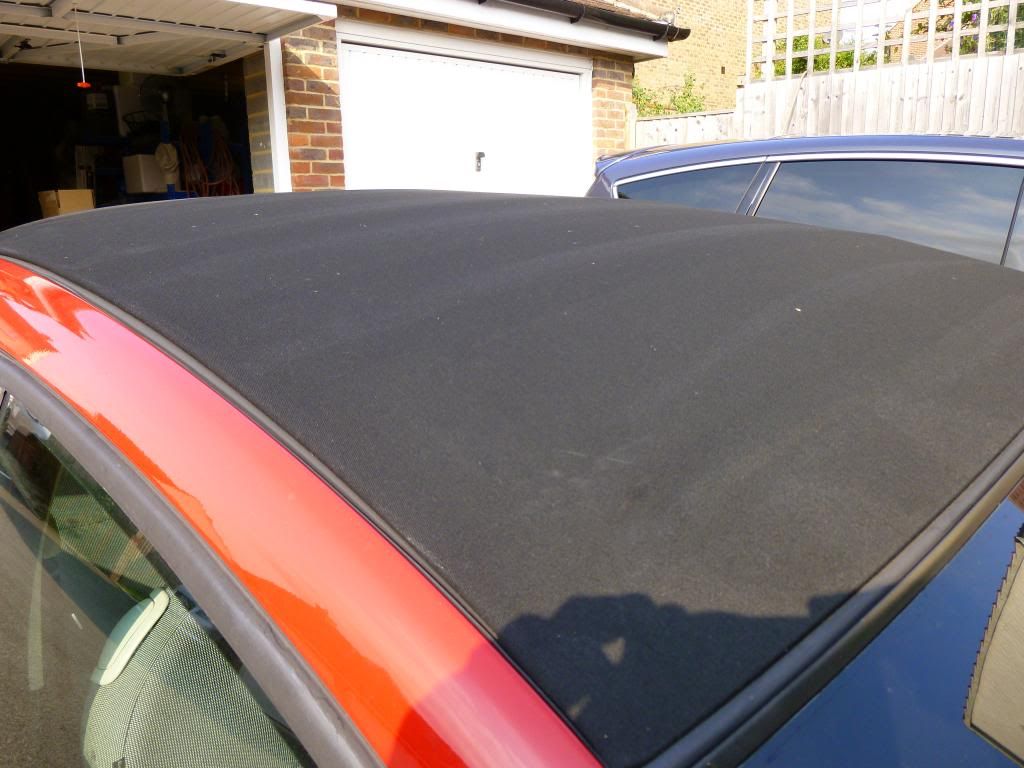
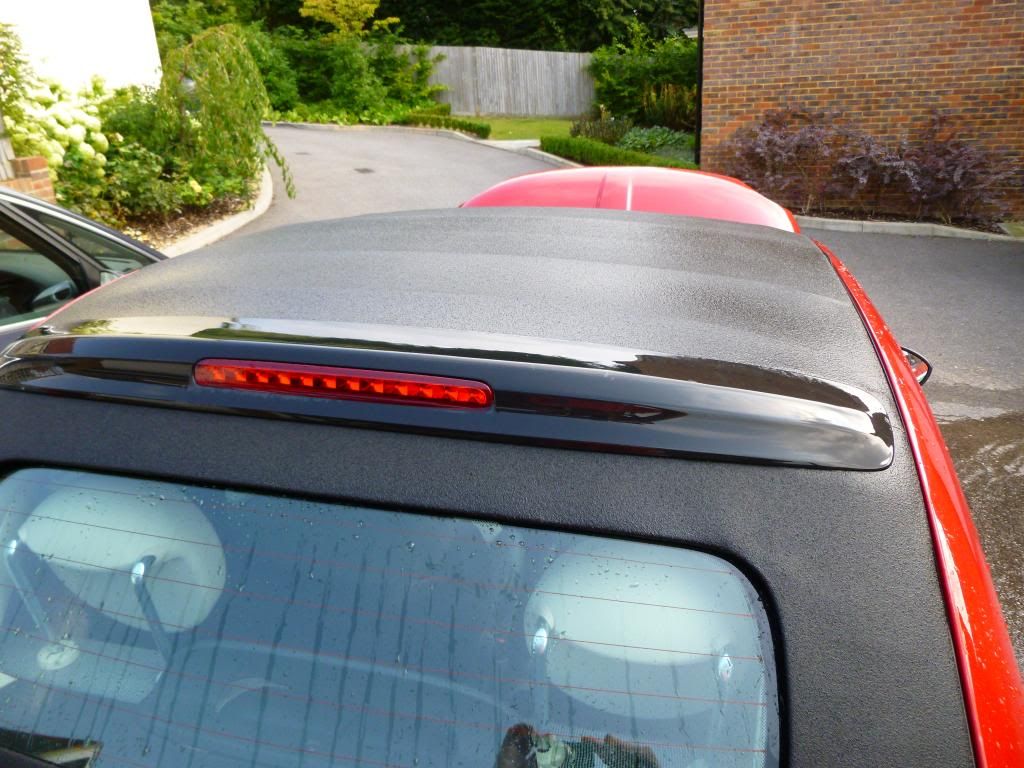
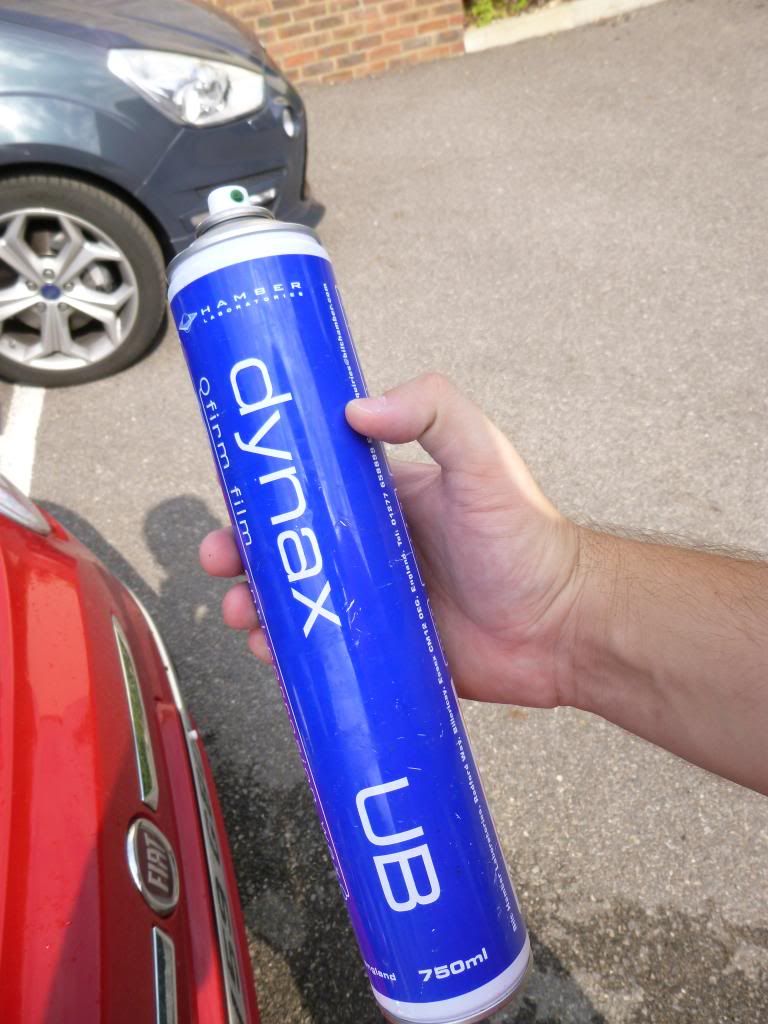
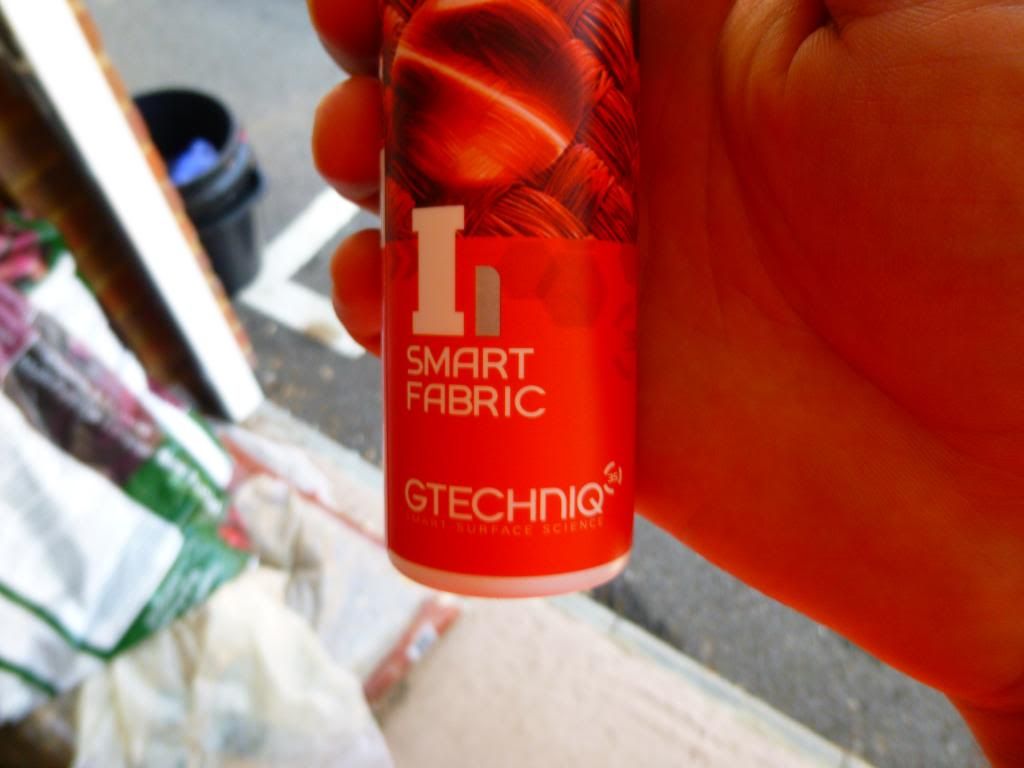
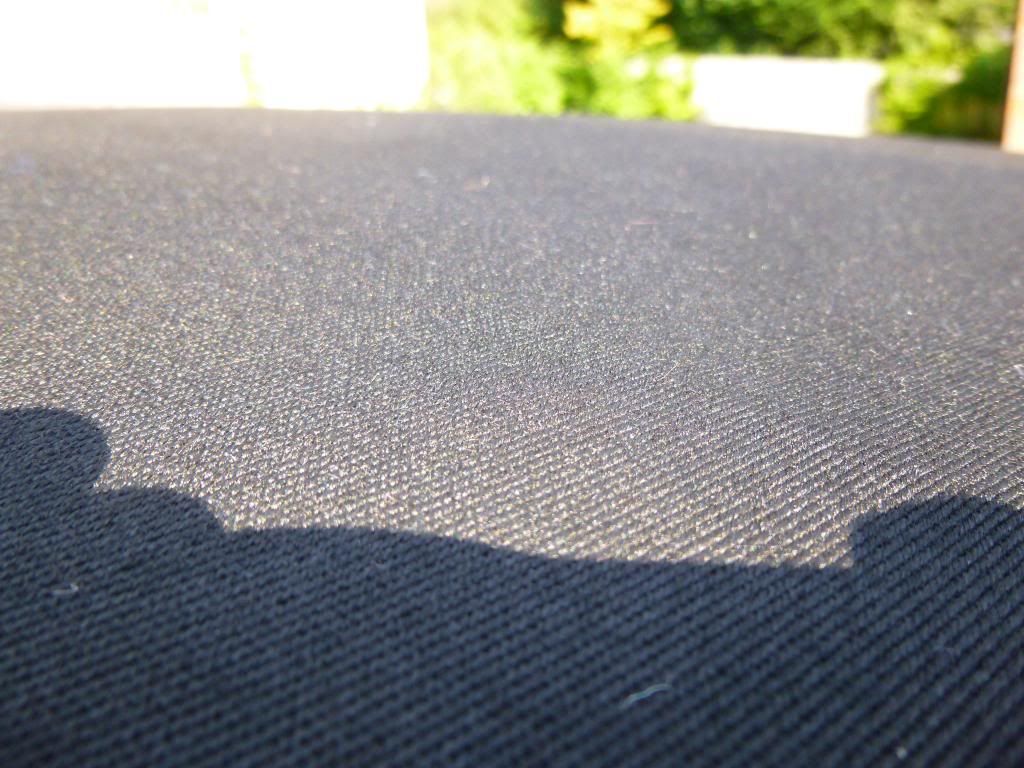
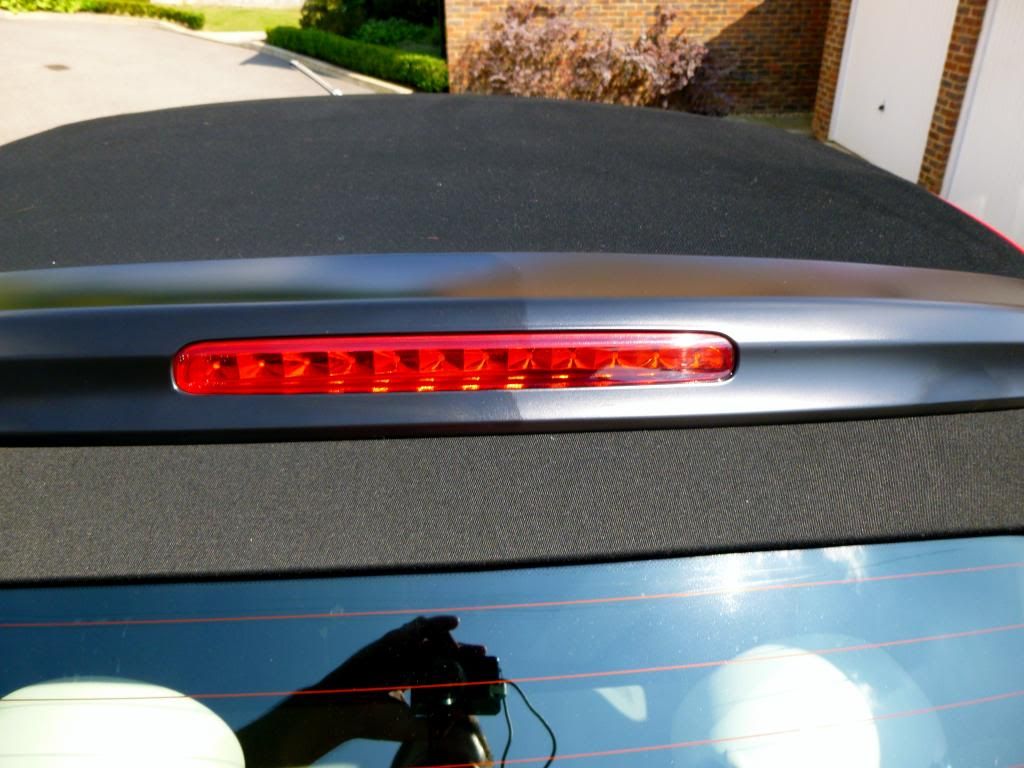
Now the roof was dry, I applied 2 x bottles (!) of Nanolex I1 and brushed it in with a paintbrush... giving this:
Then tackled the roof's 'spoiler' with CarPro Plastic and Wheel Coat:
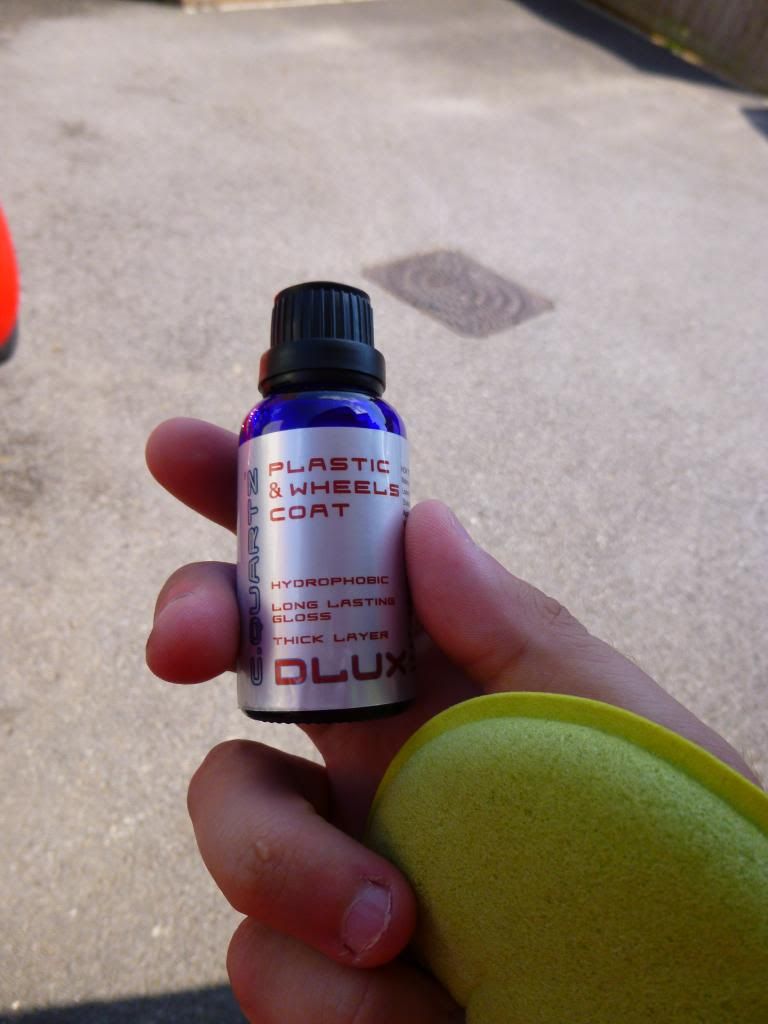
50/50:
This is a 'nano' crystalline coating, so needed to let it dry off before getting wet!
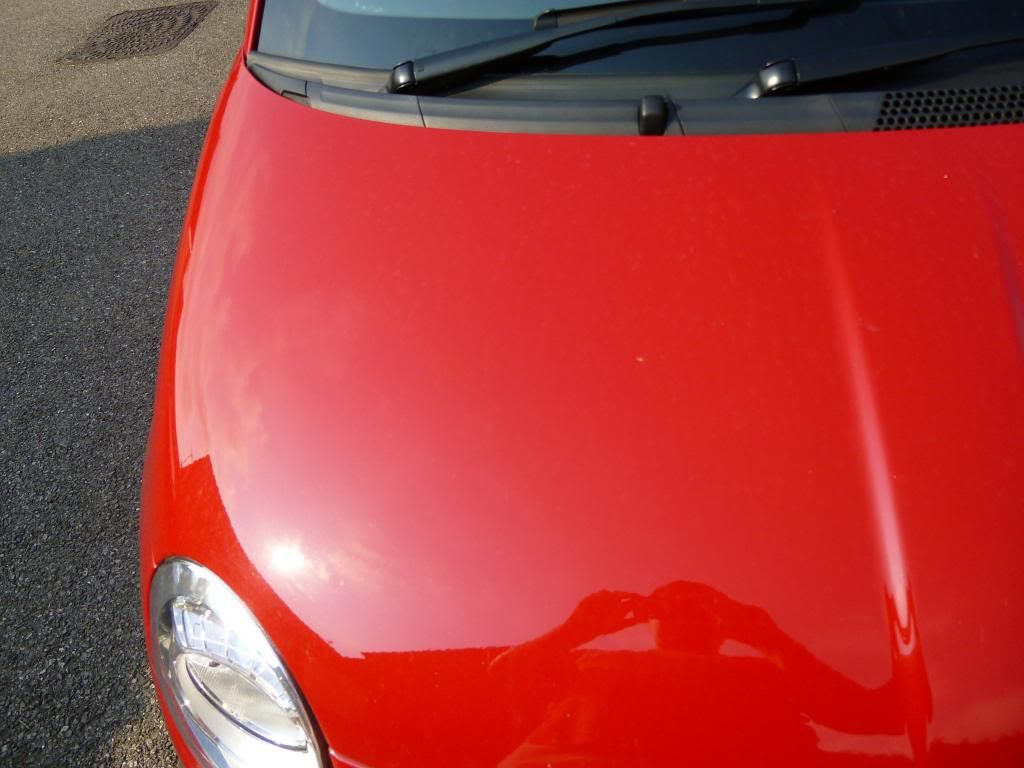
Started on the paint - by hand - and had some of this from a sale to use:
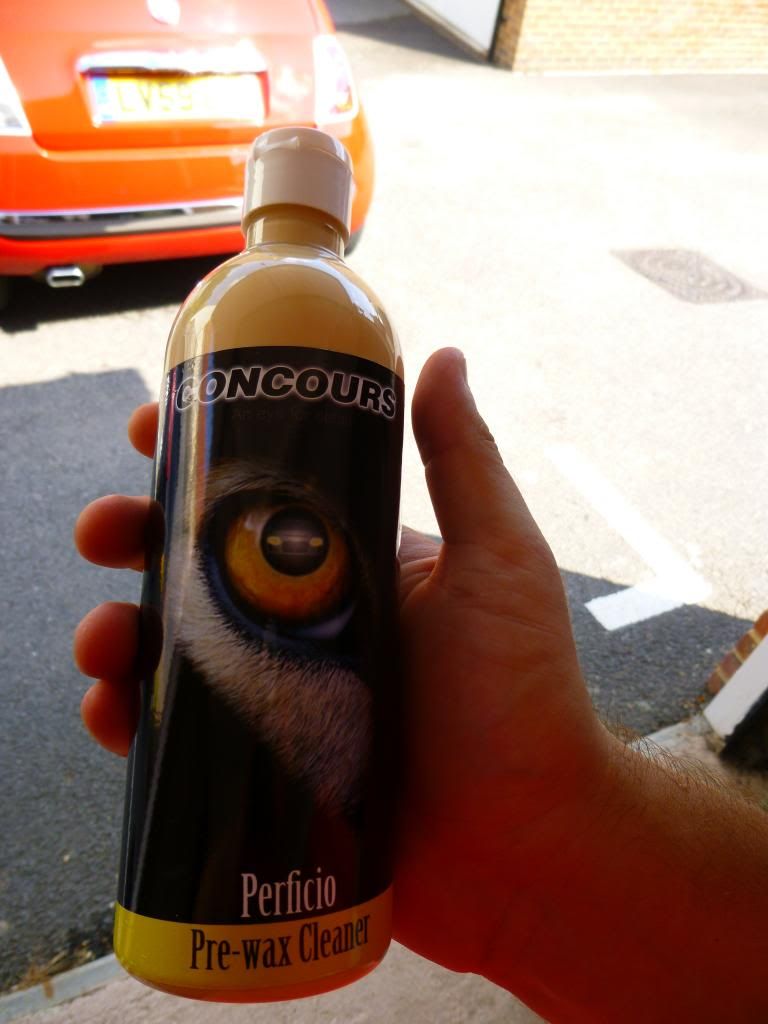
Worked well, leaving the paint squeeky clean.
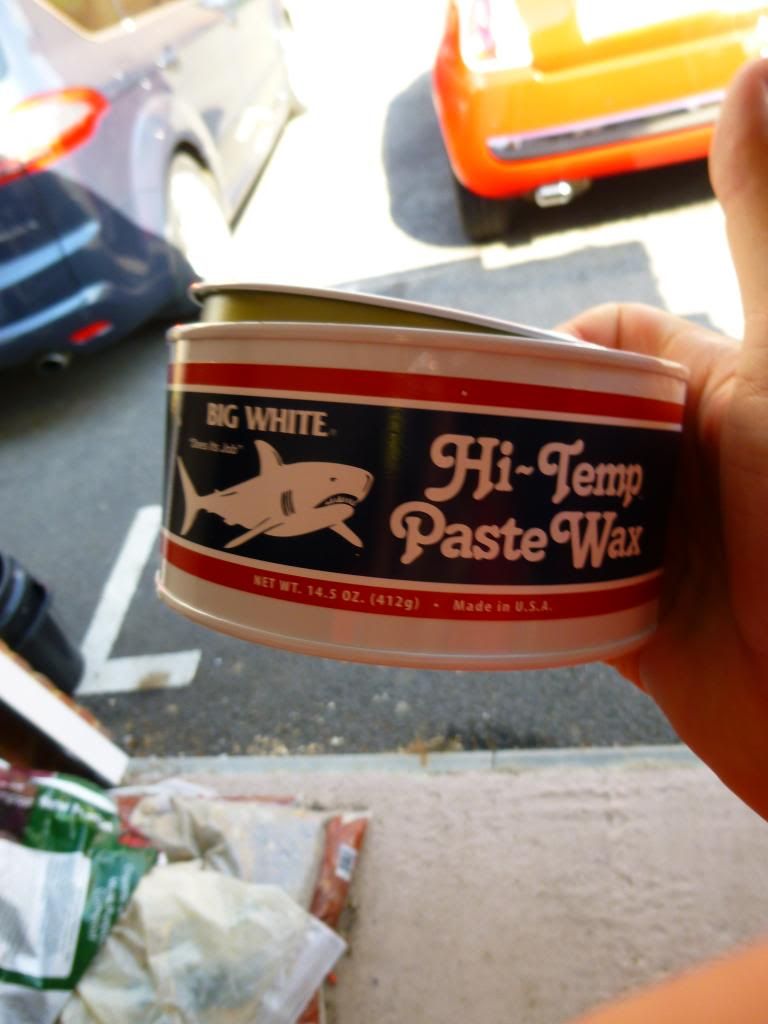
Decided to break out a classic for red *by hand* next:
Clearkote RMG
Nicely filled in many swirls.
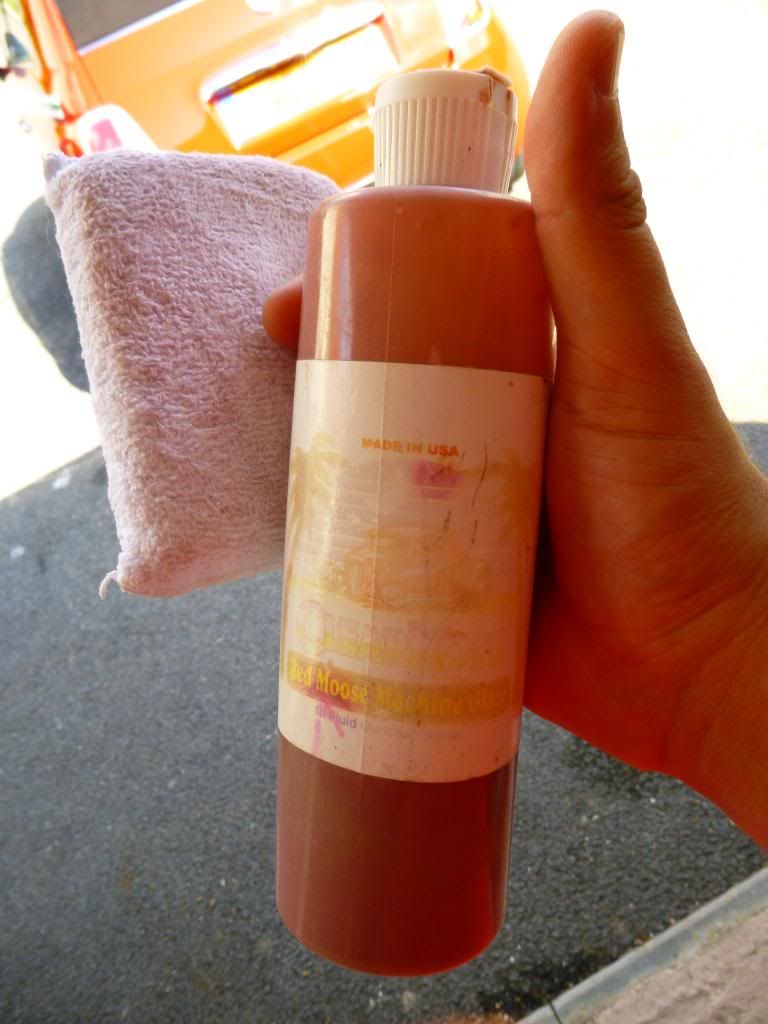
Then applied 2 x layers of this:
Durable and a piece of cake to use - cures in 10 minutes, wipes off. Done.
Fk100p")
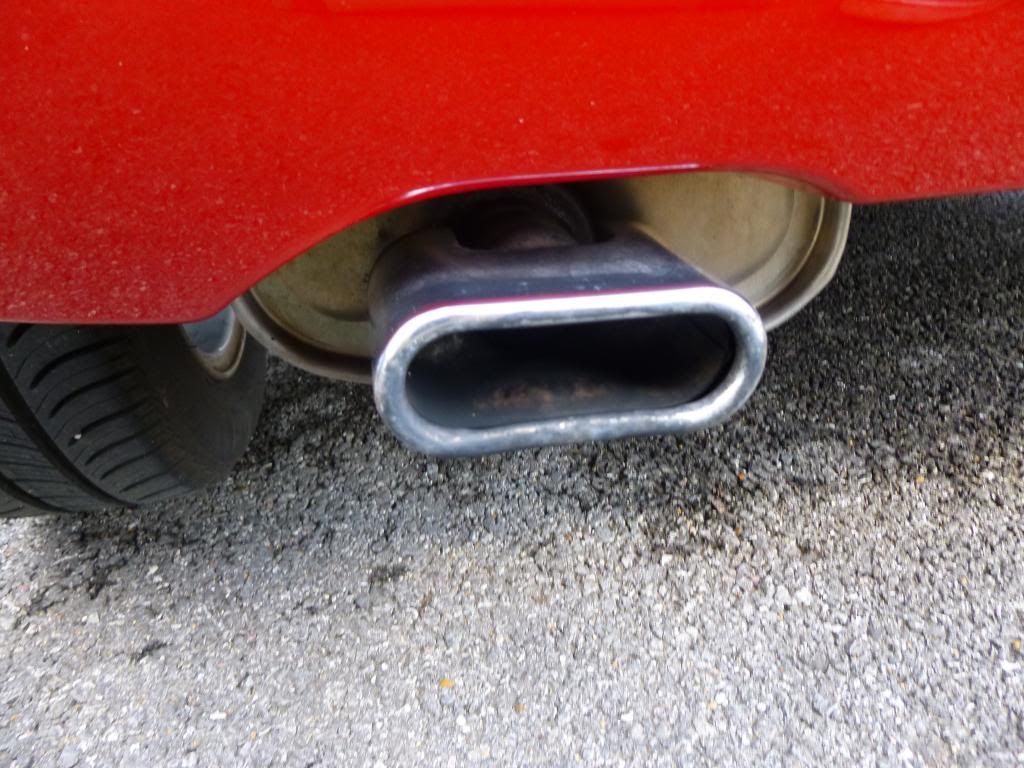
Now the paint was done, focus turned to the exhaust.
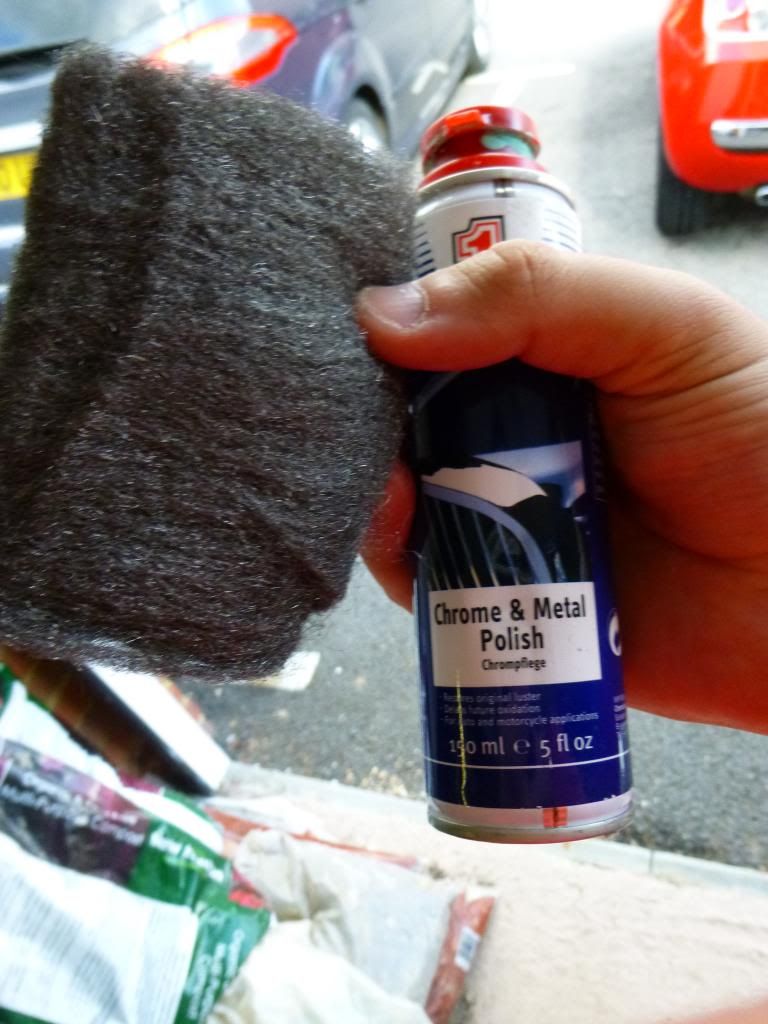
Broke out the 00 steel wool and some polish
Before:
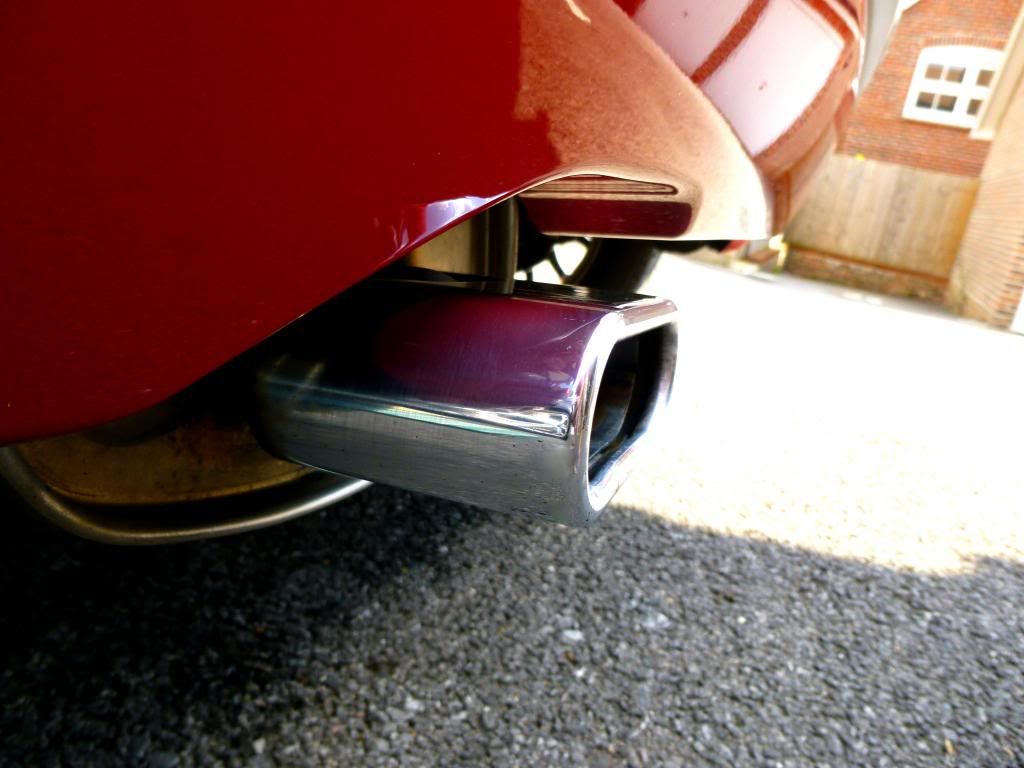
After:
Noticed the back box was rusting slightly underneath so the Bilt Hamber combo attacked that too...
Finished off with some details...
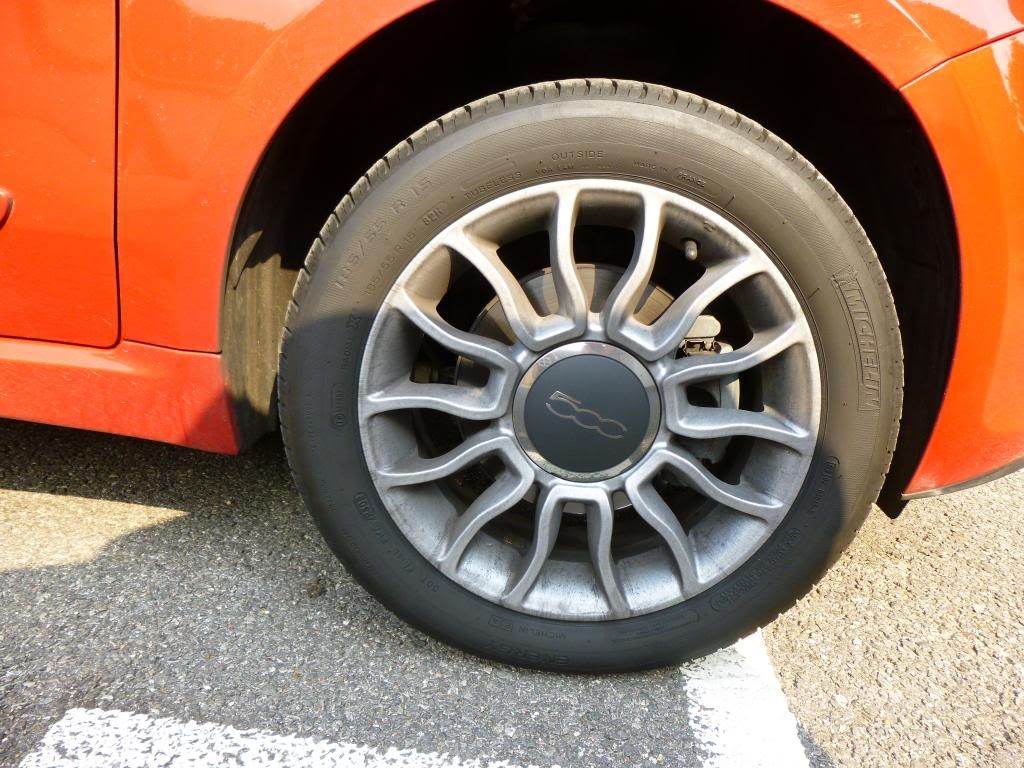
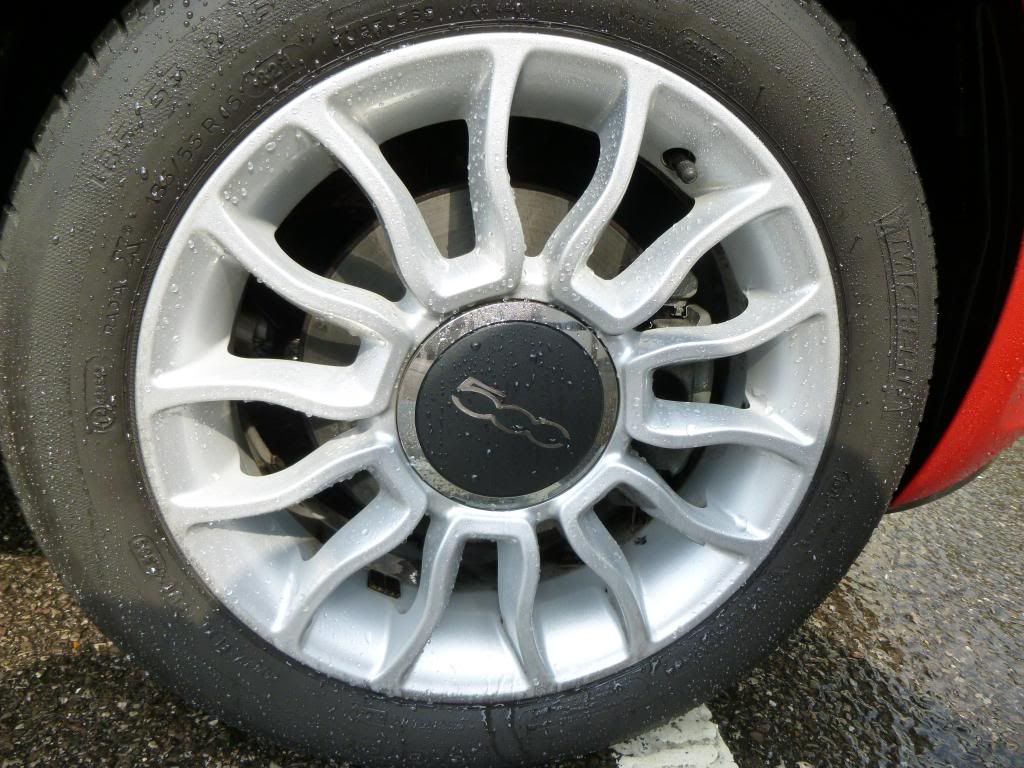
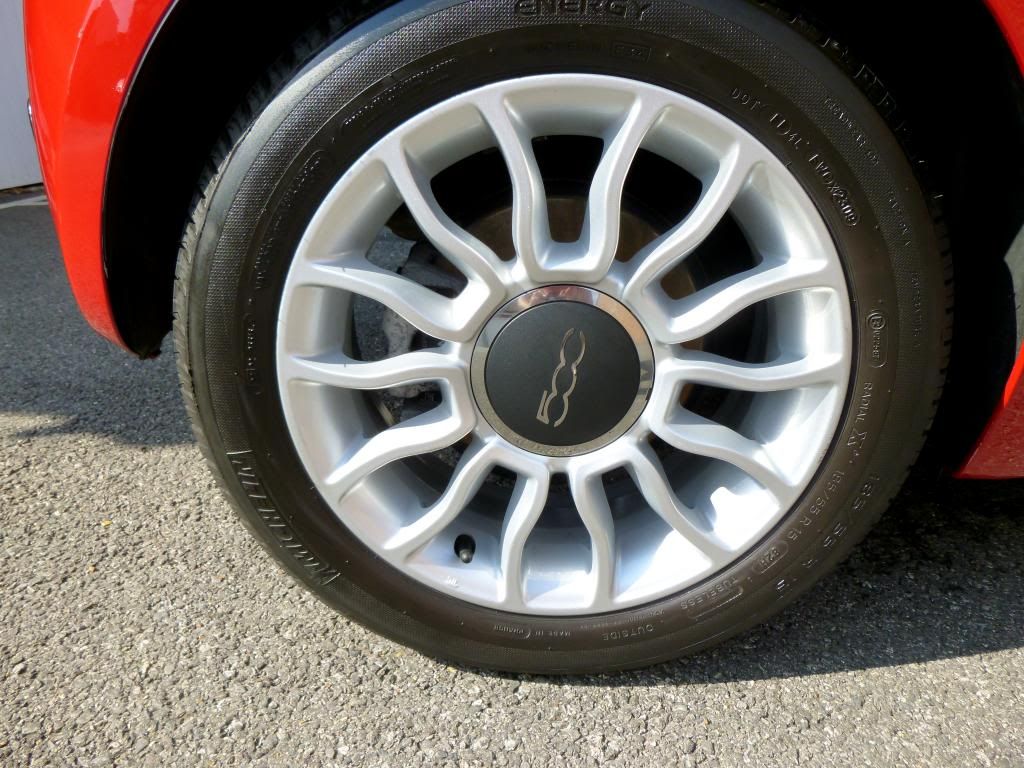
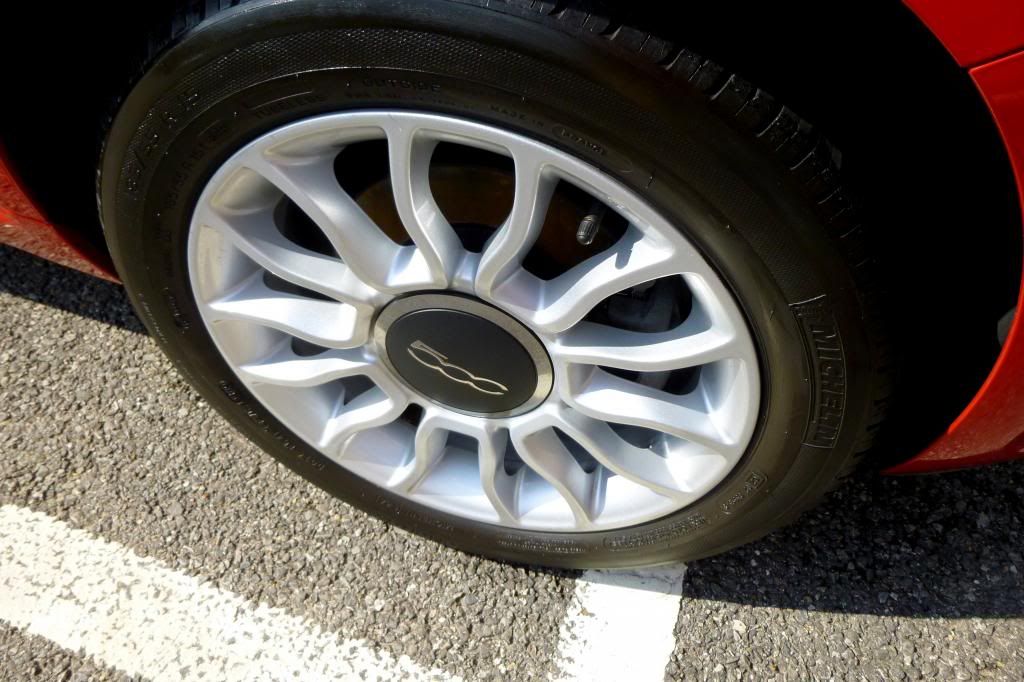
Wheels:
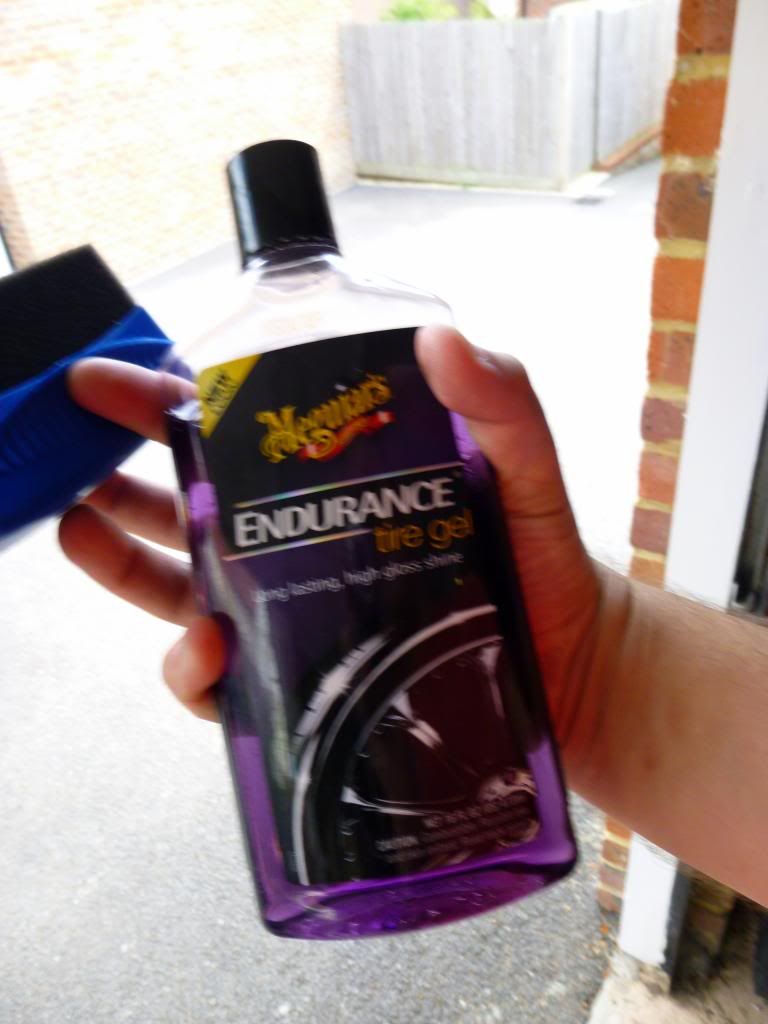
Tyres dressed with my favourite ol' faithful:
And the wheels sealed with Nanolex
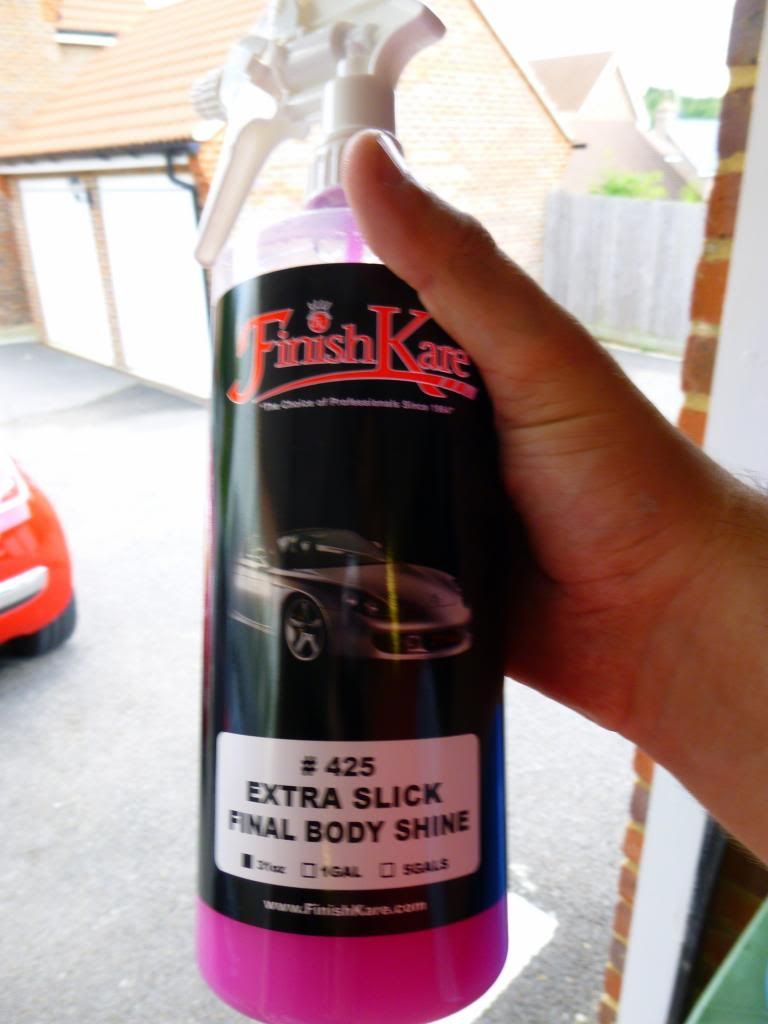
Paint was wiped over with:
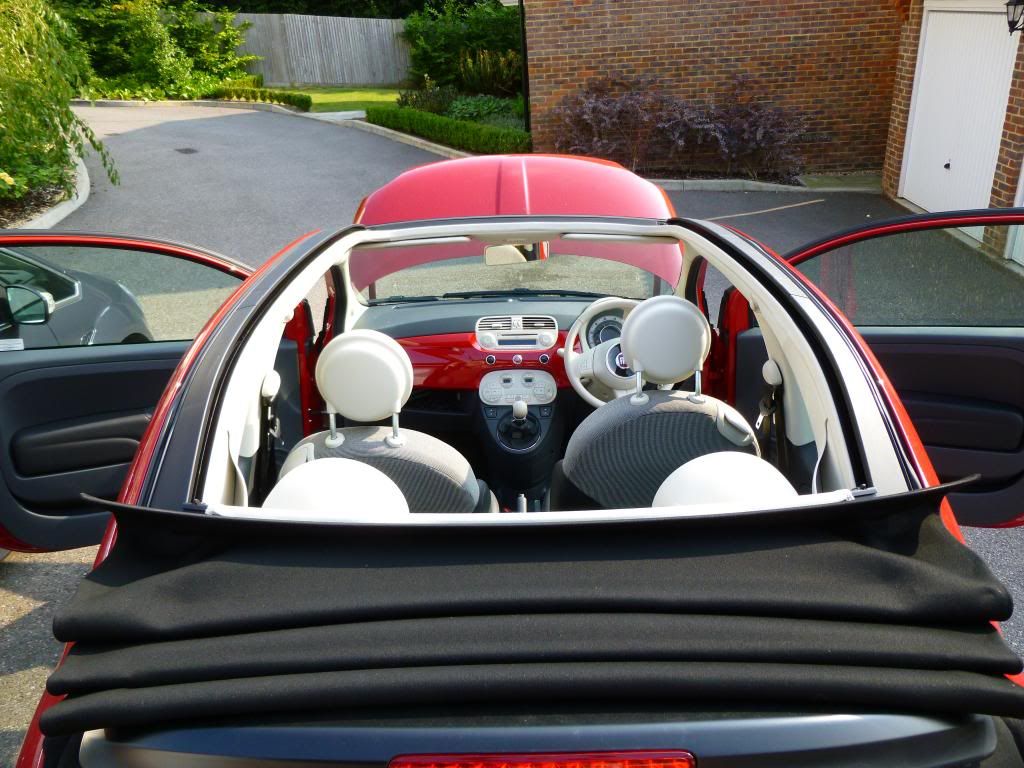
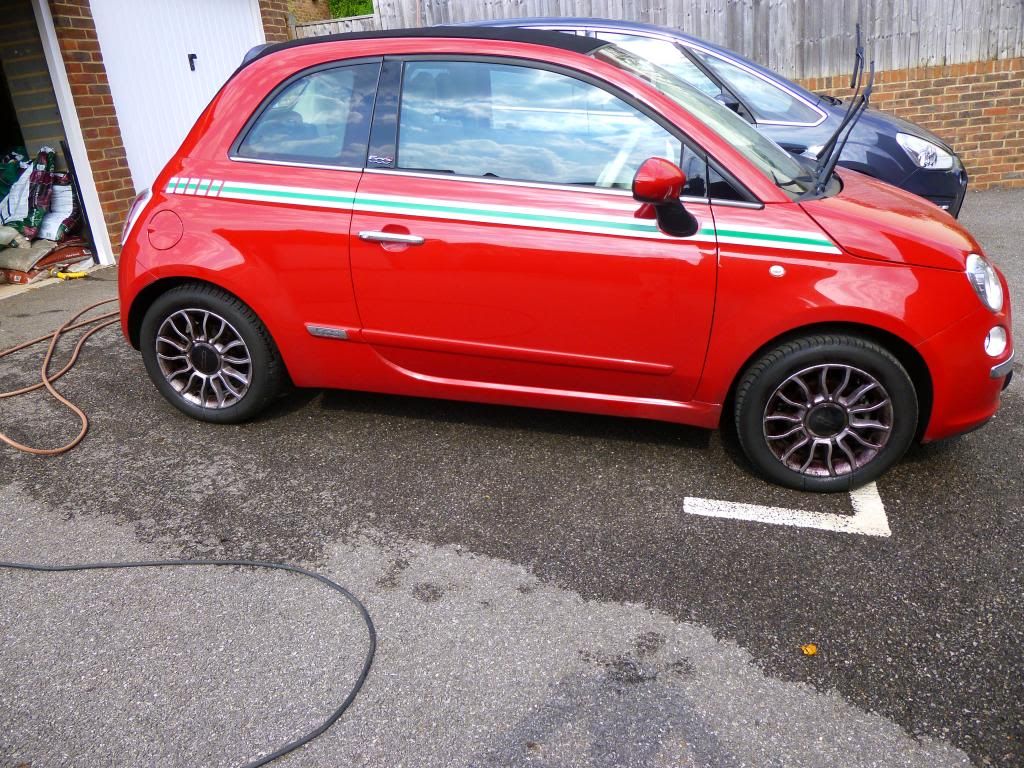
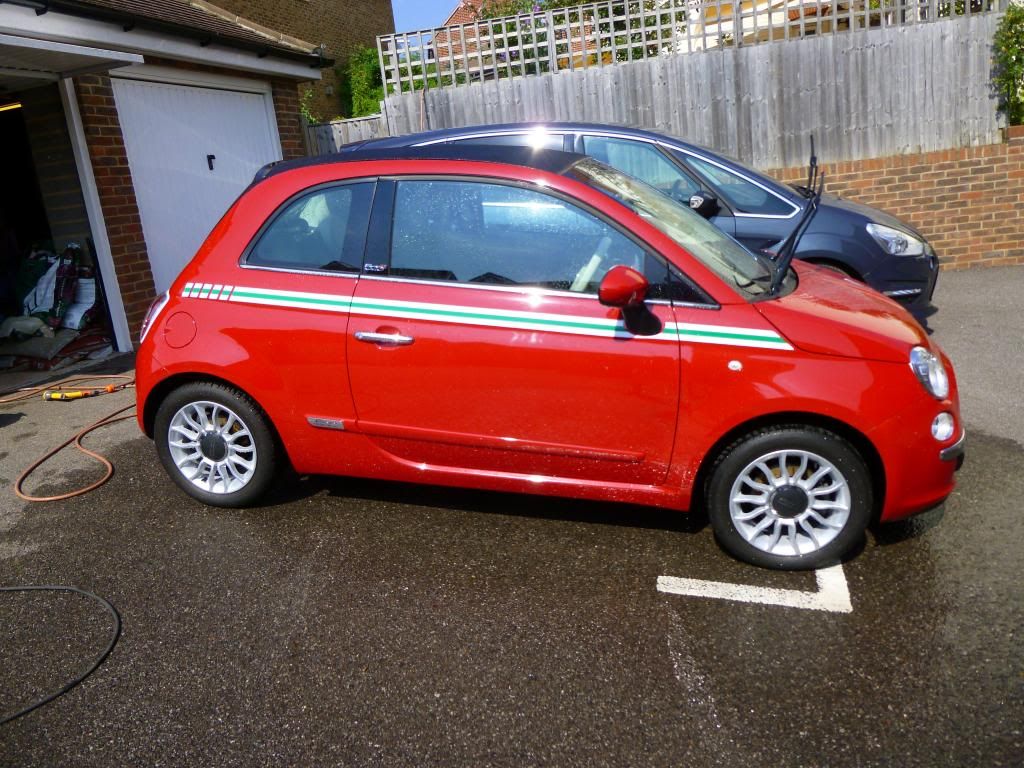
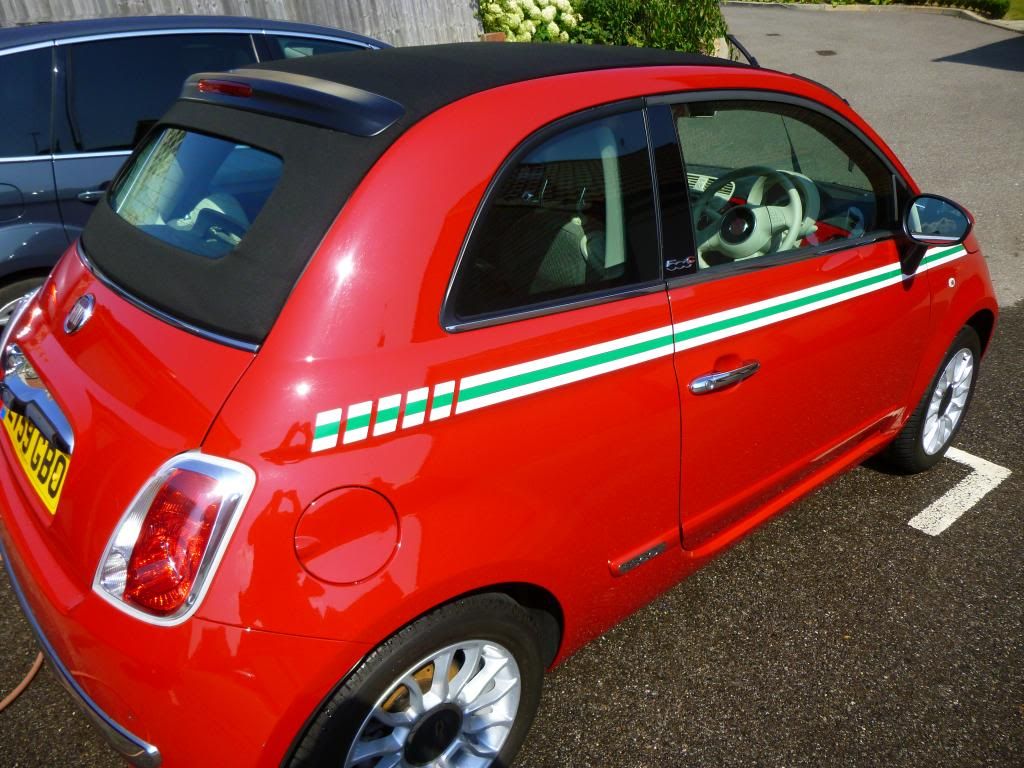
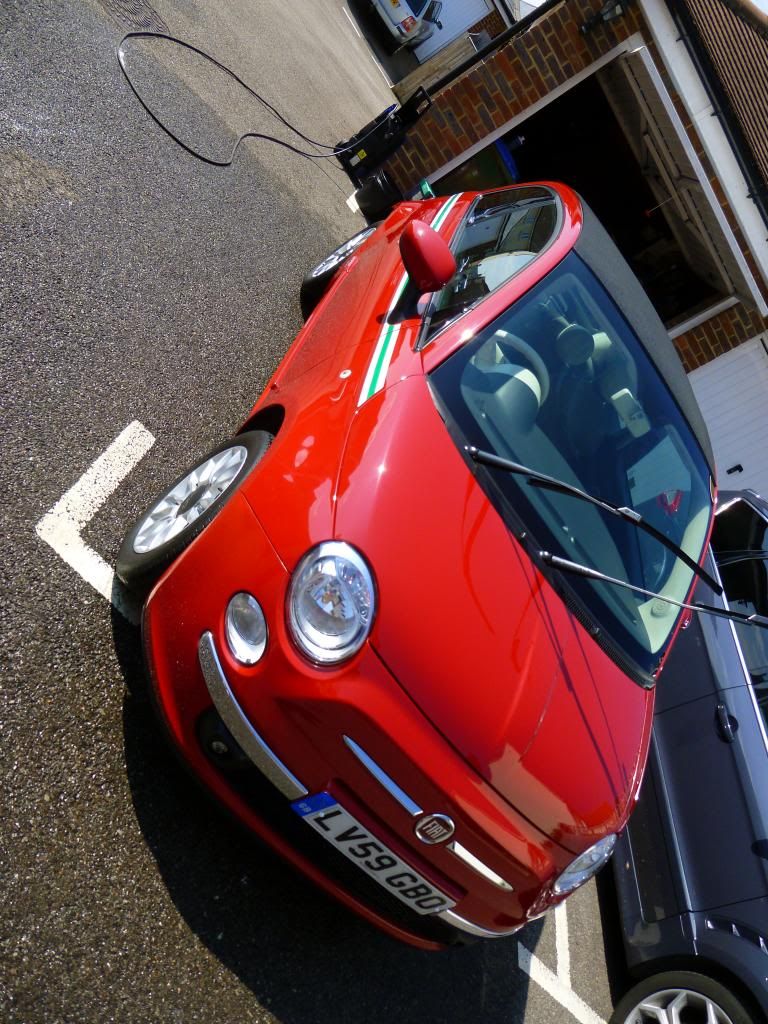
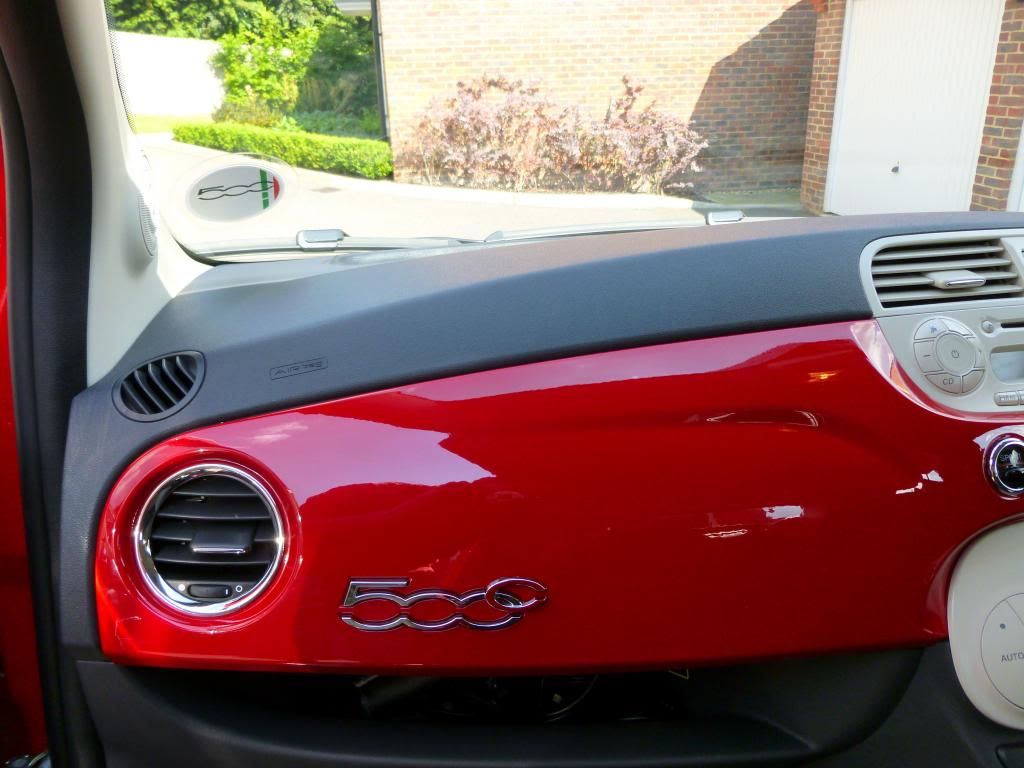
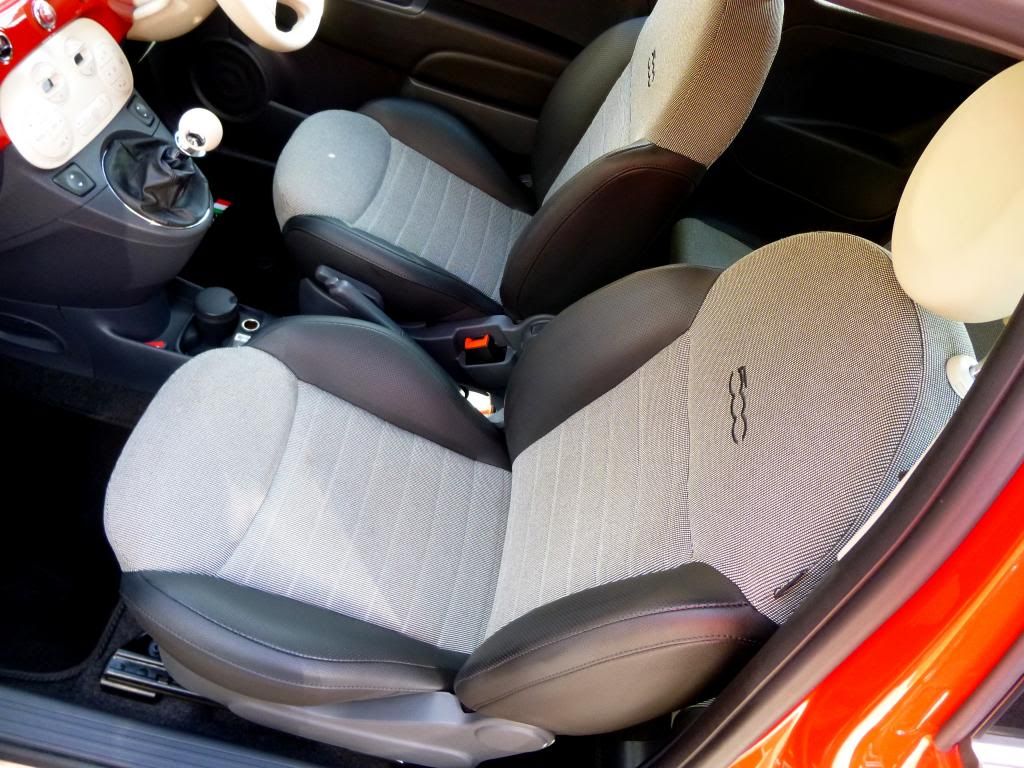
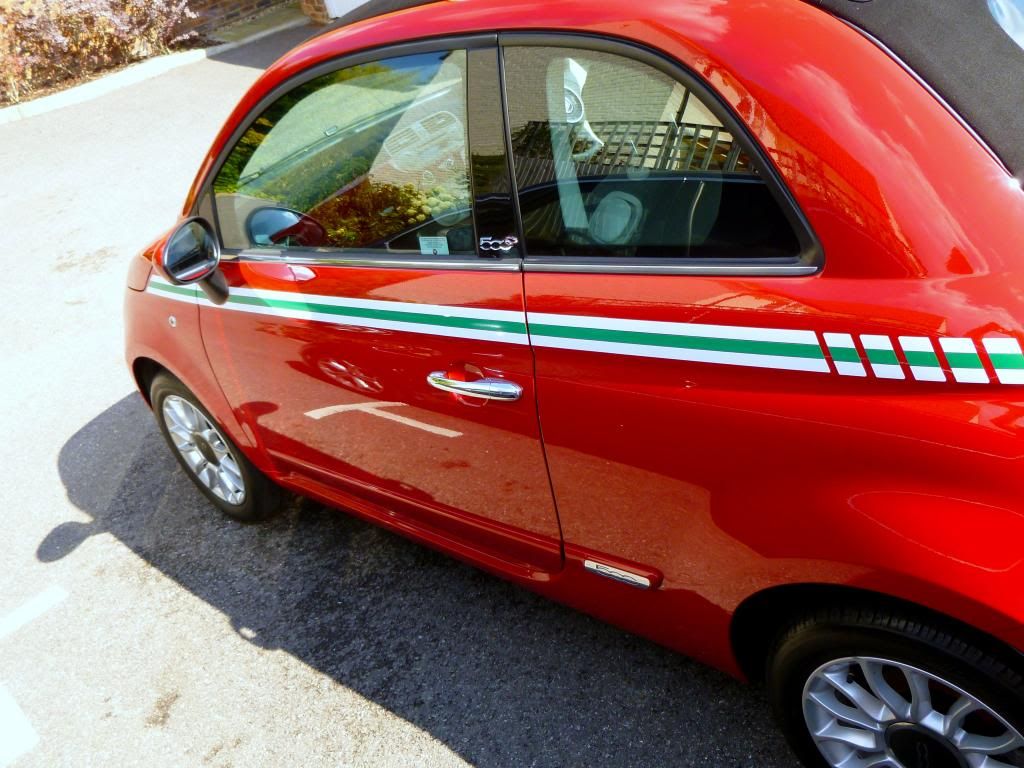
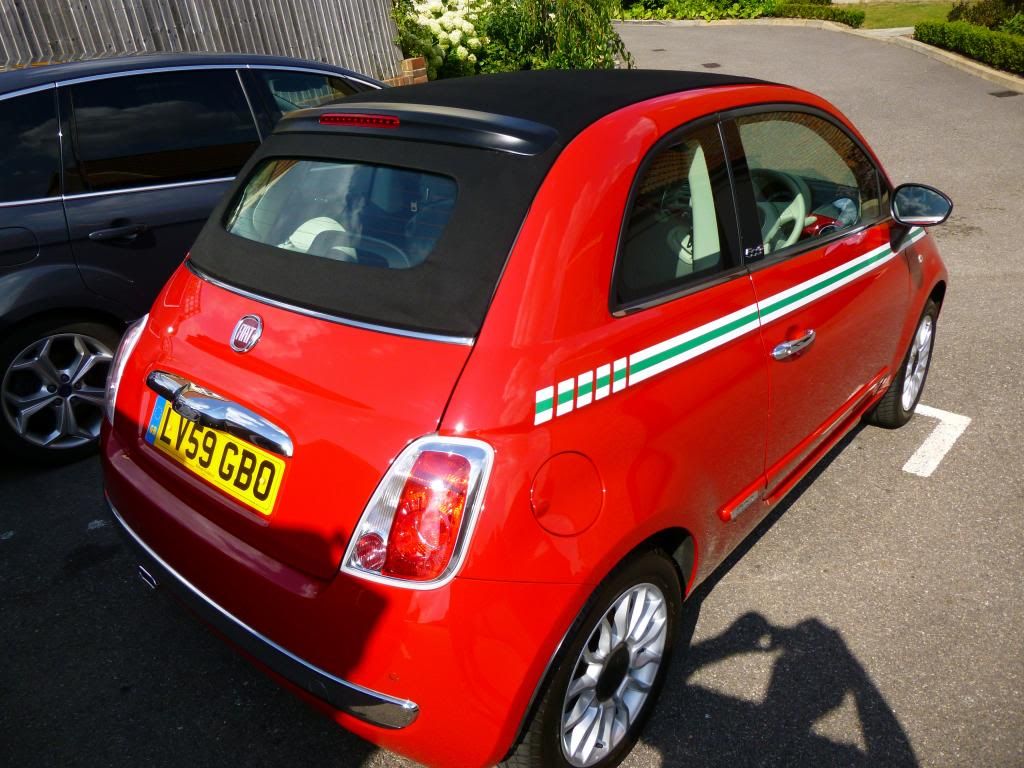
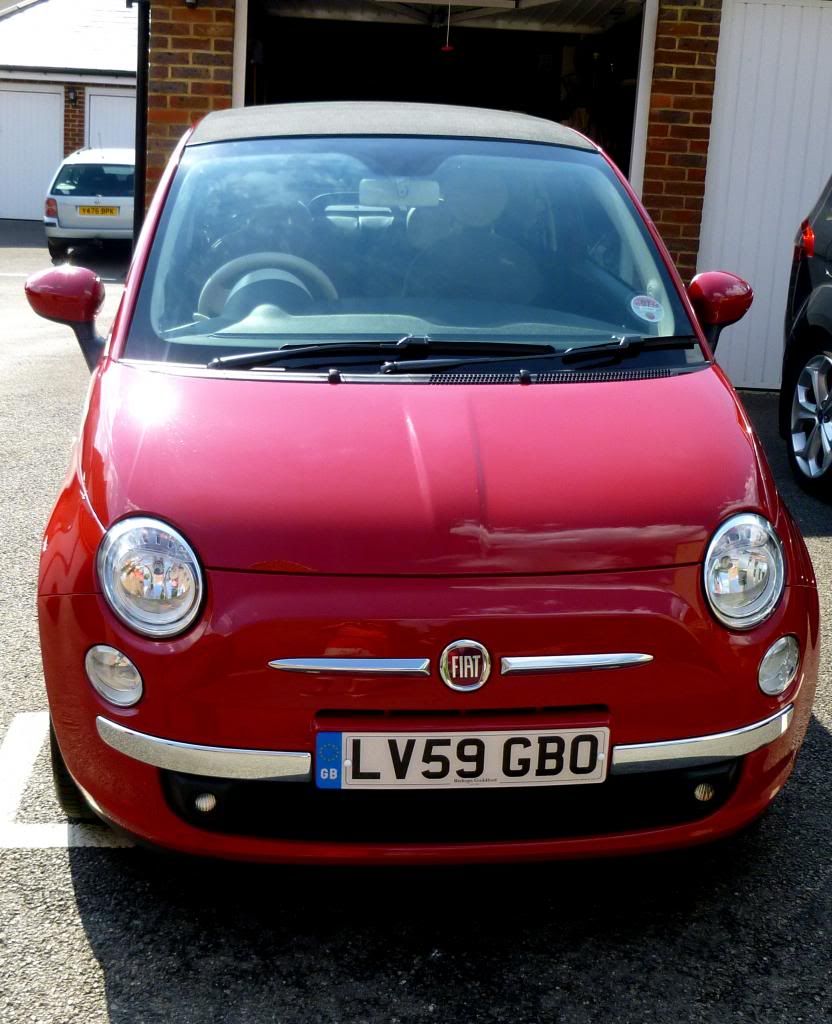
All coming together for these after shots:


Thanks for looking!
Rob
Of primary concern for me was roof maintenance as it clearly hadn't been done in ages. So, hand detail only - no time for a machine polish. But, to be fair, the swirling isn't too horrific and the results I'm pleased with for now!
Before I started:


Old polish on the roof :S


So, not too bad - we bought it a week ago and the dealer had valeted it. The pics can't pic up the details but I wanted to ensure the following were sorted:
- The interior was detailed and the seats sealed
- The steering wheel was cleaned and sealed with Car Pro (and the gearknob) as it was a little grubby being light in colour
- Lots of tar contamination
- Dirty engine bay
- Filthy Wheels
- Dirty Exhaust
- Roof maintenance
So, first steps first - the roof!
Wound it back:

And vacuum the runners etc before applying silicone grease to the mechanisms and a spray silicone to the exposed plastic under the roof.
Closed the roof again, then wetted down with an open hose

Applied a dilute mix of Autobrite APC

Then brushed it carefully through the roof

Rinsed off with hose

I wanted to leave this to dry properly so moved onto the interior and other jobs...!
I'd popped the hood as Id wanted to tackle this before focussing on the interior...

So I applied Bilt Hamber DeOx rust converter and left it to do its thing.... I wanted to leave this to dry properly so moved on...
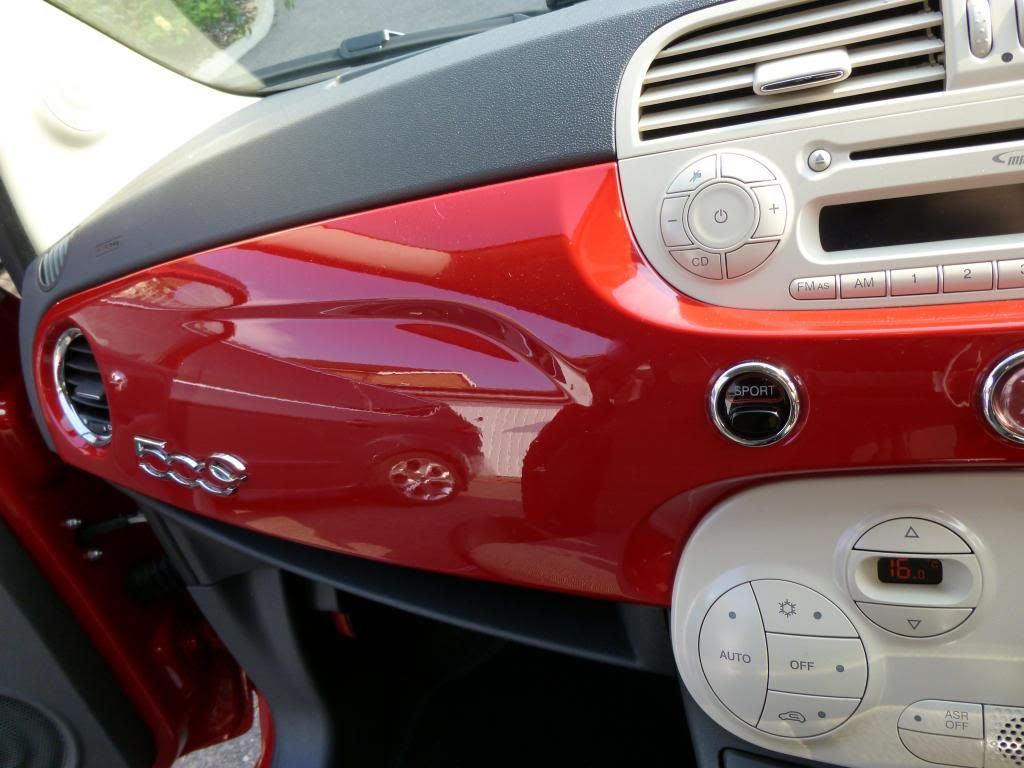
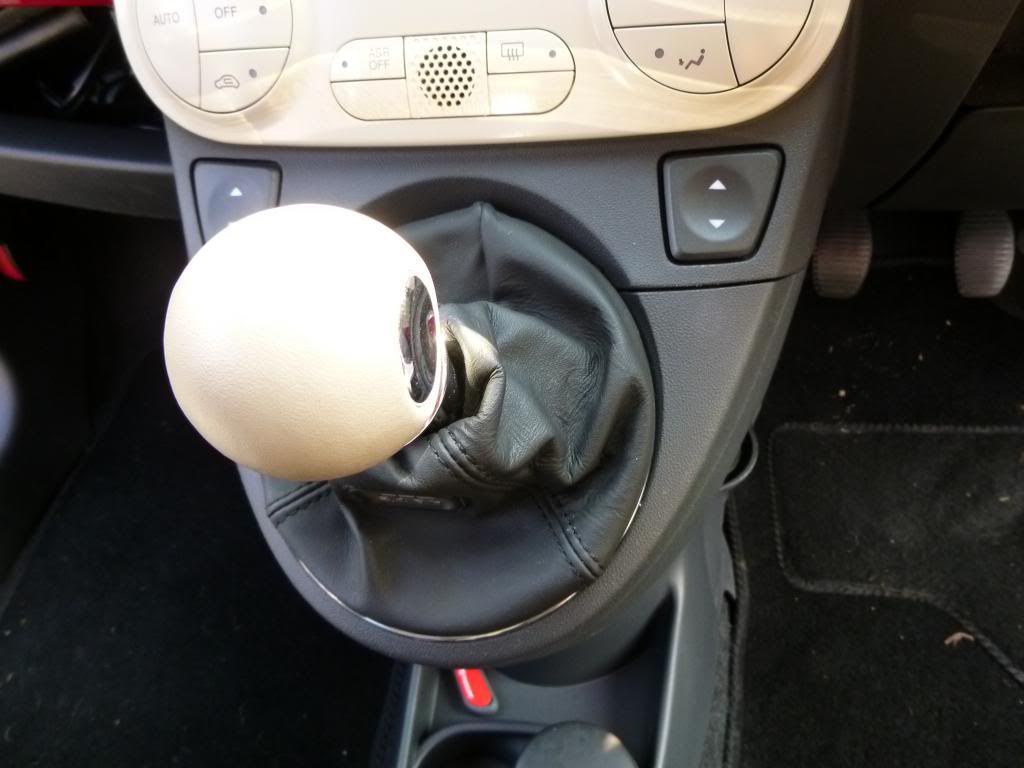
Interior:
- Hoovered
- Cleaned all plastics and upholstery with Interior APC (Britemax)
- Applied GTecniq I1 to seats to seal them off
- Cleaned the steering wheel and gearknob with Zaino leather cleaner and a magic sponge.
- Sealed the leather with Car Pro Leather Sealant
- Applied Poorboys interior dressing to plastics
- Nanolex'd the painted interior trim
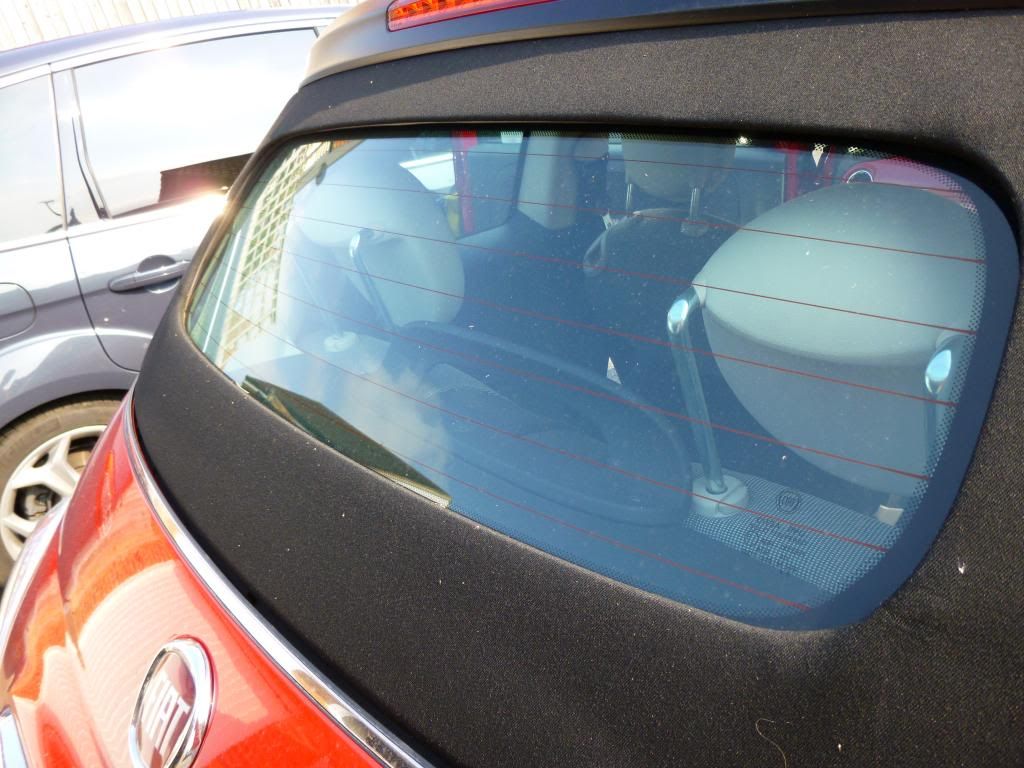
- Left glass until later...
Hard to show the grime on the steering wheel - but this was the magic sponge:
Clean:

Dirty:

Now the interior was essentially done, shut the doors and popped back to the engine bay.
The DeOx gel was removed, then a small layer of this applied to the strut top:

And then these applied to prevent further issues!

Engine bay was sprayed with Autobrite Jaffa, brushed and rinsed. Then, when dry, Nanolex trim rejuvenator applied:

Giving this:

Now, onto the exterior. First job - those wheels! Broke out the best wheel cleaner going to see how far it could get with filthy wheels and no brush work...

Dwelling:

Sucking the grime off them!


Rinsed to this:

Not perfect, but not bad!
I gave the wheels a hit with the same product and my brushes- tyres brushed down with APC too.
Then I washed the car, 2BM, with Dodo Supernatural shampoo, which I don't like but had to use up... Didn't dry it off and lots of decontamination to do.
Applied IronX Soap, left to do its thing (hardly any Iron deposits in the paint) and rinsed off.

Then clayed using Zaino Clay and this:

Hardly anything on the clay - which surprised me - but tonnes of tar to shift.


Spent a while de-tarring the car, rewashed it and rinsed off with filtered water - then dried with plush towels leaving this:


Not bad, but small swirling evident:

Now the roof was dry, I applied 2 x bottles (!) of Nanolex I1 and brushed it in with a paintbrush... giving this:


Then tackled the roof's 'spoiler' with CarPro Plastic and Wheel Coat:

50/50:

This is a 'nano' crystalline coating, so needed to let it dry off before getting wet!
Started on the paint - by hand - and had some of this from a sale to use:

Worked well, leaving the paint squeeky clean.
Decided to break out a classic for red *by hand* next:
Clearkote RMG

Nicely filled in many swirls.
Then applied 2 x layers of this:

Durable and a piece of cake to use - cures in 10 minutes, wipes off. Done.
Fk100p
Now the paint was done, focus turned to the exhaust.
Broke out the 00 steel wool and some polish

Before:

After:

Noticed the back box was rusting slightly underneath so the Bilt Hamber combo attacked that too...
Finished off with some details...
Wheels:
Tyres dressed with my favourite ol' faithful:

And the wheels sealed with Nanolex
Paint was wiped over with:

All coming together for these after shots:


Thanks for looking!
Rob