OP
OP
Crewie
New member
Just had a scintillating couple of hour s under the van.
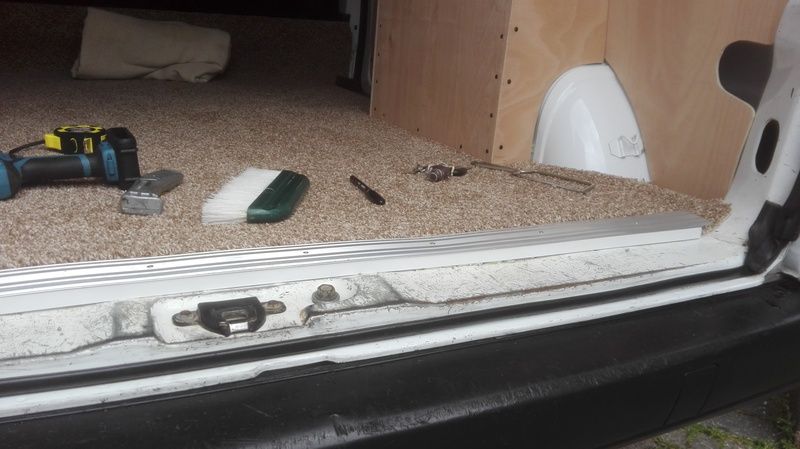
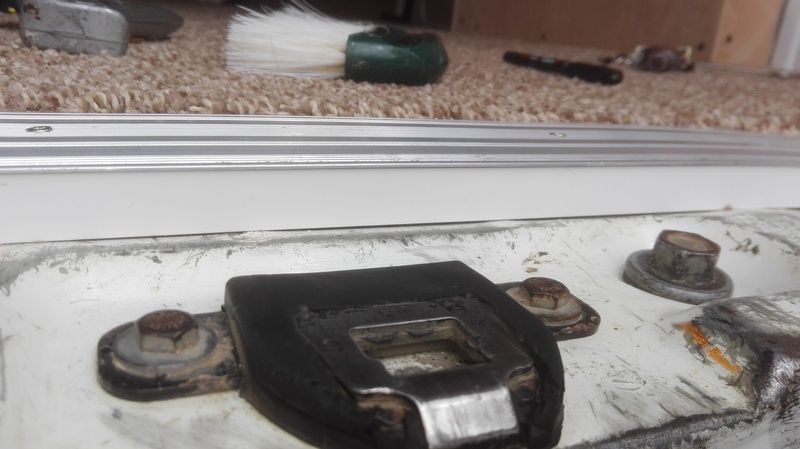
I decided I would put the spare wheel back under there and saw how crappy the cage was....So I wire brushed it and greased it all up. It looks ok now and there is no more rust.
Found the rear floor supports had accumulated some mud, and rust too....I will attack those next.
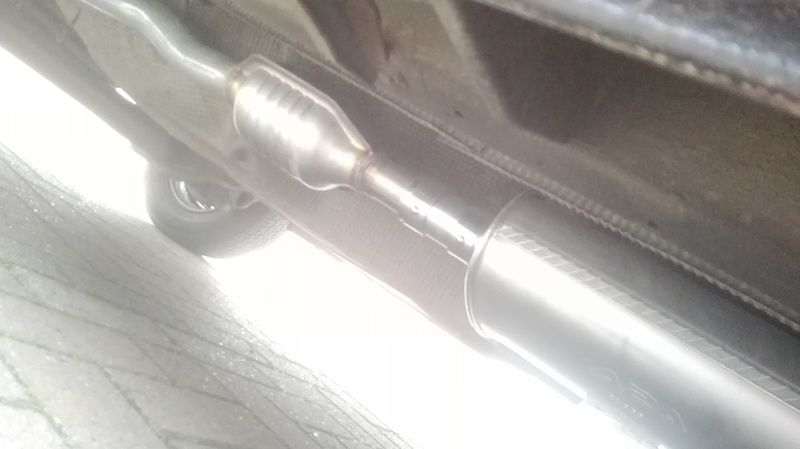
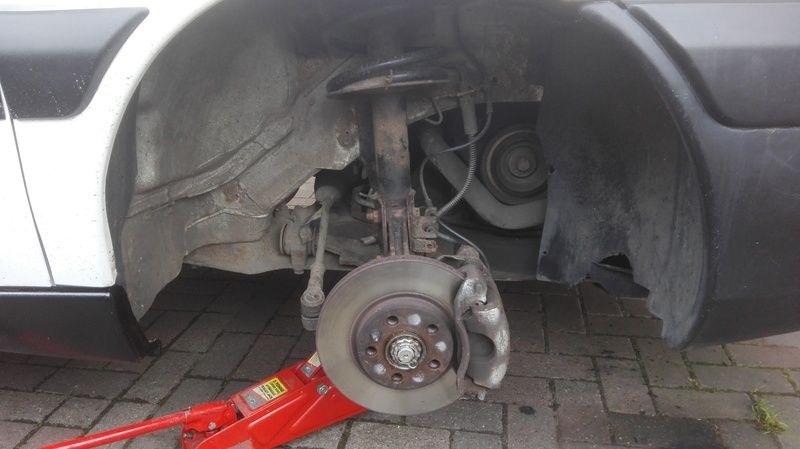
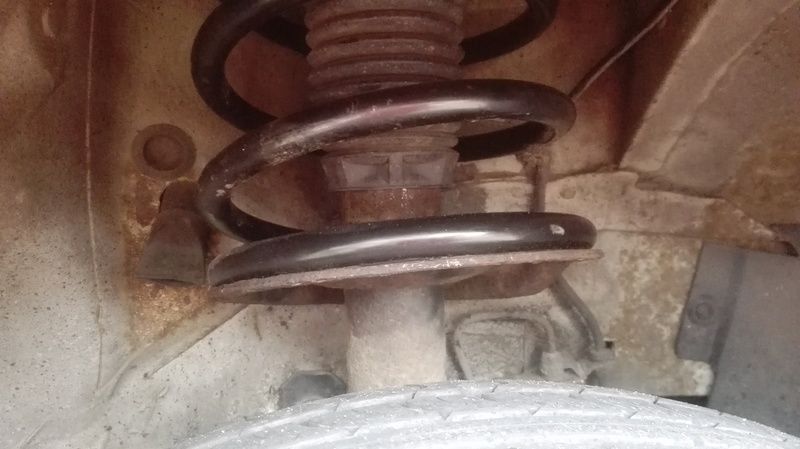
Springs and mounts, anti roll bar and axle, all ok.
Cheers
Crewie
I decided I would put the spare wheel back under there and saw how crappy the cage was....So I wire brushed it and greased it all up. It looks ok now and there is no more rust.
Found the rear floor supports had accumulated some mud, and rust too....I will attack those next.
Springs and mounts, anti roll bar and axle, all ok.
Cheers
Crewie
")