Technical 100HP Steering: Inner tie-rod to rack-end torque needed please

Currently reading:
Technical 100HP Steering: Inner tie-rod to rack-end torque needed please

Joined
Nov 27, 2010
Messages
42
Points
14
Location
Oxon
Hello

I changed my lower front suspension arms and drop-links recently and went to get the alignment checked afterwards.

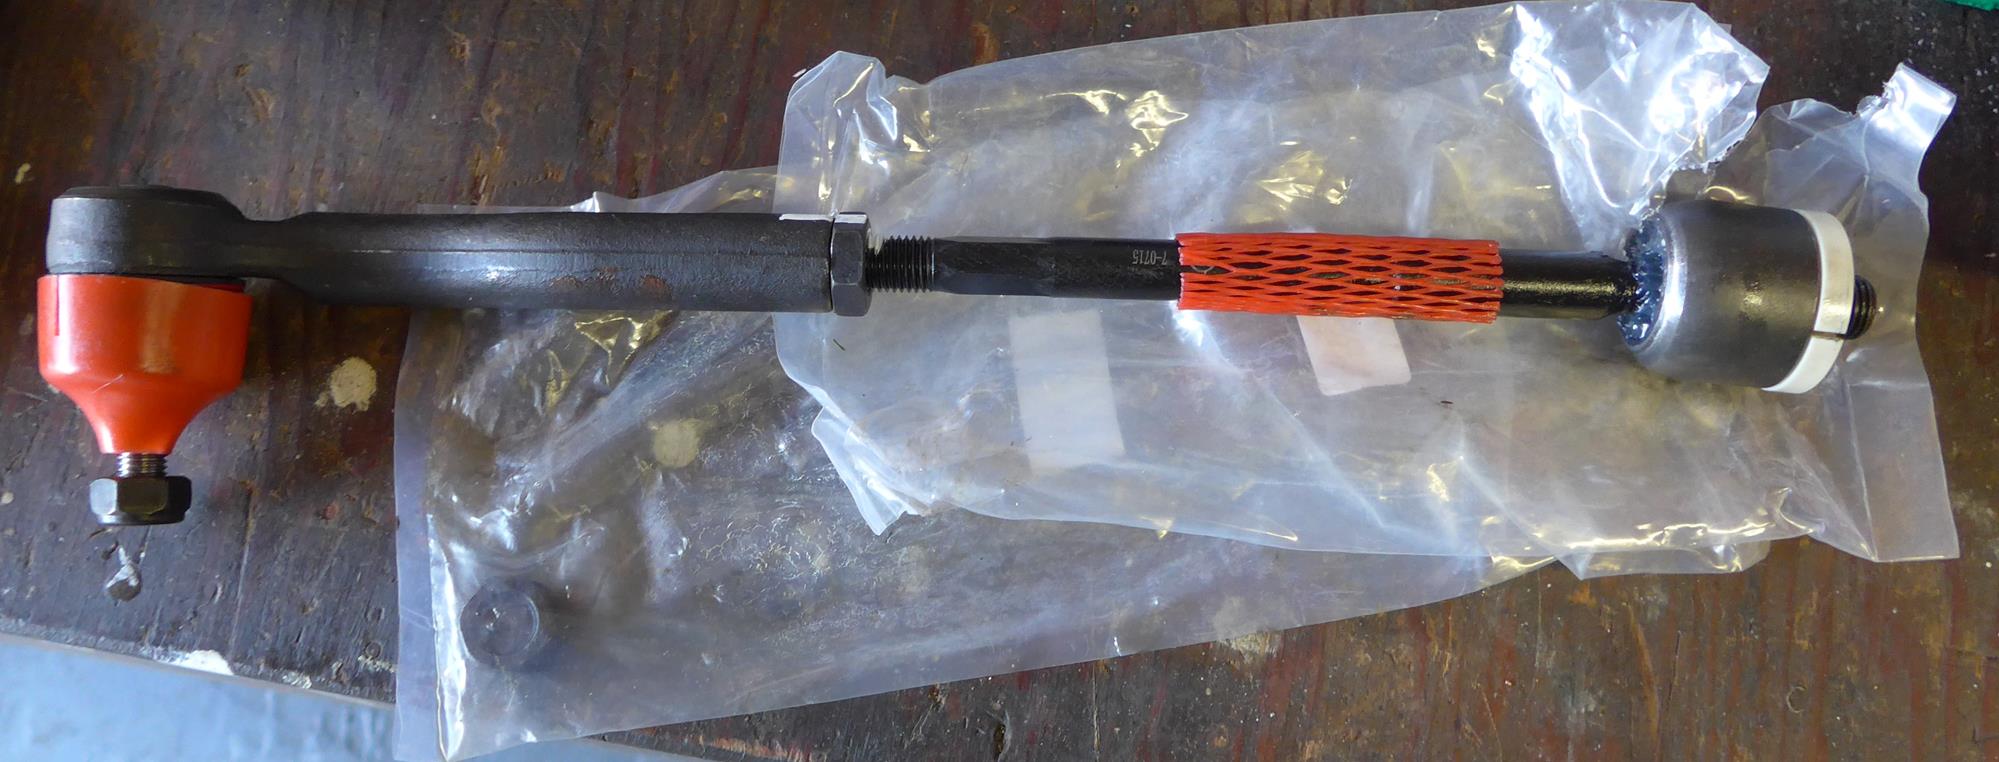
The lads at the garage had quite a bit of difficulty freeing the lock-nuts to adjust the track rod-ends. They said that it would be wise to change the track-rod ends and the inner tie-rods.

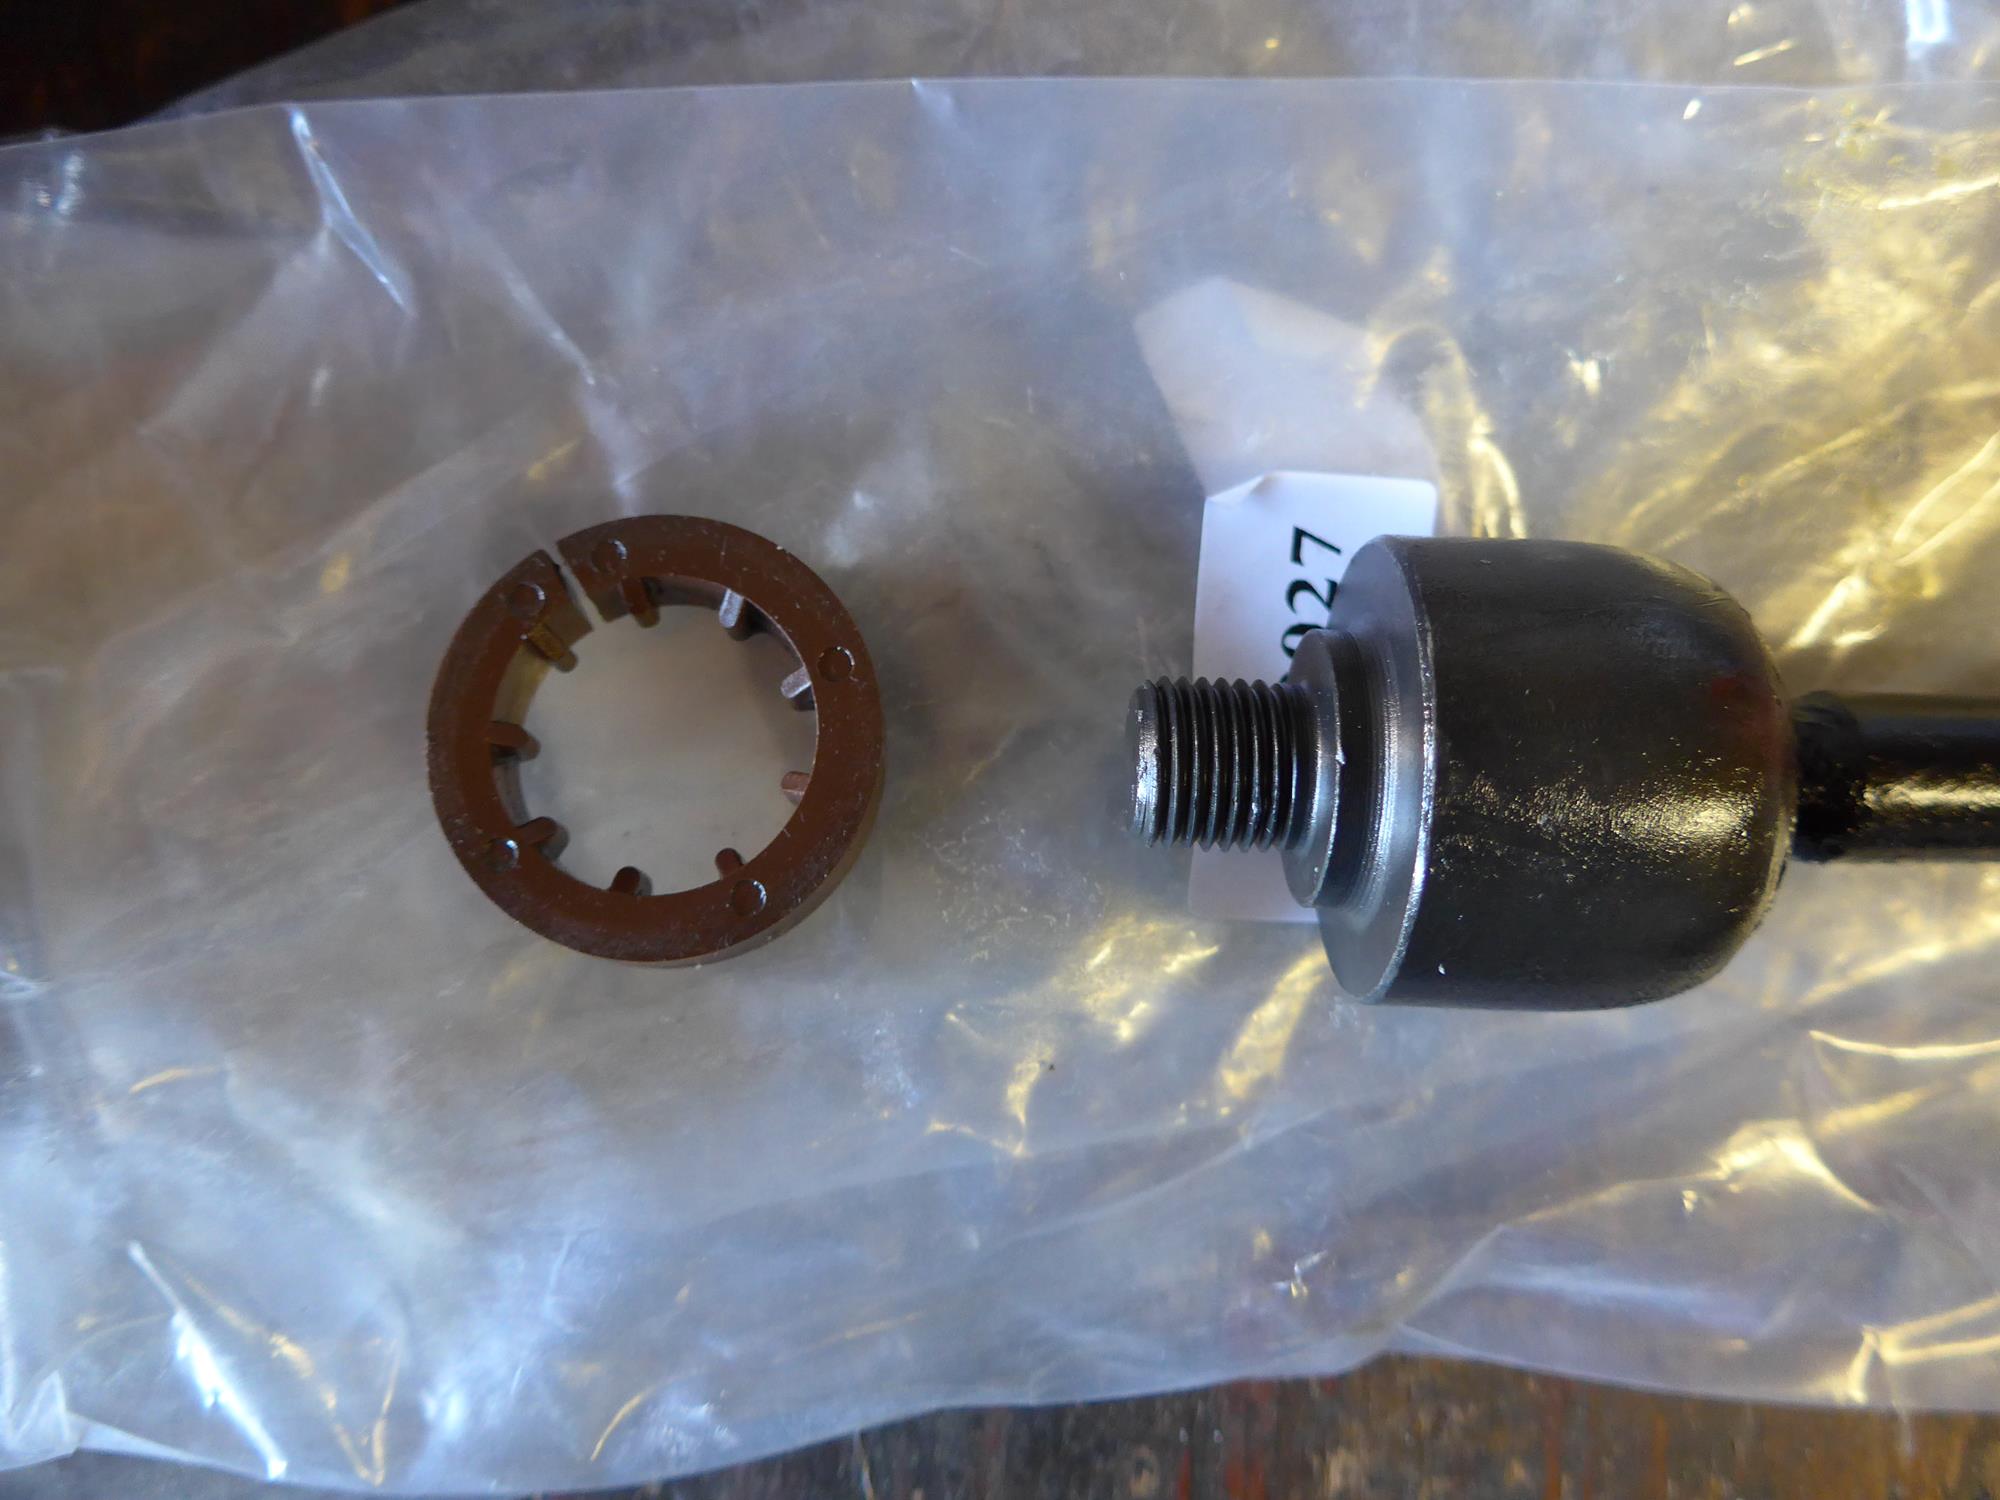
The threads on the inner-rods look bad and I had sprayed penetrating oil on the nuts while changing the arms.

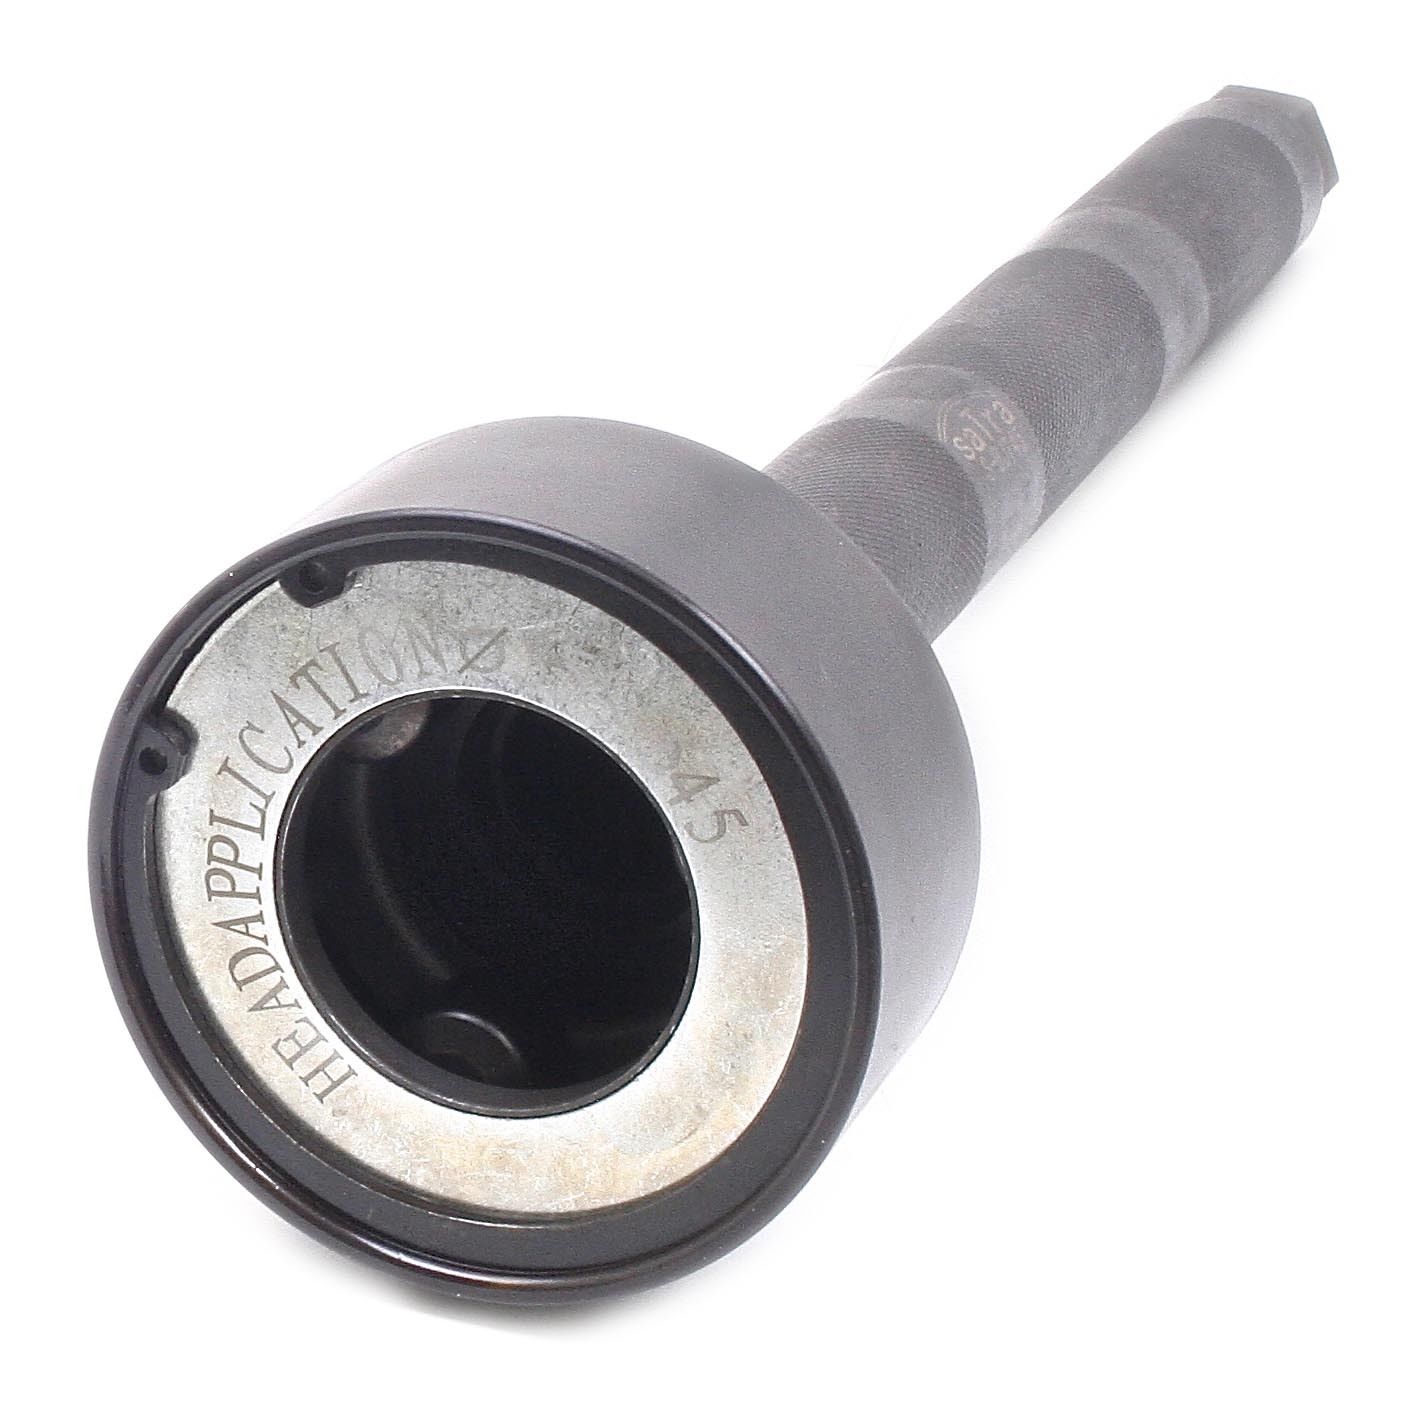
I'm going to change them but the Panda eLearn doesn't cover changing the inner tie-rod ends. It only goes as far as taking off the bellows:


It also doesn't give the torque setting needed for screwing the new inner tie-rod to the steering rack.

Does anyone have the torque setting please?:worship:

I know to also add Loctite to the threads as well.


Thanks in advance
 
i dont know the torque settings but use a little bit of loctite ,not too much mind

more importantly be careful undoing the fixings as its real easy to twist the gear rack in the housing if its on full extension (ie on full lock)
 
OK, I've fitted the new rods today, it took quite a while.

The original rod threads were severely corroded and needed heat from a blowtorch and big Stillson wrenches to hold the inner rod and unstick the jam nut.

To undo the inner tie rod you need a special tool with 3 rollers to grip it because it has no flats machined on it. The diameter is approx 37mm so you need the tool that has the 35-45mm range.


The tool is a hollow tube with the roller head on one end and a 1/2" square drive hole and 27mm hex for a socket on the other end.

The rollers on the tool automatically grip the rod as you turn it in either direction to loosen the old one and tighten the new one.

It didn't take very much force to release the inner tie rods from the rack, they were much looser than I expected. Both had a plastic collar on the end that sits between them and the rack, a white collar on the passenger side and a brown collar on the driver side.


There was no evidence of loctite on the threads. I put locking compound on and tightened them to 60Nm. There was very slight movement of the rack when loosening and tightening them.

I applied some extra lithium grease to the rack before fitting the boots.


Fitting the boots were the hardest task, the rack side of the boots are very tight. Dunking them in boiling water didn't make them expand at all and plenty of silicone grease was applied but didn't make them slide on any easier.

There's not much room to do the job in situ, it was hard to get a grip on the boots to get them over the flange. It would probably be better to drop the subframe and remove the rack from the car.

It was too confined a space to fit the metal clamps on the rack side of the boots so we used heavy duty zip ties. the spring clamps on the outer side were fitted easily, there were none on the original boots.

Hope this info is useful to anyone.
 
on the cooking pandas you can remove the rack whilst its in situ if you are struggling im not sure with yours but cant see a problem
if good quality stilsons wont remove these inner tie rods i weld an old wheel nut to them then use a standard socket set with extensions to undo them
it must be reiterated though that the inner rack must not be twisted as you undo these ends
 
I found this while researching a different problem.

The access is horrible I would hate to be changing the steering rack.

The steering rack rubber boots are a nightmare to remove. I carefully cut through the clip bands and found my (2007) original boots were in good condition.

The track rods need a special tool. I was able to get one on eBay. It has a up shape that goes over the inner ball joint and a cam action spindle you turn with a 1/2" socket set. Access is tight for a standard ratchet handle and extension bar so I used two long extension bars and a 600mm breaker bar to avoid bashed knuckles.
https://www.ebay.co.uk/itm/1-2-Tie-Rod-Wrench-33-42mm-Universal-Steering-Track-Rod-Removal-Garage-Tool/392207773037?hash=item5b5167ad6d:g:FeUAAOSwYV5cL6Gt

The new tie rods just screw in. There was no sign of thread lock. Torque setting was "that feels right" because I could not find an official value. DO NOT forget the plastic lock stop rings. If you have a 100HP you "could" try removing them for a better turning circle but don't be surprised if you have to go back and repeat the job because the big wheels hit the gearbox or something

The rubber boots went back with worm drive clips to the rack ends. There was no rubbing at full travel so should be fine. I used cable ties on the outer ends (don't pull too tight) but mine originally had no clips on the outers with no signs of dirt ingress..

I am told my rear axle is correctly aligned but my car still pulls left with the correct (zero degrees) tracking. I find two flats (precision measure) of toe in at each side steers much better.
 
Last edited:
This post contains affiliate links which may earn a commission at no additional cost to you.
Is it a difficult job to remove the complete unit on my 2004 1200 8 valve model.
Thanks in advance.

impossible to answer as it depends on your own skill level, tools and comfort level in doing these types of jobs in the past.

anyone taking their time should be able to do the job in my opinion

here the procedure

http://4cardata.info/elearn/169/2/2009000/2000901/2001394/2752790

I would say its about half way between changing a clutch and changing a wheel. Assuming someone hasn't been there before and broken or rounded a bolt.
 
Soak all bolts into aluminium castings with easing fluid or a searching oil like ACF-50. For some reason Fiat drill all the way through, leaving the bottom ends exposed. This allows a ring of hard oxide to form at the bottom end on the bolt. If you are lucky it strips neatly off the bolt threads and all is good. More likely, it goes tight and tears the threads on its way out.
 
Back
Top