

Just gave the headlining on one of my Pandas a makeover, so thought it may be of use to some of you if I went through the stages. With mine I added a pattern at the same time as recovering it with new material, if you just want to recover yours, or maybe you only want to know how to remove it, the following should still help.
The headlining is made of quite soft fibreboard and will tear easily if you are not careful, so gently does it is key.
First job is to remove the grab handles, the two screws for each one are behind hinged plastic flaps that can be popped open with a screwdriver.
Next is to lever out the central popper, if you constantly work your way around it with a flat bladed screwdriver it is possible to remove it without breaking it.
The next job may not be necessary if you have an older Panda. If you look at the raised spine that runs across between the 'B' pillars you will either find that it stops short of coming down as far as the door seal by about two inches, or it comes all the way down and rests on the door seals. If you have the latter, later one you will need to pull the door seals off in this area so that they are not in the way.
The lining itself can now be taken down. It sits on a small ledge down either side, and is held up at the front and rear by four tongues that fit in to slots in the metal roof frame. You will need something with a wide flat blade for the next part as using a screwdriver to lever the lining down risks damaging it. I used a thin, rigid scraper.
Insert the scraper between the front edge of the lining and the metal roof frame and gently lever the lining back until you can see that the tongues have cleared the slots they were in, then lever the lining down so that the tongues sit below thier slots. Now do the same at the back.
Now pull gently down in the centre of the lining so that it bows down in the middle, while using the scraper to lever one side off of it's ledge, starting in one corner and moving down the side. Eventually the lining will drop harmlessly onto your head and you can remove it through the tailgate.
This is what you should now have........

The lining in the picture is the one from my '86' 750 and is the earlier type that does not have the longer central spine that extends to the door seals. This lining was now spare as I would not be using it in the 750 again, so chose to use it for this project, then should anything go wrong, I still had the original in the subject car.
As that car was Charmania, with her chequered go faster stripe, I thought I'd have a go at making a matching pattern on the roof lining. Anyone wanting to keep thiers plain can miss out the next bit. Also, anyone with a different idea for a pattern could probably make any design using the following method and materials.
My plan was to have a chequered foof lining, but in relief rather than two different colours. To do this I needed to make half of the squares with a thicker material and stick them on before covering the whole thing with light grey baize. I was going to use the baize in double thickness for the raised squares but when I tested it I found it too thin to give enough distinction. So, at the last minute I had to pop into town to see what I could find.
I needed something about 3mm thick that was soft and light but kept a sharp edge. Eventually I found some table top protector, it's a thick felt covered on one side with vinyl, most material shops should have it, usually displayed with the vinyl table cloth you can buy by the metre.
So, the table top protector was then cut into 20cm squares, which were then layed out on to the headlining in the desired pattern.......
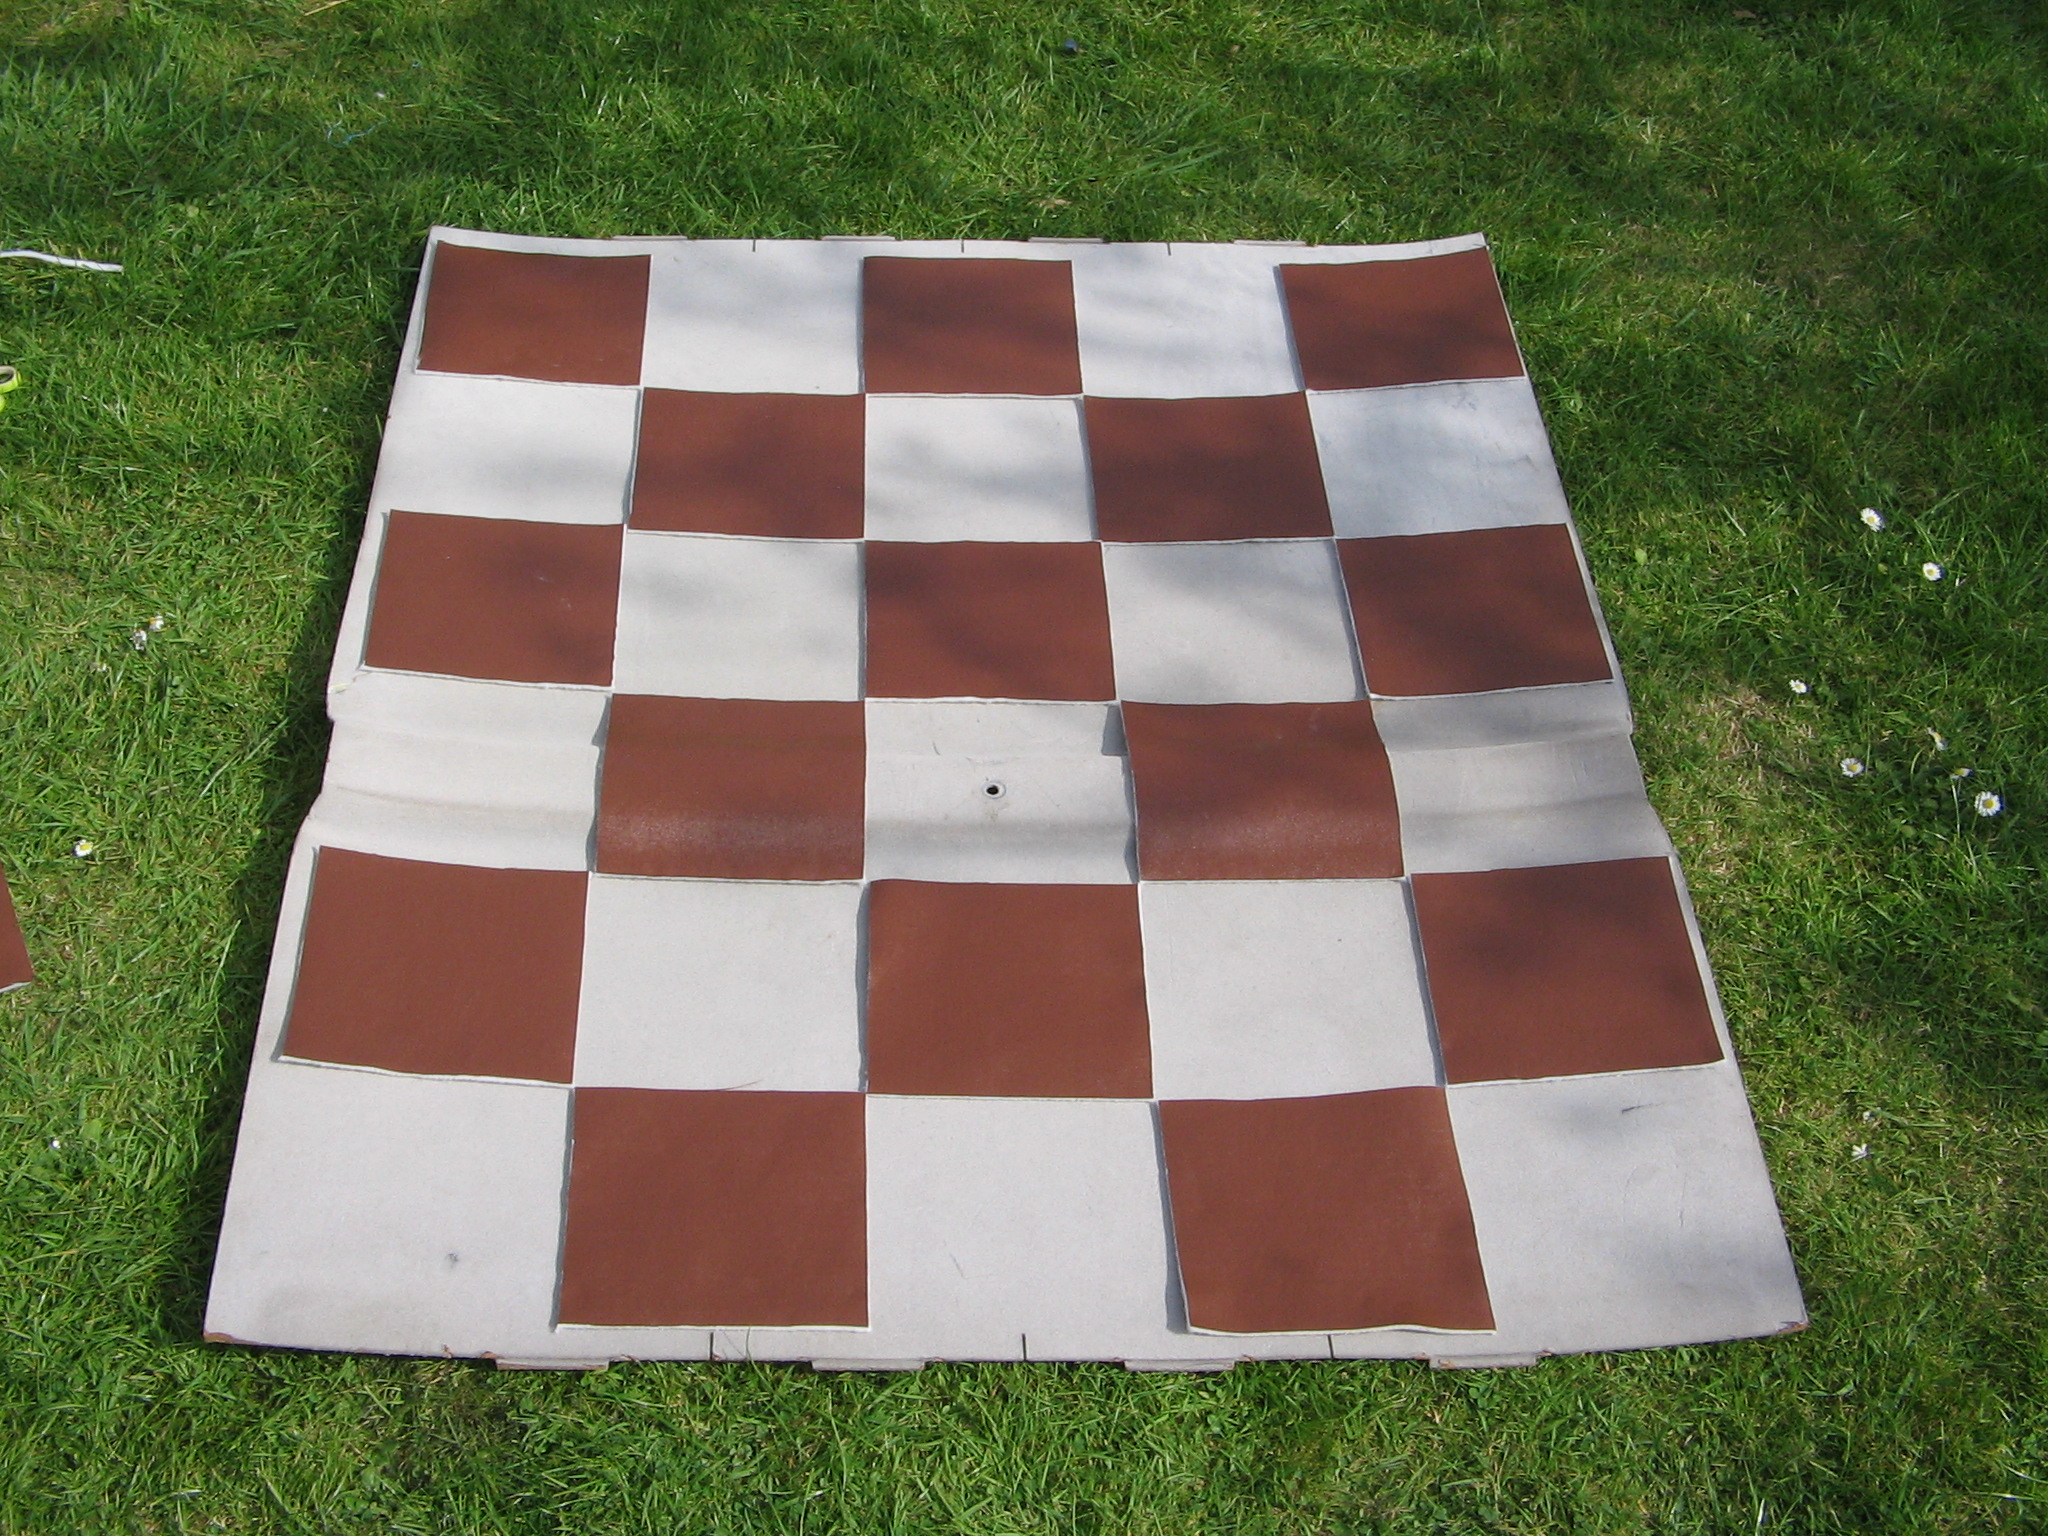
They were layed out upside down, but they would end up vinyl side stuck to the roof lining. Contact adhesive ( evo stick etc ) was then applied to a square using an old paint brush, the square moved to one side and adhesive applied to the area it was going to be stuck to. While the glue was drying off slightly I did the same for the next square, you could then go back to the first one, turn it over and stick it into place. It was then just a case of continuing this until they were all in place. I found it best to start in the middle and work out.

For glueing the grey baize I found spray contact adhesive was alot easier to work with.
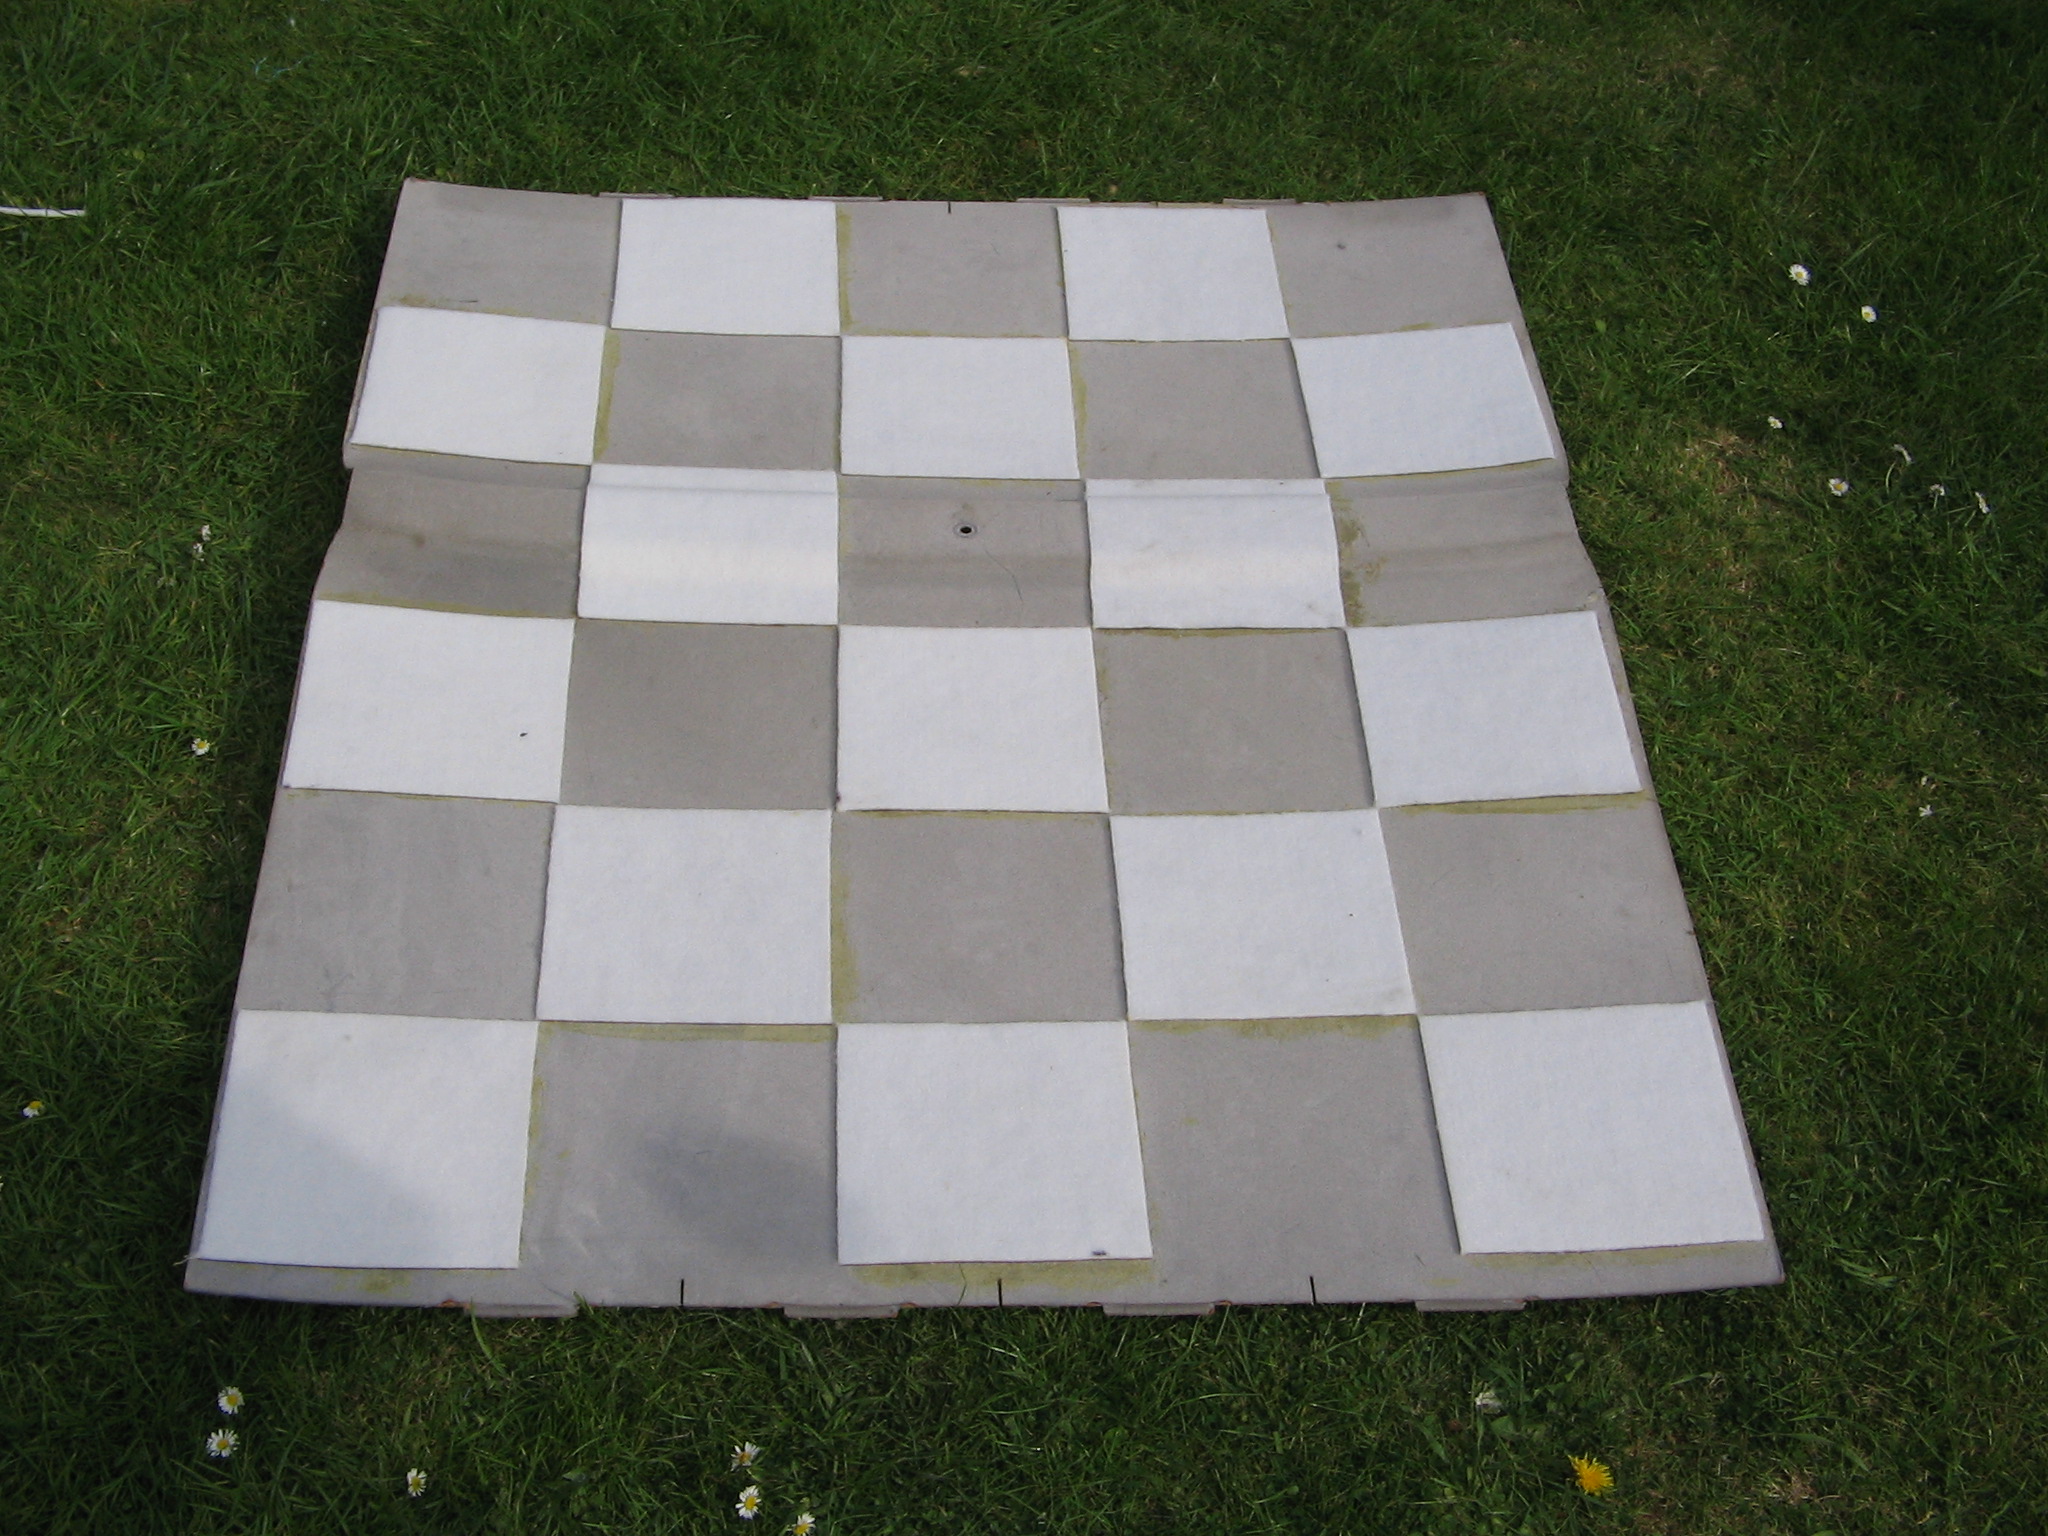
Starting on the raised spine only I glued the baize in place. I then completed applying the baize by working out from the central raised spine, doing half at a time. To ensure a sharp edge around the squares I rolled the baize flat with a wallpaper seam roller.......

All that was then left to do was to trim the edges to give about an inch overhang, then fold this over and stick down on the back.
In time honoured 'Haynes' fashon, refitting is a reversal of removal.
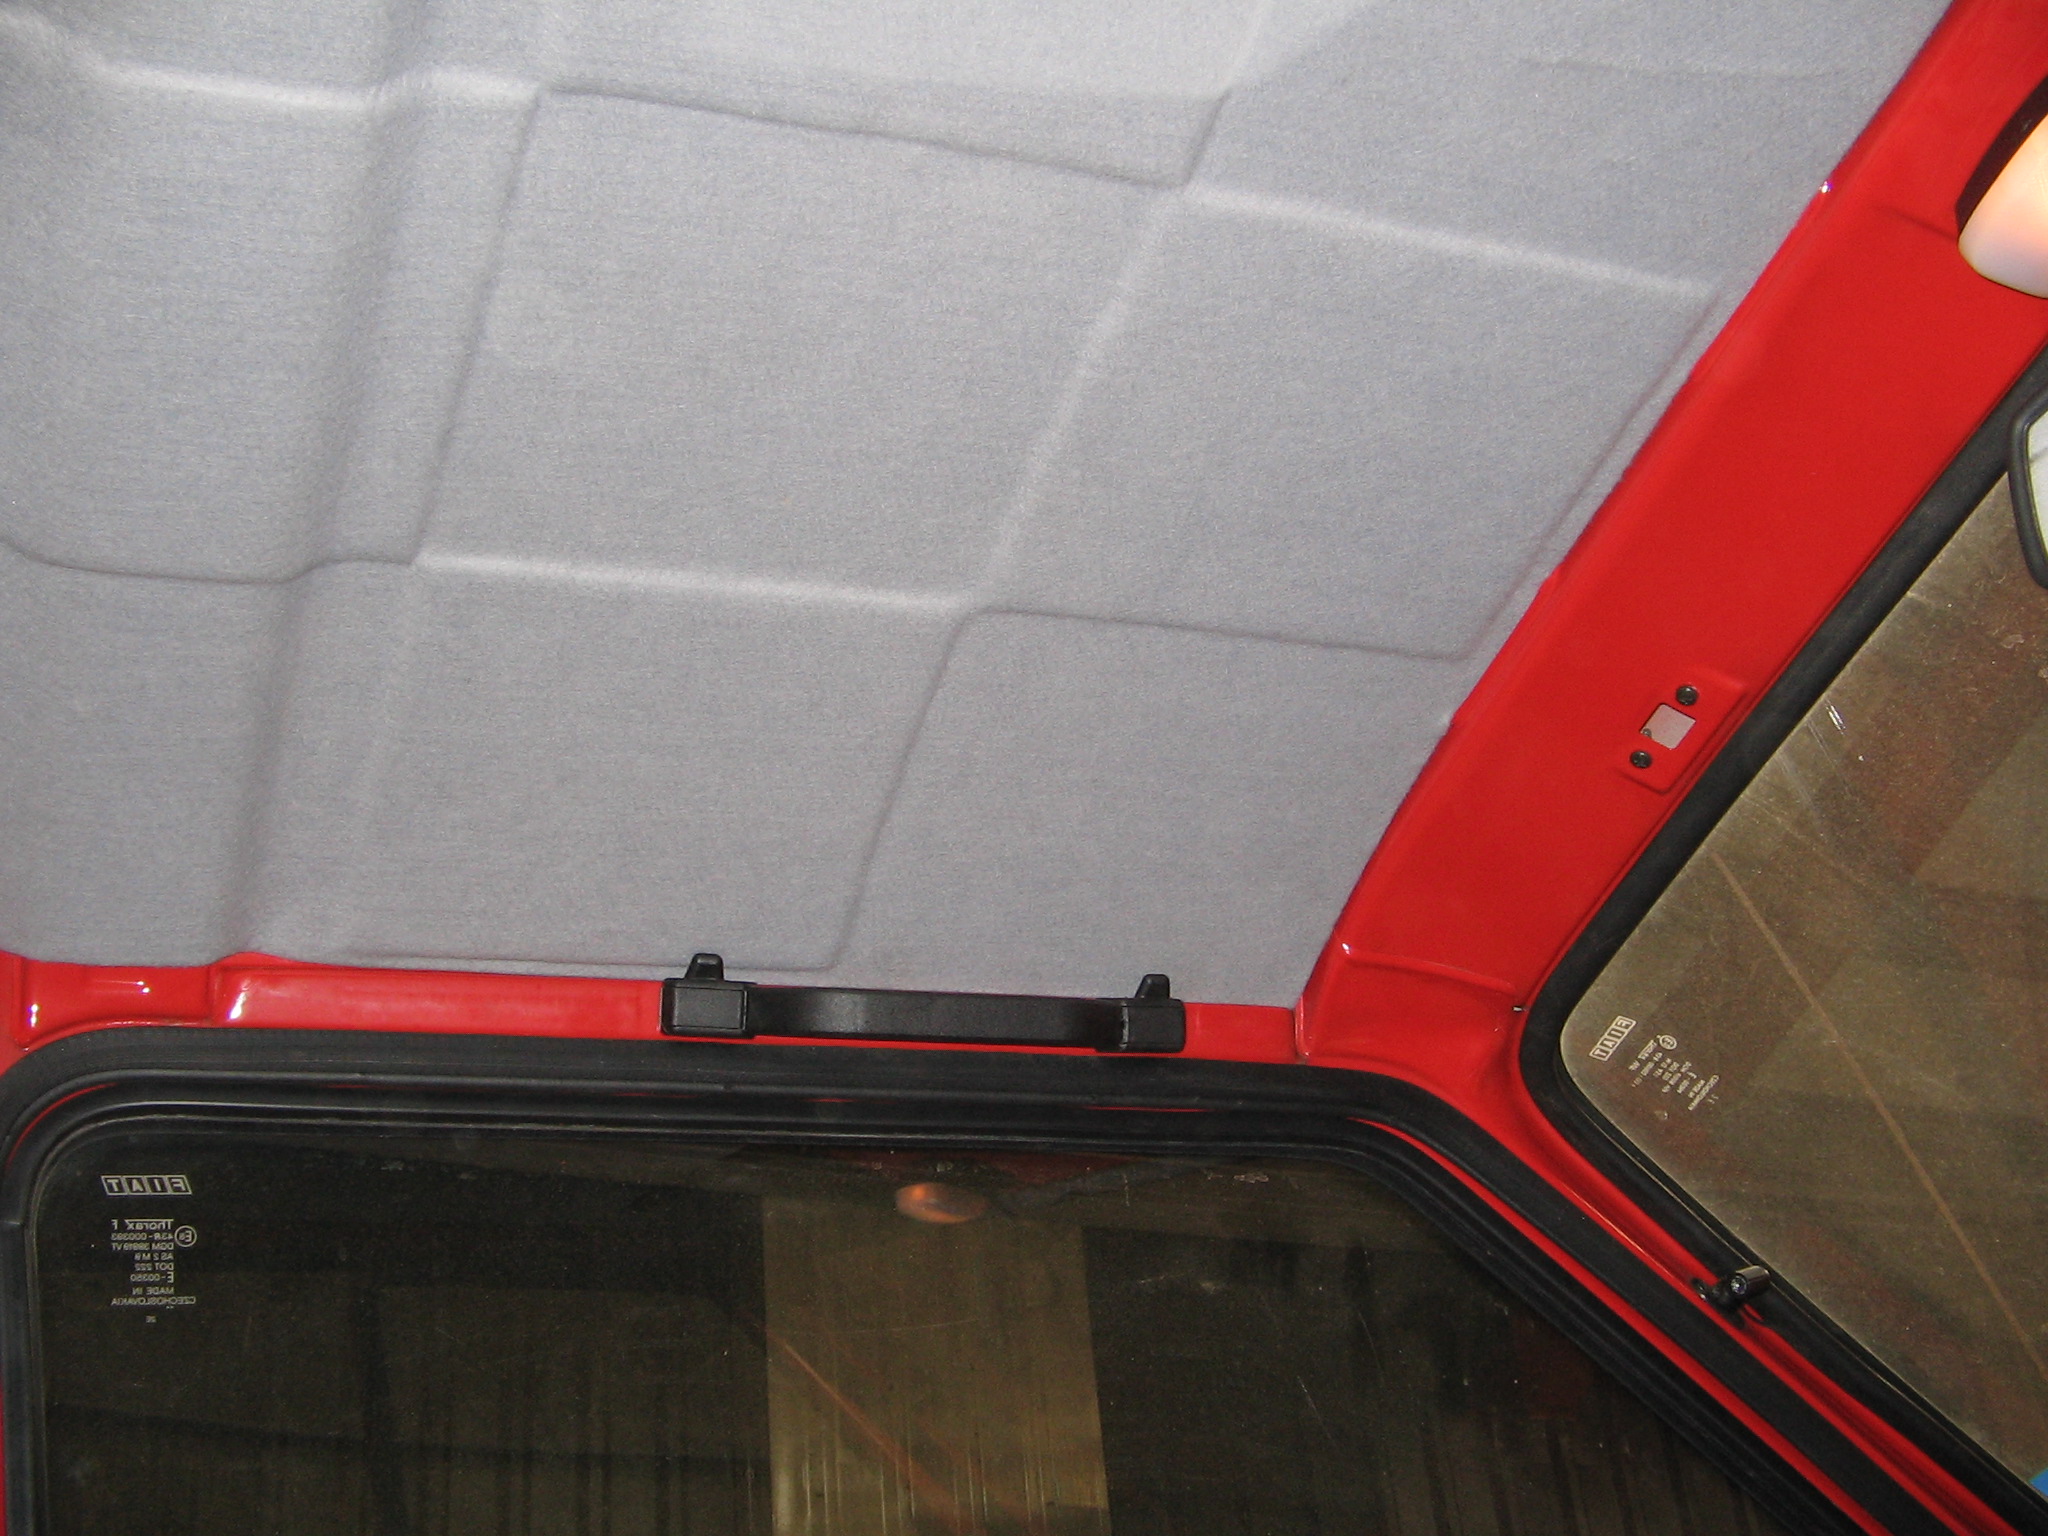
Here it is back in place........


I found this to be a very straightforward and enjoyable job to do, a bit of a change from the usual grubby nuckle bashing jobs.
With a bit of imagination there are all sorts of patterns and colours you could stick up there to brighten your car , good luck
The headlining is made of quite soft fibreboard and will tear easily if you are not careful, so gently does it is key.
First job is to remove the grab handles, the two screws for each one are behind hinged plastic flaps that can be popped open with a screwdriver.
Next is to lever out the central popper, if you constantly work your way around it with a flat bladed screwdriver it is possible to remove it without breaking it.
The next job may not be necessary if you have an older Panda. If you look at the raised spine that runs across between the 'B' pillars you will either find that it stops short of coming down as far as the door seal by about two inches, or it comes all the way down and rests on the door seals. If you have the latter, later one you will need to pull the door seals off in this area so that they are not in the way.
The lining itself can now be taken down. It sits on a small ledge down either side, and is held up at the front and rear by four tongues that fit in to slots in the metal roof frame. You will need something with a wide flat blade for the next part as using a screwdriver to lever the lining down risks damaging it. I used a thin, rigid scraper.
Insert the scraper between the front edge of the lining and the metal roof frame and gently lever the lining back until you can see that the tongues have cleared the slots they were in, then lever the lining down so that the tongues sit below thier slots. Now do the same at the back.
Now pull gently down in the centre of the lining so that it bows down in the middle, while using the scraper to lever one side off of it's ledge, starting in one corner and moving down the side. Eventually the lining will drop harmlessly onto your head and you can remove it through the tailgate.
This is what you should now have........

The lining in the picture is the one from my '86' 750 and is the earlier type that does not have the longer central spine that extends to the door seals. This lining was now spare as I would not be using it in the 750 again, so chose to use it for this project, then should anything go wrong, I still had the original in the subject car.
As that car was Charmania, with her chequered go faster stripe, I thought I'd have a go at making a matching pattern on the roof lining. Anyone wanting to keep thiers plain can miss out the next bit. Also, anyone with a different idea for a pattern could probably make any design using the following method and materials.
My plan was to have a chequered foof lining, but in relief rather than two different colours. To do this I needed to make half of the squares with a thicker material and stick them on before covering the whole thing with light grey baize. I was going to use the baize in double thickness for the raised squares but when I tested it I found it too thin to give enough distinction. So, at the last minute I had to pop into town to see what I could find.
I needed something about 3mm thick that was soft and light but kept a sharp edge. Eventually I found some table top protector, it's a thick felt covered on one side with vinyl, most material shops should have it, usually displayed with the vinyl table cloth you can buy by the metre.
So, the table top protector was then cut into 20cm squares, which were then layed out on to the headlining in the desired pattern.......

They were layed out upside down, but they would end up vinyl side stuck to the roof lining. Contact adhesive ( evo stick etc ) was then applied to a square using an old paint brush, the square moved to one side and adhesive applied to the area it was going to be stuck to. While the glue was drying off slightly I did the same for the next square, you could then go back to the first one, turn it over and stick it into place. It was then just a case of continuing this until they were all in place. I found it best to start in the middle and work out.
For glueing the grey baize I found spray contact adhesive was alot easier to work with.
Starting on the raised spine only I glued the baize in place. I then completed applying the baize by working out from the central raised spine, doing half at a time. To ensure a sharp edge around the squares I rolled the baize flat with a wallpaper seam roller.......

All that was then left to do was to trim the edges to give about an inch overhang, then fold this over and stick down on the back.
In time honoured 'Haynes' fashon, refitting is a reversal of removal.
Here it is back in place........

I found this to be a very straightforward and enjoyable job to do, a bit of a change from the usual grubby nuckle bashing jobs.
With a bit of imagination there are all sorts of patterns and colours you could stick up there to brighten your car
, good luck
Last edited: