Hello and welcome.
Sorry it's in such sad circumstances.
This may be the thread you'd seen before.
You also might want to take a look at
this one.
You can download a workshop manual
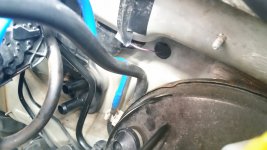
for the european cars from the downloads section of this forum. Yours will be different as it's a North American model, but I'd expect the arrangements for accessing the heater core to be broadly similar.
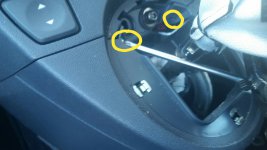
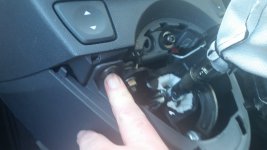
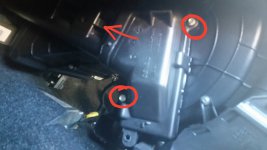
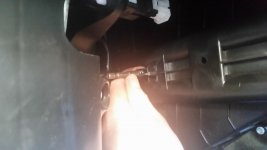
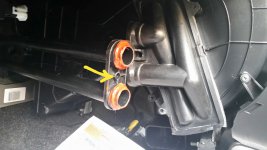
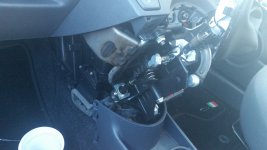
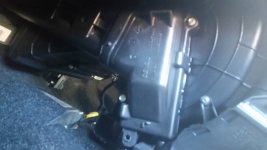
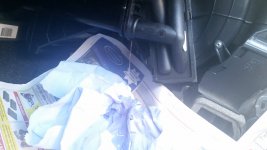
You start by removing the seats, both doors, the steering wheel & column, most of the interior trim forward of the seats, the dash and the front crossmember inside the car. Then you can start to see the rabbit. Plan on a couple of days work if you know what you're doing.
If Fiat had set out with the express intention of making this job as difficult as possible, they couldn't have done a better job.
You could be forgiven for thinking this post is an April Fool. Sadly, it isnt.