WP_20170308_07_41_43_Pro.jpg

Panda (Classic) Cornish Red

Introduction

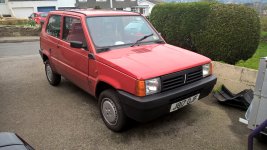
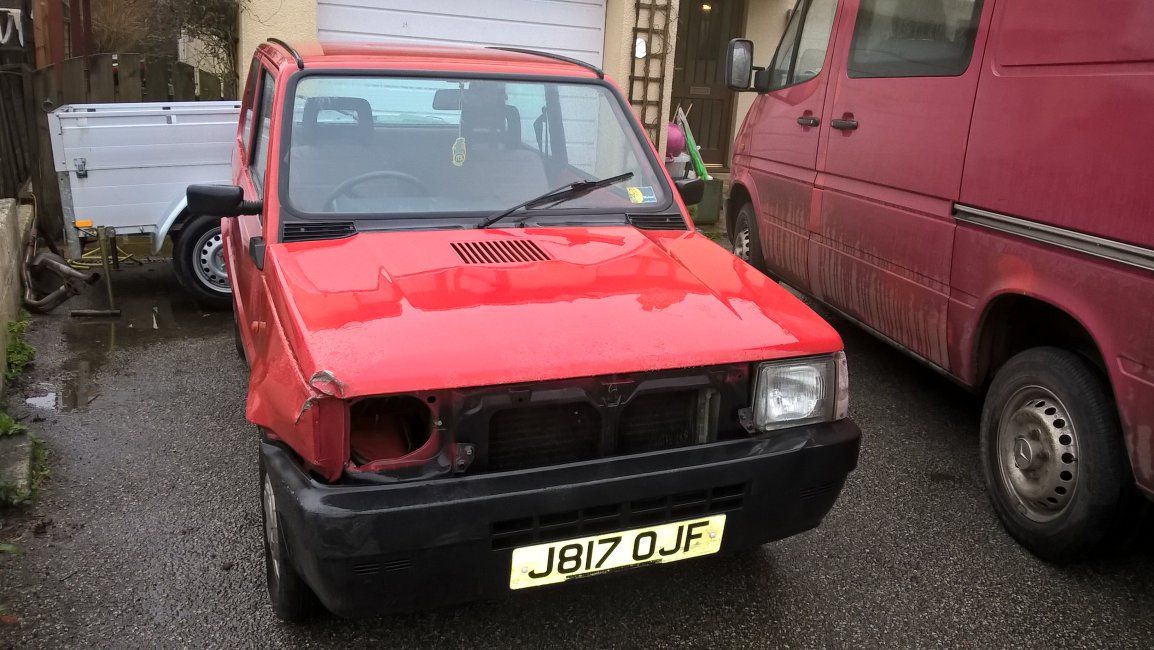
Thought this was a better place to upload the pics of my little Ferrari Mini Tractor; pre and post accident. I'm pissed off the missus gave it a black eye; pleased I managed to find the repair parts: pleased at the ease of stripdown; pleased at the standard of the bodyshop's work, but peeved at the fortune I paid them; pleased at my first serious bit of rattle-can work; seriously relieved the rain started AFTER the paint had skinned over; pleased I got the headlights back on after some hammer/drift fettling; peeved that it is now obvs that the bonnet needs adjusting to give better shutlines; ...impatient for a bit of dry so's I can get the 2 coats of lacquer on; impatient for the new bumper to arrive, so's I can get a "fully finished" photo. Then, just an MOT and it'll be back on the road, uff.WP_20170308_07_41_43_Pro.jpg

WP_20170316_09_35_49_Pro.jpg

WP_20170317_11_39_24_Pro.jpg

WP_20170318_10_16_24_Pro.jpg
Now you just need a new red mk1 grille!!!
 
Now you just need a new red mk1 grille!!!
To give it that "old world" charm, eh?!
The black one(s) I have will do for now, thanks.
We used to own a MK1, back in the day. Beige 903 "Comfort" with the baby sling rear seats. Loved it and passed it on to friends when we got the original red one as a wedding gift (secondhand). I remember being passed by my missus in it on the A69 in Northumberland, while I was driving my MGB GT - either the speedo was WAY out, or she was doing 90 ...:worship:
 
So, rain held off today, long enough for me to reassemble Cornish Red, in prep for MOT booked for tuesday. Bumper went on WAY easier than I thought it would - Top Tip; everything is easier when you take off the front wheel arch liners! So much room!. Tell you what, though; the more I work on my Panda, the more I love it. Everything just seems to make sense and , having taken a mo' to plan the best way forward, it is all just a question of unbolting, fixing and bolting back on again. Has a nice flow to it...
Here she is, pre-mot


Still need to blend and lacquer paint (please, Rain God; have mercy). And I am busy attaching silver foil tape to the grille "slanty bits" - only done first one in this pic - as the finish had completely gone from the original ones that I was able to harvest from the smashed grille. Need a grille badge from the top right of the grille to finish completely.
Basically, though, I am v.pleased with how I have done with this fix - it being the first proper body repair I've attempted. Basic stuff to many of you, I know, but a step up for me, so... :)
 

Attachments

  • WP_20170323_13_30_53_Pro.jpg
    WP_20170323_13_30_53_Pro.jpg
    2.2 MB · Views: 37
Last edited:
Sun shone sat a.m, so I got the rattle can out and the 1200g and set to, putting on the prescribed 2 layers of lacquer. Went on ok, so I thought, while I'm here, I'll swap over the plugs as she had started to chuff a bit. Excellent...then I put my hand down on the wing top as I was extracting the first plug :bang:
Skinned over, so no sticky mess, just a perfect palm print in my new paintwork...
Ah well, I think, not so serious and the whole thing will need doing at some point and I can live with a few blemishes until then ...
Except that I then did the same thing twice more ... dear god.
On the plus side, with the new NGK plugs, she ran sweeter than ever before and not one missfire/hesitation moment as I had had with the Bosch ones I had tried. We'll see how long they last - I have never used NGK before, but all the signs are good so far.
MOT tues morn...Ahhhh
 
Bad news on the MOT front. Failed as lower ball joint damaged in the accident (we suspect) and popped up into and is touching the driveshaft on the O/S. Suspect bent hub carrier as the ball joint can't be "persuaded" back down. I've put an ad in the parts wanted section and crossing fingers :cry:
 
Hurray! After replacing hub carrier, TRE, and lower control arm; cleaning up and painting and refitting everything as necessary ... and then again because I put the disc splash guard on back to front ... (DOH!), we got the MOT.
Because I had fitted a replacement (EU spec) headlight, which the MOT tester failed it on, I put Sisley's headlight on, just to get it through and, guess what? That one was EU spec as well, unbeknownst to me. My friendly tester, once he had heard about the impossibility of getting UK spec lights currently, did what they used to do (but are now not allowed to), which was to put a small piece of tape over the requisite area to stop any glare hitting the oncoming cars. So, a decent and practical man, thankfully, and MOT issued.
So, now I am looking for 2 new headlights ... (sigh)
Next task for Cornish Red is to get her as high off the ground as poss, so I can get underneath with a wire brush, Rustcure and Rustoleum and get the underneath protected, to put off any welding for as long as poss.
At the same time, I am going to try and go through Cornish Sisley's gear linkages and get the incredibly sloppy gearchange back into shape, and then go through him before attempting an MOT, so I can get him off SORN and on the road.
Horrid burgundy metallic paintwork leads me to thinking of something a bit more ... creative and fun, as this one will be mine and therefore less pretty than Red. Butch him up a bit and make him more "Jeepy". We'll see; MOT stuff first.
 
Back
Top