12465823_504302005231_5159917338528806365_o.jpg

Panda (Classic) Sisley 4x4 stubbie

Introduction

Hello Everybody,

I just thought I'd start a new thread in the correct place as I now know how it all works now Yipee :D

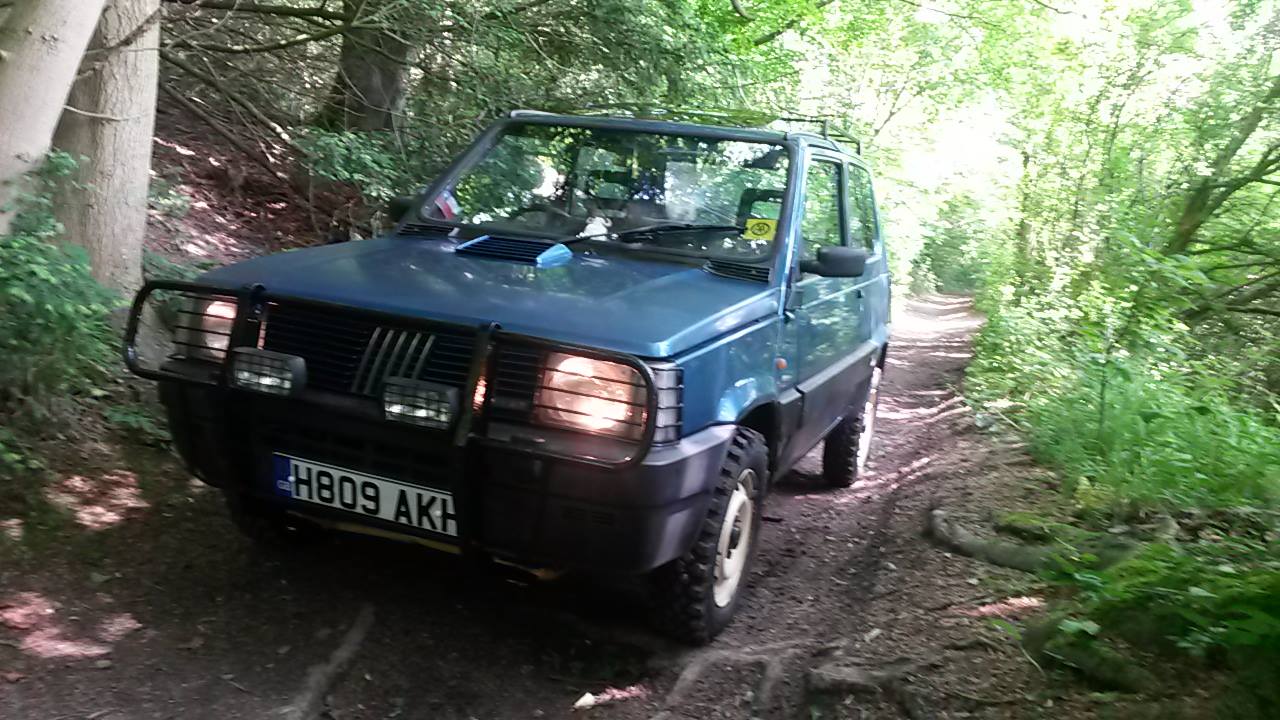
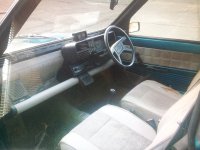
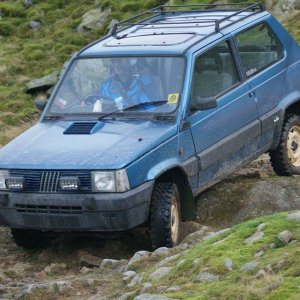
Anyway here's Stubbie as per the advertisement before I bought Him/her :slayer:


The Name Stubbie Came from my previous place of work called Stubbers, where I was given a toy (The Cat Toy). Which has always lived in my cars. It's not just that reason though, it's also because it's the first time I remember seeing a panda 4x4 where I worked. It crosses lines as VmanC Sold it to them. (y) I blame him ;)


I've got a previous thread where i started it where you can see the work I've already done Find it here: https://www.fiatforum.com/panda-classic/420870-project-stubbie-panda-sisley-4x4-h809akh.html

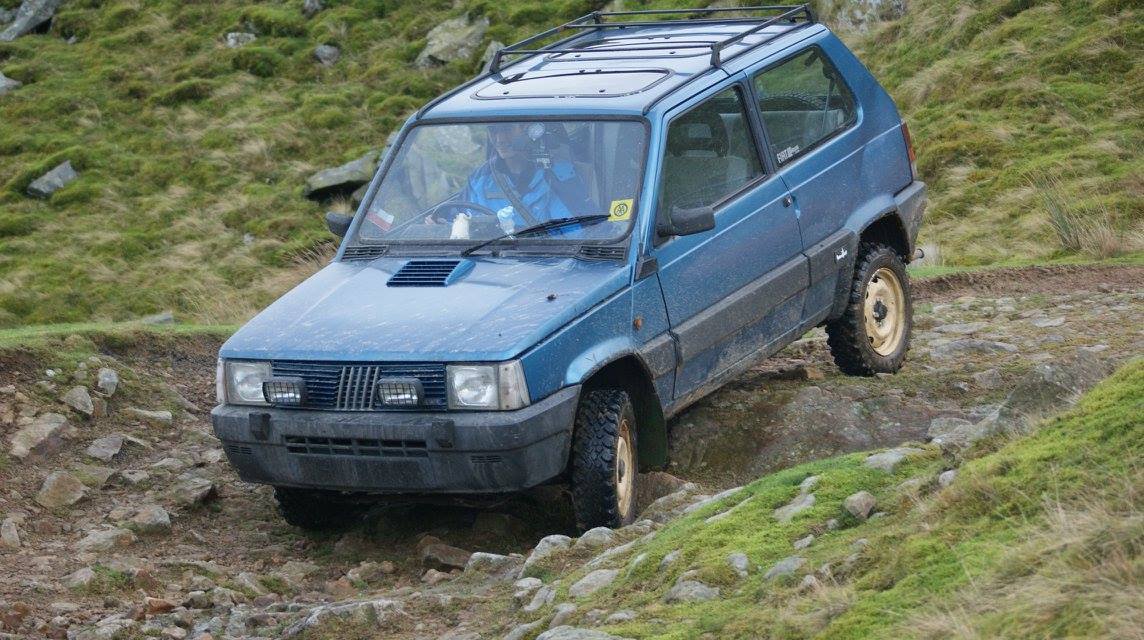
So it went to the 1st Panday In September 2015 :)
20150913_185240.jpg


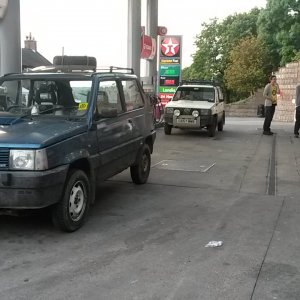
2nd Panday In December 2015
12465823_504302005231_5159917338528806365_o.jpg


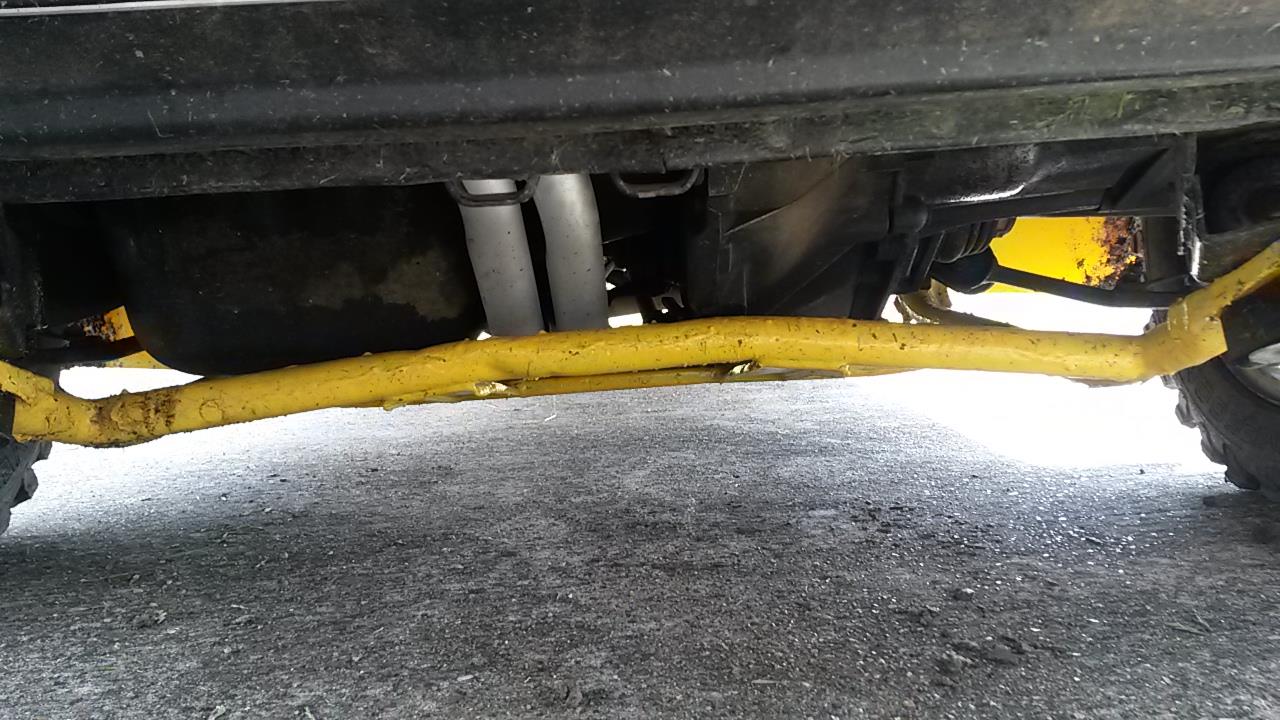
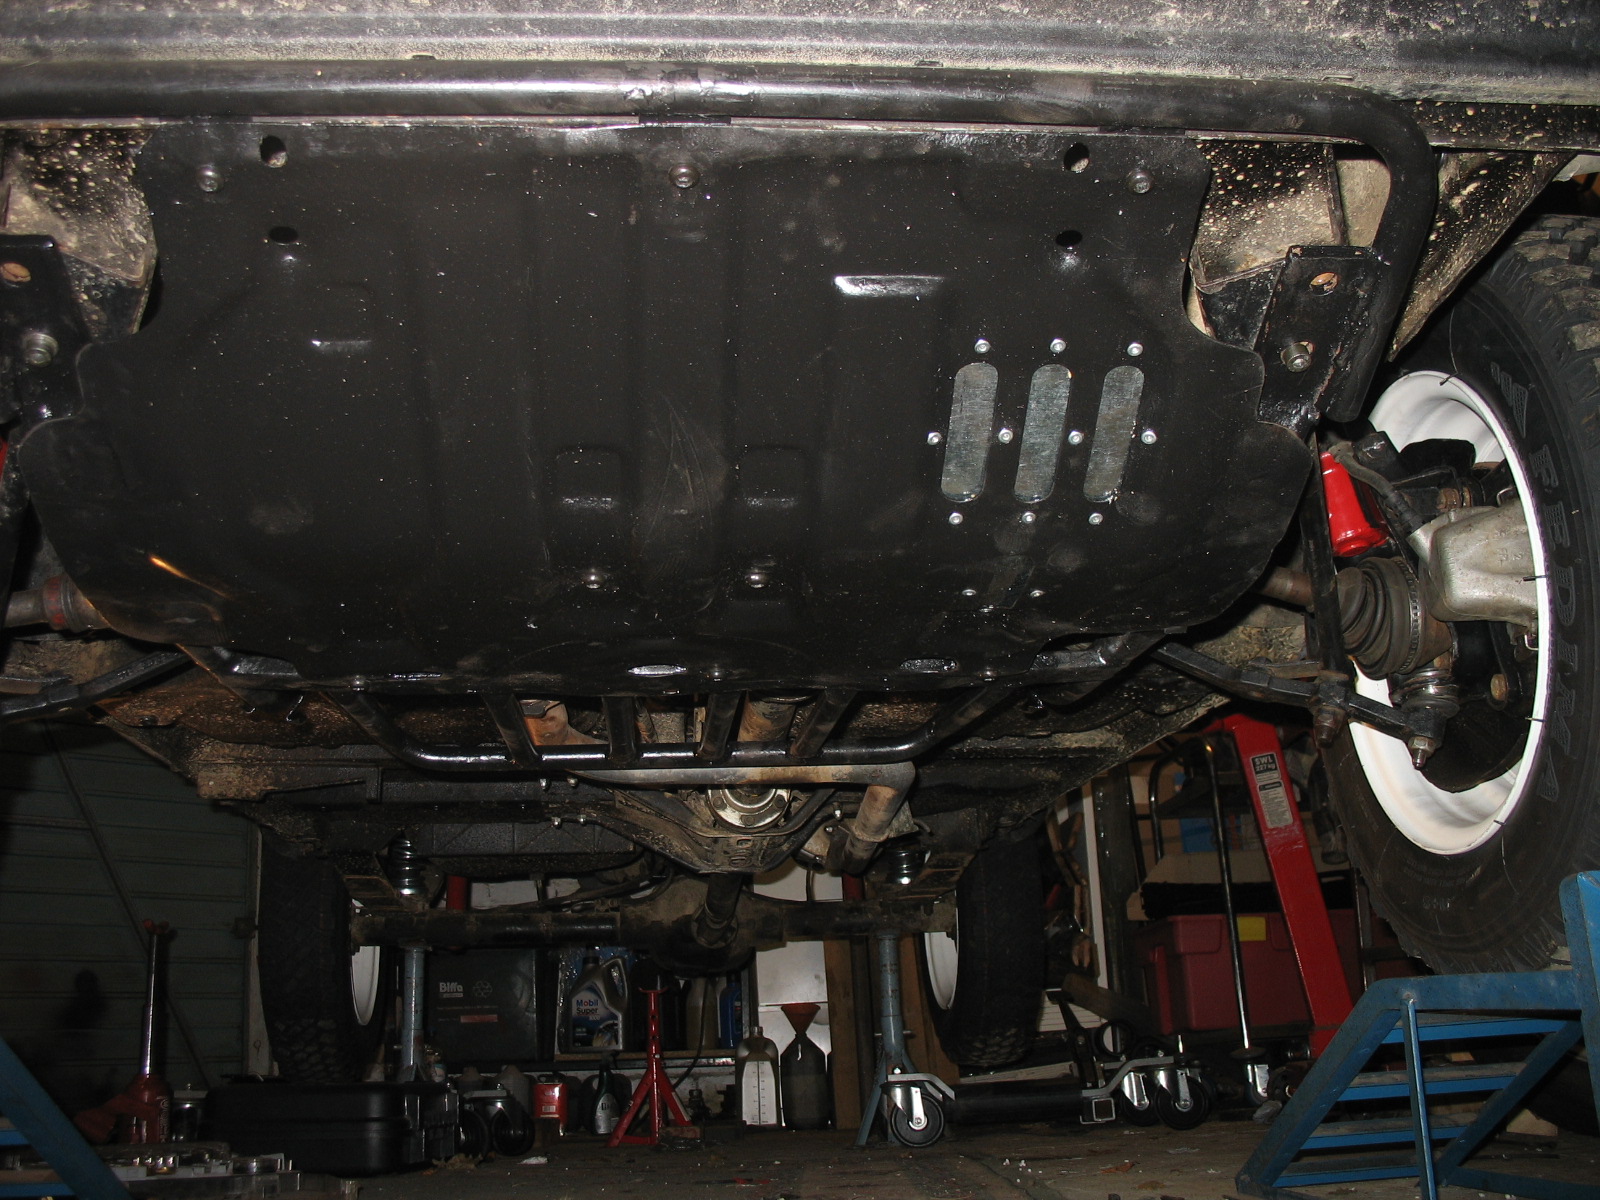
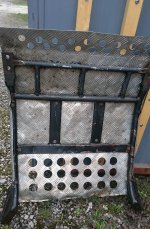
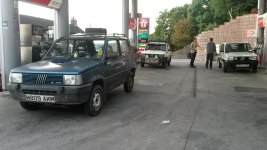
Update I plan on going to more Panday's in the coming future and possibly Italy next year. At the monument it needs a few bit's doing, Propshaft needs refurb as I might of destroyed that in December :( , got some bullbars to fit and plenty of welding (of course). Once these are done I should be back in business. It is my only car so its a daily rolling project which is challenging and interesting at the same time.

Many Thanks for looking updates to follow soon. have a great day everyone :)
UPDATE!!! :slayer:

Hello one and all.

Welcome I bring to you a update of follows:


Yes it's a bit in pieces, exhaust out to repair a massive dent which happened on the December meet and prop shaft has been dropped off at the Panda Guru (y)

Mean while that's gone i'm doing some welding for the MOT due in June and rust clearance/protection. That pesky Brown/orange, crispy stuff scares the crap out of me now. :cry:
Places of interest rear chassis rail (right by the fuel filler), Prop-shaft support mounting areas and Sump guard mount areas along with new longer bolts to fit a bit of prop, exhaust and gear linkage protection ideas are still in my head. ;)
Rear chassis rail area ^^^

Thanks for looking! just one question with the front bullbar/sumpguard mount one of the threads are shot/rusted best way to replace?

Cut a patch and weld a new nut and patch of metal in its replacement?
Many Thanks, Lewis :worship:
 
Good work Lewis :thumbup:

Just drill the old captive nuts through and put a longer bolt on with a nut on top of where the remains of the captive one is. You can slide a 13mm spanner easily through an access hole to the rear of the front mount in order to tighten the new bolt fully. I think that Fiat anticipated this as a fail point in view of leaving this access hole! I've had my sump guard & bull bar attached like this for about 4 years.

Ahhh what a good and simple idea cheers buddy should save a lot of time and hassle.. :slayer:
 
Hello Ladies and gents!

Long time no posts, been a busy boy and Laptop doesn't like the Forum for some reason?

Anyway I'm back with a update Yipee!!! :)

First of all I did some welding on the prop-shaft support and sump guard mounts then under sealed most of the underneath of which came out very well!

Yesterday took a beasty drive to Freddy's to get the prop fitted where all the fun happen hehe.


First time I've got it on the ramp and must say I'm pretty pleased with Stubbie at the monument, Anyway firstly we moved the exhaust, lined up the prop up and started bolting in and went to fit the exhaust back in then oppss

Yeah that broke :( Mr Andy B took the old exhaust off Giuseppe the day before and that was just going into the bin, so we fitted that to Stubbie, Very lucky indeed but good use as it isn't to bad of nick. Not to bad only leaks slightly on the downpipe to centre pipe.


Props-shaft all works as it should it's like it isn't even there good job panda1408 ! :worship: Only thing is the 4x4 dash Light doesn't work I've tested it 4 wheel drive system and seems to engage, But i'll fix the light when I change the dial for this Sisley one as mine just seems to have a standard gray one???
Can't change the dials till bullbars are on and can't do that till Mot is passed etc... Mot is booked for Wednesday 25/5/2016 Whoo, should hopefully pass!

One again cheers Freddy for your help, every Problem he just wanted to fix there and then. Also Andy for the exhaust and dials couldn't wait to long there all ready in pieces ready for the swap! I think that's everything... Update will be soon about the Mot and more :D

Lewis
 
We had a lucky escape this time Lewis! I was thinking about the best way of patching up the rusty exhaust when I realized there was a complete system lay on the floor that was destined for the scrap bin! Ten minutes later that was fitted and Lewis could get home without doing deaf!

Did the front joint start blowing on the way home Lewis? It was totally sealed after we re seated it?

Errr I checked it like, the day after and it was blowing very very slightly but the MOT man didnt notice it ;)
 
Hello everyone, so It failed the MOT on one thing grrrr no advistorys! Which is good, It failed on the offside shock lower bush of which I replaced the shock in September last year!!! Im abit p*ssed off, but hay ho, its only one thing and No advistories makes me mega Happy, accually feel like this project has turned it cornor and its saved!!! Almost there now.

Lewis
 
Hello Everybody so it Passed it's MOT after replacing the bush on the lower shock!
Whoo Hooo

Happy as Larry,

Anyway it didn't stop there oh no... I whipped off the sump Guard gave it a few nuts welded on a quick dash of paint and bamm! ,

I painted the Roof rack as well as it was rusty as f**k so just grinded that and gave it a coat of hammerite doesn't look to bad it takes alot of punishment round here as most byways are over grown!


While those we're drying I changed the dash display for the Sisley one as mine didn't have it weridly,
Anyway found a few interesting things like mine doesn't have a trip clock but the ones MR Andy B gave did have it mmm
Looks all good fitted!


While under the dash i routed the wires for the spots lights and the switch for them, northernchap I'll catch you up how I did it.


Then it was time to fit everything sump guard+extra plate for it and bull bars and mud flaps! :slayer:

Then It was complete!


Just a CB radio to get and a small bits and pieces!
Story time! So found a amazing Bylane it was super!.. Anyway got to a mud bog with random puddles anyway started to go over it the slabs that looked solid (that my wheels were on) Gave way and BANG! Stubbie came to a quick hault! landing on a massive slab of bricks and concrete. Thankfully Stubbie managed to get out somehow, revered and went a different route round the bog.
Lucky the extra plate was fitted and the sump guard did its job as it saved us and the gearbox with not even a CM spare to touching the gearbox! The extra plate has been dented back out, but with the sump guard I'm not going to be able able to bend back!
May need another! :( But it was heck of fun being back on those lanes exploring! :D

Thanks for looking :) Lewis
 
May have to take up on your offer haha. :slayer:


Std sump guard are great, but not ideal to be used as skid plate due to lack of structure on the approach plane. Some additional metal is necessary in front of the down pipe.


Looking on my guard I can see a lot of dents and scrapes.
That how it looked when fitted
IMG_33971.JPG


IMG_33951.JPG
 
Std sump guard are great, but not ideal to be used as skid plate due to lack of structure on the approach plane. Some additional metal is necessary in front of the down pipe.


Looking on my guard I can see a lot of dents and scrapes.
That how it looked when fitted
IMG_33971.JPG


IMG_33951.JPG

Hi Jacob I think i got unlucky to be honest because of the nature of the way it happened, as above ive got the extra plate but with that it still put a massive dent on the right had side of the sumpguard, now it matches the dent on the left side which happen before i got it! Haha, unsure weather i should still use it now as anymore dentage will cause it to be touching the gearbox, may have to strength it some how.
 
I think the key is Lewis that more off road miles are in your favour. No disrespect intended but you are still learning (aren't we all!). With more time taken on off-road trails you will get better and better at avoiding those pointy bits - at least you know that the guard is there and helping you.

Like with both examples above, it's key to get a strong structure for the guard with bars and plates, and an additional lightweight cover on top deflects the water and mud.

It is always important though to leave plenty of open space in the guard cover, to let the water and liquid muck come back out again or you'll end up clogging everything.
 
Back
Top