Introduction
I've posted pics of my Sei Minion on FF before but thought it was about time I contribute a little bit more so this thread is about my car, hopefully I'm posting it in the right place but I'm sure I'll be set right sharpish if not 
Having recently read through Pirus's Shoe/Pawsbox and Todger182's Chalky epics with a mixture of lust, fear and cold, cold jealousy :worship: I must point out that those sort of operations will not (yet) be a feature of this thread...
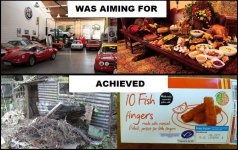
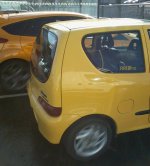
Sei Minion was bought as a cheap town runaround in order to avoid taxi/rental car costs as due to health issues in 2014 I was carless for a bit. Health returned and brought with it this...
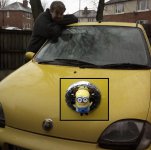
No, it did not come with a plastic minion bolted onto the badge backing. Yes, I did walk into toys r us and buy a minion. Yes, drilling a hole in a minion was fun. Dignity and I are not firm friends.
Anyway, this little car turned out to be the most fun drive I've had since (real) mini's and RWD Escorts many years back. A series of dull useful family cars had eroded my interest in oily things but this titchy yellow go-cart has been a bit of a revelation. Only problem being when I was learning the world ran on contact breakers n carbs, not ECU's and squirty plugs. Still bolts is bolts and the rest I'll learn the usual way, by screwing it up so badly I have to figure out how it works.
Current job list:
Fit crap hood ornament - tick
Build car port and pass it off as childrens undercover play area - tick - pics to come
Flush out liquid rust from coolant system and fill with lovely clean stuff - tick
New spark plugs - tick - plug 1 centre electrode was v v badly burned/melted??
Proper brave engine/bay degrease with gunk and pressure washer to find where oil is leaking
Clean possibly change sump pan
New oil n filter
Timing belt and (while I'm at it) water pump
Tracking
Possible top end column change (covered in previous posts, ta all)
Minor dents/scuffs to sort
Full detail
Current Dream list:
Slight height loss
Wheels, 14", lower profile boots, wider ffs, something interesting
Lights that provide illumination
OK enough listing. I have actually done something and have pics to prove it. Pics that are blurry, sorry. This will have been done many times before but...
This cannot be allowed to stay grubby scuffed 'orrible silver.
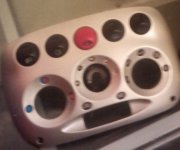
Finally, a use for the 00000 grade steel wool lurking in the shed. Half n half shot...
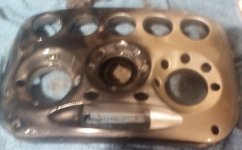
The wool did a good job, brought down the scratchy texture, cut out some minor scuffs.
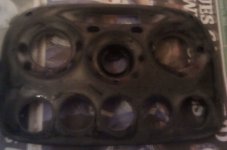
Providing a nice platform for primer...
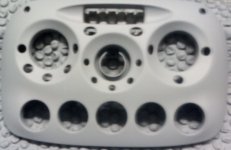
Then topcoat.
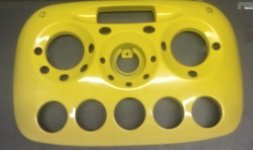
Some drying time later, re-assembly began.
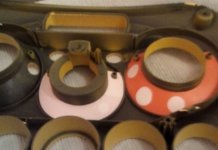
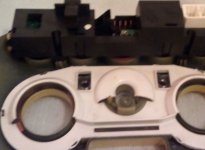
Nice moment seeing the contrast between the new colour and the old (hang on, what the hell are they called ) control panel function indication labels? Not catchy is it.
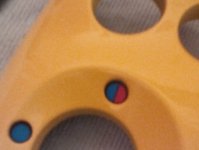
The result. It was dark by this time but I had to take this photo. The voices said so.
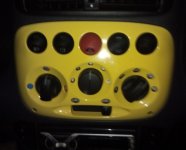
Well there it is, documentary evidence that I did it. To anyone who is going to do it I'd say the only fly in the ointment is having to snap off the big white bit on the back of the panel. It needs to be either glued or melted with a soldering iron to get it back on, easy enough to do but worth planning for.
Oh yeah, the car came with a cracked o/s door mirror housing containing a cut-to-shape temporary mirror which had been cut to shape by someone who was clearly unfamiliar with using their hands. Or eyes. Or brain.
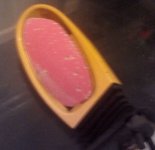
Now replaced by this from jiminwatford's ebay shop (ta muchly for sending quickly).
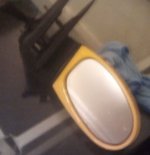
More updates will happen. Maybe nothing too exciting for a while. Thanks all...
Matt.
:slayer:
Having recently read through Pirus's Shoe/Pawsbox and Todger182's Chalky epics with a mixture of lust, fear and cold, cold jealousy :worship: I must point out that those sort of operations will not (yet) be a feature of this thread...

Sei Minion was bought as a cheap town runaround in order to avoid taxi/rental car costs as due to health issues in 2014 I was carless for a bit. Health returned and brought with it this...

No, it did not come with a plastic minion bolted onto the badge backing. Yes, I did walk into toys r us and buy a minion. Yes, drilling a hole in a minion was fun. Dignity and I are not firm friends.
Anyway, this little car turned out to be the most fun drive I've had since (real) mini's and RWD Escorts many years back. A series of dull useful family cars had eroded my interest in oily things but this titchy yellow go-cart has been a bit of a revelation. Only problem being when I was learning the world ran on contact breakers n carbs, not ECU's and squirty plugs. Still bolts is bolts and the rest I'll learn the usual way, by screwing it up so badly I have to figure out how it works.
Current job list:
Fit crap hood ornament - tick
Build car port and pass it off as childrens undercover play area - tick - pics to come
Flush out liquid rust from coolant system and fill with lovely clean stuff - tick
New spark plugs - tick - plug 1 centre electrode was v v badly burned/melted??
Proper brave engine/bay degrease with gunk and pressure washer to find where oil is leaking
Clean possibly change sump pan
New oil n filter
Timing belt and (while I'm at it) water pump
Tracking
Possible top end column change (covered in previous posts, ta all)
Minor dents/scuffs to sort
Full detail
Current Dream list:
Slight height loss
Wheels, 14", lower profile boots, wider ffs, something interesting
Lights that provide illumination
OK enough listing. I have actually done something and have pics to prove it. Pics that are blurry, sorry. This will have been done many times before but...
This cannot be allowed to stay grubby scuffed 'orrible silver.

Finally, a use for the 00000 grade steel wool lurking in the shed. Half n half shot...

The wool did a good job, brought down the scratchy texture, cut out some minor scuffs.

Providing a nice platform for primer...

Then topcoat.

Some drying time later, re-assembly began.


Nice moment seeing the contrast between the new colour and the old (hang on, what the hell are they called

The result. It was dark by this time but I had to take this photo. The voices said so.

Well there it is, documentary evidence that I did it. To anyone who is going to do it I'd say the only fly in the ointment is having to snap off the big white bit on the back of the panel. It needs to be either glued or melted with a soldering iron to get it back on, easy enough to do but worth planning for.
Oh yeah, the car came with a cracked o/s door mirror housing containing a cut-to-shape temporary mirror which had been cut to shape by someone who was clearly unfamiliar with using their hands. Or eyes. Or brain.

Now replaced by this from jiminwatford's ebay shop (ta muchly for sending quickly).

More updates will happen. Maybe nothing too exciting for a while. Thanks all...
Matt.
:slayer:


