20140829_134520.jpg

Cinquecento Jenson... The 1995 green sx 899 - 1242mpi 8v turbo

Introduction

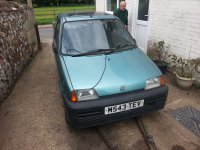
Meet jenson... my 'other cinq', hes a 1995 sx I picked up a few months ago for a grand total of £80...

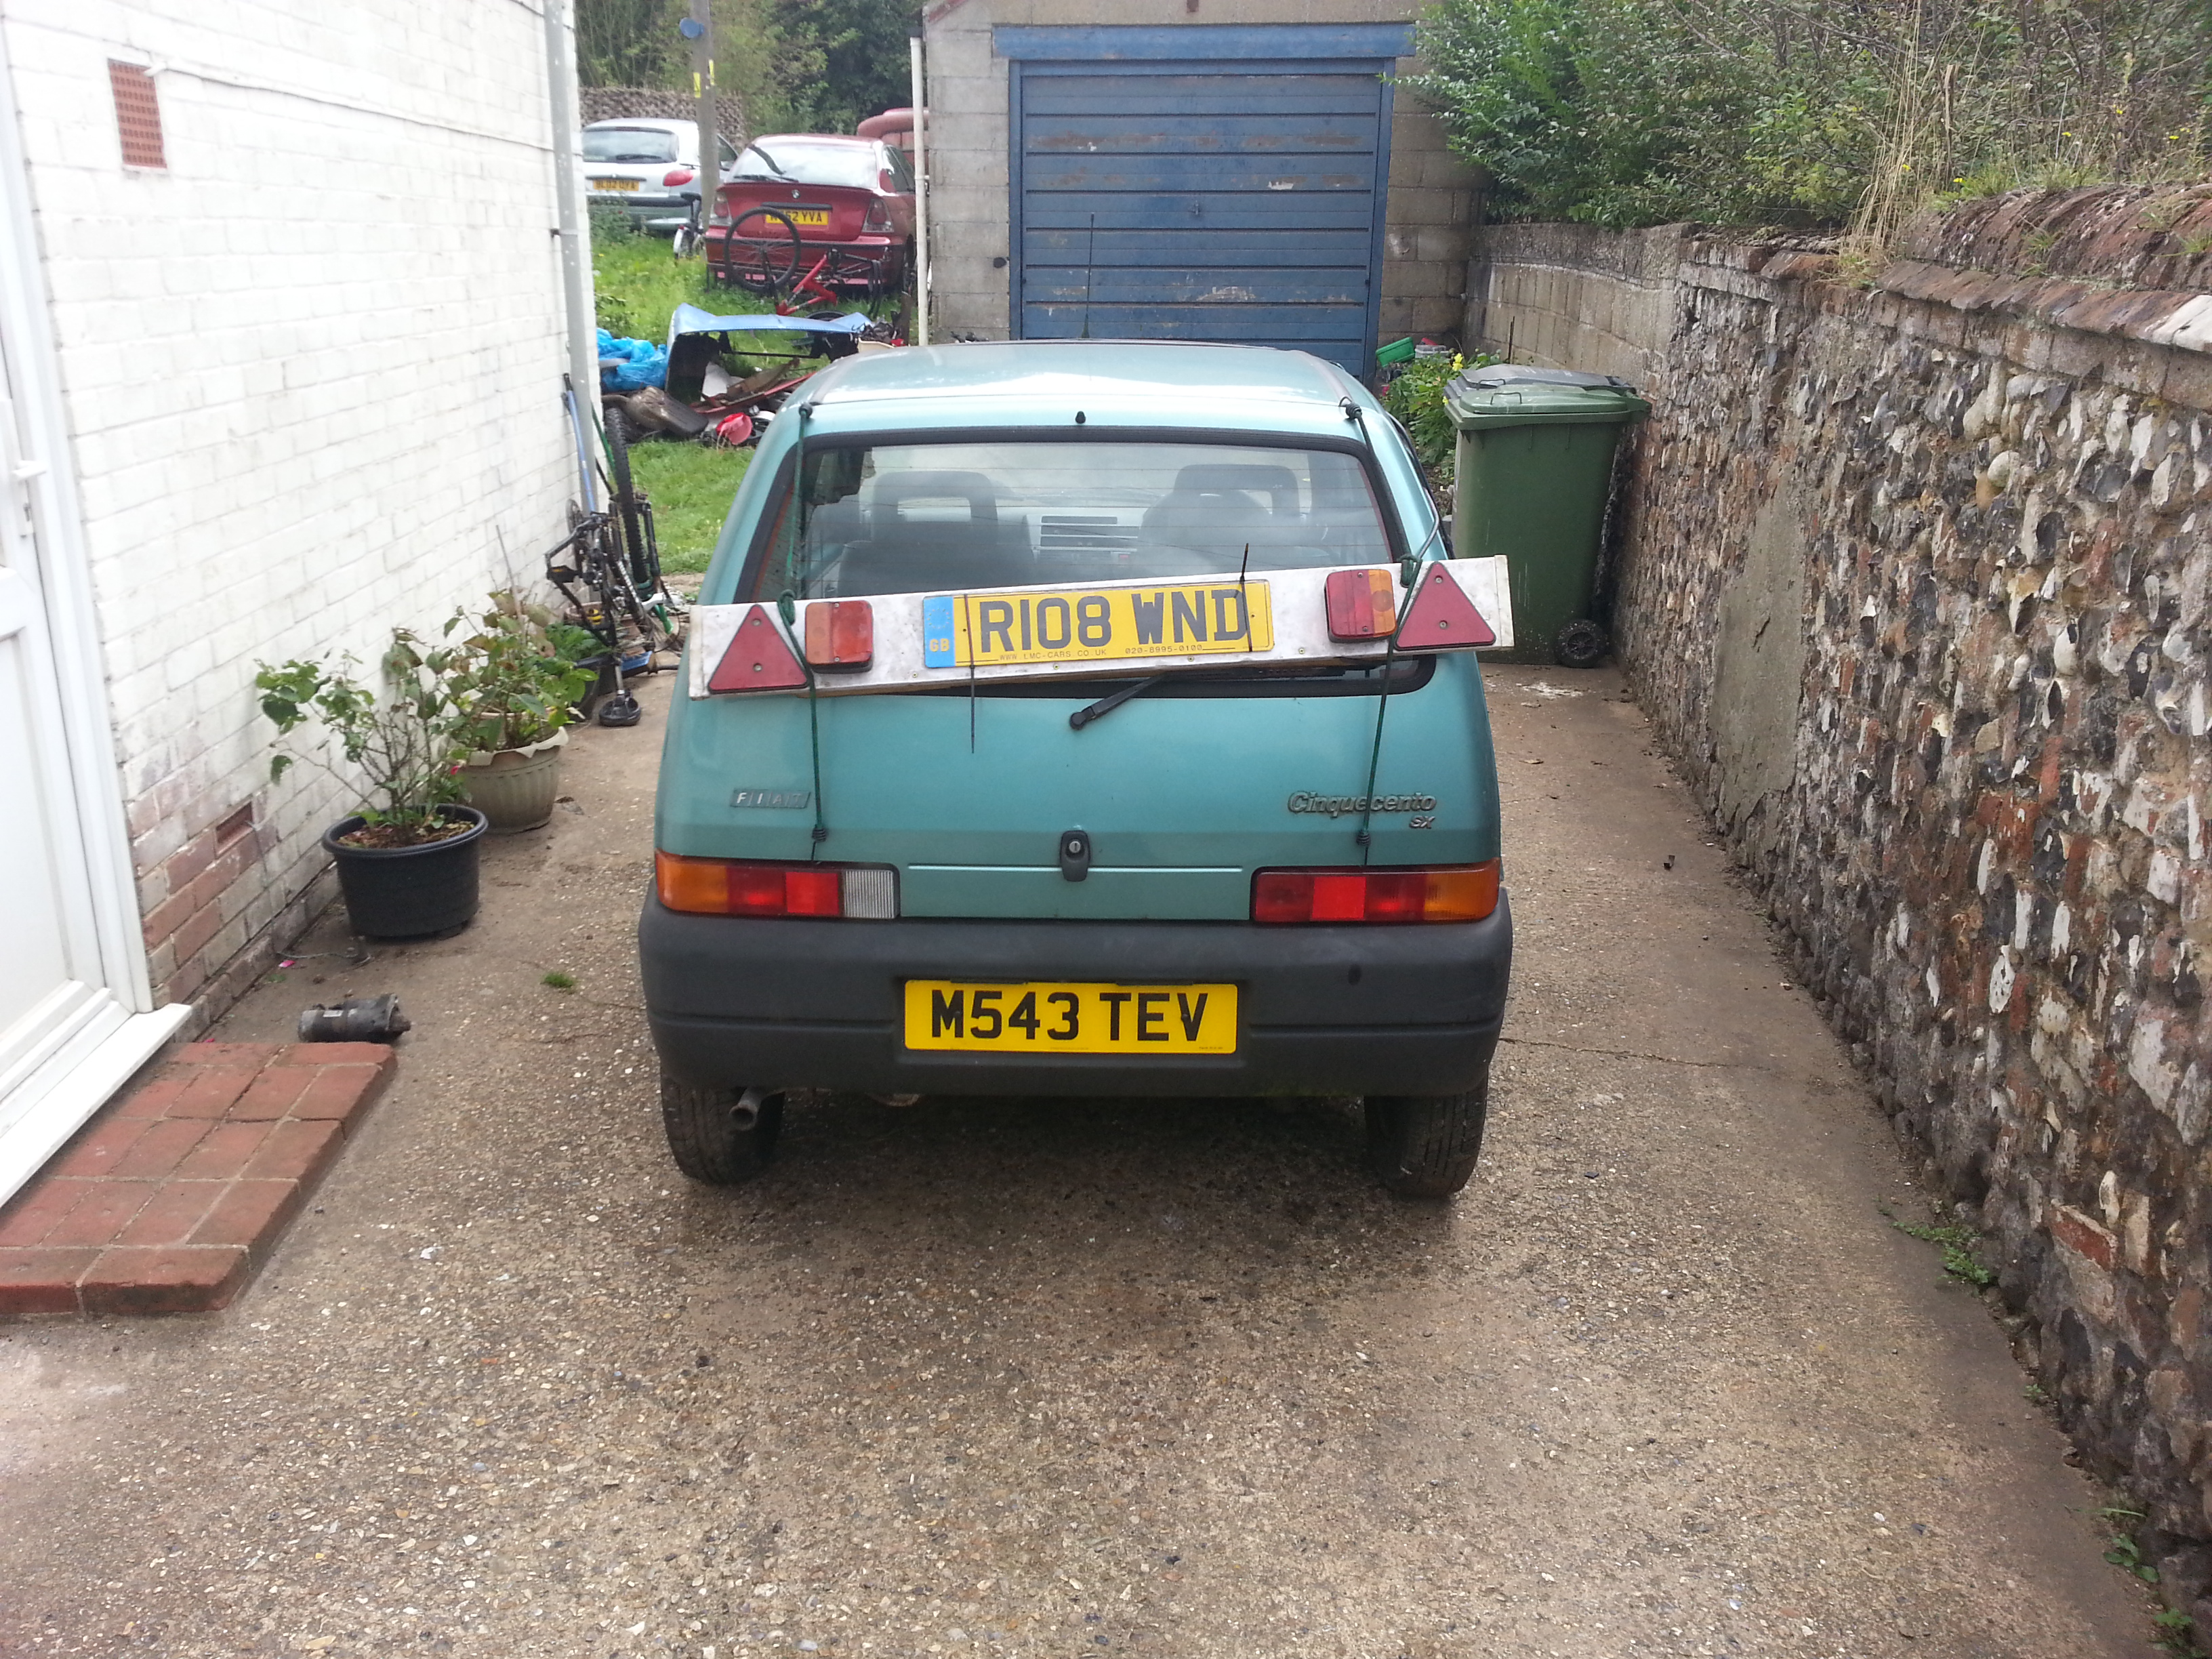
He was originally a cat d write off when it was just a year old.. he narrowly avoided the crusher, saved by a guy that I bought him from.. he needed a new slam panel, new bonnet and bumper, a headlight and a rad, so the guy repaired him.. and put it to one side (the back of his garage) for his son to one day learn to drive in.. soo.. the time came 5 years in fact.. the son didnt want the car so it was rolled outside and left for a year, then some guy at work came up to me and said his old man had a cinq like mine that was mint and would probs sell for scrap.. 3 months later I went to have a look and the guy wanted £120 for it... I told the guy id pay 100 tops as it had been sat about.. he said no.. I left.. end of.. 6 months later.. I called the guy again.. this time he said £100 so I siad id go and have another look... I offered him £80 and he point blank said no.. so I agreed £100 with him and said id be back in a week.. later that week I went back.. and said id take it away there and then for £80 he got rather pissy and then agreed to let it go.. so heres how it looked
20140829_134531.jpg


Hooked up to an a-frame with my imola just out of shot
20140829_134520.jpg


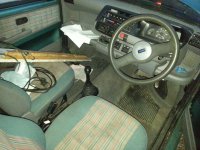
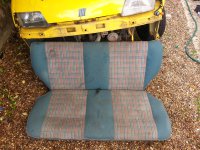
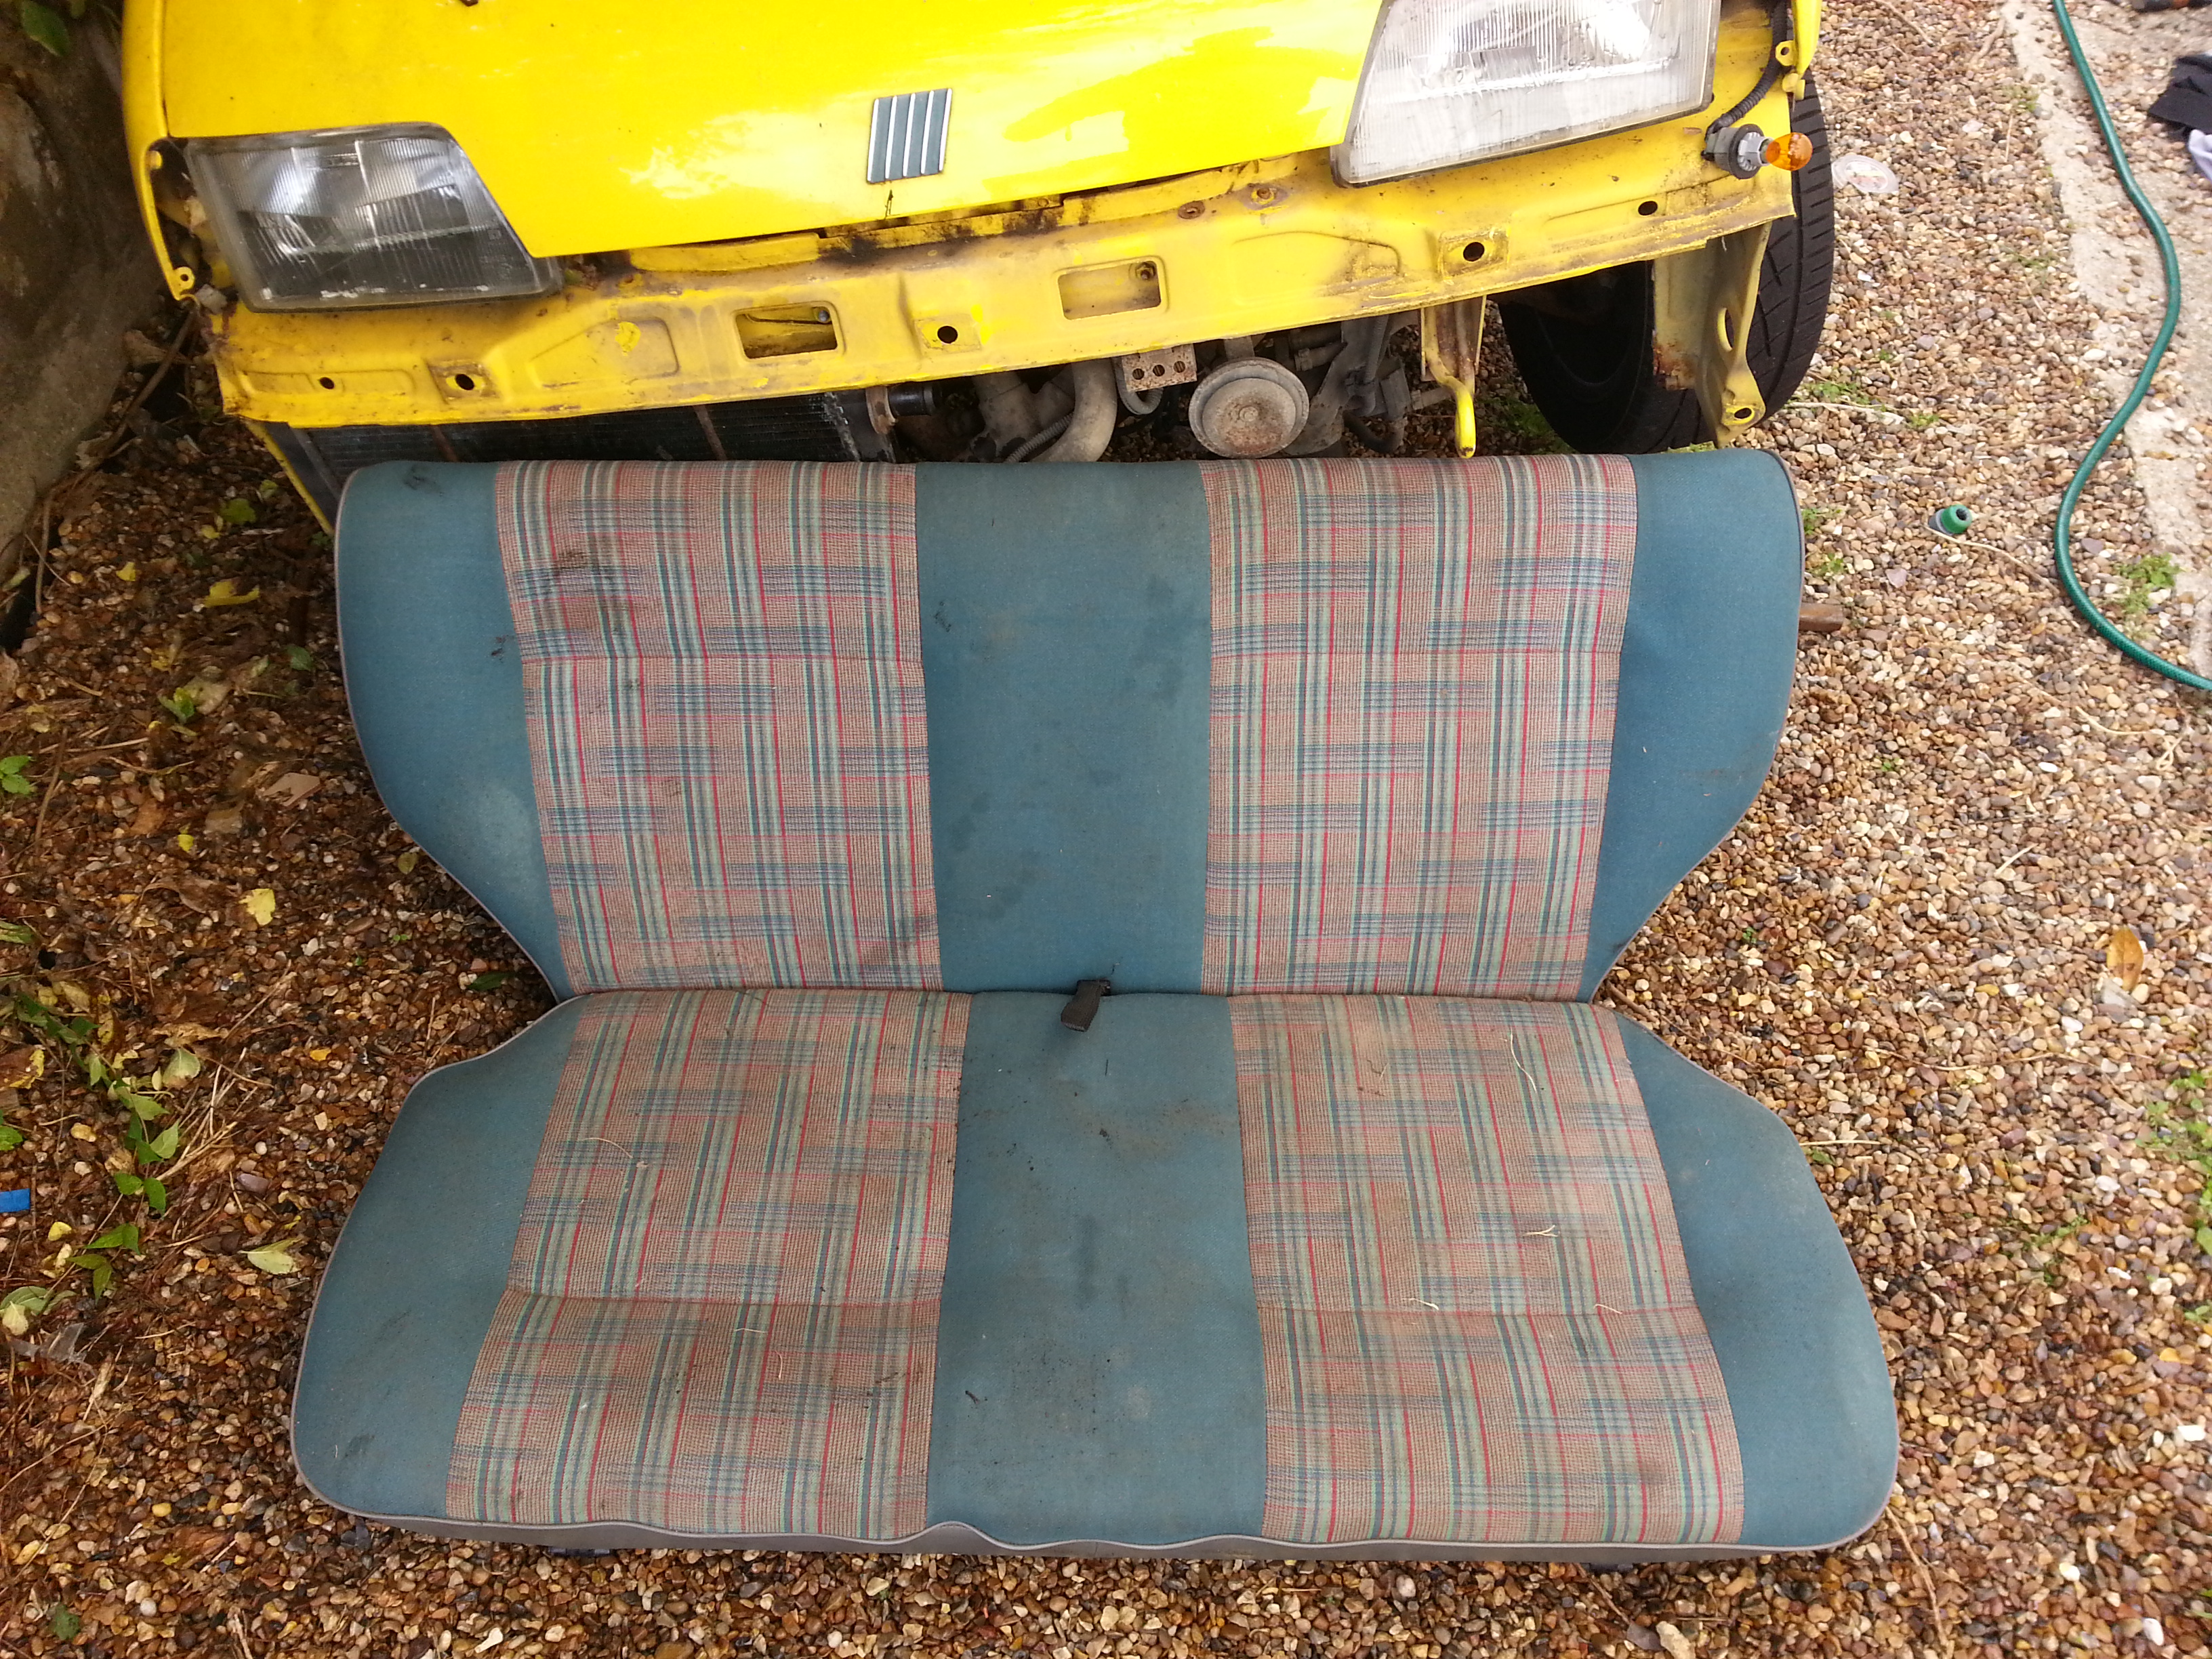
He came complete with some god awful green red and grey checked interior

20140829_200520.jpg

20140829_200545.jpg

20140829_200556.jpg


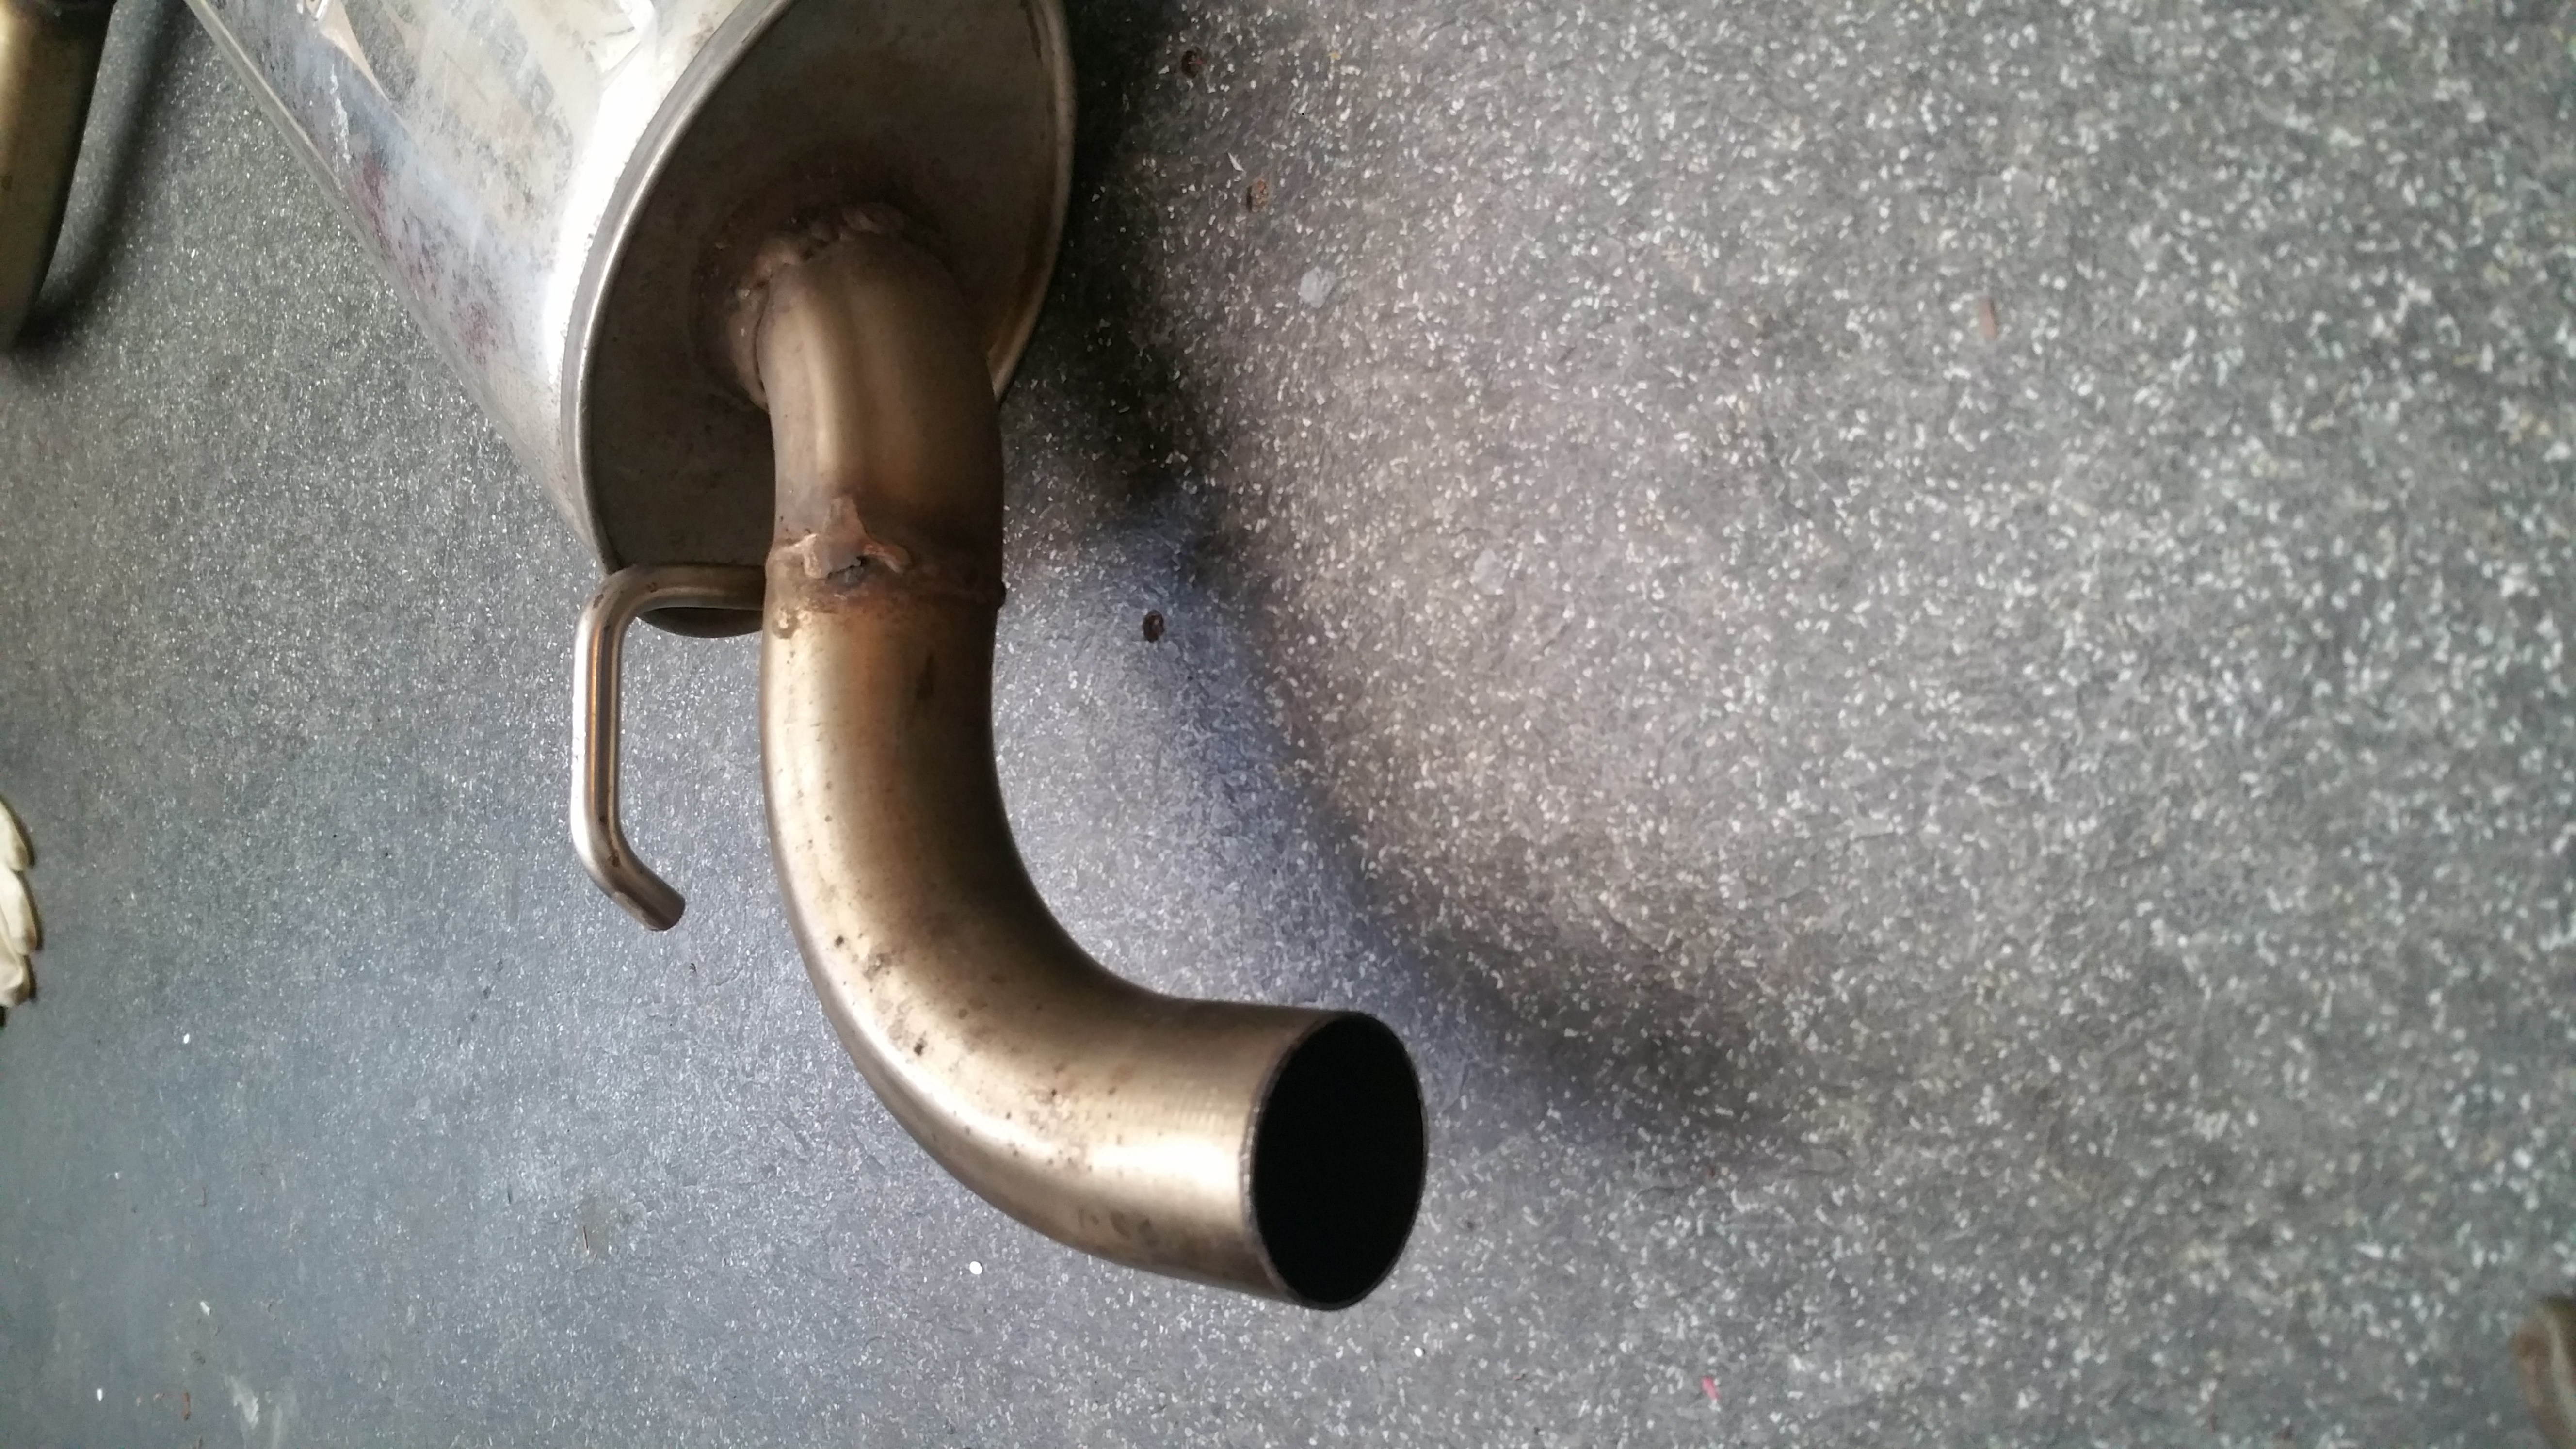
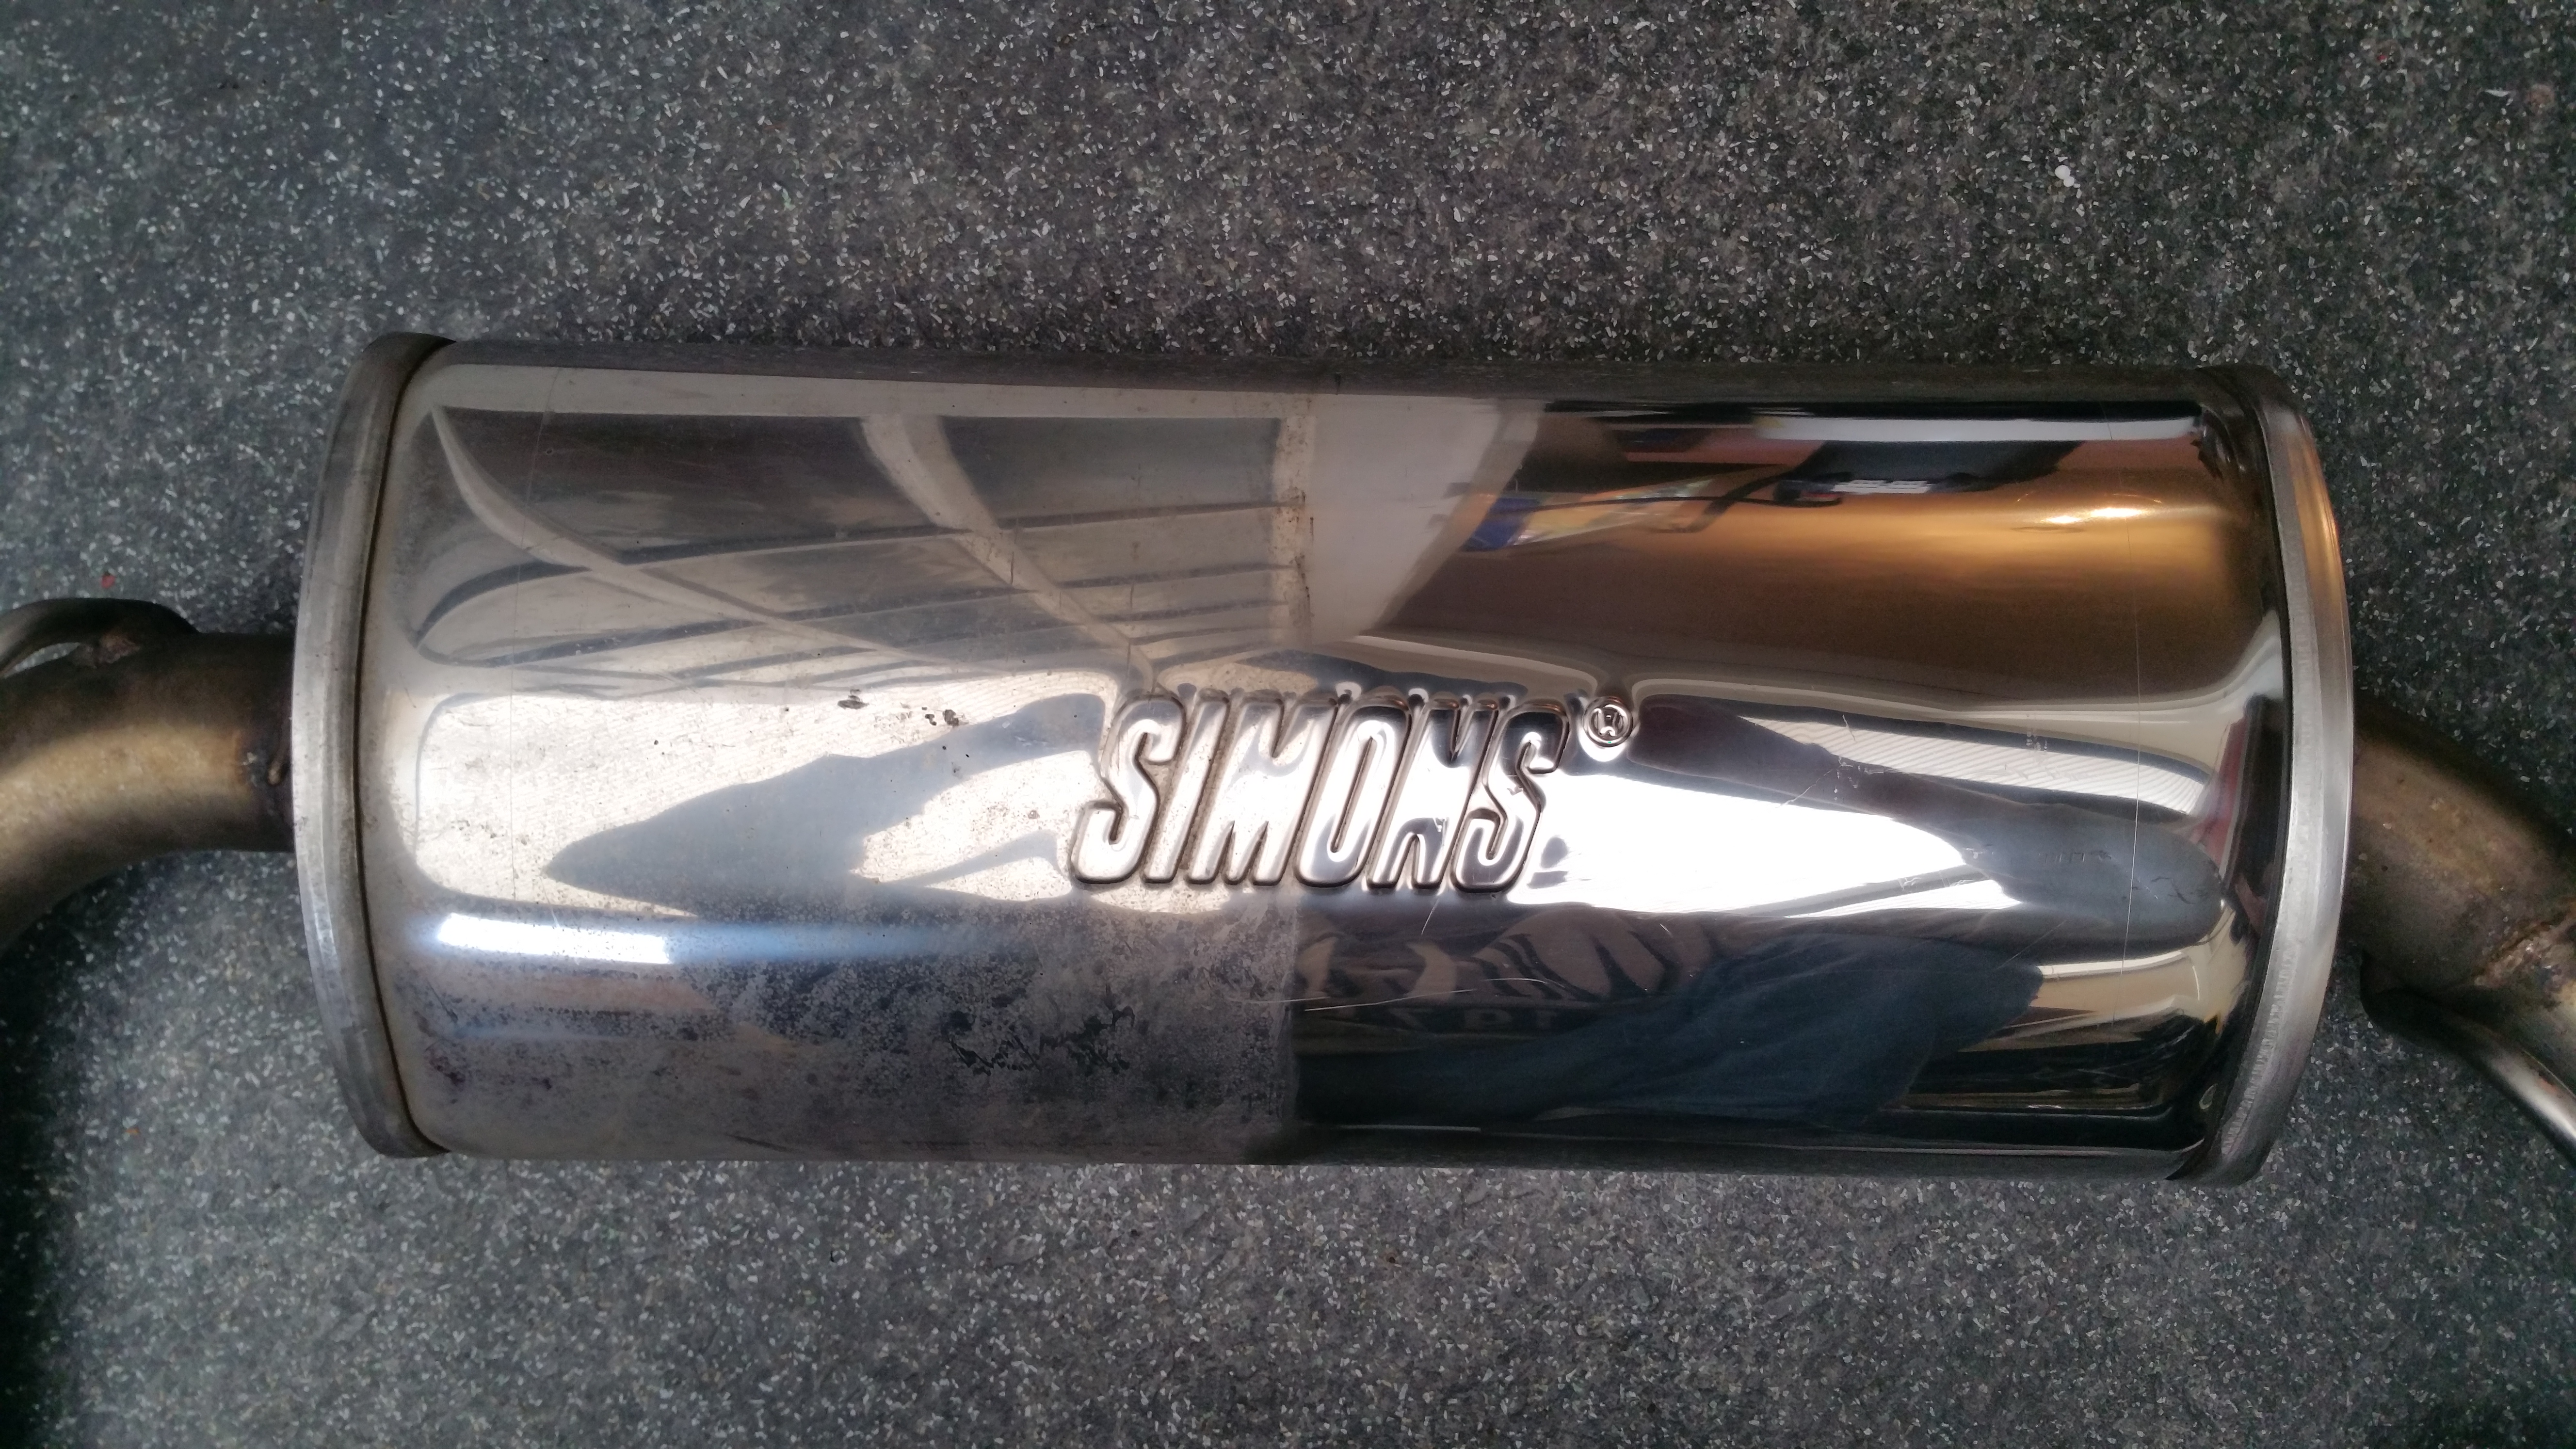
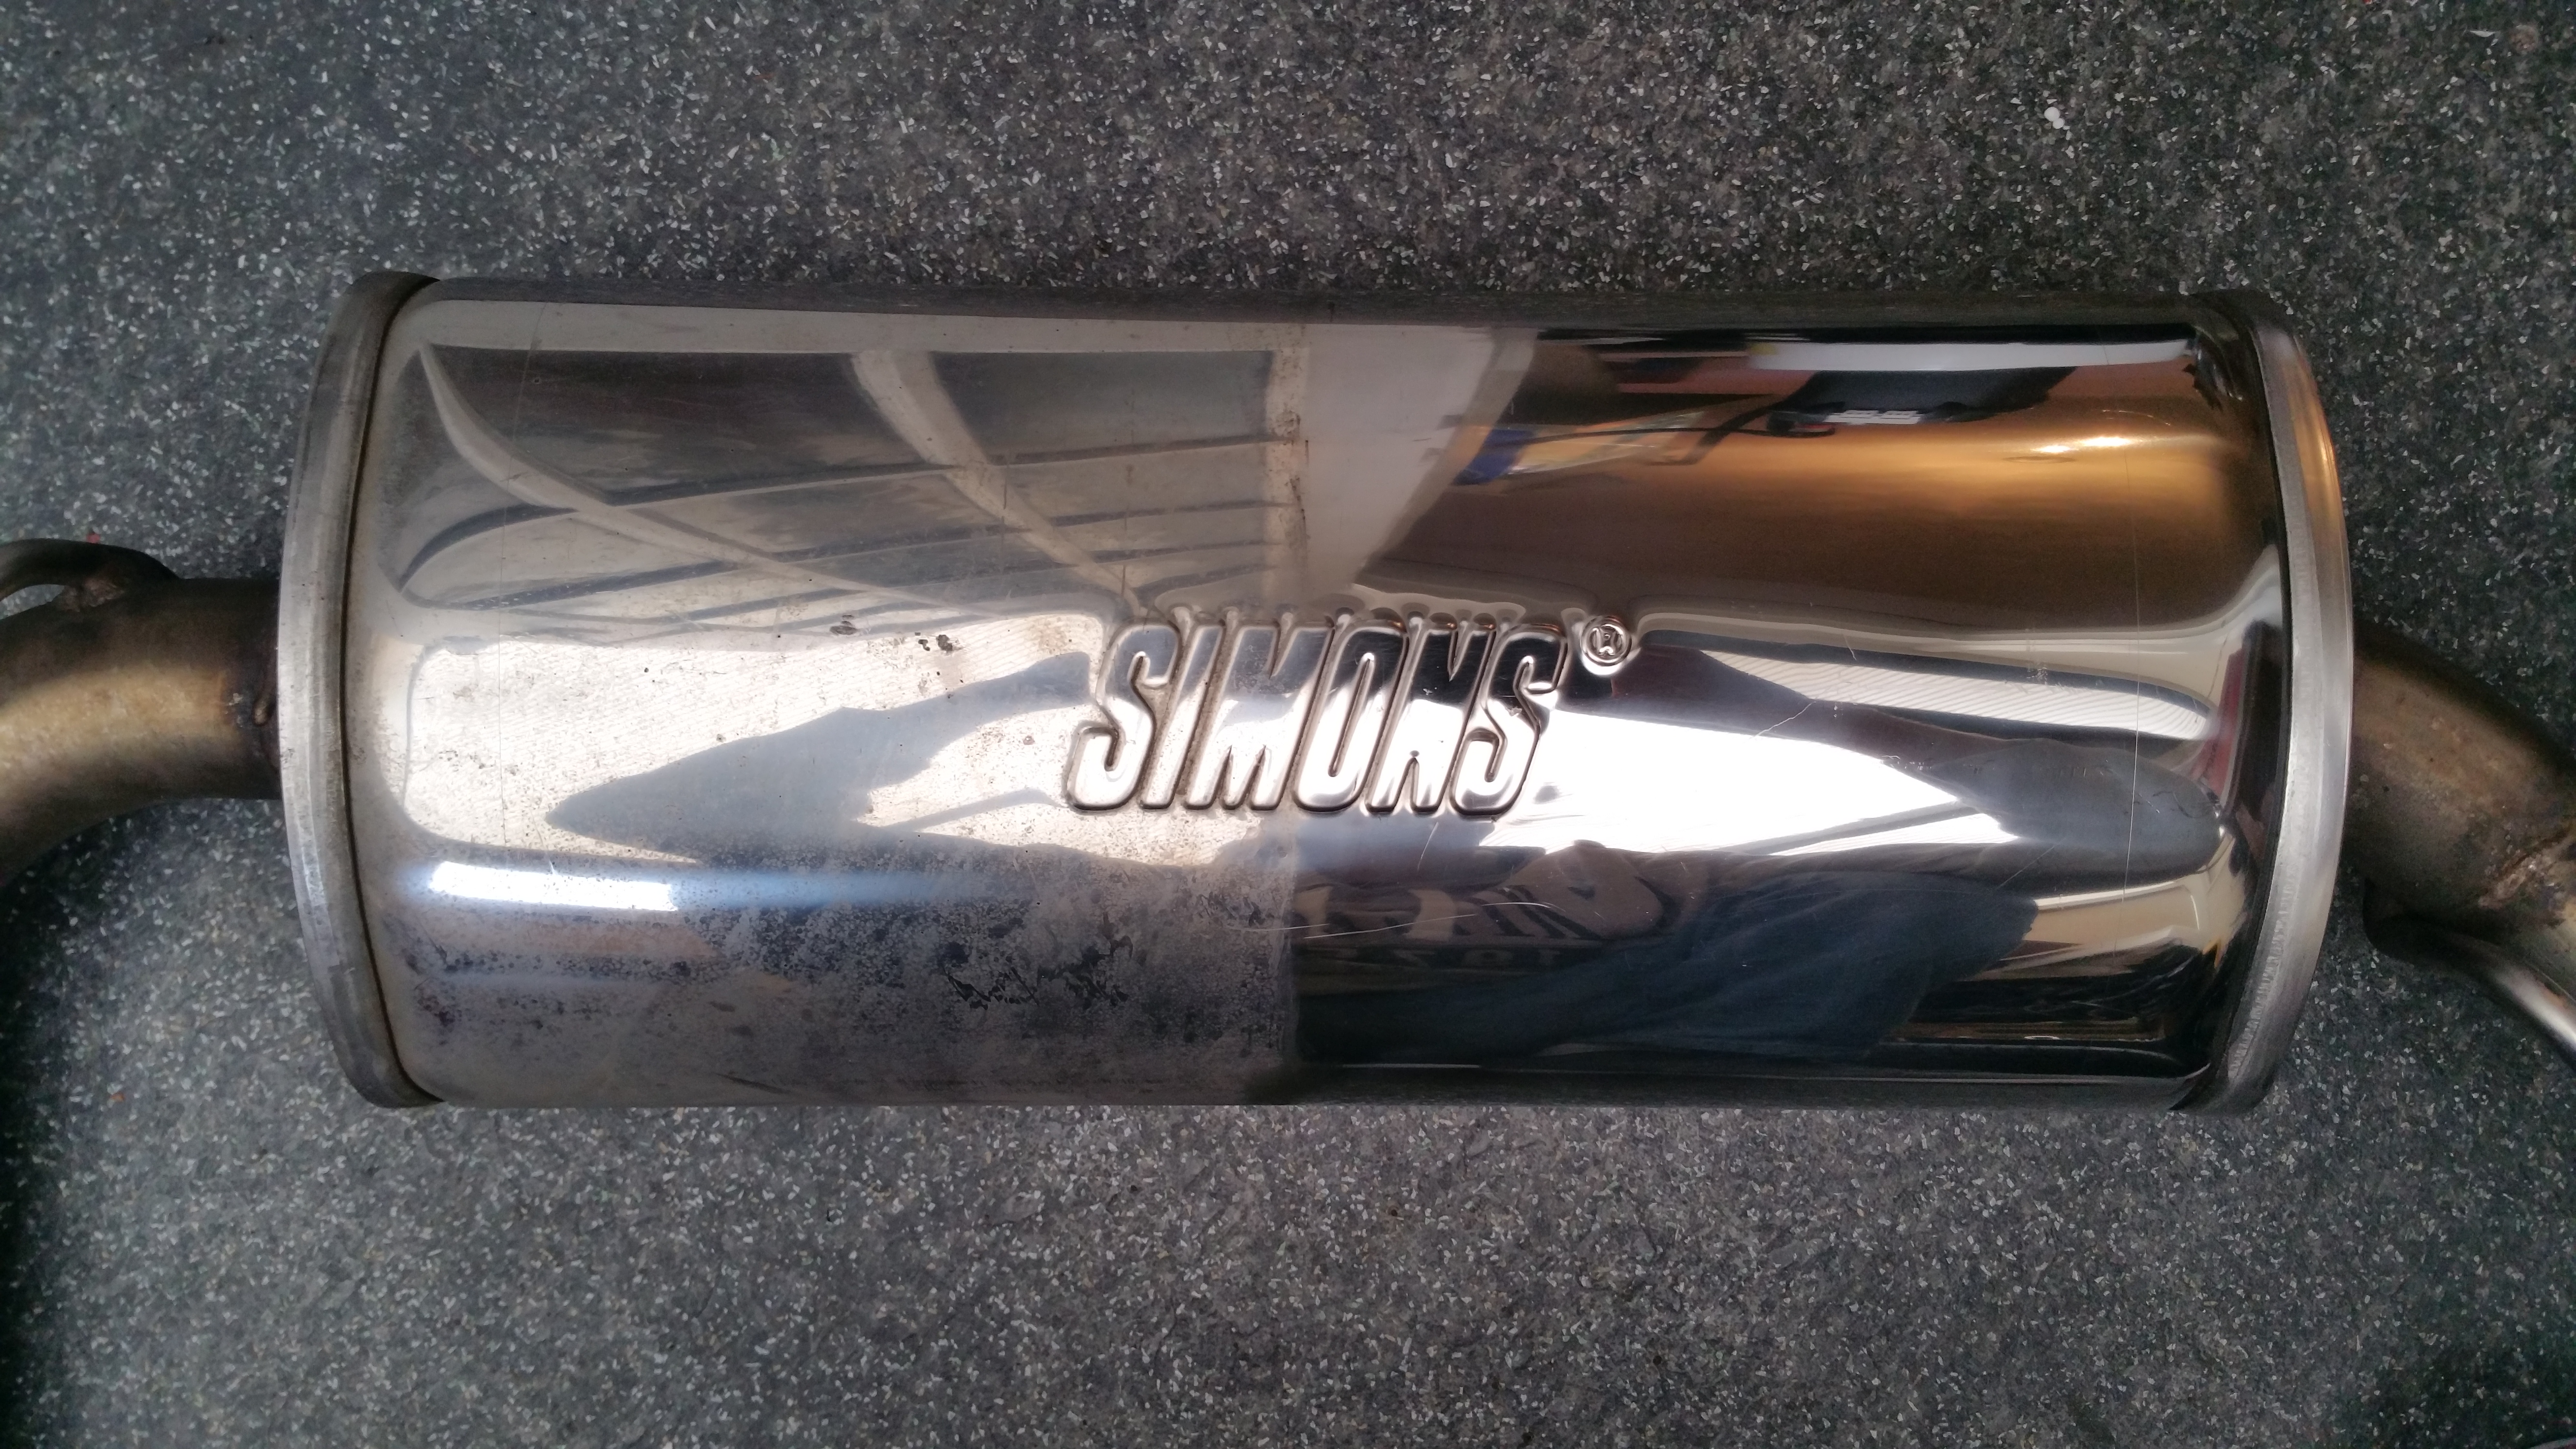
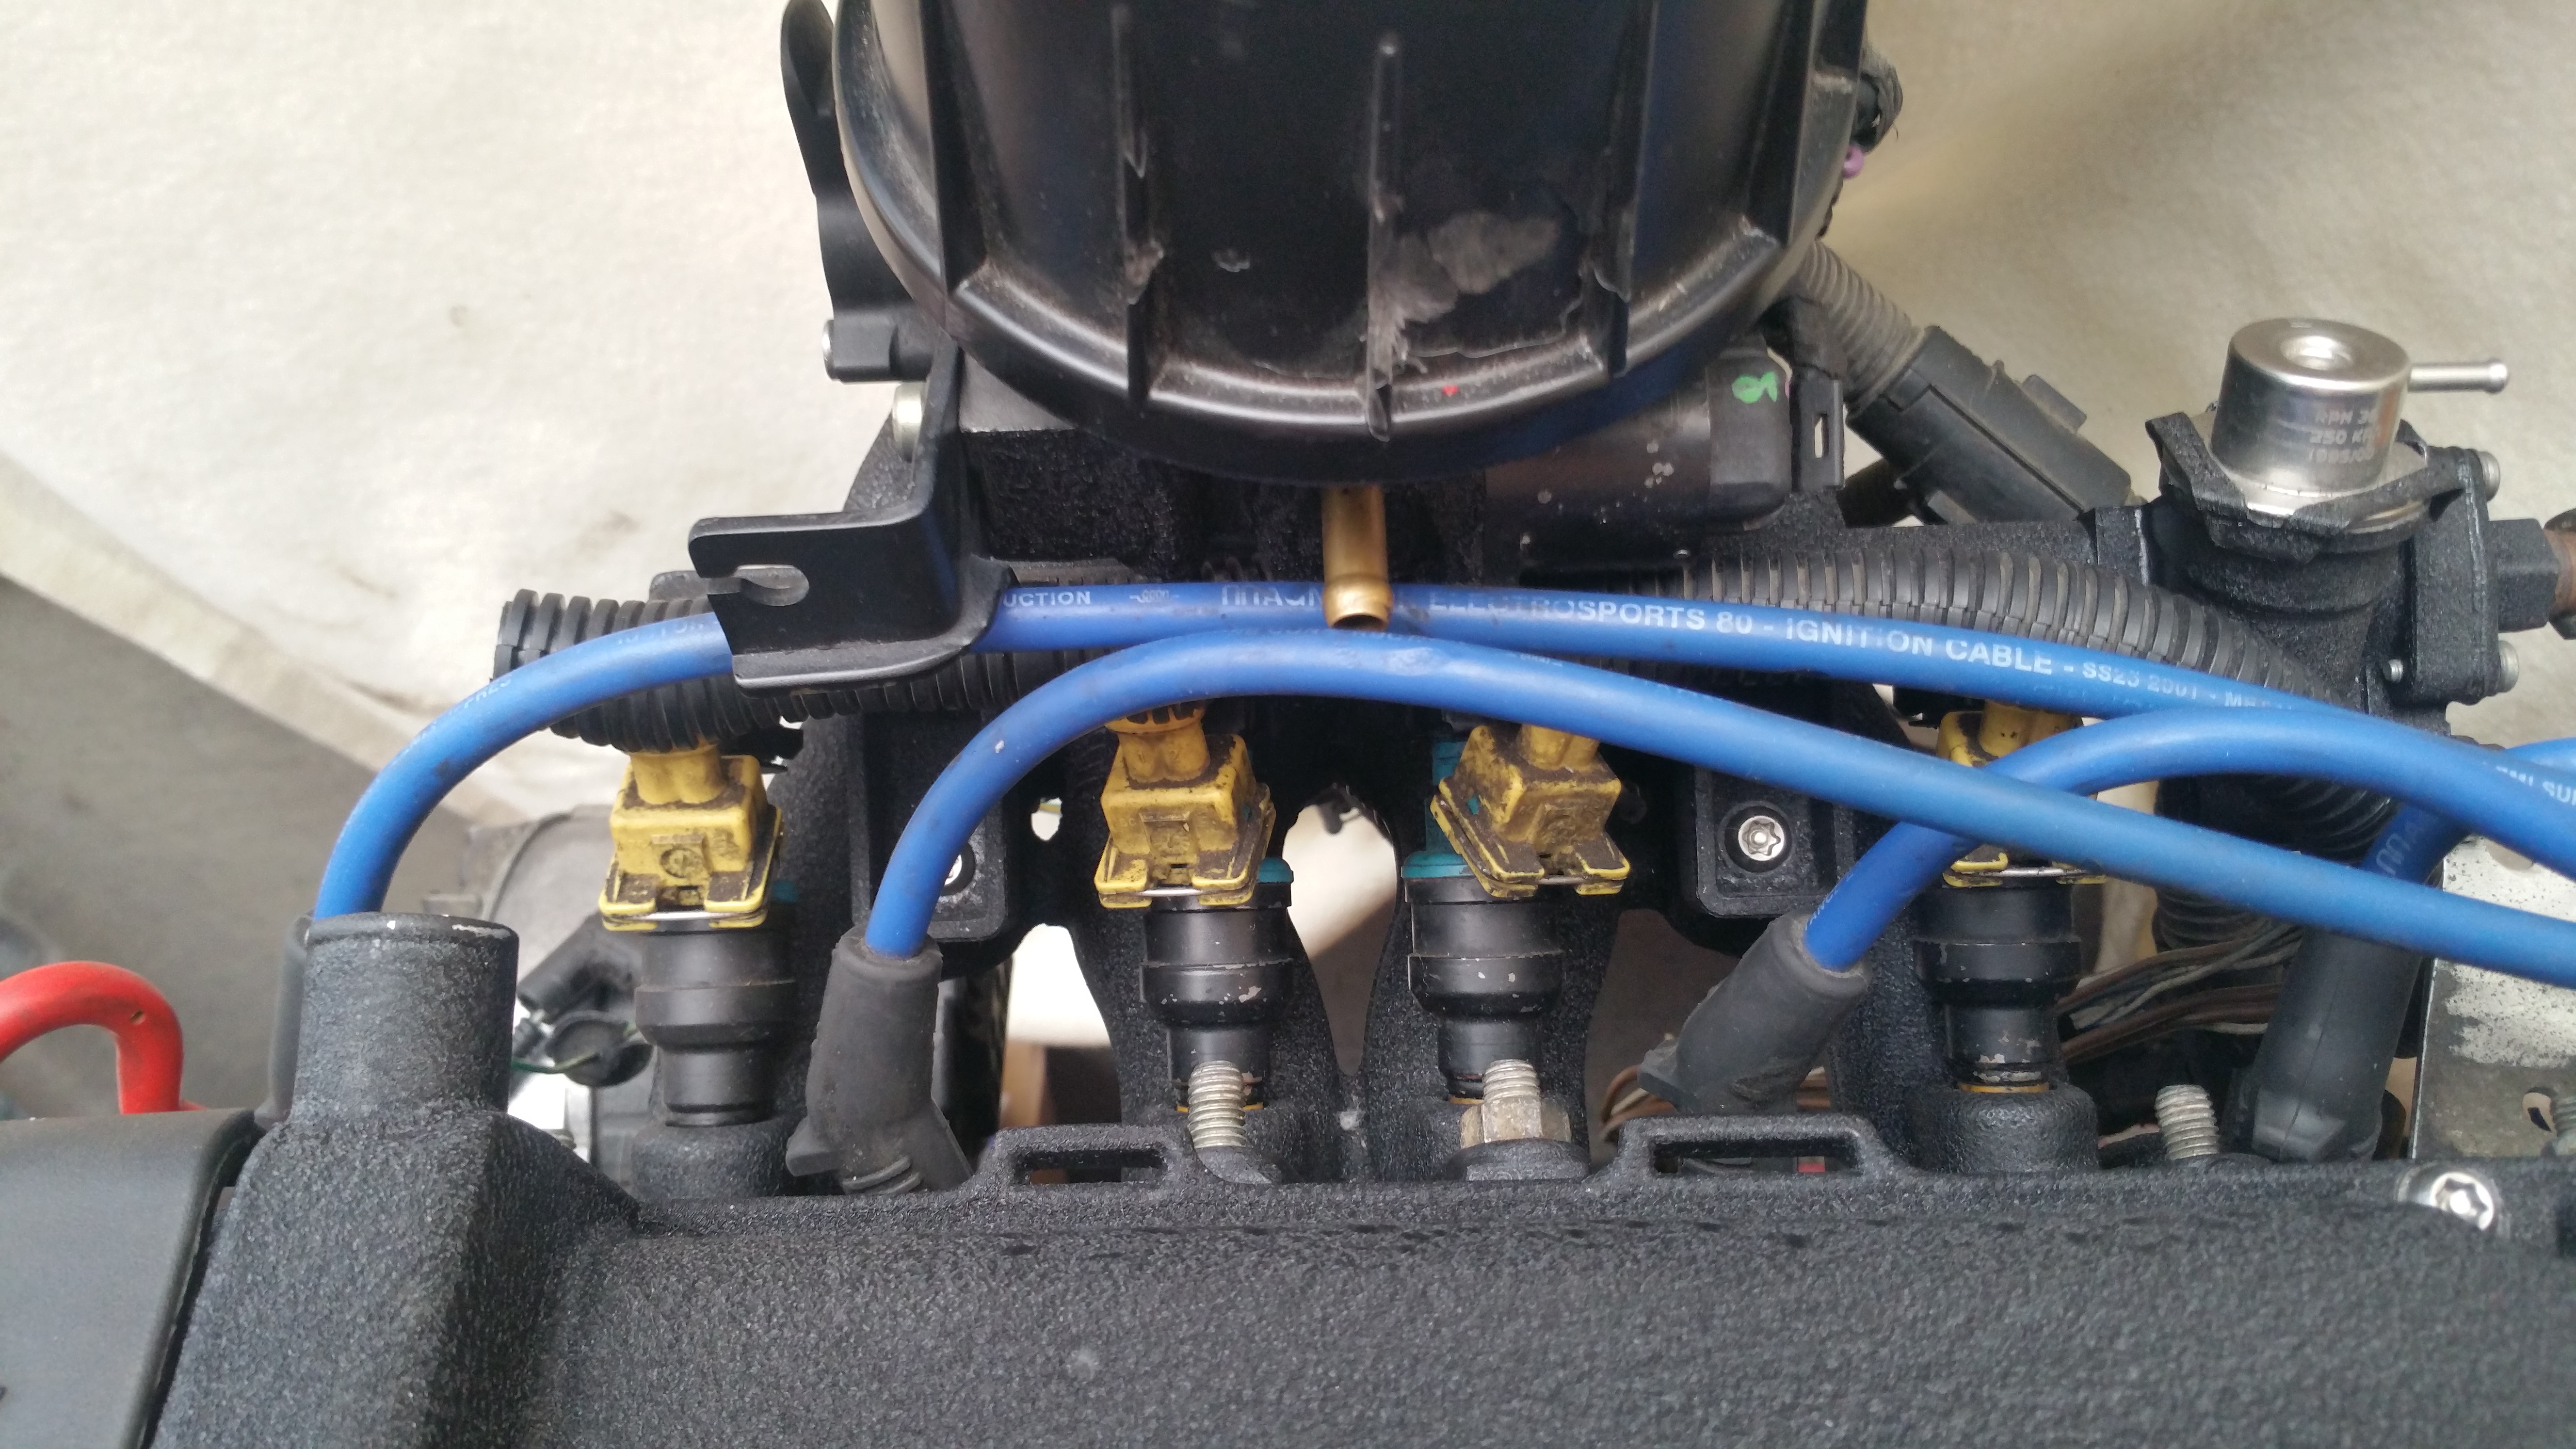
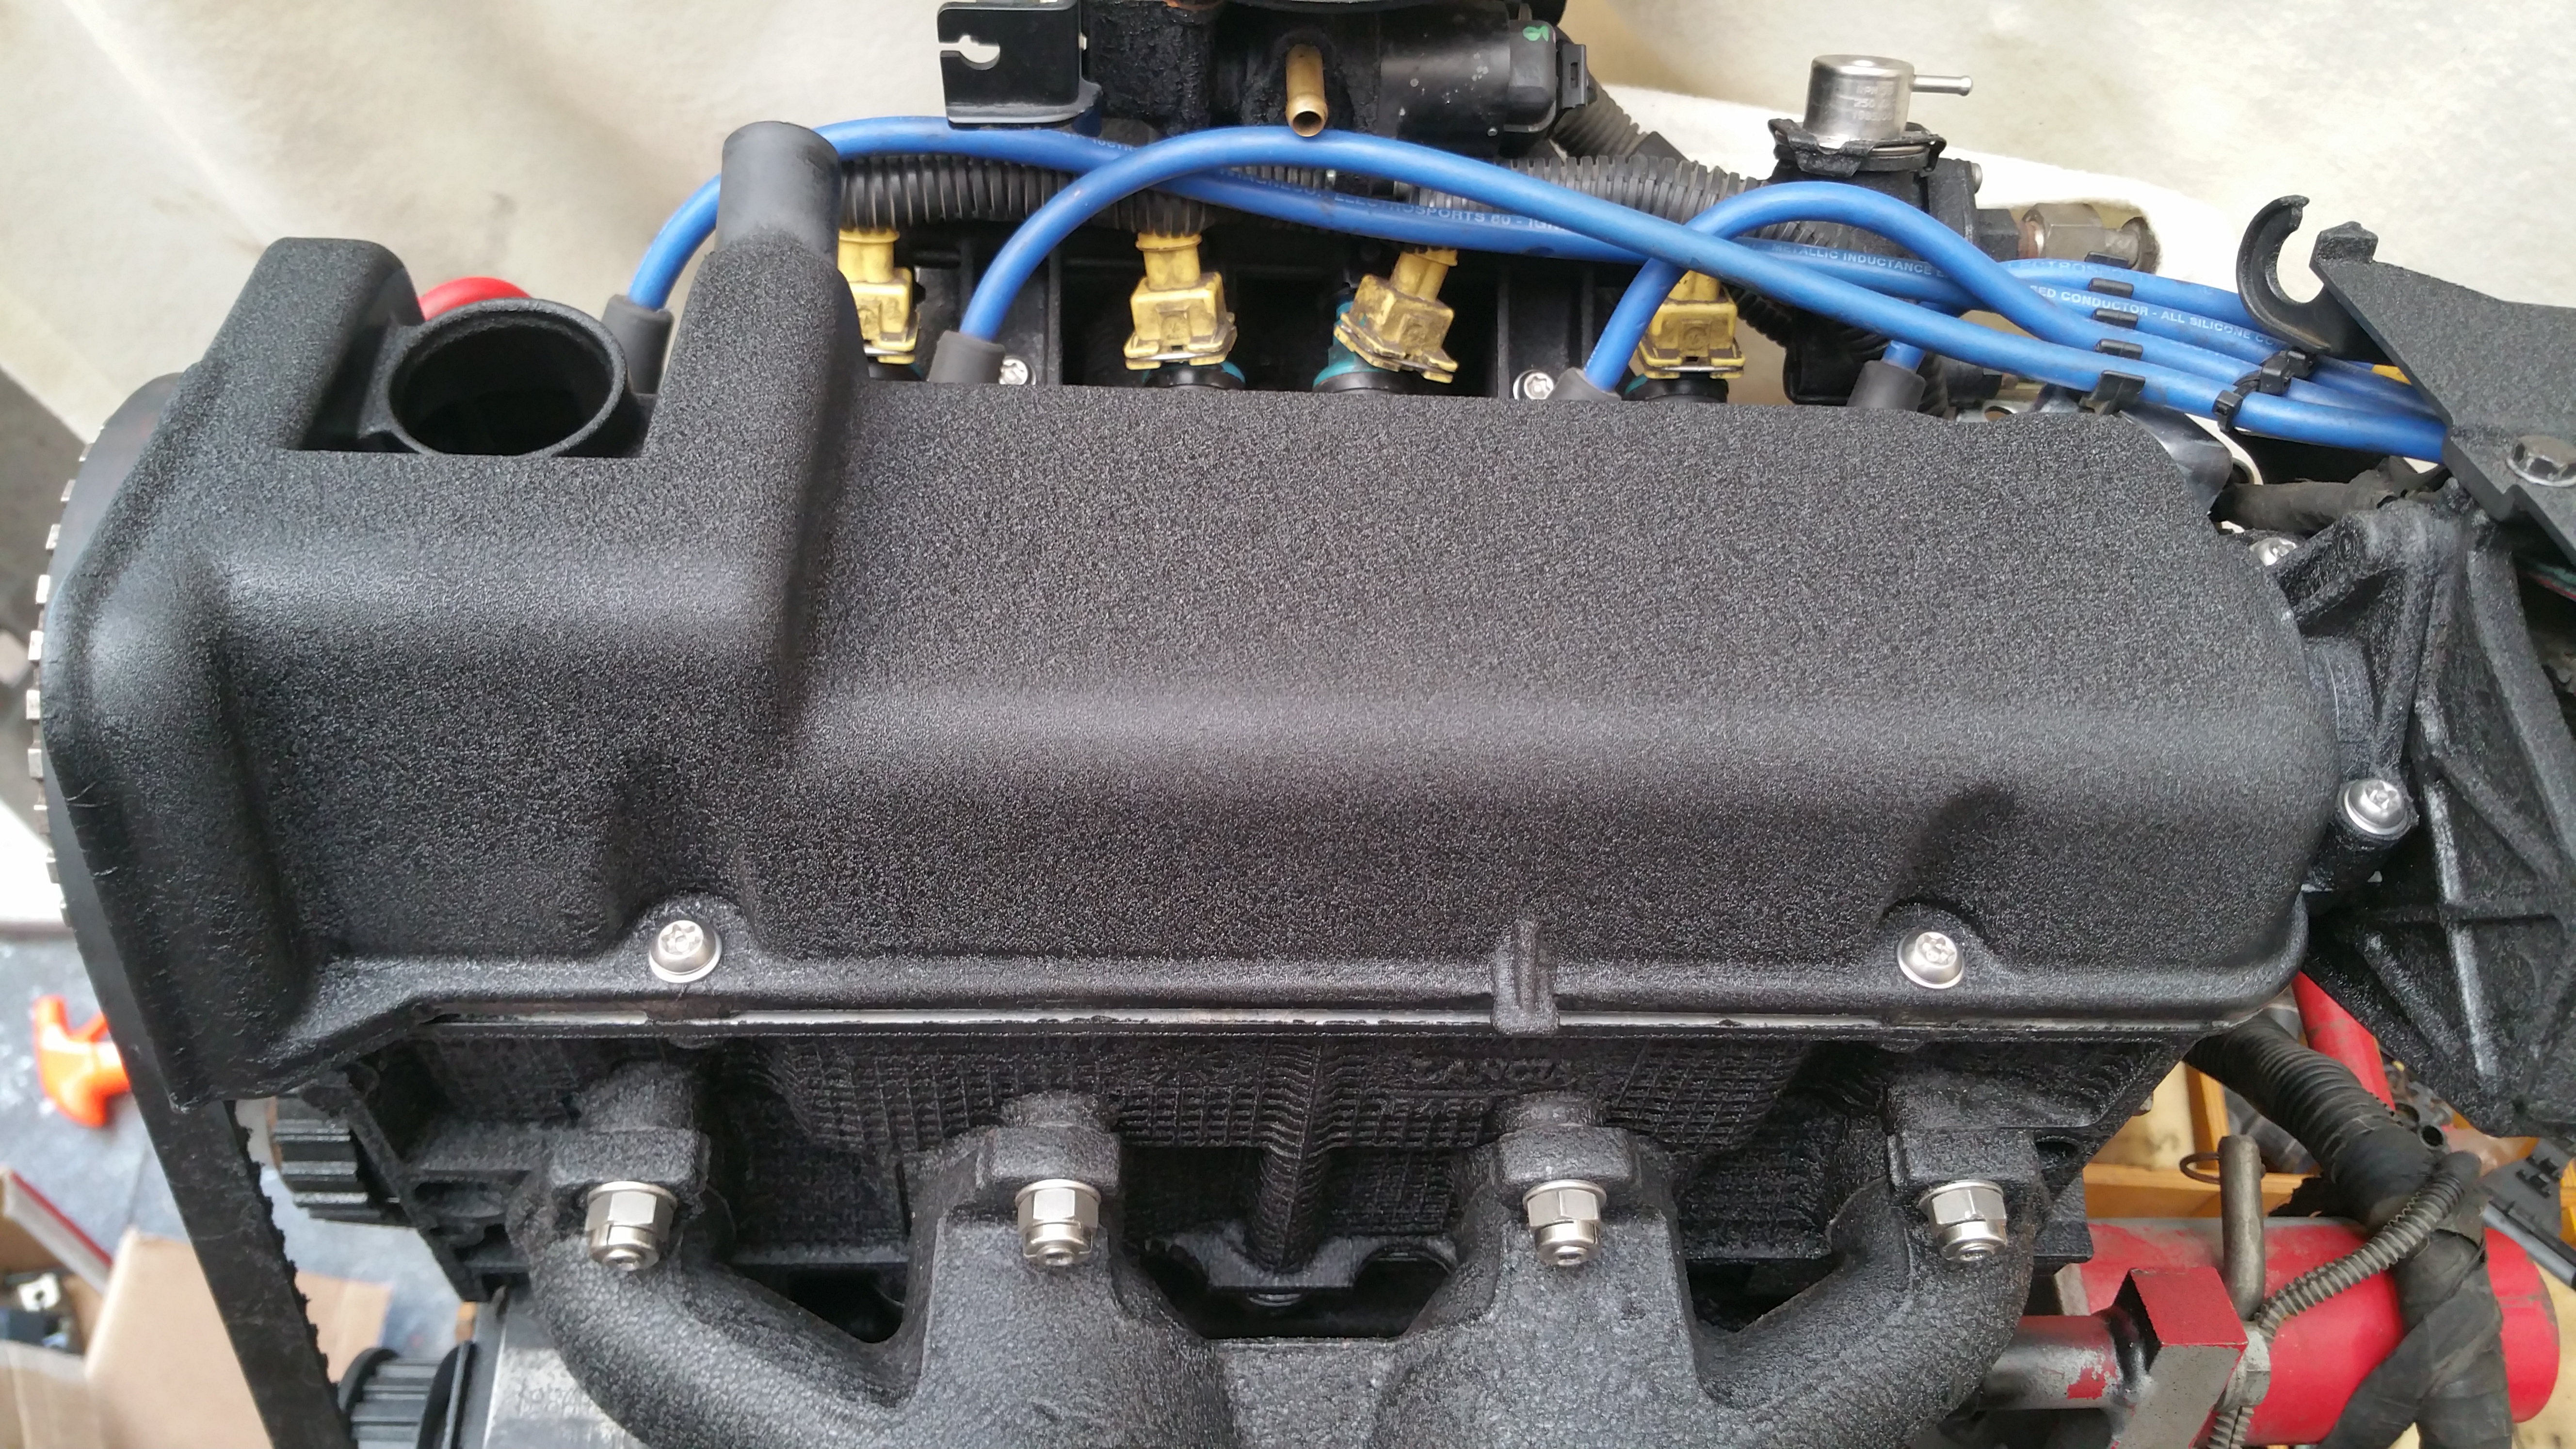
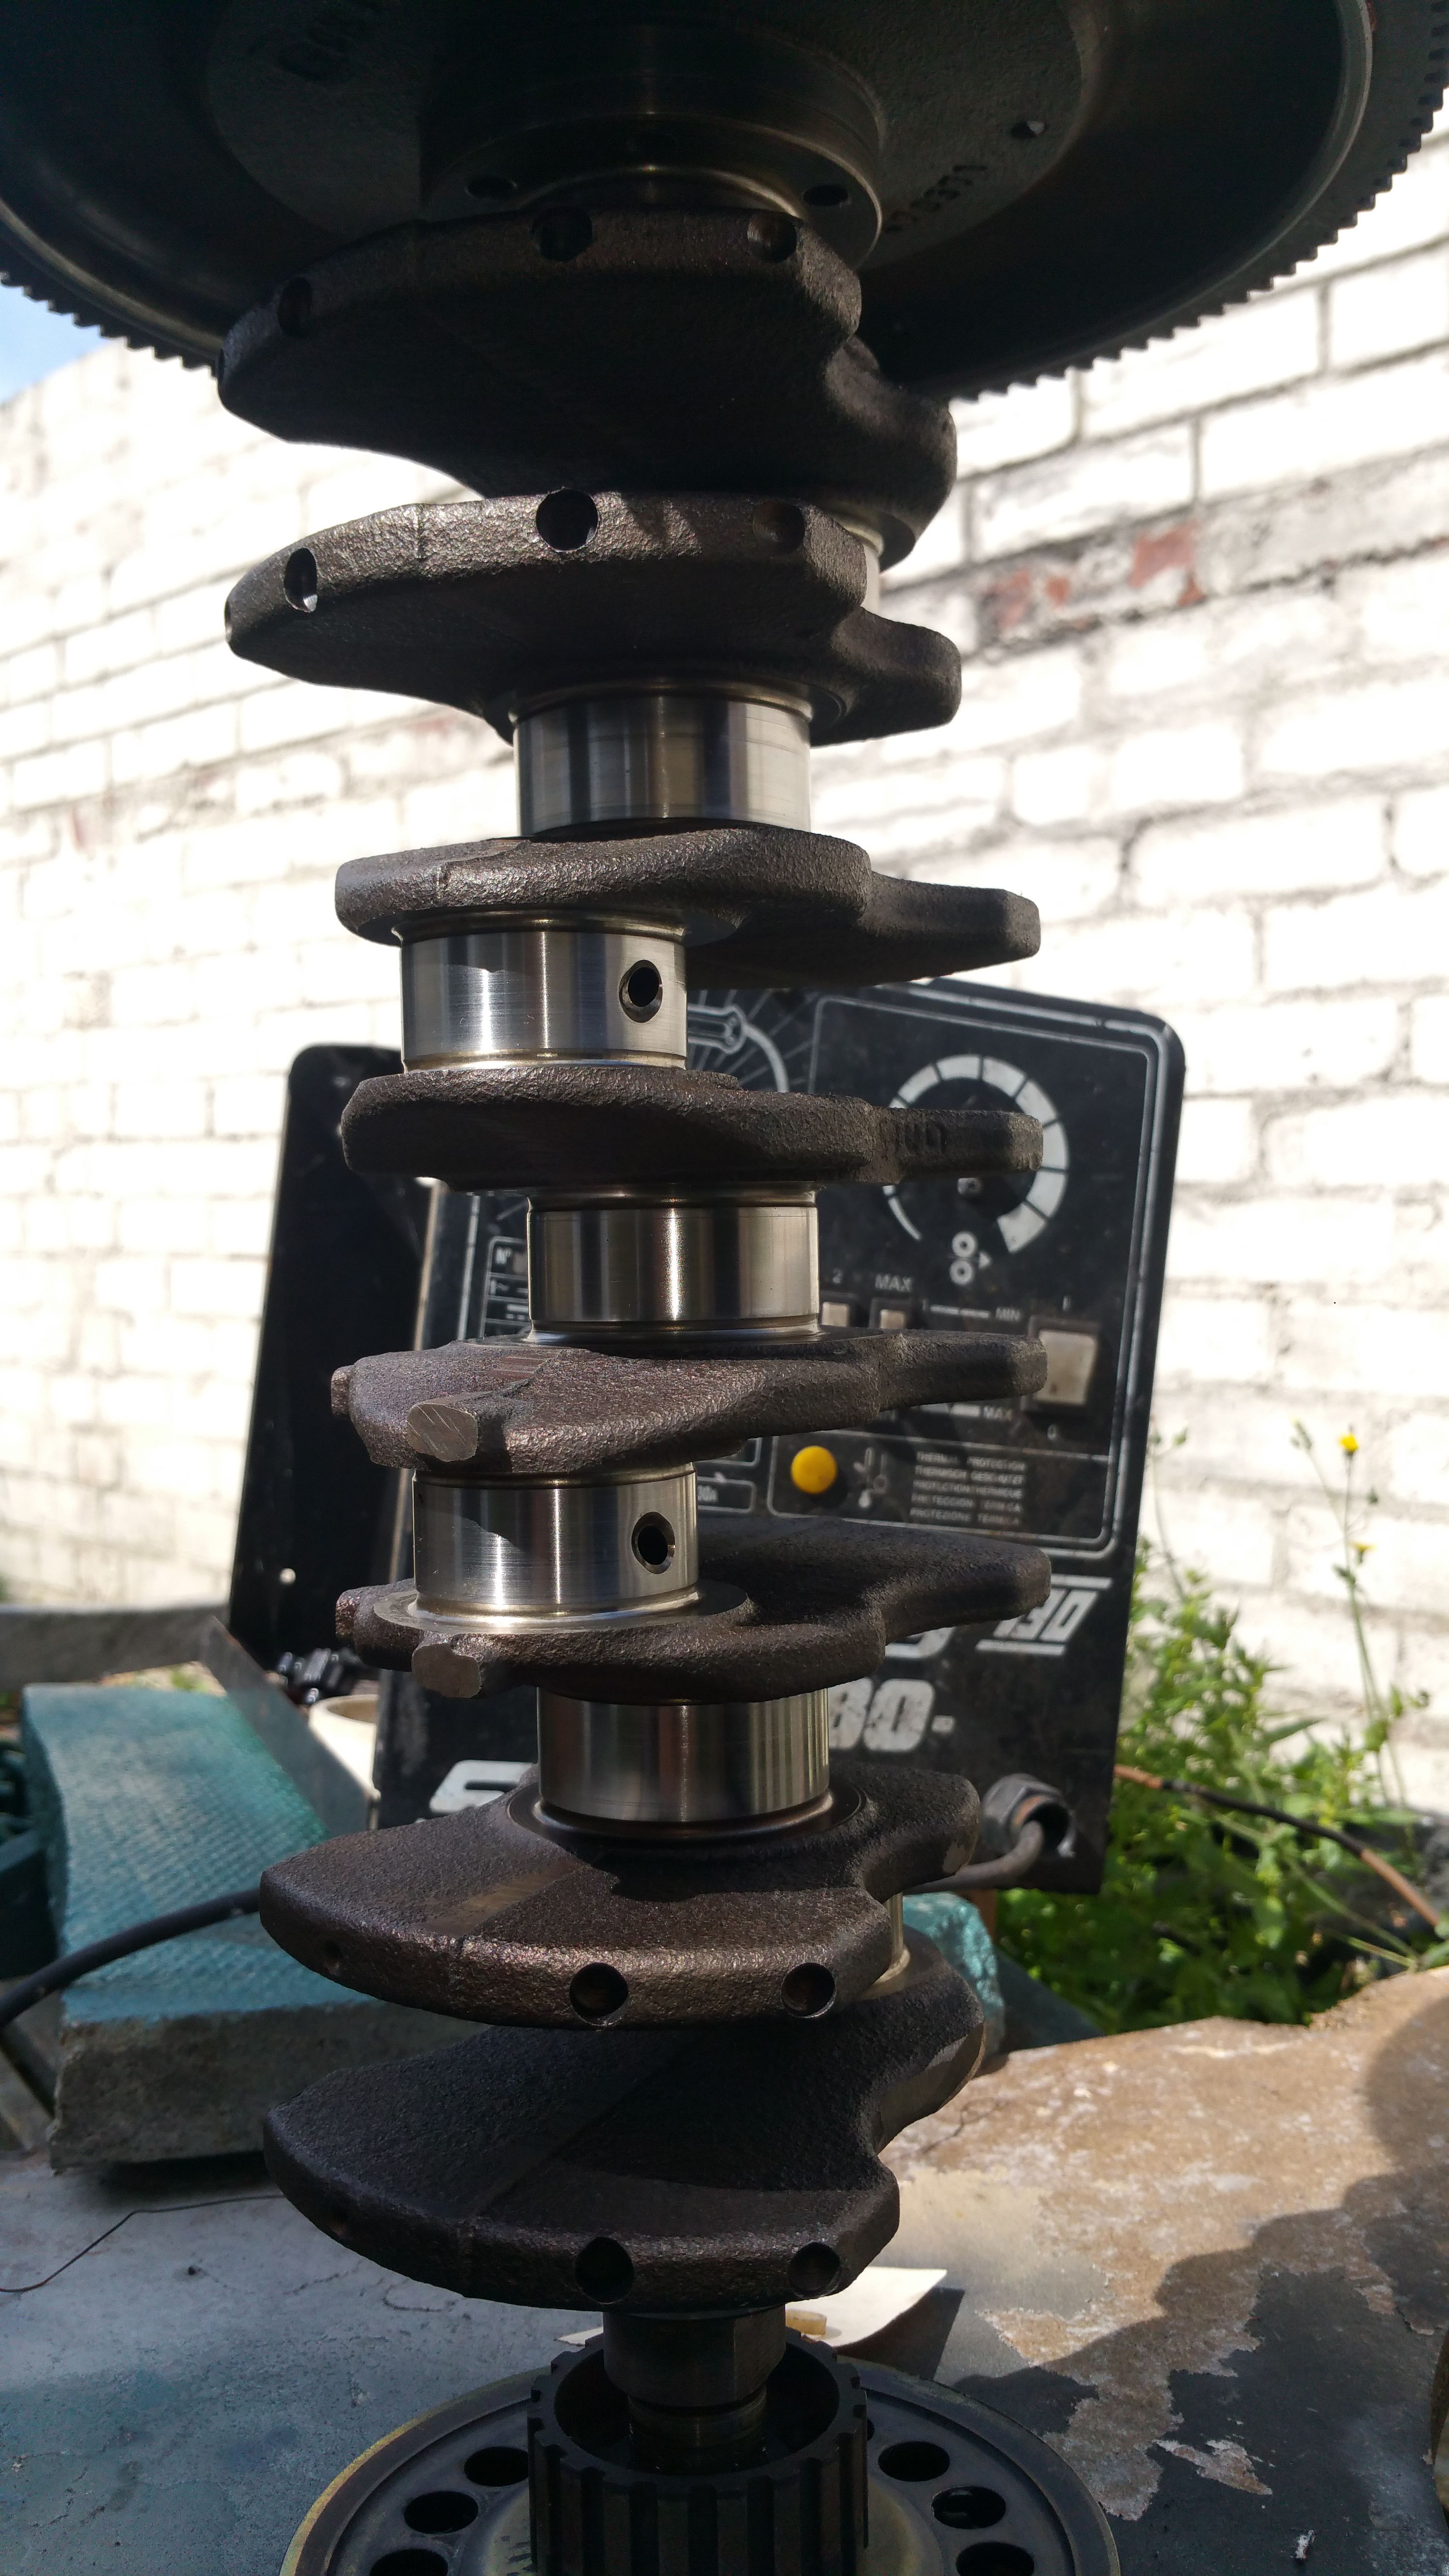
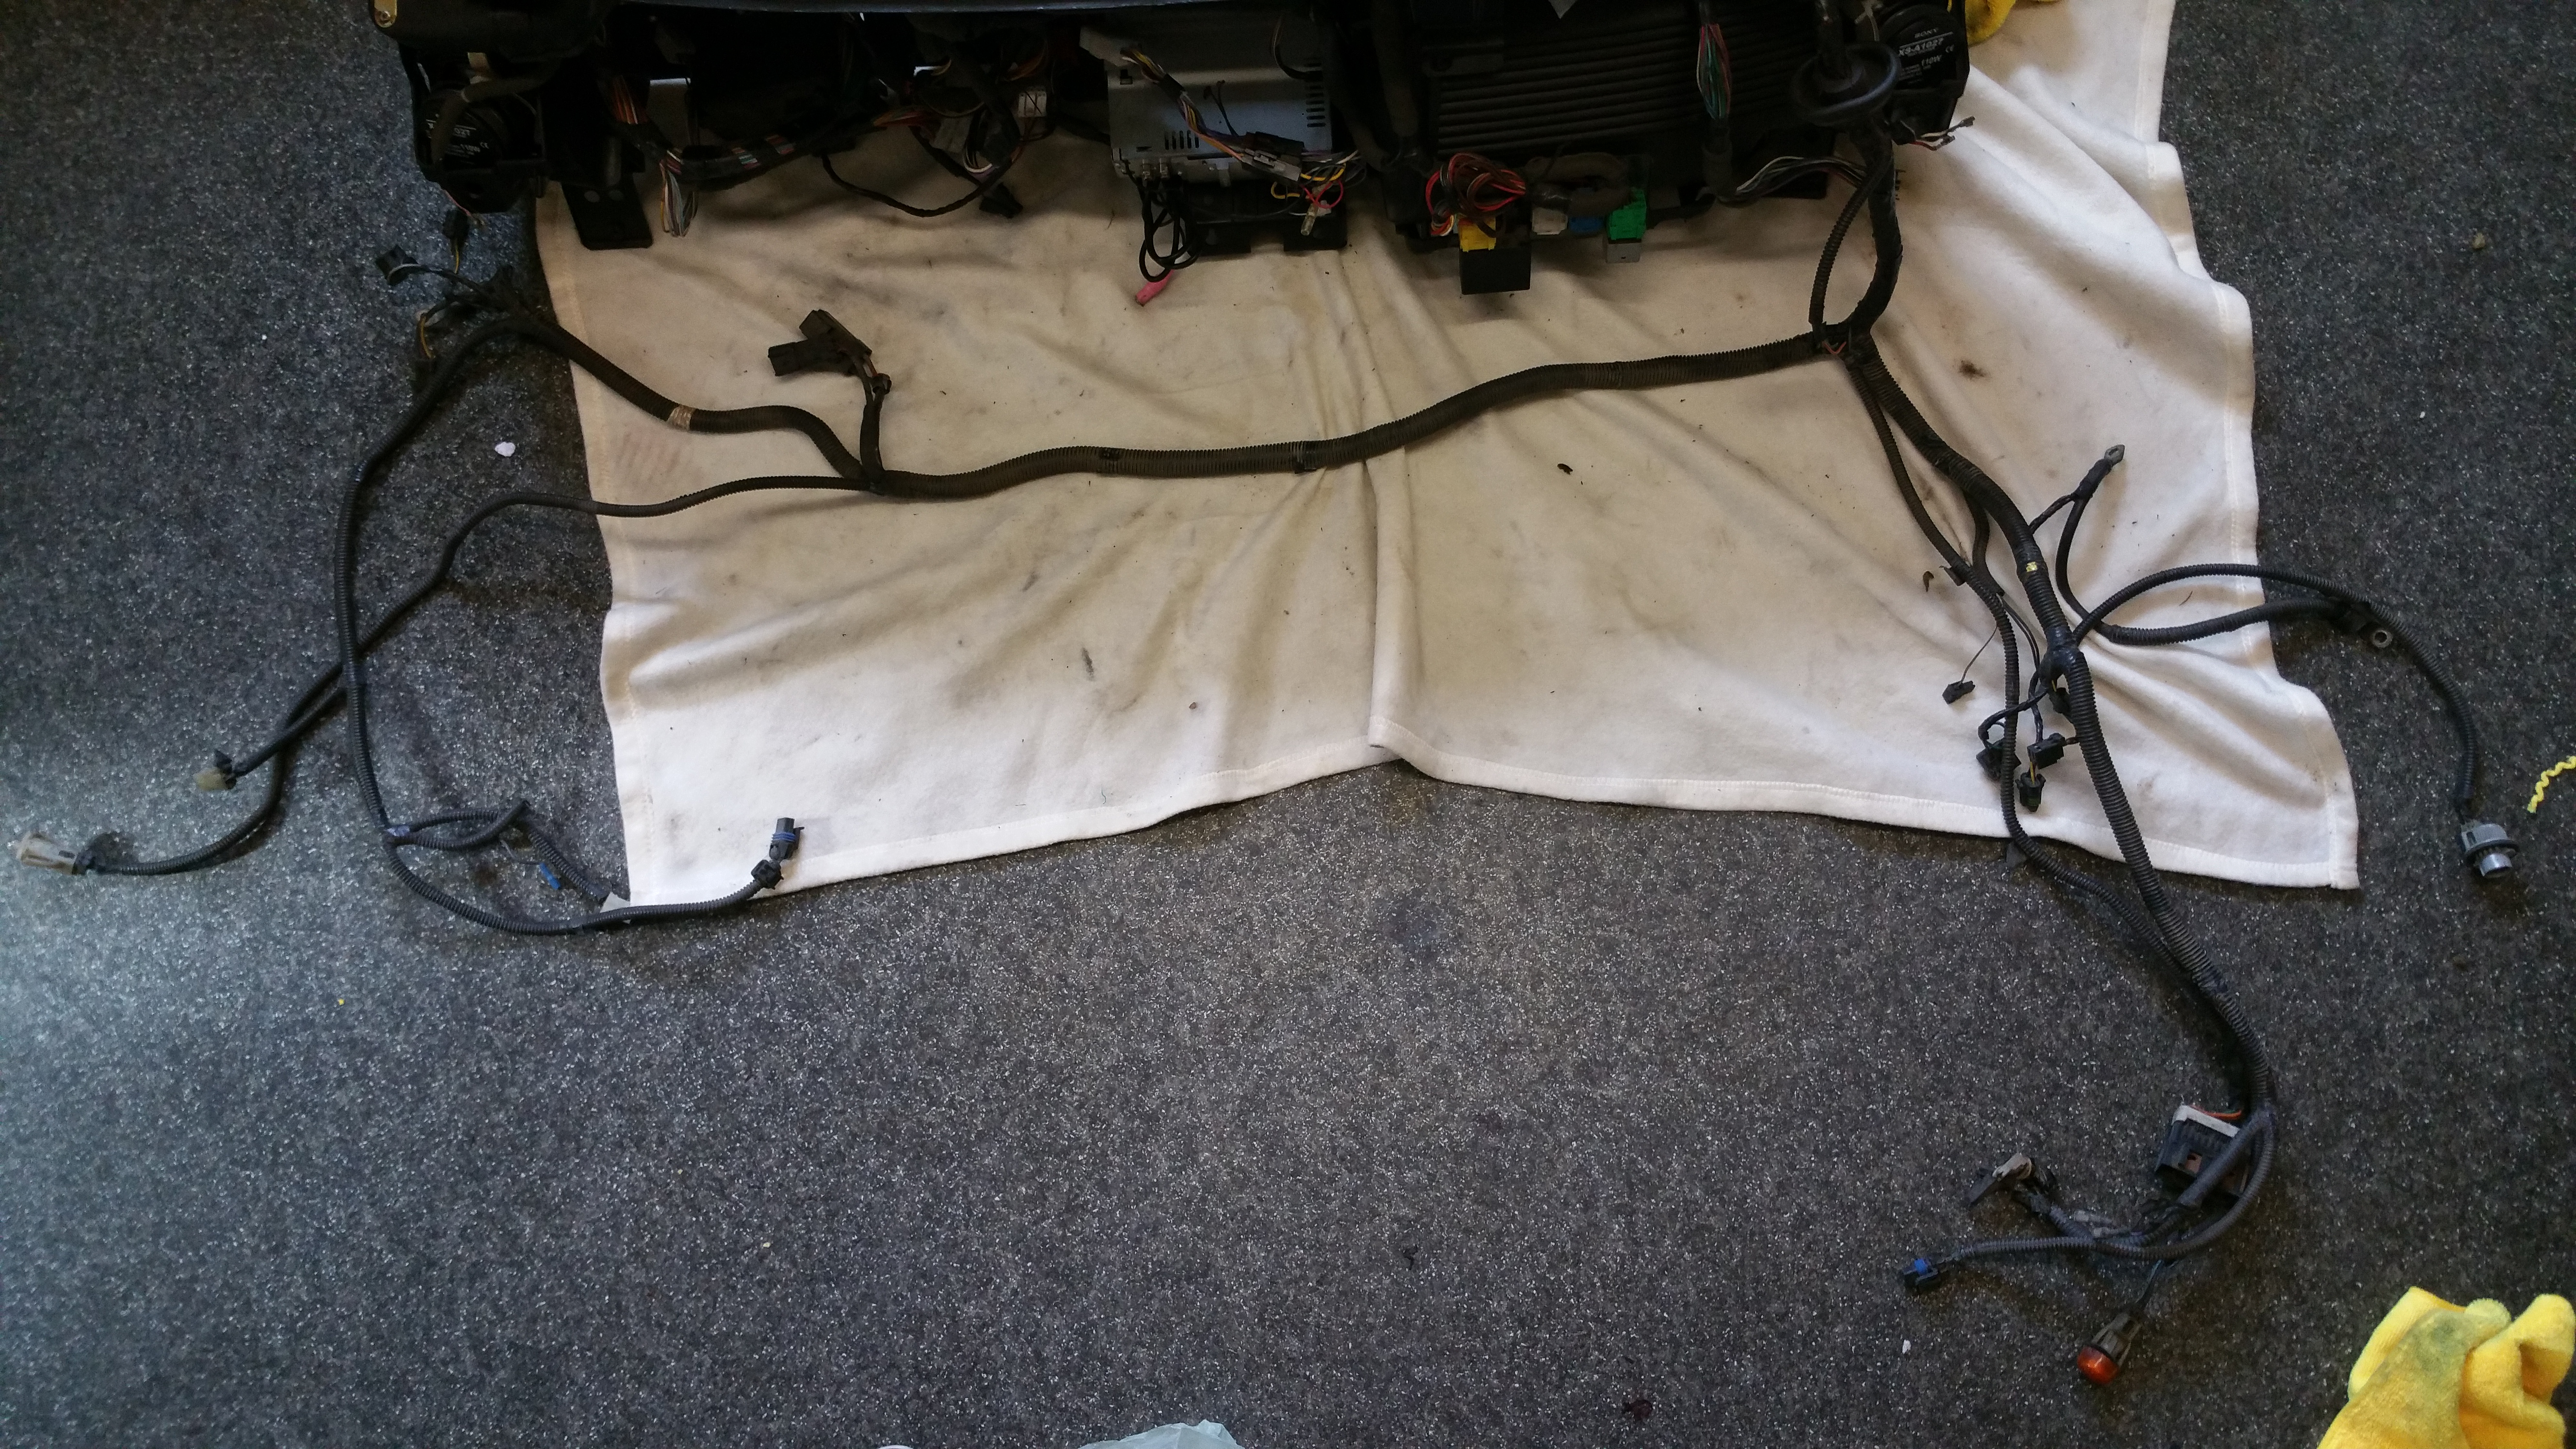
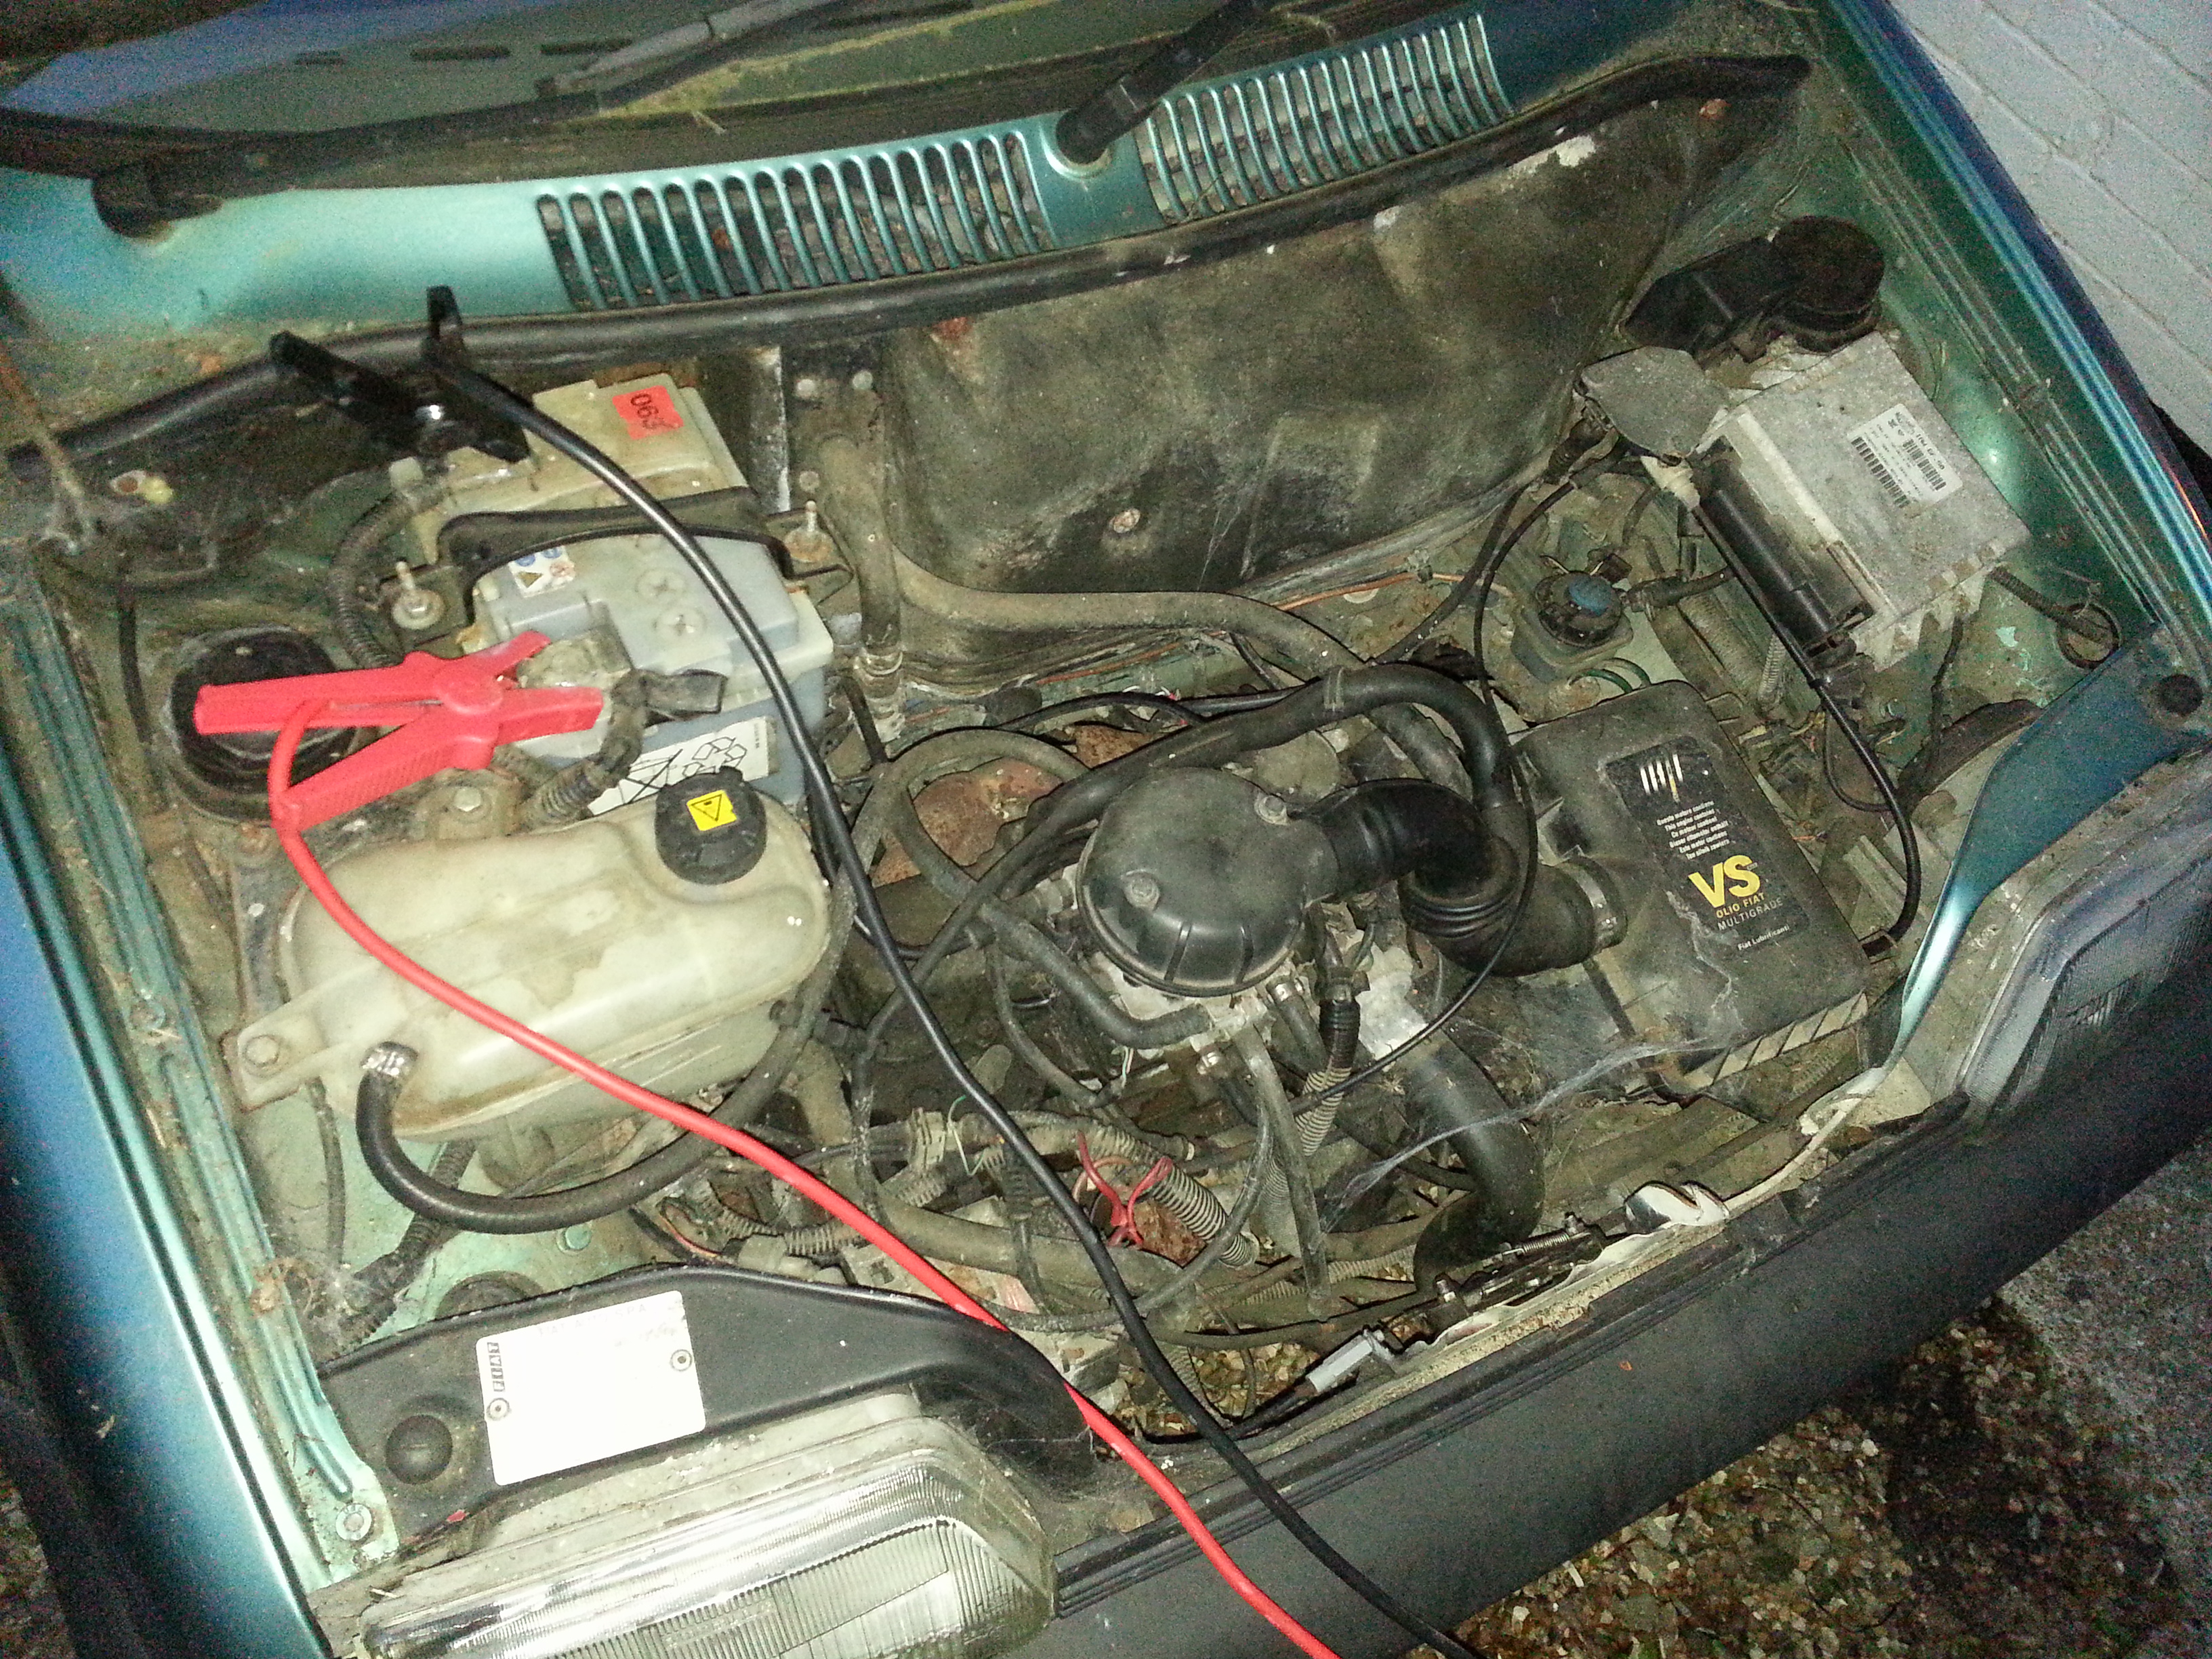
And then there was the engine bay... there were spiders in there the size of my hand... and cobwebs everywhere..

20140829_200617.jpg


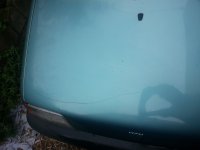
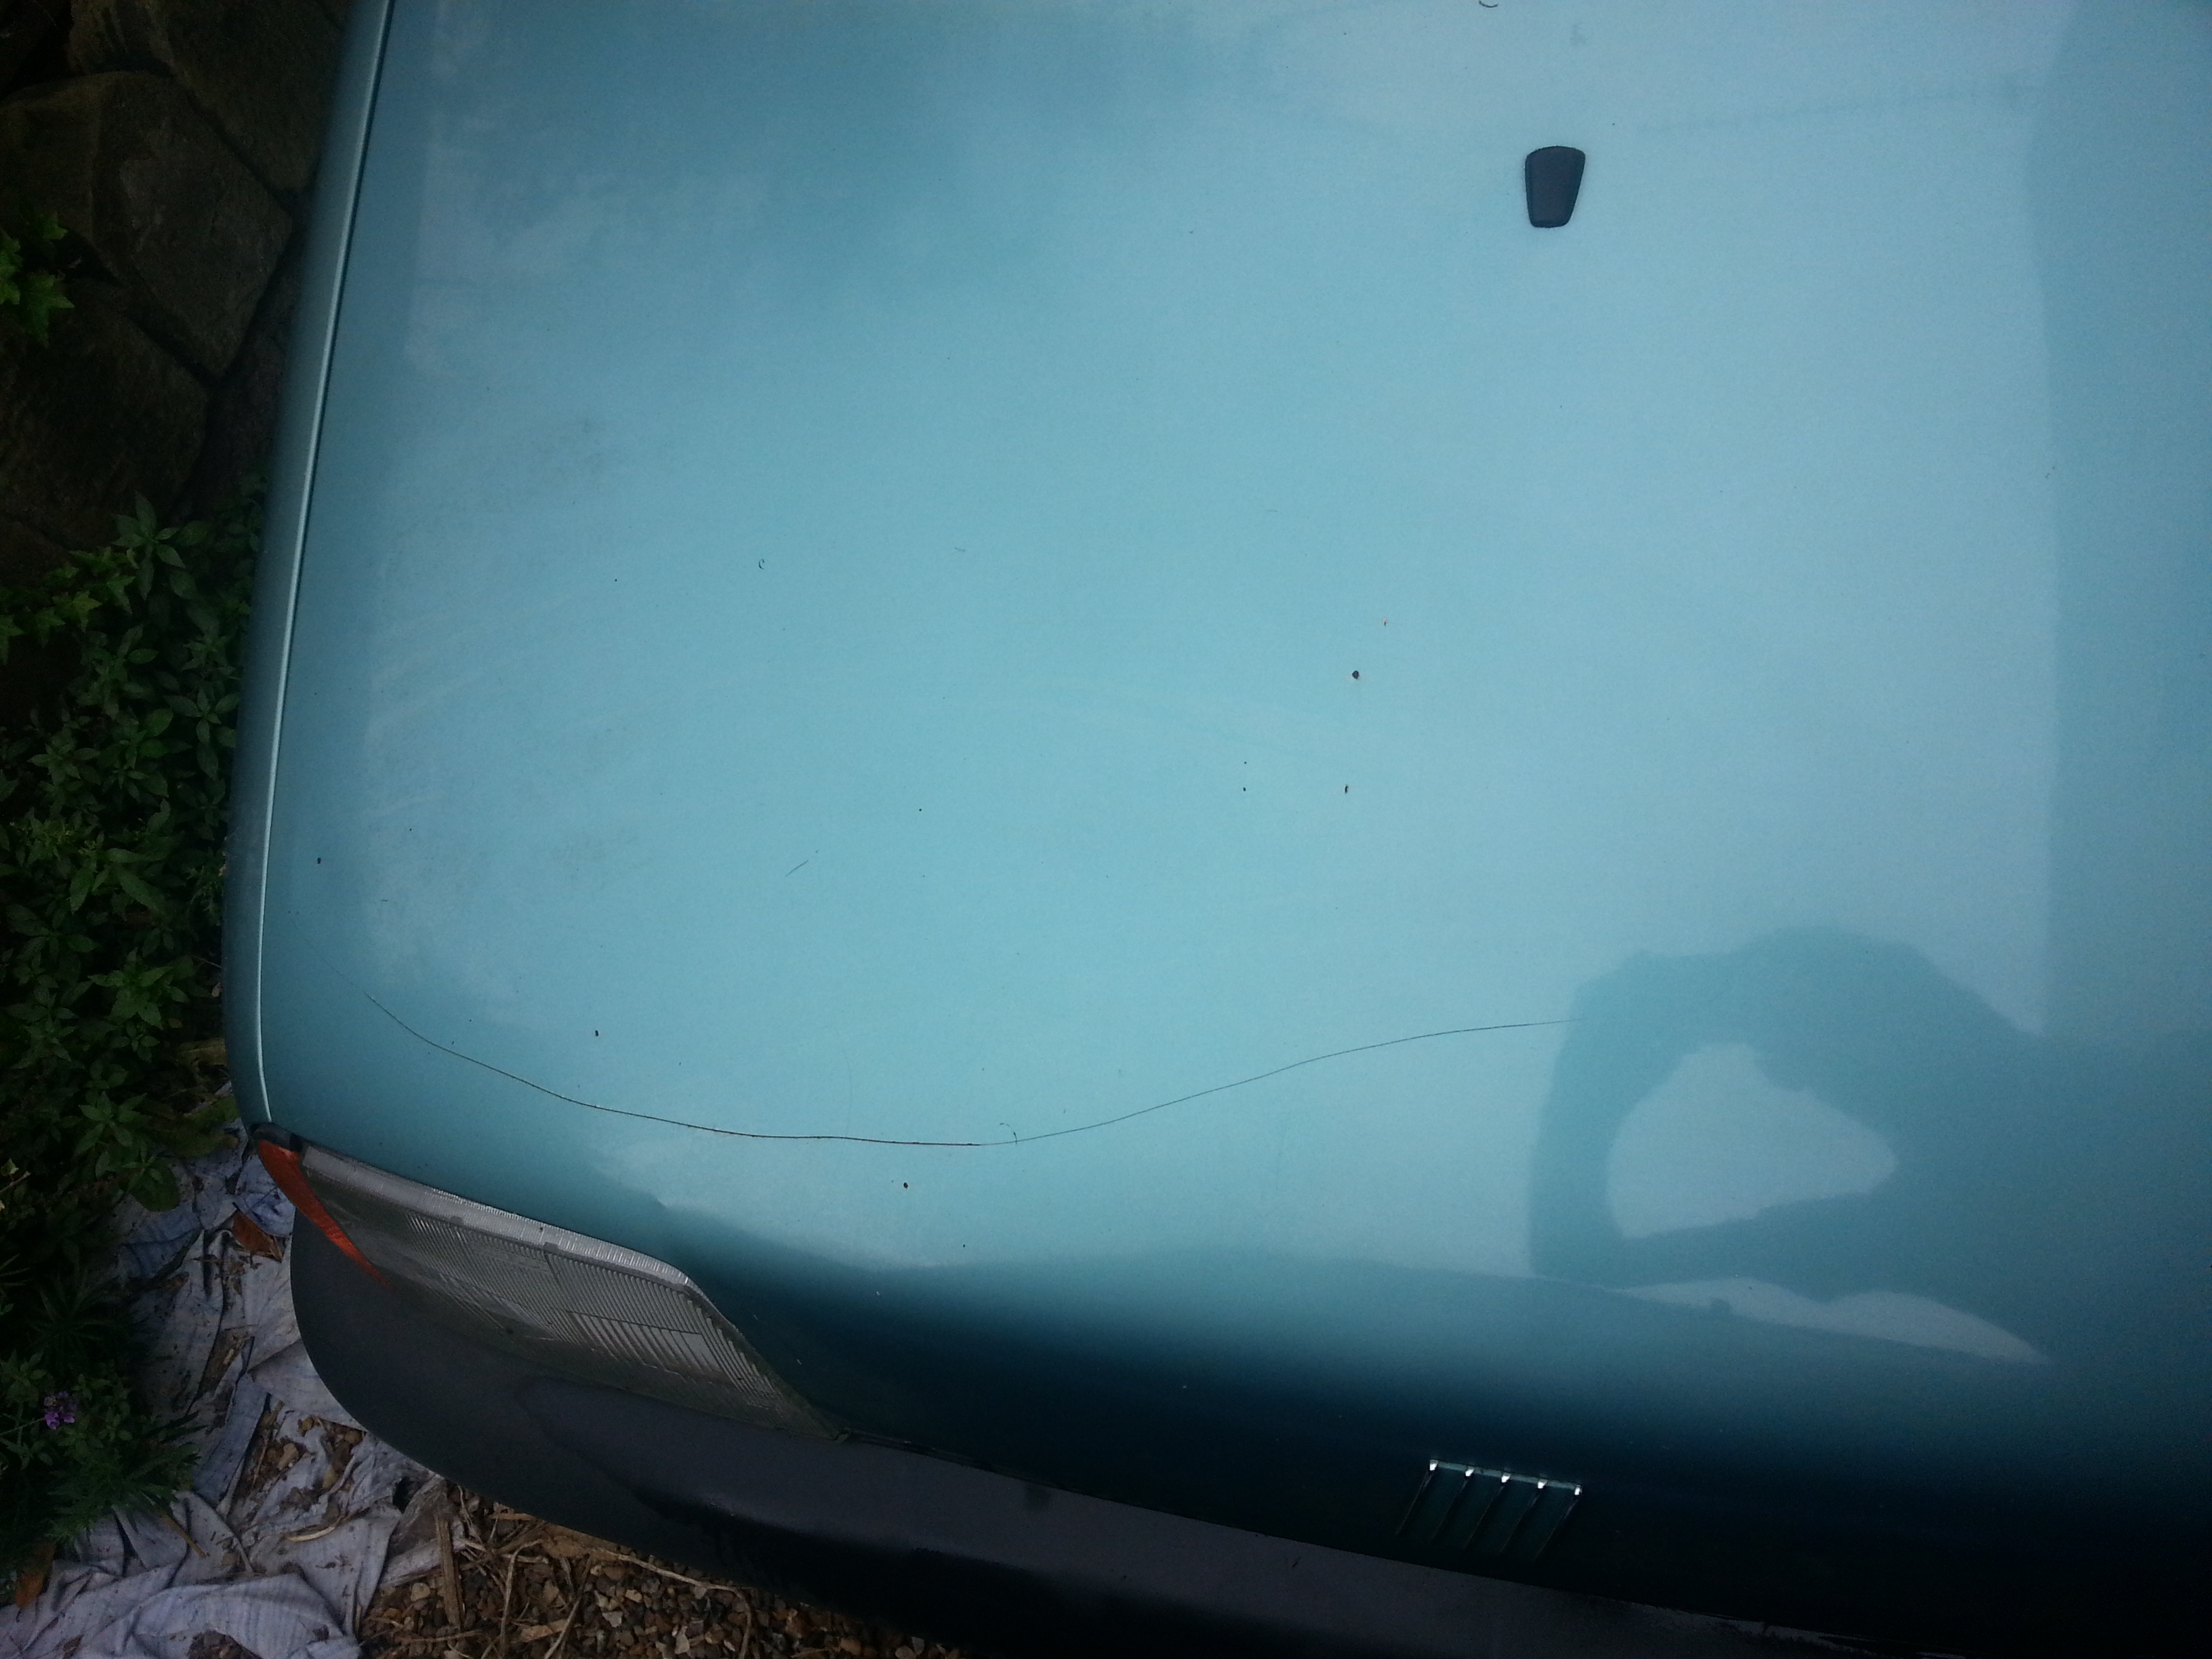
And a pretty beasty scratch... no idea hoe that got there..

20140830_171131.jpg


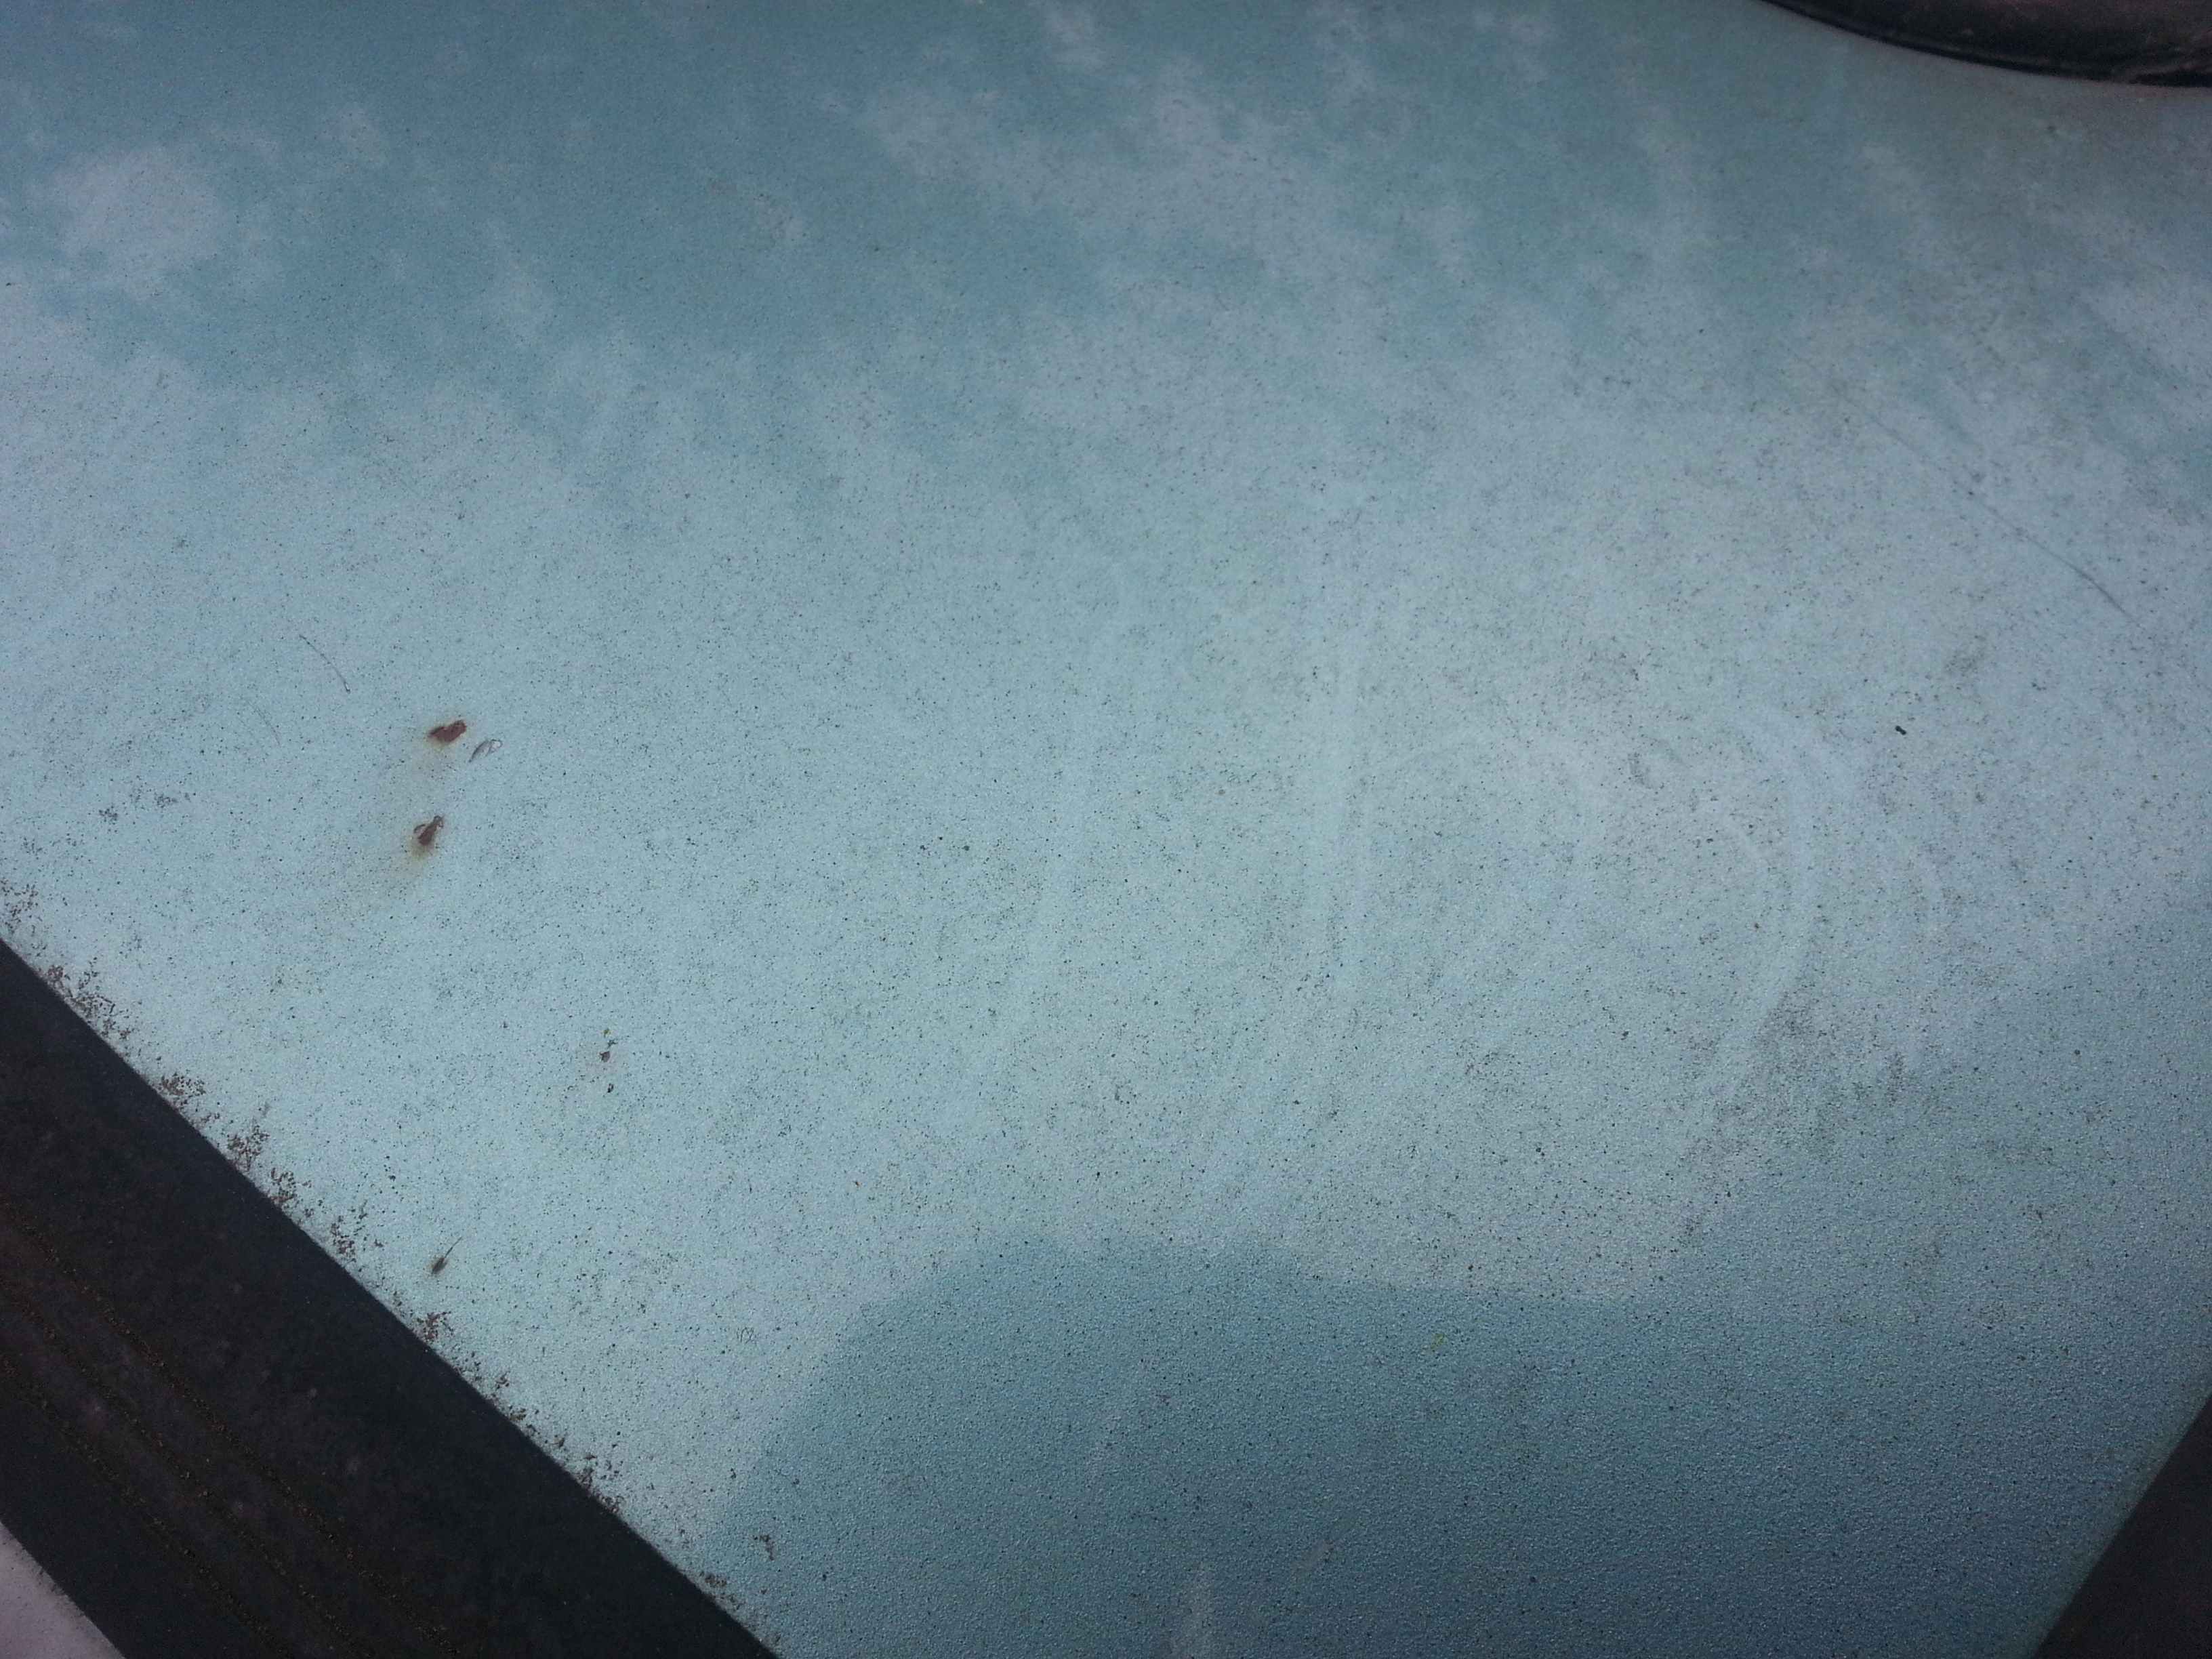
And a couple of stone chips on the roof...

20140830_171200.jpg


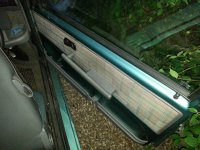
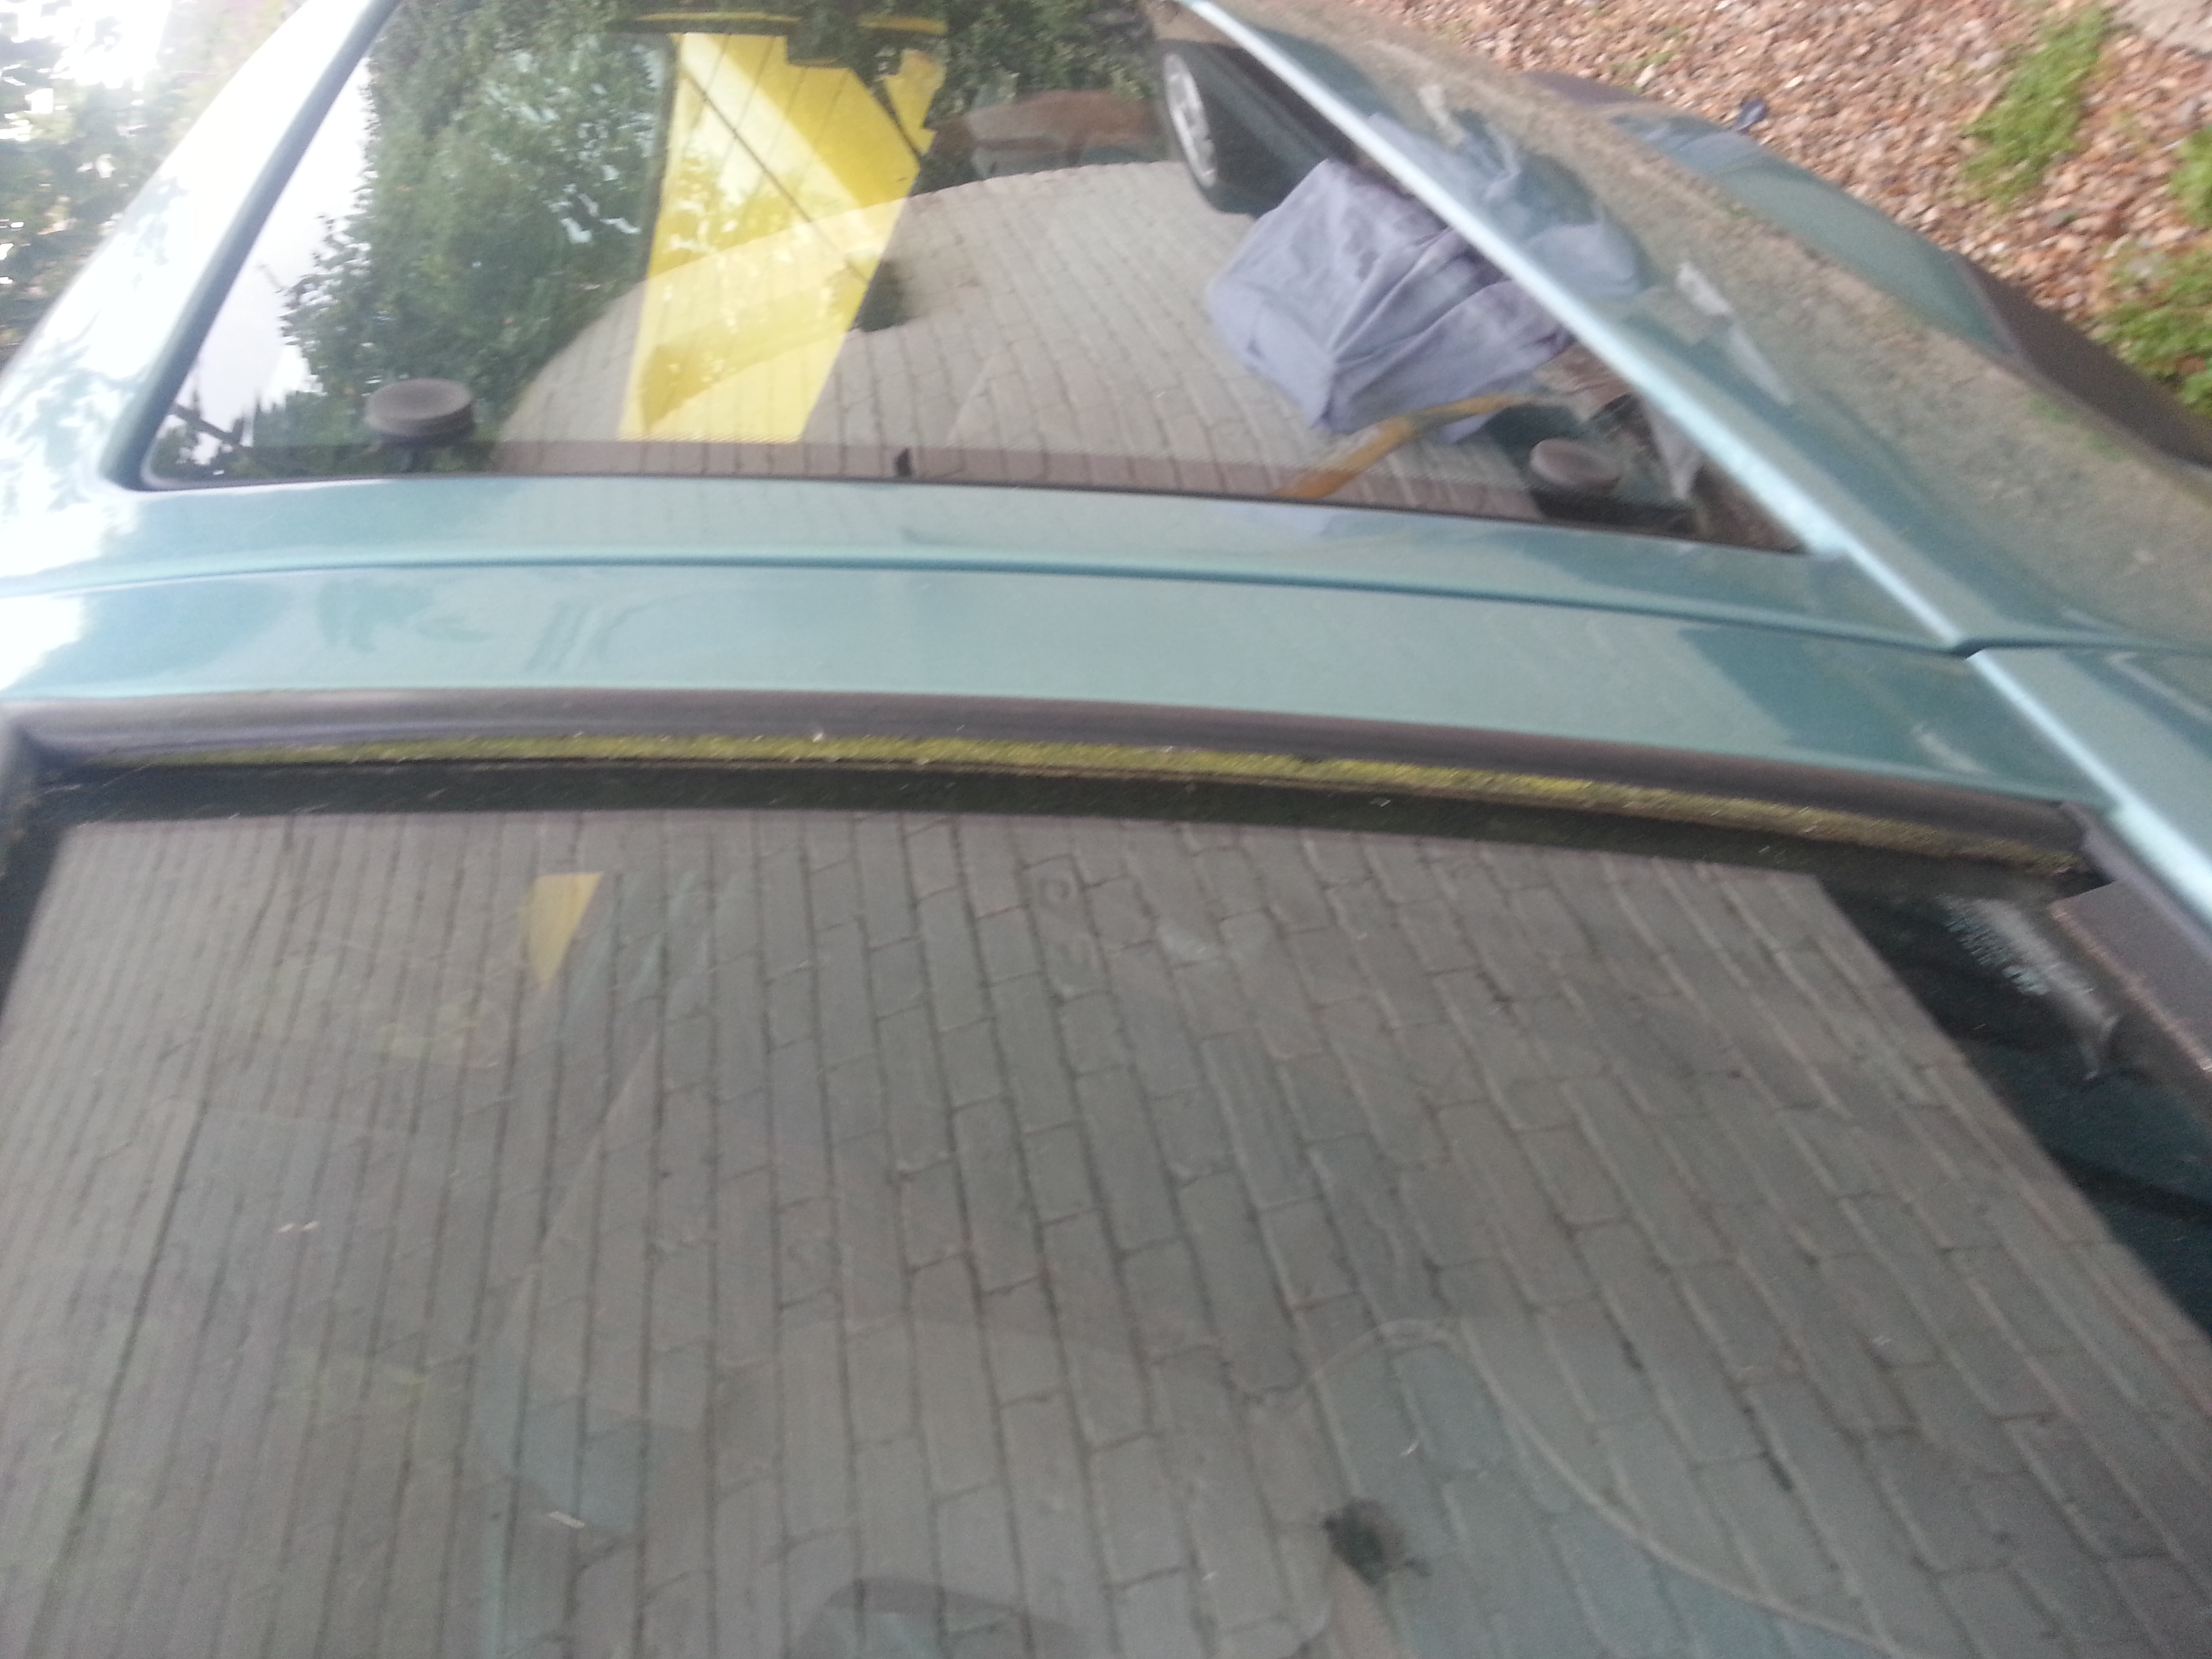
And some foliage in the window seal...

20140830_171212.jpg


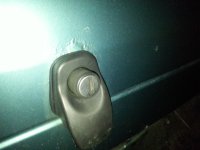
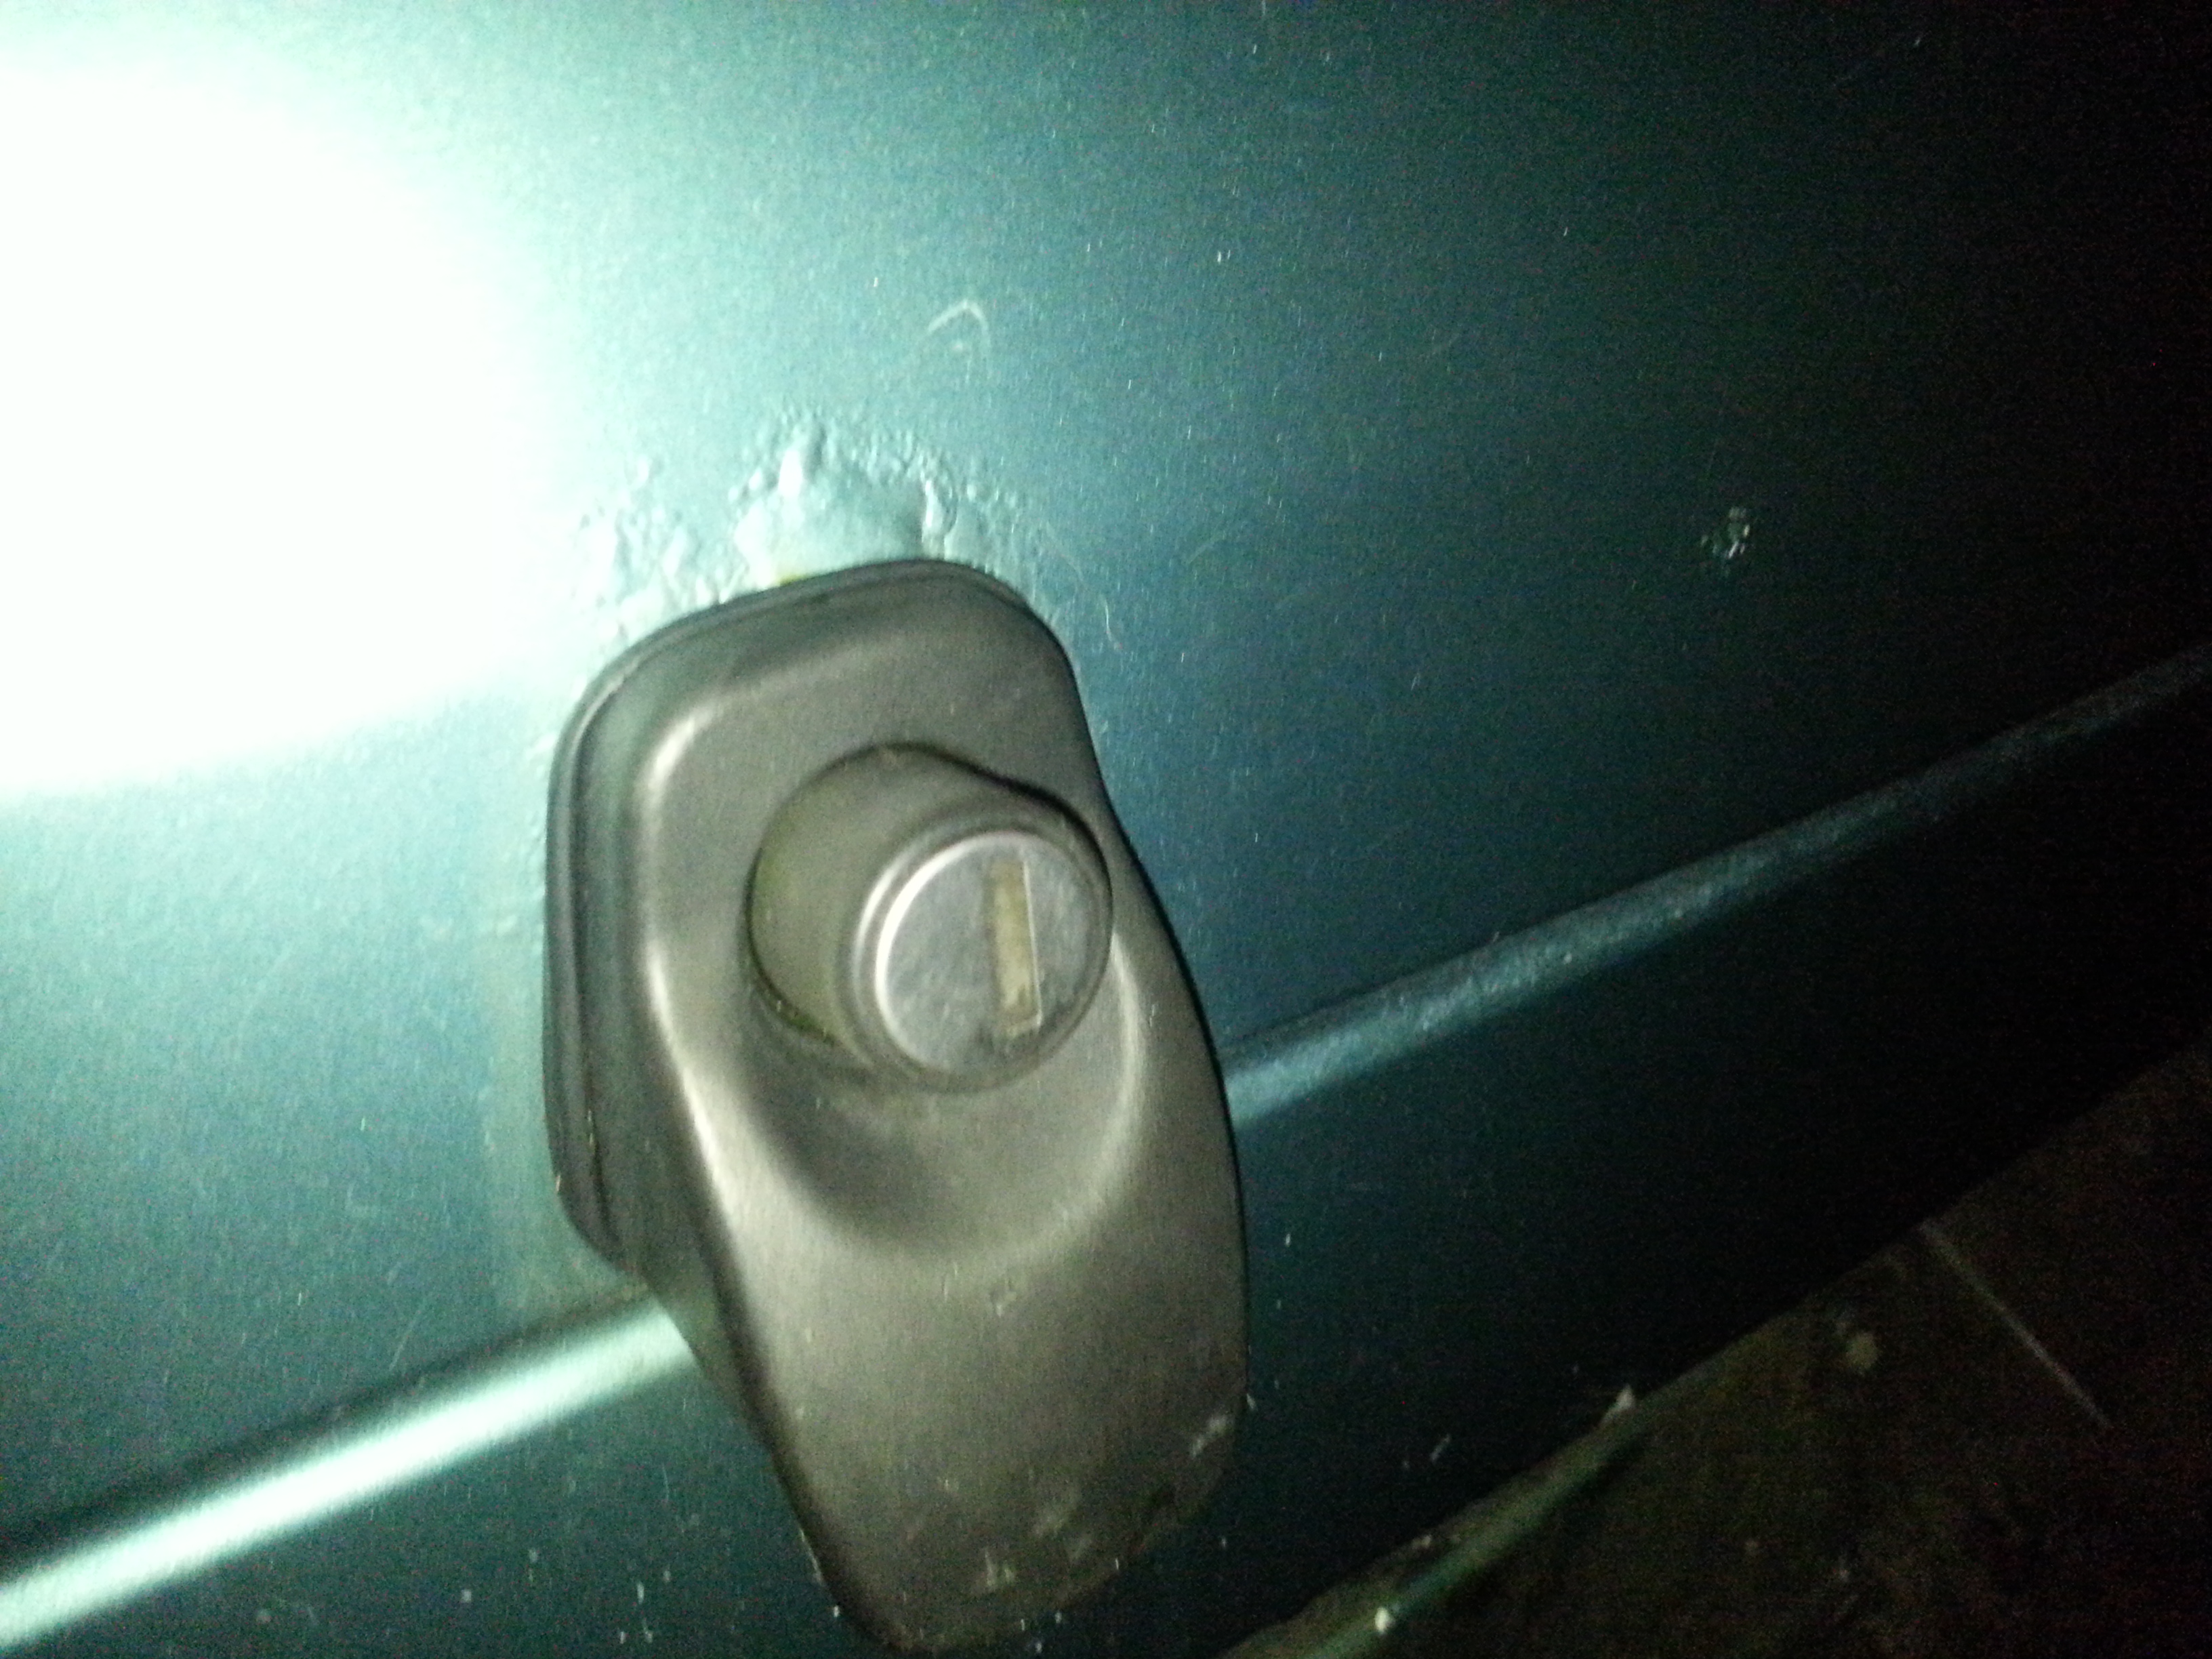
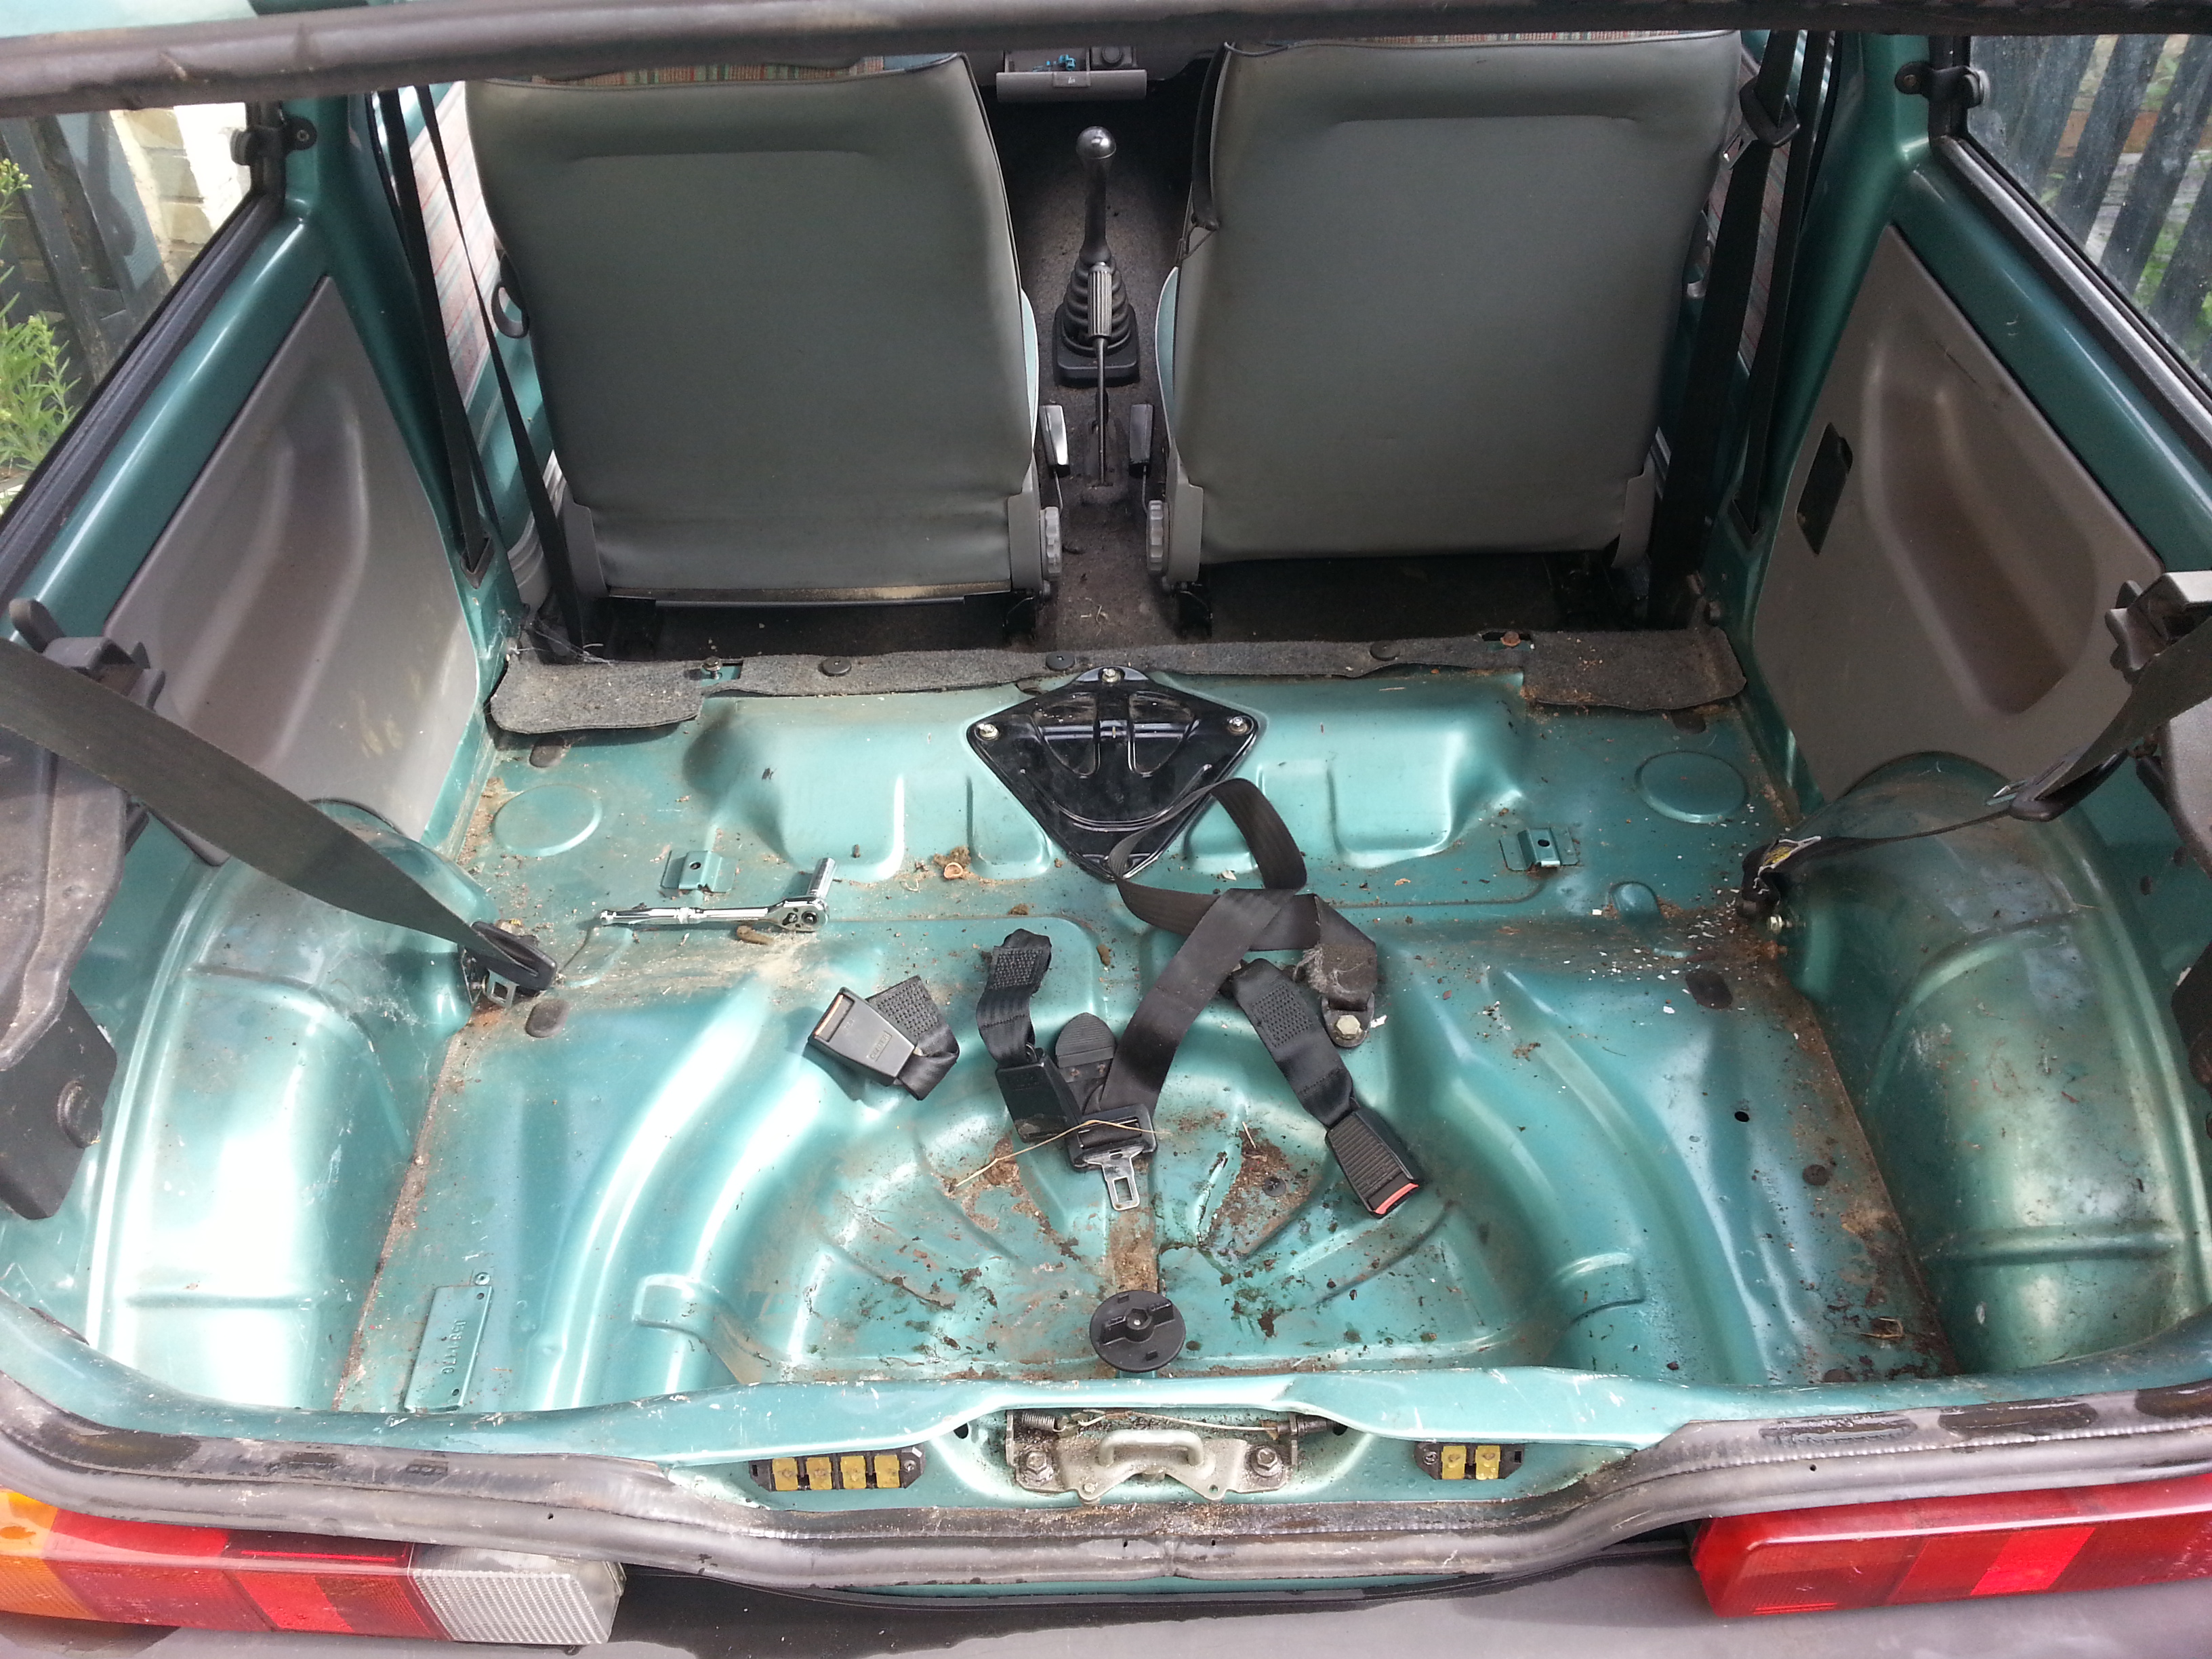
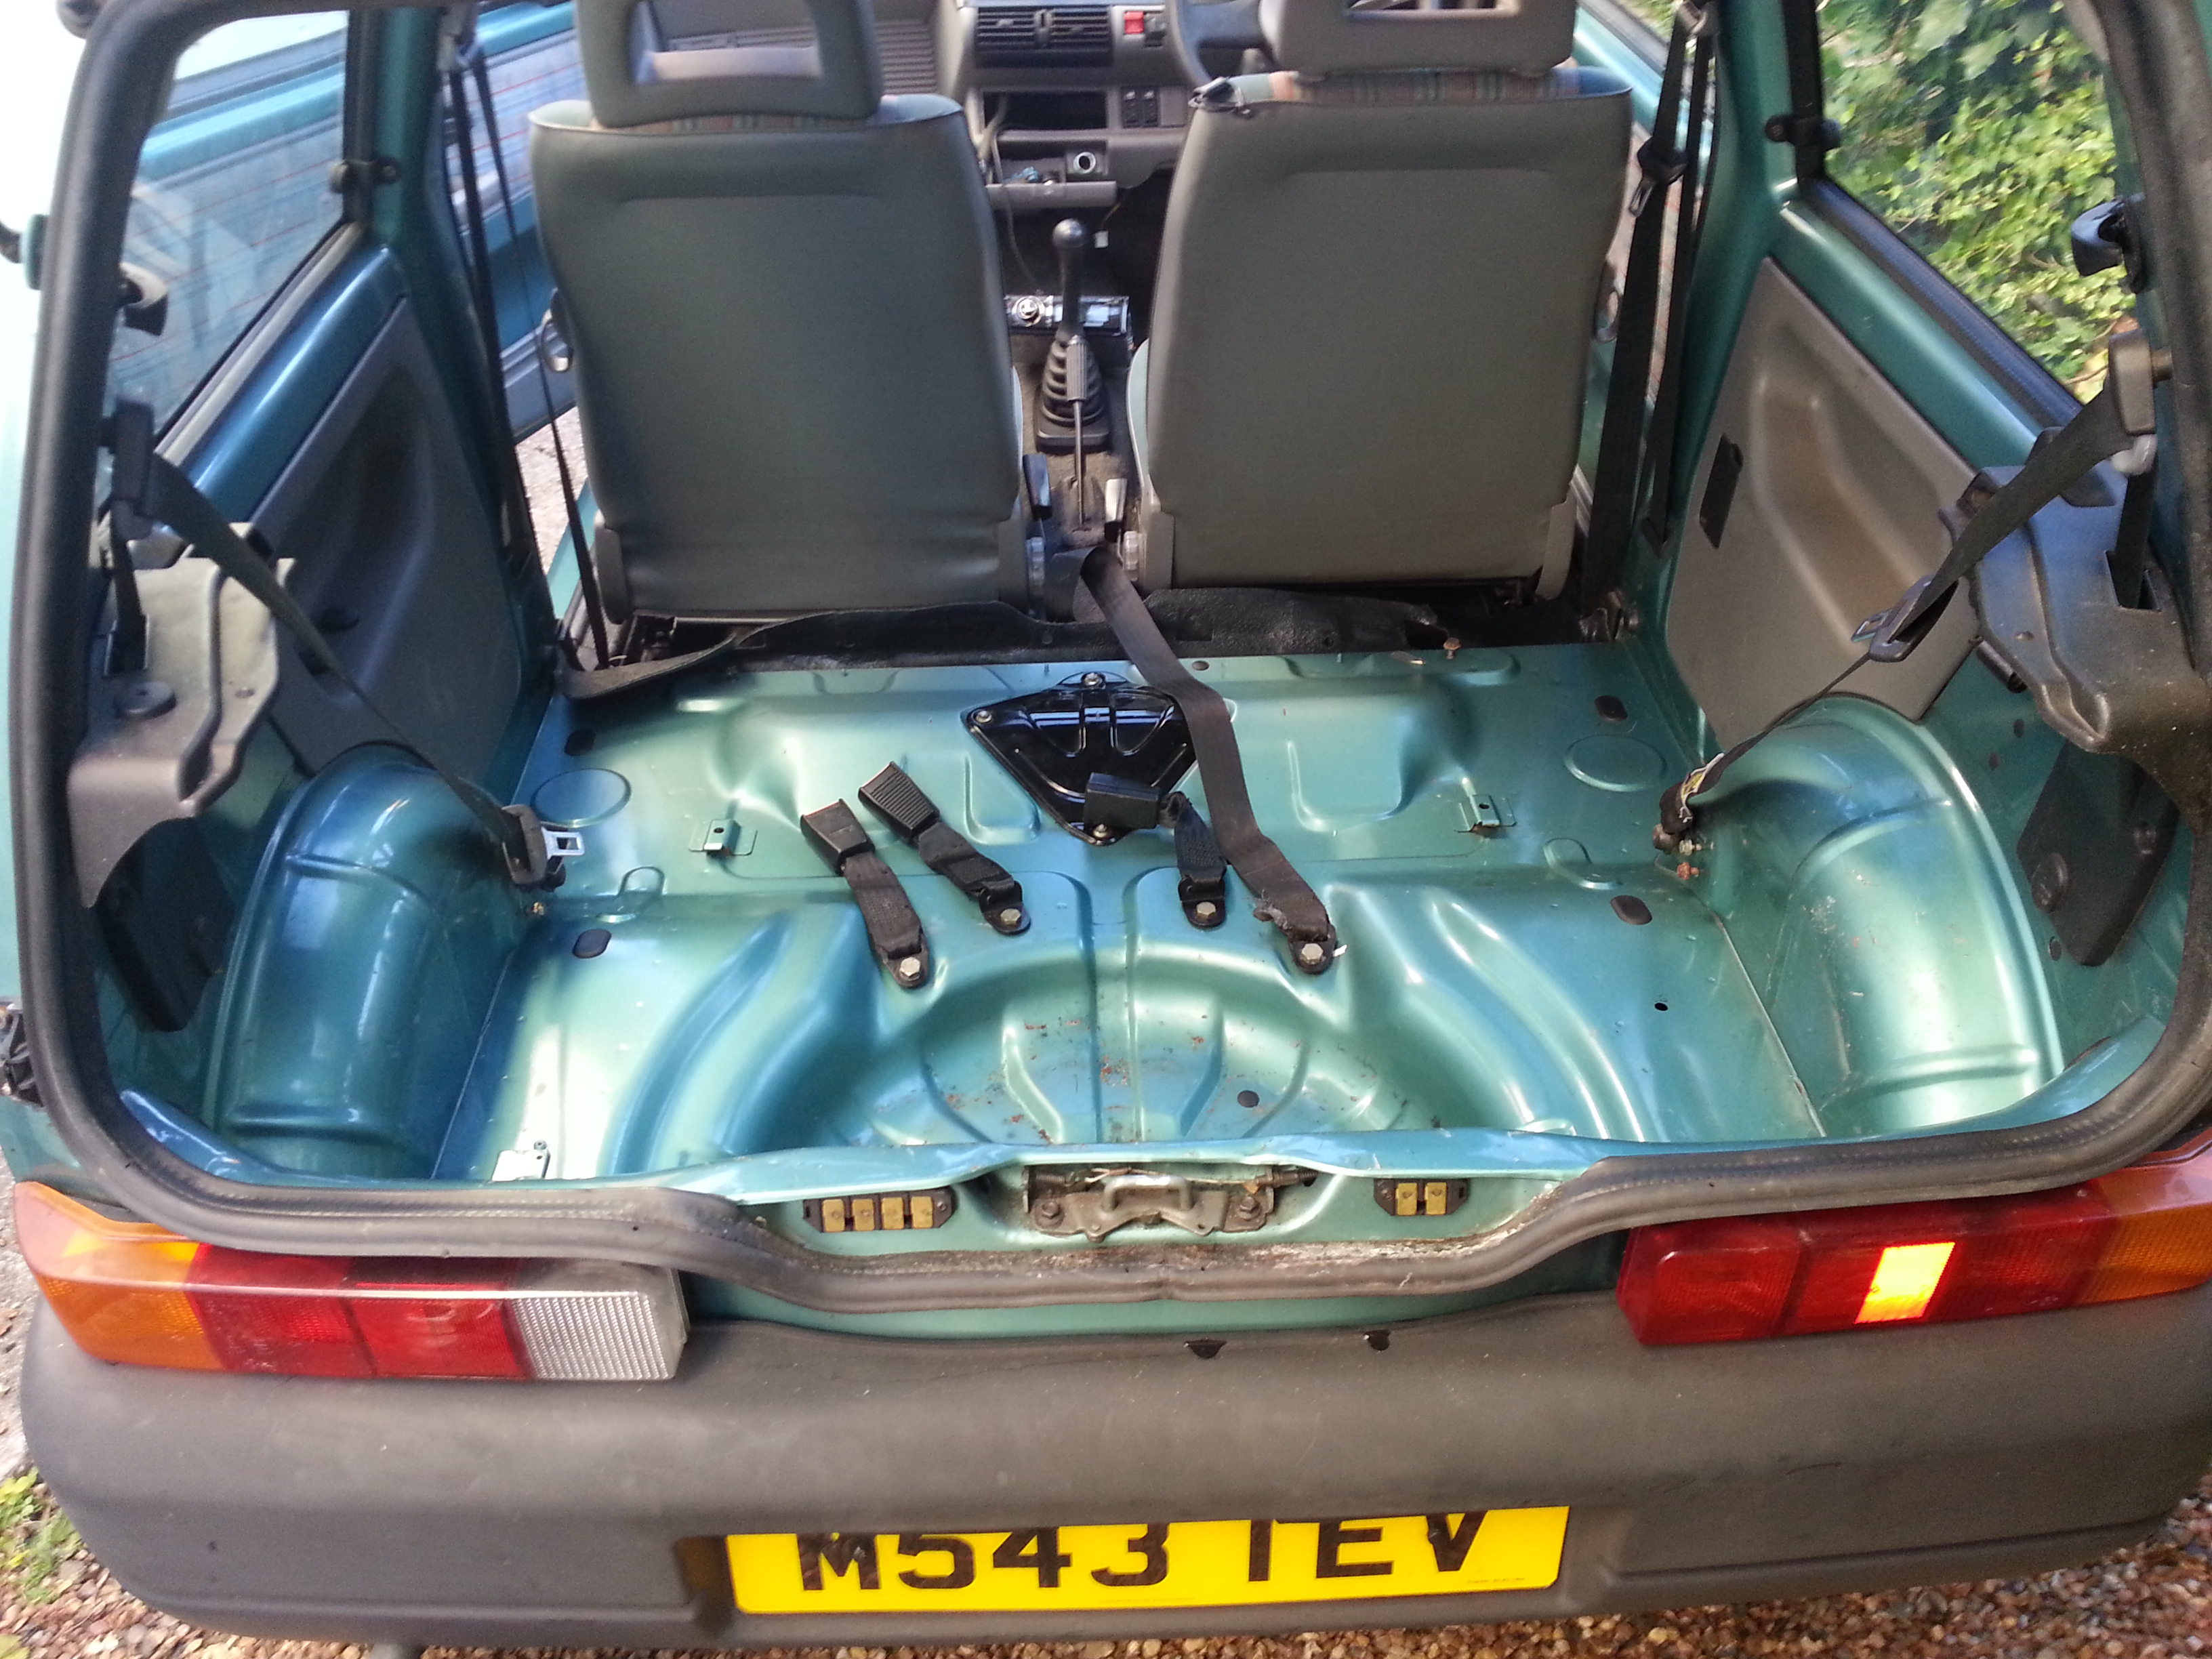
A few spots of rust unfortunately.. and a rather odd outwards dent behind the rear seatbelt mounting skin.. no idea how youd even do that lol
20141205_1928011.jpg


20141205_1927521.jpg


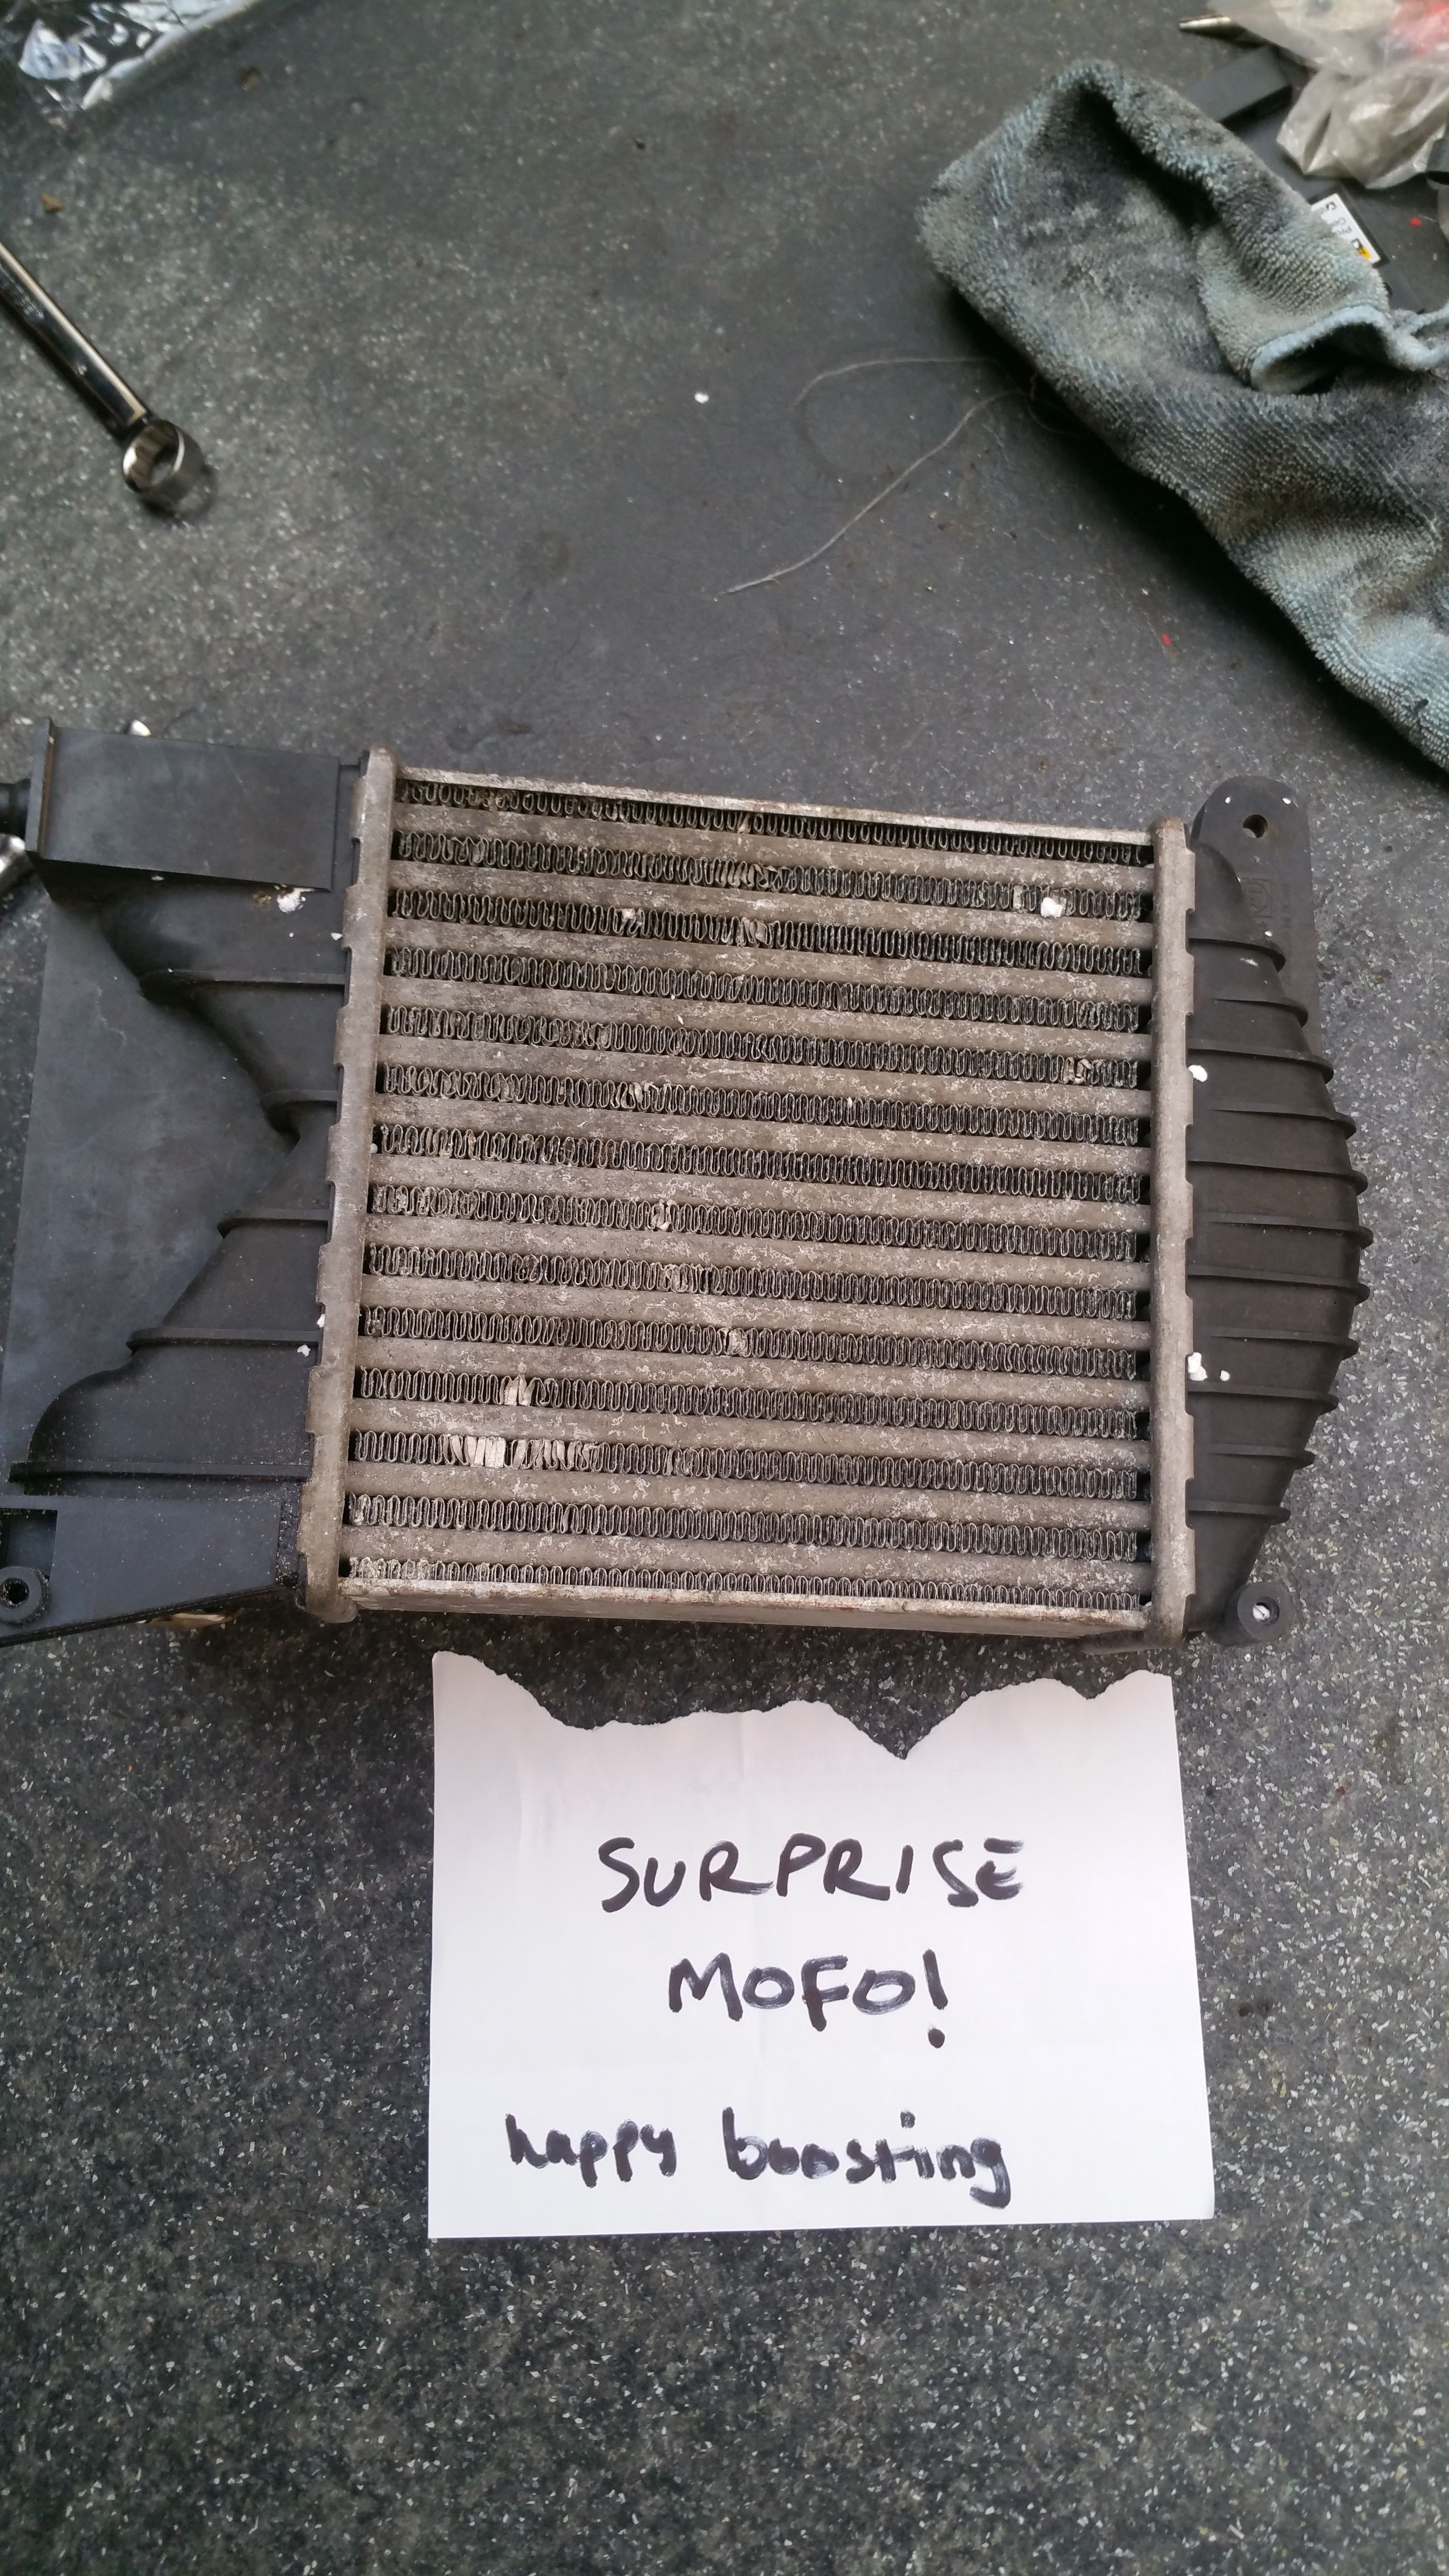
All the usual cack you get with cars that have been sat up forever...

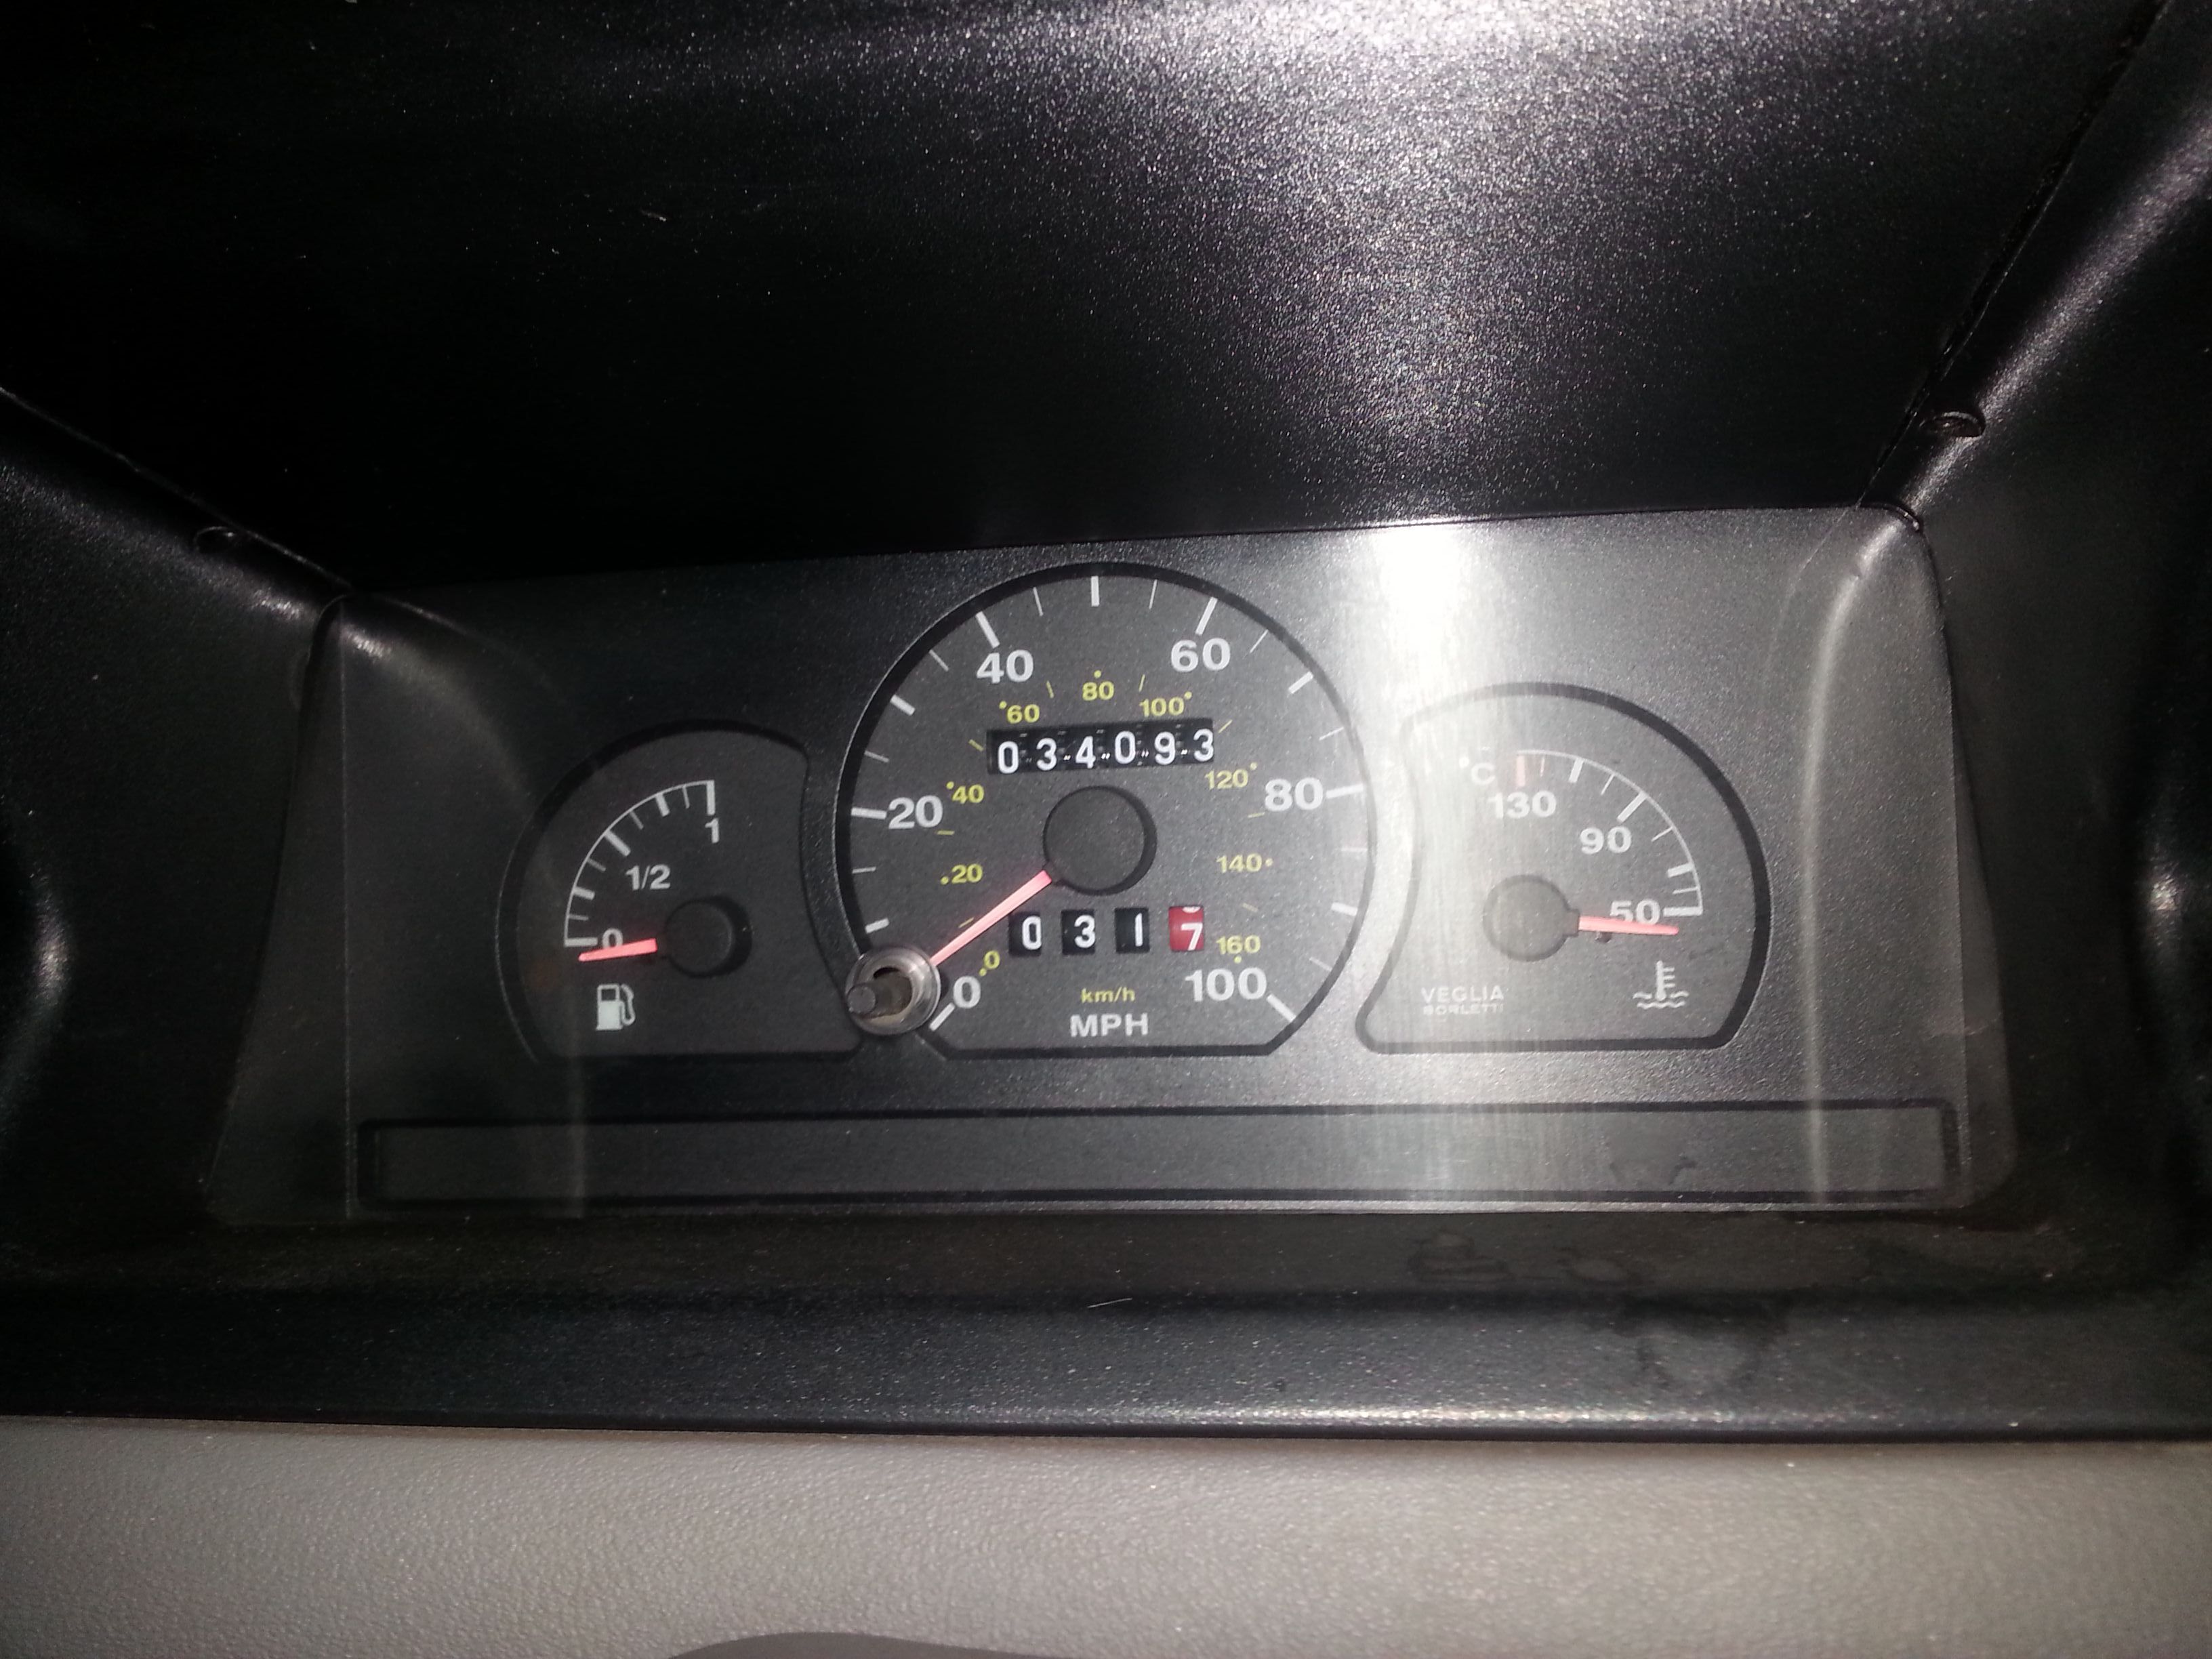
One bonus of it all though is this... yes thats less than 34100
20141205_195530.jpg


Bonus :)

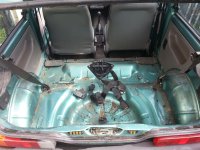
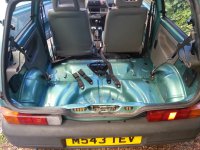
I originally bouth this to practice using my duel action polisher on.. and then to cut up after for a trailer...but after a little closer inspection ive decided.. its way to good to cut up... no rust underneath.. sills are near perfect.. no rust in the boot.. carpets are pretty clean.. roof liner is perfect and he even has the cardboard sunroof cover in perfect condition..

Just a few little bits of bodywork to tidy up but all in all a little gem.. apart from the mint green color.. but its growing on me..


So... plans... if youve not been bored to death by now...

First job was to strip the aweful green interior that smelled like it had been sat in a field all its life..
20140831_154130.jpg


And was greeted by..

20140831_154137.jpg


Lovely.....

But a quick hoover and wipe..

20140831_175829.jpg


Lovely :)

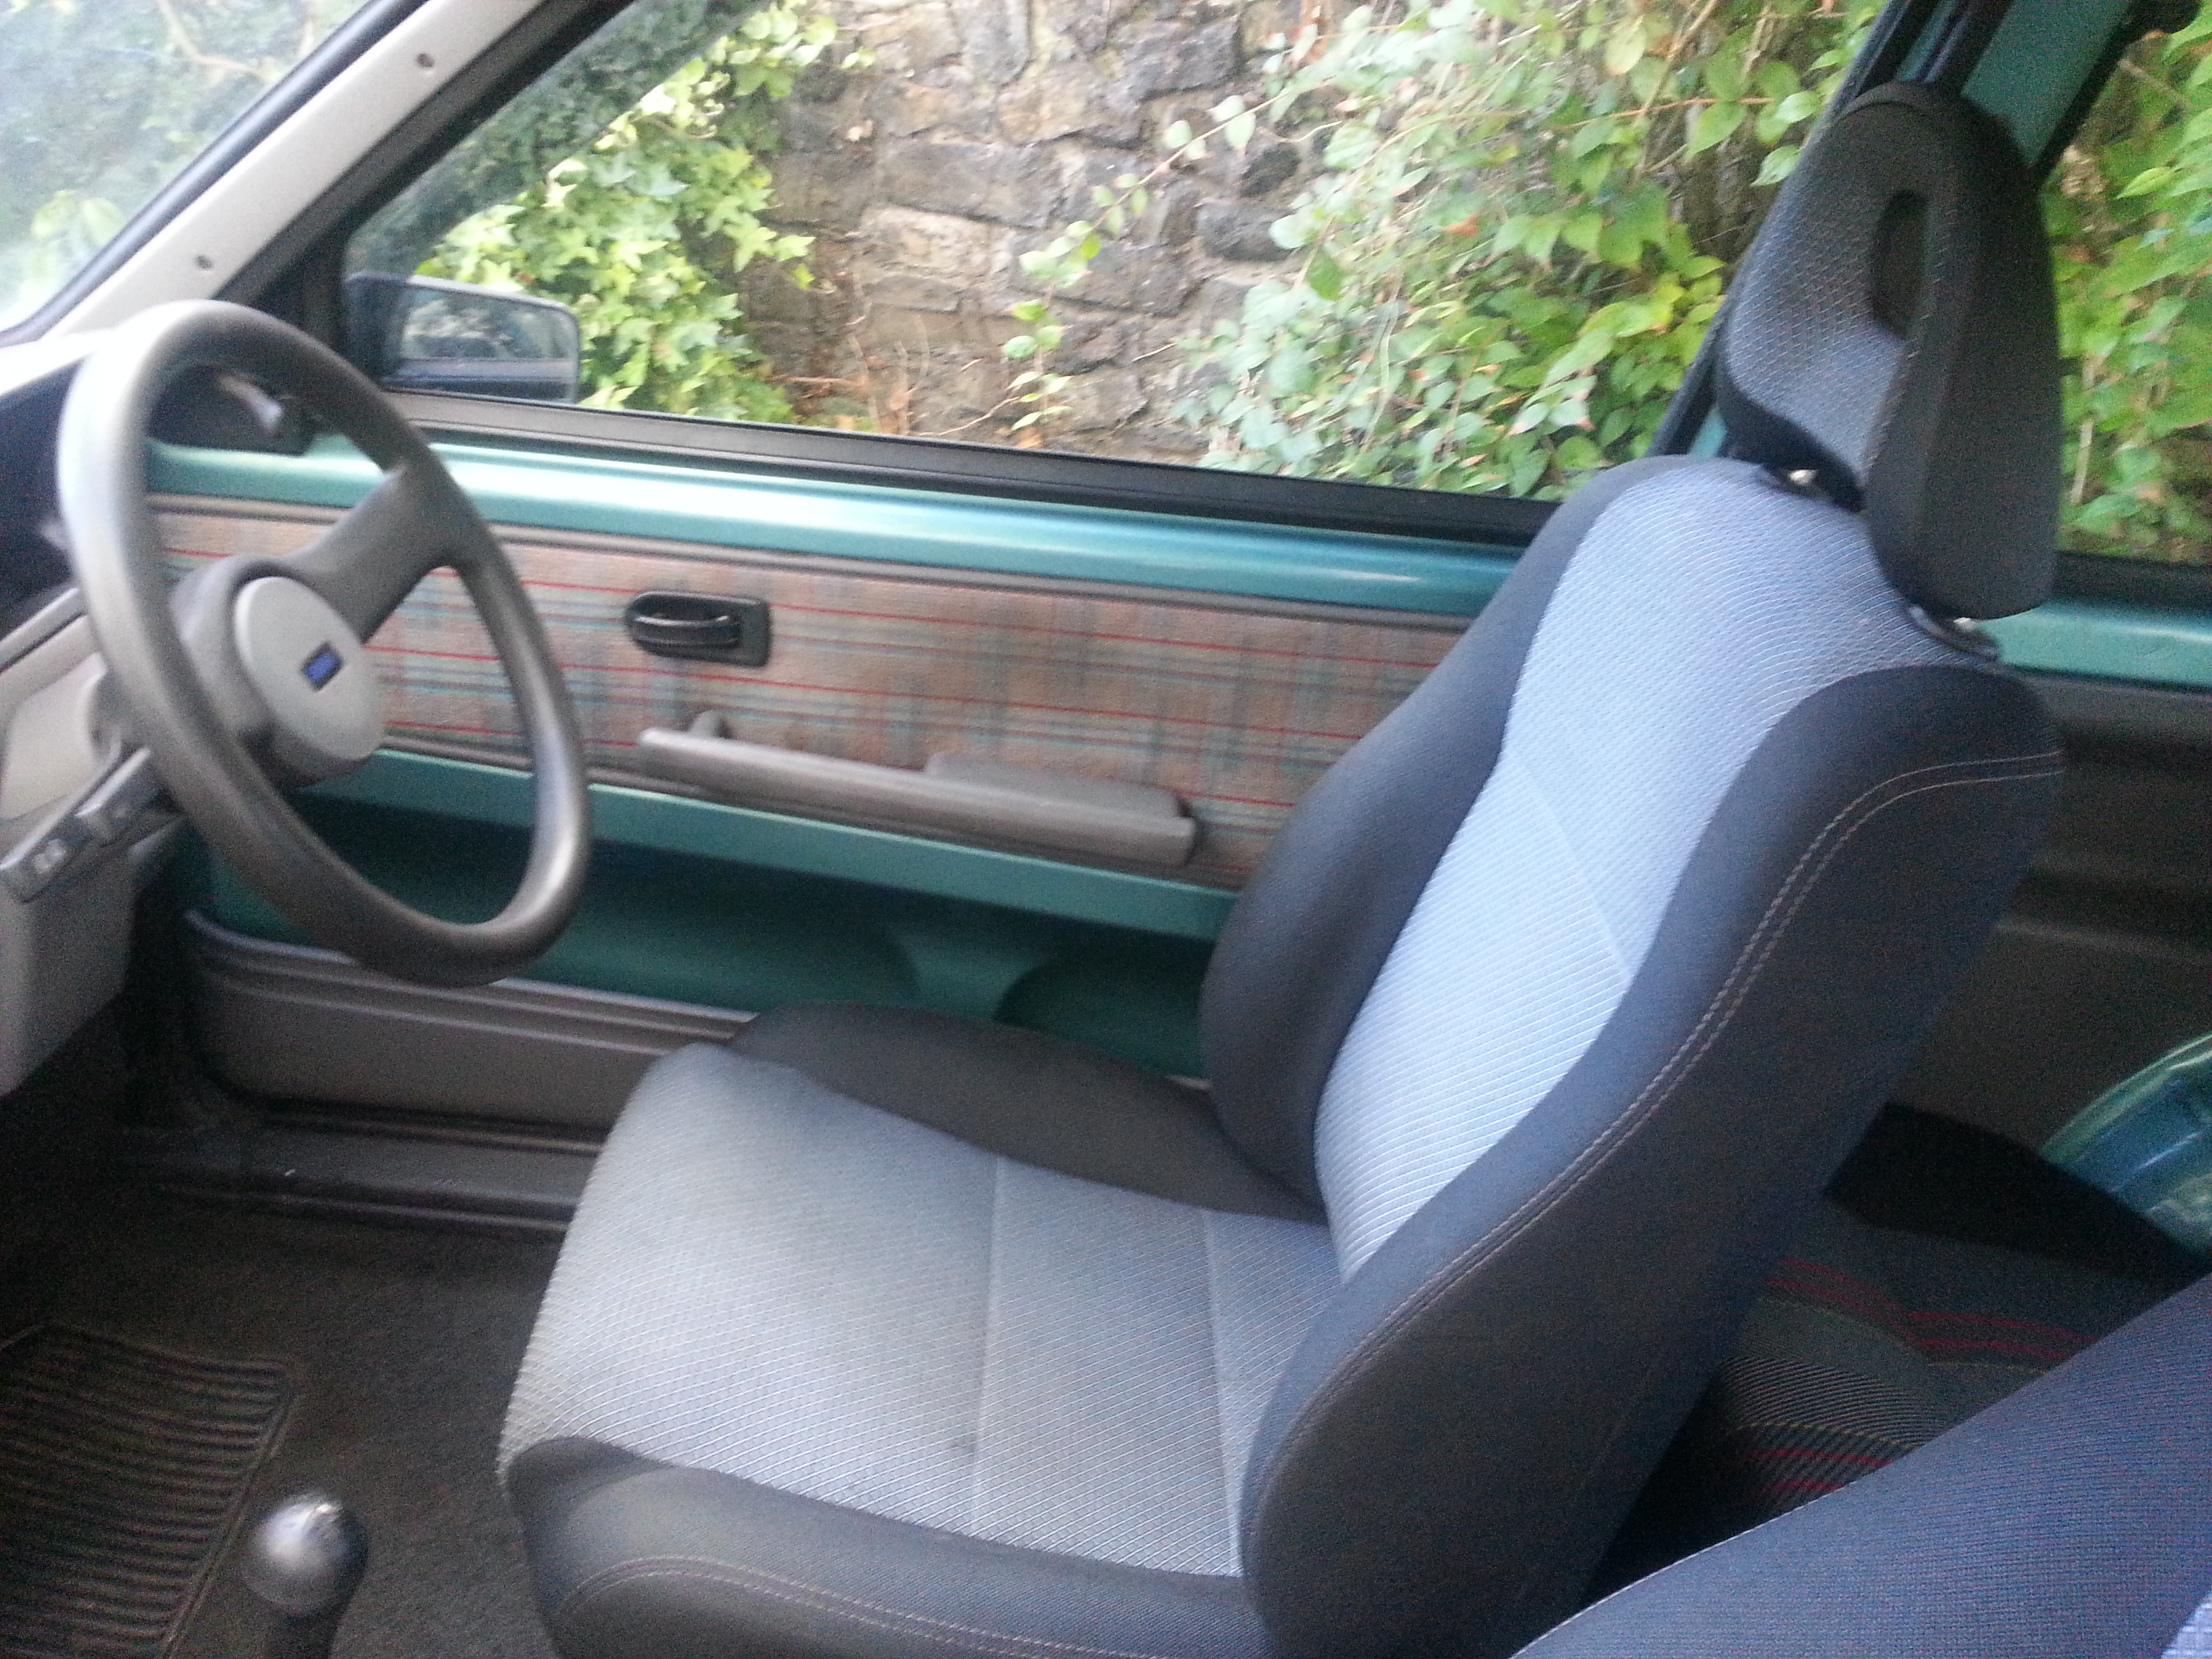
And in with the new interior..

Nice clean rear bench that was in storage from imola..

And a set of mpi sei seats that were stacked in the spare room

20140924_170543.jpg


20140924_170529.jpg


In need of a wetvac but im sure theyll come up fine :)

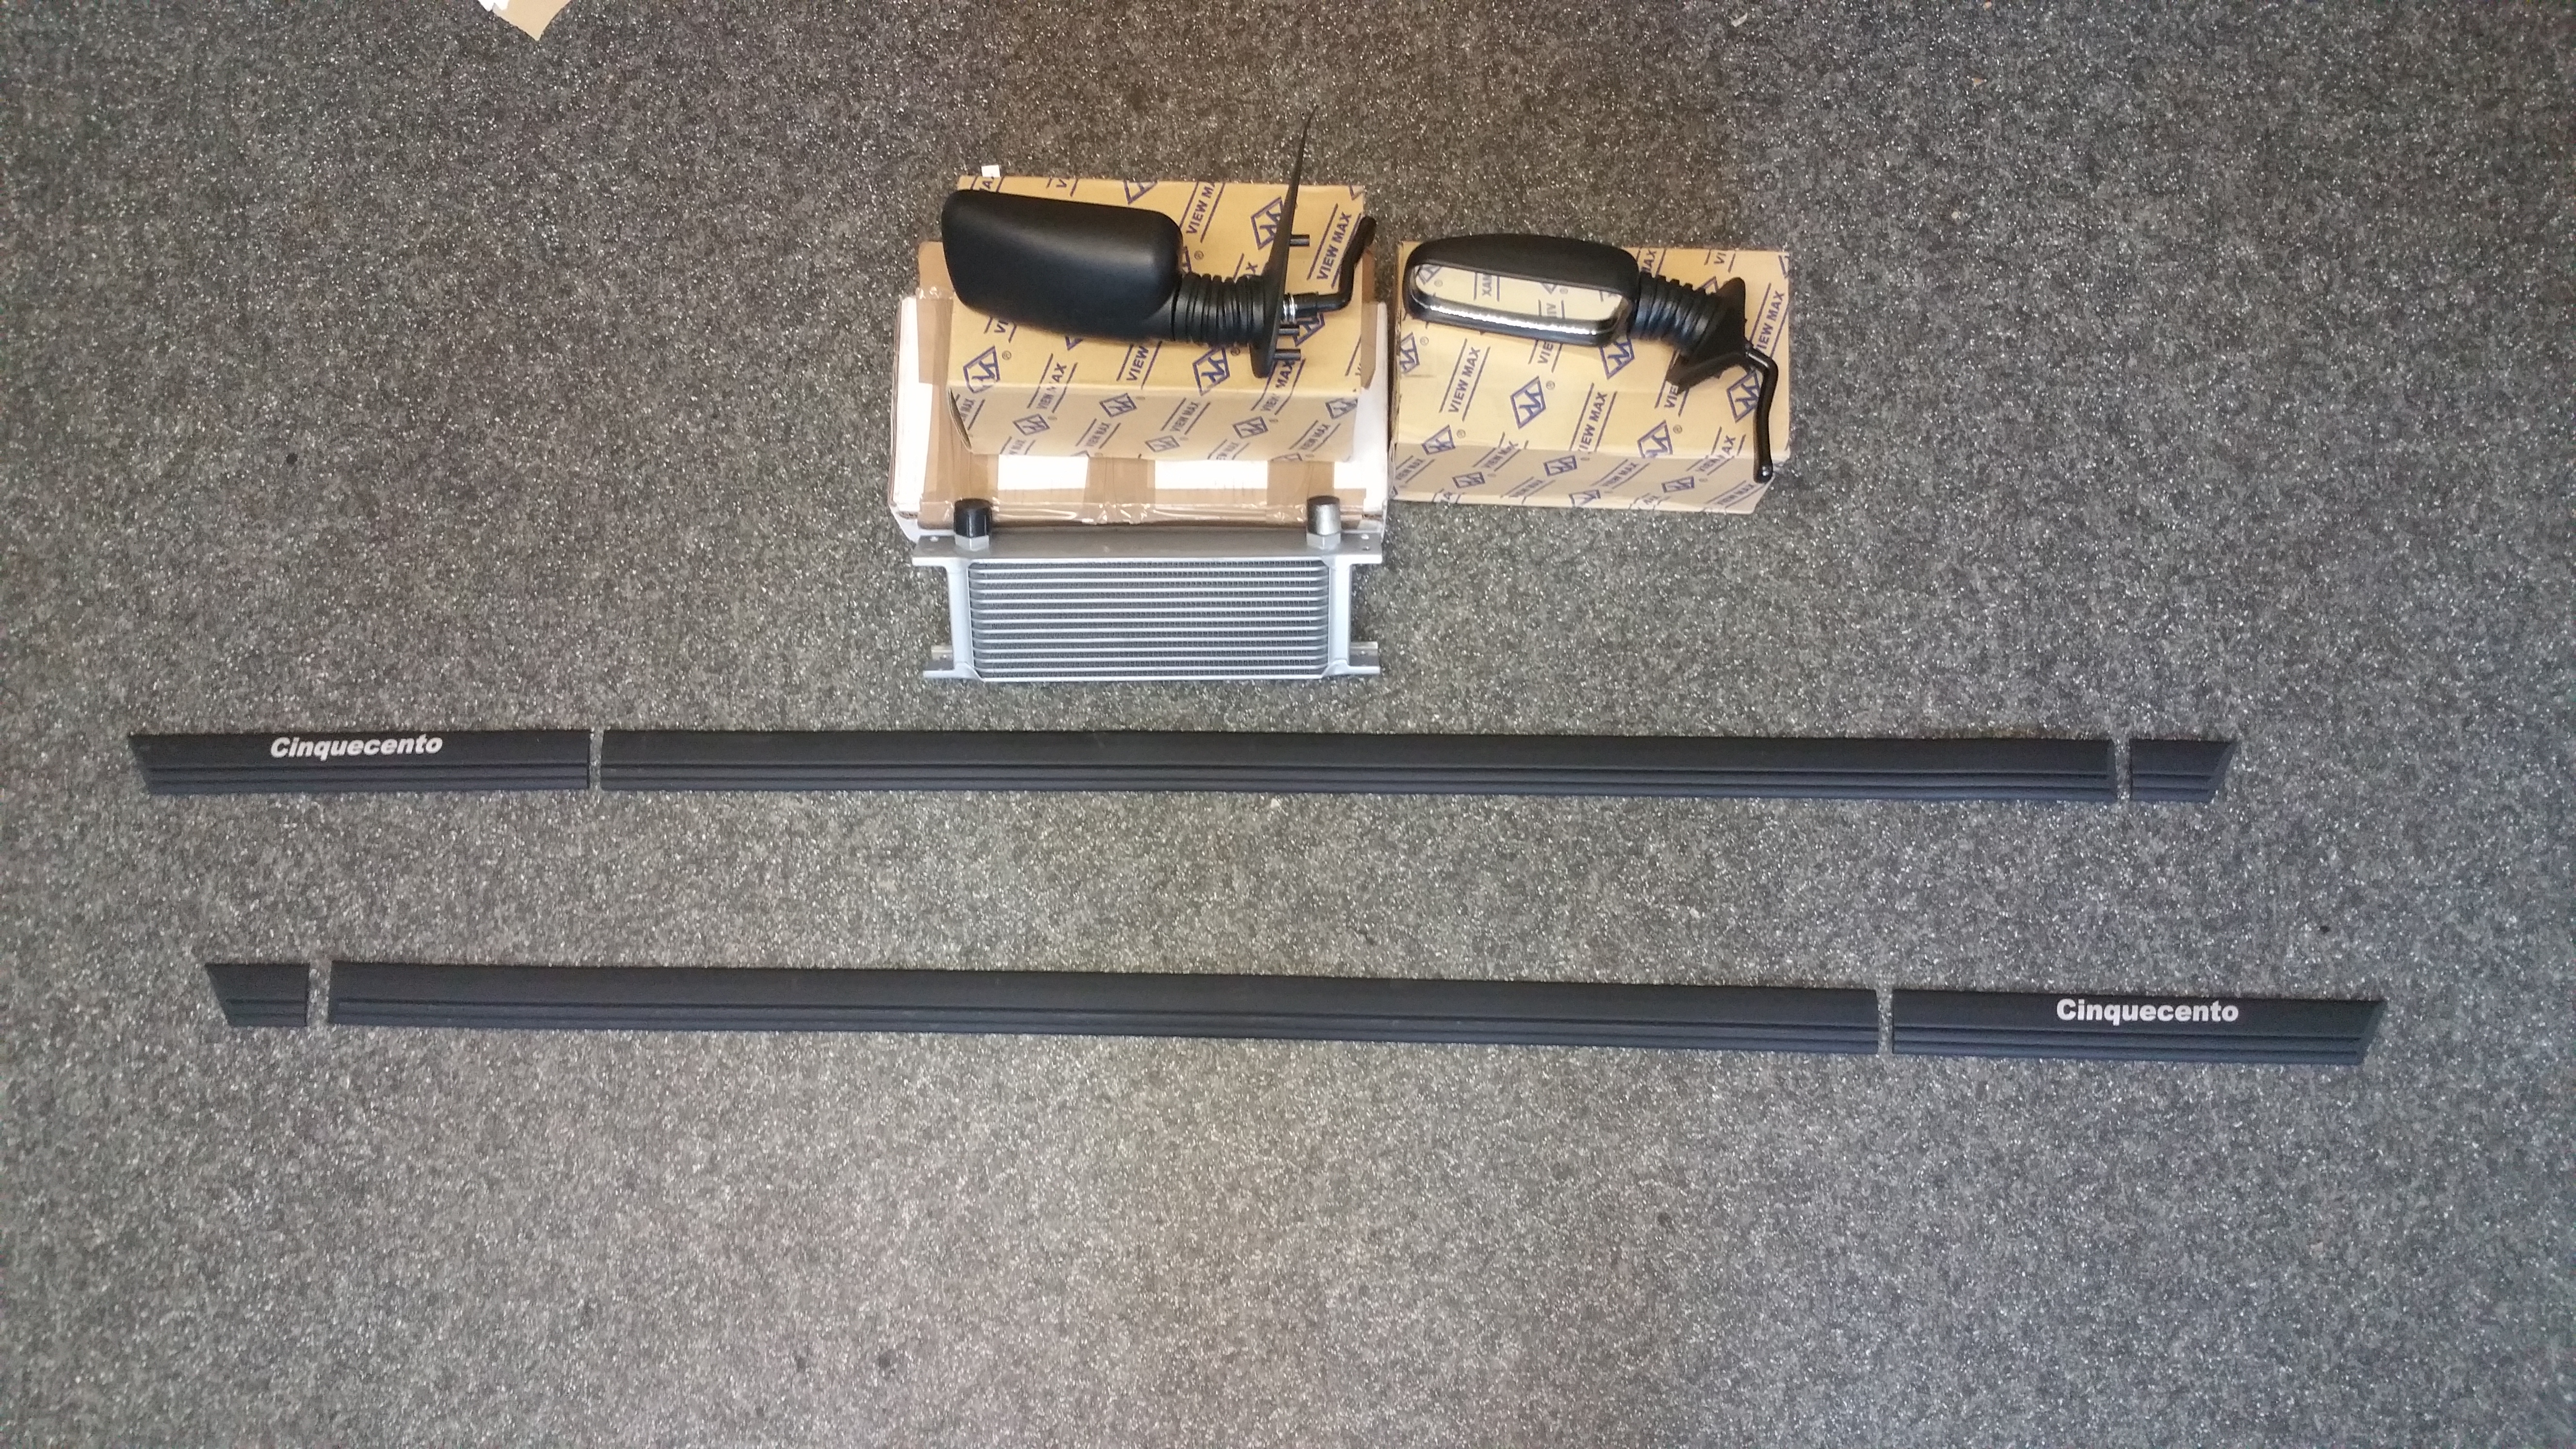
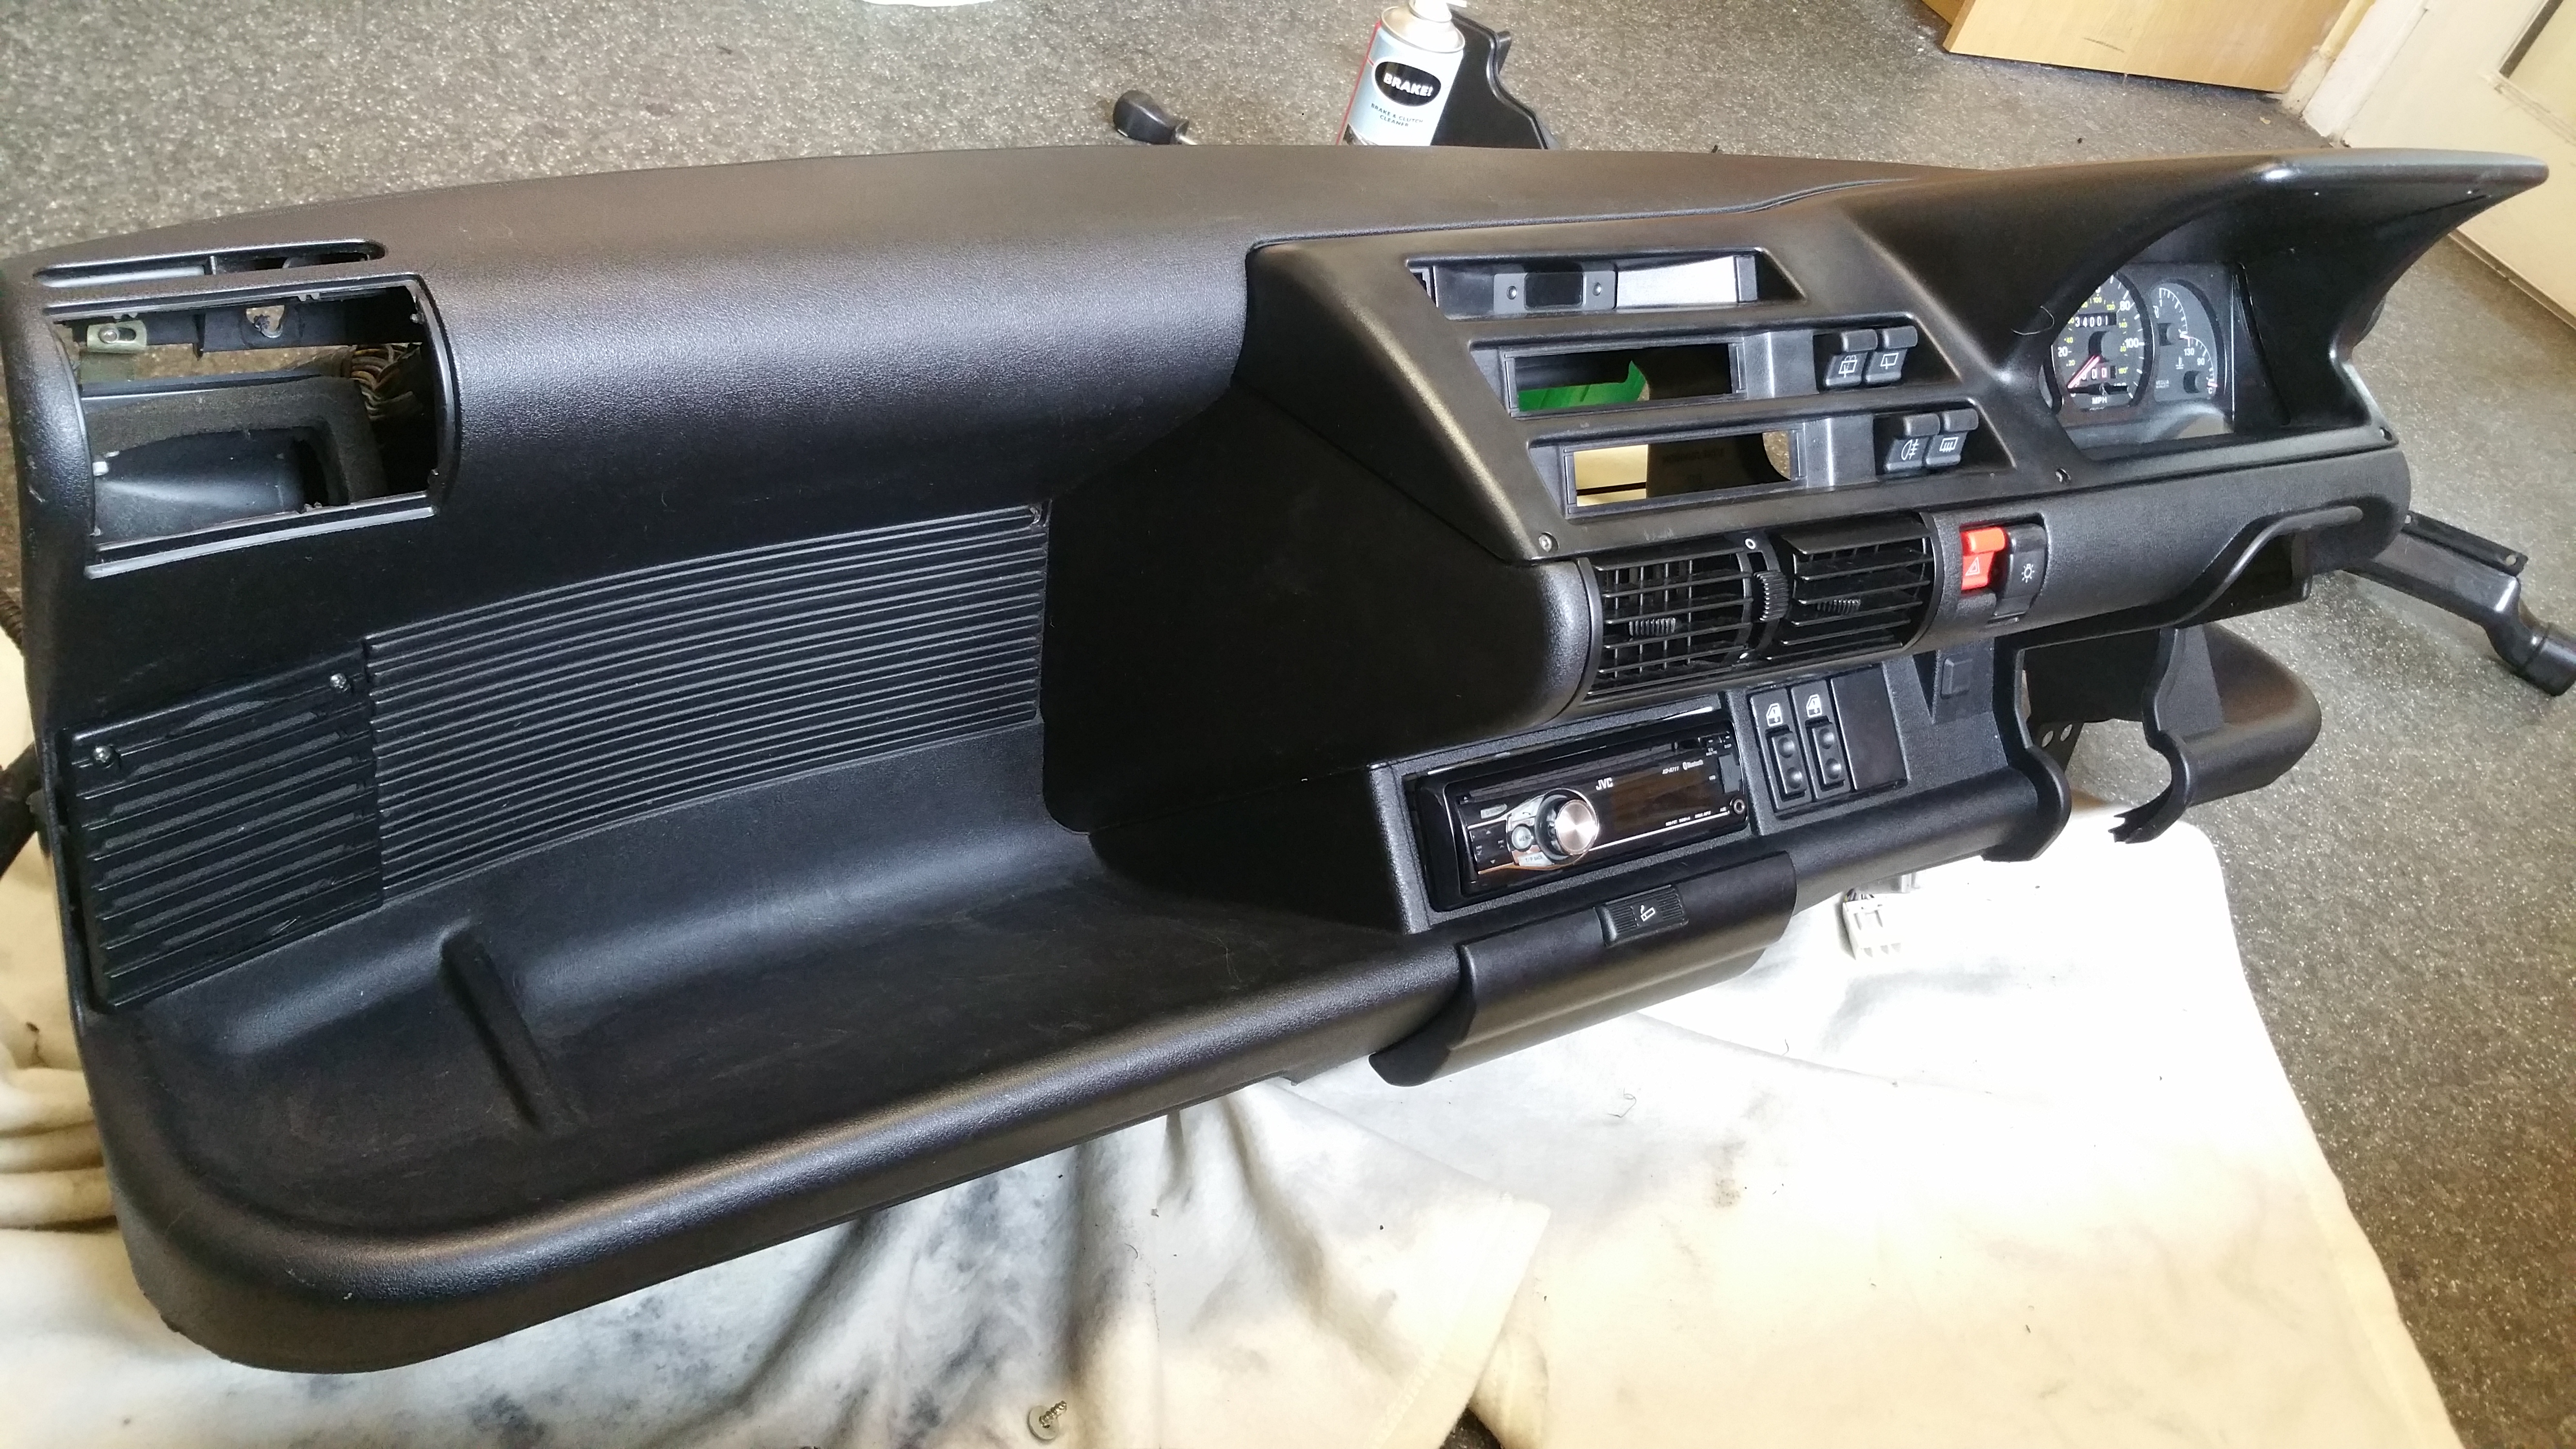
I Also fitted an uber clean set of door cards from a sporting however no pics...

edit:if a mod can flip that pic for me it would be appreciated.. the things been giving me nightmares all night please and thankies :)
Re: Jenson... The 1995 green sx 899 - 1242mpi

Soooo whats in the box... well... as we all know pictures are better then babble


DSCF25541.JPG


See!! A SNAIL!!! :devil::devil:
along with turbo manifold
injectors
modified coolant feed and return lines for the turbo with low temp thermostat
and an electronic boost control solenoid


DSCF25551.JPG


a VA intercooler
899 throttle body bob w/seal
3.5 bar fuel pump
and a GREEN air filter with induction hose

DSCF25571.JPG


a few more boost hoses
turbo downpipe
3 bar map sensor
a simons stainless steeb 2" backbox
a a high flow catalytic converter (will be even higher flow when im done :devil::devil::devil:)
centre silencer
FORGE bov and T-piece
and a non return valve (ive yet to ask what thats actually for :p )


and the world famous :p (well cento world) woj ecu and loom modified and mapped for MPI BOOOST :D

DSCF25621.JPG


:cool::cool::cool::cool::cool::cool:


also along the way ive picked up...

Ecumaster DET3 complete with loom (possibly to tweek the map)

DSCF25611.JPG


80mm blue magnacores

DSCF2565.JPG


the obligatory tin of copperslip for assembly
clio 182 oil fiter
Dayco timing belt kit
and no turbo conversion would be complete without a boost gauge :D
so a prosport stepper motor electronic 2bar boost gauge was purchased :p

DSCF2559.JPG


ive also bought and installed the heat wrap on the turbo downpipe

DSCF25721.JPG


The complete kit (minus the loom)

DSCF25701.JPG


the loom is also wired for a switch to be put in for a hi/low boost map ( 0.8 and 1bar of boost) however no pics of this

and then the ocd im me popped its little head out.... and this happened...

20150619_082440.jpg


20150619_080540.jpg


20150619_082432.jpg


20150619_083215.jpg


20150619_083217.jpg


20150619_1601071.jpg


I also bought a few dressy bits for the engine and shell

security torx stainless bolts throughout on the rocker cover.. end cam bearing cap and coil pack cover, as well as the fuel rail and fresh stainless bolts for the thermostat housing and cps retainer bolt

20150519_124517.jpg


20150521_144408.jpg


20150519_124541.jpg


20150521_144429.jpg


and some other bits that have arrived....

from his bluness blu73, a punto gt intercooler... mainly because i want to use the "2 boost pipes rather then the 1.75" VA pipes

20150616_141236.jpg


and of course me being me i had to get the metal polish out.....again
20150620_151824.jpg


a new master cylinder complete with massive box in true ECP fashion

20150616_204353.jpg


brake lines and fittings... and i decided to try out the draper straightening tool... (whats the worst that can happen) to replace all brake lines on the shell

20150620_200637.jpg


and whitz sent me a new, smaller oil cooler, the mirrors and the sourced and sent me the rare door bump strips ( cheers dude (y) )

20150619_1517561.jpg


20150619_1518051.jpg


20150619_1518211.jpg


im now looking for a set of brand new front wings as well as currently smoothing the tailgate and prepping to be painted

the turbo manifold is currently with sparky5 from the forum having a few modifications/repairs (cut a long story short i tried to remove the studs to replace them with stainless studs and aerotight nuts and they snapped and became a TOTAL pain in my a**, hes also skimming the turbo flange for me and enlarging the p75 throttle body to 42mm :slayer::slayer:

and hopefully this week ill be ordering a new set of black plastic bumpers :D :D

I think thats about all for now for the pictures.. the head is now torqued down on the engine, cam is yet to be shimmed in however i still may change my mind on whether im using it..
The crank needs to be taken out to be sent to the machine shop for lightening and to be balanced to the flywheel and pressure plate..
i need to go and get robbed by fiat for a sporting engine mounting plate and bolt..
brake lines need to be replaced throughout the shell..
PAS rack needs to be fitted.. passengers door need swapping as the current one is dented
Then the destruction of the imola shell can begin

ive set a date for when i want the engine in and running and i dont plan on missing it :D so stay tuned :D

cheers guys and girls and as always.. thoughts, opinions and suggestions all welcome (y)(y)
 
Last edited:
Re: Jenson... The 1995 green sx 899 - 1242mpi

Kudos for cleaning up the stuff (y) You do realise that it will last until the first rain :D

I could have told you (well, I sort of did :)) that the manifold would be trouble if you want to touch it. I wanted it to be done properly by the guys at the machining shop before I was about to put it on the engine, but they said that the studs would be a lot of work (= a lot of money).

The downpipe had the heat wrap on on my car, but it was shred to pieces when I was taking it off, so I decided to remove it altogether.

Also, keep in mind that the downpipe is made from mild steel and the only protection it had is heat resistant spray paint (and the heat wrap). It will give in at some point (it did not crack into pieces when I was violently separating it from the next pipe, so I assume that it is in a sound state, but I did do over 60k km in dump European weather).

Exhaust is very quiet, but very nice sound. It will be difficult to impress your neighbours with the exhaust, but because of that the BOV really stands out :D

The non-return valve is for the fuel vapour line, if you use the char coal canister, to prevent boosting into the canister / fuel tank. I mounted it at the start of the project, but at a later stage I changed the ECU program to disable canister operation when over 80kPa of MAP pressure. I always wanted to test the set up without the non-return valve and the canister, but never had the chance. In any case, you can run the whole thing with the canister, but I probably would advise against it, it was giving me troubles quite often (my guess is that my fuel vapour system was just crap, but I cannot be sure).

The MAP sensor is 2.5 bar one (y)
 
Re: Jenson... The 1995 green sx 899 - 1242mpi

Kudos for cleaning up the stuff (y) You do realise that it will last until the first rain :D

I could have told you (well, I sort of did :)) that the manifold would be trouble if you want to touch it. I wanted it to be done properly by the guys at the machining shop before I was about to put it on the engine, but they said that the studs would be a lot of work (= a lot of money).

thats no massive problem.. i did notice it seemed a little worn however the exhaust will be one of the first things that will be revised after the manifold is sorted :D (besides if it dies, itll give me a good excuse to uprate the turbo :p )

i was kind of expecting the turbo flange studs to snap so i bought some stud extractors, they failed :bang::bang: but the manifold is now safe with sparky having the stud holes welded up and they will be redrilled and tapped when i get it back, if im honest after you pointed out the flange was slightly warped i kind of went to town on it.. the studs had to come out for the face to be skimmed so i bought new studs and aerotight nuts to avoid any possible future issues

Thanks for clearing up the questions i posted and again i really appreciate the effort you've gone through to ensure everything arrived safely :D

cheers

Lee
 
Last edited:
Re: Jenson... The 1995 green sx 899 - 1242mpi

Sending it was almost as challenging as building up the engine :D

The studs would have been impossible to extract - they were in the flange when the welder was repairing the weld between the manifold and the flange (it was cracked, the previous owner said it was not an issue, but I just could not trust this), so they were simply welded to the flange.

that explains why it was such a ballache to get them out :p but all is good now :D i managed to drill and retap 2 of the holes however 2 i didnt punch quite centrally enough so when i drilled them they were just off centre and were not perfect enough for the studs to fit snug enough, however once its welded and skimmed ill use the gasket to punch the new holes and redrill and tap for the new studs :D

hoping for first start up before the 1st of august :D
 
Re: Jenson... The 1995 green sx 899 - 1242mpi

ok guys so no massive update.. however...

i went to meet sparky5 a week or so ago to go and collect my throttle body as well as my turbo manifold that he very kindly welded up the stud holes so i could redrill them and fit new studs, the guy is a legend his work is top notch and his attention to detail is second to NONE!!

He showed me around his workshop and explained the steps of how the throttle bodies are enlarged, really guys this isnt an easy task, but hes done an awesome job, ill leave the pics to do the talking, 42mm of pure engineering pornography :p by fay one of my favorite mods..and sooo shiney :p such a shame it wont be seen :(

heres a few of the before pics :yuck::yuck:

20150313_2136361.jpg


20150312_2155141.jpg


20150312_2154501.jpg


20150312_2154371.jpg


20150312_2154201.jpg


PURE PORN!!!!!! :yum::yum::yum:

sparky serial no.sp002 built for boost :p

DSCF2636.JPG


DSCF26232.JPG


DSCF2630.JPG


DSCF2631.JPG


DSCF2639.JPG


DSCF26411.JPG


DSCF26431.JPG


DSCF26461.JPG


DSCF2648.JPG


I'm such a magpie :devil::devil:

so whats left to do...

so ive got the majority of the engine complete and together, most nuts bolts brackets painted, replaced or ready to be refitted

the loom wrapping/conduit needs replacing

the crank needs taking out and sending off with the crank pulleys and flywheel to be balanced together

the cam needs shimming still

fluids need ordering (coolant, oil, g/b oil, brake fluid )

a plate needs making to raise the solid coolant hose up above the turbo inlet

oil cooler pipework needs making up (i have found a place locally that does hydraulic pipework and fittings that is happy to make me stainless over braided ptfe hoses)

turbo oil return needs attention or replacing (most likely replacing with ptfe ss overbraid)

thats all i can think of so far.....
sparky5 this is the pic i mentioned of the oil feed to turbo, woj may be able to explain, basically sparky and i were talking about why this restrictor/hole would need to be there, is there any need for the turbo feed to have this?? is it there to increase/decrease pressure/flow?? if it does'nt need to be there can i simply replace the fitting??

20150709_191016.jpg


20150709_191013.jpg


im more curious then anything else however woj did explain to me that the top feed from the oil pump is filtered and the bottom is not... obviously being such a small hole it could easily be blocked??

also another arrival in the form of a brand new pov spec front bumper :D

20150626_151455.jpg


20150626_151946.jpg


20150626_152058.jpg


ive been painting a lot of brackets and mounts ect as well as picking up some odds and sods that i've been after

20150627_164035.jpg


20150629_124952.jpg


20150629_124959.jpg


20150628_123246.jpg


some NOS genuine fiat headlight protectors (cheers Cento186)

20150628_124020.jpg


and an awesome parcel arrived (thanks to whitz for spotting, buying and sending to me) in the form of an new old stock piper vernier pulley in fitting with the engine color scheme

20150701_130140.jpg


20150701_130153.jpg


also whilst i was at it i gave the coolant expansion tank a clean (turns out if you want to be laazy a whole bottle of cillit bang works wonders :D )

20150630_212953.jpg


20150630_213004.jpg


20150701_001530.jpg


and after a quick spruce up of the mount and a couple of new stainless fittings... it was almost like new again

20150701_001556.jpg


and i powered up the new prosport stepper motor boost gauge

opening ceremony...


the gauges are wired to the headlight switch and change from bright white for daylight to a rather less blinding cool blue for night time driving

DSCF26531.JPG


DSCF26561.JPG


and the upgraded fitting for the turbo (I apologize for the naff pictures) stainless m8 studs with aircraft grade aerotight lock nuts to ensure no chances of the turbo nuts coming loose, bolted up to the freshly skimmed, drilled and tapped turbo flange (just a side note thanks to sparky5 again, who informed me that the flange was at a 15 degree angle forward from the vertical exhaust inlet flange incase anyone may need this info one day)

DSCF2665.JPG


and the same fittings for the exhaust manifold

DSCF26672.JPG


so that leads me onto my last but still a rather important question/dilemma, who would you guys go about fixing the hole thats currently blanked on the top left of the manifold?? sparky and i discussed it in short and thought maybe a bsf thread, possibly a grub screw of some description to keep unintrusive?? i was thinking of maybe a similar bung as is currently on there as i think a tapered fitting would be more secure then just a straight re-thread and bolt, any suggestions guys??

ive also received my fresh valeo clutch kit and im soon to be ordering a new quadrant for the clutch cable linkage and a fork and bush kit for the 6 speed box

i think thats all for now so as always comments questions feedback all appreciated and welcomed

cheers

Lee
 
Last edited:
After looking at all you work - I so badly want my stuff (and car!) back :cry: :cry:

The oil restrictor - this is to reduce the oil pressure on the turbo. The oil feed line is quite big in diameter, there is no banjo bolt to restrict the flow, so this valve had to be made. It is 1.2mm in diameter and it was carefully chosen after consulting this with several people. Folks at DP-Engineering in NL put a 0.9mm restrictor on the Honda engines that they build. I got a figure of 1.2-1.5mm from Polish cento club, so having all that in mind I went with 1.2mm. I am almost sure that if you take it out you will destroy the bearings on the turbo within minutes of running the engine. You only need to make sure that everything is surgery clean when you put it together. Another note on this is that I had brand new oil pump with very healthy pressure when I put the engine together.

The EGT hole issue. I'd try to get my hands on the M10x1 (what I was told was used to make the thread in the first place) dice and retap / clean the thread.
 
Just went through each post in this thread and I must say I'm impressed. You spend some time on Jenson, and I cannot wait for more updates. Subscribed and waiting for more amazing posts :) good work mate!
 
so onto the bottom end...

the story goes... when i bought the engine it was bought as a fresh block, the previous owner told me that the bottom end had been rebuilt with new shells and rings and that it had only been run for a few miles as it wasnt mapped properly to take it into proper boost, umming and ahhing over whether to remove the crank (something id never done before) i decided to rack the sump bolts and remove it, thankfully... im now glad i did

after removing the sump i was greeted with this little beast... :yuck::yuck:

received_10153377262050041.jpeg


it turns out the oil pickup pipe was cut in half and 'lengthened' for some reason... the pipe seemed to be old rad pipe and had broken down to the point that it ripped clean off with not alot of pressure at all...

and the red hylomar is EVERYWHERE :yuck::yuck:

20150723_144807.jpg


received_10153377262050041.jpeg


as you can see it was coated in the stuff... the waterpump.. sump.. oil pump.. even the crank oil seals and housings were welded in place with the stuff.. a lovely job for me to clean up later i suppose...

ok so, onto the bottom end, oil pump was removed, along with the gearbox side oil seal housing and bagged up to keep it all clean and crud free, then a suitable tray was found and cleaned up for the bearing caps and shells to go on whilst the crank was out and away

Rod cap No.1
20150727_211931.jpg


Rod cap No.2
20150727_211937.jpg


Rod cap No.3
20150727_211942.jpg


Rod cap No.4
20150727_211948.jpg


and then the main bearings

20150727_212022.jpg


20150727_212029.jpg


20150727_212041.jpg


20150727_212050.jpg


20150727_212057.jpg


all have marks on them but no marks that you can feel with your nail... so i just cleaned them and put them to one side

so the crank was out and as i hadnt bought the flywheel that originated from this engine i decided to get the whole crank flywheel and pulley assembly balanced up, my usual machine shop was extremely busy and said the wait would be about 4 to 6 weeks, so i decided to take it to scholar engines, an awesome place and the guys there are spot on

and when i received it back just 3 days later...

20150806_112141.jpg


20150806_112125.jpg


20150806_112117.jpg


20150806_112056.jpg


20150806_112041.jpg


20150806_112032.jpg


Done!! :D:D:D

Also whilst inspecting and cleaning the main bearings and oil channels i came across these little buggers... the piston skirt oil jets

20150806_103310.jpg


please bear in mind this is a 188 A.4000 mk2 block and not a p75, i have always been under the assumption that the oil jets were only in the p75 8v engine (and of course the 16v blocks) which is why they were so desirable :confused::confused::confused:

anyway im not going to complain :D


so i received the crank back and after a little research and asking a few questions about assembly products i decided to fork out for the right stuff for the job, some people said ATF (auto transmission fluid) some said just engine oil.. some said assembly lube... so i decided i needed some assembly lube, and the weapon of choice was this


20150819_015310.jpg


awesome stuff.. very very greasy and pretty sticky too :p :p :D:D

so after messing up and asking some advice on the book of faces i made the very rooky mistake of putting all the rod caps and mains on in the wrong order, i must have rotated the tray 180 degrees at some point whilst the crank was away, but its a lesson learned and its on i wont make again :p

crank is now back in situe, rods and main caps torqued down and all within tolerance, lubed up and spinning freely, i also cleaned up 99% of the hylomar

FB_IMG_1439385245142.jpg


next i need to get an oil pick up, i have asked a few people already but just to be 110%sure, does anyone know if the 1108 and 1242 8v pickups are the same?? as i have an 1108 sat in the yard that i could steal the pickup from if need be, also i have a few 16v pickups however im not sure if theyll fit in the sump as theyre from the alloy sumped mk2 16v's, then finally the sump can go on and be sealed down properly.


so where are we at??

  • fit an oil pickup
  • reseal the sump
  • flip the engine back over and shim the cam
  • turbo drain hose to sort


and then...
  • order new gaiters for sei PAS rack
  • order new cv boots for the driveshafts
  • finish welding the scuttle panel and paint and then refit windscreen
  • order complete new rear brakes
  • order new front pads for UT calipers
  • weld a few holes in the engine bay and repaint that
  • make up a plate to blank the heater matrix


i think thats enough to keep me busy for now...

cheers for looking as always comments are welcome :D

cheers

lee
 
Looks ace ,sure are busy ,
You gonna spend as much on this one as imola?
Nice to see its been done properly it'll be a wepon when done ,and as for book of faces ..Jimmys ...that is all
 
Odd attempt at putting the pickup as low in the sump as possible, to avoid oil starvation while slinging the car around? :confused:

(while ignoring the fact that certain plastics and rubbers perish in contact with oil...)
 
quite possible, im going to look into whether a 16v oil pickup will fit in the 8v sump, after all i do have two of them laying around going spare :p

if all else fails i have the 1108 sat on the drive that ill poach the pickup from and that will suffice whilst i look into baffled sumps...

im not sure whether this was an issue for the VA turbos and or how it was combatted, however i do want to ensure the angry snail is fed a constant supply of the lubey stuff :p

watch this space...

cheers

Lee
 
slight update... nothing massive but progress is still being made


hes looking a bit sorry for himself... even the bush has started to grow across the drive in front of him :(
IMG_19741.JPG


IMG_19752.JPG


so this is how the bay looks at the moment... however a possible bay shave and loom tuck on the cards... im still trying to decide

IMG_19711.JPG


a couple of the usual scuttle panel holes have been cleaned and welded... should have primed it... weird how one has began to rust and the other has not, both done on the same day....

still yet to finish cleaning and shaping, filling ect

IMG_19721.JPG


IMG_19732.JPG


and after 3 years of searching.......

20150902_002043.jpg


ive finally got my hands on a genuine oem black dash and door/quarter panels :D

20150903_144908.jpg


20150903_144918.jpg


fitted with sporting loom

20150903_153610.jpg


20150903_153615.jpg


and a rough idea of the engine bay layout, however once the screen is back in and the dash is in i may go for the tucked loom so this will all have to come apart again

20150903_153600.jpg


i also now have the cv gaiters and the steering rack gaitors ready to be fitted...

shims for the cam are on order and the oil pickup and sump is now on, so just a turbo drain pipe to sort and then the engine can go to one side and the gearbox can have a little tlc
 
Back
Top