IMG_20141010_172517.jpg

Panda (Classic) Digger the Yellow 4x4

Introduction

So, I've been after a 4x4 for using on the rough stuff for a while, and today I've finally got one:D

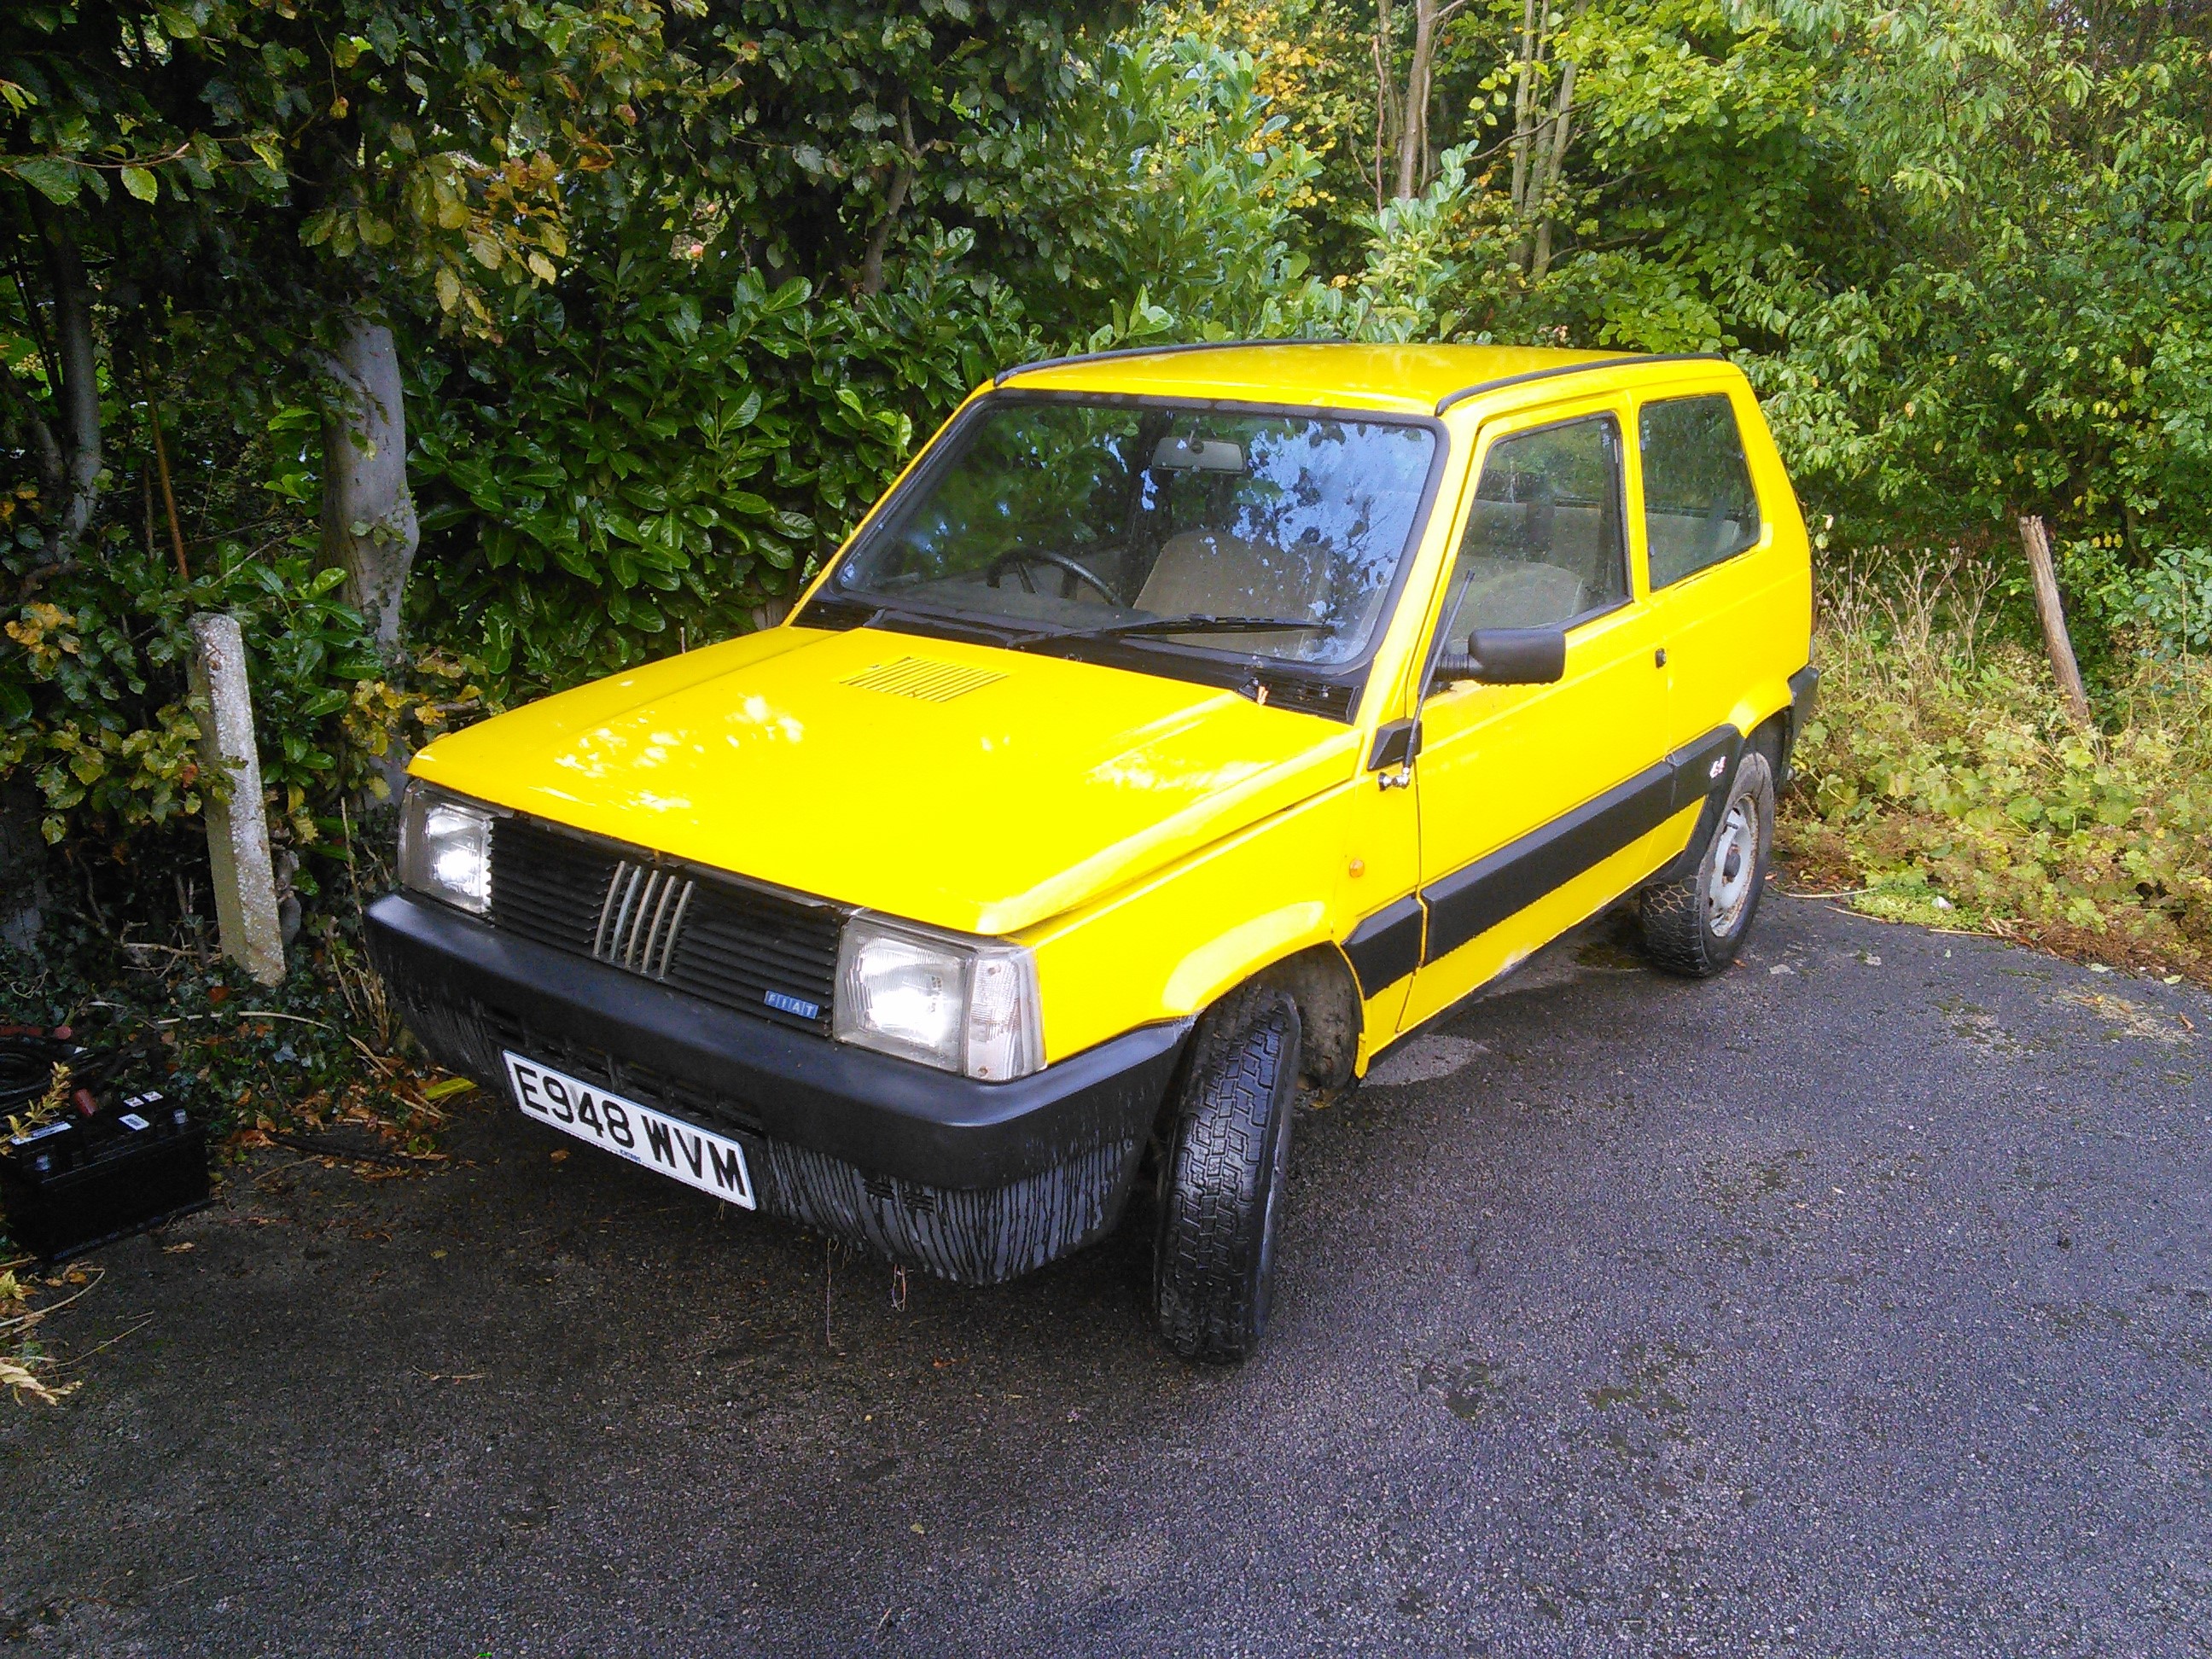
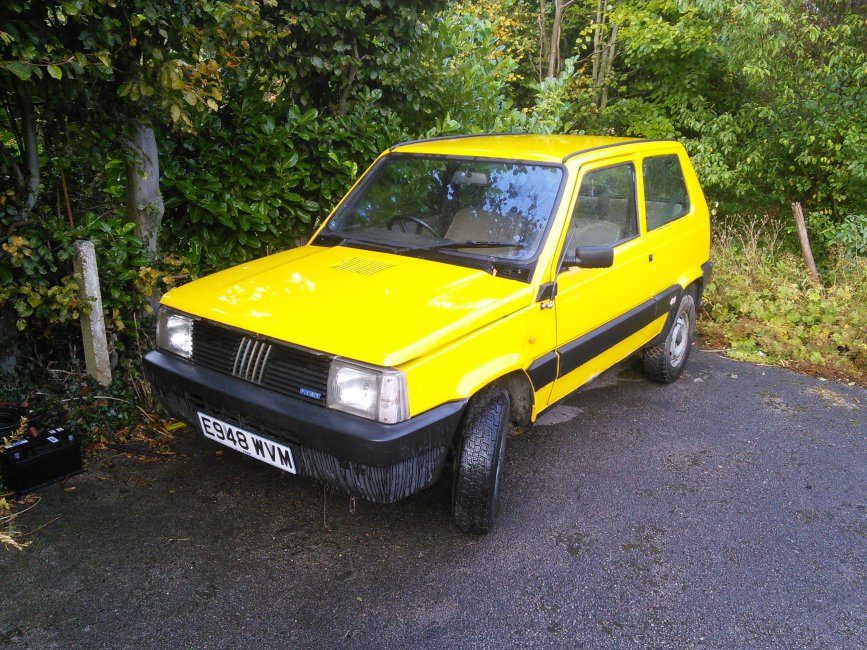
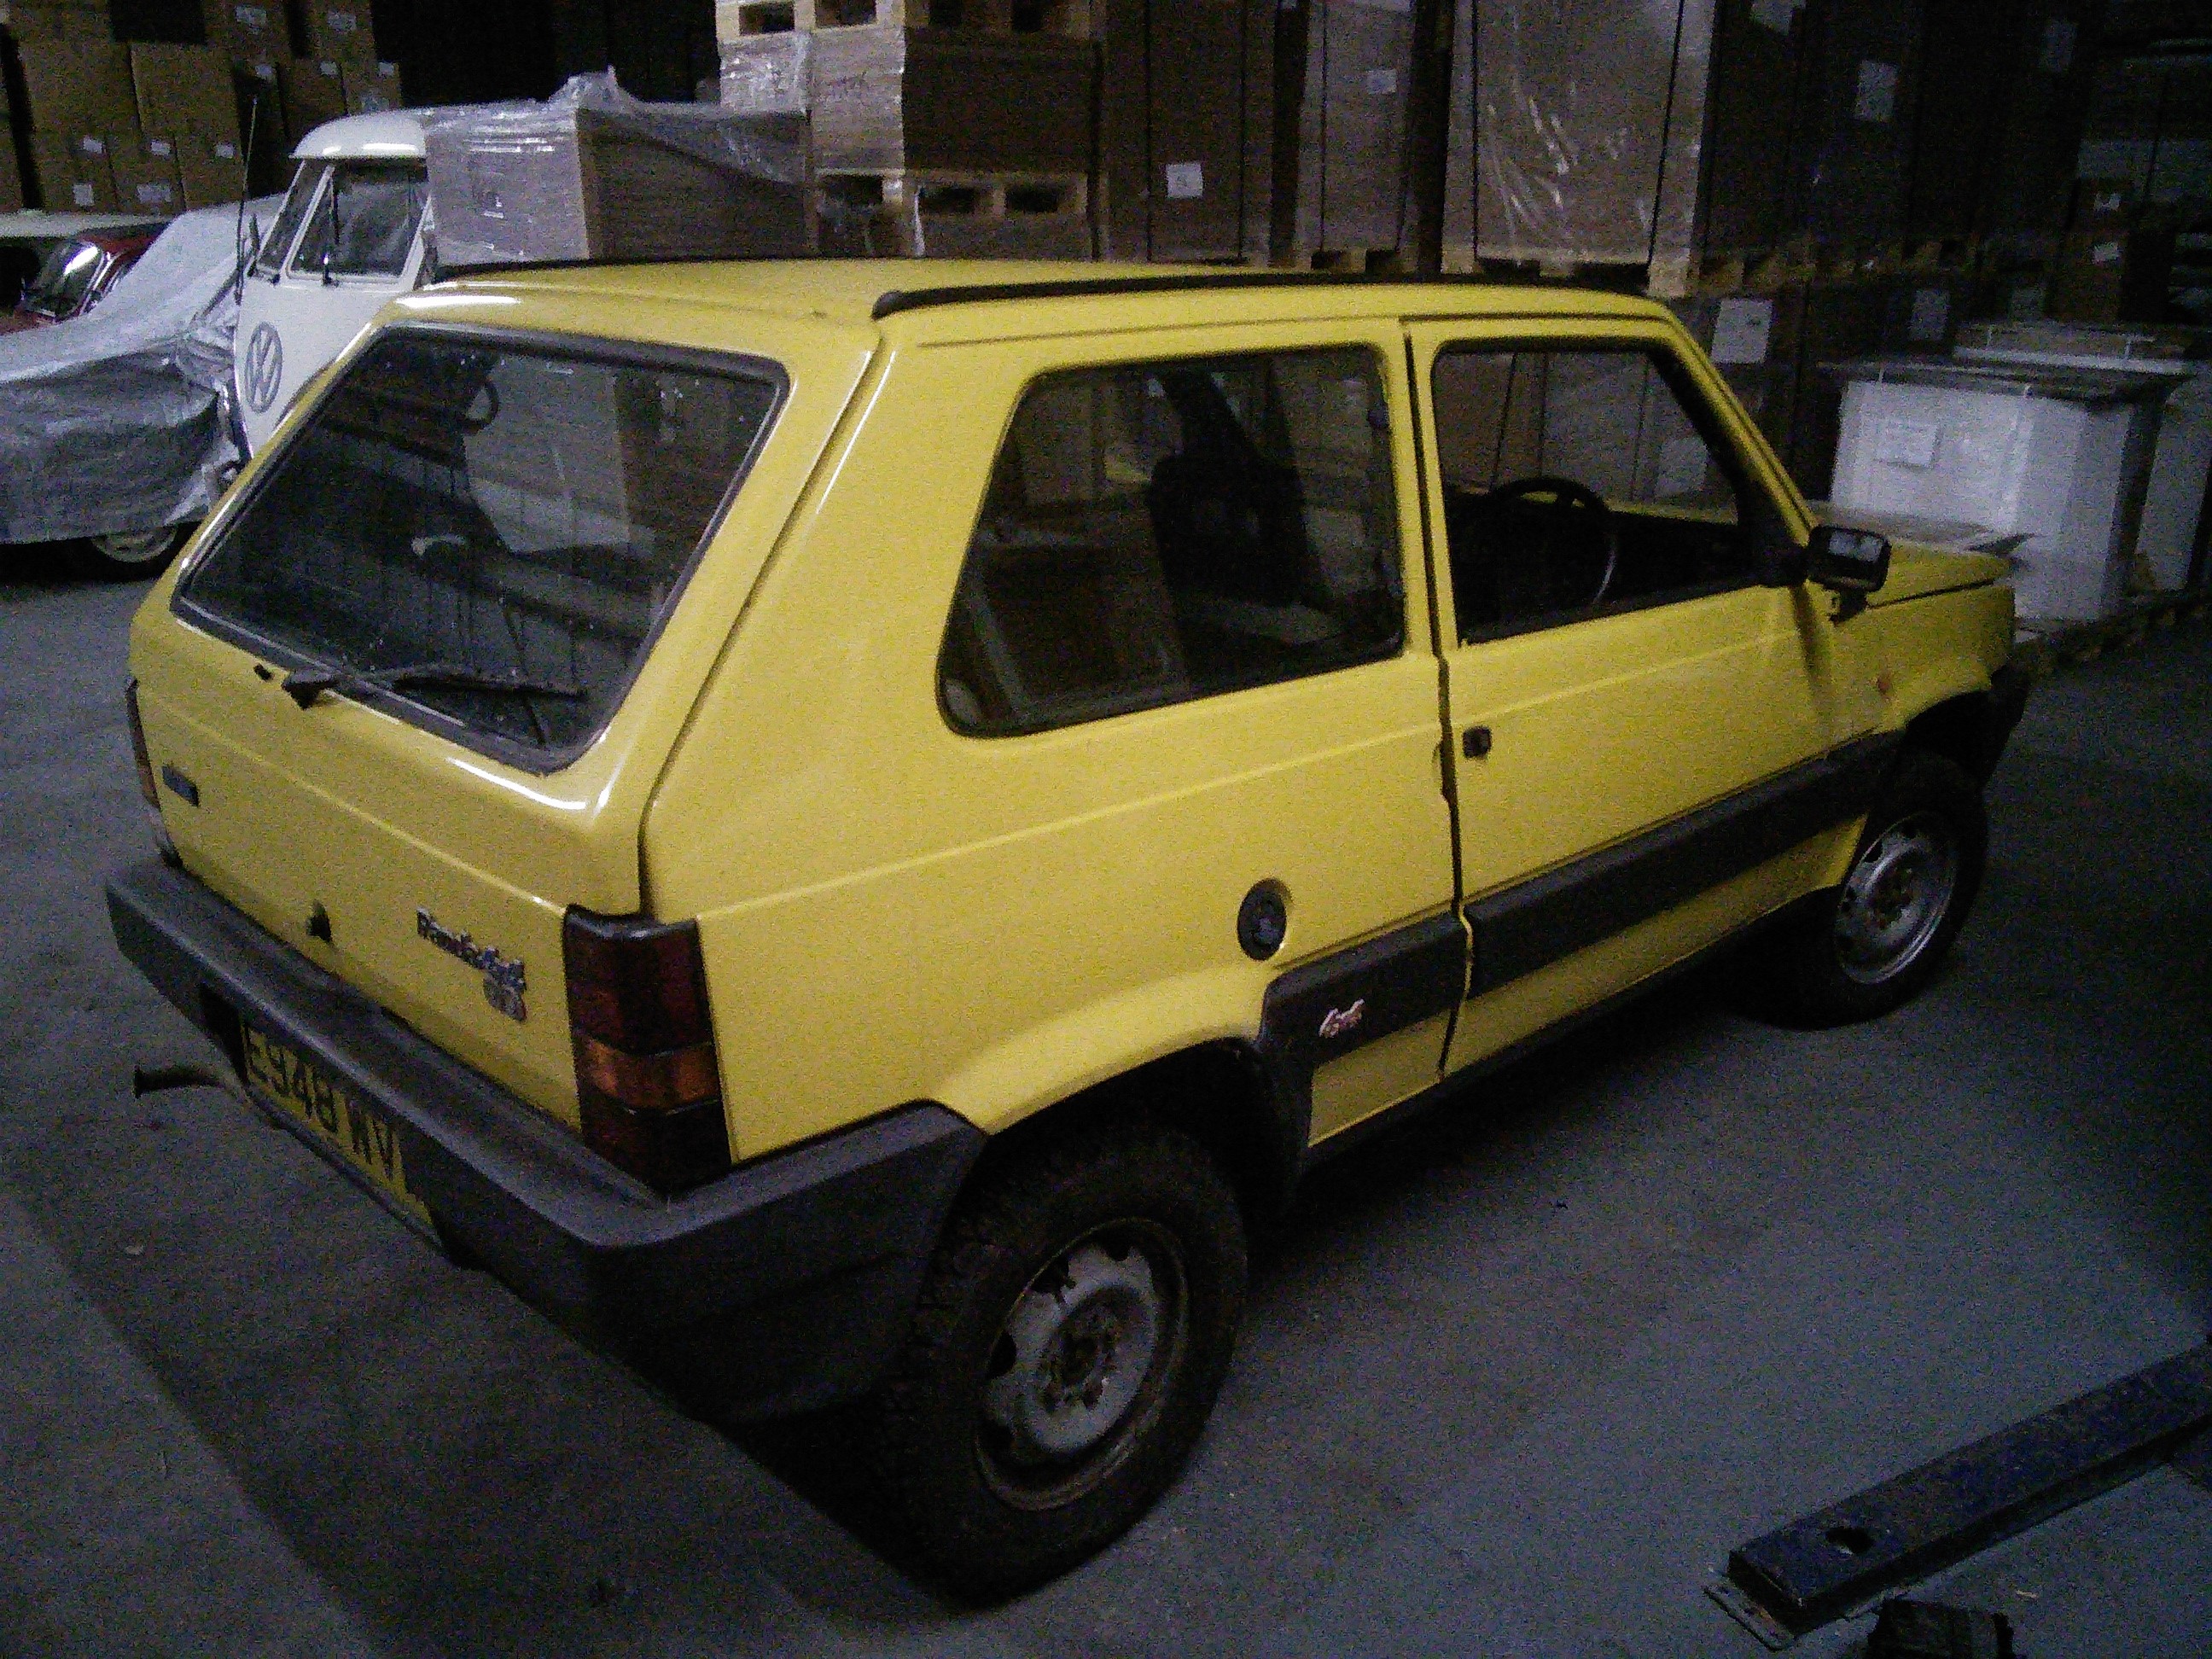
Let me introduce Digger:


Named by my Dad due to his JCB yellow paint job! He's been off the road for 12 years in dry storage and as to be expected he needs all the usual Panda stuff attending to, the biggest problem being rust of course! Mechanically, he has faired well, and should just need a recommissioning rather than any major surgery.

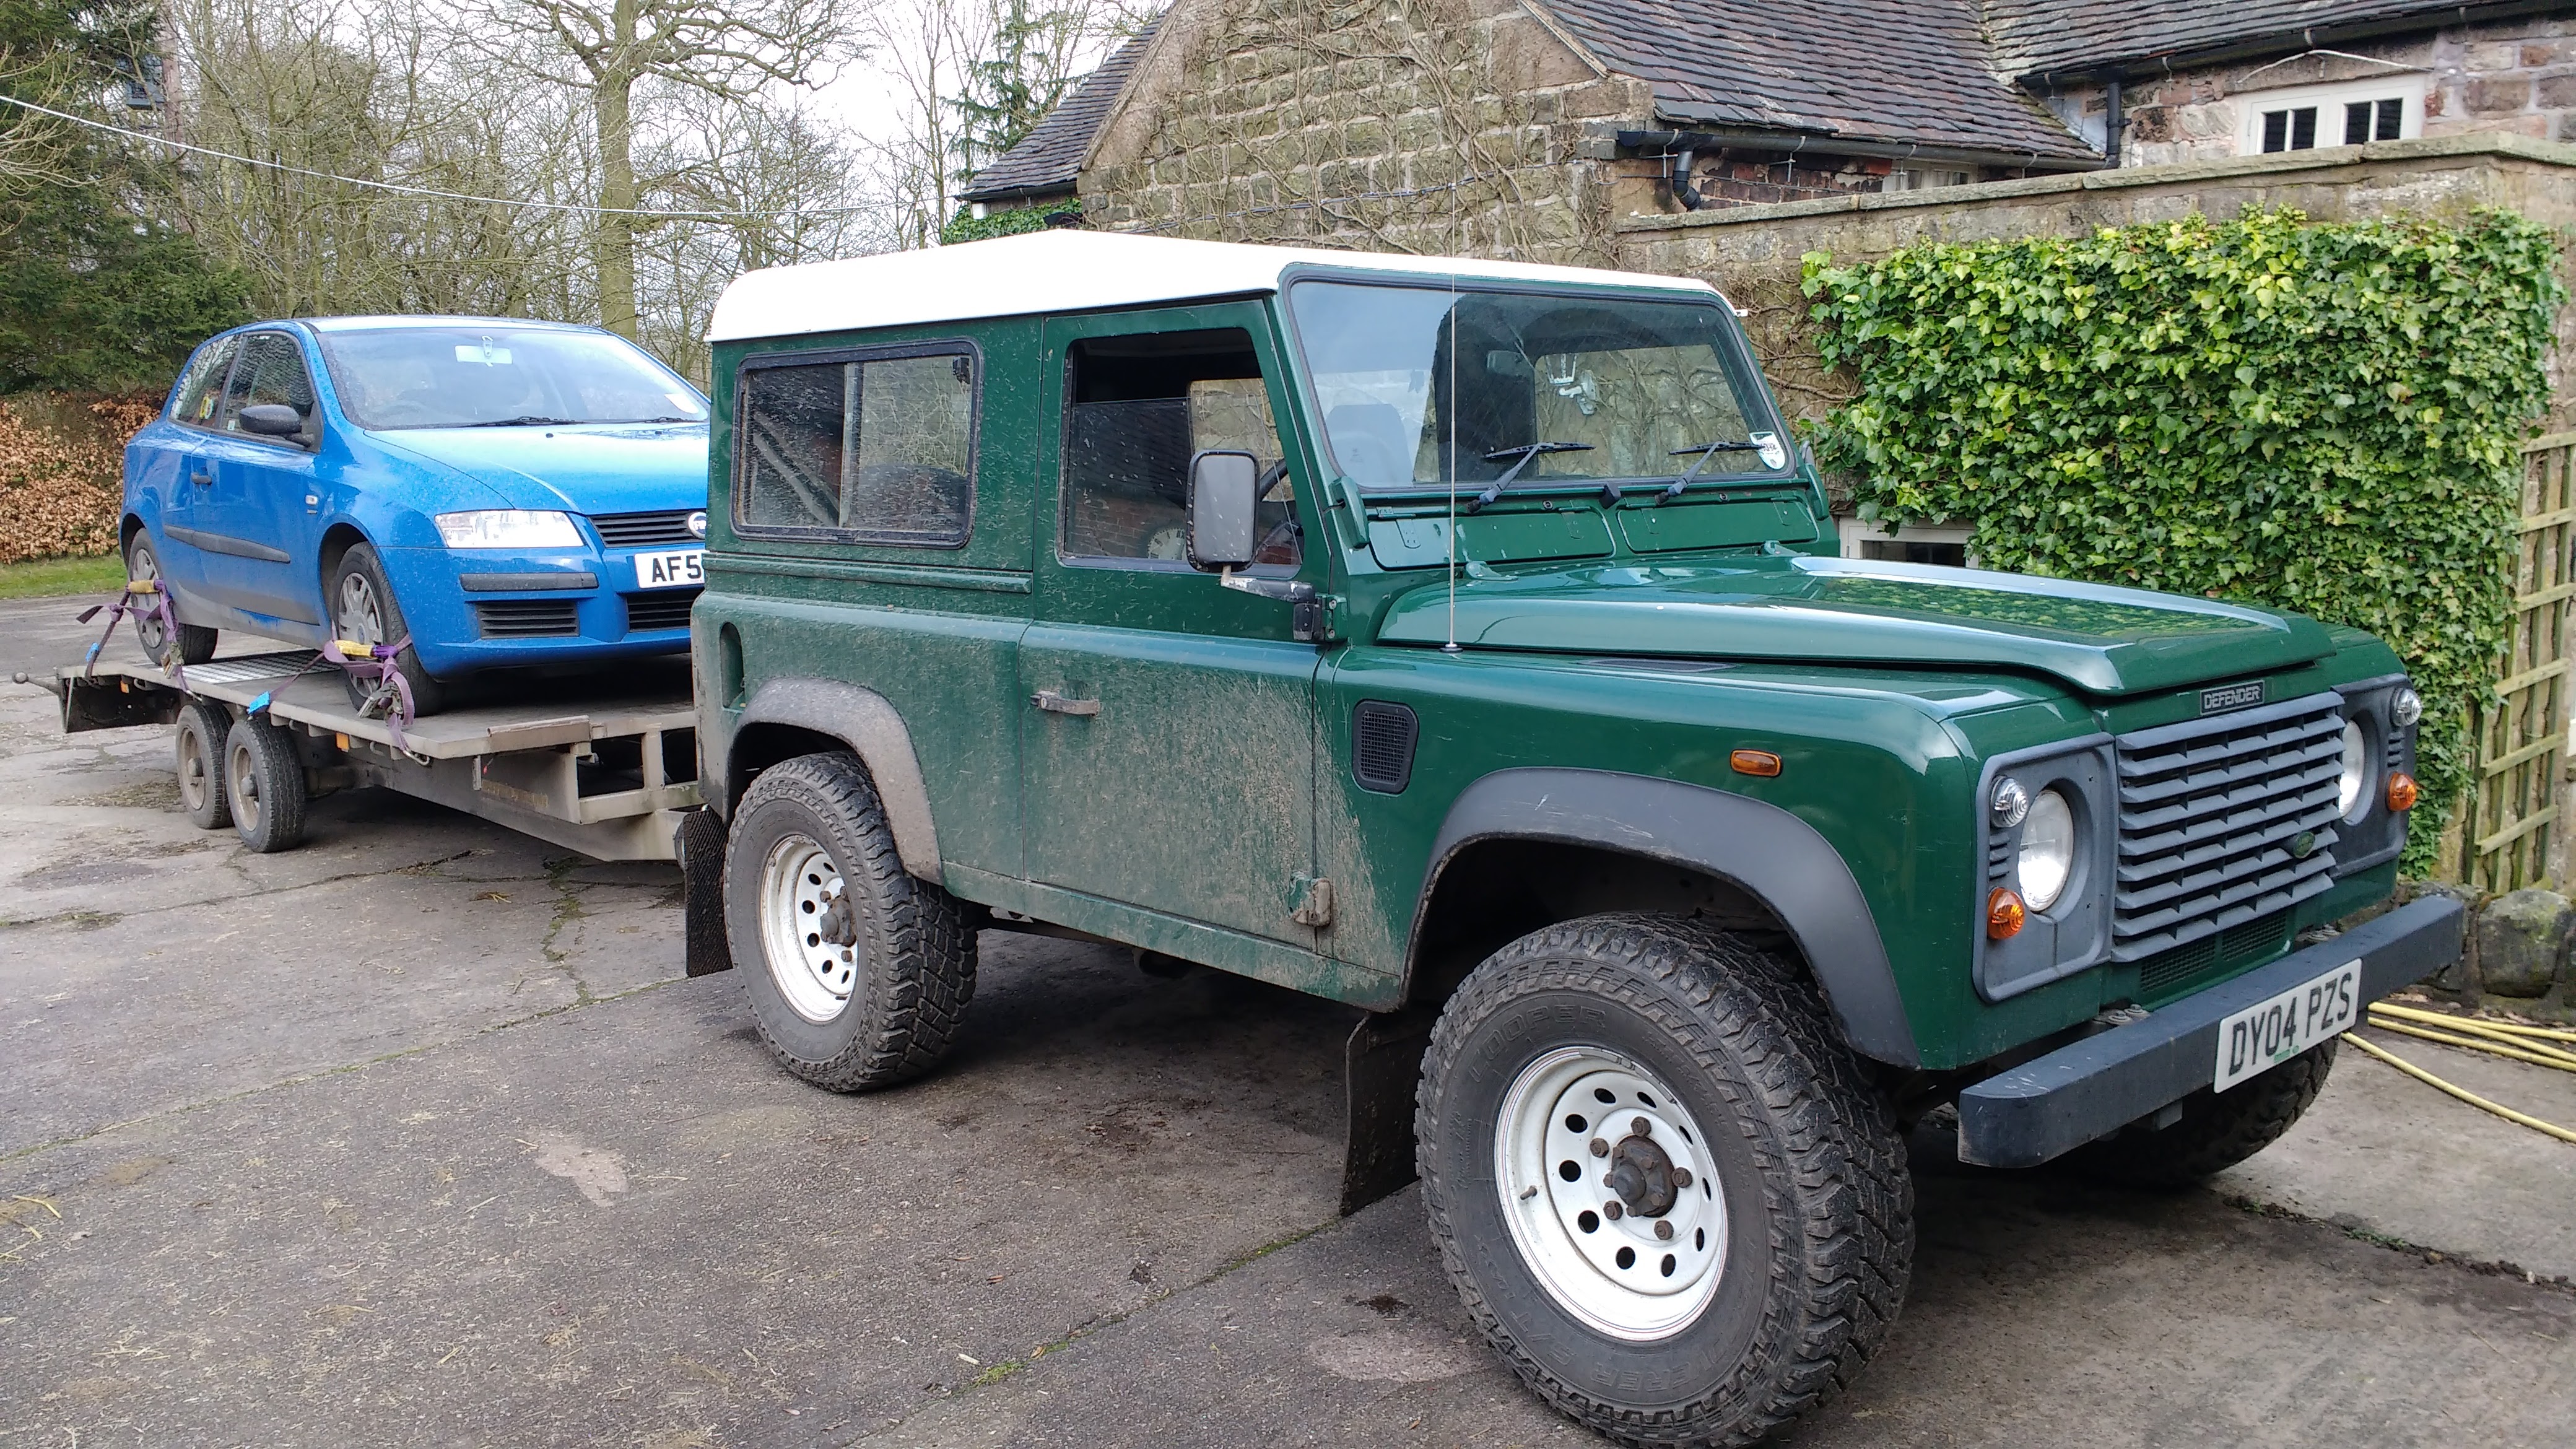
After going to see it last weekend, I was outbid in the last few seconds of the eBay auction, lucky for me, (not so the for the seller) the winning bidder was a complete time waster so I got a second chance offer and arranged collection for today. As usual my Land Rover was on towing duty:
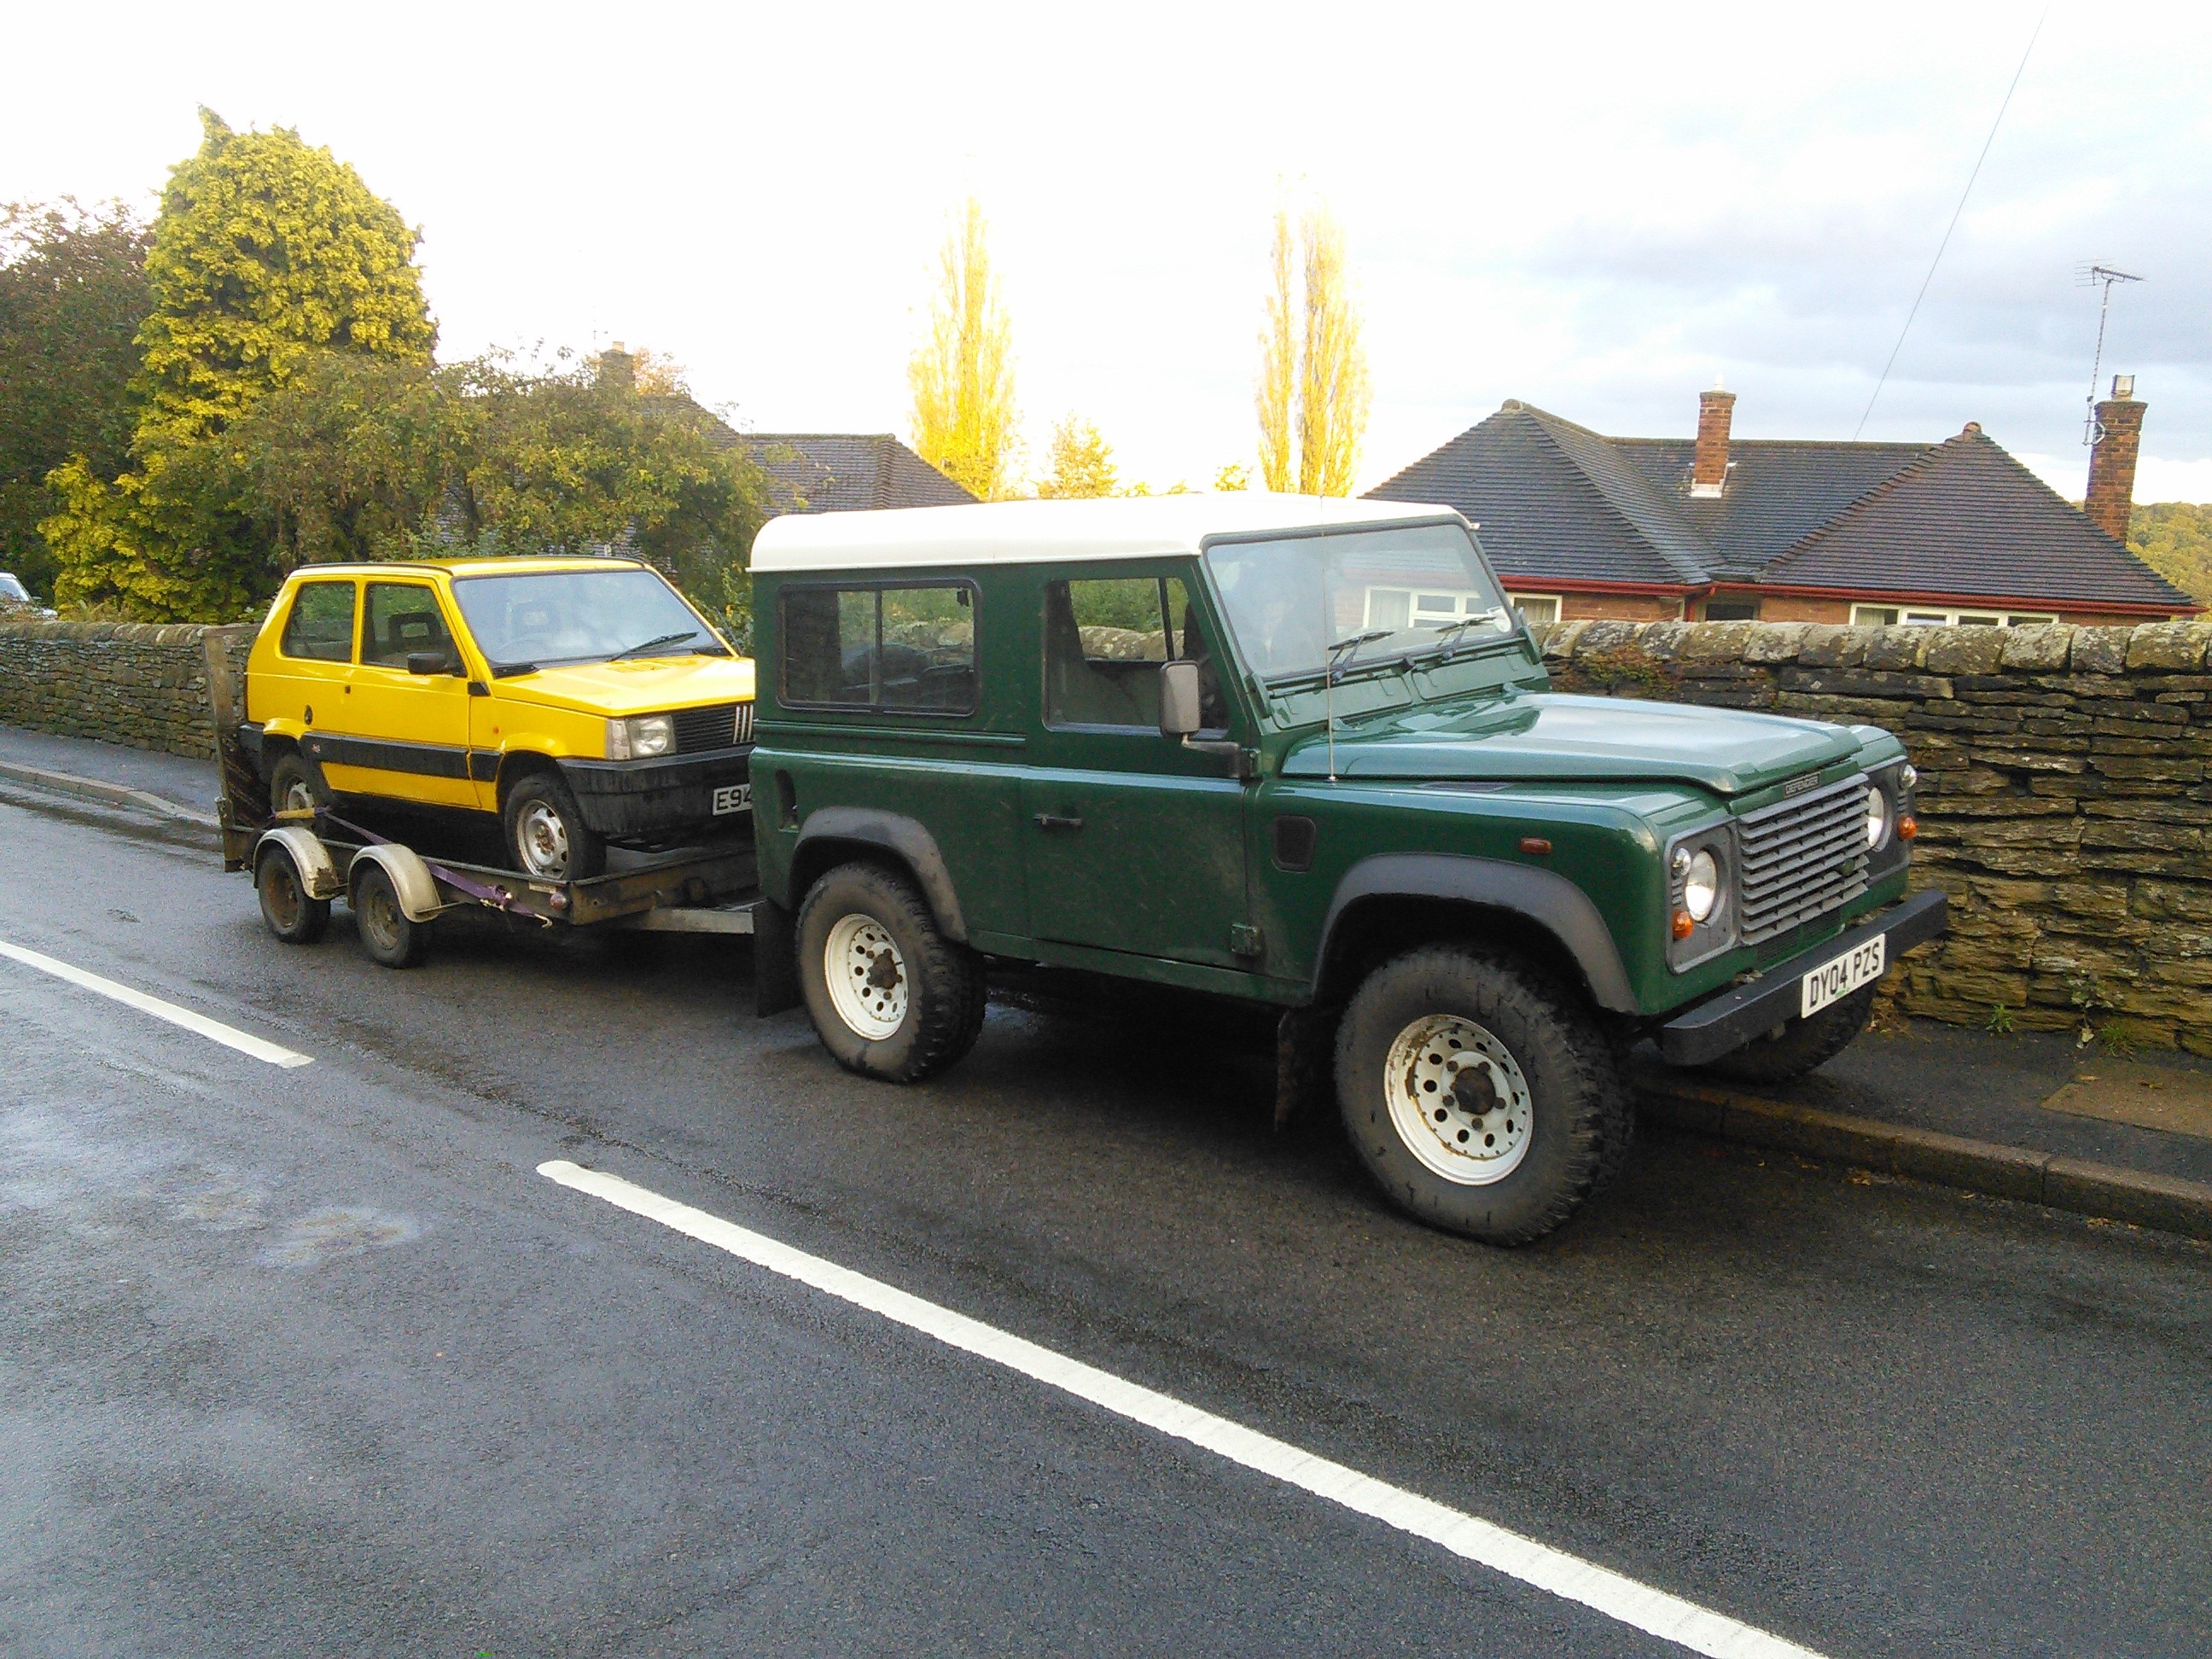


Good job the 4wd on Digger works as I needed it to get onto the trailer! Anyway we dropped him off at my workshop (actually the corner of my Dads warehouse:eek:) and tomorrow I'll give him a good clean (including evicting the many spiders living in the engine bay) and a proper look over.

I'd like to get him back on the road fairly quickly, in time for AndyPanda4x4's next Yorkshire weekend;) And then a few mods to improve his off road ability will be on the cards I think.
I've seen this thread before and was wondering why there weren't recent updates, but glad to see that there is one now! Lots of good work and welding done there. Keep it up, looking forward to seeing this one progress :)

I do really like the yellow colour. It does suit it well, neat little car there, I'll be following the updates (y)

I hope you are taking note of how important cavity wax injection is FDNY21 ?


Love Tonkas resurrection. Yellow suits it so much better than Silver.

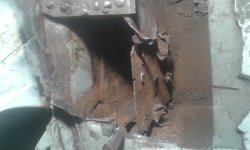
A question on this area mentioned above. I have the same problem possibly worse on the Y10. Corrosion has spread between the suspension mount and the floorpan rail its spot welded to.

I've cut out the floor above the area and plan to cut into the step in the floorpan that's at the base of the rear seat as you have here. Ideally I'd like to attack it from the sill side as well but that will involve cutting outer & inner sills off at least. If it's kept on its wheels do you think the shell can stand so much being cut out if its kept on its wheels.
 

Attachments

  • 20170102_193356.jpg
    20170102_193356.jpg
    1 MB · Views: 43
Last edited:


Love Tonkas resurrection. Yellow suits it so much better than Silver.

A question on this area mentioned above. I have the same problem possibly worse on the Y10. Corrosion has spread between the suspension mount and the floorpan rail its spot welded to.

I've cut out the floor above the area and plan to cut into the step in the floorpan that's at the base of the rear seat as you have here. Ideally I'd like to attack it from the sill side as well but that will involve cutting outer & inner sills off at least. If it's kept on its wheels do you think the shell can stand so much being cut out if its kept on its wheels.

Aslong as you can brace the door opening then that should prevent movement. A brace between the B pillars might also be a good idea. The weight being on the wheels is probably not a bad thing since it should mean the car is sitting straight and level and it shouldn't have much twisting force on it, that can easily happen when on axle stands.
 
Cant believe I've not commented on this thread before. Amazing to see how much progress you have actually made on this. I know I've asked if youd made any progress from time to time but will be nice to see this finished some time soon!
 
Not sure I could begin to count the amount of hours I've put in so far, and I've still got a lot to do when you factor in the paint and mechanical work, especially doing what I have planned.

I've been managing the odd day working on Digger recently so some progress is certainly being made, I will leave another update until there has been a bigger chunk of work completed.
 
Update time!

Some good progress over the last couple of weeks, mainly spurred on by the fact I need the space Digger is currently occupying for another job!

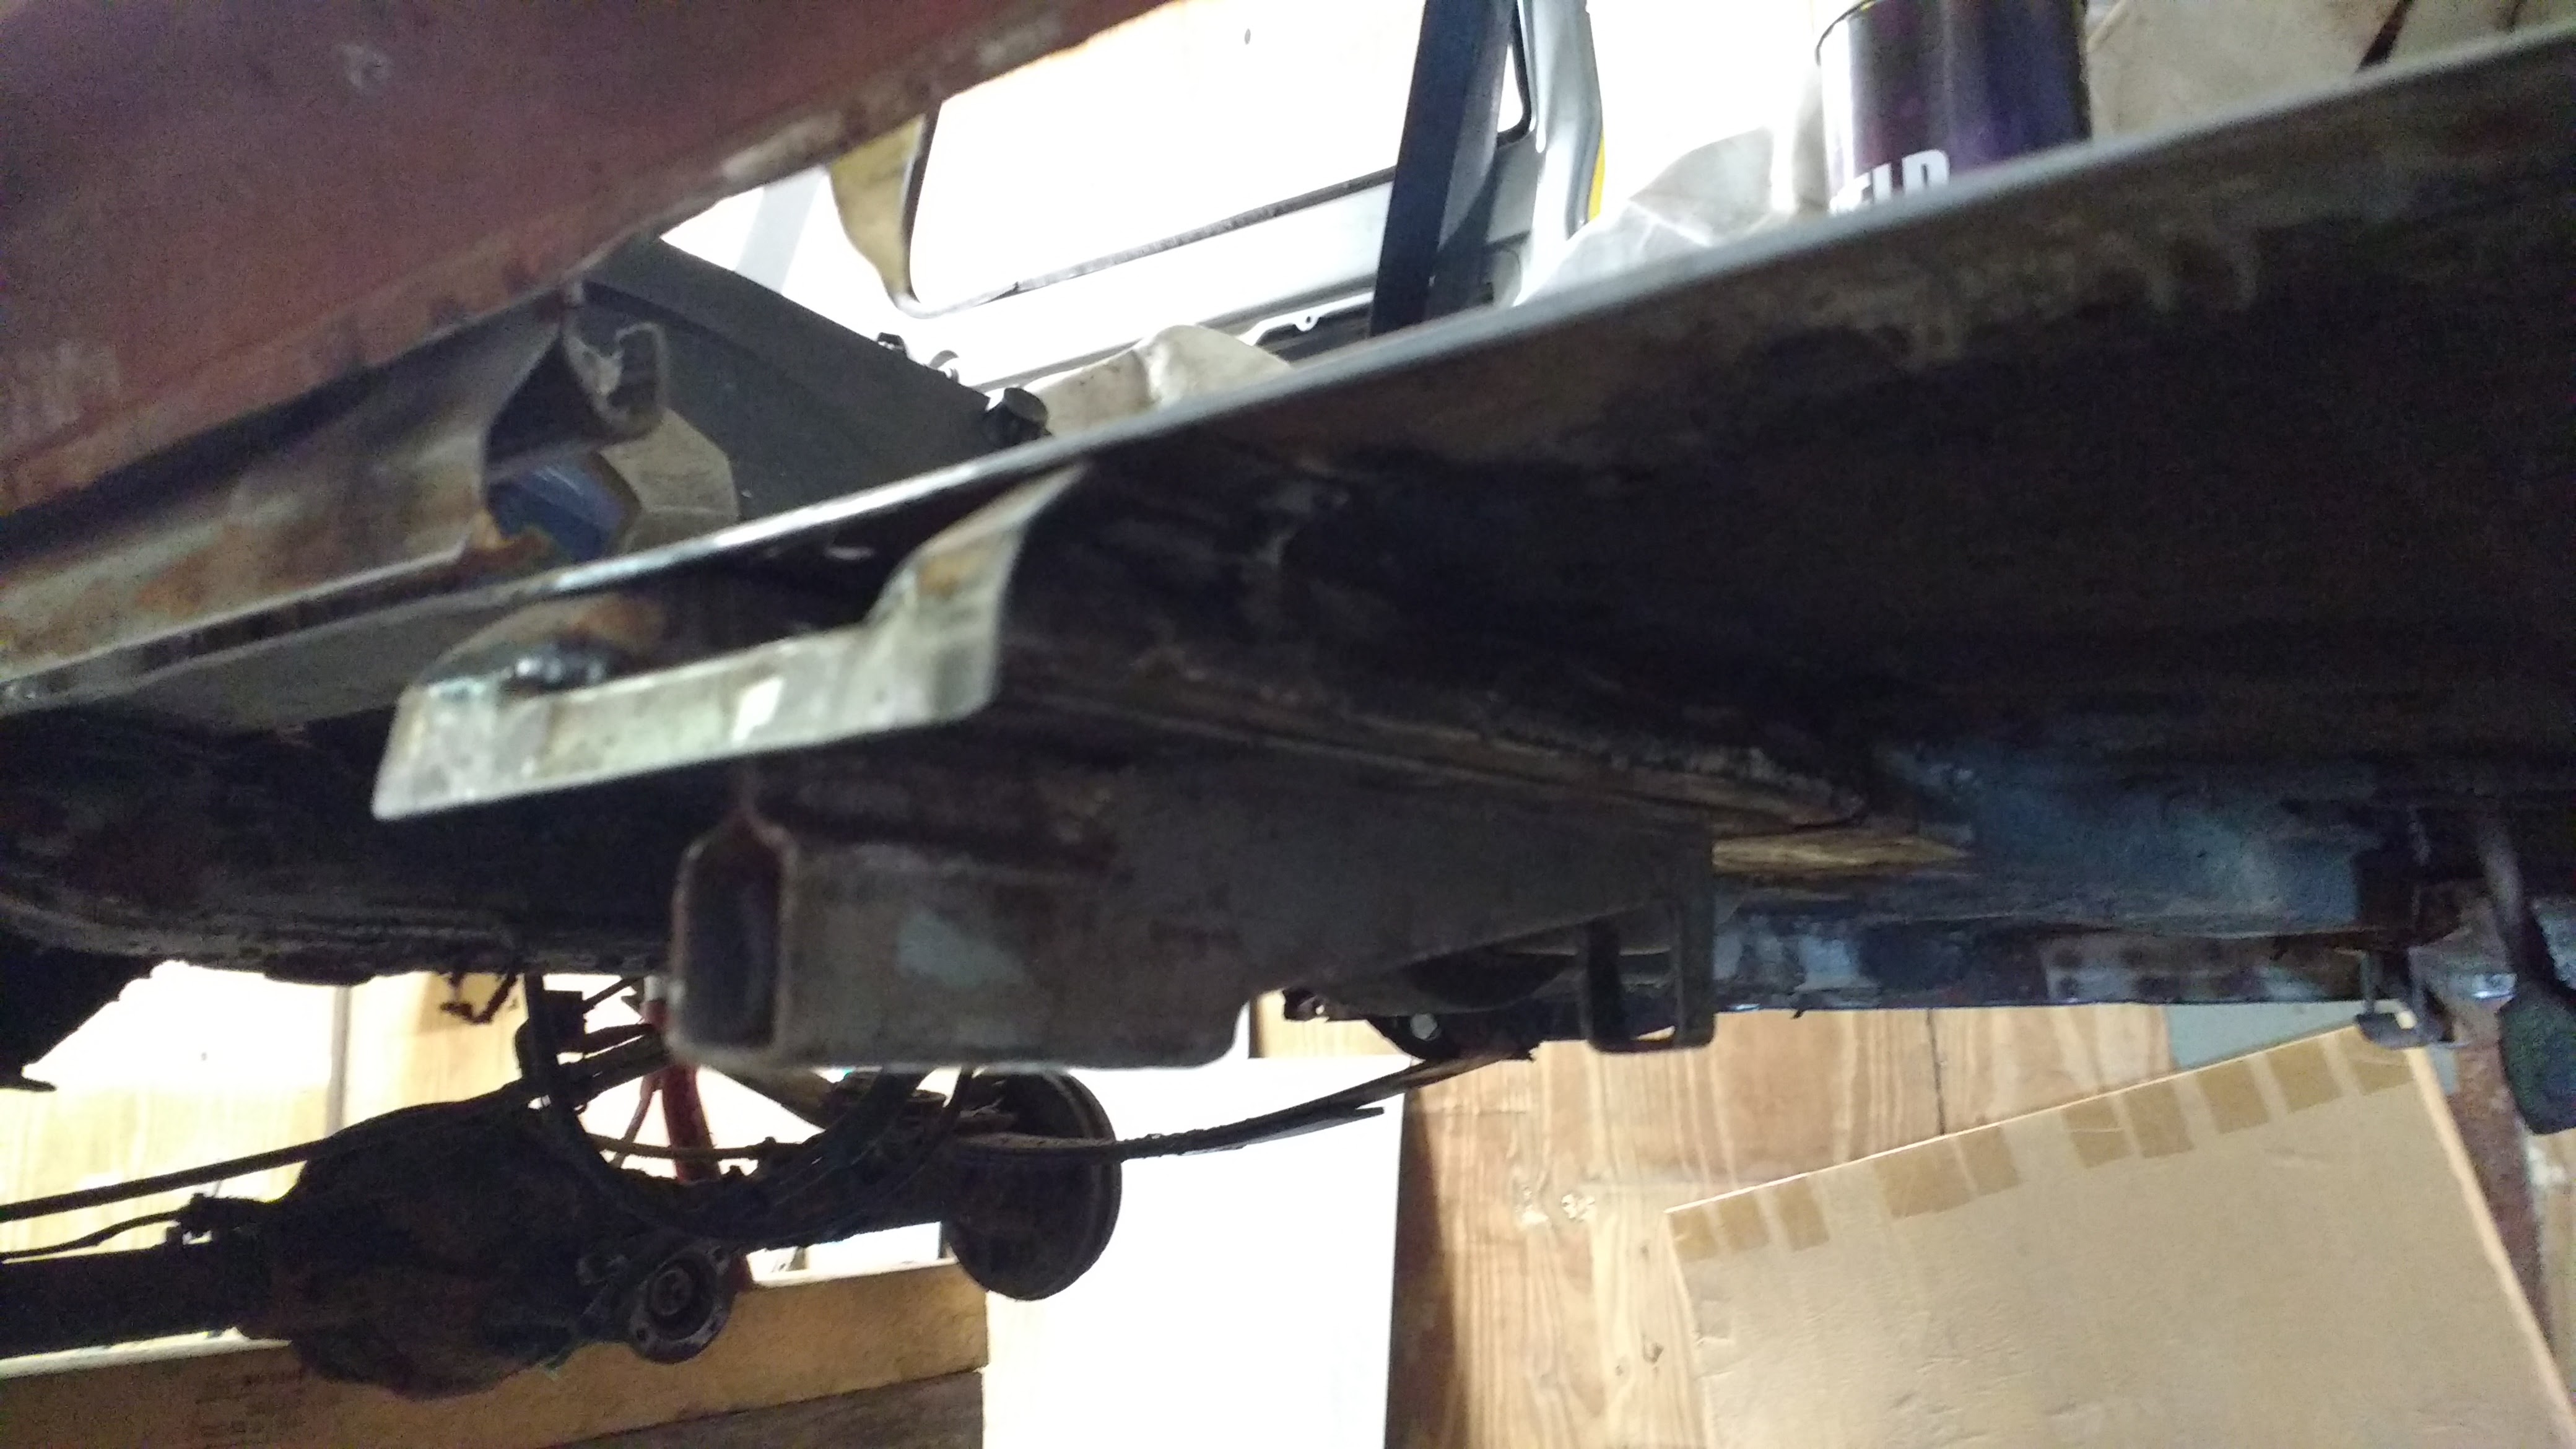
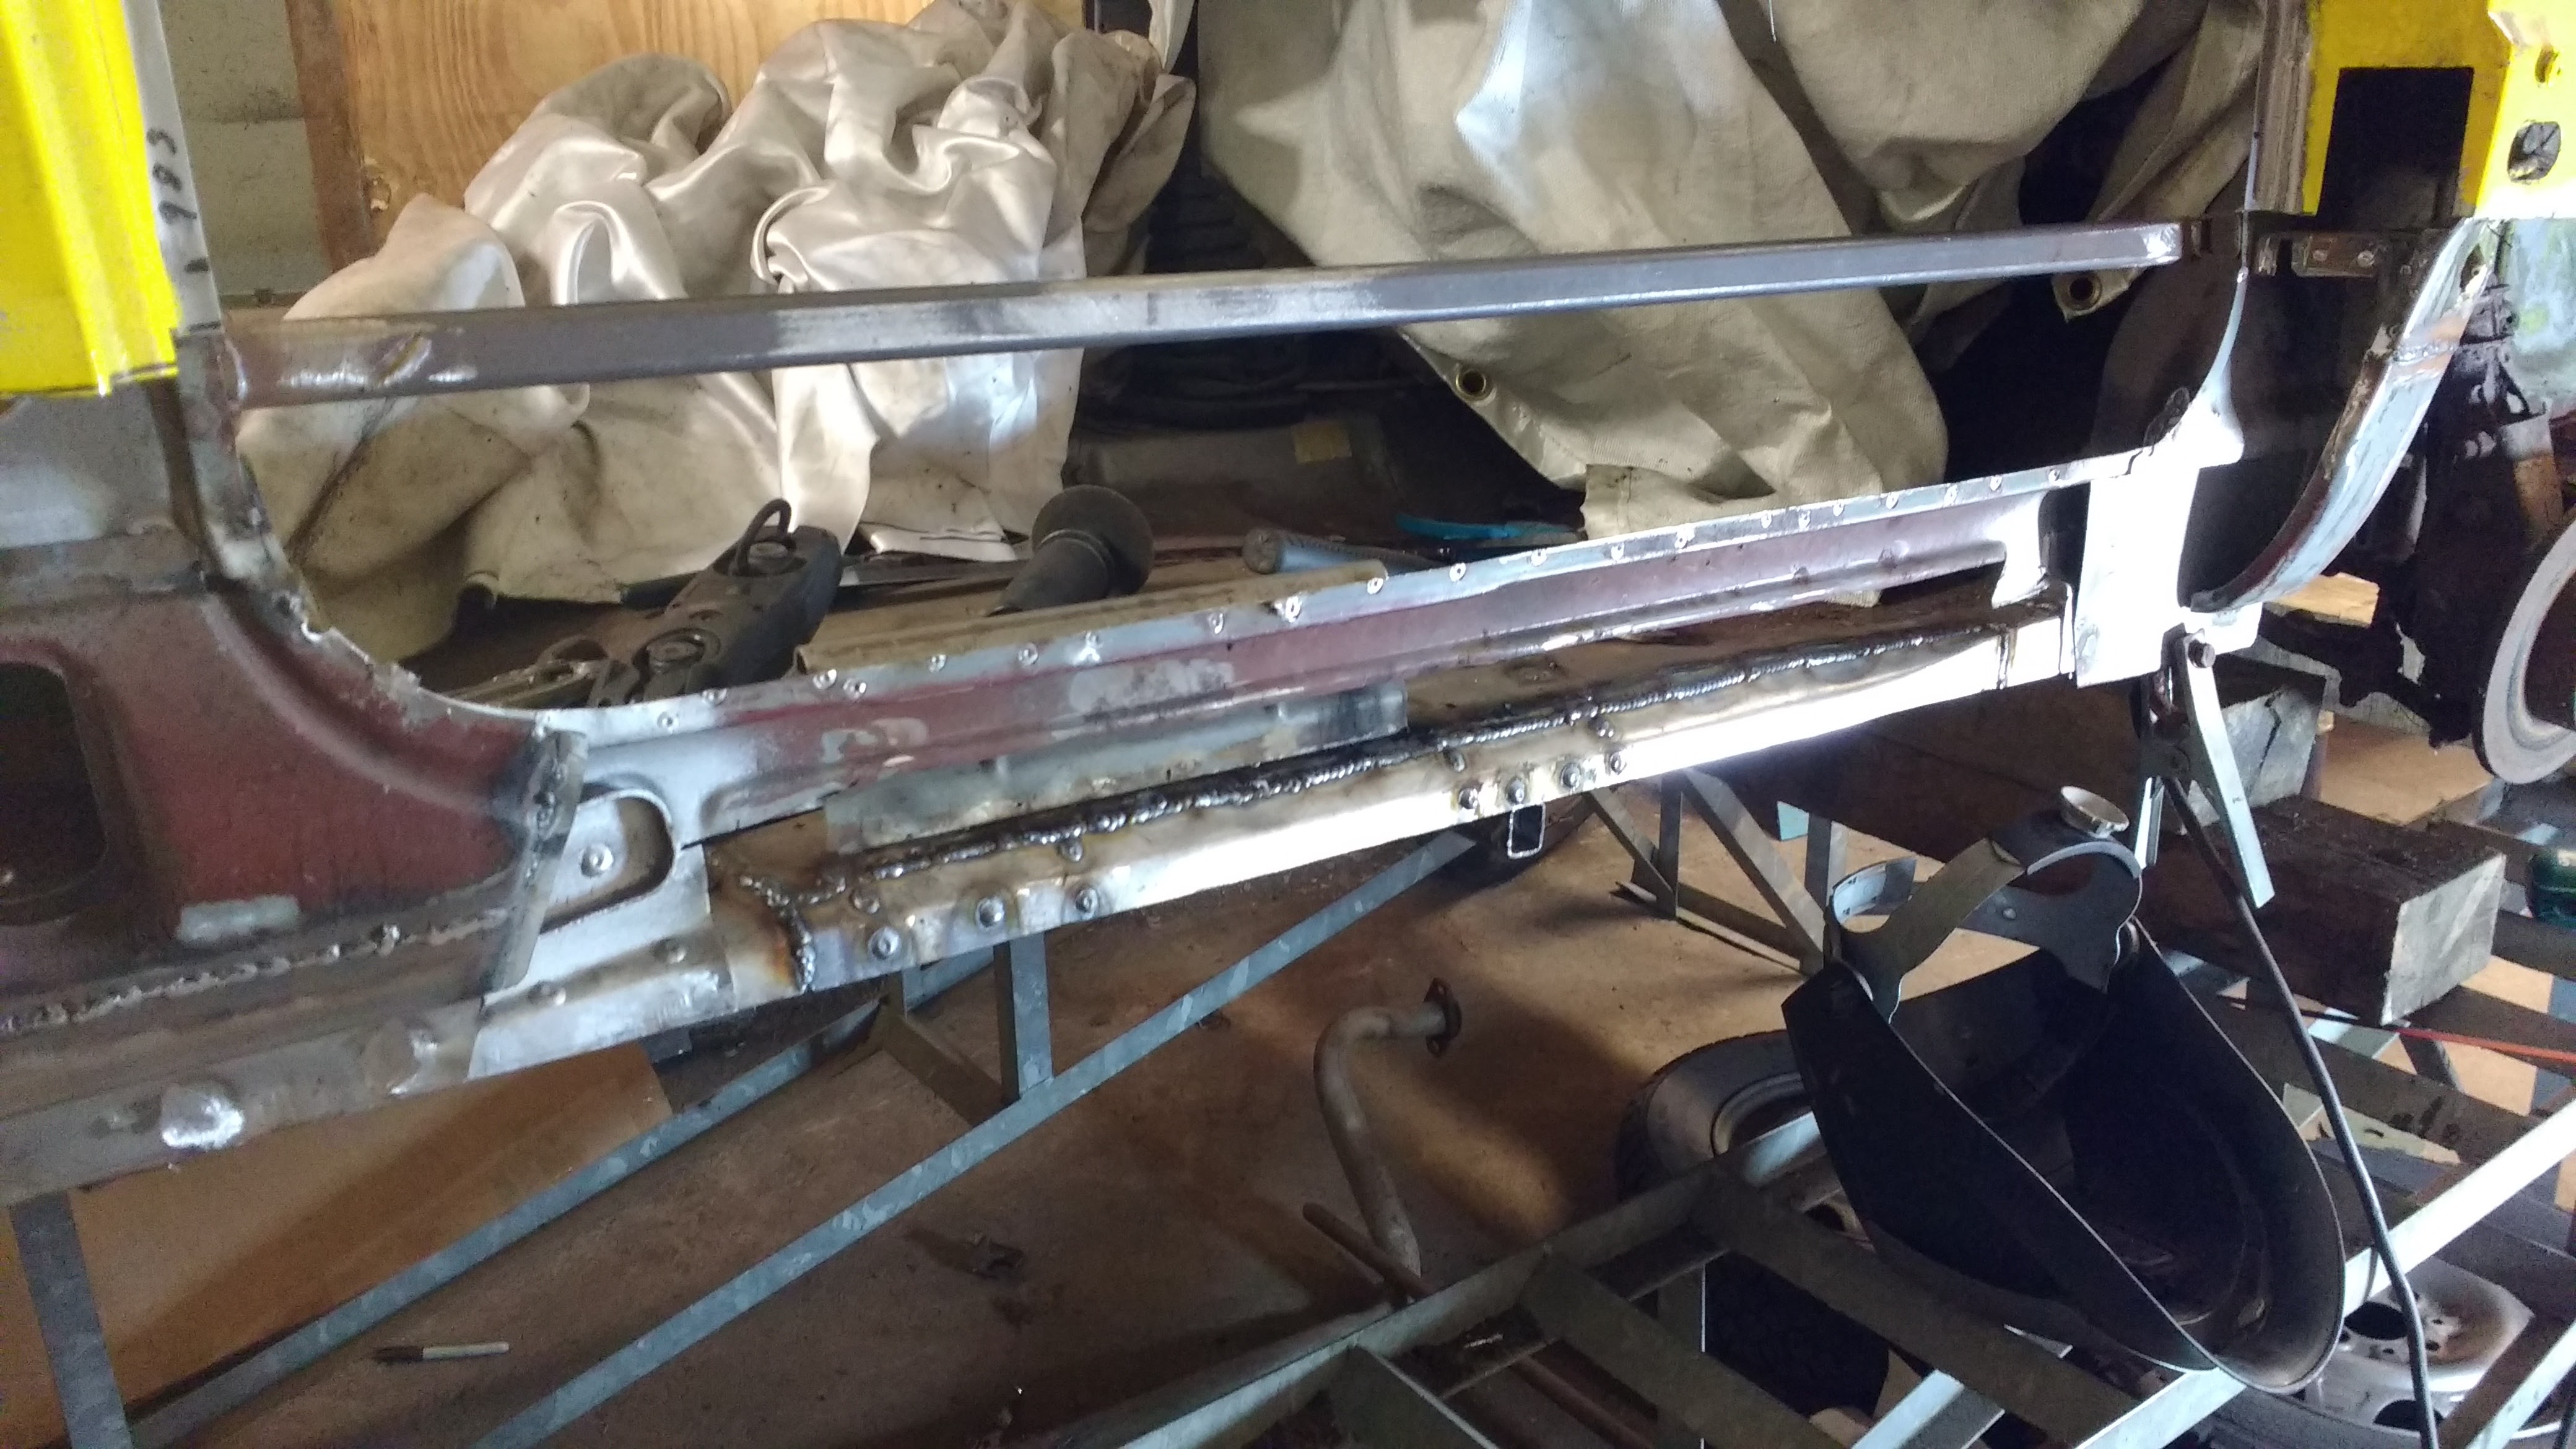
After last time I finished repairing the chassis rail and moved onto the inner sill sections. Rear part done first before doing the central section including the underfloor crossmembers and jacking point.


The outer sill could then be finally fitted up and the door fitted to check the fit. A few will probably recognise the door;)


The door fit was just as factory i.e massive gaps all round!

After that the outer sill was then made permanent, care being taken to prevent excessive heat build up and warping of the panels.


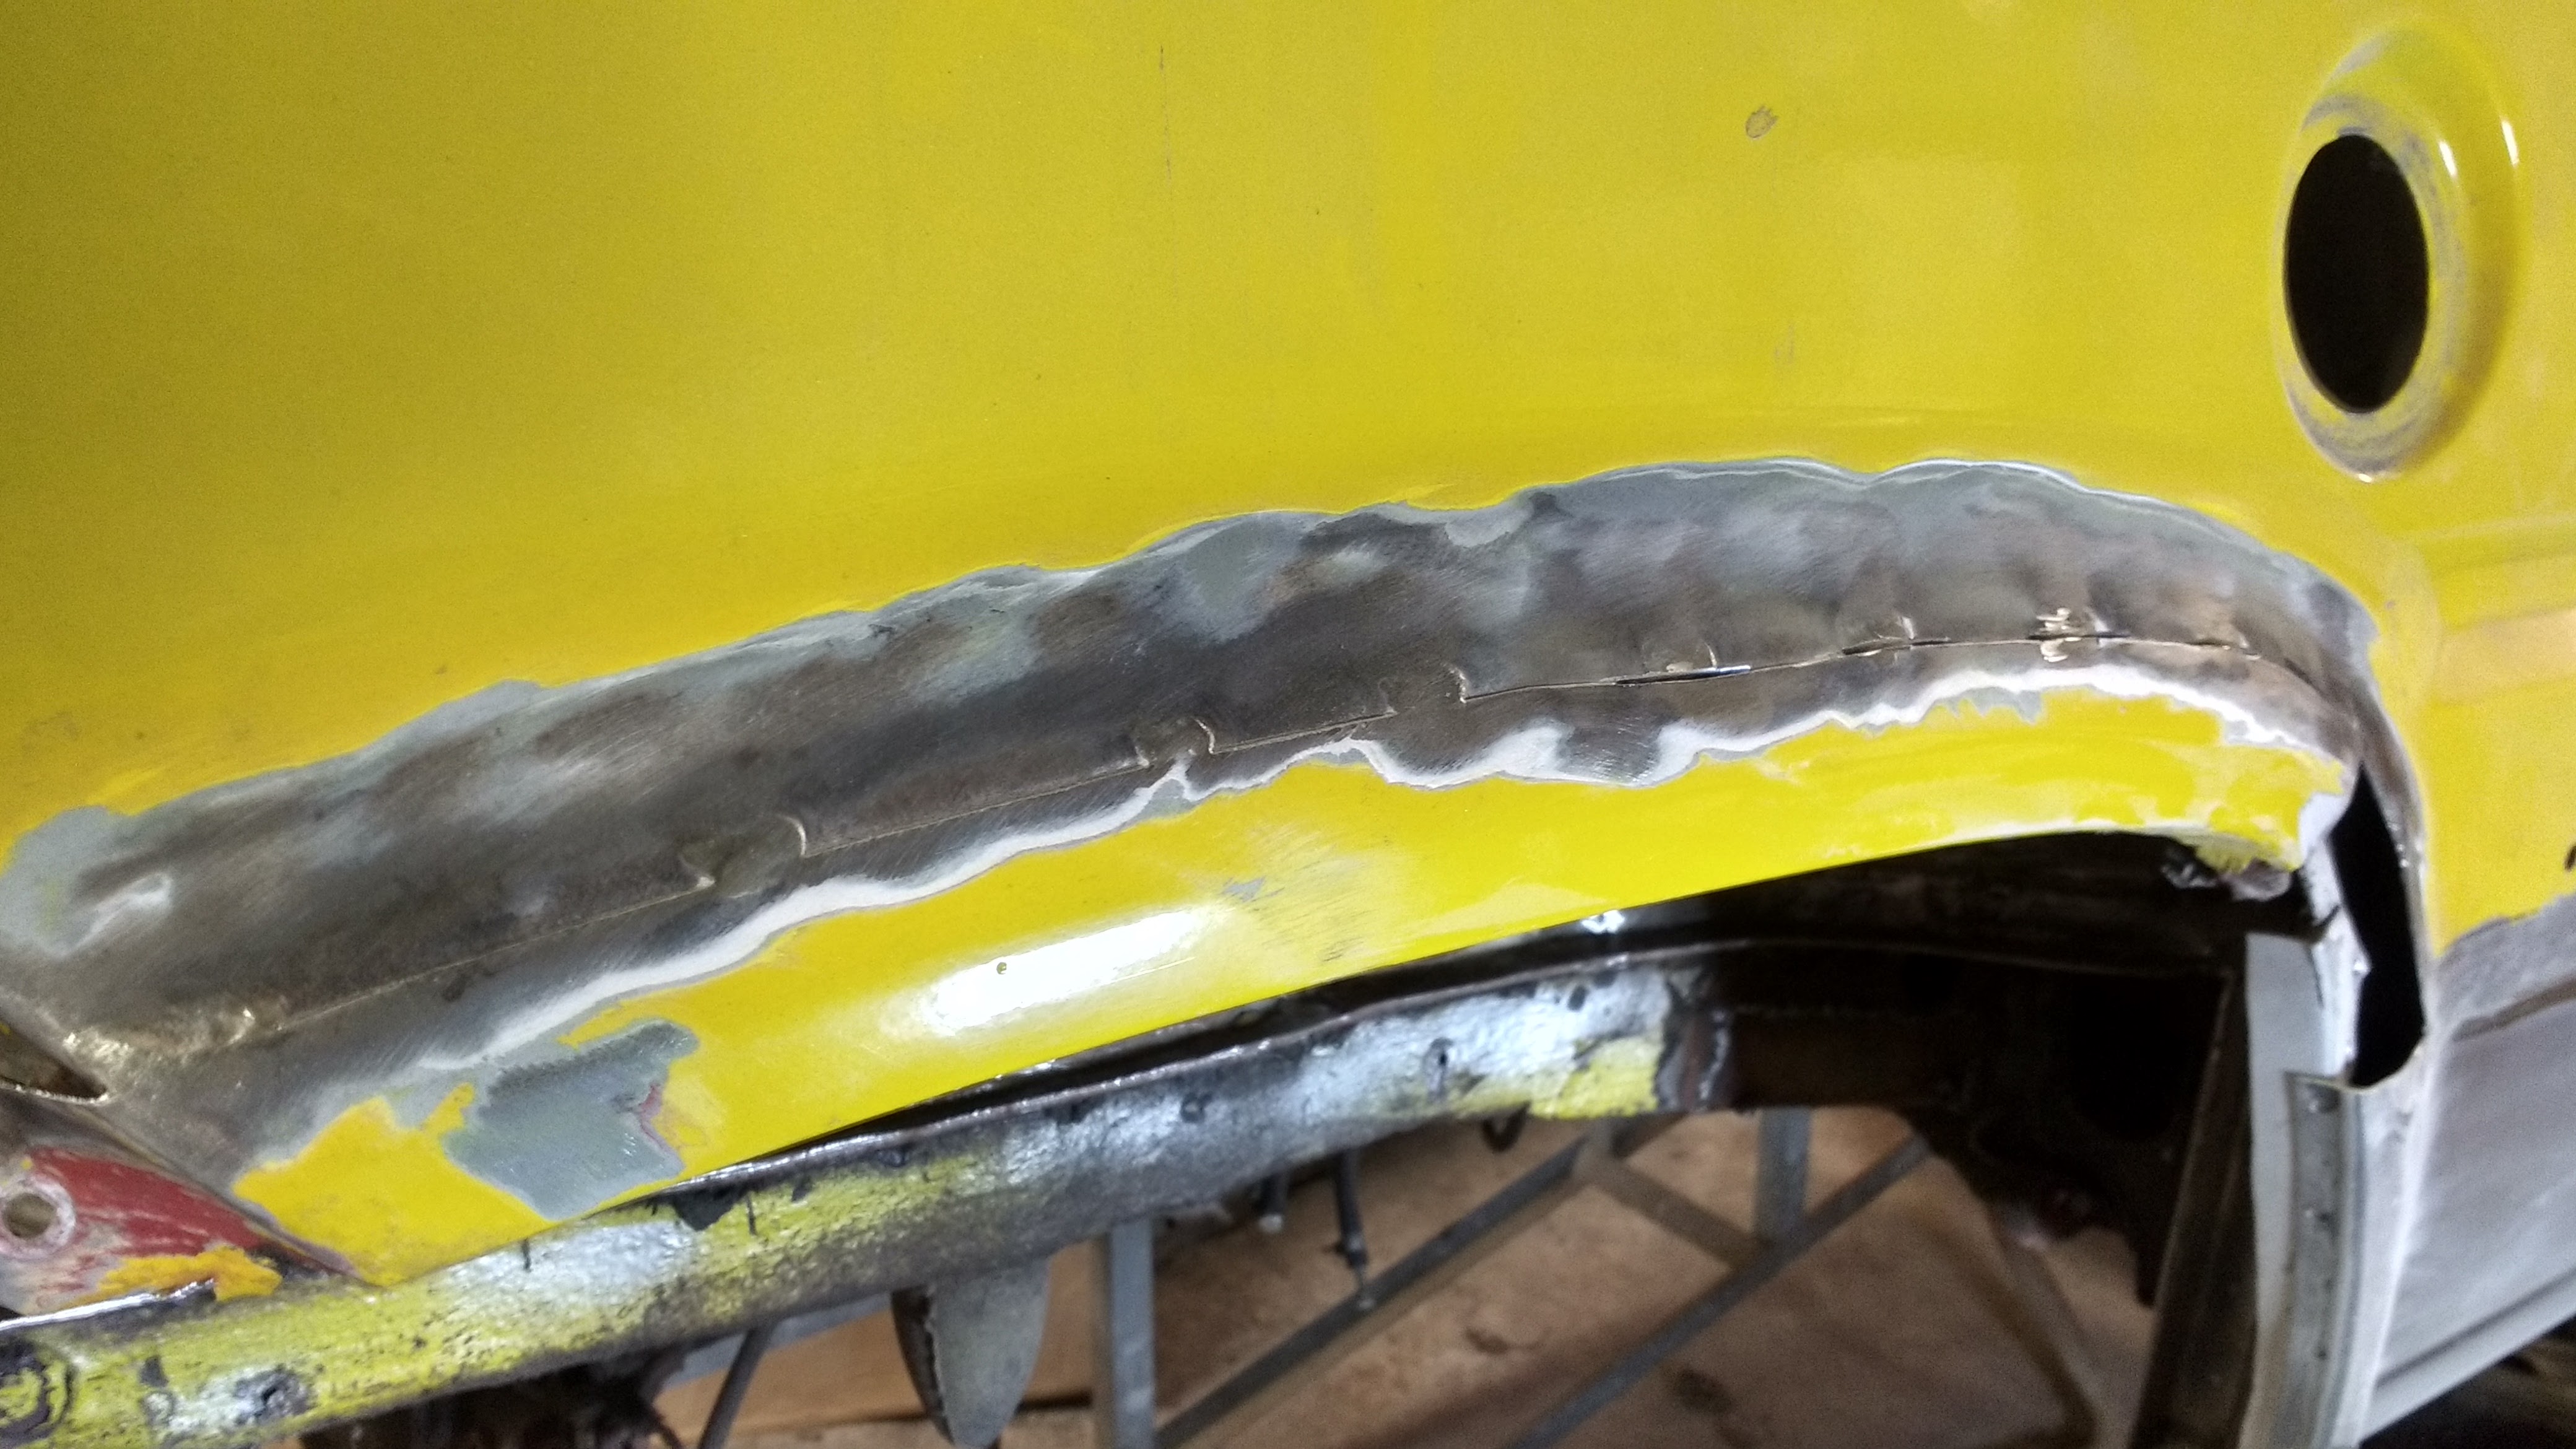
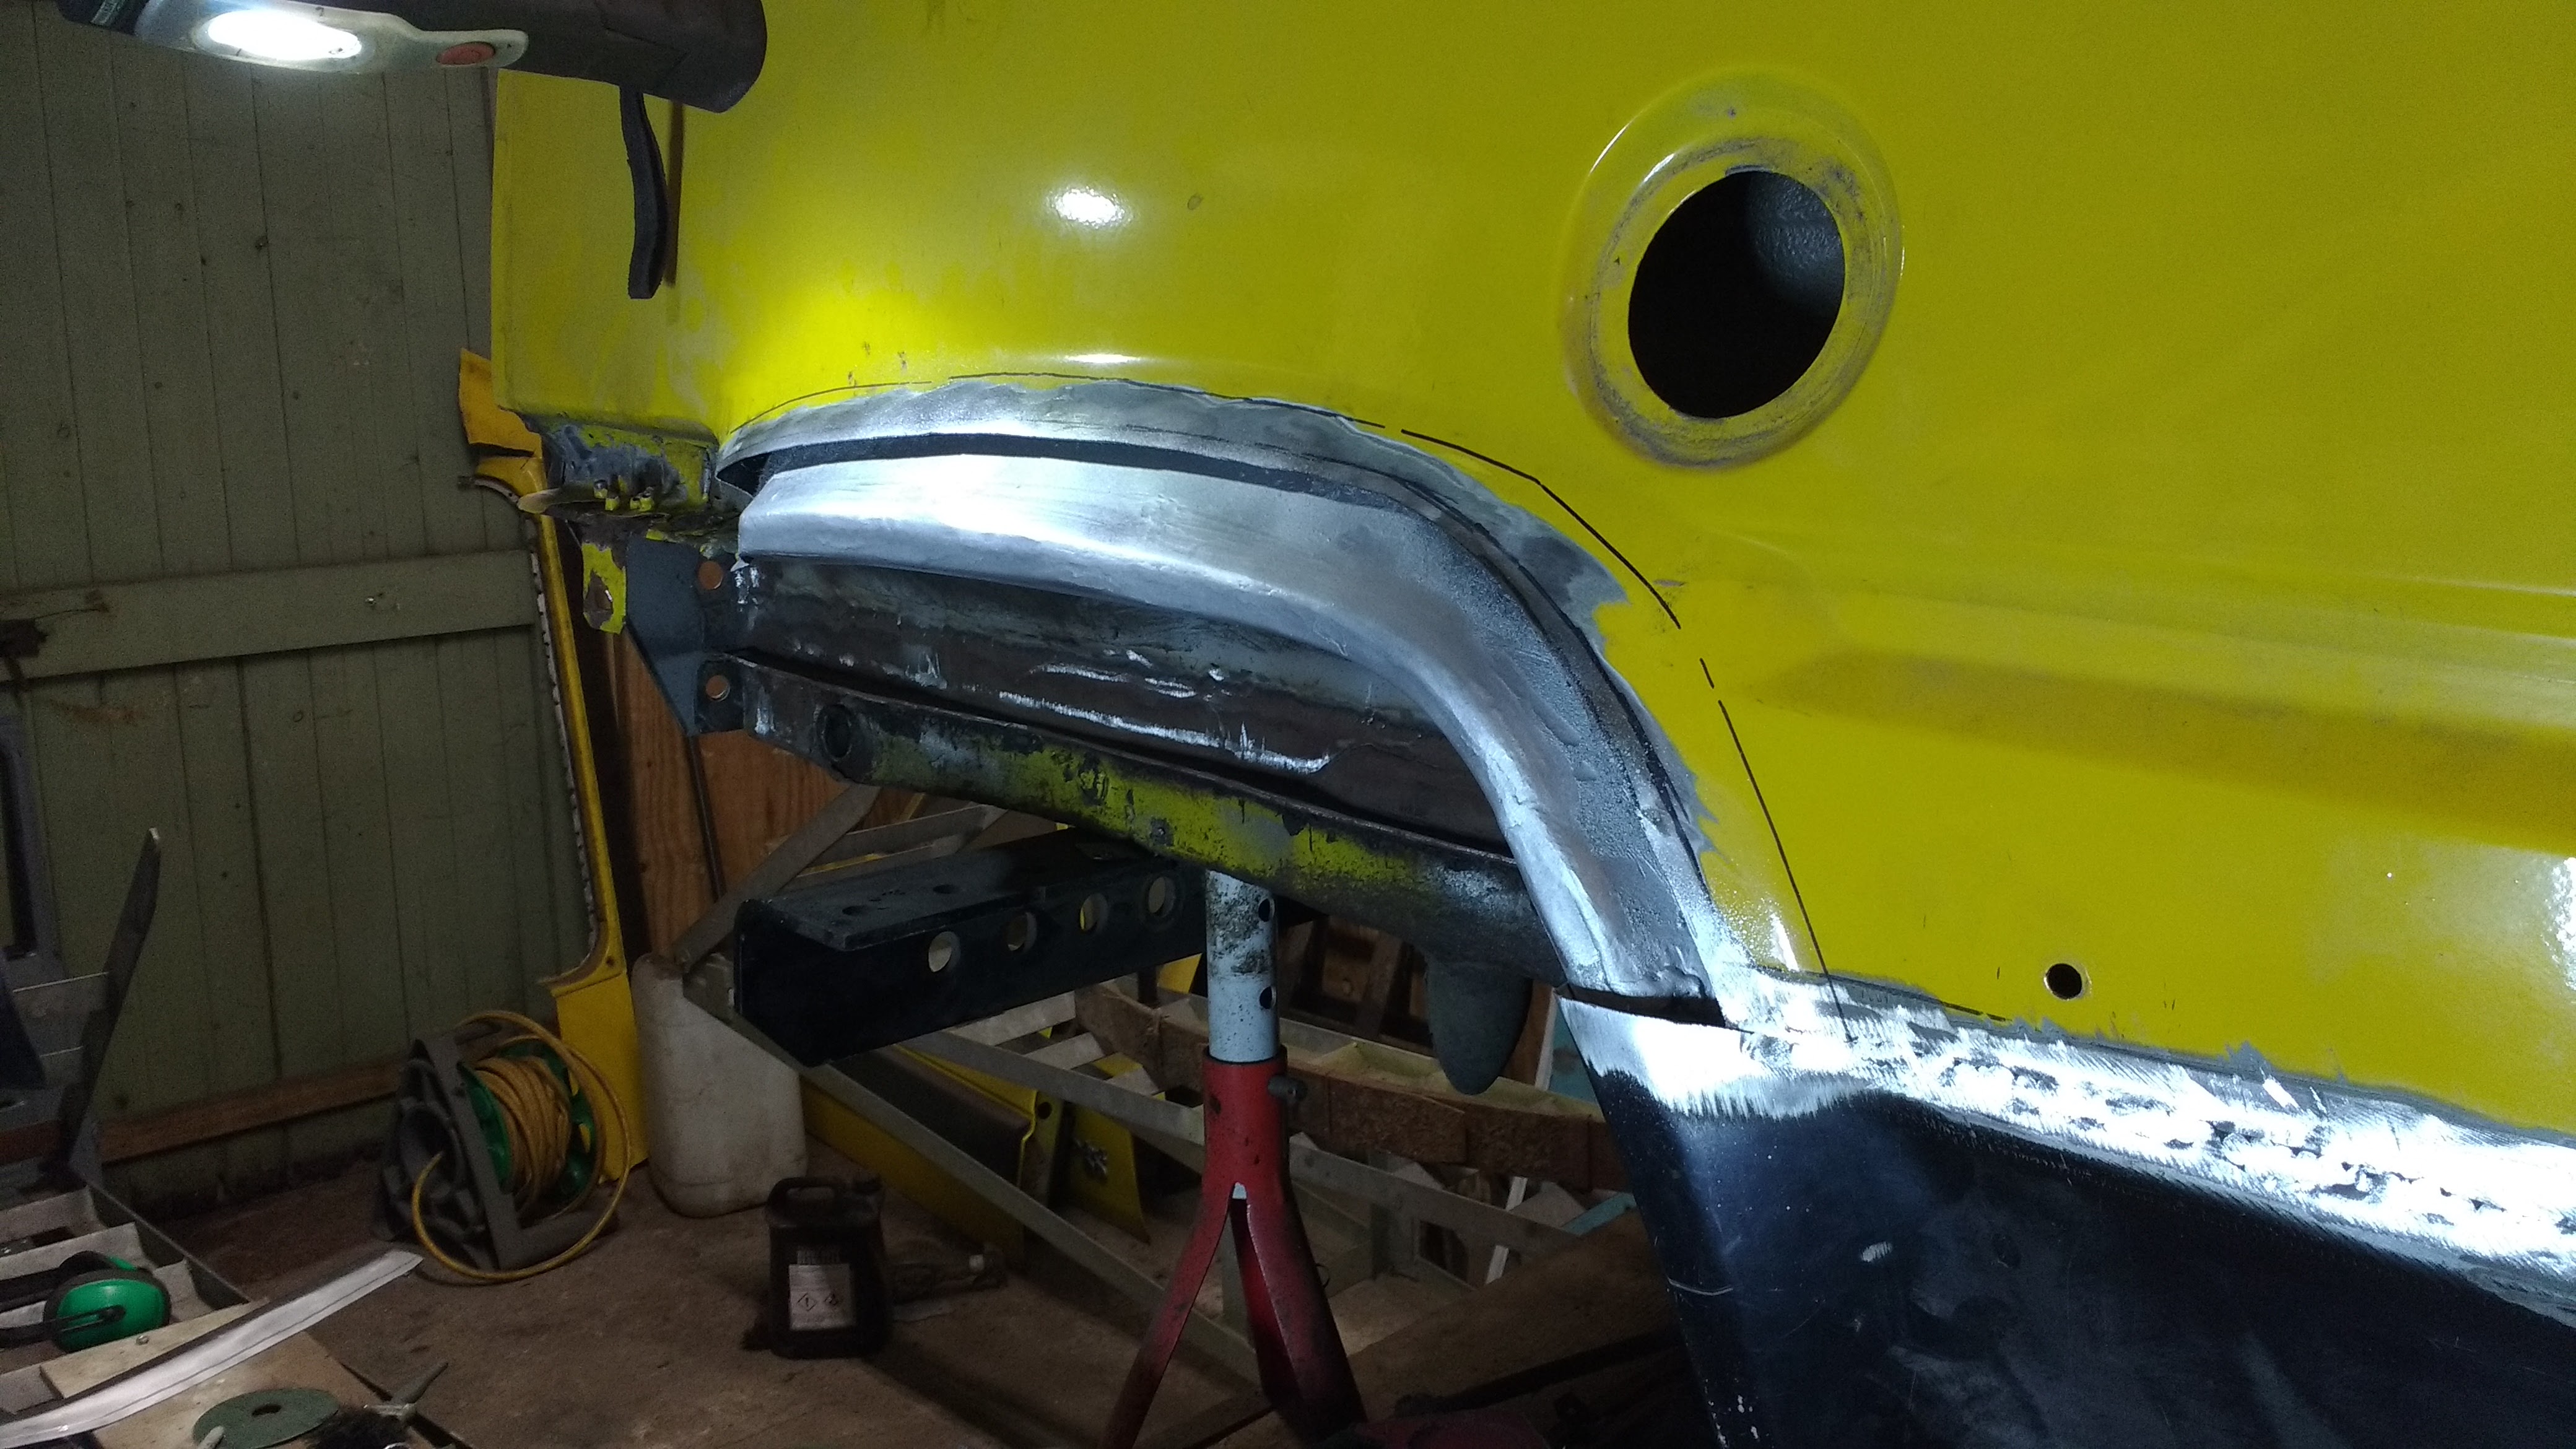
When I originally cut the sill off a year ago I discovered the rear arch had some filler in it, turns out a previous repair had been done, this was held in with braze and rivets and then filled over. The bumper mounting has also been repaired using rivets.

I could probably cope with the brazing alone but the rivets had to go so I chopped out the arch and am in the process of welding in a new section. Handily I had a quarter panel left over from when I did my Sisley so I am able to cut the arch section from that, just leaving me with the inner arch edge to remake.


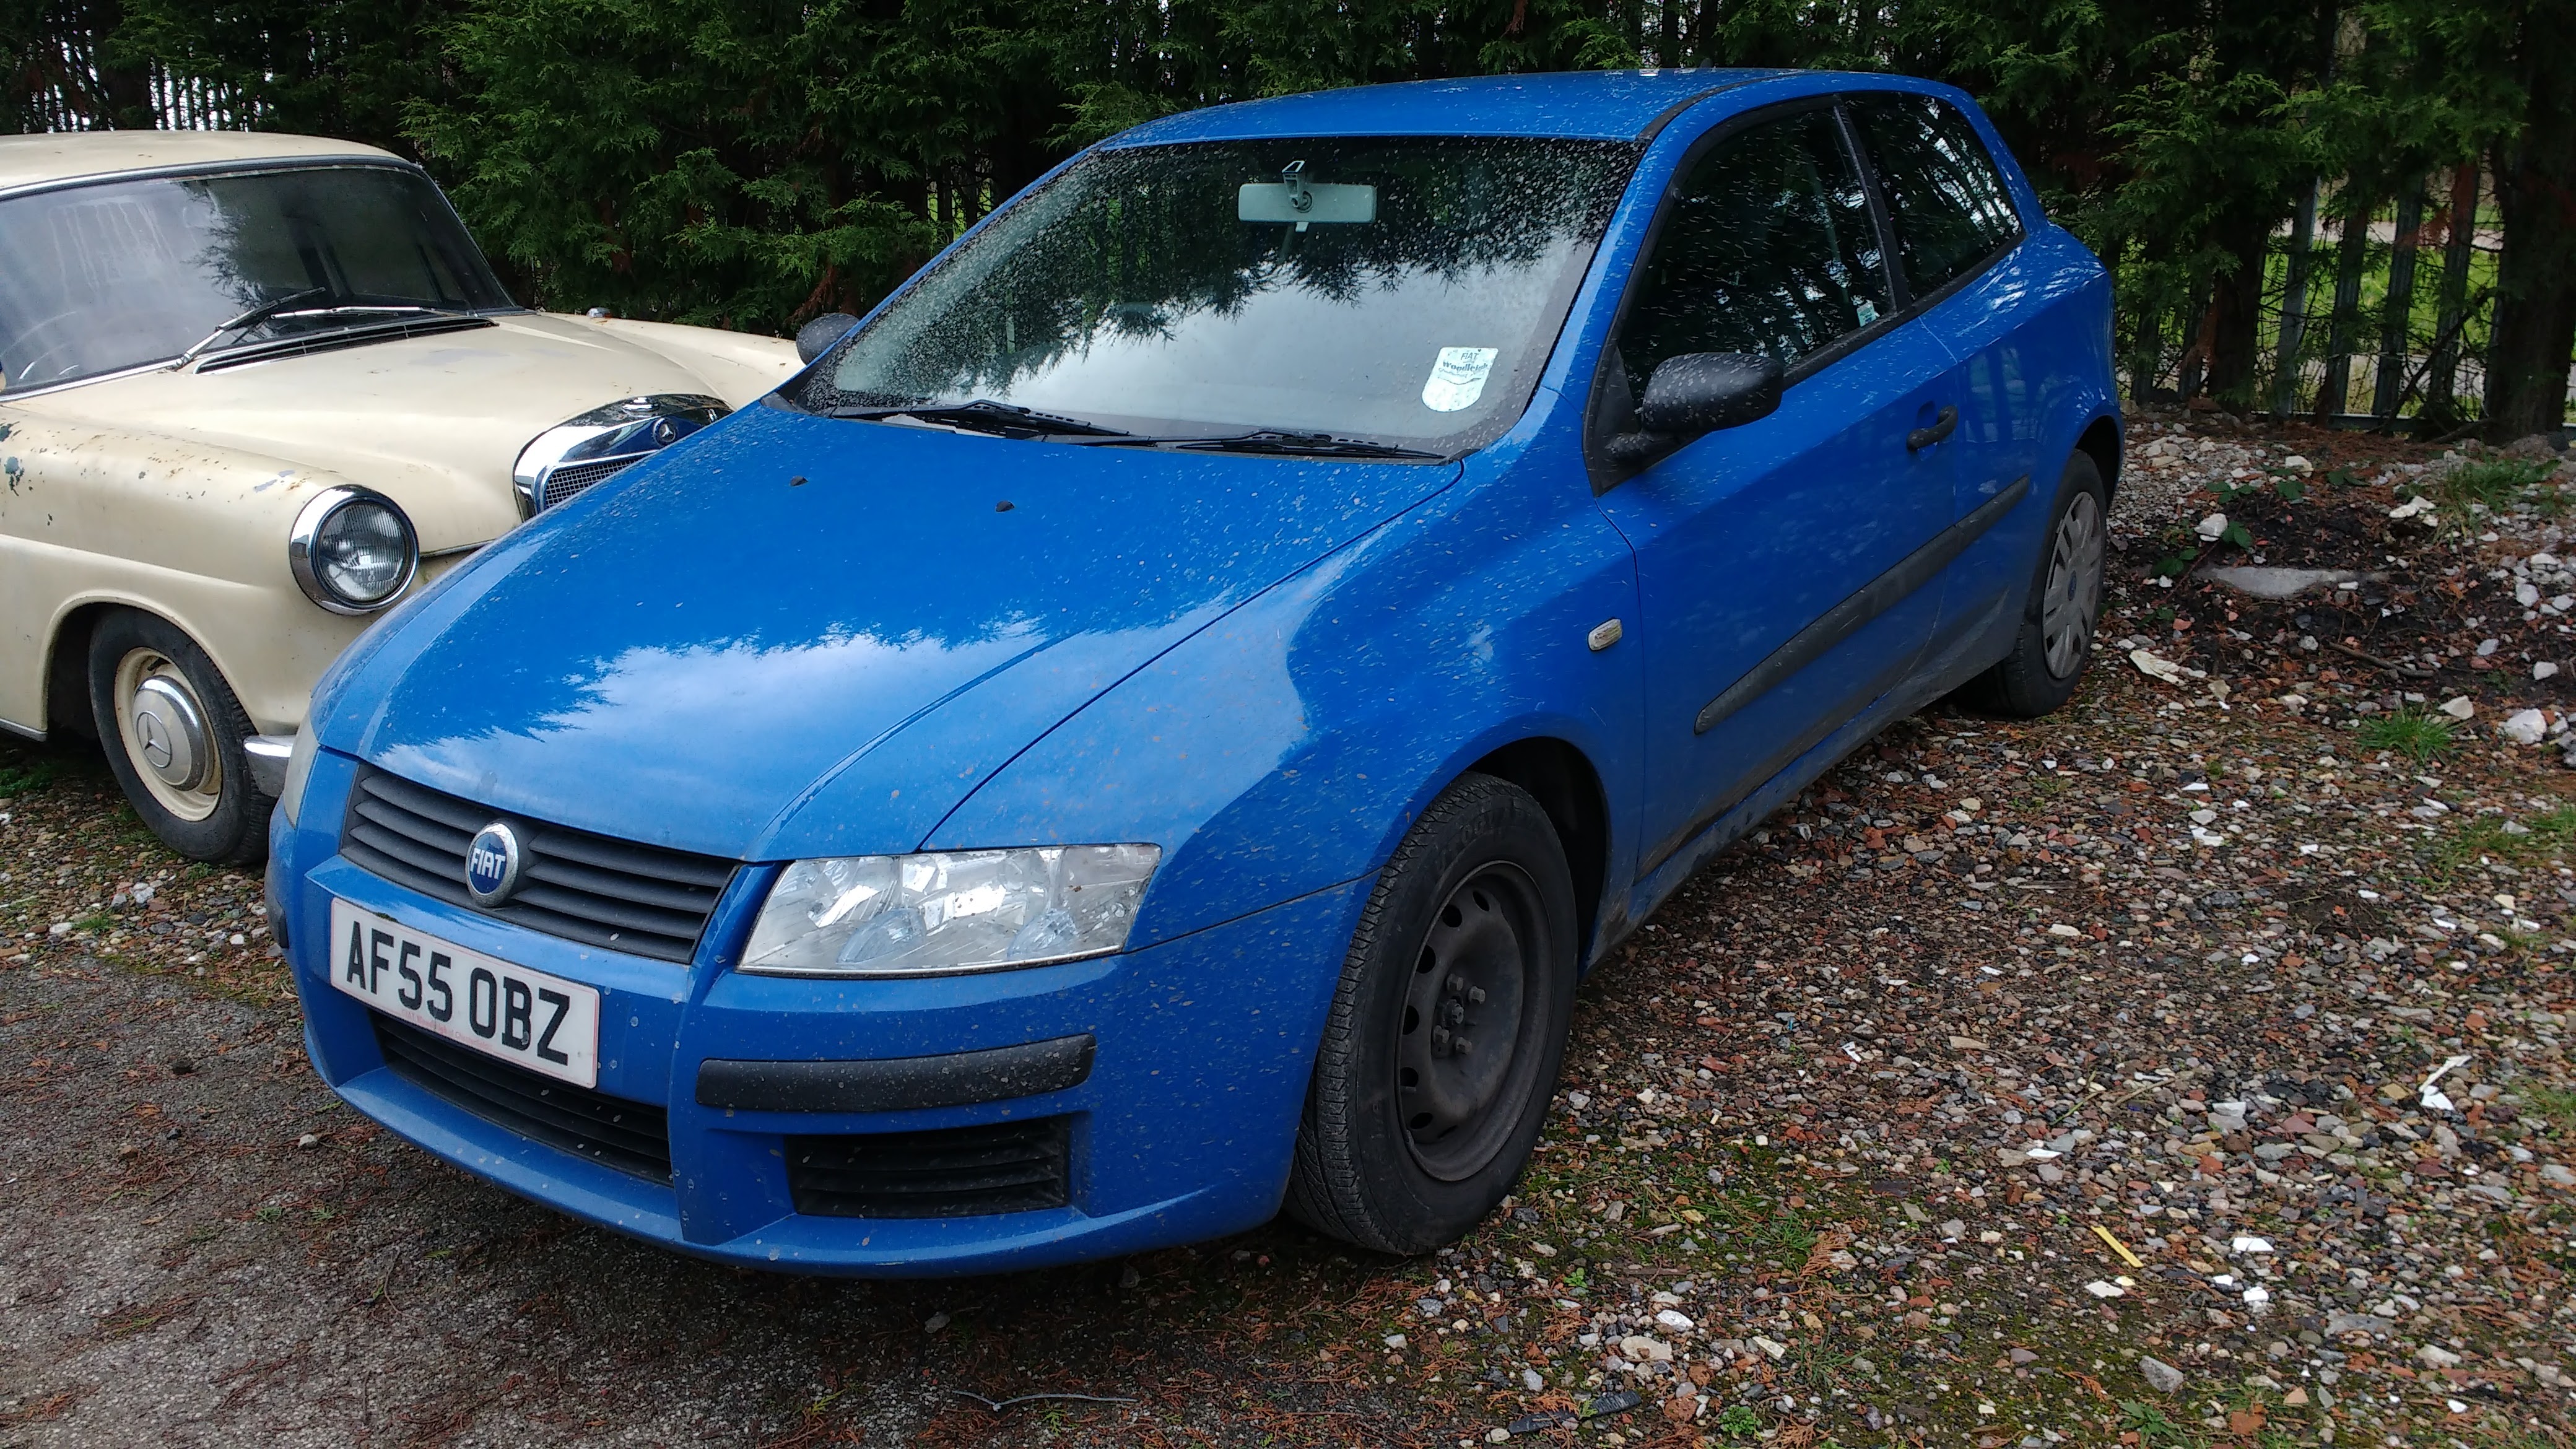
Away from the welding I have purchased Digger's engine donor in the shape of a 1.4 16v Stilo, should make for some lively performance I think!


Brilliant thread, can't believe I've only just come across it, makes my rust seem very modest :). great skills, looking forward to seeing how you get on with the engine upgrade too!

Think my Panda has avoided the mouse nest situation by way of lots of stray tom cats using it as a marking post... think I'd rather deal with the chewed wires :yuck:.
 
Update time!


Some good progress over the last couple of weeks, mainly spurred on by the fact I need the space Digger is currently occupying for another job!


After last time I finished repairing the chassis rail and moved onto the inner sill sections. Rear part done first before doing the central section including the underfloor crossmembers and jacking point.


The outer sill could then be finally fitted up and the door fitted to check the fit. A few will probably recognise the door;)


The door fit was just as factory i.e massive gaps all round!


After that the outer sill was then made permanent, care being taken to prevent excessive heat build up and warping of the panels.


When I originally cut the sill off a year ago I discovered the rear arch had some filler in it, turns out a previous repair had been done, this was held in with braze and rivets and then filled over. The bumper mounting has also been repaired using rivets.


I could probably cope with the brazing alone but the rivets had to go so I chopped out the arch and am in the process of welding in a new section. Handily I had a quarter panel left over from when I did my Sisley so I am able to cut the arch section from that, just leaving me with the inner arch edge to remake.


Away from the welding I have purchased Digger's engine donor in the shape of a 1.4 16v Stilo, should make for some lively performance I think!


You must have been impressed with how the engine worked in Henry

Mm now you've got me thinking for ours
Do you know the weight difference
Between
1000 -1242?
1000- 1.4 16v ?
For low end slow climbing / creeping torque would a heavier fly wheel good idea , having read somewhere that the fiorino van ones are heavier ?

I don't know exact weights but there will not be much difference between 1.2 and 1.4, also I can say there was little to no difference in ride height after fitting the 1.2 to Henry, so I think difference between the 999 and 16v is probably very little too.
 
Well i have a load cell and will weigh the 1000 engine
Verse the 1242 8 v. Just to know
 
Thanks for documenting this restoration, it reinforces how much work I have to do on the sills of my '86 4x4! Can I ask where you bought the repair panels you've used? I know you've fabricated many yourself. Chris. (y)
 
Thanks for documenting this restoration, it reinforces how much work I have to do on the sills of my '86 4x4! Can I ask where you bought the repair panels you've used? I know you've fabricated many yourself. Chris. (y)

Hi Chris, the sill panels I've used actually came from another forum member who had them spare, he got them from a seller on Italian eBay I believe. However you can get them in the UK from a company called Carz2 and Ricambio also look to be stocking them now. The rear panel and rear light panels came from Partsworld on eBay who were selling a lot of NOS Fiat parts, not sure if there are any left now though unfortunately.

Some other bits have been cut from scrap cars, this can be handy but very often they are also rusty in the areas you need!
 
Back
Top