IMG_1874.JPG

Panda (Classic) My Sisley, Panda 4x4 - division north

Introduction

As mentioned before, I'm starting new thread for my recent purchease.
Bought it from forum user, deposit was place without seeing the car first, went all the way down south with rest of the cash and A-frame in boot.

First summary of the car is ( 1 is very poor, 10 is perfect):

  • Originality - 6,
  • Bodywork - 7,
  • Engine - 6,
  • Gearbox - 5,
  • Interior - 5,
  • Structural rust - 8,
  • Visible rust - 8,
  • Previous owners maintain - 7
Plan for the car is to keep it road worthy and in good mechanical nick, join Panda 4x4 UK club and have some play with other Northern forum members.

As it is now, I'm not willing to make any statement what needs to be done as I had only spend about 2h last week by checking and looking at the car in more details way.

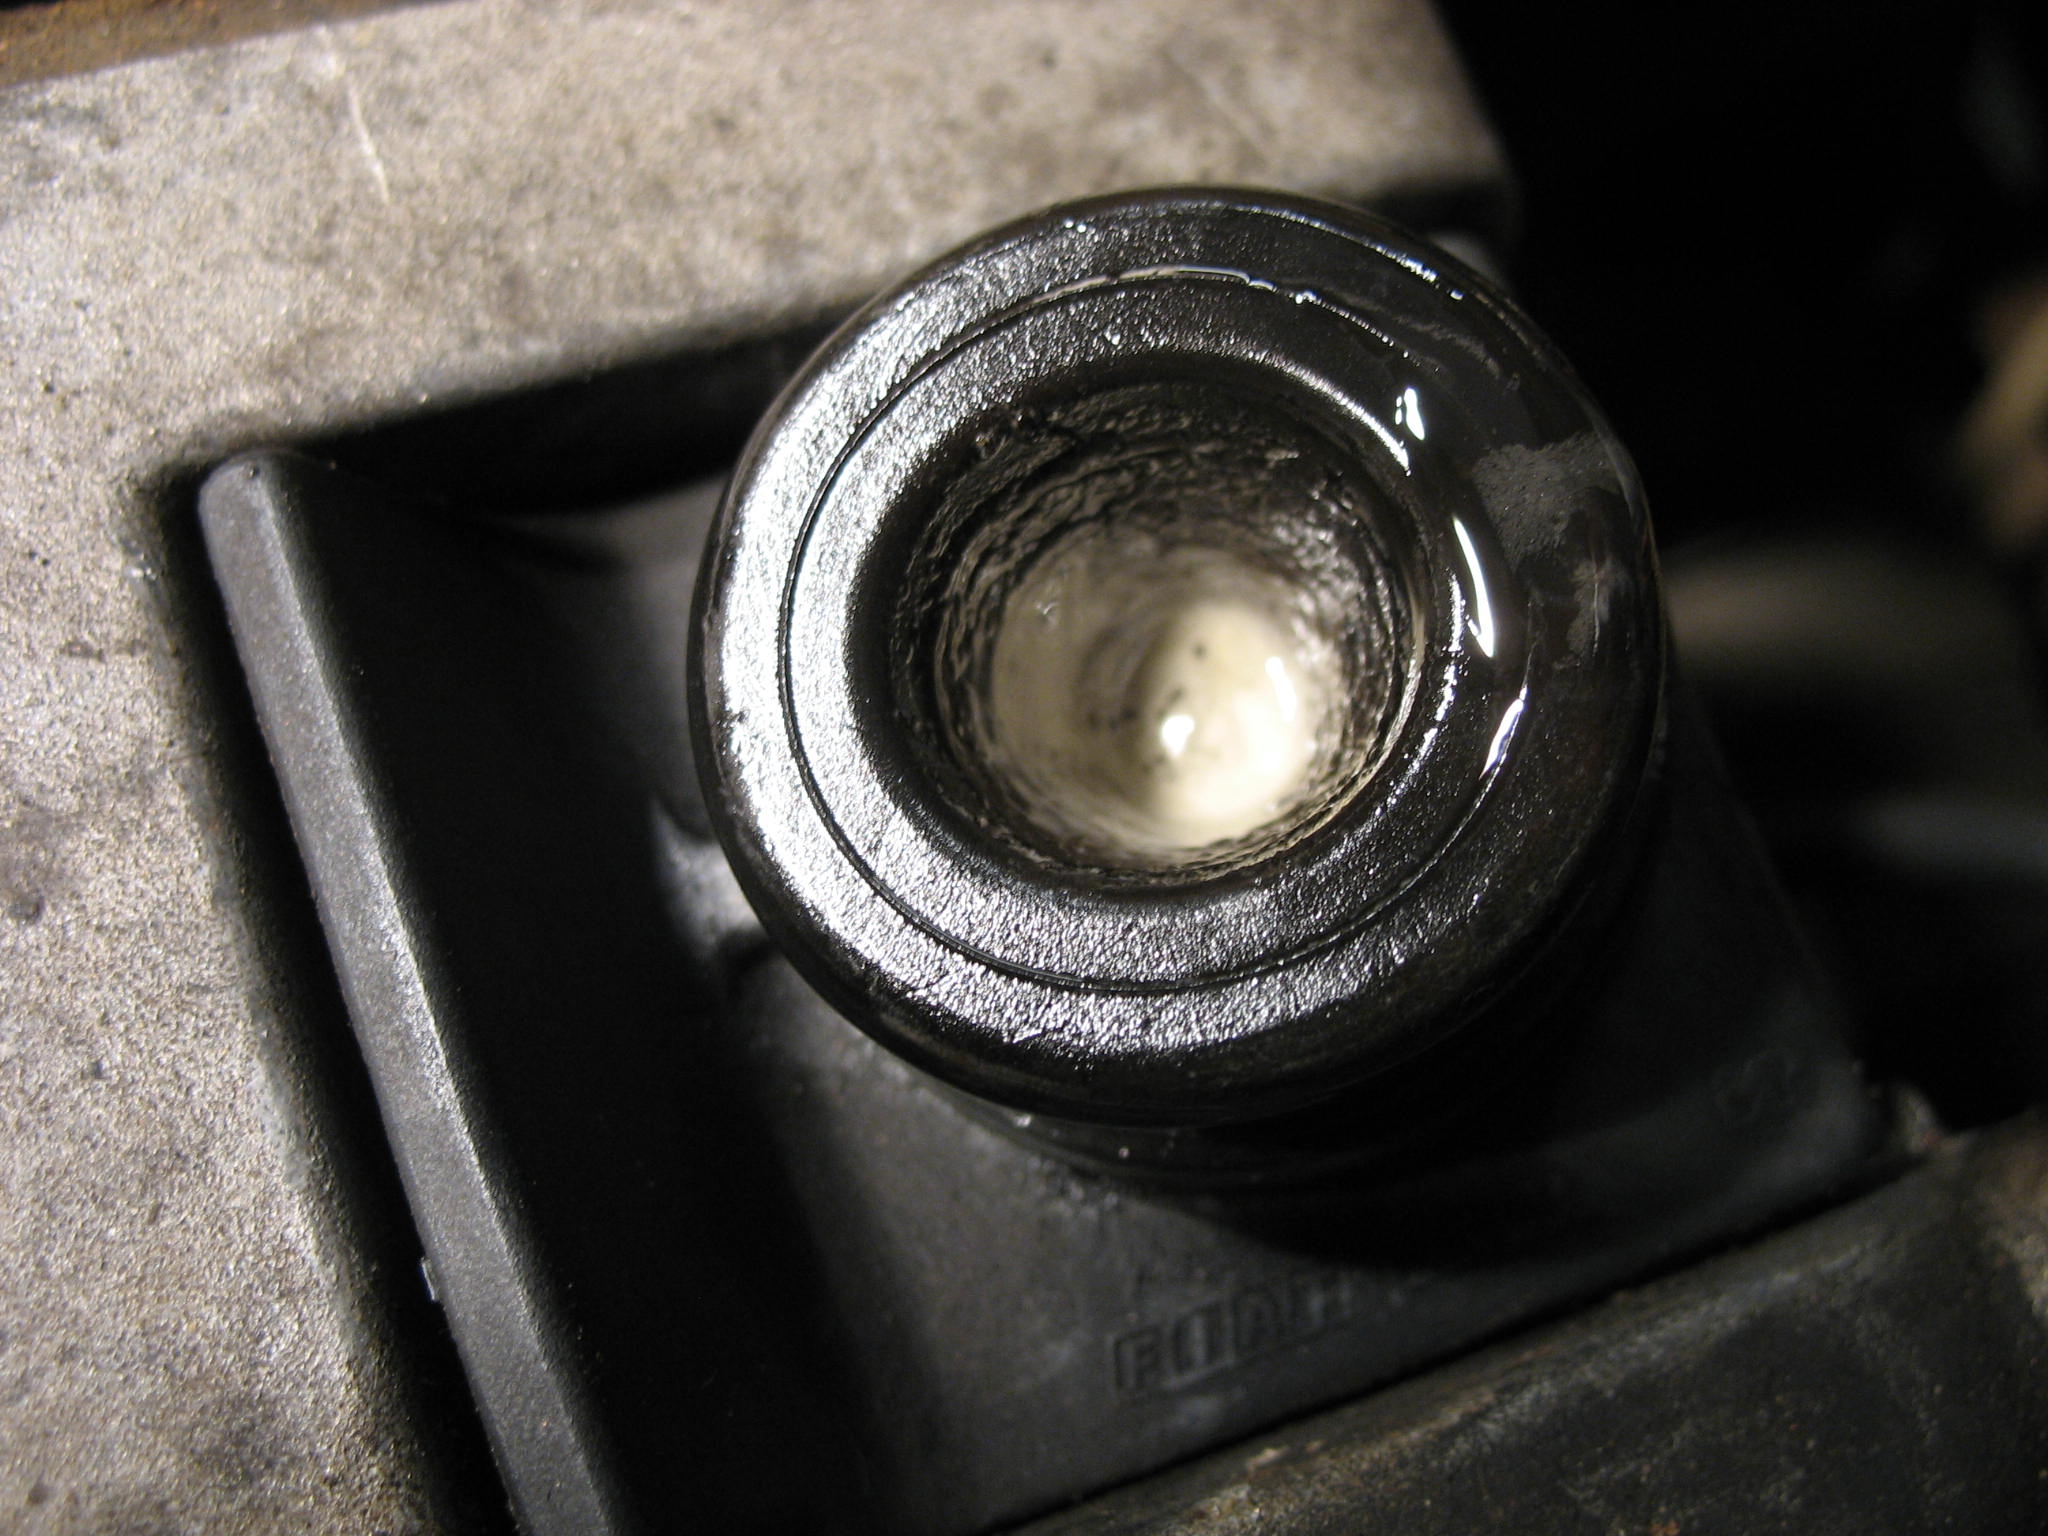
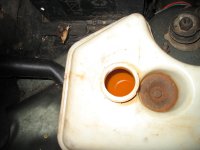
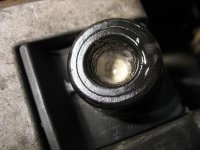
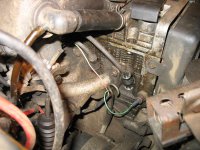
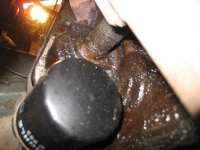
That is my bigger worry for now - bloody milky coolant and a bit of mayo under the oil cap.
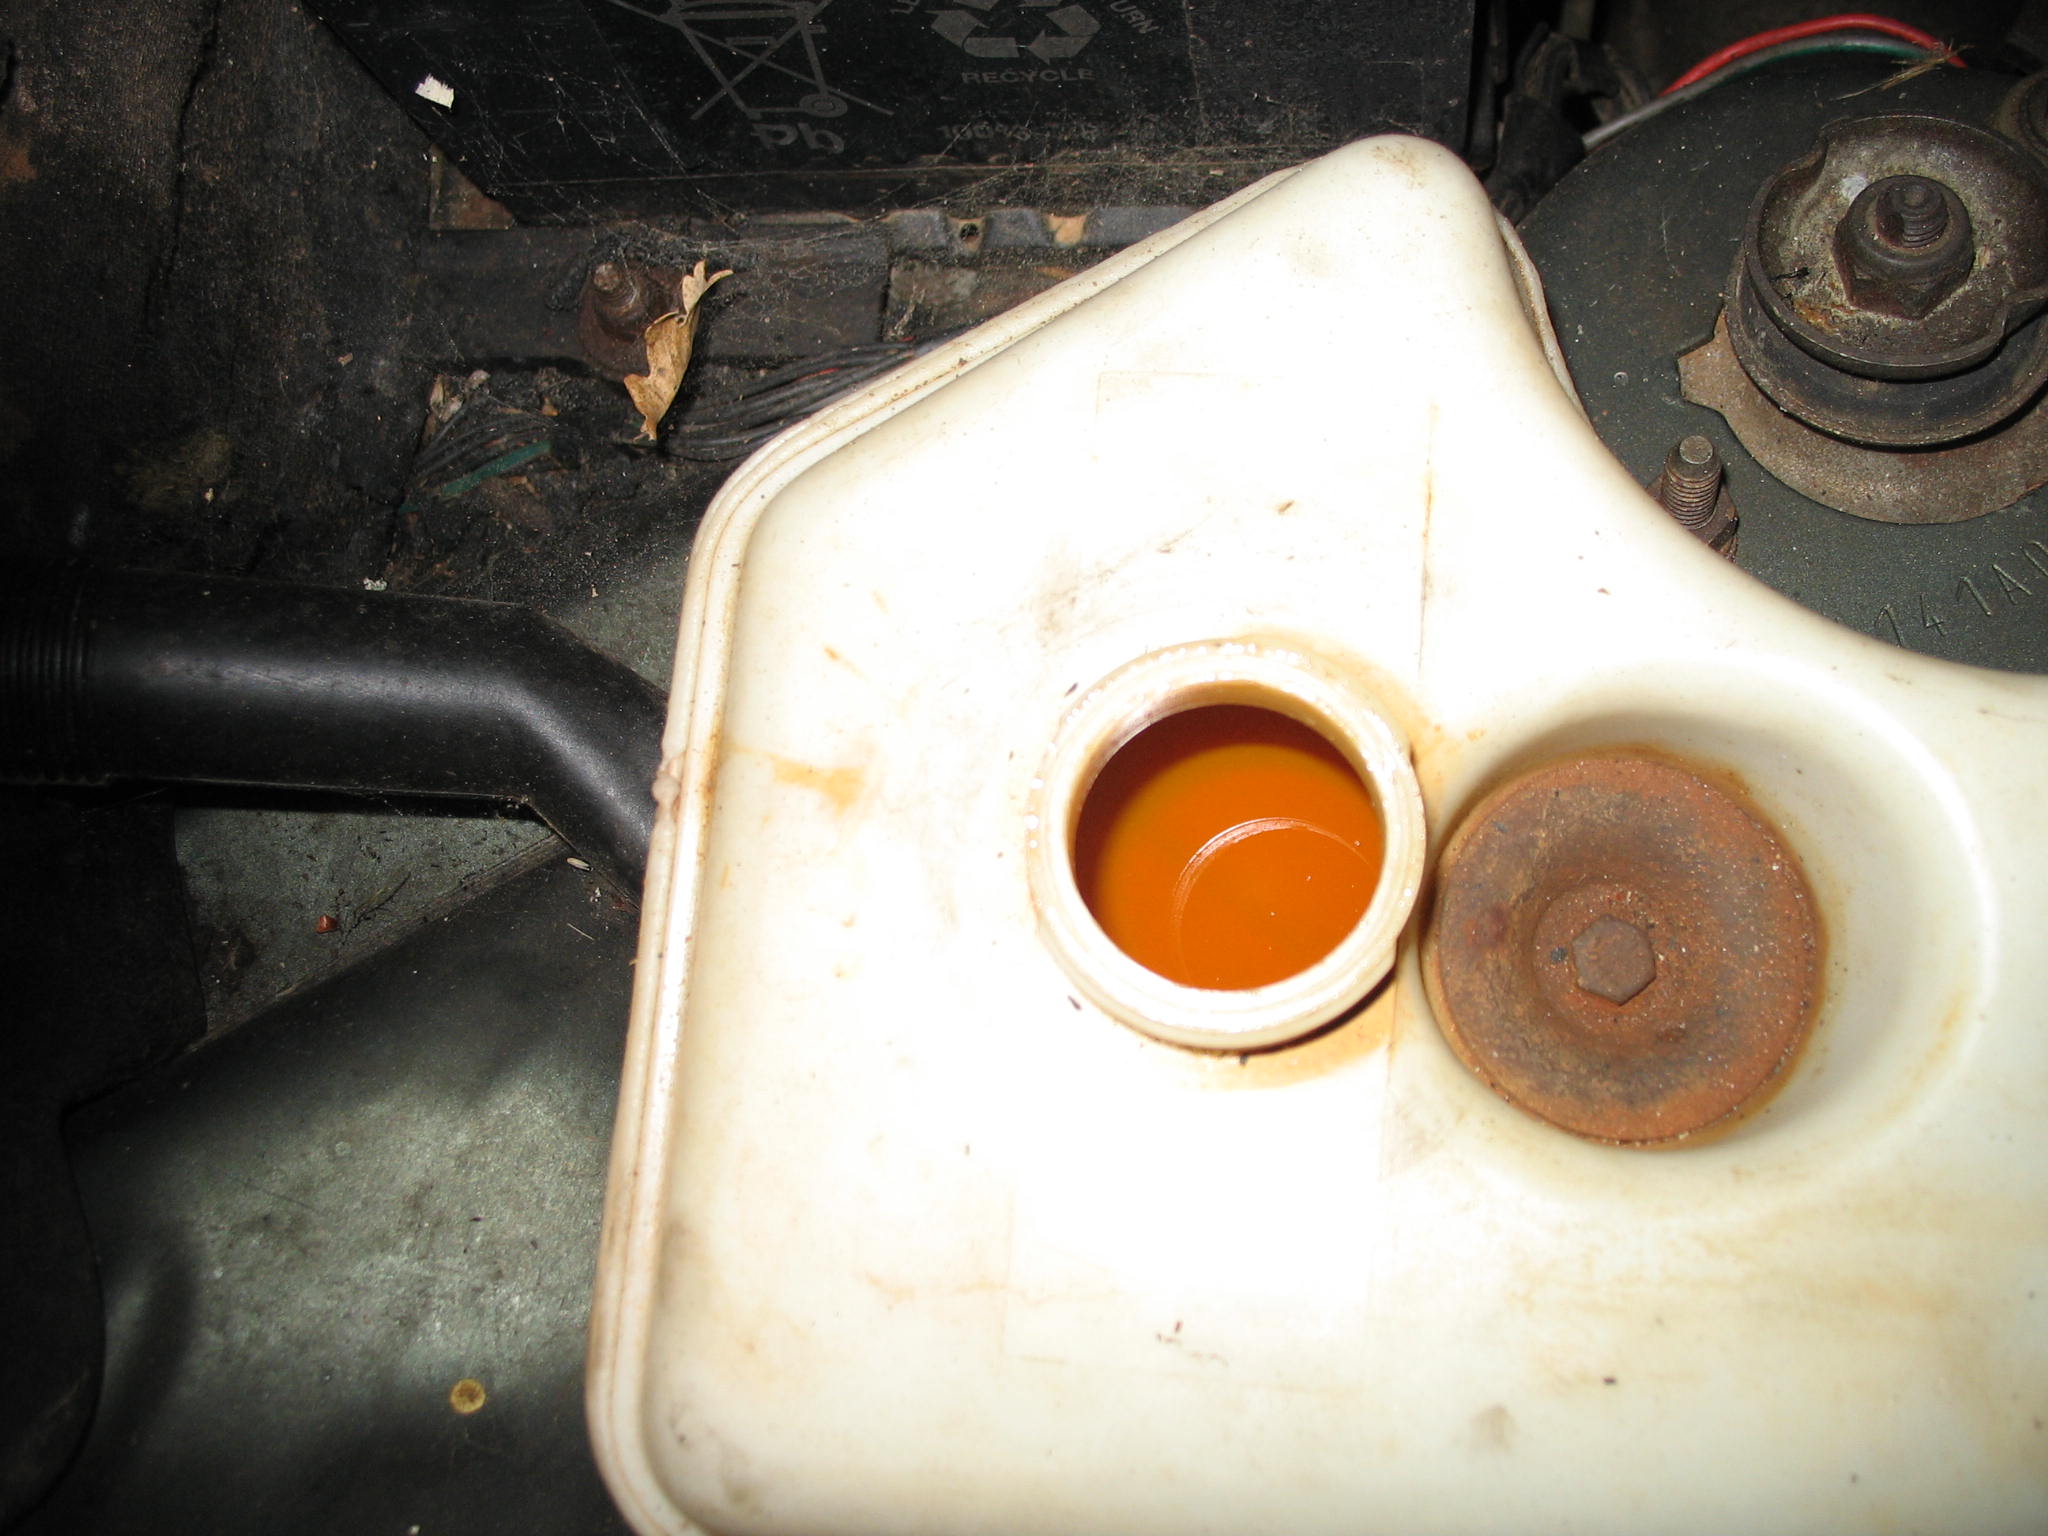
IMG_18771.JPG

IMG_18843.JPG


How can I confirm my head gasket theory not having coolant presure test kit???
@CLS - your not the only one - aparently it is bloody hard to buy cheepo 4x4 without blown thru head gasket.

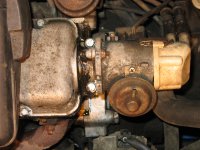
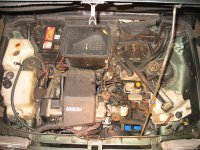
The rest of the engine bay seems to be fine,
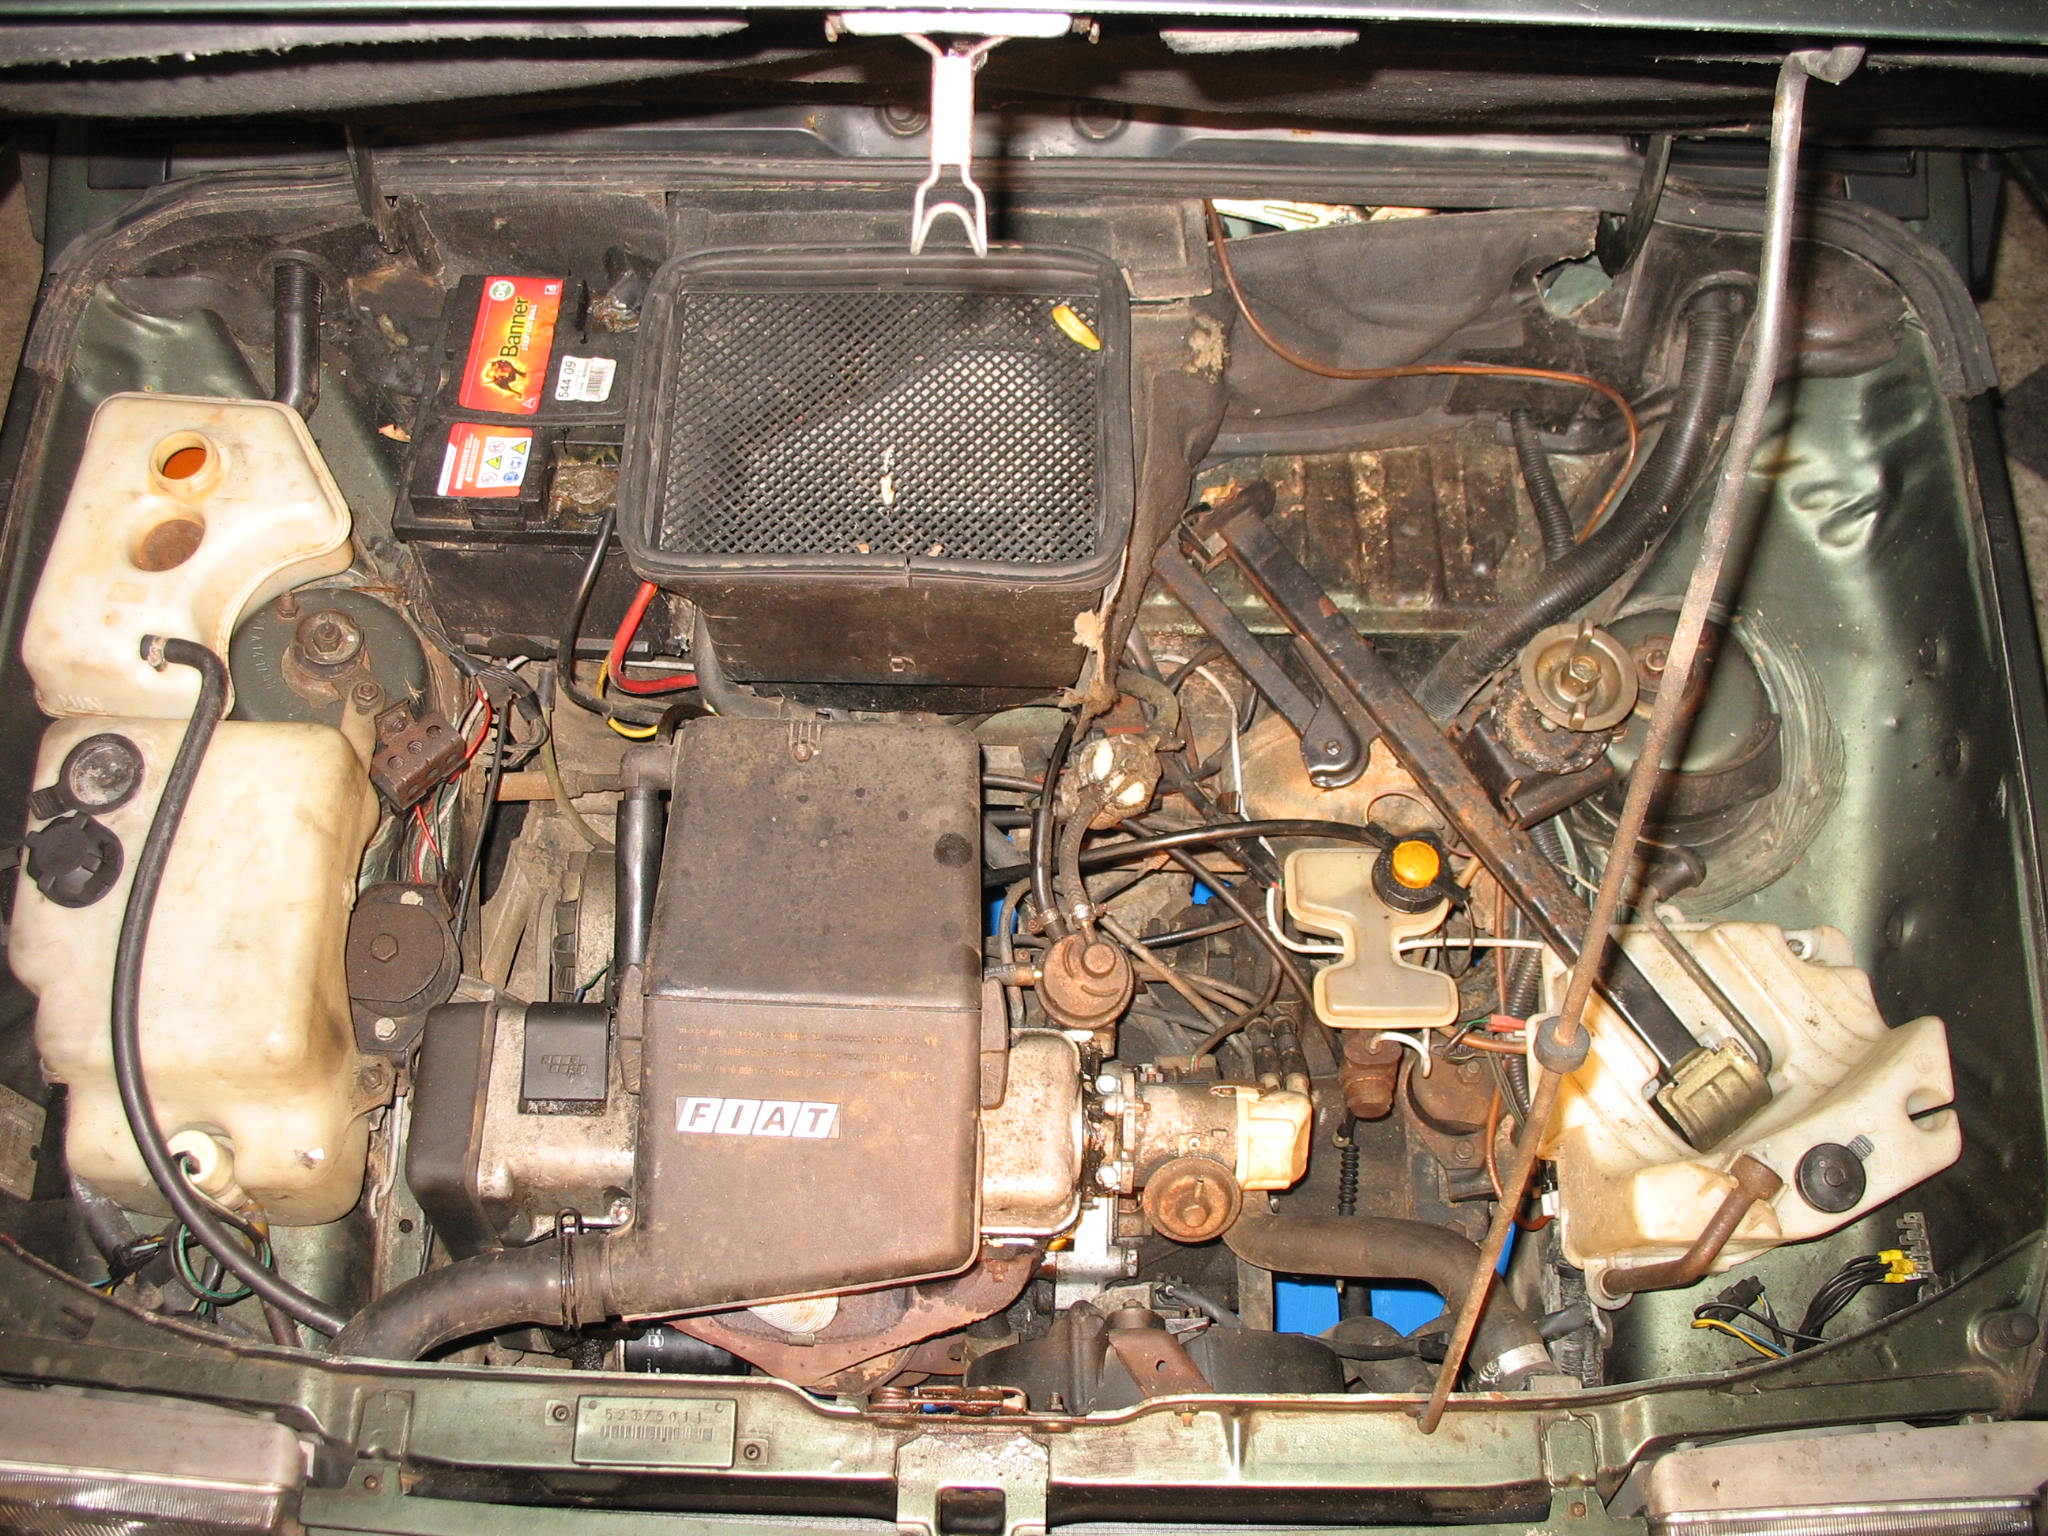
IMG_18791.JPG


Did somebody in here mentioned a black silicone gunk as a fast repair?
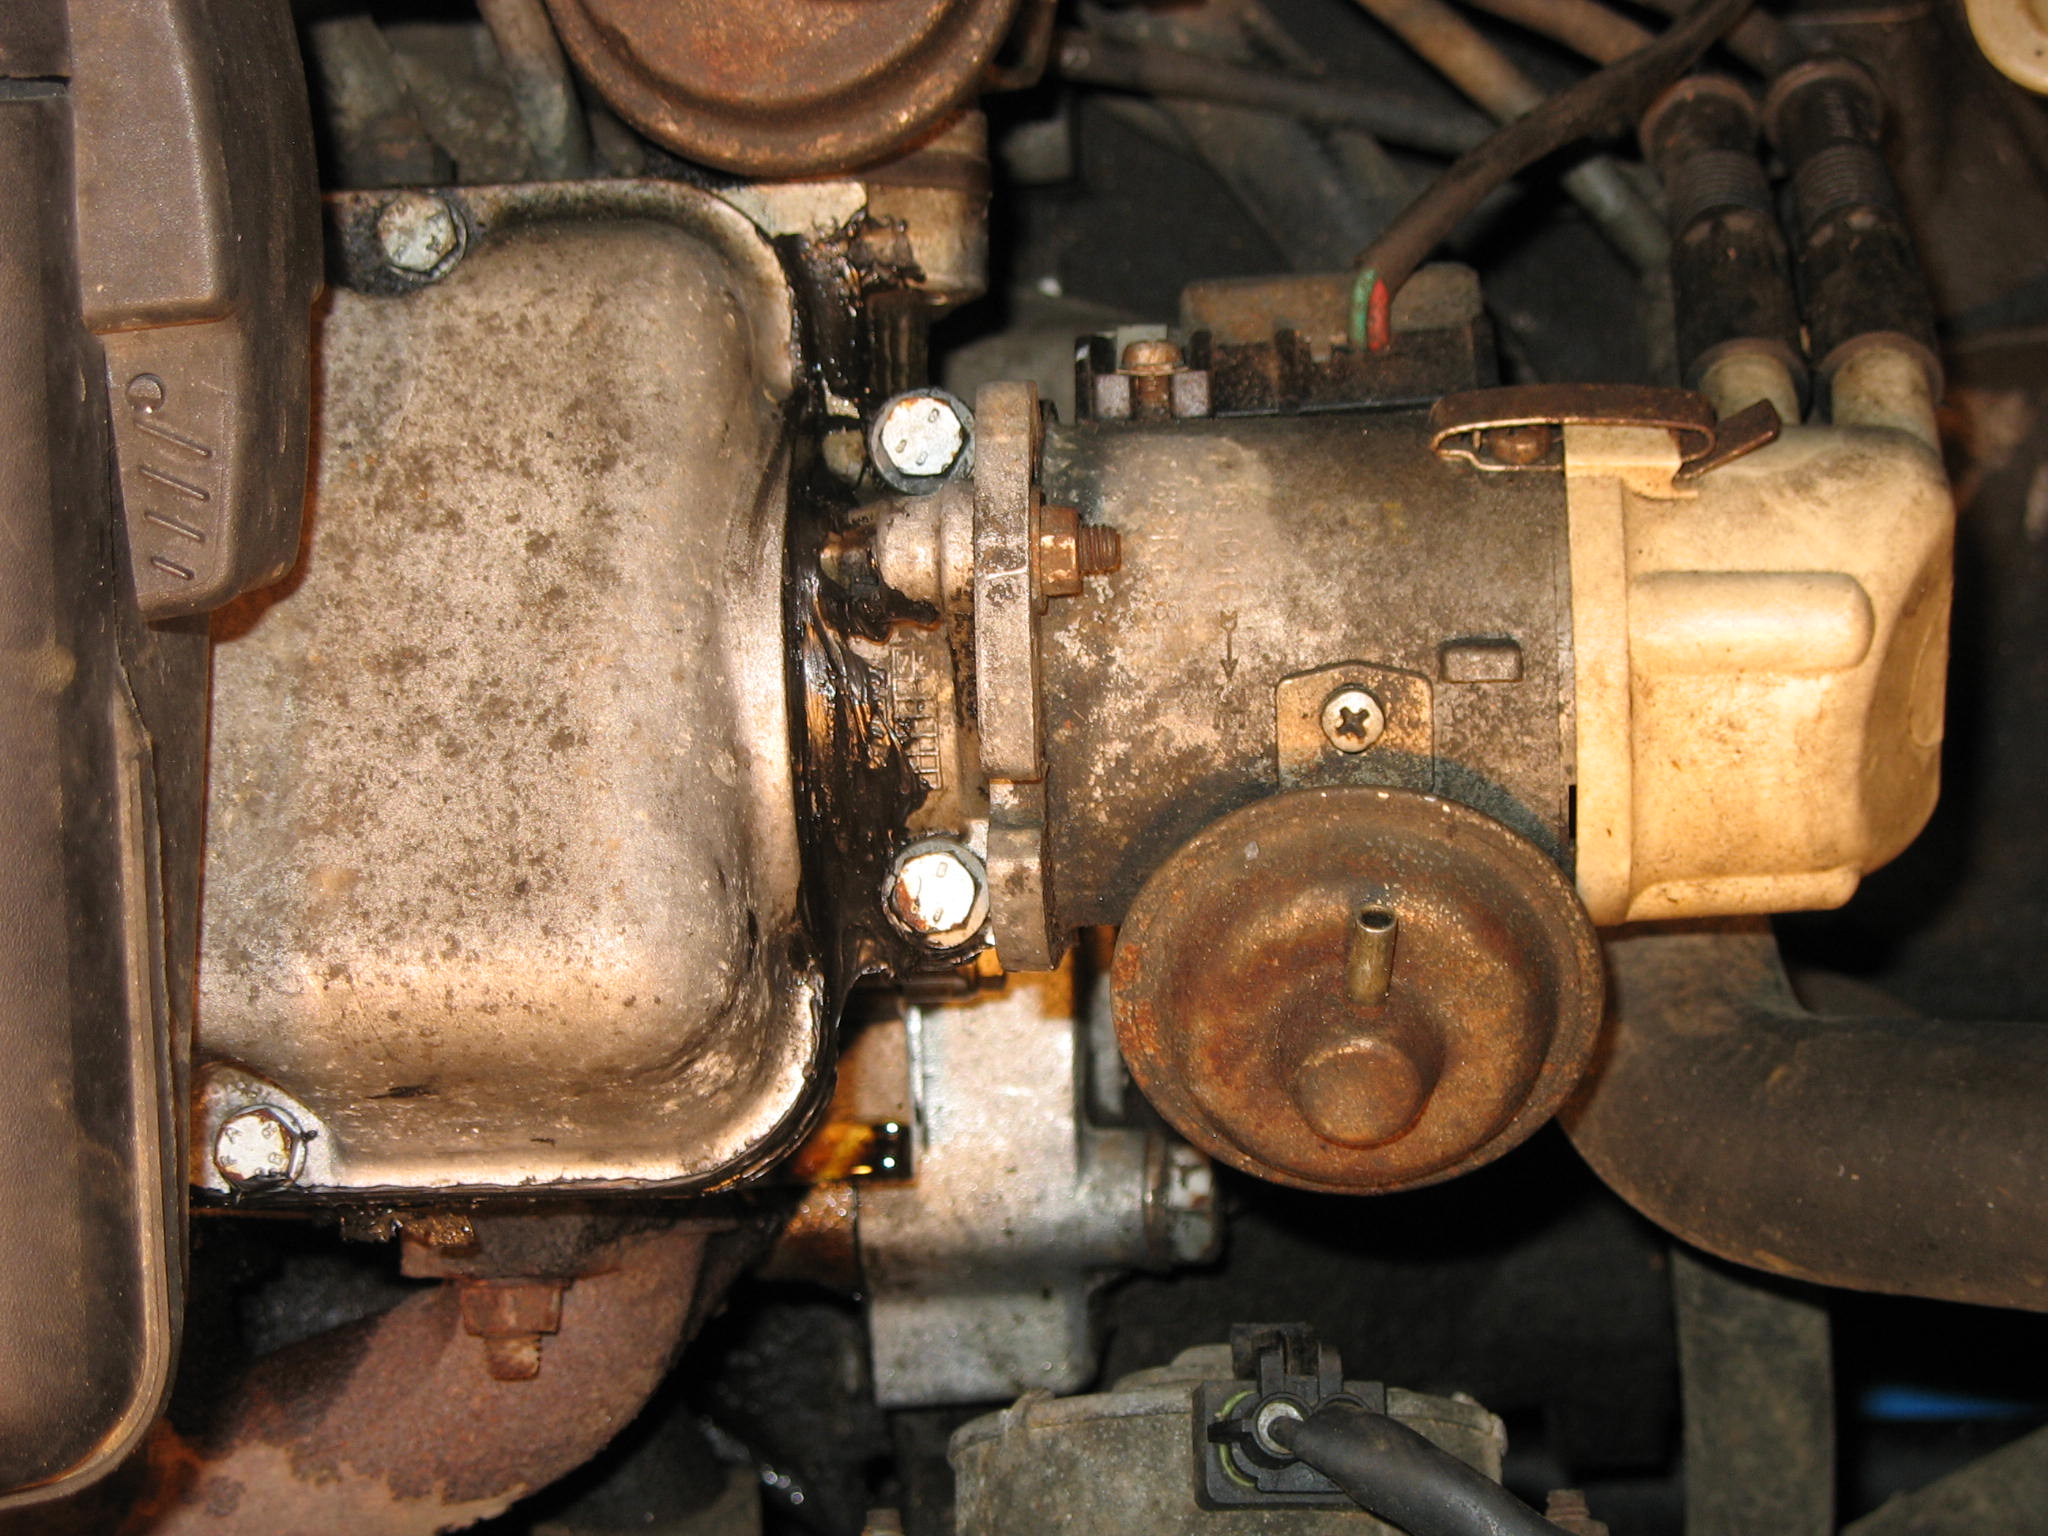
IMG_1878.JPG


IMG_19241.JPG


IMG_18862.JPG


IMG_18821.JPG


IMG_19311.JPG


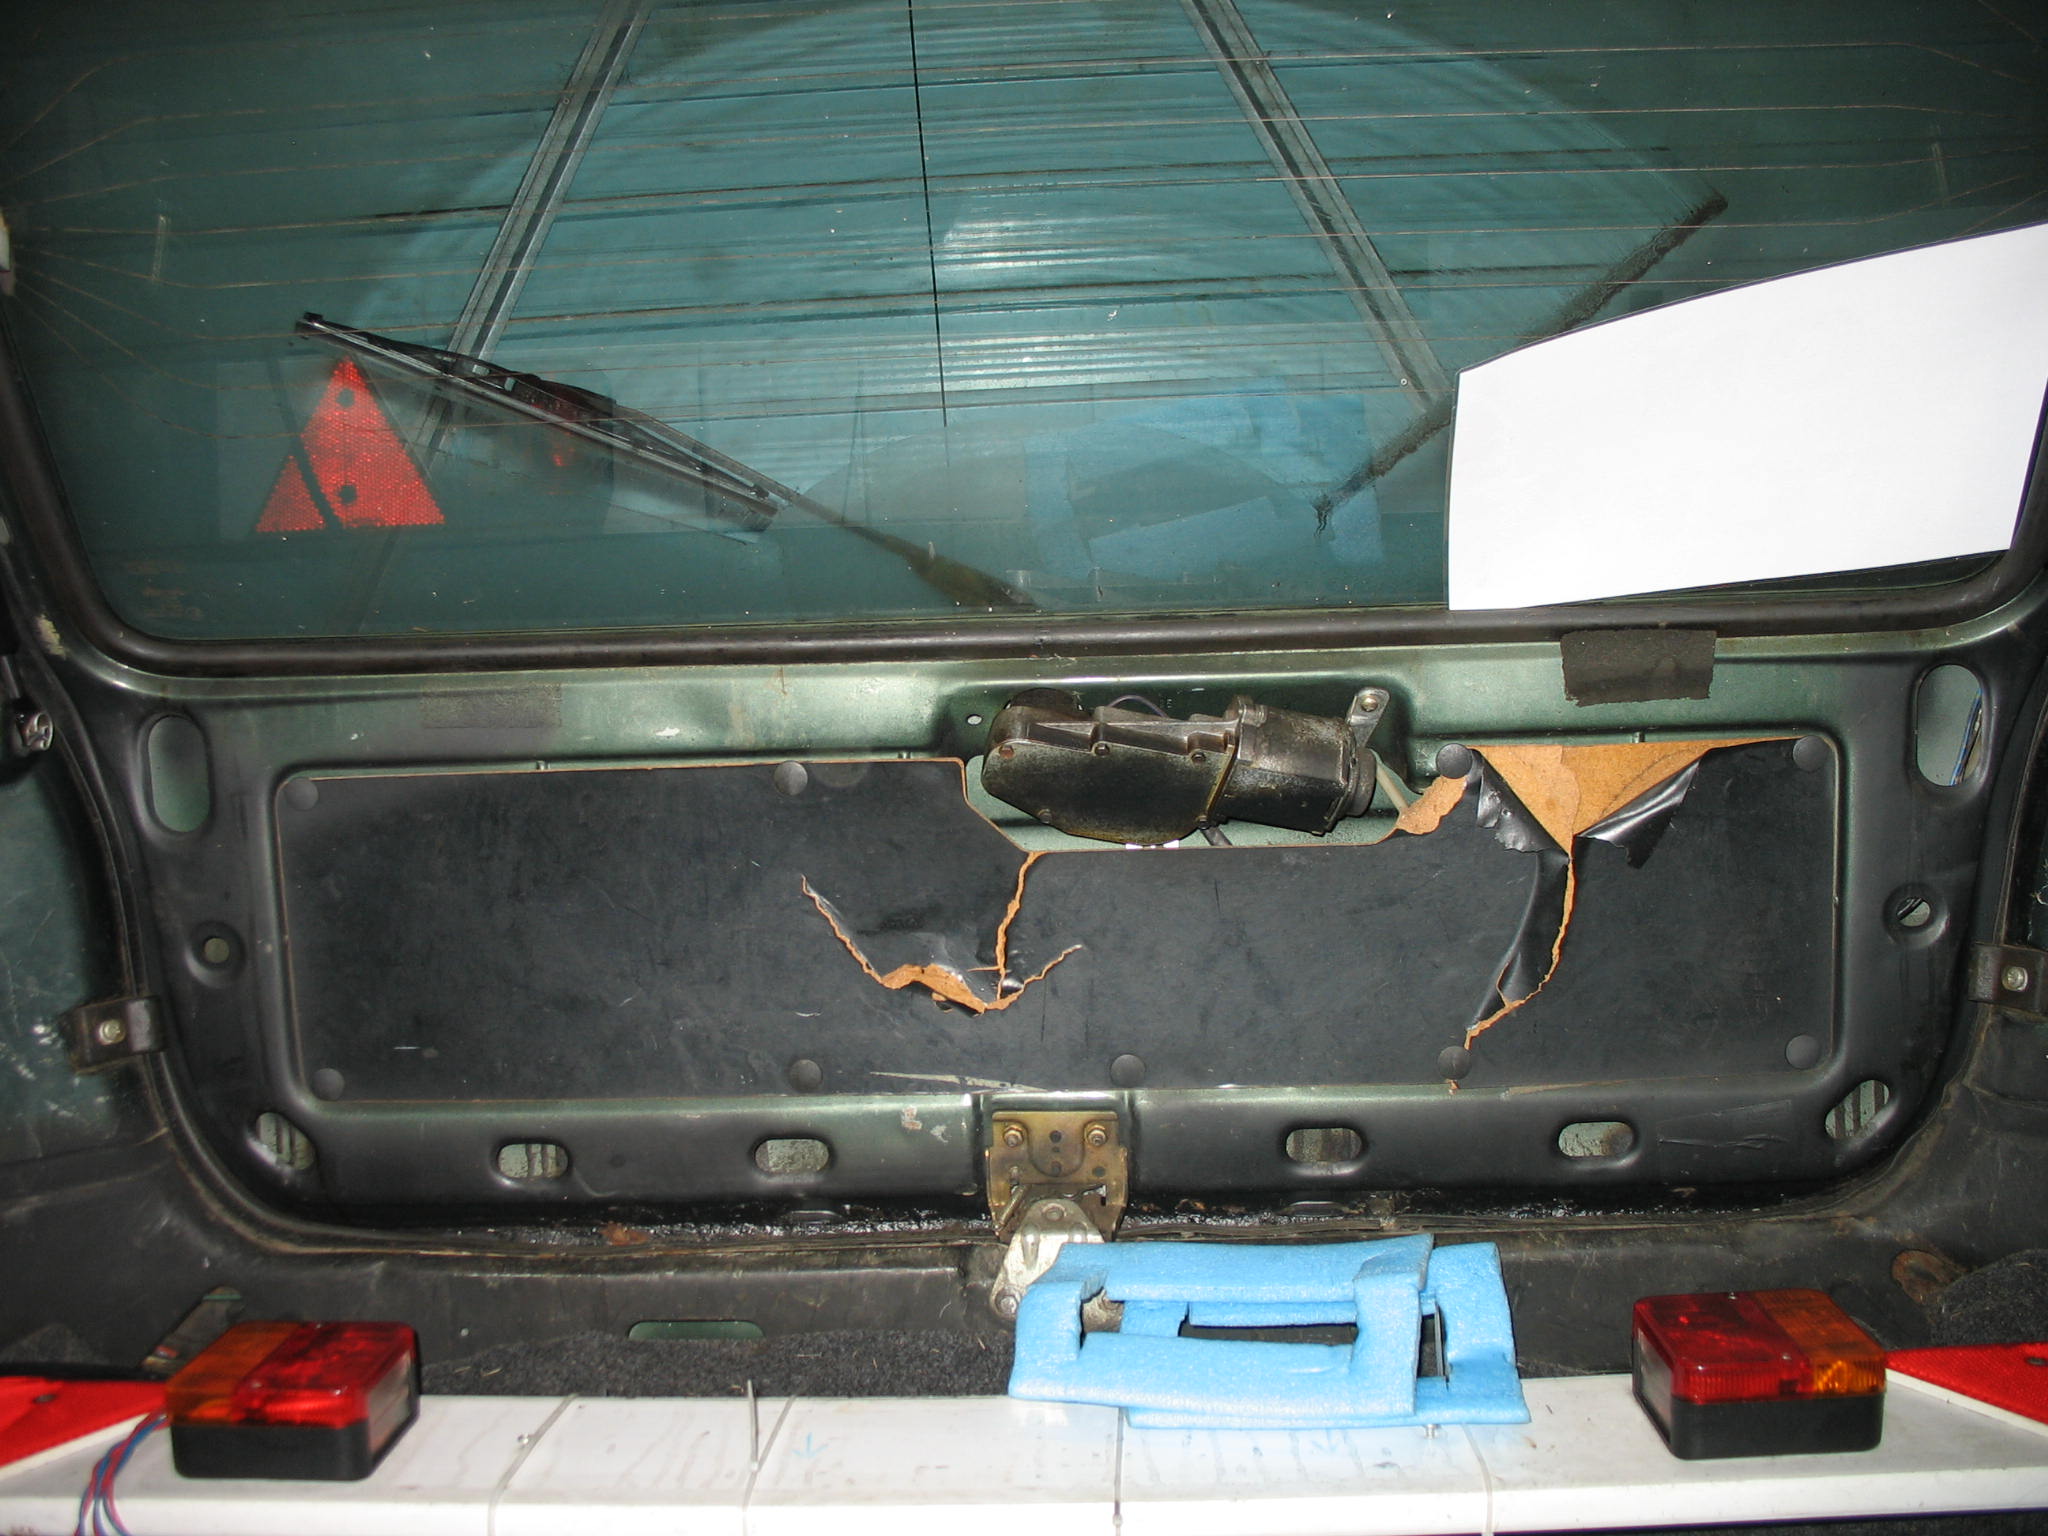
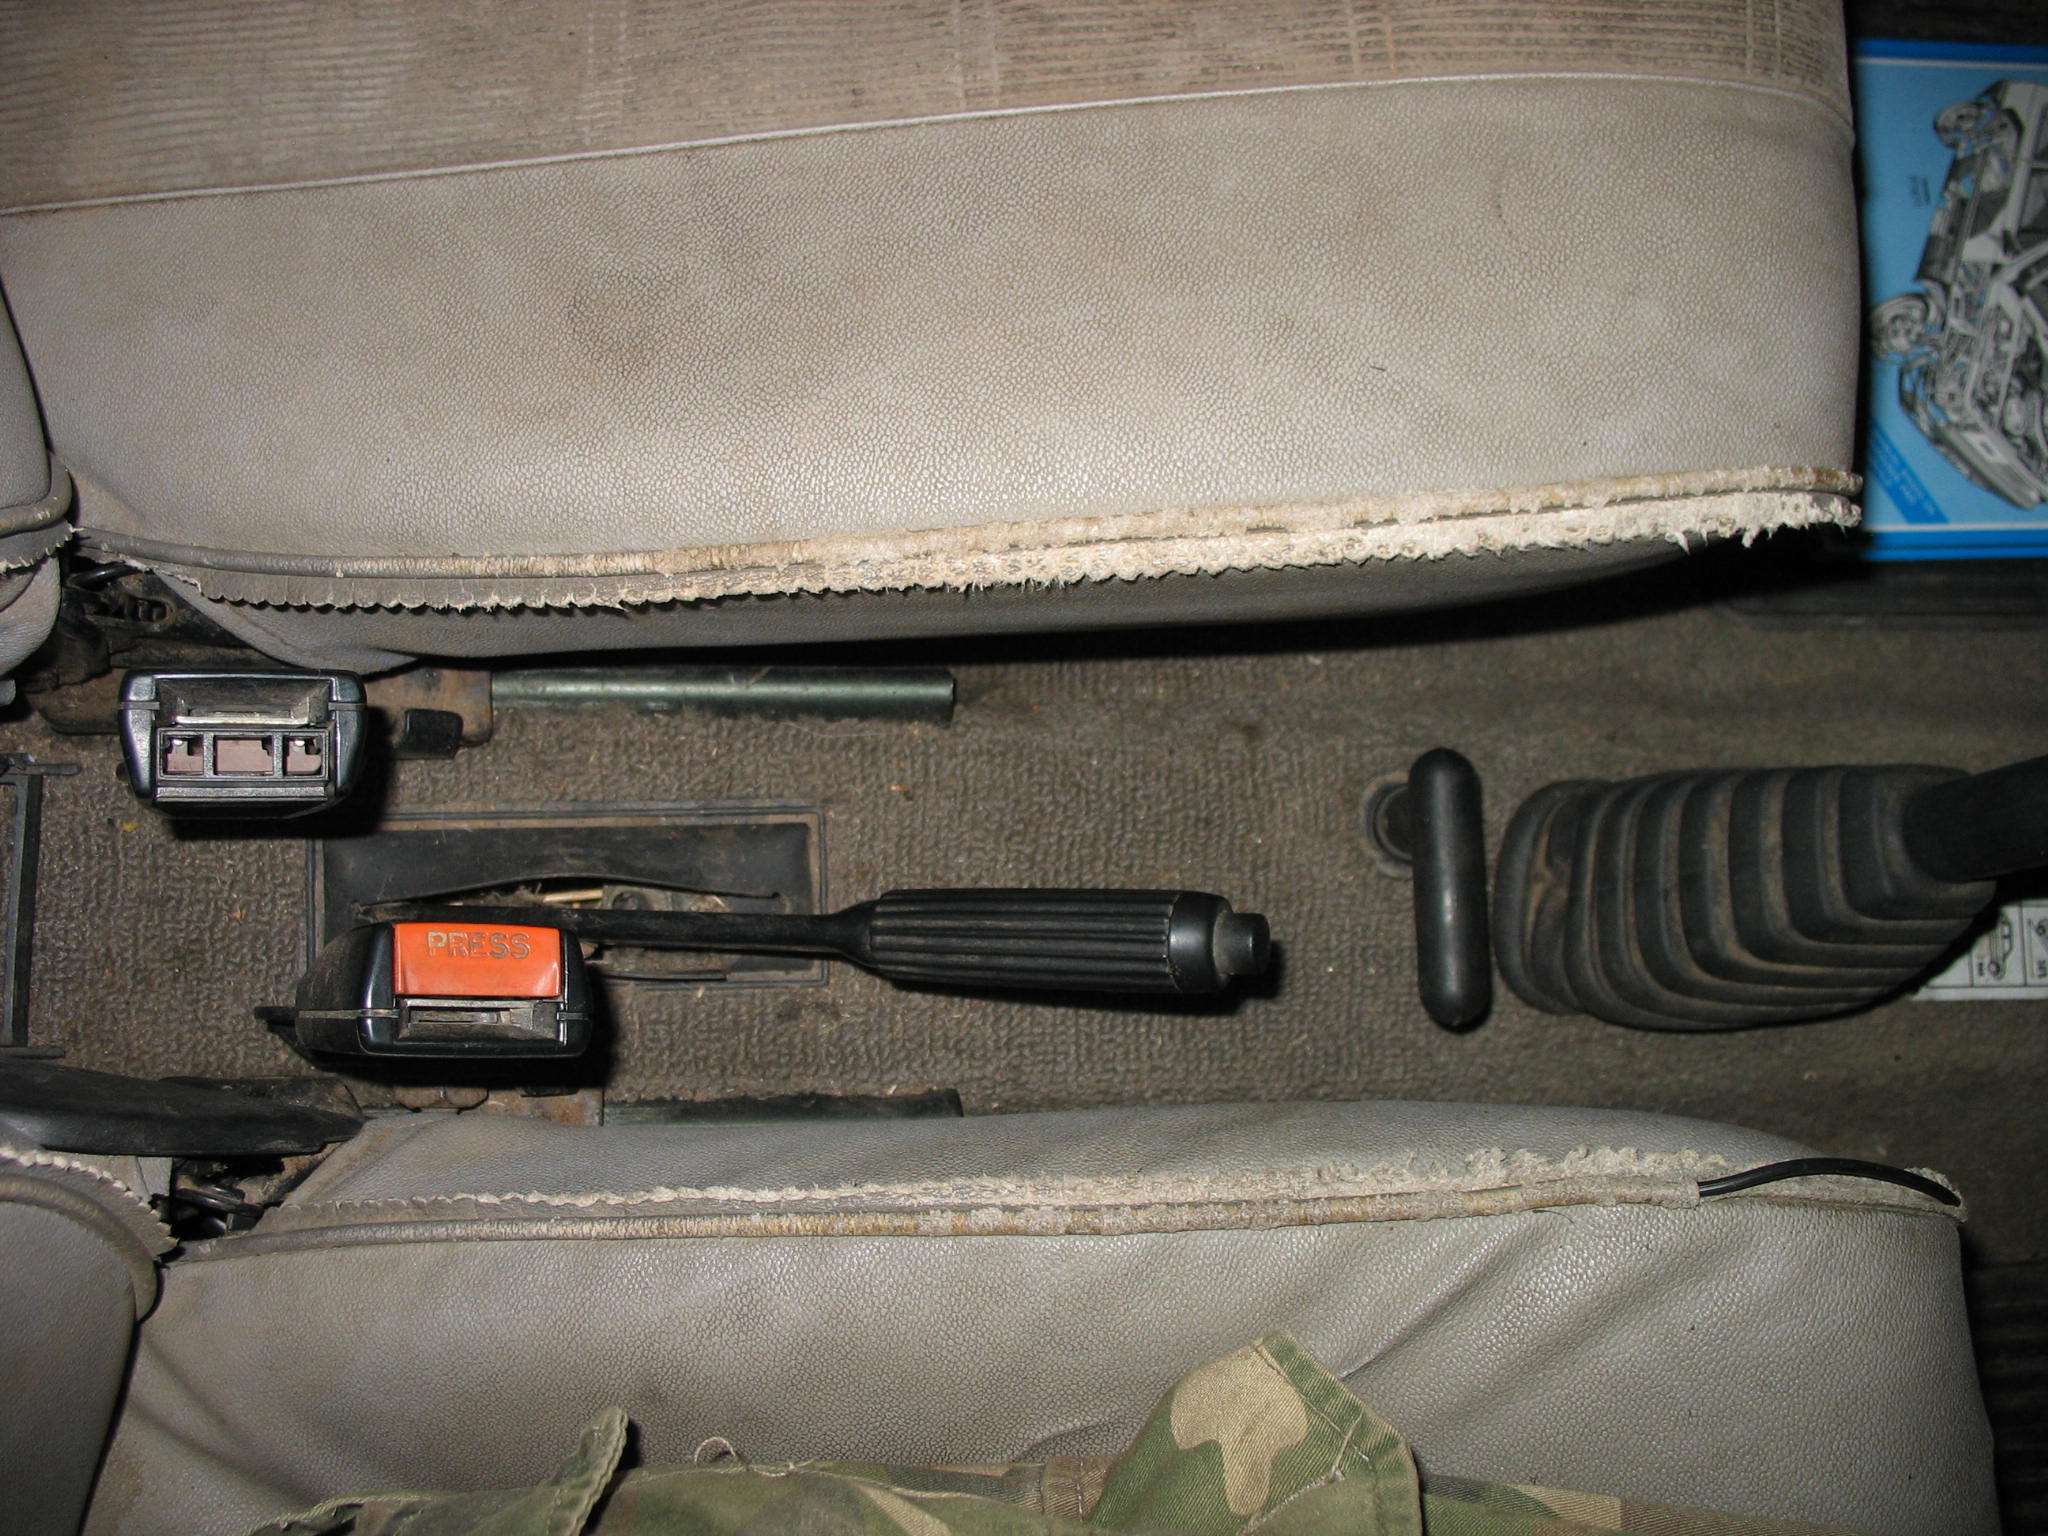
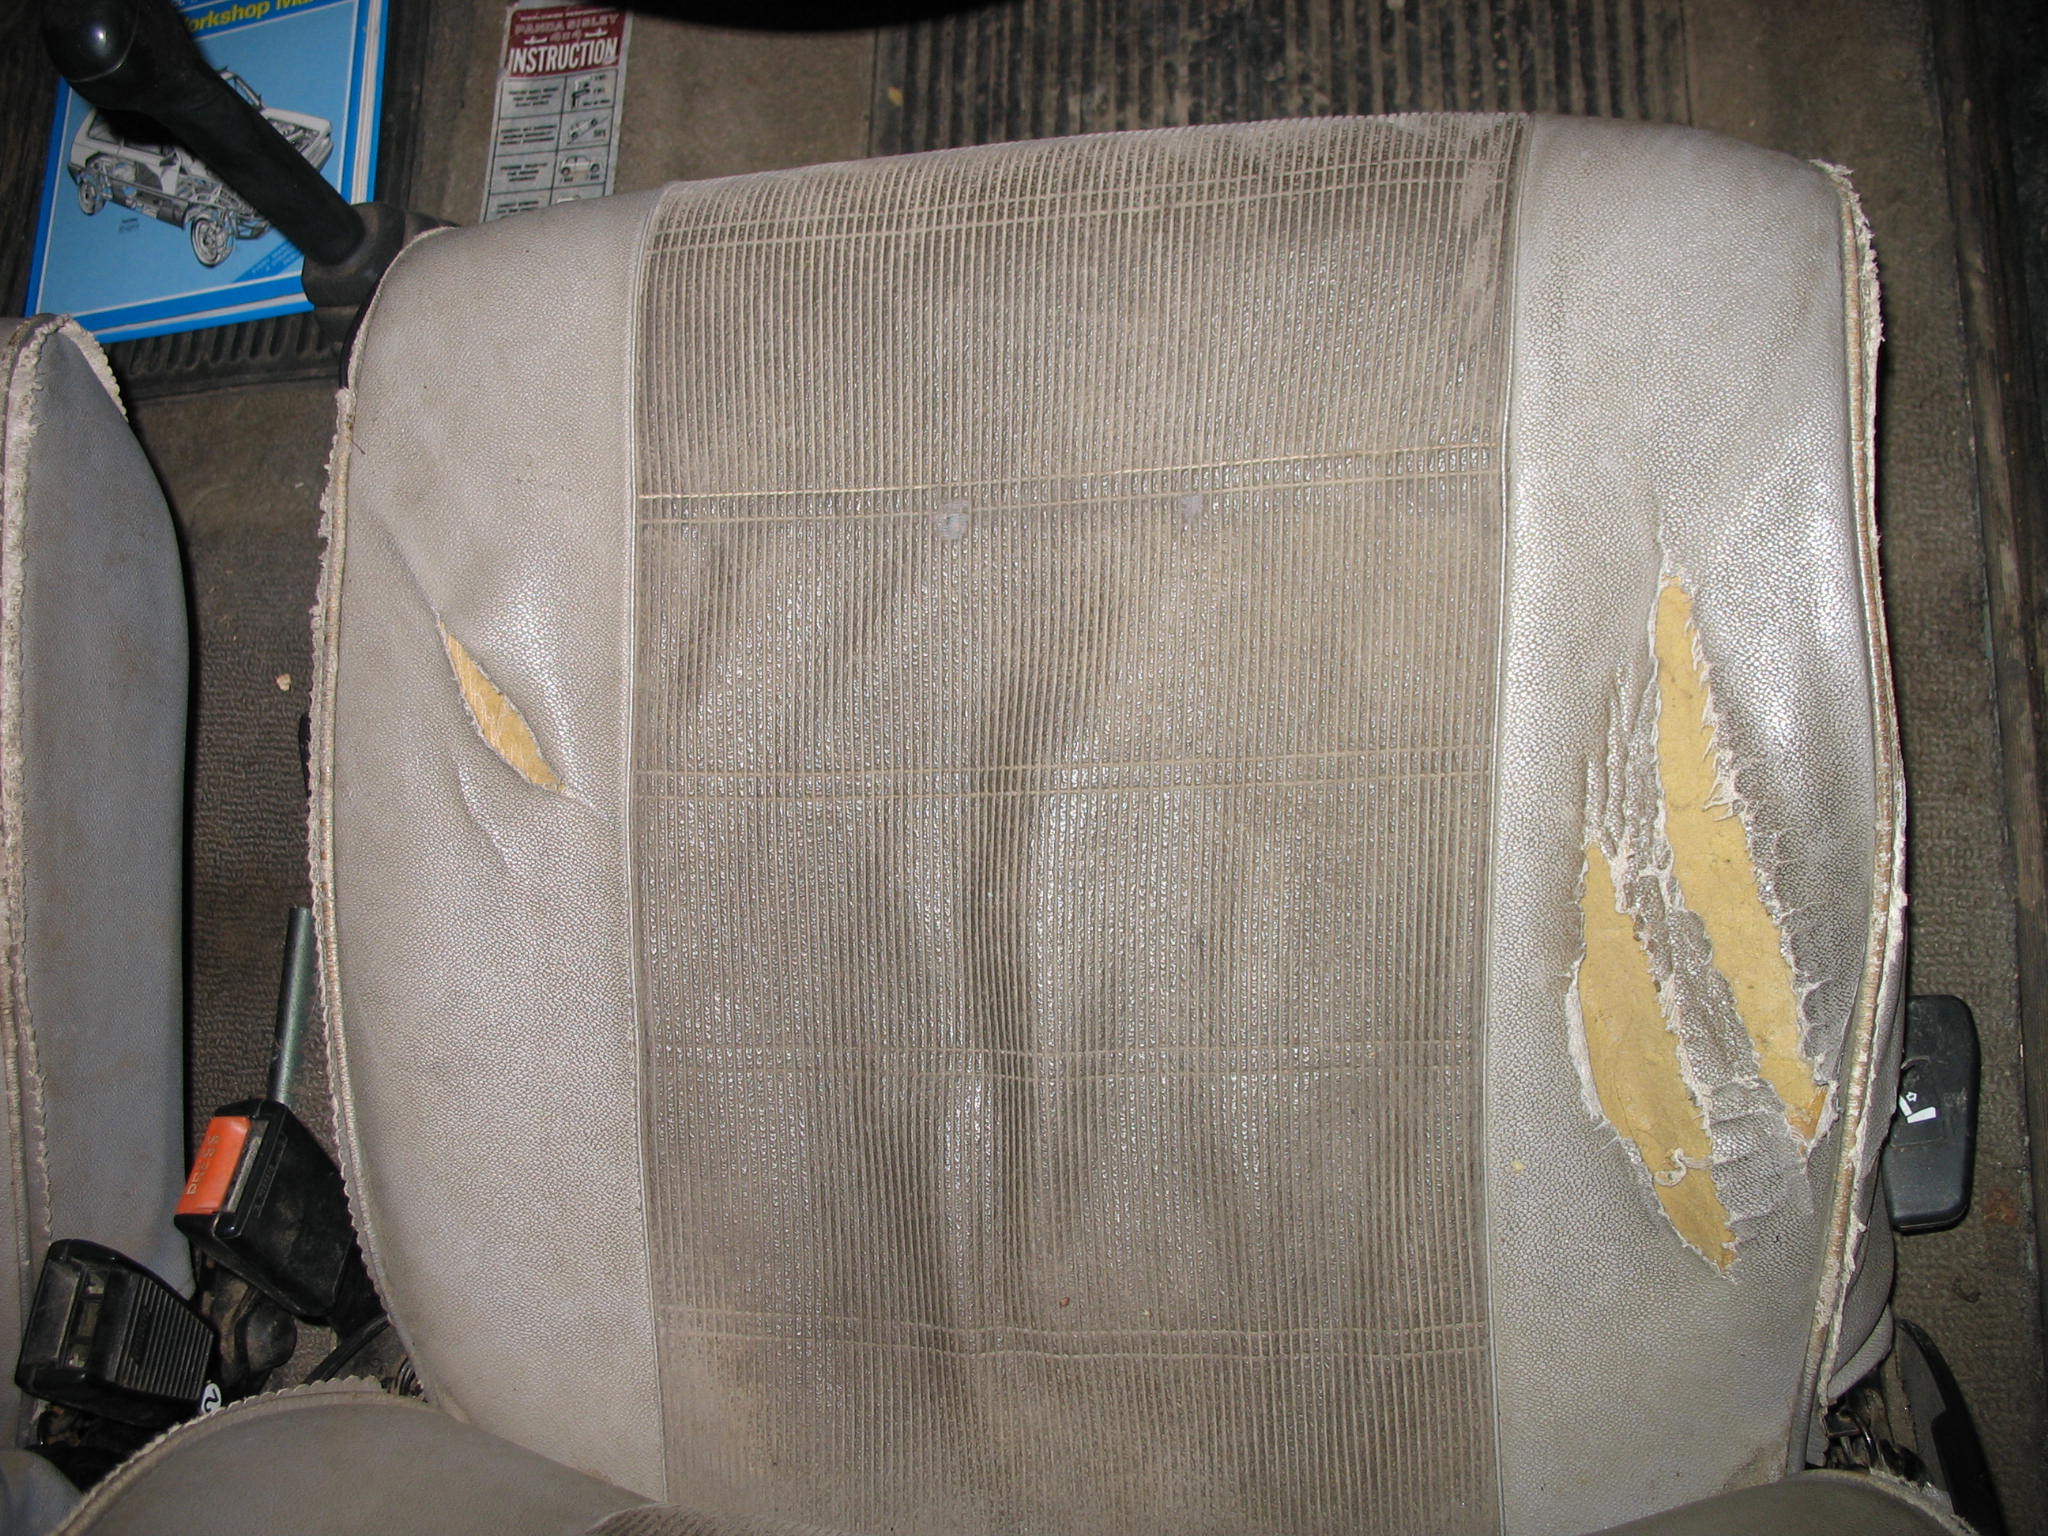
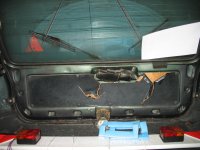
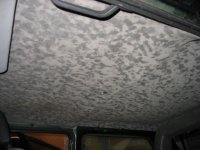
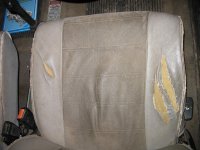
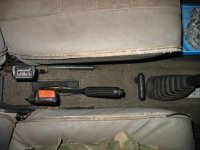
Interior as you can expect from car been used on a farm
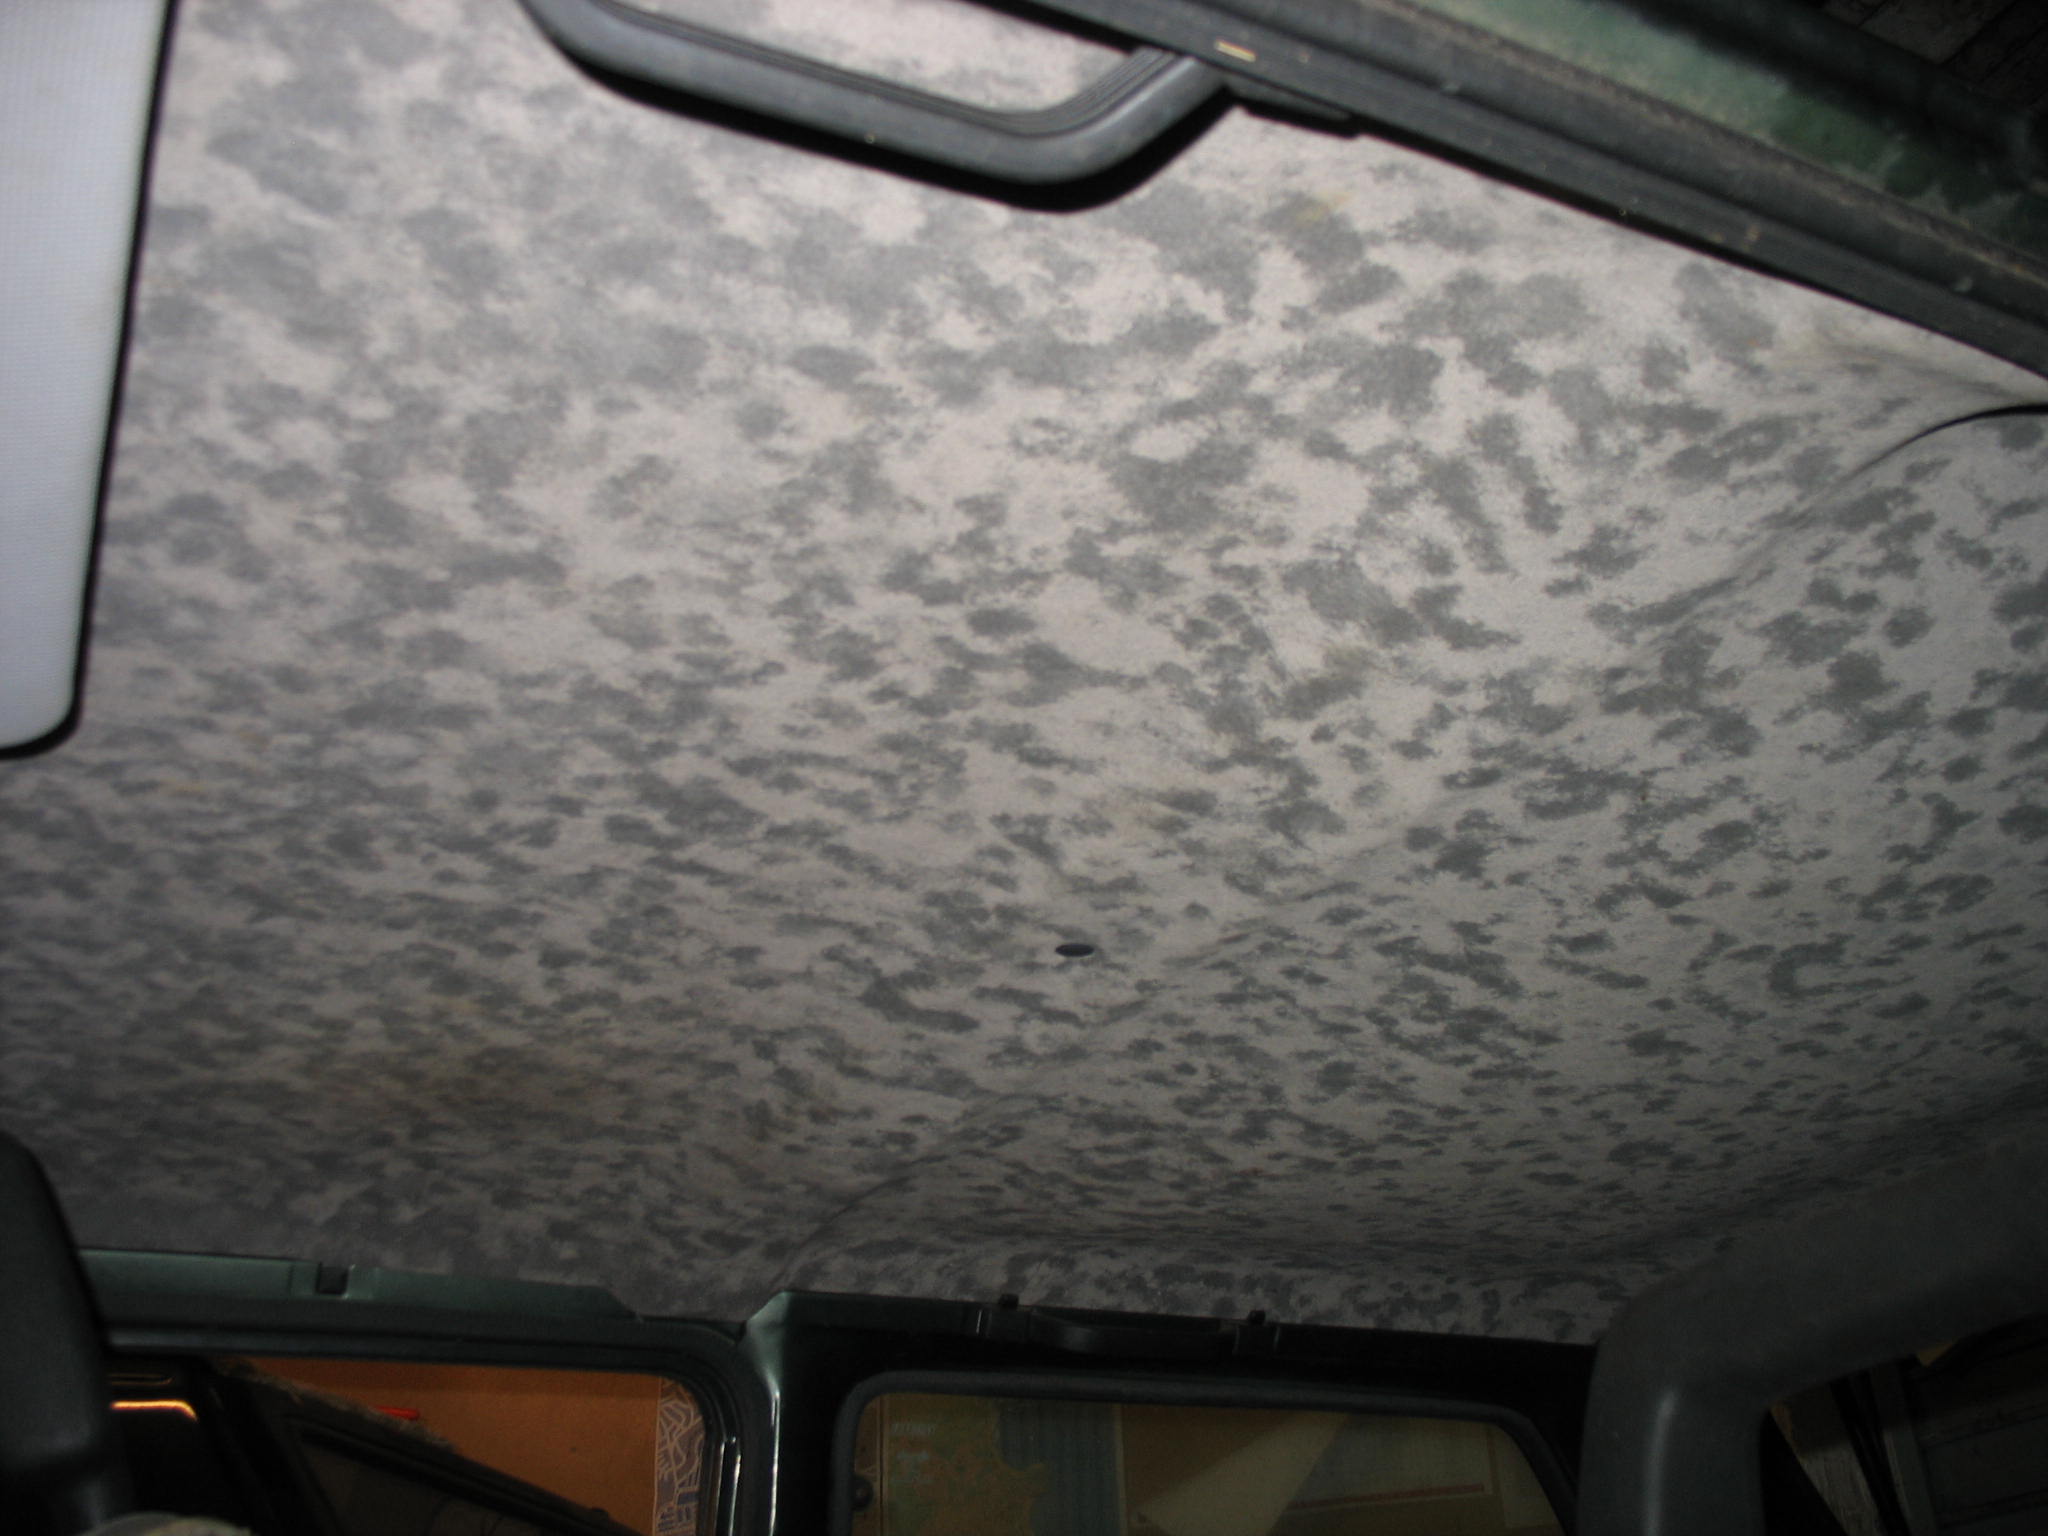
IMG_19102.JPG


IMG_18901.JPG


IMG_1874.JPG


IMG_19373.JPG


IMG_19364.JPG


IMG_19384.JPG


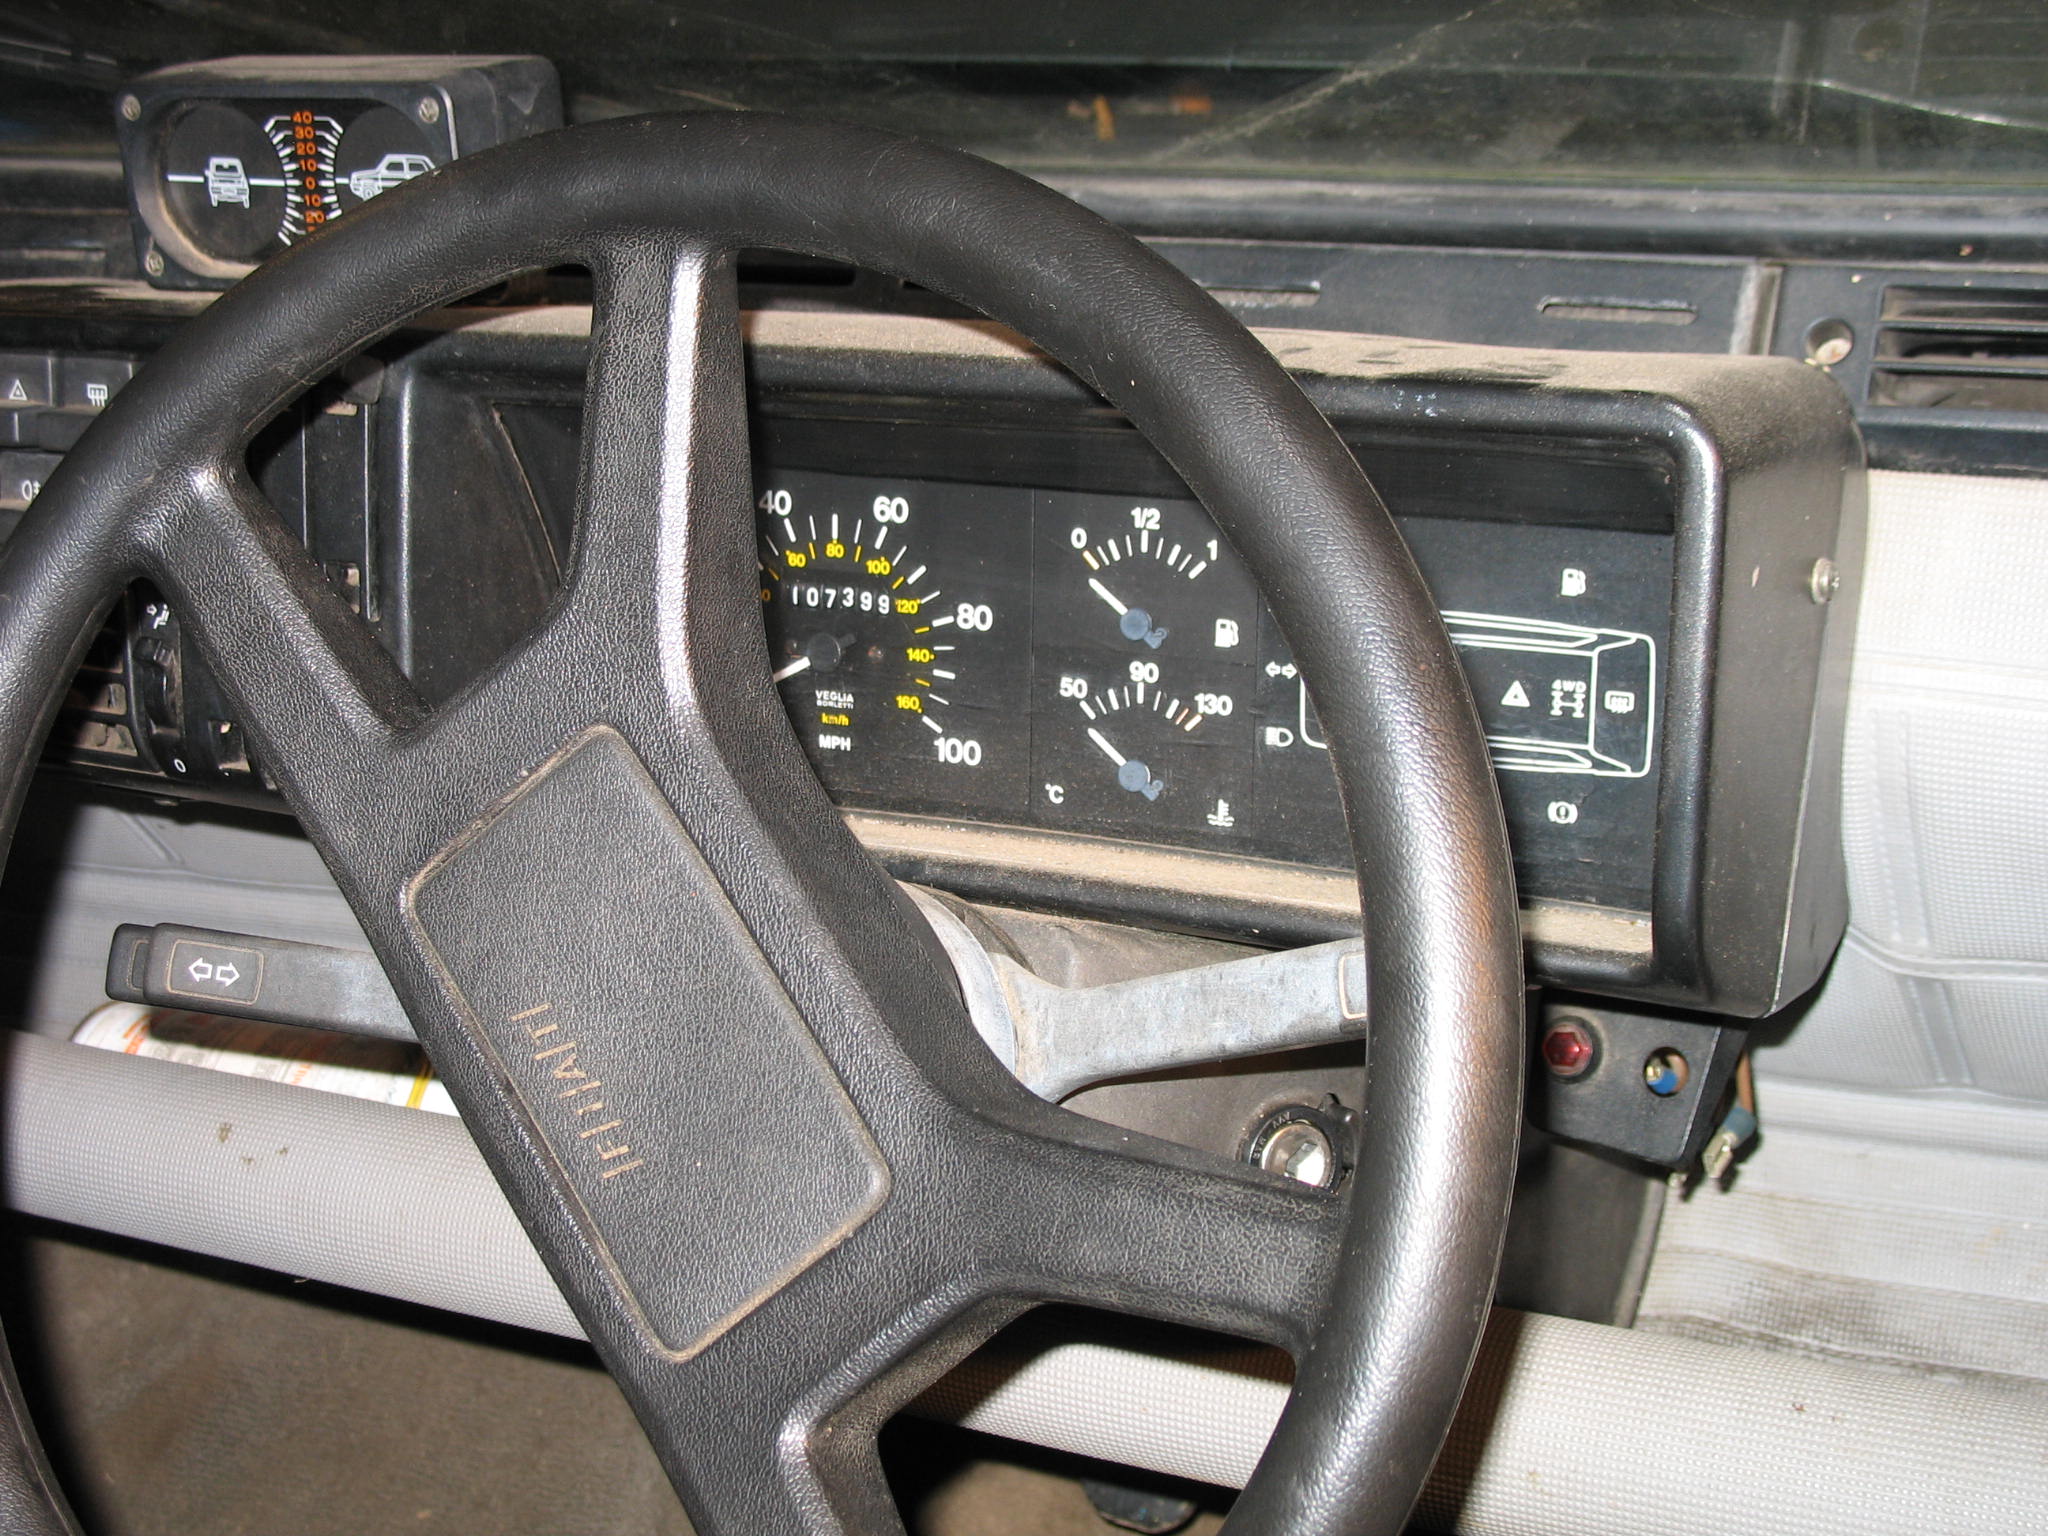
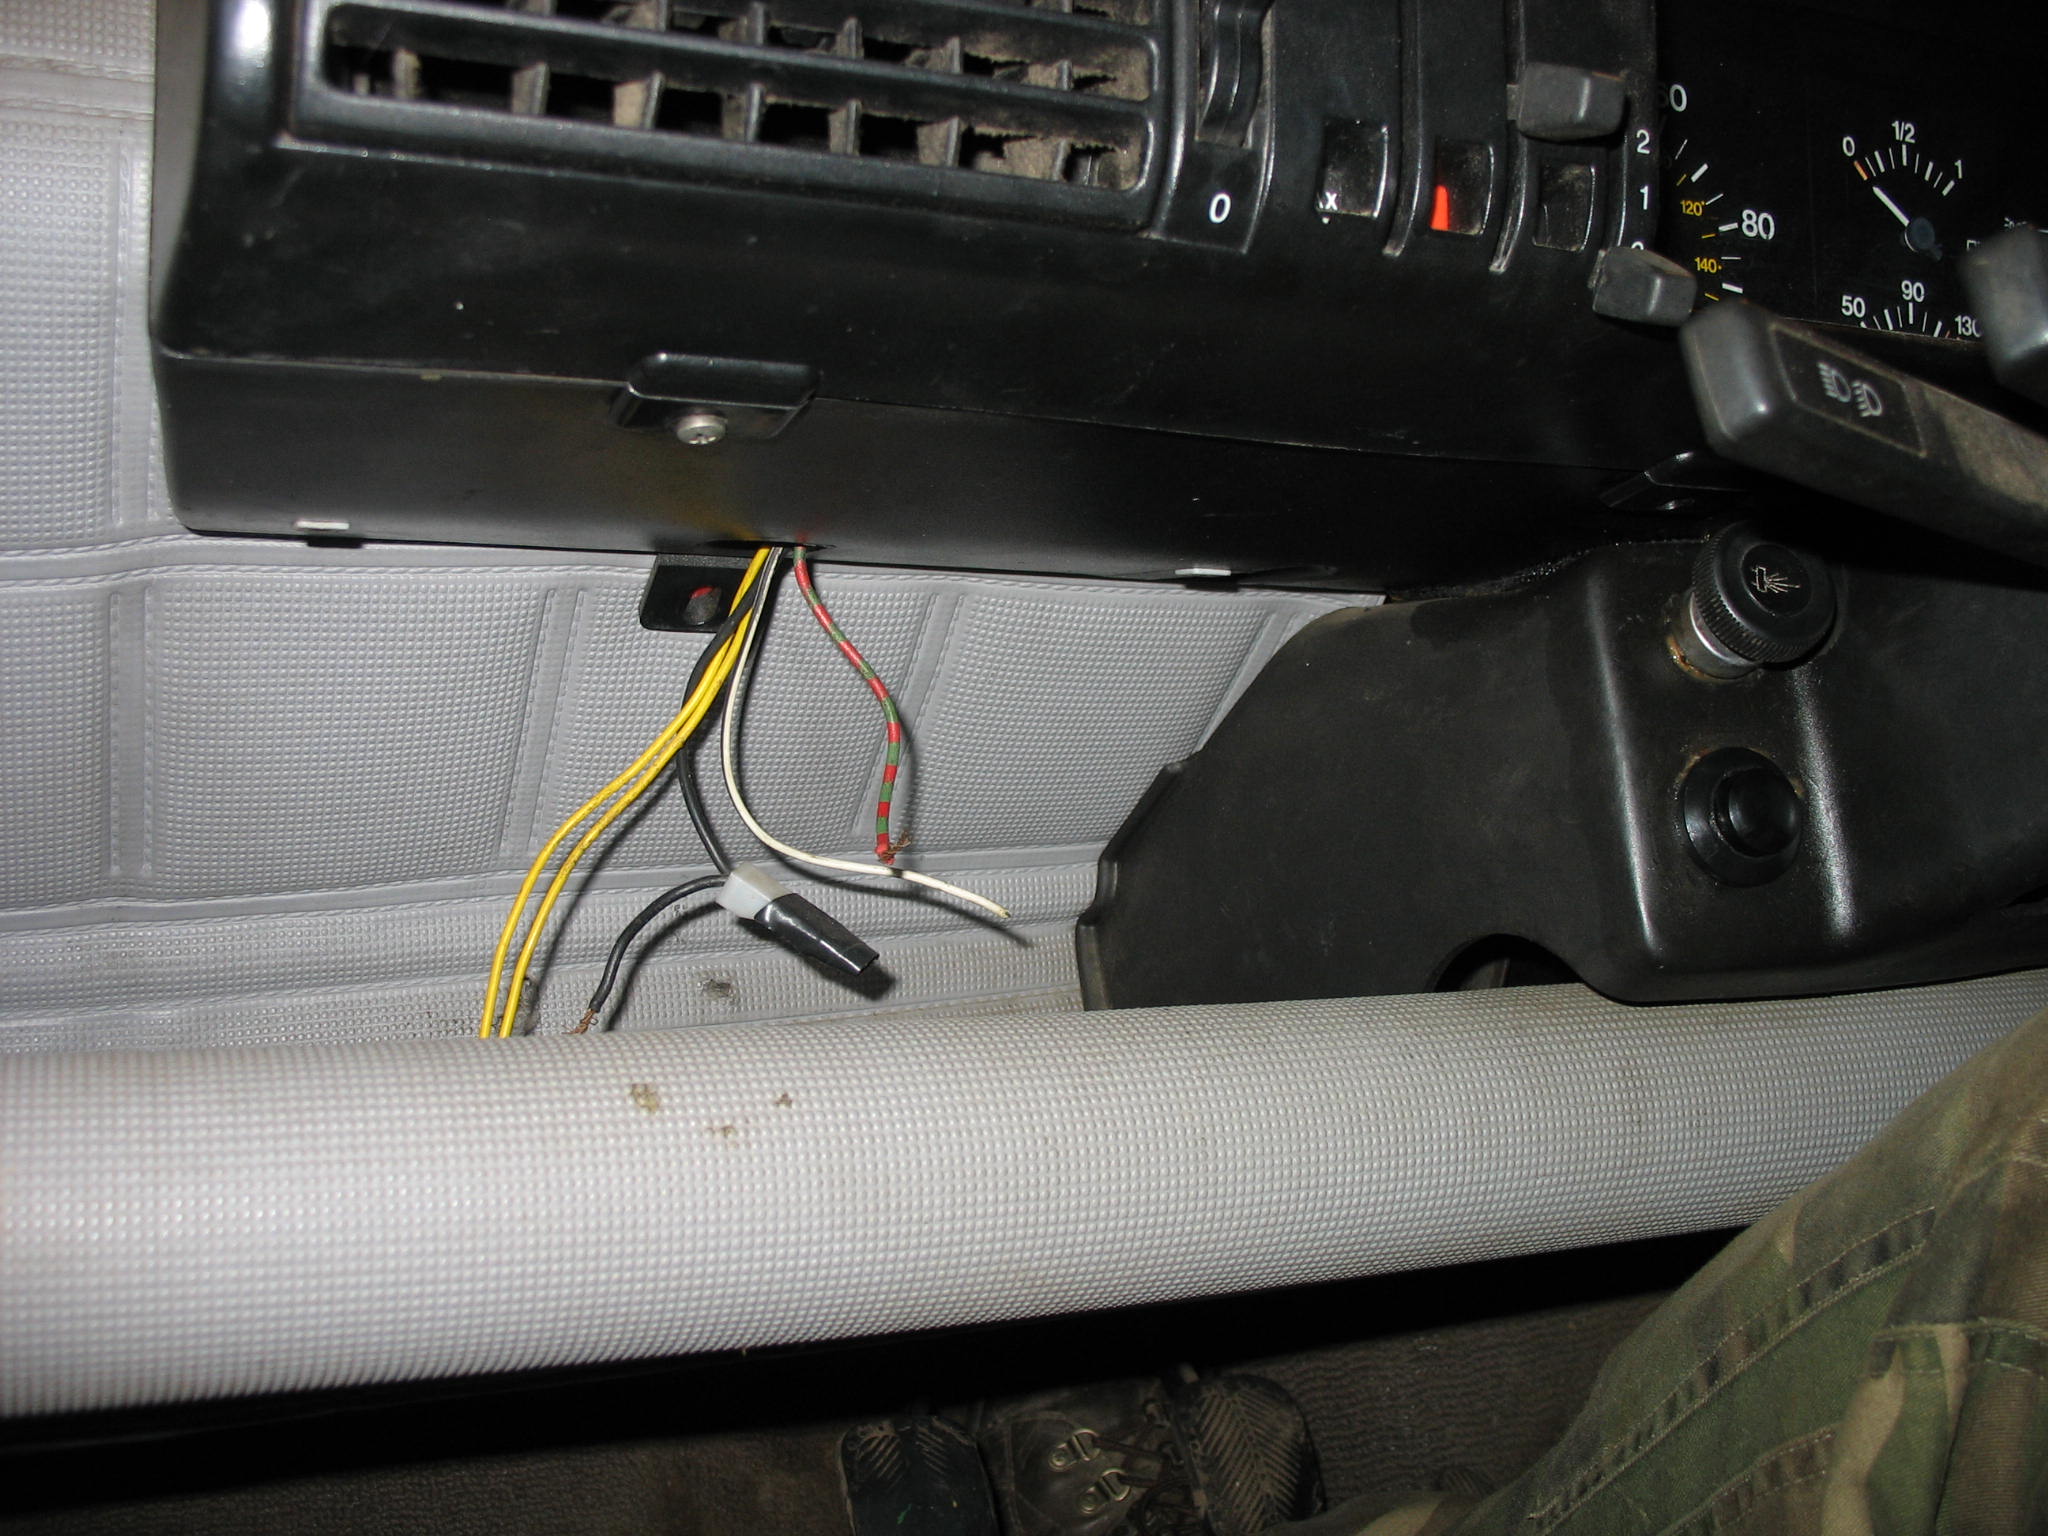
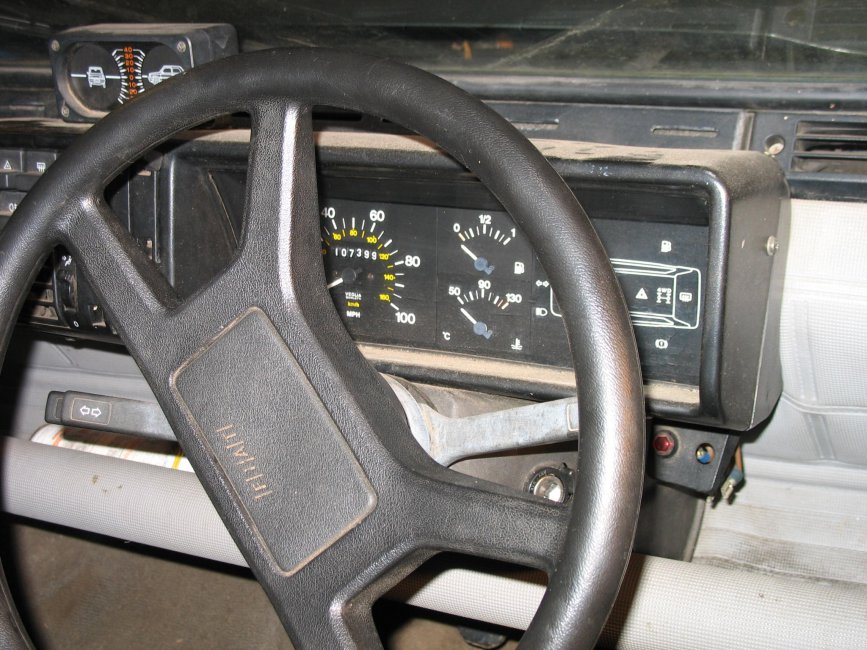
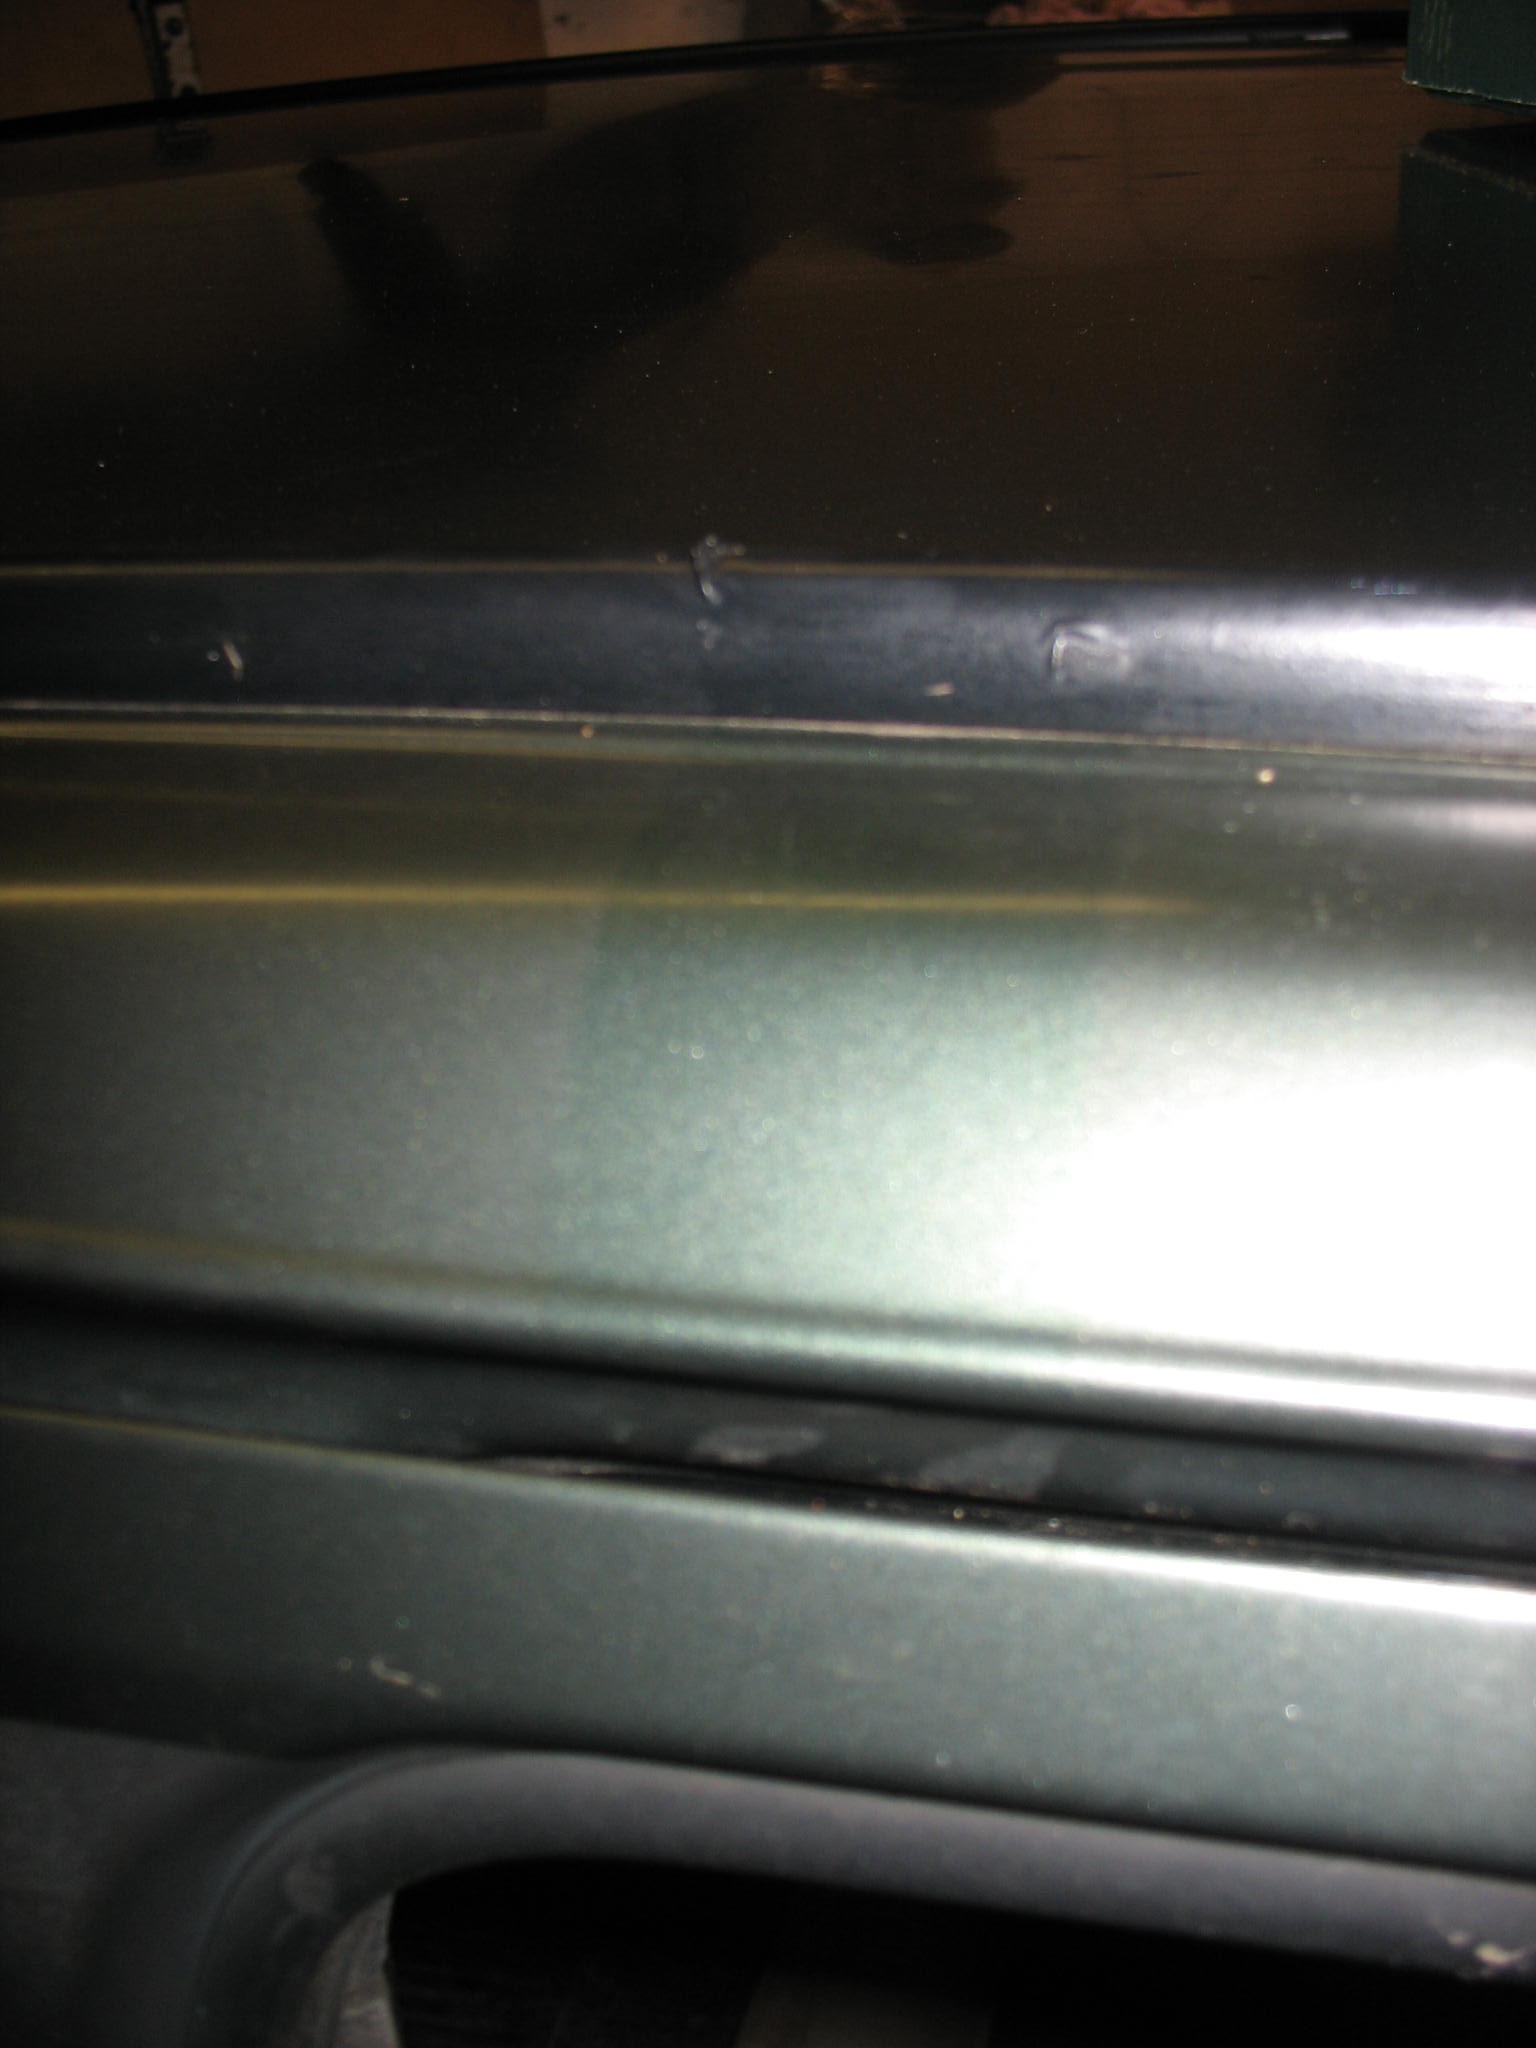
Not the geniune steering wheel and speedo, which does not make much difference to me at all. Roofrack presence evidence
IMG_18931.JPG


IMG_19081.JPG


IMG_1915.JPG


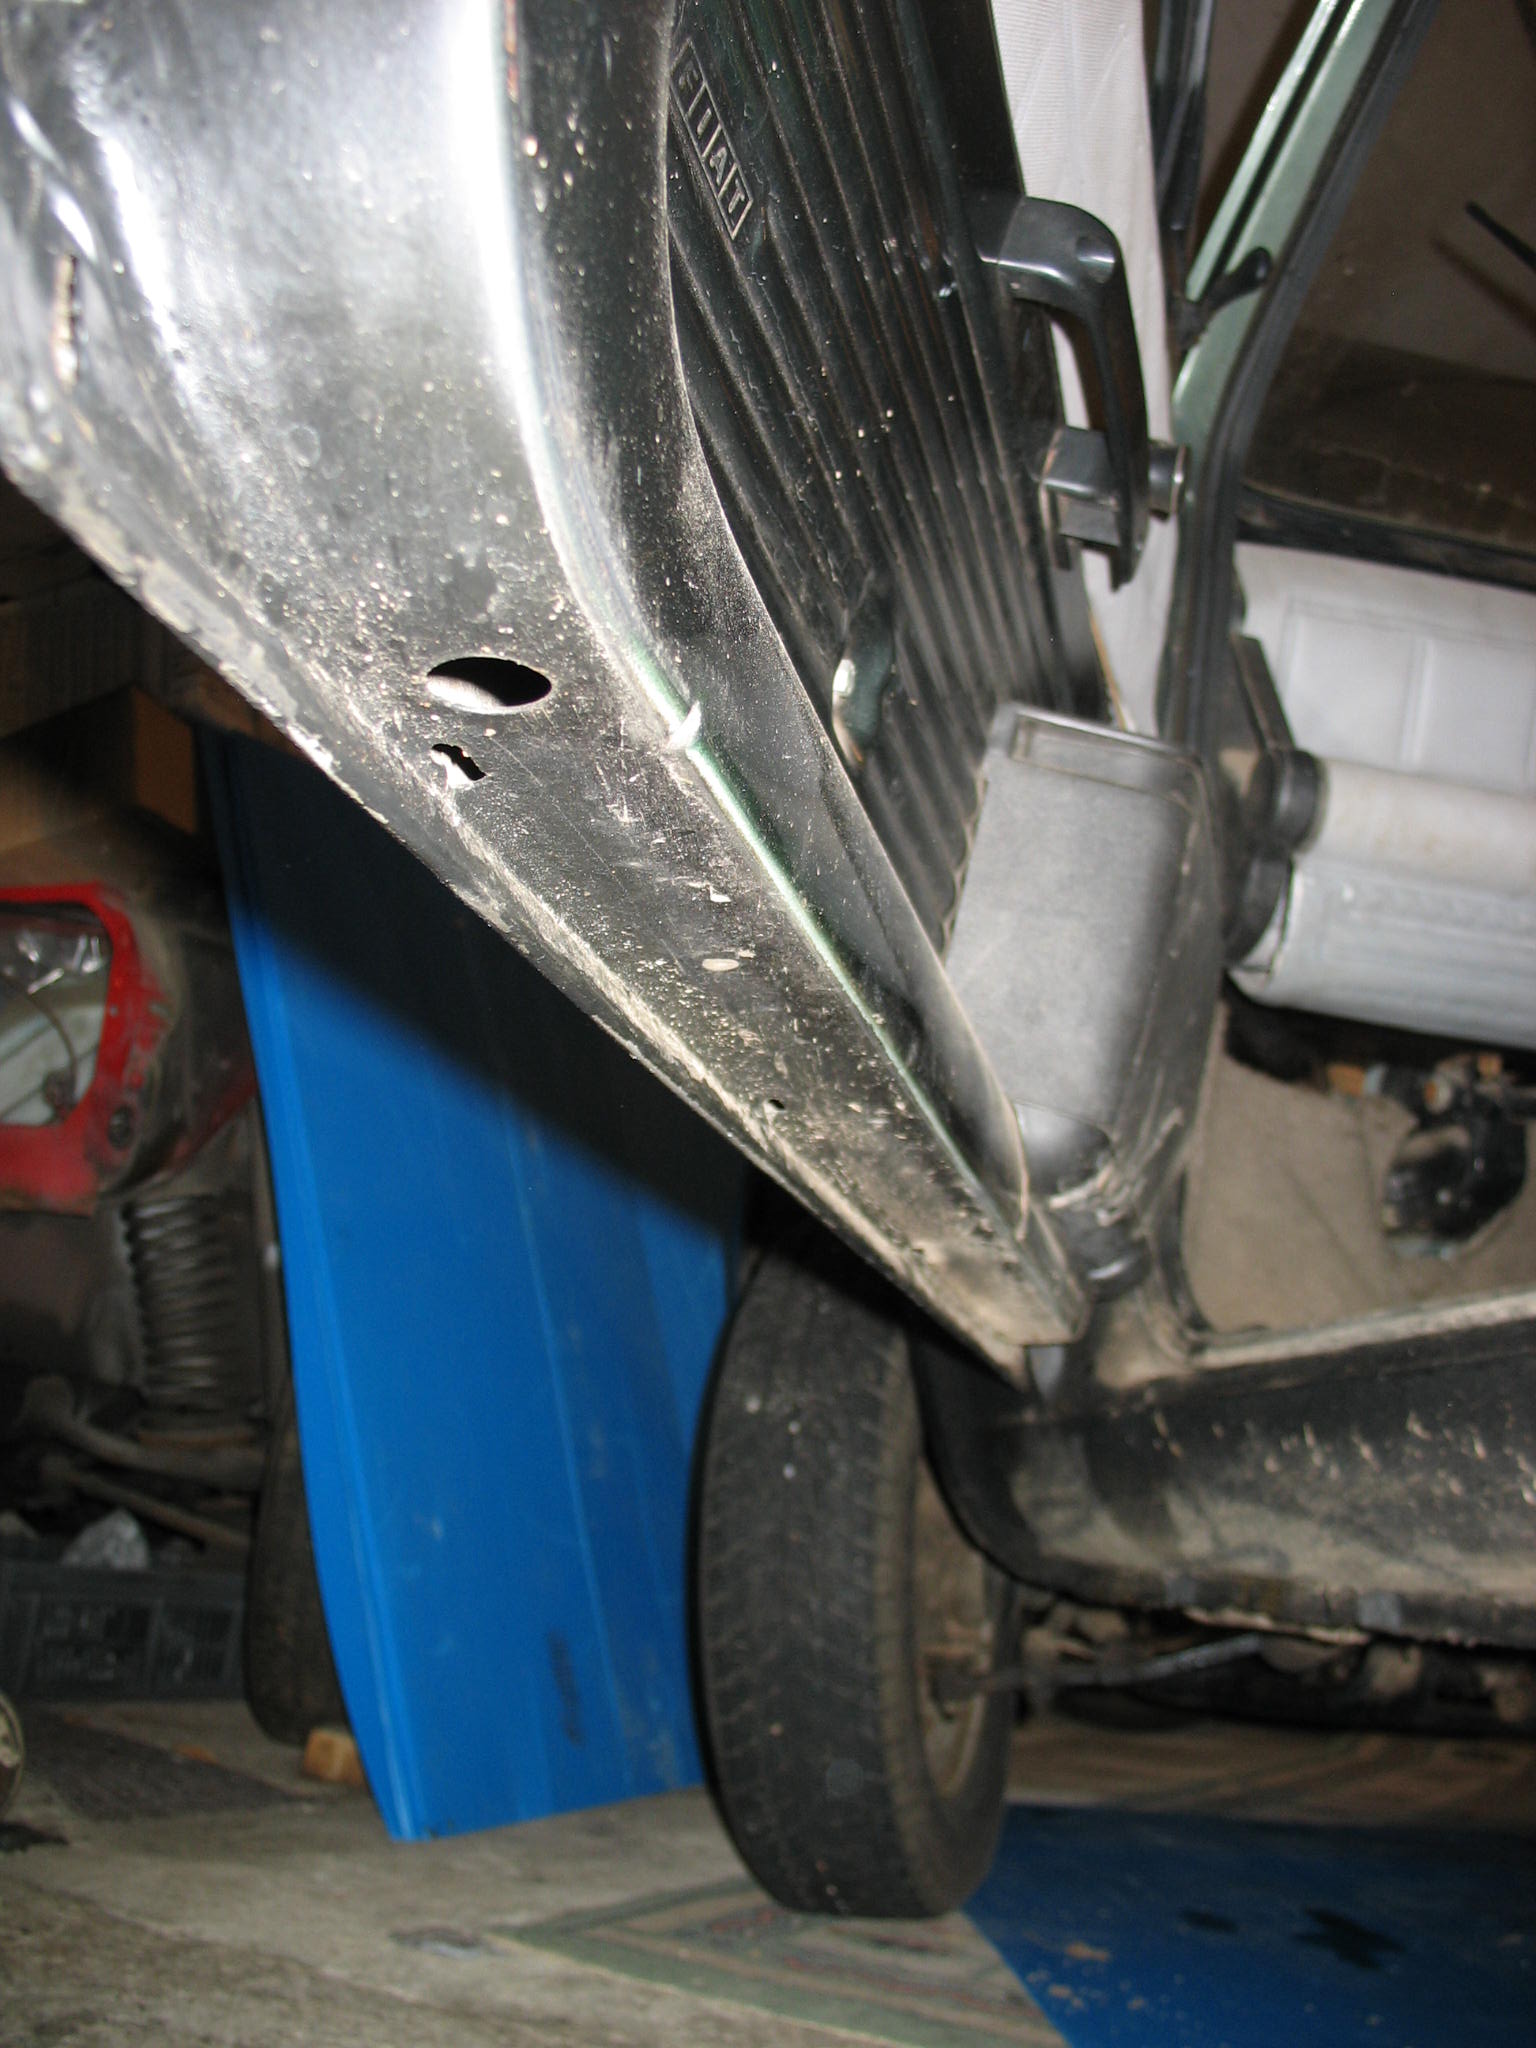
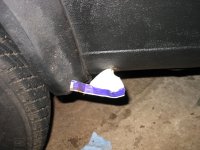
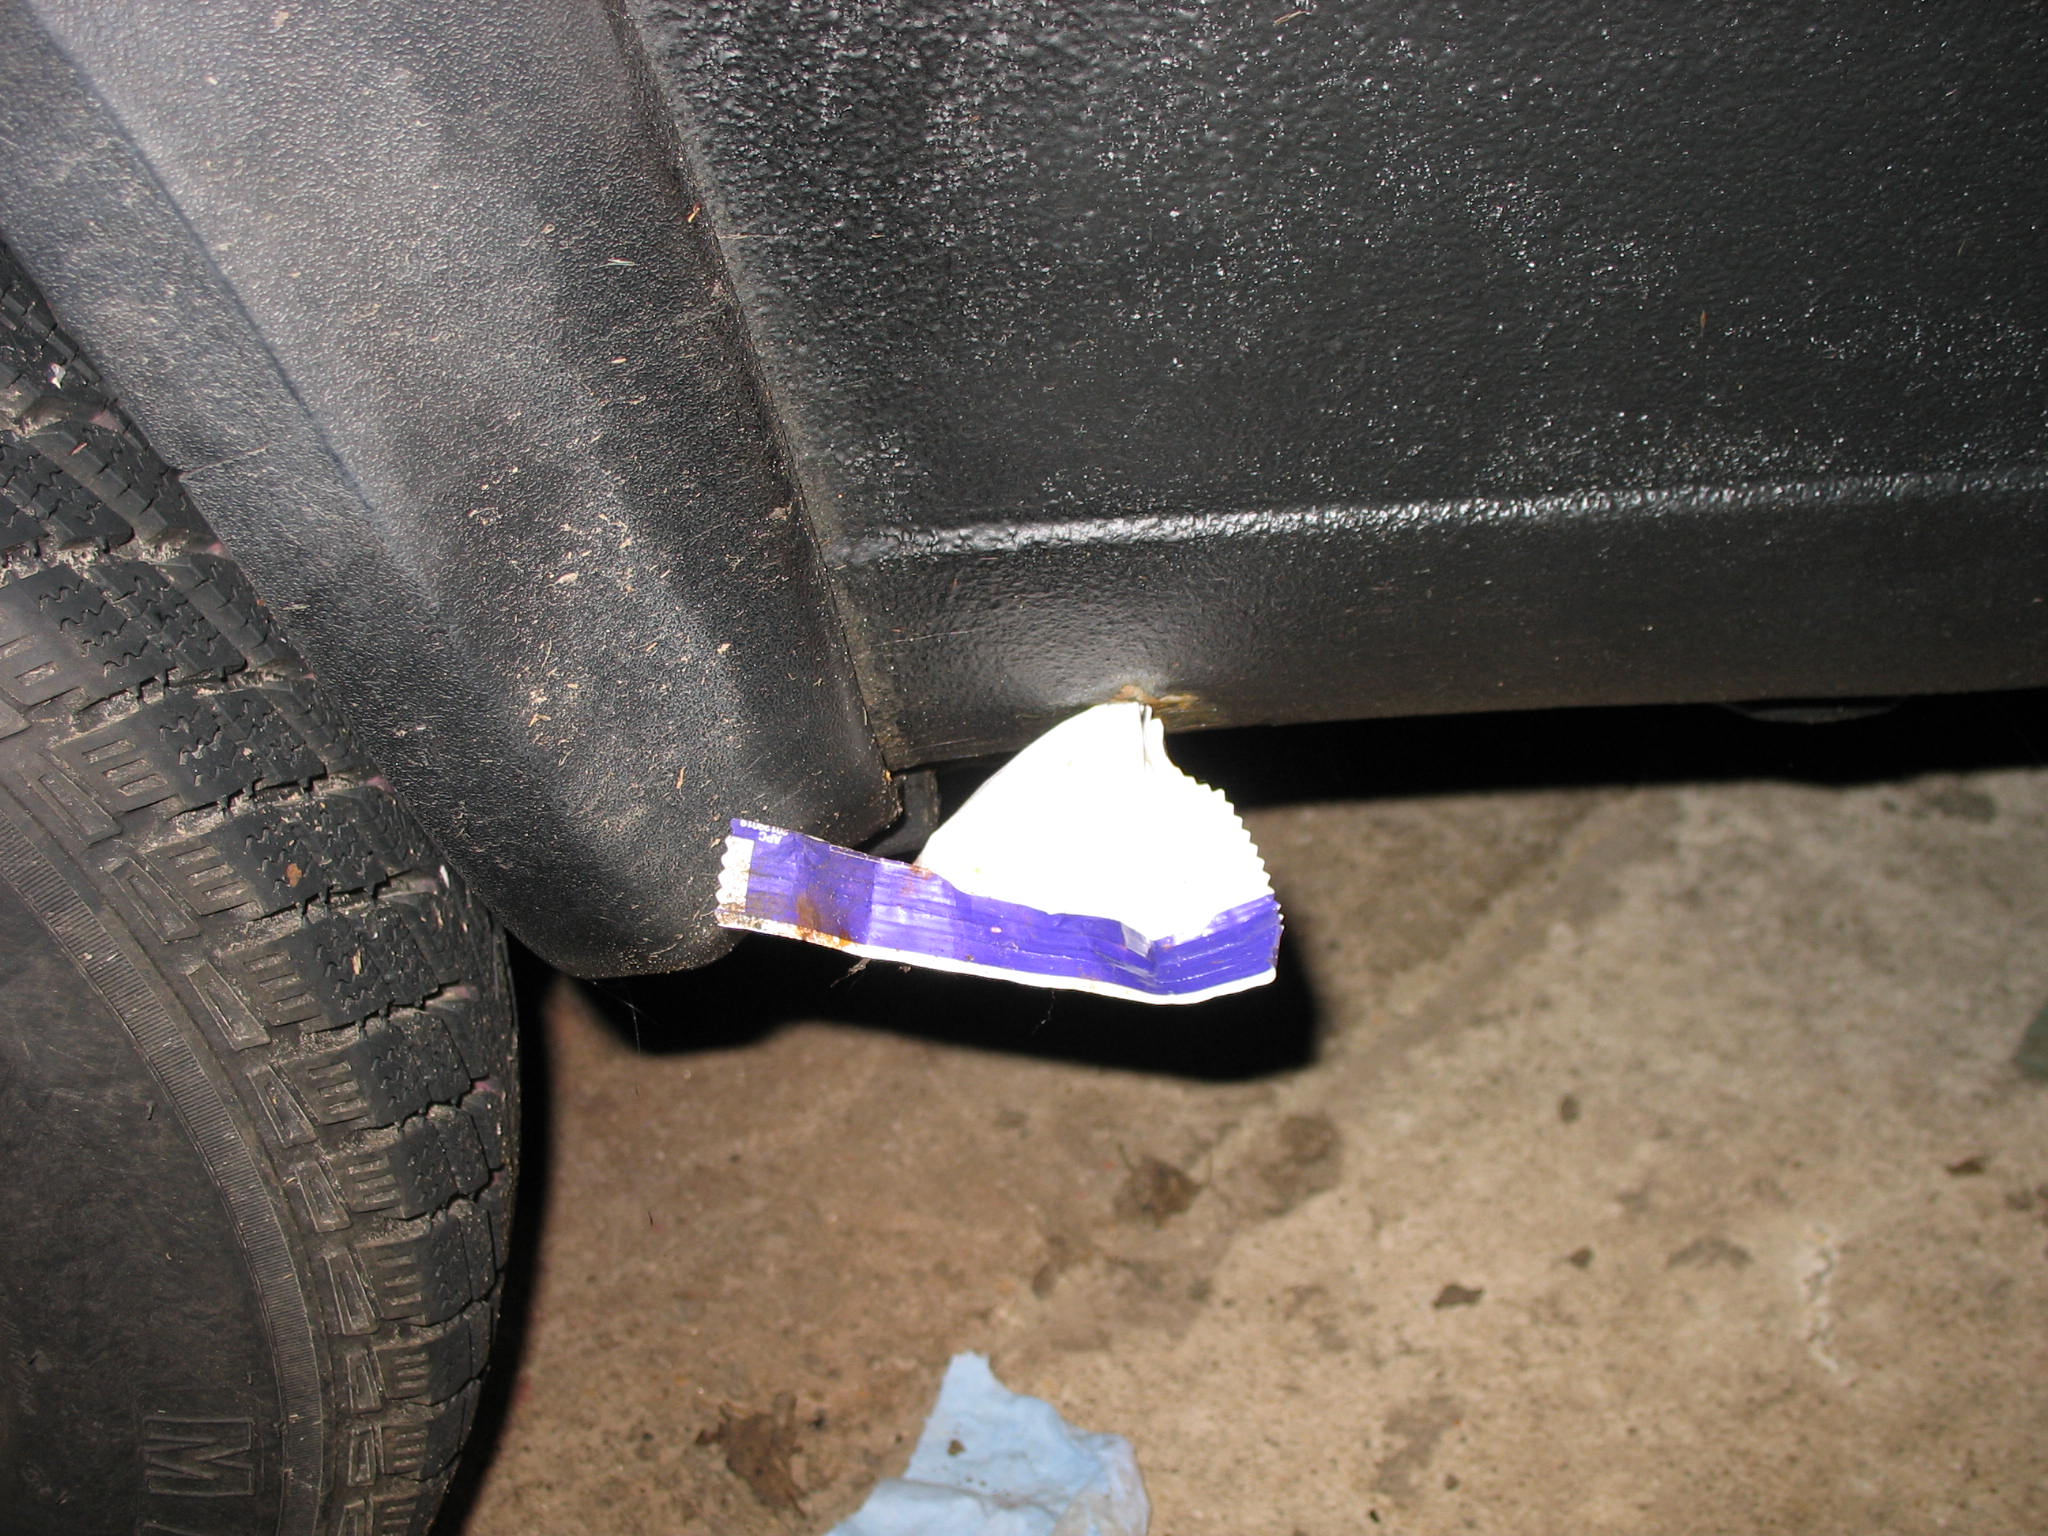
I dont want to know how this happened.
IMG_19191.JPG


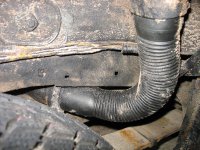
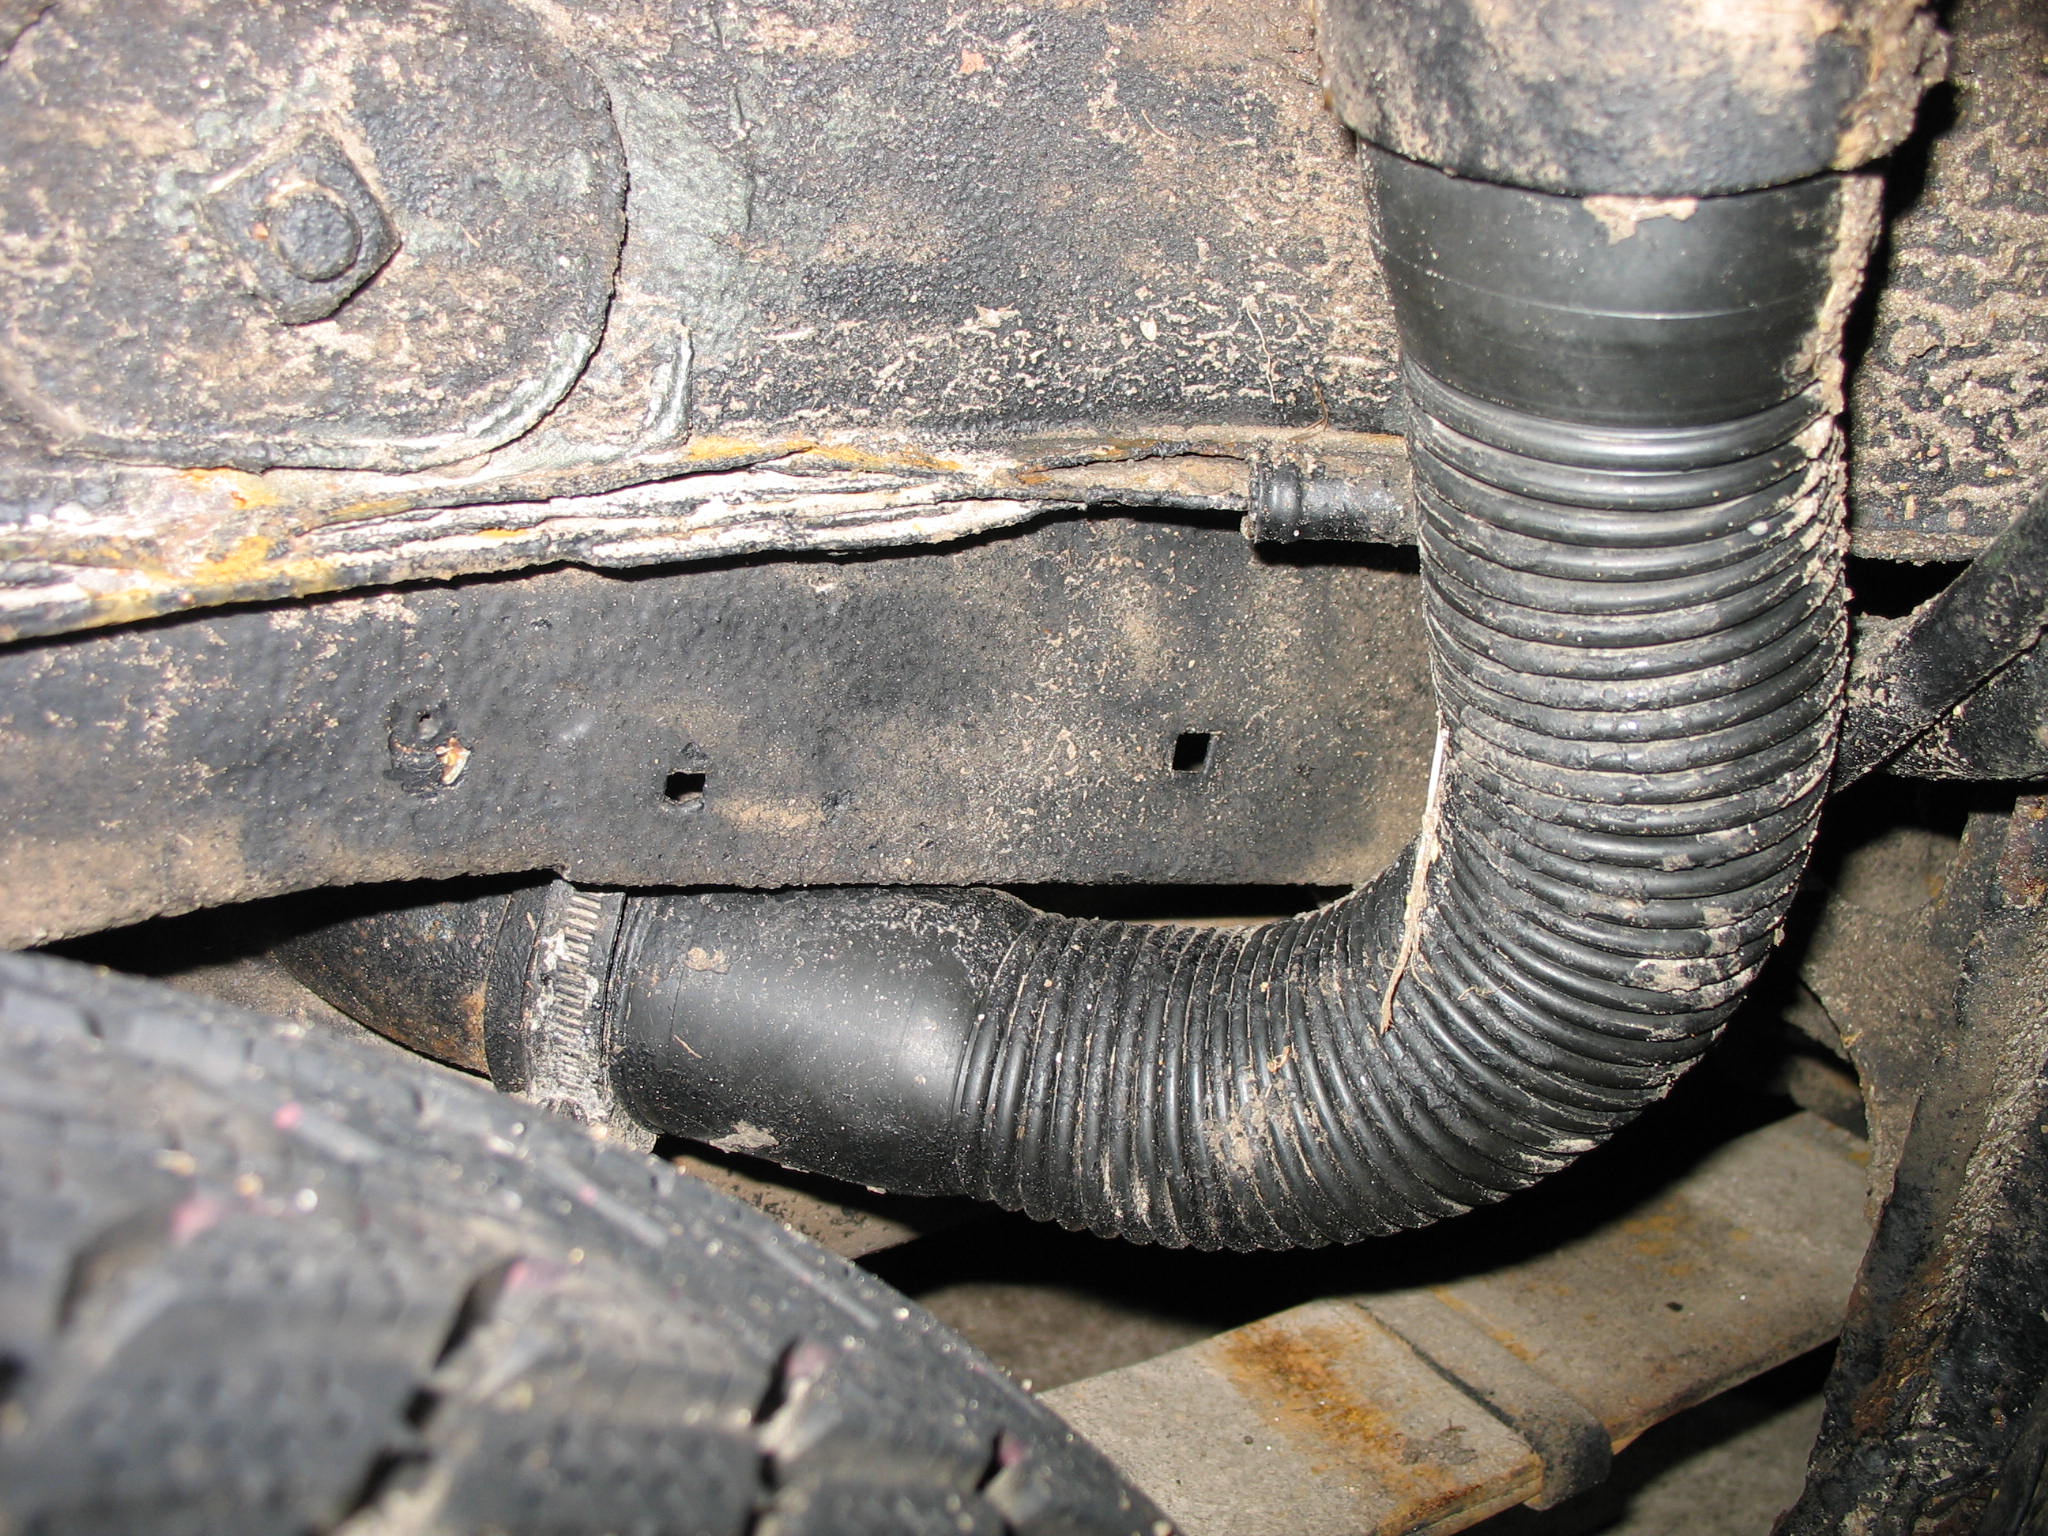
Filler pipe still untouched, what sort of DIY protections do you recon?
IMG_19202.JPG


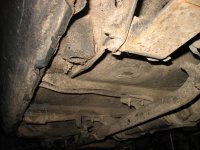
And time for the bad boy
IMG_1946.JPG


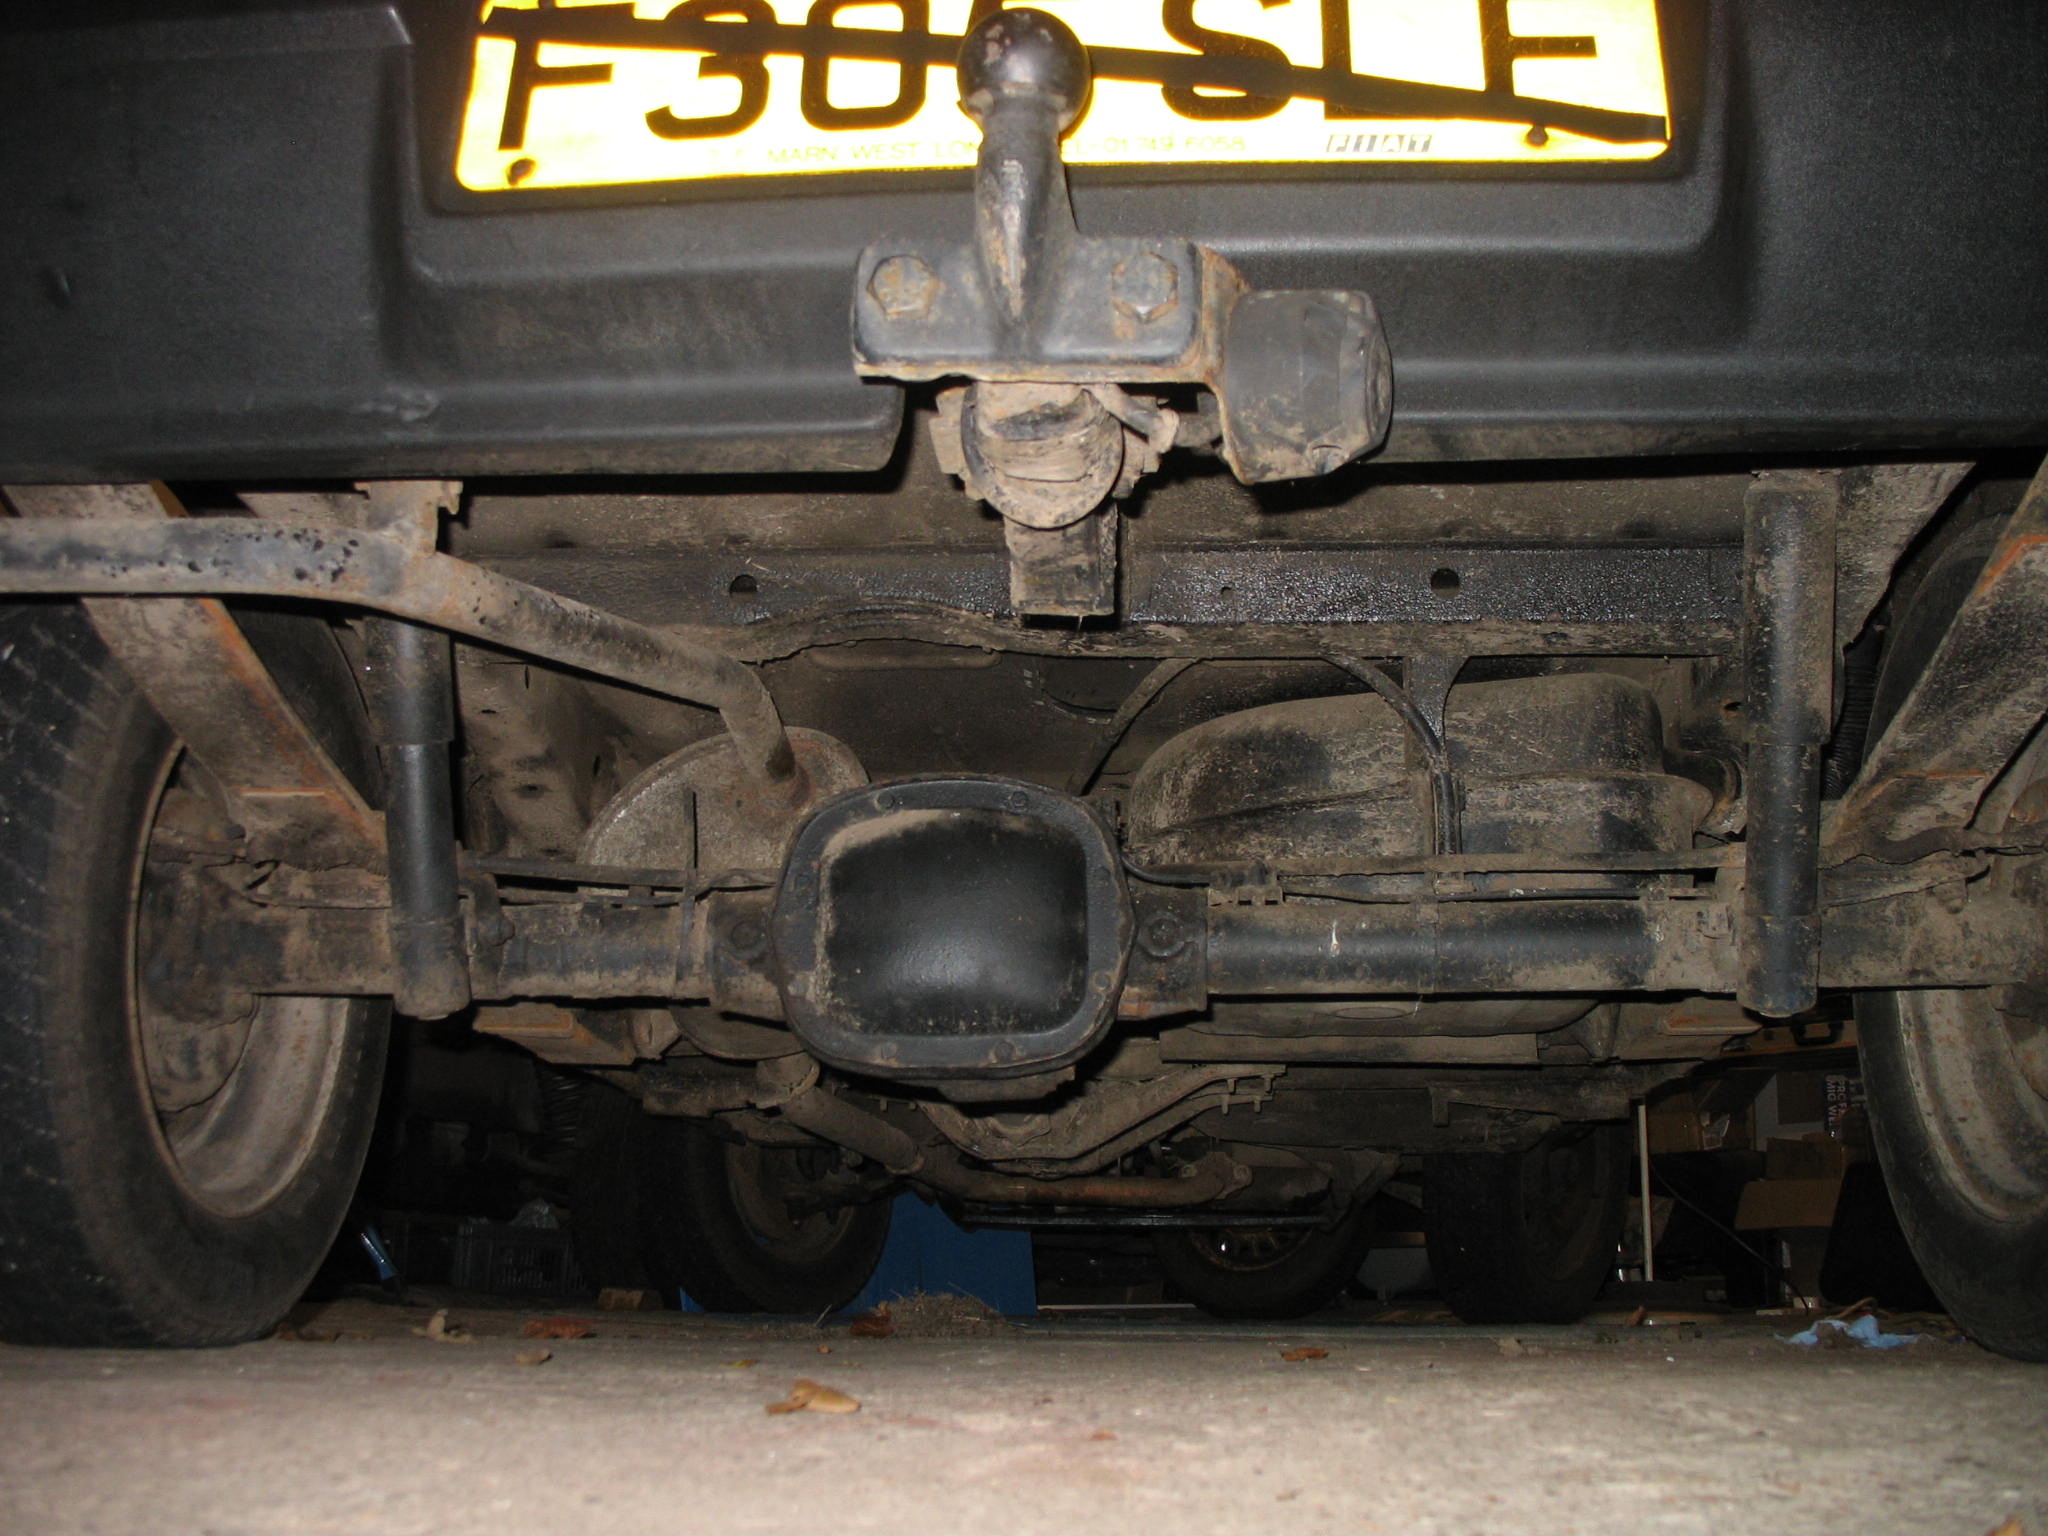
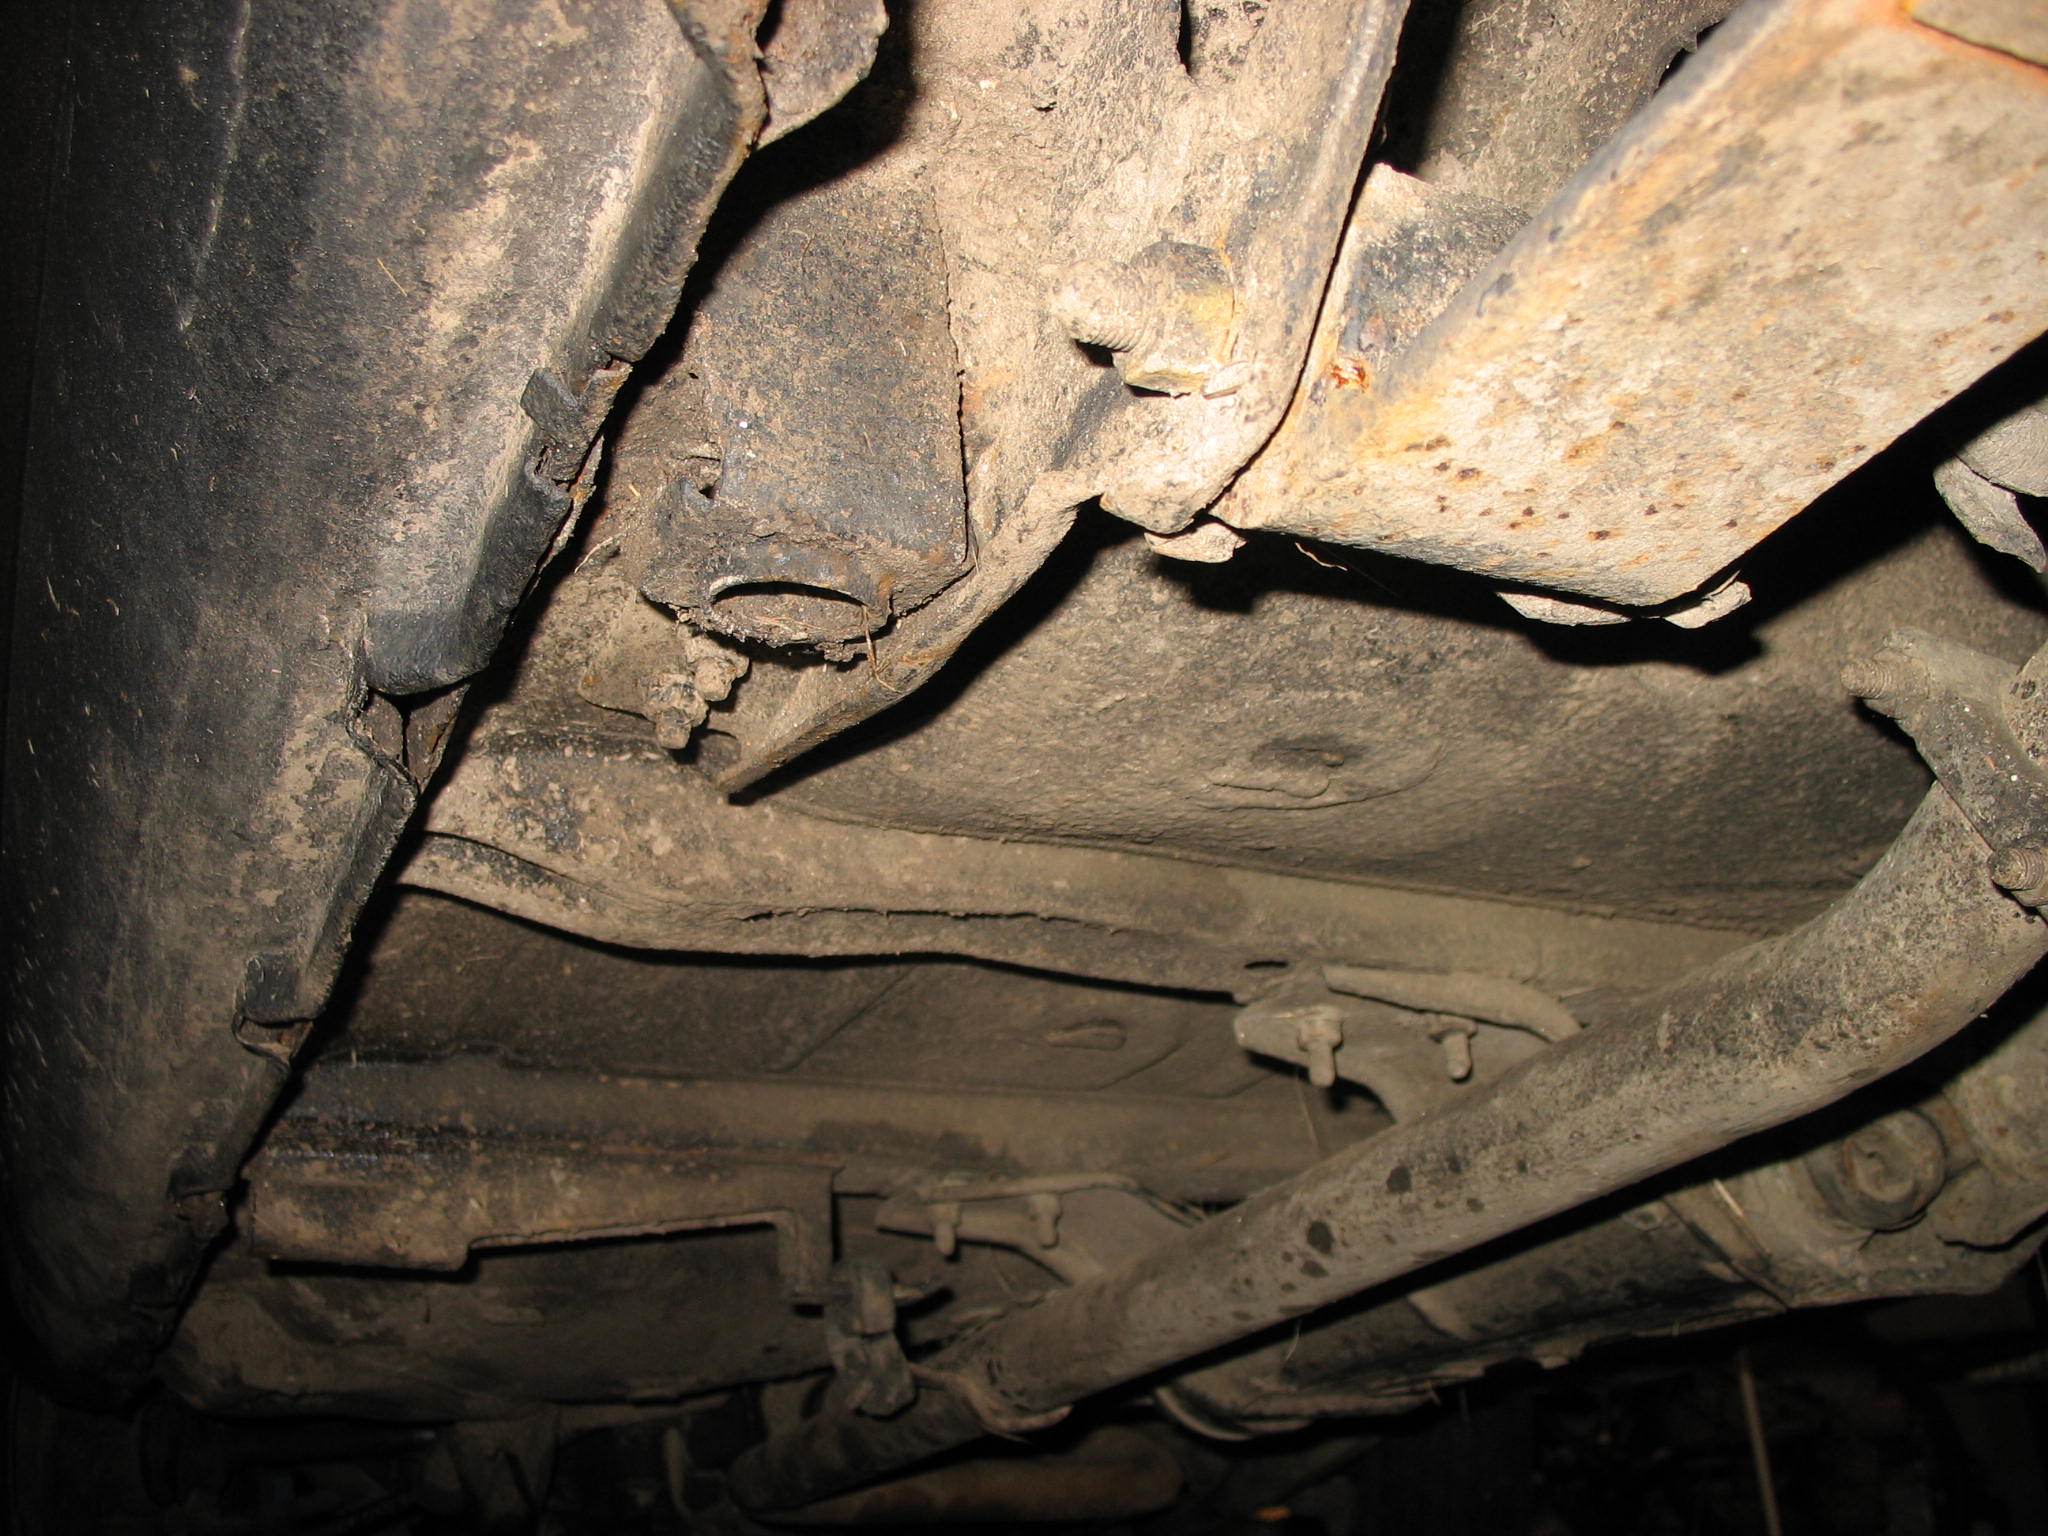
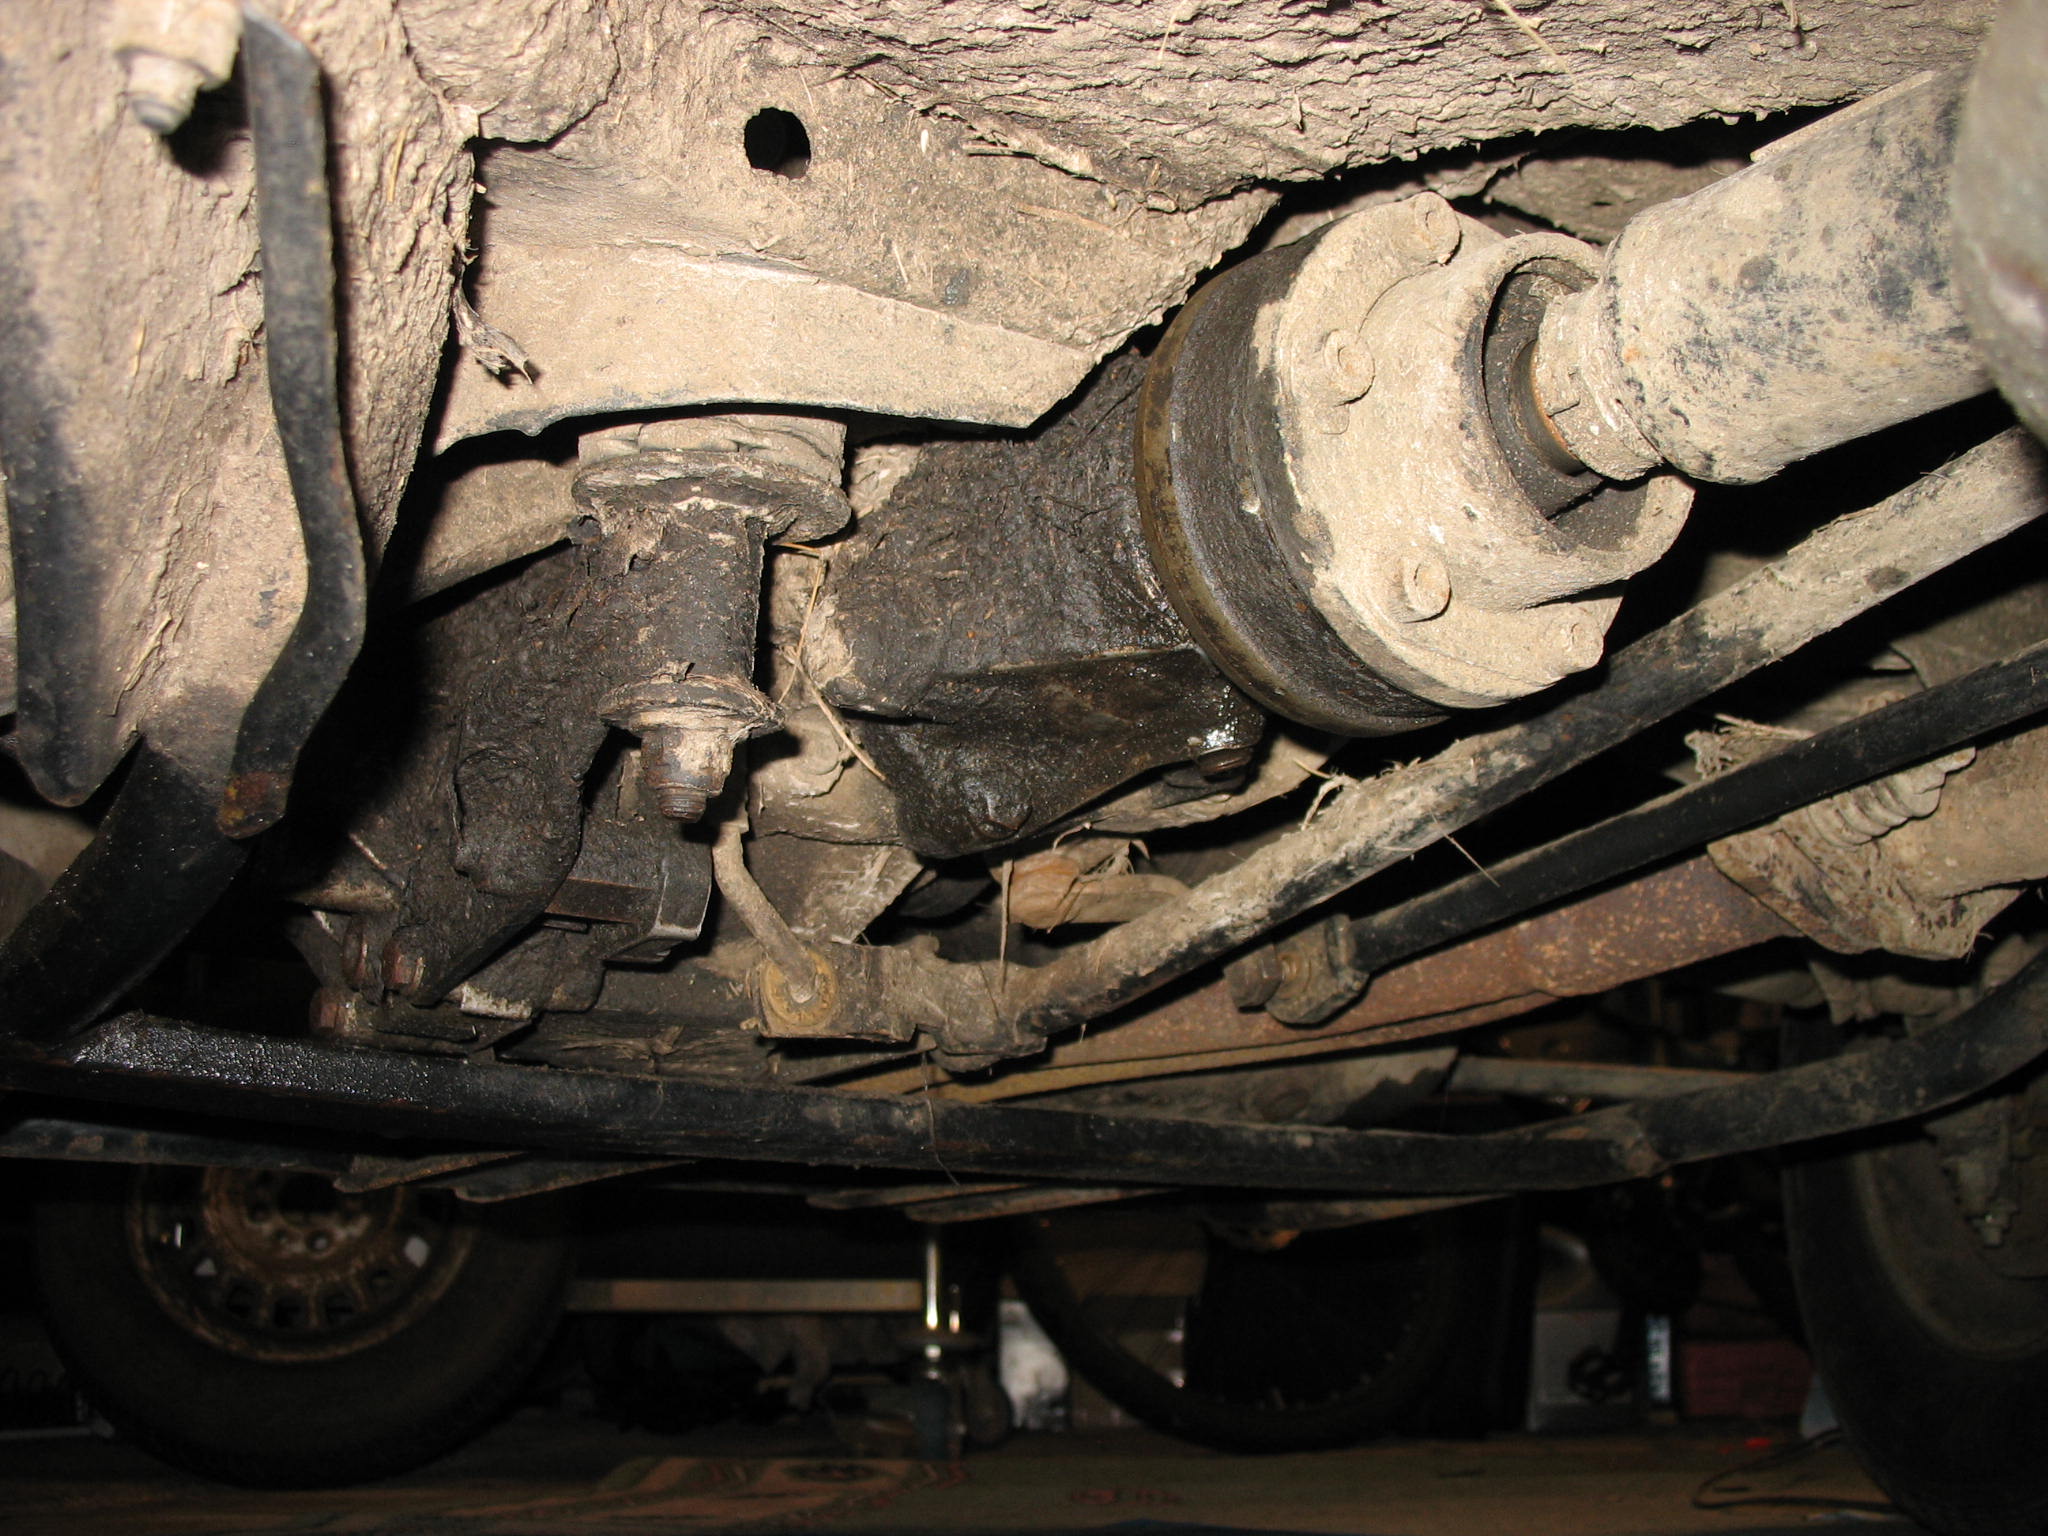
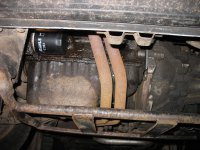
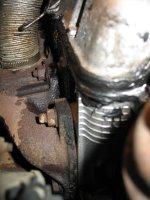
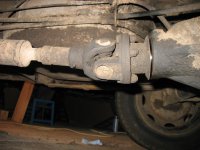
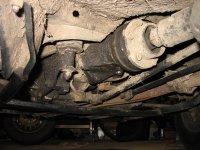
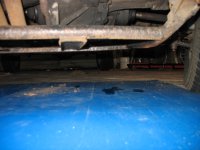
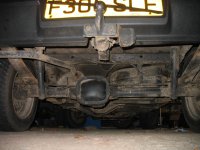
Is that gap between the propshaft and diff is normall?
IMG_19042.JPG


IMG_19022.JPG


IMG_19061.JPG


IMG_19442.JPG


IMG_19353.JPG


Dear FFCP section members, any comments, suggestions and observation are more than welcome, especcialy regards the 4x4 drive train i.e. leaks etc.
I must admit that the later sisley without corect clocks and st wheel sound possible, on the n/s rear side panel plastic trim which is sun faded you can still clearly see 4x4 decal outline around a bit darker area, so it shows that one of the prevoius owners had access to other 4x4 (parts0 which clocks and st wheel came from.

I'm still tring to work out was there any reason to swat the clocks other than ripping of the sisley dedicated parts and selling them with big profit? Why they did left the sisley wheel hub cap x4 ??? From my short investigation and look in VOSA MOT history check Odometer reading has change dramaticaly by + 16k miles beetween Nov 2005 (84757) and Jan 2007 test. Since then odometer reading stays the same at 107399.
So my theory is that the gearbox oils level dropped down a bit to far, speedometer signal take off plastic gear went busted as Mick sugested, current owner tought that speedo clock itself was faulty so swaped it over for a spare one from donor 4x4 car and did not swap it back when there was no improvement at all. Regards the steering wheel, back in 2005 mot history shows
Date of test: 29/10/2005 Certificate issue refused (Fail)Reason(s) for refusal to issue Certificate
Offside Headlamp aim too high (hotspot upper edge above the horizontal 0% line) (1.6.D1)
Nearside Rear Rear wheel bearing has excessive play (2.6.2)
Horn not working (1.6.2a)


Same garage, same odo reading ( still at 84k)
Date of test: 03/11/2005 Certificate issued (Pass)


So now the horn is wired to saparate button type switch mounted in cig lighter socket place, what the C & N AUTOS garage done to the horn button wiring (read steering wheel, switch stalk) only God knows that.


Now, almost 8 years after I can say what caused horn to not operate correctly, same as 4x4 engage indicater light, and most of the electrical problems which sisley had in the past - it was all caused by

how-to-draw-a-mouse-face-step-5_1_000000109141_5.gif


Yes, mice heavily addicted to screen wash liquid and volts.


IMG_19582.JPG


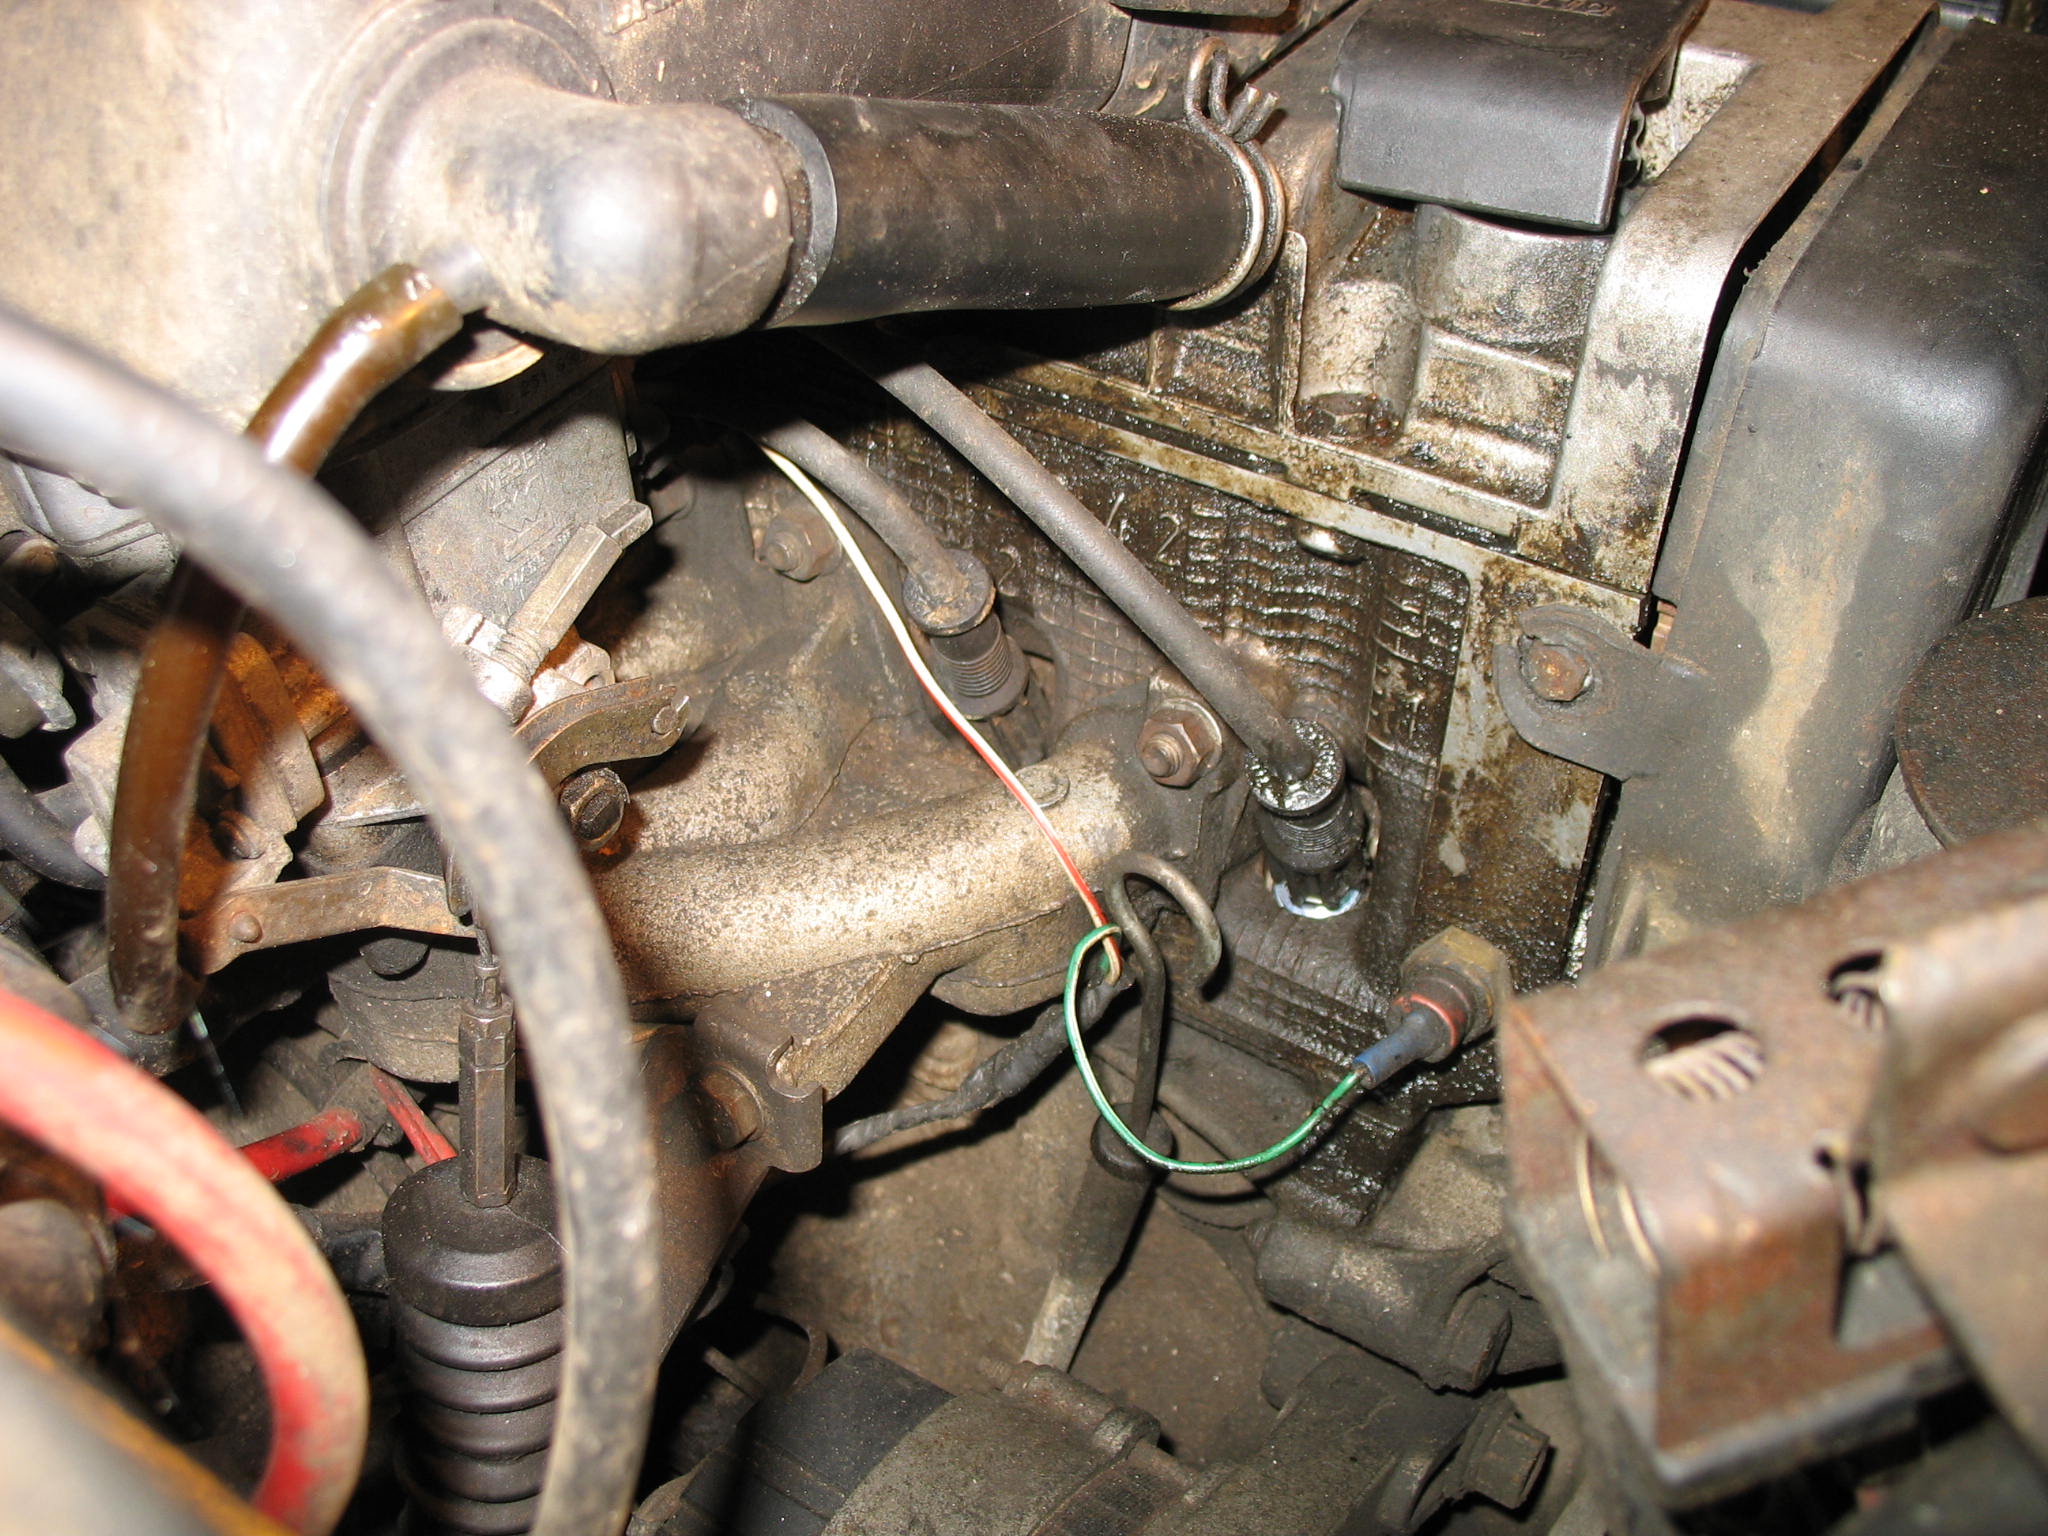
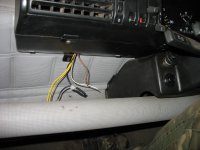
Black and white/black cable to the 4x4 egage connector and sensor. There is much more cables affected by bloody mise, same mess at the oposite side behind the batery.

@CLS I but you're suffering the same.
IMG_1961.JPG


Managed to source the Rocker cover gasket so the easy and nice job was carried out streight after getting to the unit. Black silicone was removed rocker cover cleaned inside out, same the head all around. While the cover was off valve clearence were measured - only one was 0.1mm of the nominal value - I don't remember exacly which as the notes are next to car now- will put details later.

IMG_19472.JPG


One thing which I did noticed is the timing belt cover is a bit distorted/ skewed - not aligned at any point - affected by heat? why?
IMG_19481.JPG


Cylinder No.1 HT lead is half melted at the plug side and not being the right one.
New set of HT leads is required - is it worth paying more for some racing HT leads, building your own set based on NGK plugs + 8mm cevlar cable available of ebay or standard HT leads for £12 will do the job as well?

IMG_19501.JPG


Carb to air intake box gasket is perished all around, fuel return hose was realy close to **** petrol down the engine bay.

IMG_19531.JPG


Answering the question "What happend with the timming belt cover" i can say it does not look good as the engine may now suffer from extended periods runing really hot. As you can see 3 pictures above the head temp sensor wiring was bodged allready. I left the car (outside) to run in tickover for some time to burn out any remaining oil from the exhaust manifold, after couple minutes i was expecting the rad fan to kick in - as it shoud - but nothing happend at all. The head, rad, hoses, rocker cover were really hot ( 2-3 sec max hand touch ) when the engine temp indicator was at rough low 80*C - which was not correct for sure. I did fiddle the female blue crimp connector at the engine temp sensor at the pointer went streight to high 90*C in few seconds, so why fan didn not kicked in?
IMG_1969.JPG


Now I know why, the black/violet cable conductor was still crimped in the right place, but the actual contact between male/female crimp pin was bad generating much heat melting the plug not letting the fan operate as the power feed runs thru the temp switch.
Compresion test is planed next to proof that the pisnon rings/ valve seats are still in good condition - any sugestion guys?

Spark Plugs were rather black and wet ( same as exhaust pipe) but i'm guessing this was caused by engine being running on pretty rich mixture ratio to overcome lack of vacum advance, with new vac unit, 2*BTDC - almost 2 full turns towards lean on the mixture adjust screw vs. how it was. Choke need to be re-adjusted as the cabin thing when fully pulled out and then pressed in by +/- 90% still does not make any differnce.

I've done some cleaning to the engine bay starting from heater box and spotted the the cold air intake flap was not responding at all to the controll knob inside.
IMG_1975.JPG

Now all back in nice working order, thoroughly cleaned and the drain spout ublocked.

As I sad the car isn't spotless, but I was a bit supprised when the side cold air cabin intake cover was taken off.
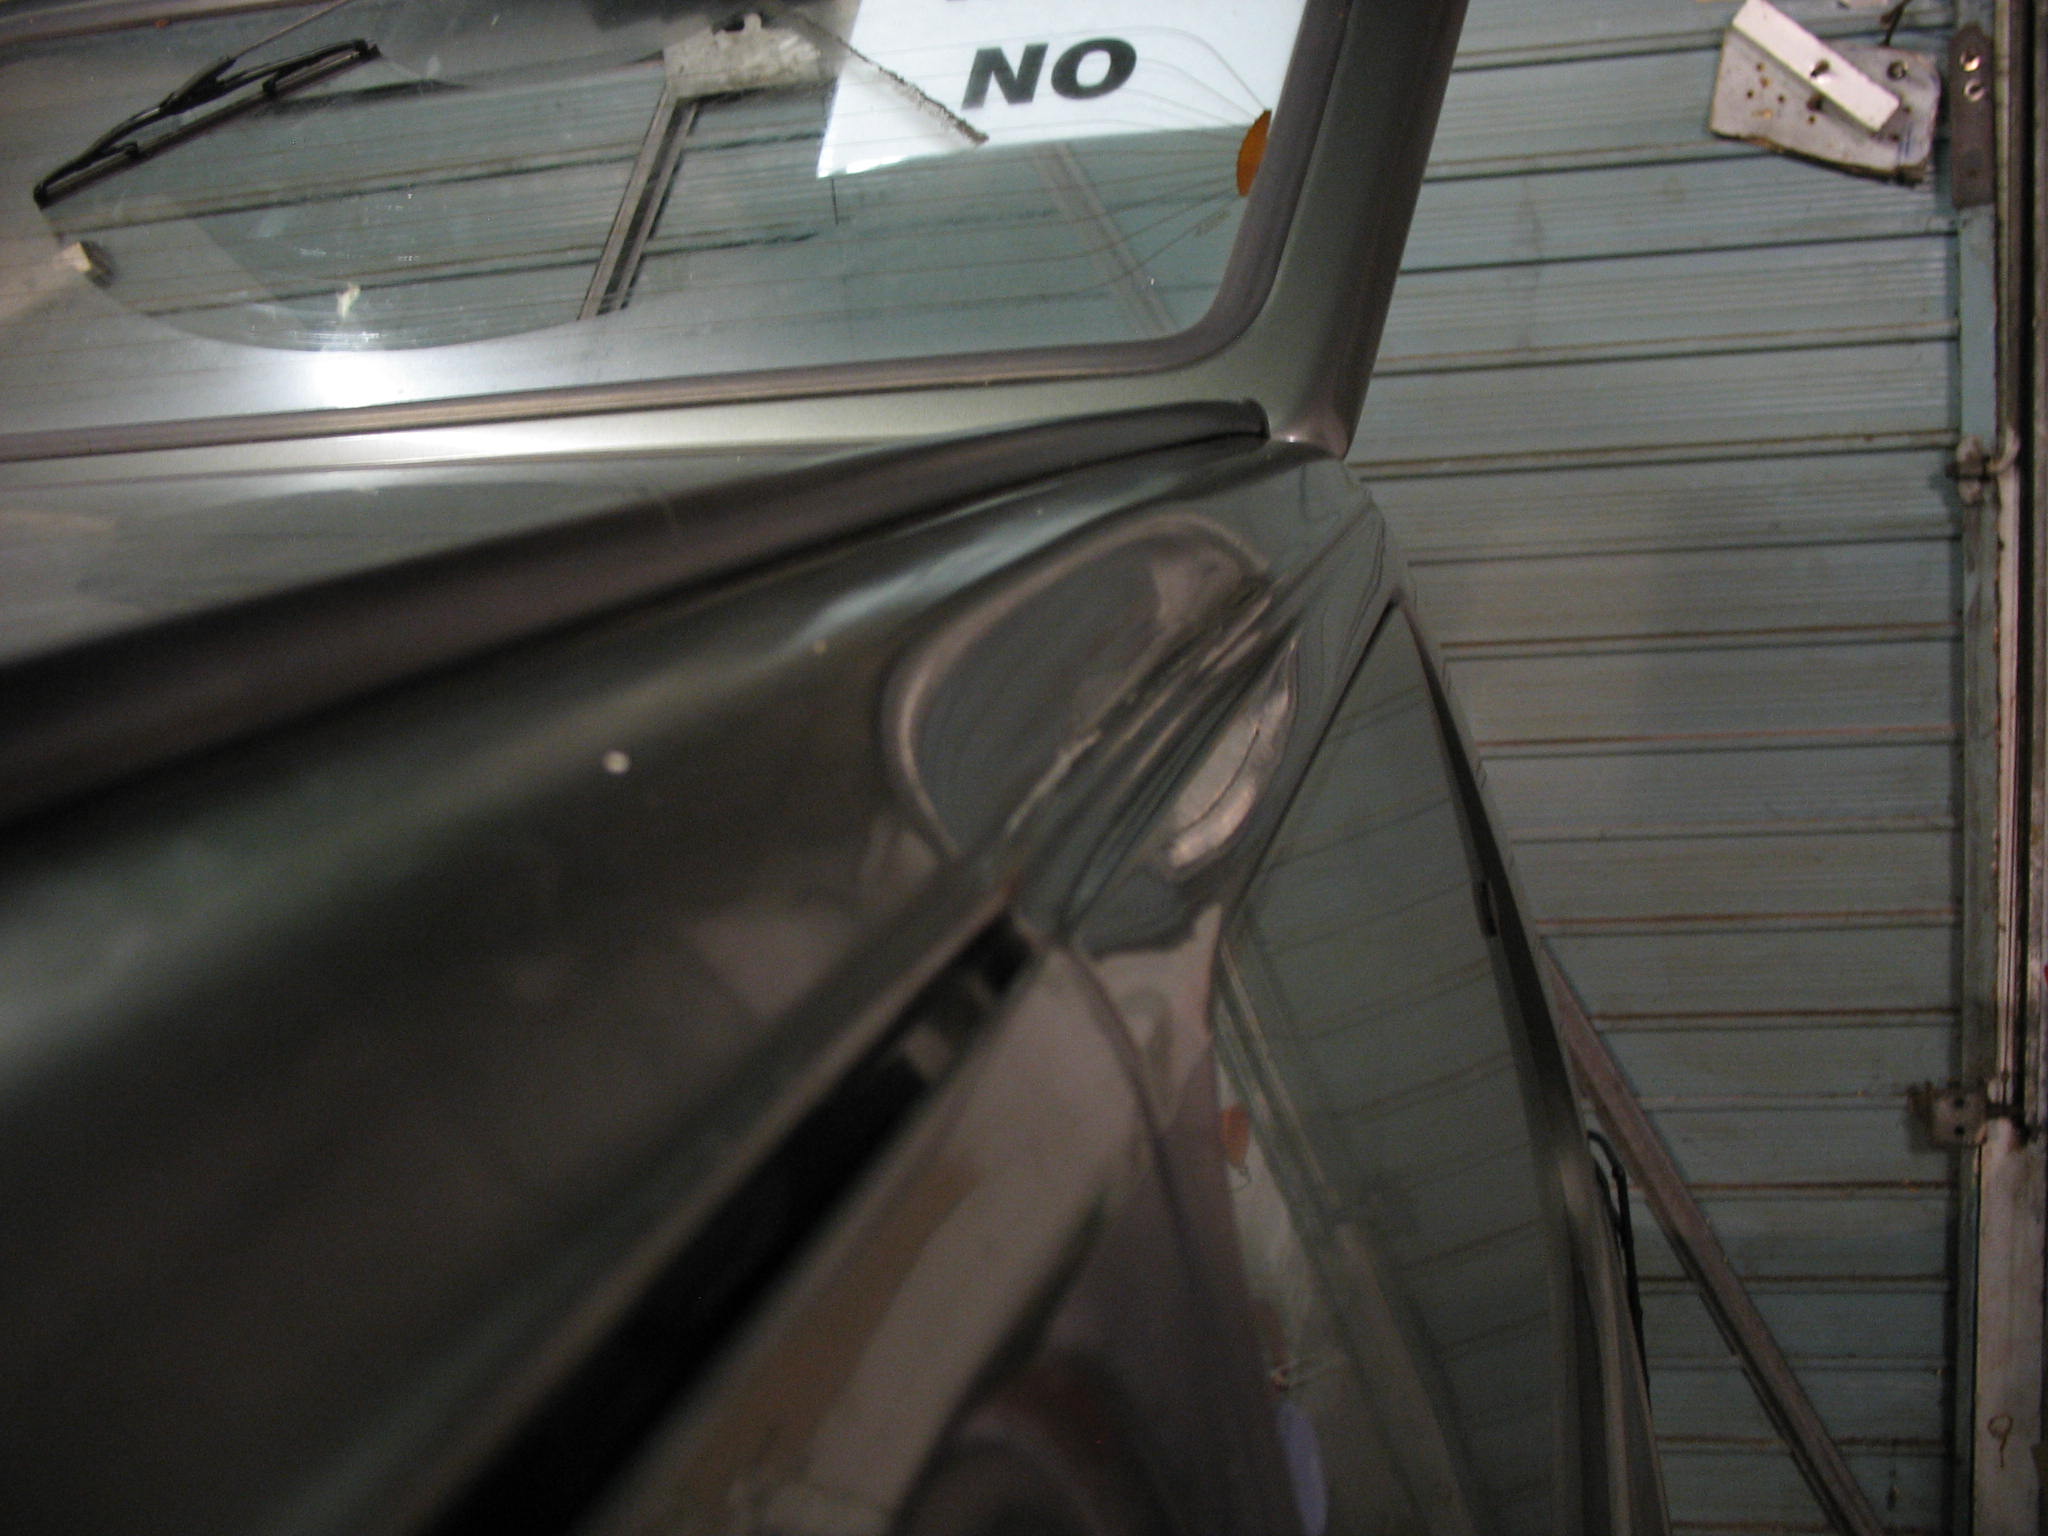
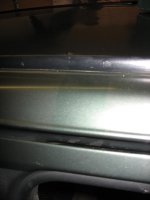
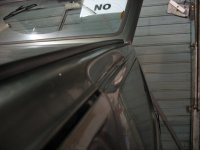
There was just a small bubble vissible under the bottom edge. What are the chances to patch it up without need of taking out the windscreen??
Is it alwas the passedger side that goes rusty first?
IMG_1964.JPG


IMG_19682.JPG


So points to watch are:
- do not keep any mouse in the engine bay,
- make sure your temp sensor and rad fan contact point are in good nick.
- keep the cold air intake flap clead and check the drain spout, especially when you don't have the bonnet scoop fitted,
- inspect area under the side cold air cabin intake plastic covers and clead them periodicaly.
 
Last edited:
my grey 4x4 panda is the same. so many wires cut through when i got it. even the speedo cable had all the plastic taken off it.

Cheers John,
Thats makes me think that in my case the speedo can be faulty due to the cable being cut thru by mice and the speed signal output gear can be still in one piece.
 
It's really hard not to do any work to "new" car so decided to take the battery out and inpect the other half of the area behind the sound proof fabric.
As the oposite side was full of mice **** I was expect the same.

I was right!!!

IMG_1983.JPG


IMG_1985.JPG


IMG_1991.JPG


IMG_1990.JPG


I was a bit disappointed not finding at least one death mouse, not form what I can see there is much more cables to be re-routed and I've found out why the hot/cold knob was totaly free - not giving any resistance when slide up/down.

Clearly some hot/cold cable fixings are missing there.
IMG_19951.JPG
 
Just been trying to remove the coolant reservoir tank to inspect and clean up the area under but the bolt which hold it down to the inner wing seems to be spining freely.
I've tried to pull the tank while turning the bolt but without any succes.

Did anybody been in this situation?
I don't want to rip it out as damaging the tank would be a bad thing.
Does the bolt goes in to some sort of nut welded in to the inner wing? or is there a nut insert which spins around? I gues removing front inner plastic is the way forward.
 
Had some spare time today while waiting for primer to dry on the Formula'91 so had a go with T-cut at the sisley's roof - and it does look promising.
N/S just been threated, O/S as it was.
IMG_20131.JPG
 
I'm no expert, but how would a clay bar do vs t cut? Just wondering about the lacquer on the sisleys as I know they are prone to going off. Could it be layers of grime that a clay bar could deal with better?

The green and the blue are the best colours I think, with the green just edging it.

Looks like you will do a great job..(y)


Yes, you're right. I will give him a good wash before doing the rest.
I've got a 1kg bar modeling clay, is that any good than?
 
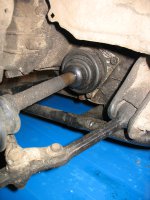
I've just ordered two new drive shaft bearing/seals for sisley and i've done some research for the mythical gearbox oil.
What i've found is a Shell Spirax S2 G 80W-90 product.

Key facts are same properties as Tutela Zc90 are:
- mild extreme pressure conditions,
- suitable for gearboxes fitted with synchromesh,
- not suitable for heavy duty hypoid axles.

The Spirax is 30% cheaper than Tutela Zc90 not as cheap as Morris Golden Film AG90 ( P.S: somebody bought 1L of Tutela Zc90 of ebay for £24.99 - madness)

So, is the Spirax S2 any good?
 

Attachments

  • Spirax G 80w-90 TDS.pdf
    51 KB · Views: 46
I'd say that would be fine for our precious and delicate little transmissions.

As you say the manual asks for:
"Tutela ZC 90 non E.P. SAE 80 W 90 oil for gearboxes, containing anti-wear additives."

I think oil has moved on since the 80's so I'll be filling mine up with a Granville semi synthetic 75/90 that's not too dear from my local motor factor. If I wanted to indulge it further I would buy fully synth stuff.

Interestingly the rear axle requirement is
"E.P. SAE 80 W 90" (different stuff to the gearbox..)
 
I am coming up to the time to do mine and have been researching the different options on the forum and else where but there are so many different suggestions! If you guys use 20/50 though I will go with that option if it's been proven.

Sorry to carry on the oil discussion! :rolleyes:
 
Back
Top