IMG_1874.JPG

Panda (Classic) My Sisley, Panda 4x4 - division north

Introduction

As mentioned before, I'm starting new thread for my recent purchease.
Bought it from forum user, deposit was place without seeing the car first, went all the way down south with rest of the cash and A-frame in boot.

First summary of the car is ( 1 is very poor, 10 is perfect):

  • Originality - 6,
  • Bodywork - 7,
  • Engine - 6,
  • Gearbox - 5,
  • Interior - 5,
  • Structural rust - 8,
  • Visible rust - 8,
  • Previous owners maintain - 7
Plan for the car is to keep it road worthy and in good mechanical nick, join Panda 4x4 UK club and have some play with other Northern forum members.

As it is now, I'm not willing to make any statement what needs to be done as I had only spend about 2h last week by checking and looking at the car in more details way.

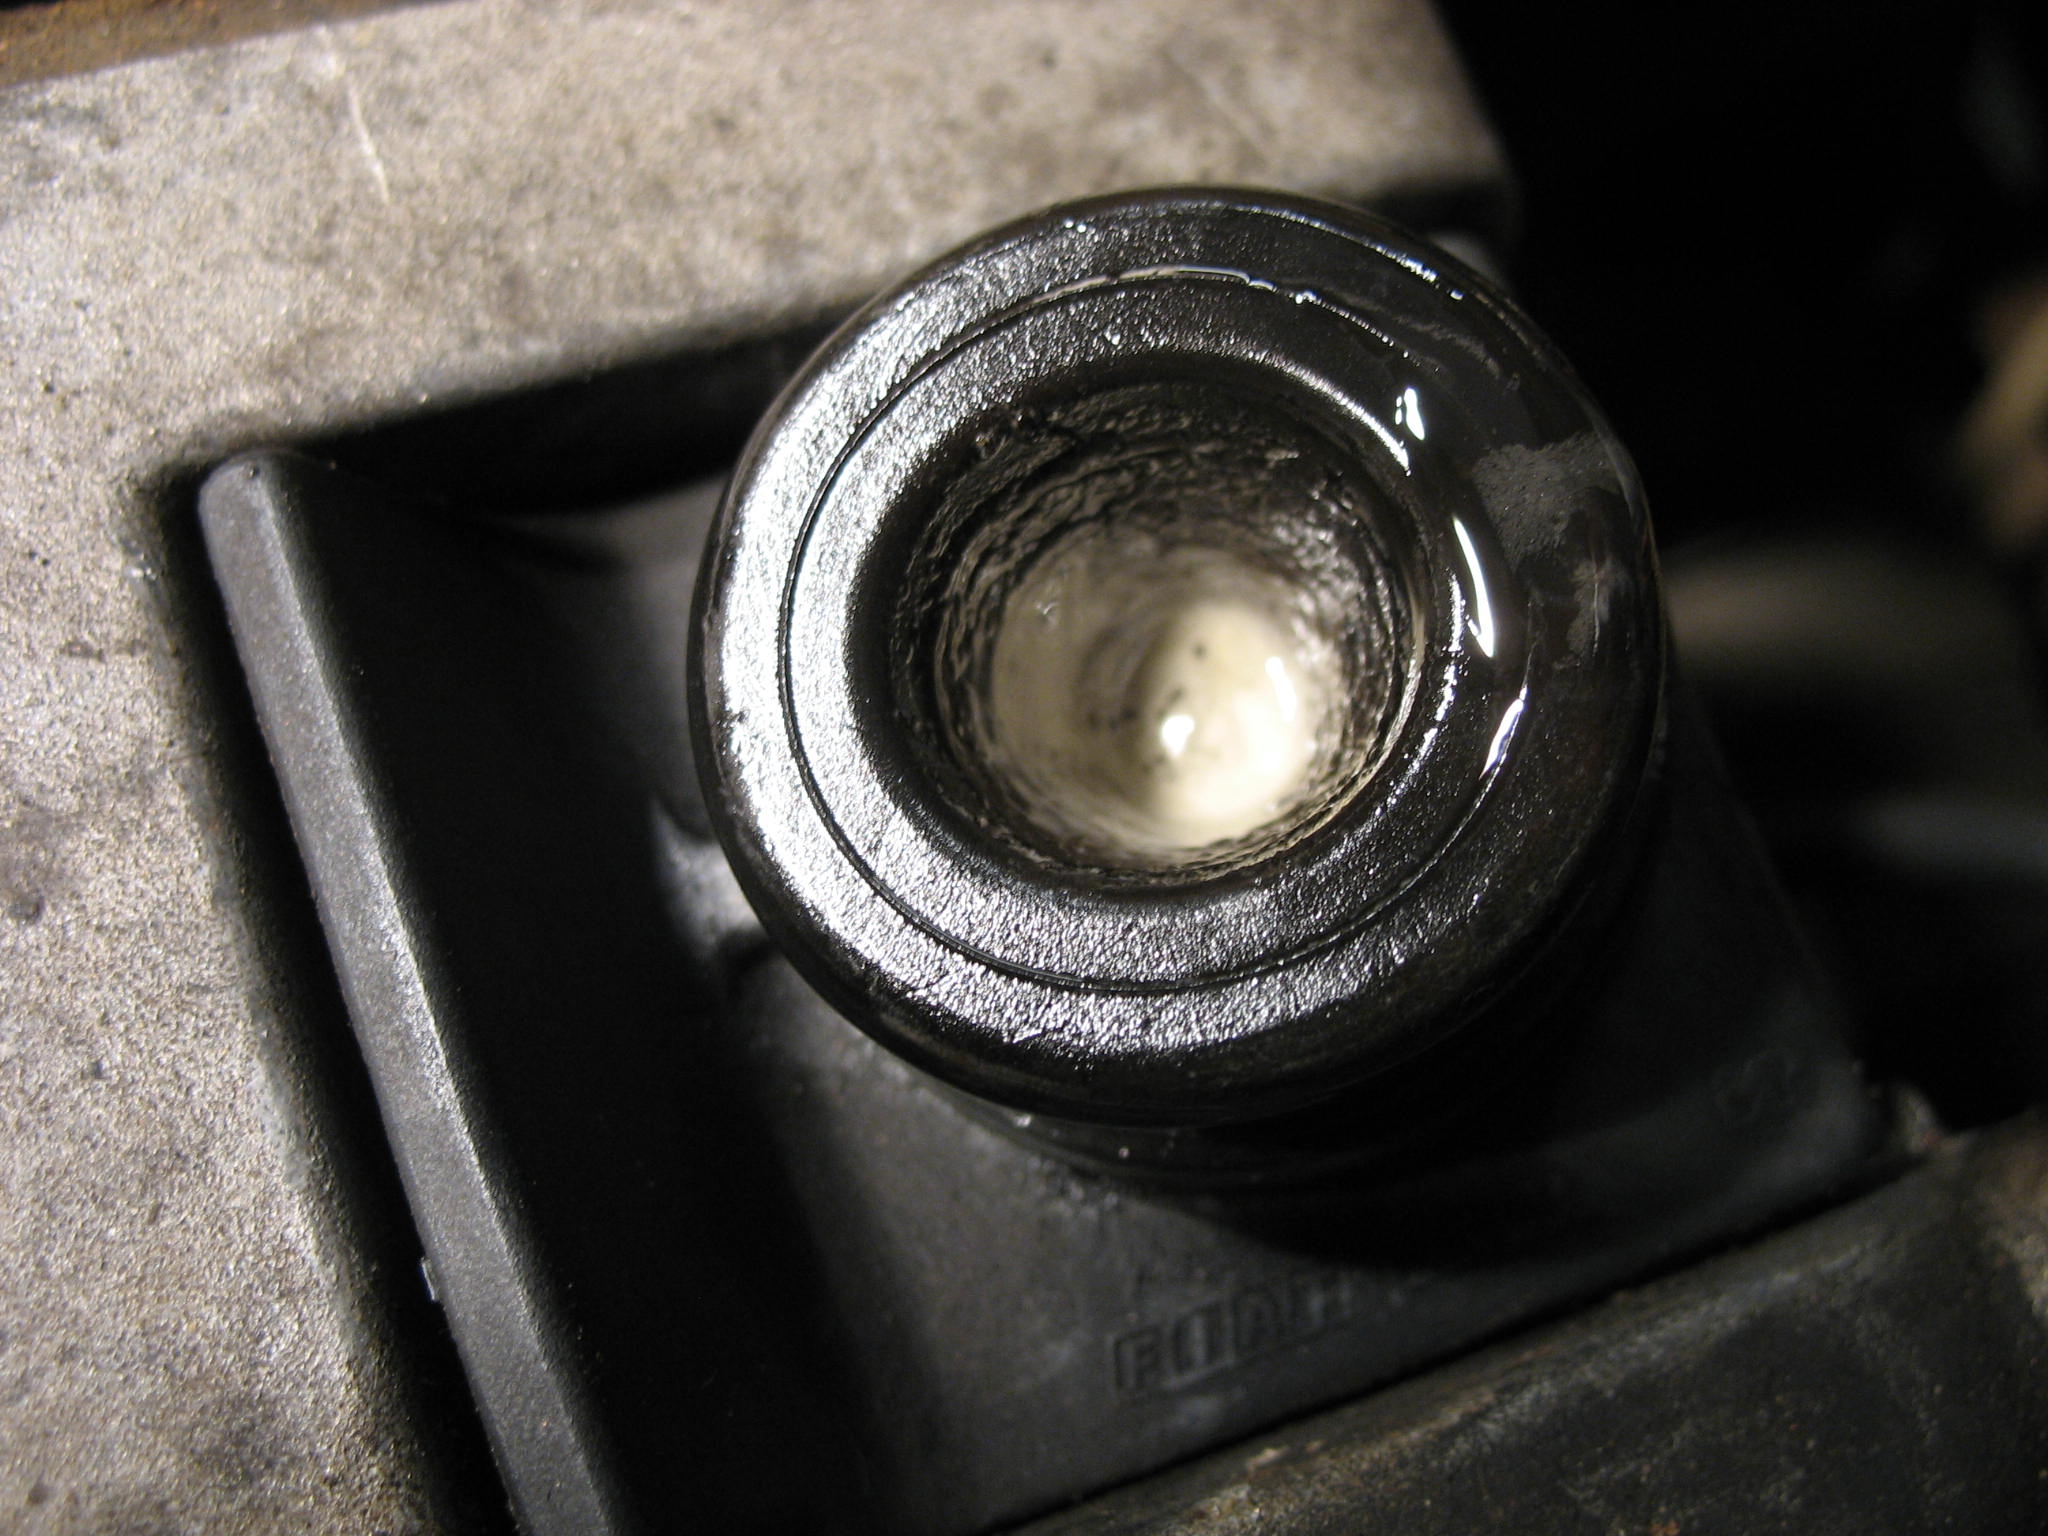
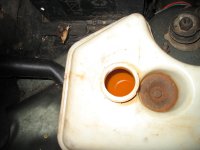
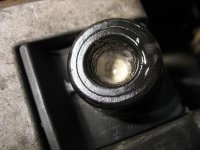
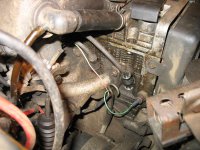
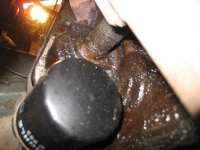
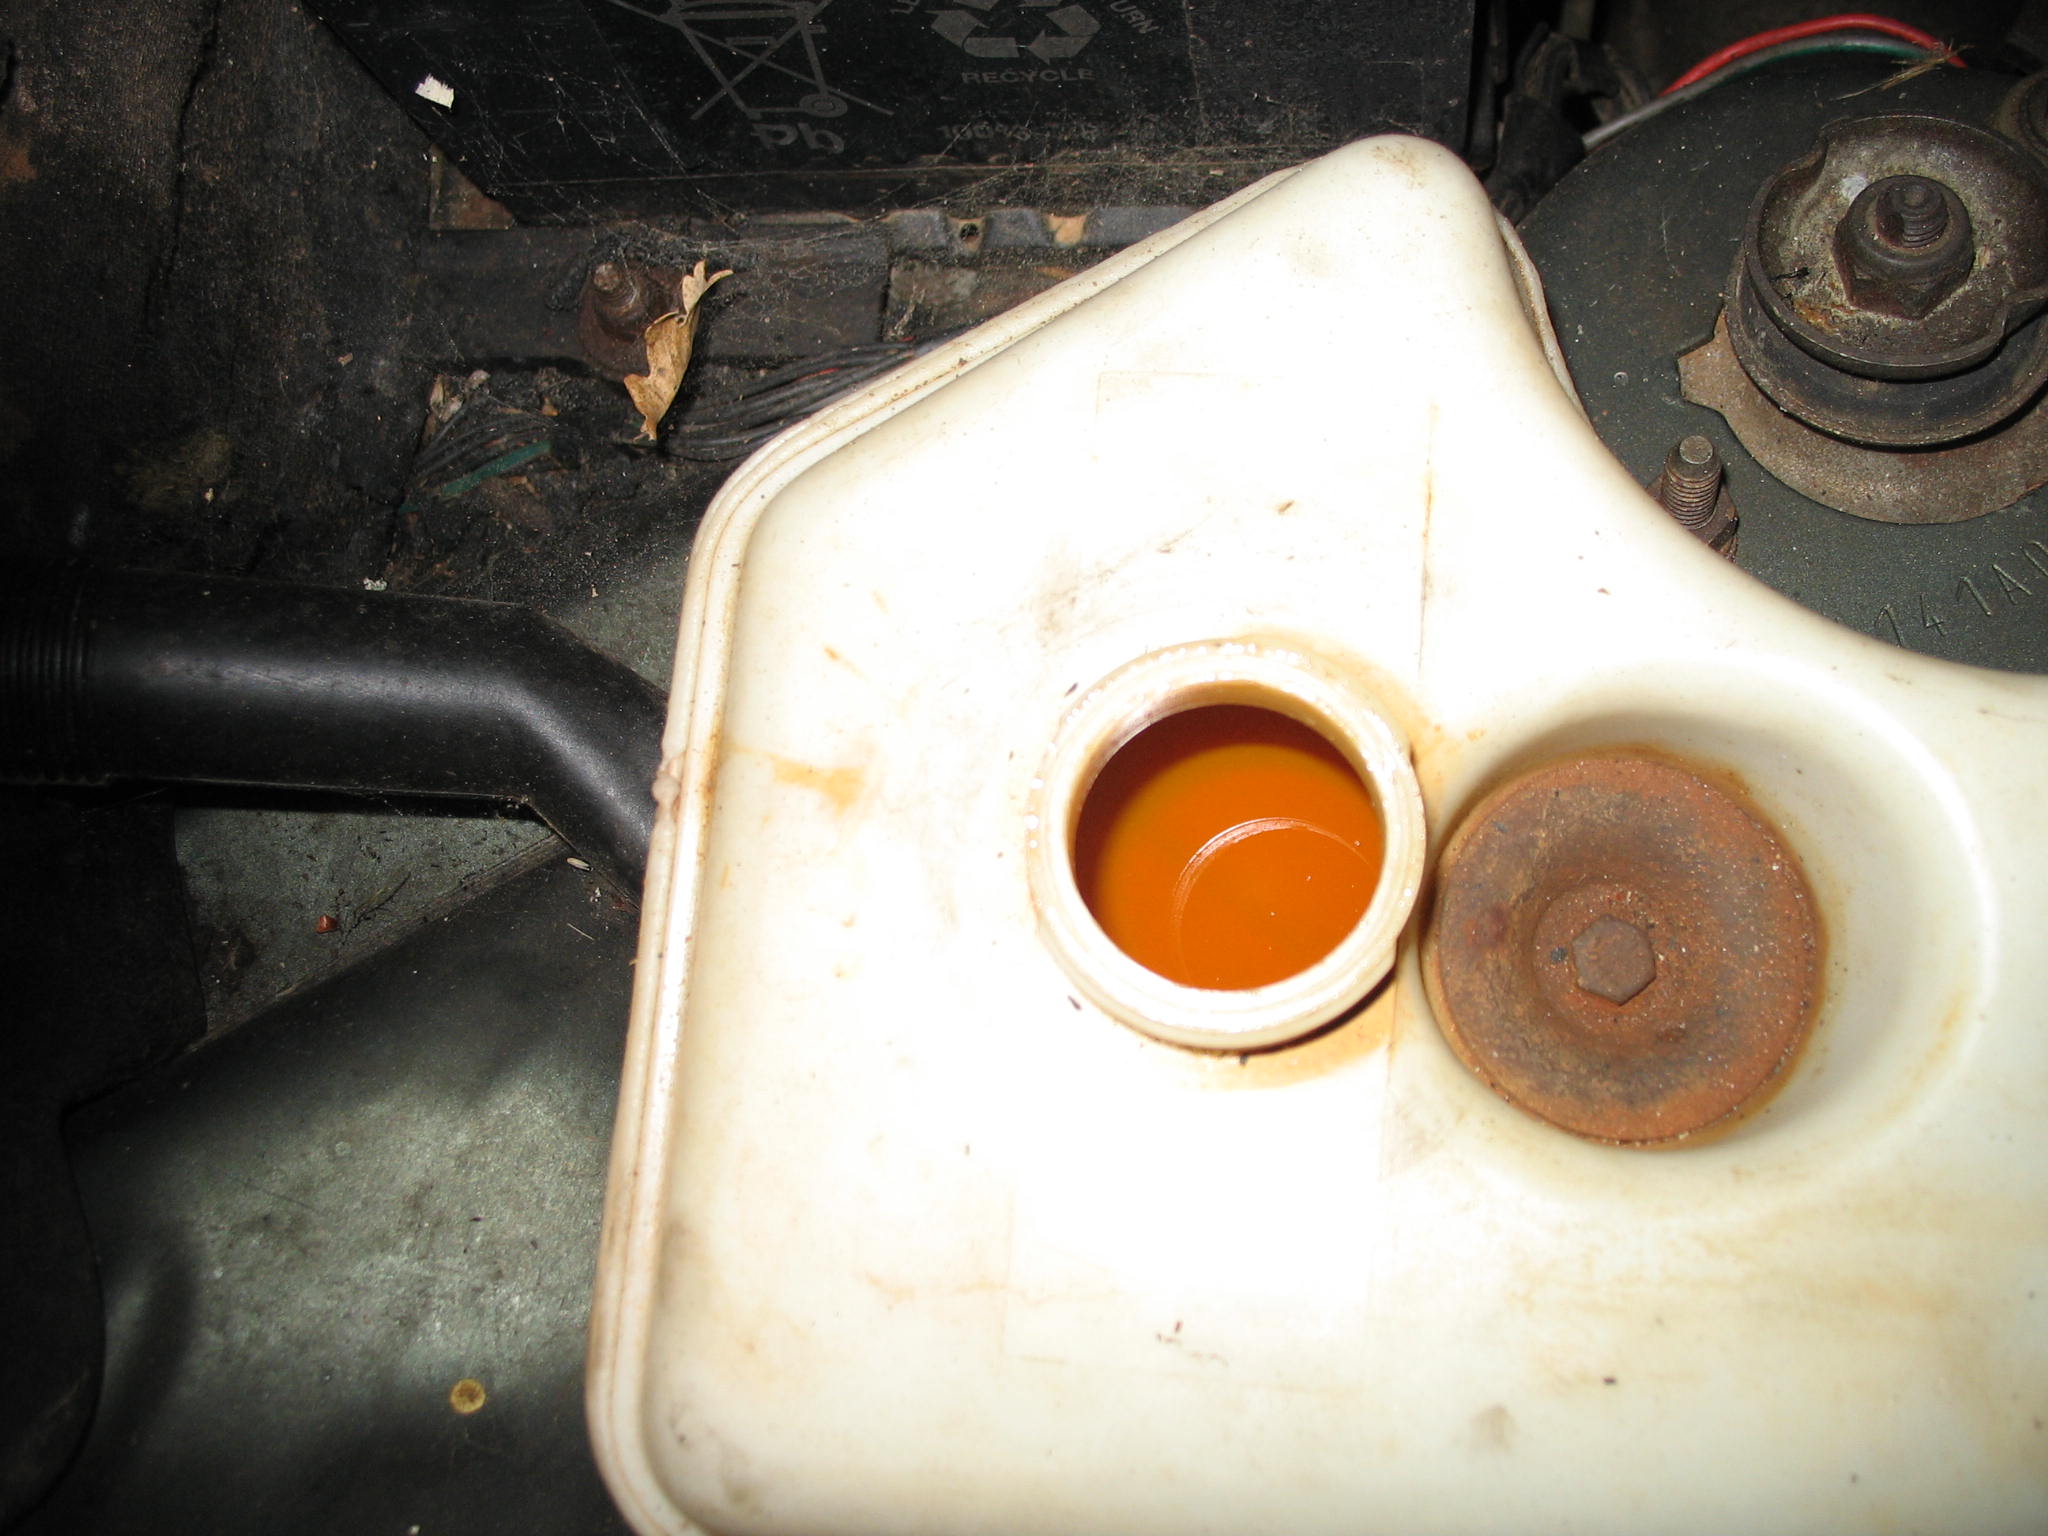
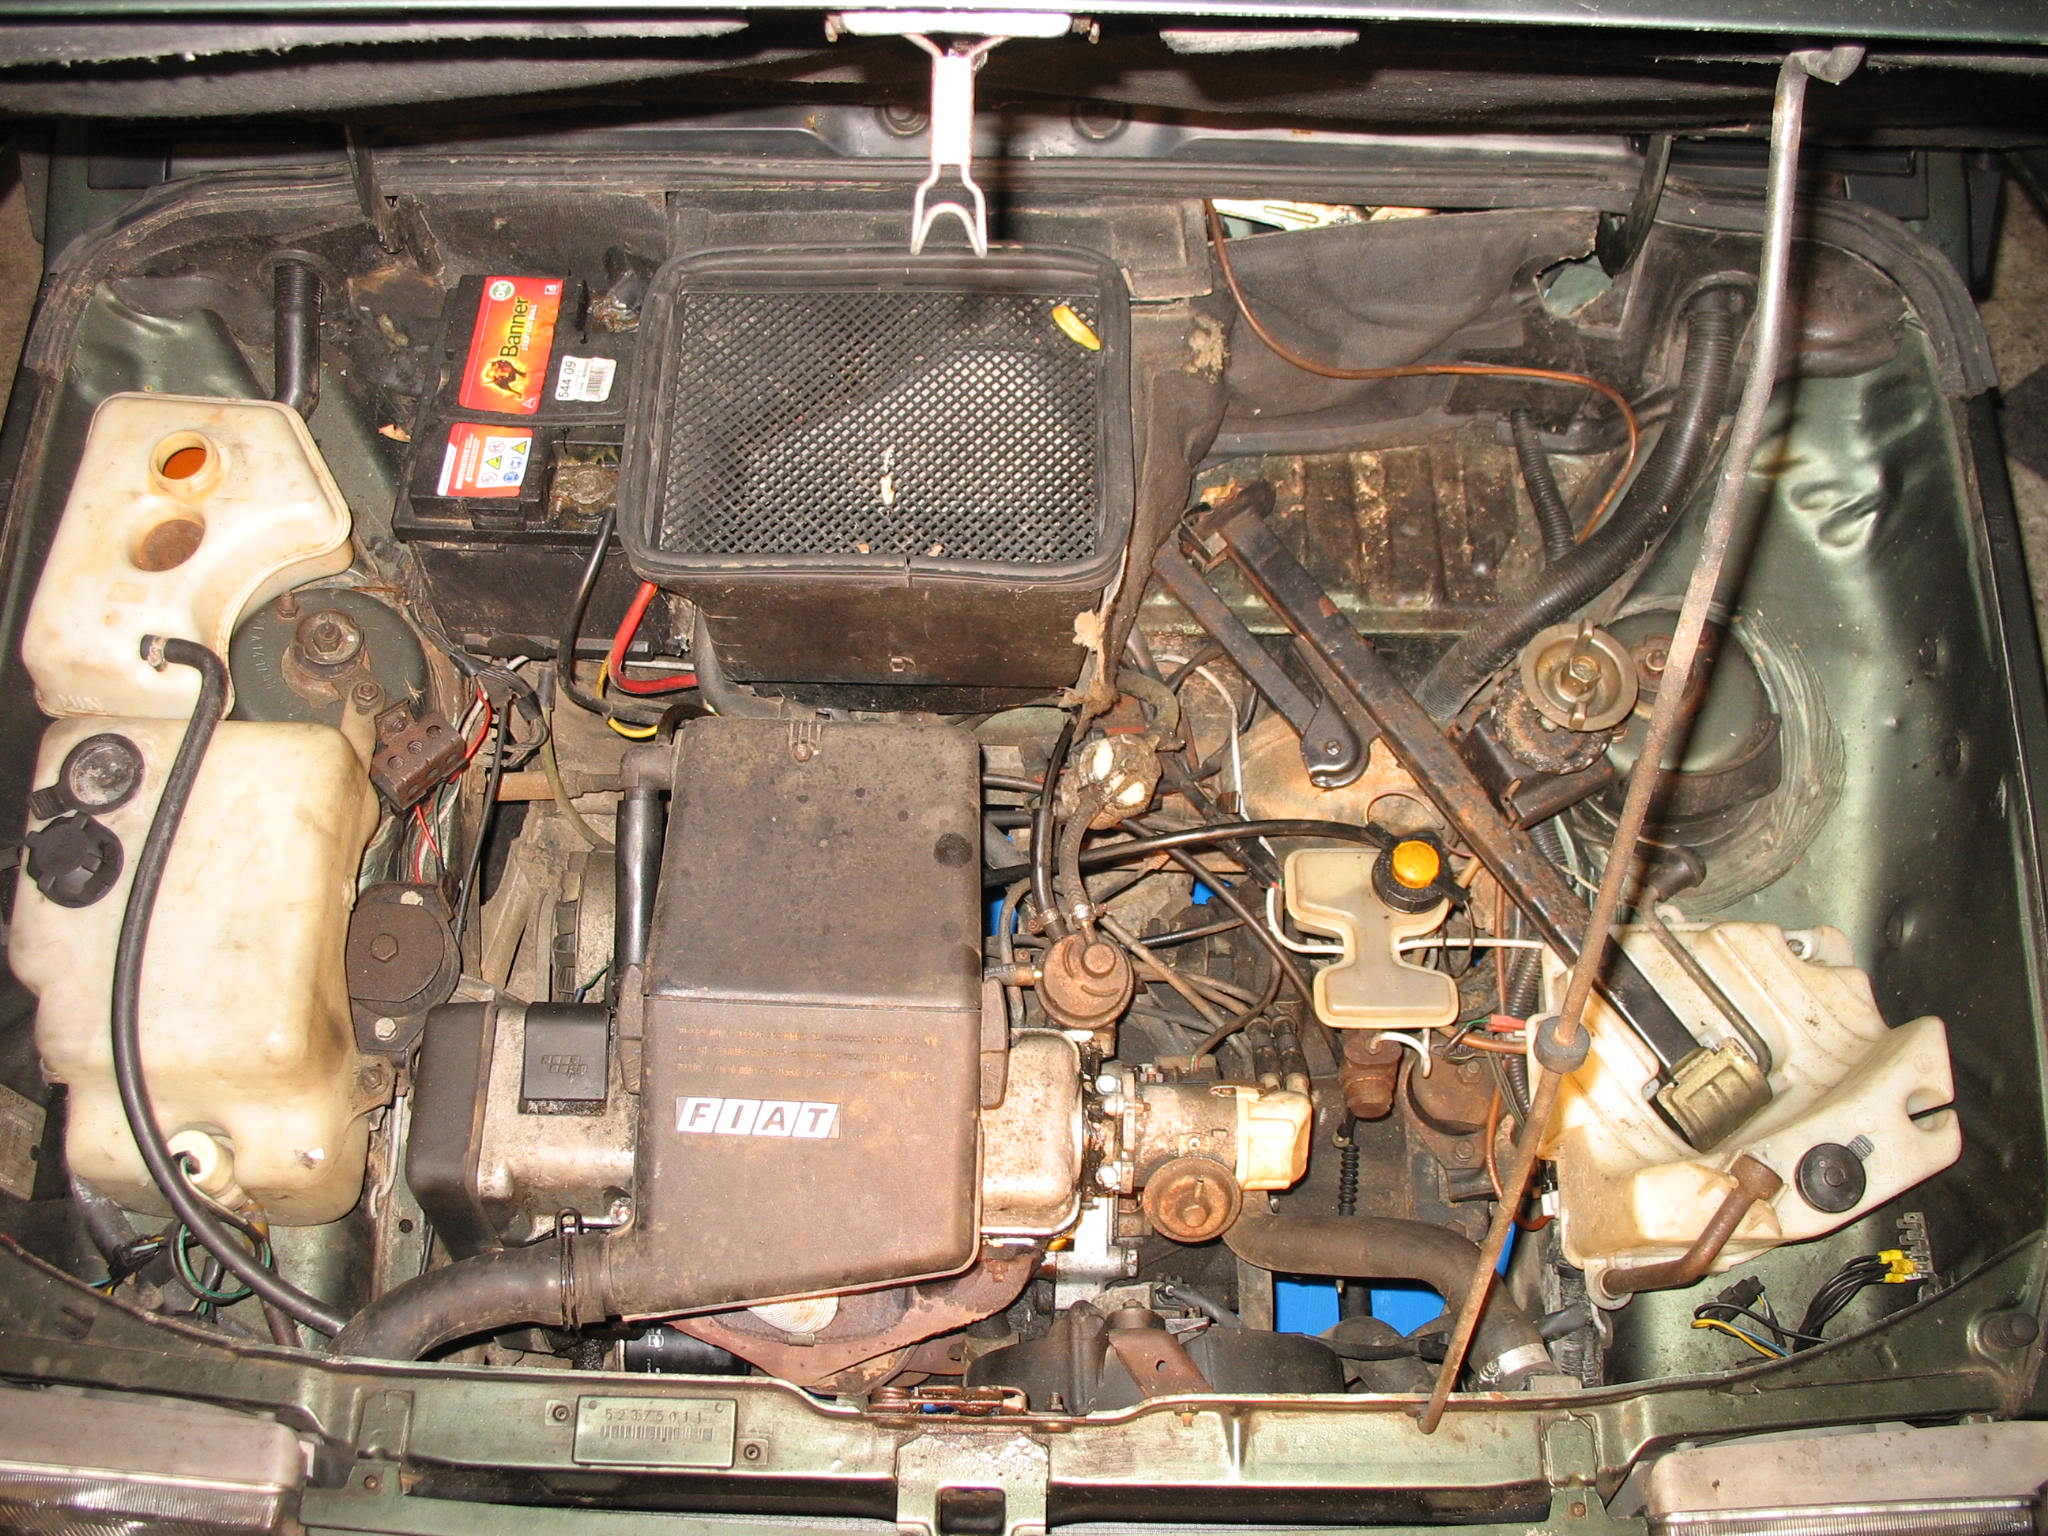
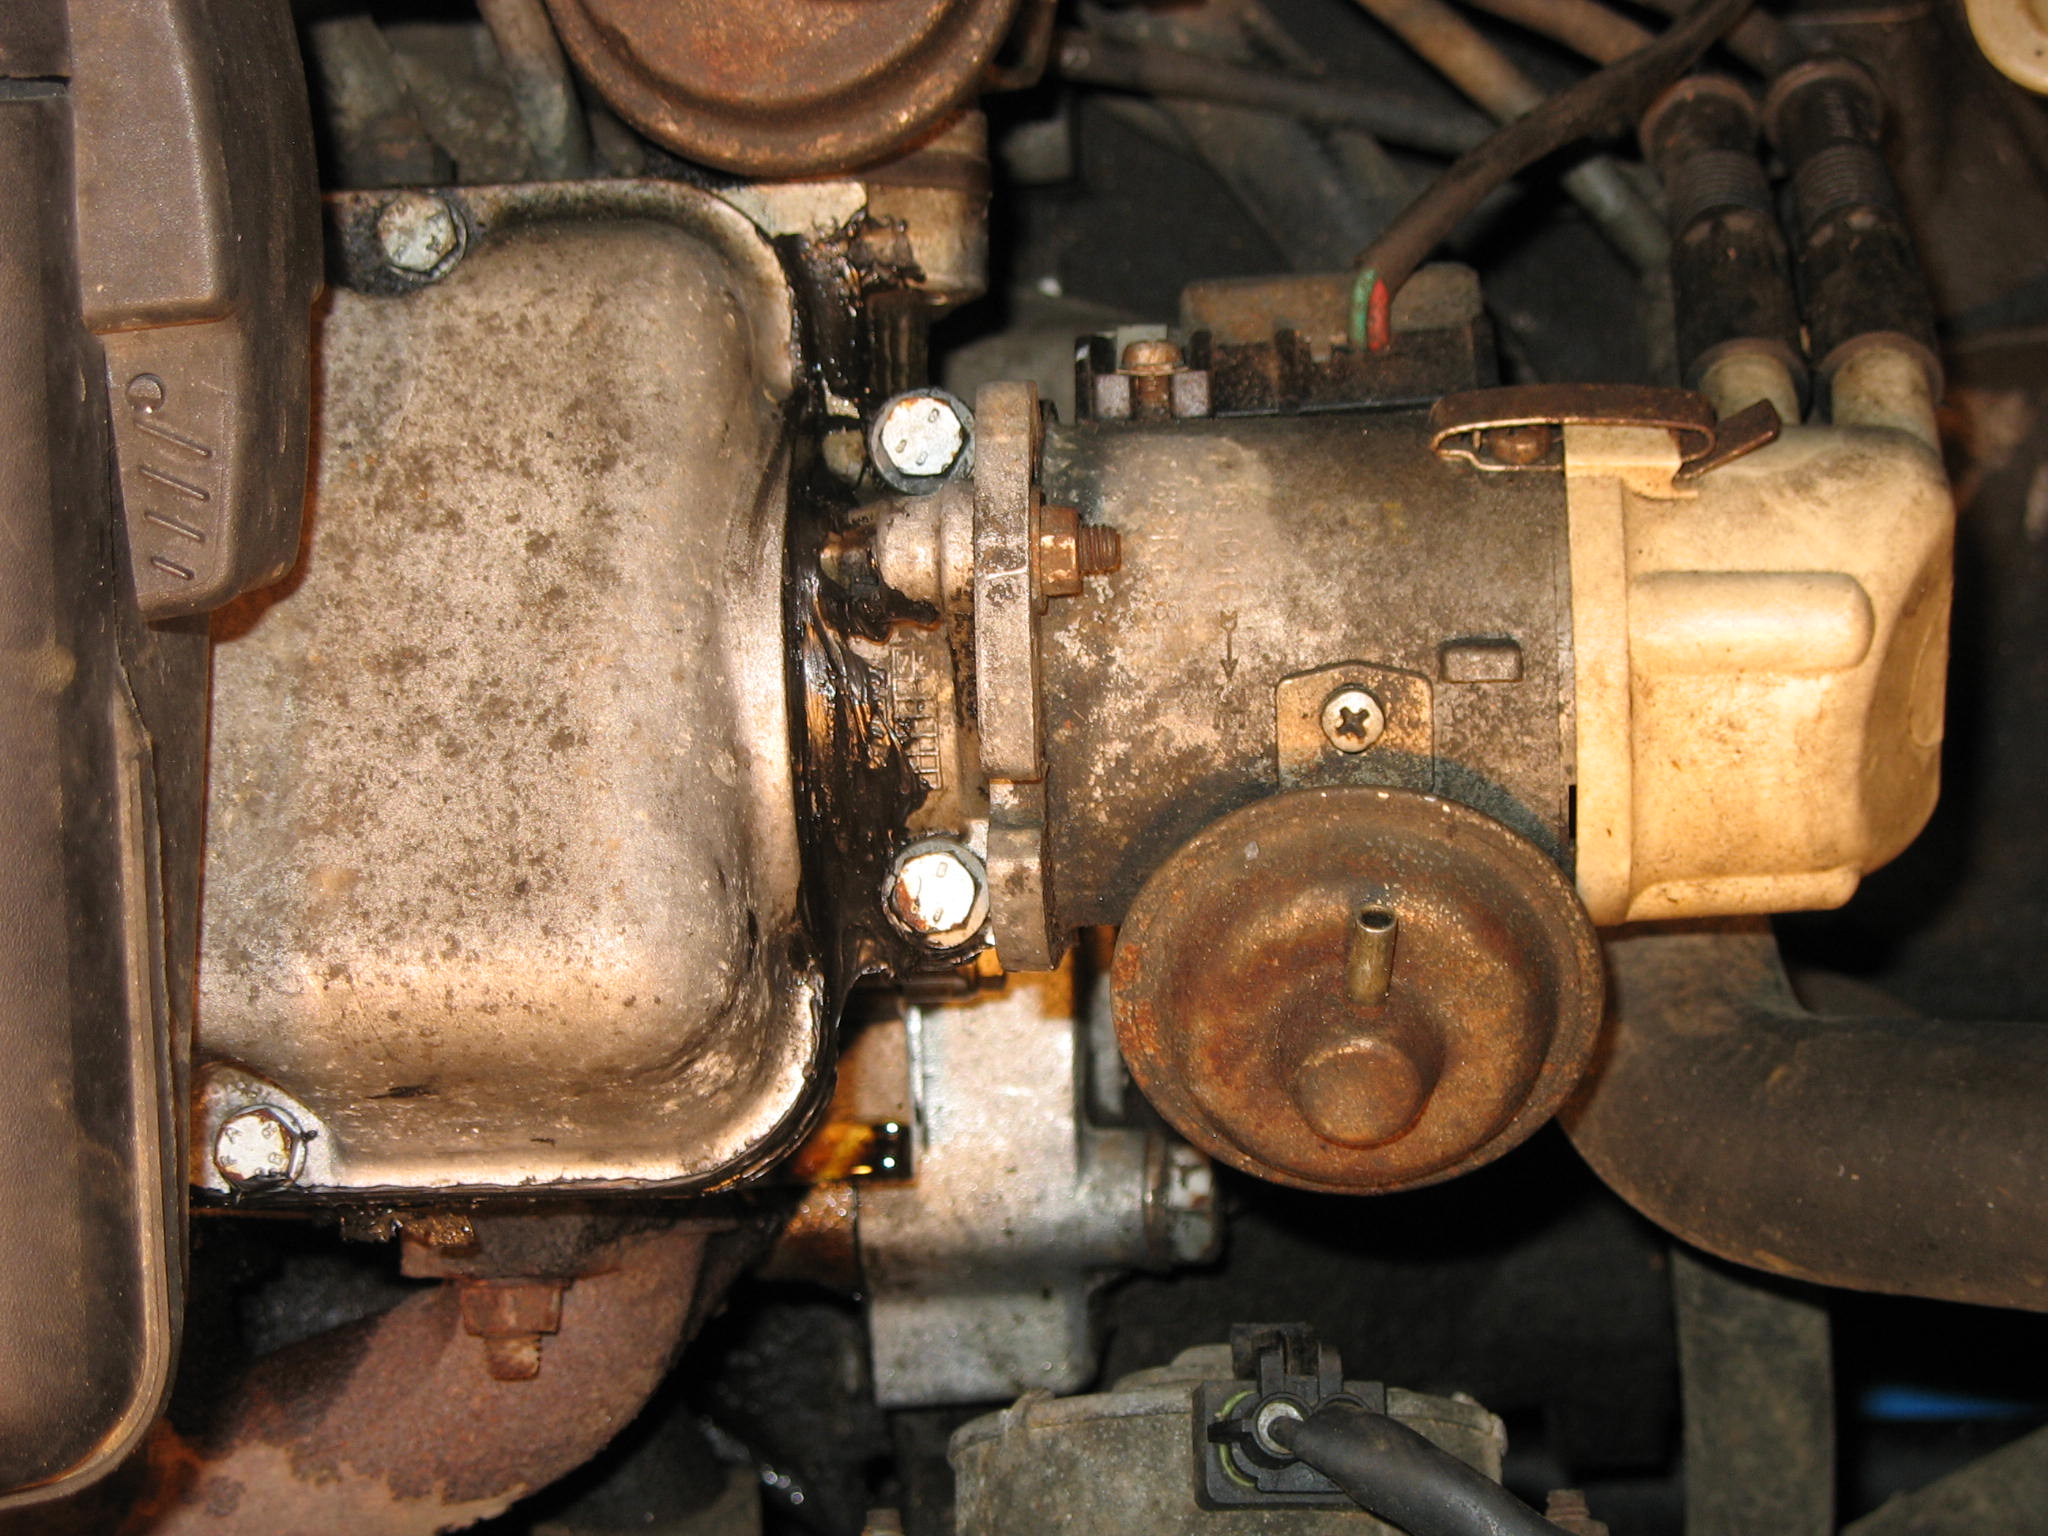
That is my bigger worry for now - bloody milky coolant and a bit of mayo under the oil cap.
IMG_18771.JPG

IMG_18843.JPG


How can I confirm my head gasket theory not having coolant presure test kit???
@CLS - your not the only one - aparently it is bloody hard to buy cheepo 4x4 without blown thru head gasket.

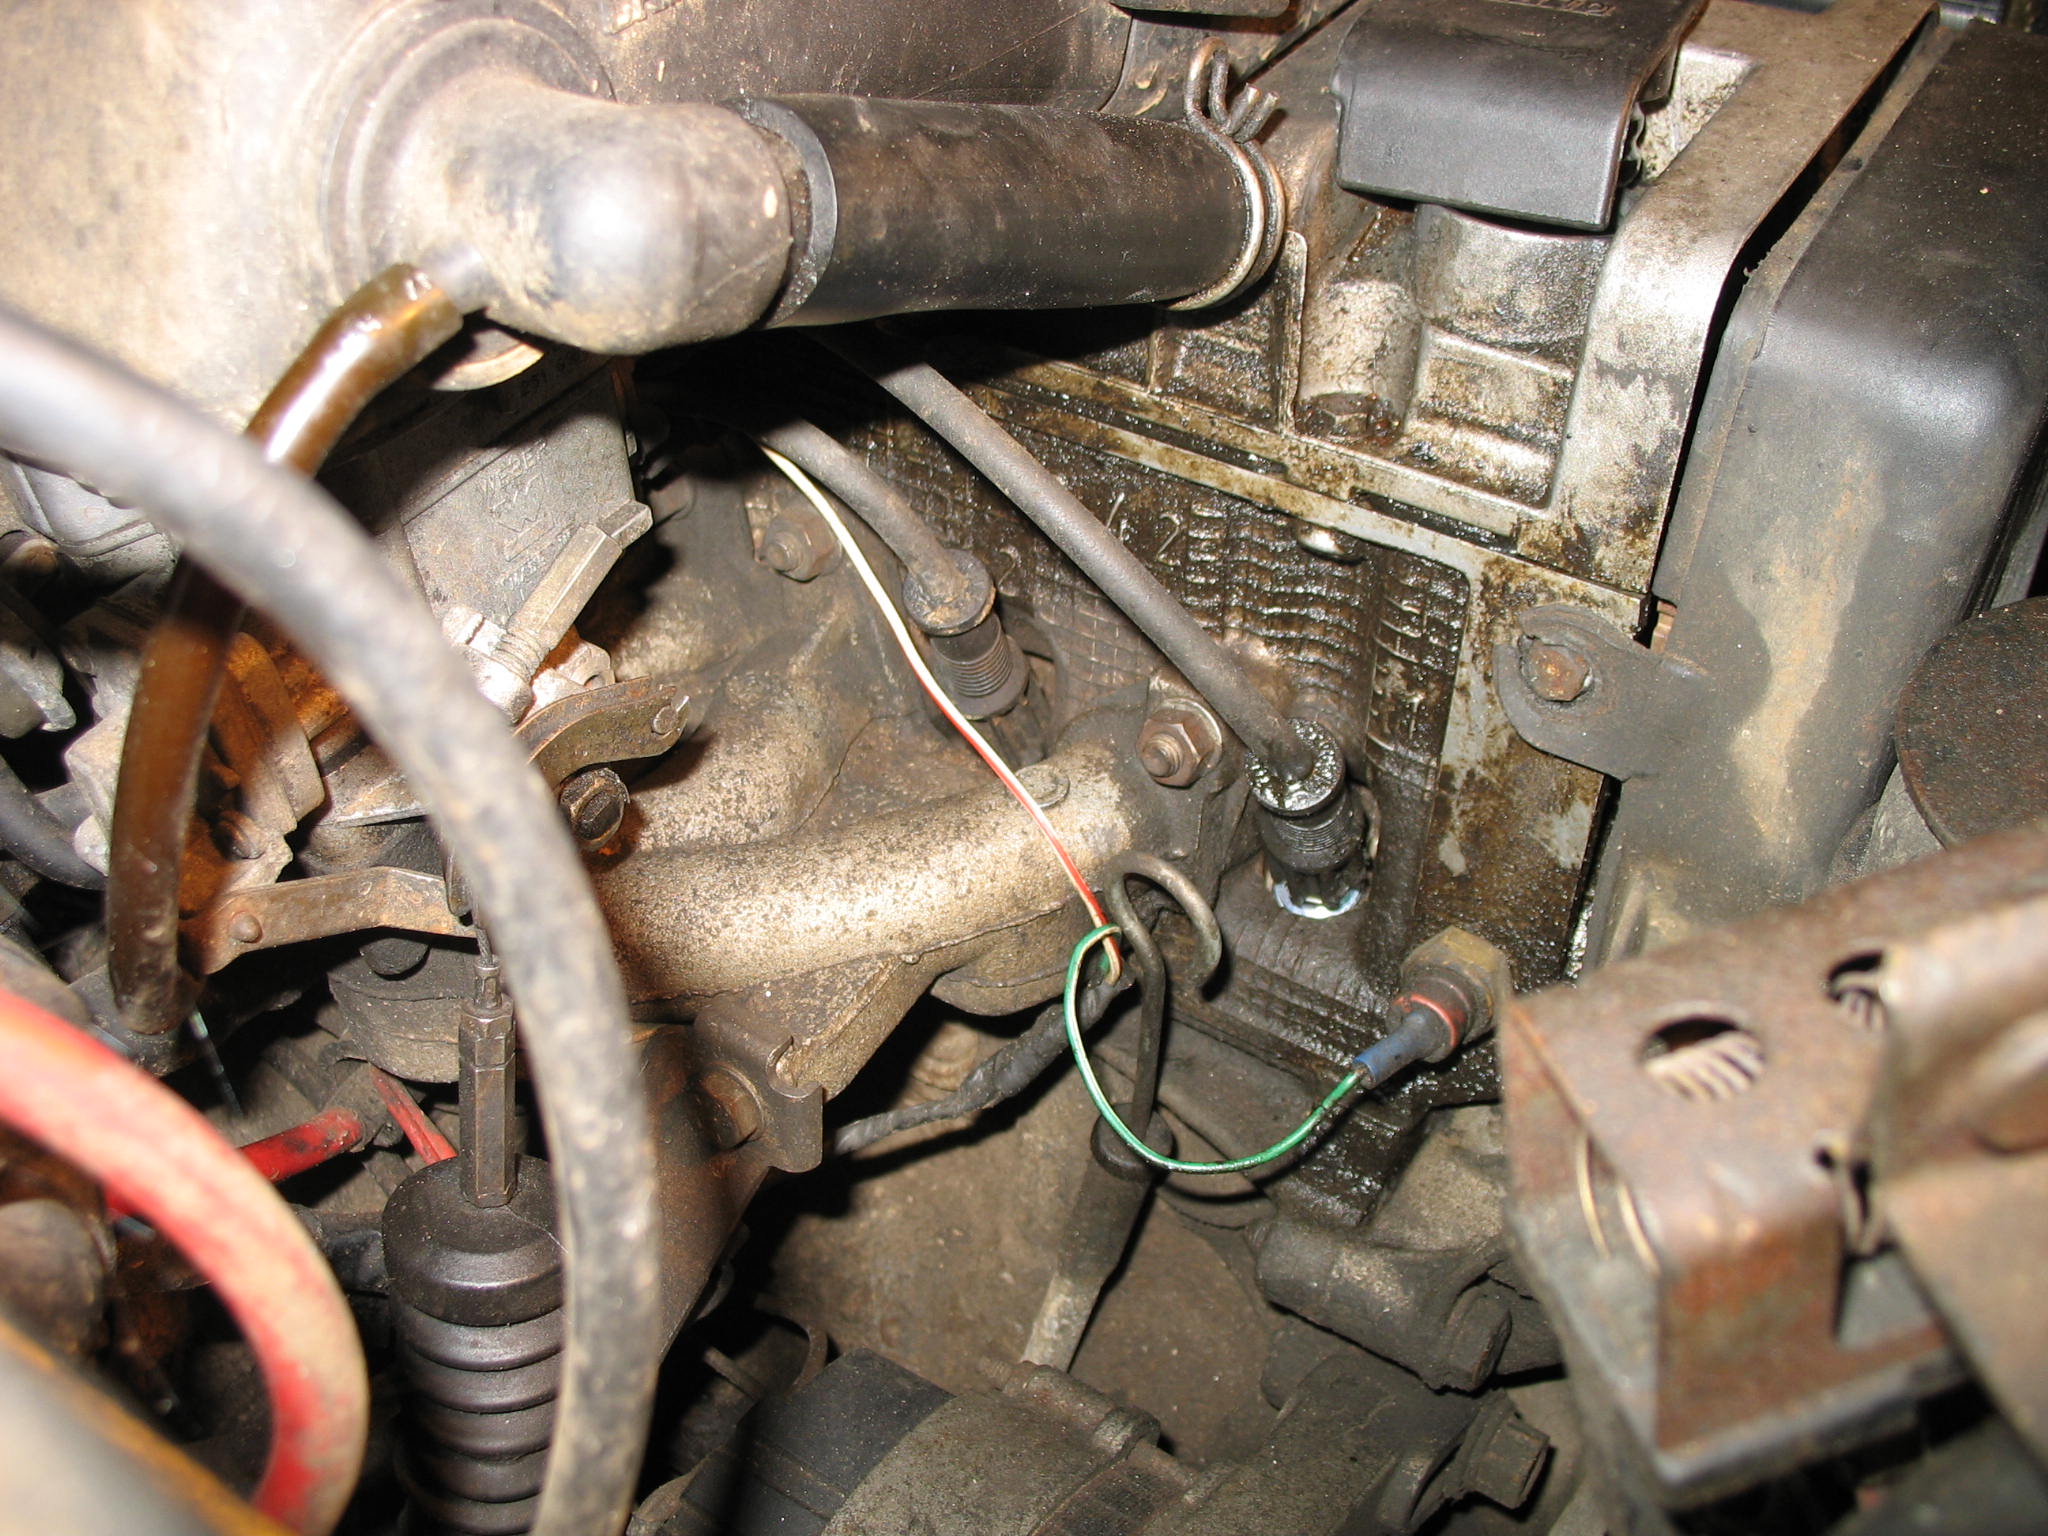
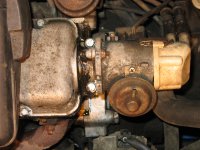
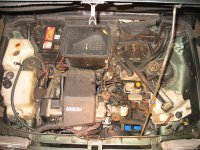
The rest of the engine bay seems to be fine,
IMG_18791.JPG


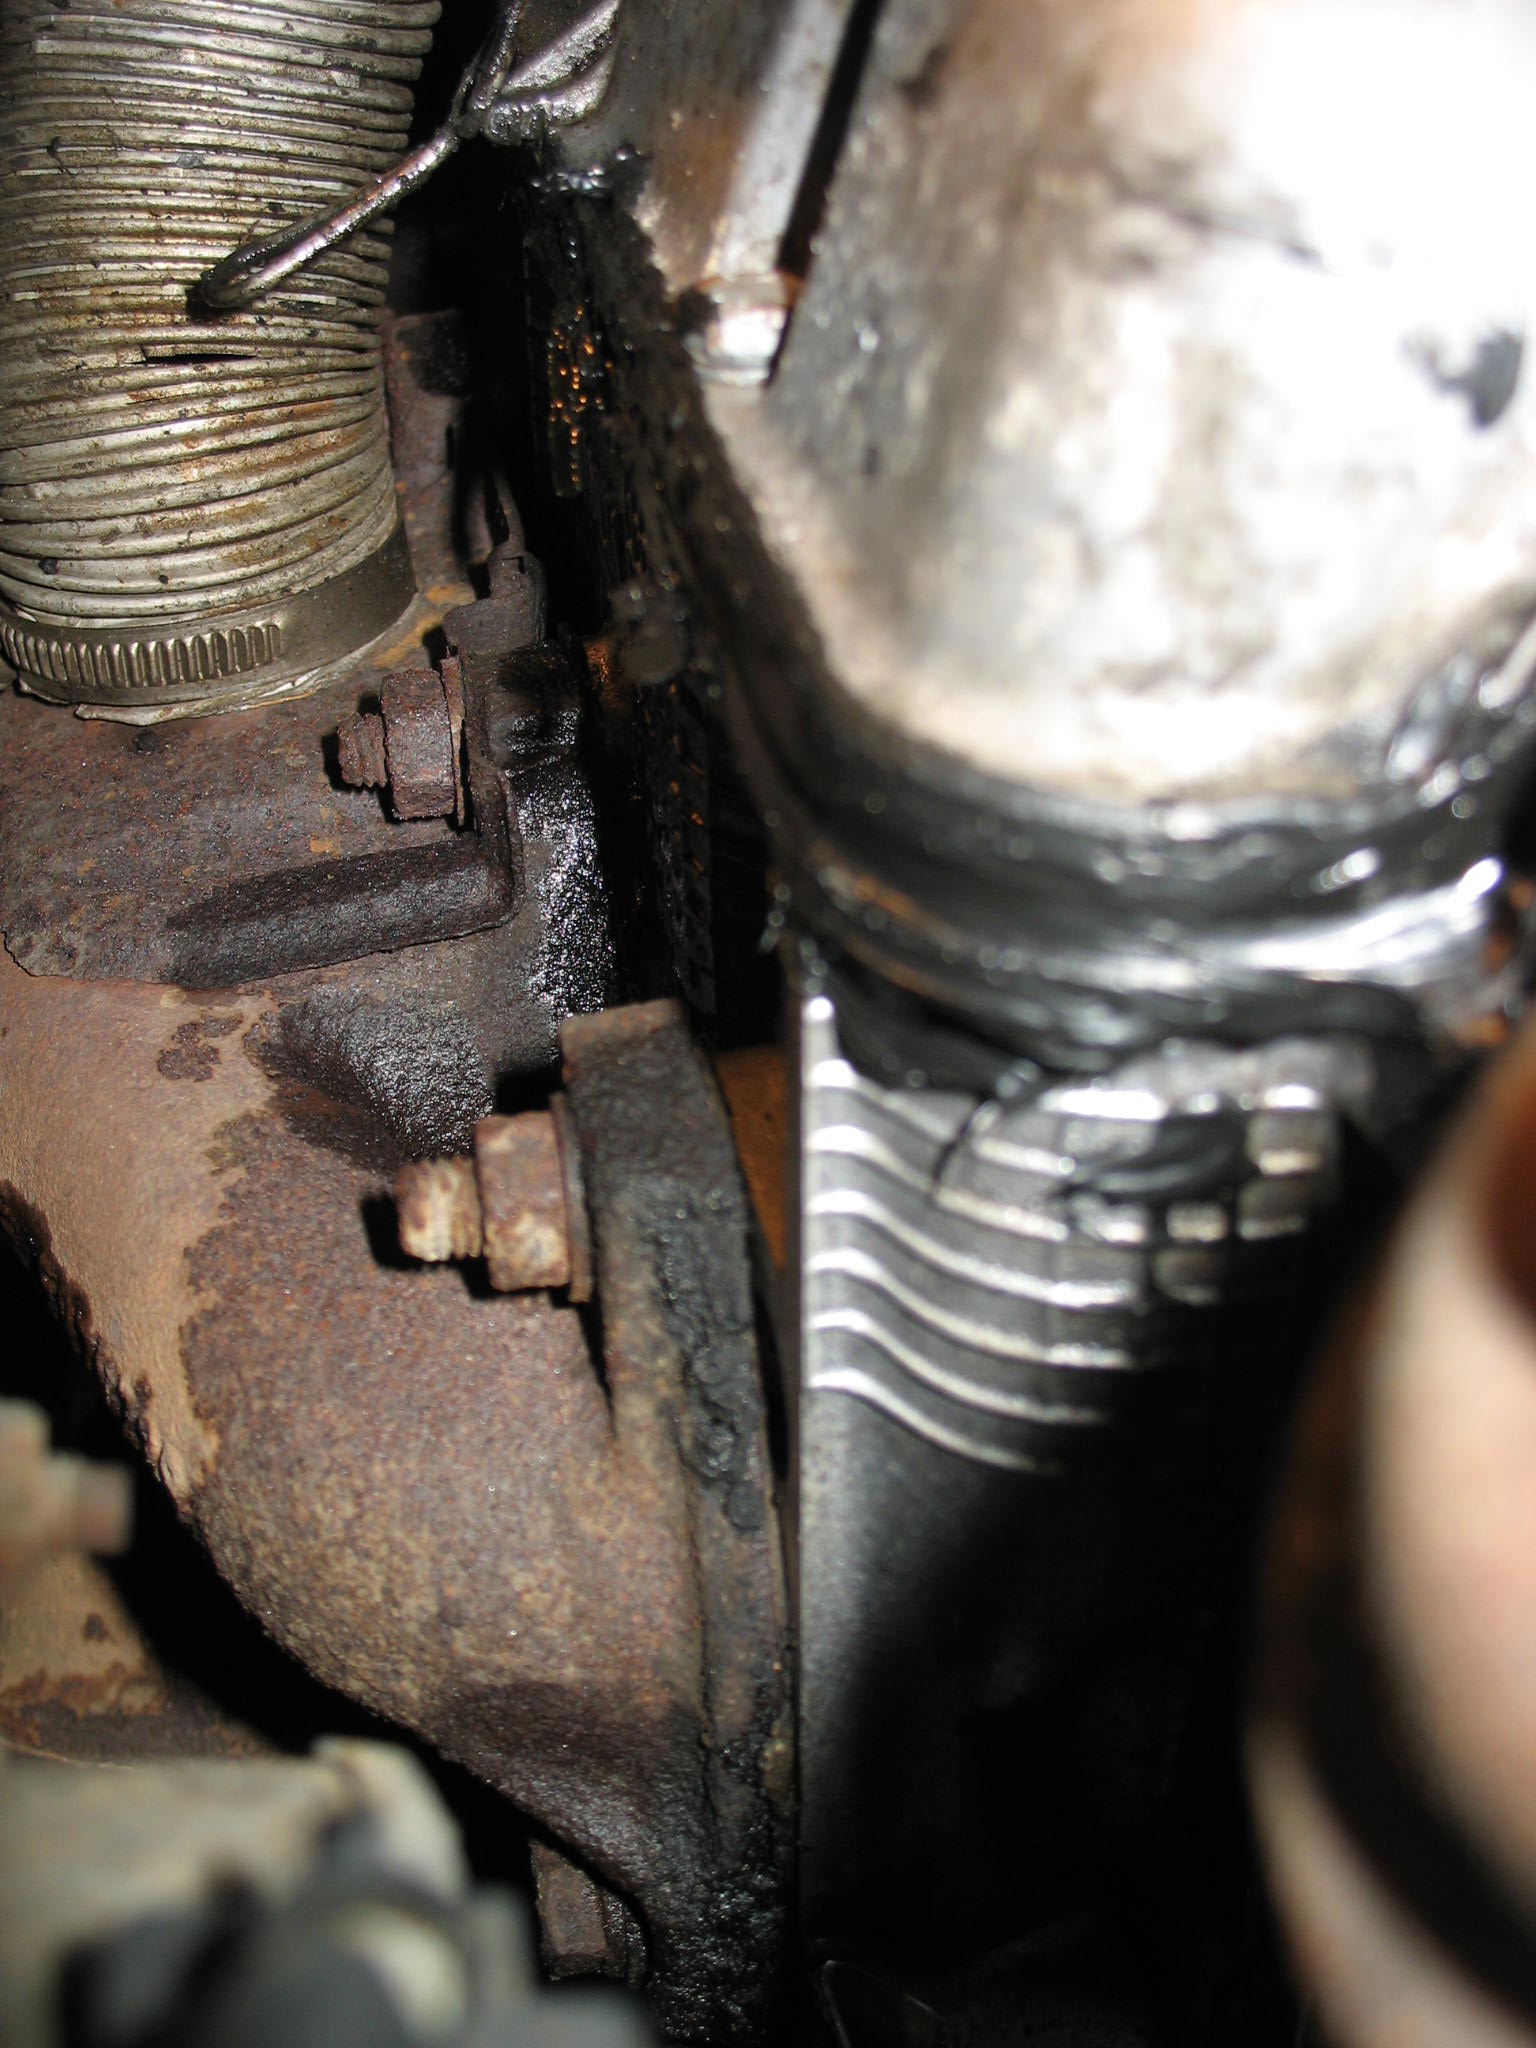
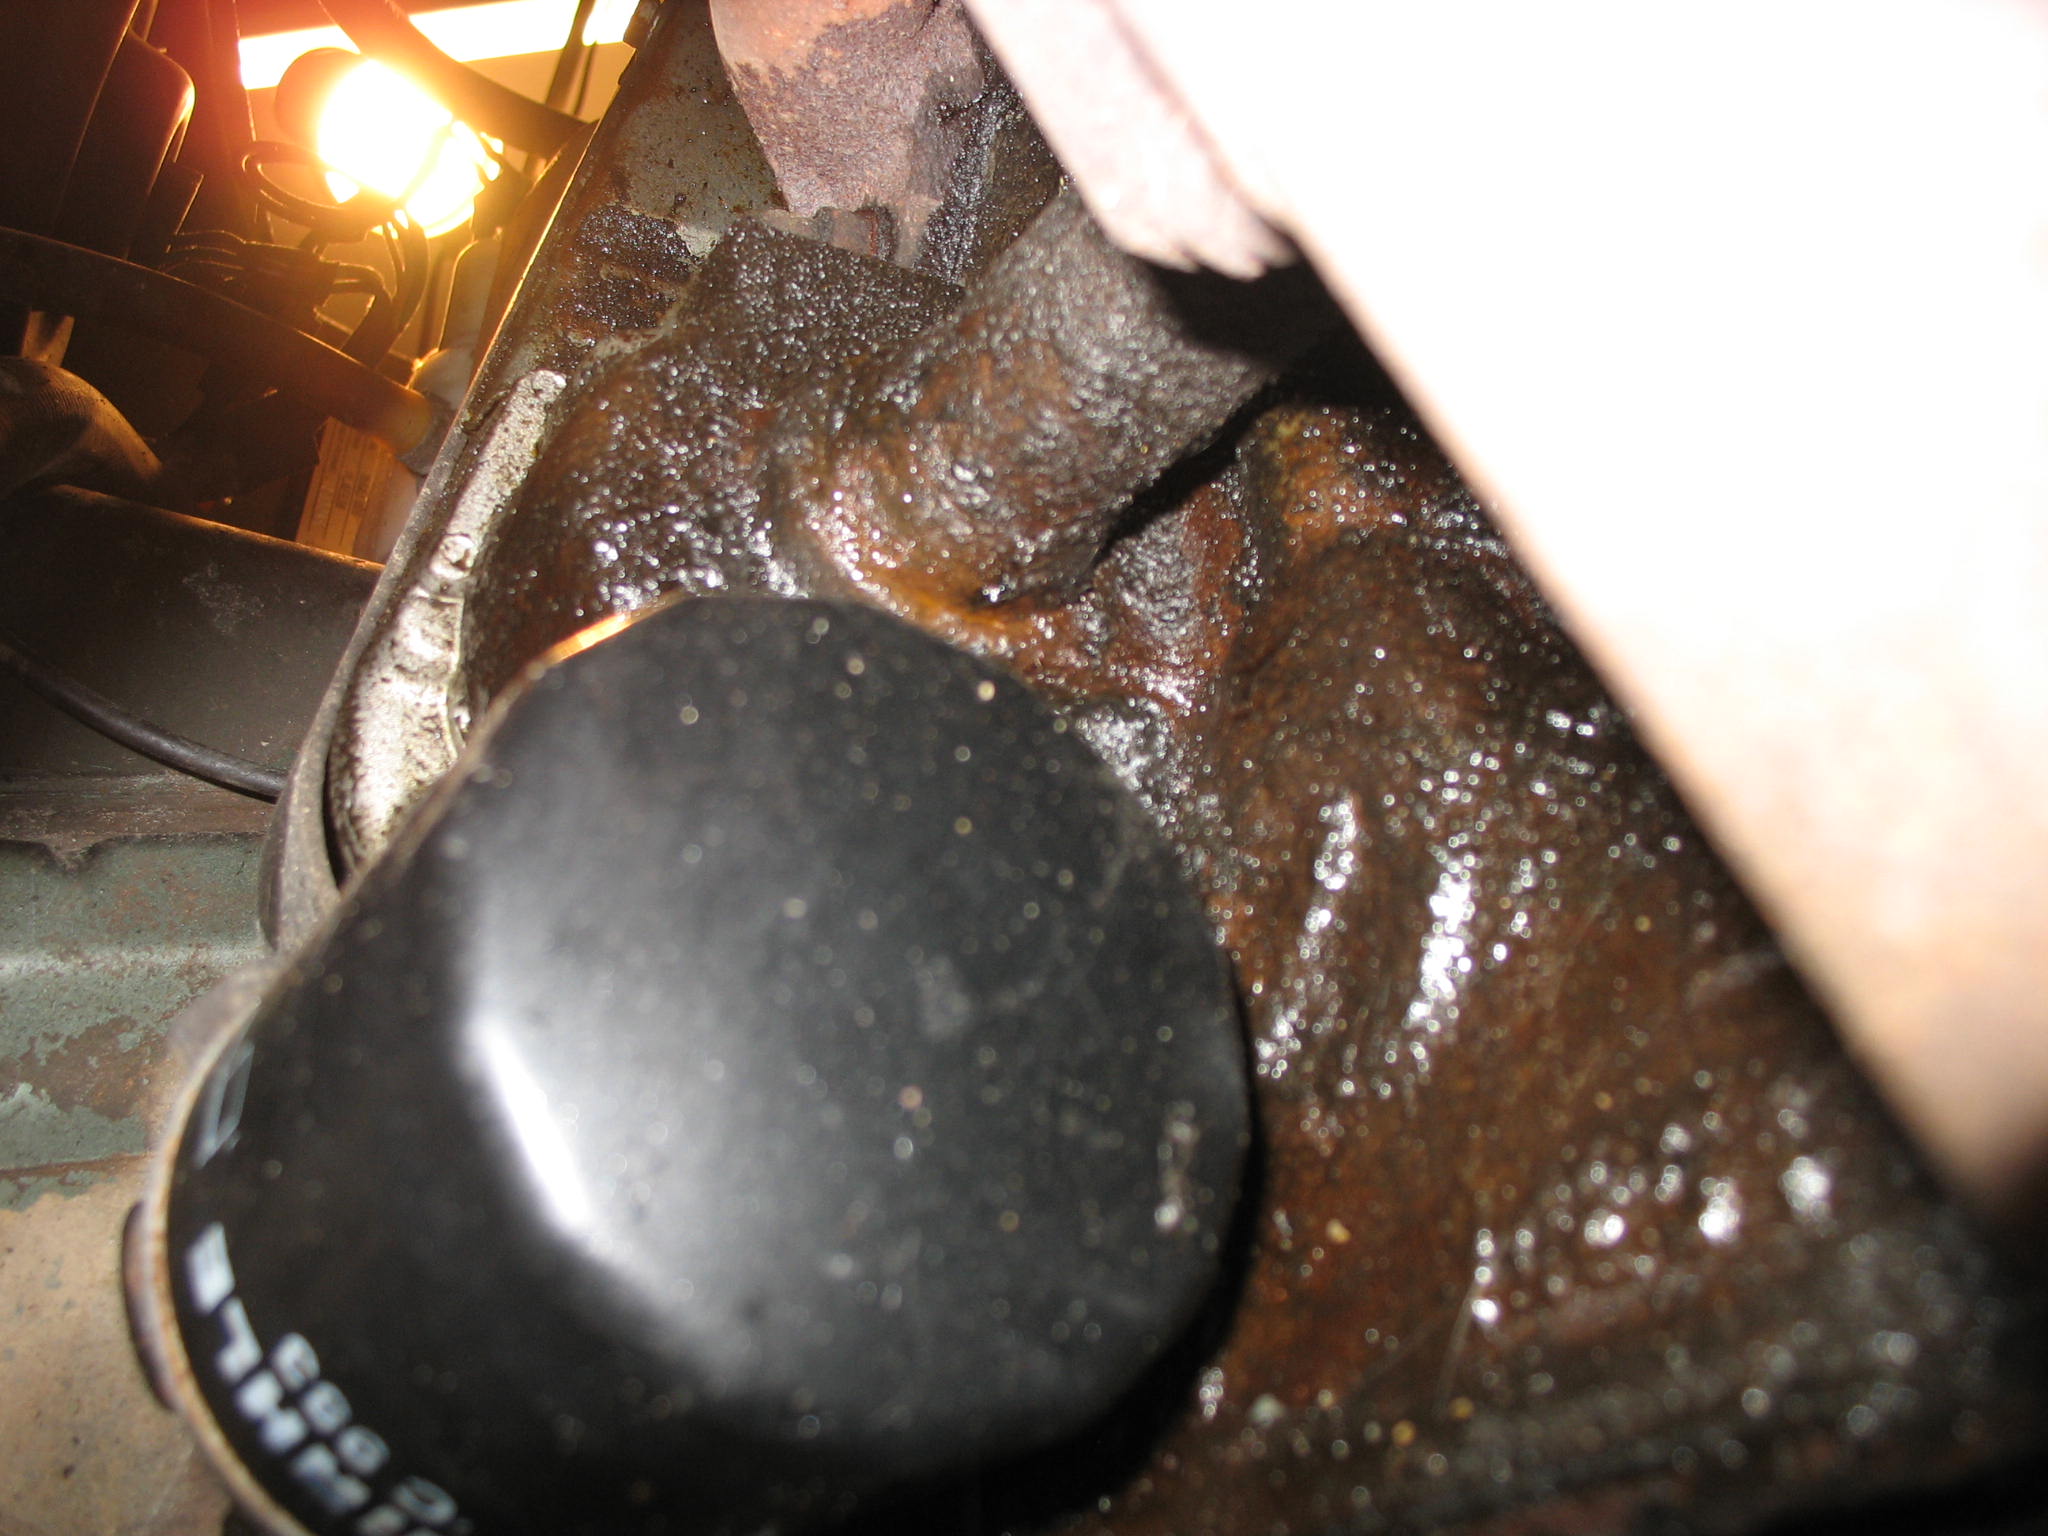
Did somebody in here mentioned a black silicone gunk as a fast repair?
IMG_1878.JPG


IMG_19241.JPG


IMG_18862.JPG


IMG_18821.JPG


IMG_19311.JPG


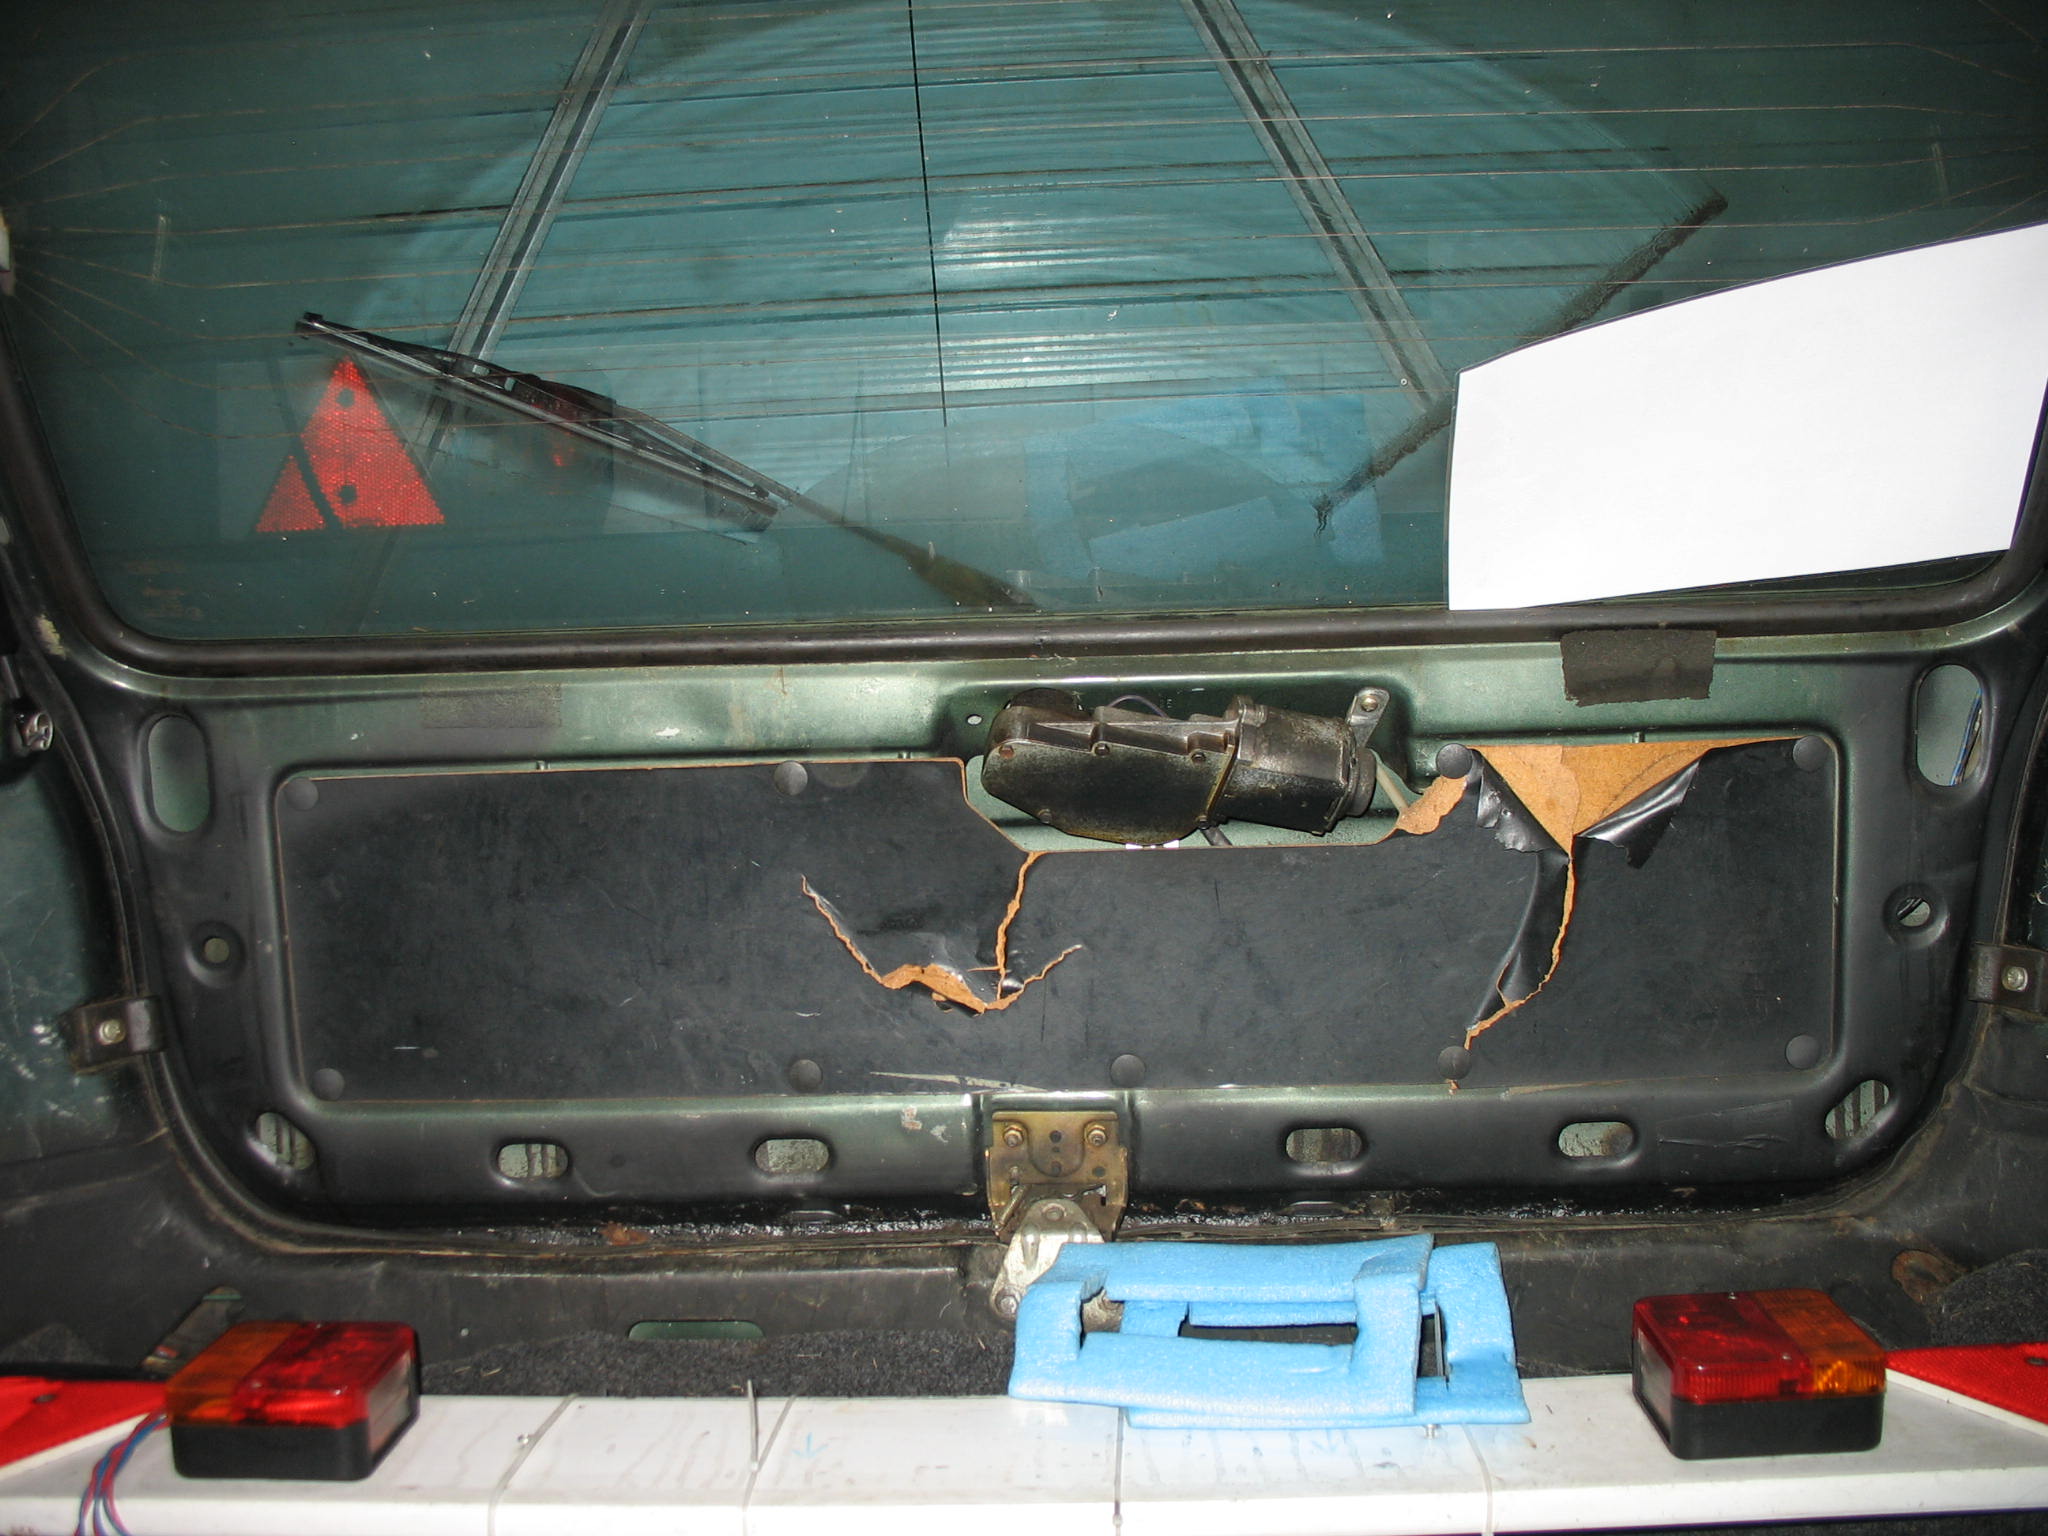
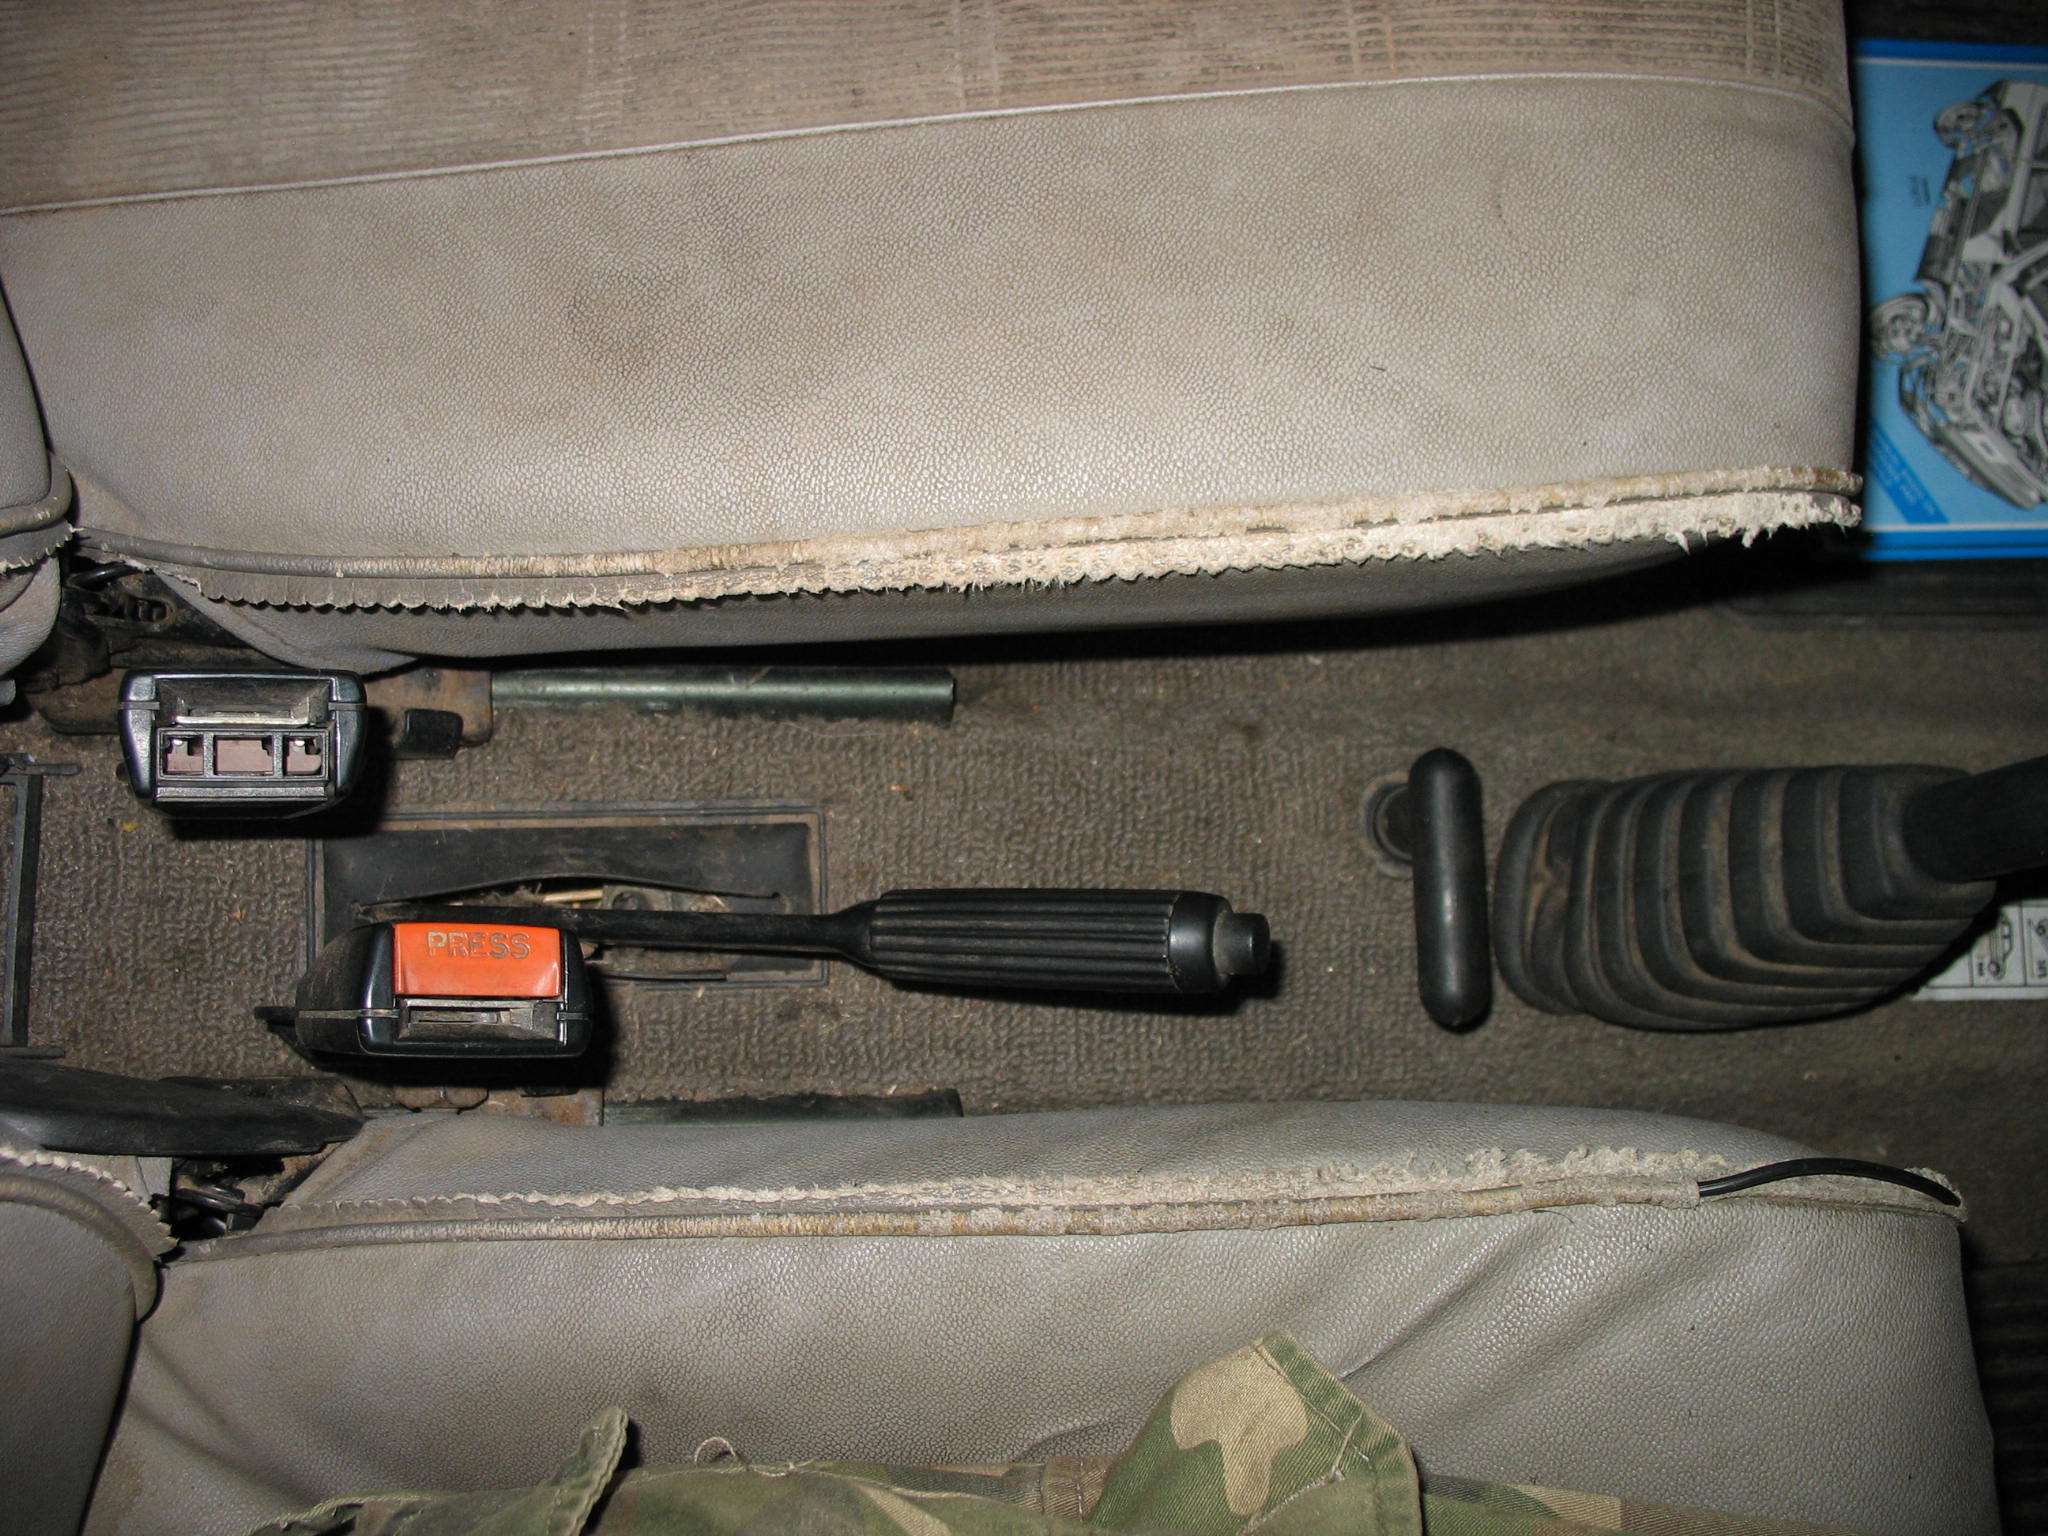
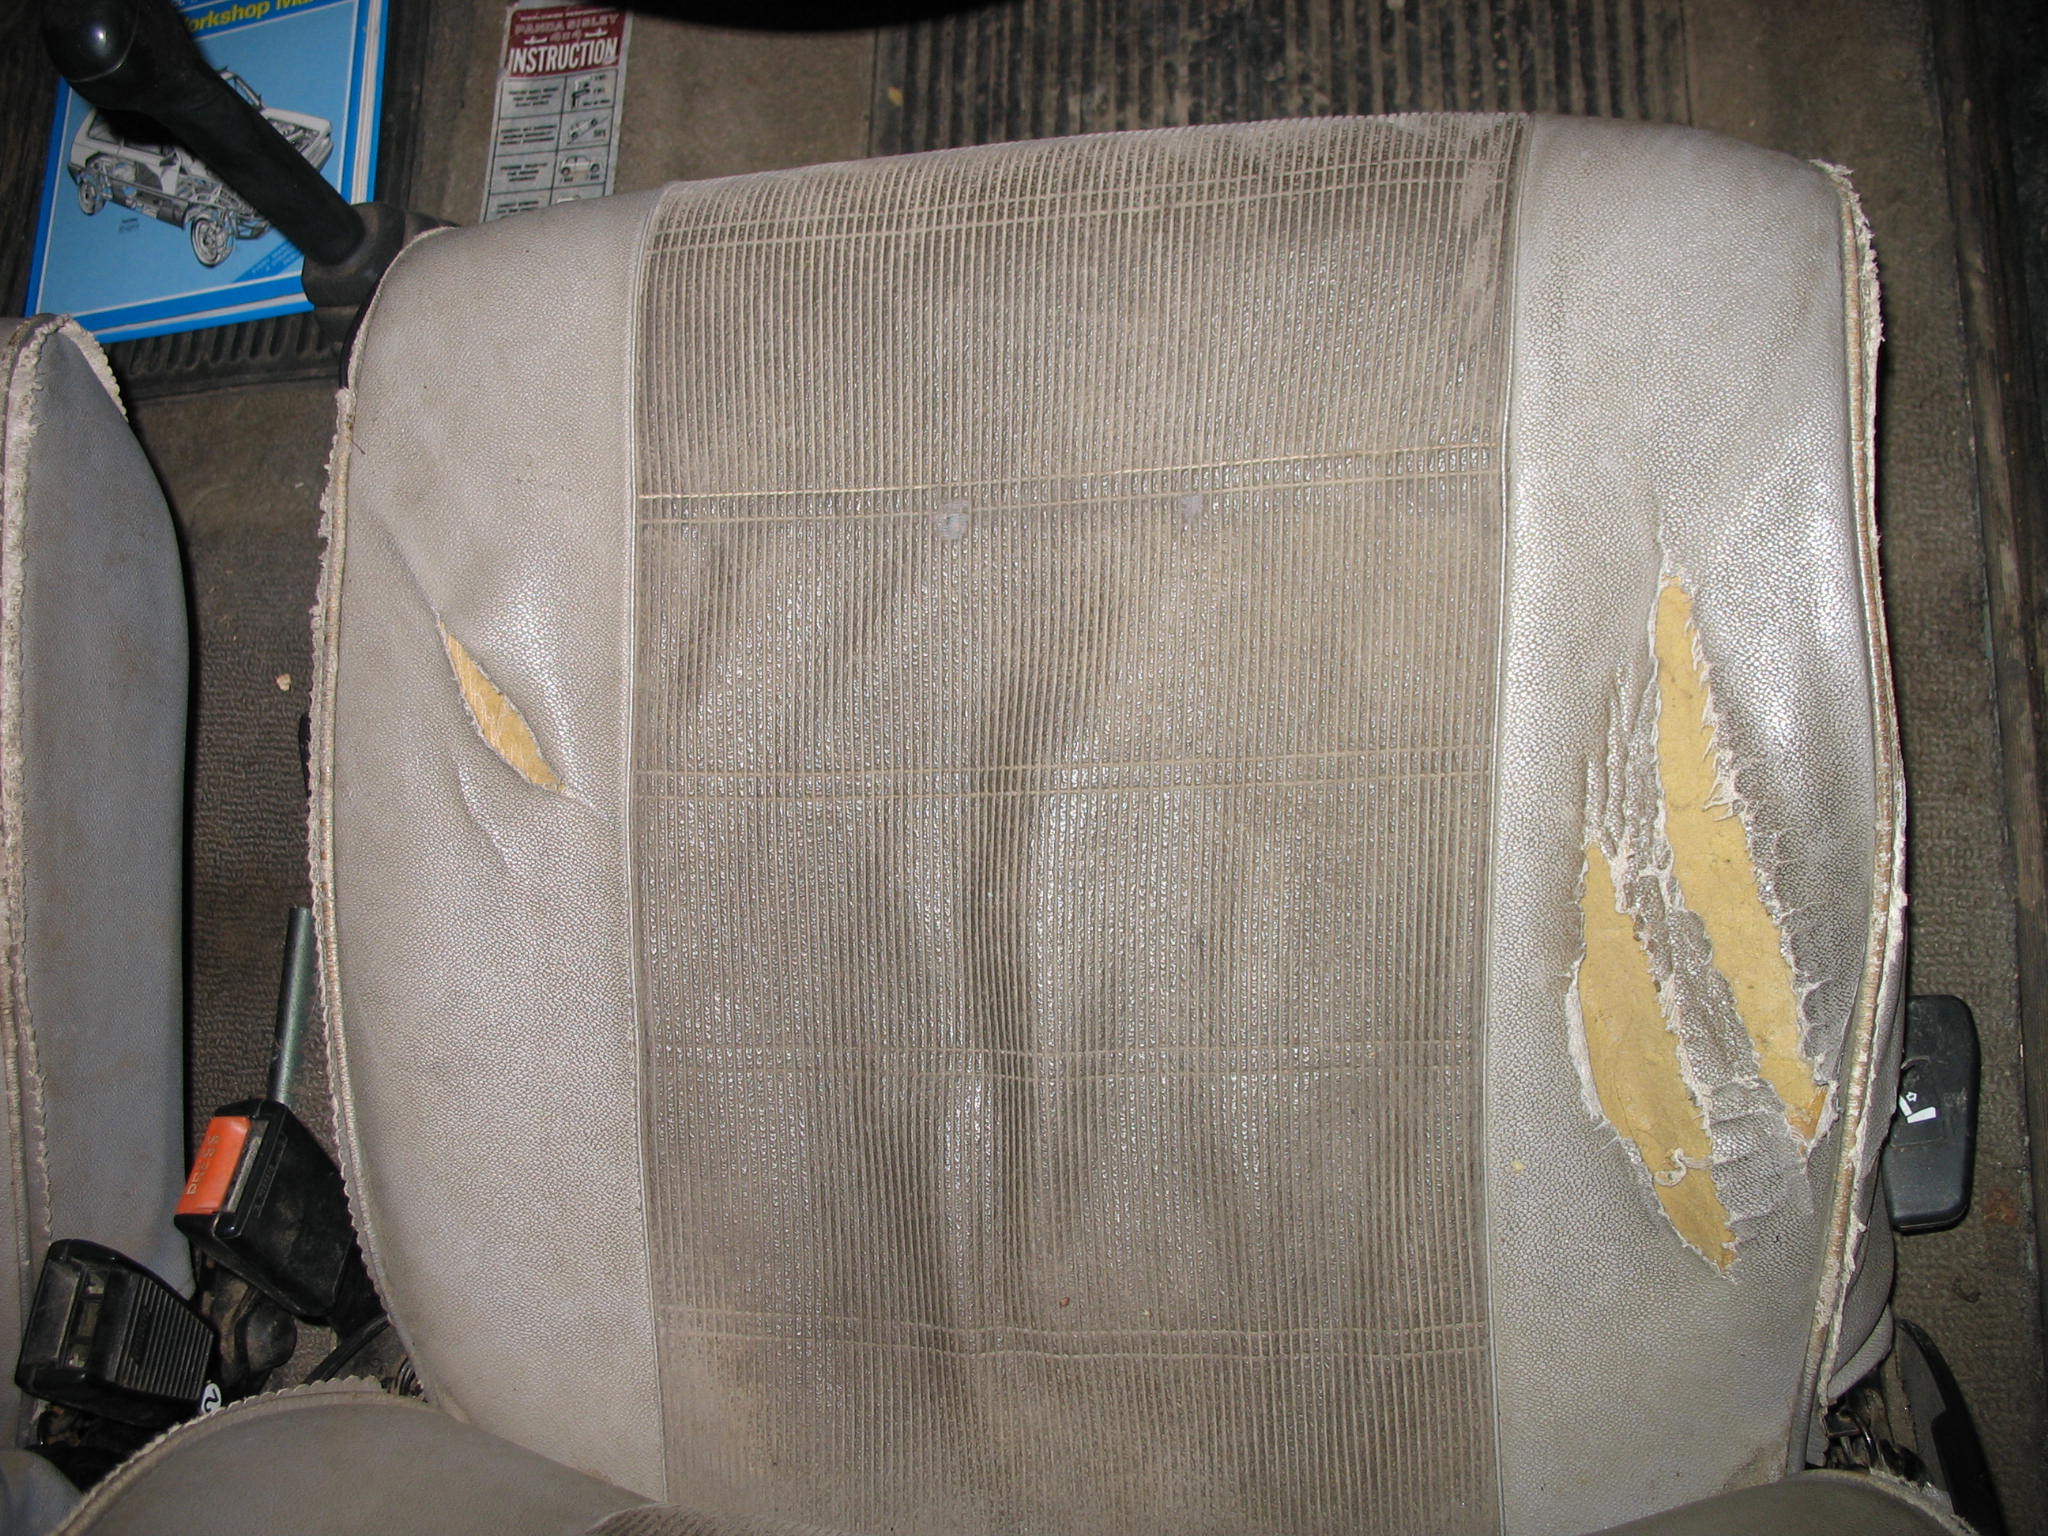
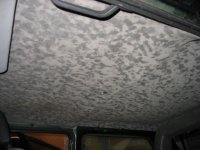
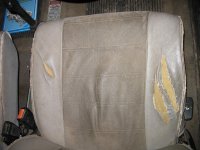
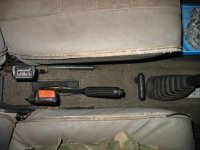
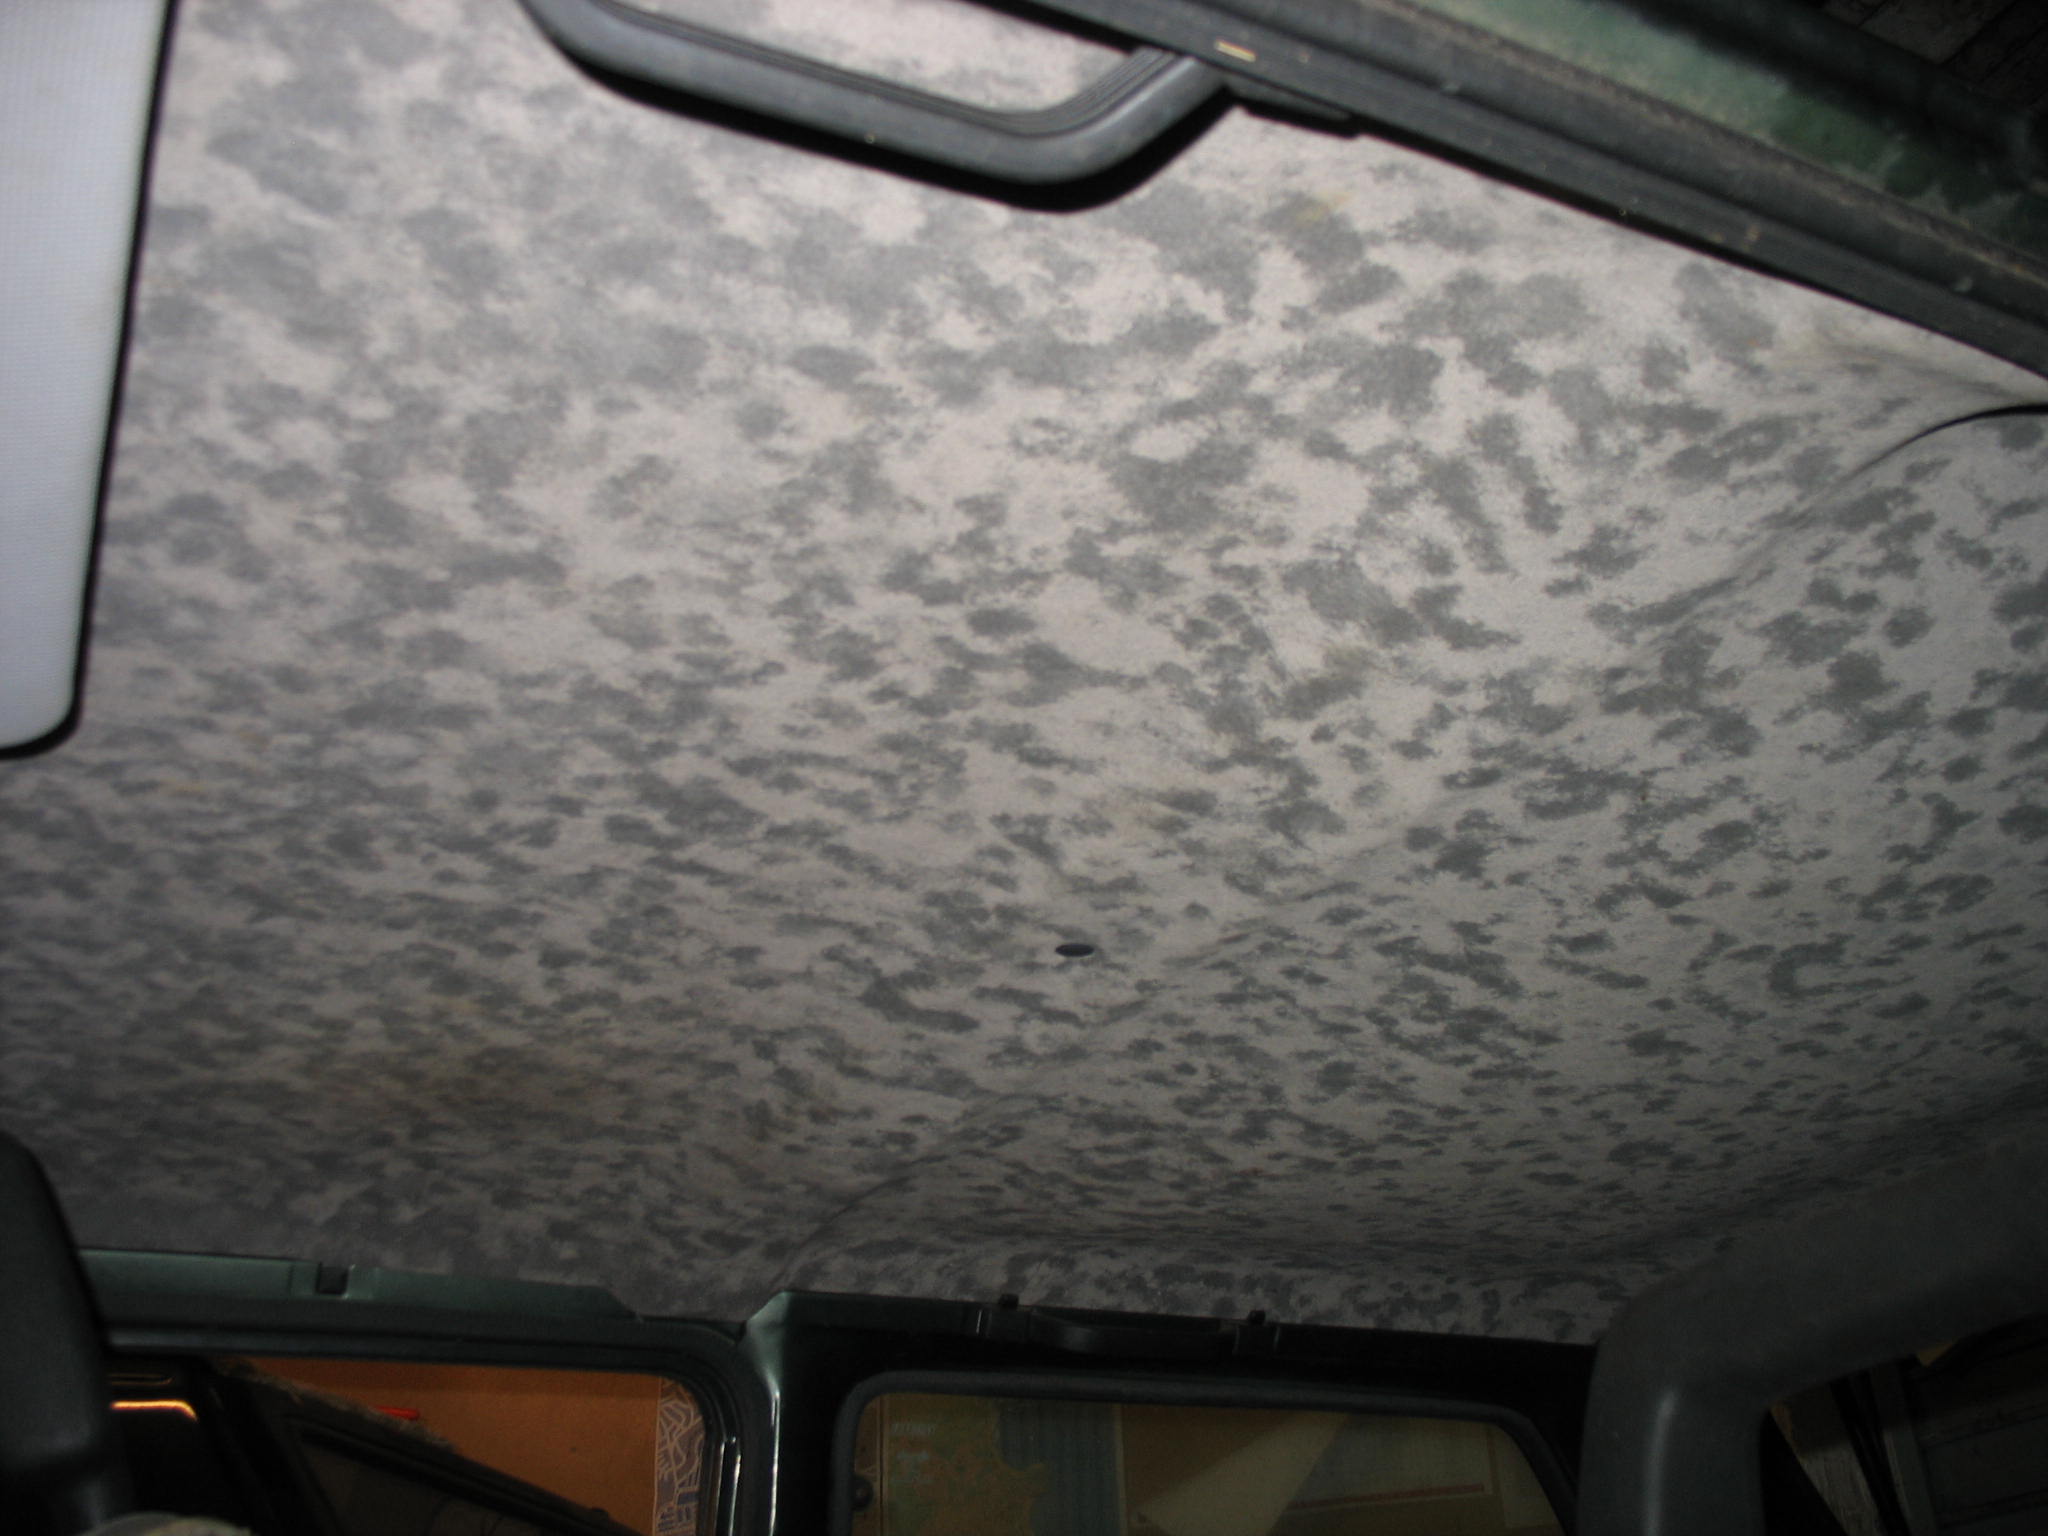
Interior as you can expect from car been used on a farm
IMG_19102.JPG


IMG_18901.JPG


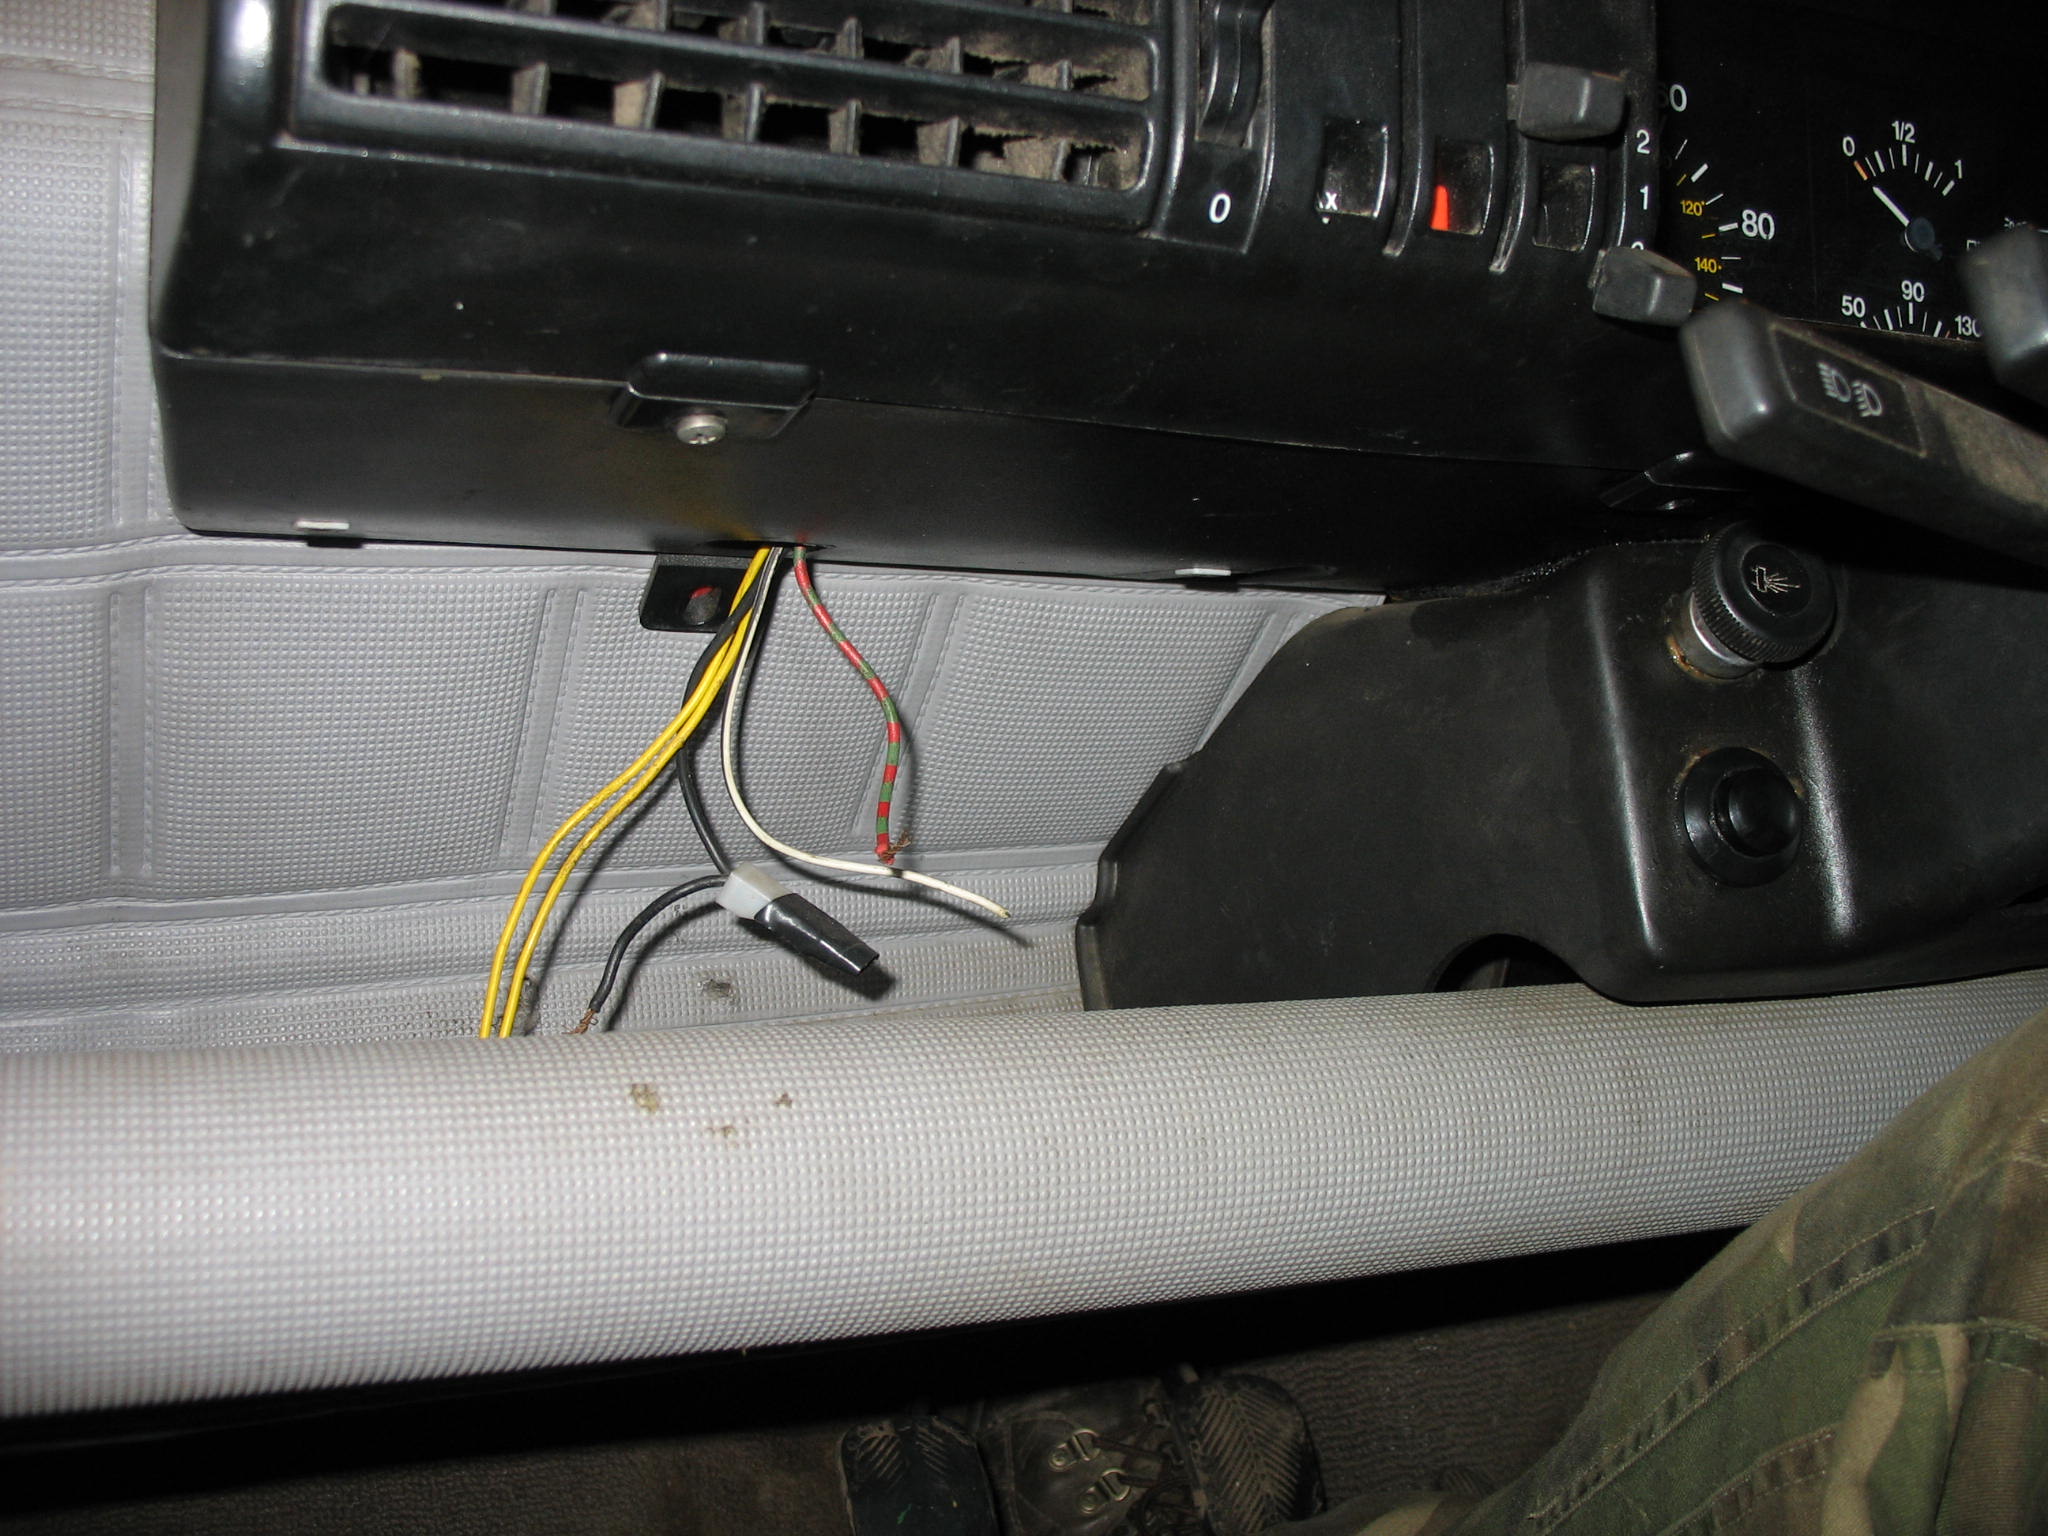
IMG_1874.JPG


IMG_19373.JPG


IMG_19364.JPG


IMG_19384.JPG


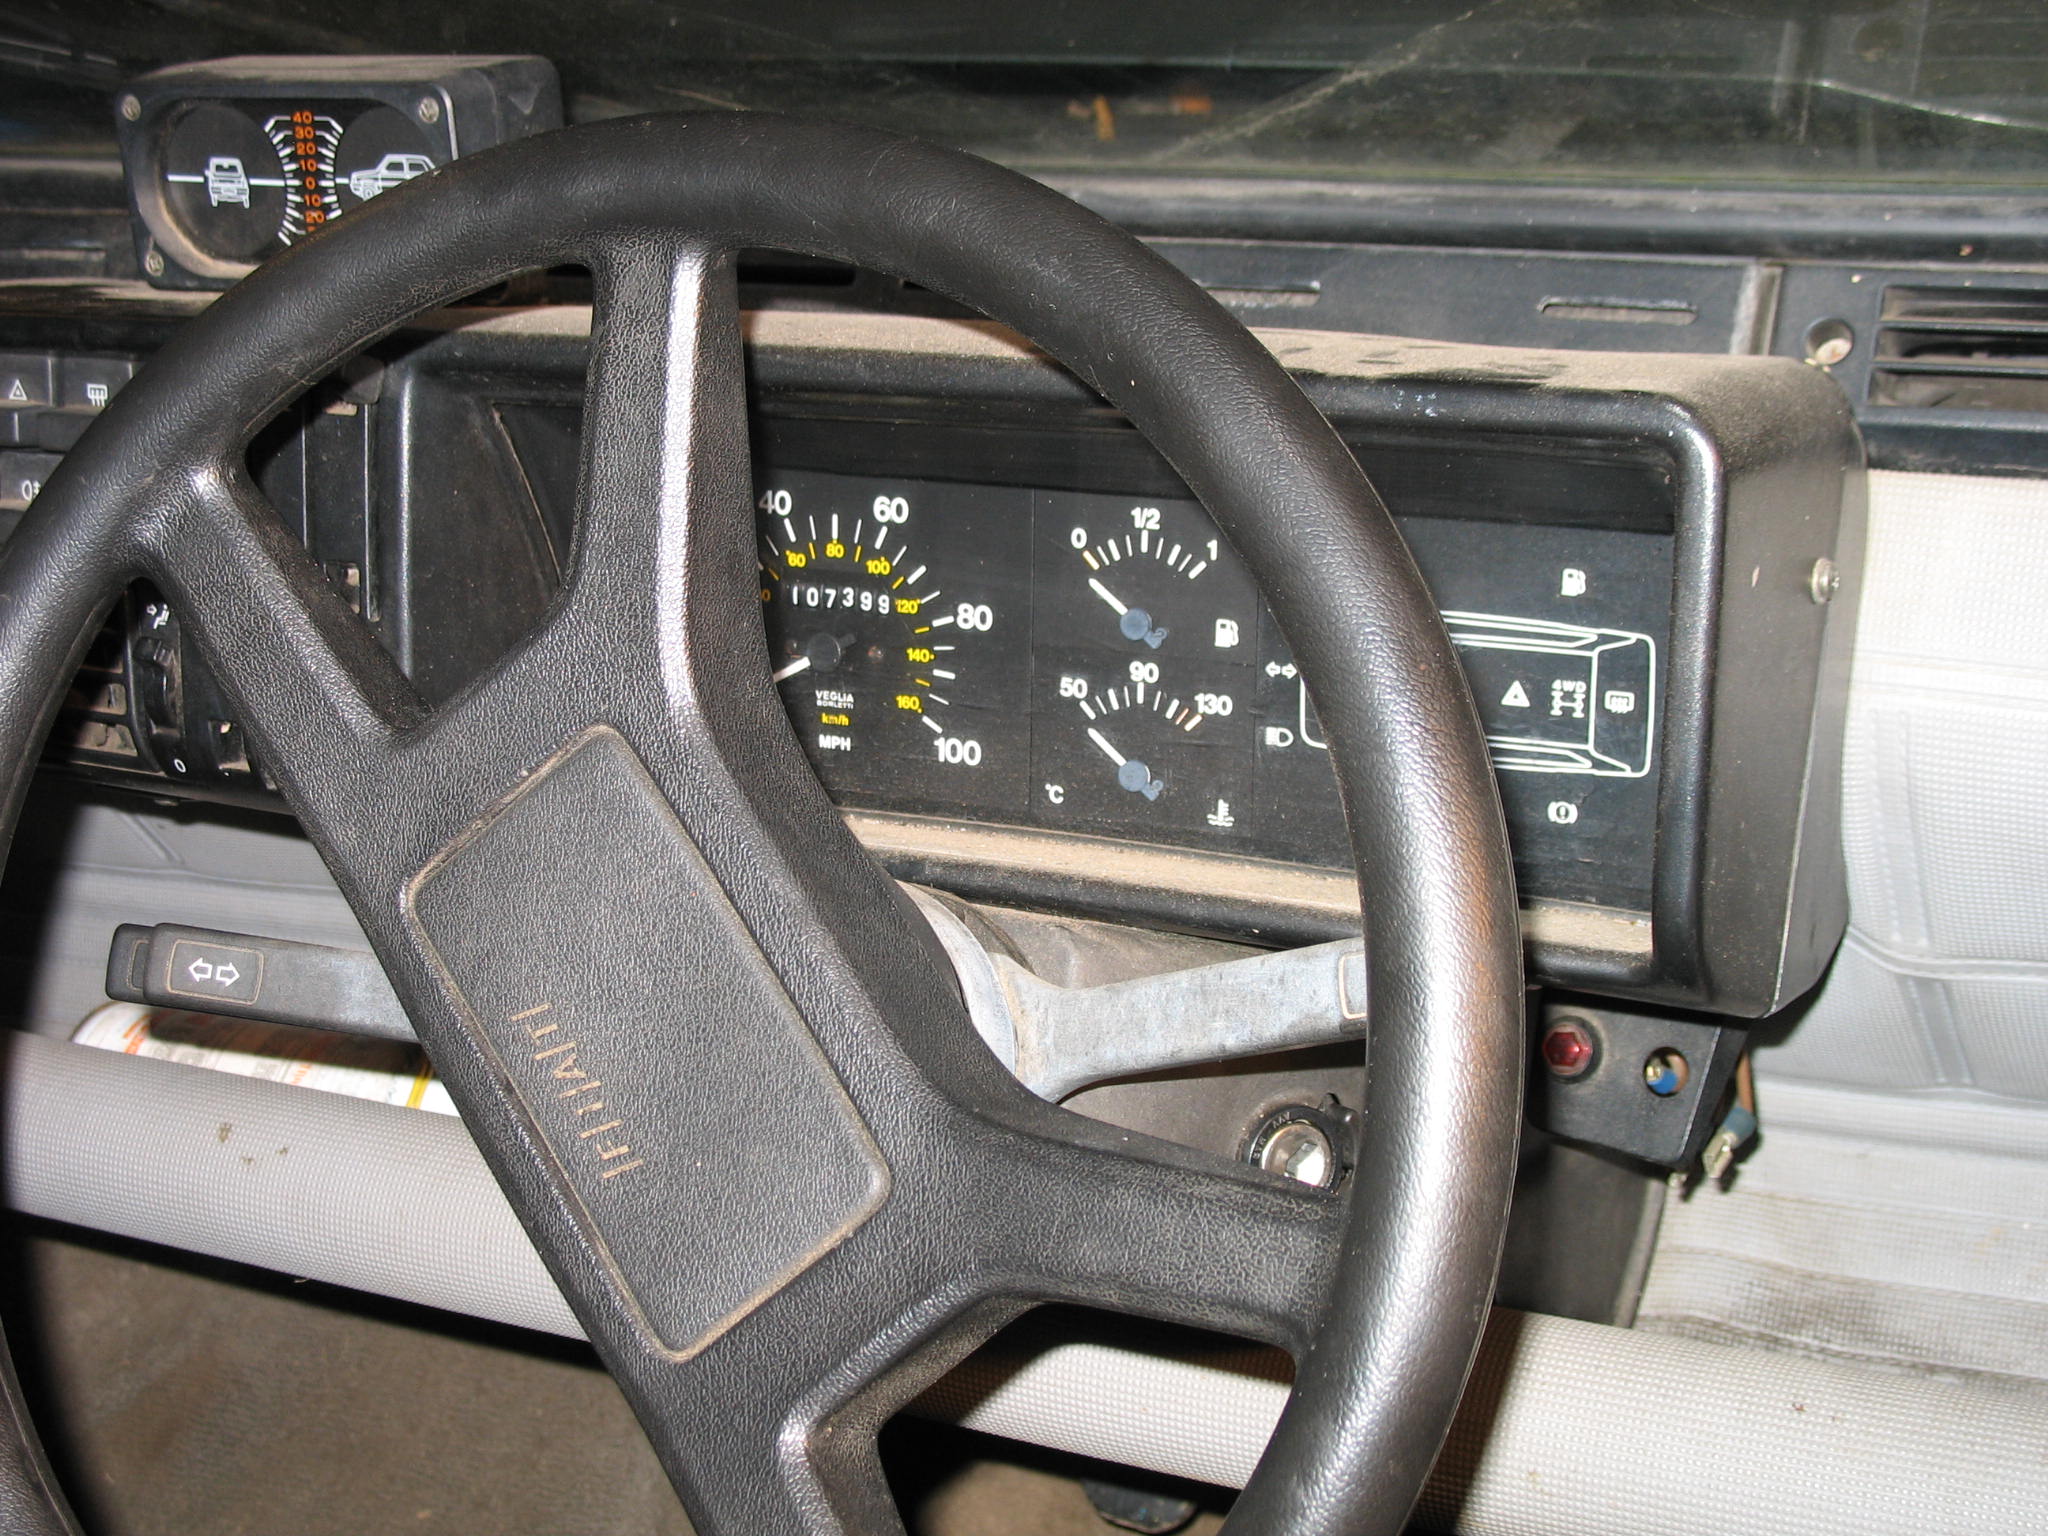
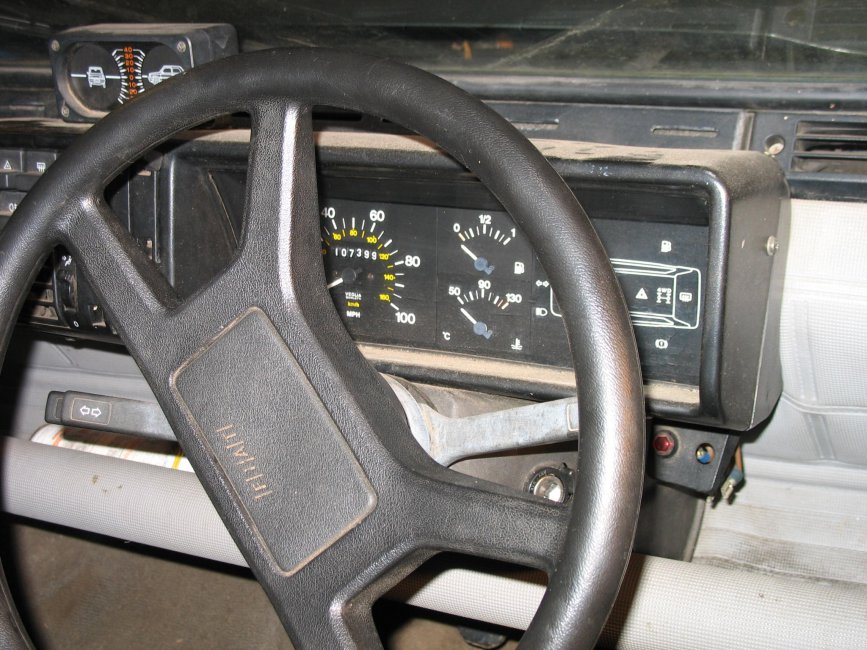
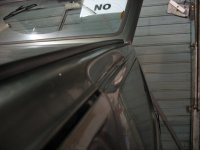
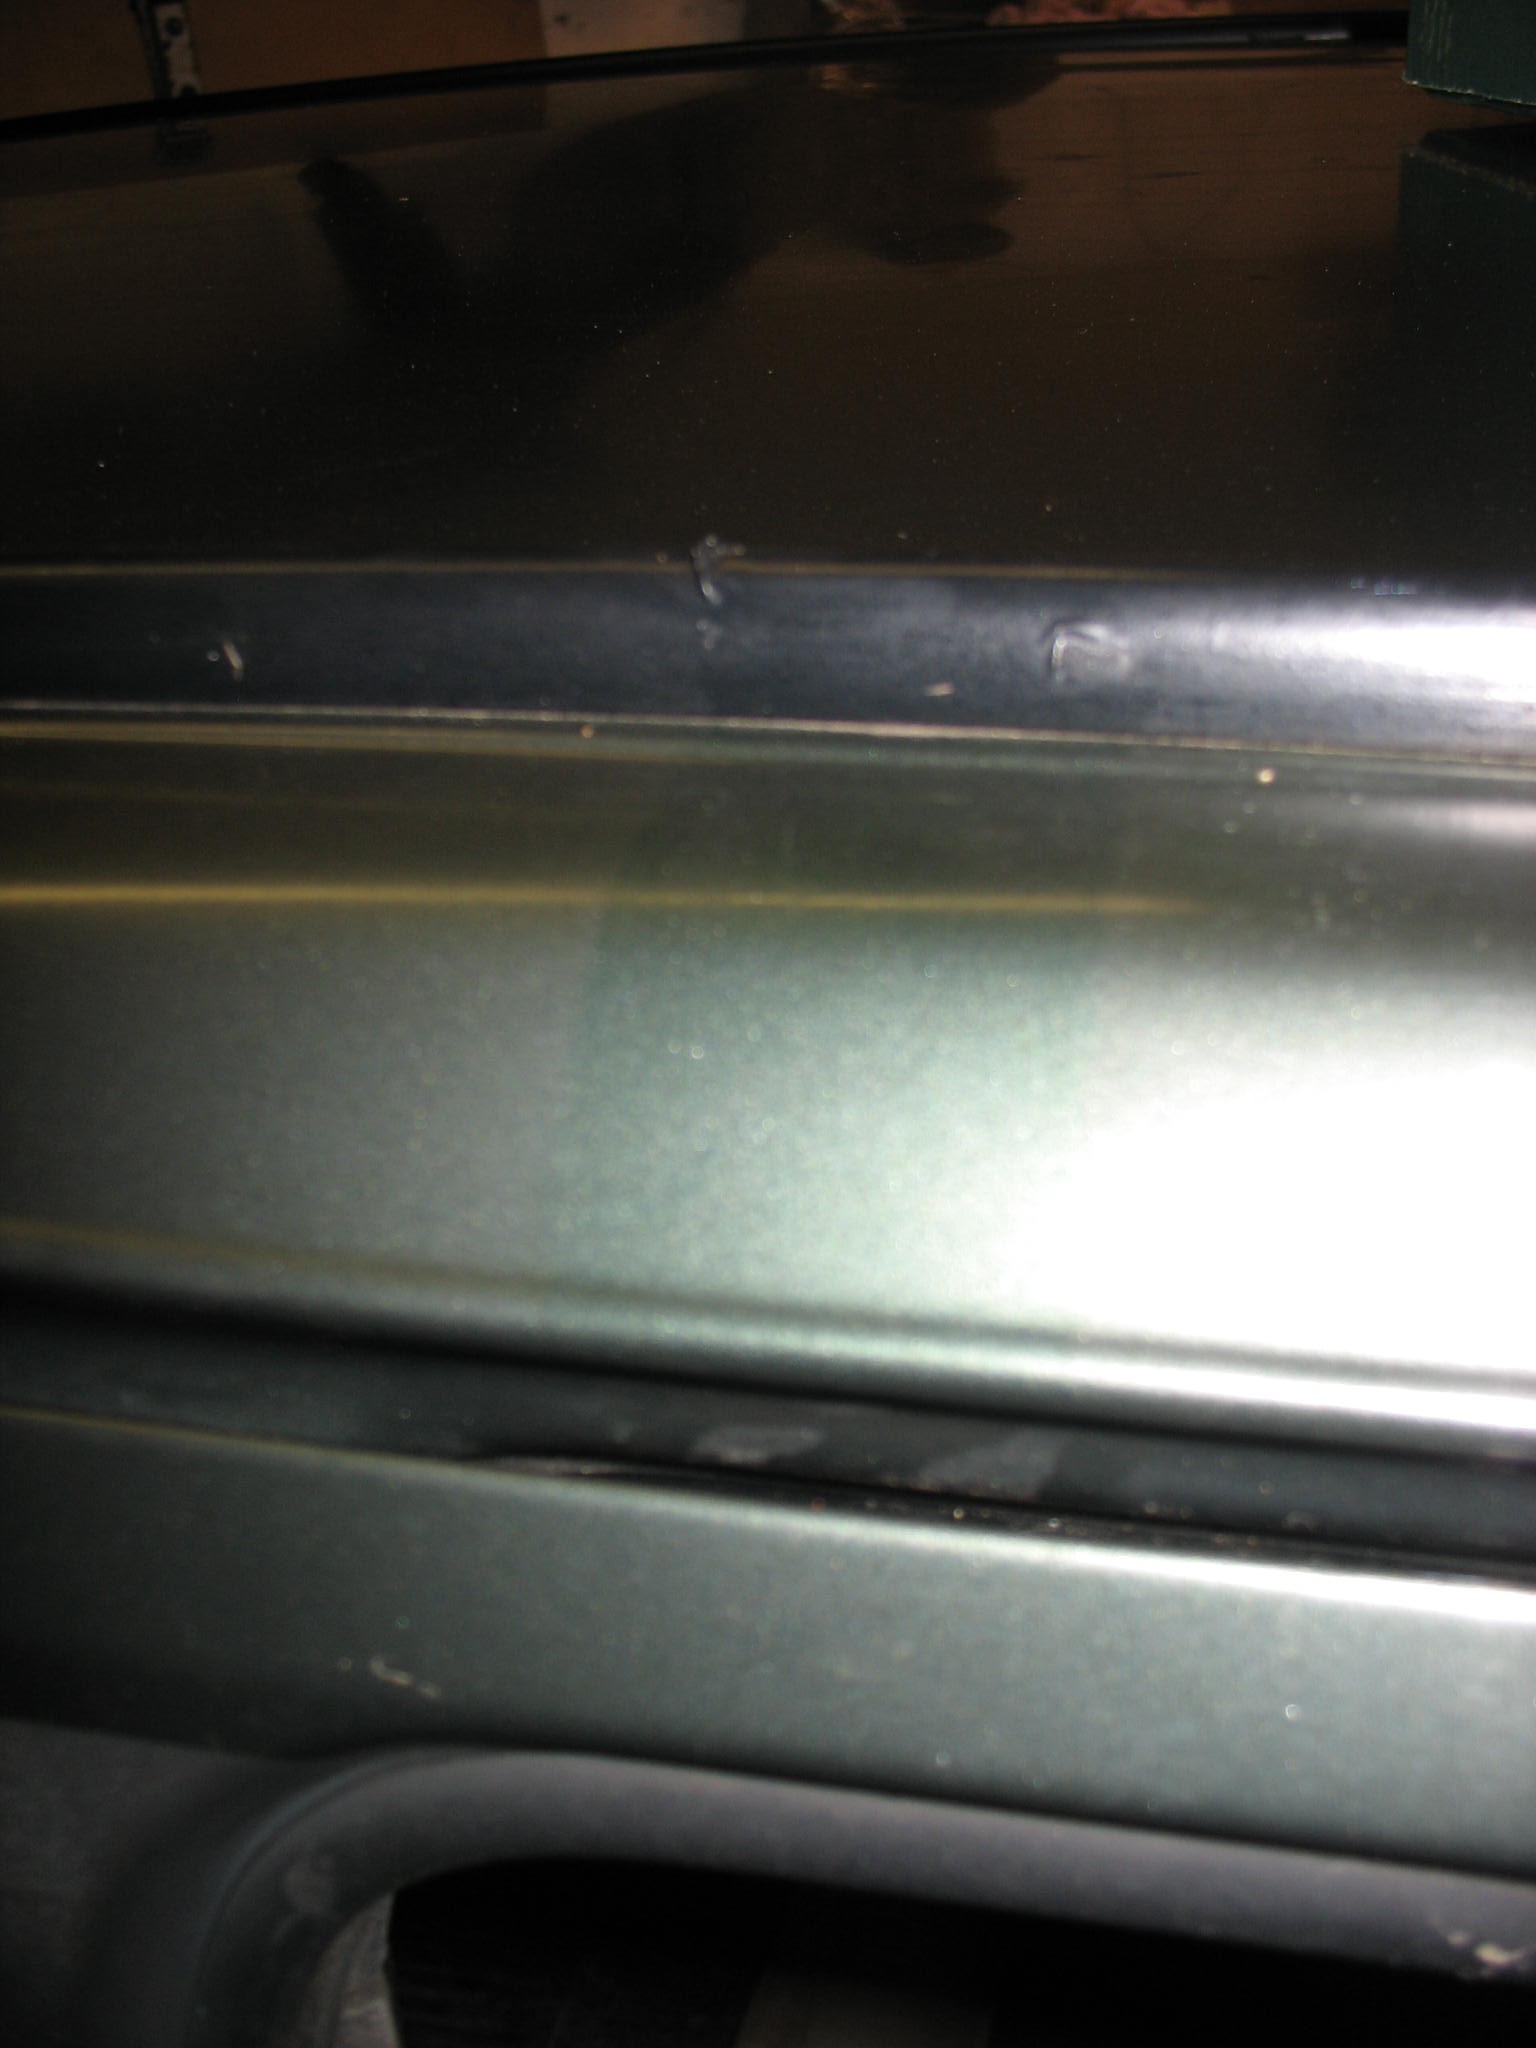
Not the geniune steering wheel and speedo, which does not make much difference to me at all. Roofrack presence evidence
IMG_18931.JPG


IMG_19081.JPG


IMG_1915.JPG


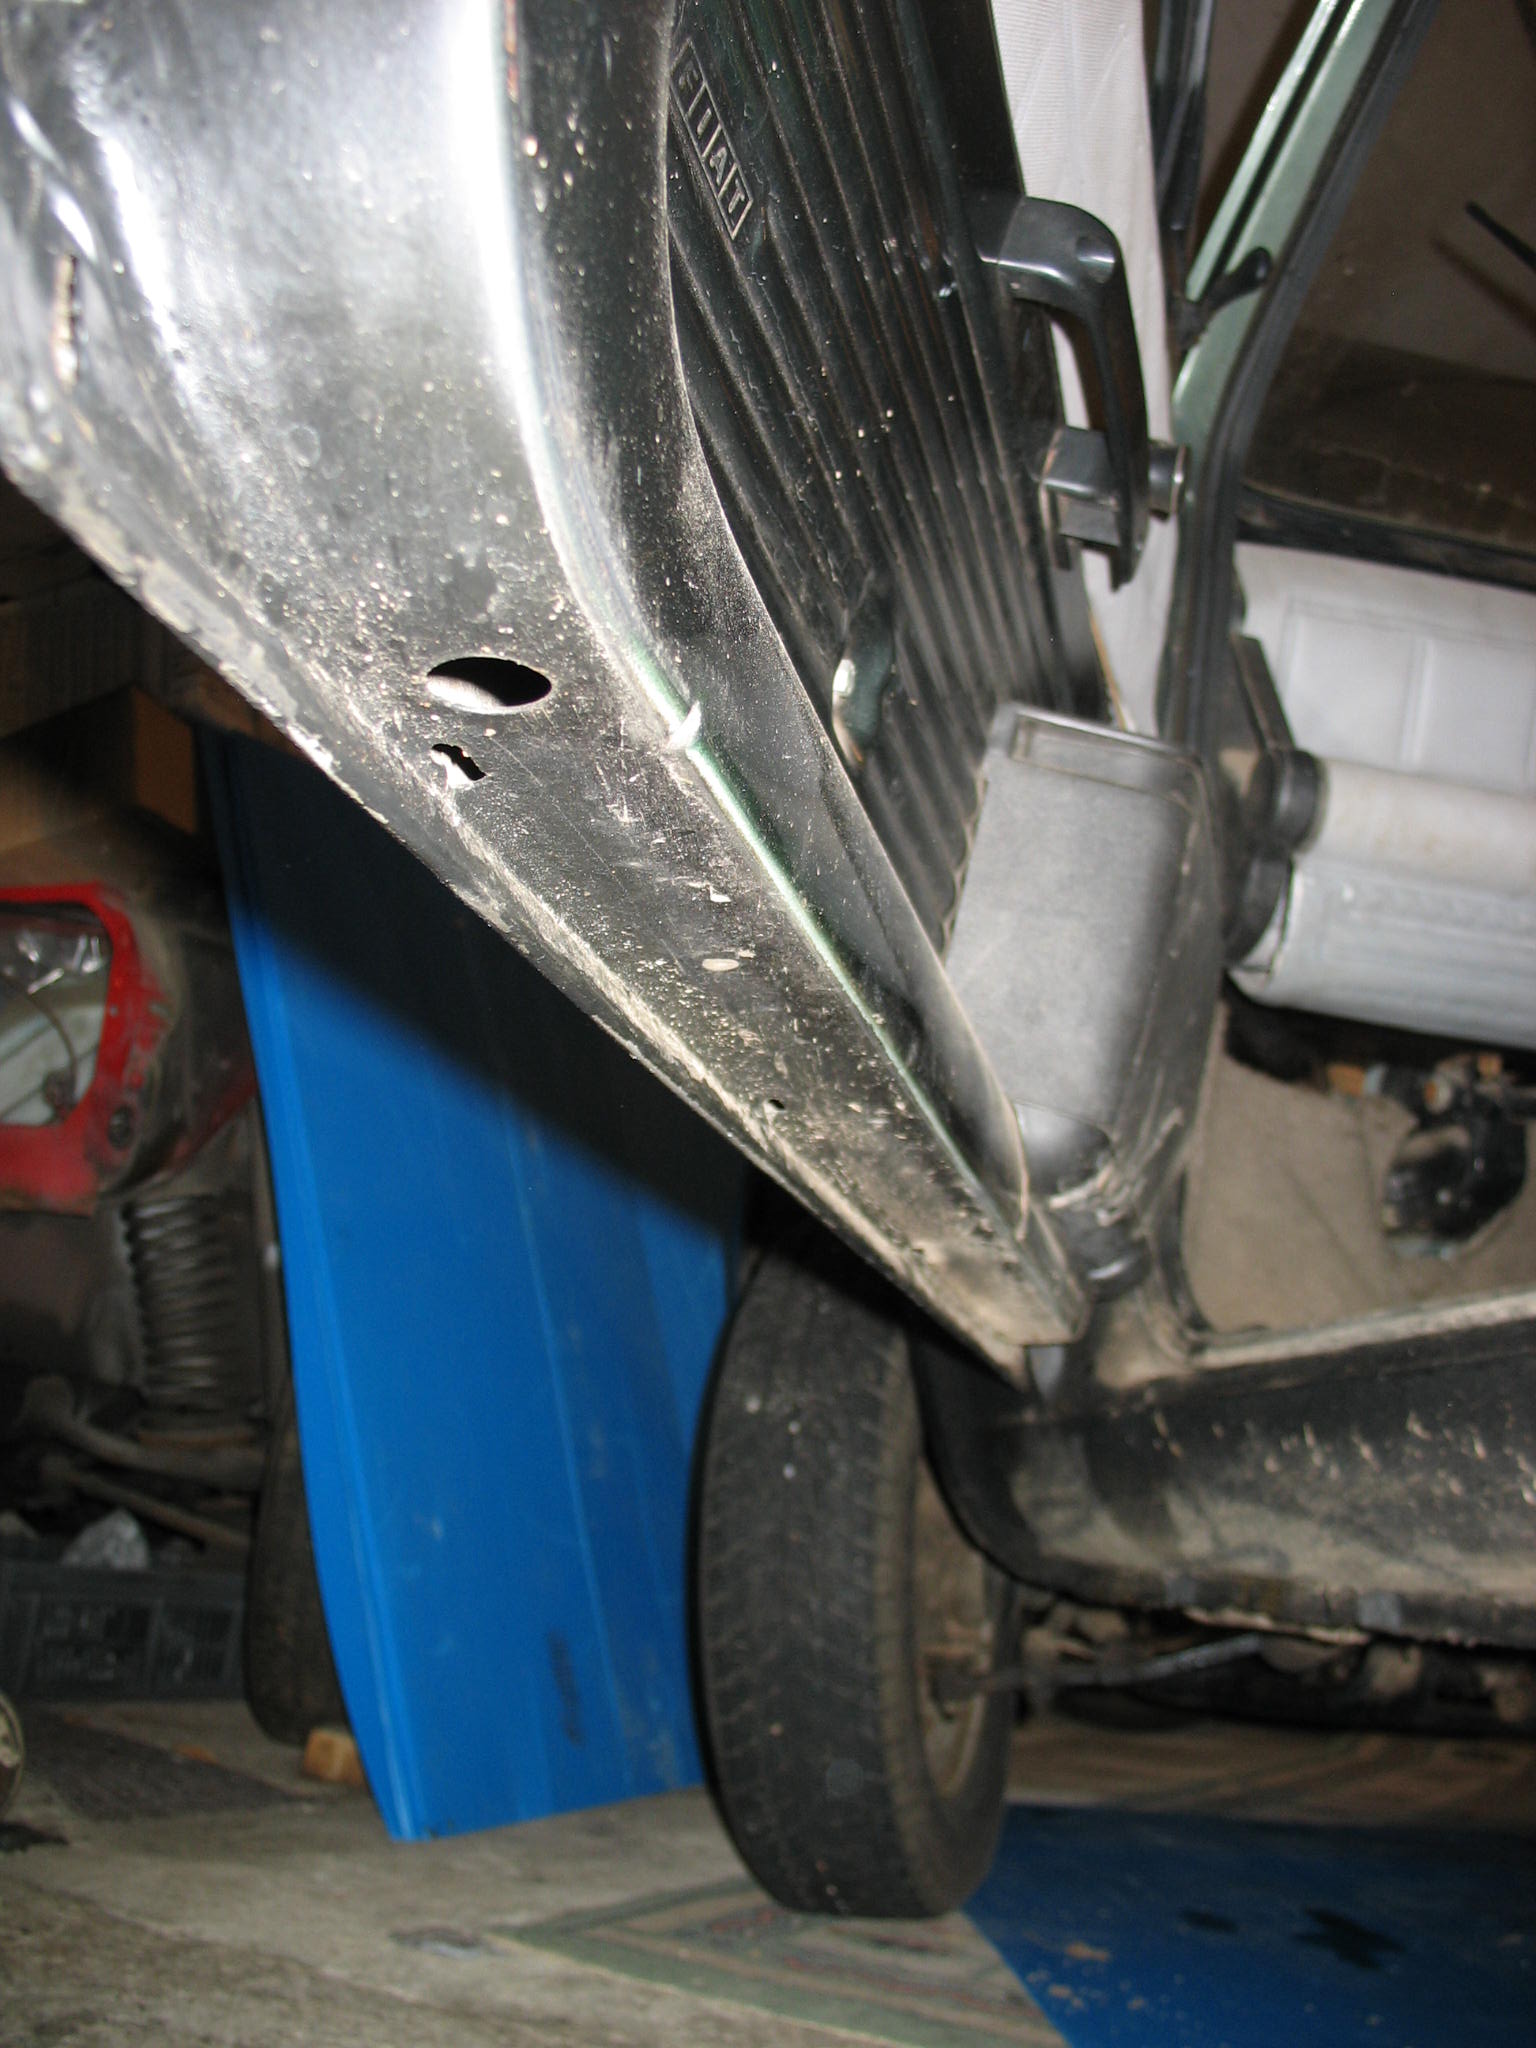
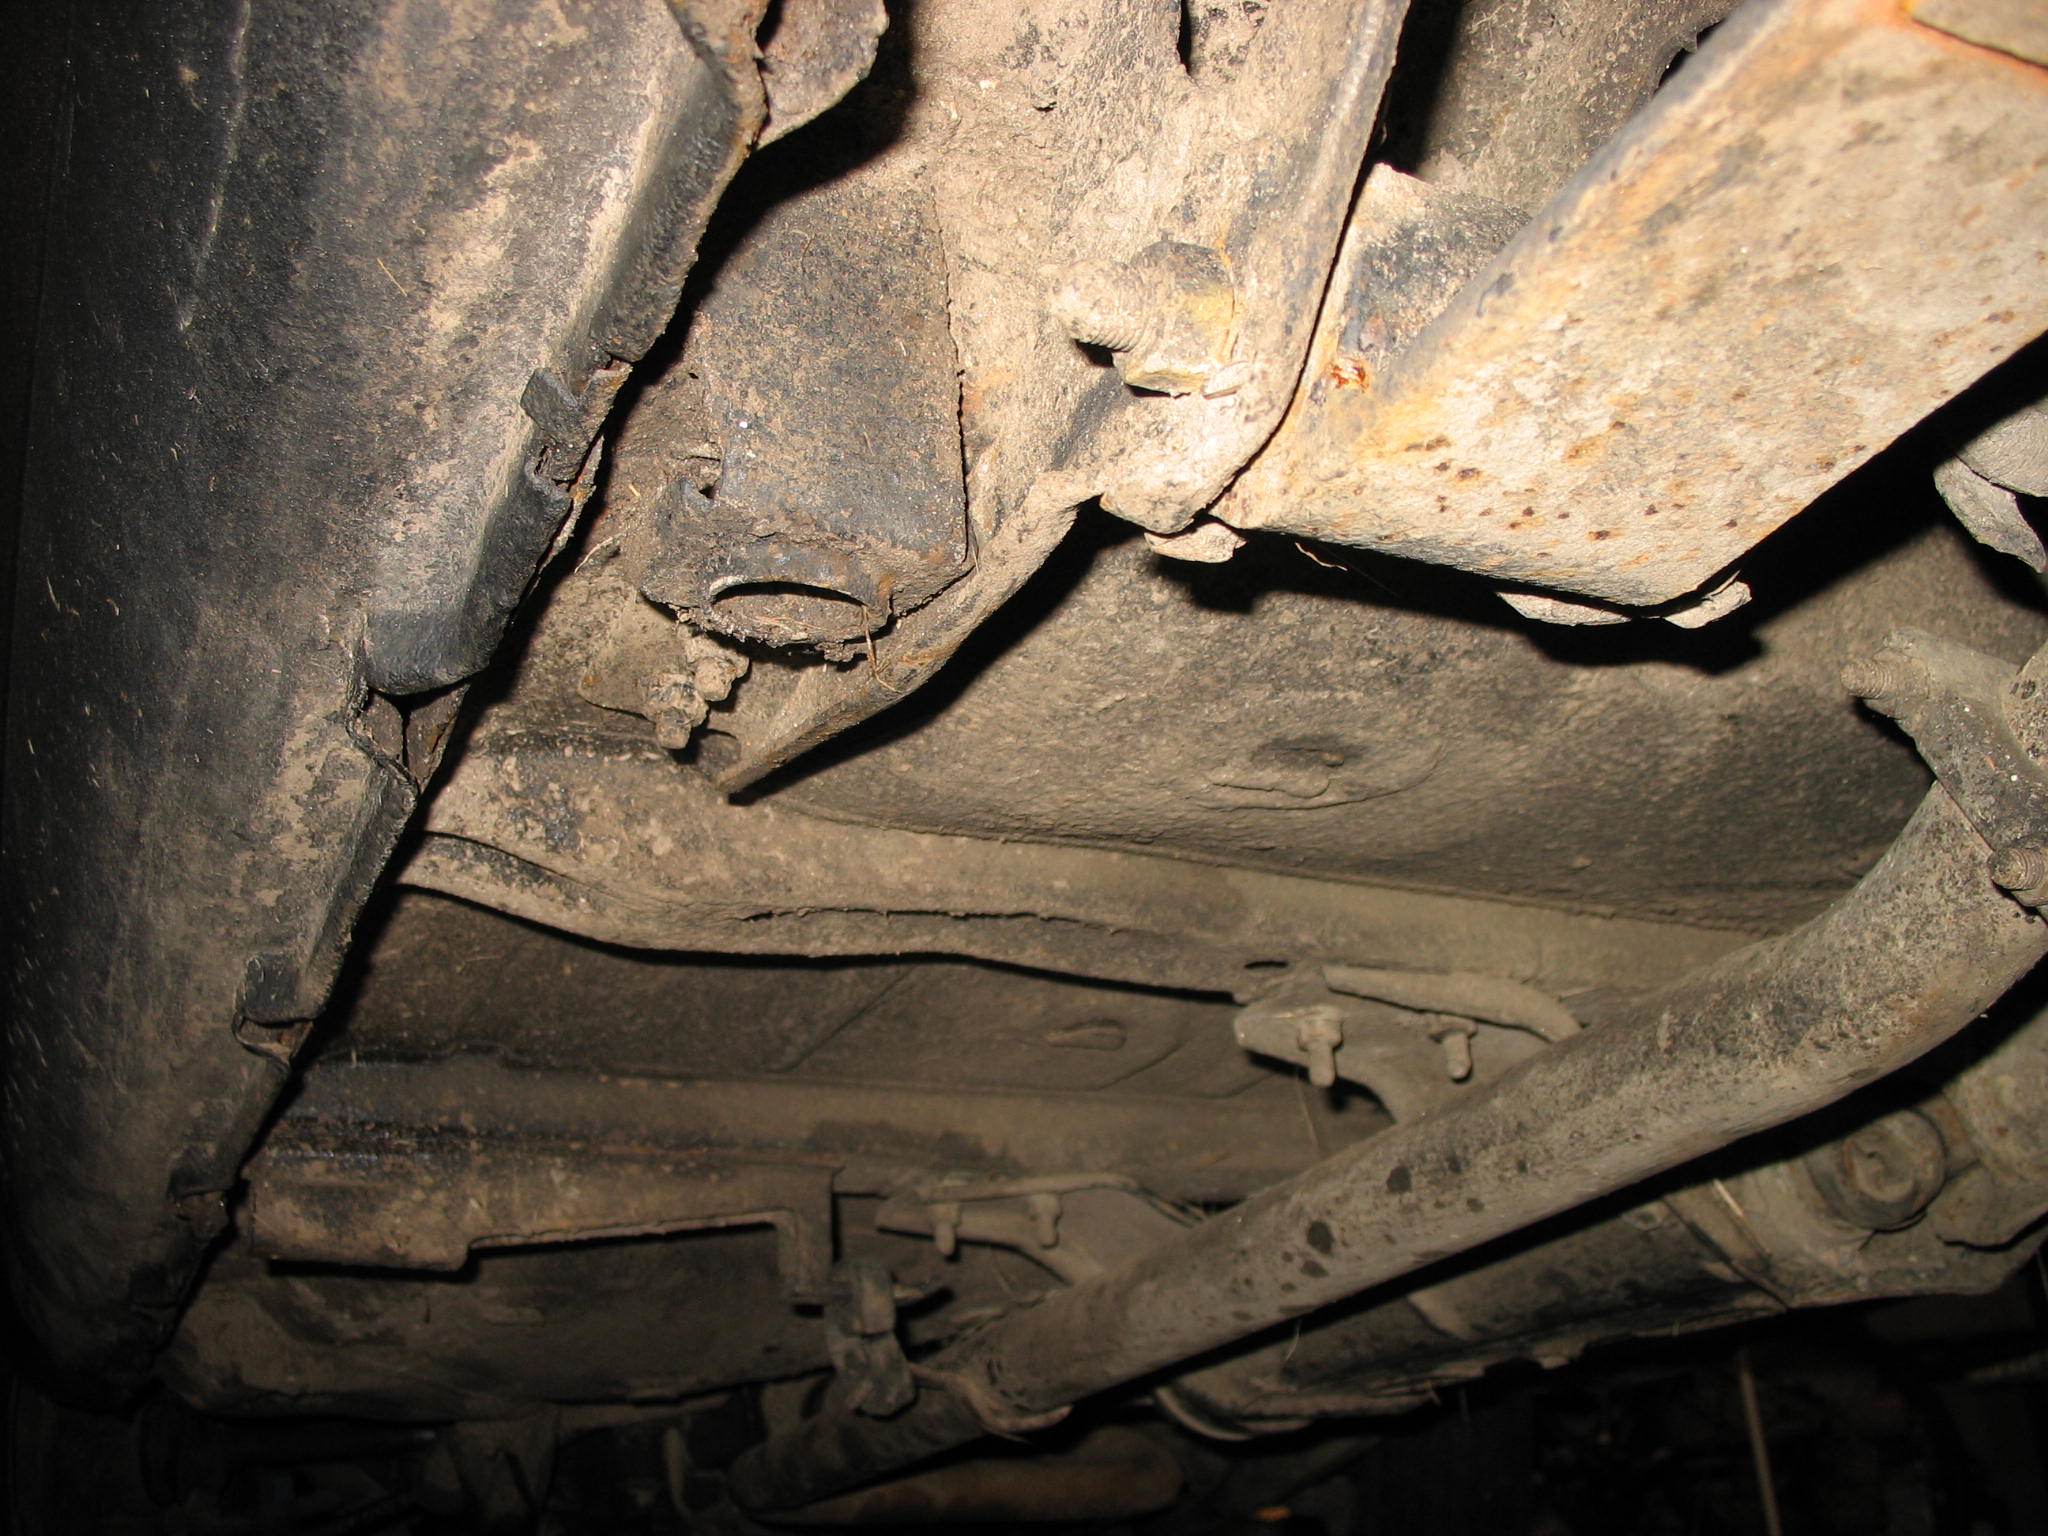
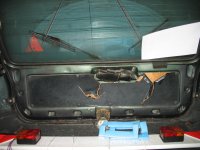
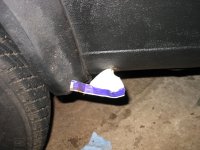
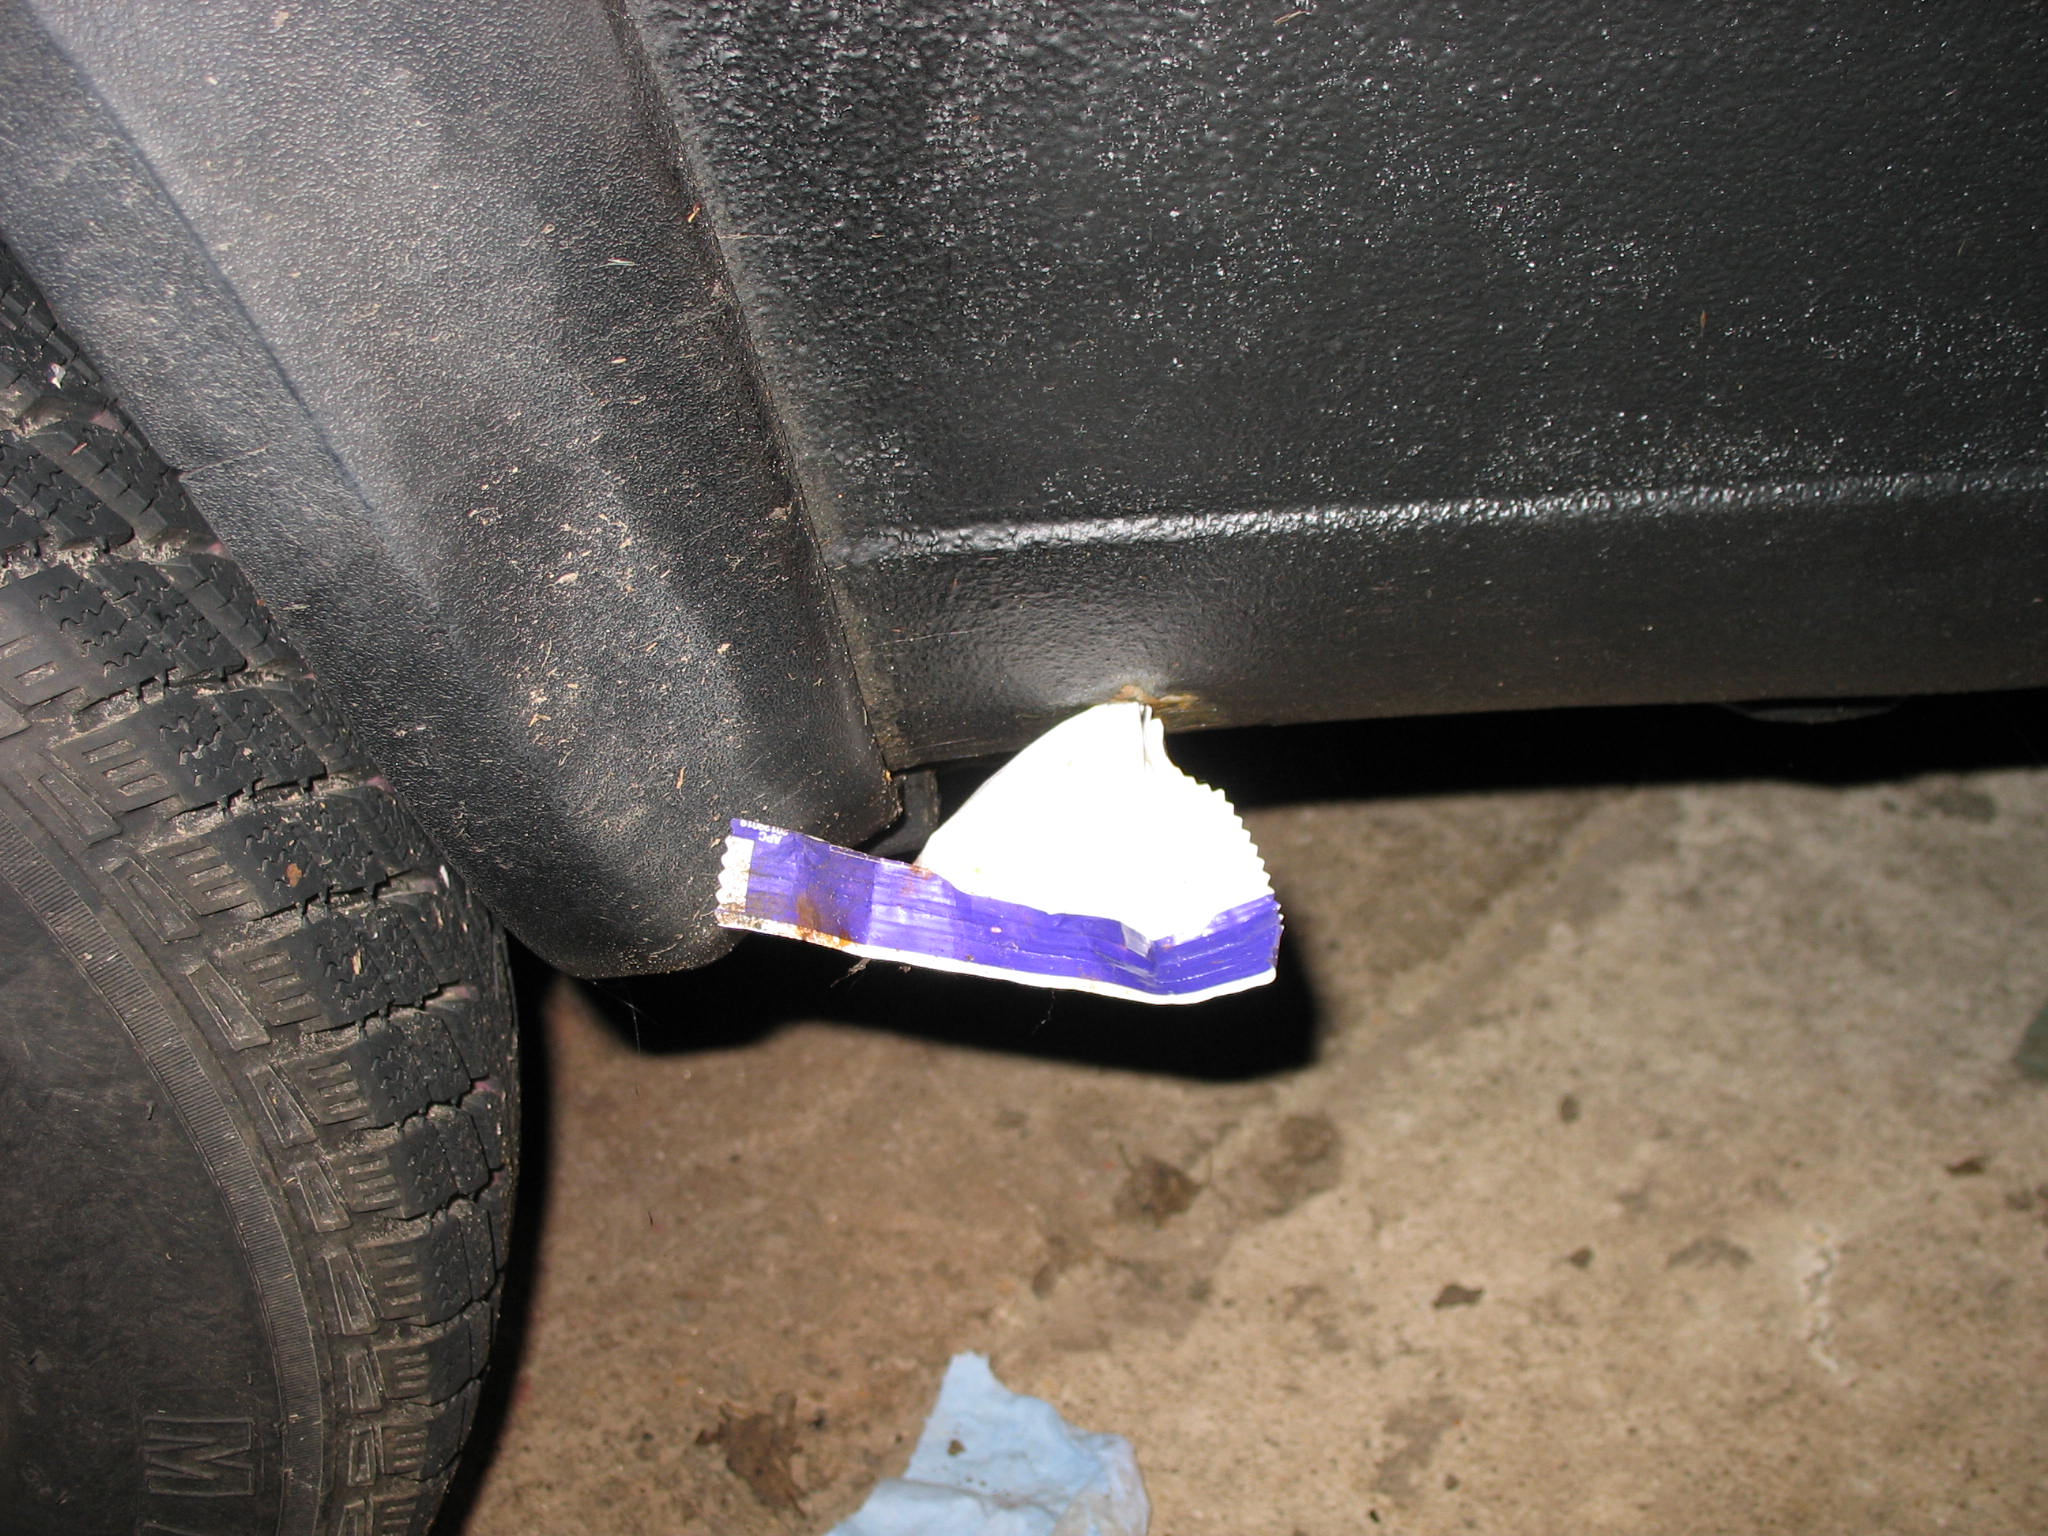
I dont want to know how this happened.
IMG_19191.JPG


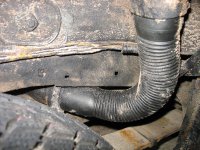
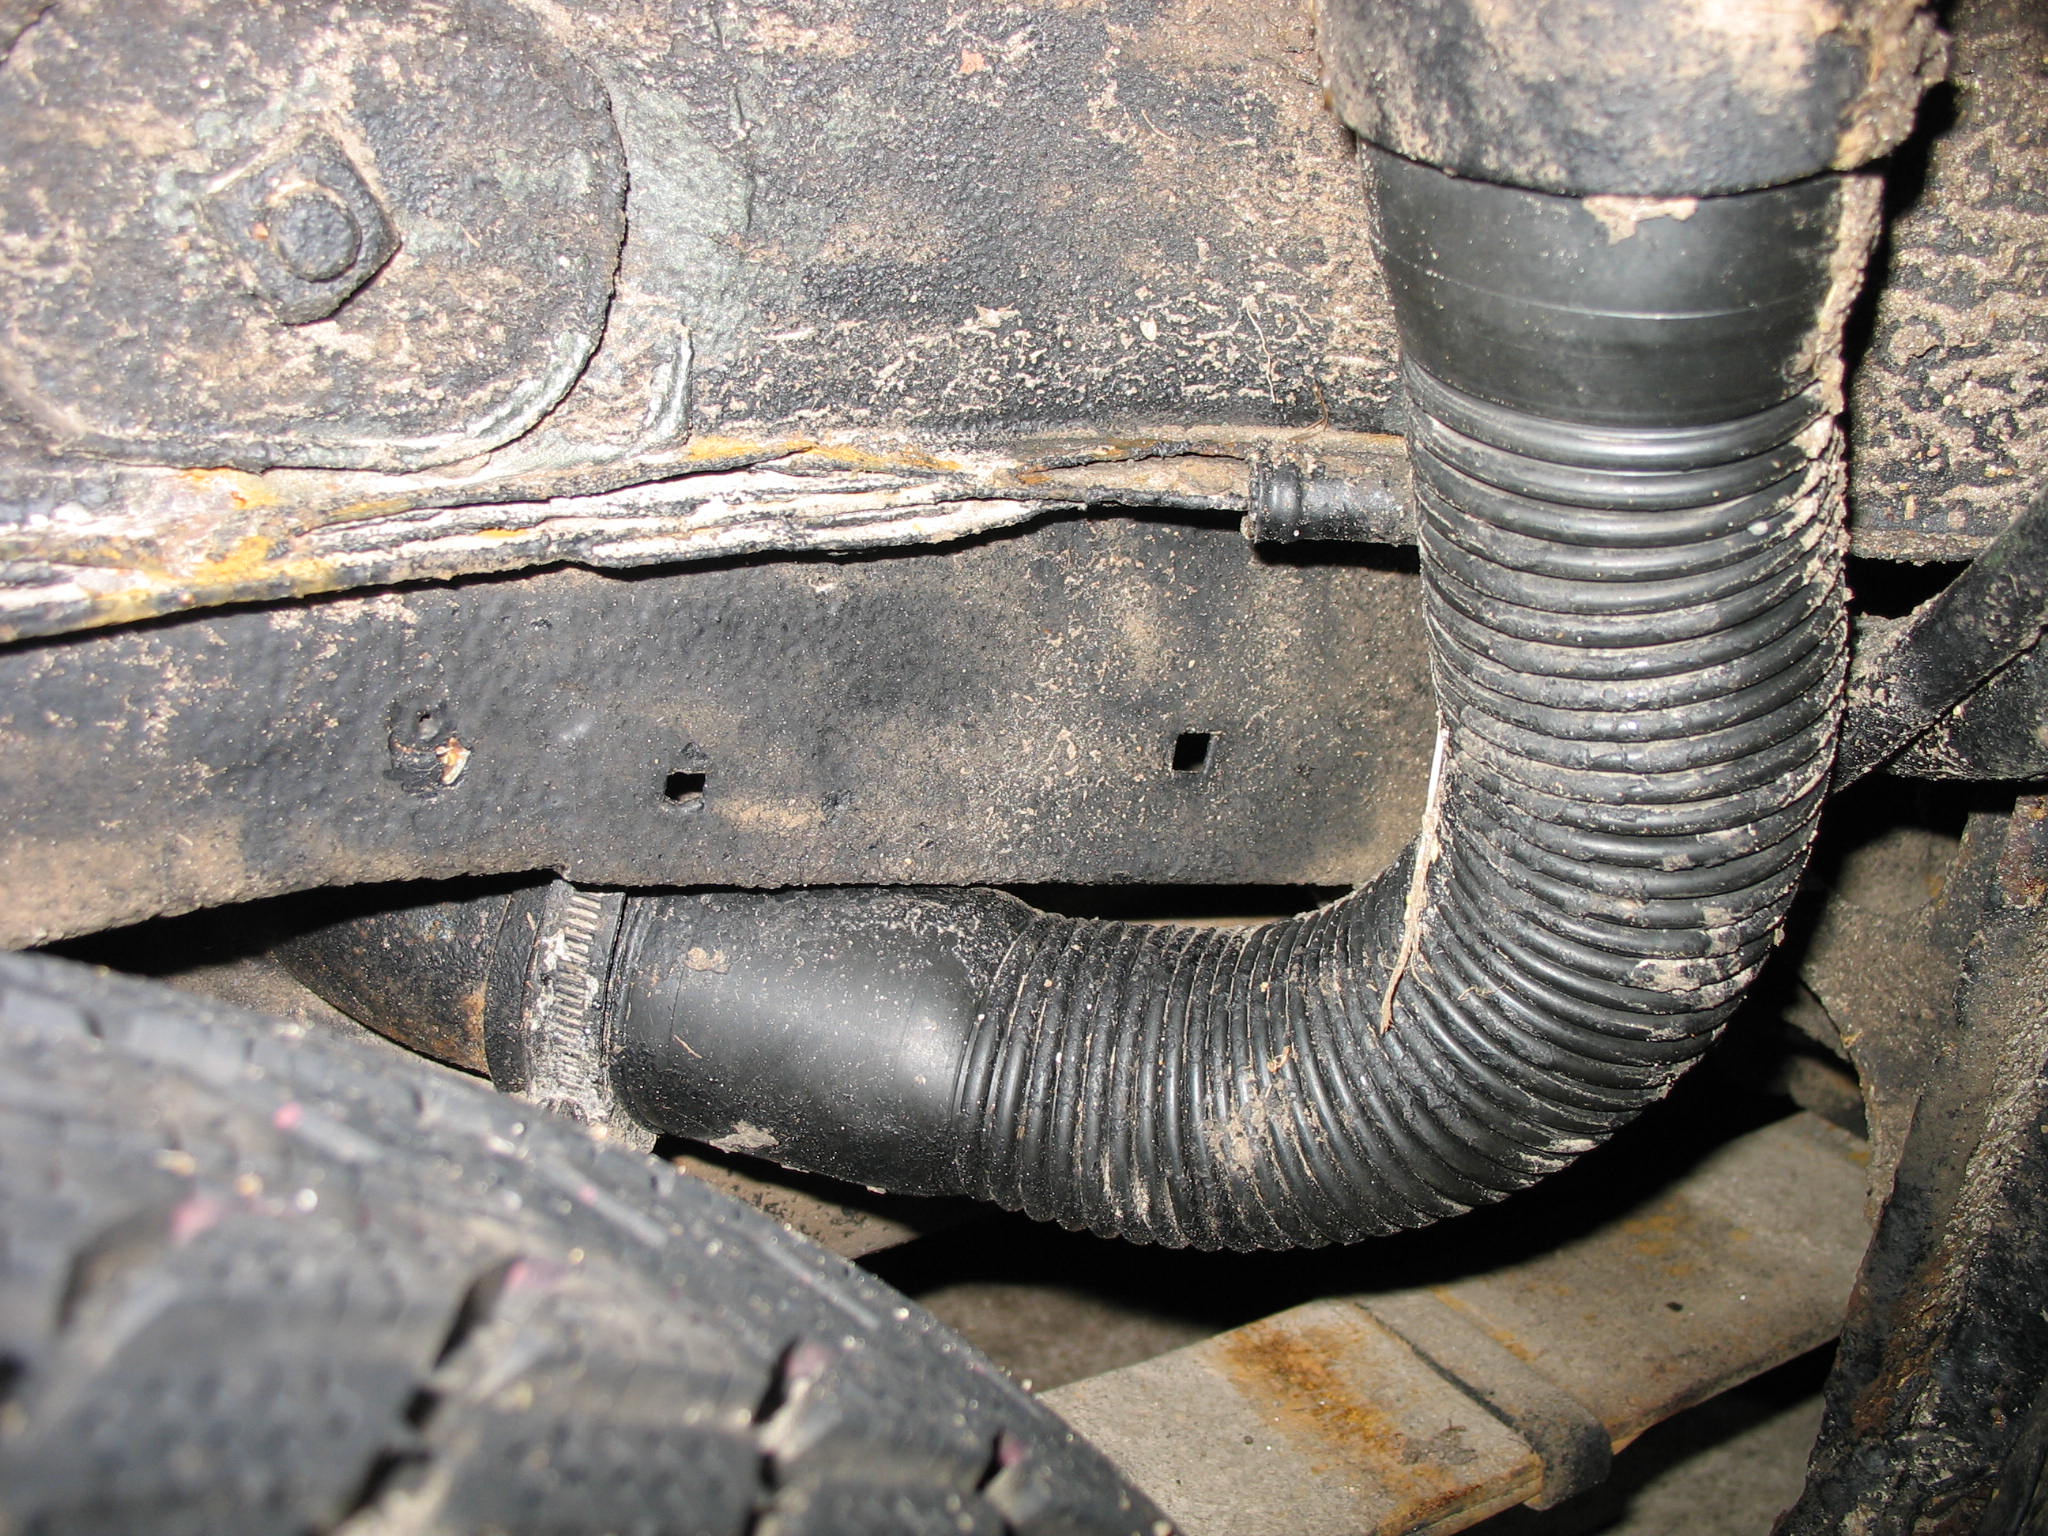
Filler pipe still untouched, what sort of DIY protections do you recon?
IMG_19202.JPG


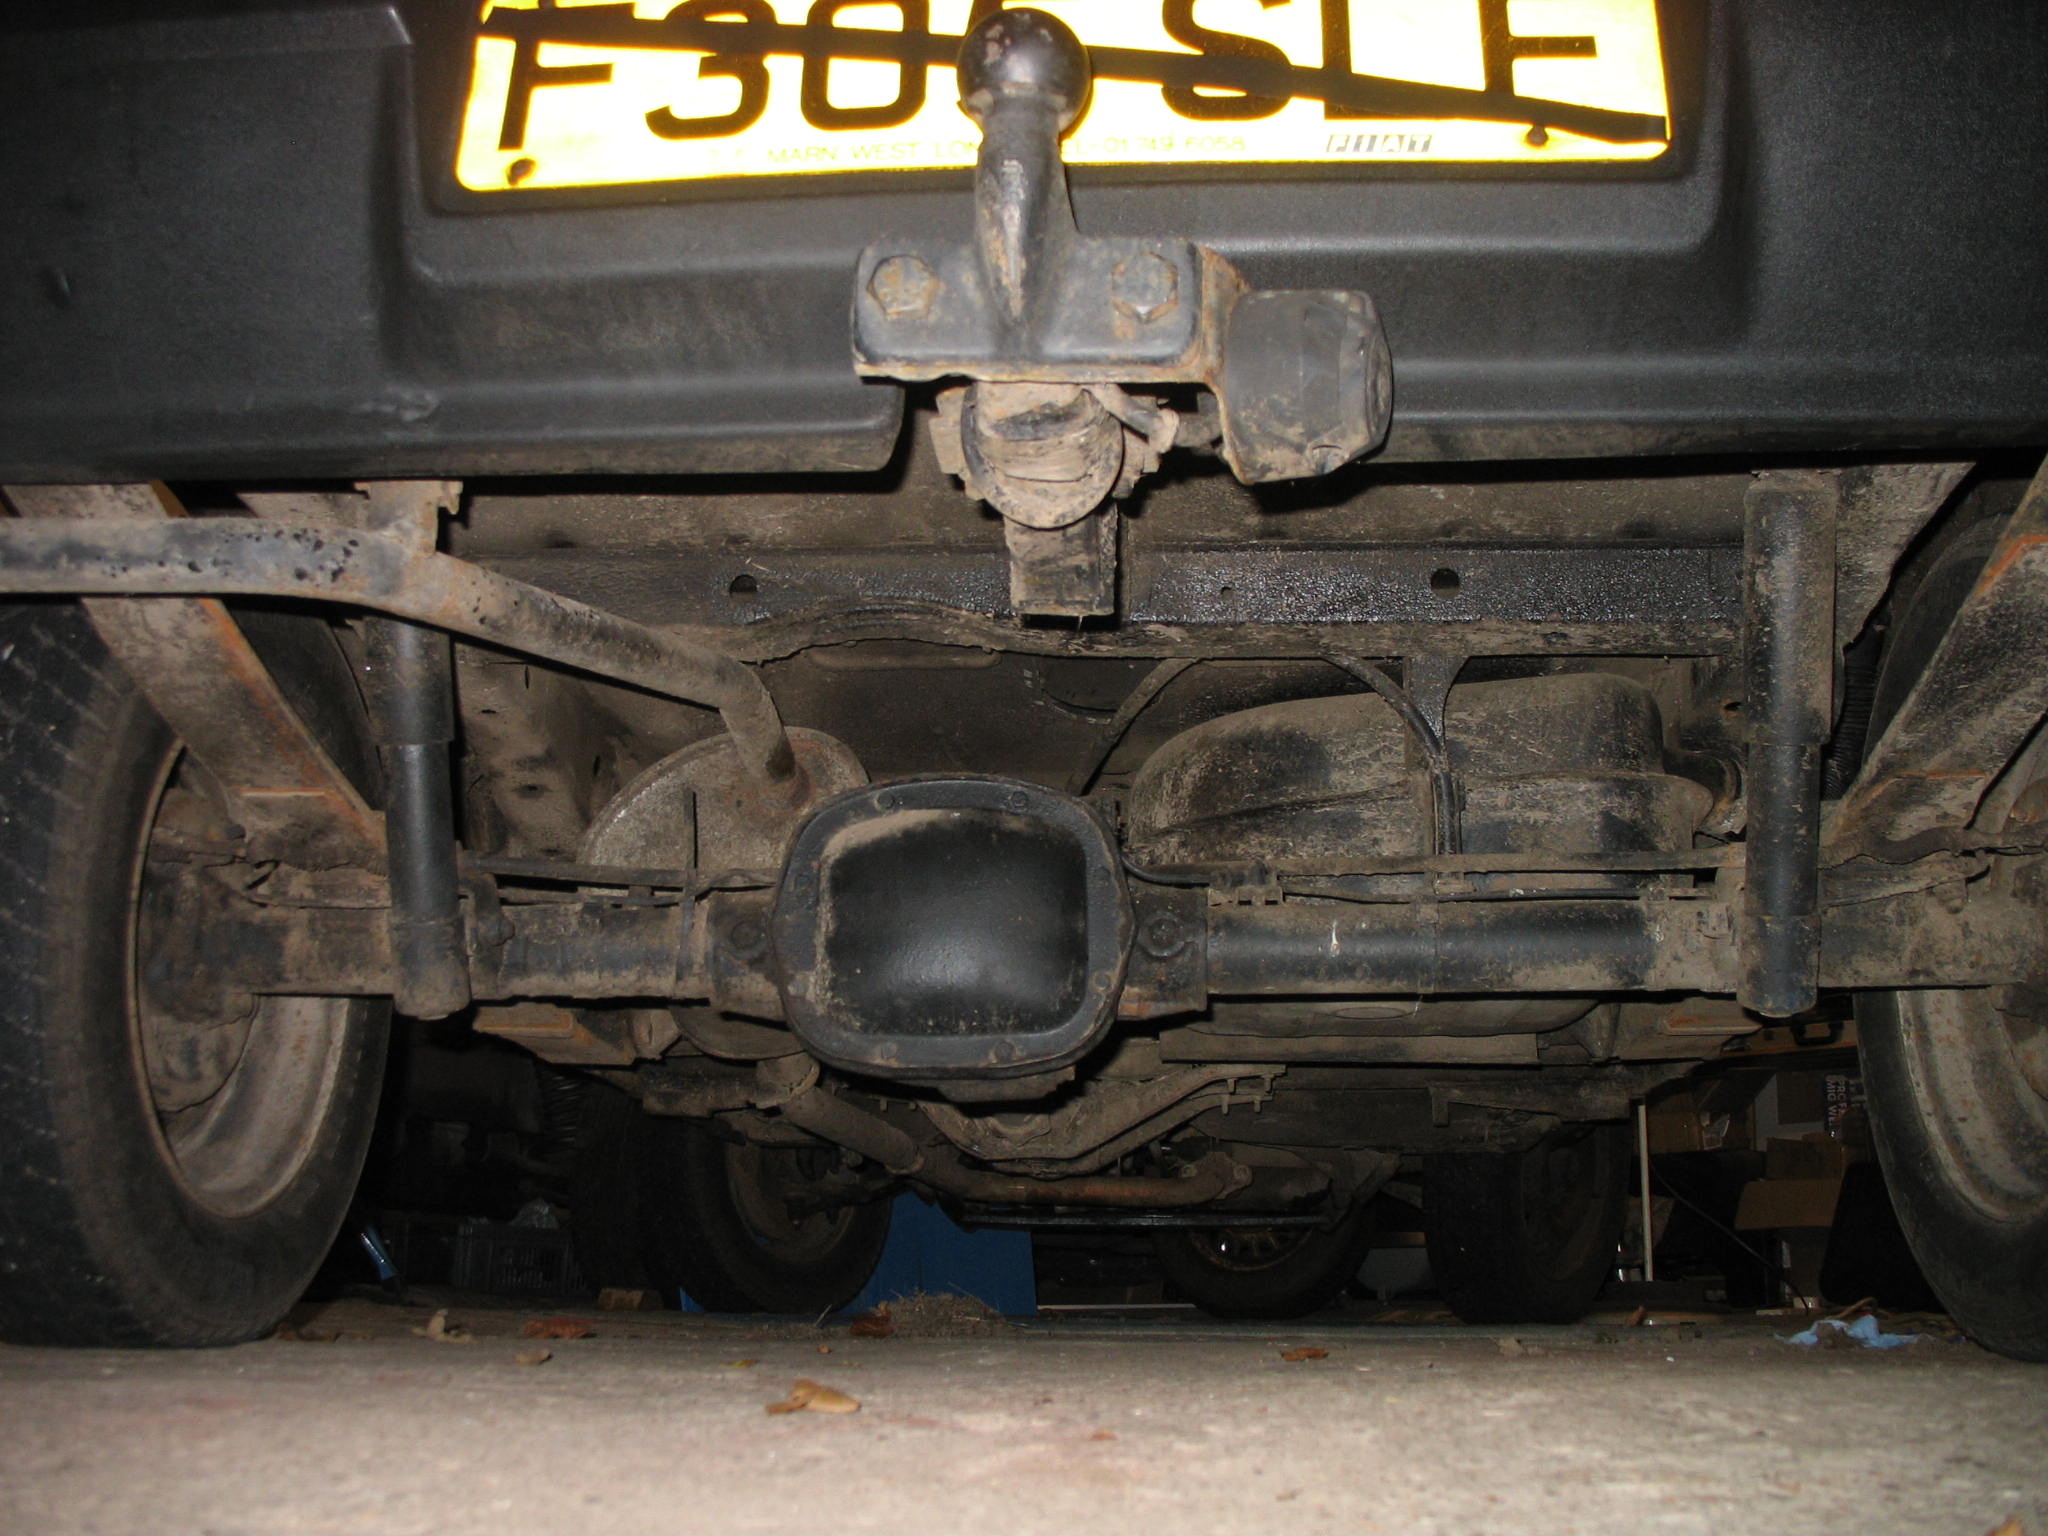
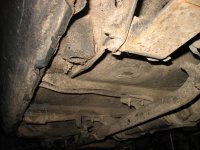
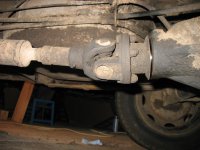
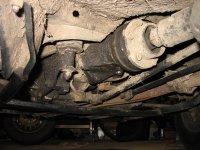
And time for the bad boy
IMG_1946.JPG


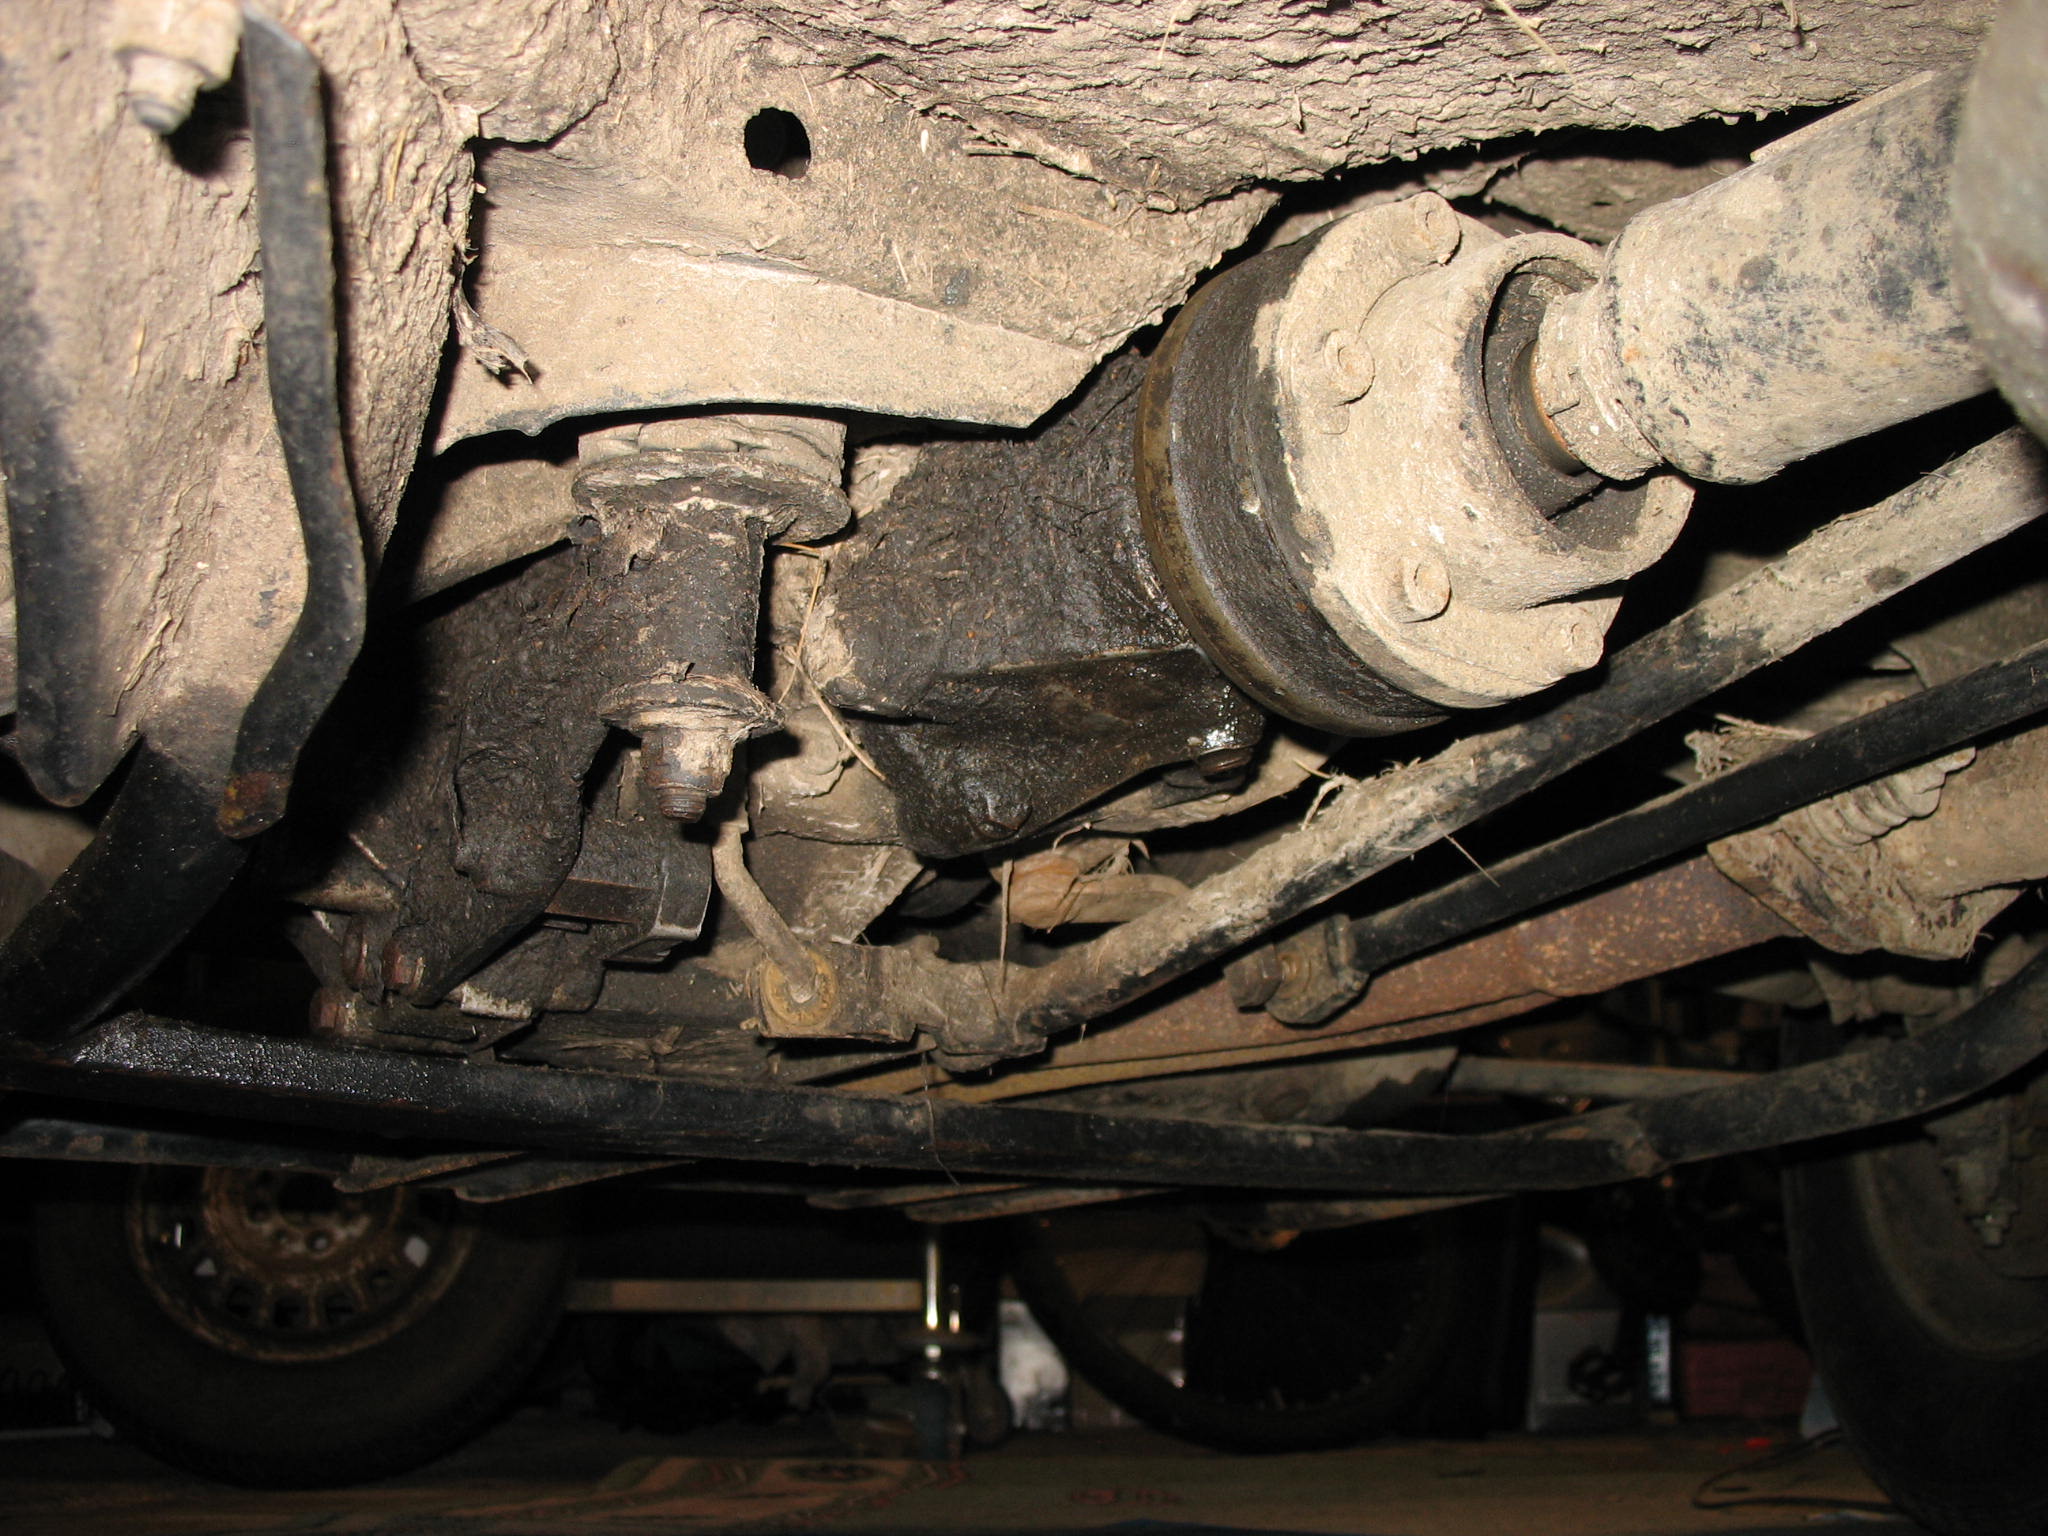
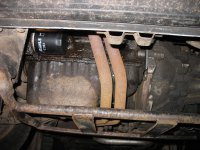
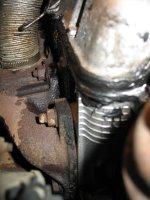
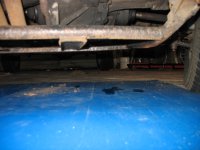
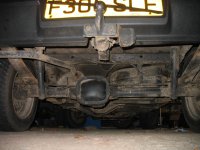
Is that gap between the propshaft and diff is normall?
IMG_19042.JPG


IMG_19022.JPG


IMG_19061.JPG


IMG_19442.JPG


IMG_19353.JPG


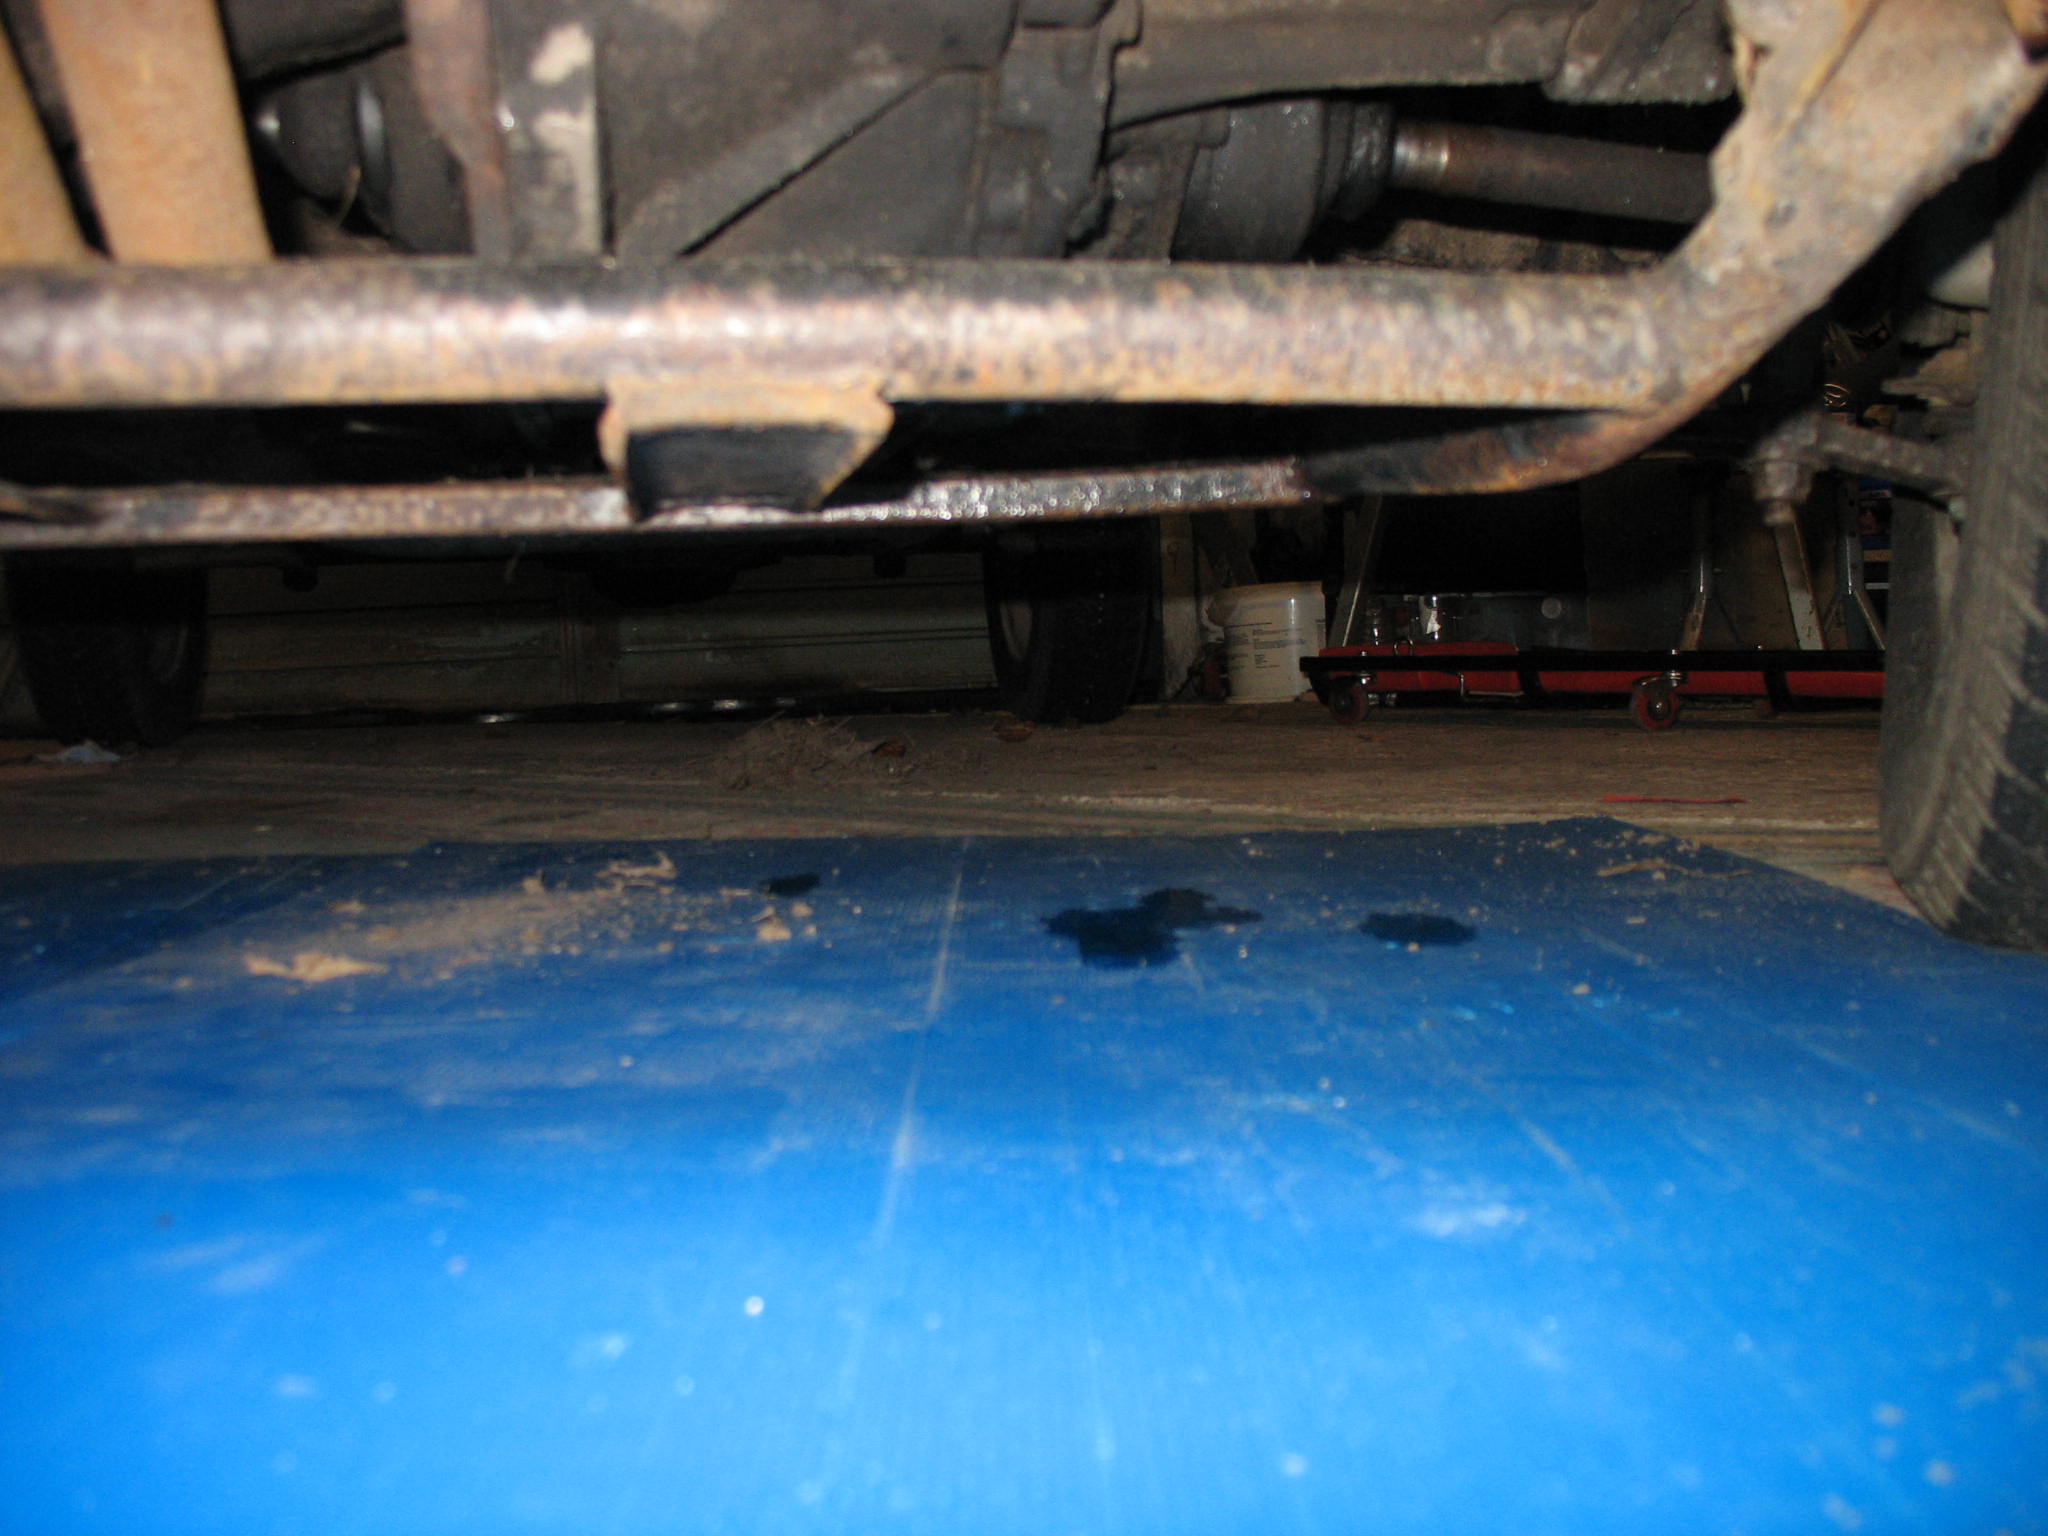
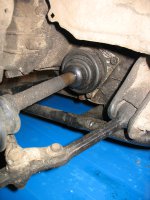
Dear FFCP section members, any comments, suggestions and observation are more than welcome, especcialy regards the 4x4 drive train i.e. leaks etc.
Is there not a paint supplier or bodyshop local to you that could mix it up? I could get it mixed it for you if you wanted and then posted, would just have to make sure the tin is well sealed!


Scarborough is a lovely place to live up to a point when you're starting to play with cars. There are few bodyshops wich i'm aware of but their working hours are same as mine. I'll spend some time tommorow on phone but as my budget is tight, £20 for 1ltr of rubber paint seems ok.
 
Scarborough is a lovely place to live up to a point when you're starting to play with cars. There are few bodyshops wich i'm aware of but their working hours are same as mine. I'll spend some time tommorow on phone but as my budget is tight, £20 for 1ltr of rubber paint seems ok.

Have you tried this place:

https://www.paints4u.com/default.aspx

Looks like they will mix in 2K and Cellulose, a little more expensive than the rubber paint though.
 
Have you tried this place:

https://www.paints4u.com/default.aspx

Looks like they will mix in 2K and Cellulose, a little more expensive than the rubber paint though.


Cheers Fredy,

286 avorio recognised on their system.
Would 500ml be enough for 4 wheels? I don't think so as the whole rims need spray. Looks like i'll check what the rubber paint is like.

Wheels will be muddy mist of the time so no need for posh look.
 
Have you tried this place:

https://www.paints4u.com/default.aspx

Looks like they will mix in 2K and Cellulose, a little more expensive than the rubber paint though.


Cheers Fredy,

286 avorio recognised on their system.
Would 500ml be enough for 4 wheels? I don't think so as the whole rims need spray. Looks like i'll check what the rubber paint is like.

Wheels will be muddy most of the time so no need for posh look.
 
Wellers are undergoing MIL spec resto process.

At cote no. 3 now, still 3 top white cotes to go.

IMG_3209.jpg


I would never removed the original coting by using grinder and wire wheel.

Took 2x dipping and good blast to get rid off.

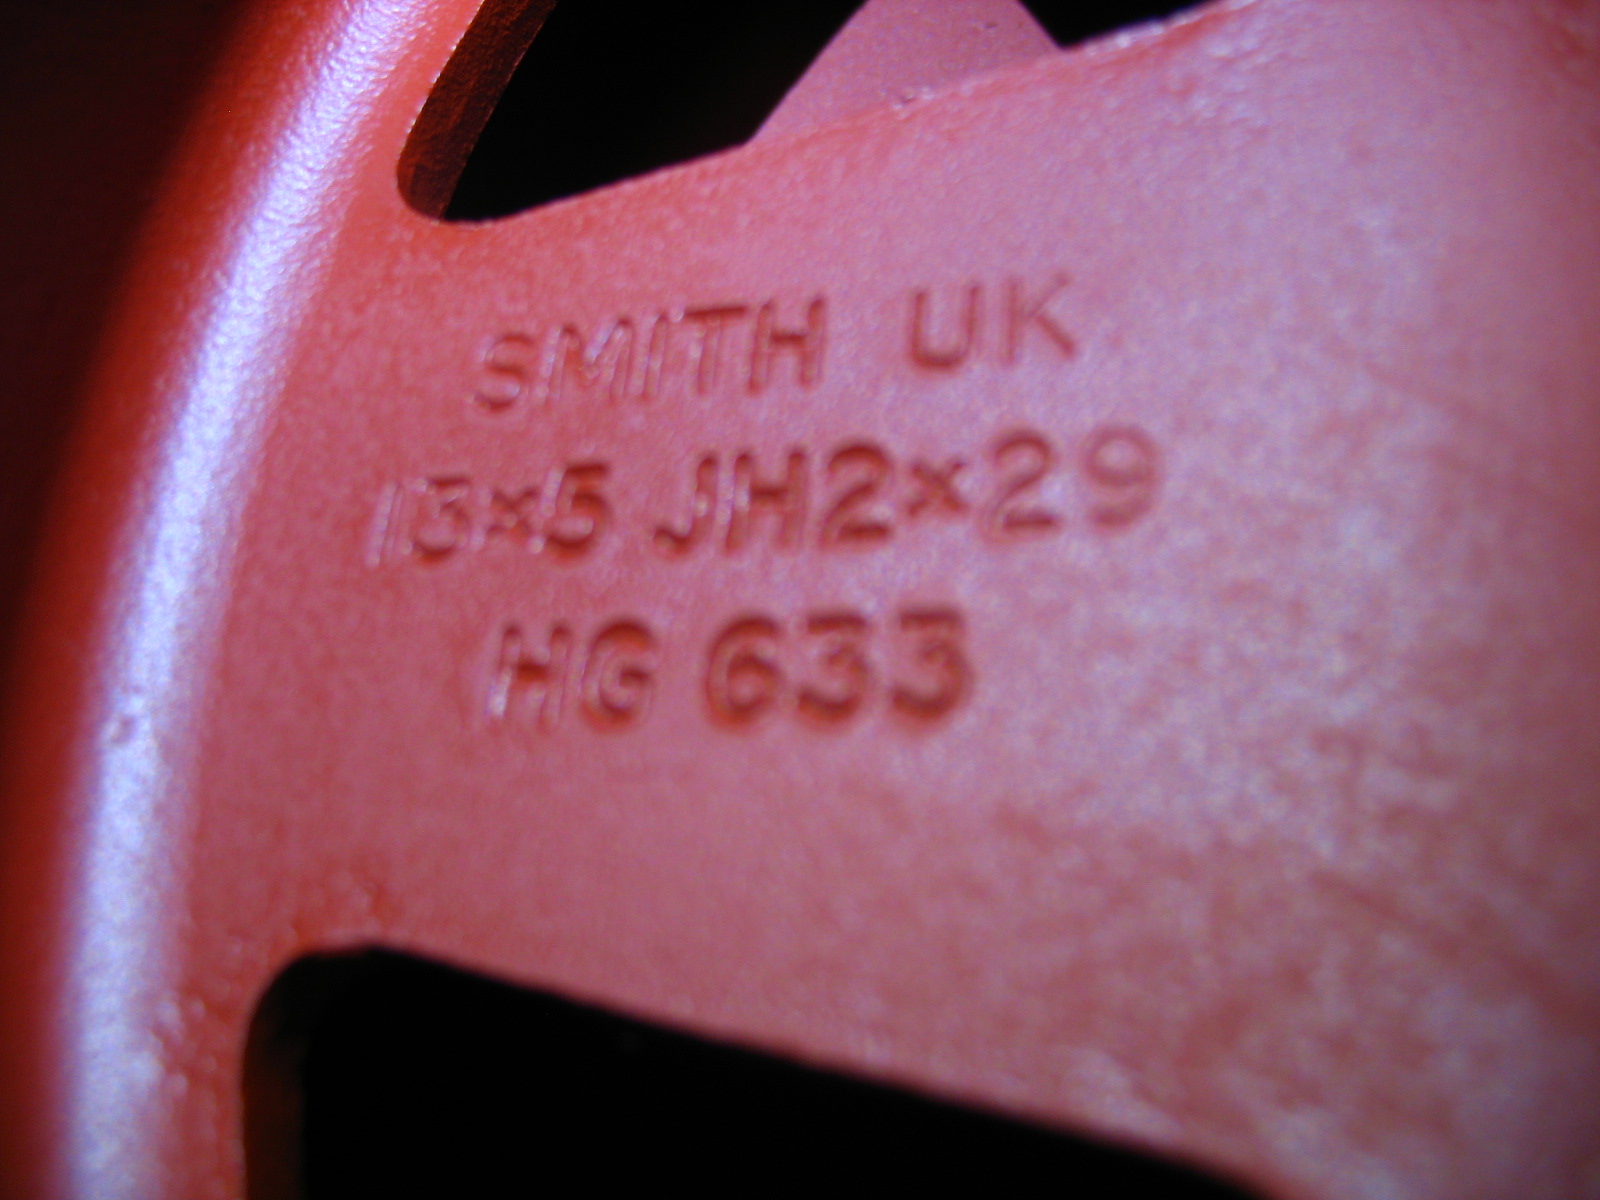
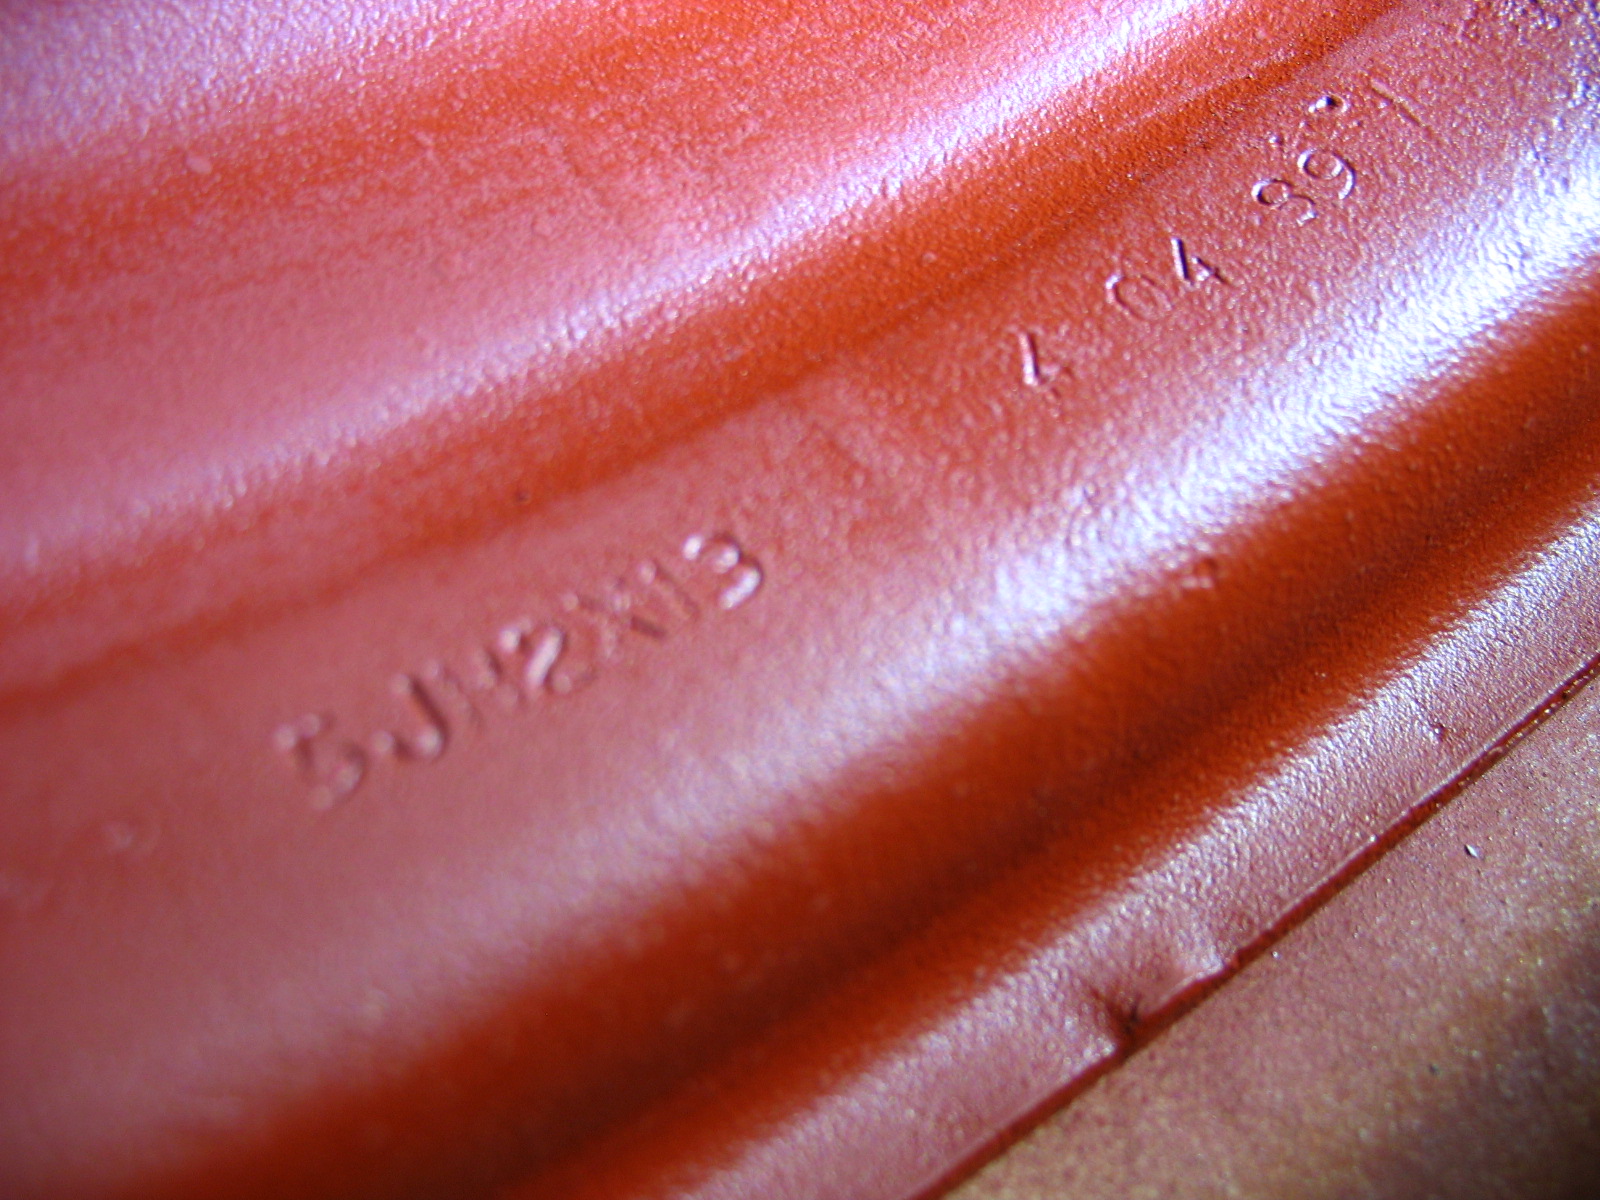
Rims spec for future references

IMG_3211.jpg


Made in April 1989, same year as the sisley - destiny?

IMG_3213.jpg
 
Yep, red oxide indeed ( or "minia" in polish).

Rubbed down again today, ready for last primer coat. For better top coat adhesion top coat will be applied while still tacky.
 
Yep, red oxide indeed ( or "minia" in polish).

Rubbed down again today, ready for last primer coat. For better top coat adhesion top coat will be applied while still tacky.

Just wanted to let you know mate if you are planning on lacquering the wheels after the final too coat you must cover with even only one coat or normal body primer, either filler primer or etch primer as the red oxide reacts badly with most lacquers and can cause shrinkage. I've had this problem in a few cases before it can ruin an otherwise tidy paint job right at the end :(
 
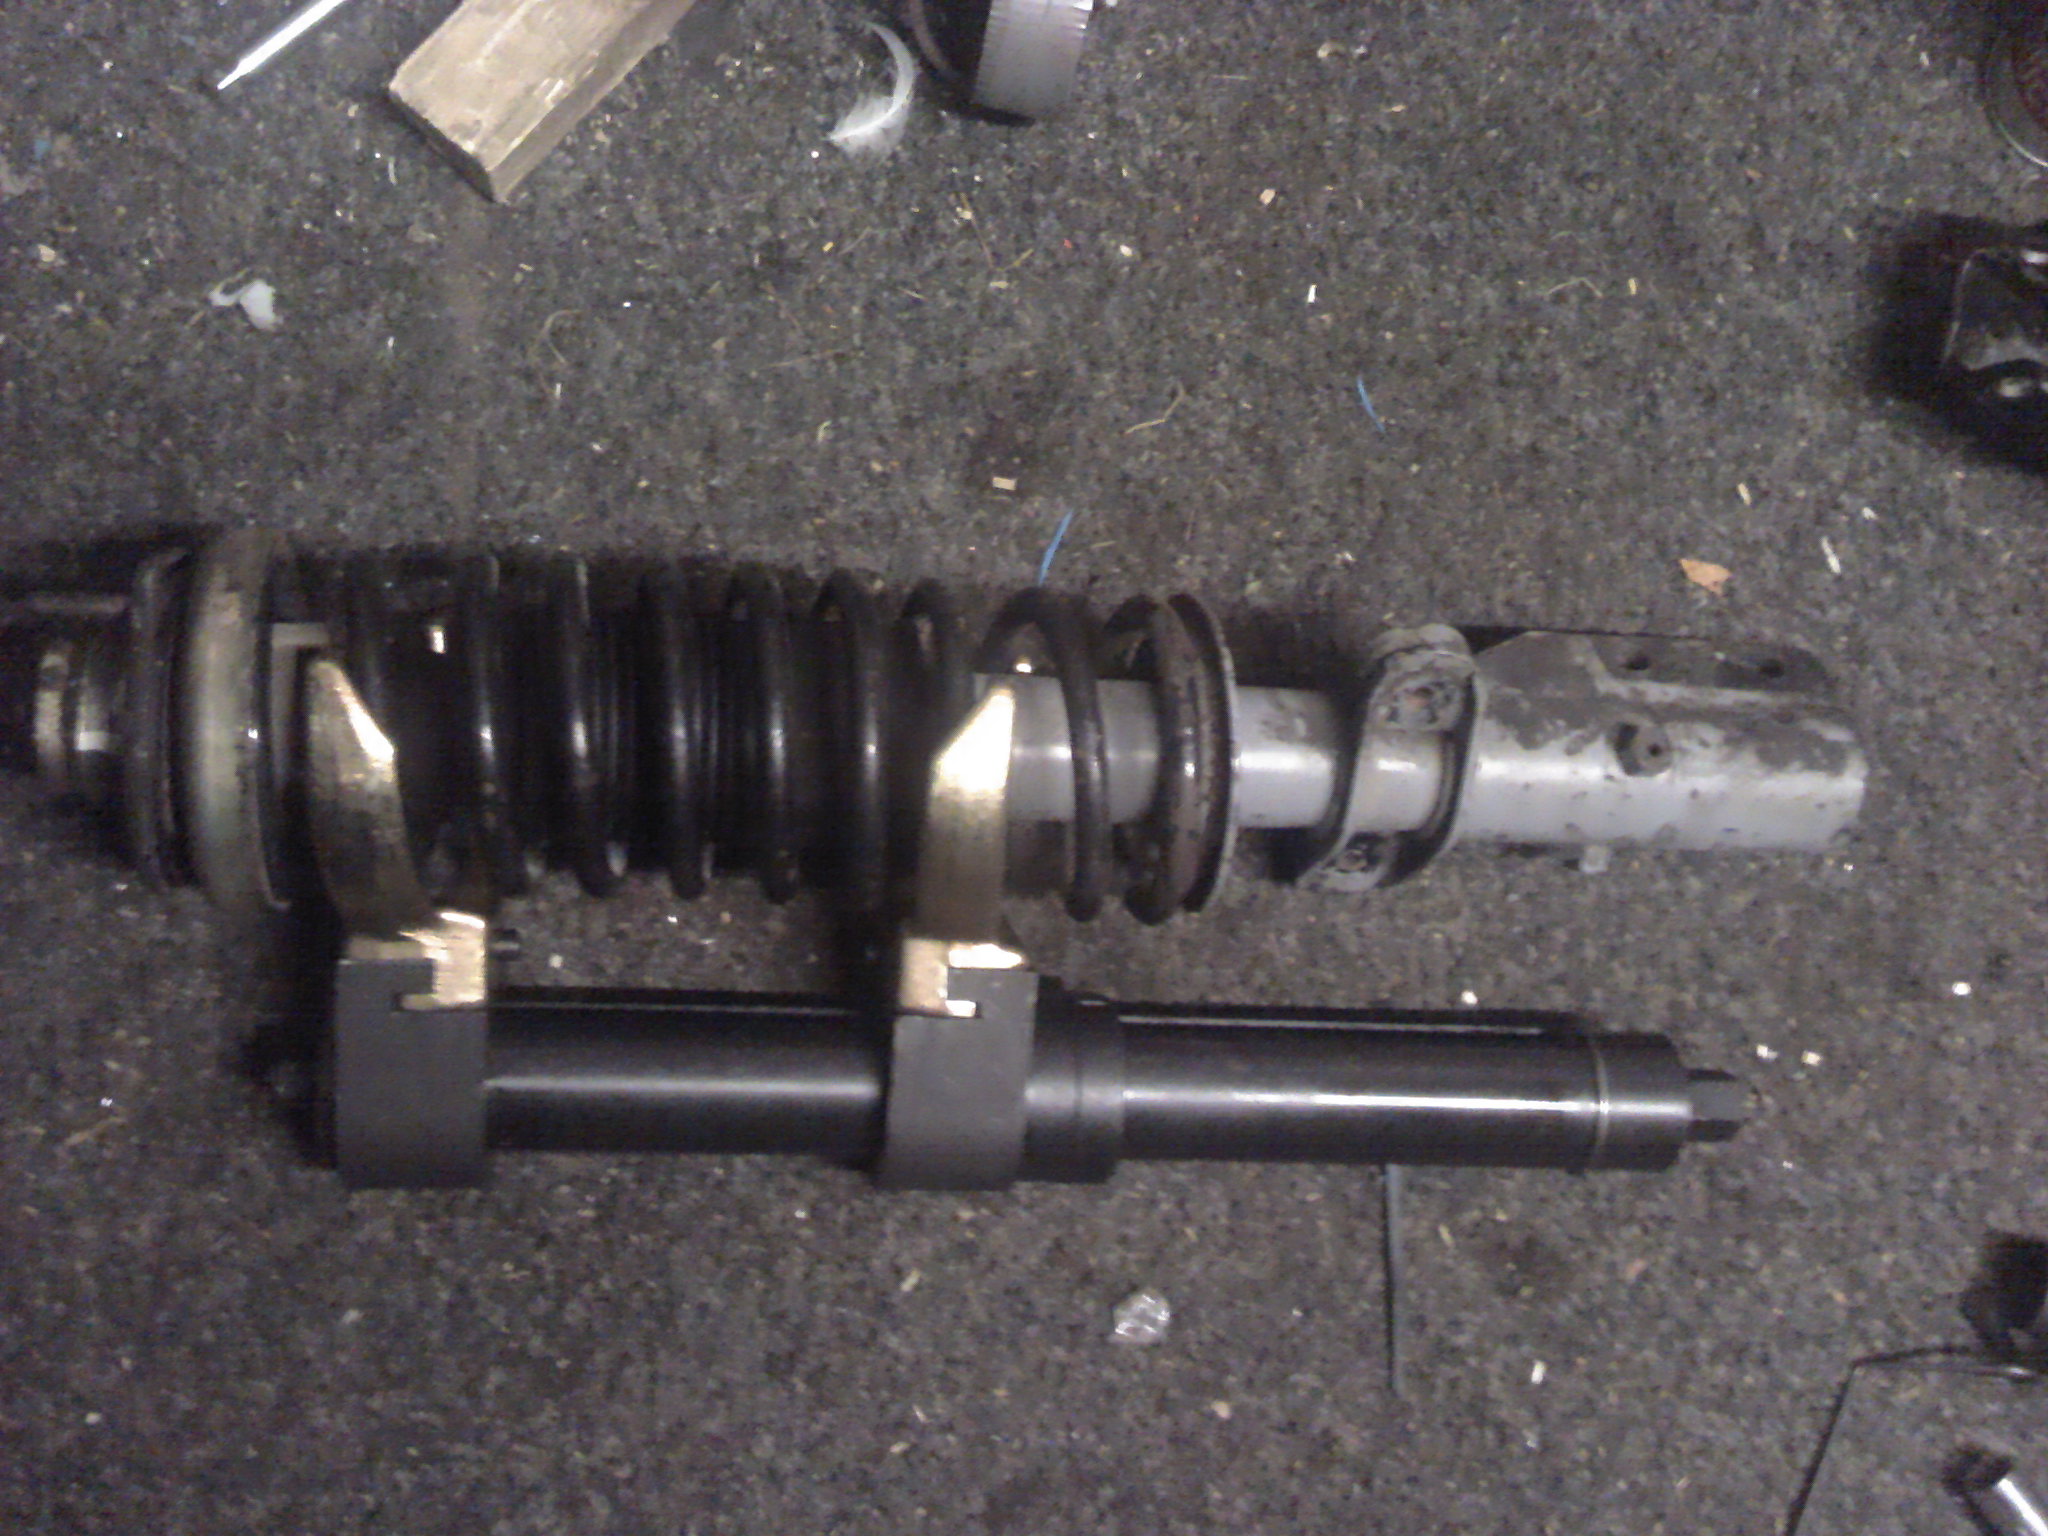
Last time when i was attempting to remove the coils spring from 4x4 strut I've traped my finger as the bloody spring compressors sudenly slided over to one side.

When you have a right tool it is much easier

2015-10-01_21-08-34_990.jpg


As all auxillary parts for lift kit are here now, i'm starting to building up the new strut assemblies.
 
First summary of the car is ( 1 is very poor, 10 is perfect):

  • Originality - 6,
  • Bodywork - 7,
  • Engine - 6,
  • Gearbox - 5,
  • Interior - 5,
  • Structural rust - 8,
  • Visible rust - 8,
  • Previous owners maintain - 7

After over two years time and spend way over £1k I can make few adjustments to the initial summary list wich was total ******.

First summary of the car is ( 1 is very poor, 10 is perfect):

  • Originality - 5, 1 down
  • Bodywork - 5, 2 down
  • Engine - 3, 3 down
  • Gearbox - 3, 2 down
  • Interior - 4, 1 down
  • Structural rust - 4, 4 down
  • Visible rust - 6, 2 down
  • Previous owners maintain - 6, 1 down
It's all about fun!
 
Think positive, my "estimations"about trekkng's condition few years ago were about the same as yours towards your first sisley-summary, and my trekking landed on a scrap cheap few months ago :rolleyes::D Sisley still has a chance(y)
 
It costed me far to much now to let it go!

There are some long term plans for small overlander car and event.

Replacement engine and gearbox lined up, rest is just sheets of steel and Argon mix.

I'm still trying to get the logistic part of the engine, gearbox, lift kit swap set in correct order, the most time efficent way.

1. Remove front suspension, shafts hubs etc.
2. Engine gearbox out,
3, Engine in
4. Gearbox in,
5, Strut assembles in, drive shafts in,
6, Engine aux. pluged, coolant etc.
7. Possible sump guard mod.
8. Rear axle off,
9. new leaf spring bushes, rear diff input shaft seal,
10. new sahackles, new shocks, secondary springs.
11. Weller + Fedima wheels.
12. tax it.
13. Staxton Hill
 
More progress on the weelers story as I want to get them finished asap.

IMG_32512.JPG


IMG_32522.JPG


IMG_3253.JPG


IMG_32541.JPG


IMG_32591.JPG


IMG_32572.JPG


I don't know exact weight of them rims but they are probably the heaviest i ever seen. With Fedima tyre each wheel will be defo close to 12kg.

I'll better check spigot rings avaialbility as with that weight the bang on centre will be crucial.

edit: that suppostu be semi-gloss ?
 
Last edited:
Back
Top