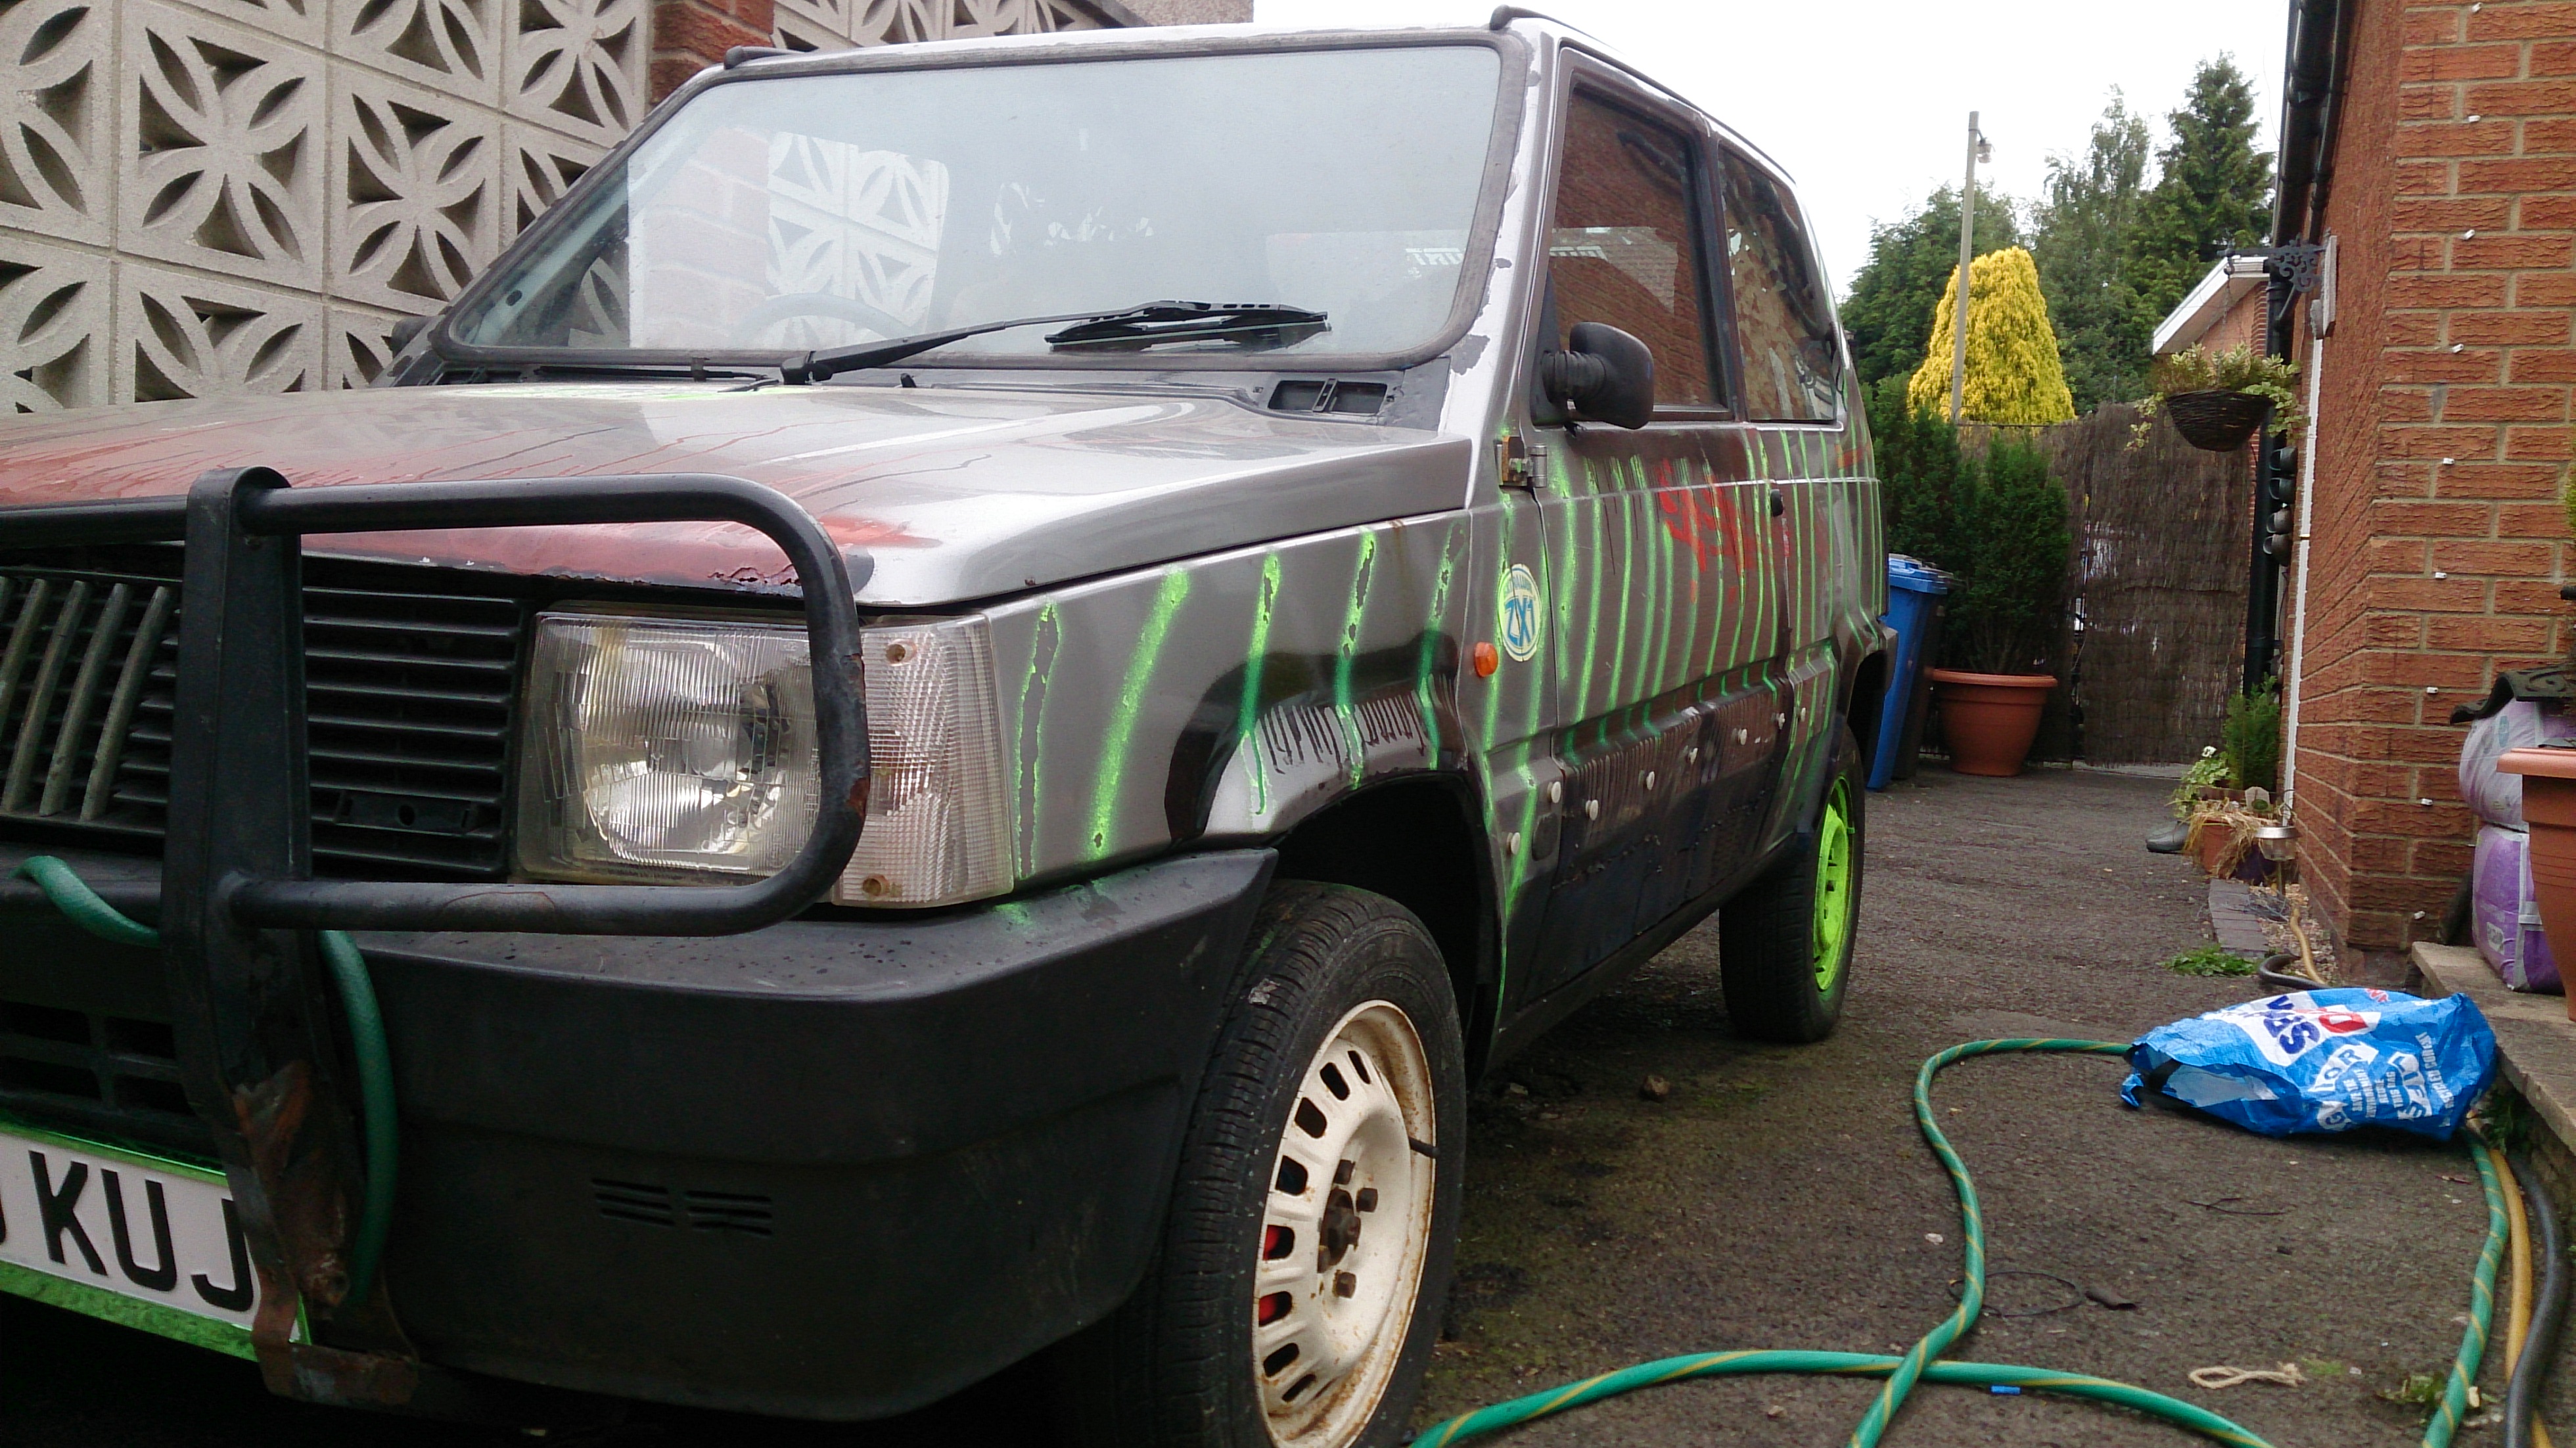
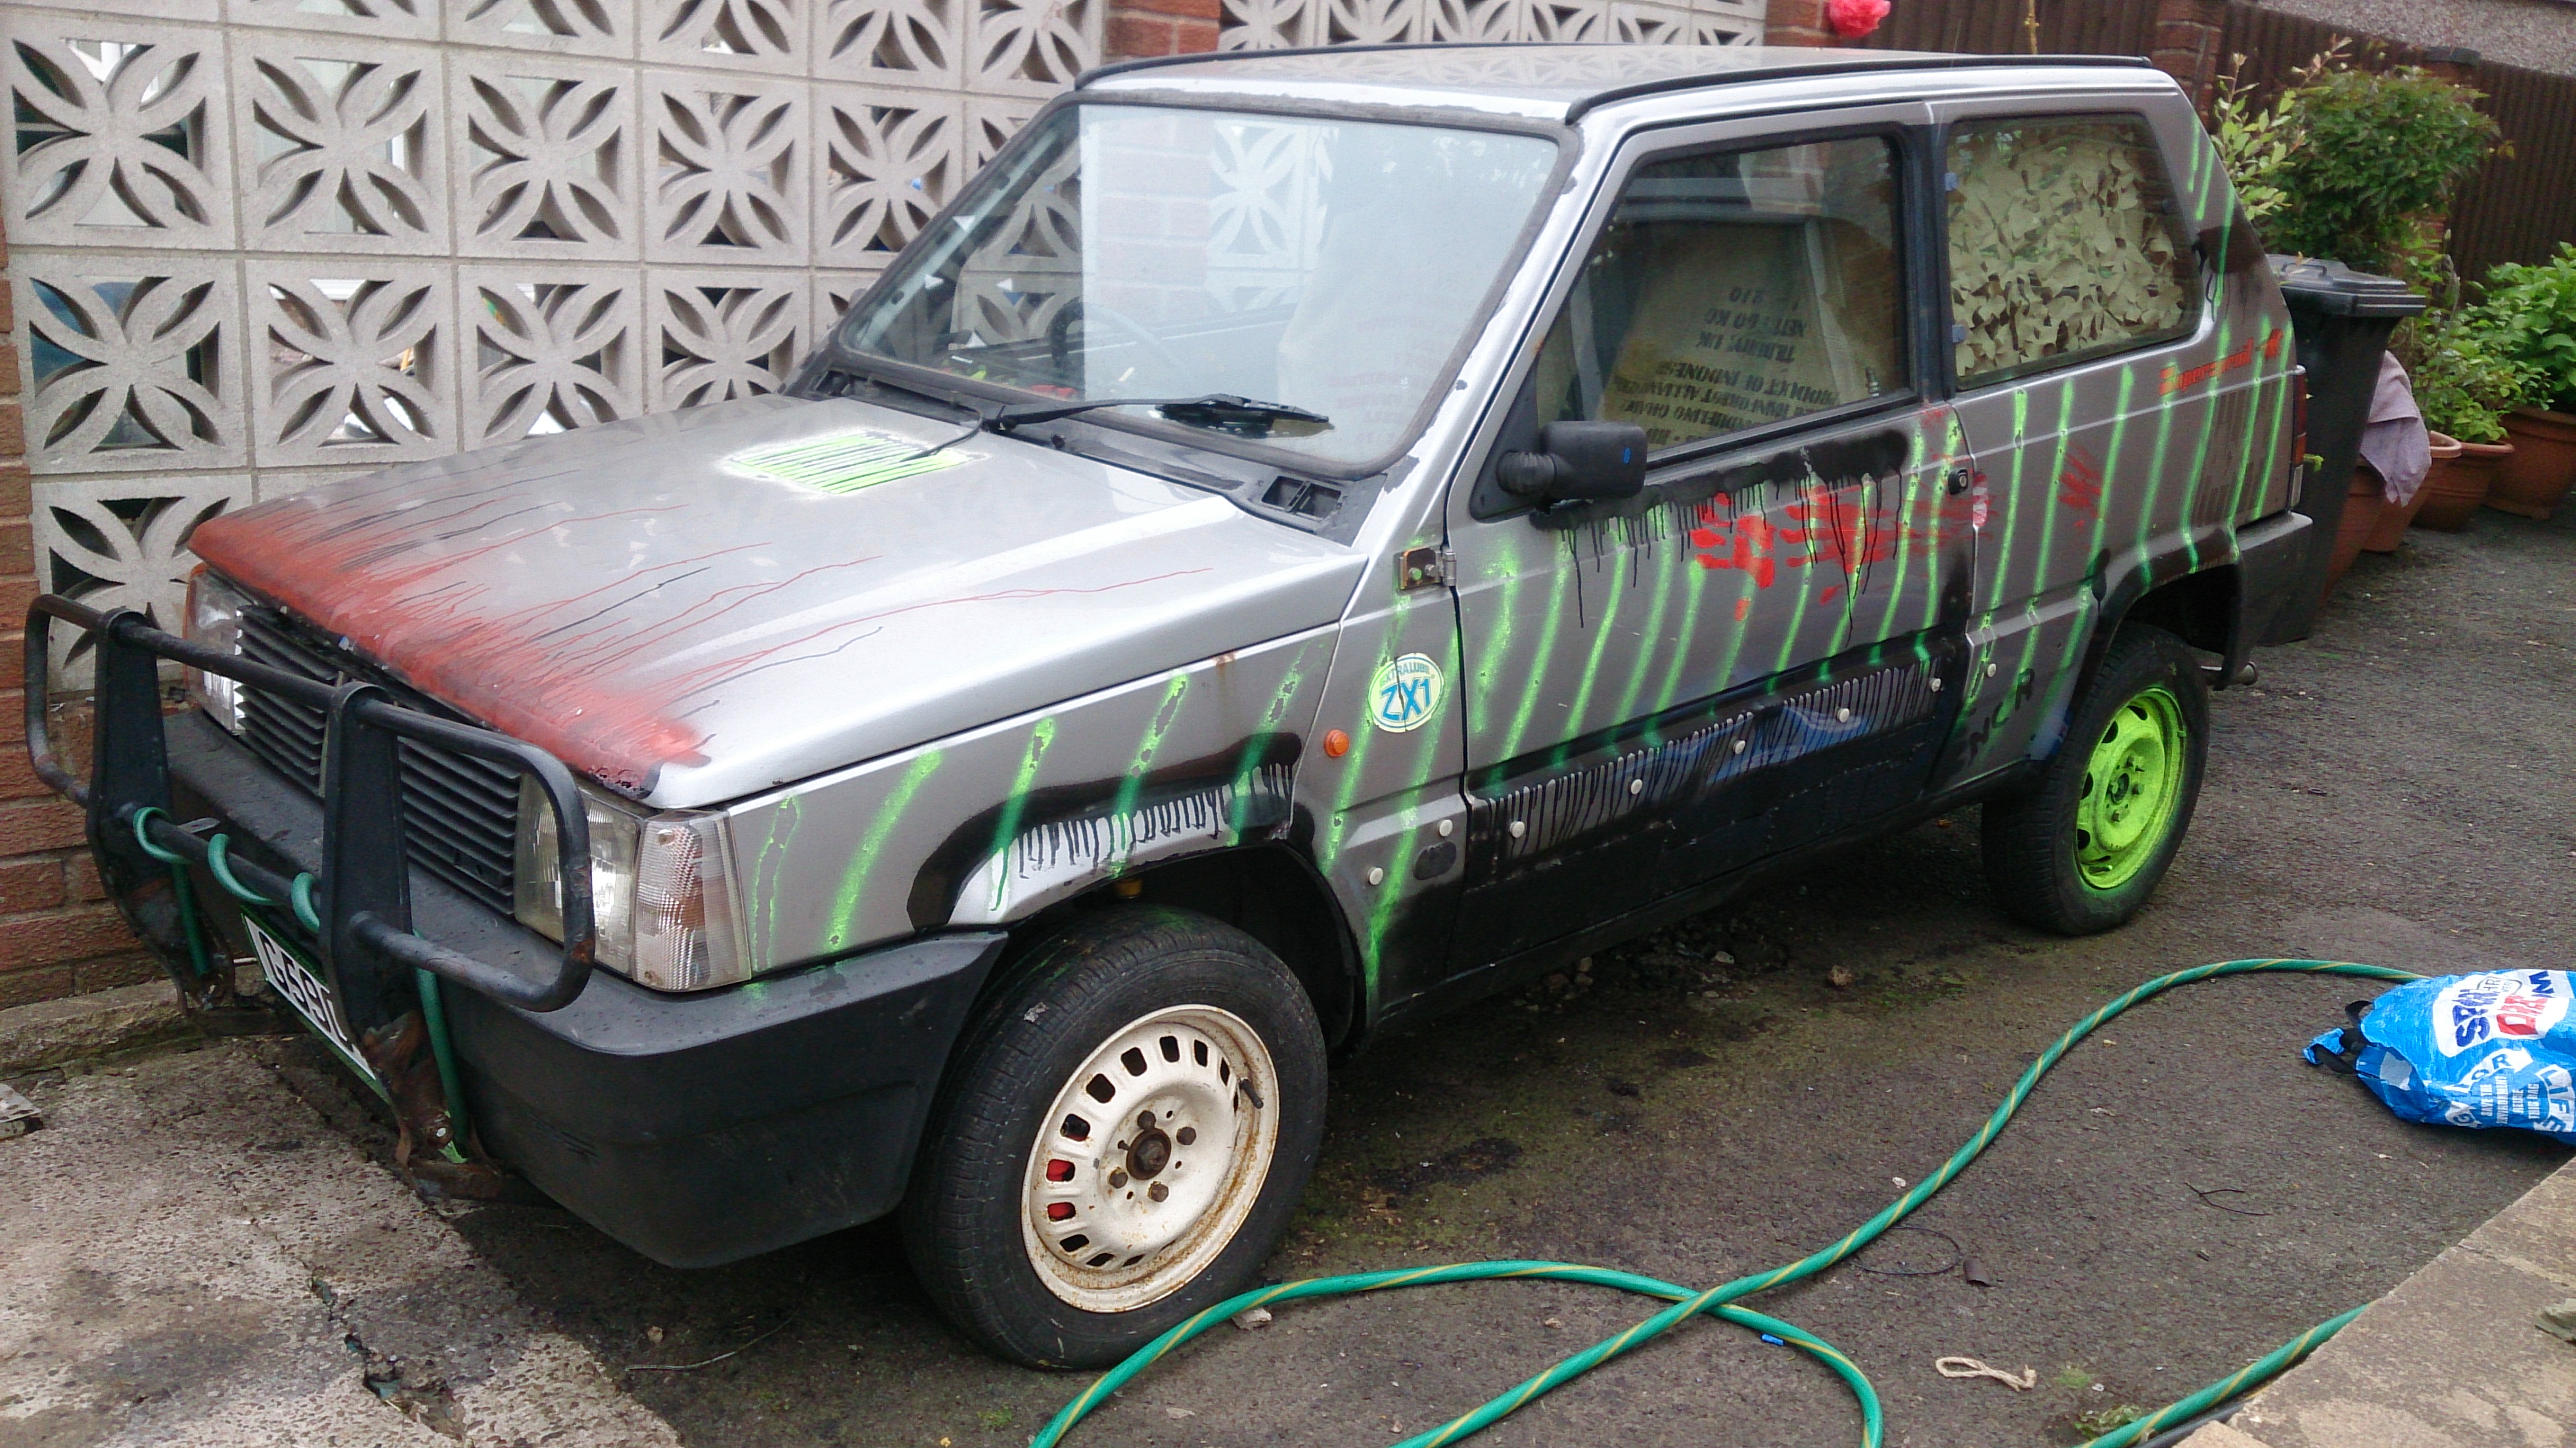
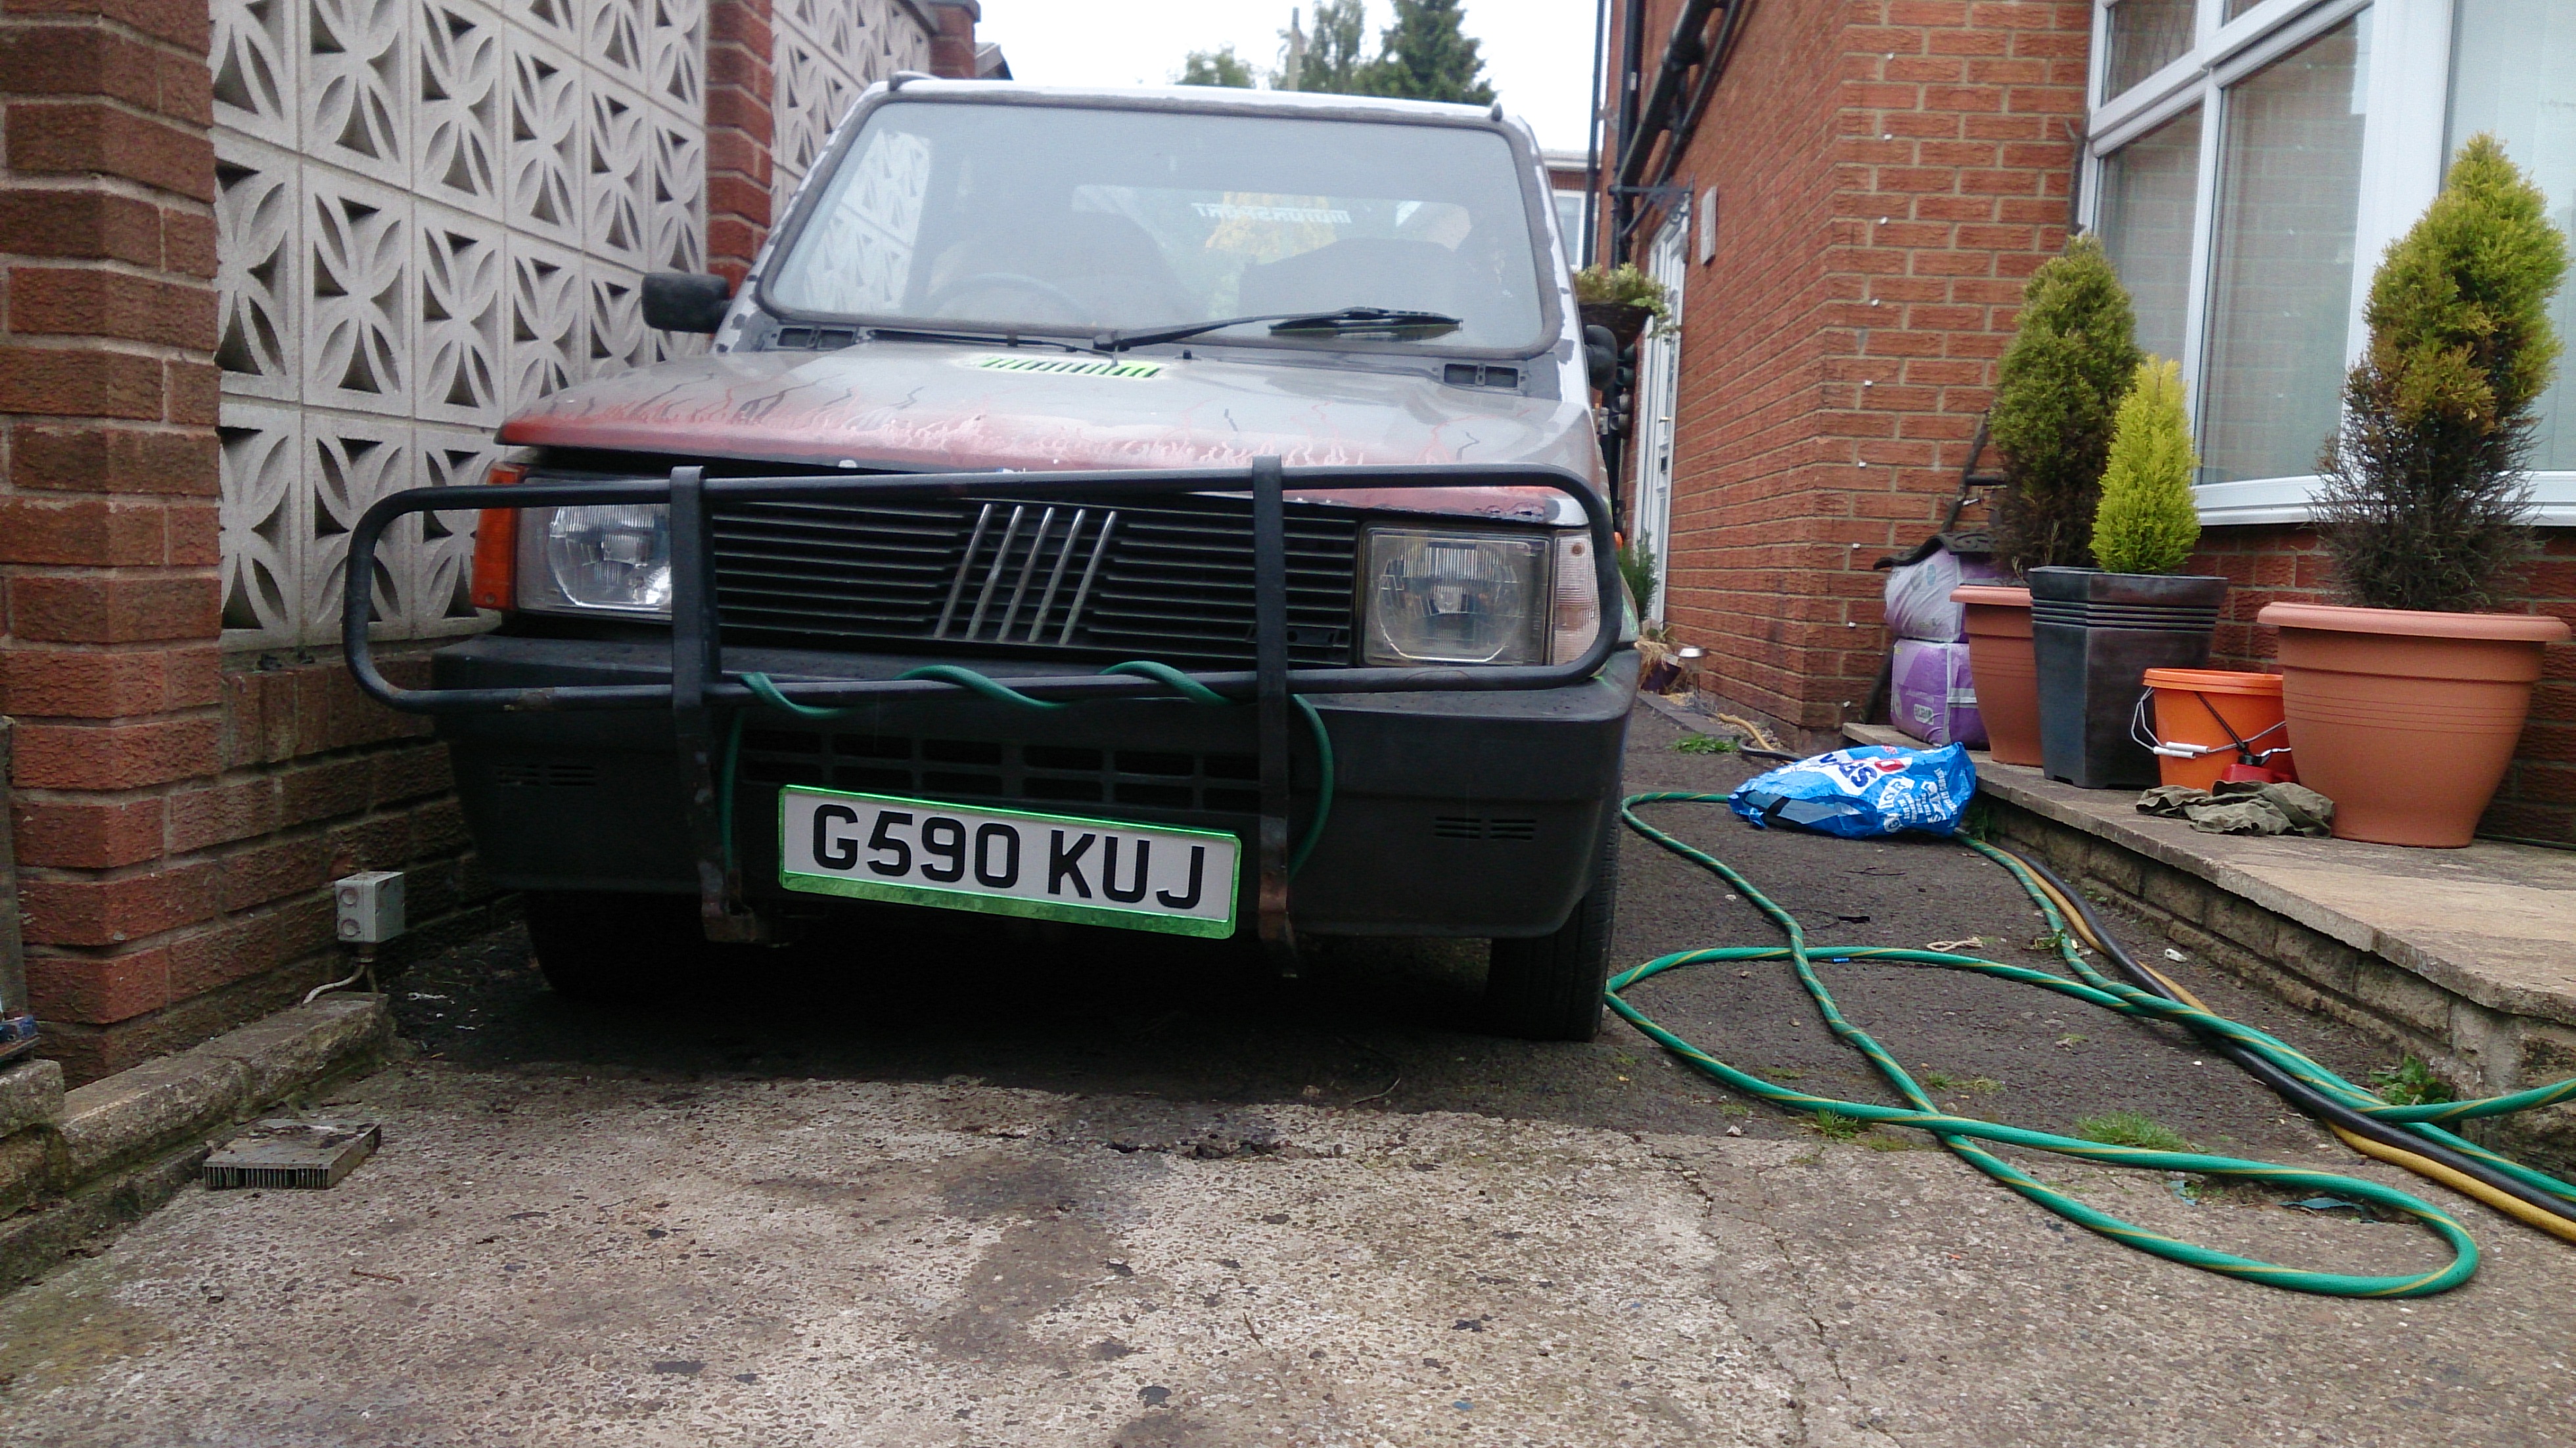
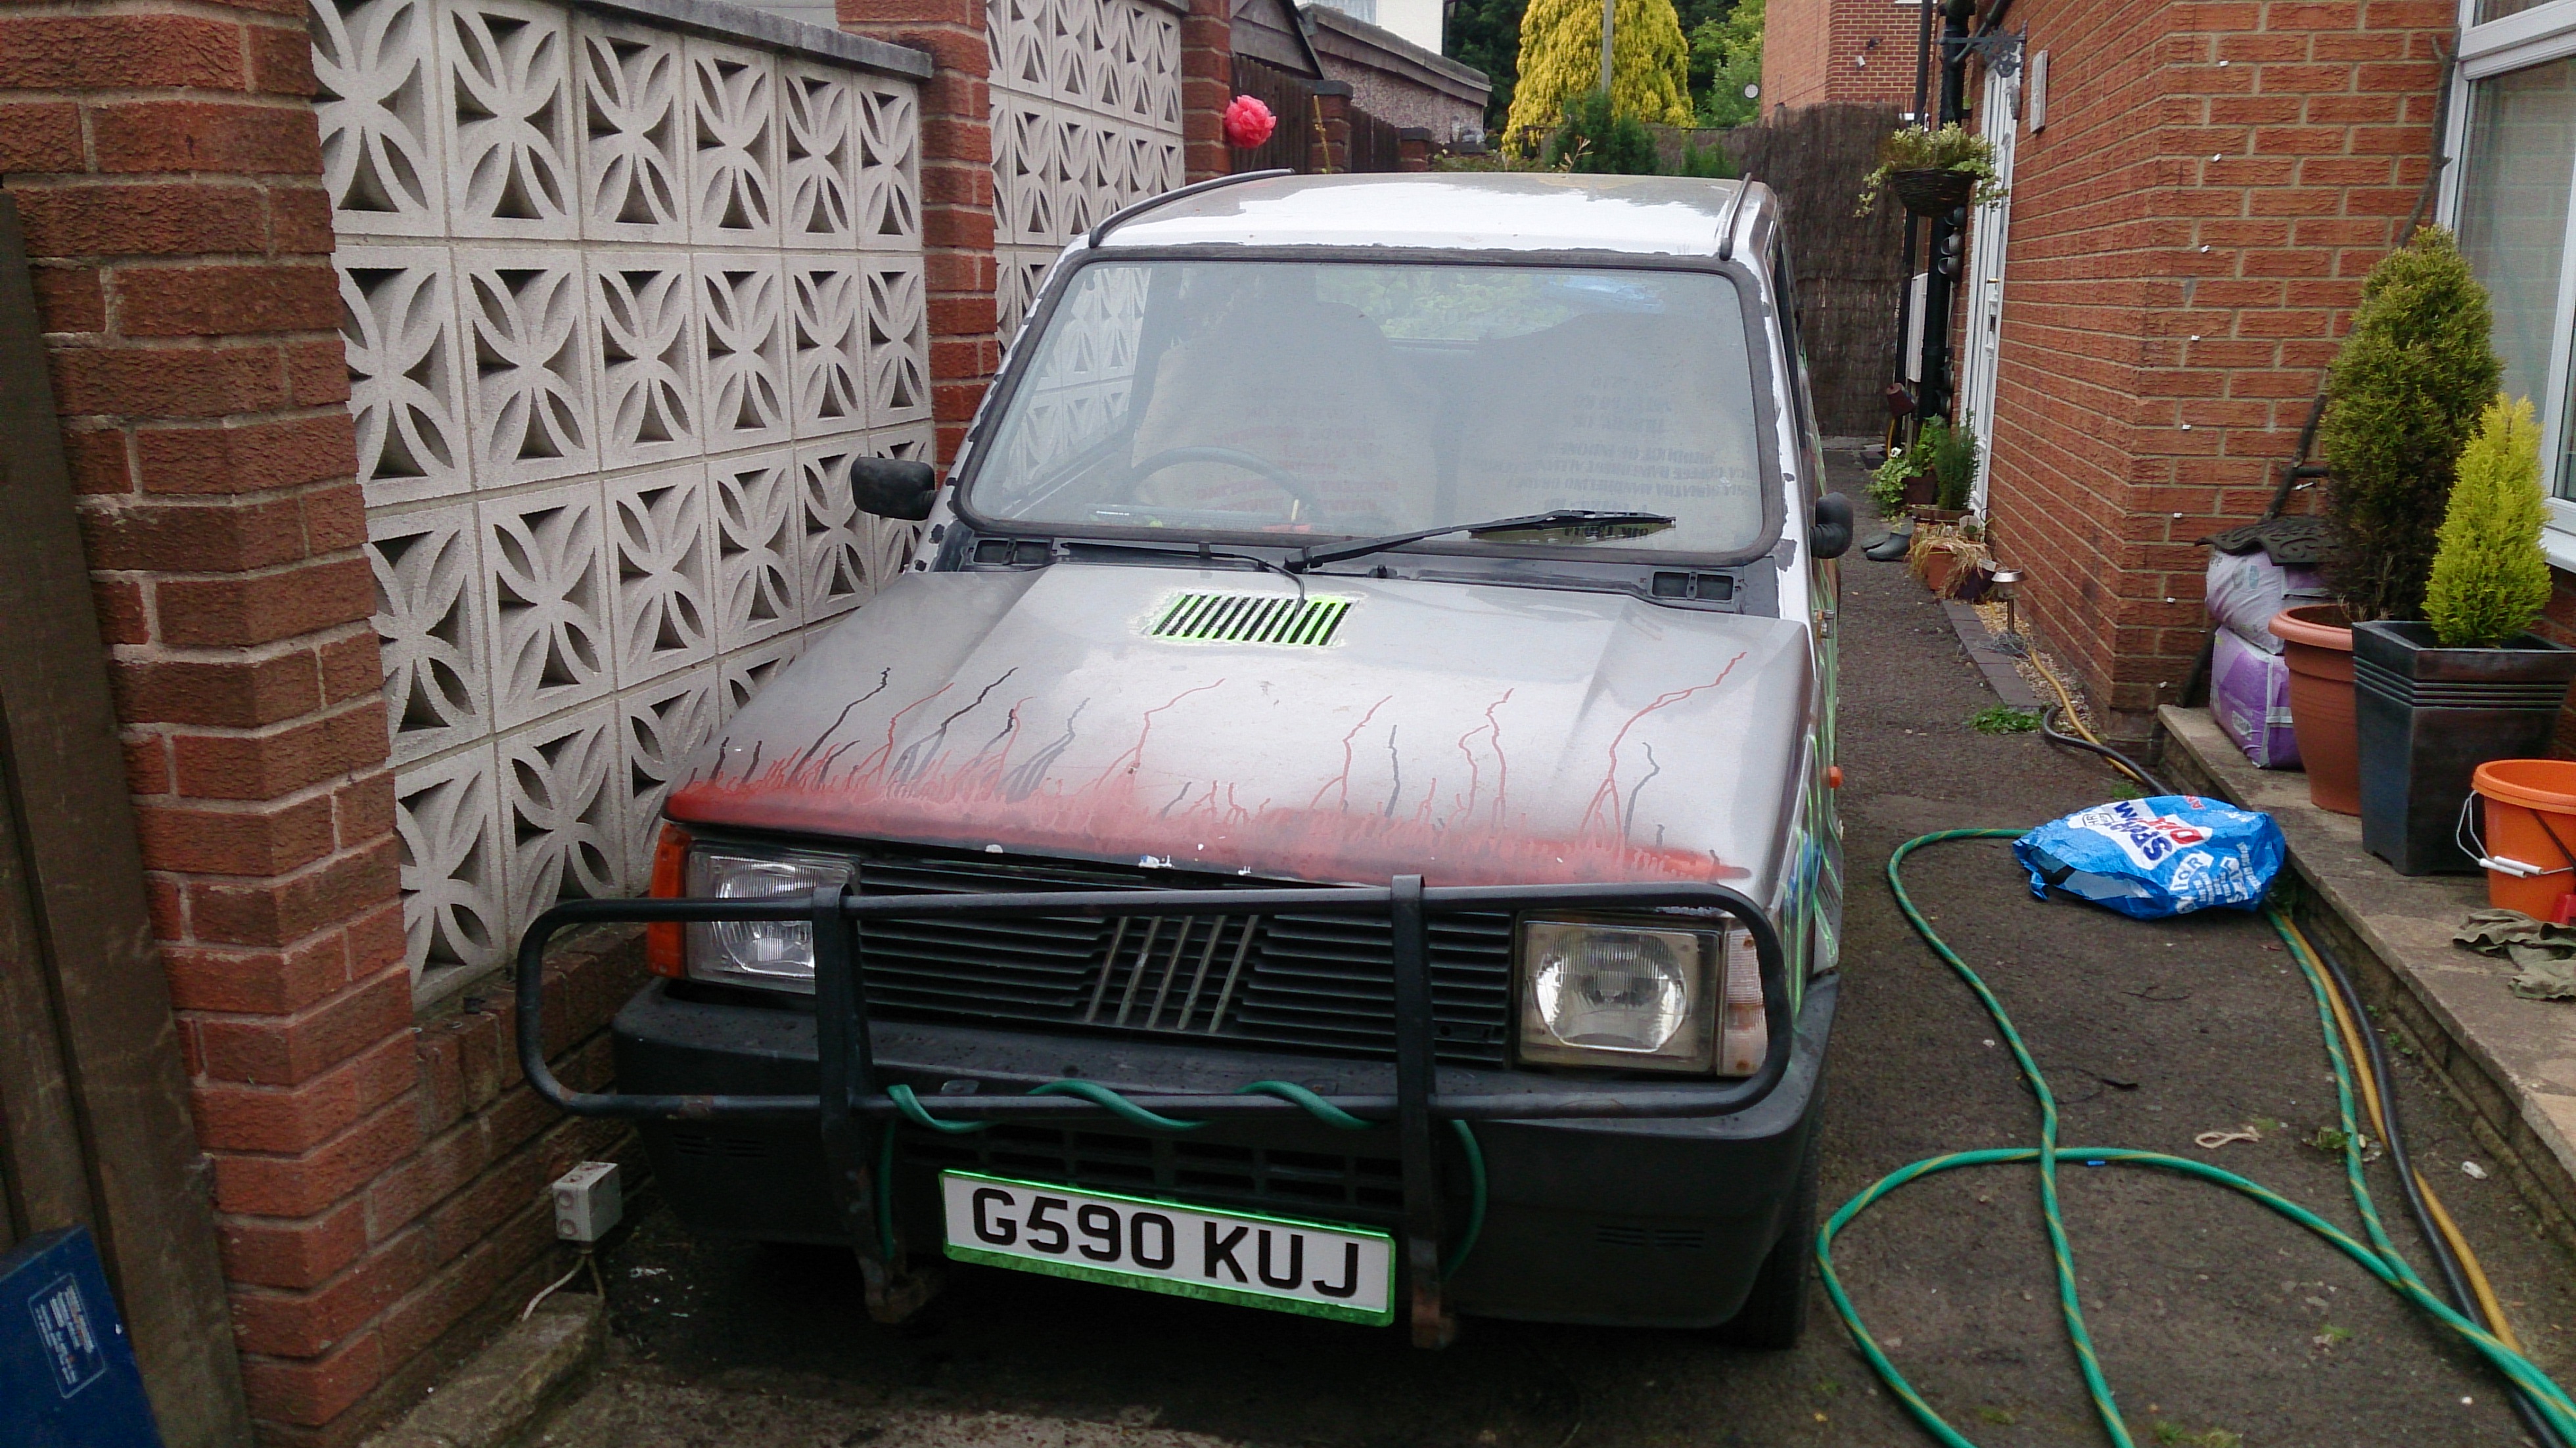
IMG_01991.jpg

Panda (Classic) Project Fallout

Introduction

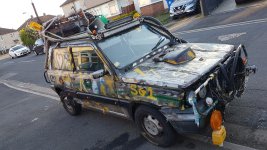
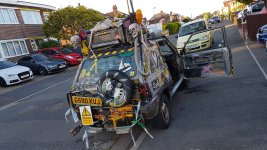
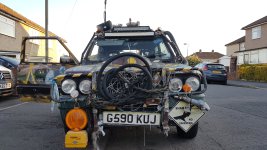
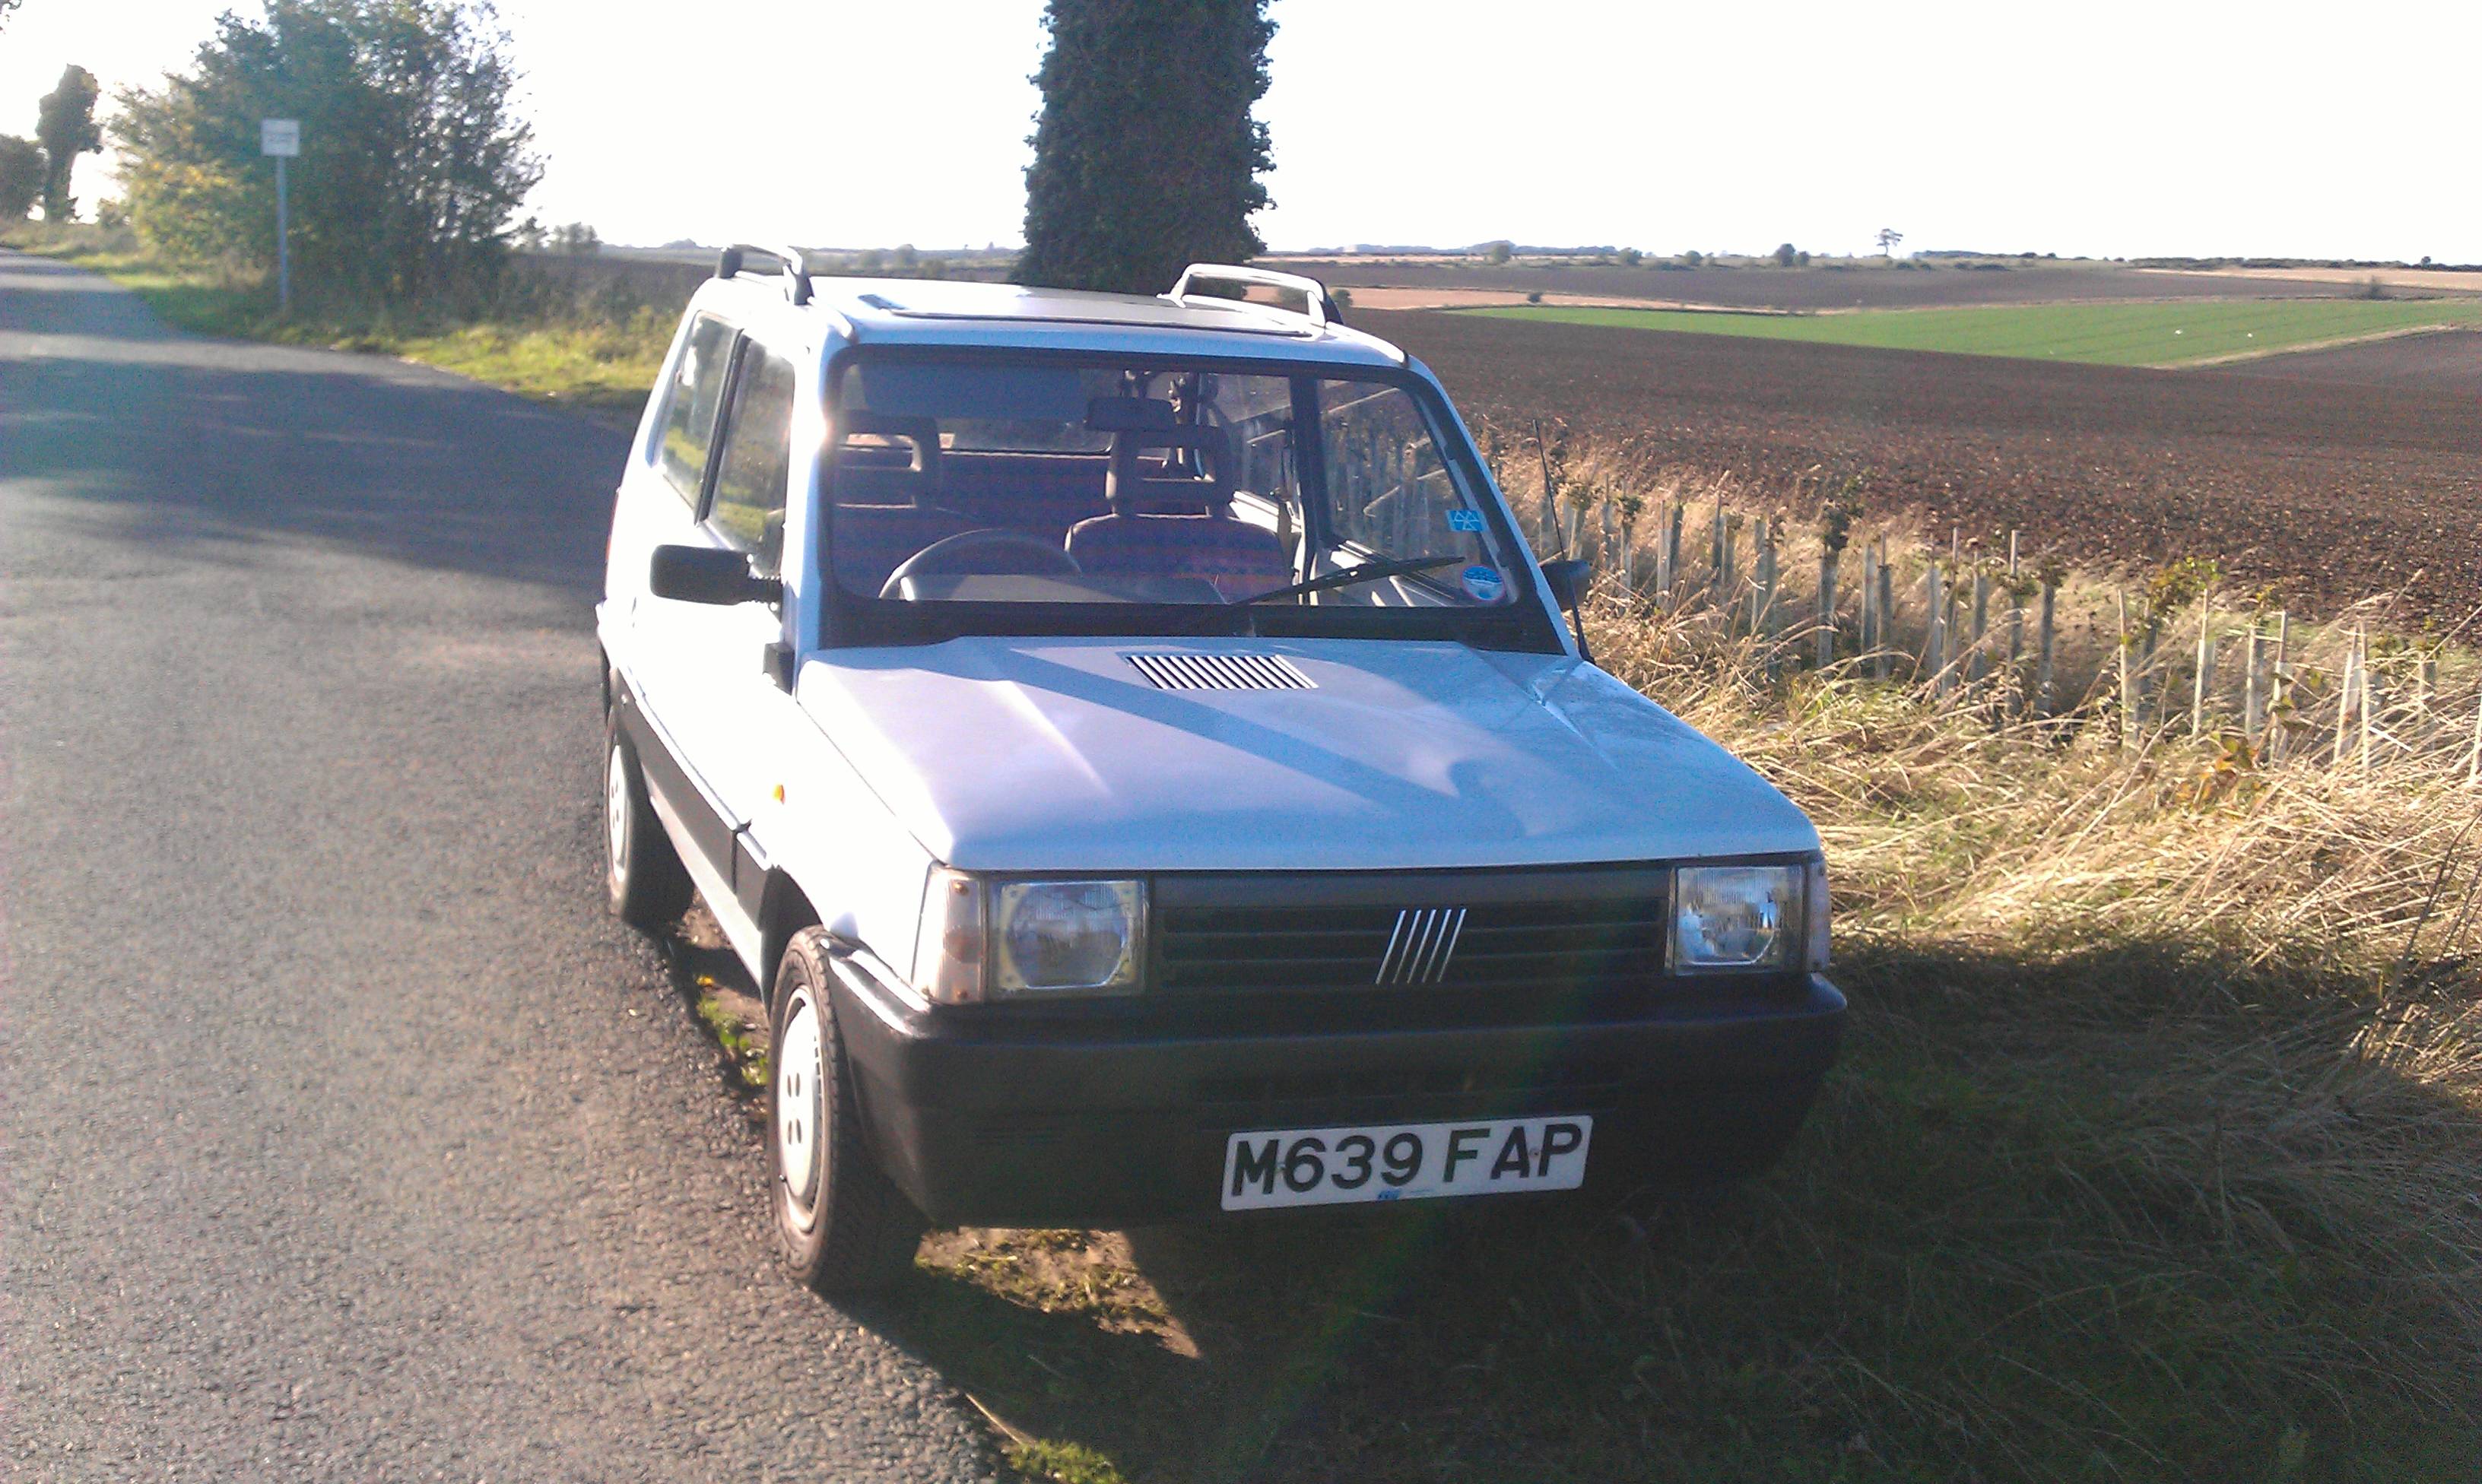
let me introduce to you, the free panda 4x4 which was first spotted >>Here<<.
First off however, here is the plan:

i will (some how) make the panda look "Post Apocalyptic" yet keep it in a road legal state (so no spikes, sharp rusty edges sadly). We have all seen mad max right? all wanted to replicate a mad max style car?
well let me be the first to attempt this with a fiat panda 4x4.

if anyone here has seen the TV program "Defiance", you surely have seen the epic Doge Charger that looks post apocalyptic. i will be trying to aim for the same theme. with such things as an external roll cadge, external metal mesh / grills covering the windows, custom bull bar, reinforced rear bumper made from tubular metal, custom twin output exhaust, and many many more.

this project is going to be undertaken as cheaply as possible (excluding parts necessary for a safe road going vehicle). reusing as many things as i can find (in scrap yards, freebees), true to a real post apocalyptic constructed vehicle. i will also be taking the "rough is best look" (please note, i say Rough not Rat!) the panda its self of course will undergo all the rust prevention Talon went under when i got him.

anyway, i will leave you a few seconds to build up a mental picture of how a panda 4x4 could look in a post apocalyptic landscape while browsing some of these Pictures.......


ok.. that should do.

First off. i need to get the panda all well and good.
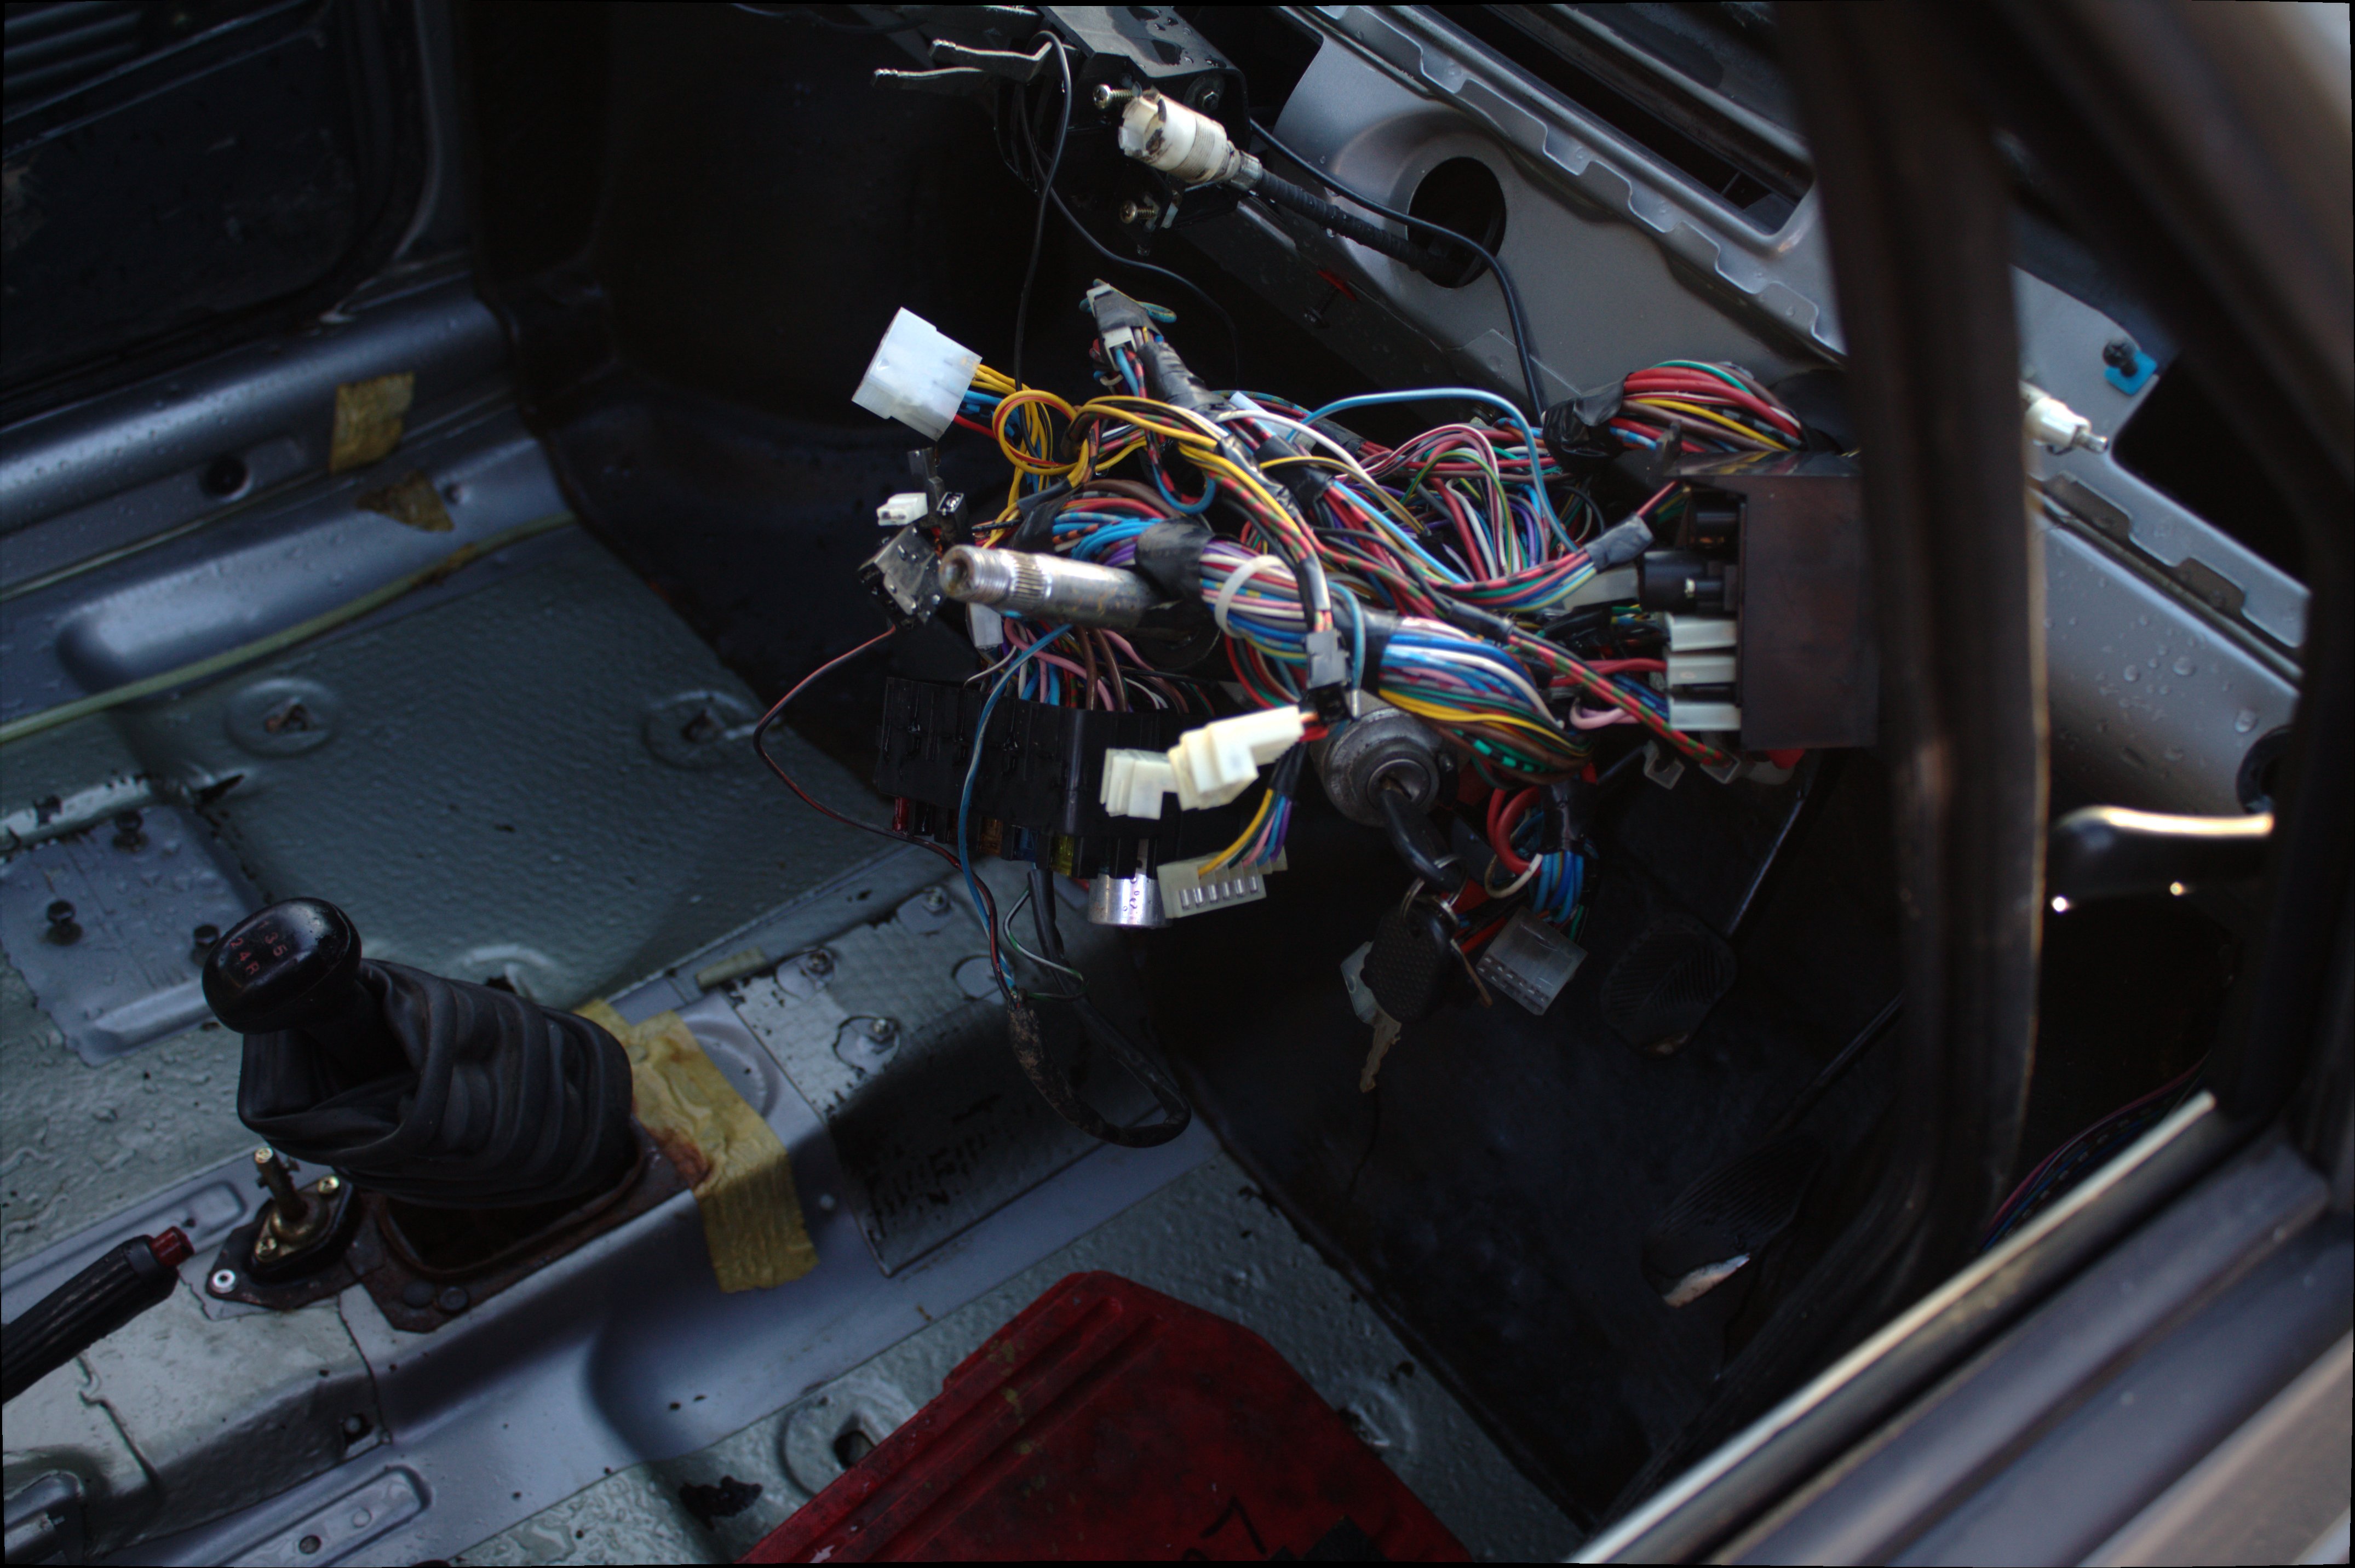
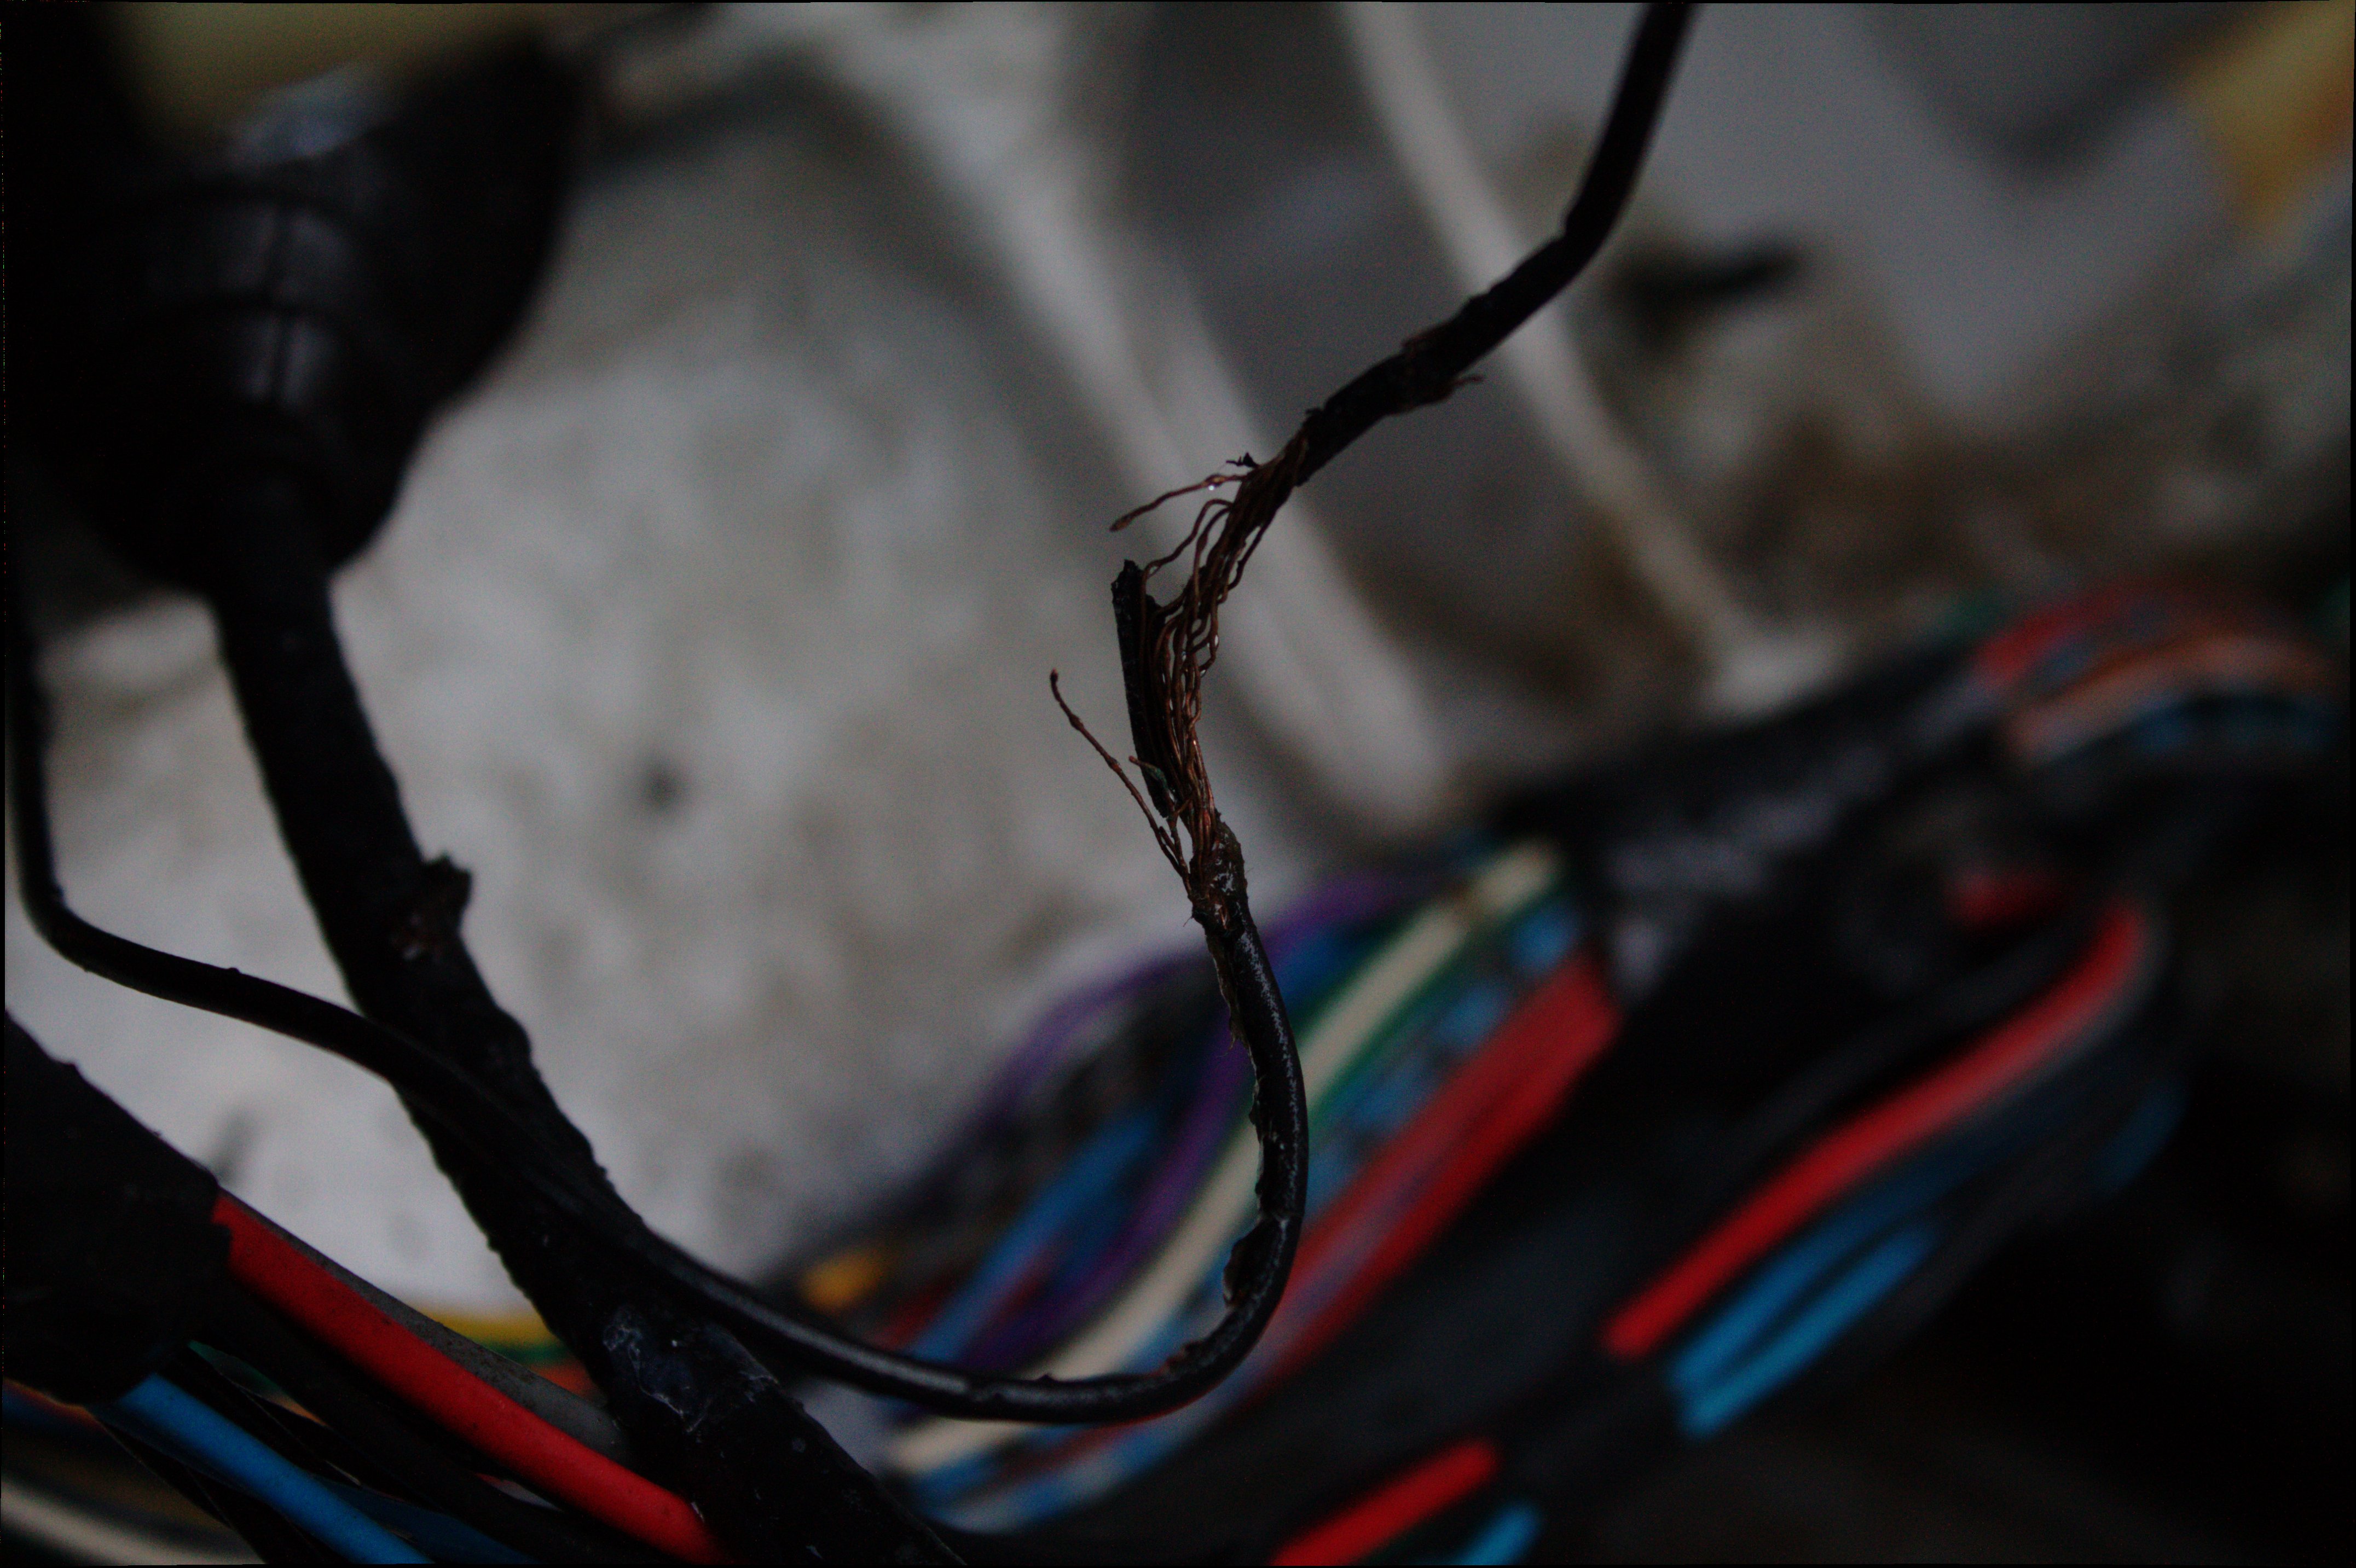
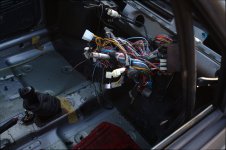
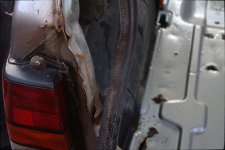
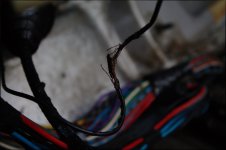
a few things are broken... the exhaust, the front suspension on the passenger side, both rear dampeners are rusted out, the doors are shot but i will try to fix them, the gear stick is really loose and all the roller bearings have dropped out, the wiring is a mess (mice attack!), there are no brakes.. and i mean no brakes, and lets not forget the underside rust.

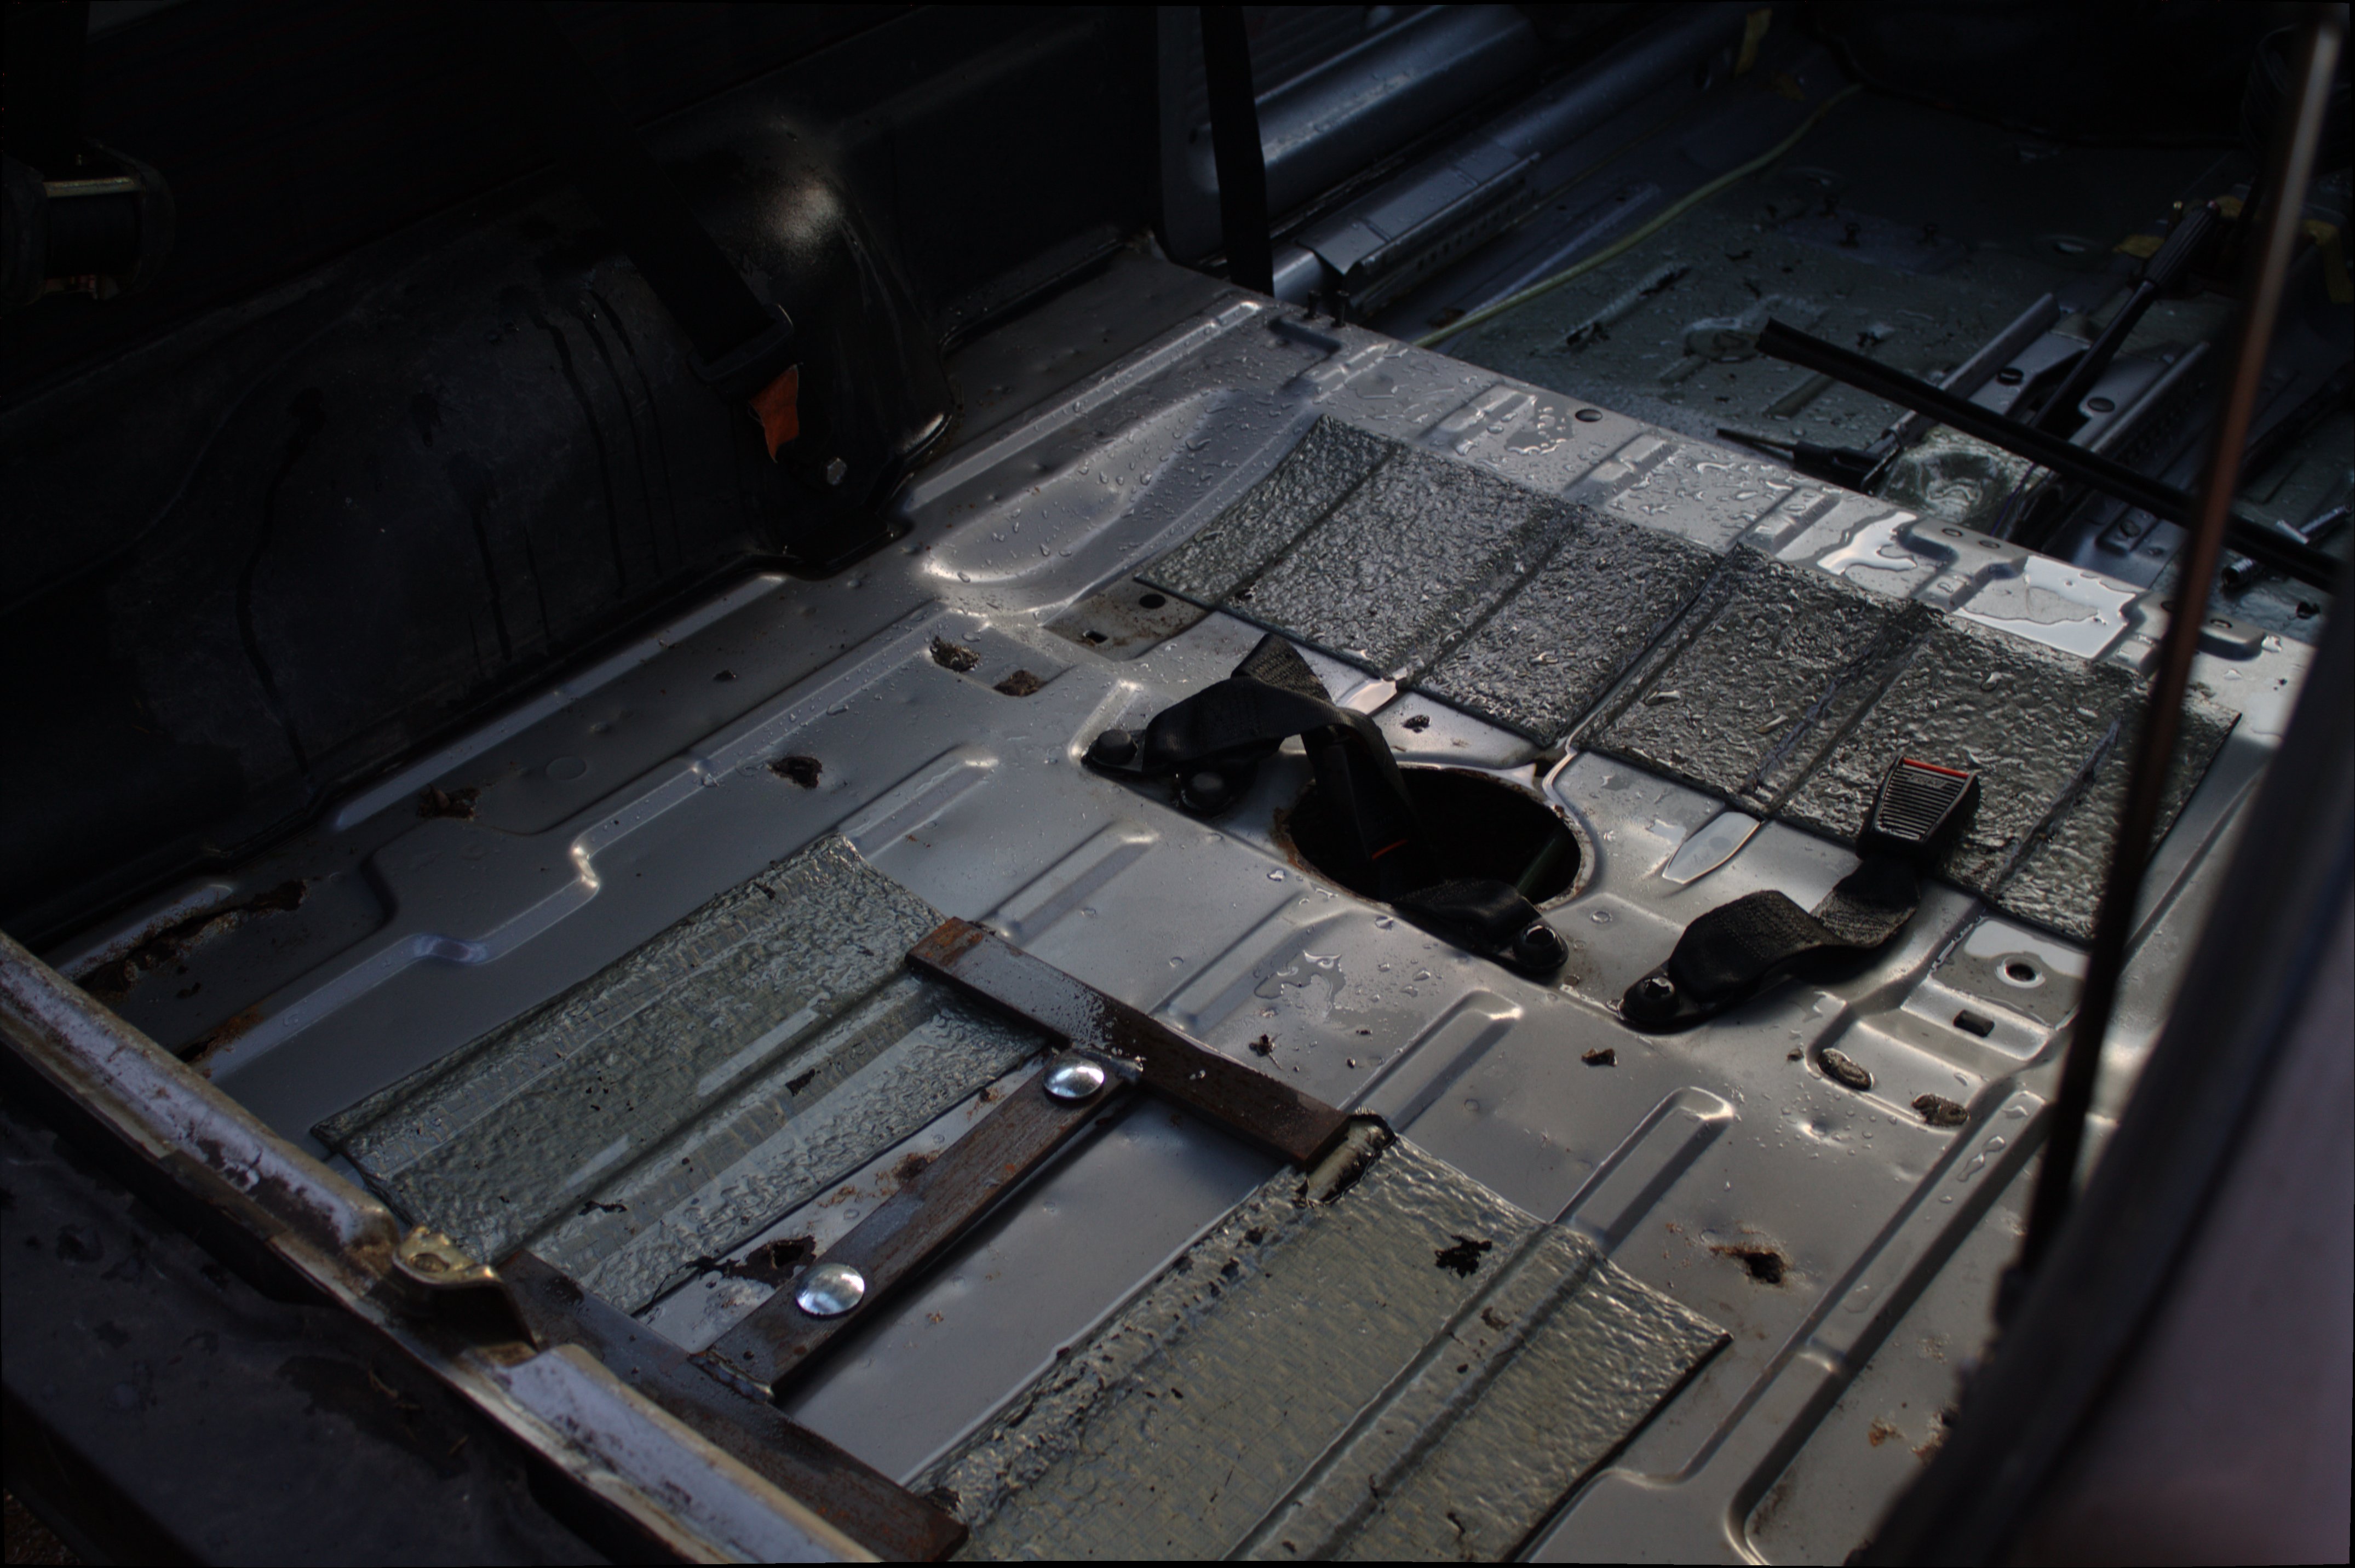
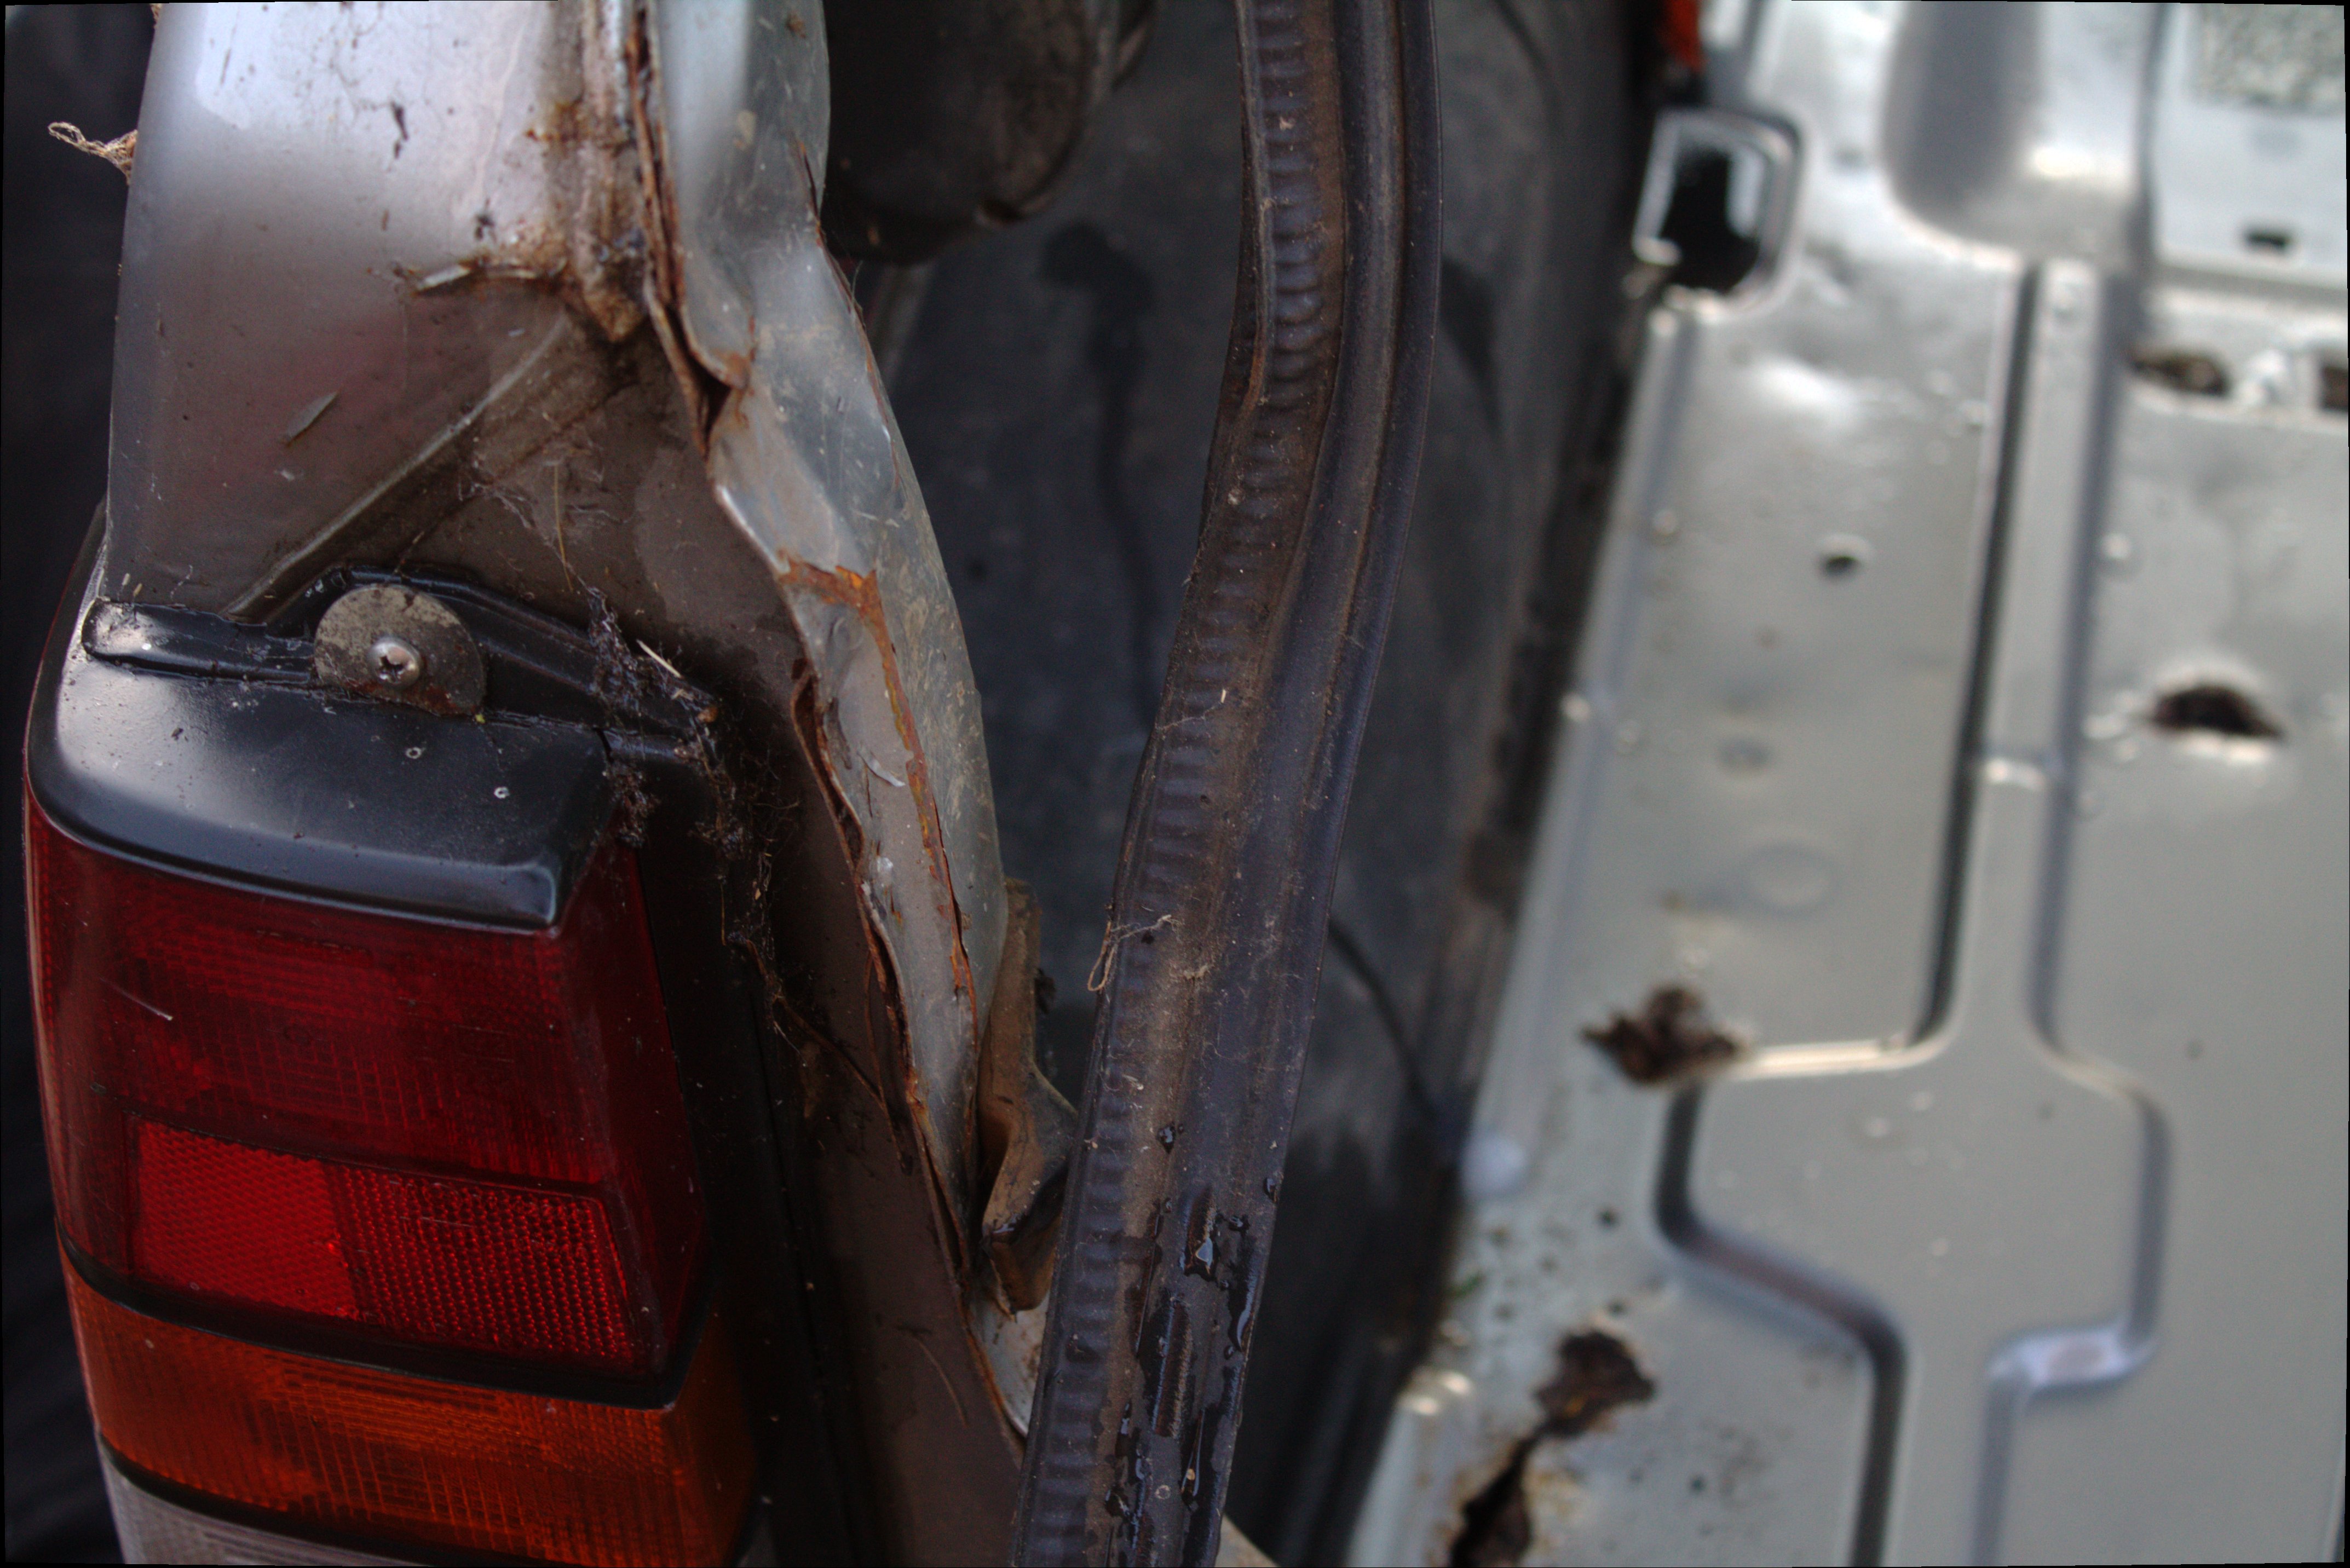
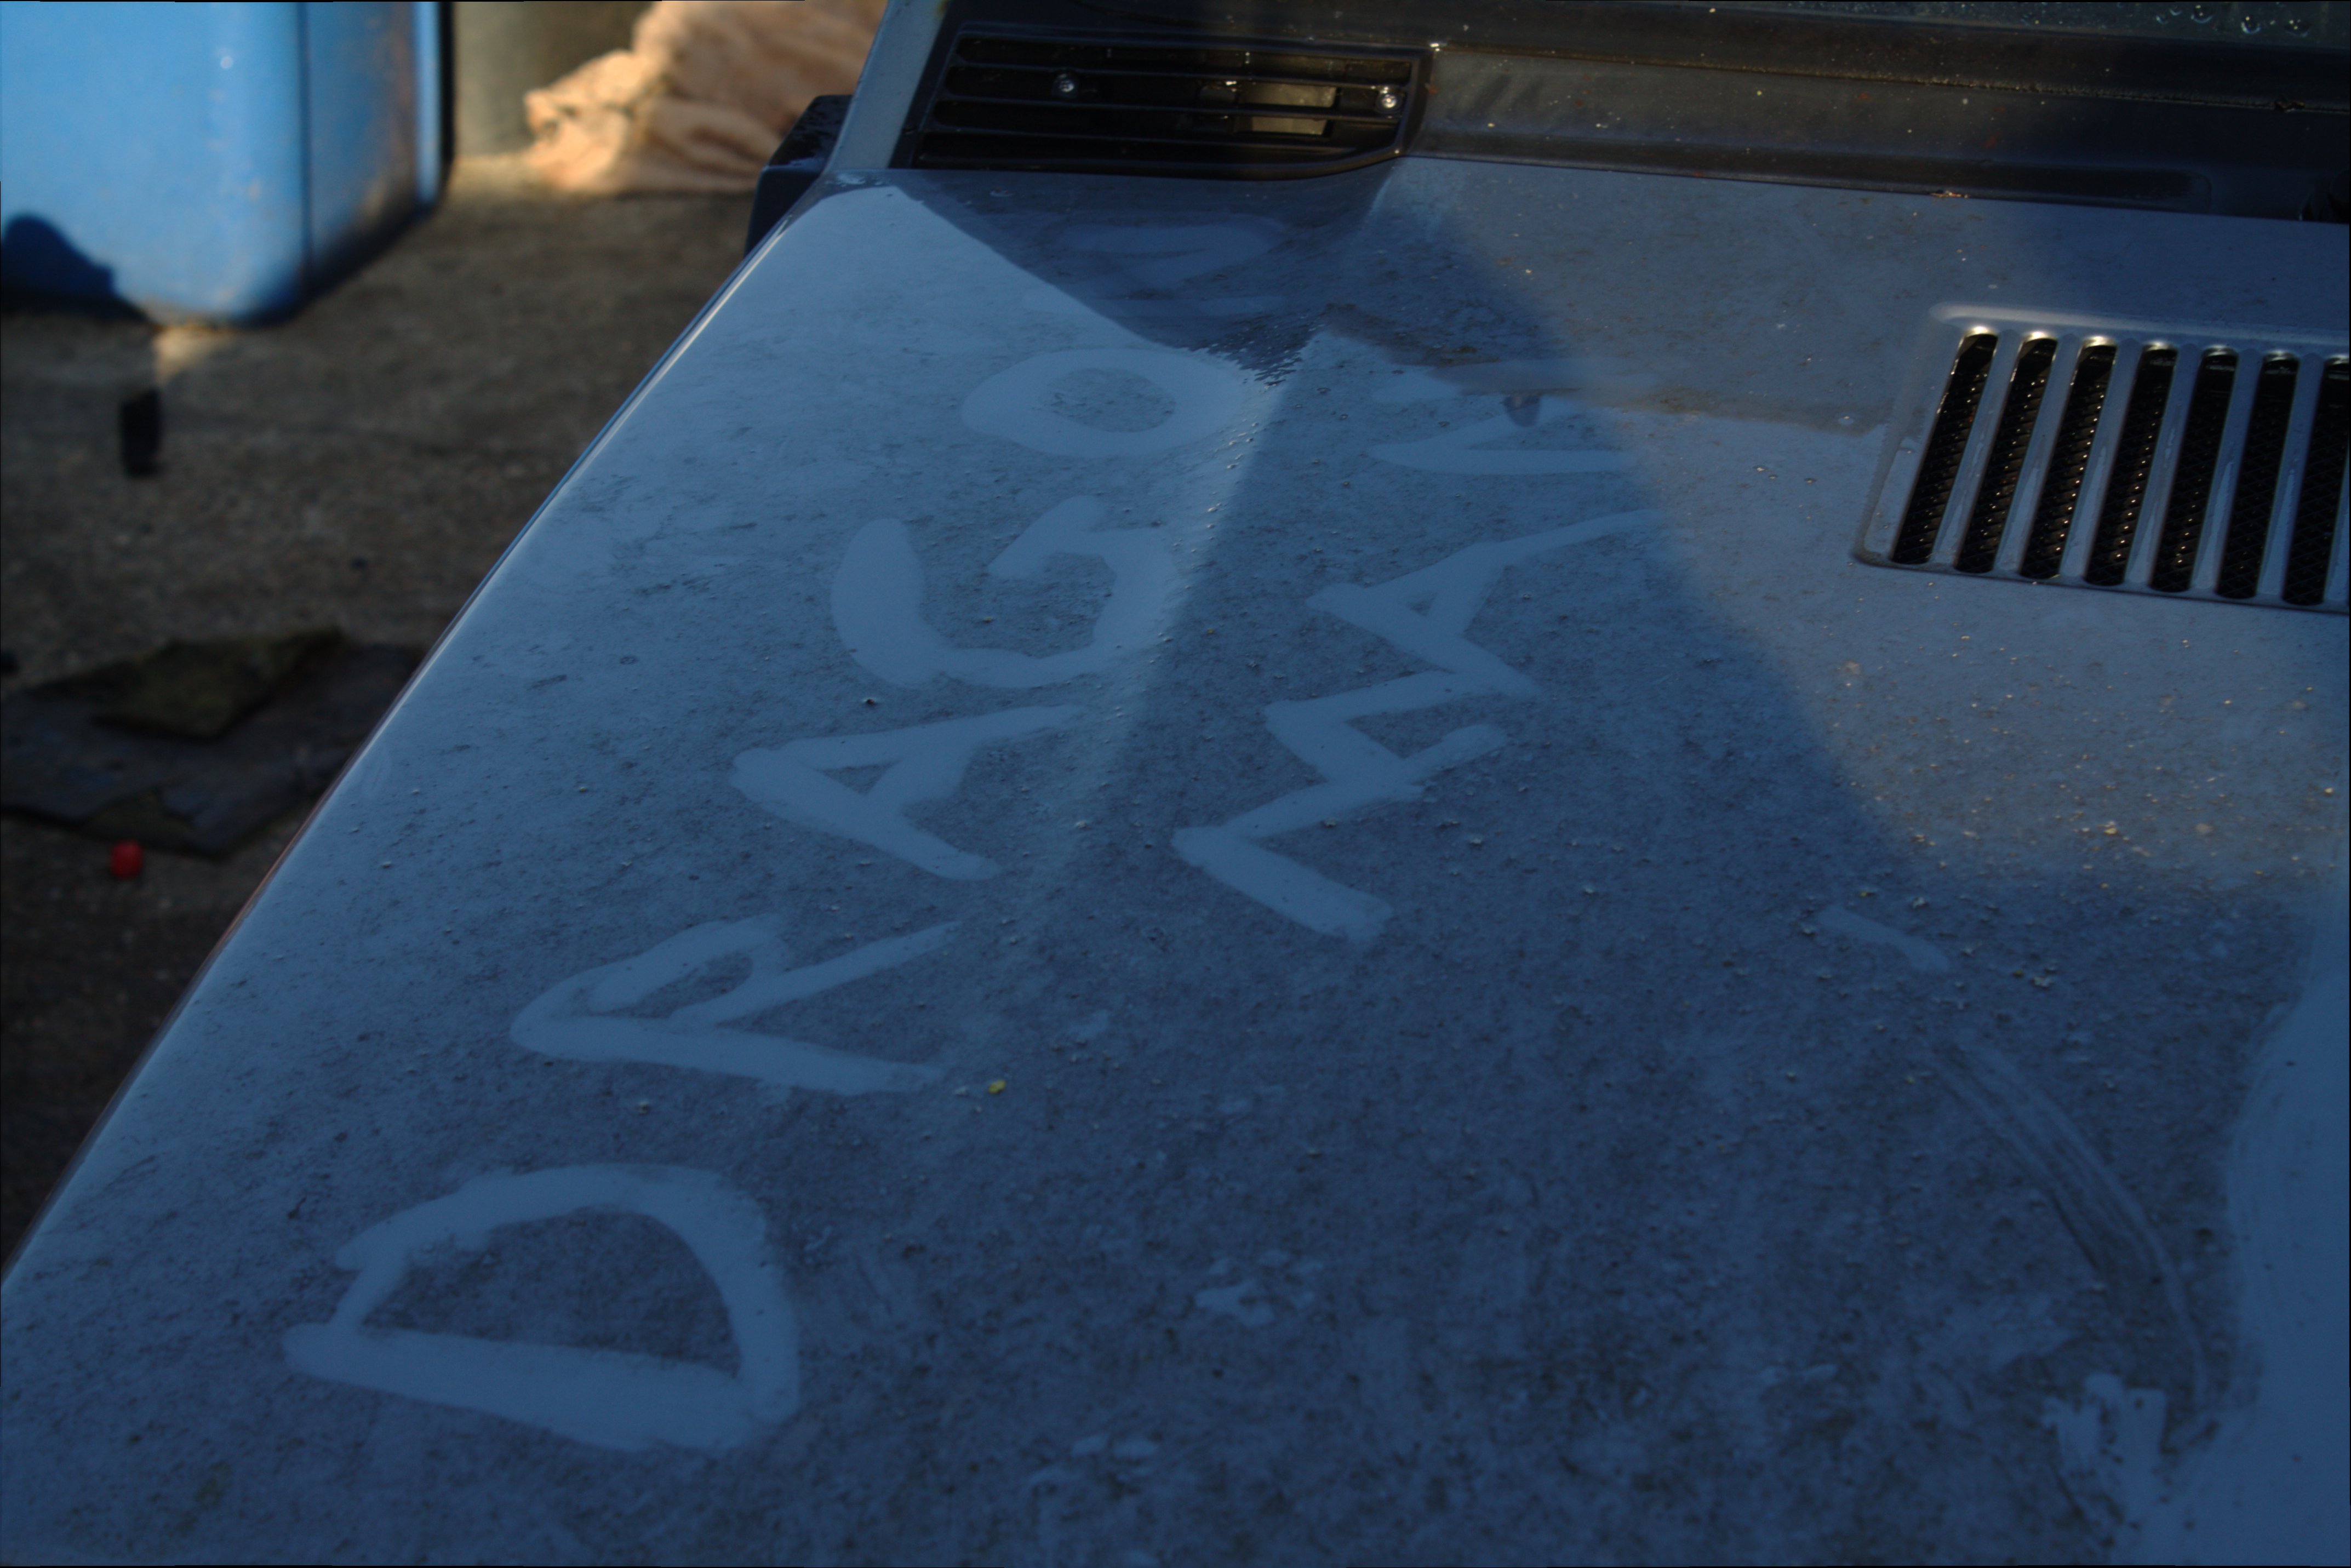
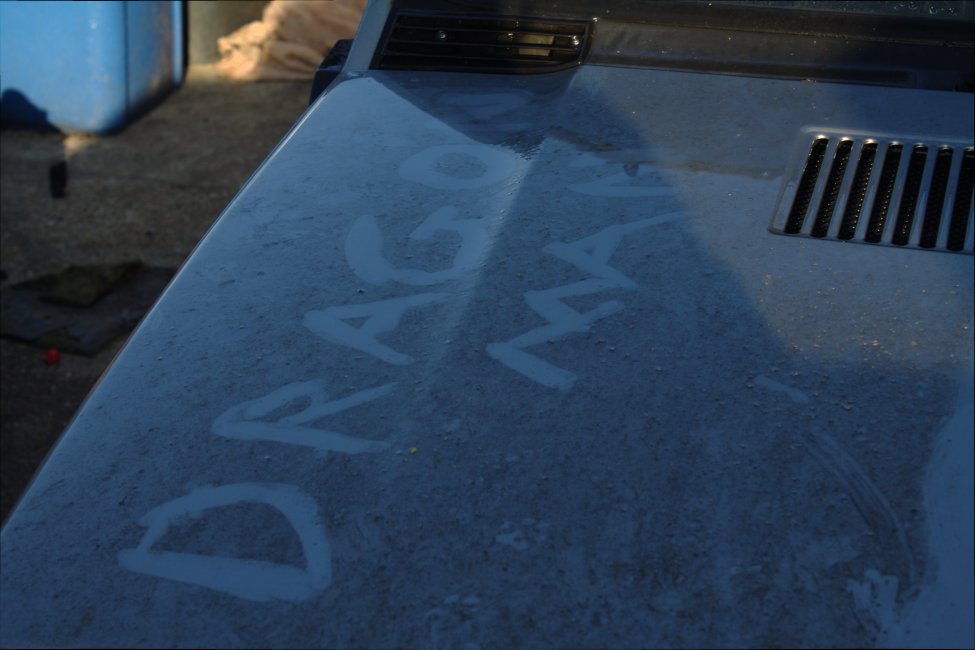
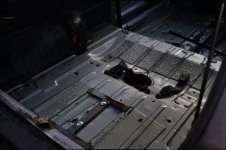
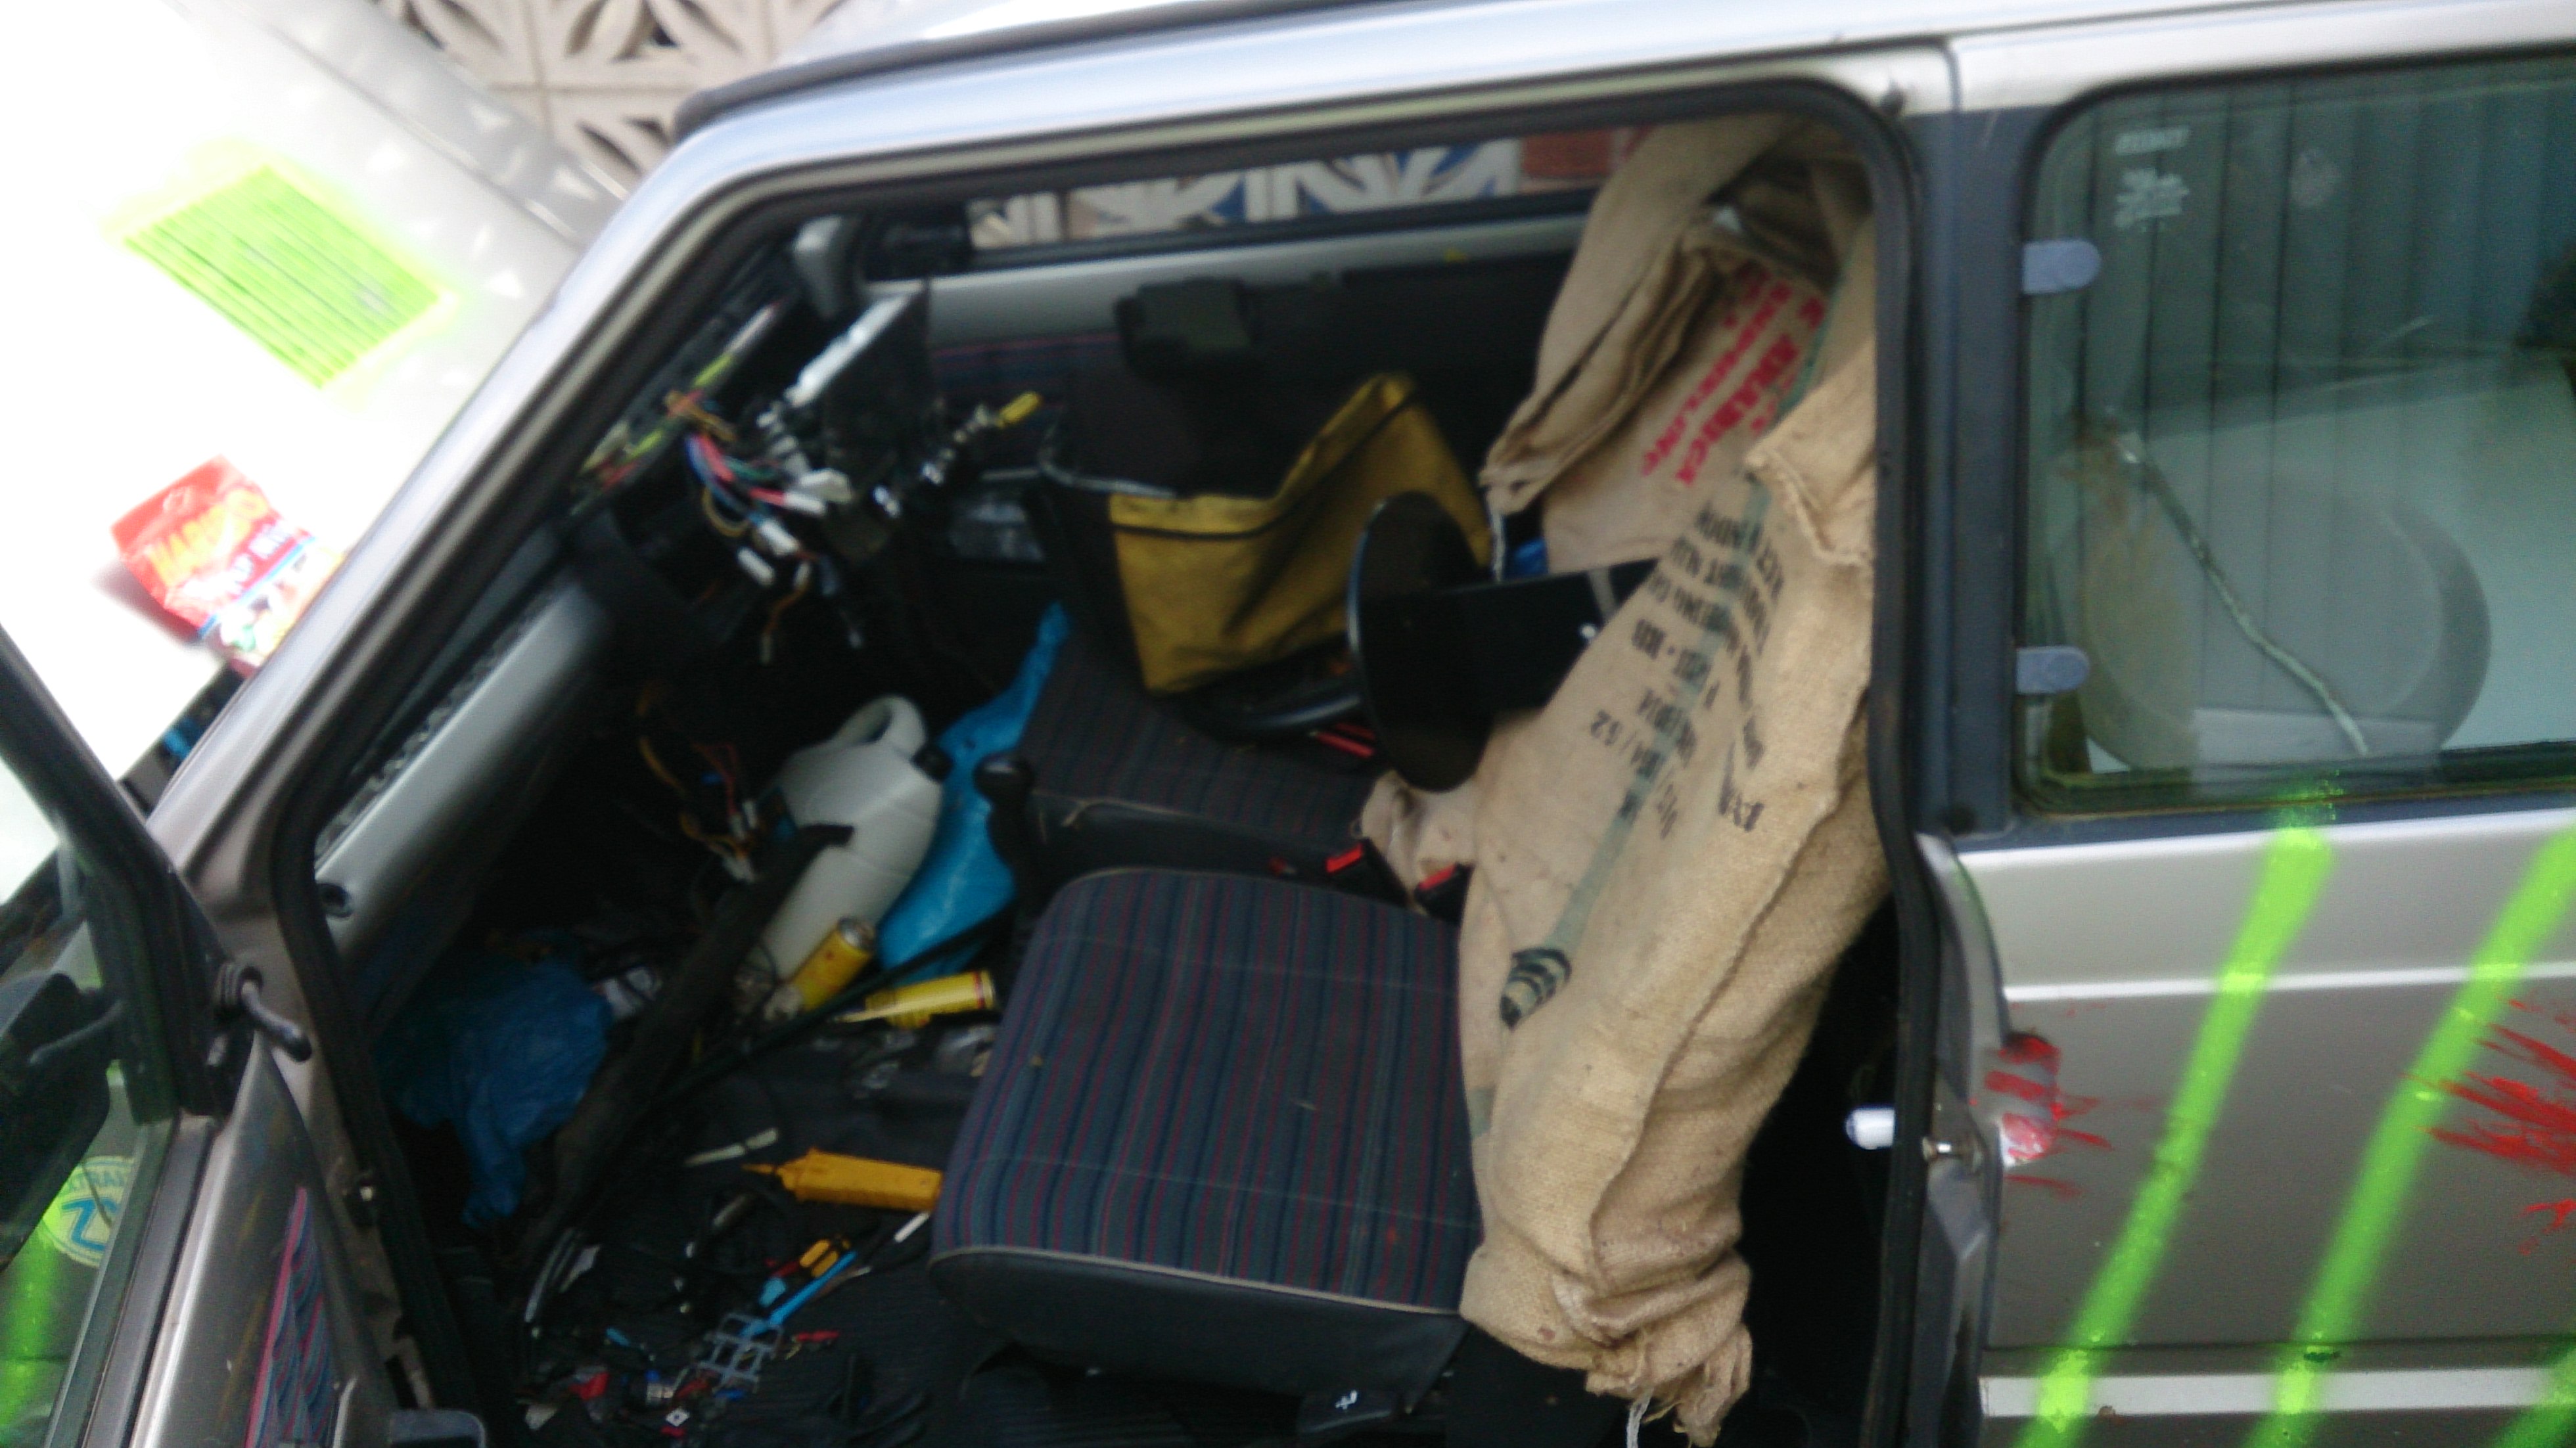
so today i started by stripping out everything inside the car to get a good look at the floor pan and clean it all out (Dragon Man style!) i found the usual rust: the boot floor is a mess, but easy fixable, a seam has gone just behind the drivers seat anything forward of that seems to be OK, and the back of the sills are just gone so i will need to rebuild that.

the engine runs.. the vac advance line has split so its a bit rough on tickover but it seems good. the fuel tank seems good.. all the 4x4 stuff seems good.

i have go a few pictures took free by a professional photographer! (or should i say someone with an epic camera :p)

Here are a few picture, but please check out >This Album<


like i say, check out the photo album.


i will be keeping >Online video logs< of this, so keep a look out on Youtube too.
here are some videos, both are long but the second one is longer!

Project Fallout a panda 4x4 turned post apocalyiptic - YouTube

Project Fallout Panda 4x4 What to do Post Apocaliptic looking Panda! - YouTube


keep watching guys.. the jet wash will be coming out later today!


Edit:

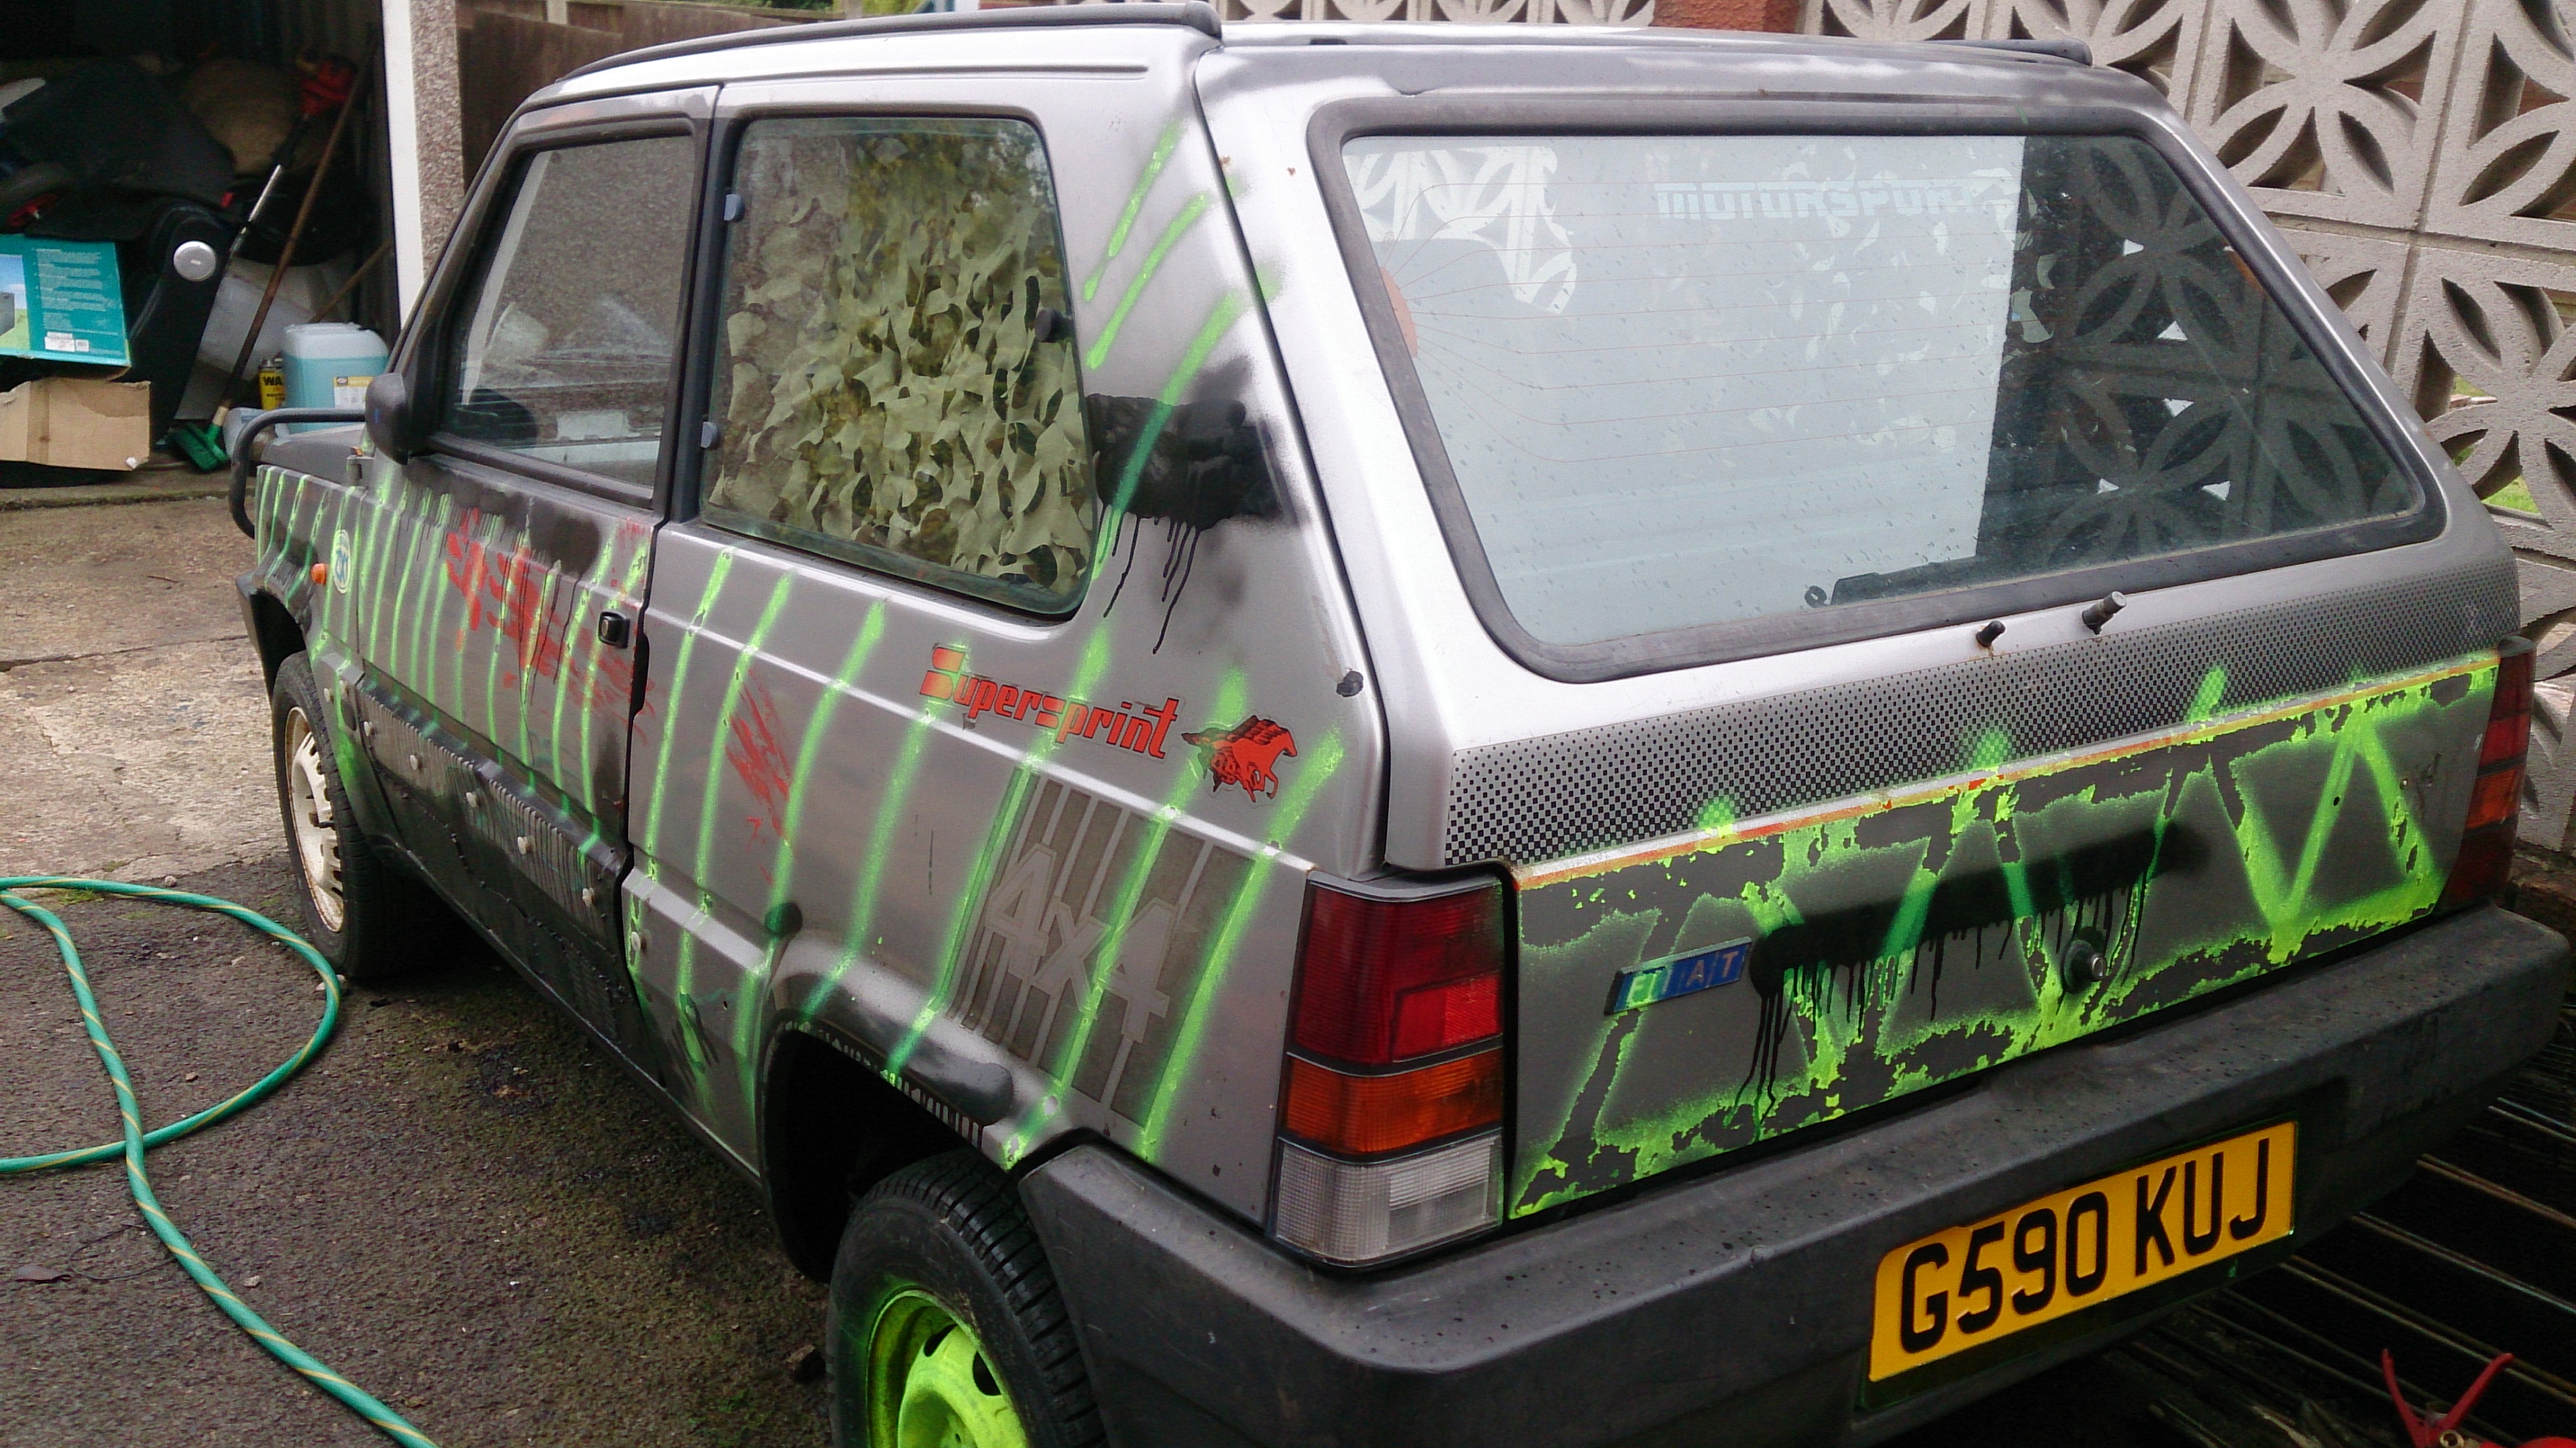
This is how it looks now: :eek::eek::eek: :slayer::slayer::slayer:
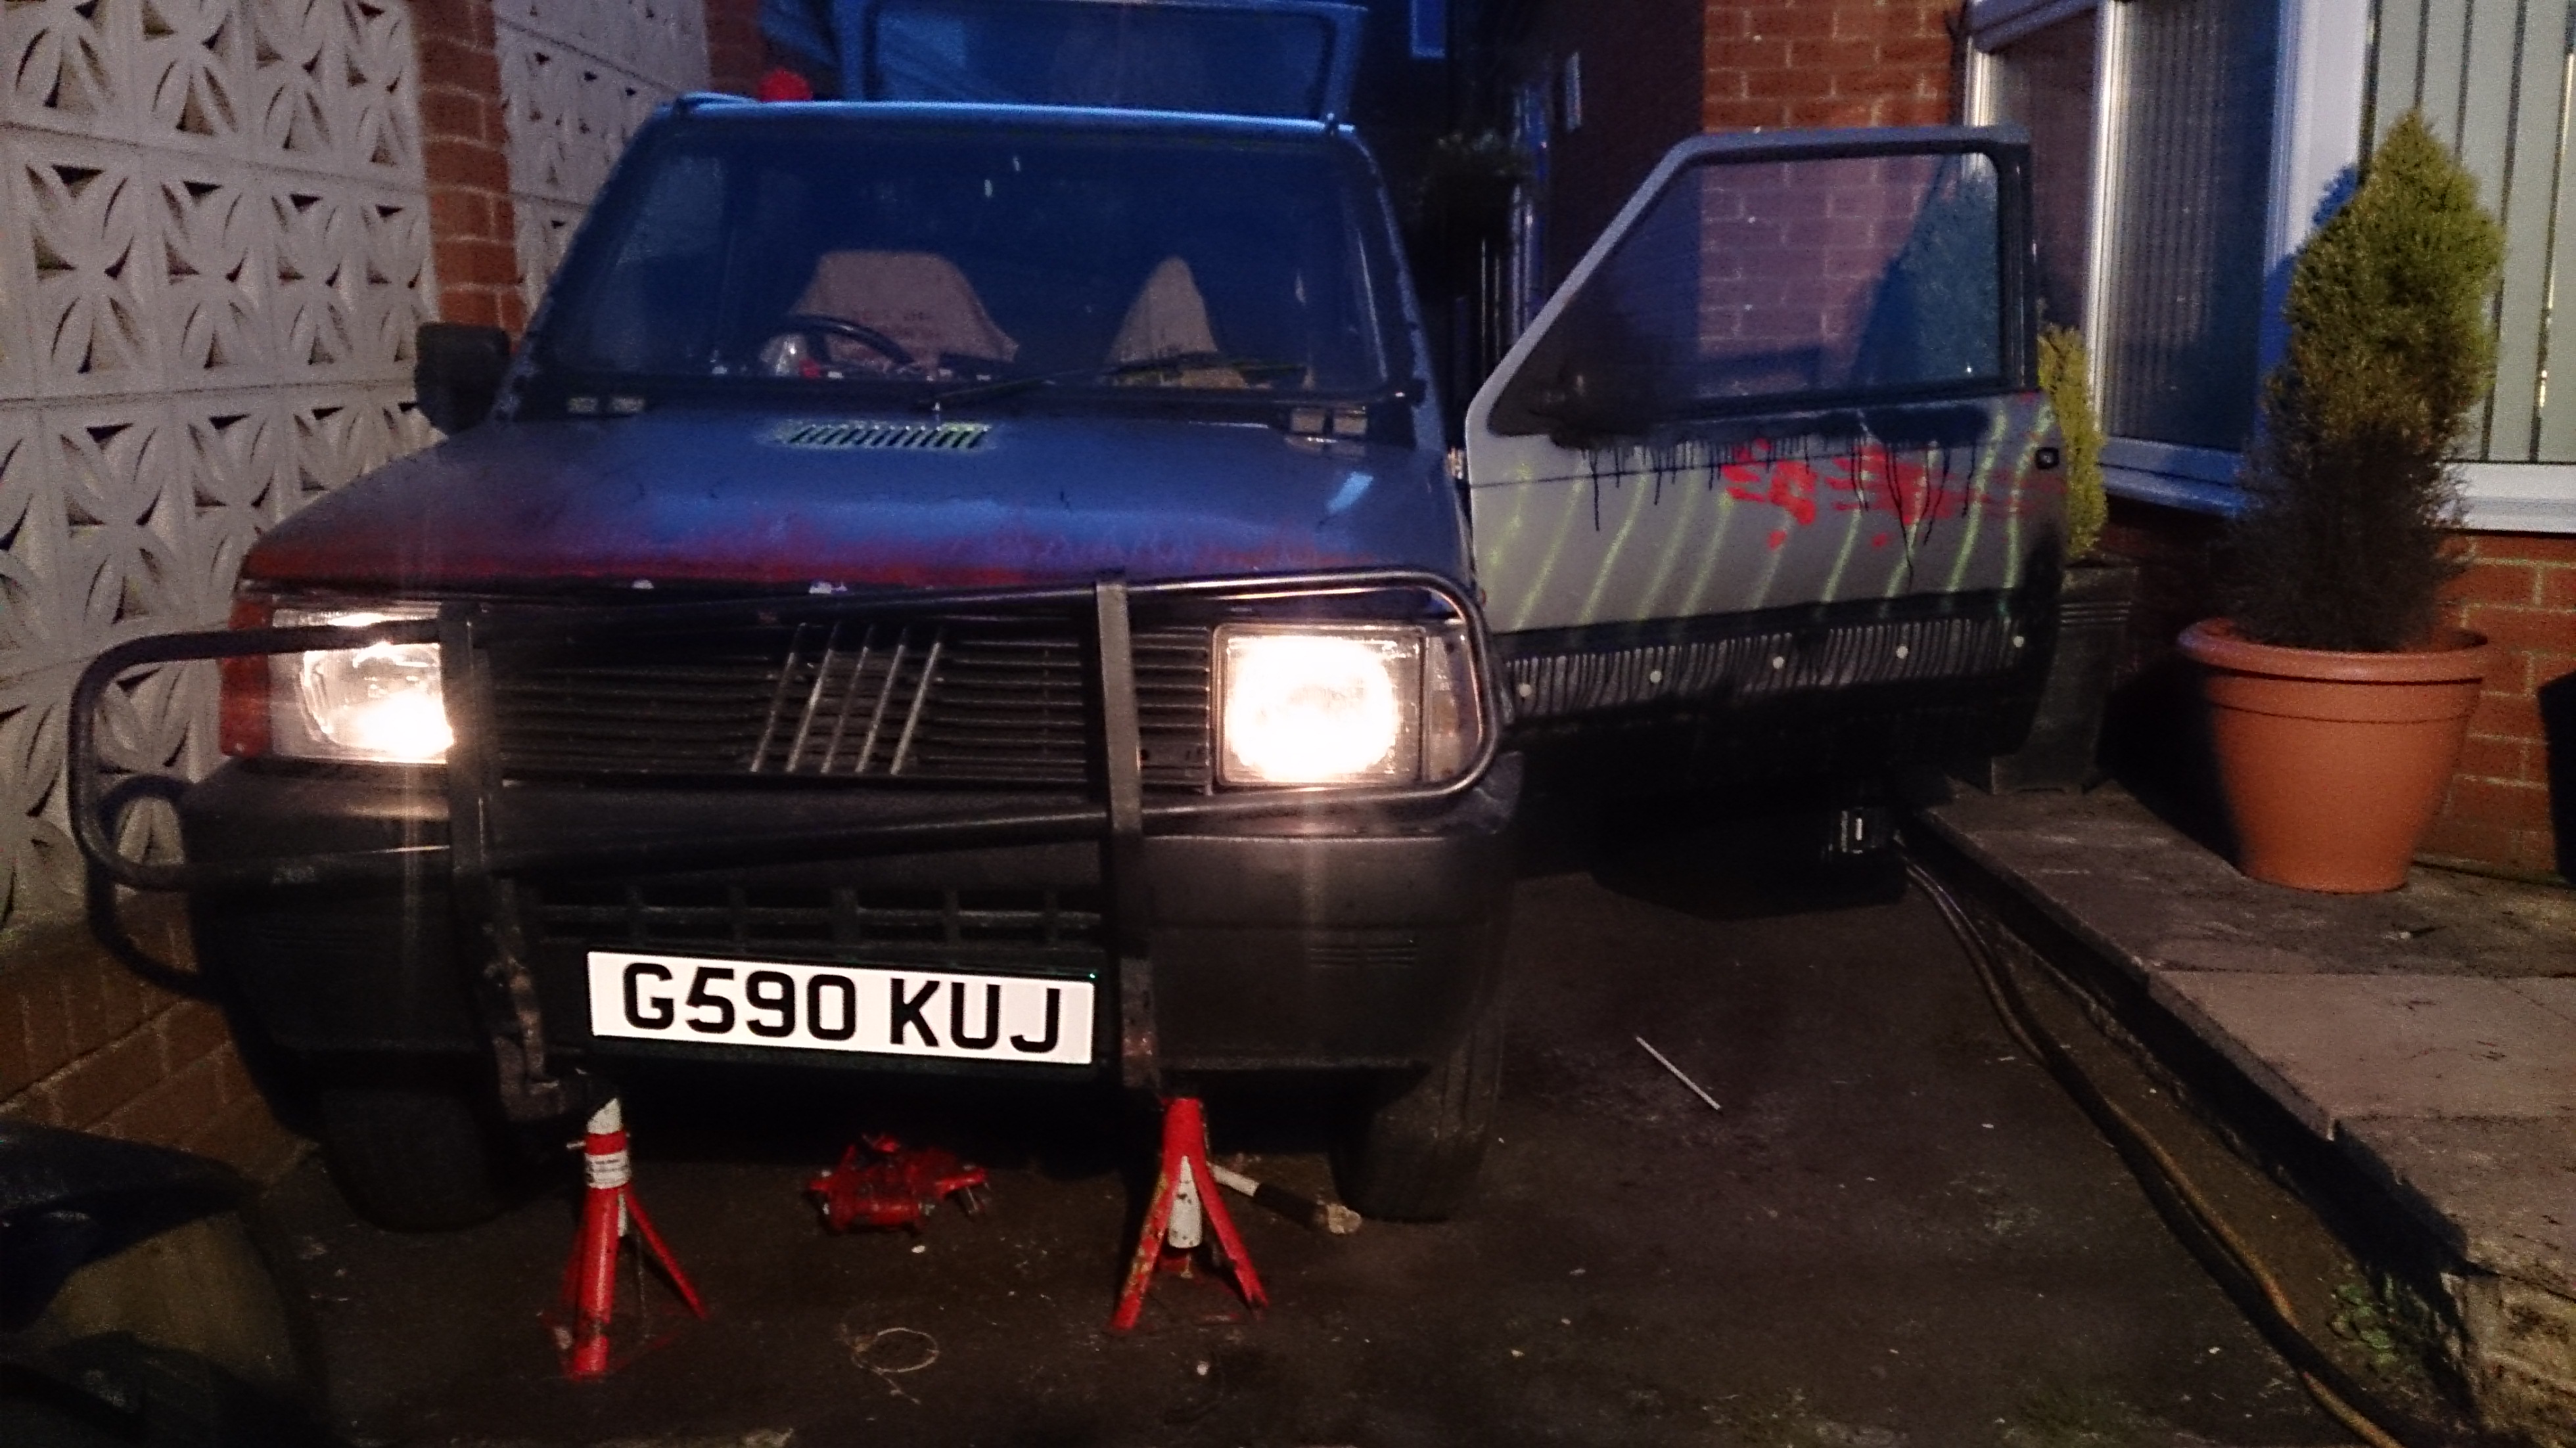


we had a nice warm day today so i did a tiny bit of work on fallout.

well mostly cleaned him out a little so i could get into the drivers seat lmao

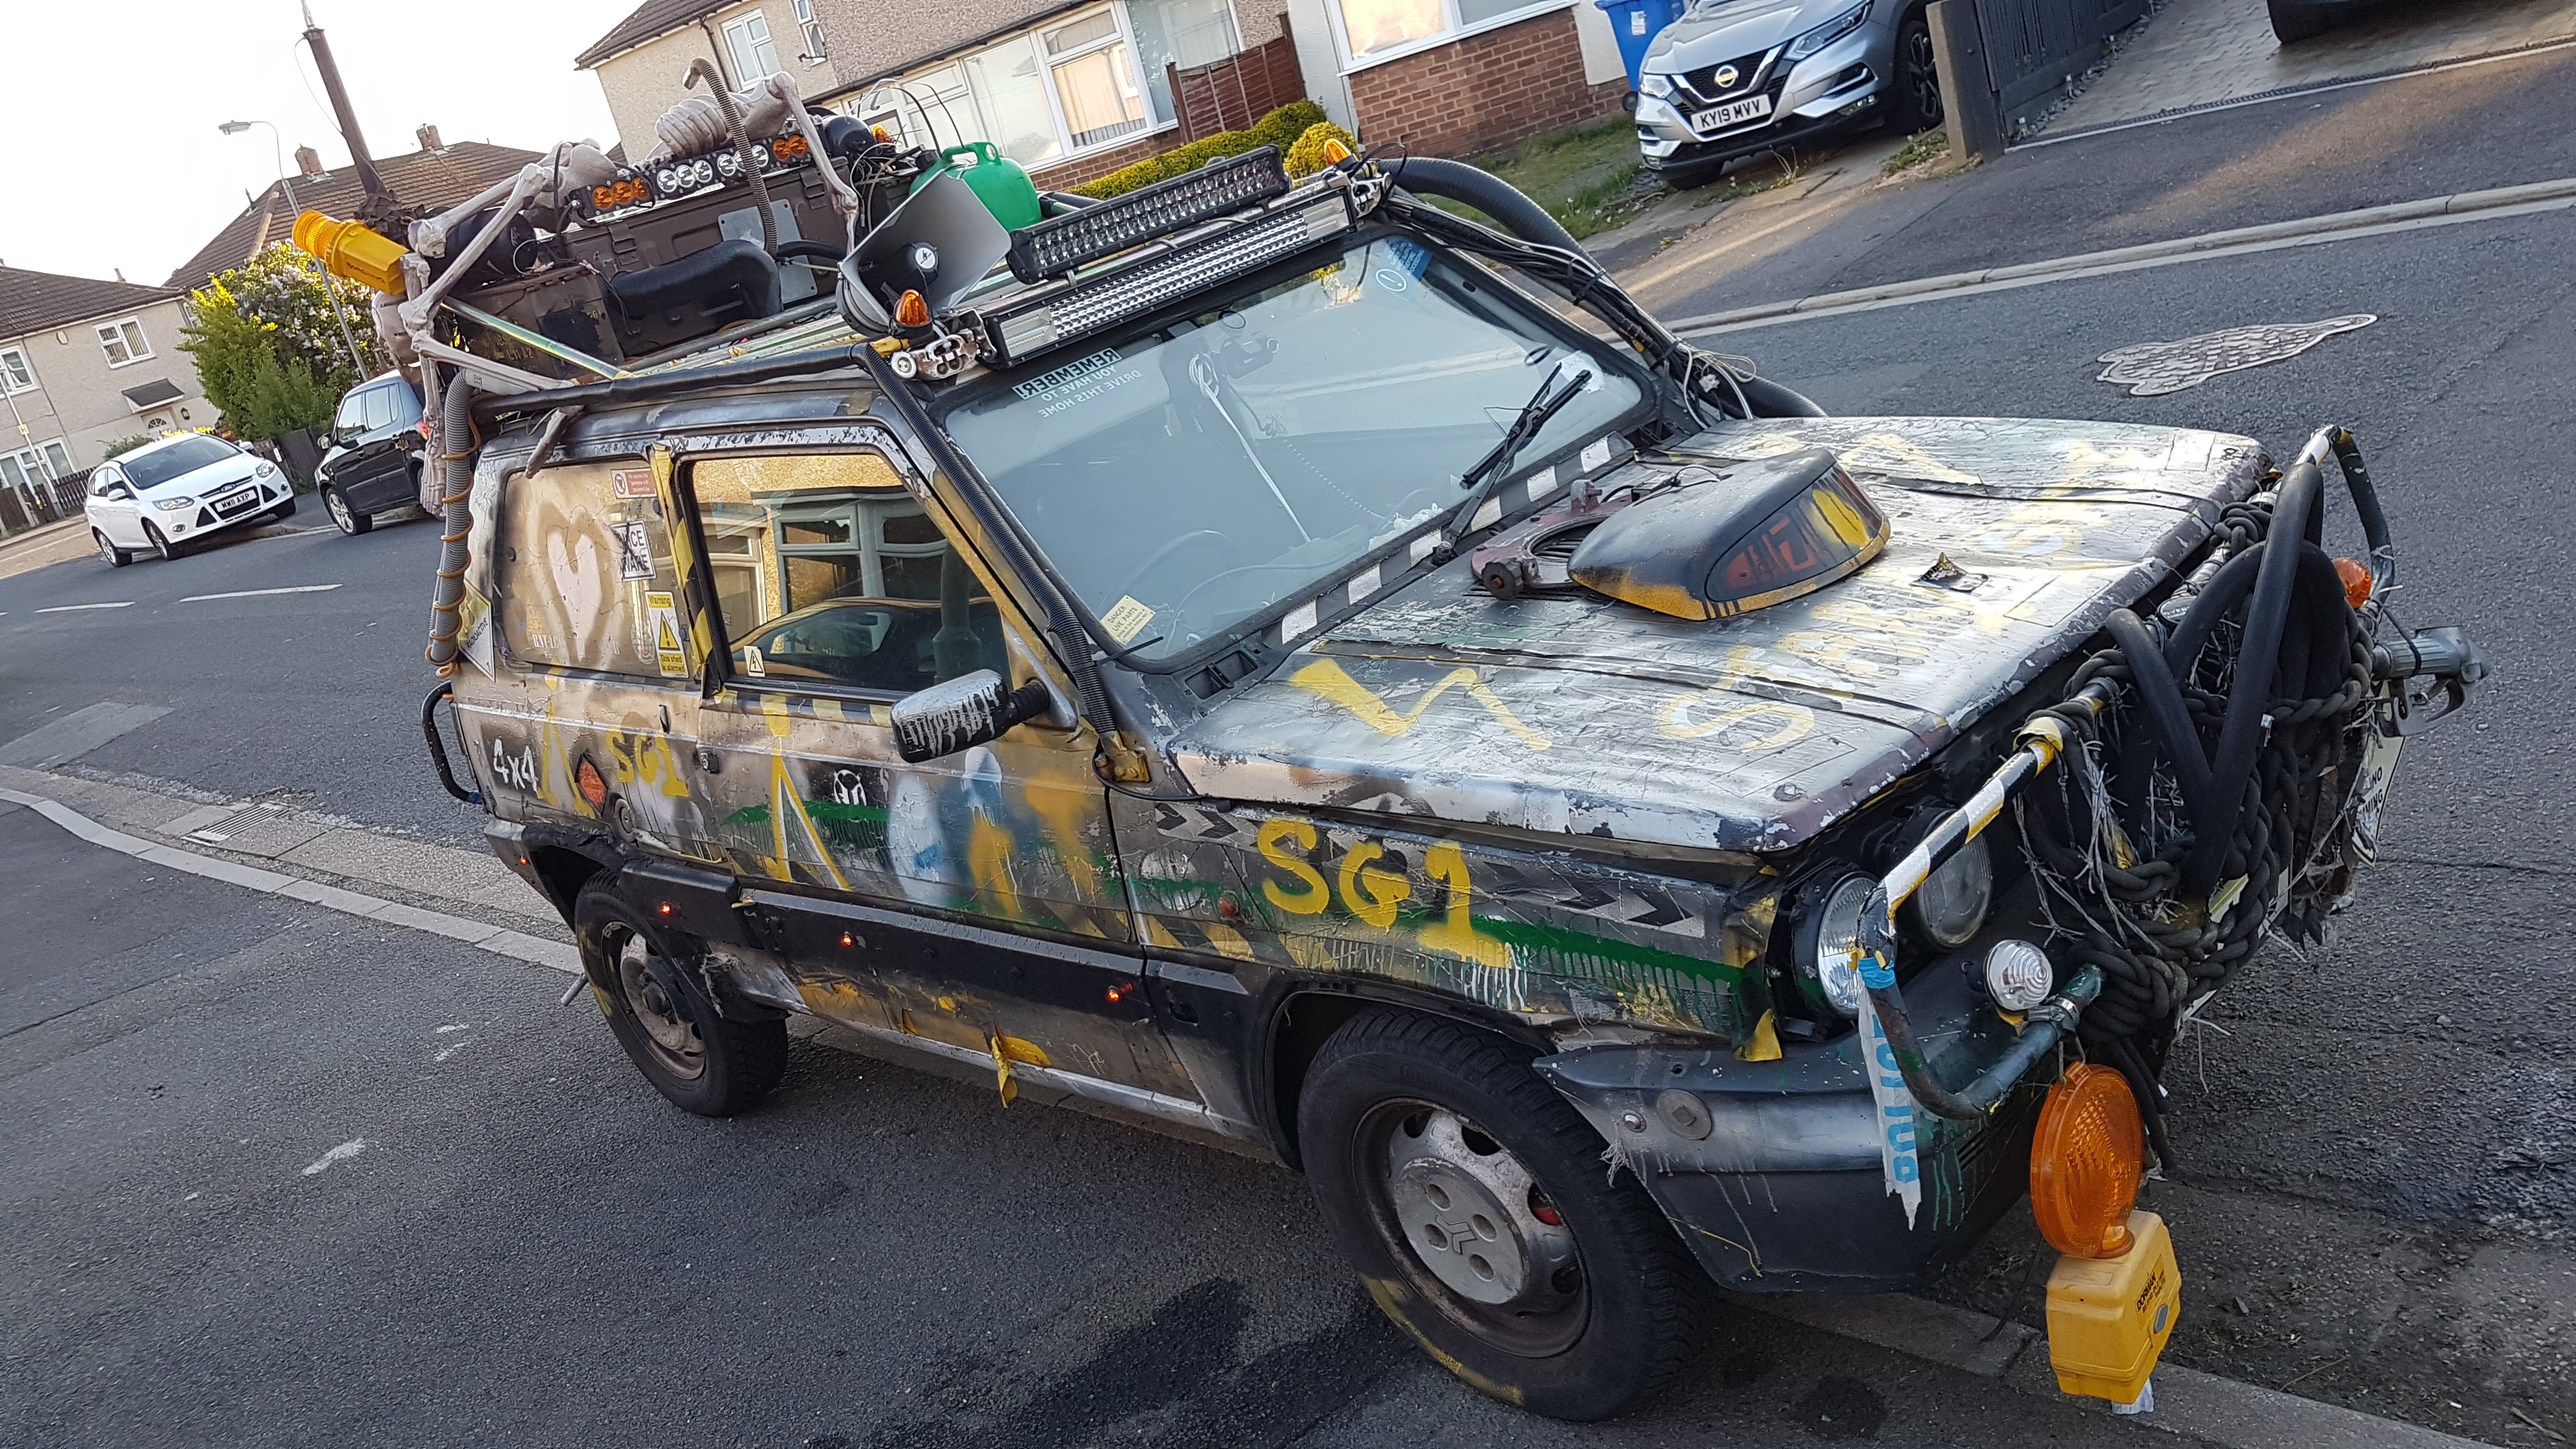
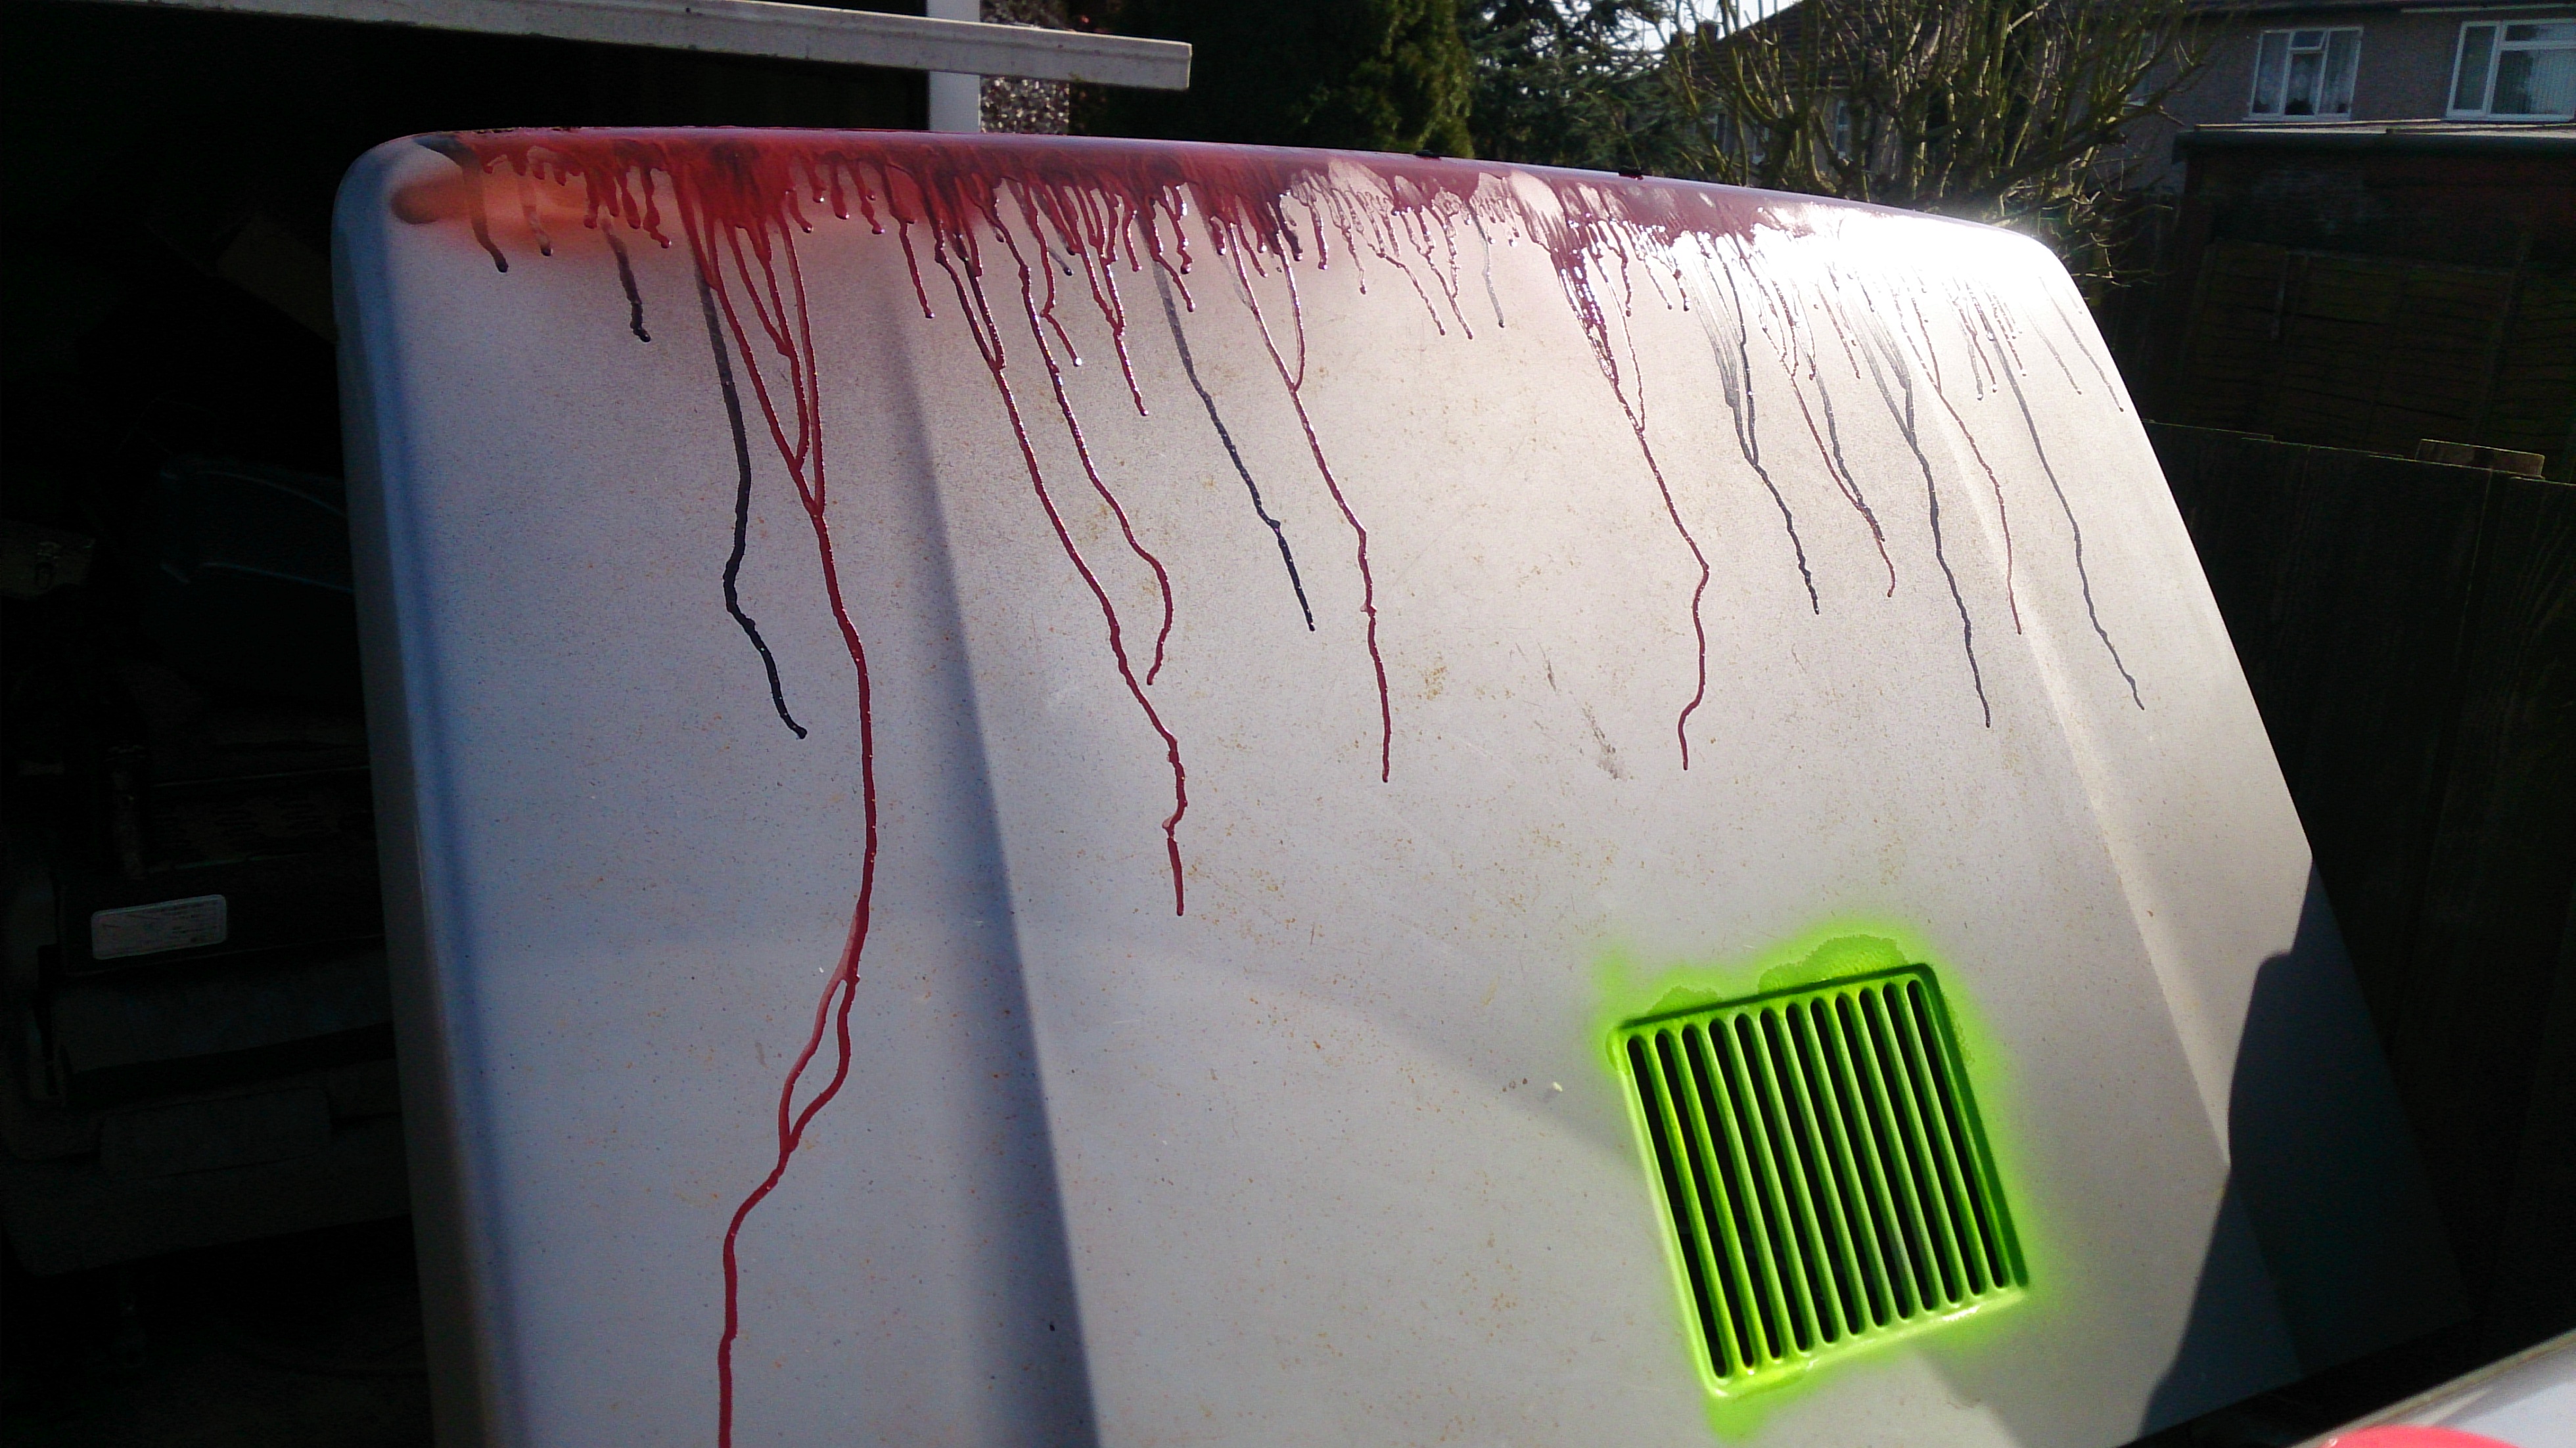
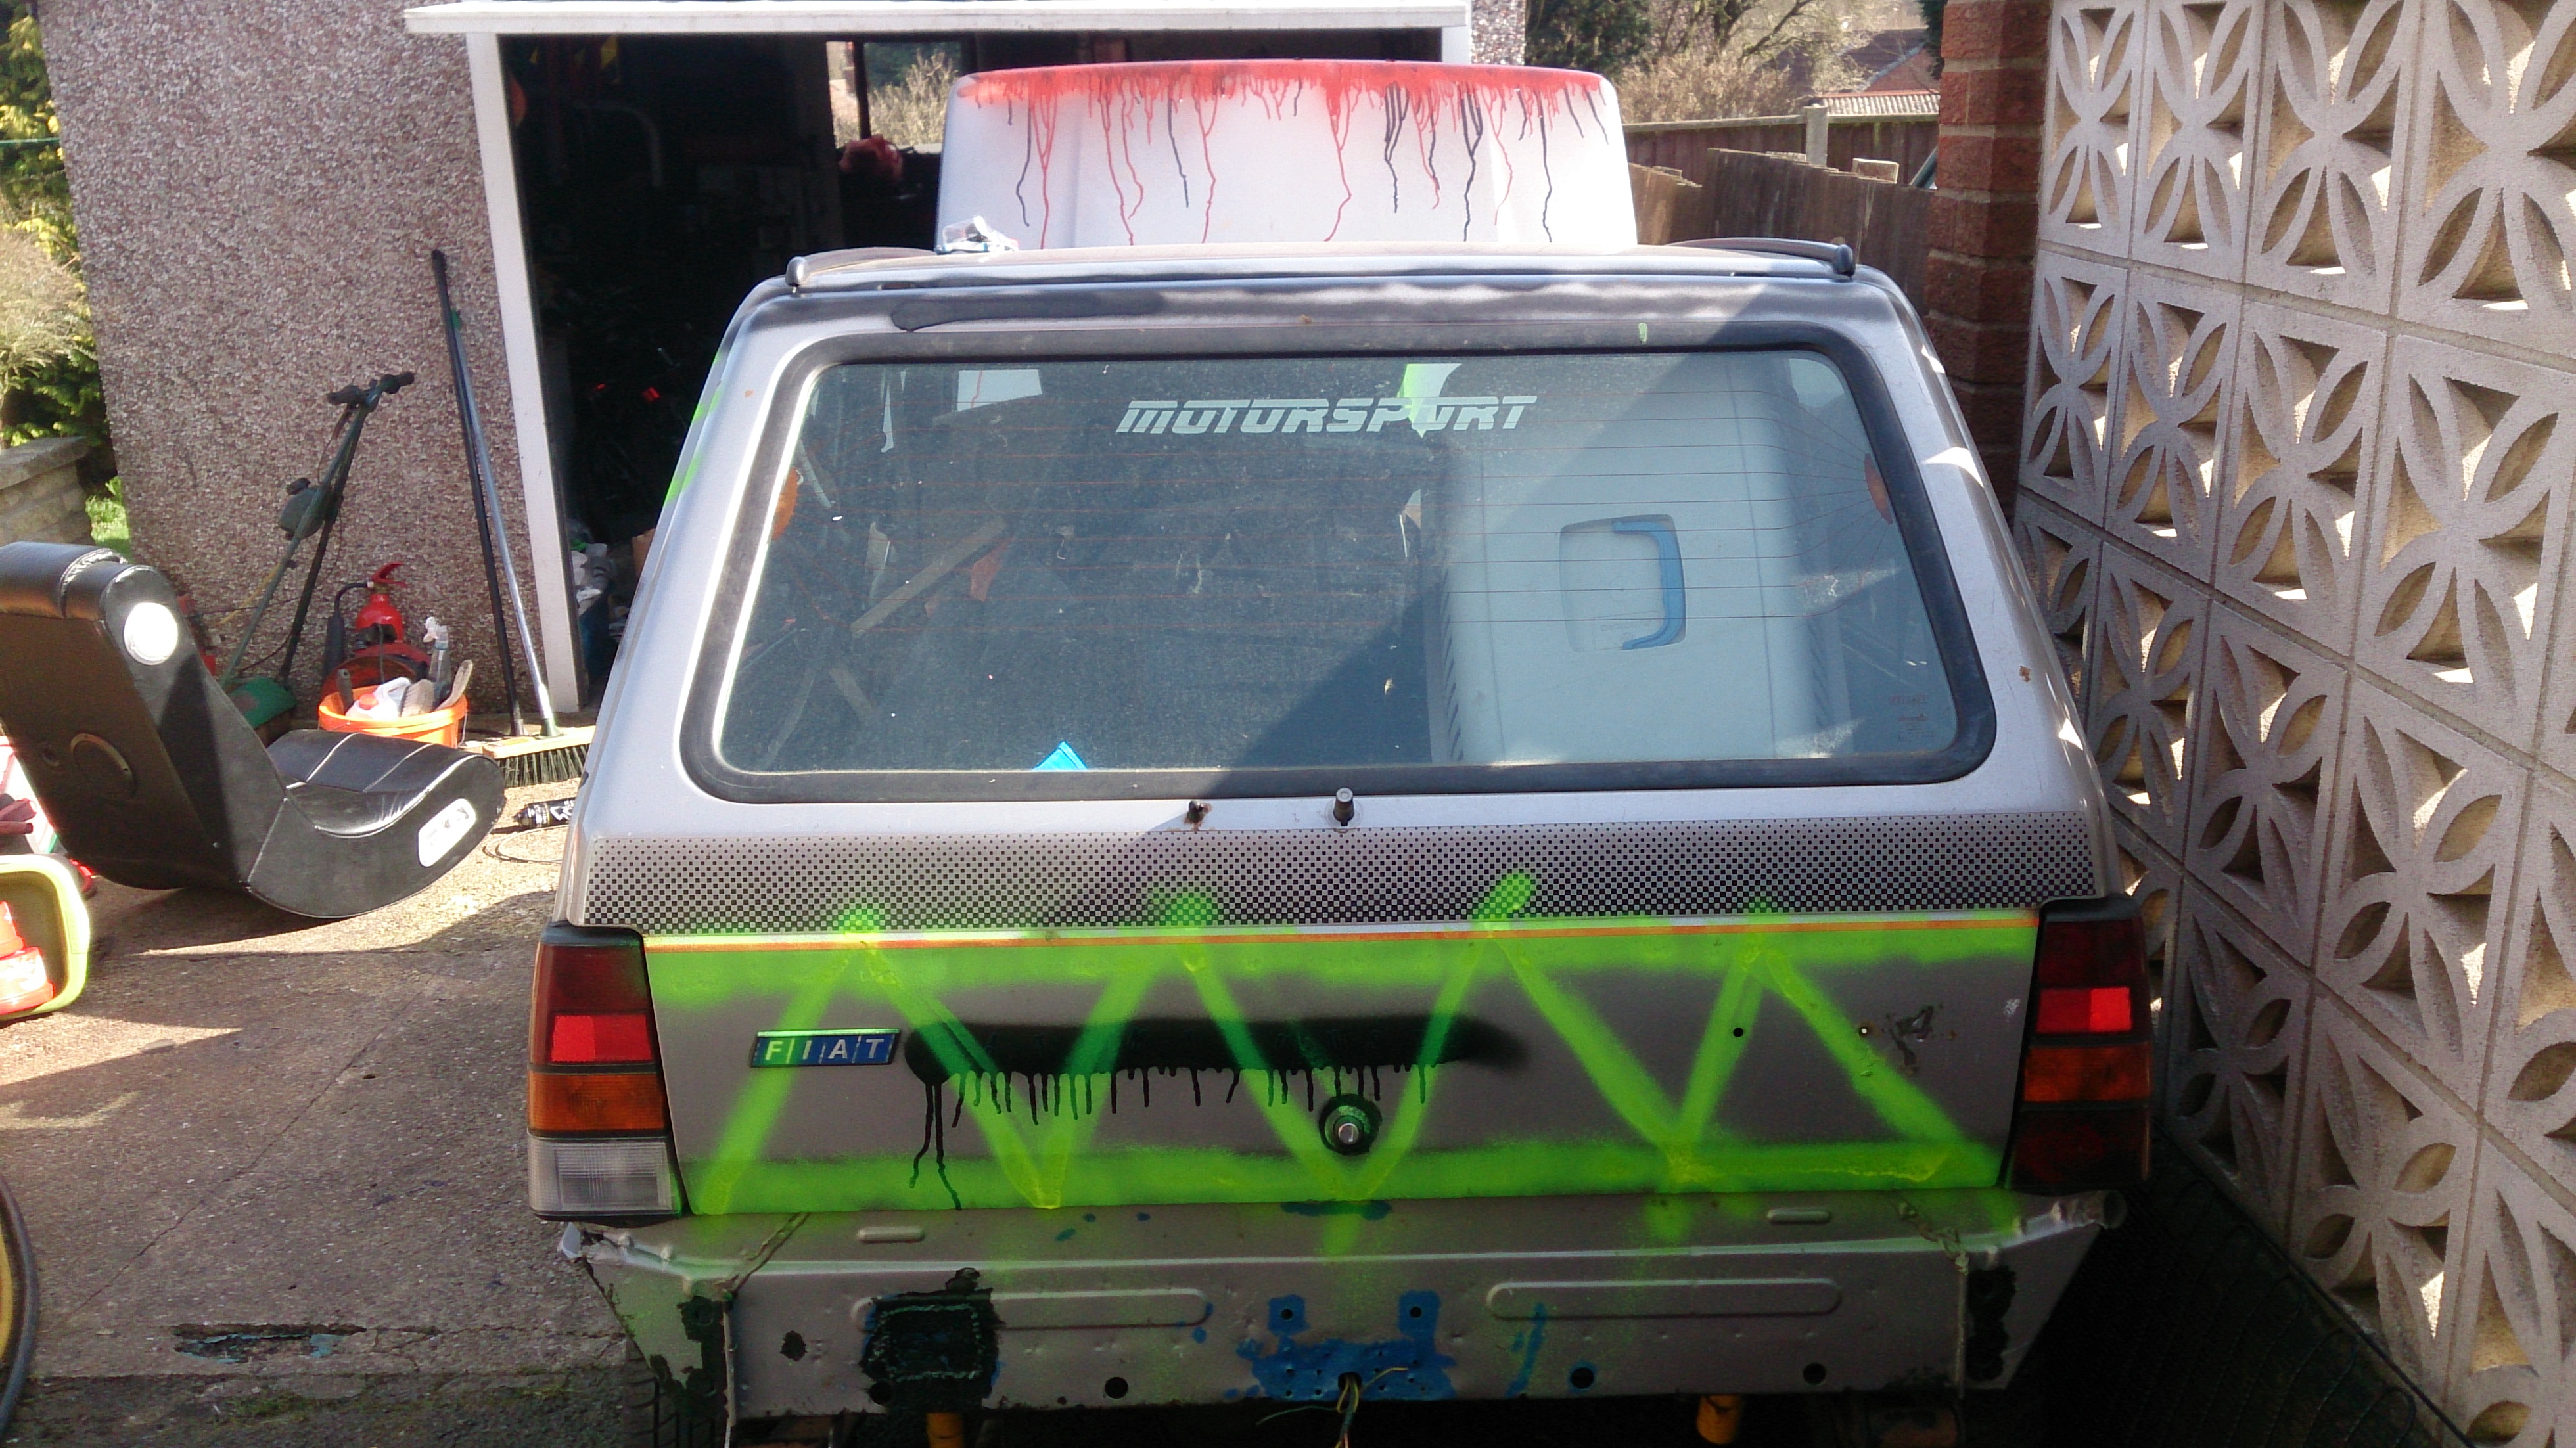
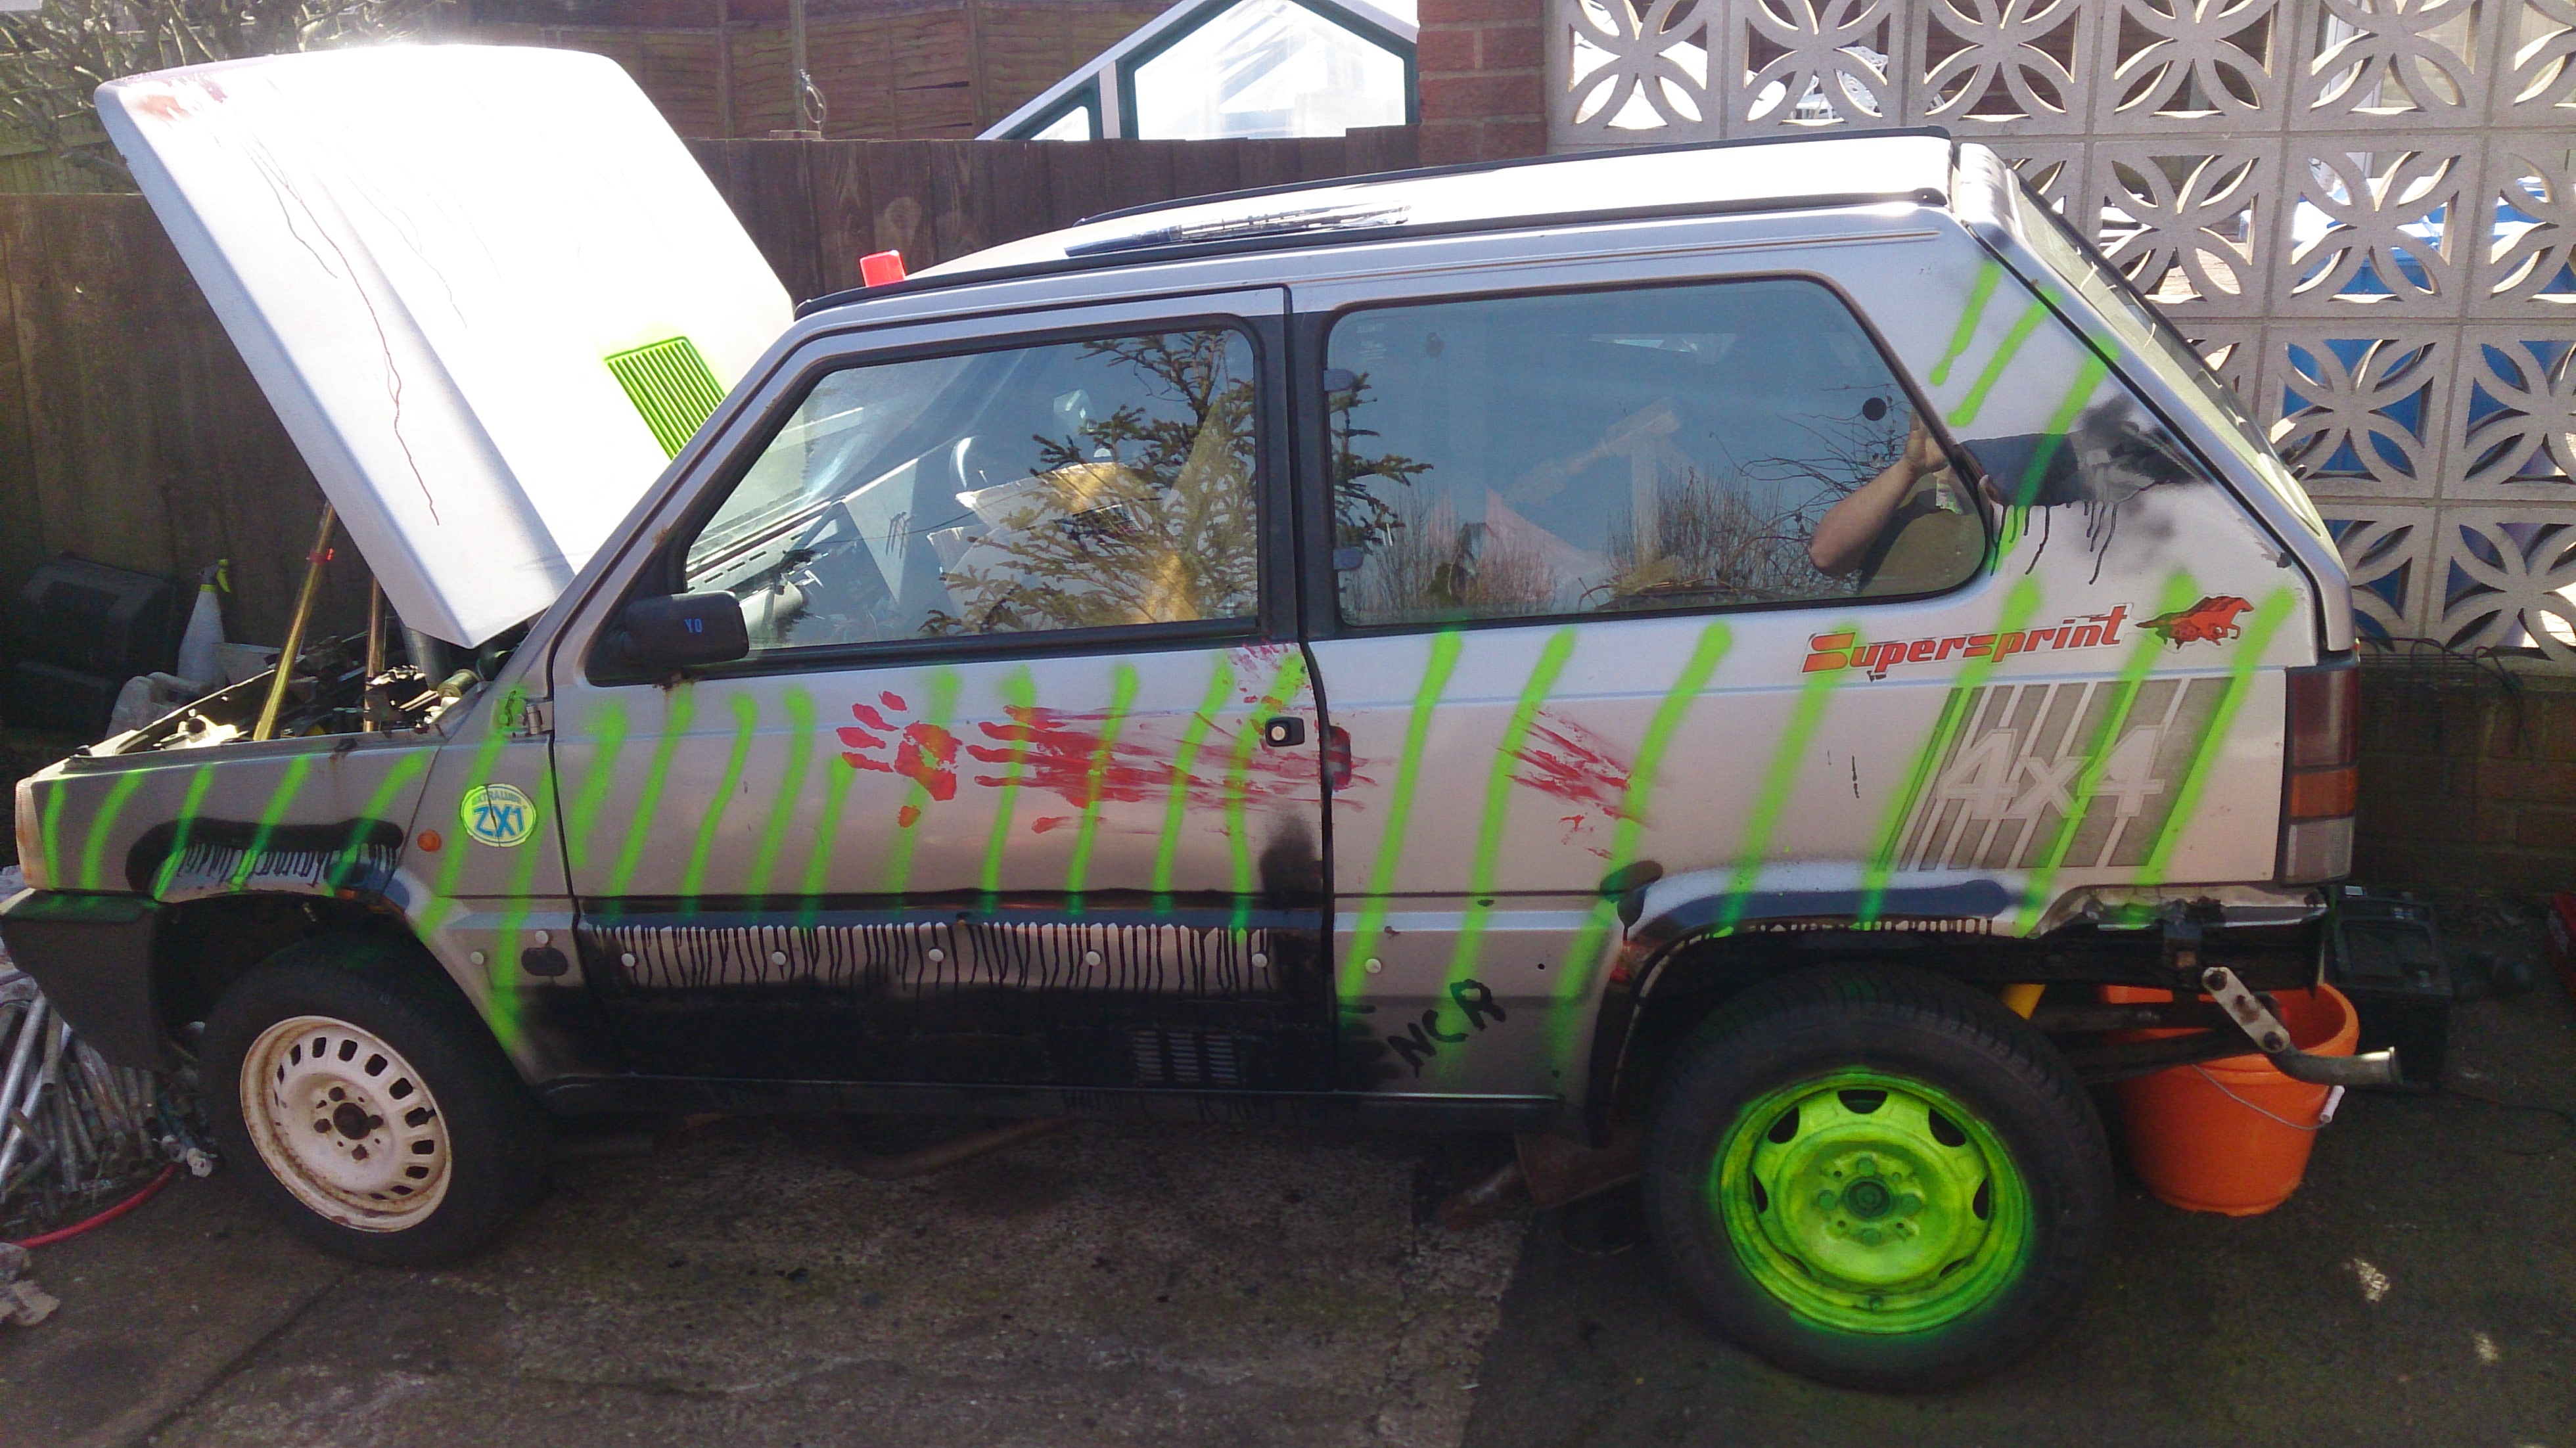
i did however had a bit of a accident with some spray tins.. :/

those of you who love pandas i recommend to look away...

so the first not so bad picture:


yeah.. and now this one..


heh yeah..


and now this..


like i say insane..
 
hey guys. i did a bit of tyding around fallout. getting him and the work space cleared up a bit so i can get in and start working on him.

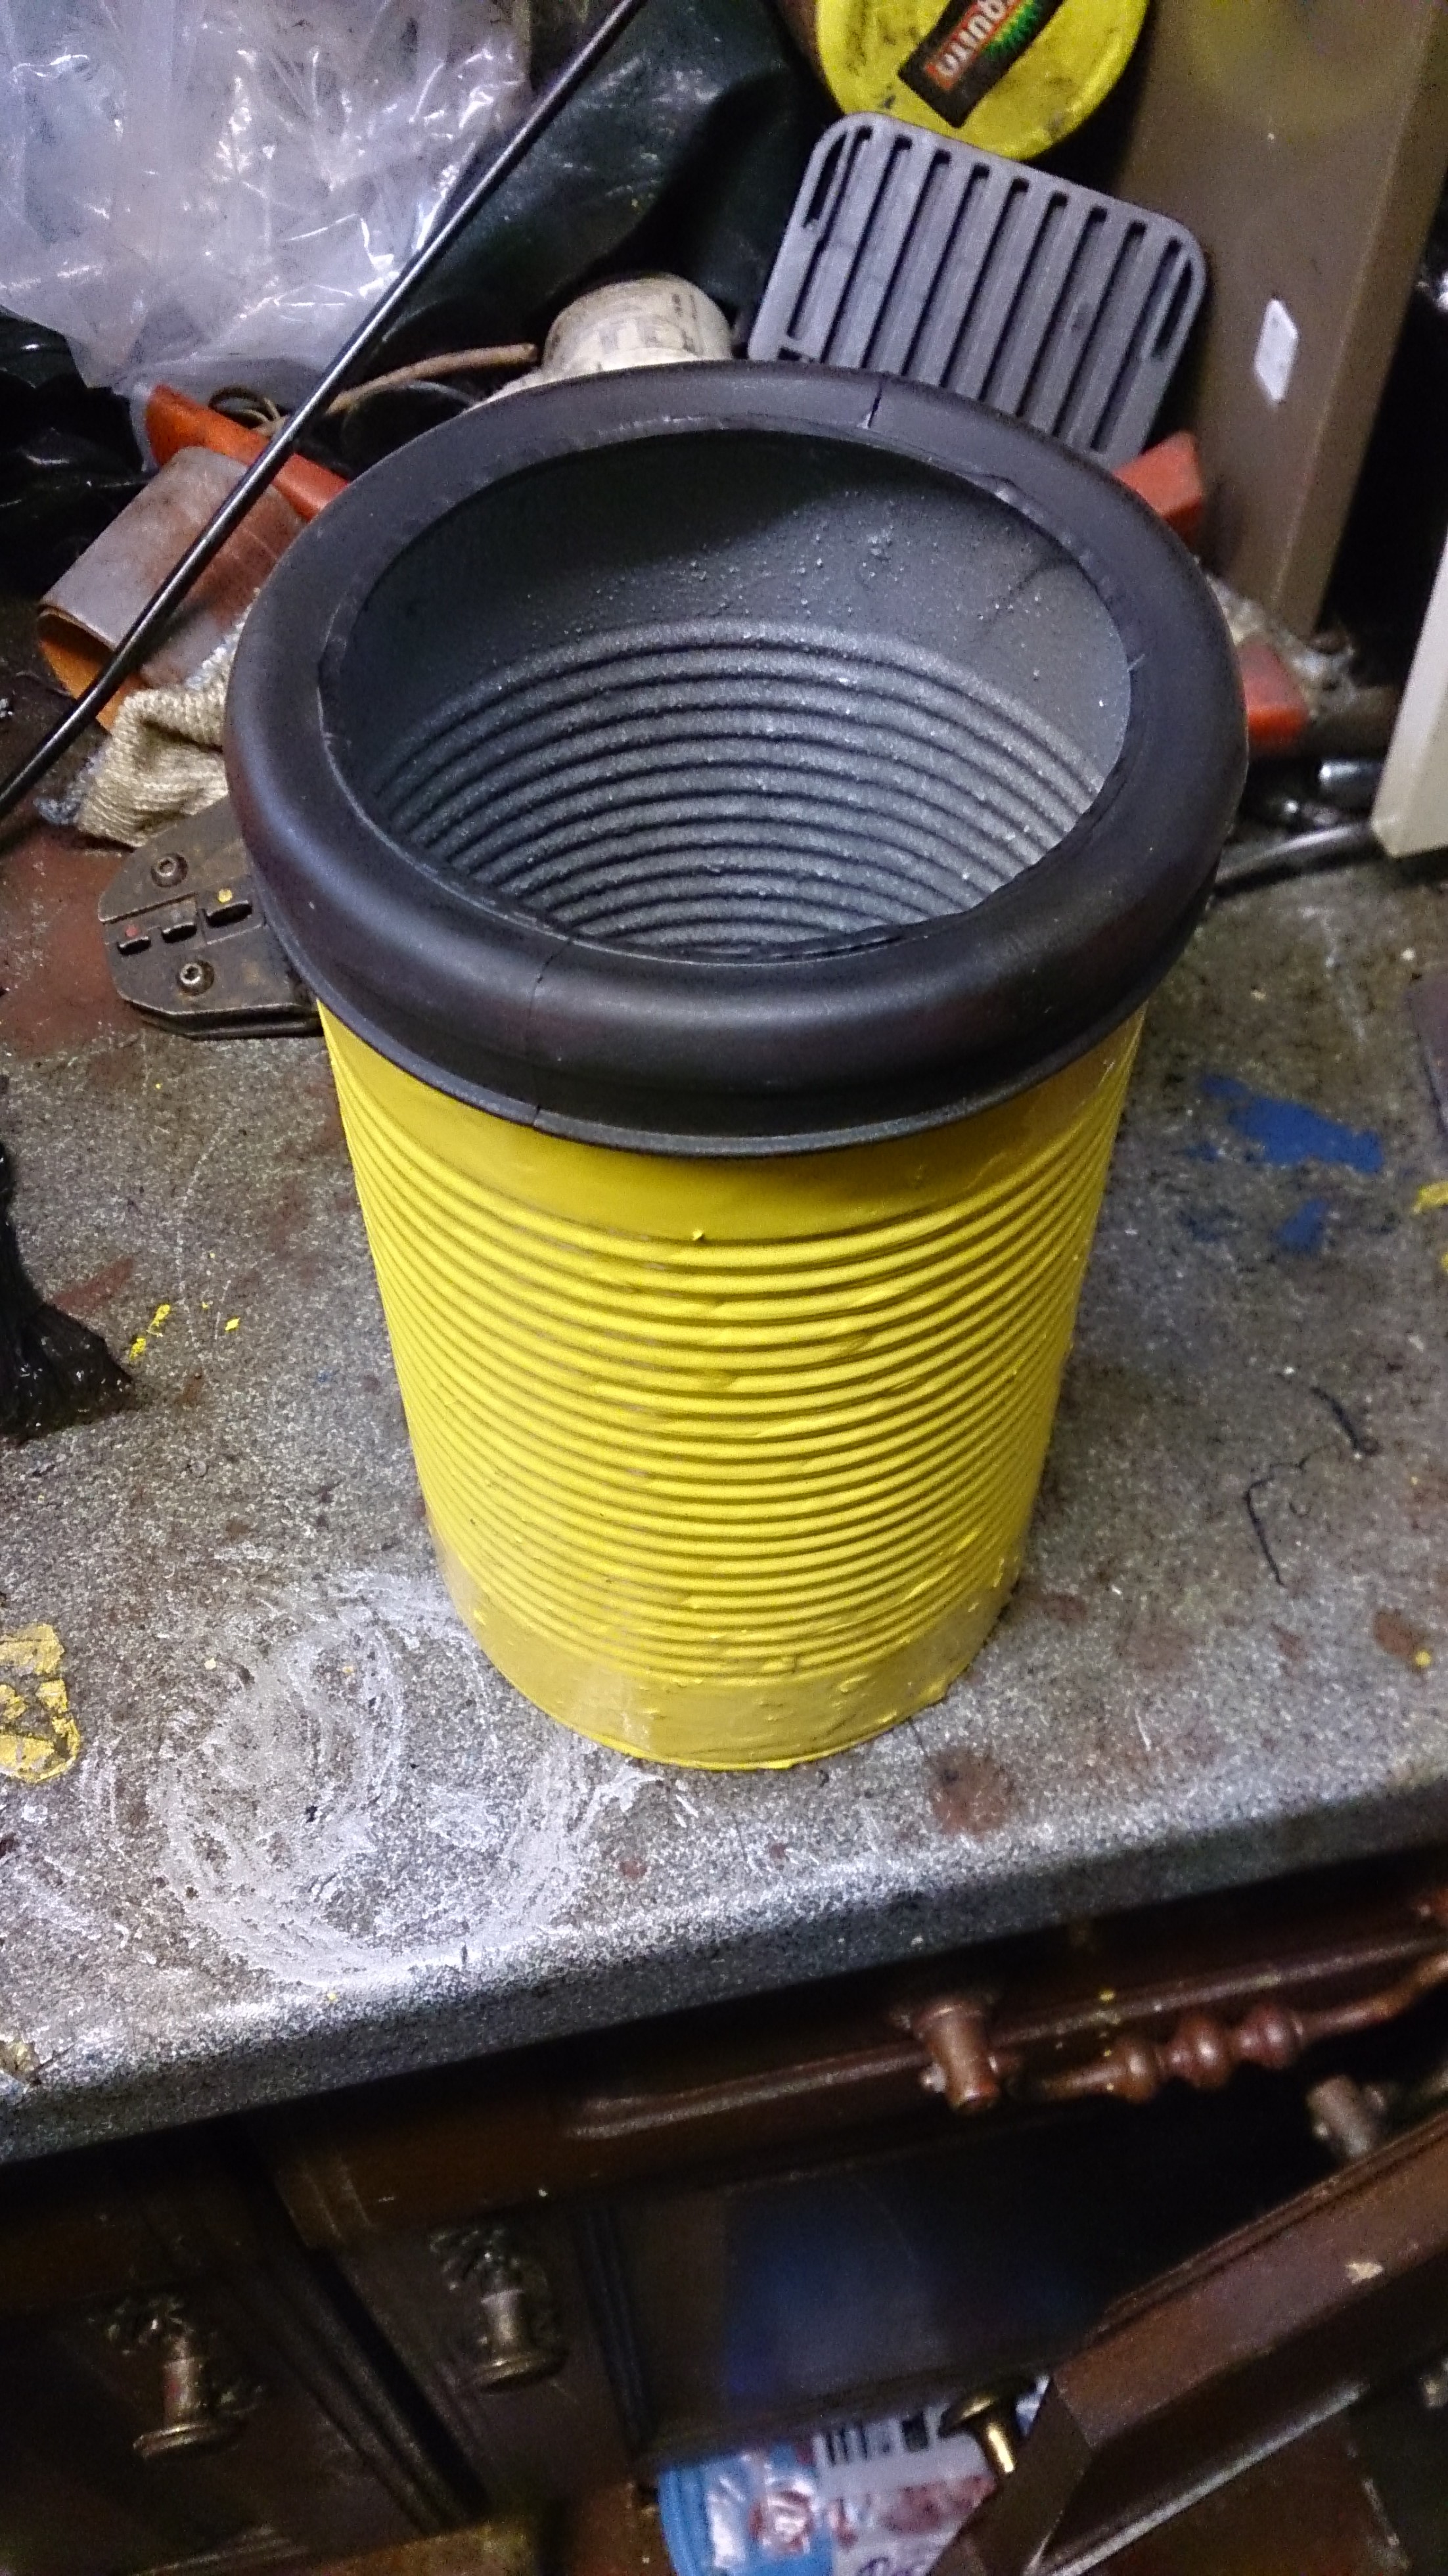
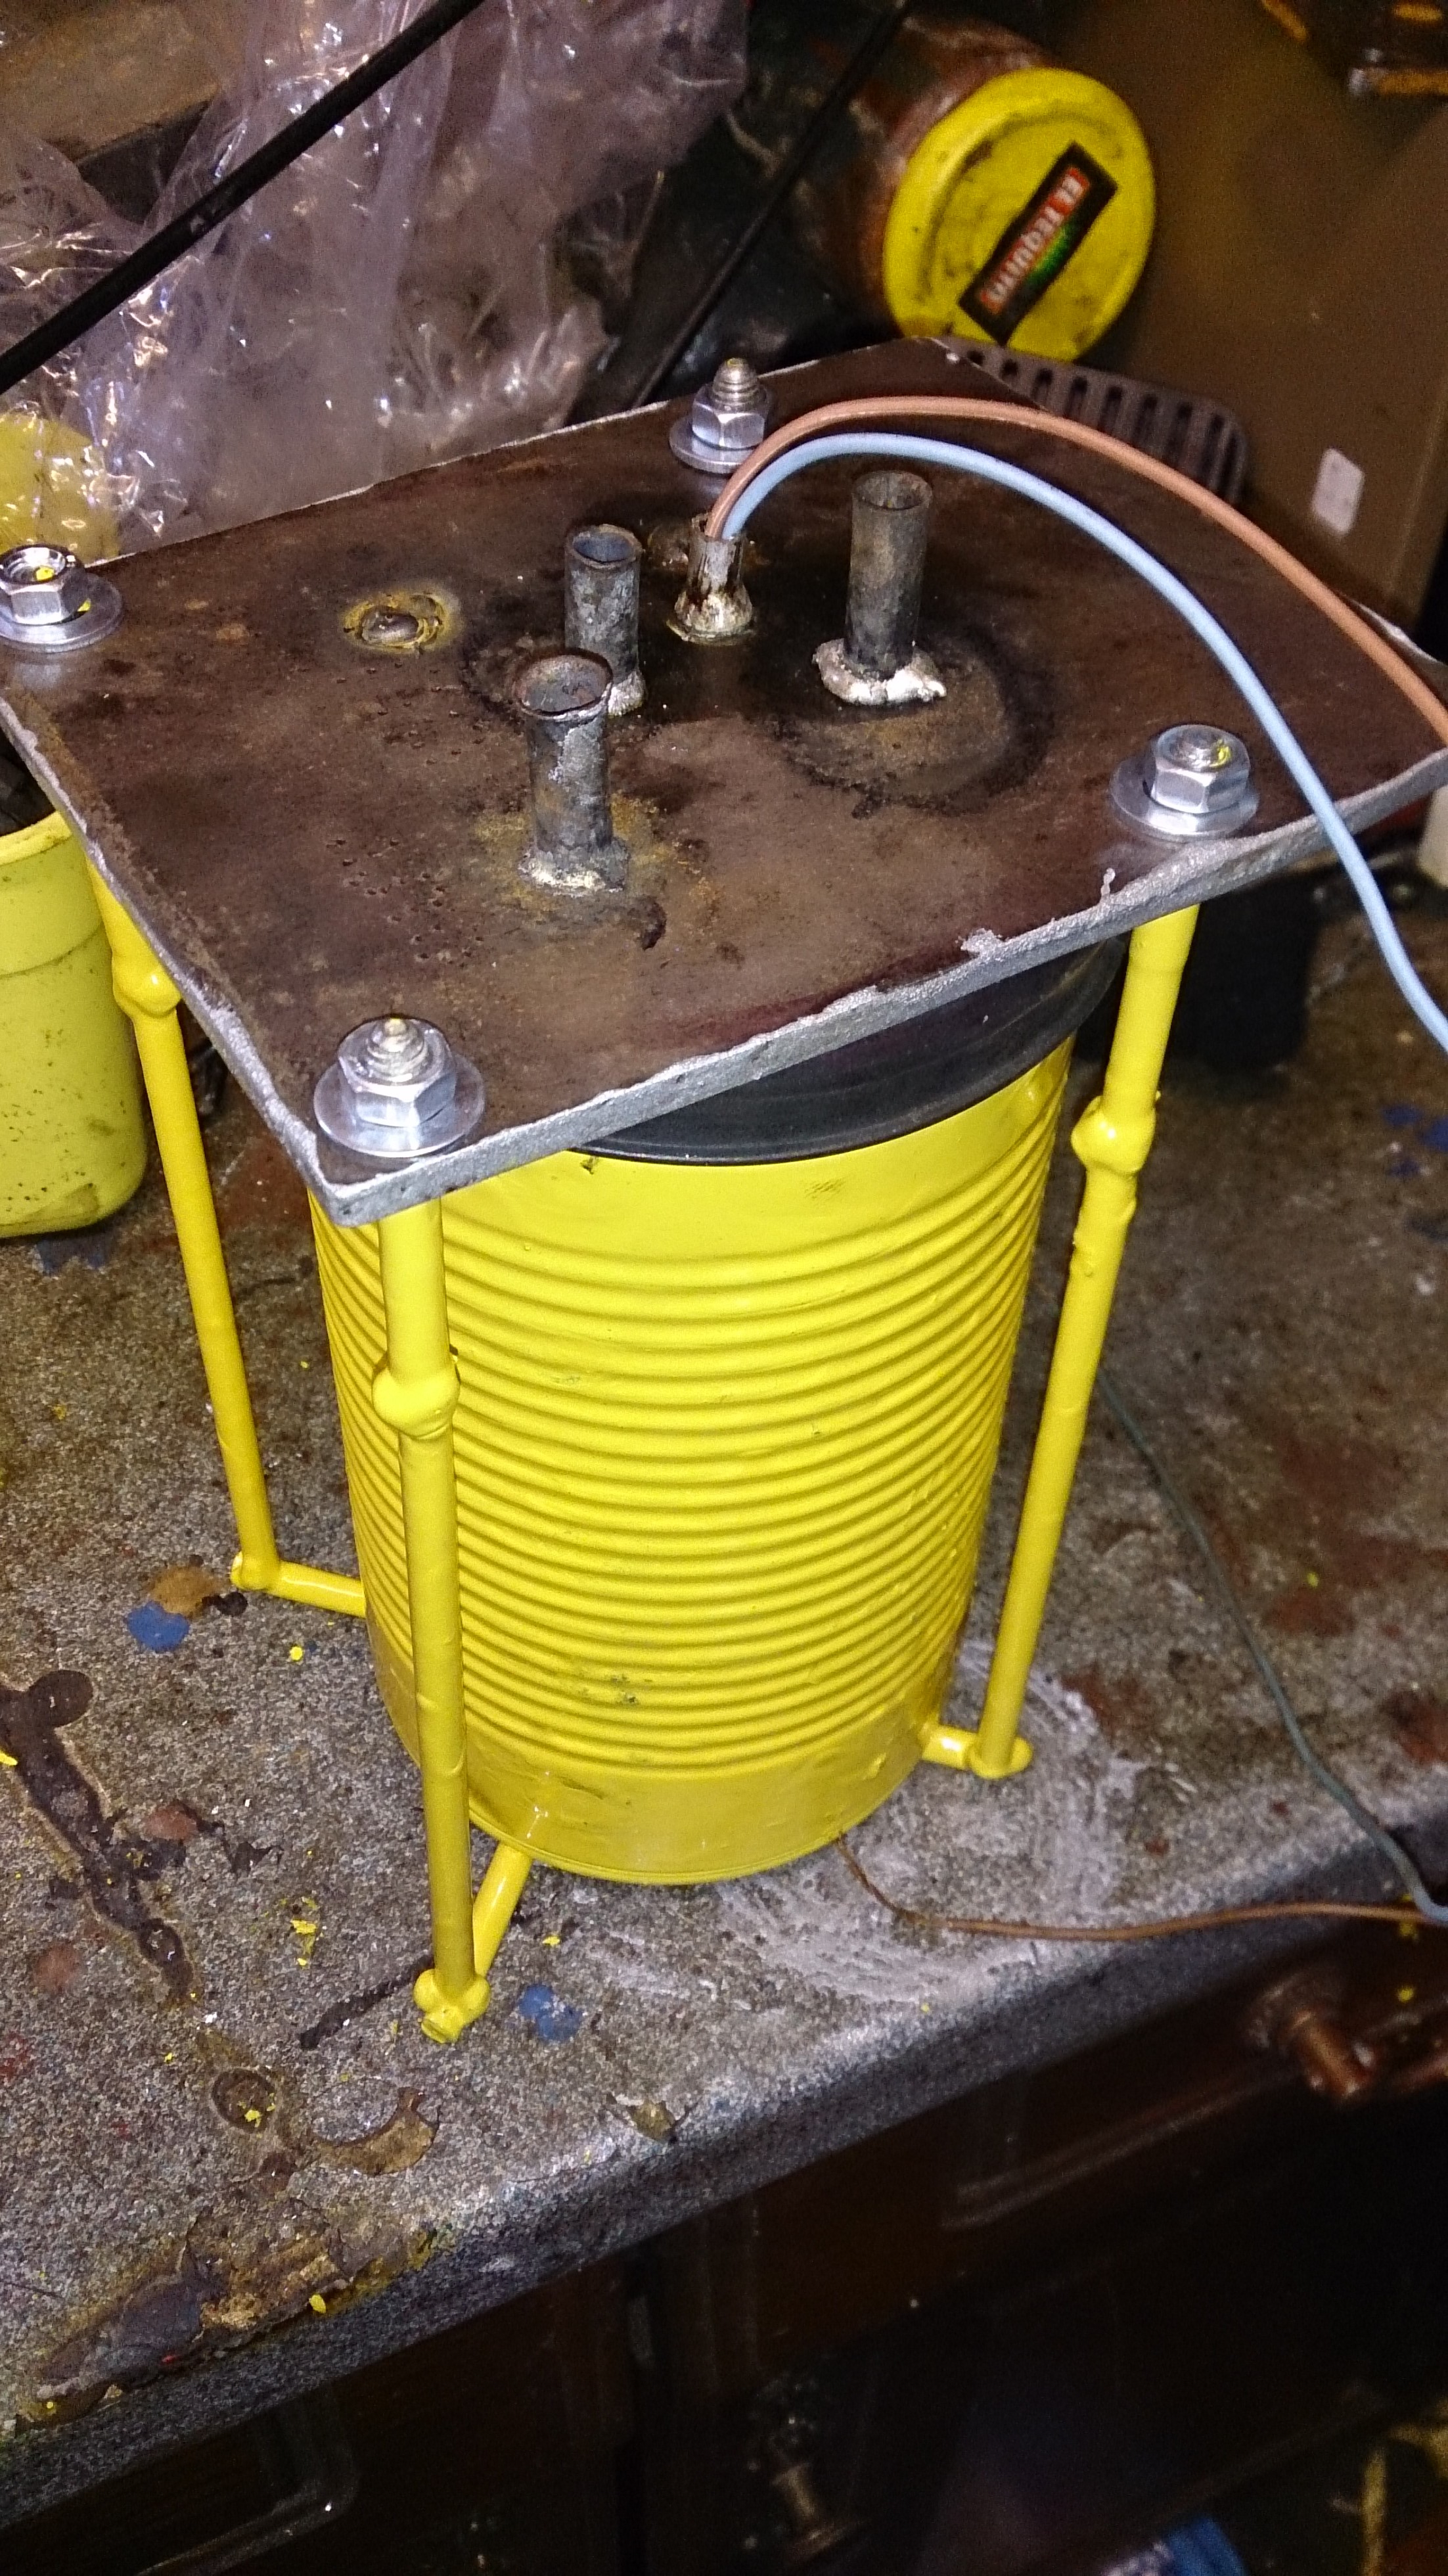
i have fit the down pipe after modding one (as i stole the original one for Talon) and a good way through making another dog food tin swirl pot. (got this down to an art now lmao)

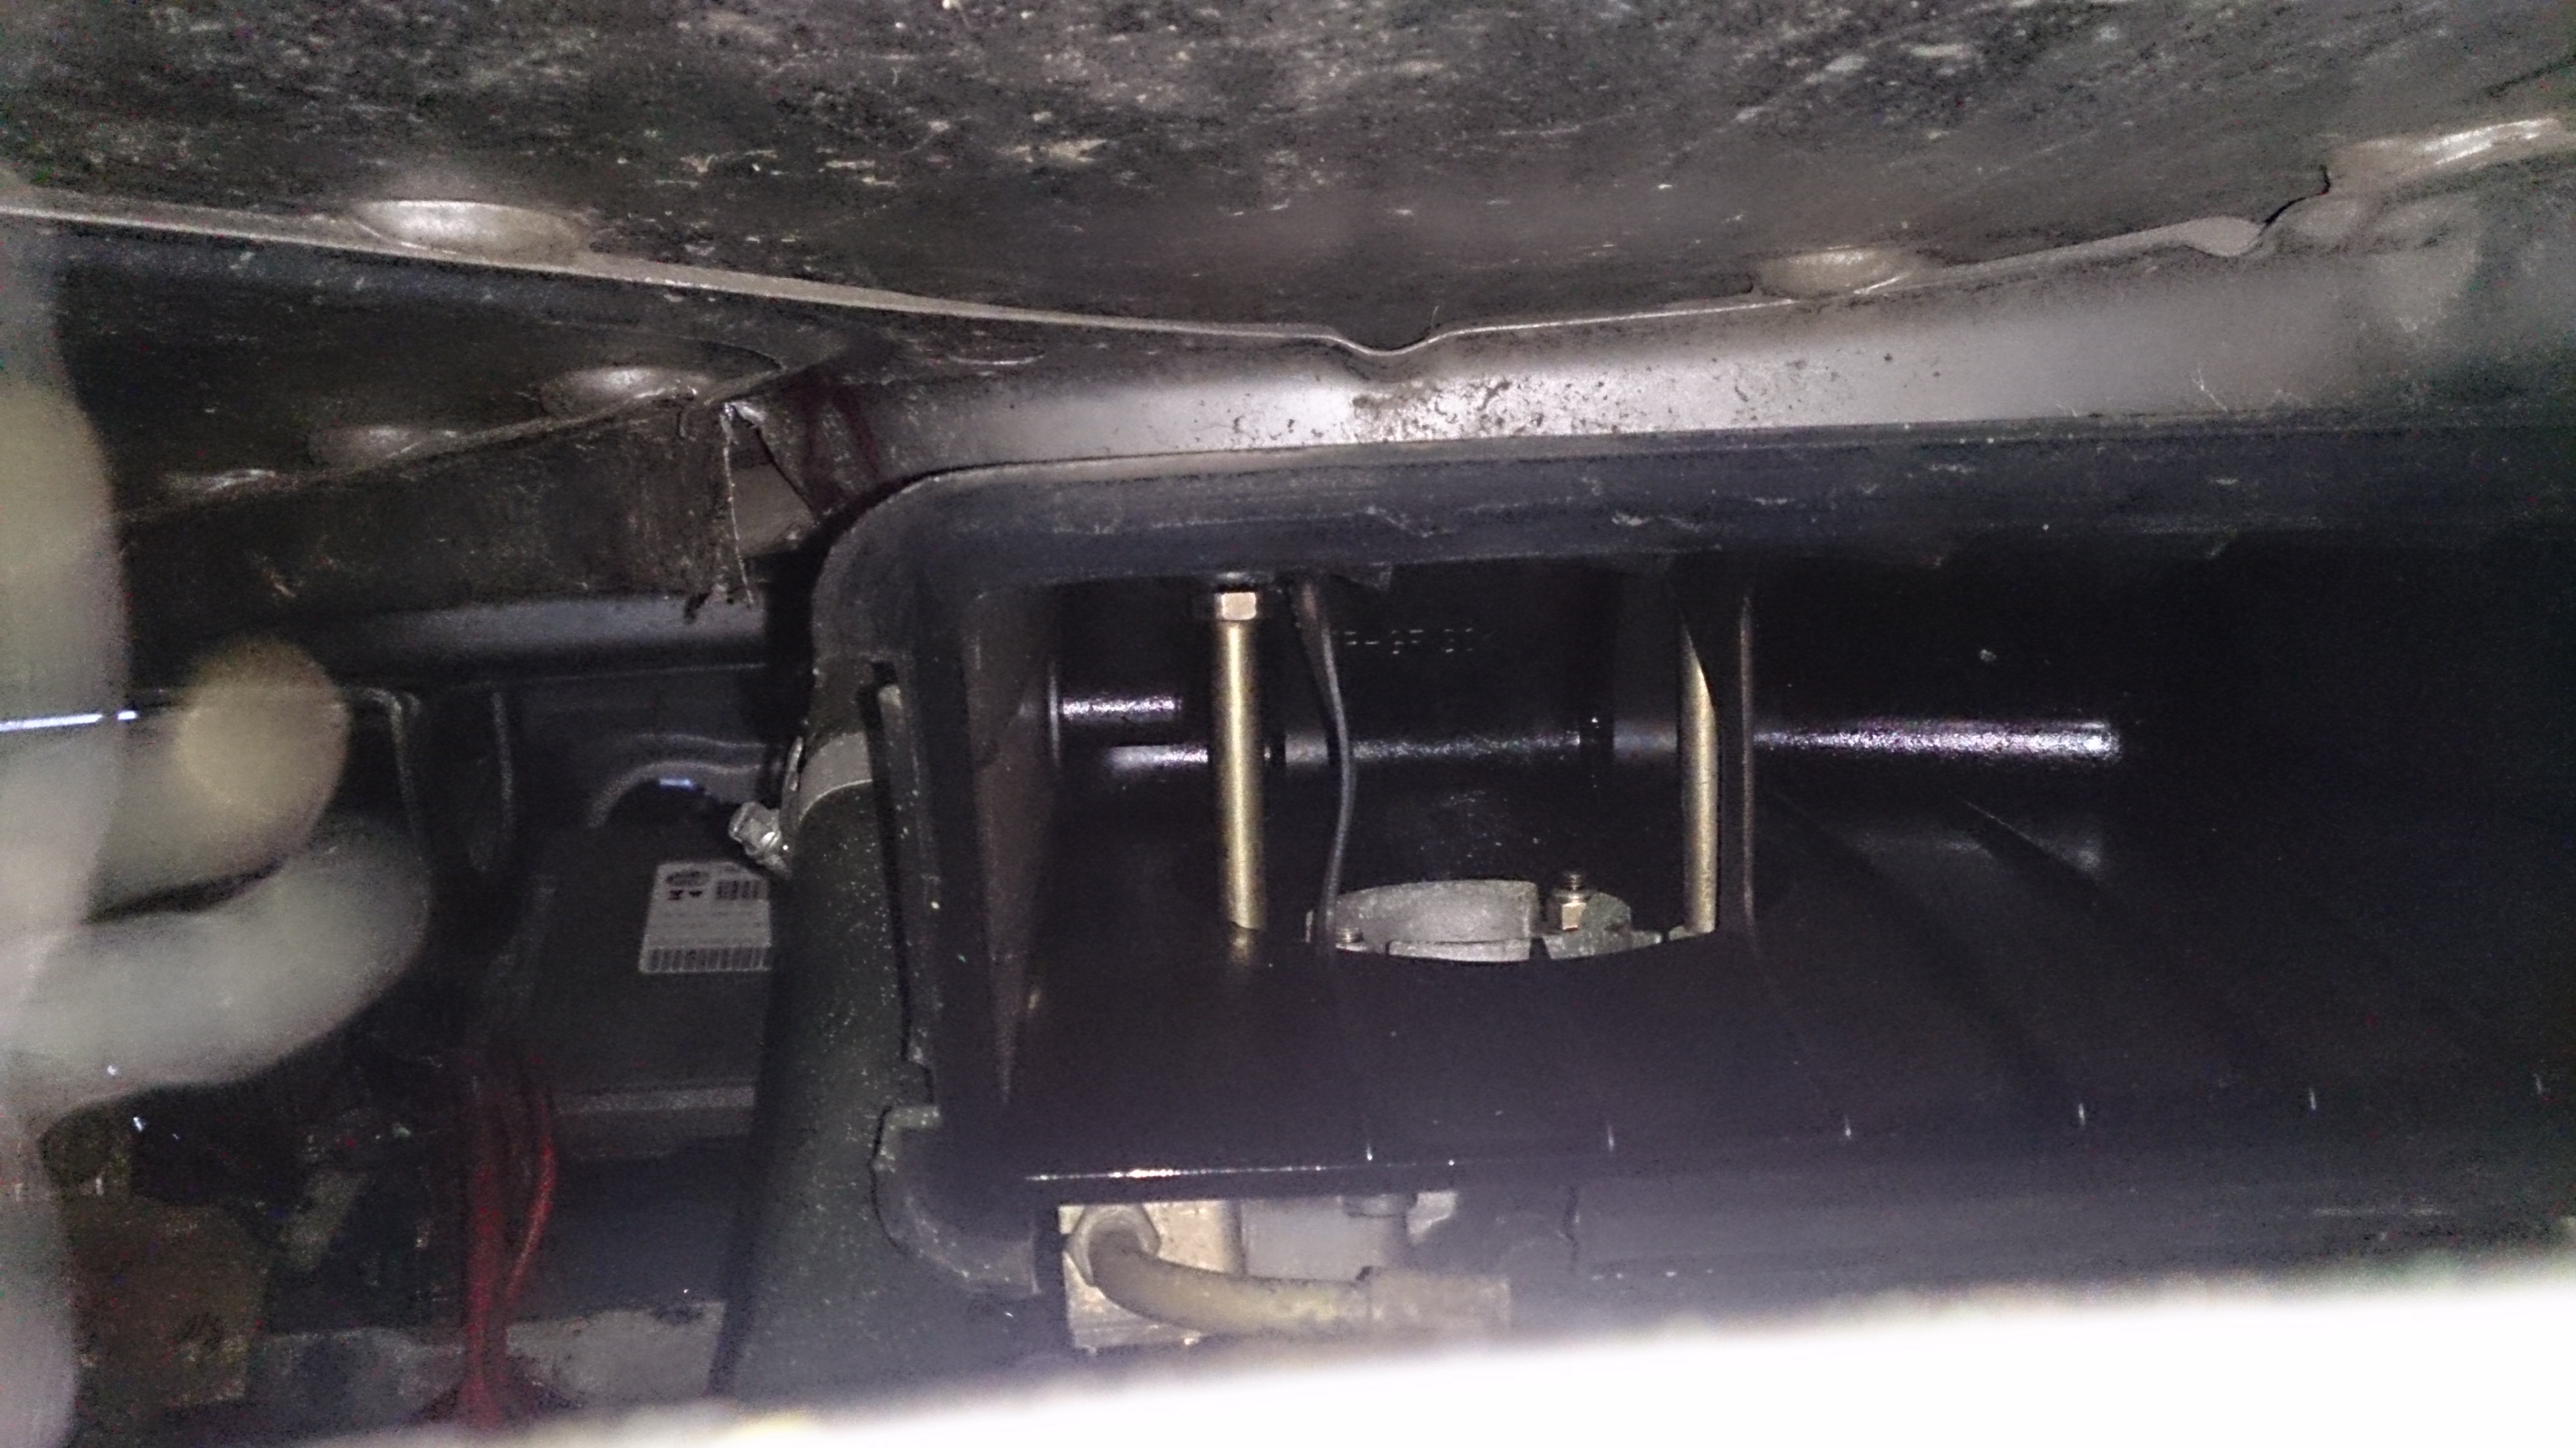
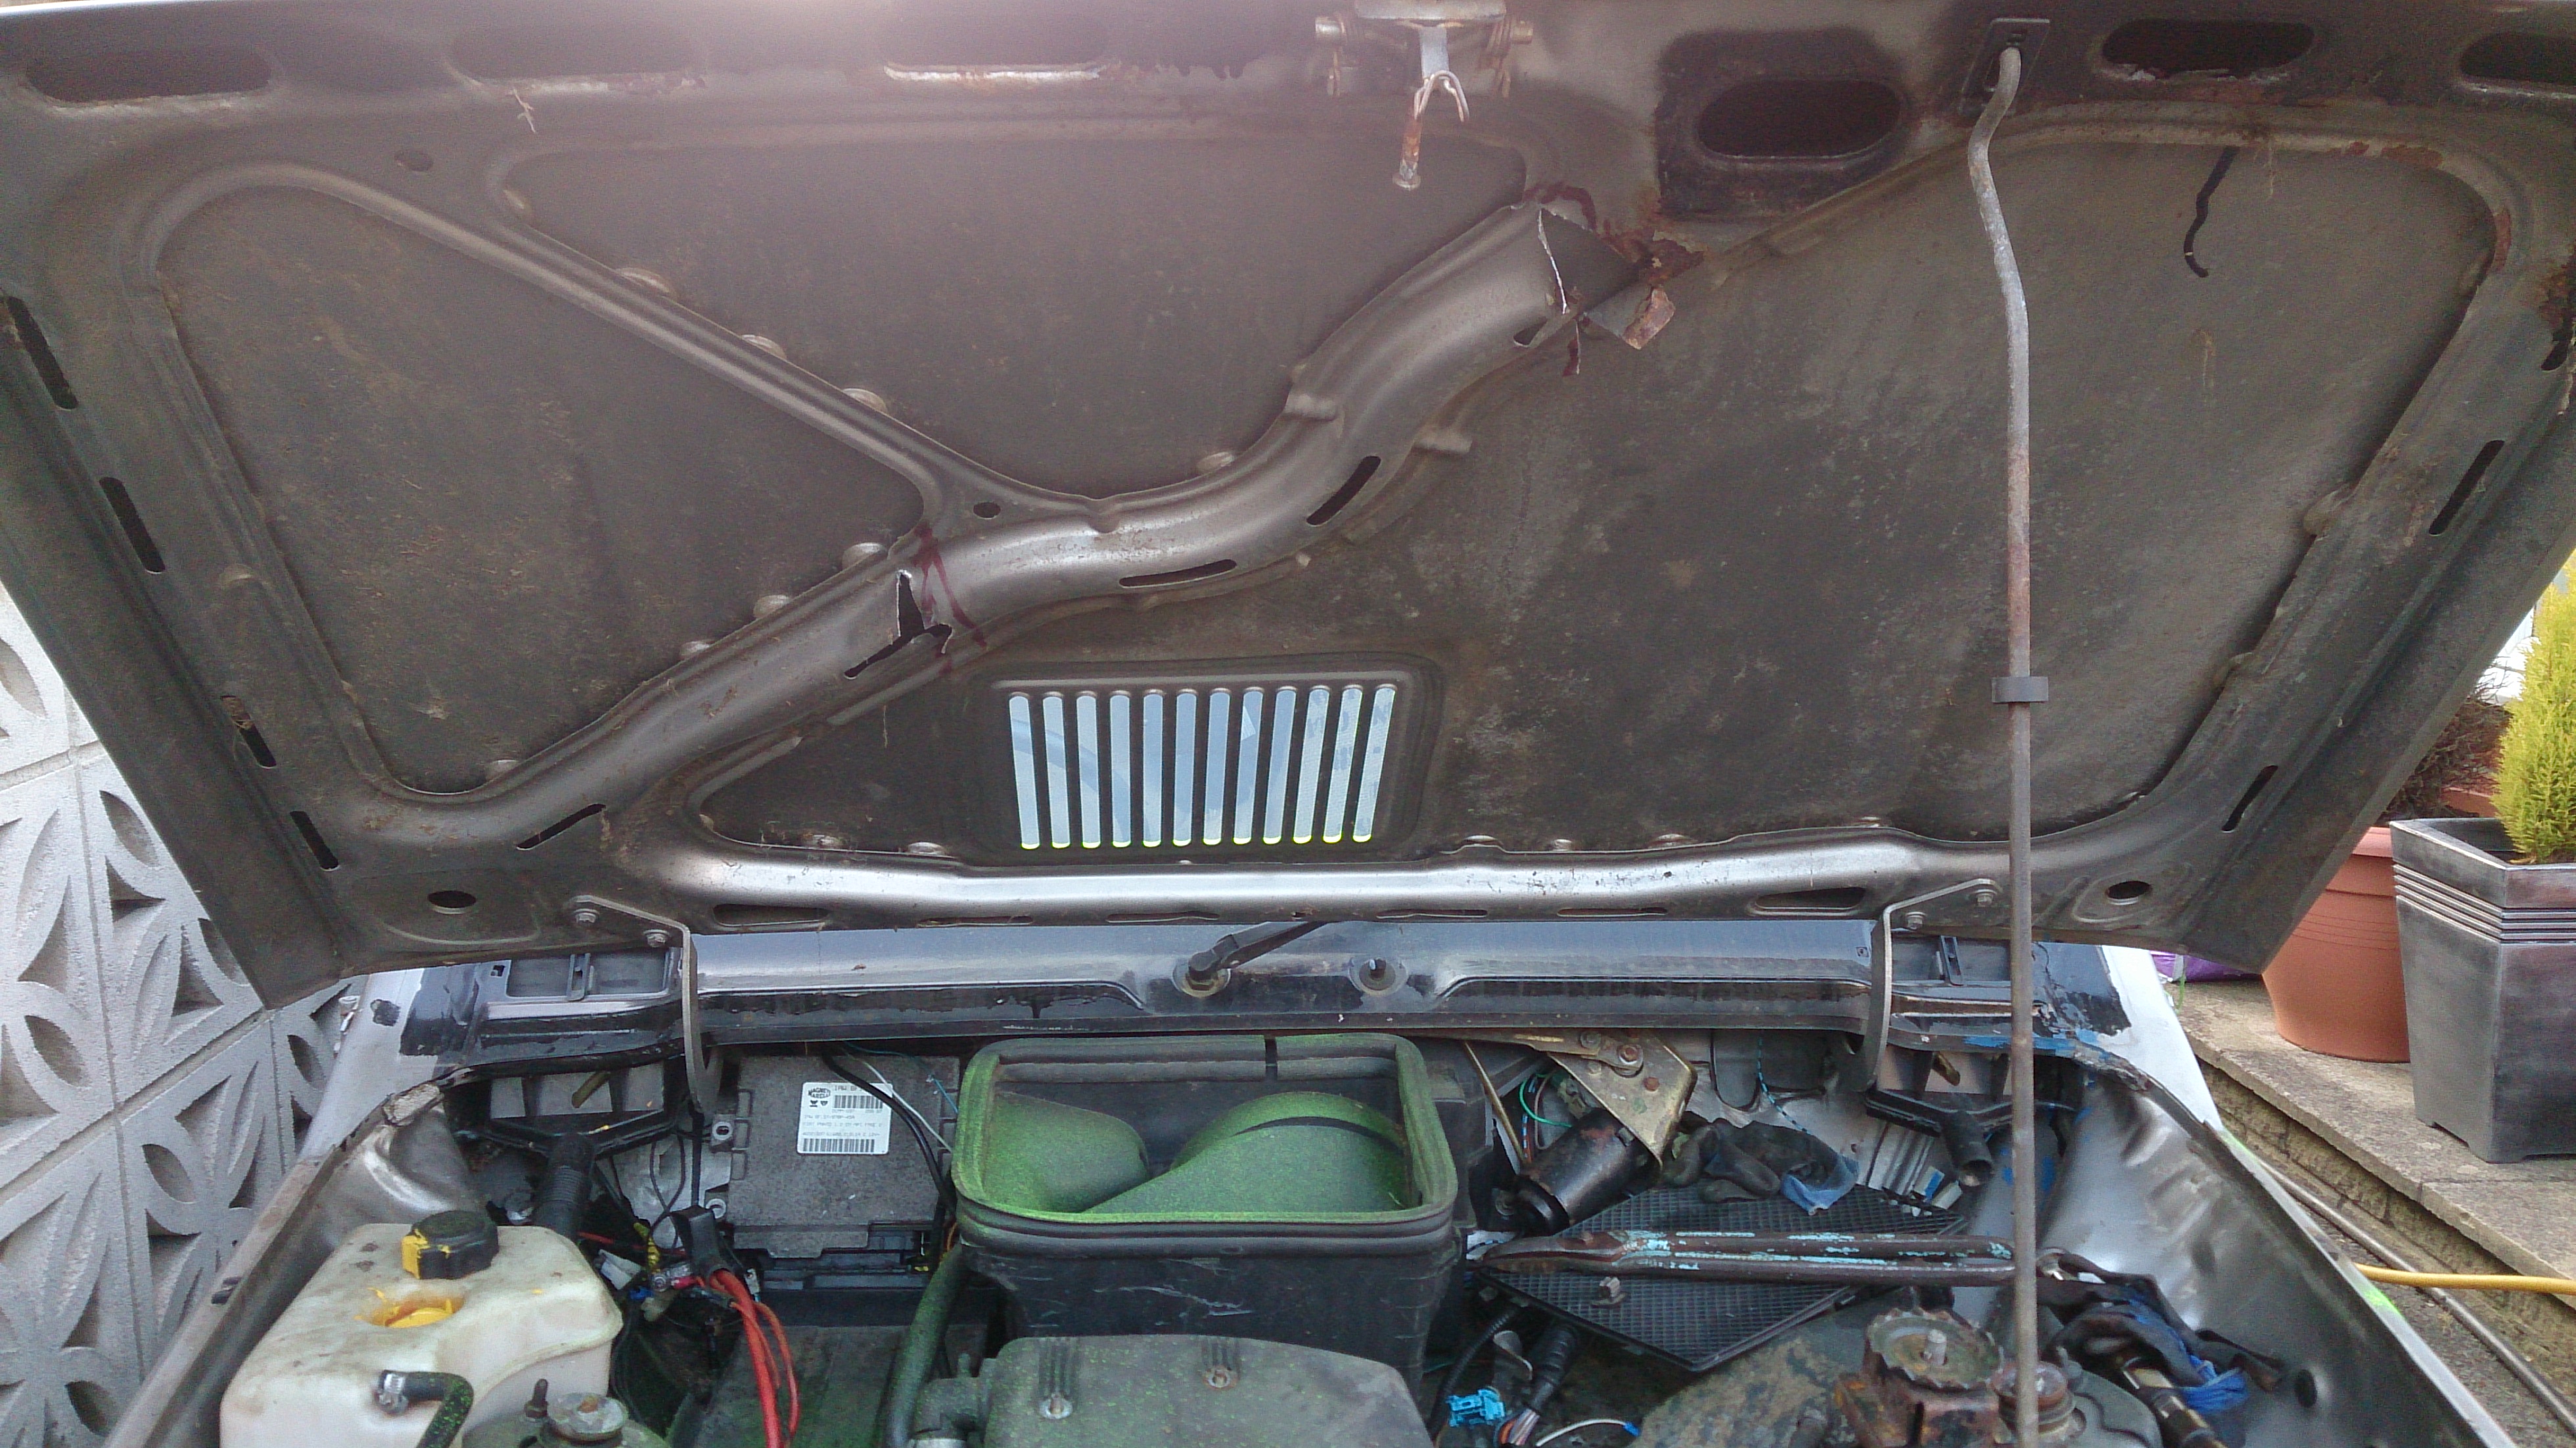
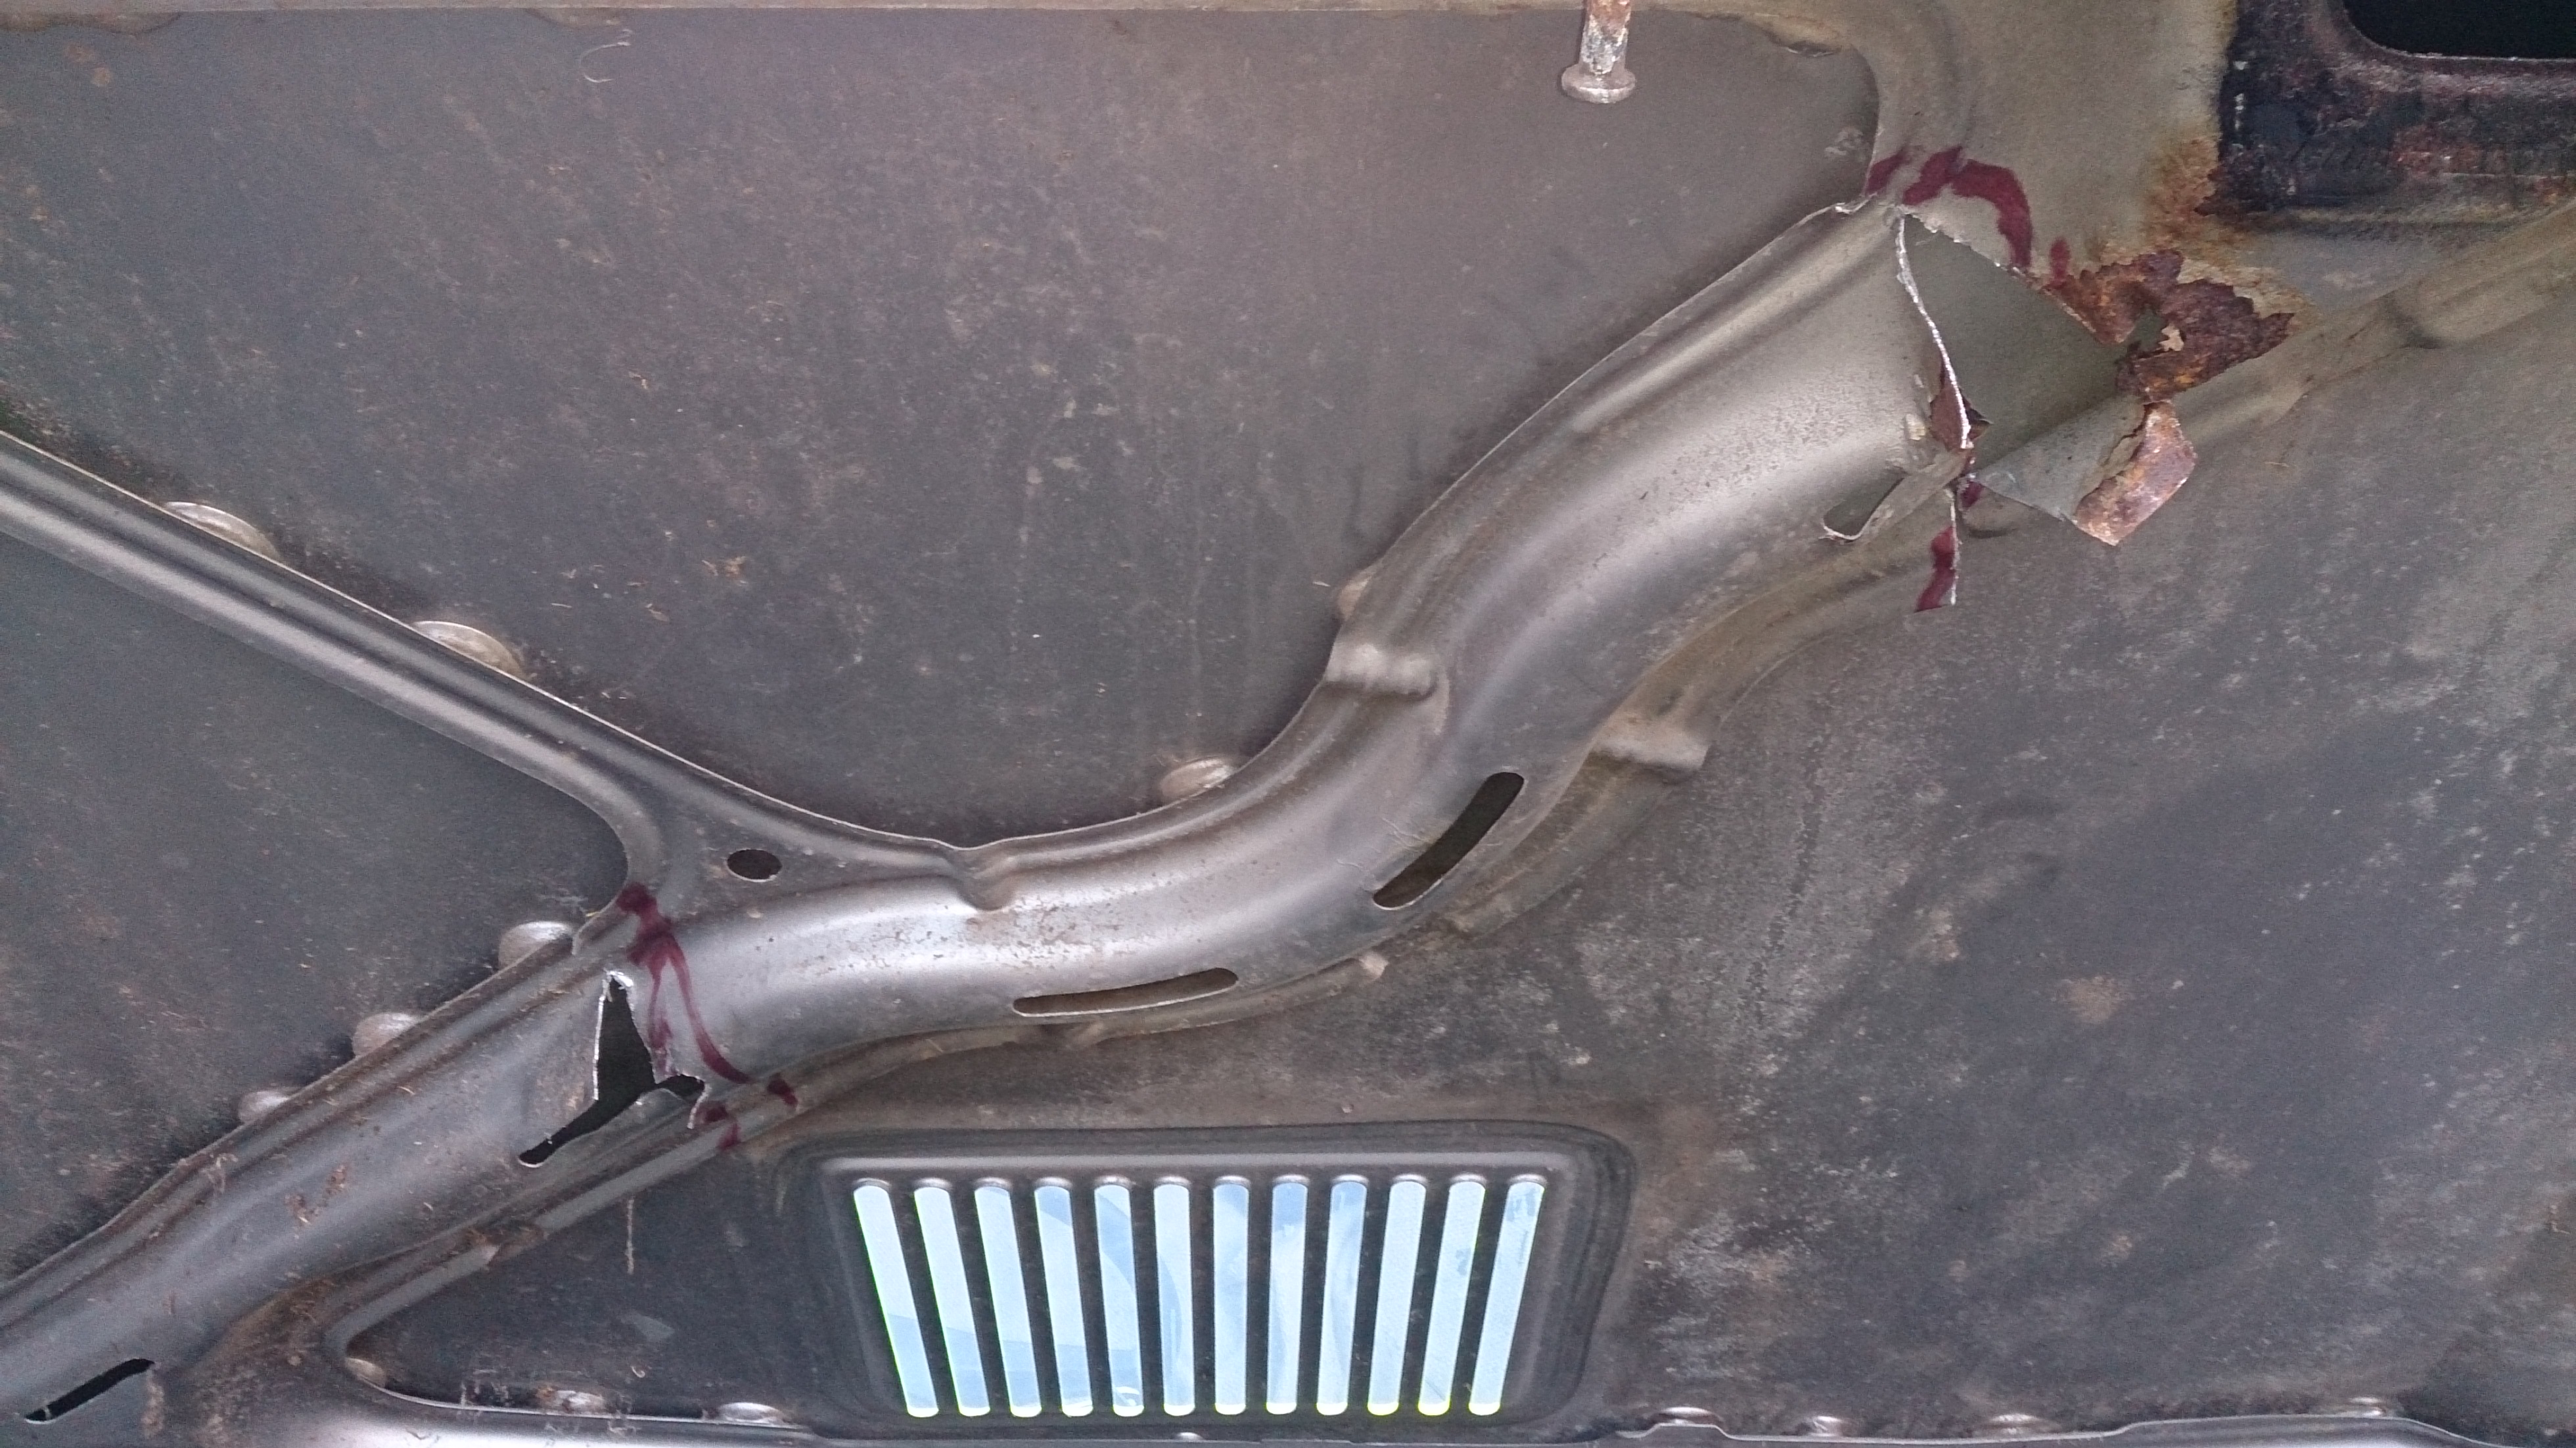
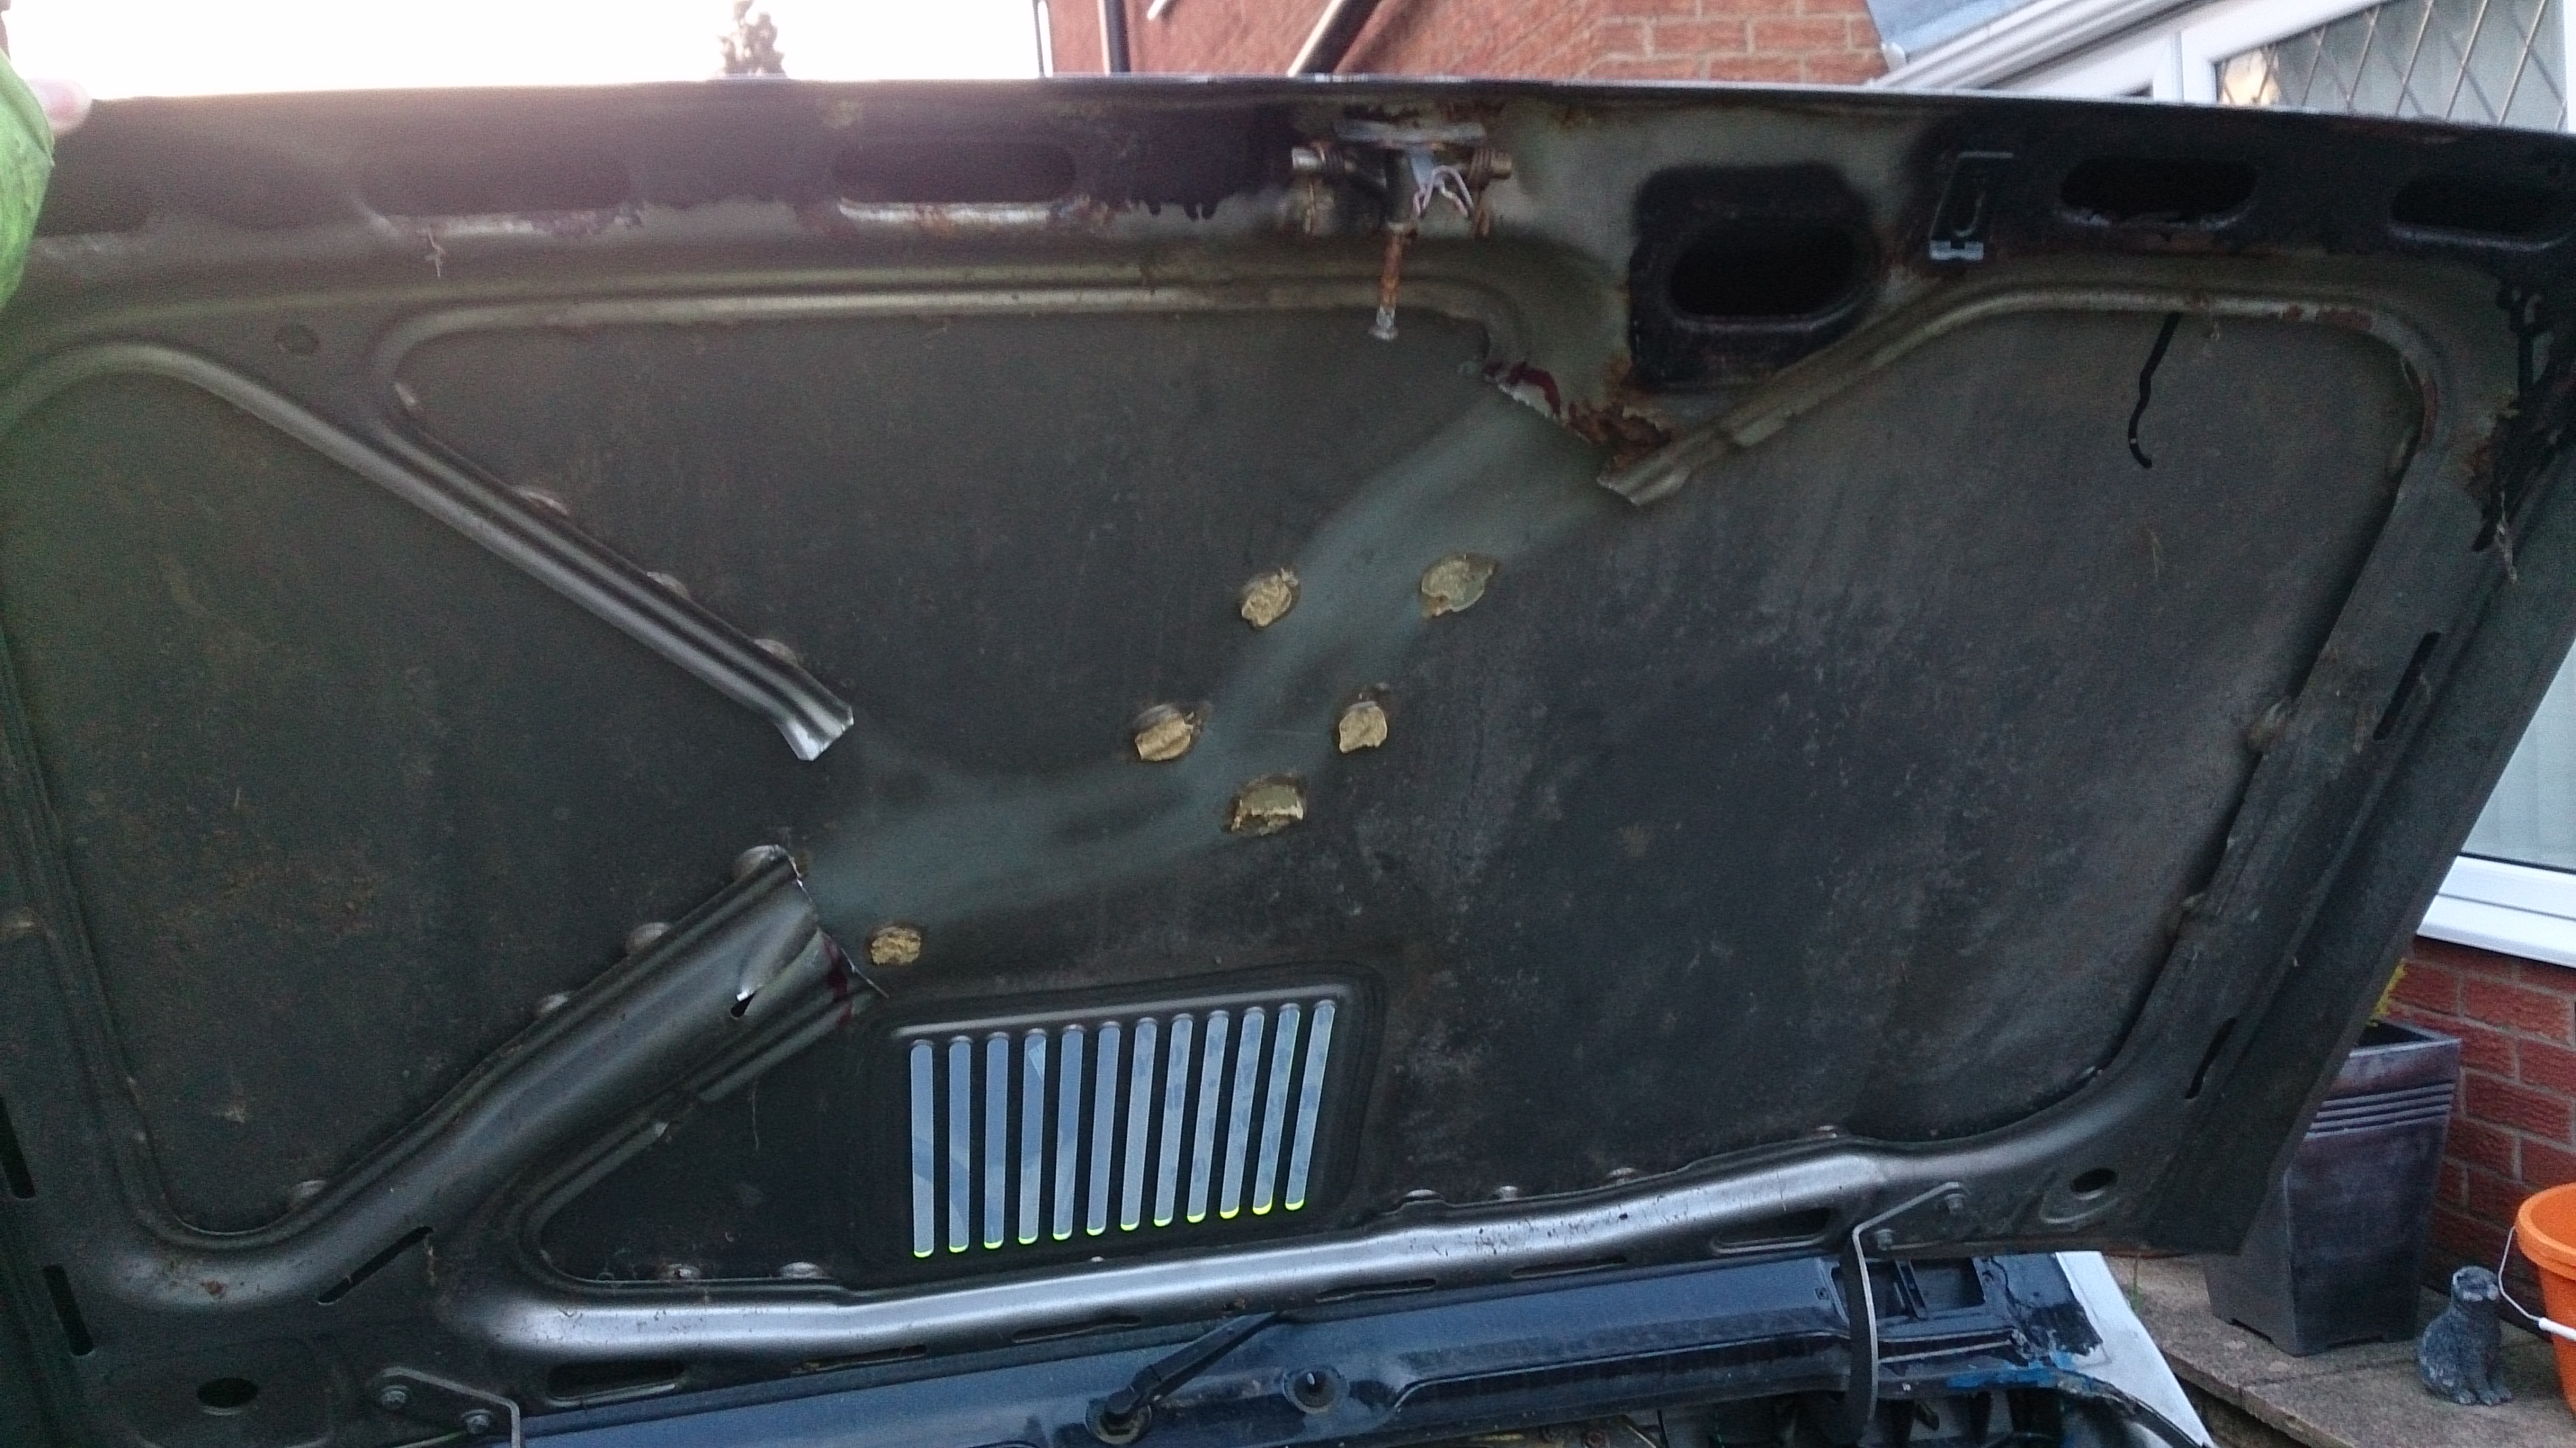
i have also cut out a bit of a support under the bonnet so i can get the original air filter housing on and still close the bonnet.

this is the filter housing.. a lot like the 999cc one just a bit bigger.


you can see how it hits here..


this is the support, i already started to cut it out here.


now its removed.


yeah looks good.


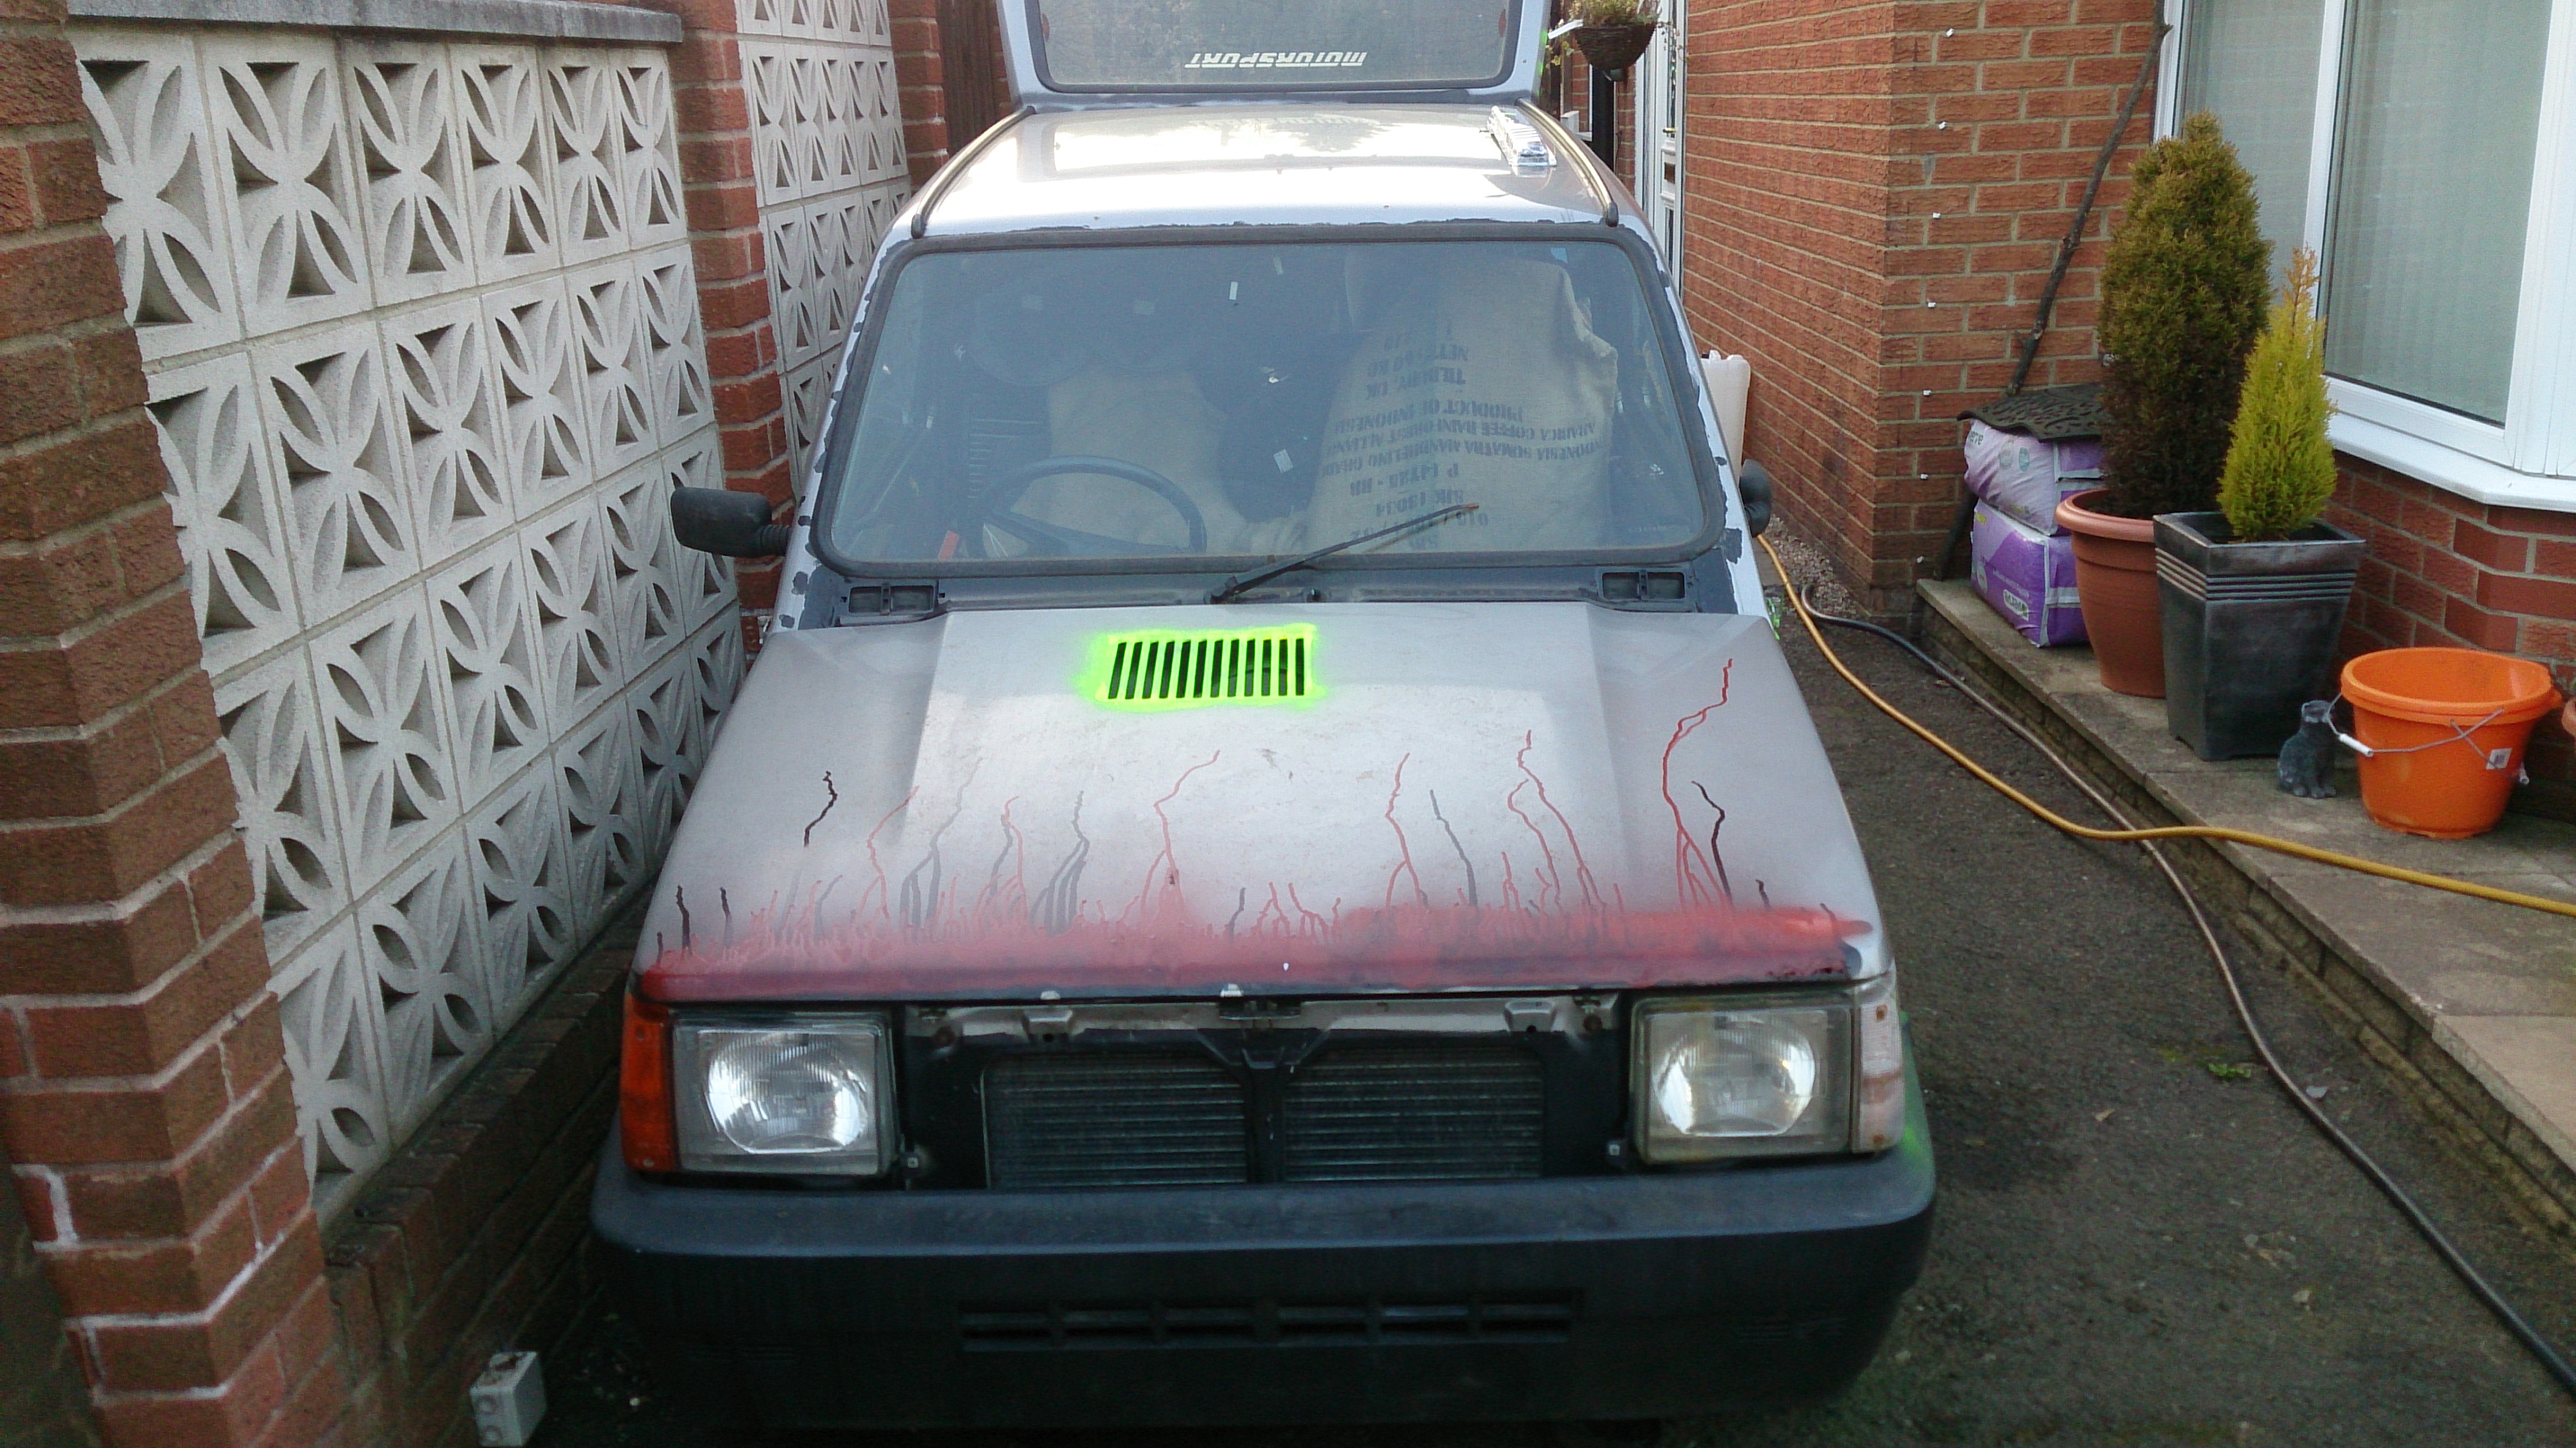
i quite like the effect of how the paint has ran down the bonnet.. i would not mind getting some more just to get some longer runs.

i did a video on it too.


after the video i started work sticking the old original dash back in.. the custom one is going to take some doing, and to be fair i can build it out of the car at a later time. right now i just want to get it to a road going state. i would more so like to get it at least MOTed. just to see how it fairs.

i really want to get it up and running quick so i can take it to some shows.

i have a little side business of selling 866 cams haha. i have 2 at the moment, but i think i will be getting two more tomorrow, with shims!
the 2 i have now do not have shims sadly, but then again you really need to get new ones made up anyway.

thats all for this update! stay tuned.. with spring well and truly sprung:
The project is now back on!
 
hey guys. i did a bit of tyding around fallout. getting him and the work space cleared up a bit so i can get in and start working on him.

i have fit the down pipe after modding one (as i stole the original one for Talon) and a good way through making another dog food tin swirl pot. (got this down to an art now lmao)

i have also cut out a bit of a support under the bonnet so i can get the original air filter housing on and still close the bonnet.

this is the filter housing.. a lot like the 999cc one just a bit bigger.


you can see how it hits here..


this is the support, i already started to cut it out here.


now its removed.


yeah looks good.


i quite like the effect of how the paint has ran down the bonnet.. i would not mind getting some more just to get some longer runs.

i did a video on it too.

https://www.youtube.com/watch?v=8x7NCOwpagk

after the video i started work sticking the old original dash back in.. the custom one is going to take some doing, and to be fair i can build it out of the car at a later time. right now i just want to get it to a road going state. i would more so like to get it at least MOTed. just to see how it fairs.

i really want to get it up and running quick so i can take it to some shows.

i have a little side business of selling 866 cams haha. i have 2 at the moment, but i think i will be getting two more tomorrow, with shims!
the 2 i have now do not have shims sadly, but then again you really need to get new ones made up anyway.

thats all for this update! stay tuned.. with spring well and truly sprung:
The project is now back on!

Good work John!
 
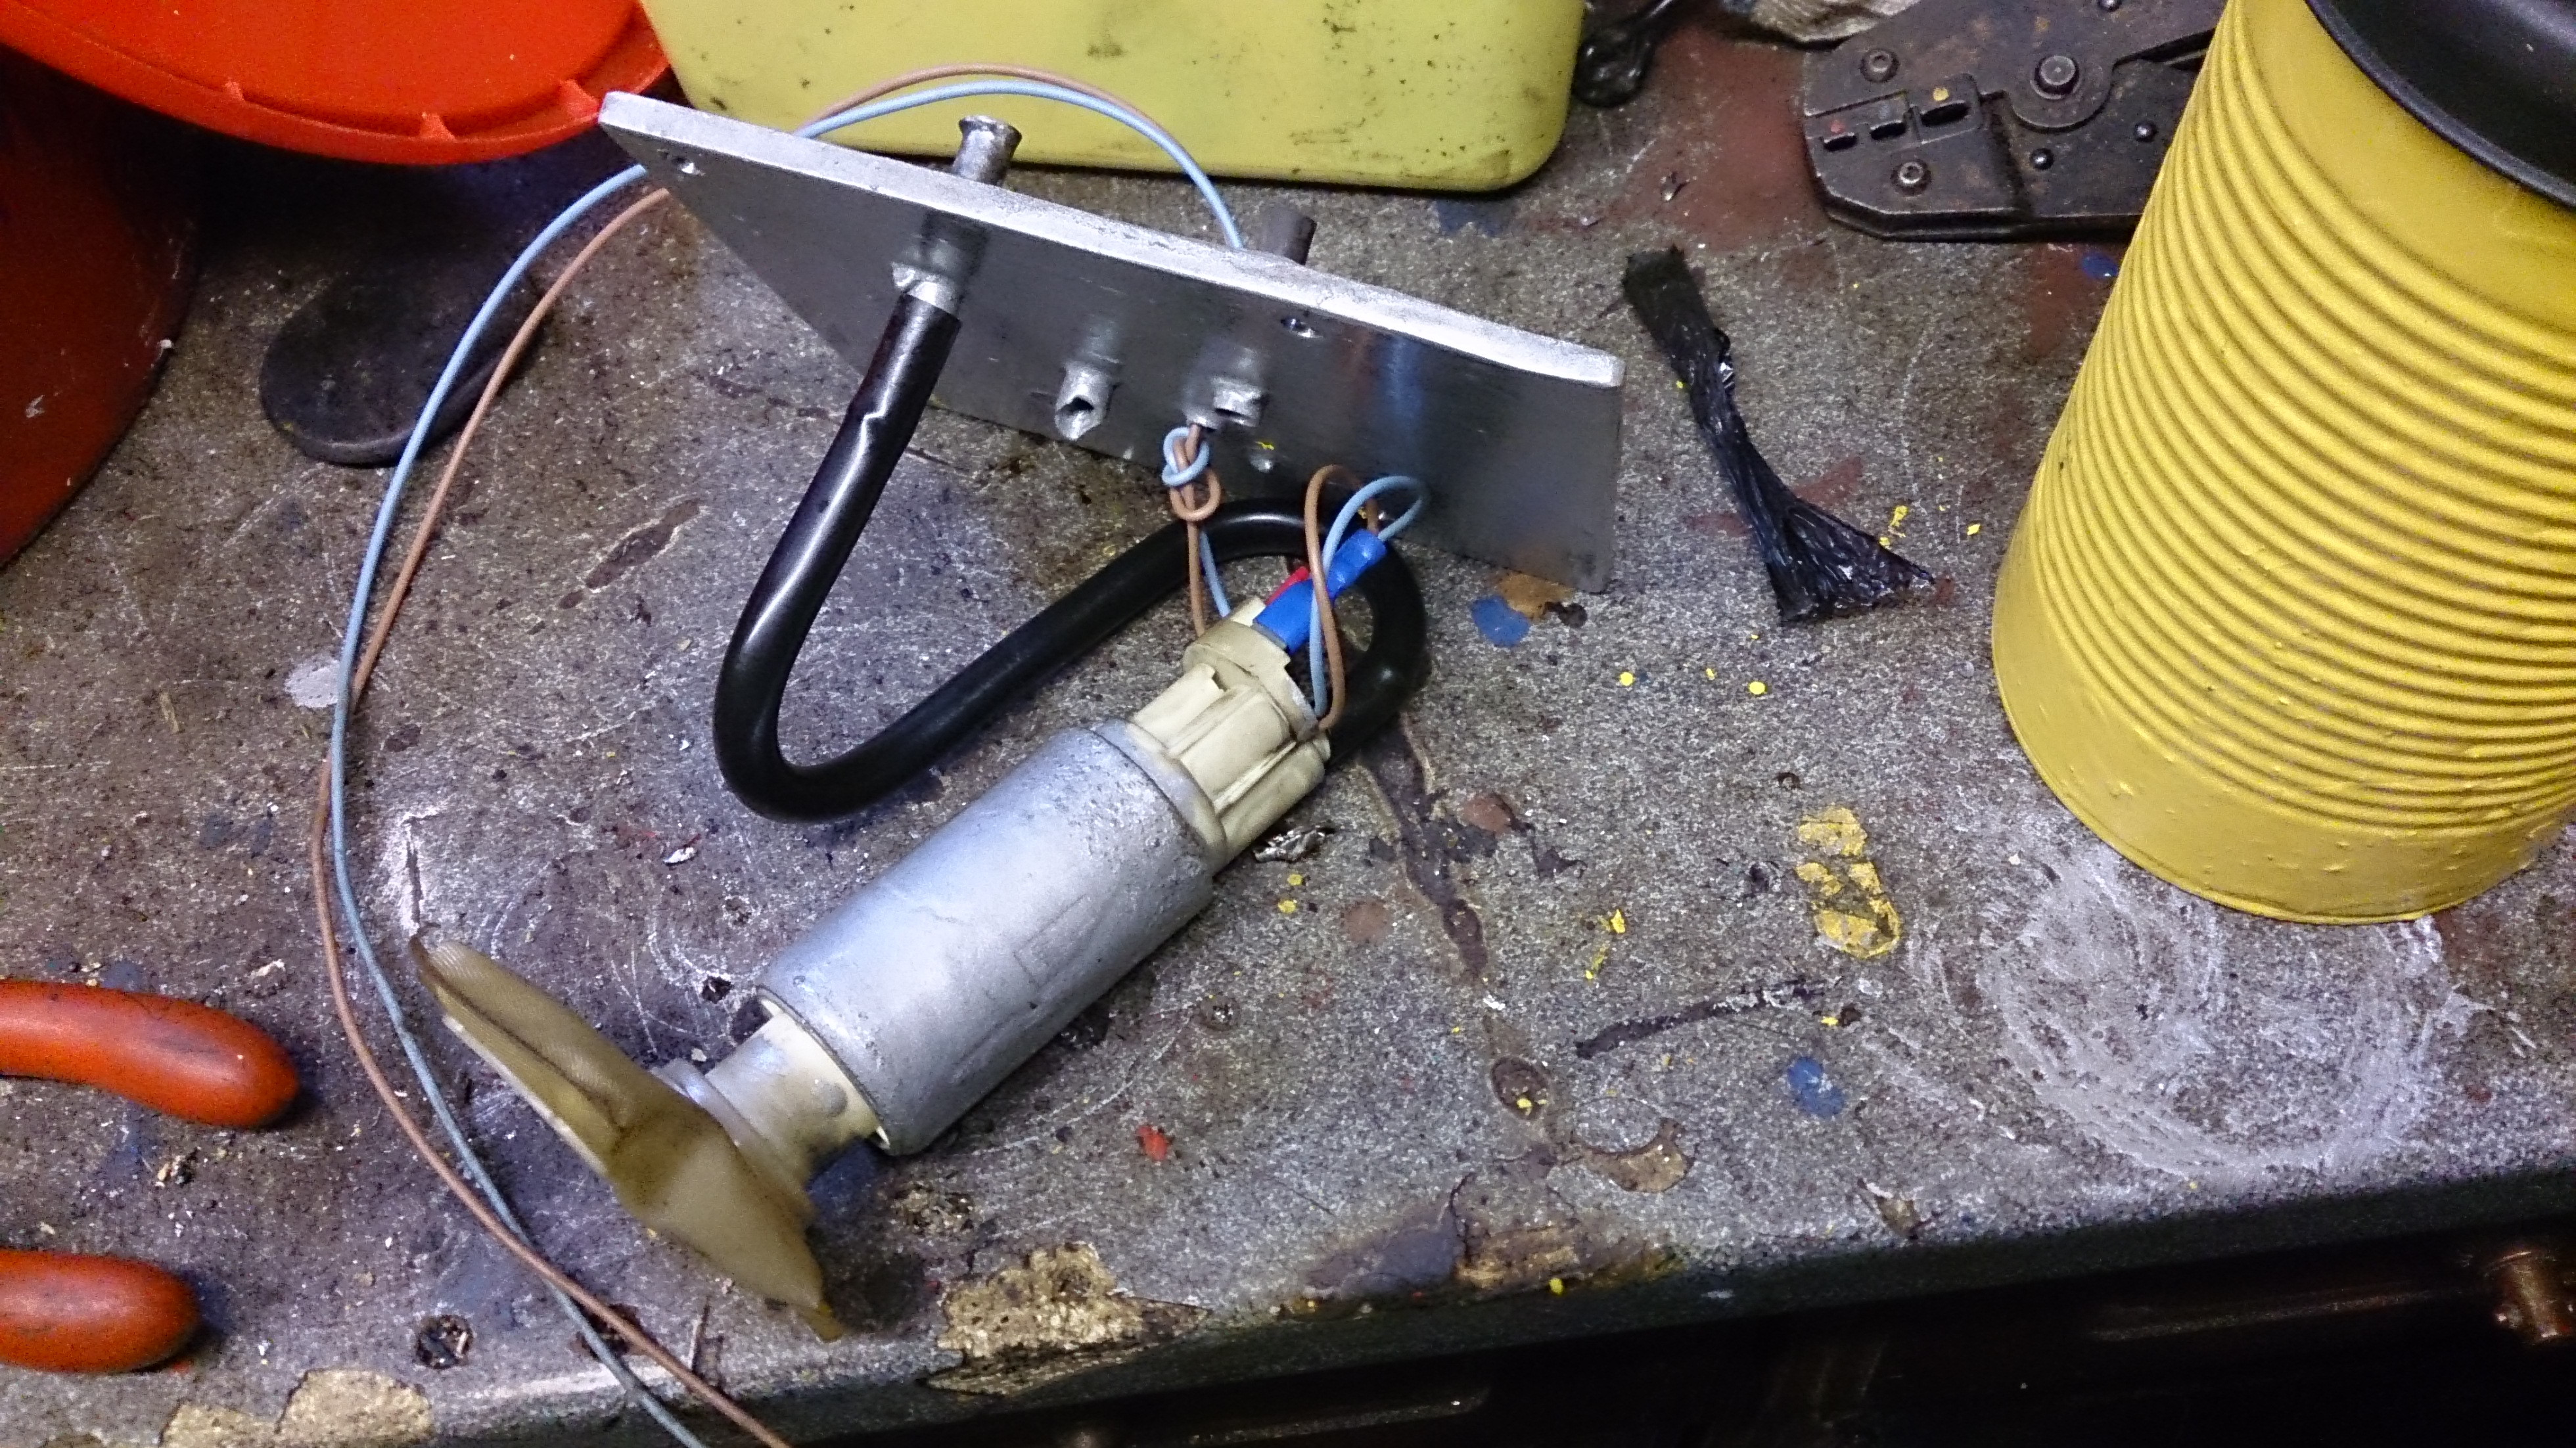
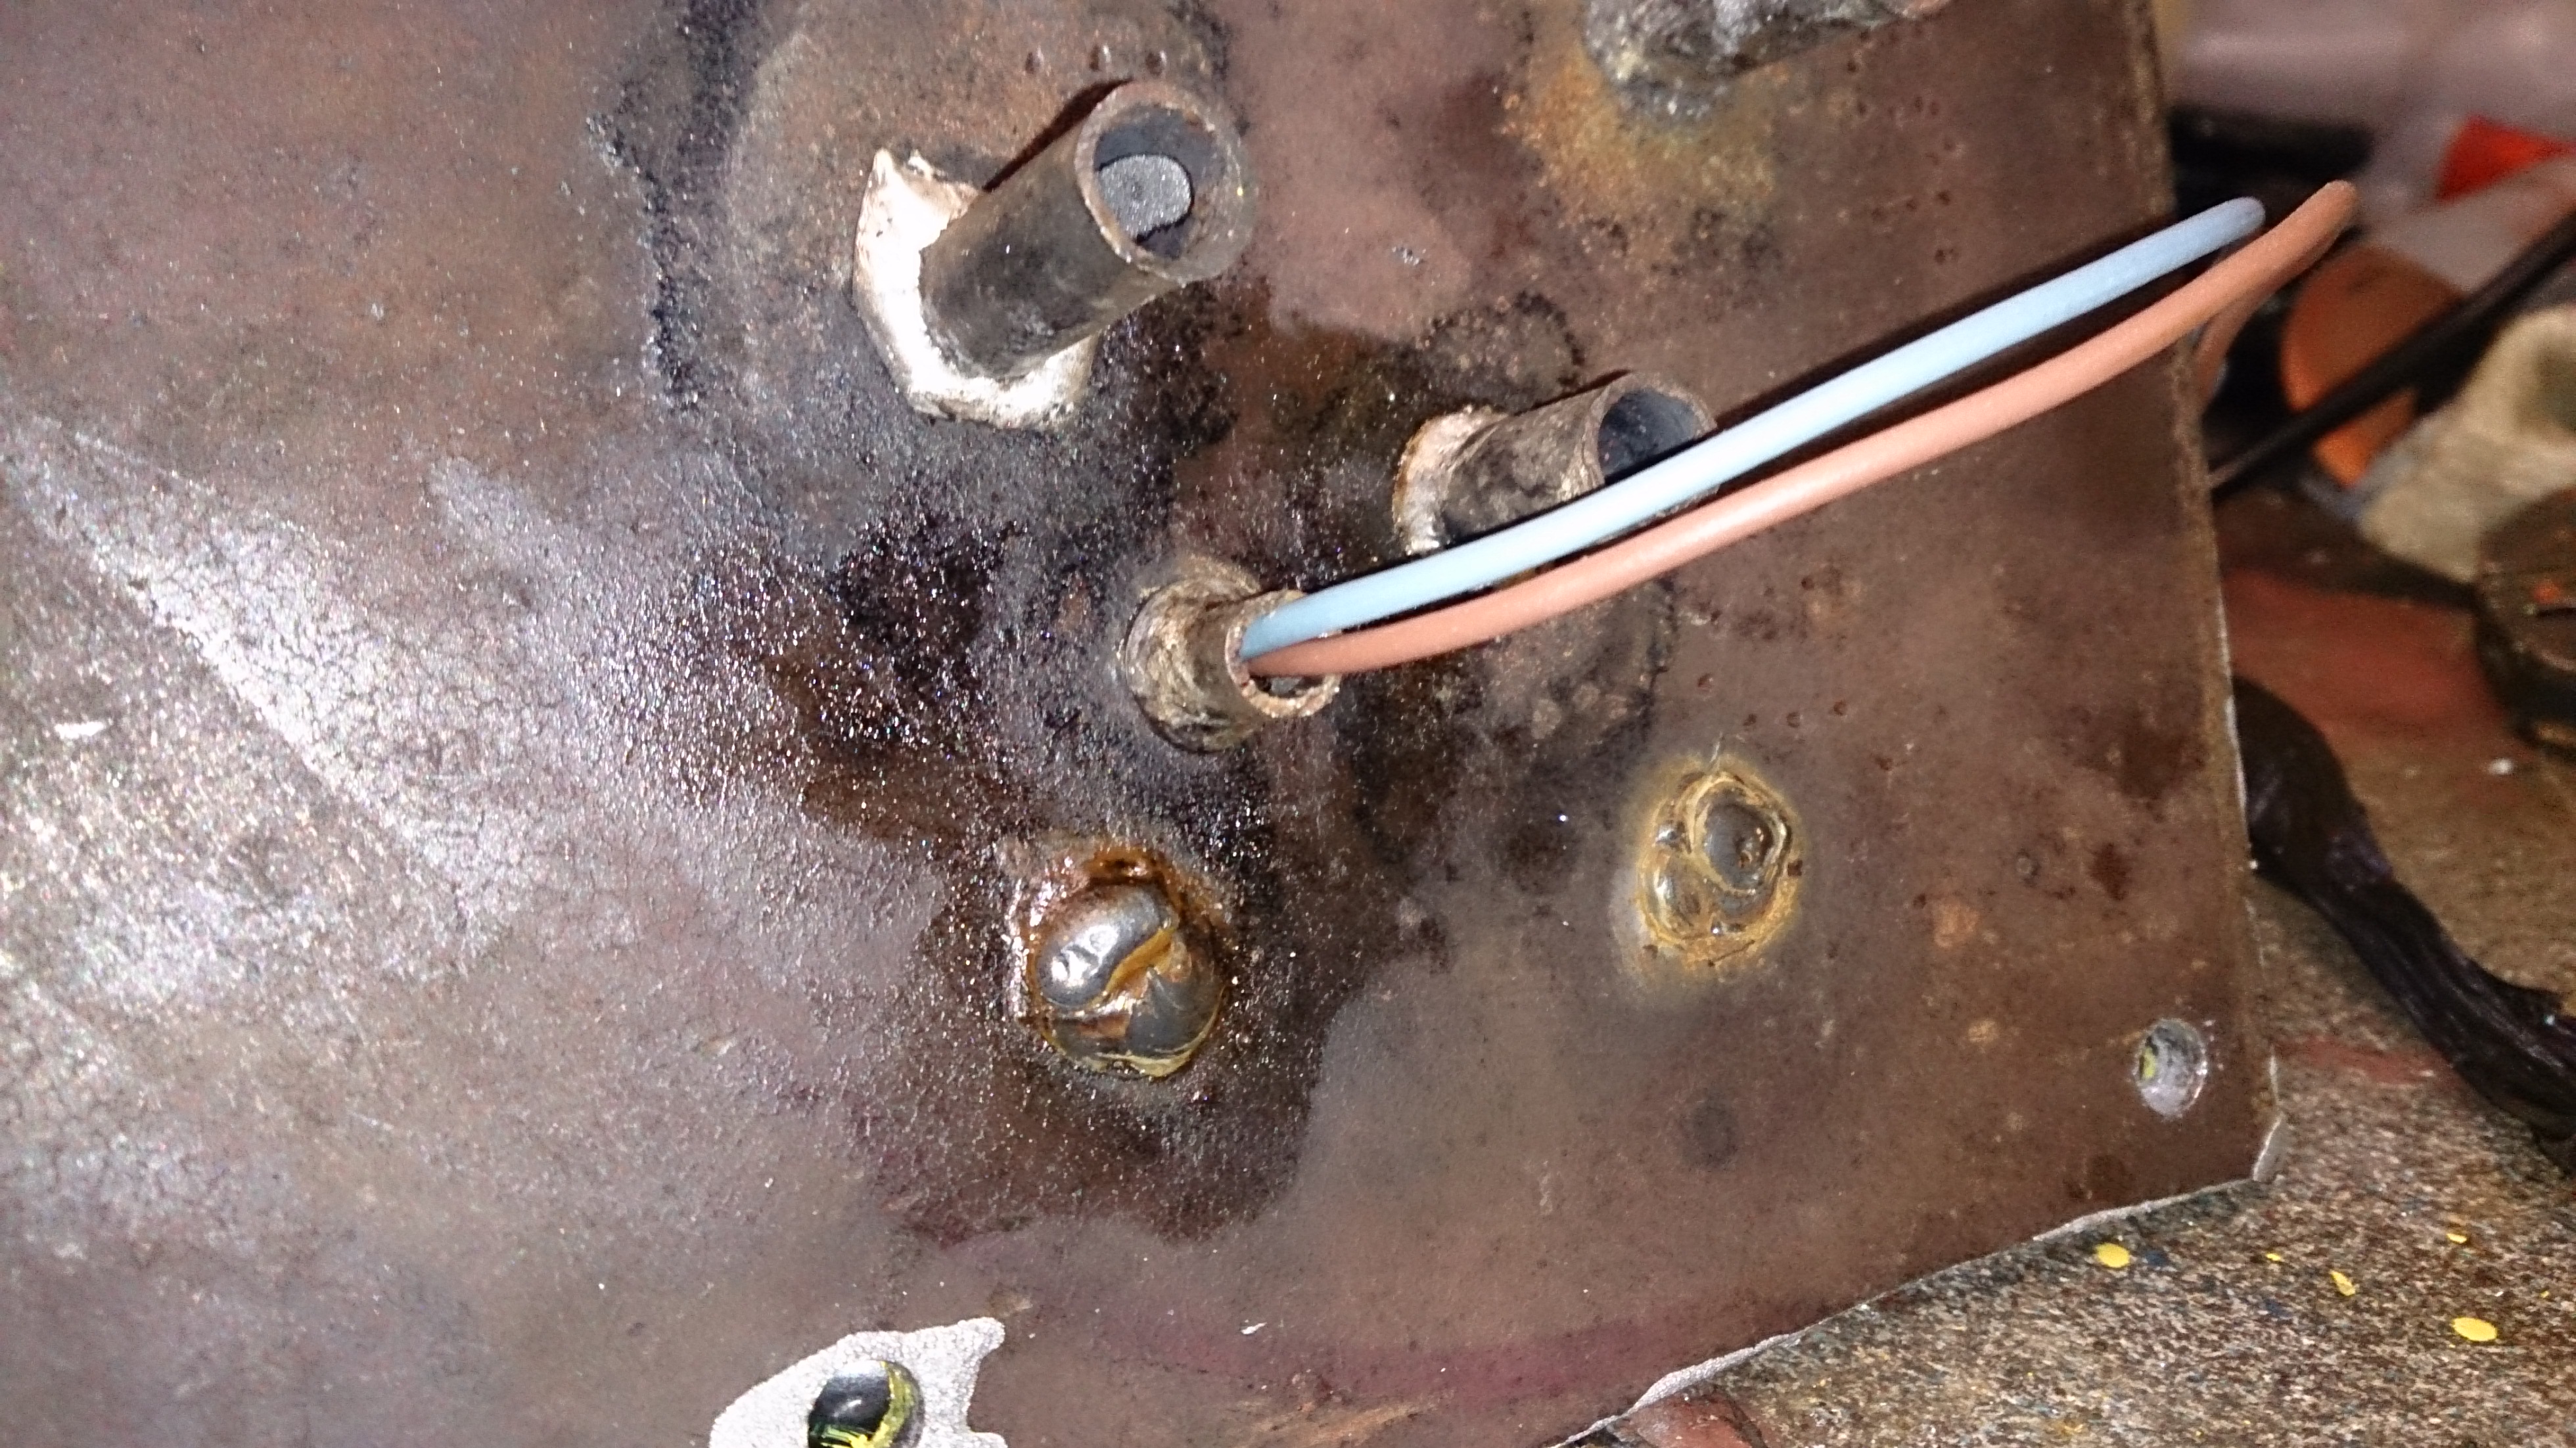
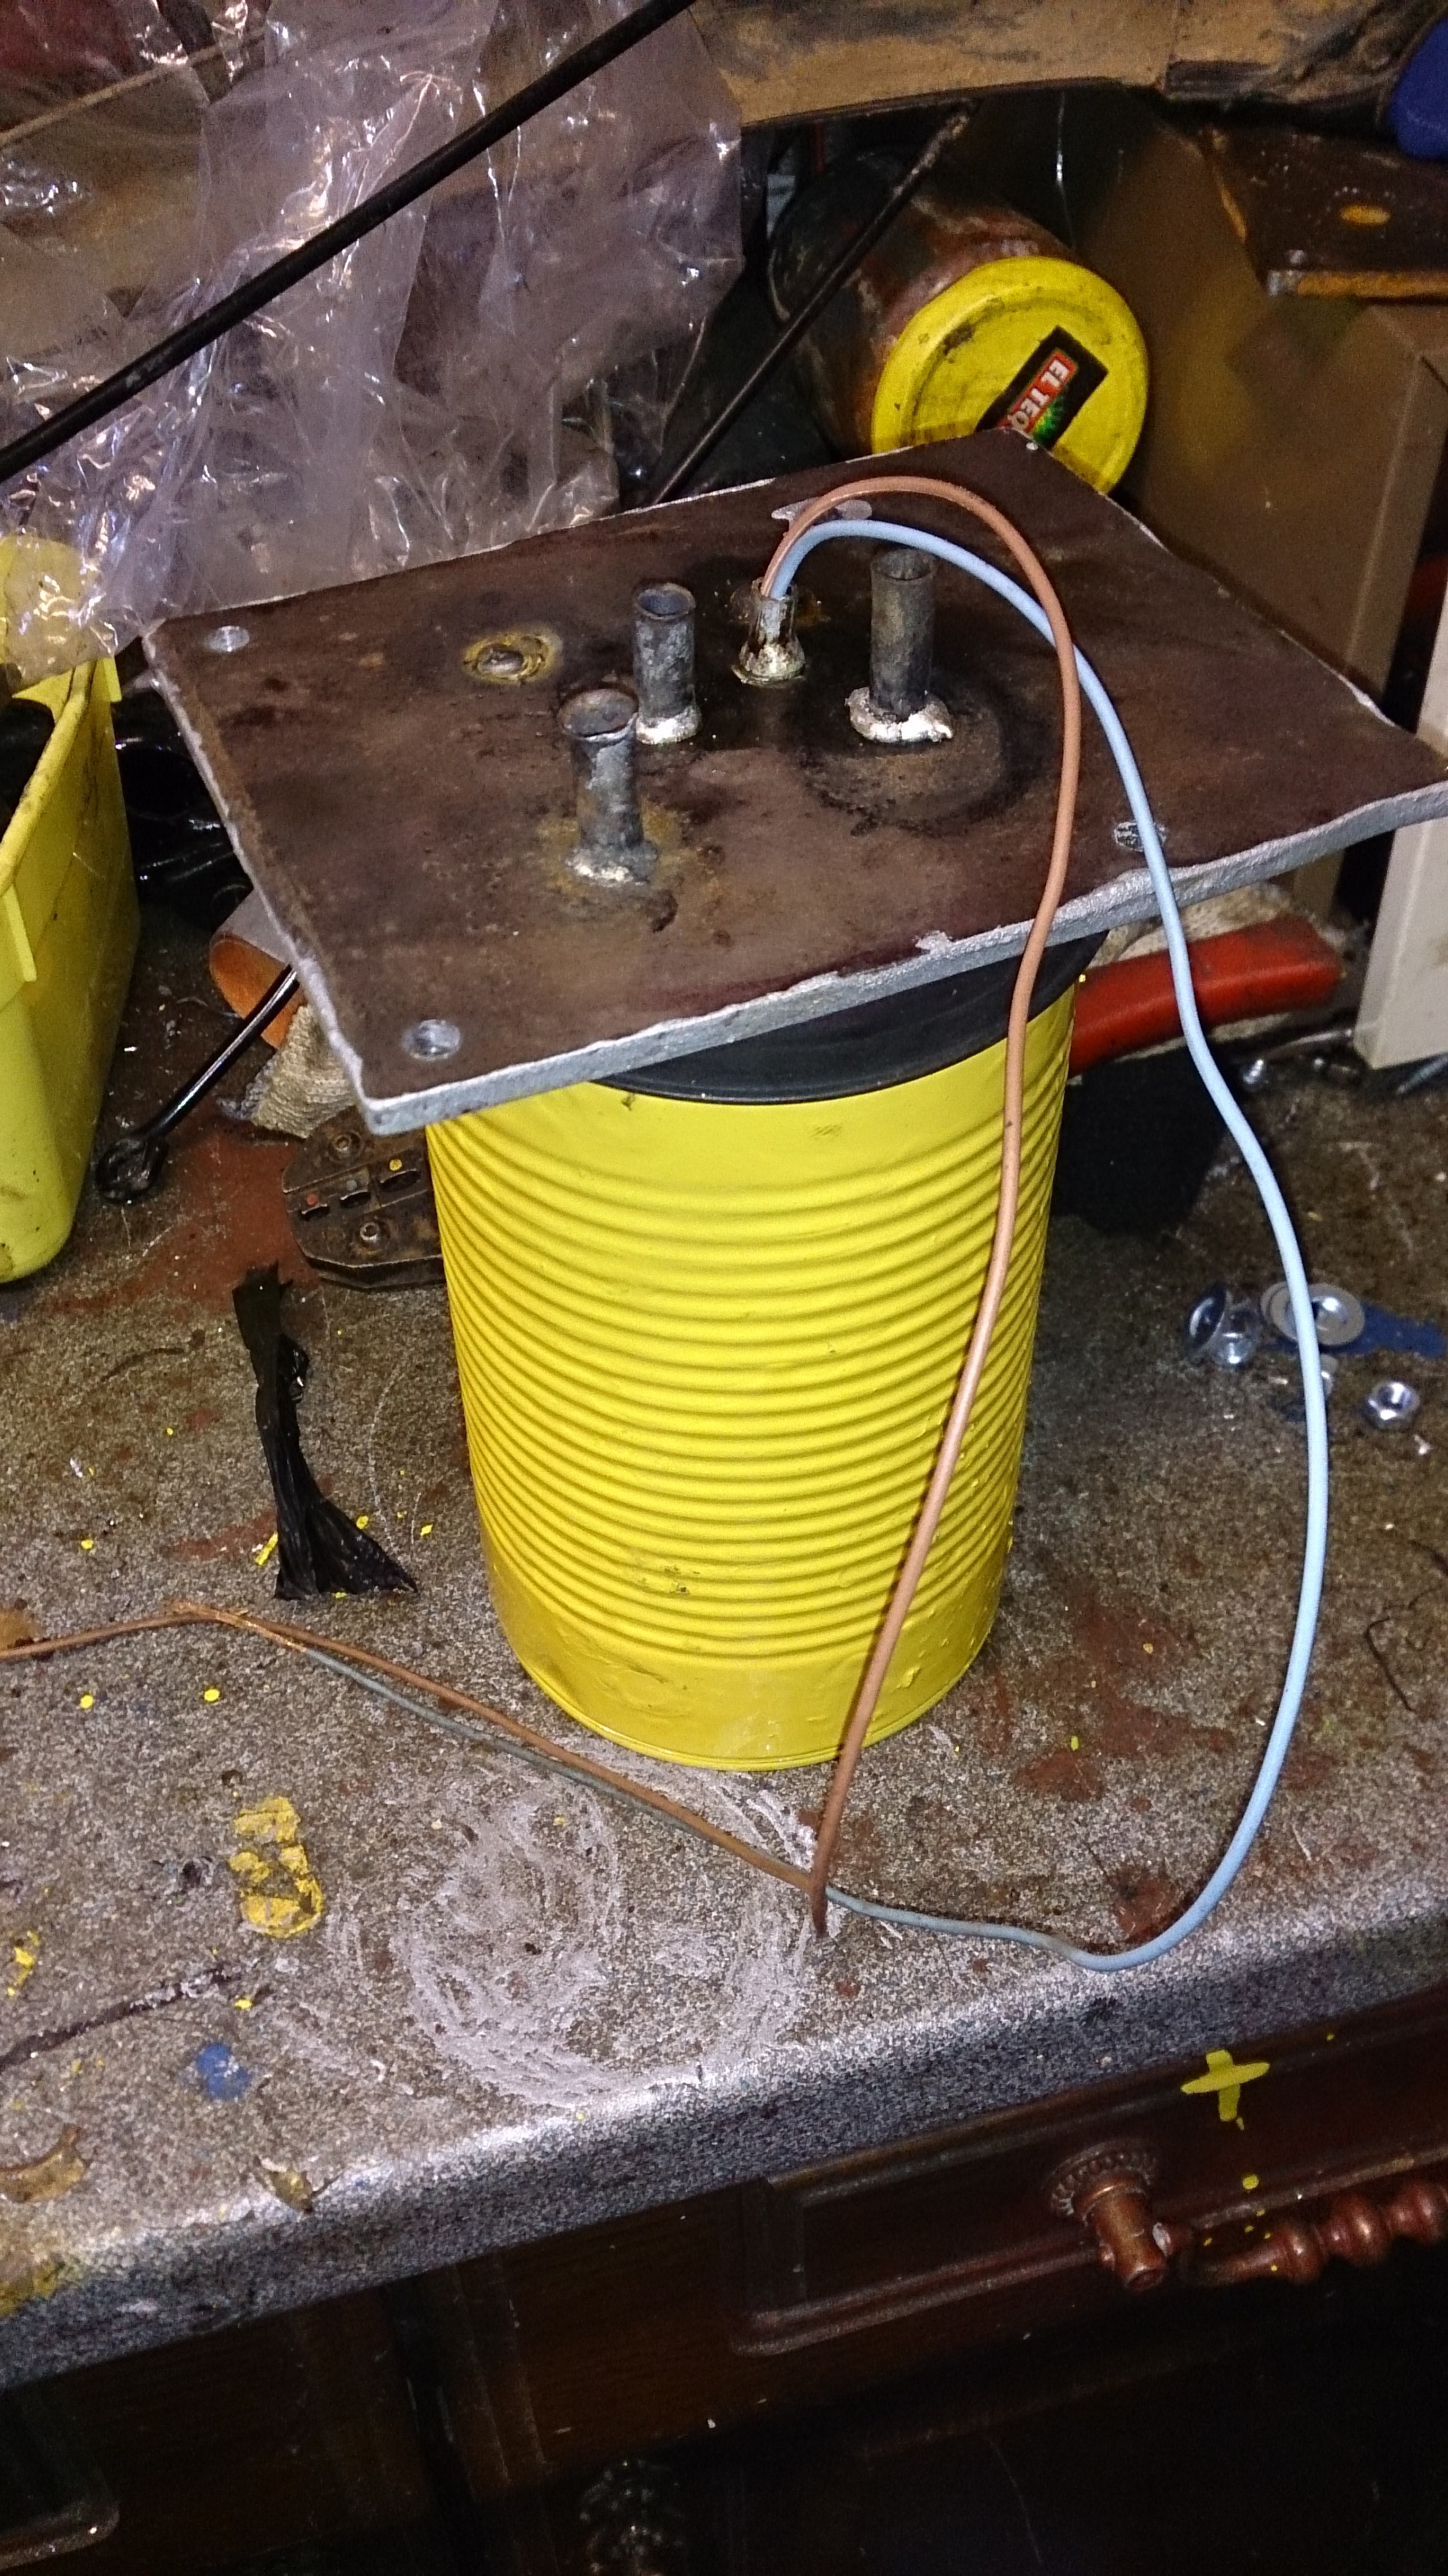
Well.. Swirl pot version 2 point 0hh is well under-way in the making.

heres a few pictures

again using the offcut from one of those universal CV boots for the top seal works fantastic.


gonna seal this with some JB weld


bad news on the airbox guys.. the punto75 one wont fit. its too long and hits the radiator :( back to looking for a decent airbox/filter housing :(

i have also bought some pressed metal plates from >This guy< on ebay. recommended by another forum member a few weeks back.


i now need to decide what the hell i am going to do with the bumper situation.
the front bumper is fine to be fair. its a little loose at the sides but thats an easy fix.
i have plans of sticking a cinquecento bumper on the front of the car because why the hell not?
i know one of you guys took a picture of one held up to a panda once.. anyone remember who it was?

as for the rear bumper.. i have no idea what the hell i am doing with it.
the one i have is quite beaten up... still usable but i'd need to use bolts as all the plastics have snapped off.

im open for any other suggestion of what i could do in regards of a rear bumper... cmon.. throw anything at me here...

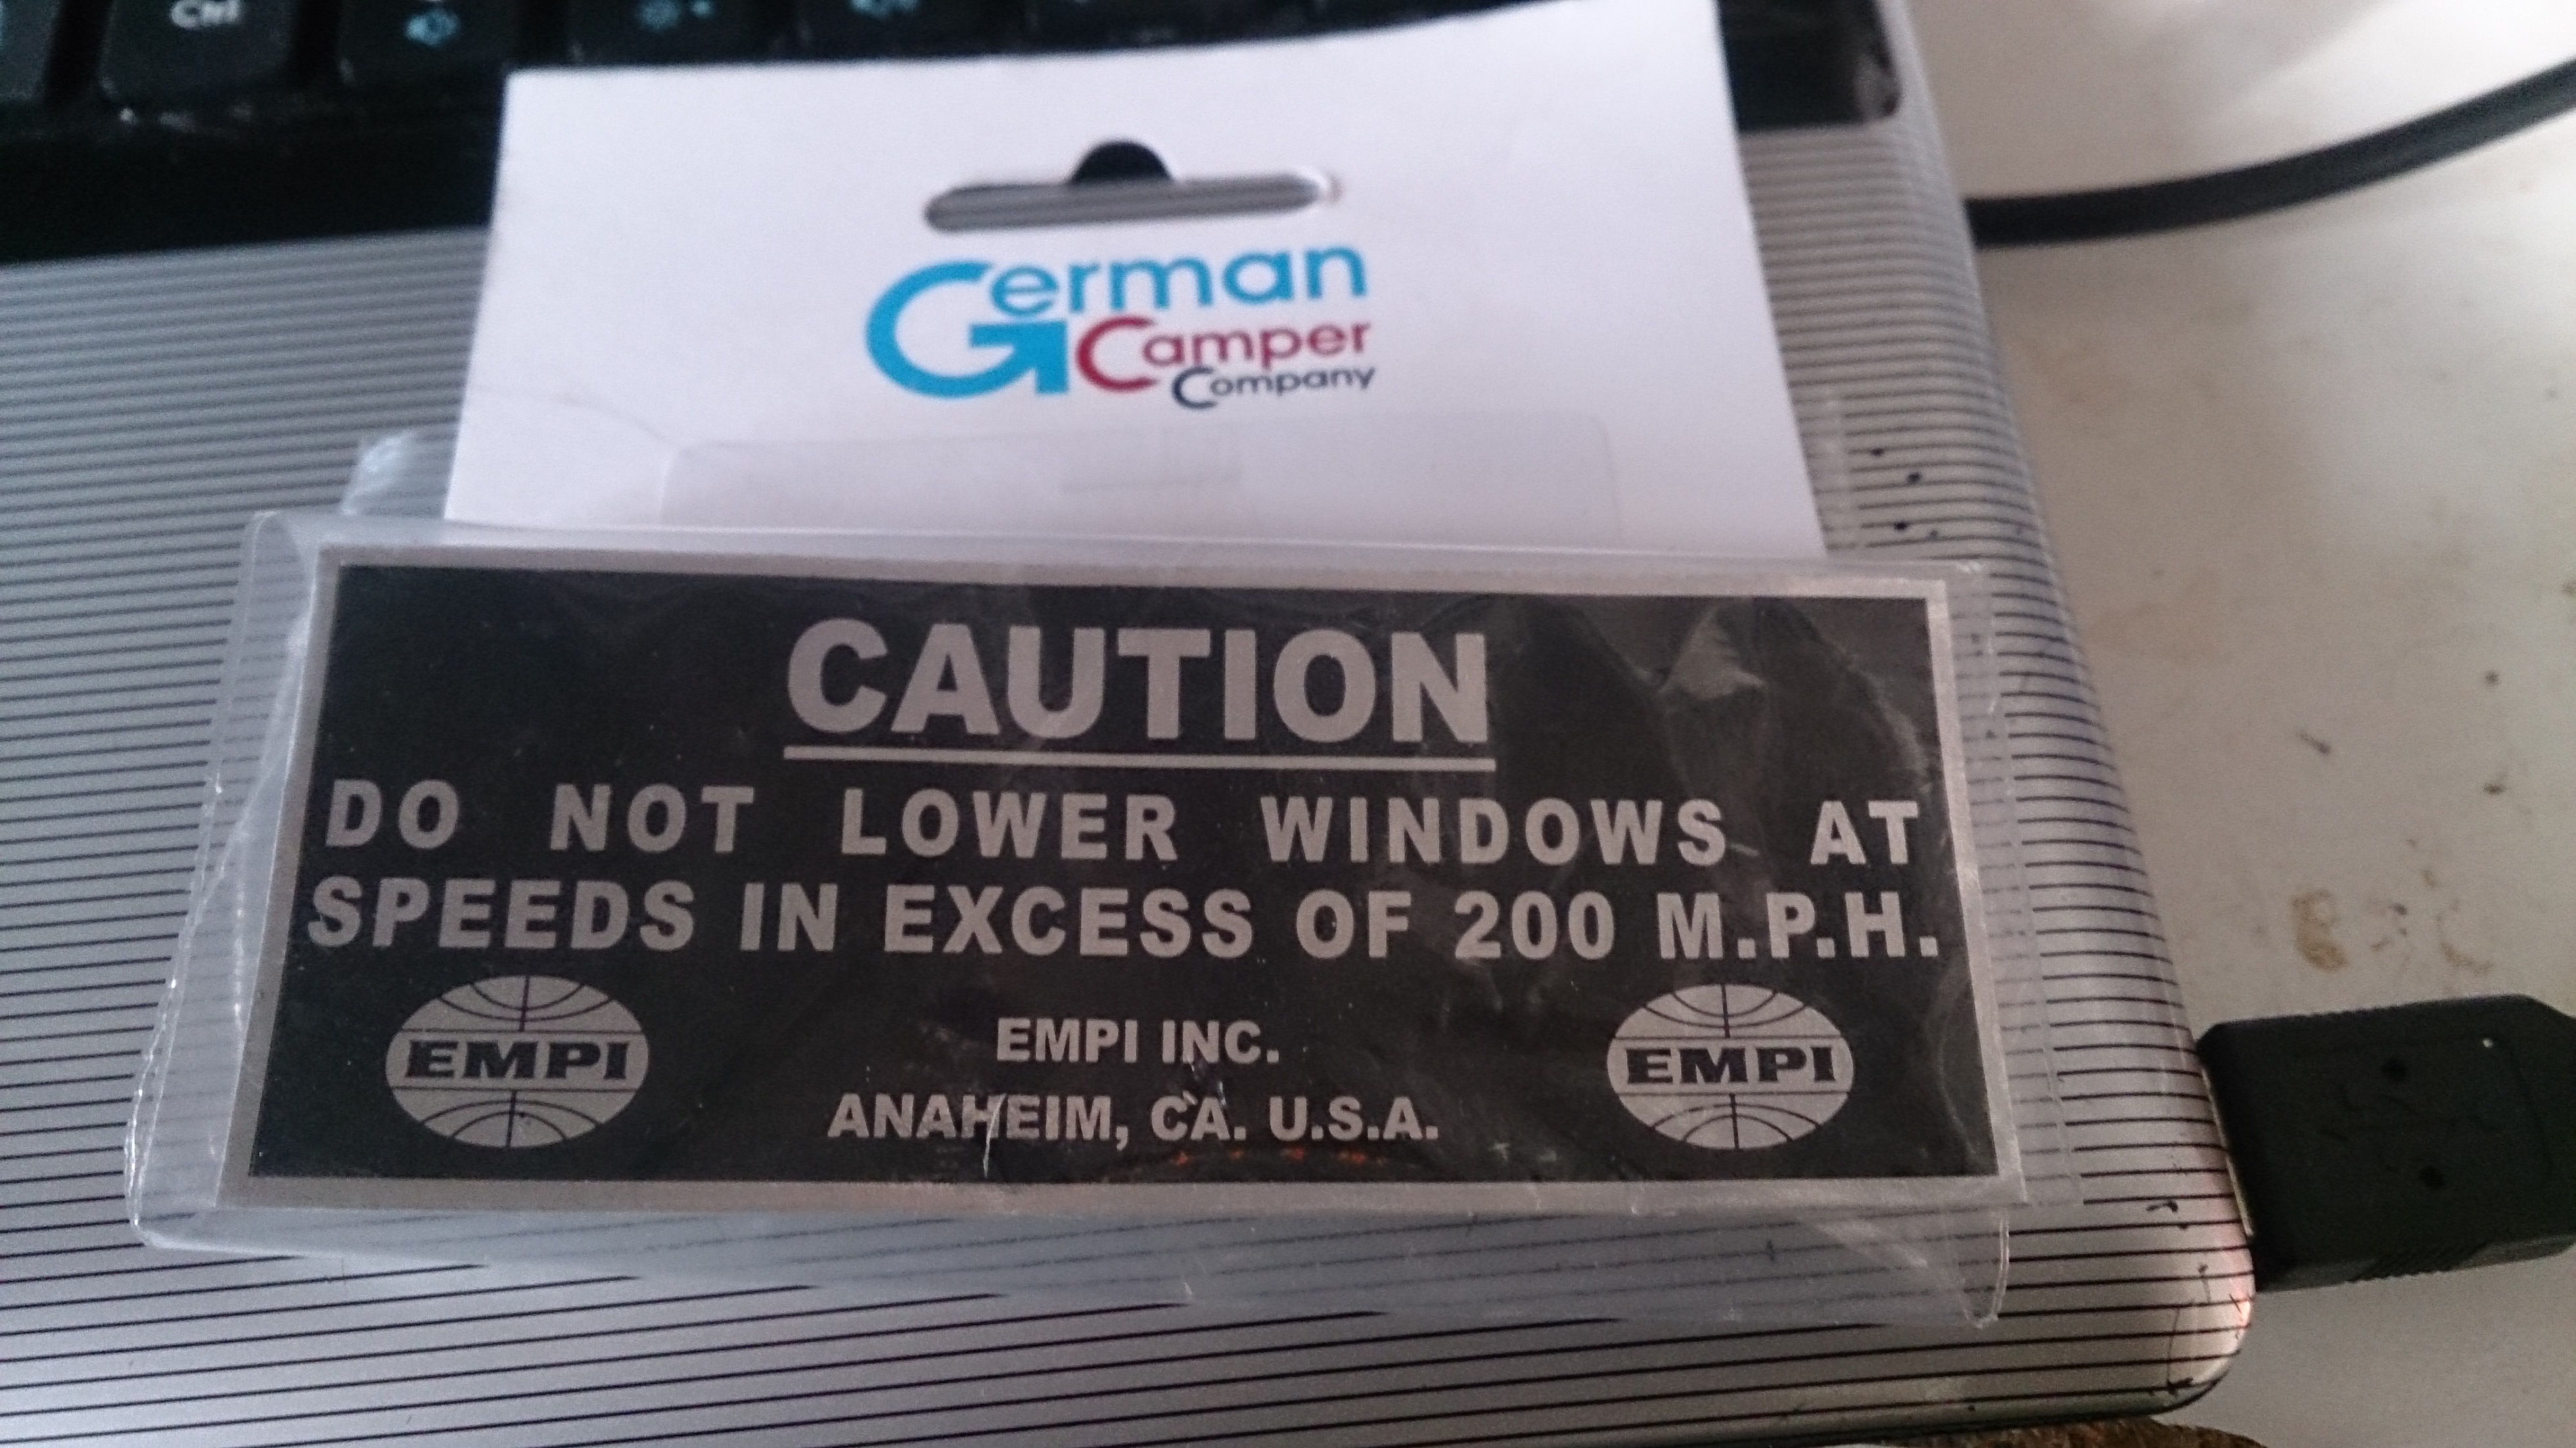
i also got these guys a while back.. a pair of stickers. pretty awesome. i think they are for aircraft but would make quite a nice bit of humour for the fallout panda.


i have also had a bit of luck at the scrap yard recently too. 4x 866 cam shafts, a perfect condition cam belt cover from a punto 60/75 and a few other bits that took my fancy including one of those yellow "stop" buttons from a bus.. that just has to go in the car somewhere.:idea:

if anybody is after a 866 cam shaft i have 2 left.. one has a brand new oil ring seal too. you'll need to get some shims made up before you use it.. (you'd need to do this anyway). should make a big difference on a 2wd panda. i know its 2mm taller than the 4x4 cam and the engine will still be non interface! ;)
(just shows how much you could take off the head.. i bet you could get some awesome compression ratios if you took it down till it was interface. a bit :eek: though :/

well guys that is about it.


jobs i need to do (for my reference)

belt splash guard
fuel plumbing
Y connector
number plate light(s)
switch wiring
blower PWM
find original clocks
paint sump
make breaks not spongy
hand brake cable adjustment
throttle cable slack adjustment
headlamp beam level check
bolt in seats and belts
do something with carpet
drill/weld stainless nuts for window grills
little plastic inner wheel arch trim clips
find/make clips
fit r/view mirror
visors
alarm remote program
i suck at making lists
replace gear stick knob
find good battery
wire in CODE and injector light
find keys
replace all tyres
ducting for wiring
rear washer jet
front washer jet (spray bar?)
cinq wiper arm and new blades
sort out air box
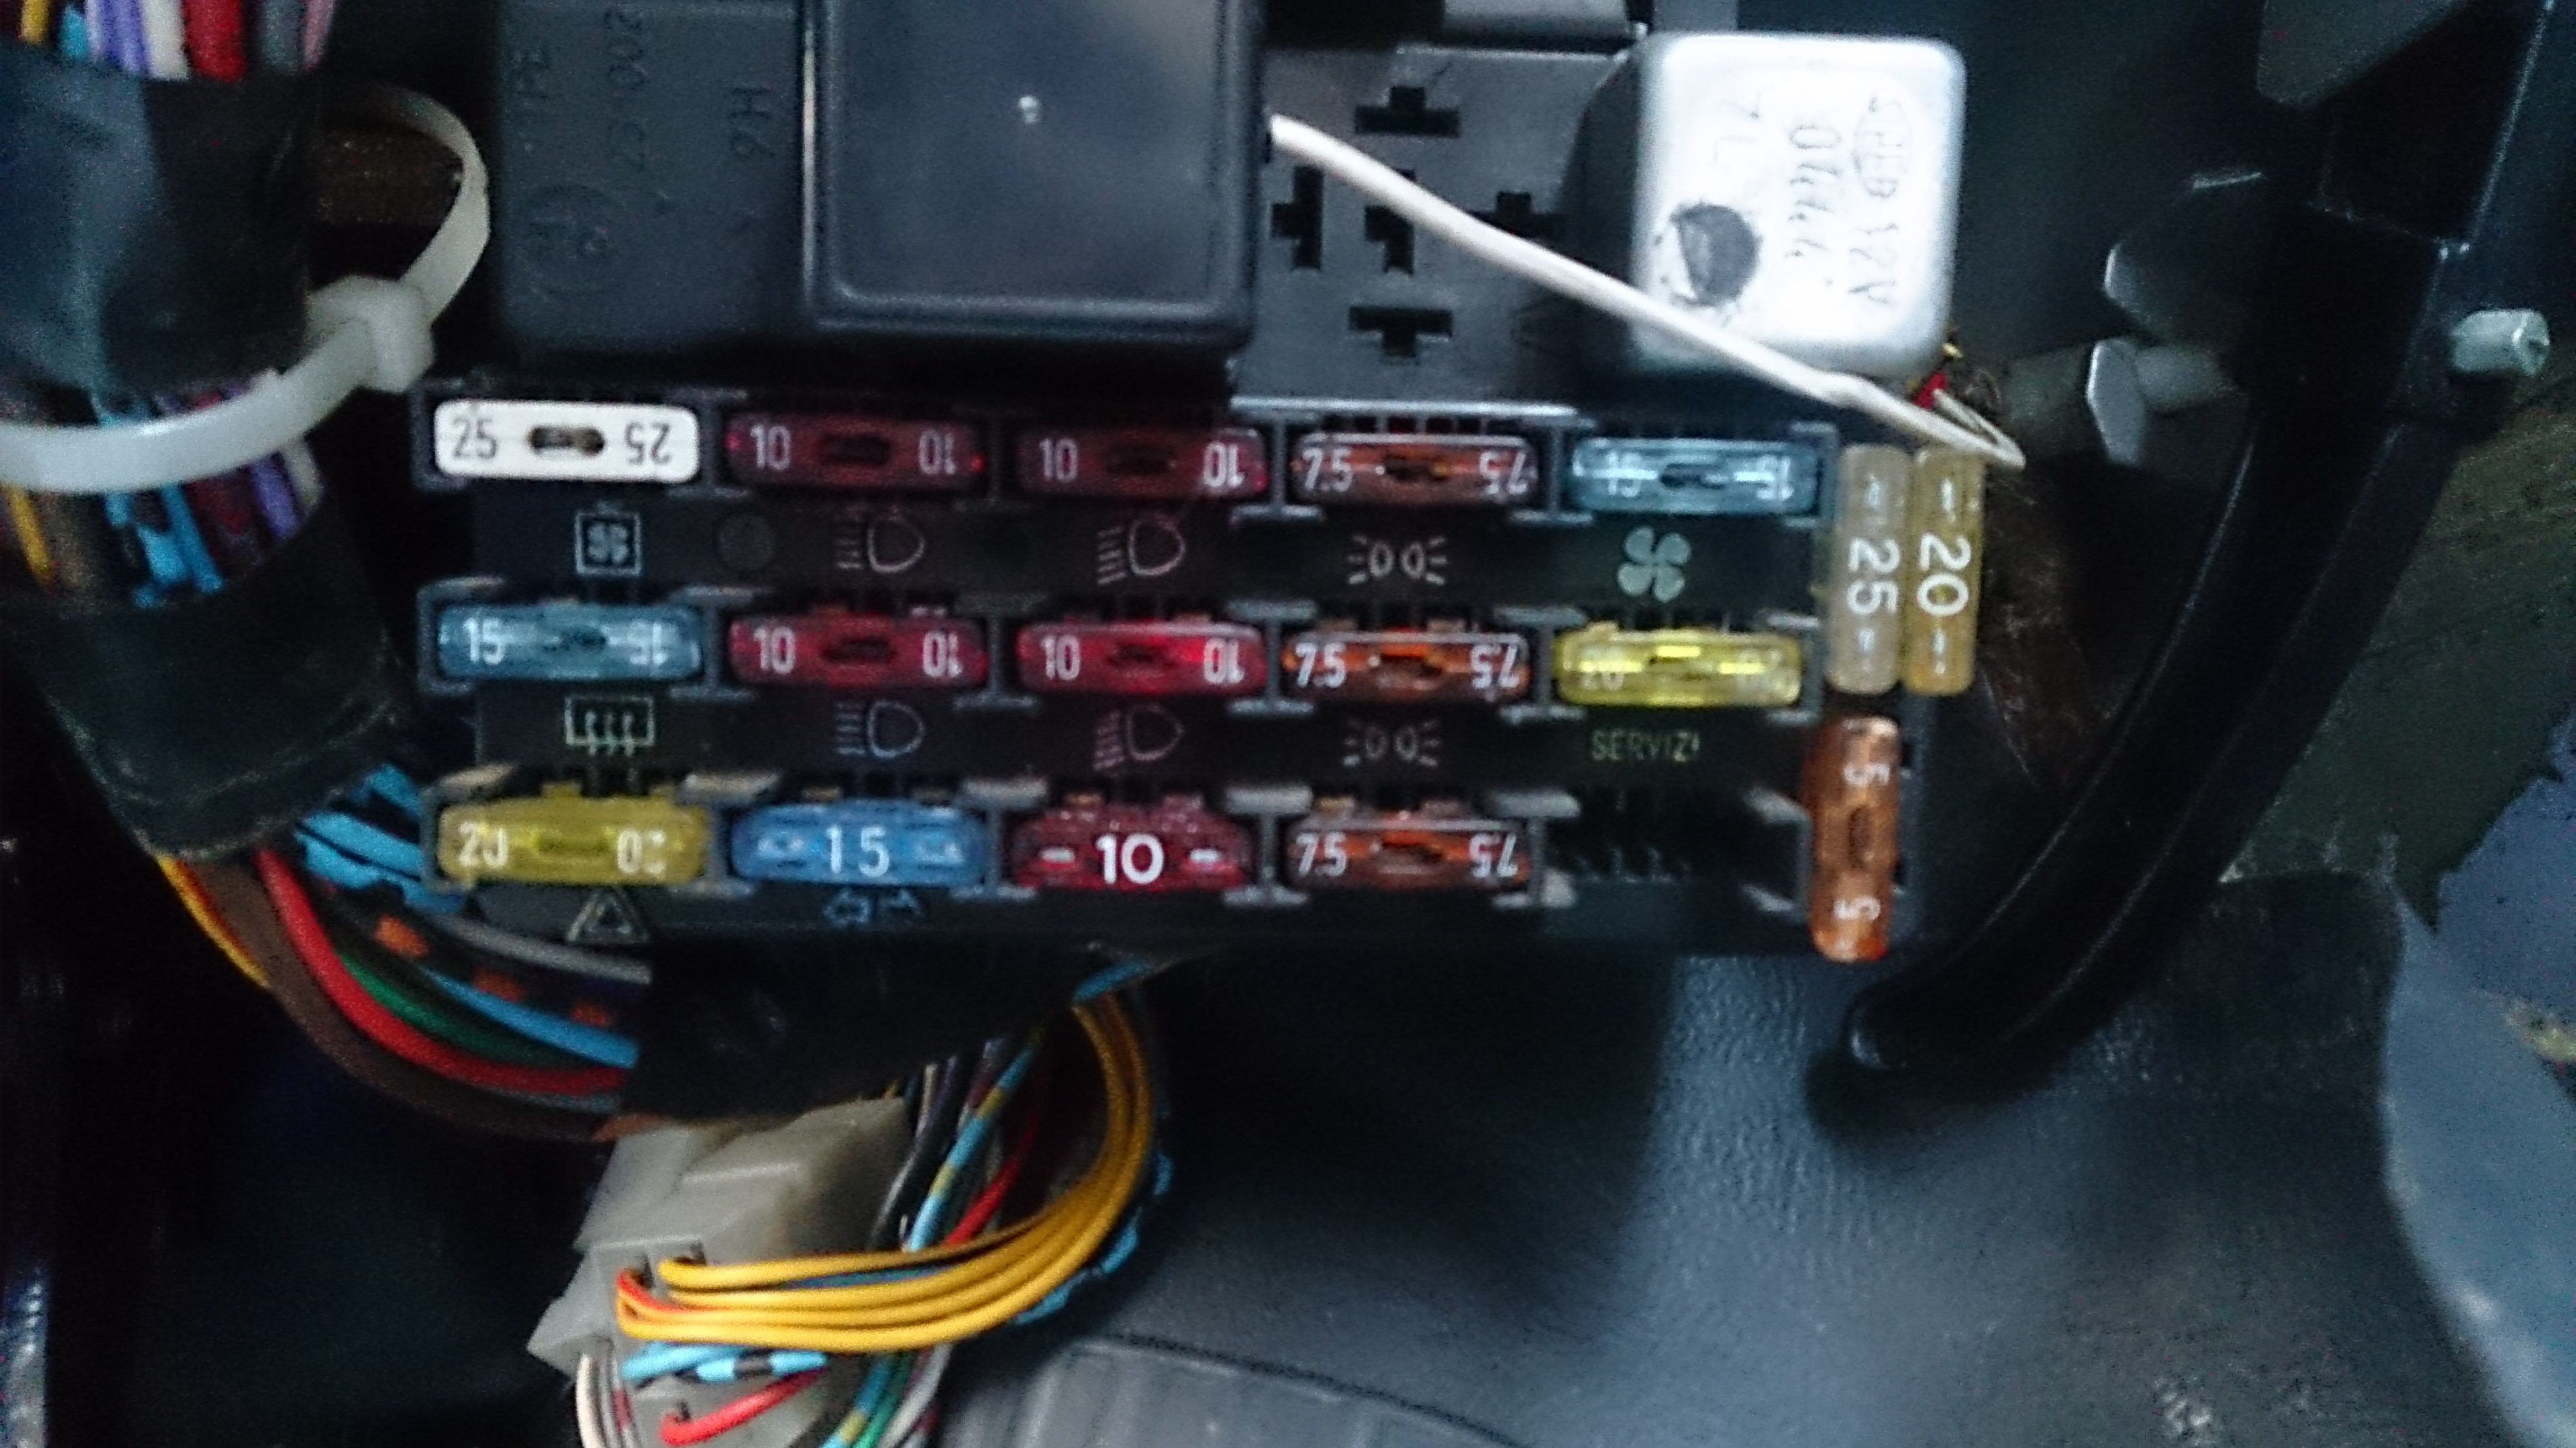
replace all fuses (pic ref)
 
Last edited:
i spend most of the day fixing a 09 plate vw polo.. wiper linkage snapped! if you are interested i did make a youtube video of it :D

after that i had a bit of time to work on fallout.

i finally put and bolted in the front seats, and bolted in all the seat belts.

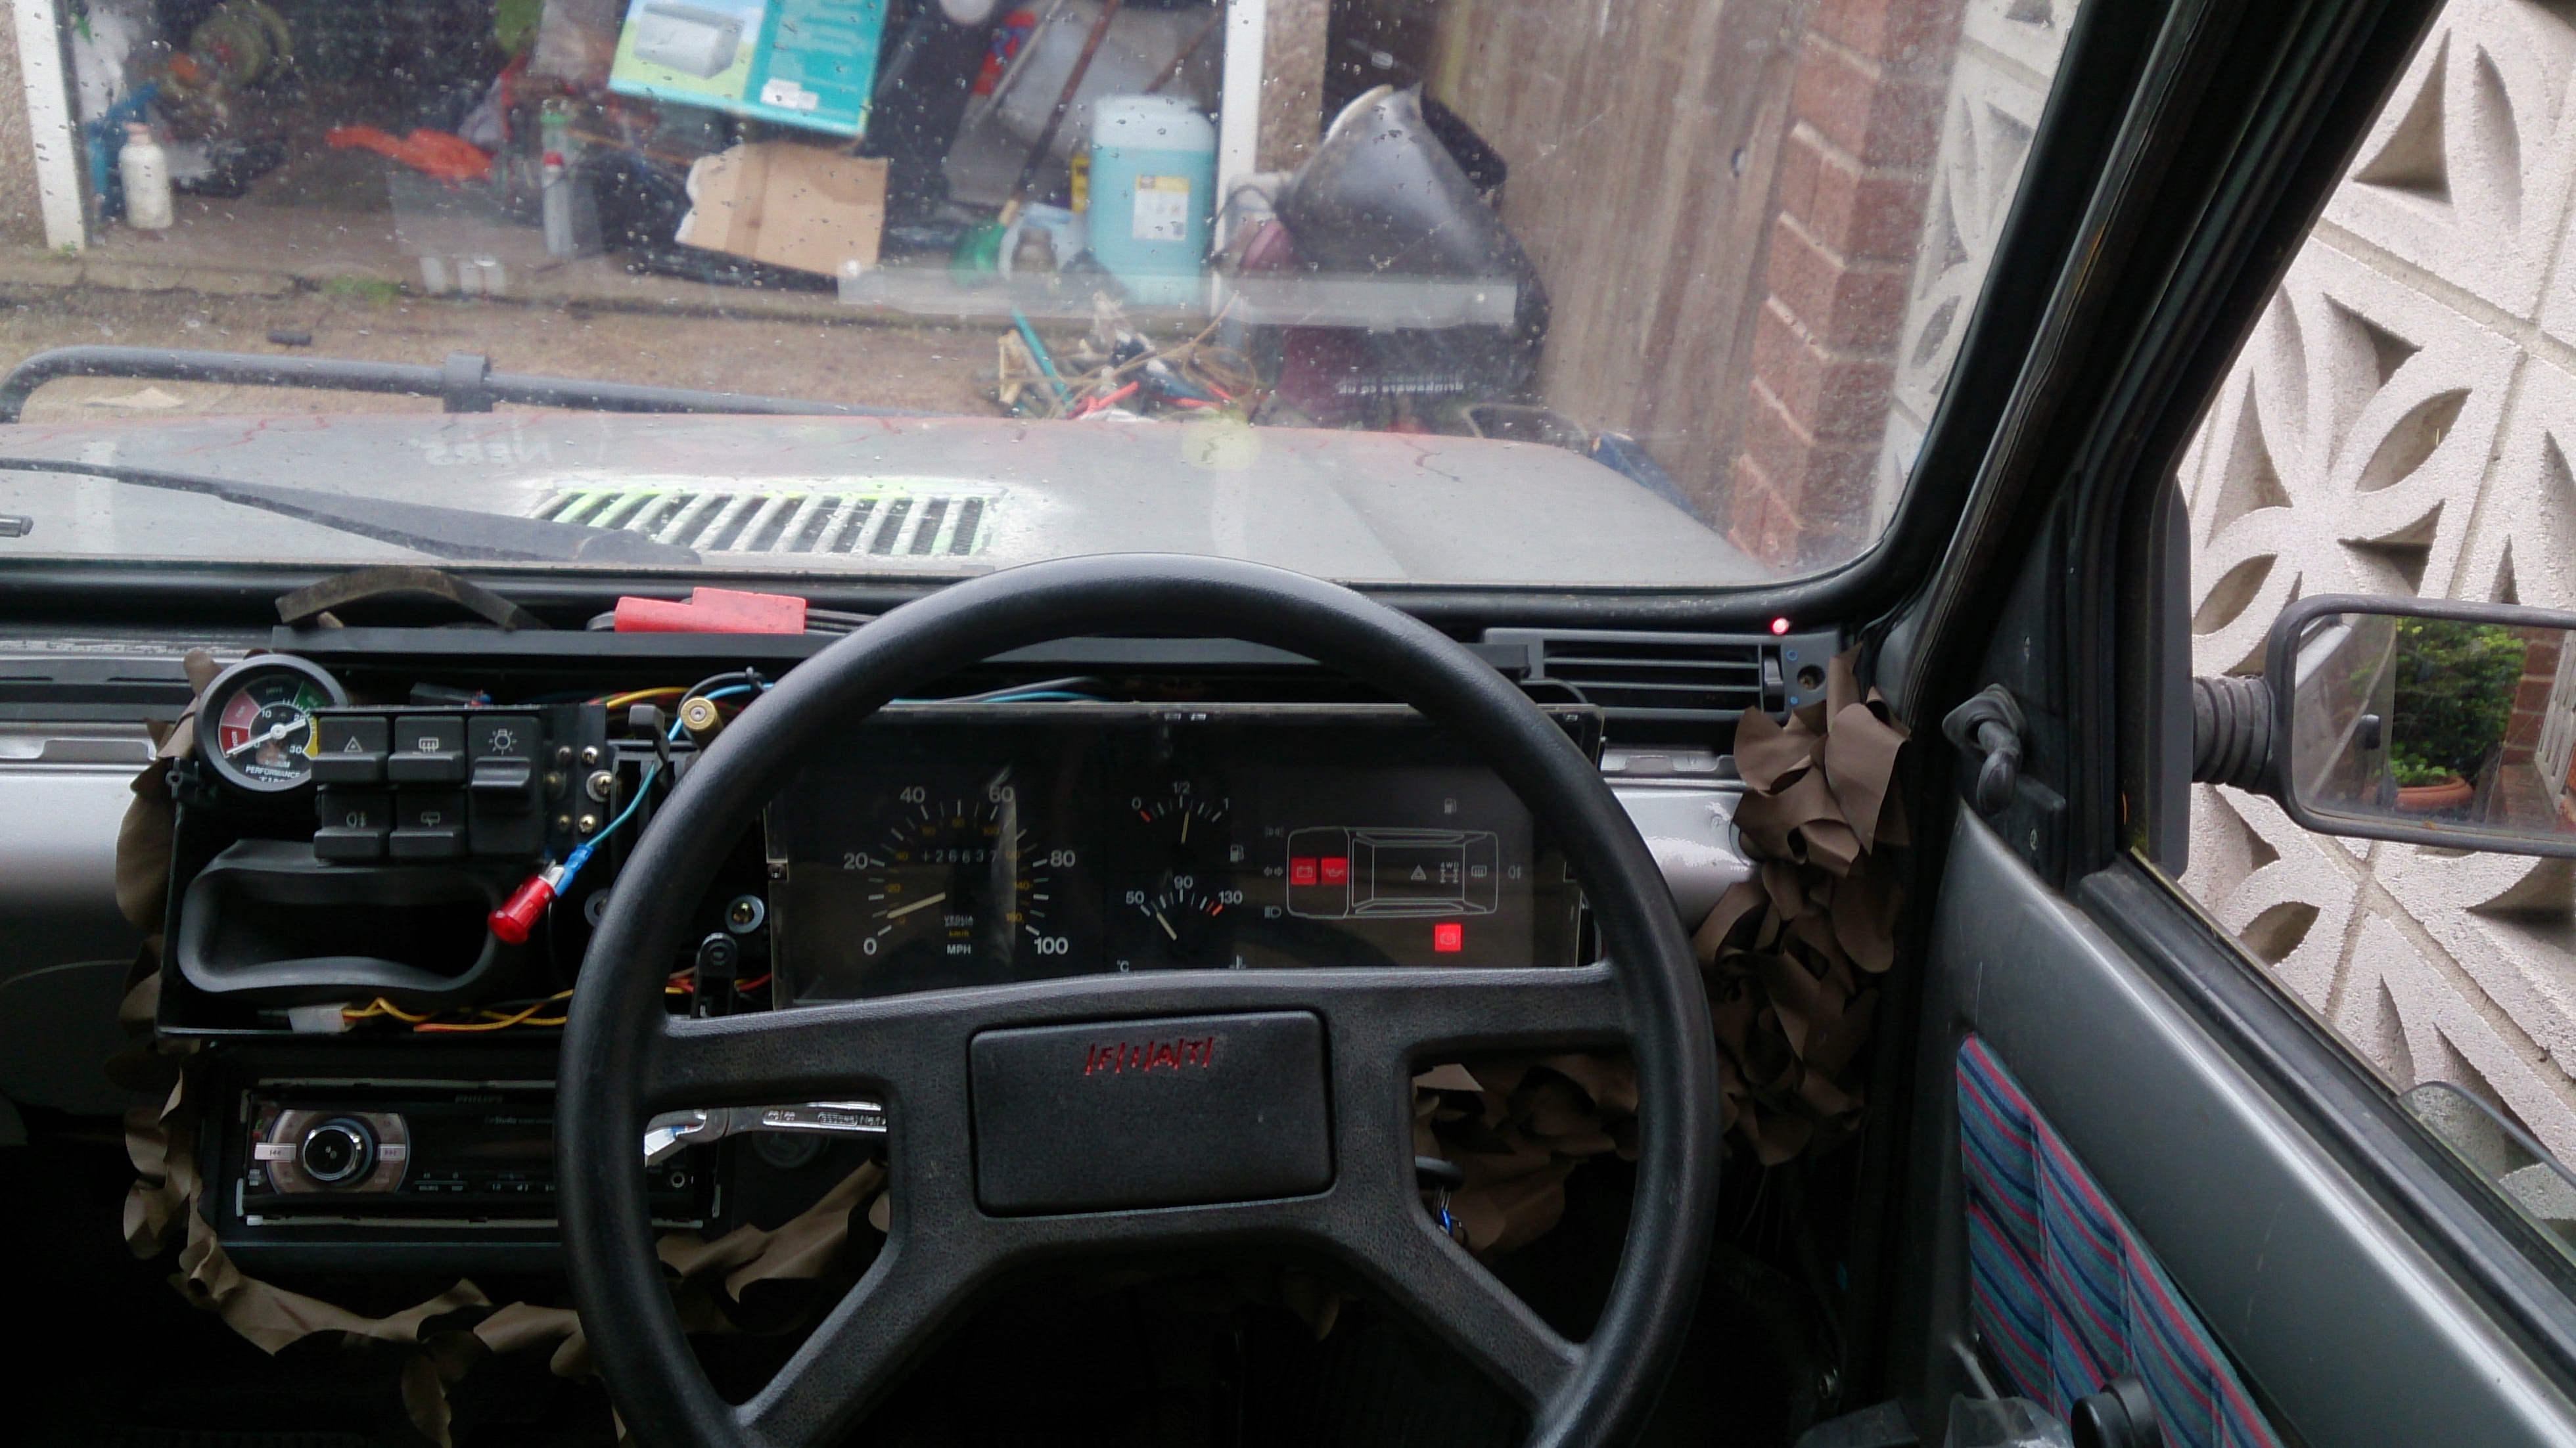
i found the instrument cluster/clocks so i have them connected up.. i have one of the bolts tiger sealing.. as the plastic it sits in had snapped.

sorry its blurry :/


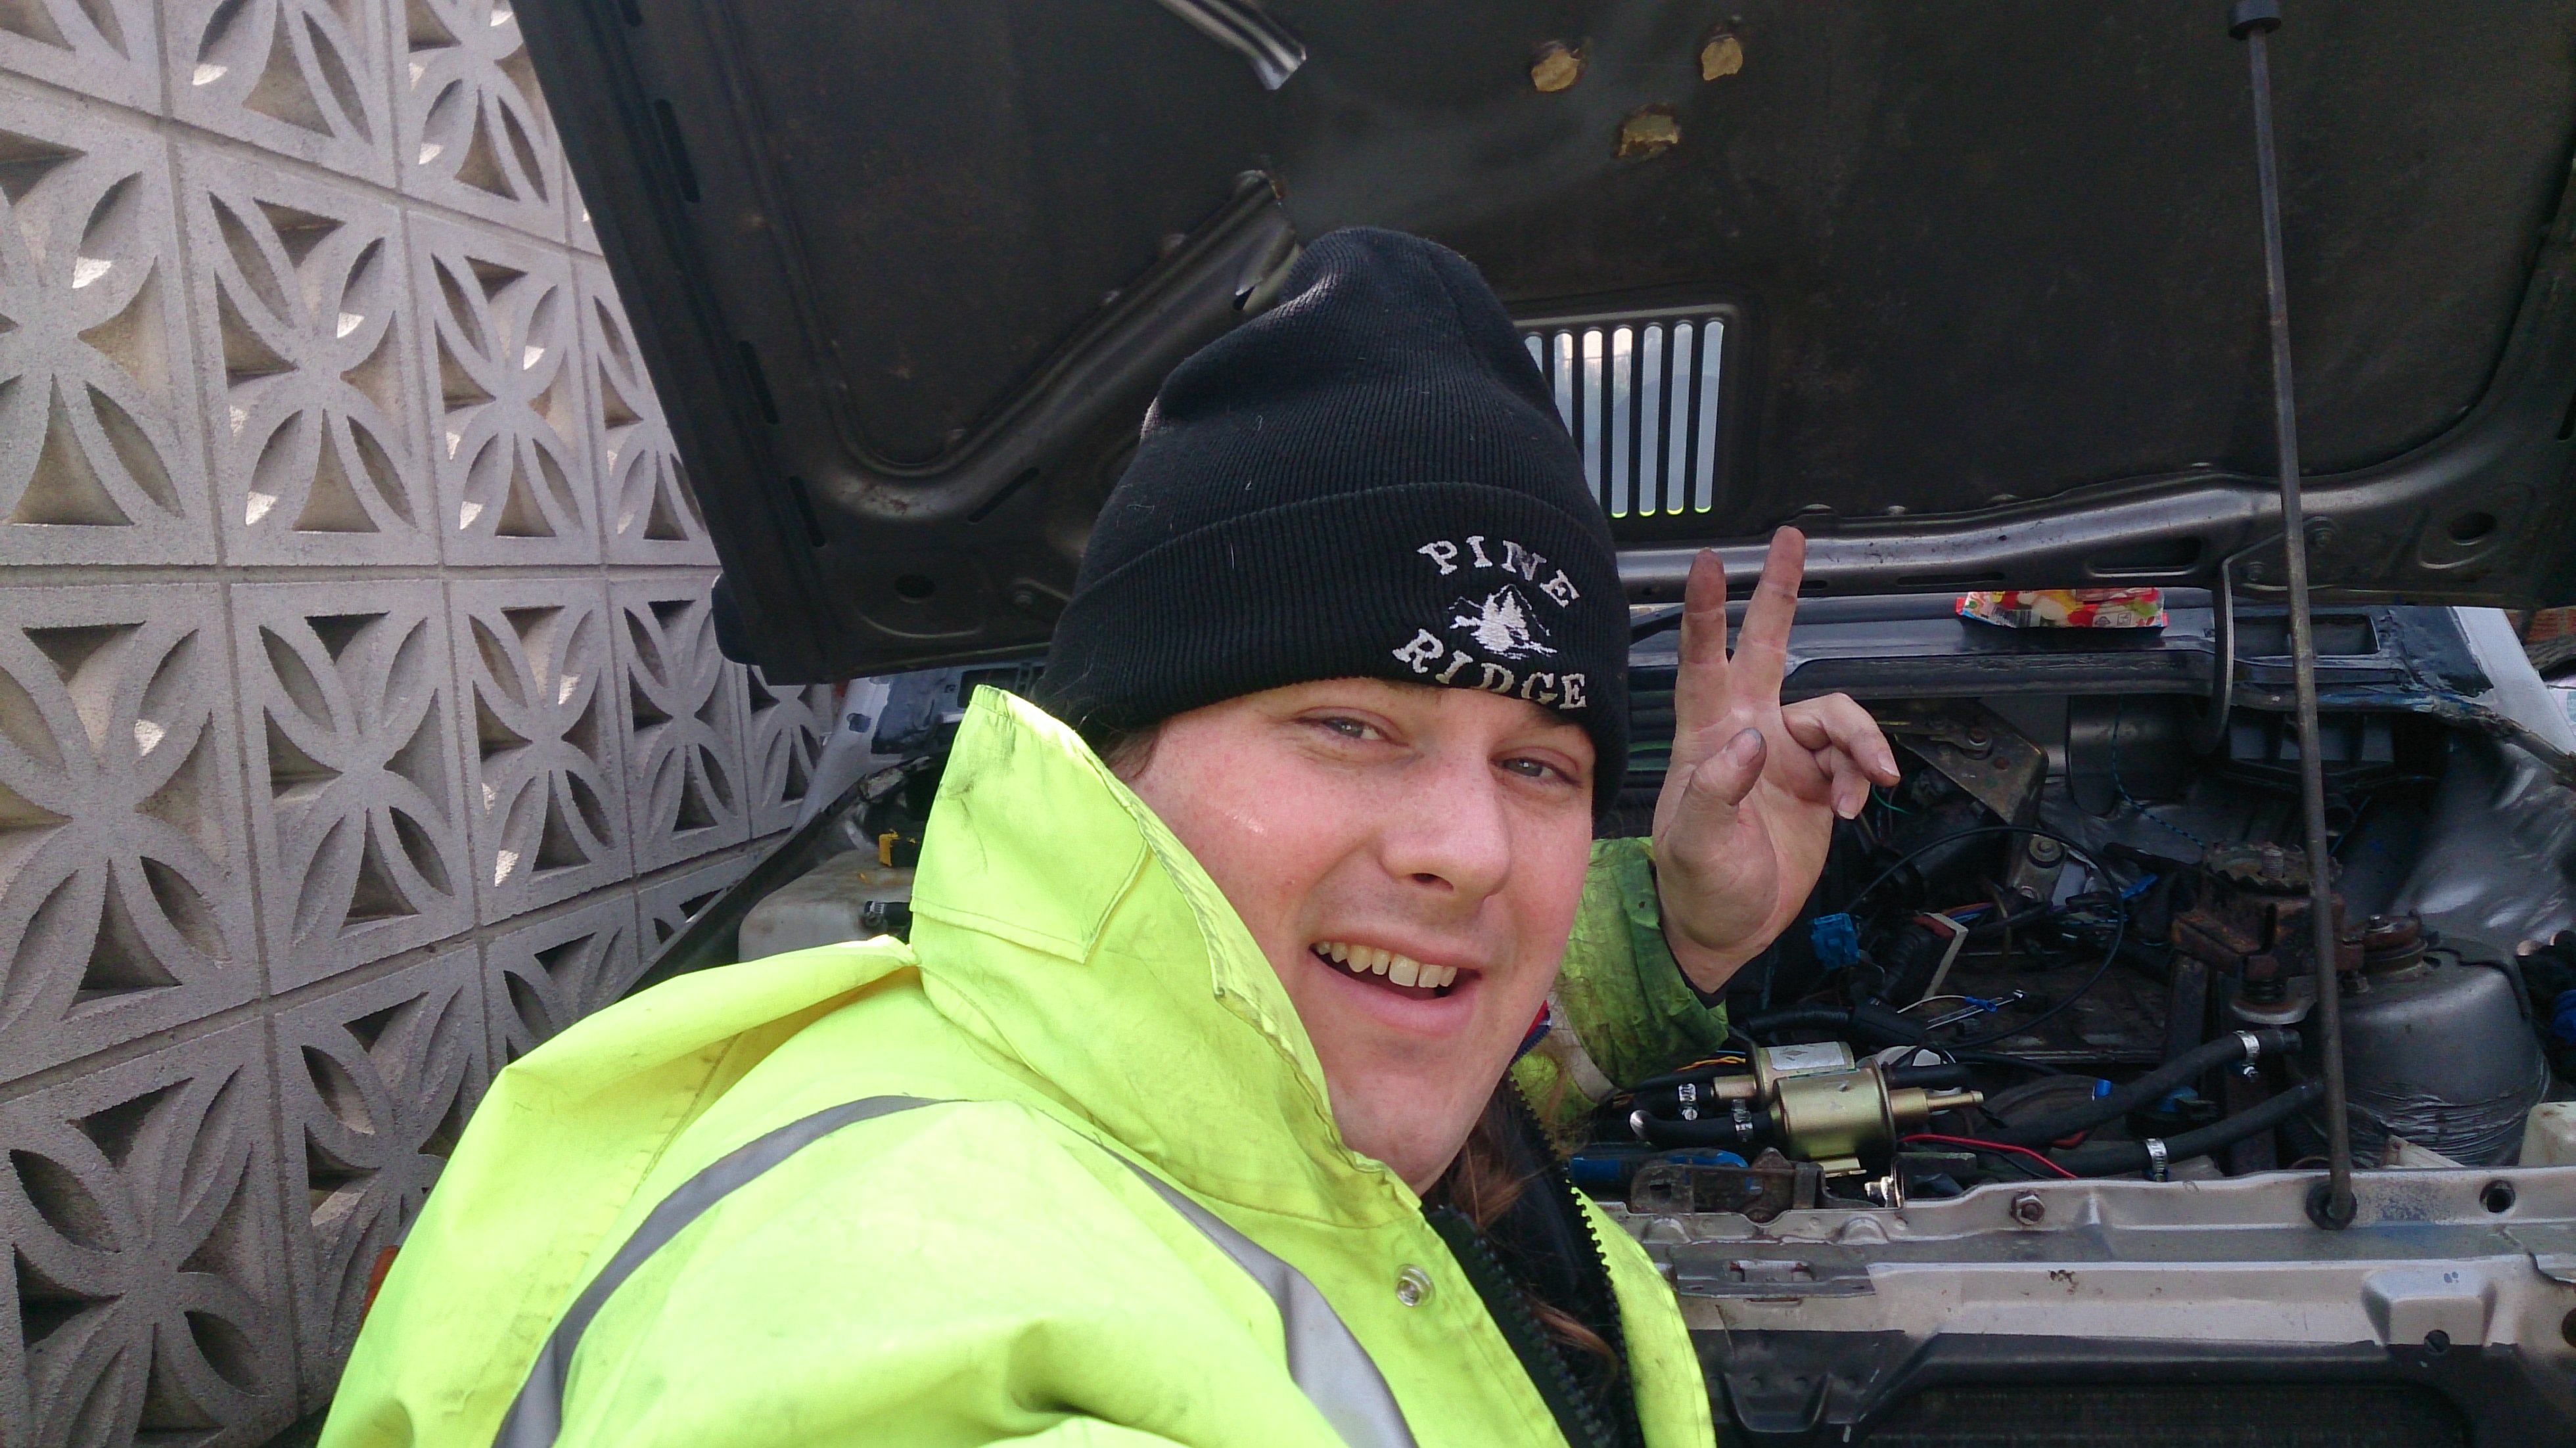
i was having a chat with another forum member over phone instant message.. showing pictures of some bits of fallout.

well a "panda selfe" had to be done and this was the result:


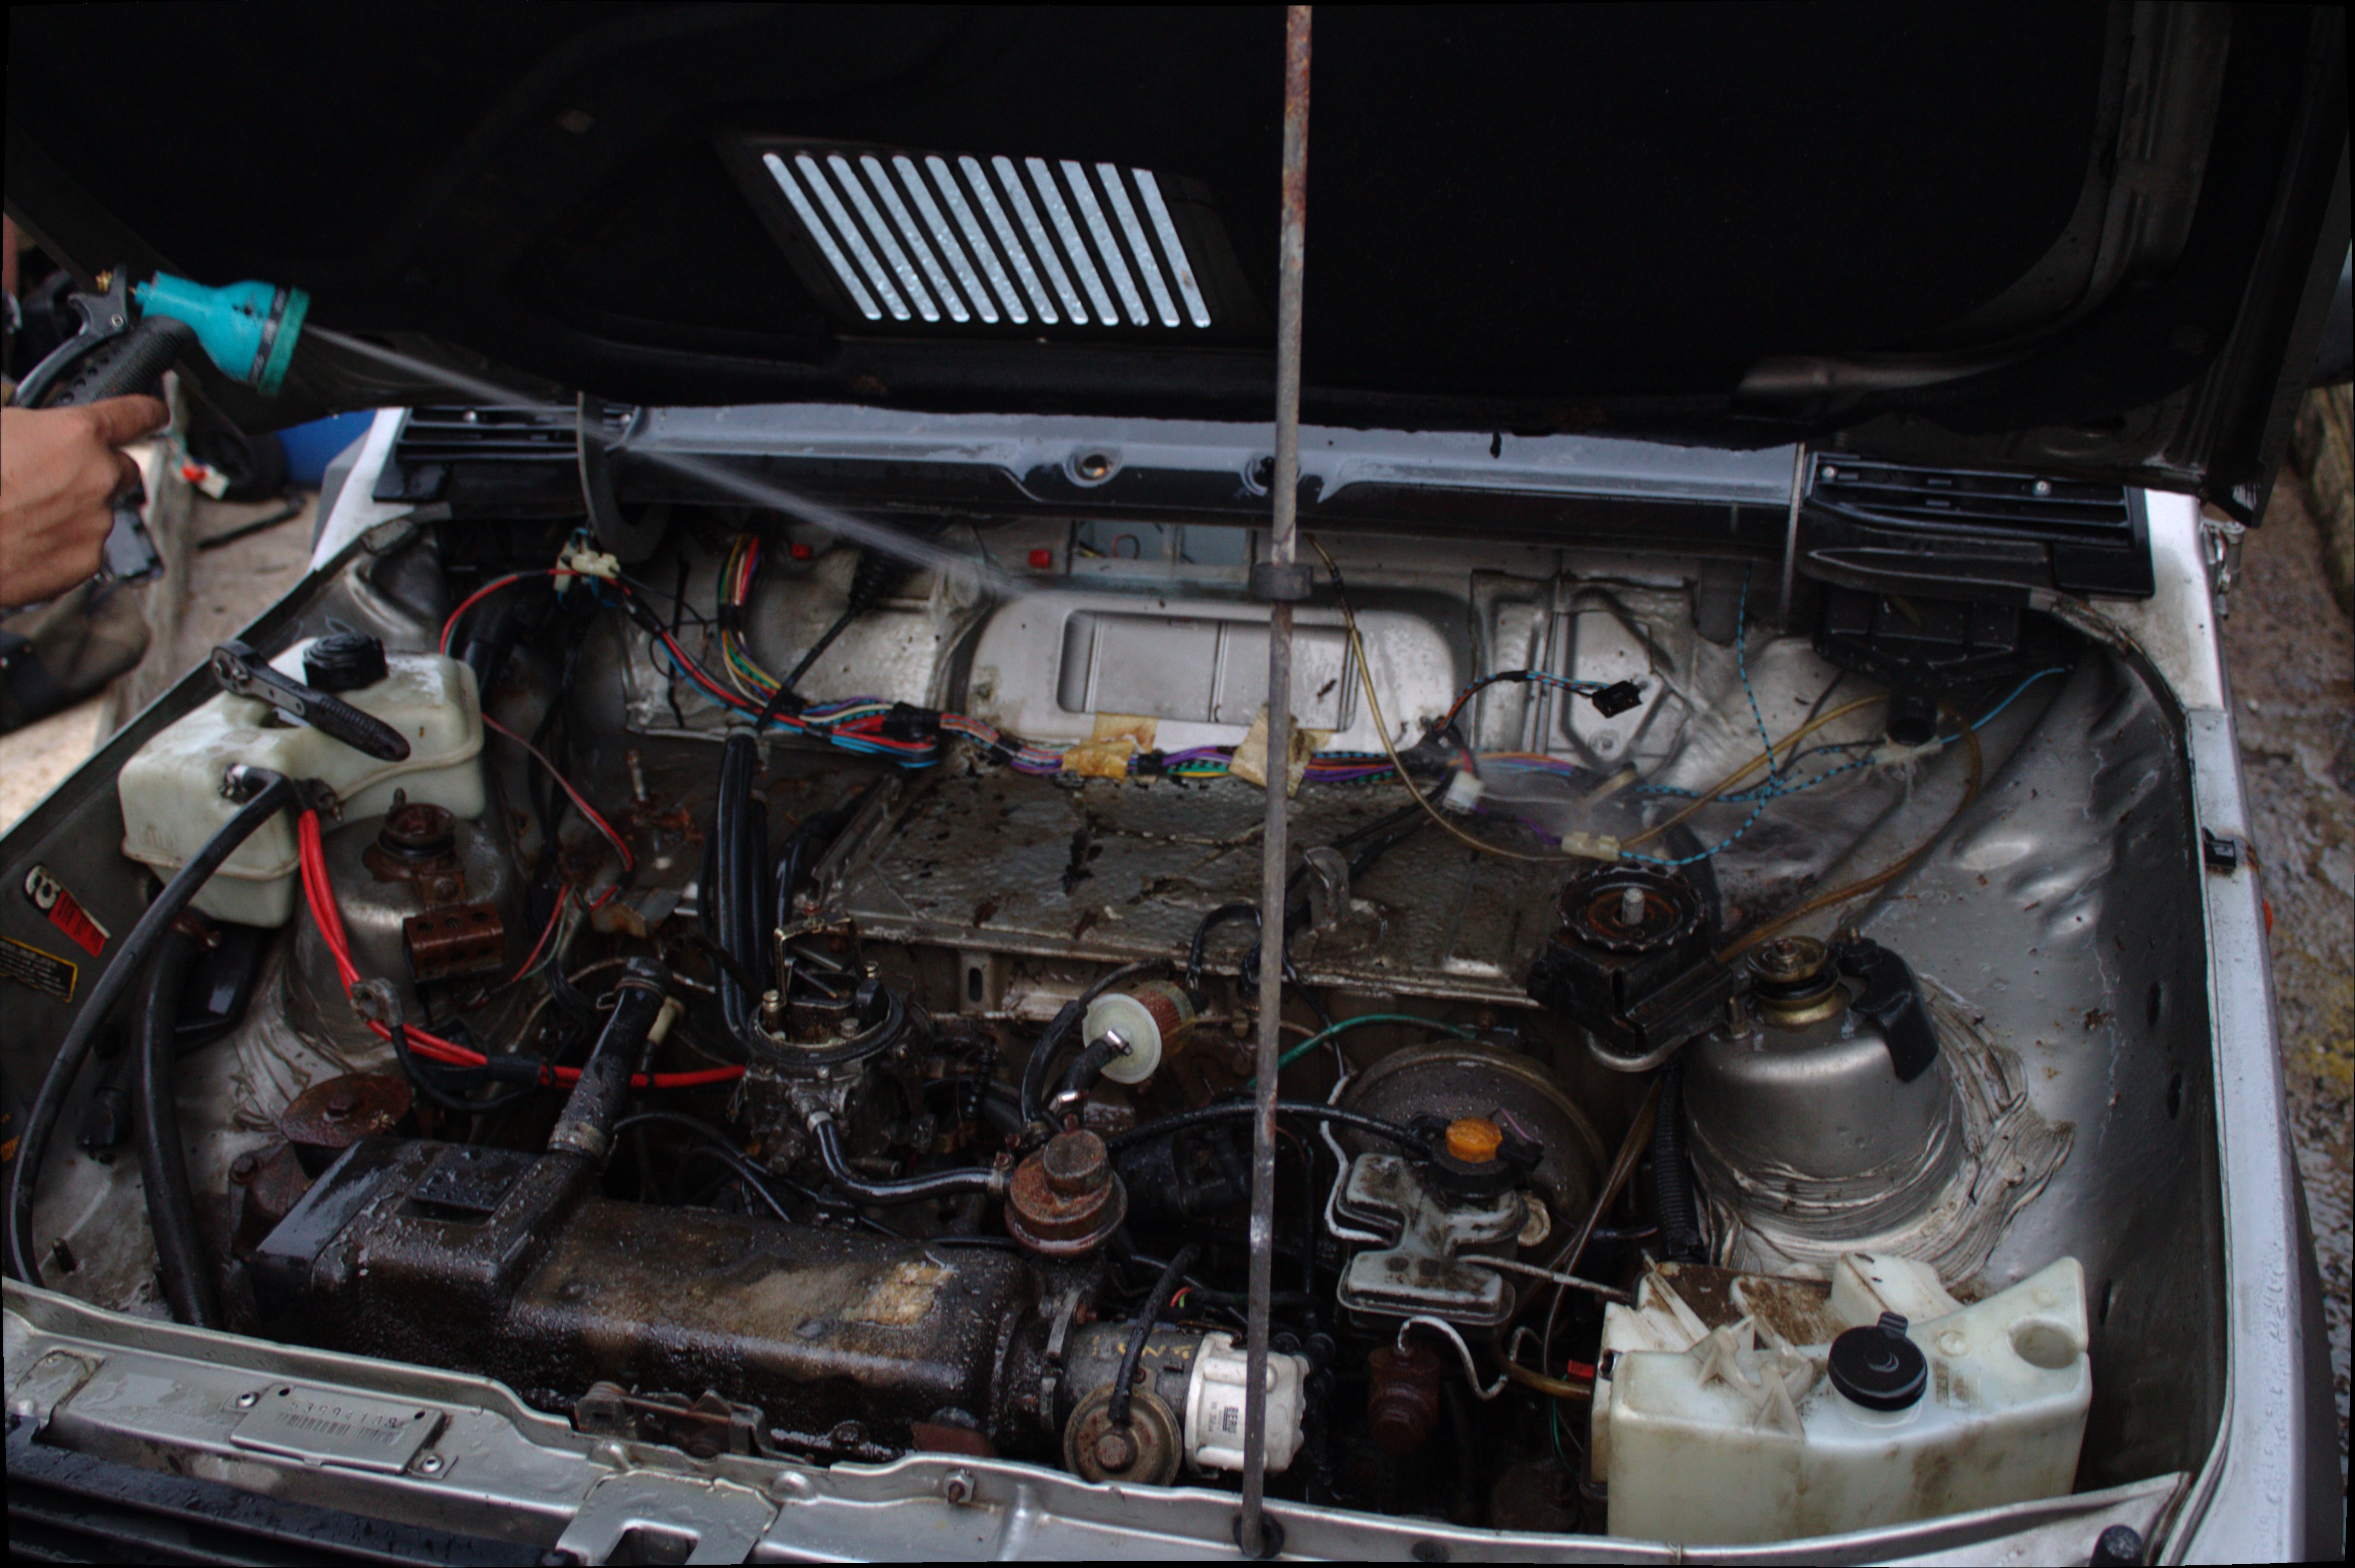
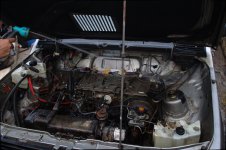
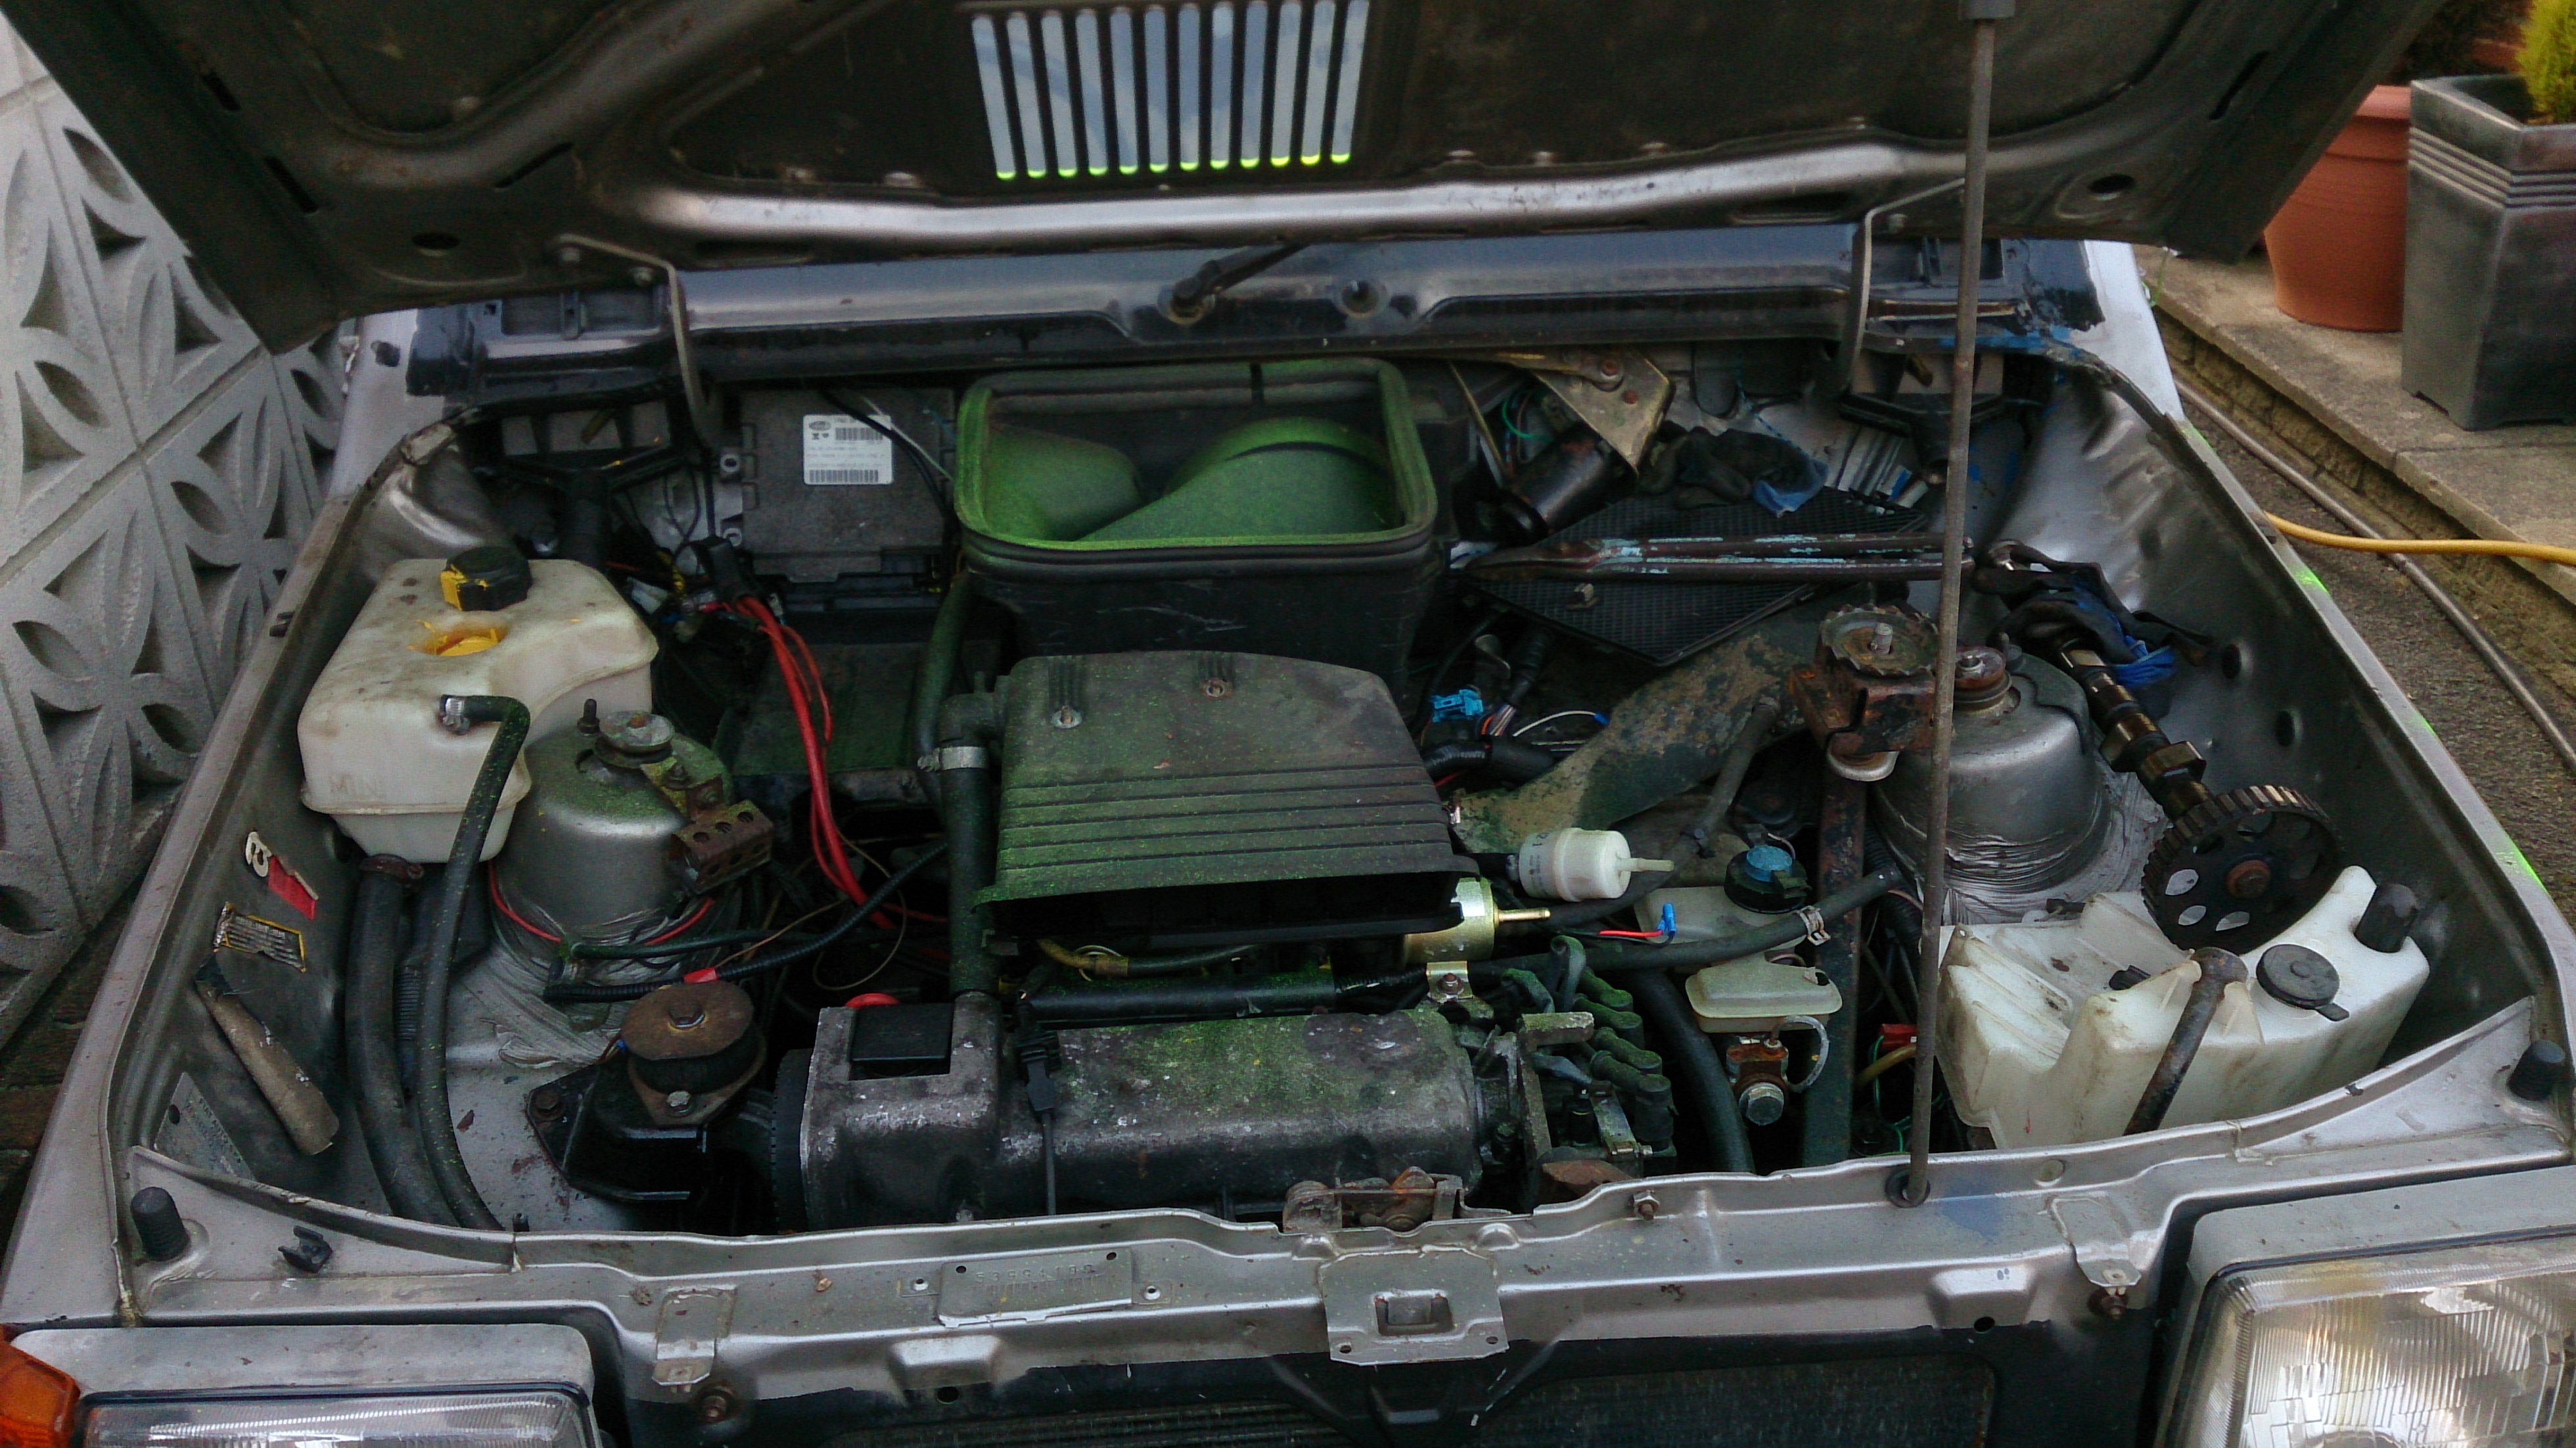
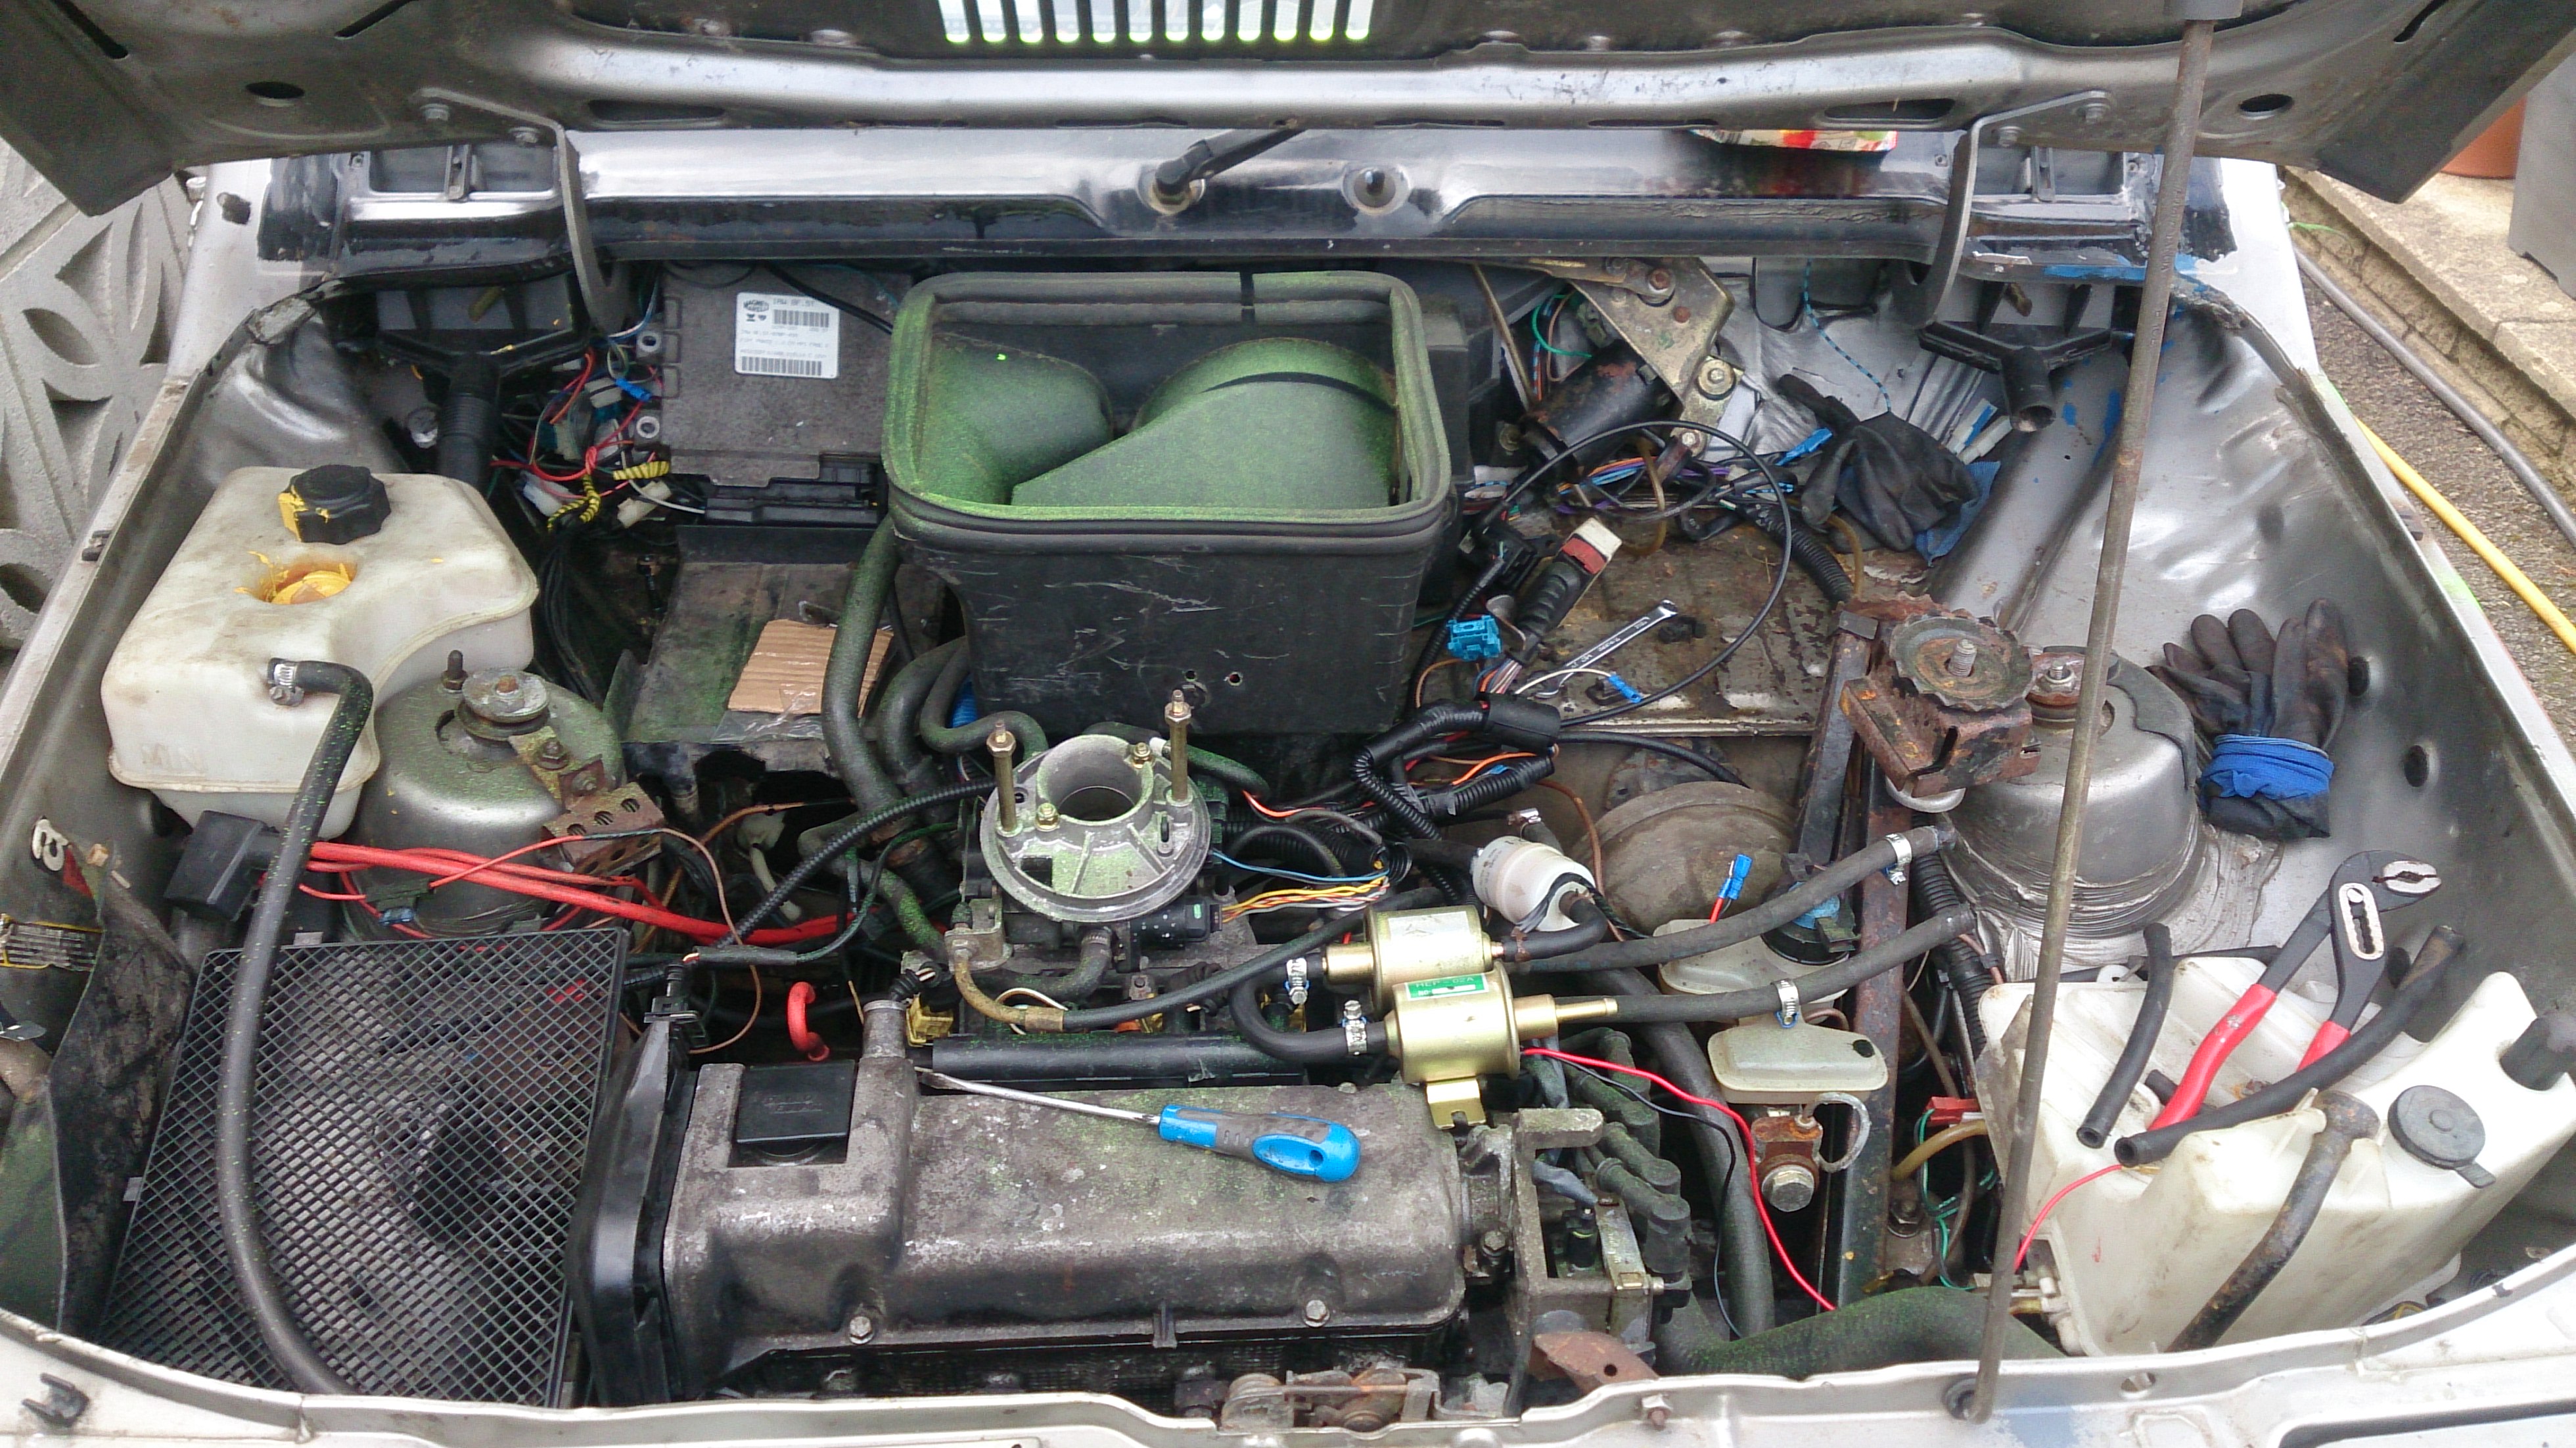
also here is a picture of fallouts engine bay for all who are interested.
i dont have much faith in these Chinese fuel pumps so i have 2 connected in series. if one goes the other will still work. they are only to keep the swirl pot filled up but pretty important.


nothing much else done today.

tomorrow i have a guy coming around to pick up some van seats... i think tomorrow will be the day i choose to fully get the exhaust pipe hanging right. i'll then start work on... something else...:rolleyes:
 
bit of an update:

Fallout has been totally cavity waxed on the passenger side.
Fallout also has had an air box from off a cinquecento 899cc engine fit. its a little small but will suffice for now.

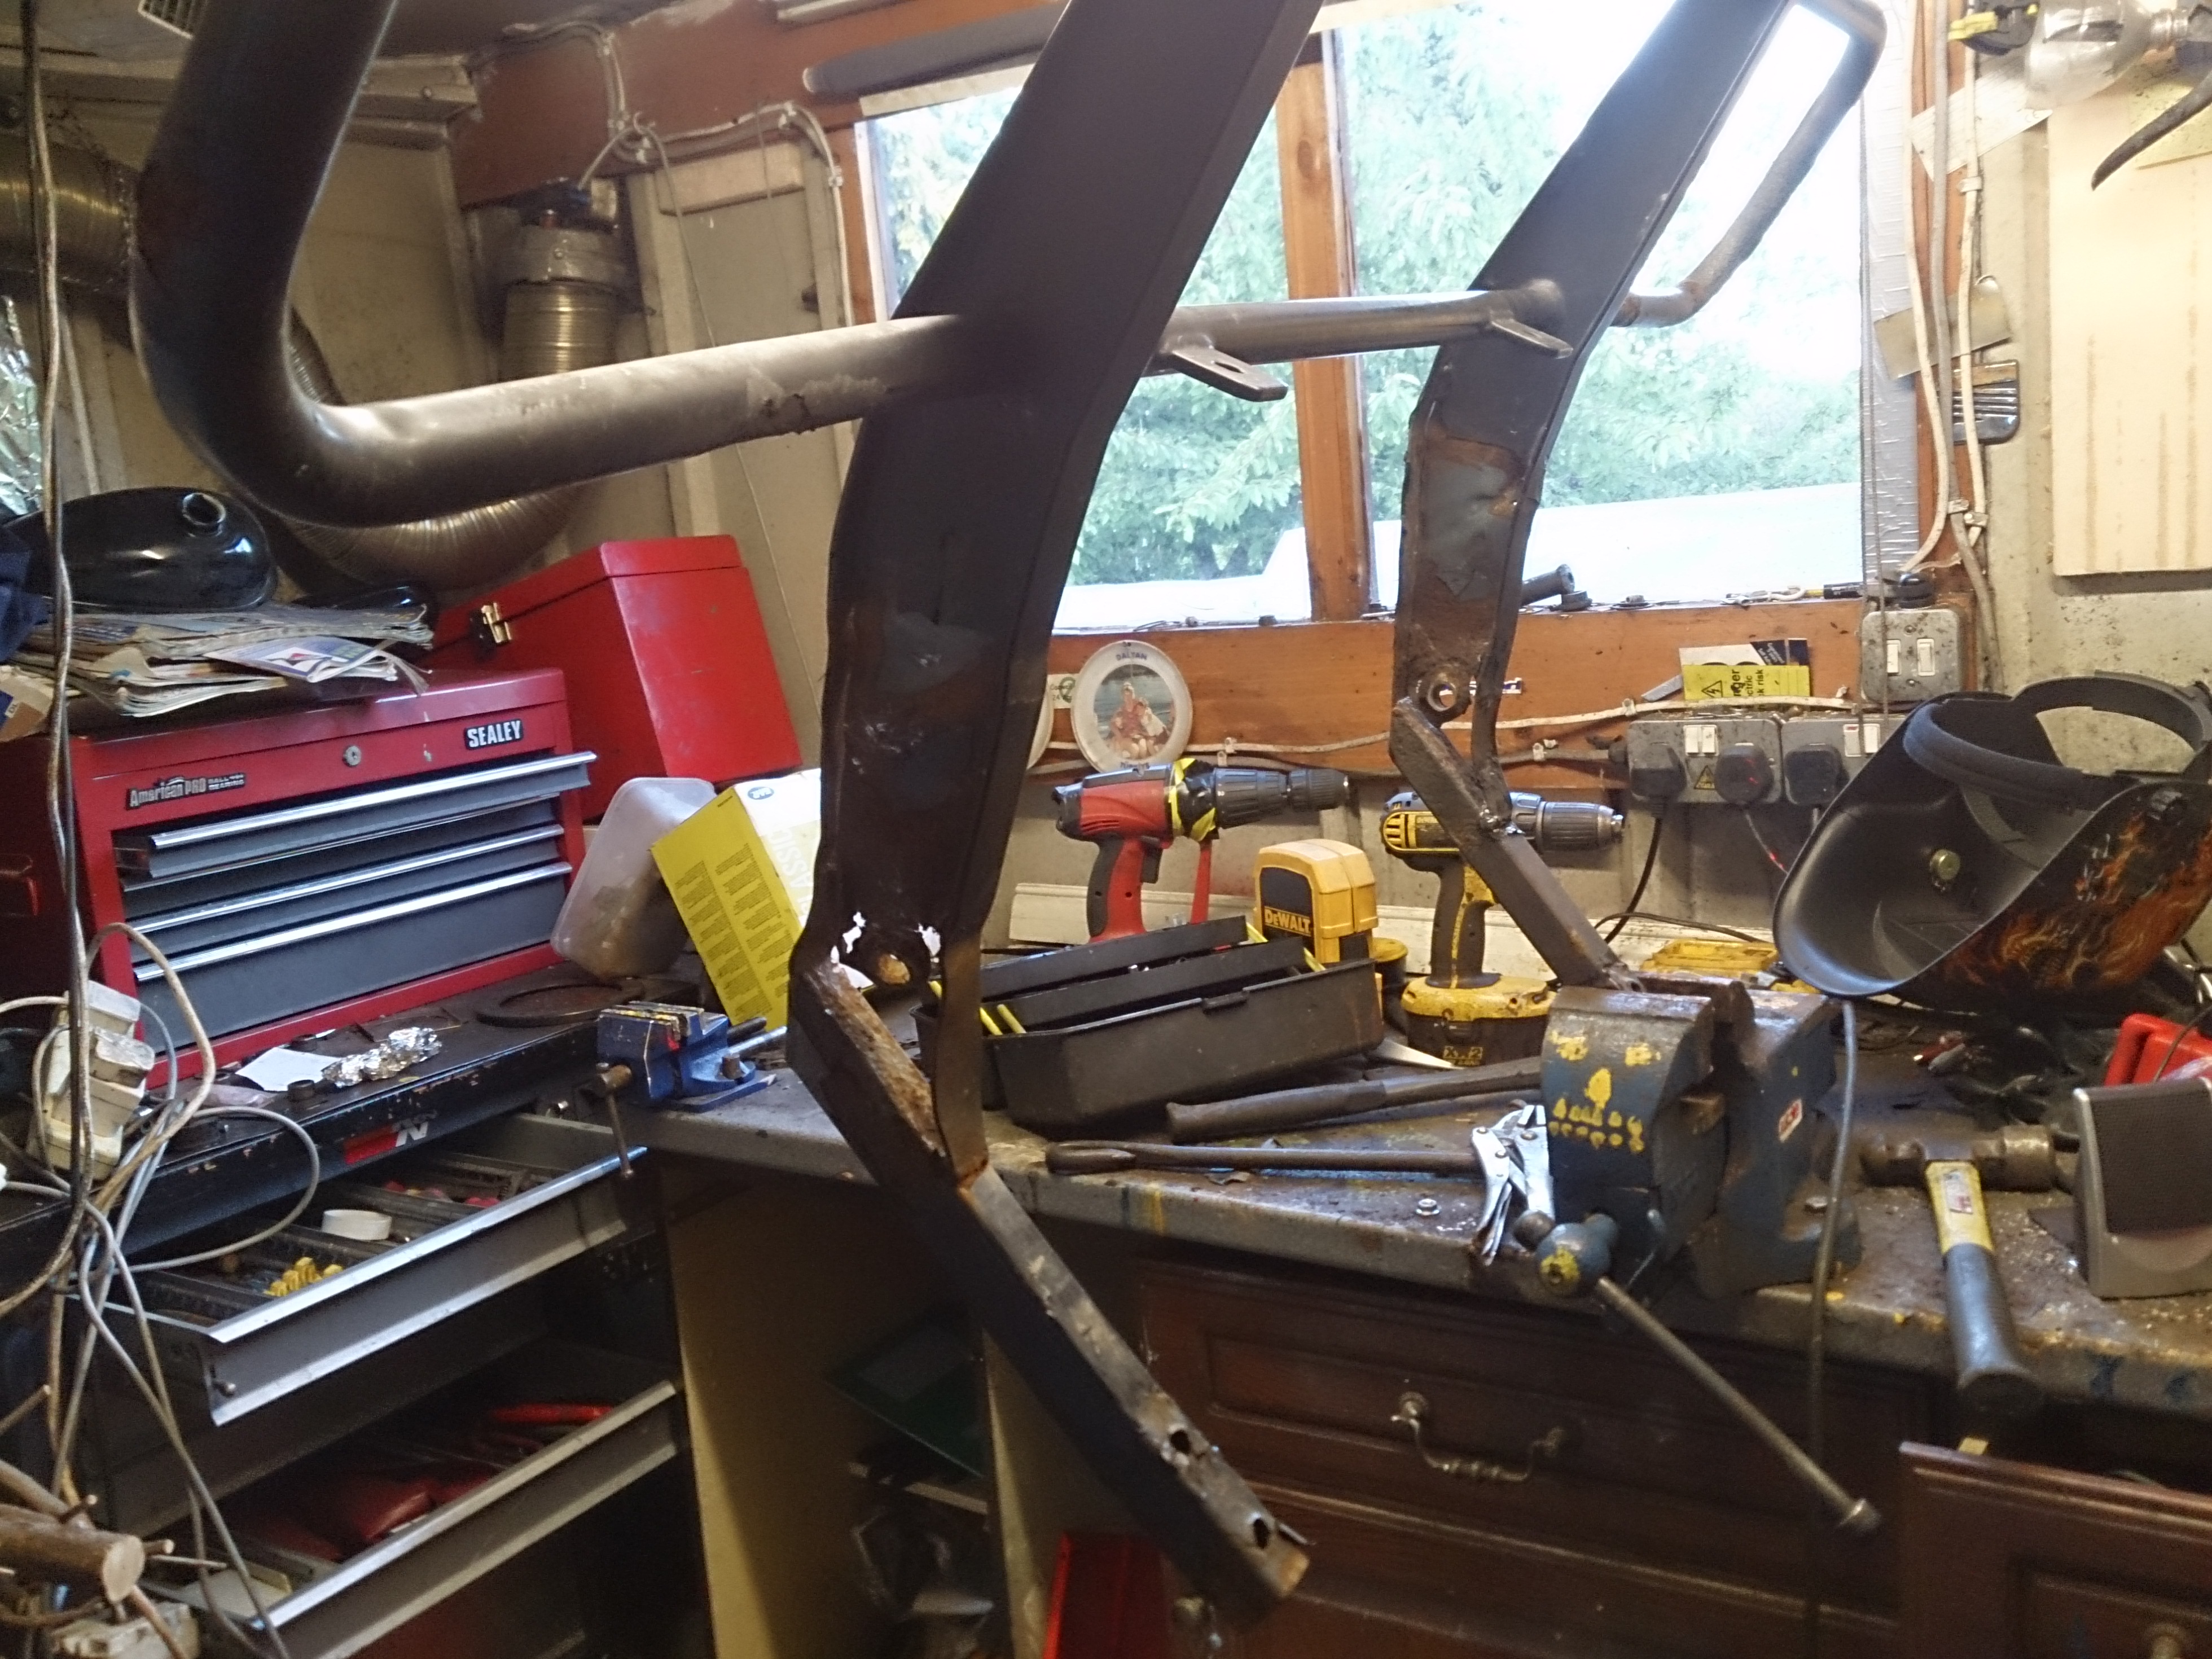
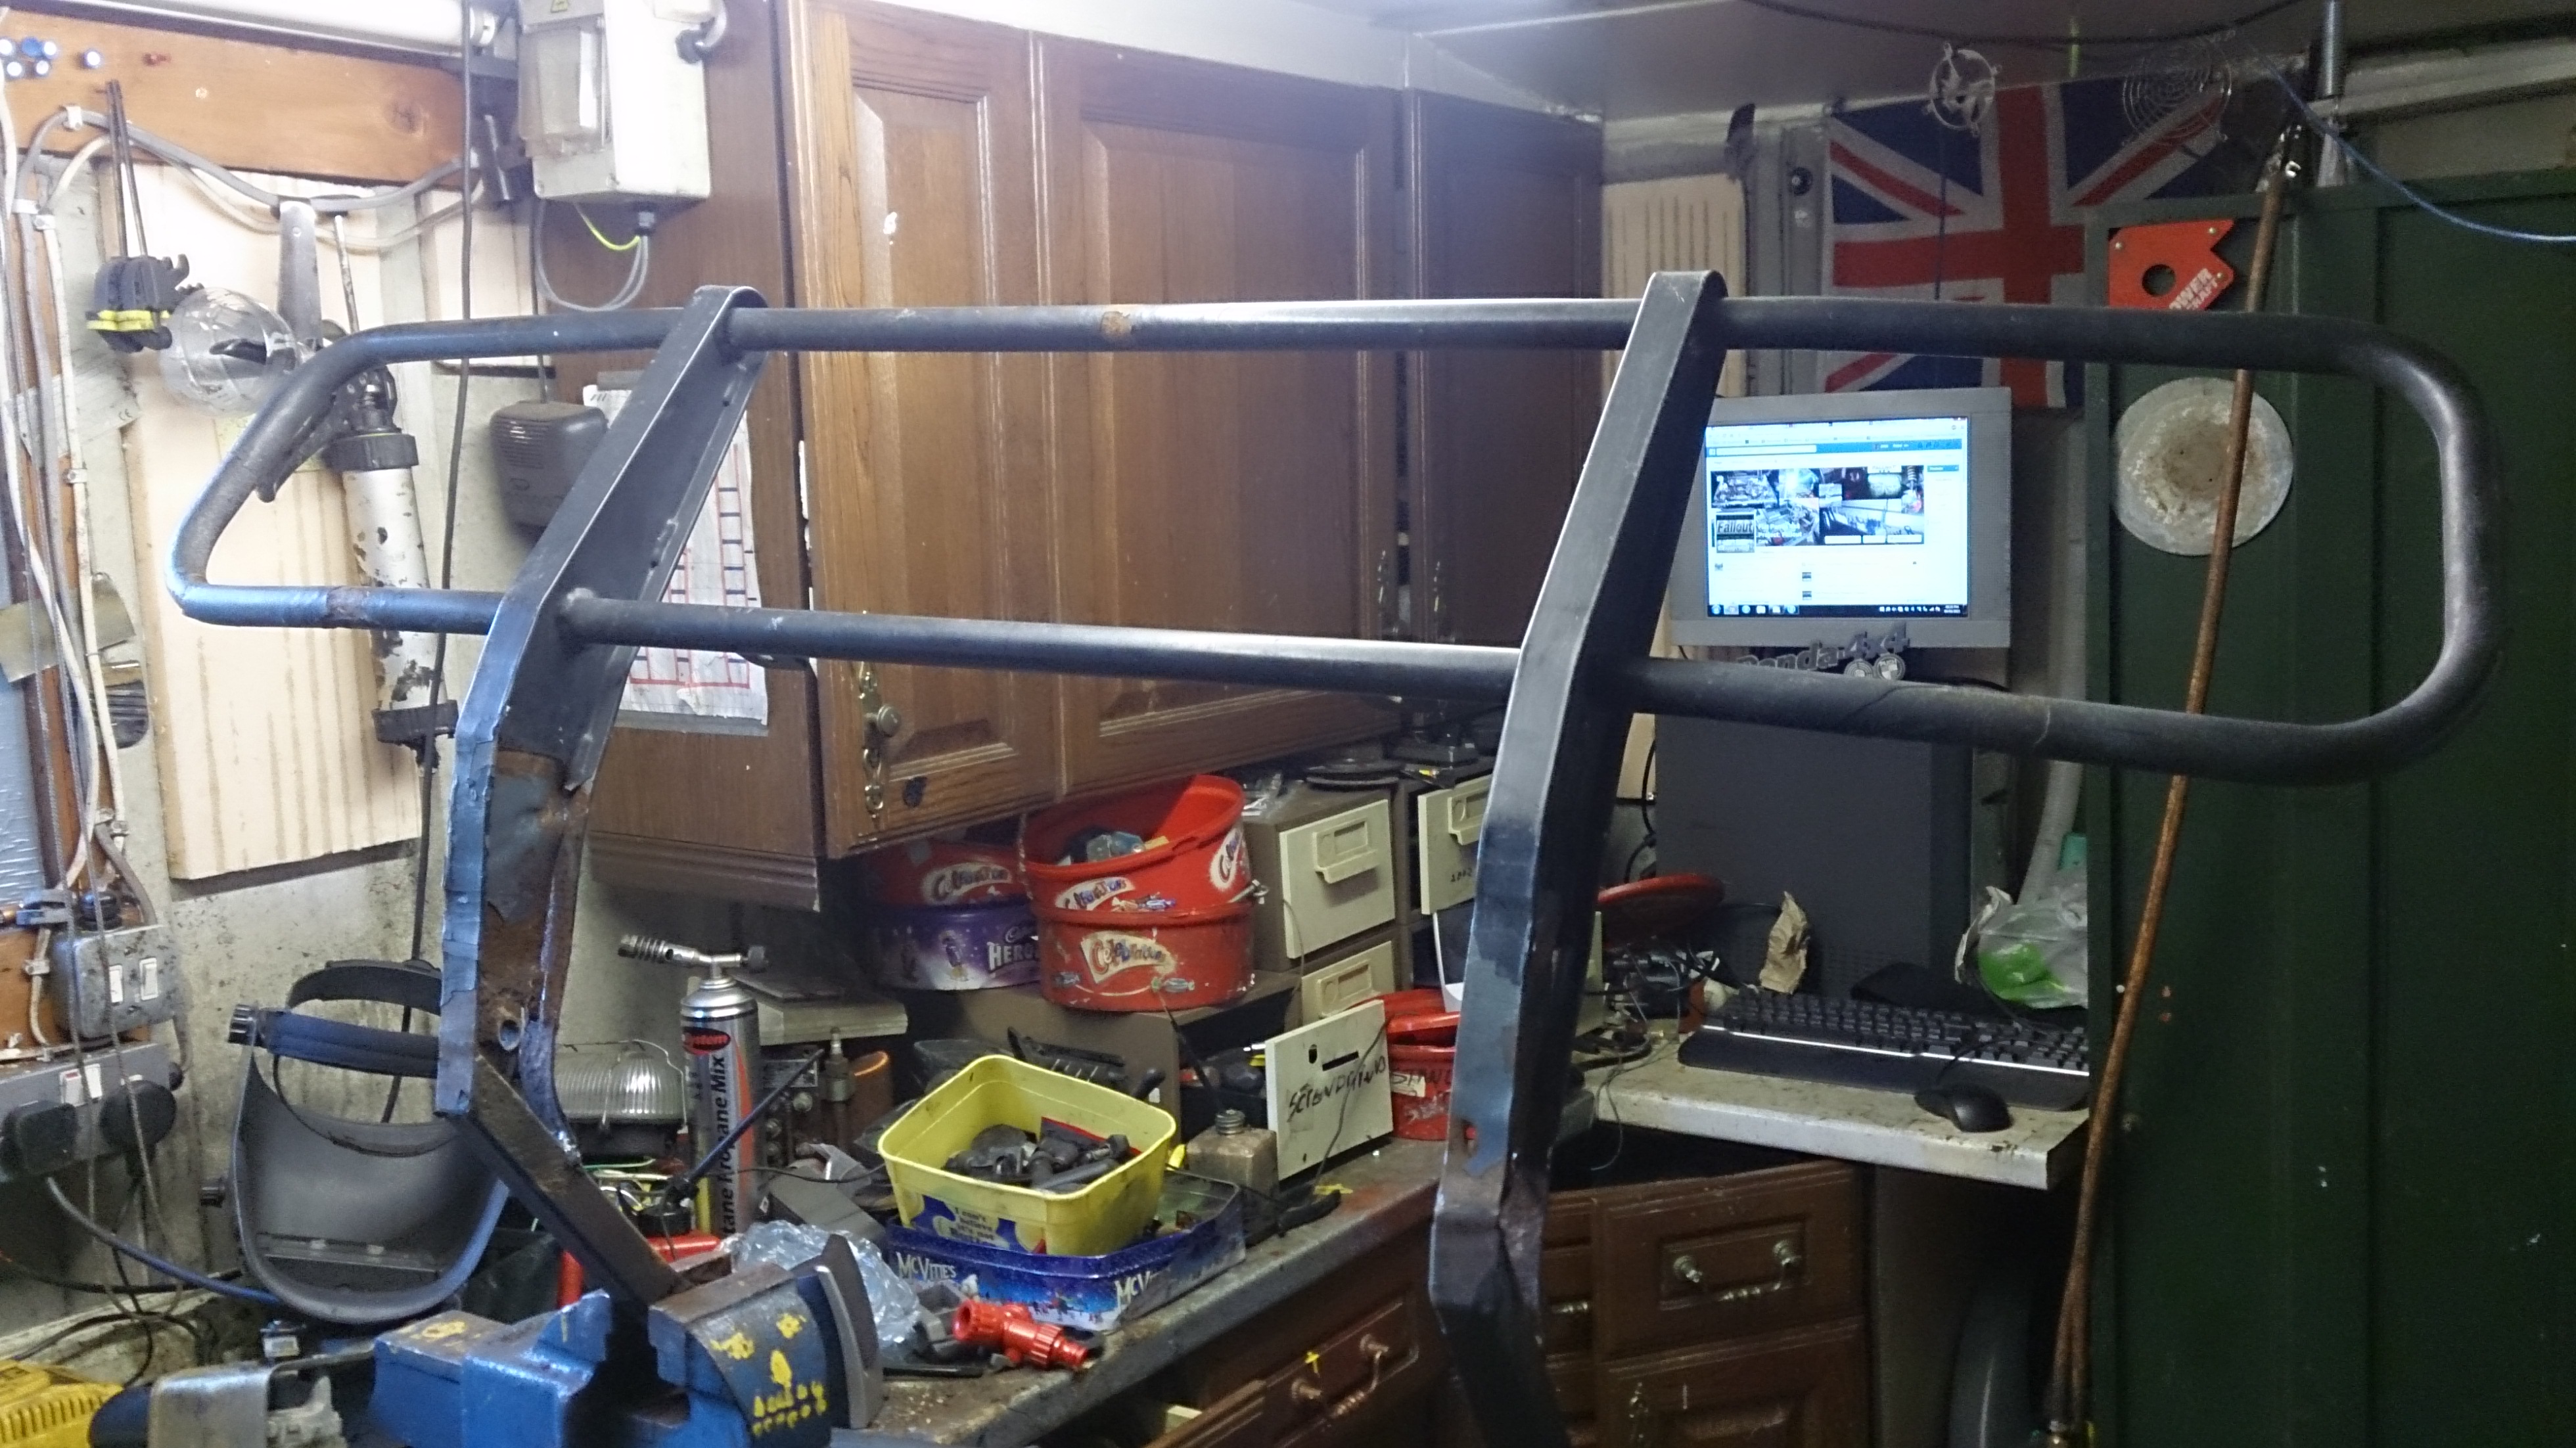
i had Mr. Andyholli visit me, he kindly donated Snach panda's old bonnet, bull bar, genuine panda electric window mechanism and some switches from out of a mk1 Punto.

the bull bar was quite badly bent up but nothing ape strength could not (kinda) bend back into shape.

well i cant upload photos to my gallery (Upload Error: 413??) so ill have to add them as an attachment:

nope attachments wont upload too :/

expect a video soon too :)
 
hey guys, here is another video..


the exhaust now is also bolted and clamped together with Lambda sensor in. i am missing an exhaust rubber hanger though.. the one that holds the back box and centre pipe up :/


right and if pictures will now upload...woo hoo!

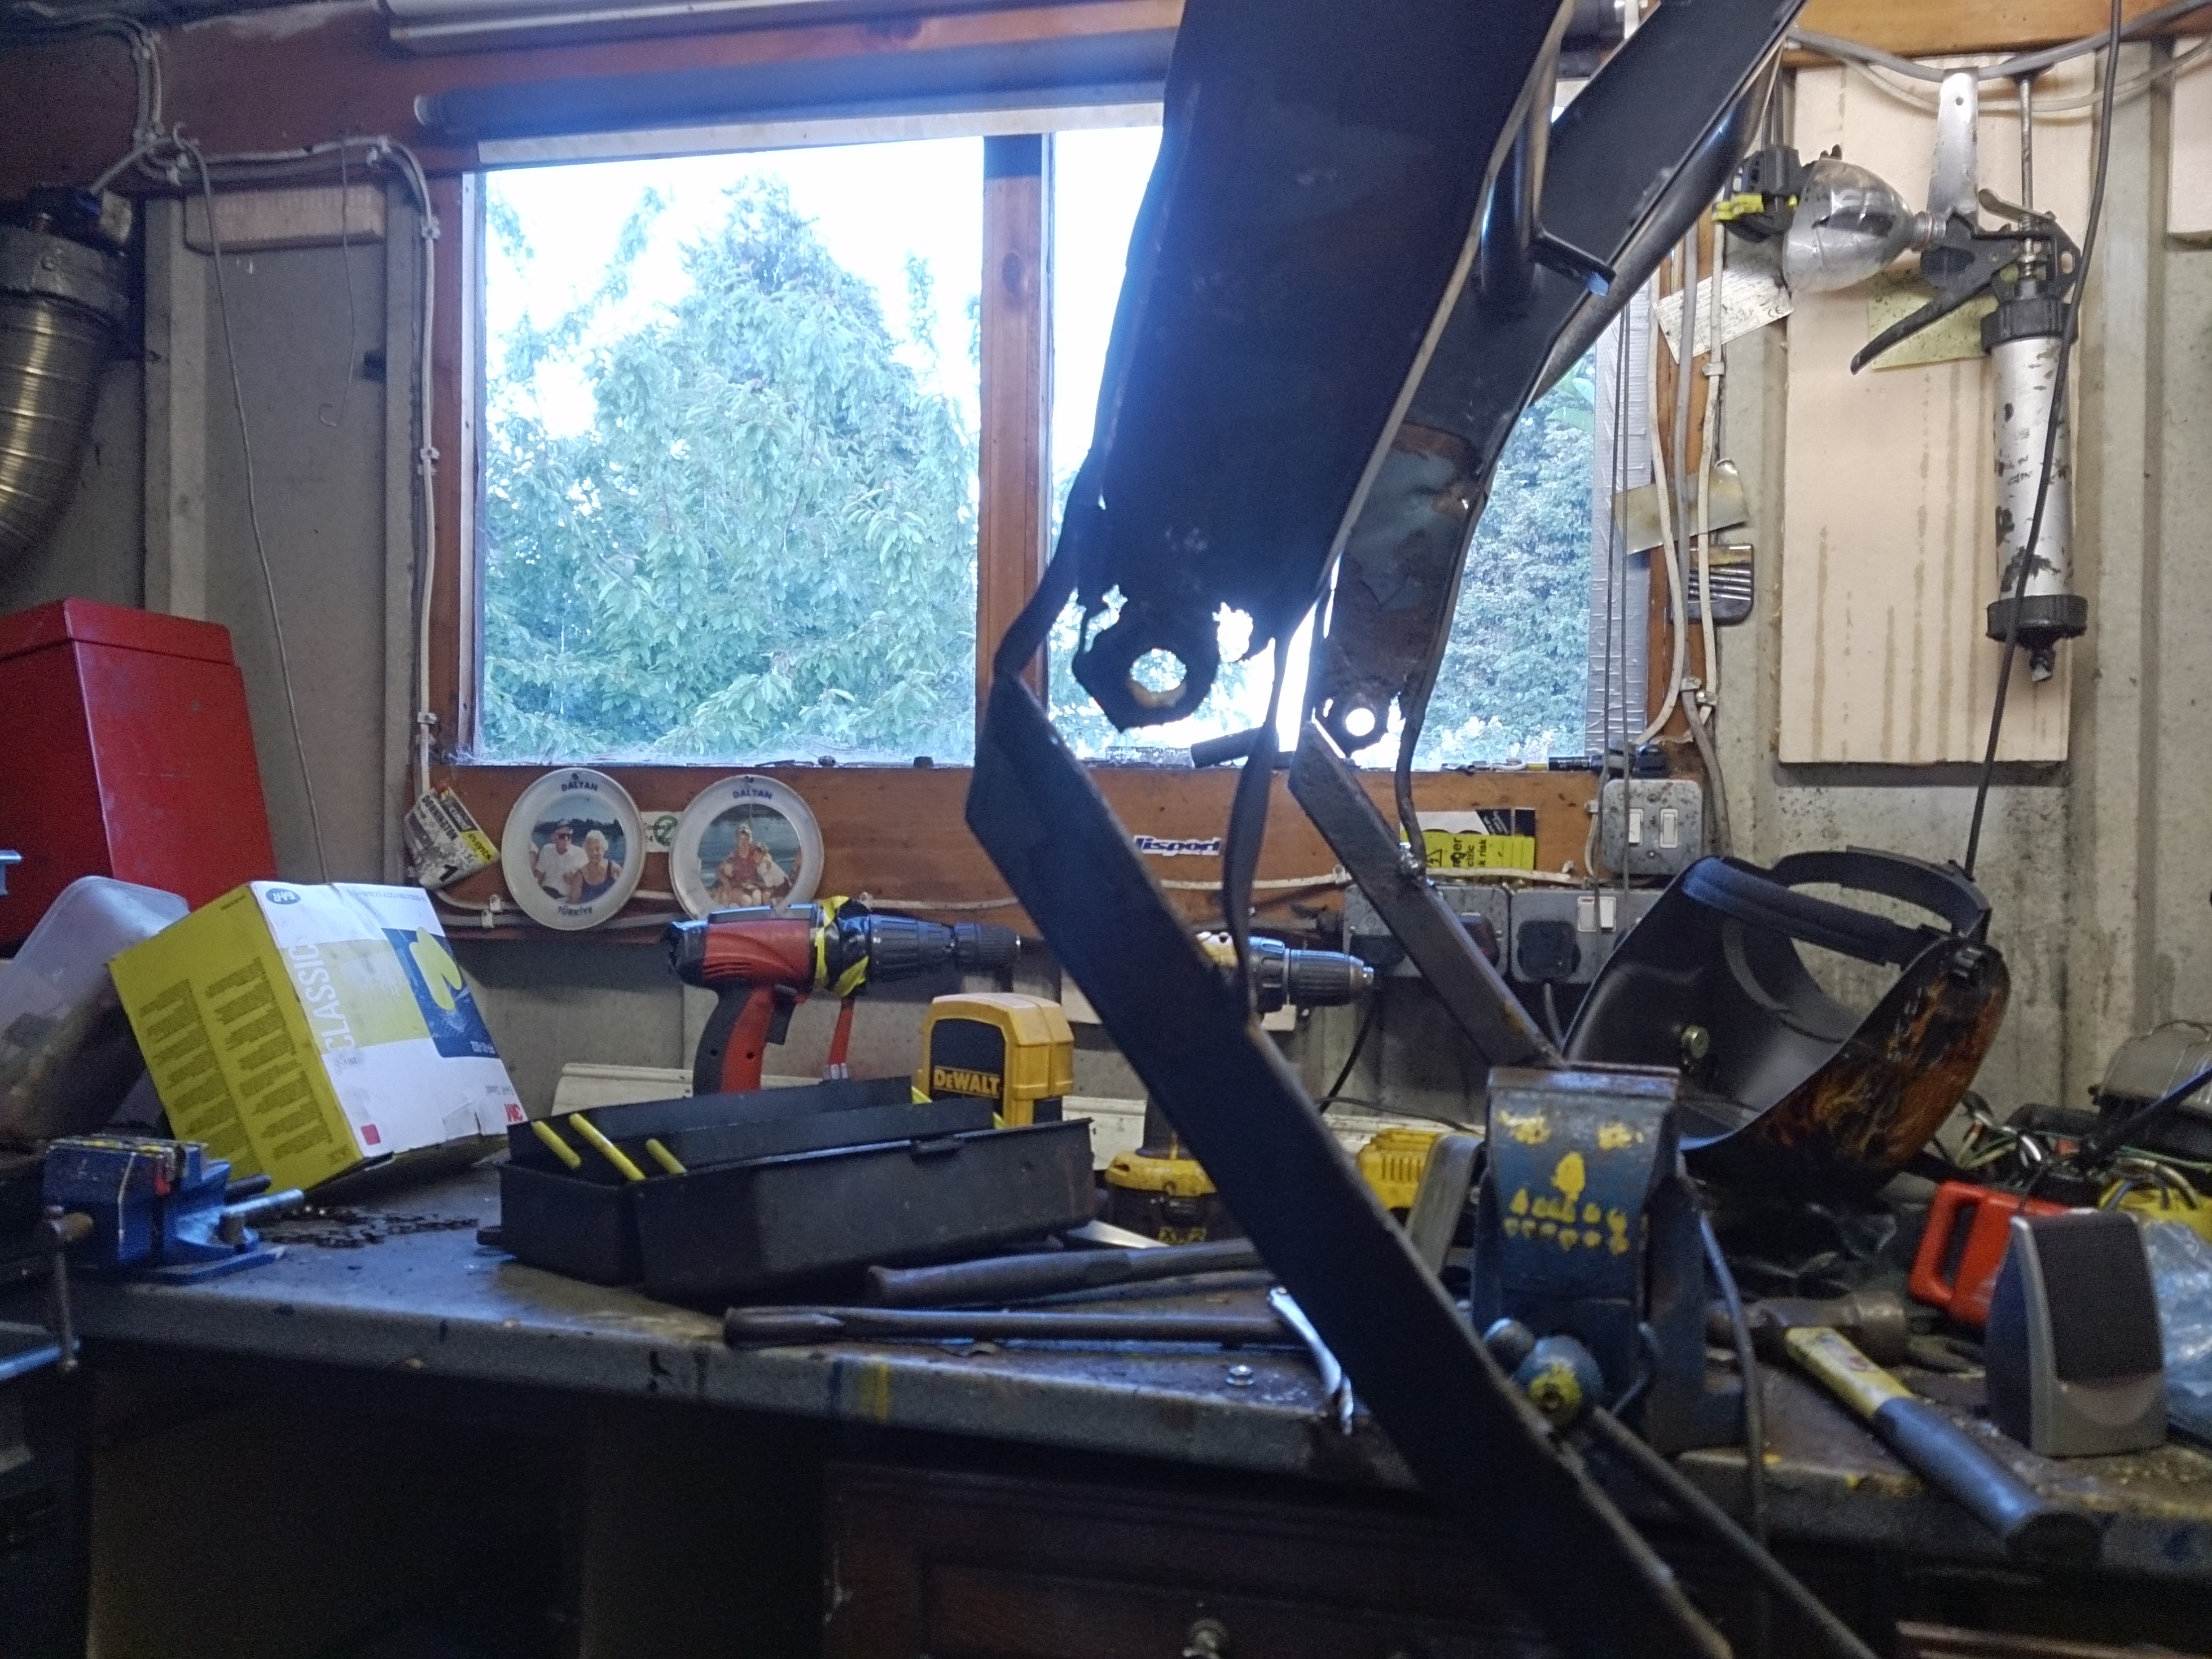
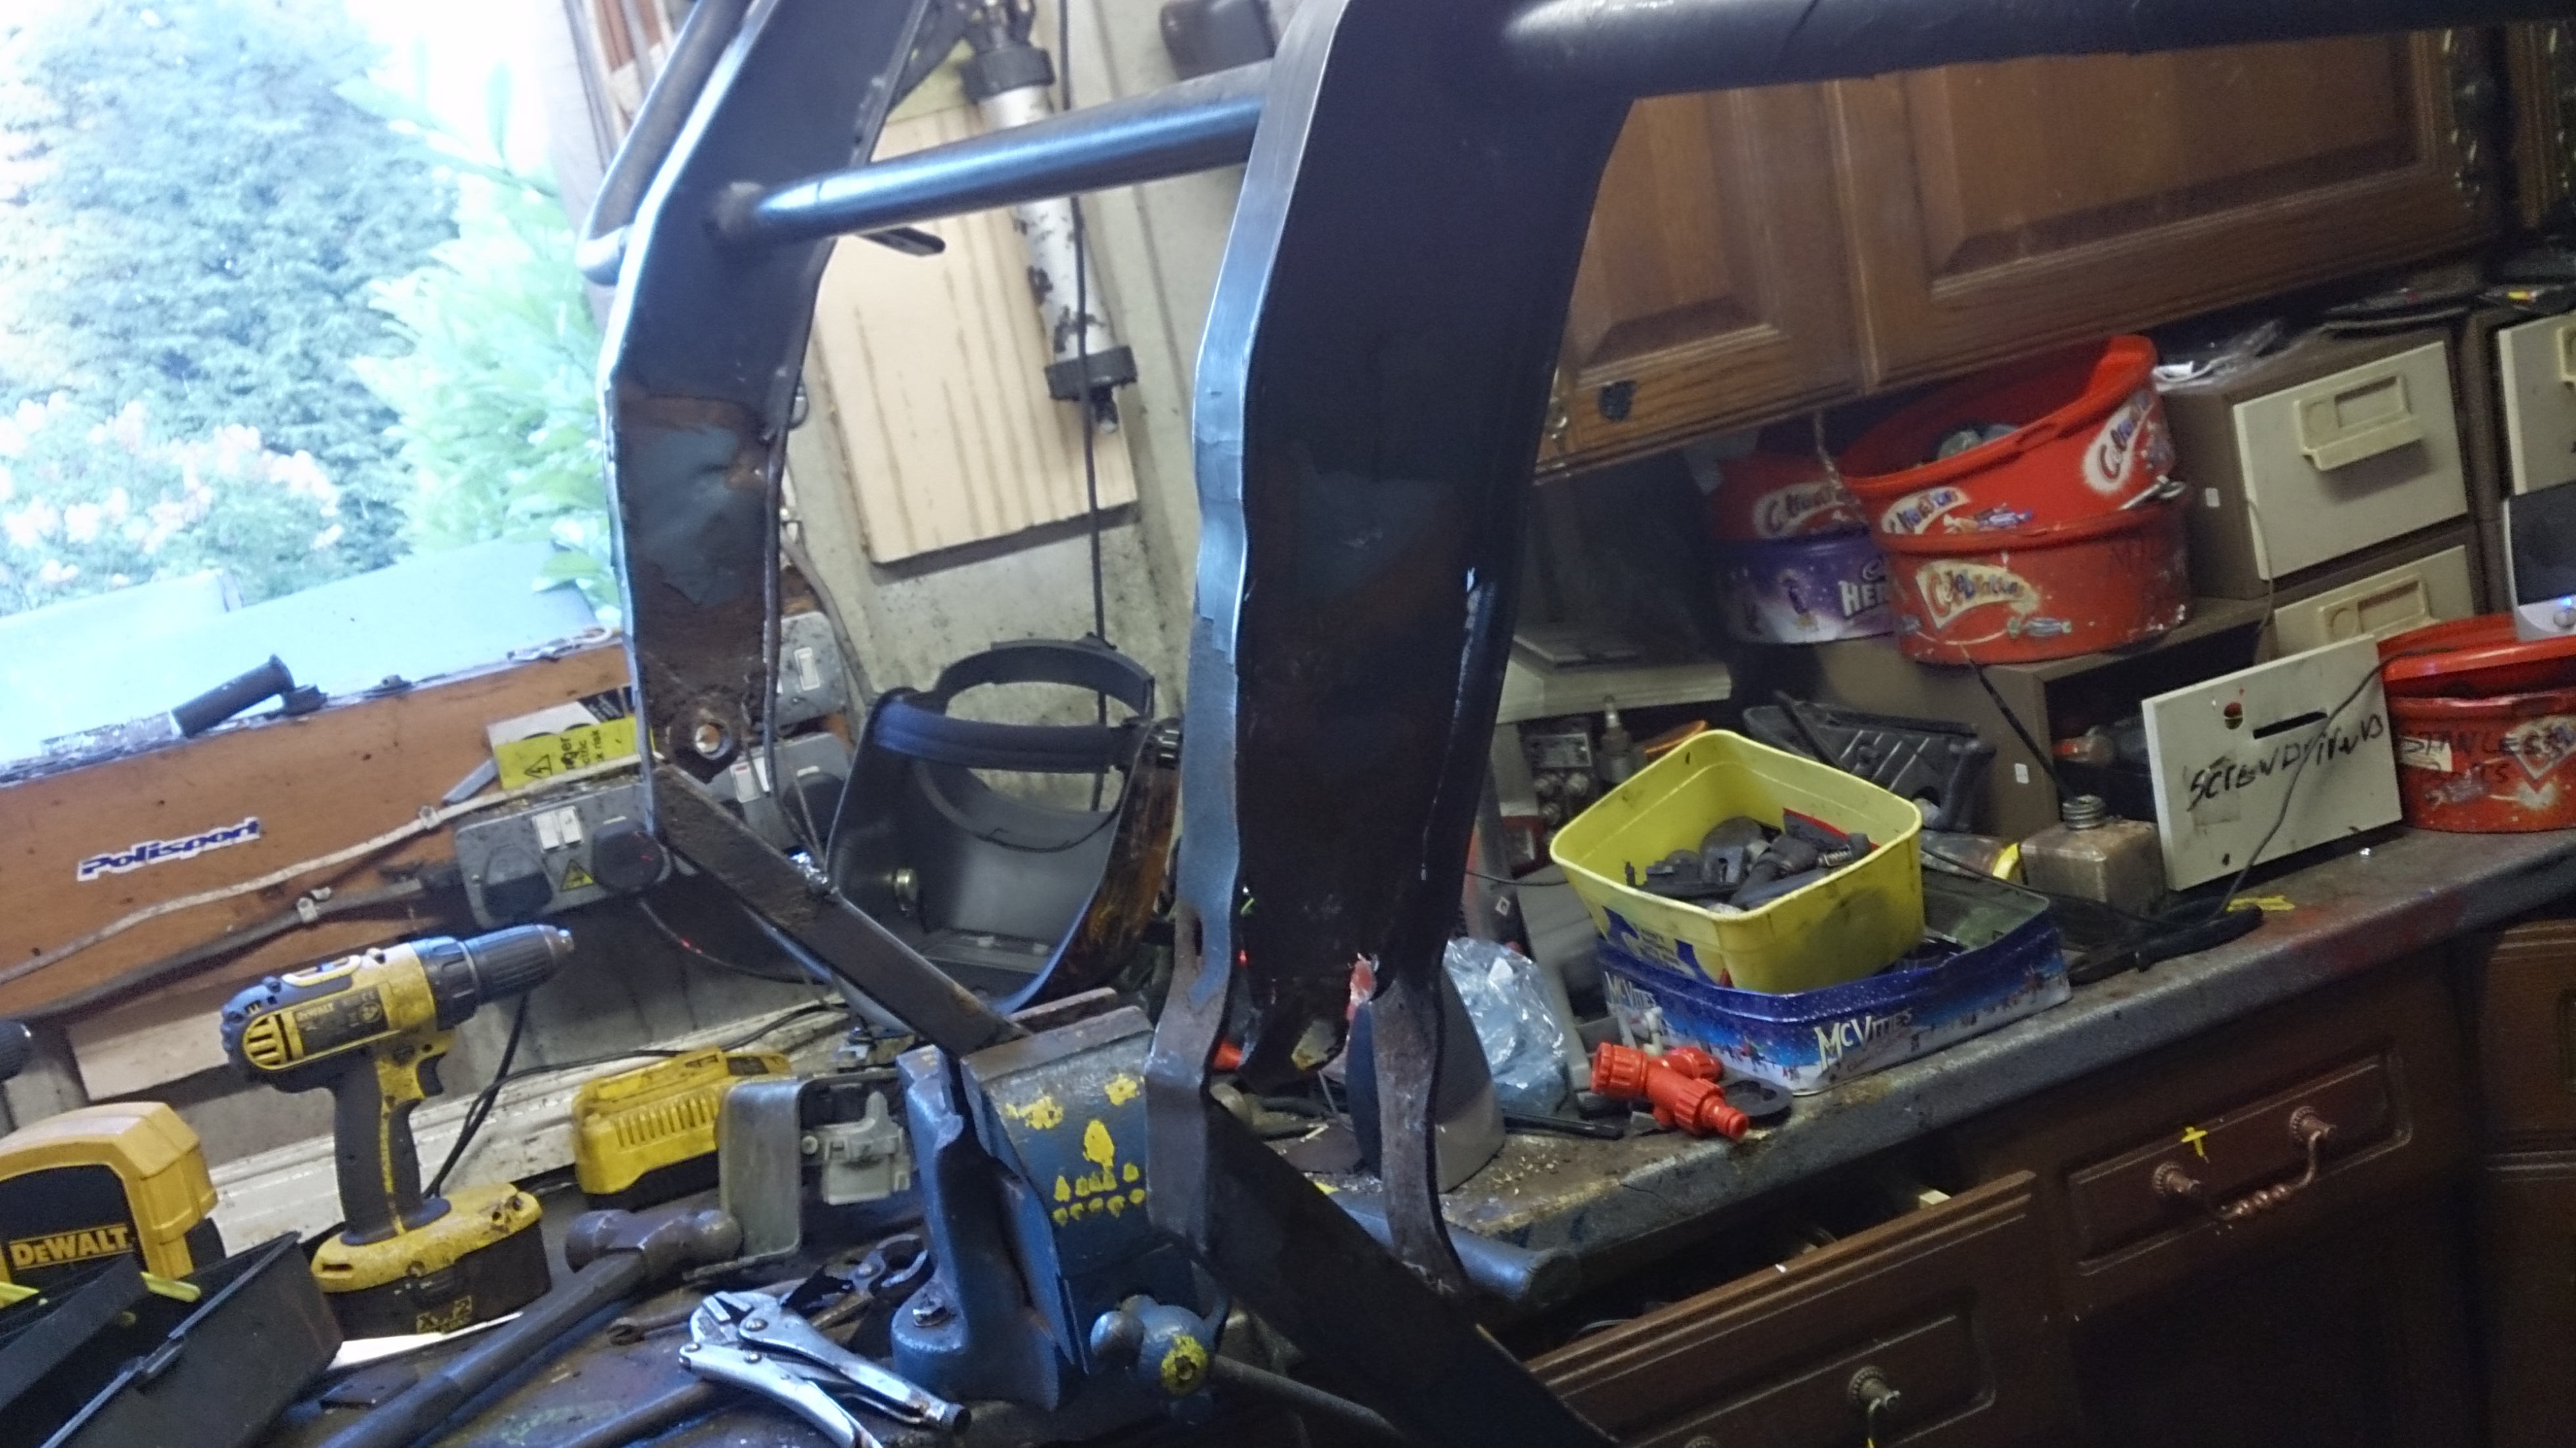
The bull bars.. the old "hit it with a hammer till it looks good" worked a treat!


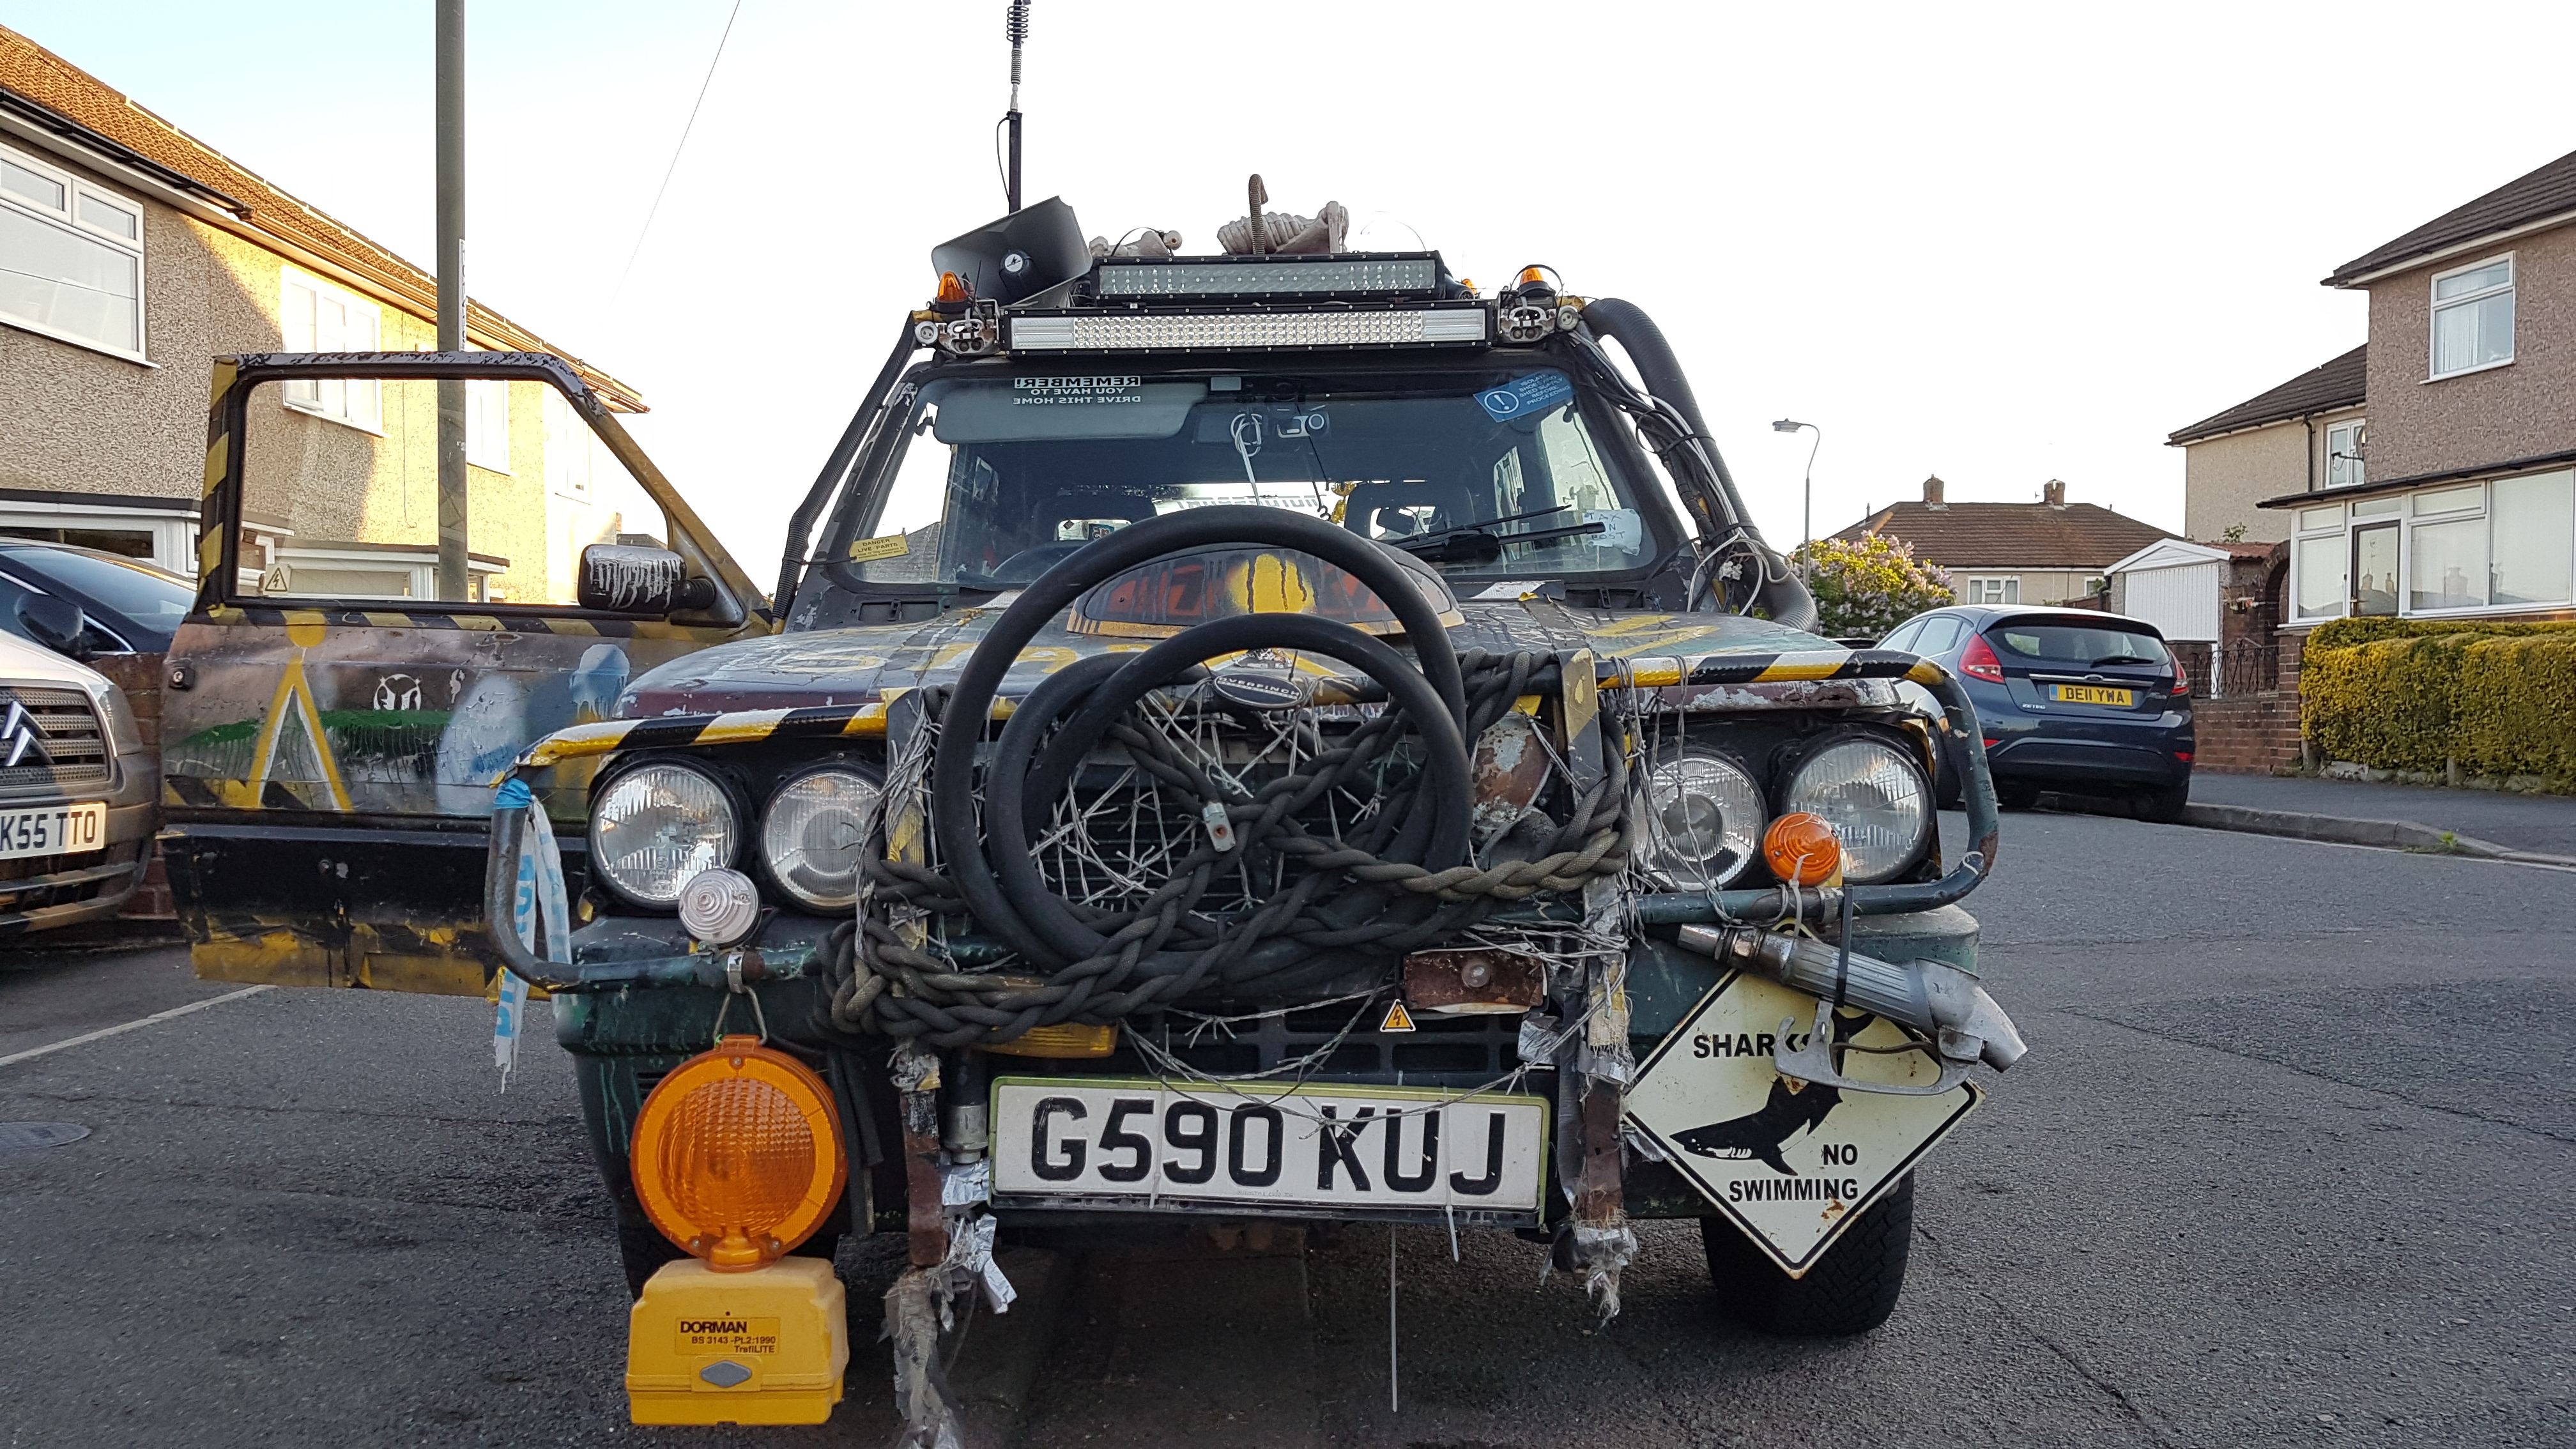
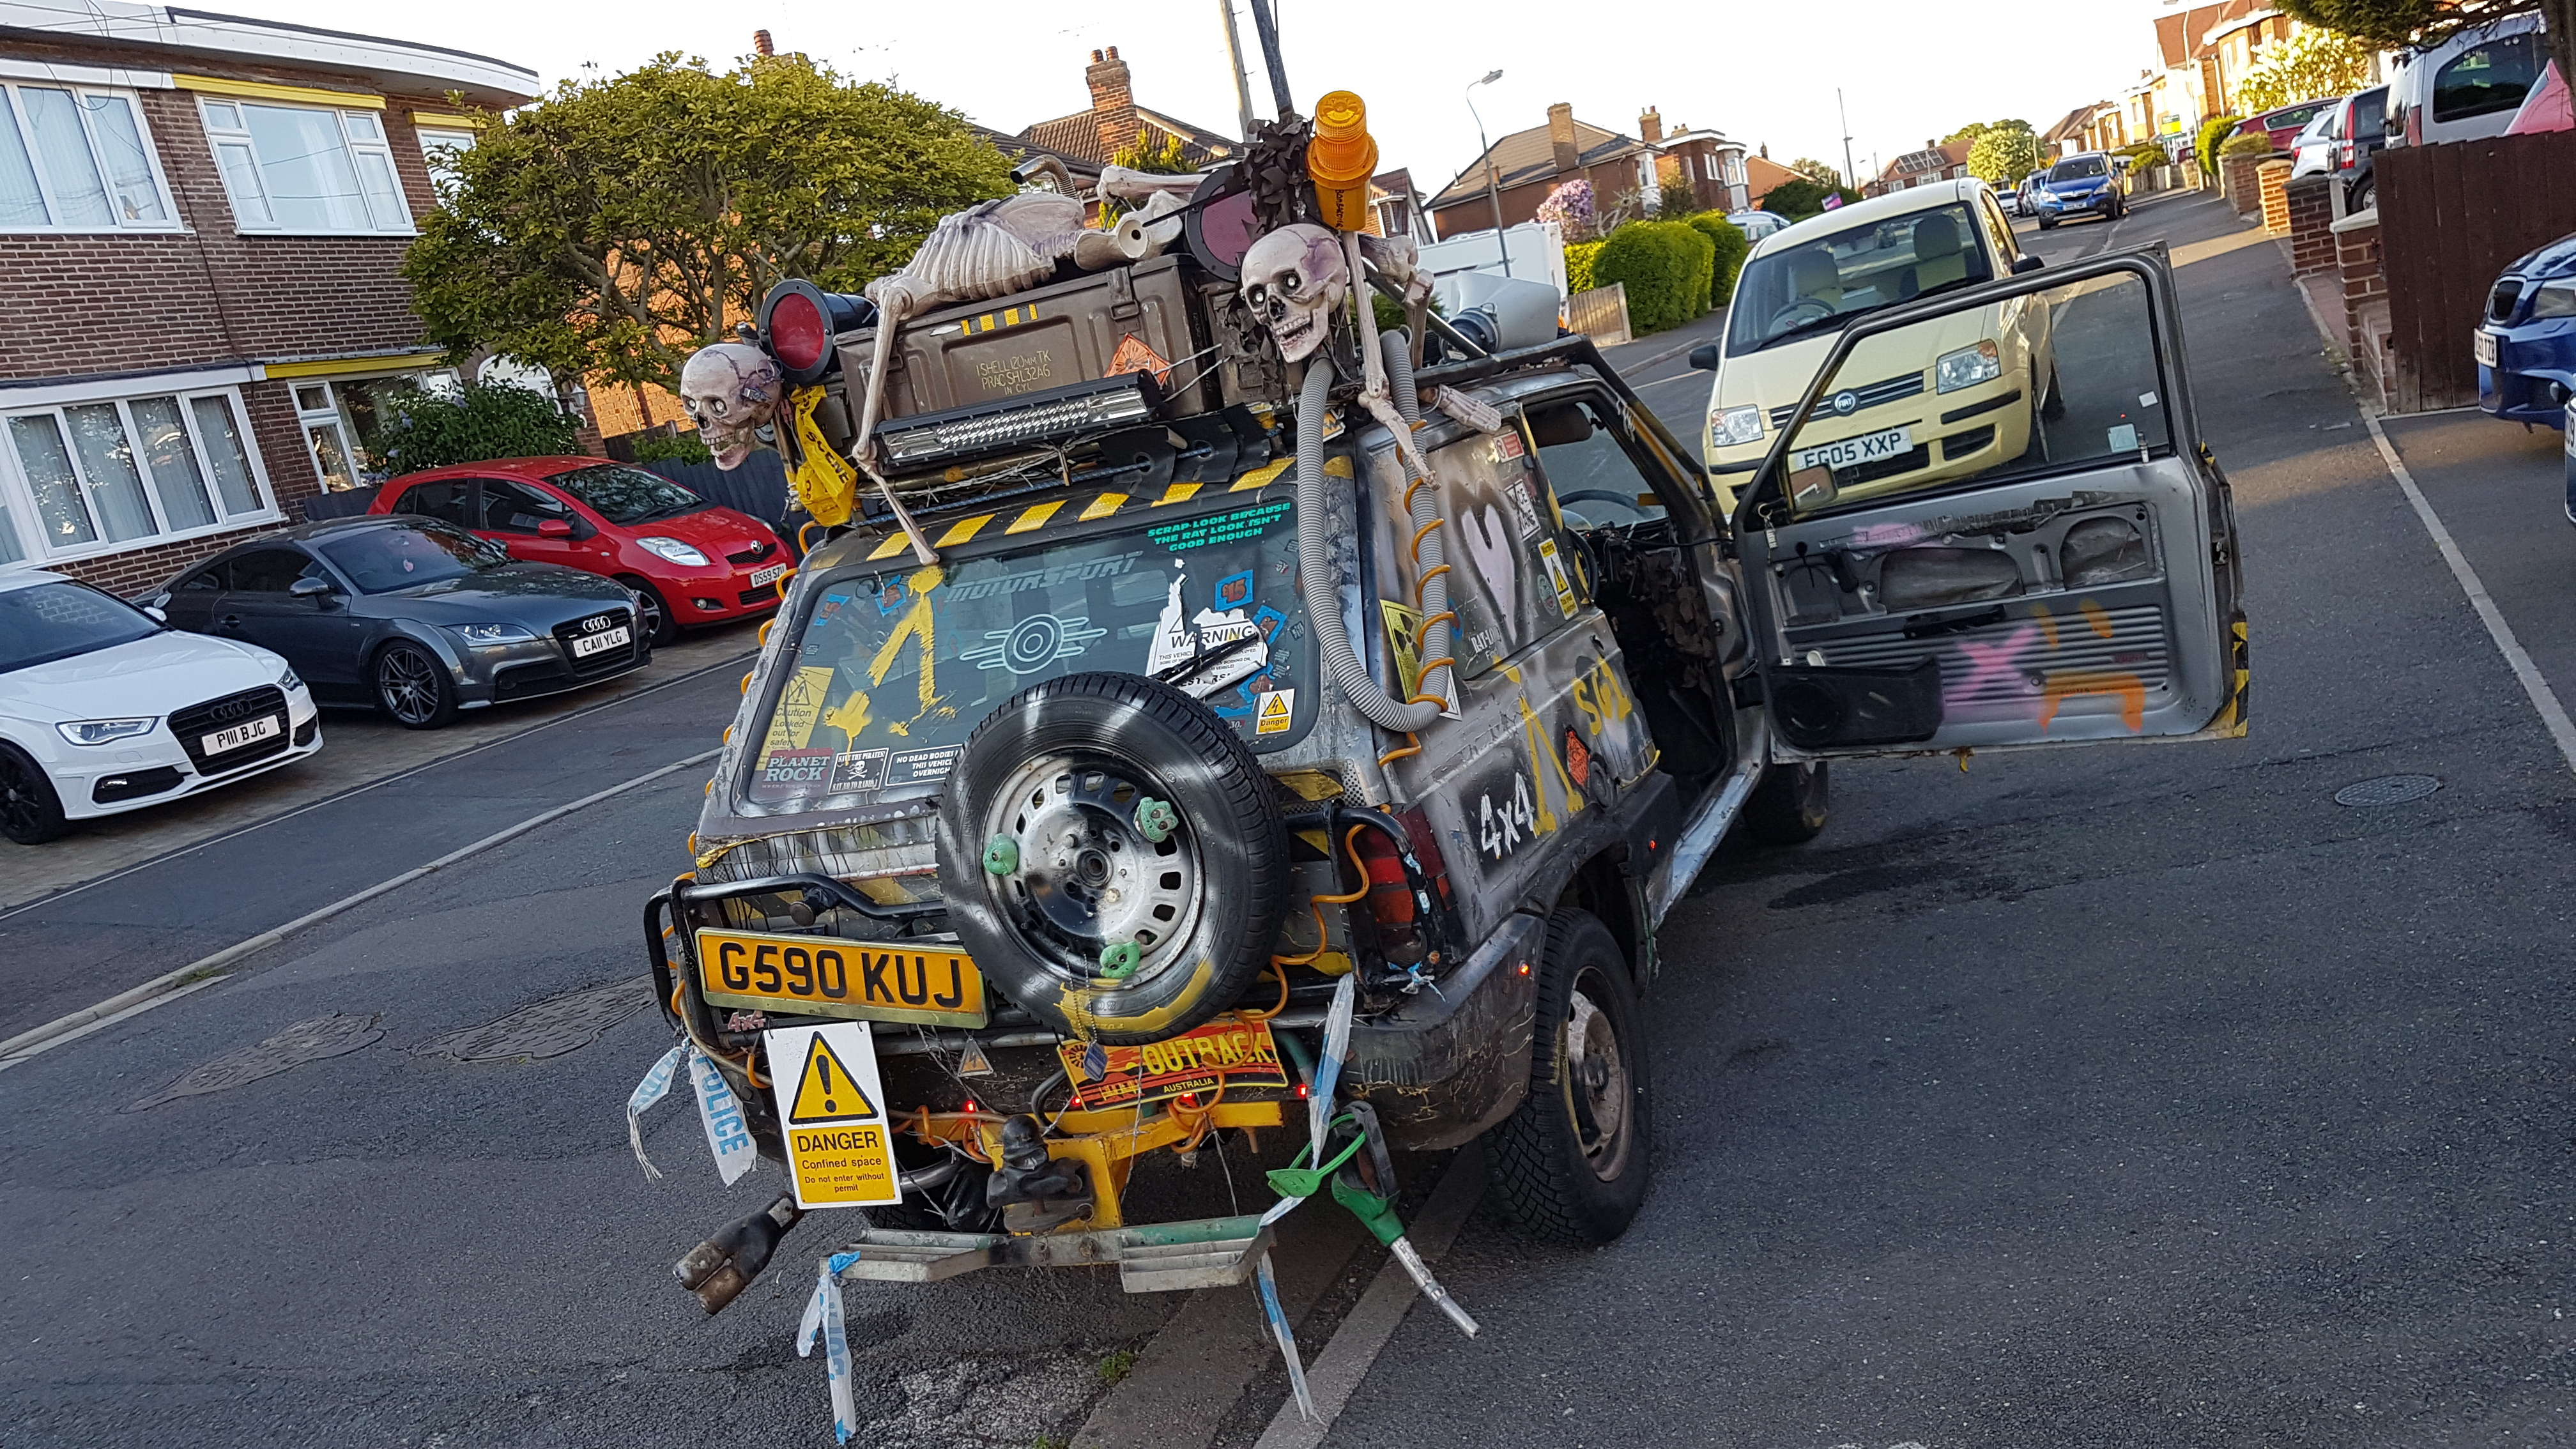
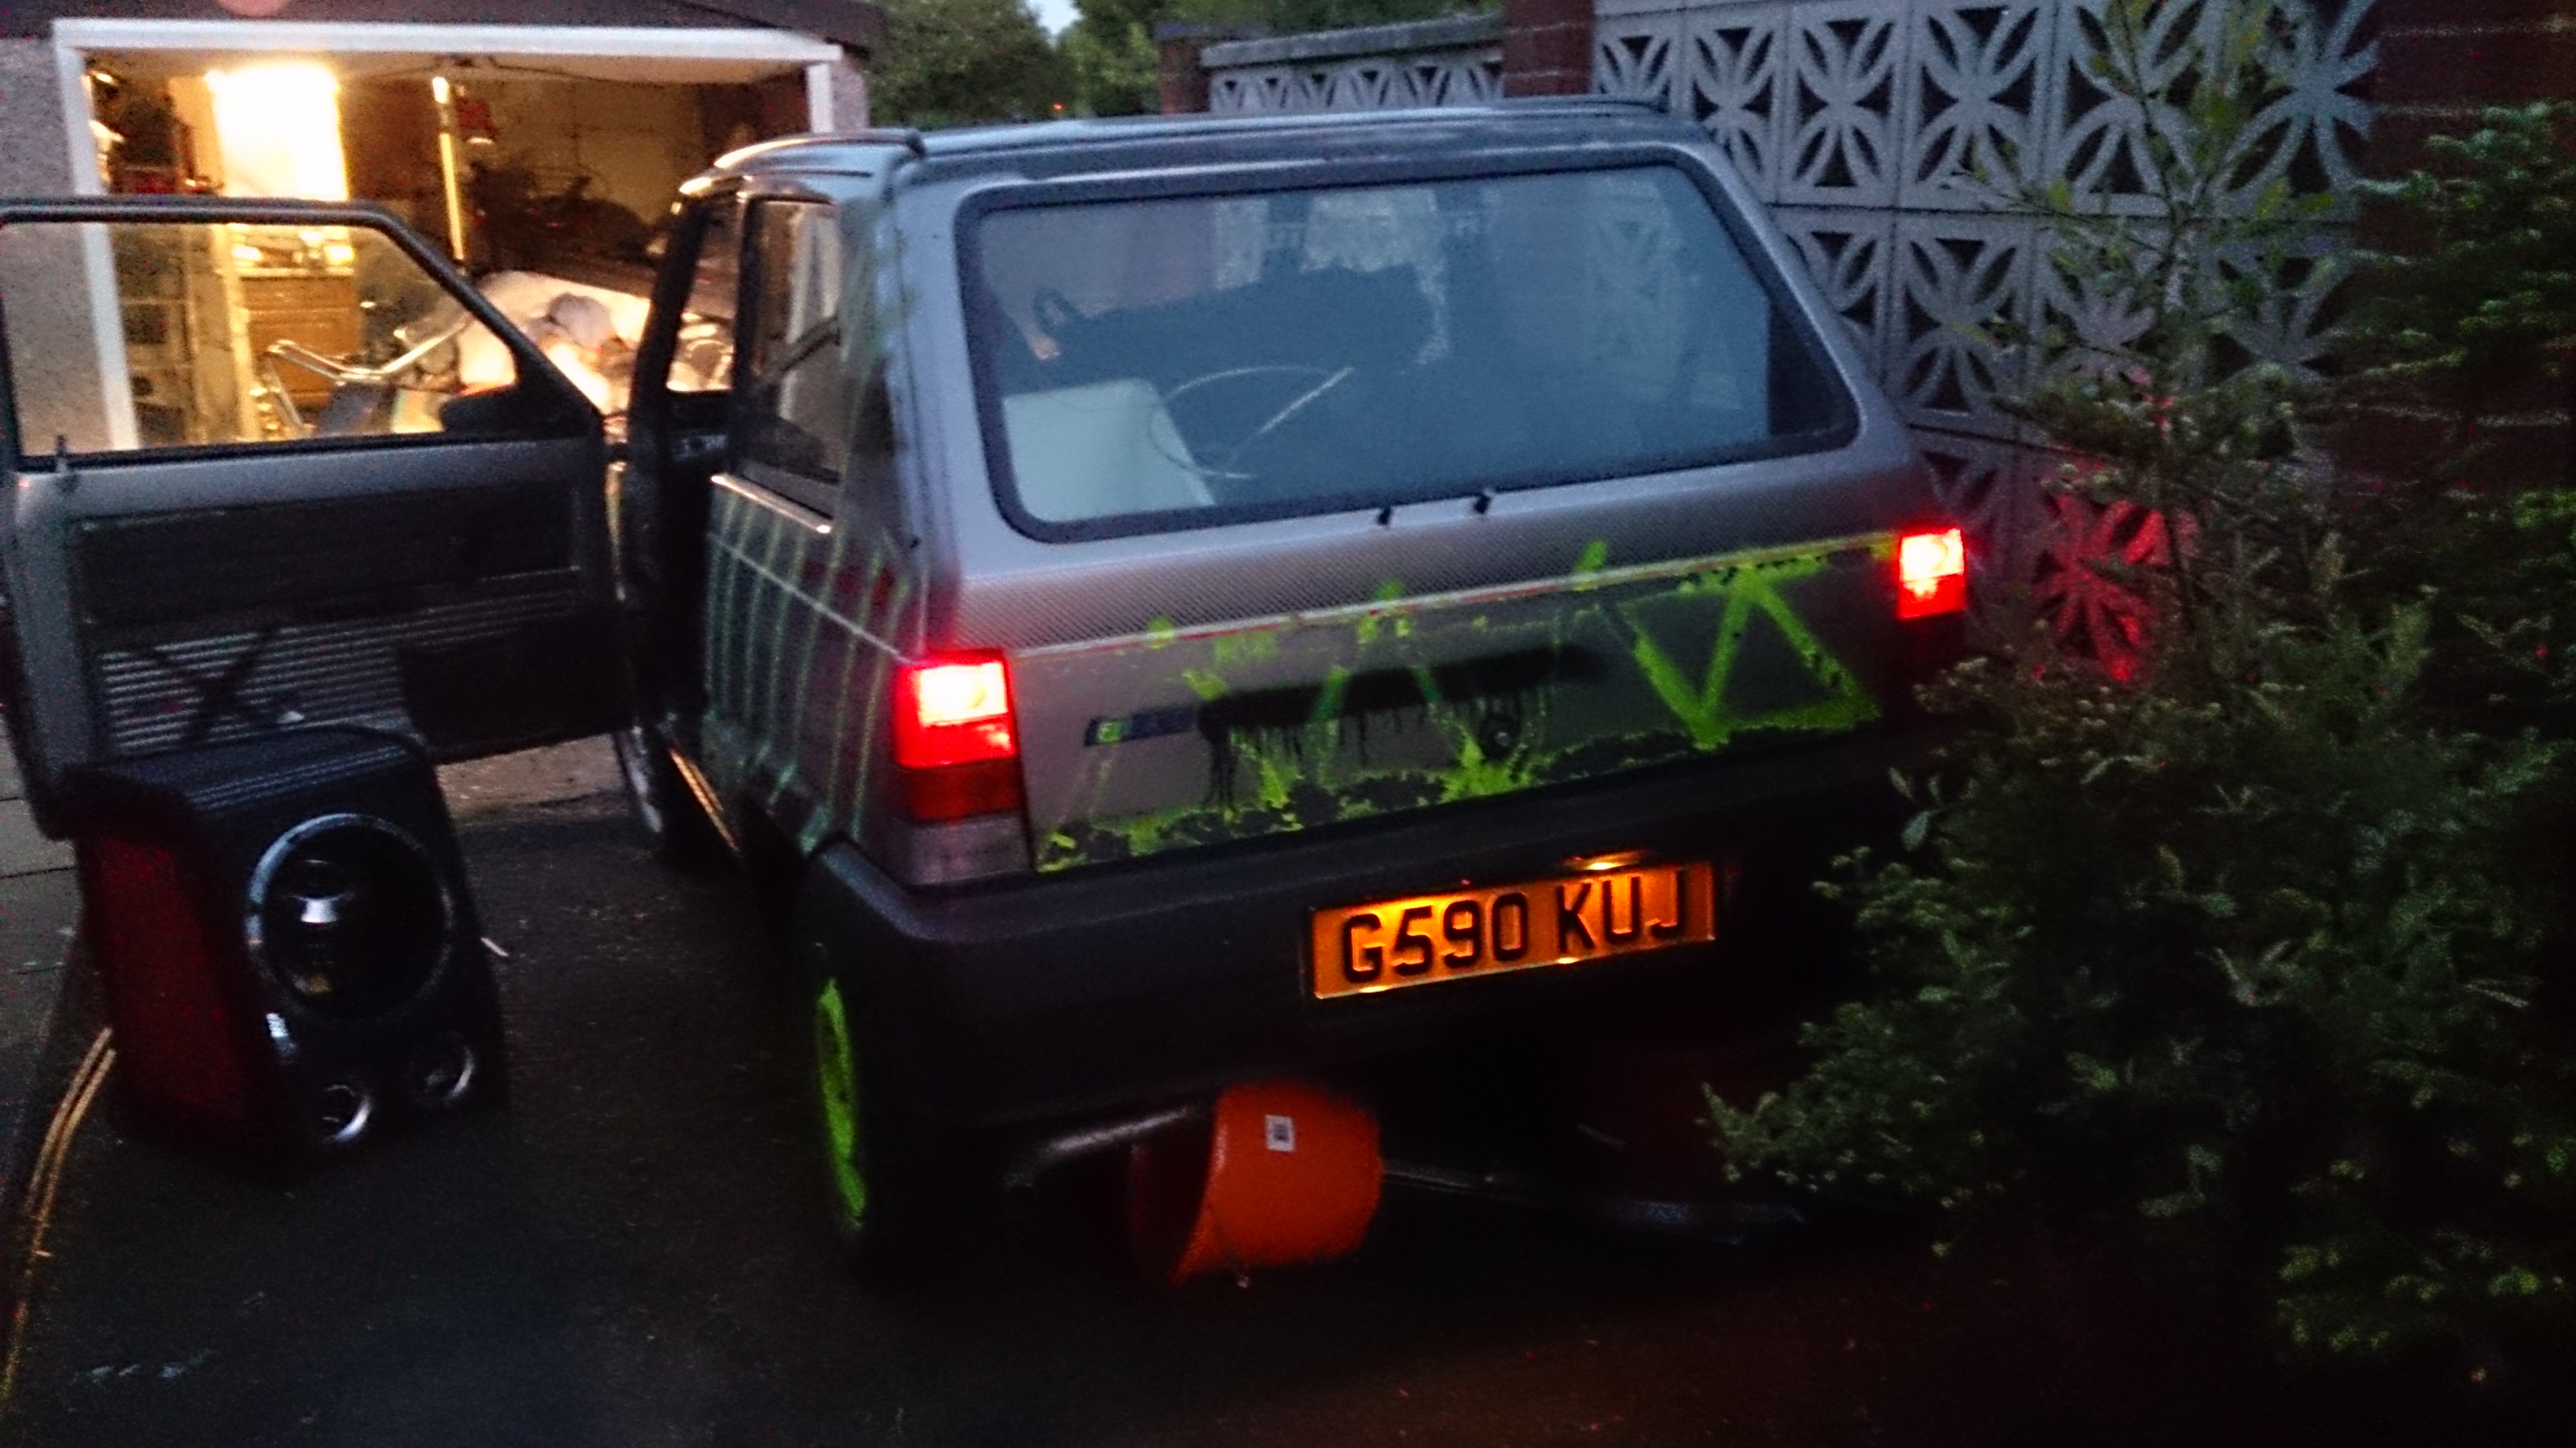
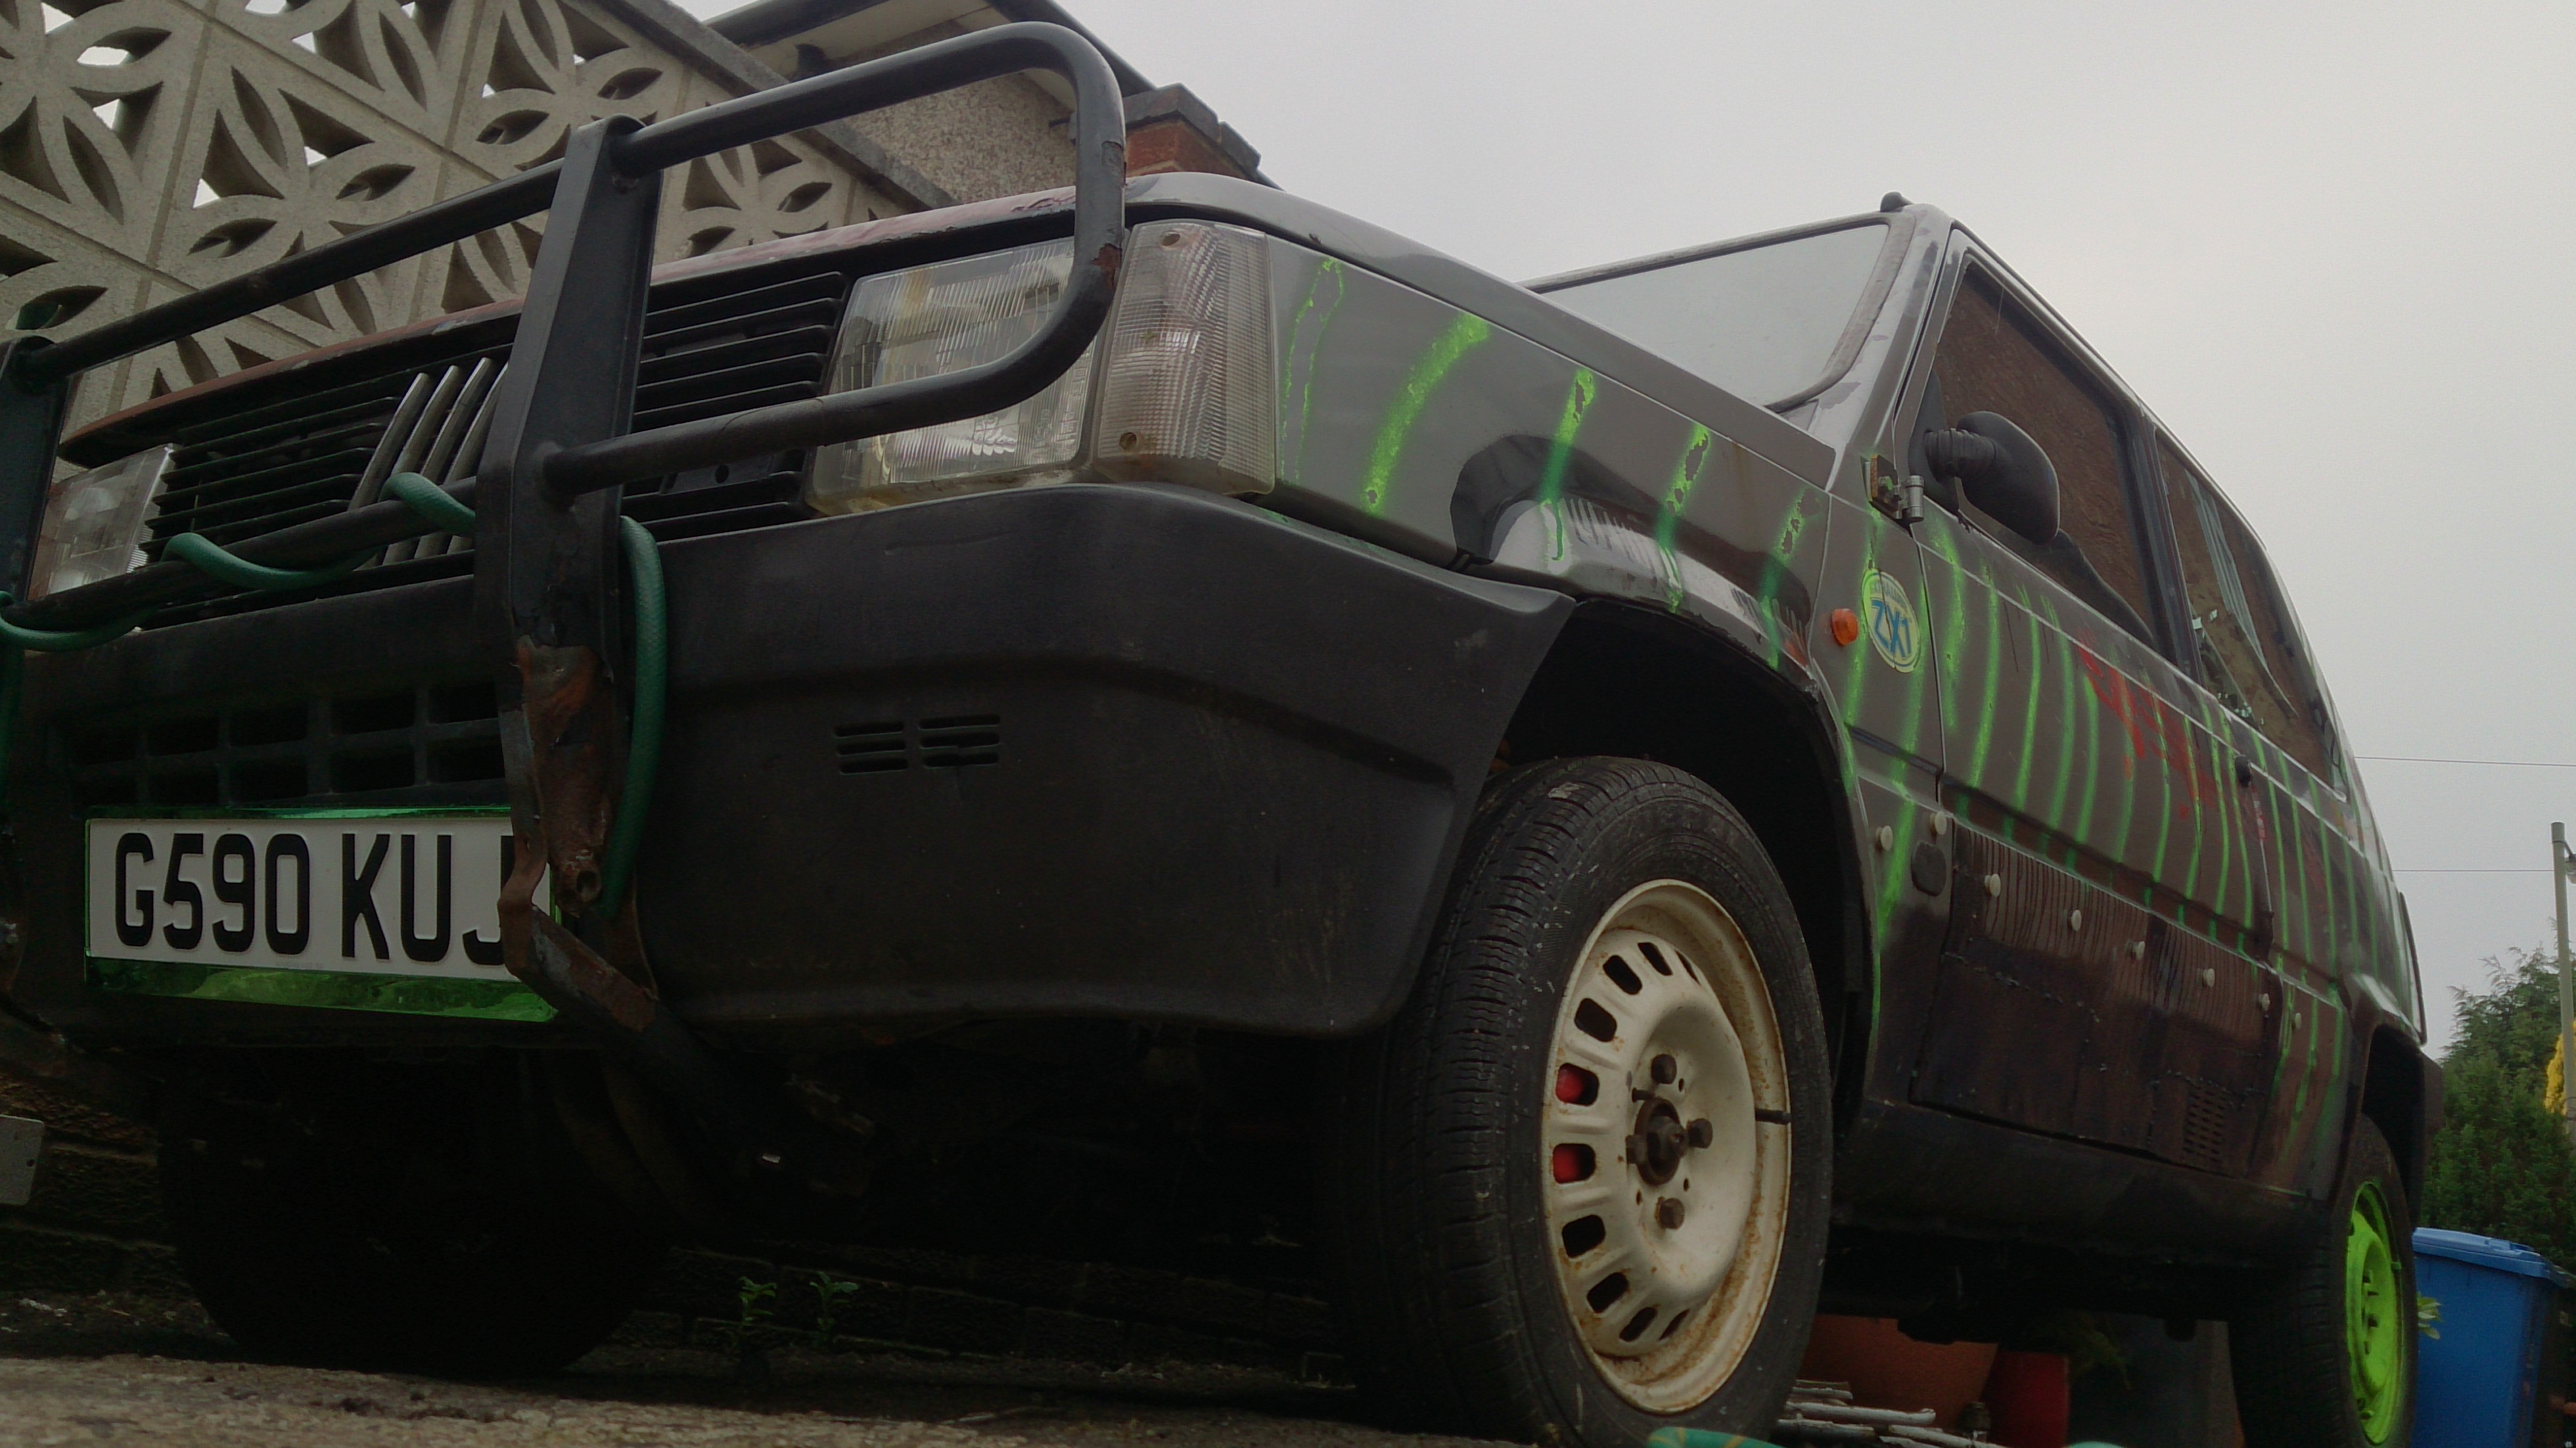
Fallout looks like this now :cool:


what do you think guys?! :D
 
Last edited:
Well i am happy to say that Fallouts MOT is just funds away! (money for insurance, MOT then tax)

i have been quite busy.

i guess its better to show you.

so how fallout looking in daylight:


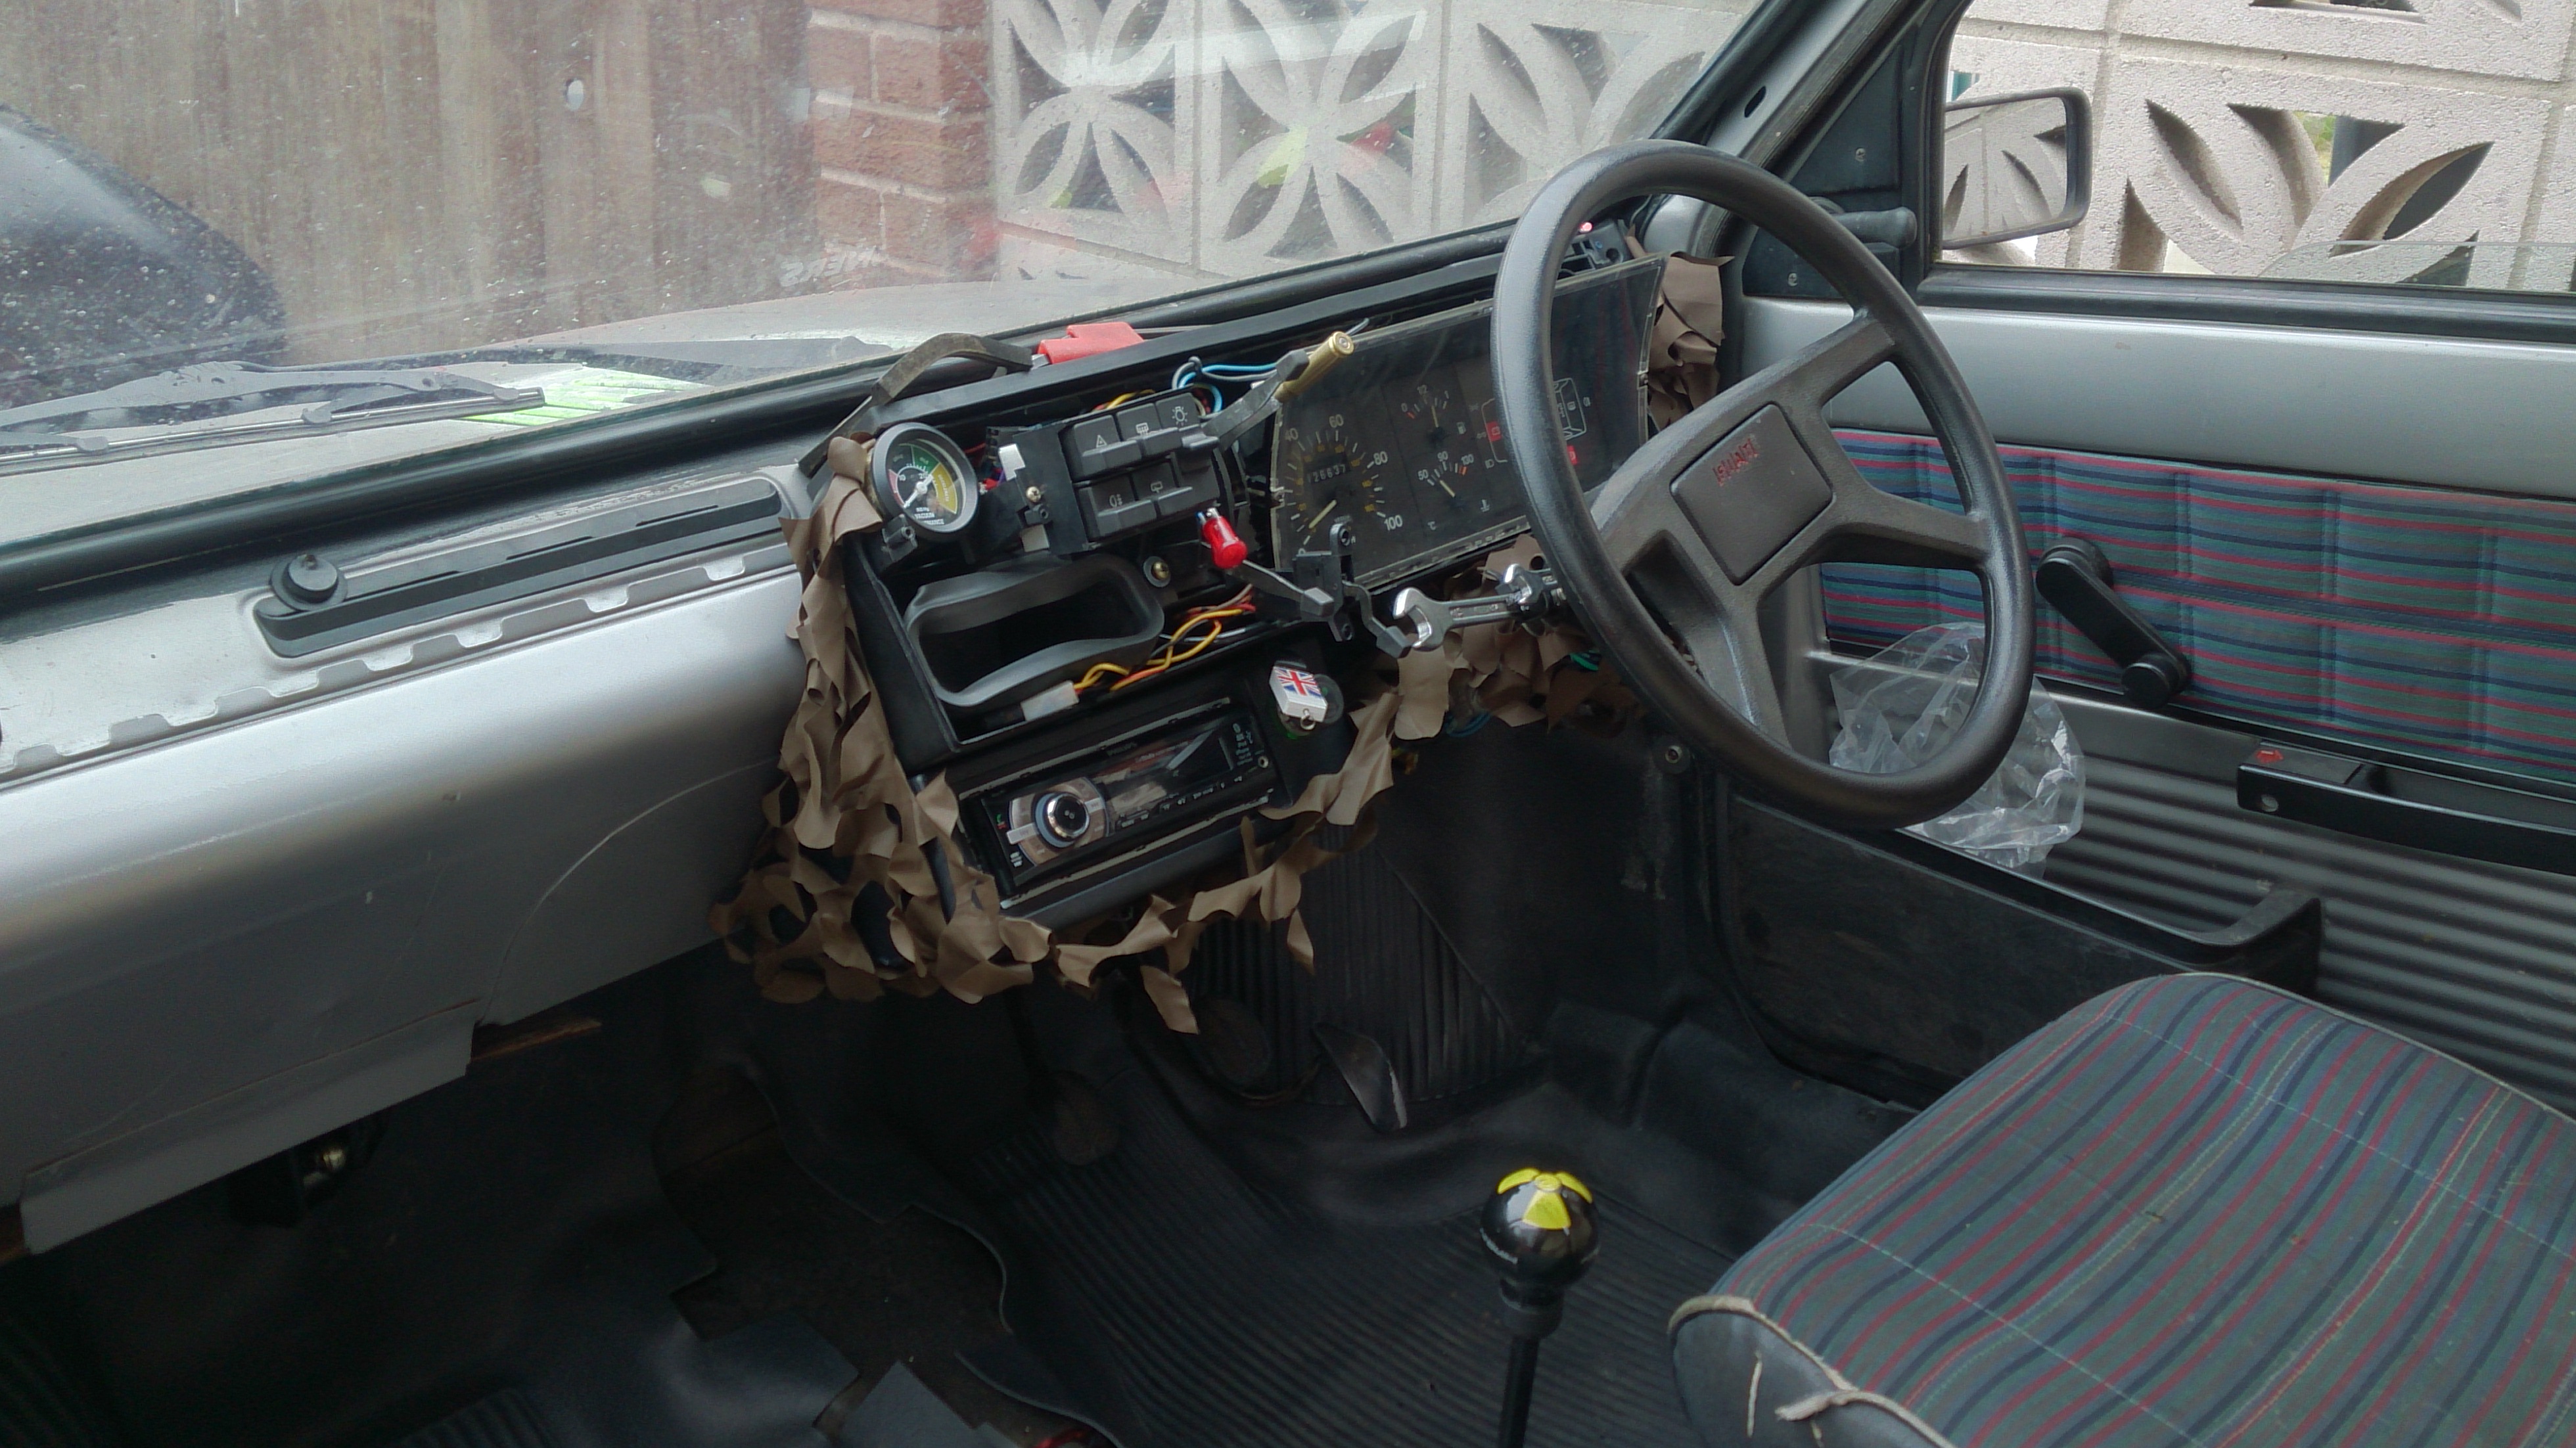
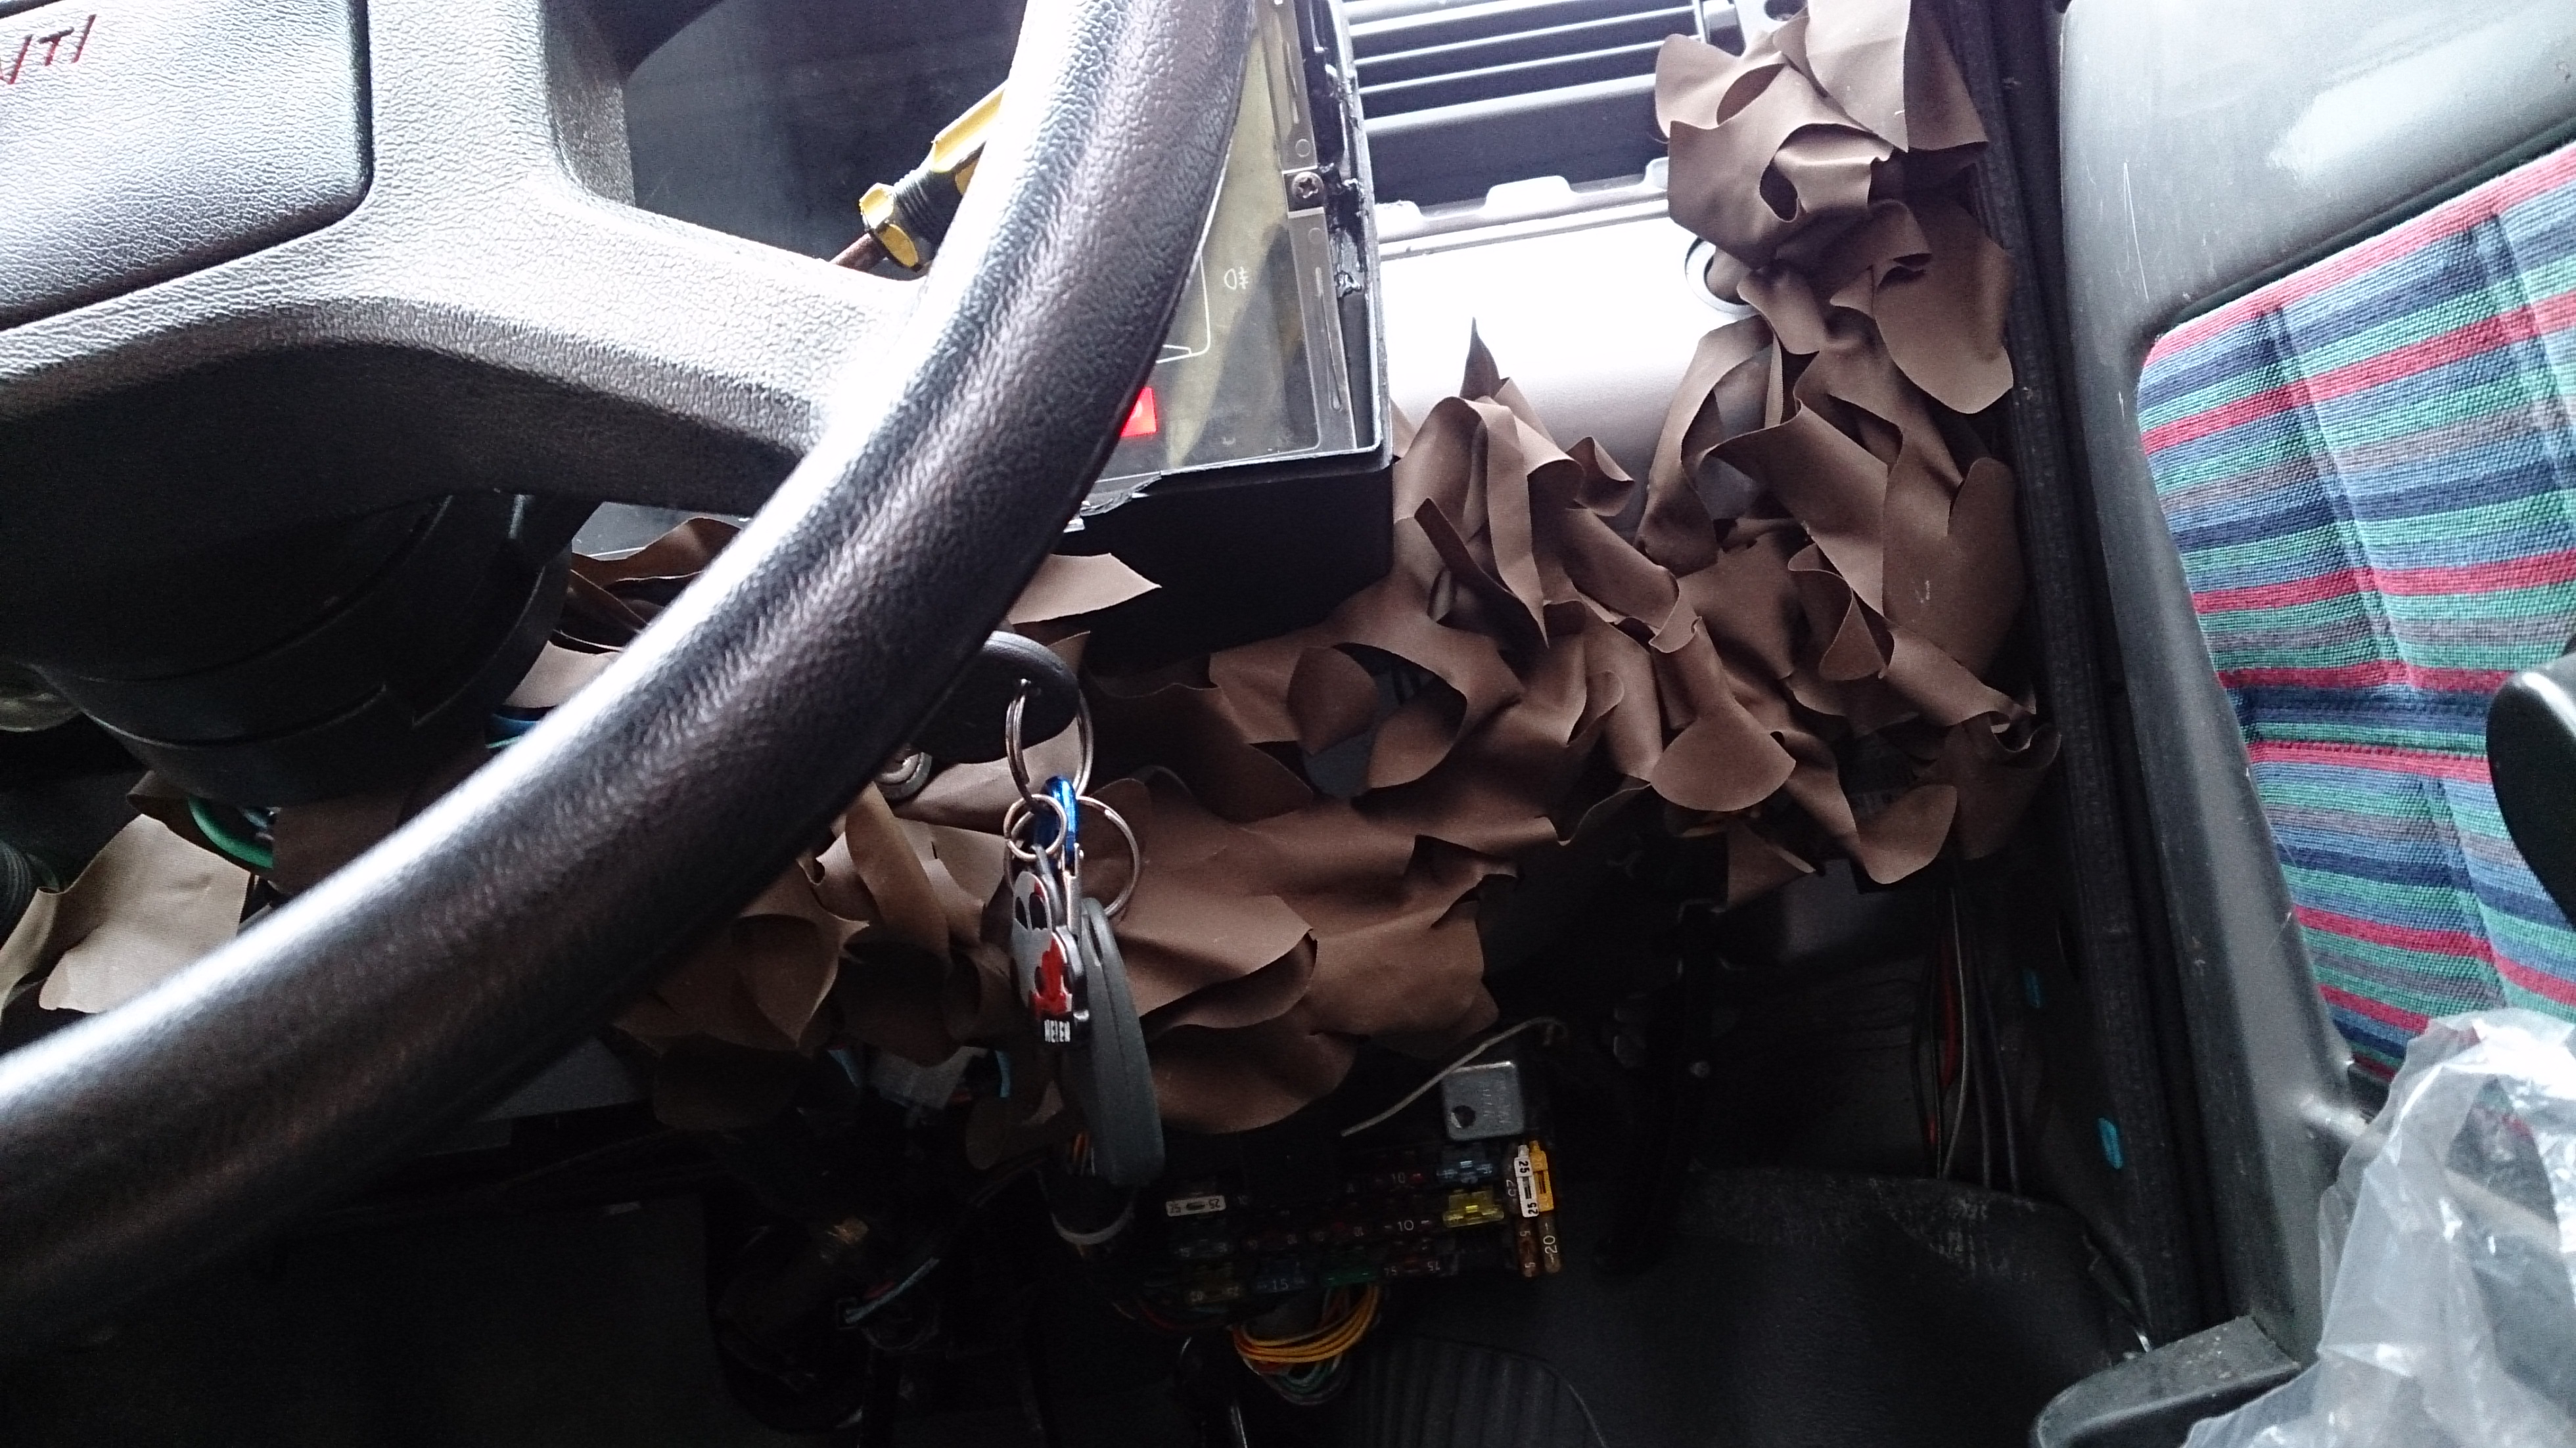
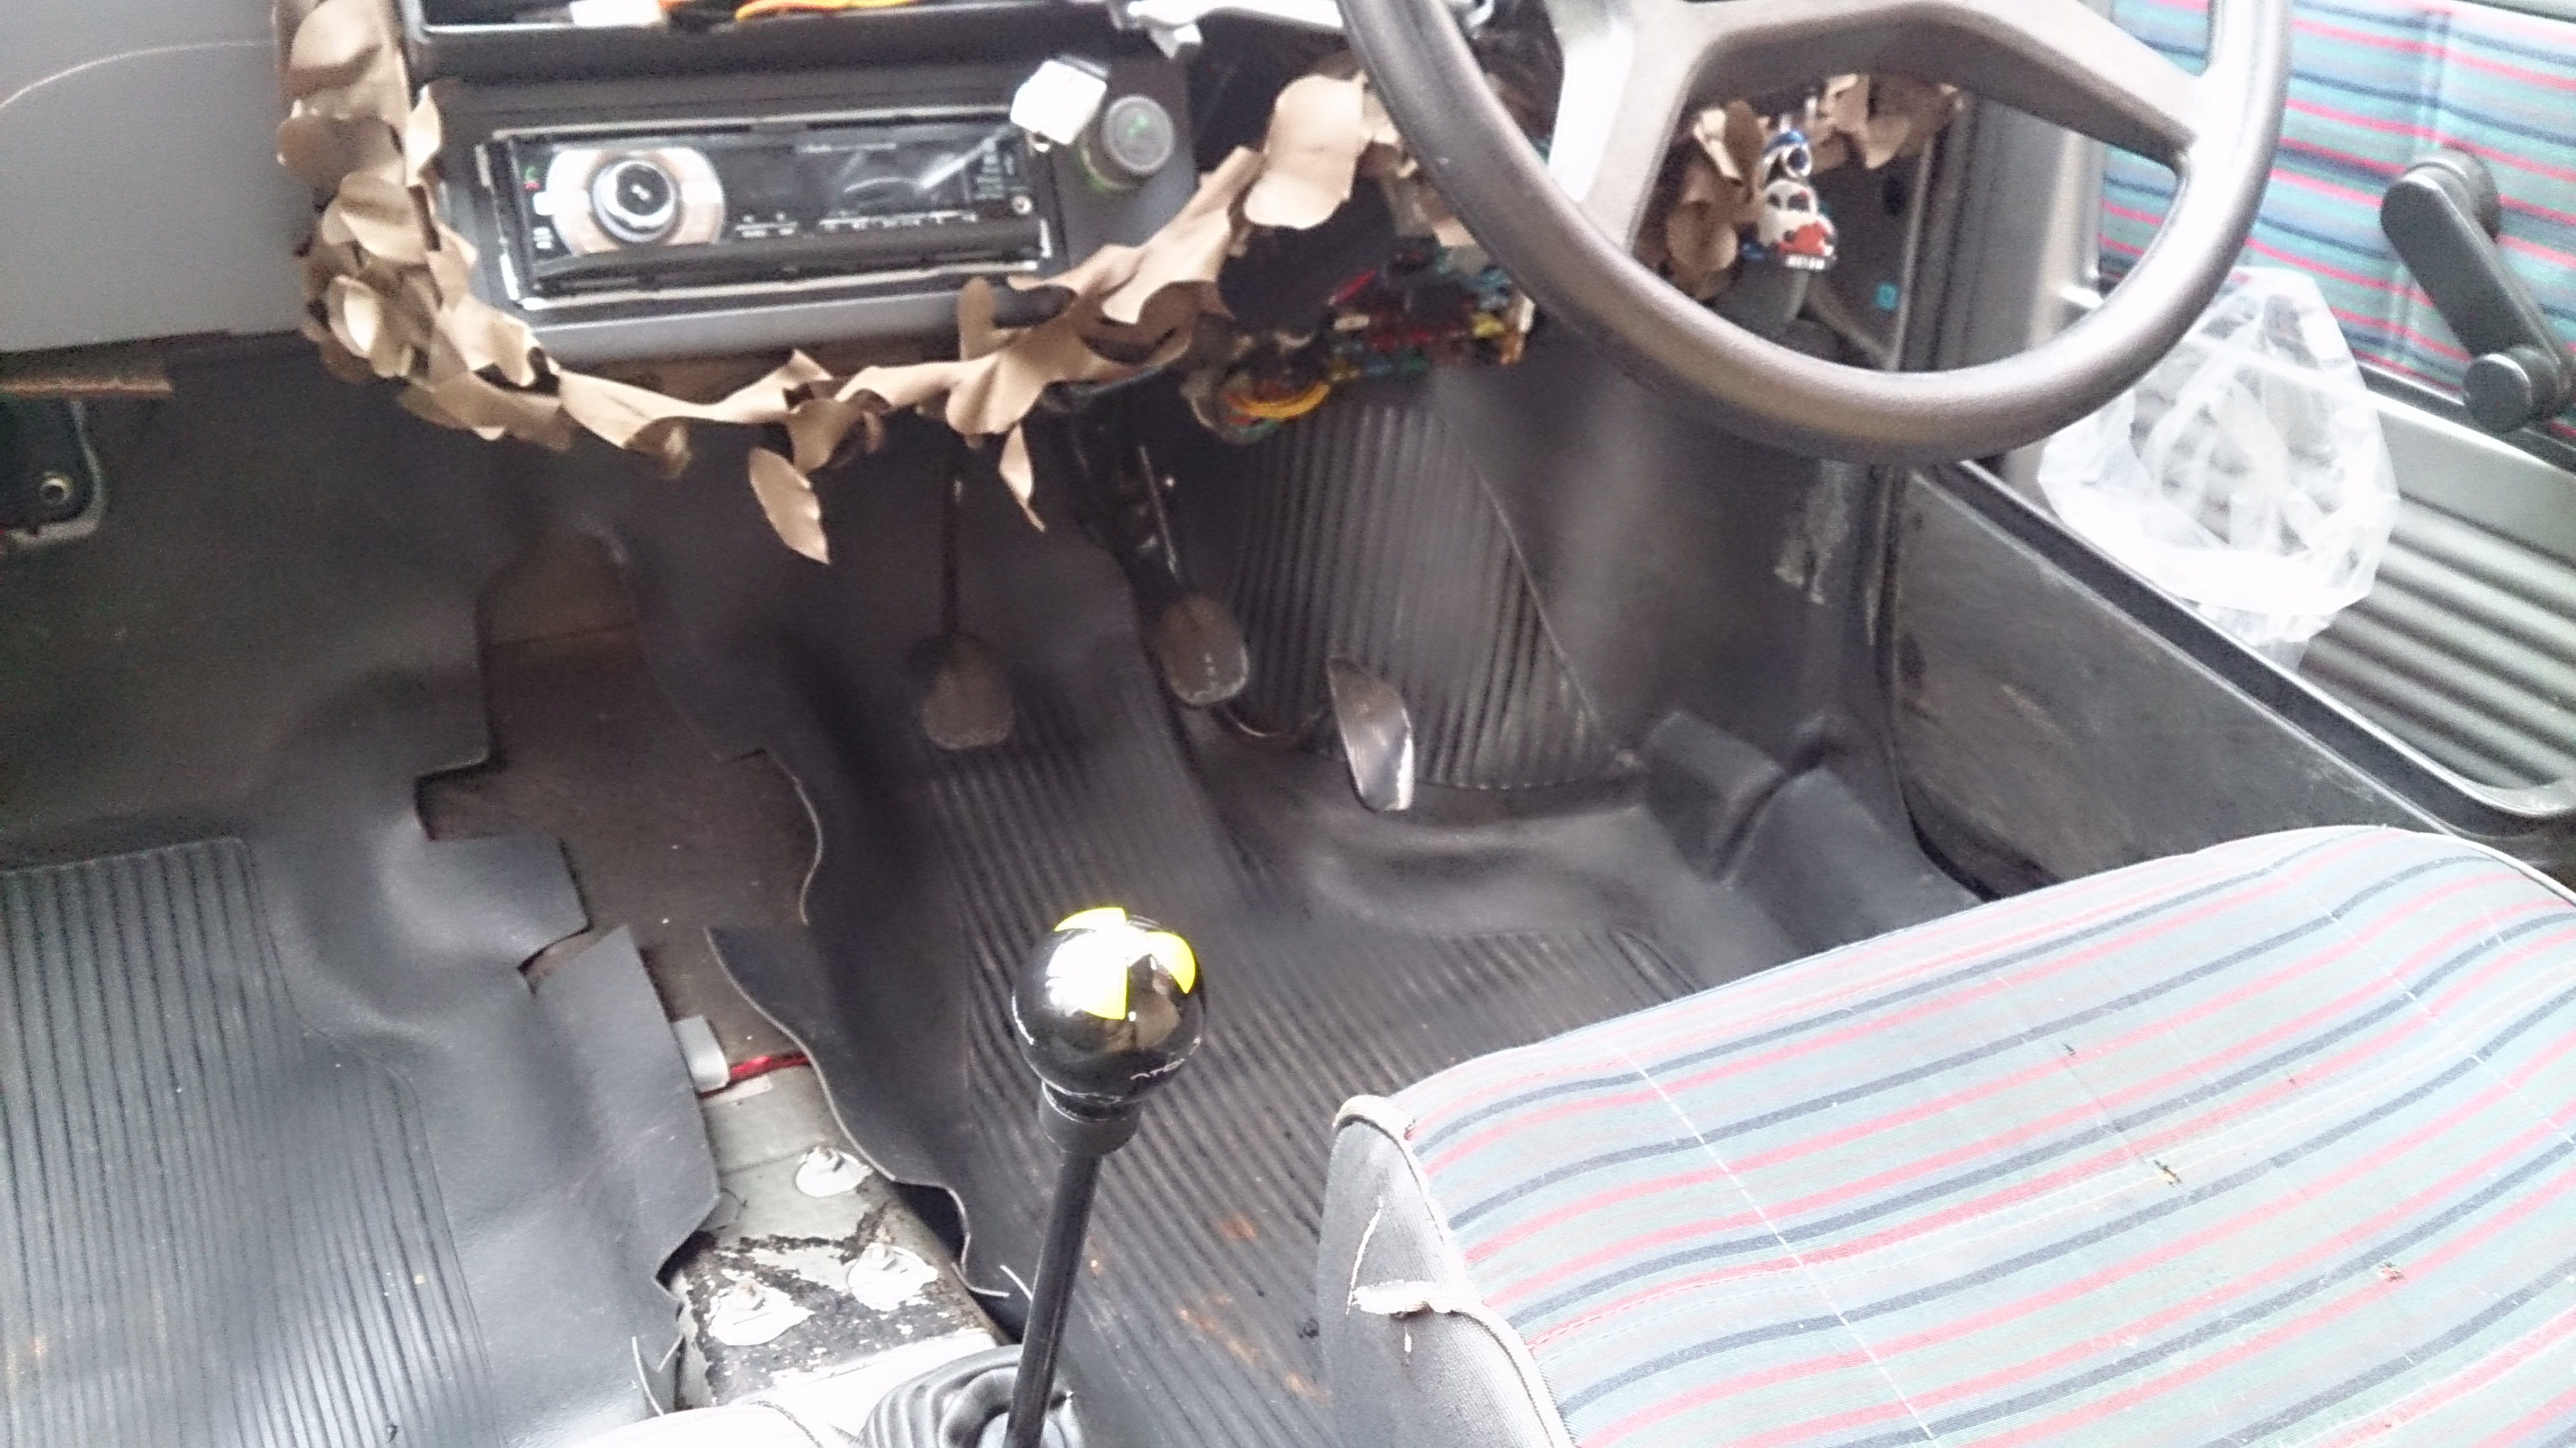
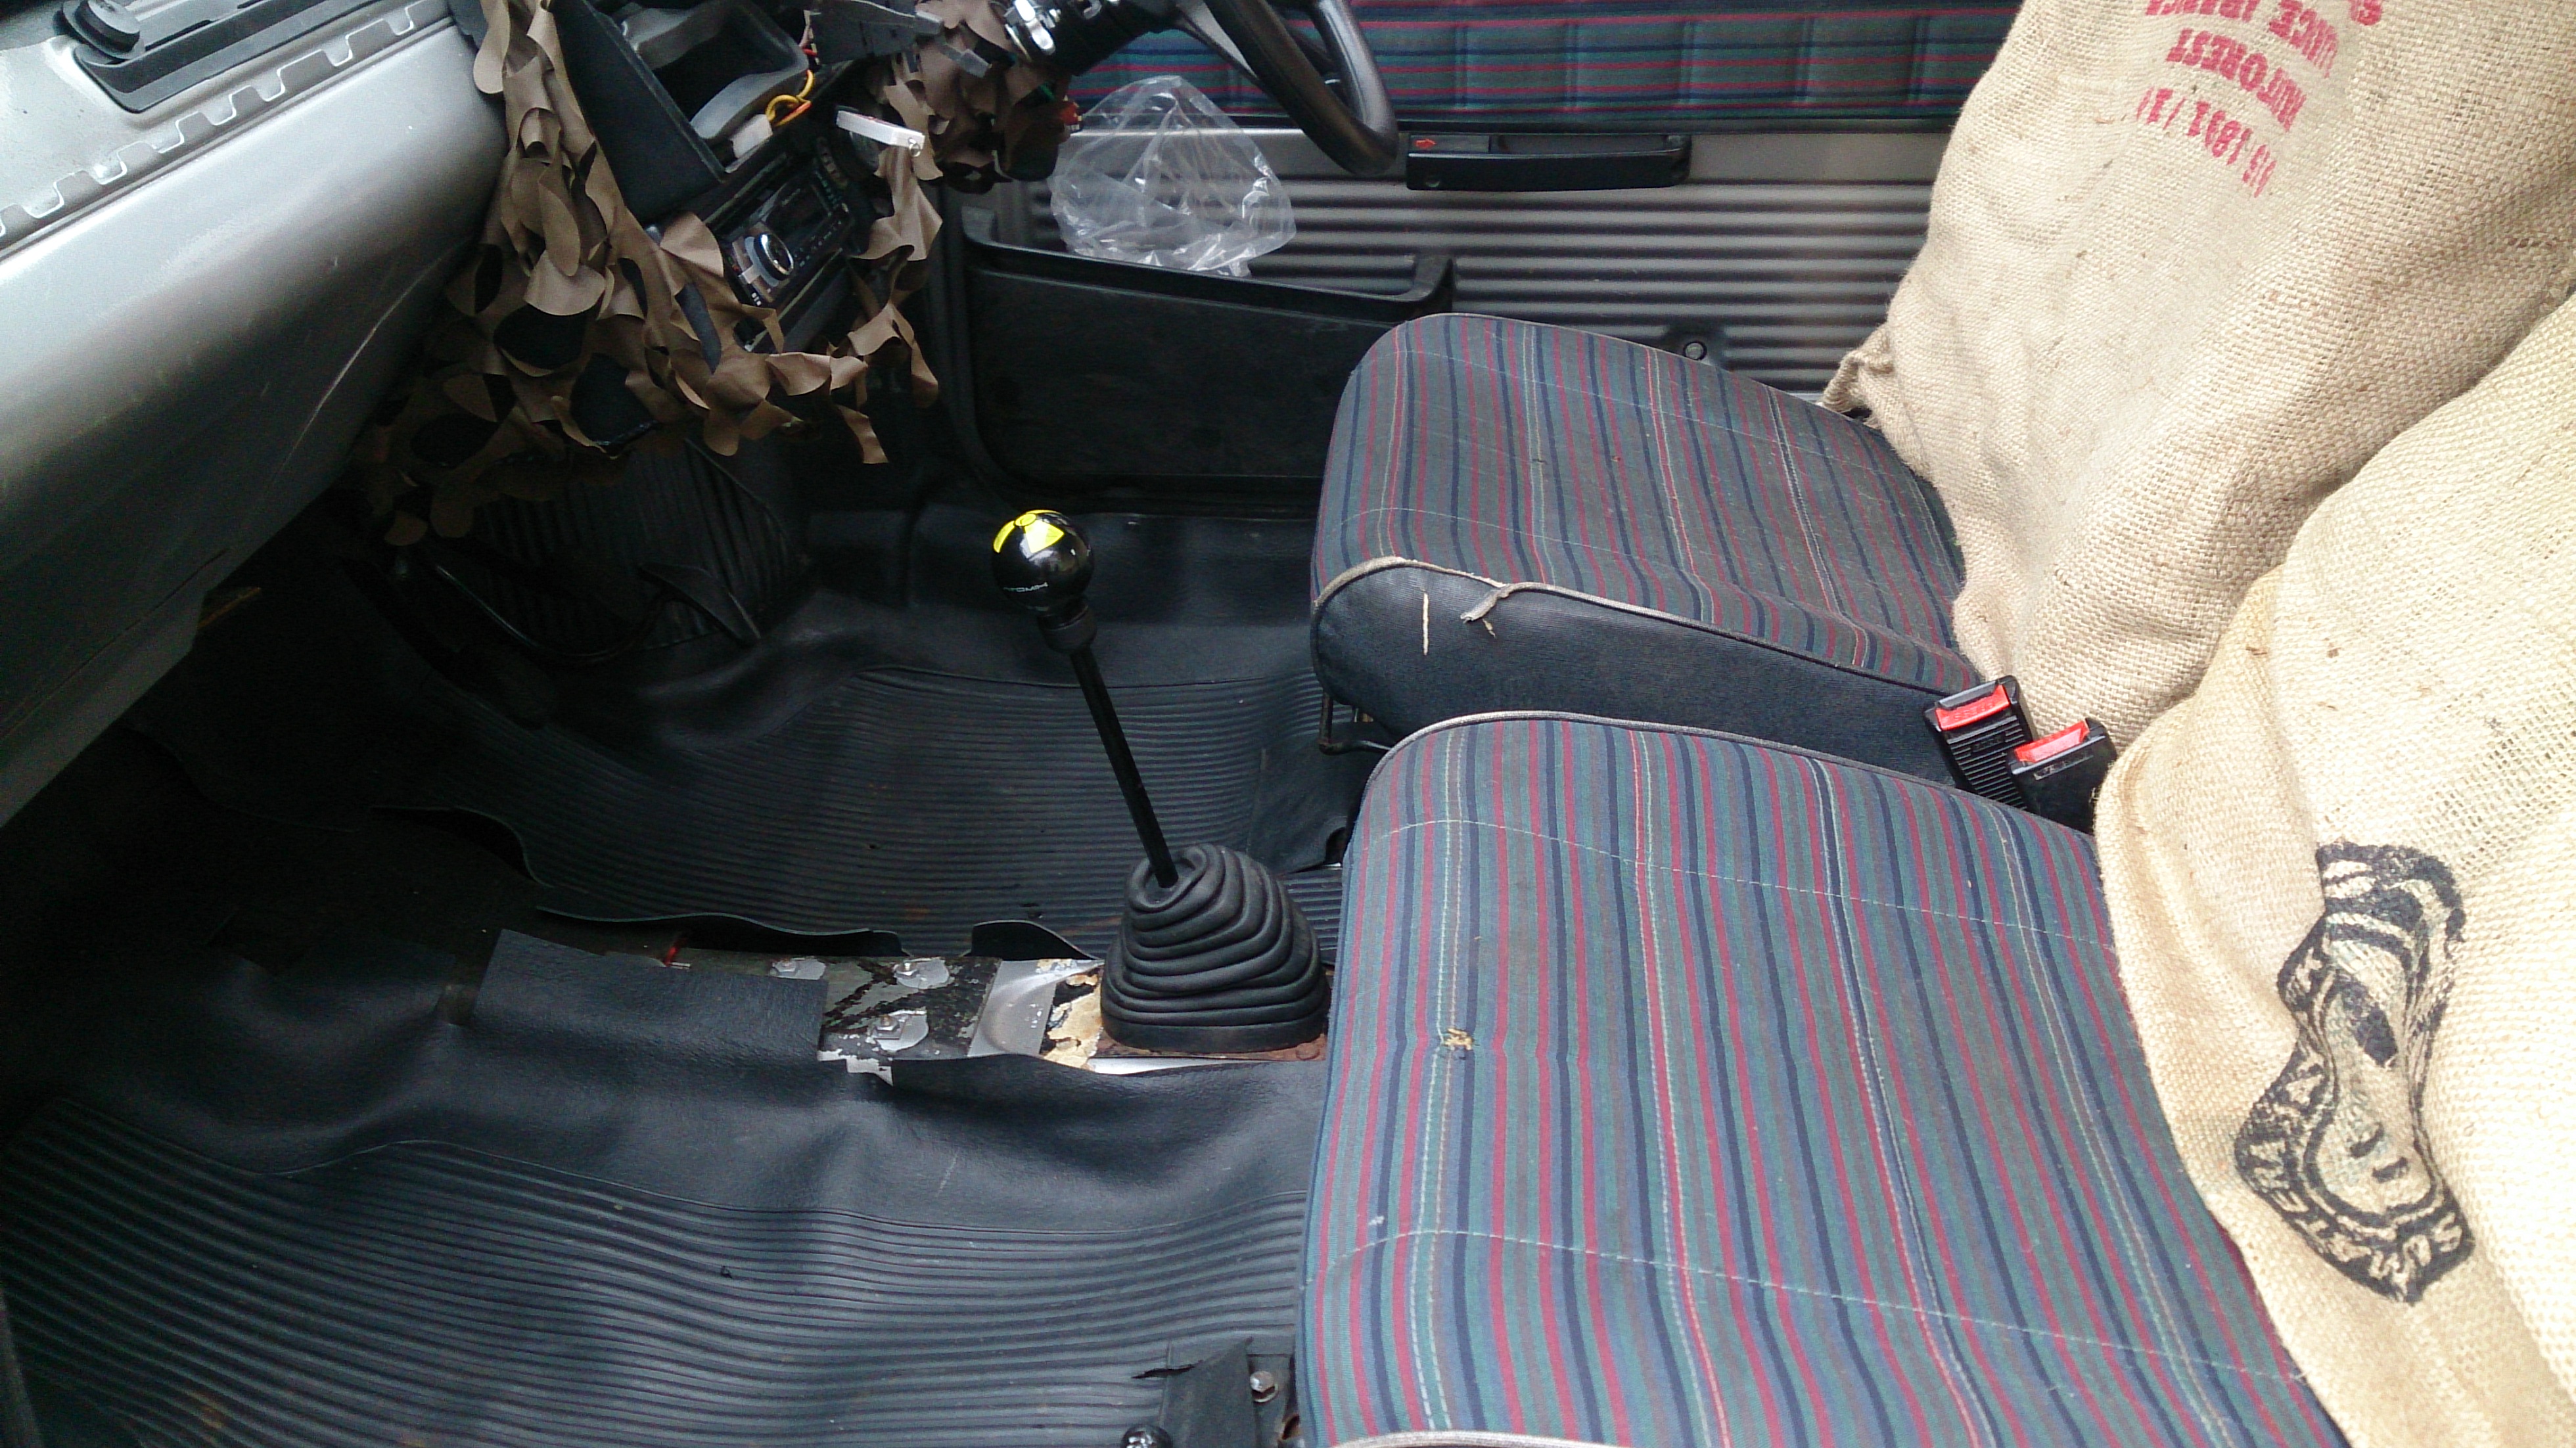
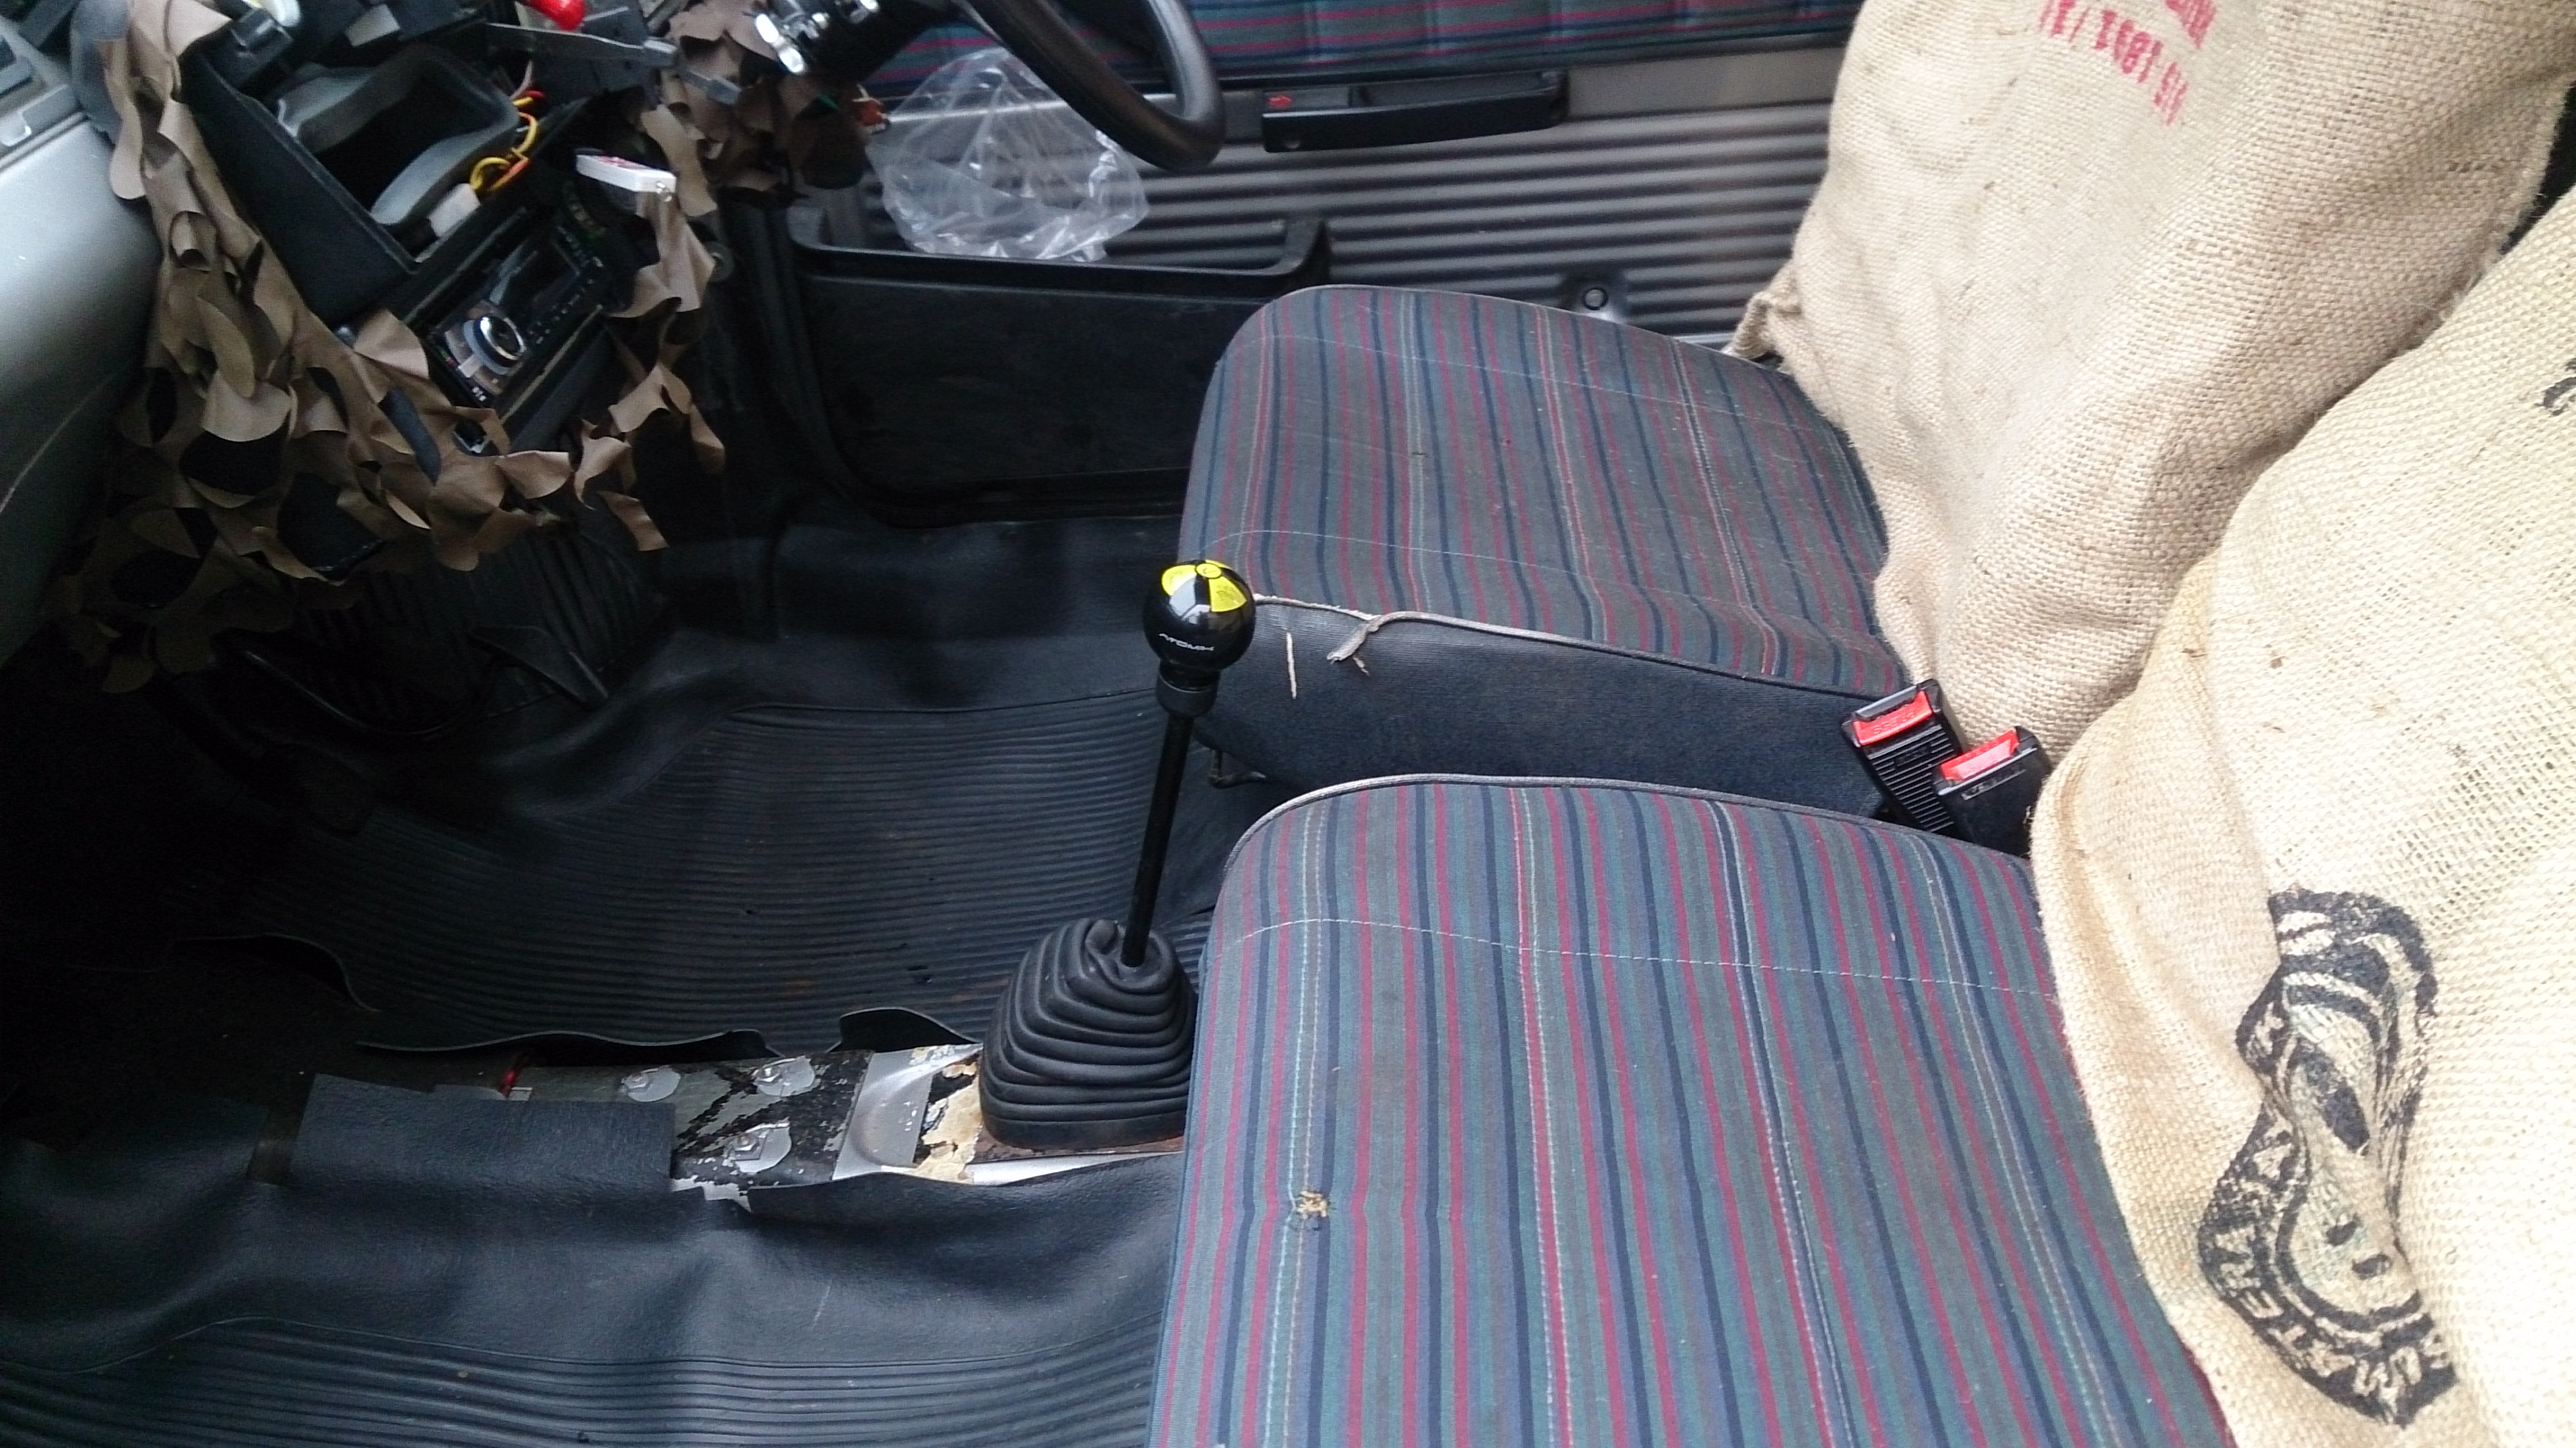
and now moving on to how it looks inside:


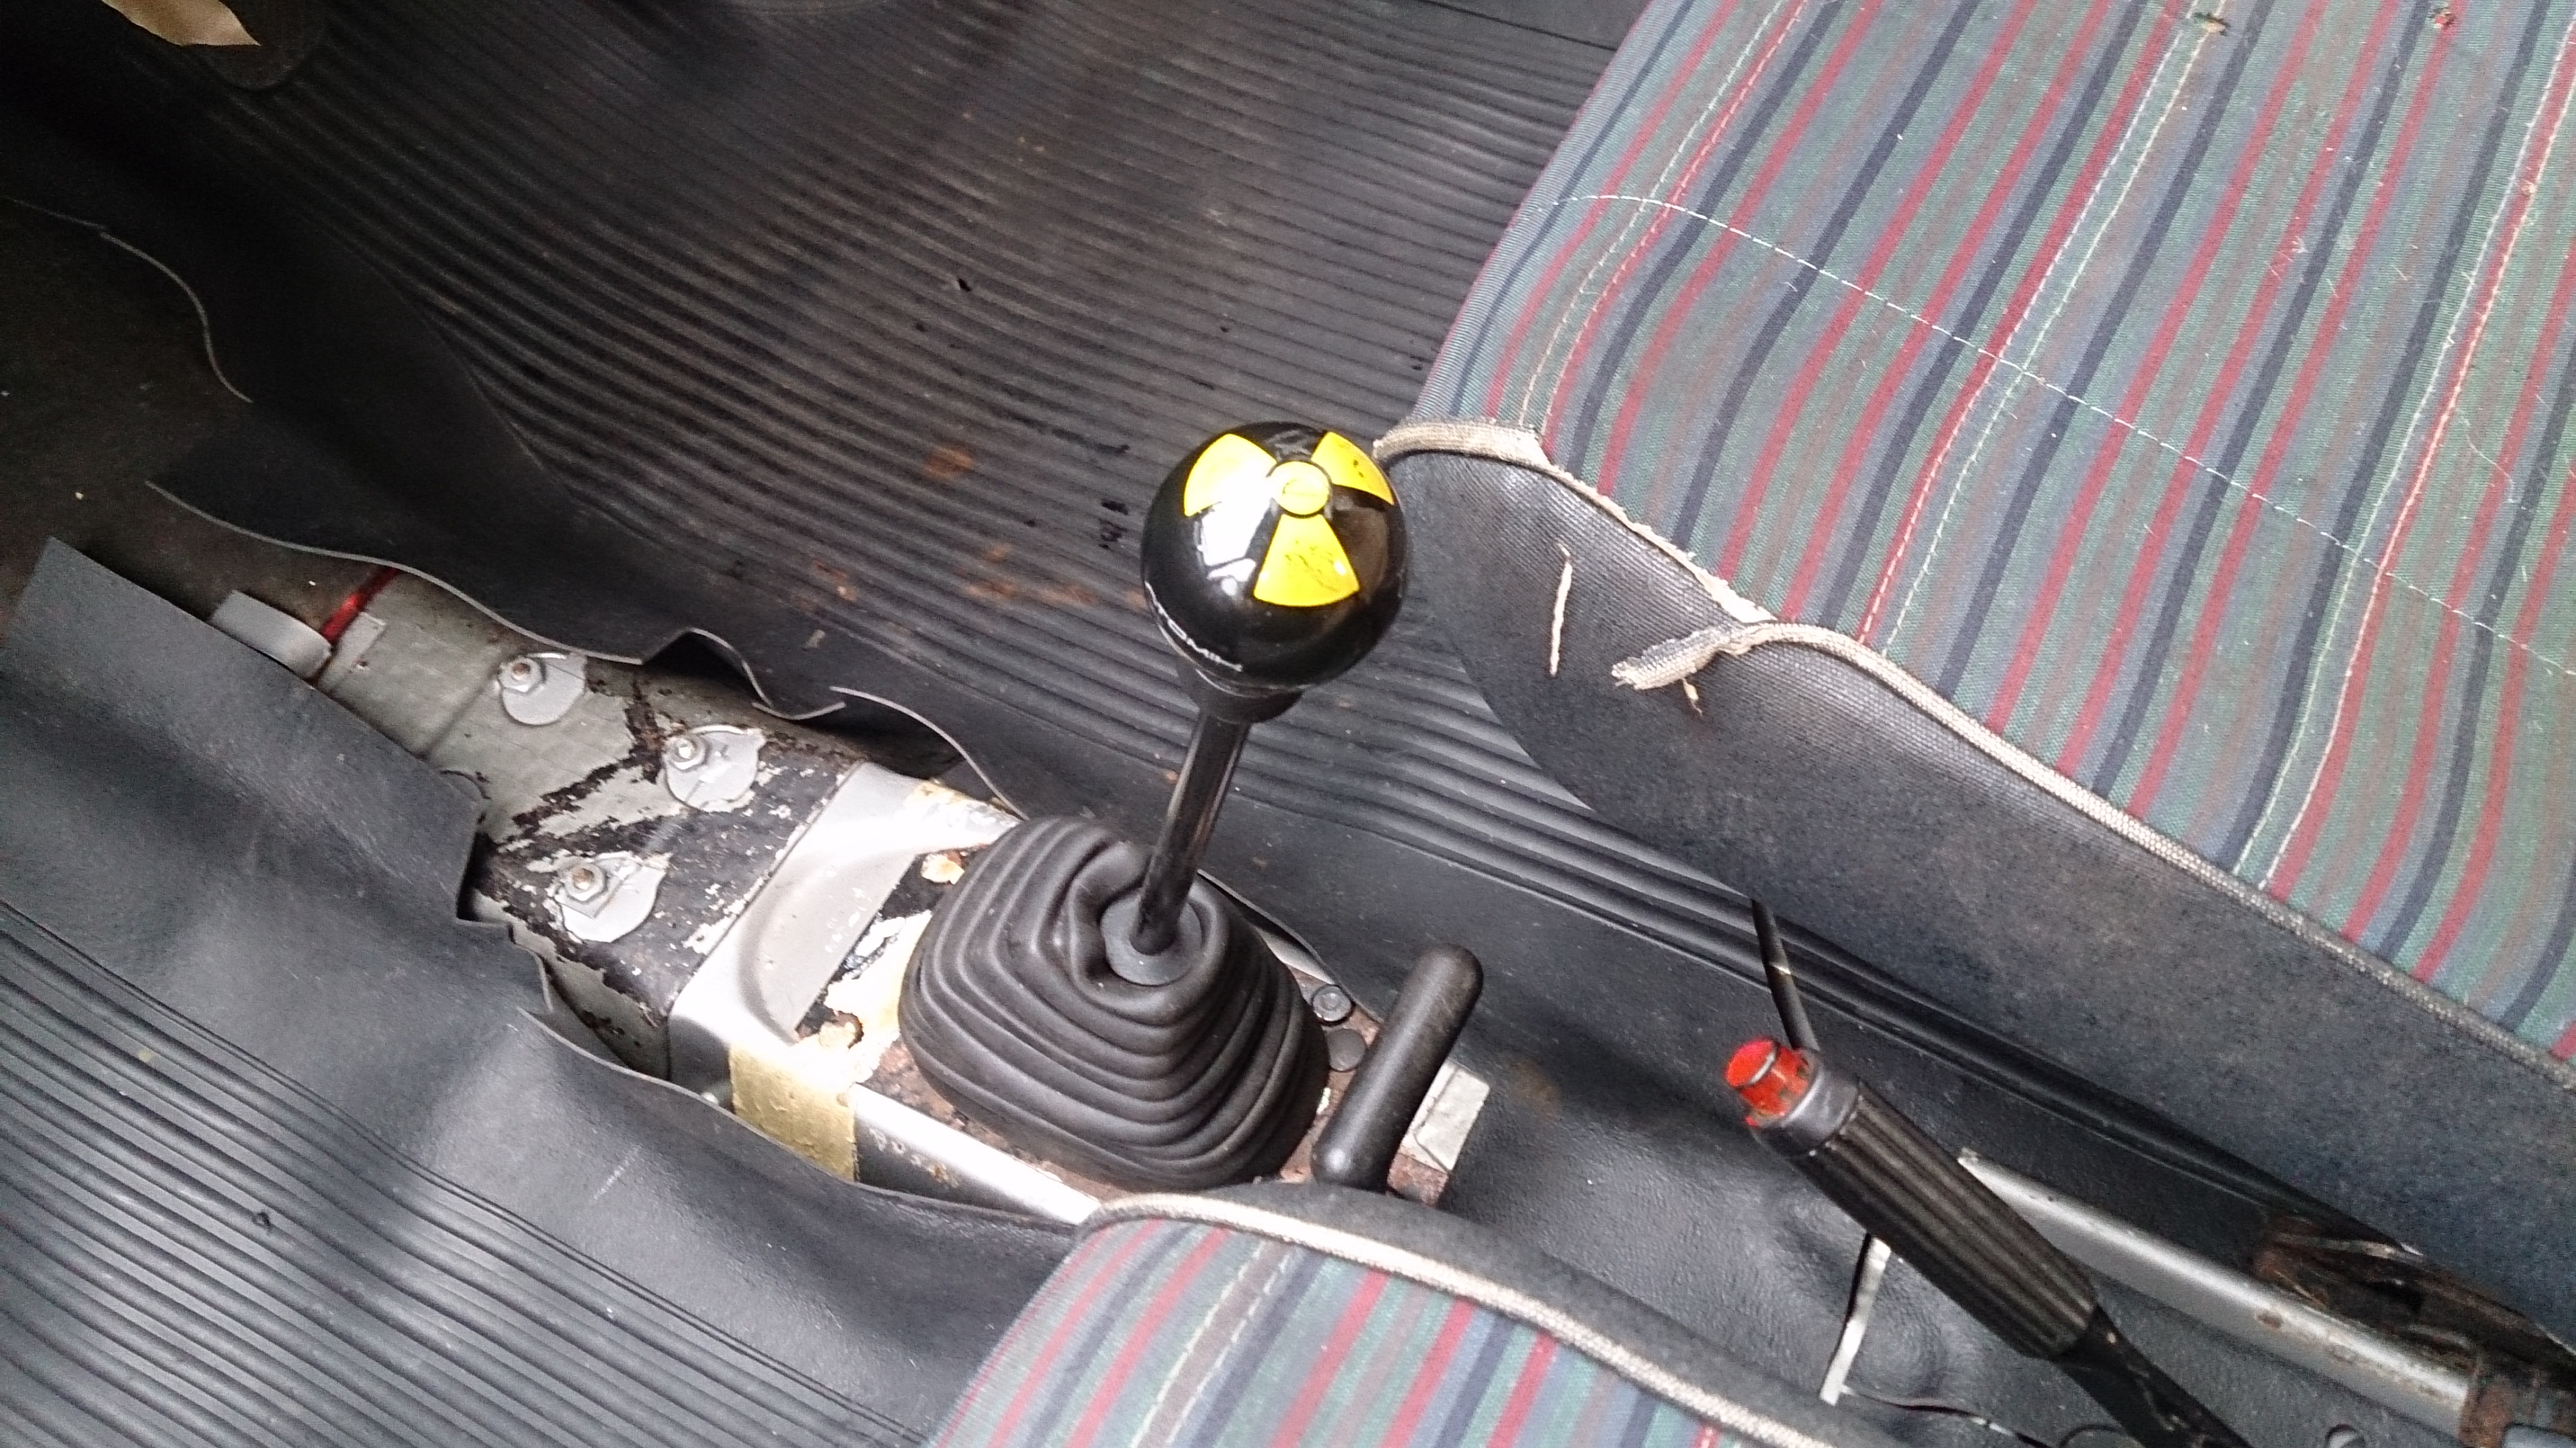
gear stick was welded in position a bit.. off but its fine for me:
1st gear:

2nd gear:


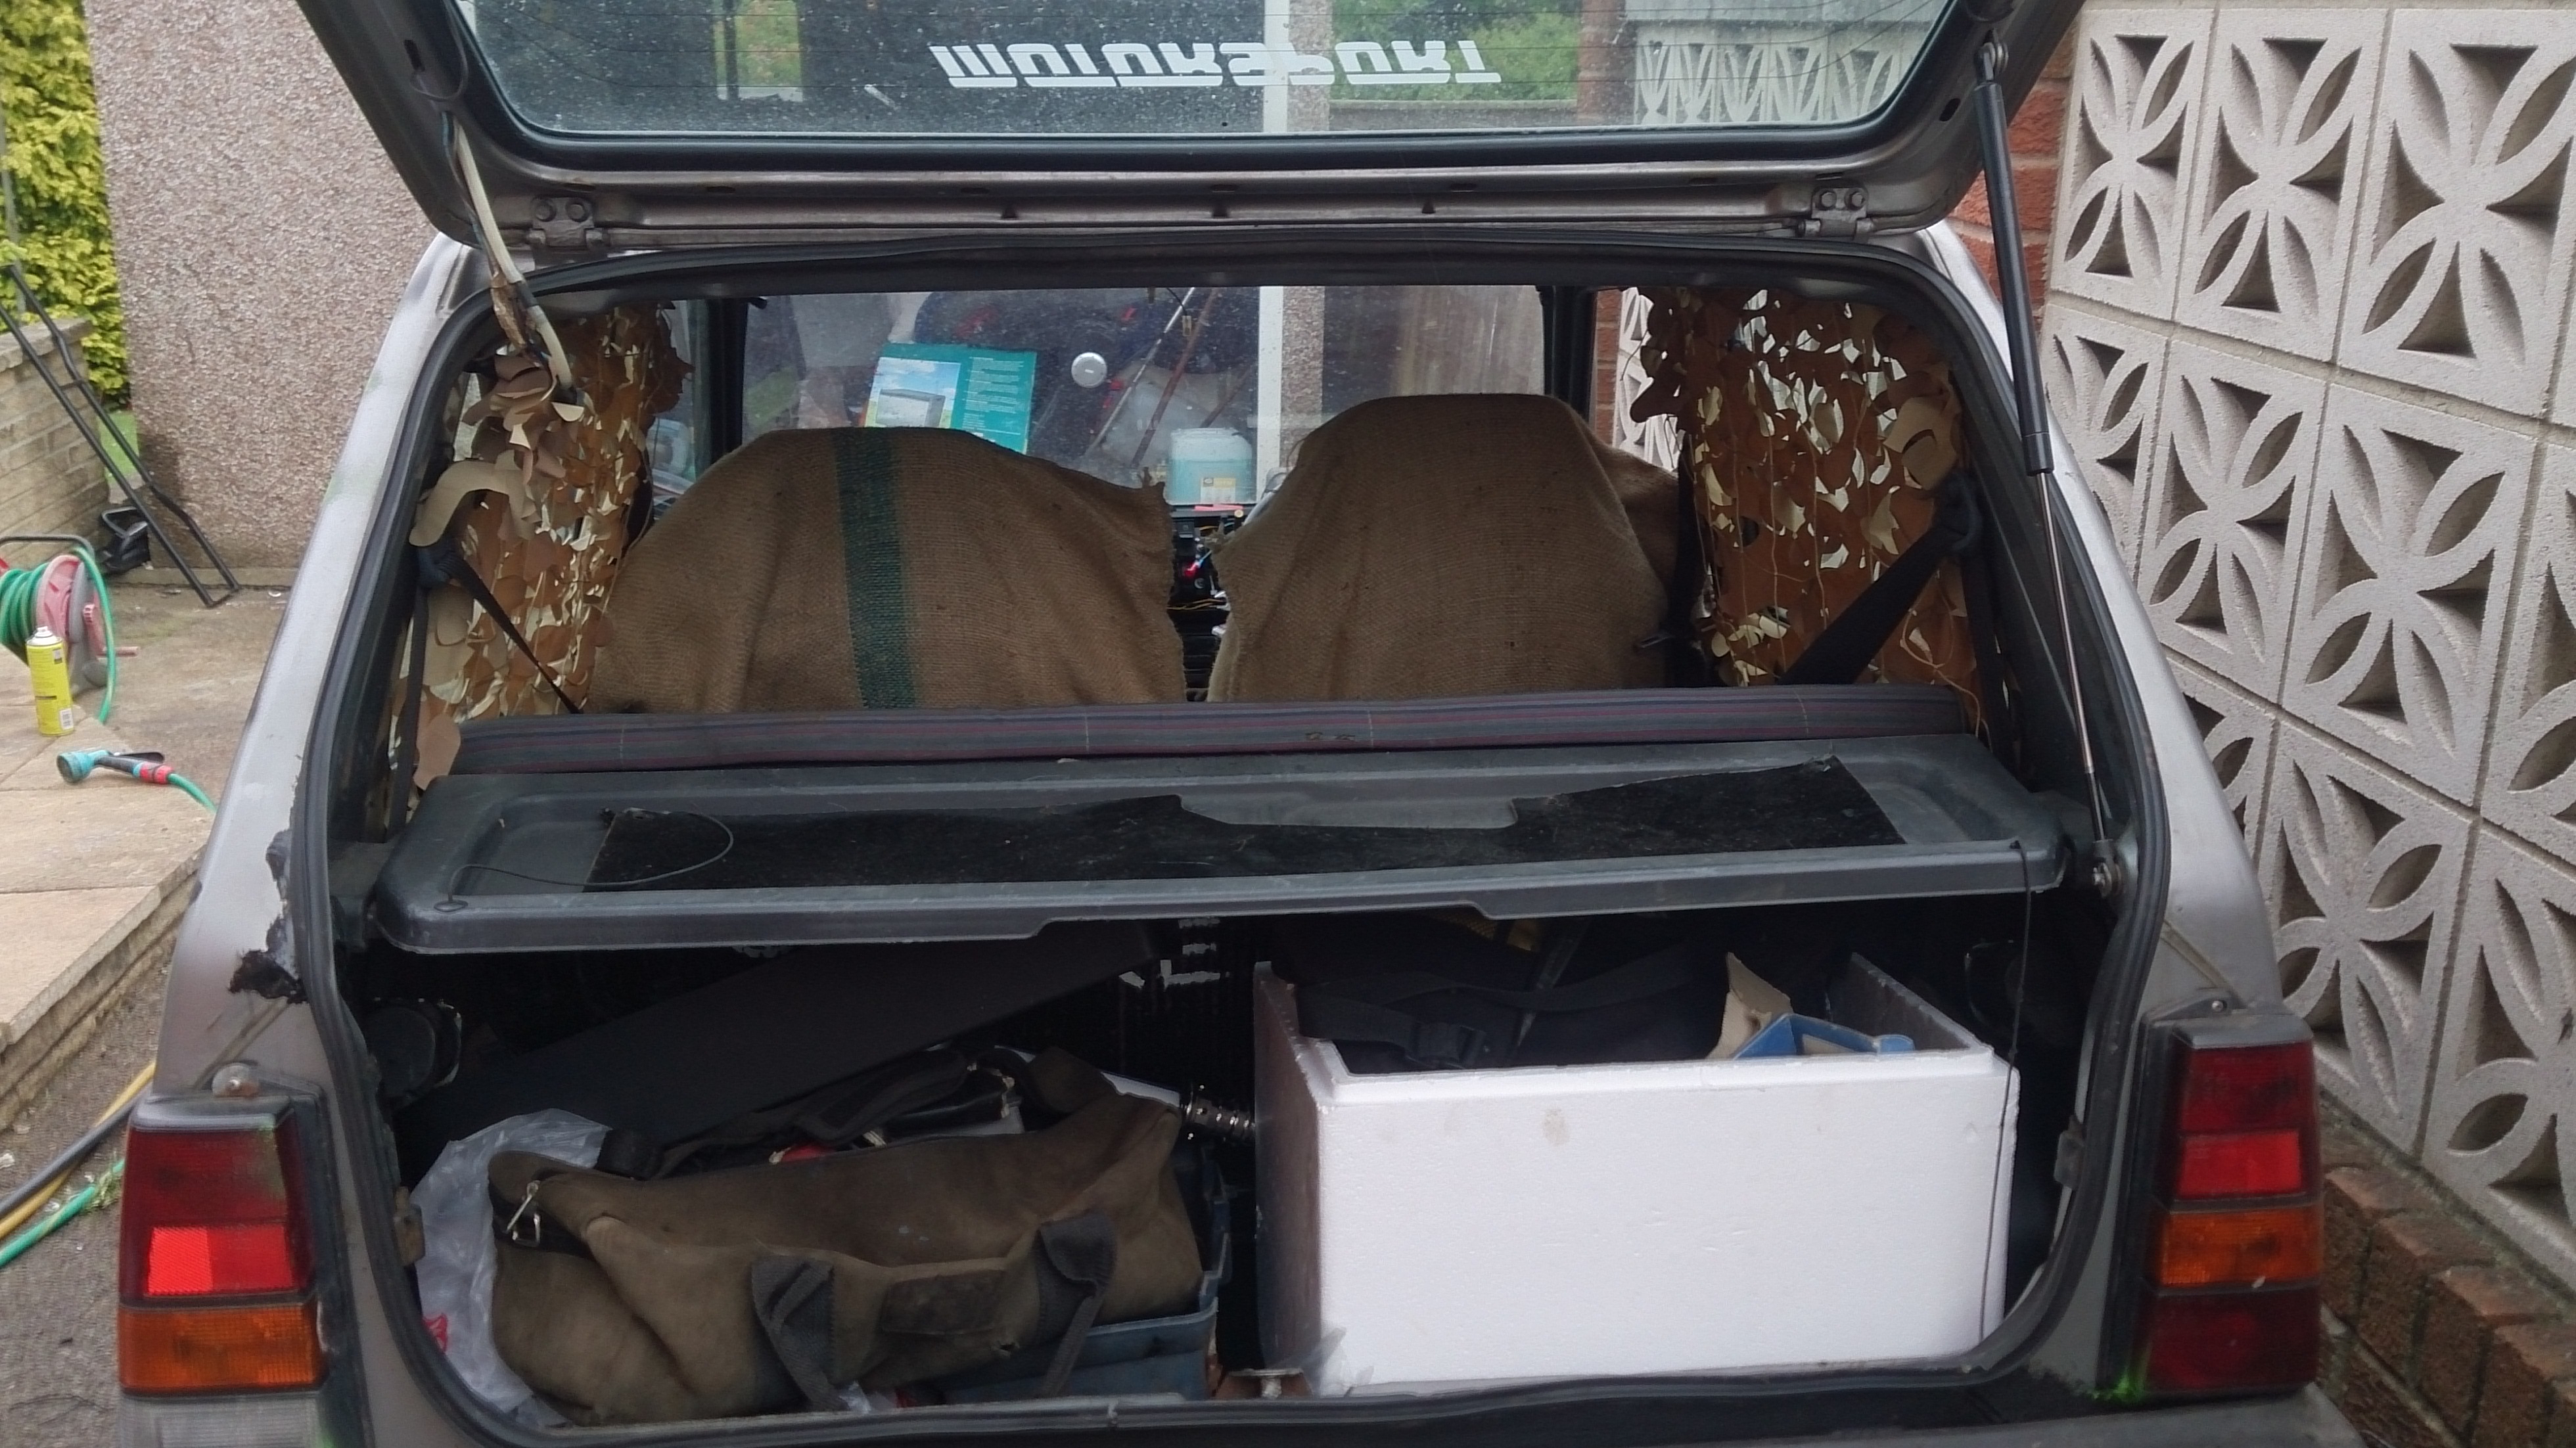
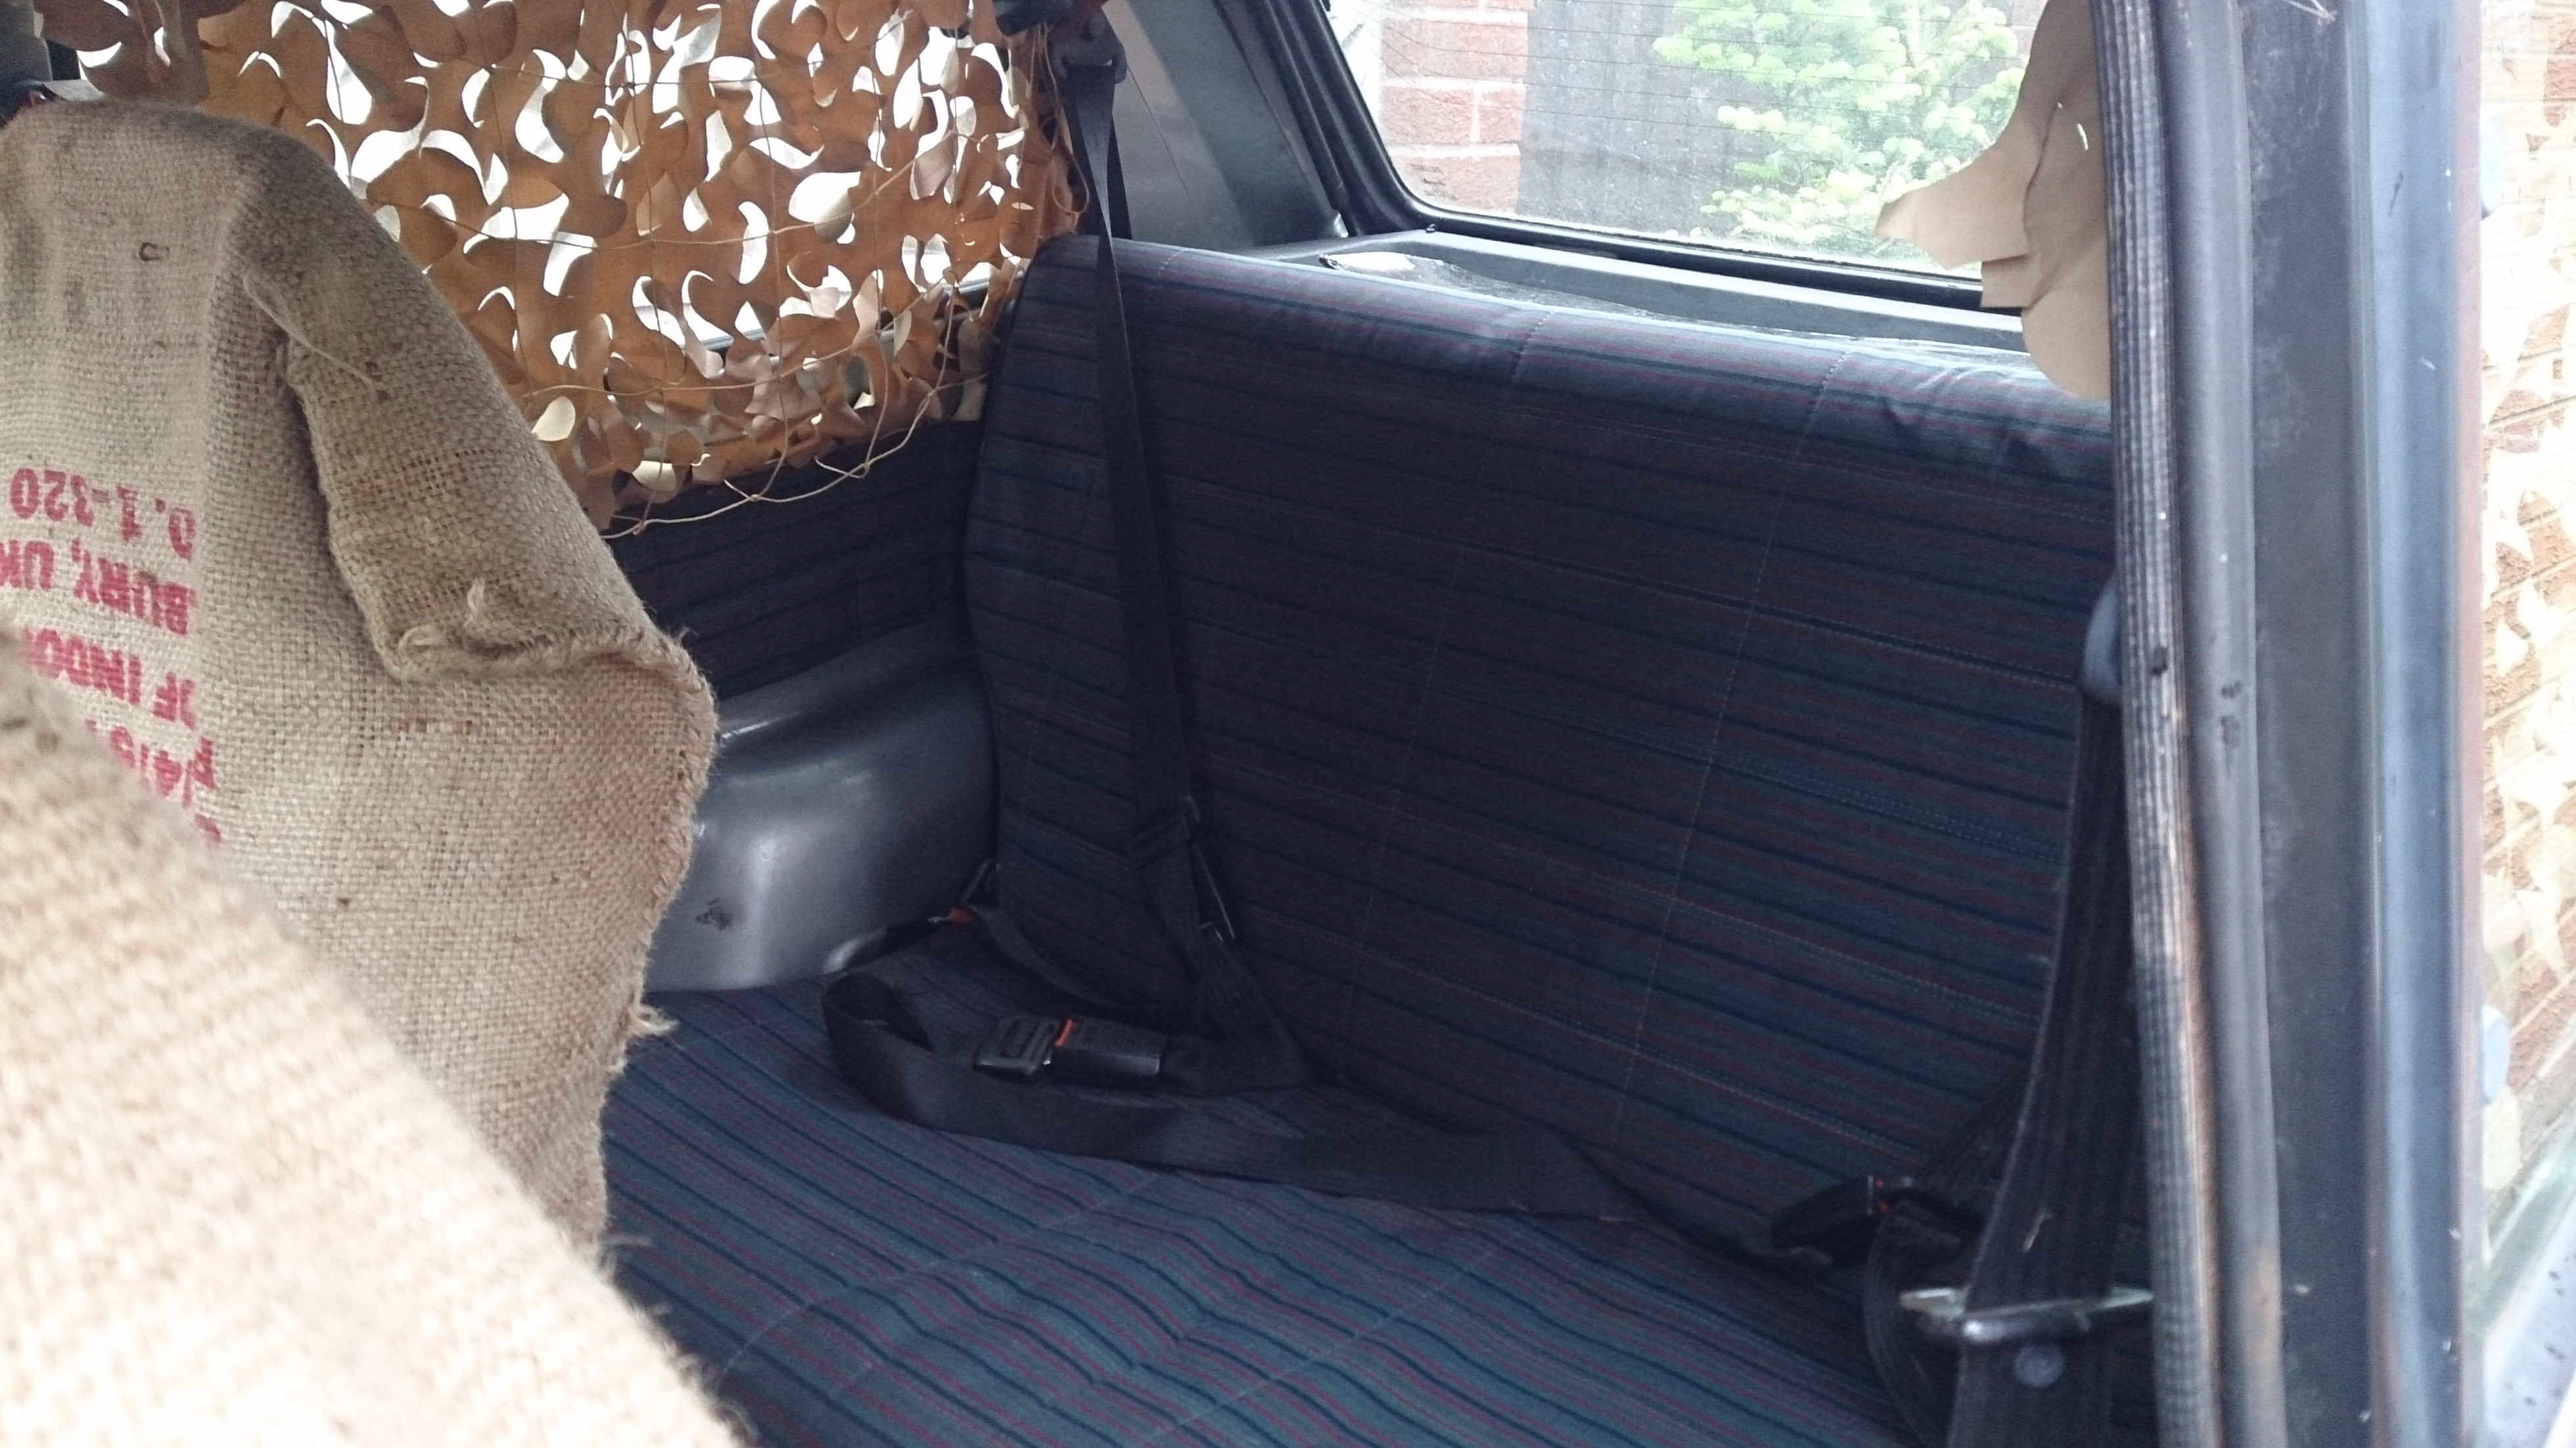
and now the back:


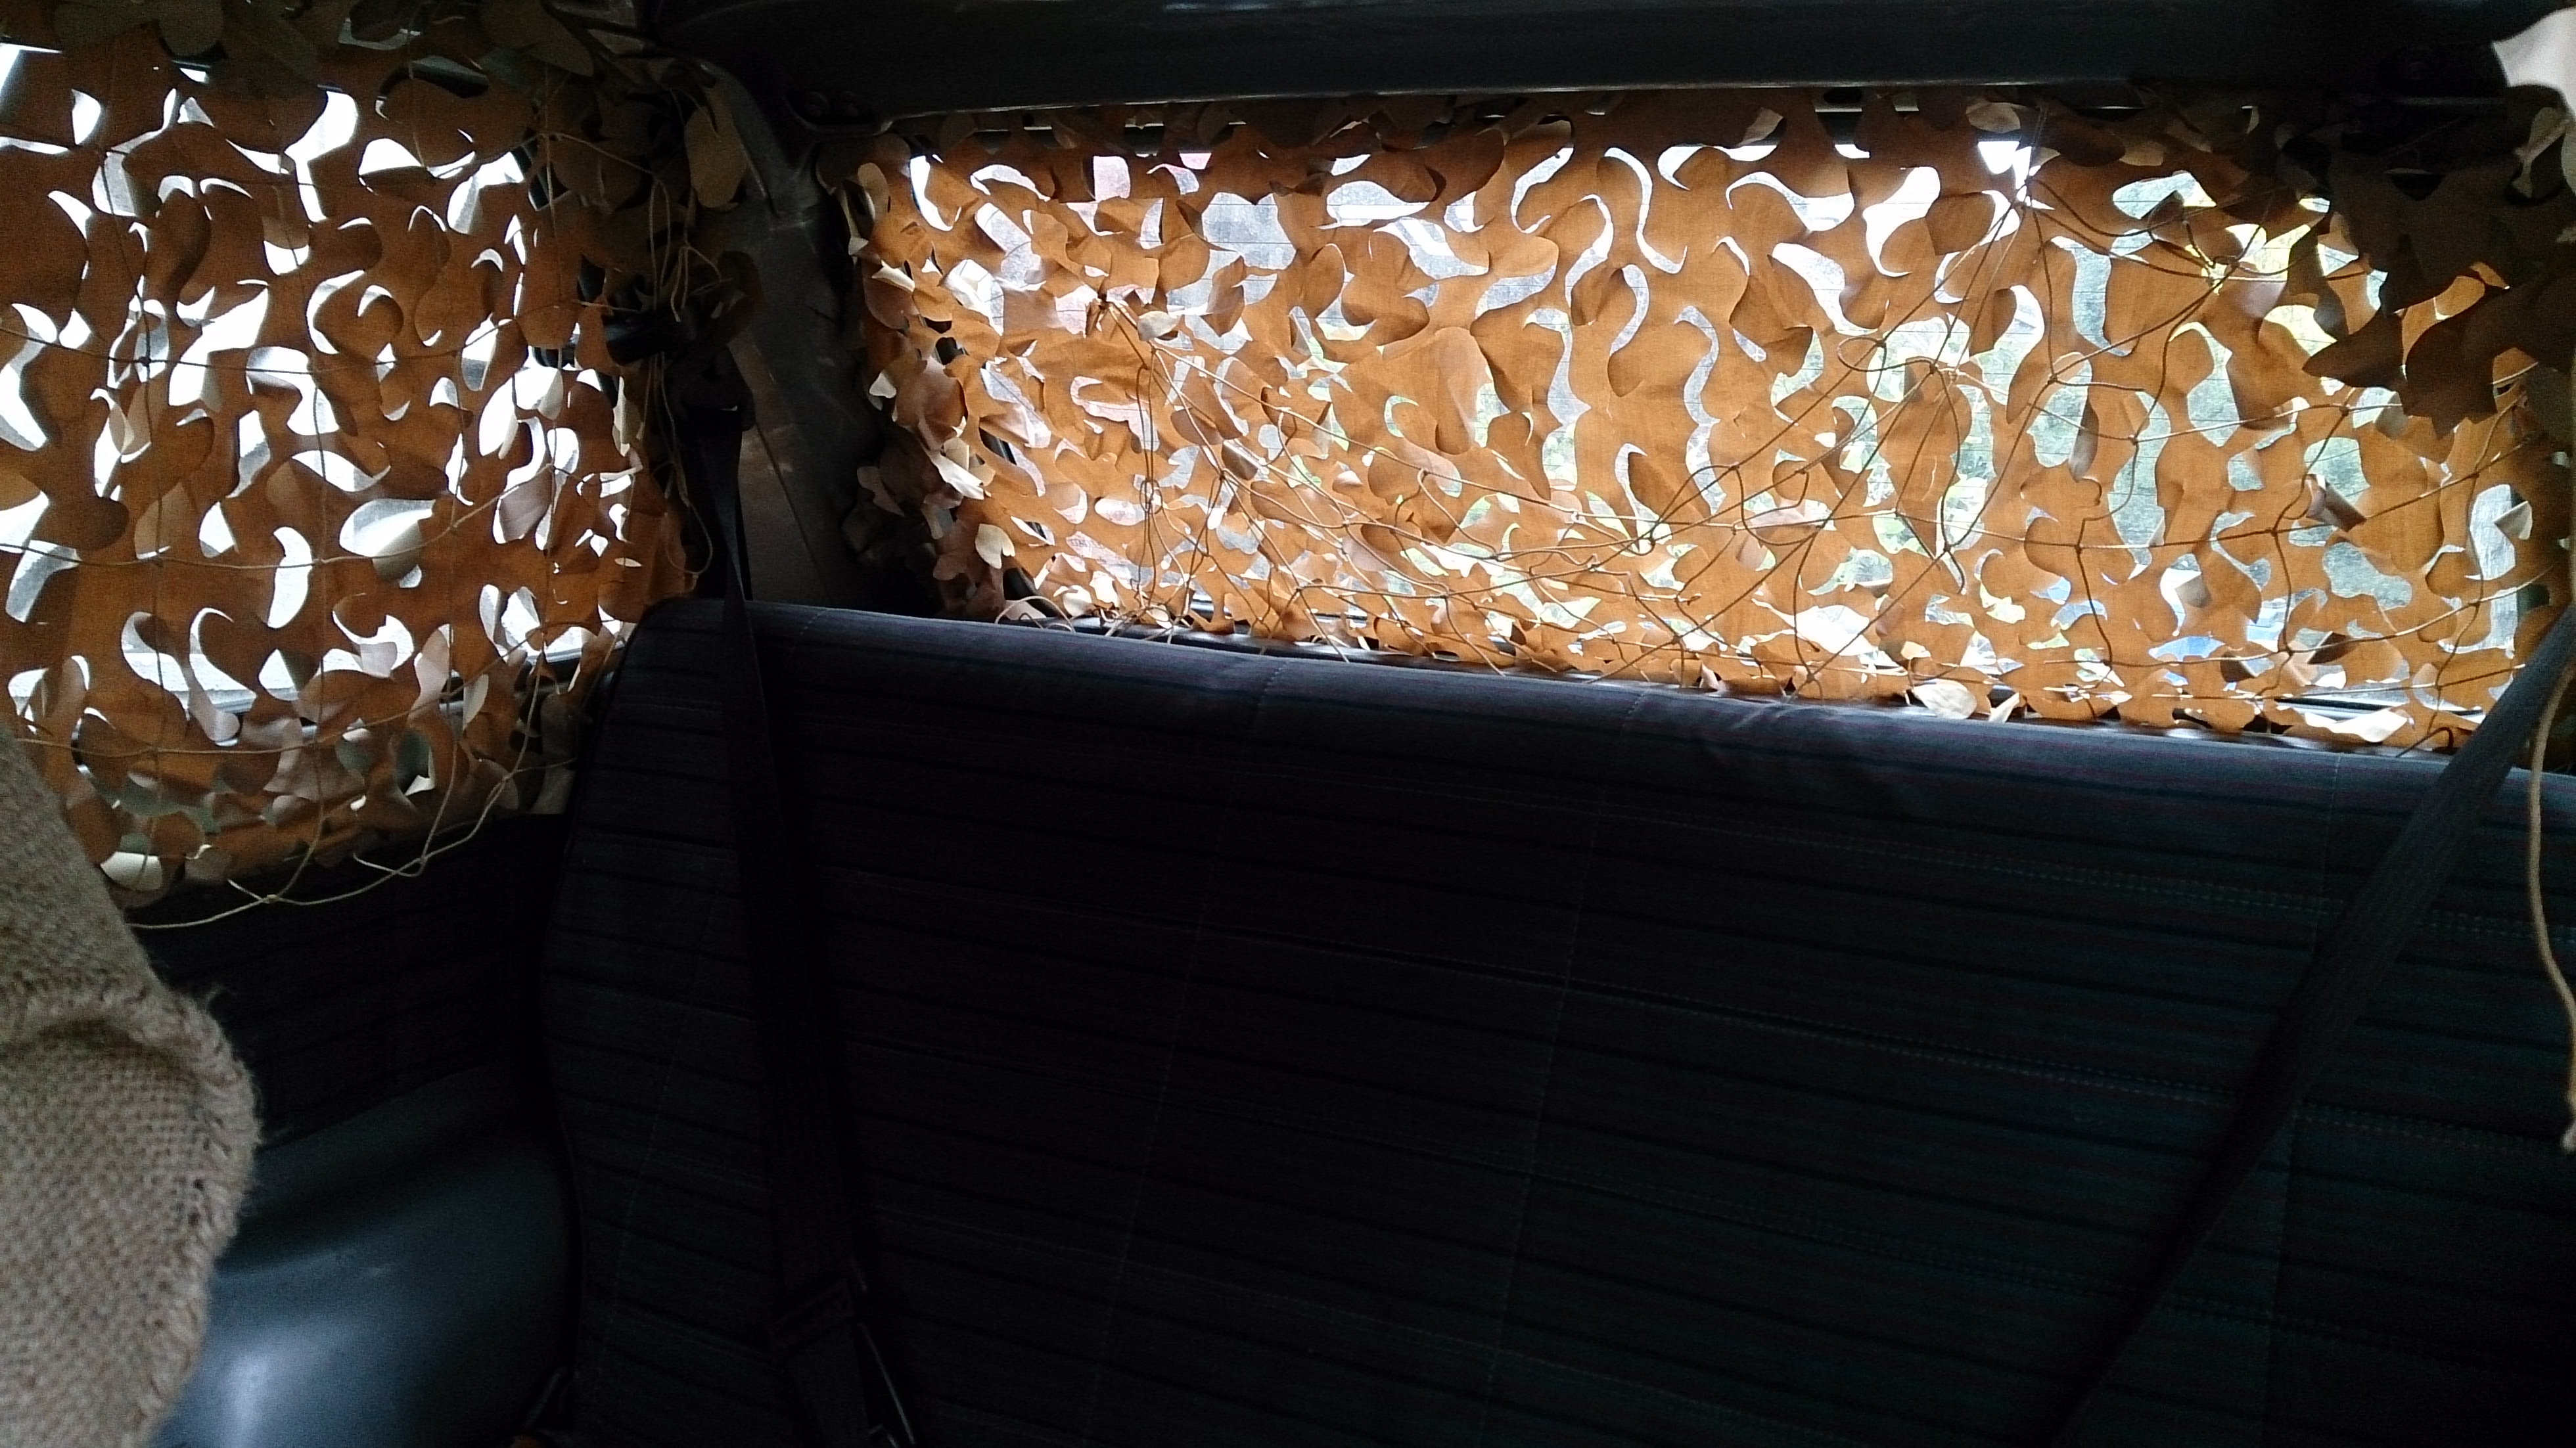
a panoramic of the inside:


im not sure to put the netting over the rear window too though.. thoughts guys?


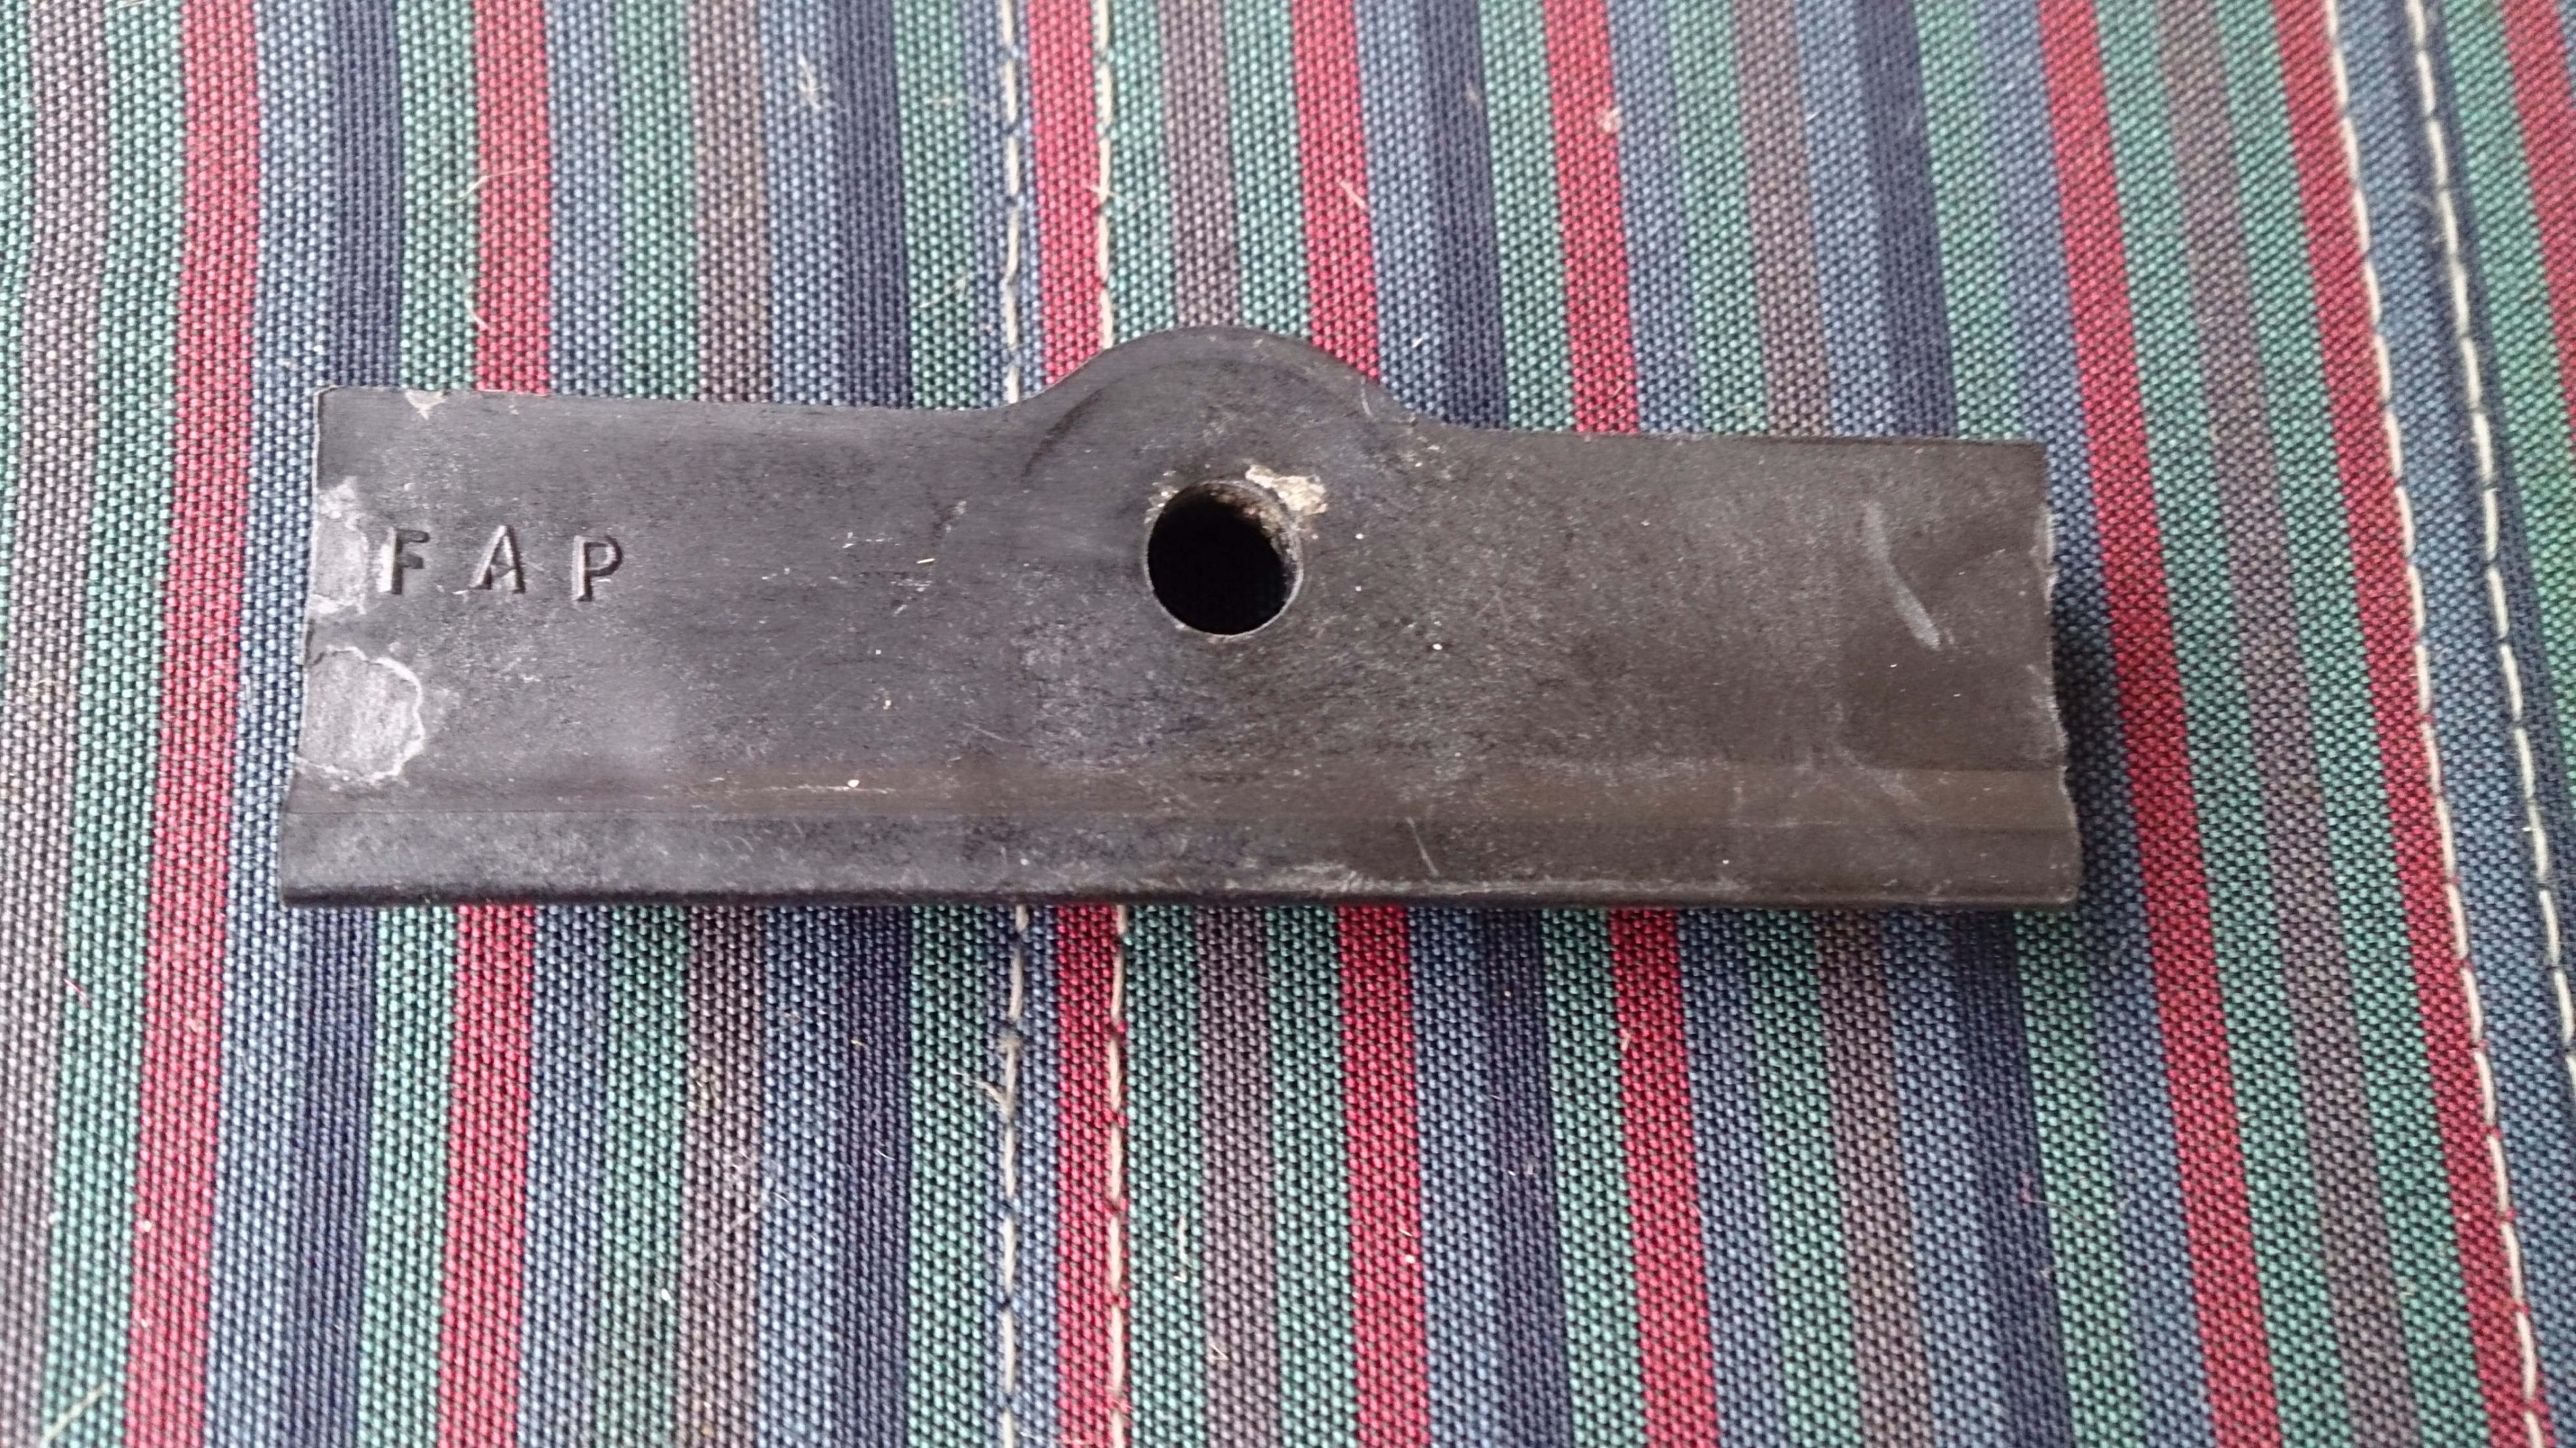
and lastly i found this rather amusing..


imagine knowing nothing about cars or what things are called.. then ringing up for a replacement part..

*Ring ring... ring ring... * Hello Fiat? Yes i would like a FAP please.....

all i need for the MOT are new tyres and to fit the rear view mirror. (also maybe tape up the rust holes in the other door >_<)
 
I like the radiation symbol on the gearlever. Maybe some bigger ones for the outside of the car? You want people to feel the fear.


http://www.aliexpress.com/item/Free...r-Shift-knob-for-modified-car/1525338843.html

;)

i polished off the "MOMO" then clear lacquered over the whole thing about 3 times.


they have quite a few other "atomic" bits too.. pedal covers, handbrake lever cover.. see them here:
http://www.aliexpress.com/af/MOMO-A...ative_id=SB_20150612131640&isViewCP=y&catId=0
 
Last edited:
On your bullbar, is that ok for the mot? i mean it's obviously secure etc, but if the bar comes down and obscures part of the headlight beam pattern, it might be picked up on that?
 
the bar needs to be bent a little more.. it sticks out front ways from the car way too much on the "lower" corner.

i think i need to take out the headlamp and bend it inwards (which at the same time will force it upwards) using a tree or something.

im lazy. the most easy way to do that is to kind of drive into a tree (or other non damageable solid item) at a very low velocity.

dont worry about the bar dropping down.. its bolted in pretty good... with M12 bolts! a bit of an improvement over the M8 's it had.. or could have been M10..
 
getting some replacement tyres for Fallout tomorrow.. err today..

£48 for 5 tyres all fit to the original 4x4 rims, new valve stems and balanced!
i'm going to request that the spare to be a thin tyre.. 135 rather than the 165's or 175's that i am going for.. rim width permitting. (hell i would not mind going for 185's but i really would have to change the rims..)
my filler pipe will be heavy protected.. as for the wheel arches.. heh do your worst.

naturally getting the highest profile tyre i can >_<

need to check to see if the cinq or the sei uses the same exhaust rubber hanger.. while i am at the scrap yard getting replacement tyres i can be getting any bits from the scrap cars.

man i love my local scrap yard.

when i was a kid, i dreamed about the place.. really! i could not wait till i was old enough to be allowed in! it was my idea of a toys R us. :D what am i saying.. it still is! :slayer:
 
Last edited:
Back
Top