126 front 2.jpg

126 luigi.....by gadge

Introduction

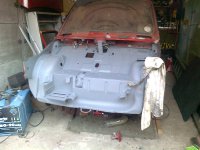
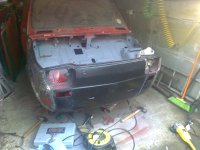
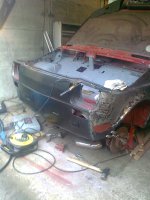
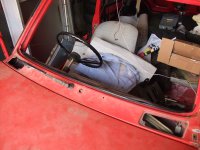
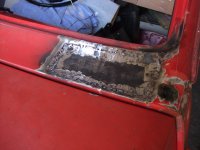
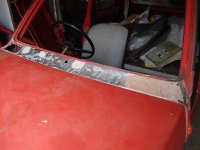
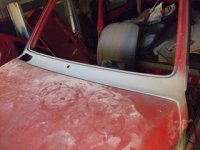
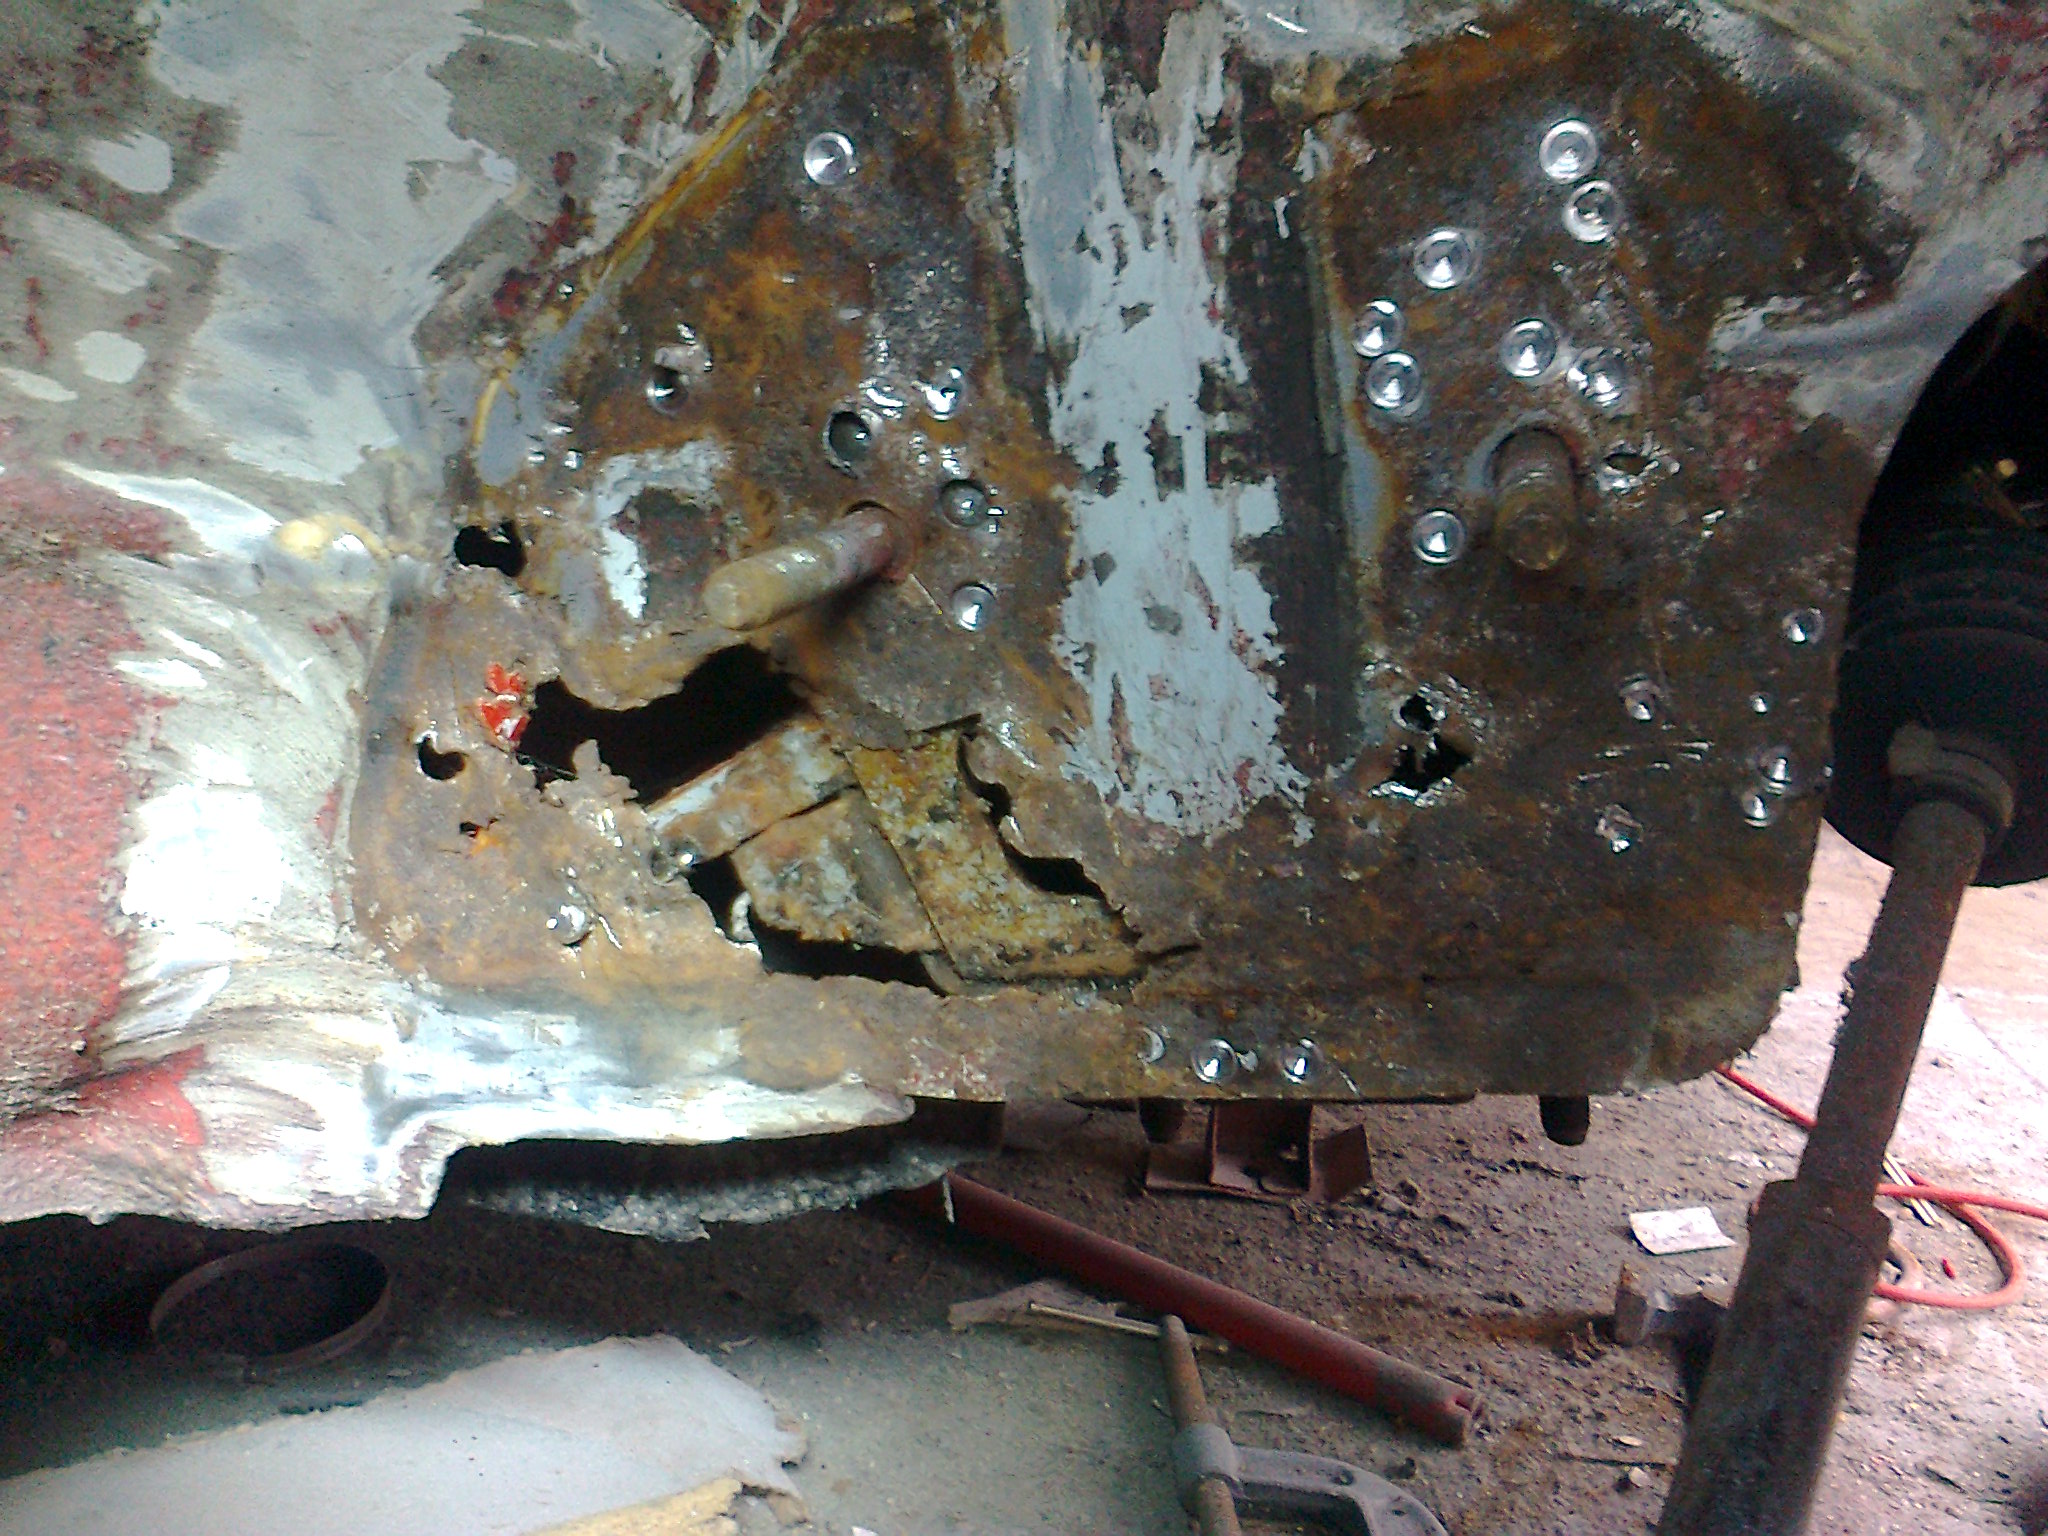
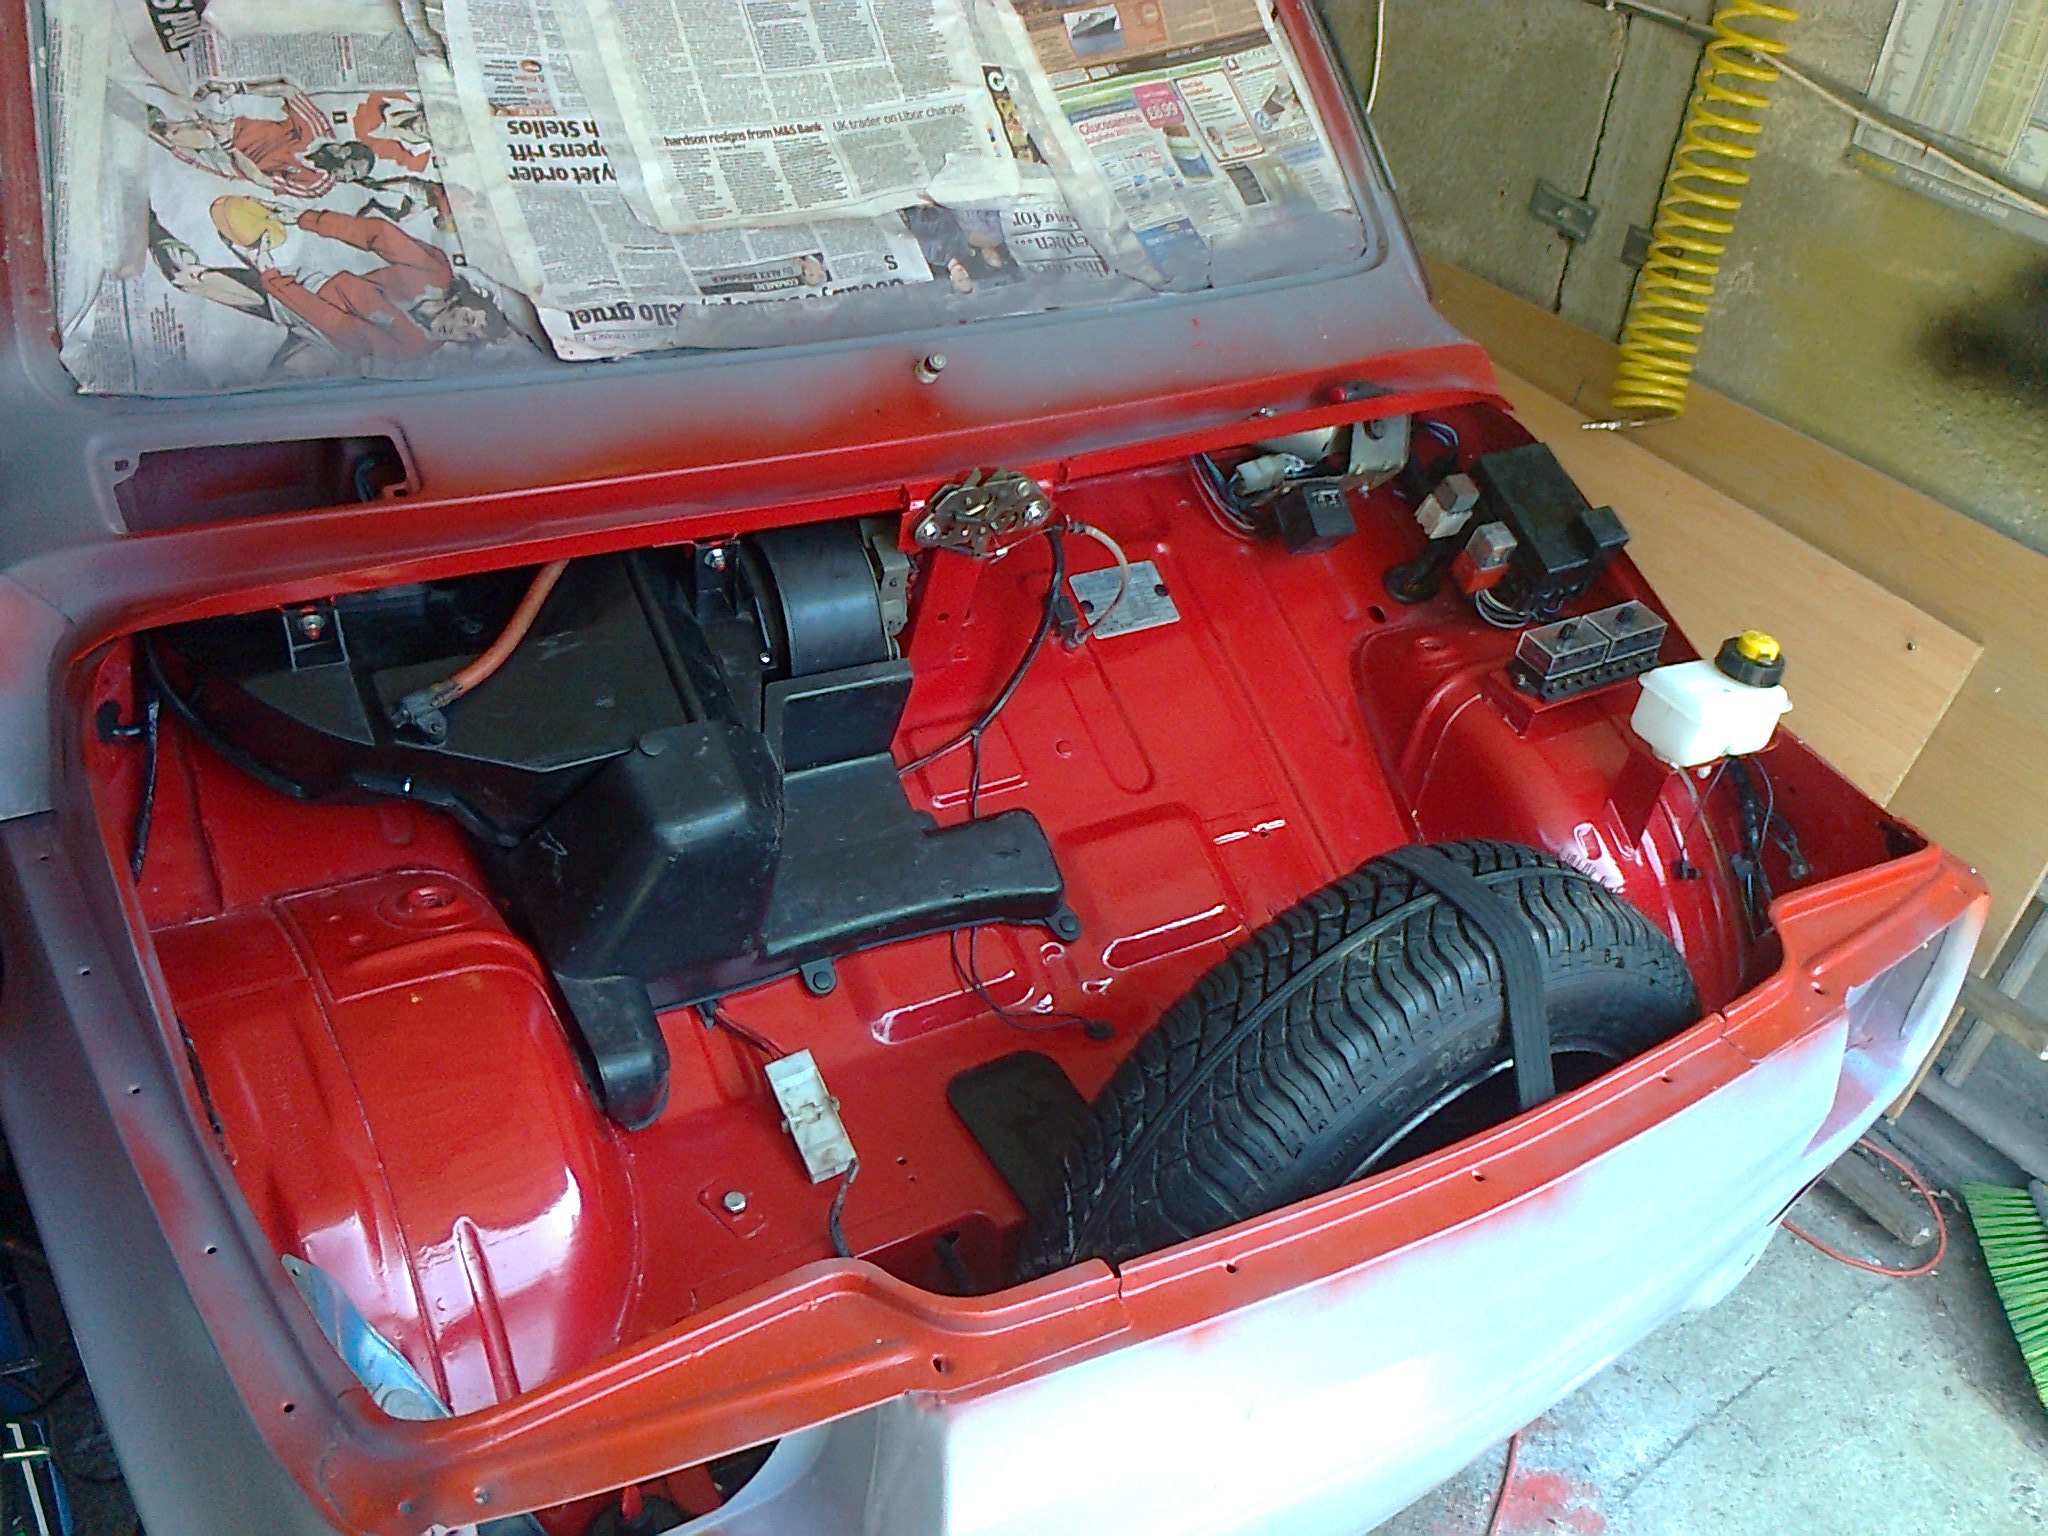
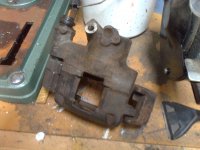
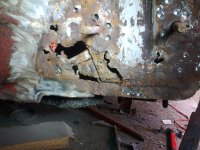
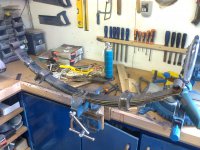
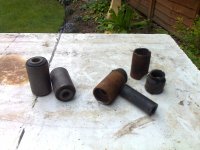
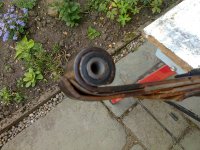
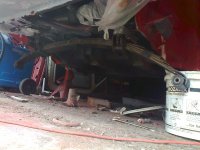
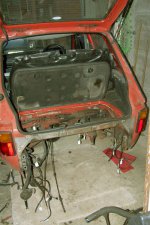
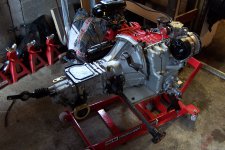
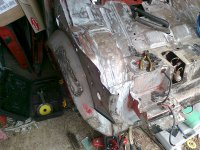
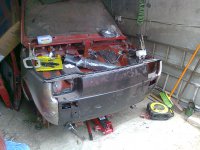
hello to the everyone on the 126 section, and let me introduce luigi, my 126 BIS. i've owned him for about 5 years now, he was a right state when i got him - literally from a stable at a statley home!. i've since rebuilt the engine, gearbox, the brakes and suspention and i am currently working on the body work - the pattern front wings and front panel are a nightmare to line up!!:bang:. my plan is to retro fit him to look like an early 70's version with the chome bumpers, and vinyl trim. hes a few photos
decided along time ago that the area below the windscreen was a little too cluttered for my liking so i decided to do something about it so i'm going for a single wiper conversion, reducing the washer jets from two to one, move the ariel to the roof and covering up the blank dummy airvent hole on the passenger side. in the first photo you can aready see that i've relocated the wiper arm to the centre of the windscreen panel.
 

Attachments

  • 001.JPG
    001.JPG
    2.1 MB · Views: 113
  • 005.JPG
    005.JPG
    2.1 MB · Views: 103
  • 007.JPG
    007.JPG
    2.1 MB · Views: 100
  • 008 r.jpg
    008 r.jpg
    97.6 KB · Views: 92
ok more work done and after an unexpected hole turned up under the wheel arch and then a compressor failure, work pretty much ground to a stand still however I persevered on and finally finished the luggage compartment :) ....... I'm not gonna say its the best paint job in the world but I'm very pleased with it so its a pat on the back for me and on to the next stage....... getting it started :eek:


....... what a lovely surprise! (n)


primered up ready


three coats later and plenty of rubbing compound later and it came up lovely (y)


then cleaned up the heater assembly re-wrapped the wiring harness and fitted it all back. nice one :)
 
Oh yeah :D.......... He was dragged out of a stable from a very grand house just outside of coventry. The front end had suffered minor accident damage, the wing had a hole the size of a fist, the head lining was sagging, the drivers seat collapsed it wouldn't start and it had no brakes........ So naturally I had to have it! Lol

That was in jan 2006 and I've been dropping on and off it ever since (y)
 
after a lot of head scratching, I decided it was time to sort the inner wheel arch hole that I had been avoiding. the hole in question I had known about for quite some time however it wasn't until I removed the strengthening panel that the full exstent of the hole was revealed and as I thought it was a lot worse than expected...... I dusted the angle grinder off and got stuck in.......

Once the old metal was cut back a template was made using a piece of old card board and I cut a shape out of and old bonnet I had lying around and trimmed it to shape and before long I'd managed to get it just right and welded into position. A new strengthening plate was ordered from Germany and before long that too was in its place.

then with sealing compound liberally applied and a good dose of underseal blasted over it, which I also managed blast over the side of my face.... (you can only imagine what that was like to get out of my hair :mad:) It was then left to dry for a few days and then sprayed over with some top coat red. I then stood back and admired :)

while I was at it I also got round to cleaning up the second pair of calipers that I'd bought (the first pair being unserviceable) and giving them a lick of paint too, the choice being silver as who am I kidding painting them red :D. these pair should be familiar to some as they are off a MK2 punto
 

Attachments

  • 003.jpg
    003.jpg
    701.3 KB · Views: 84
  • 002.jpg
    002.jpg
    485.3 KB · Views: 86
  • 001.jpg
    001.jpg
    697.7 KB · Views: 91
  • 002 (5).jpg
    002 (5).jpg
    765.9 KB · Views: 87
Last edited:
yesterday I thought I'd turn my attention to the front leaf spring. in the early days of the project I had discarded this spring into the darkest corner of my garage and acquired a modified spring which came off an old bliz buggy project off eBay. it had a few leafs removed lowering the ride height however over the years I've decided that it might be a tad light at the front and may even be dangerous so I went back to the dark corner and dug out the original leaf which by now had suffered its time in solitary confinement quite poorly (turned out that corner also had damp) so it required a through clean up. while I was there I also changed the bushes in the eyelets, and as always with bushes one came out nicely on the bench press the other was quite happy to stay where it was so the blow torch dealt with that. With the new ones quickly pressed into place its wasn't long before the leaf was reunited back on the car after 4 years :). next up is to replace both hubs and refit the disc/calipers and get it back on its wheels (y)
 

Attachments

  • 002.jpg
    002.jpg
    603.8 KB · Views: 85
  • 001.jpg
    001.jpg
    633.9 KB · Views: 83
  • 003.jpg
    003.jpg
    818.1 KB · Views: 81
  • 005.jpg
    005.jpg
    606.8 KB · Views: 92
Last edited:
Back
Top