100_1024.JPG

John Dragon Man's Citroen BX Diesel Estate

Introduction

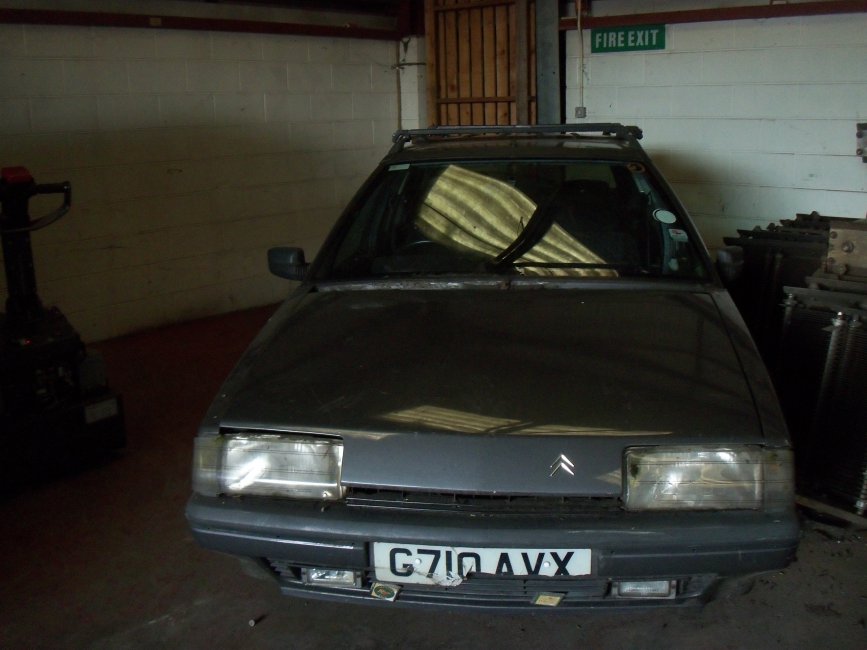
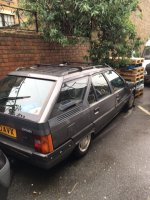
Well here I am, now an owner of a BX Diesel Estate in Sliver!

so yesterday (the 20th of June 16) i took a trip down to London with a car transporter and picked up this nice little... (umm.. a little more larger than i am use to) estate car!

i am pretty happy with it, the overall cost was £400 for the car and around £350 to get it delivered here to Derby (yes i know i could have got it cheaper now :x ).

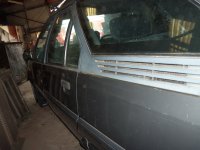
bodywork wise the car is a little "used". given what i have seen of London (first time i have been!) i think the car survived well!

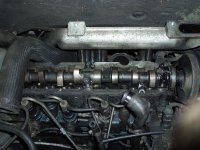
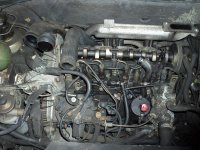
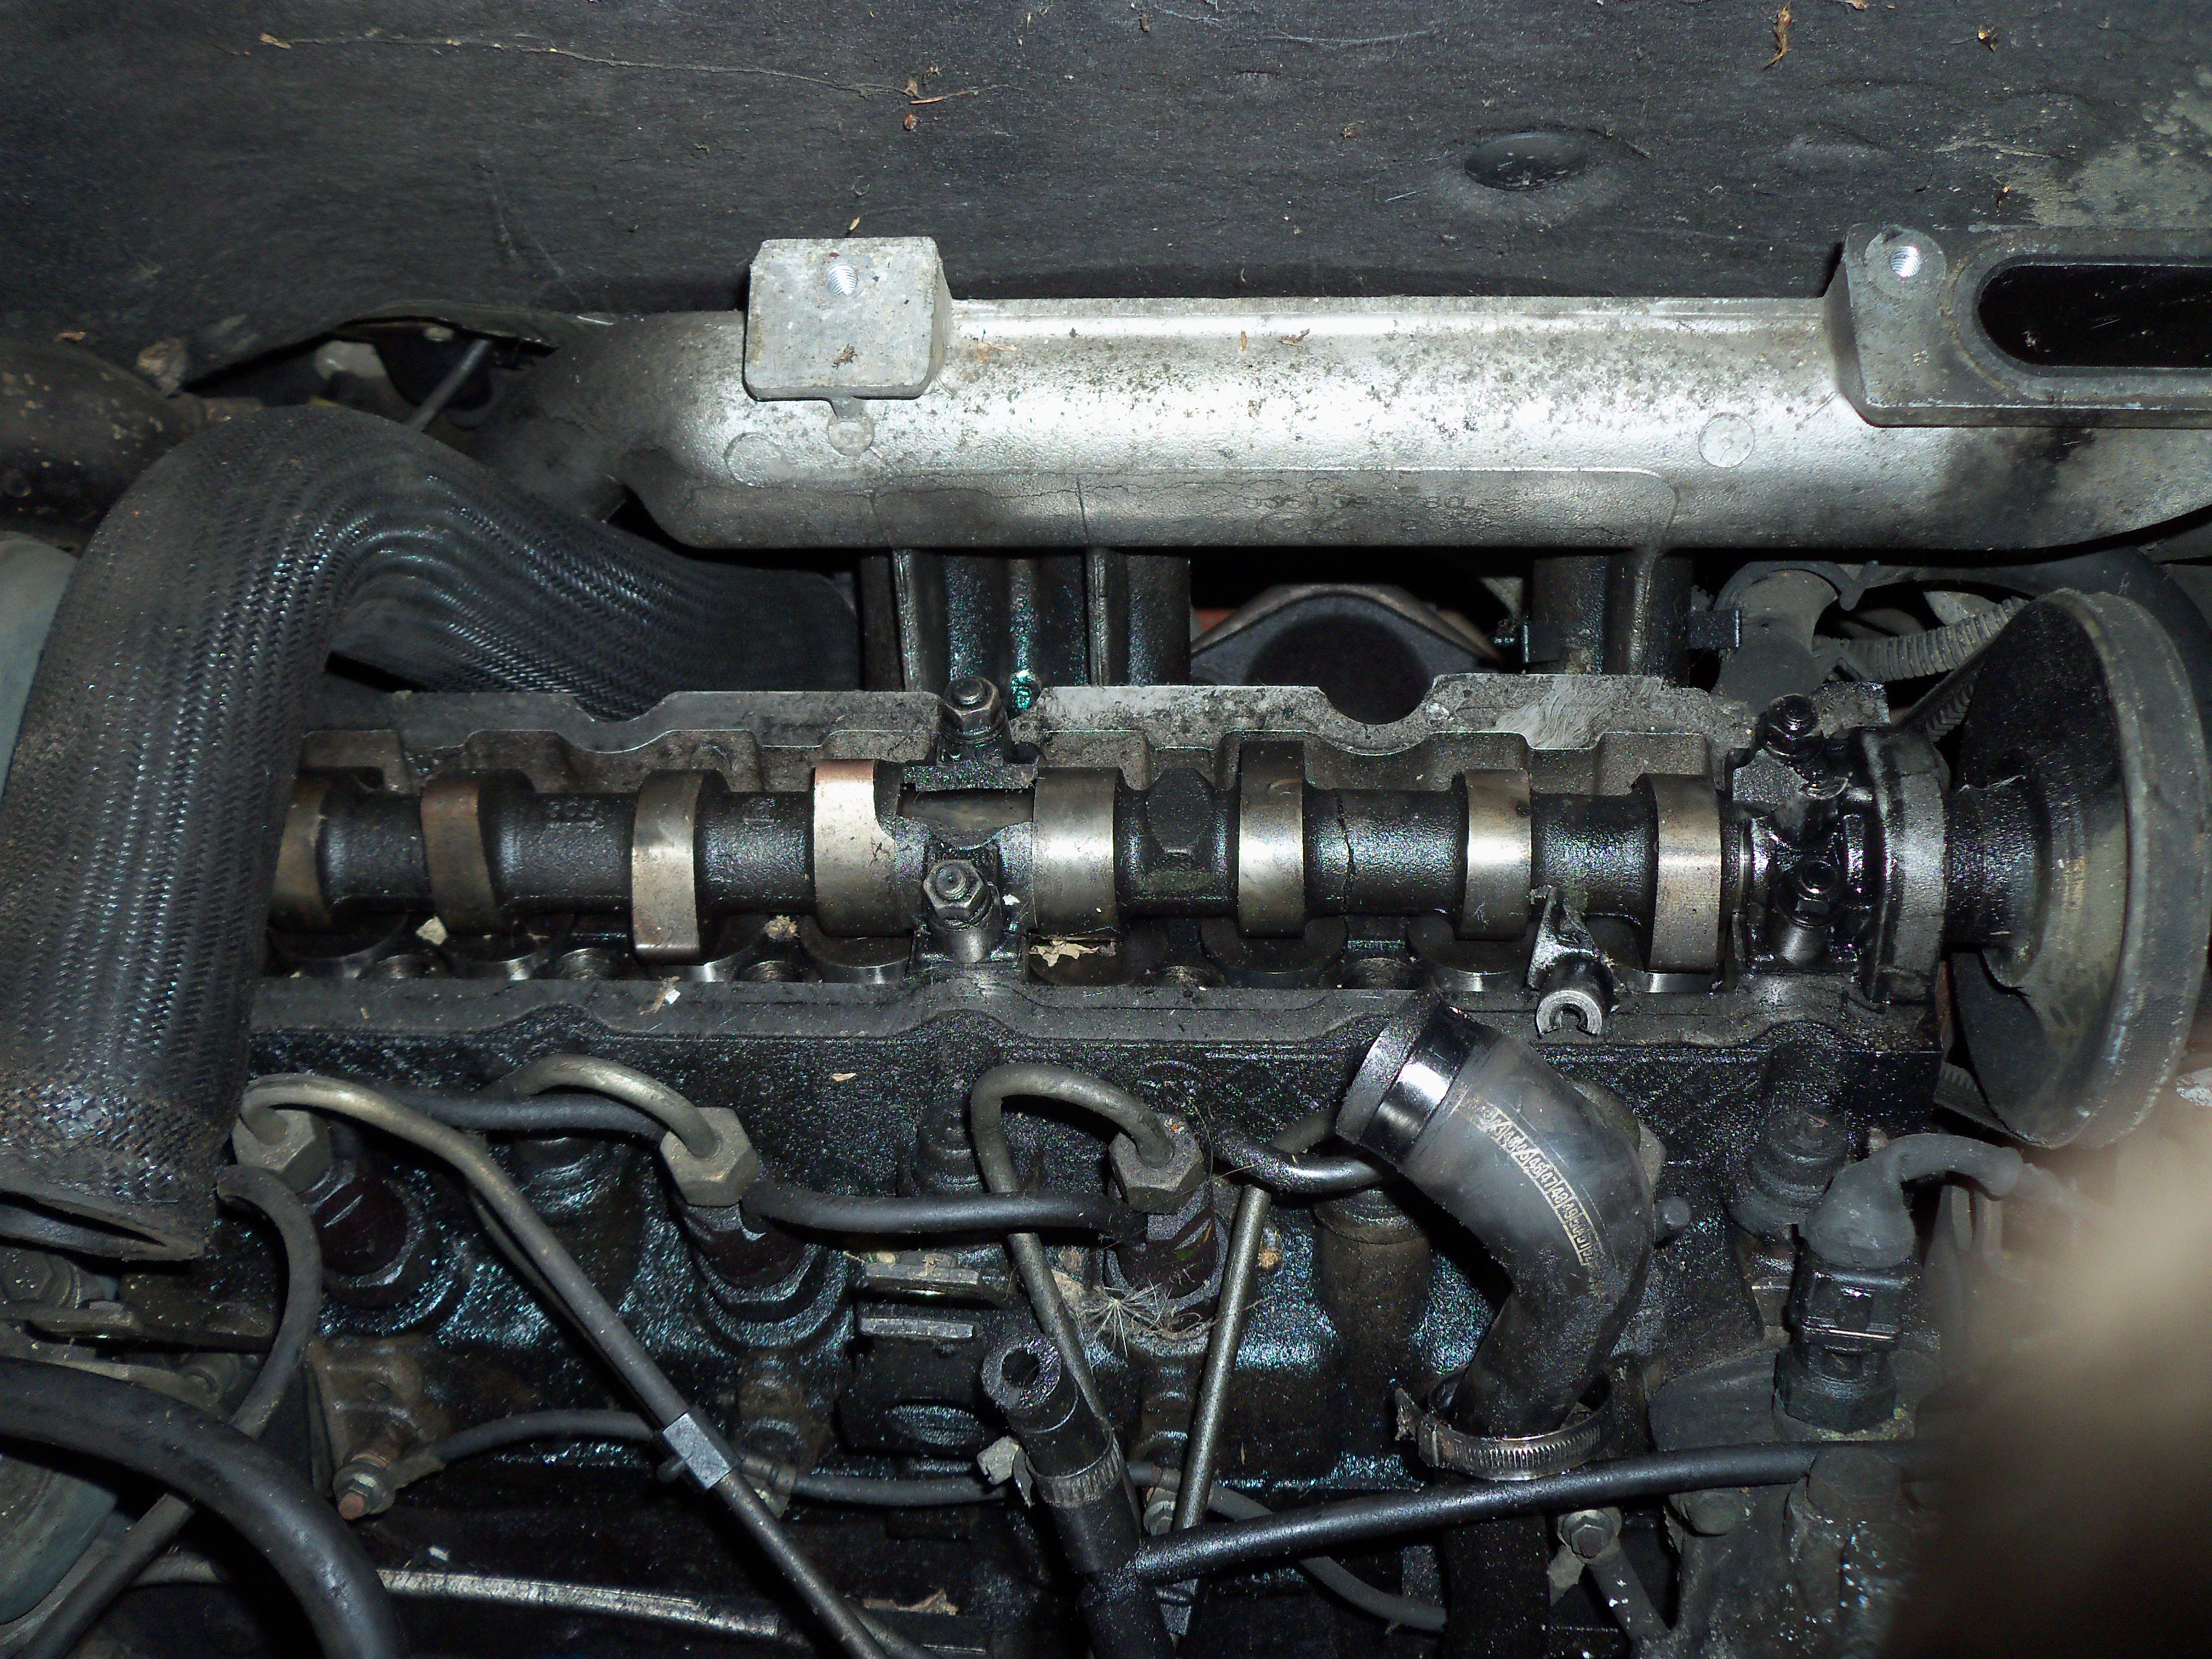
the engine is dead. the bottom end may be savable but i think i am going to go down the complete engine swap fix route. i am not sure if it may have damaged anything else bar the head. so that said i am now looking for a low miles XUD engine. be it a 1.7 or 1.9 (ill worry about that camshaft pump pulley further down the line)

the hydraulics are untested. the spheres are dated 2001 so are 15 years old they they need changing but are near the bottom on my list of things to change for obvious reasons. i will try and test the hydraulics by spinning the pump using an electric motor. being as it is cam driven it does not turn very quick even with the pulley ratio. maybe even a battery drill could do it.

the LHM fluid is more of a cloudy yellow/cream colour, i have read that it should be green. so i will change that when the engine is in and connected up.

who wants to see some pictures?

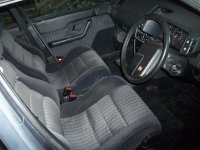
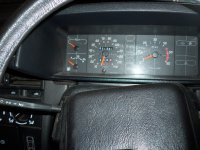
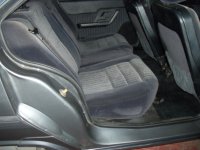
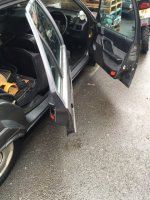
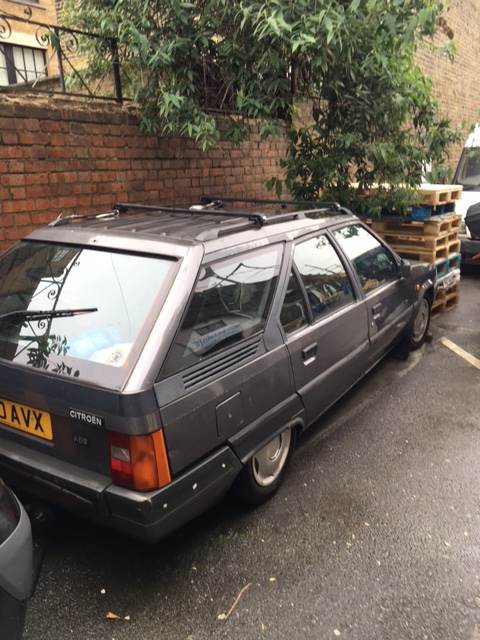
so these are the pictures that the seller sent me:


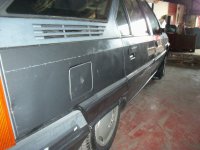
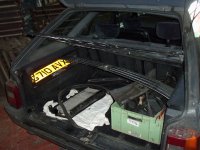
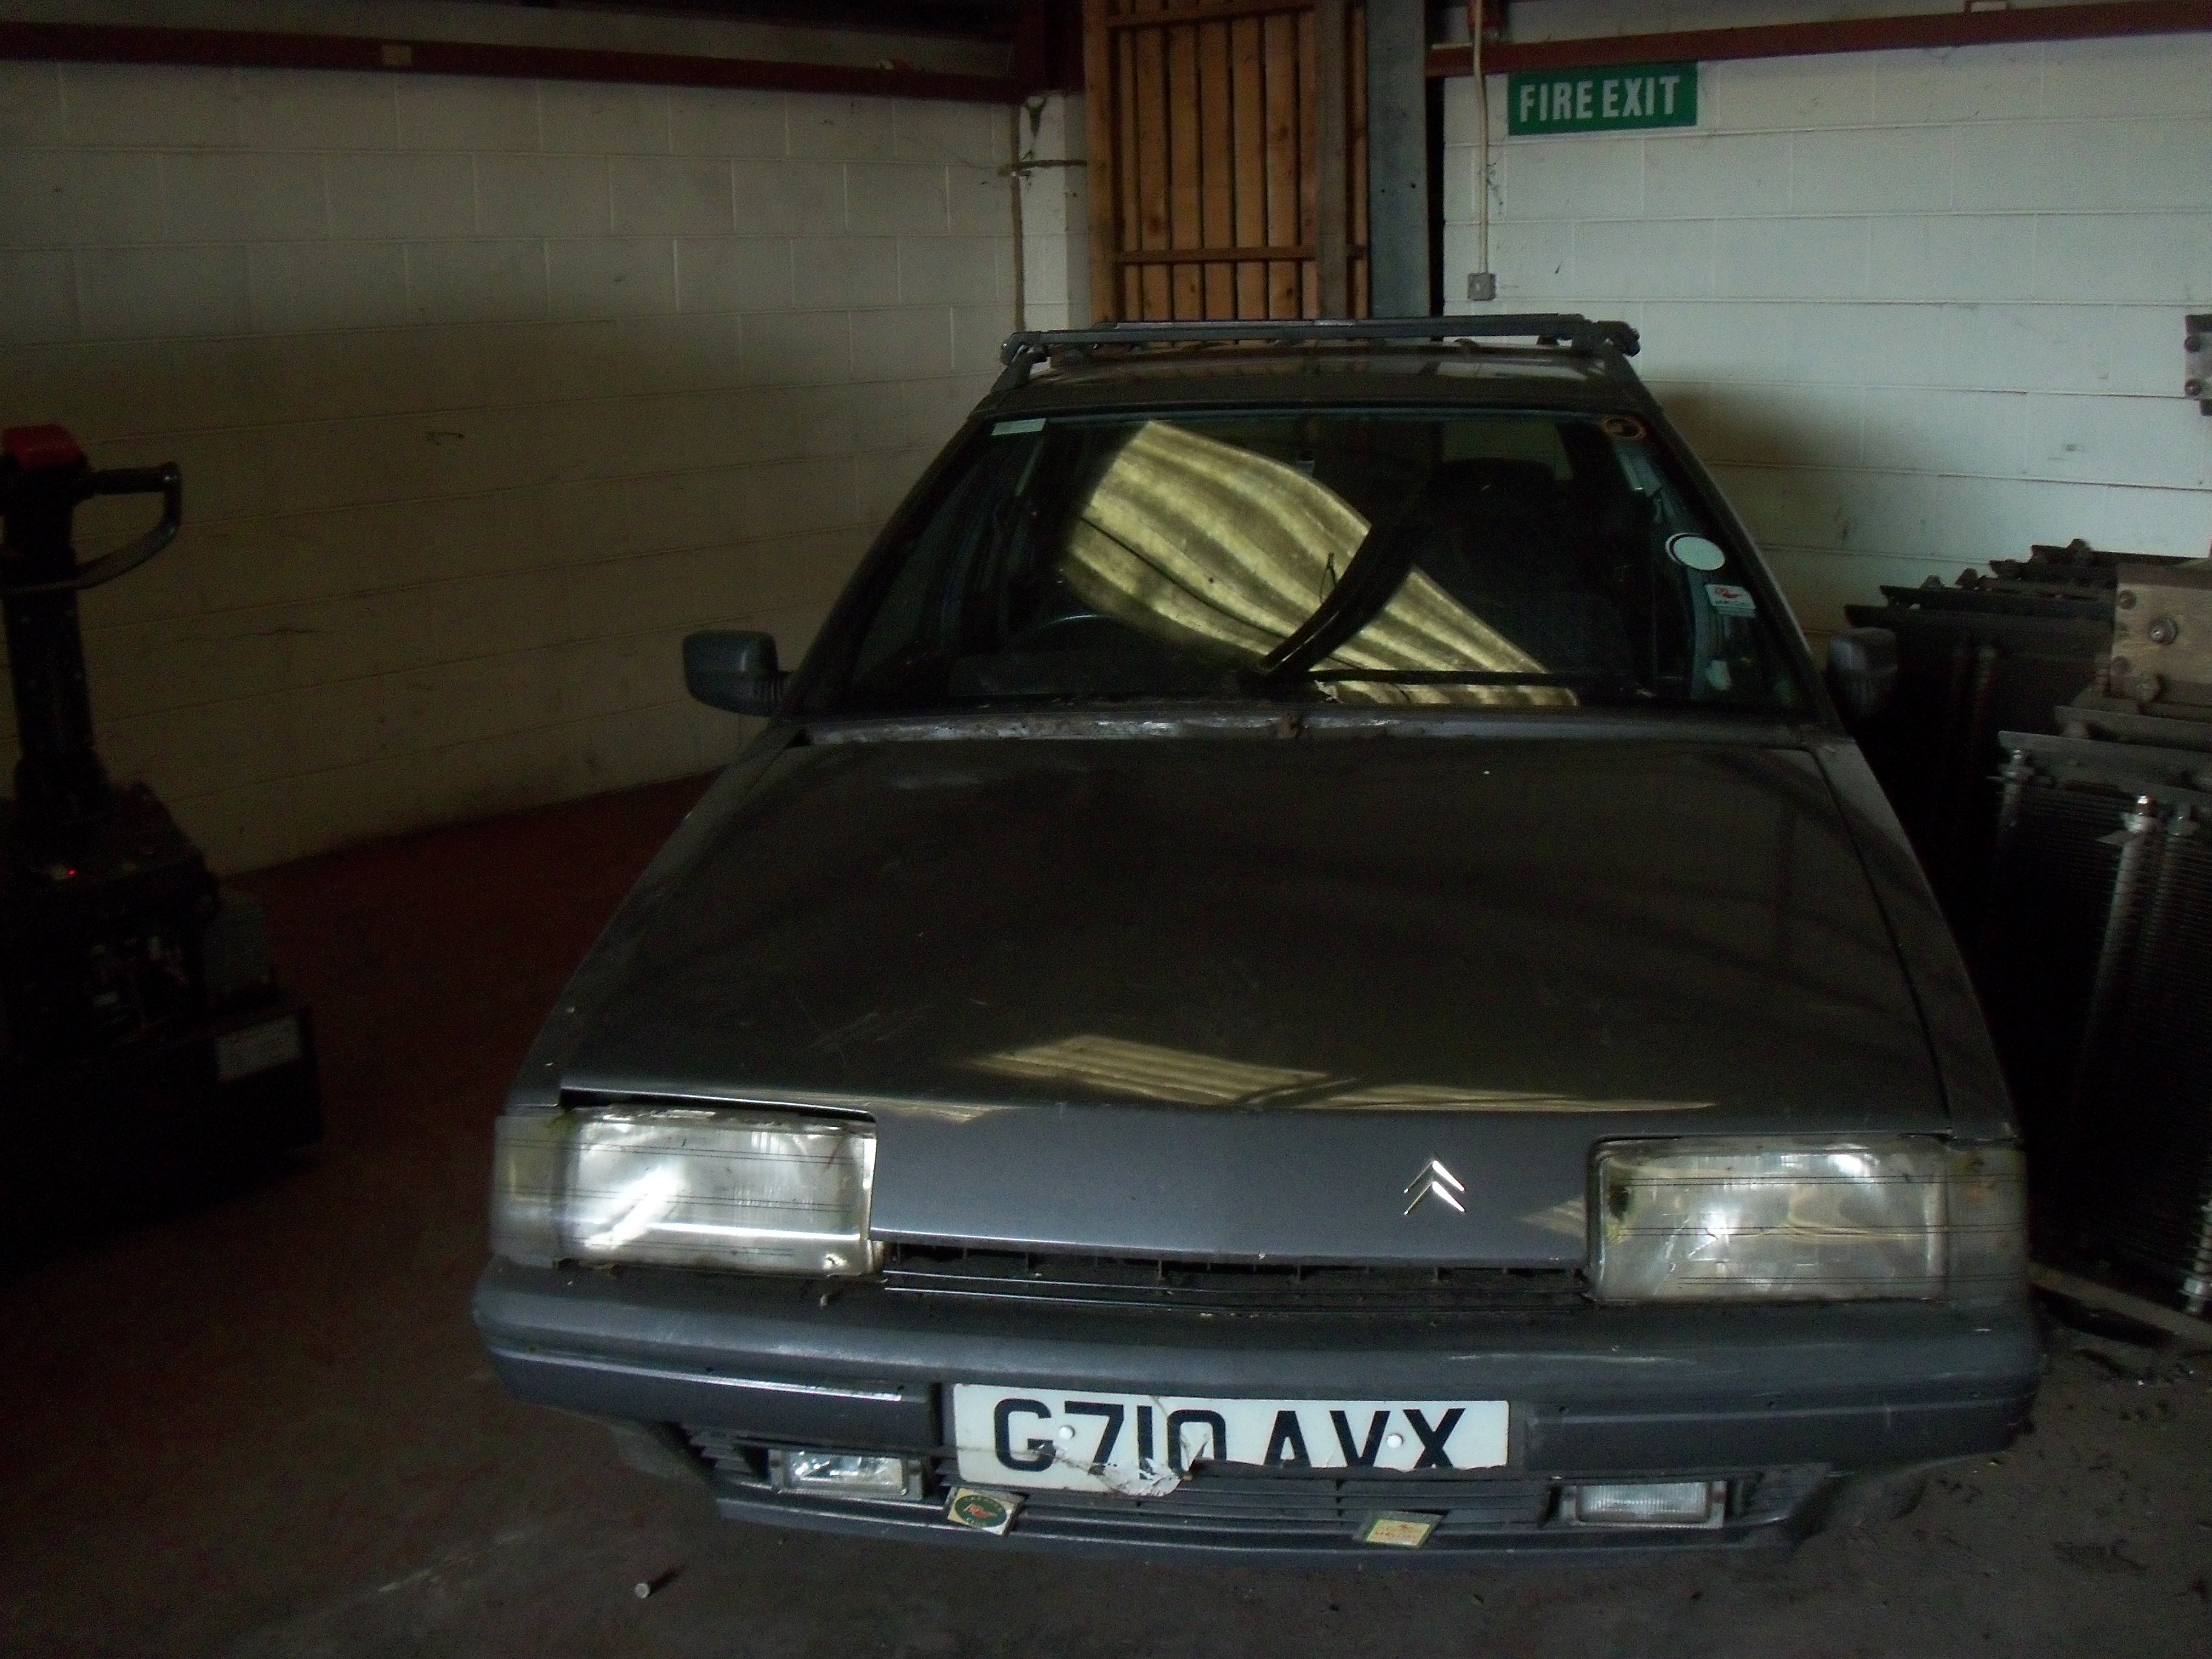
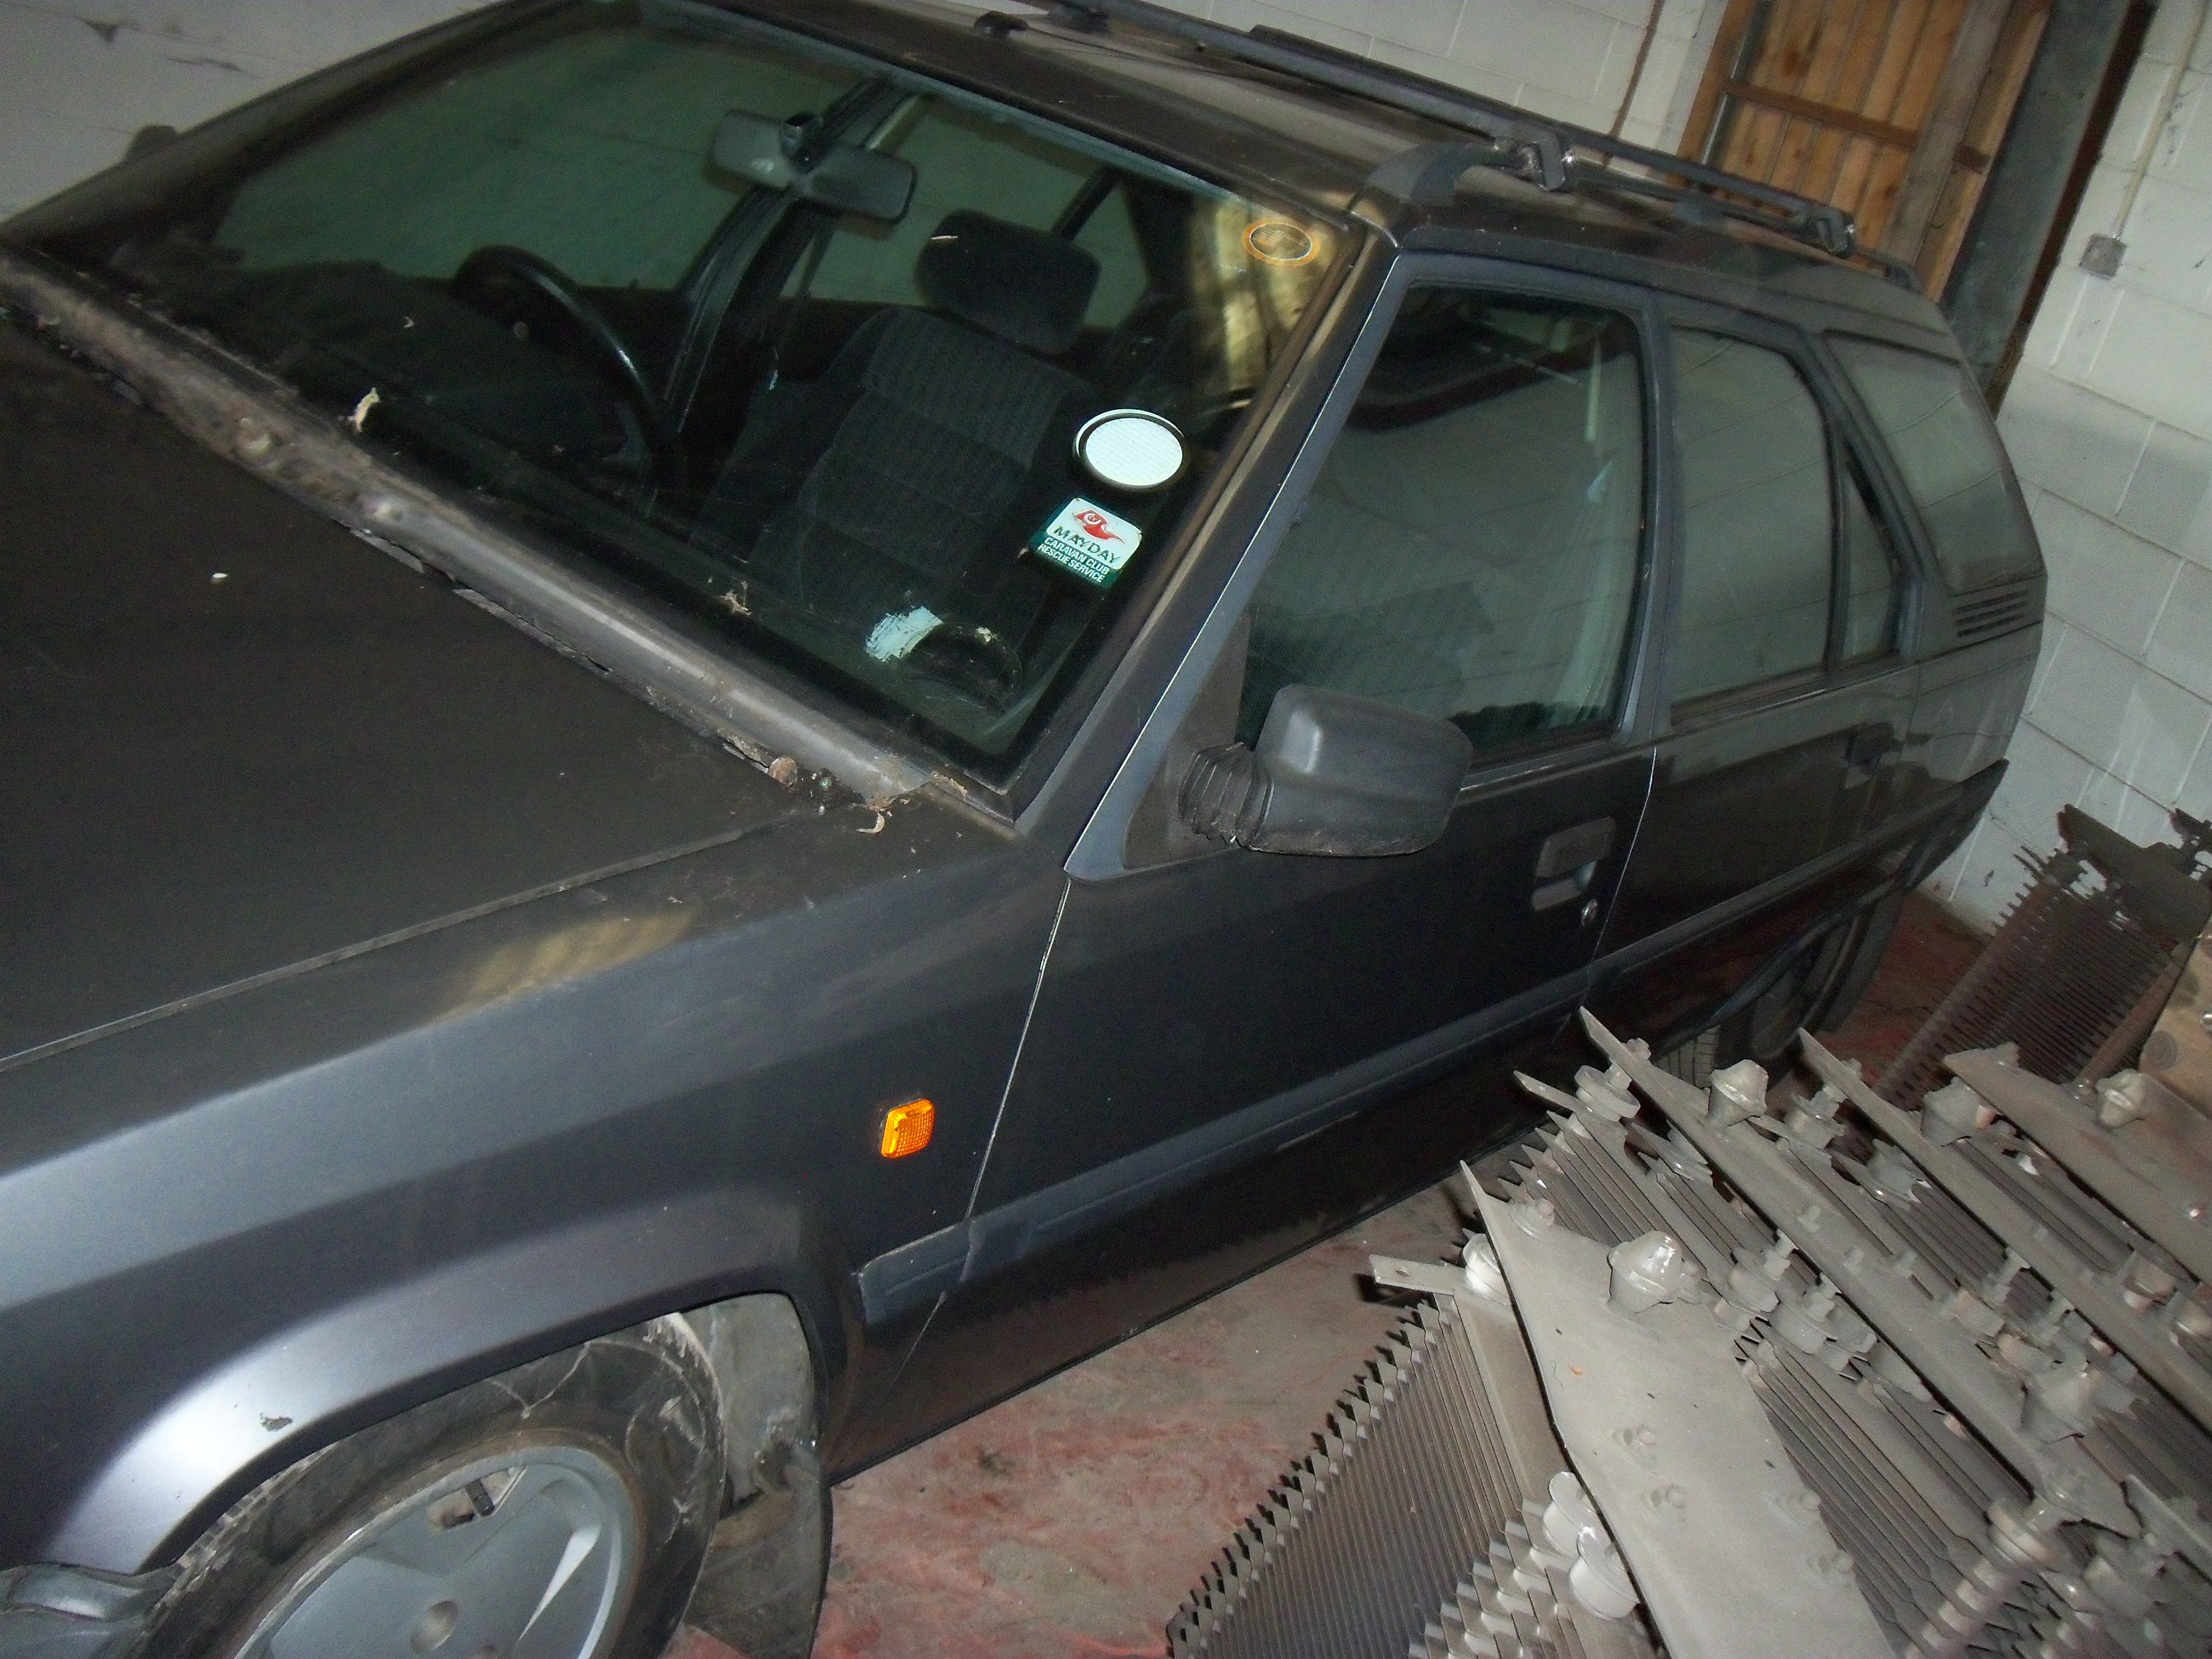
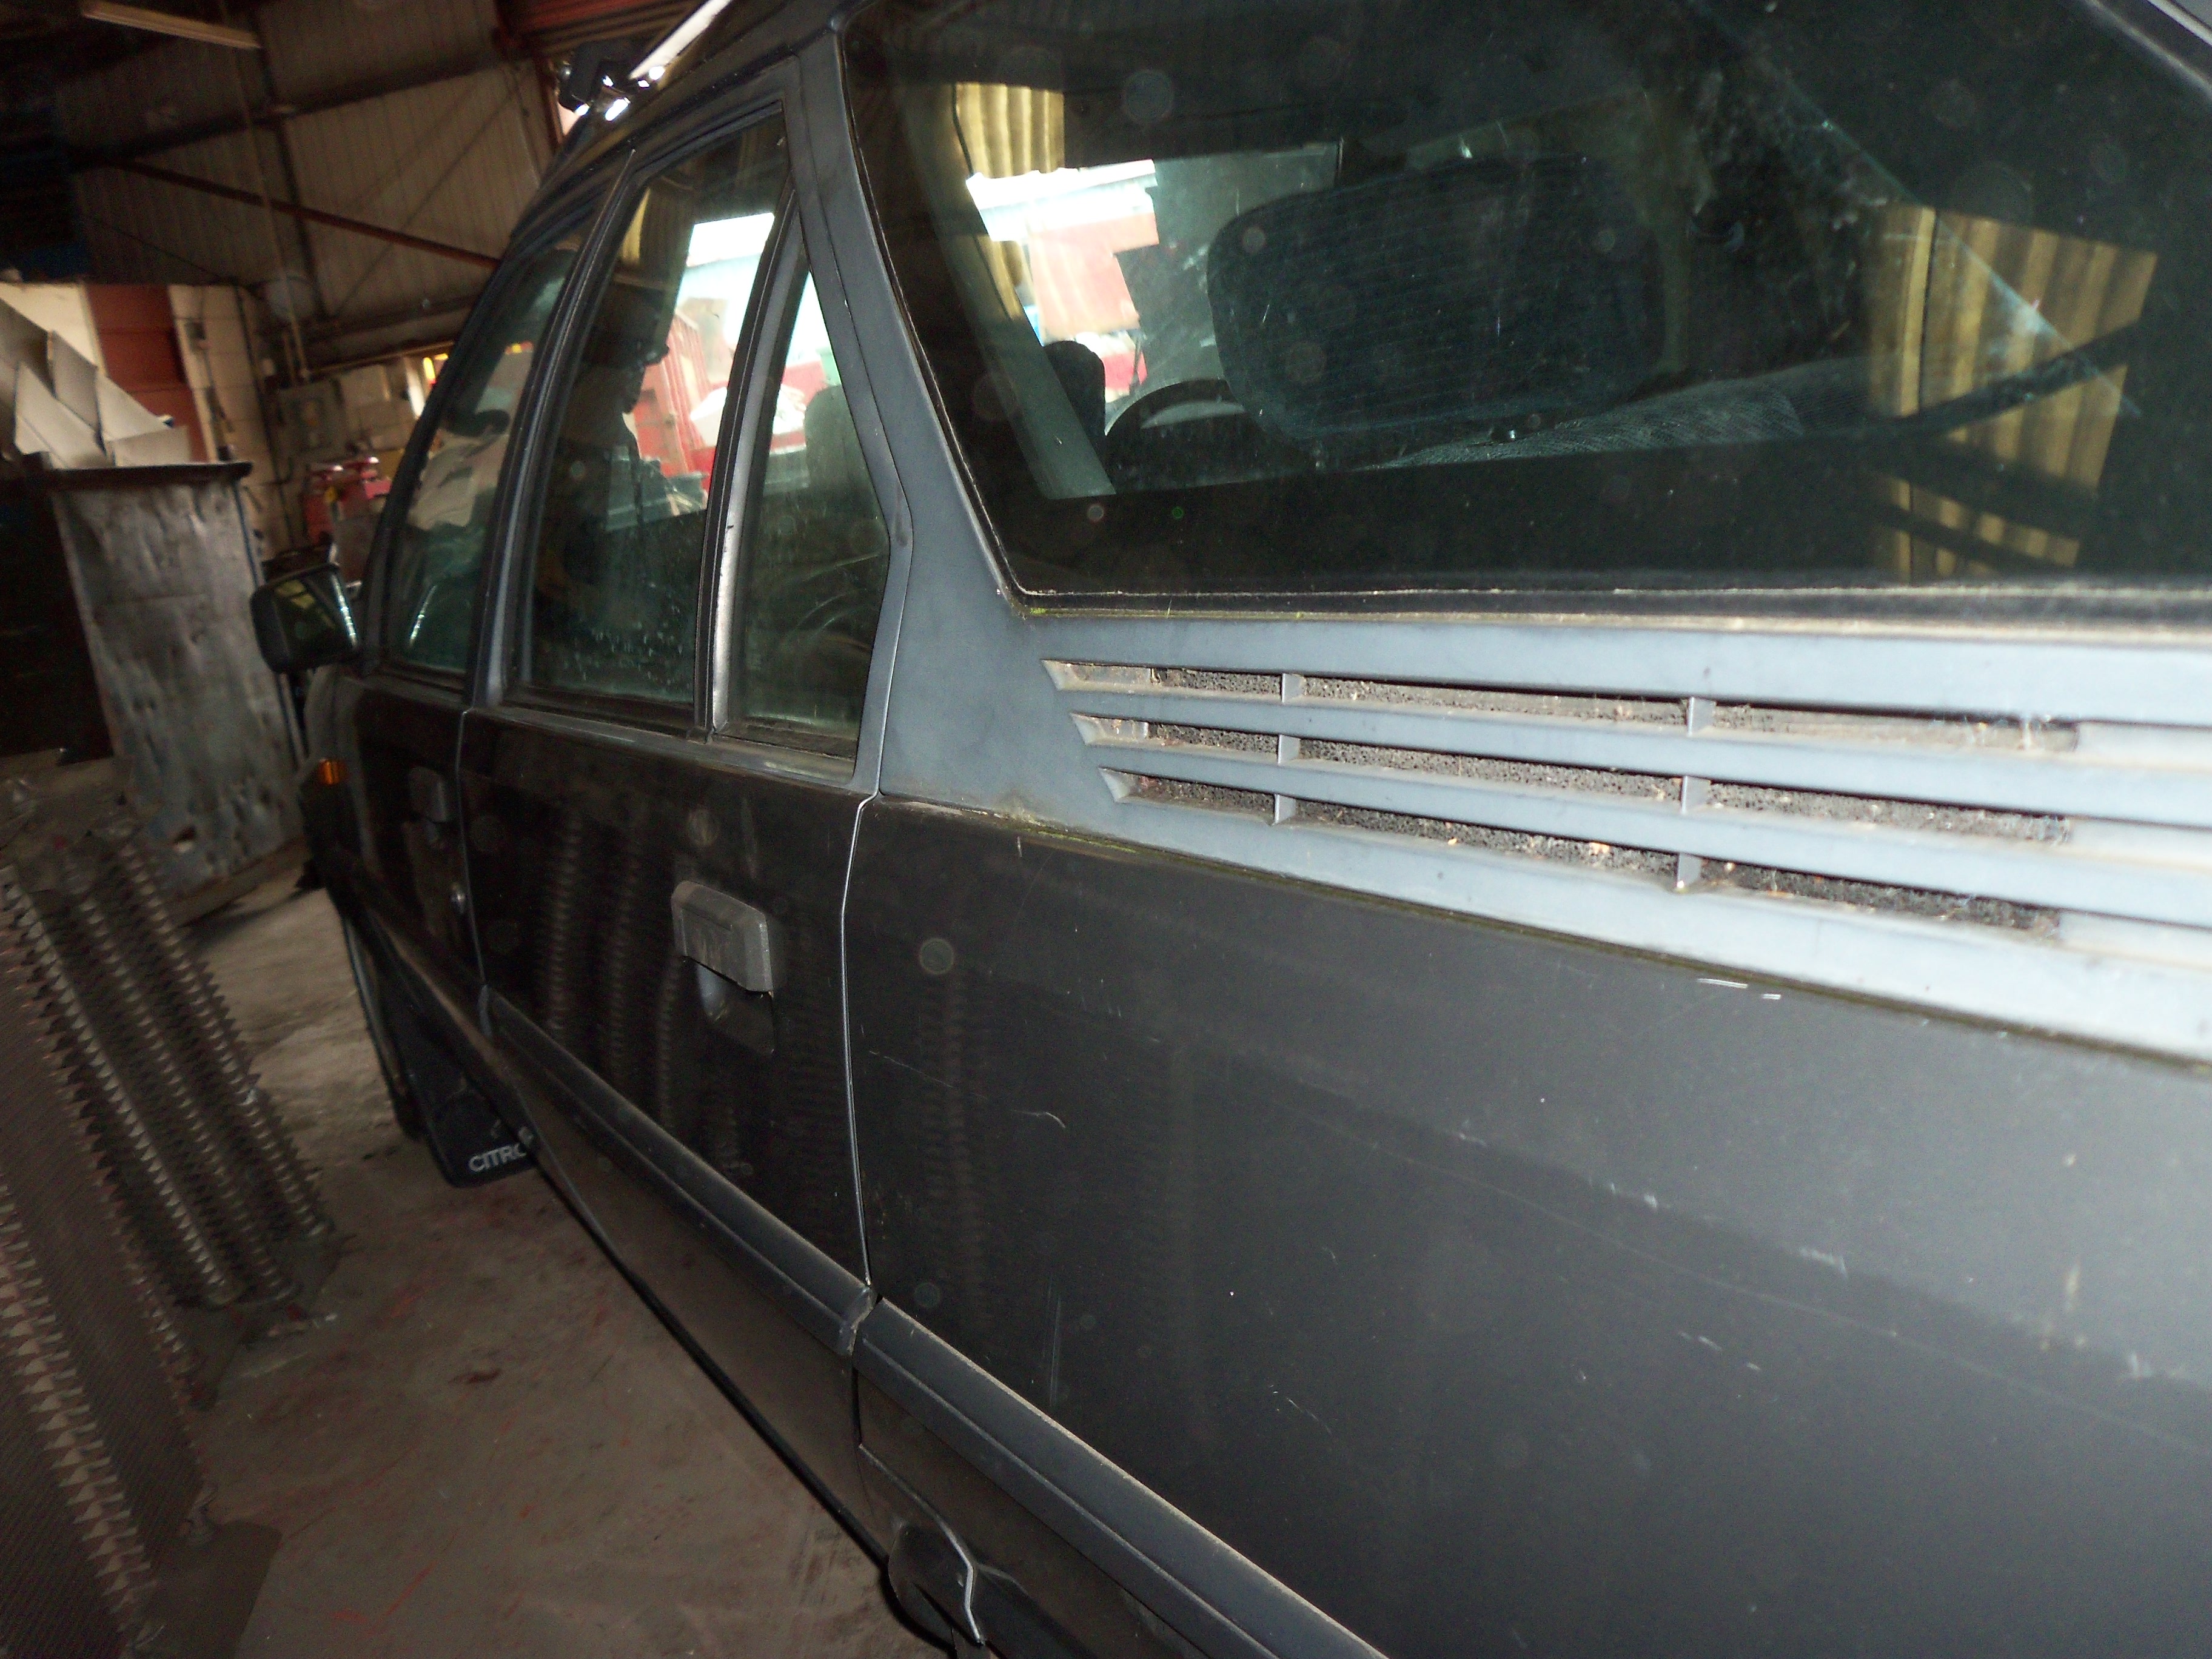
and these are from yesterday now i have the car at work:


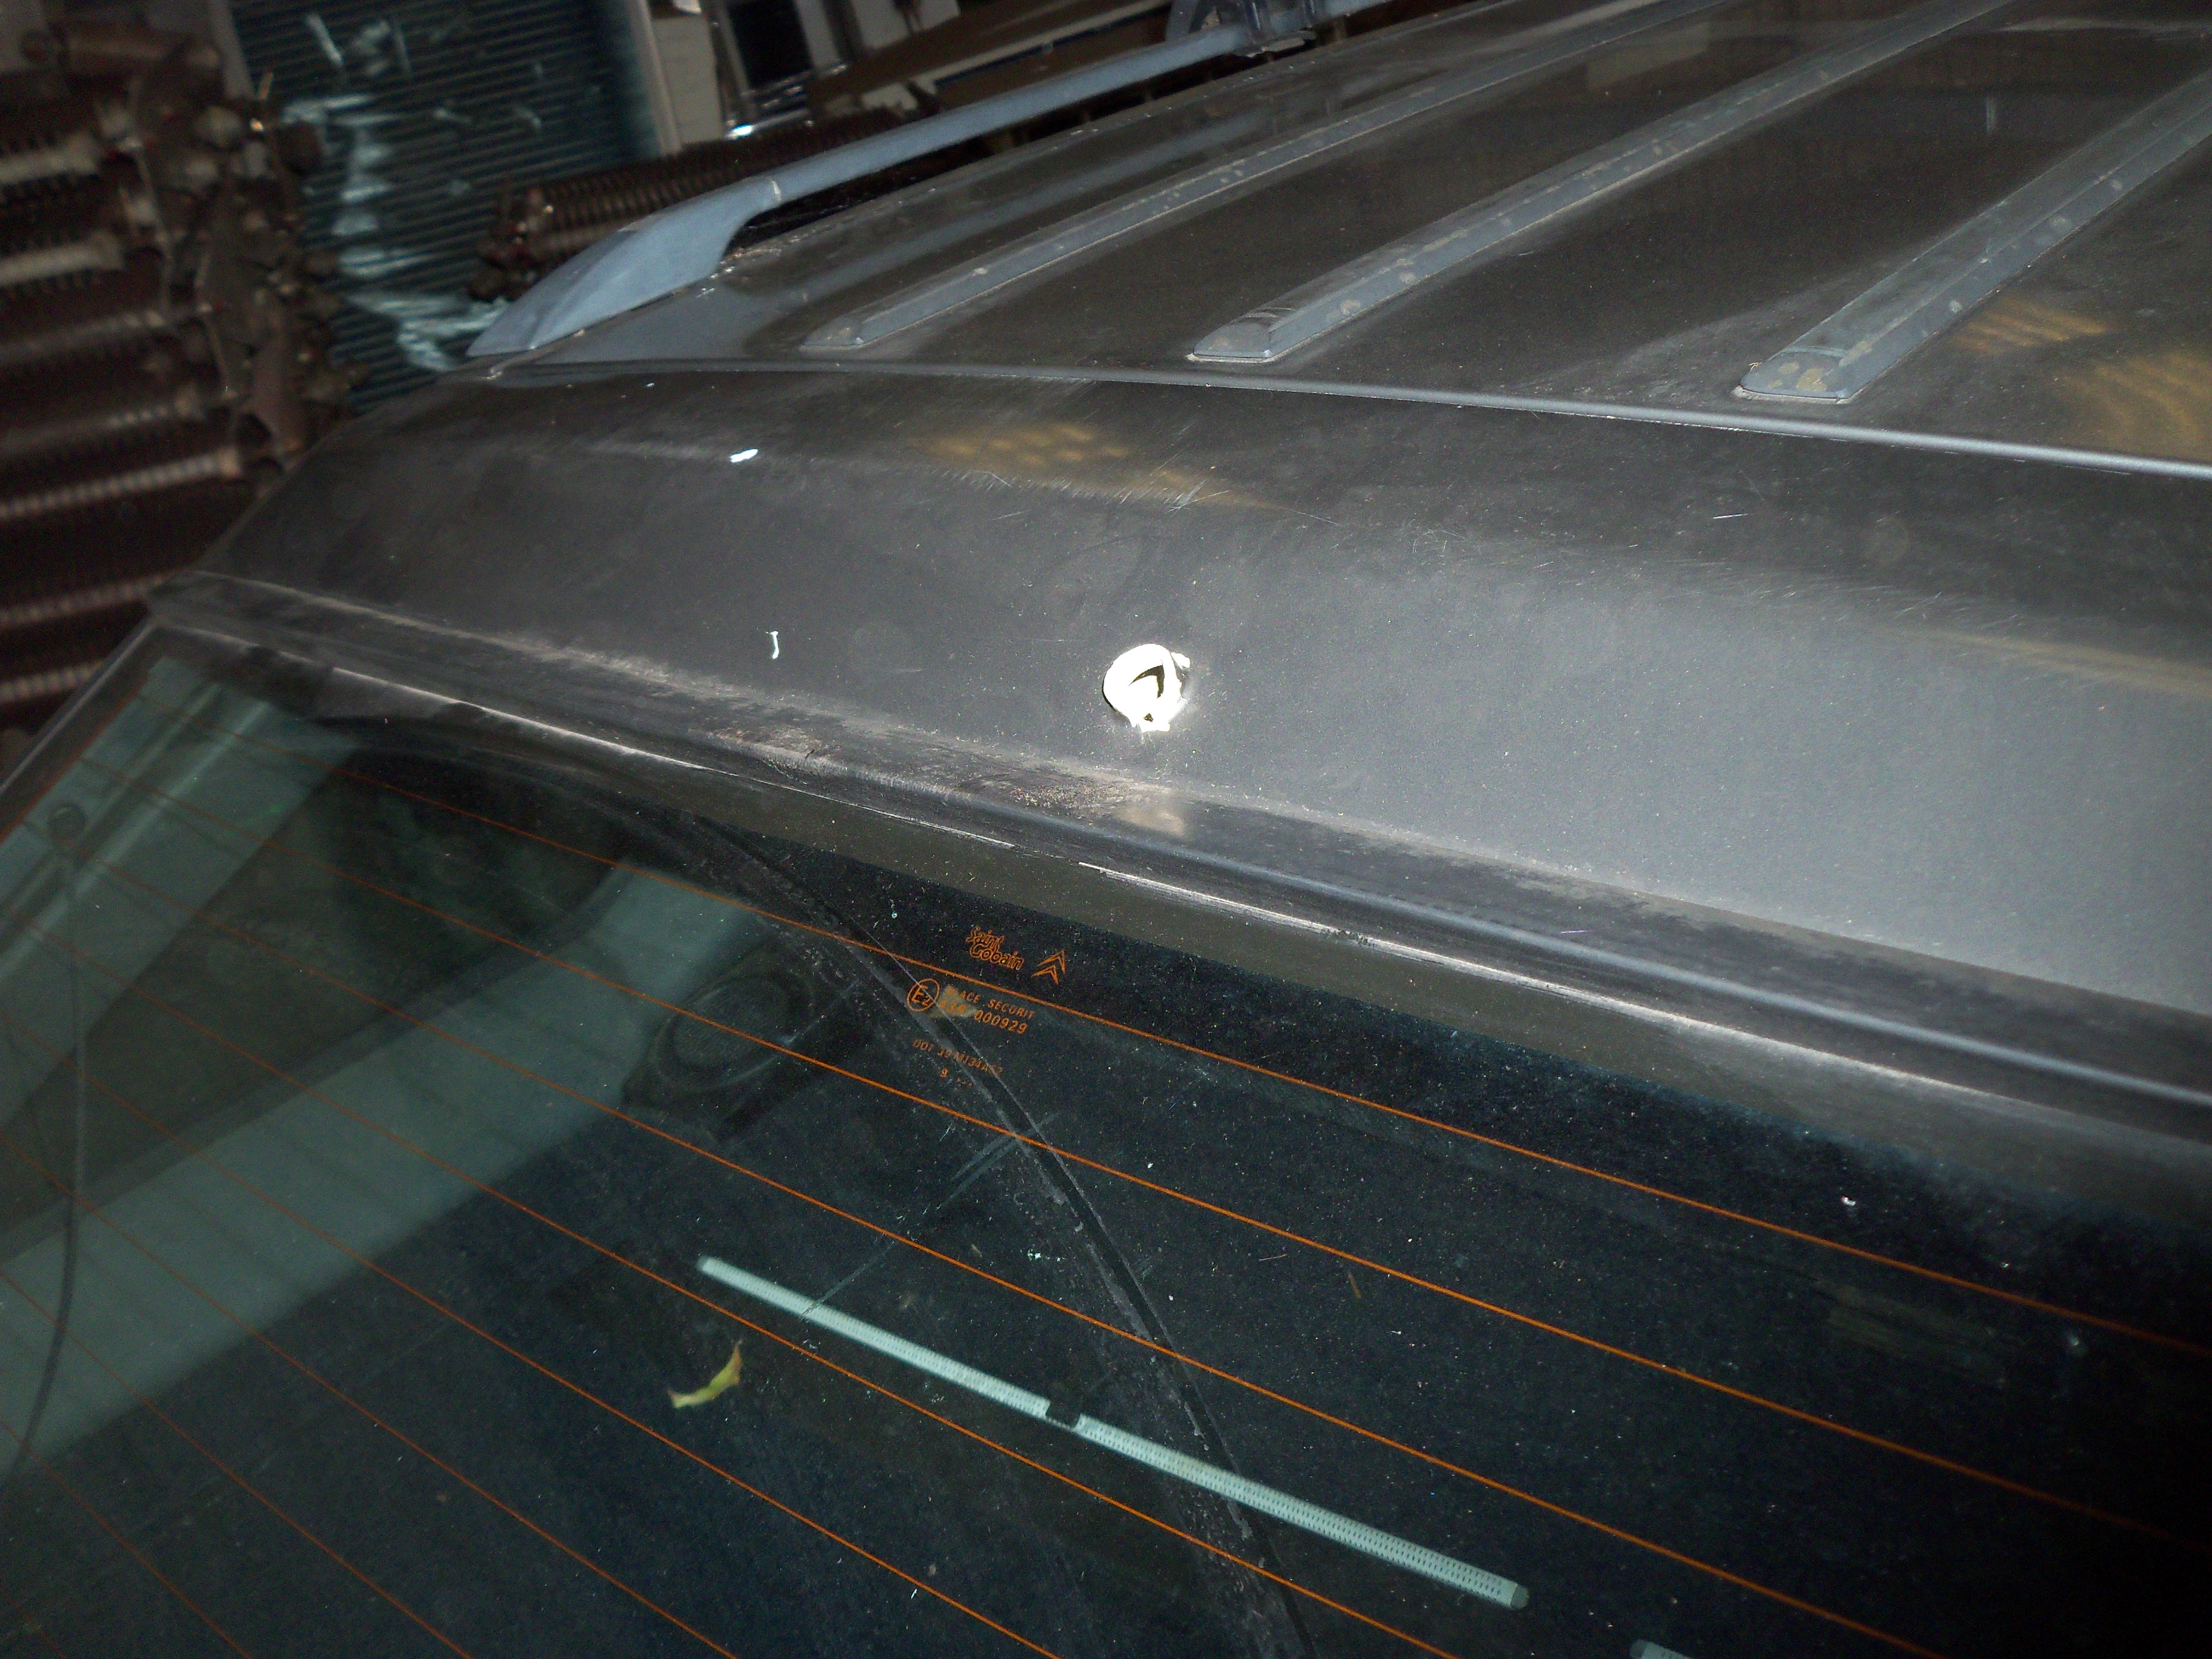
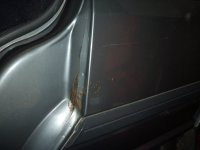
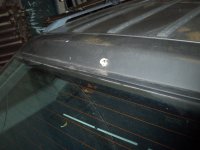
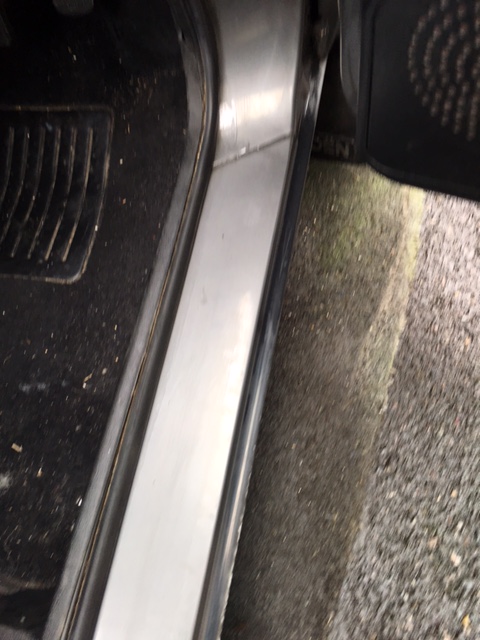
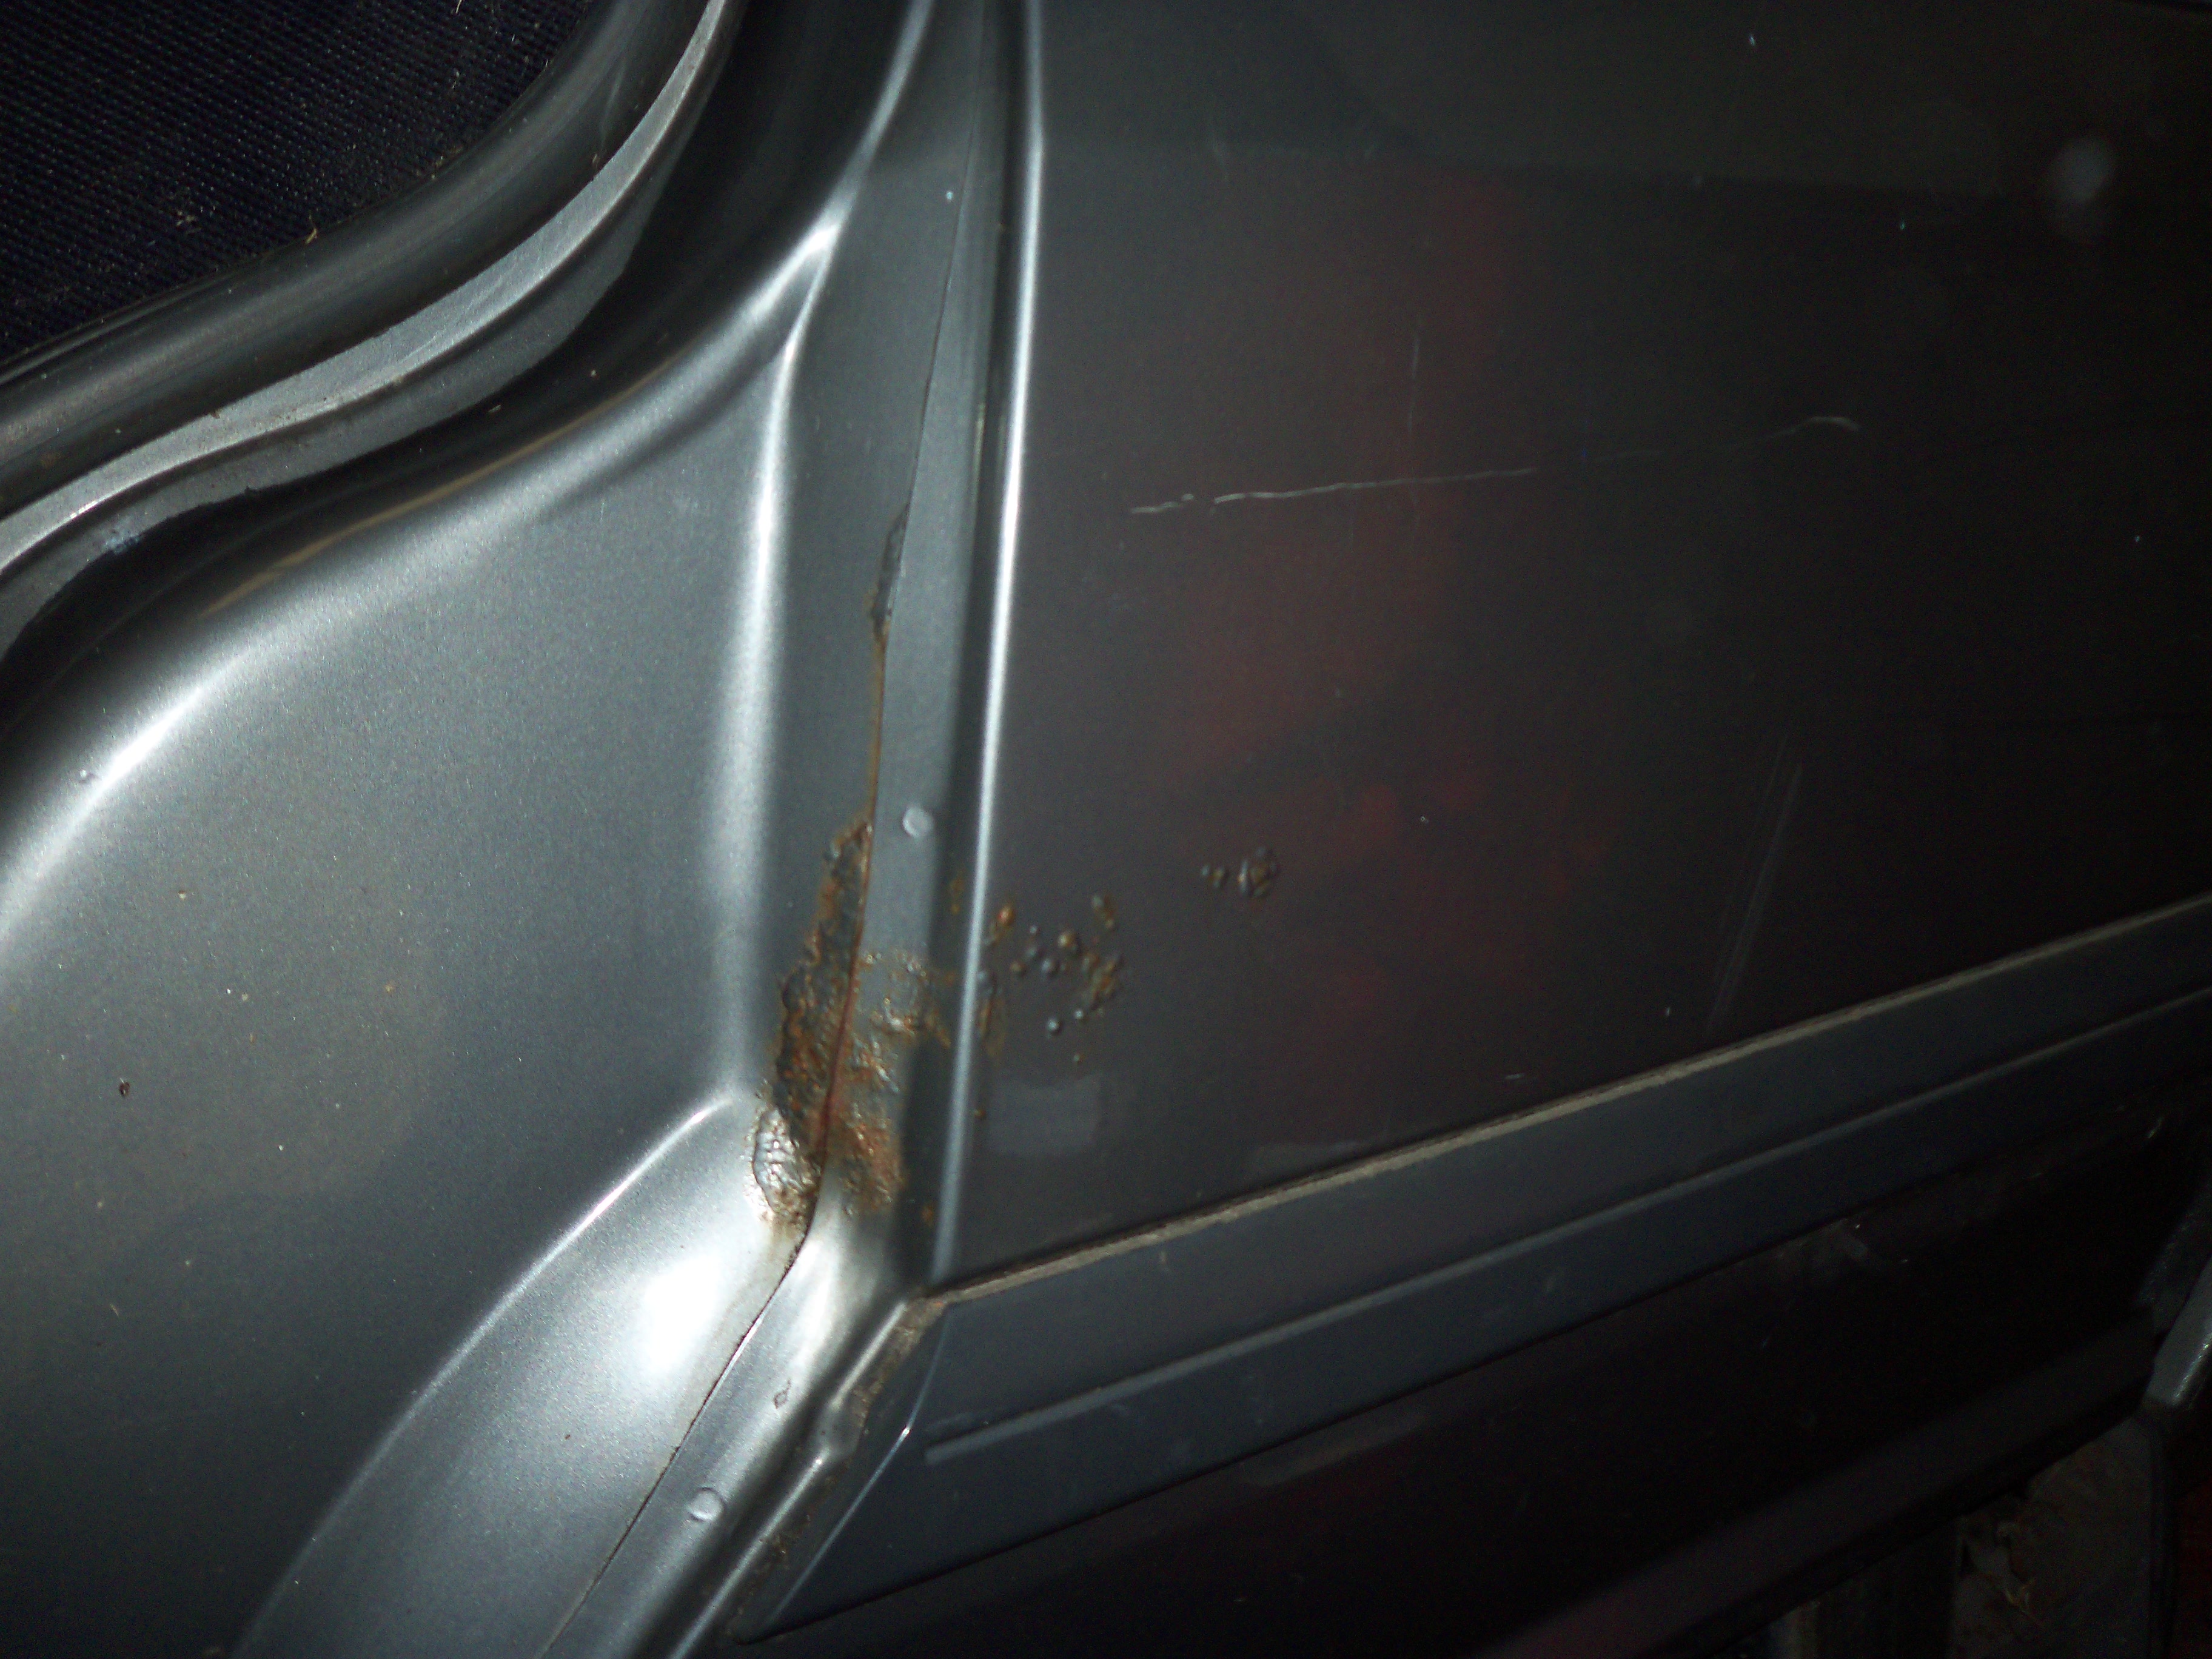
a slight bit of rust.. but nothing i cant fix..


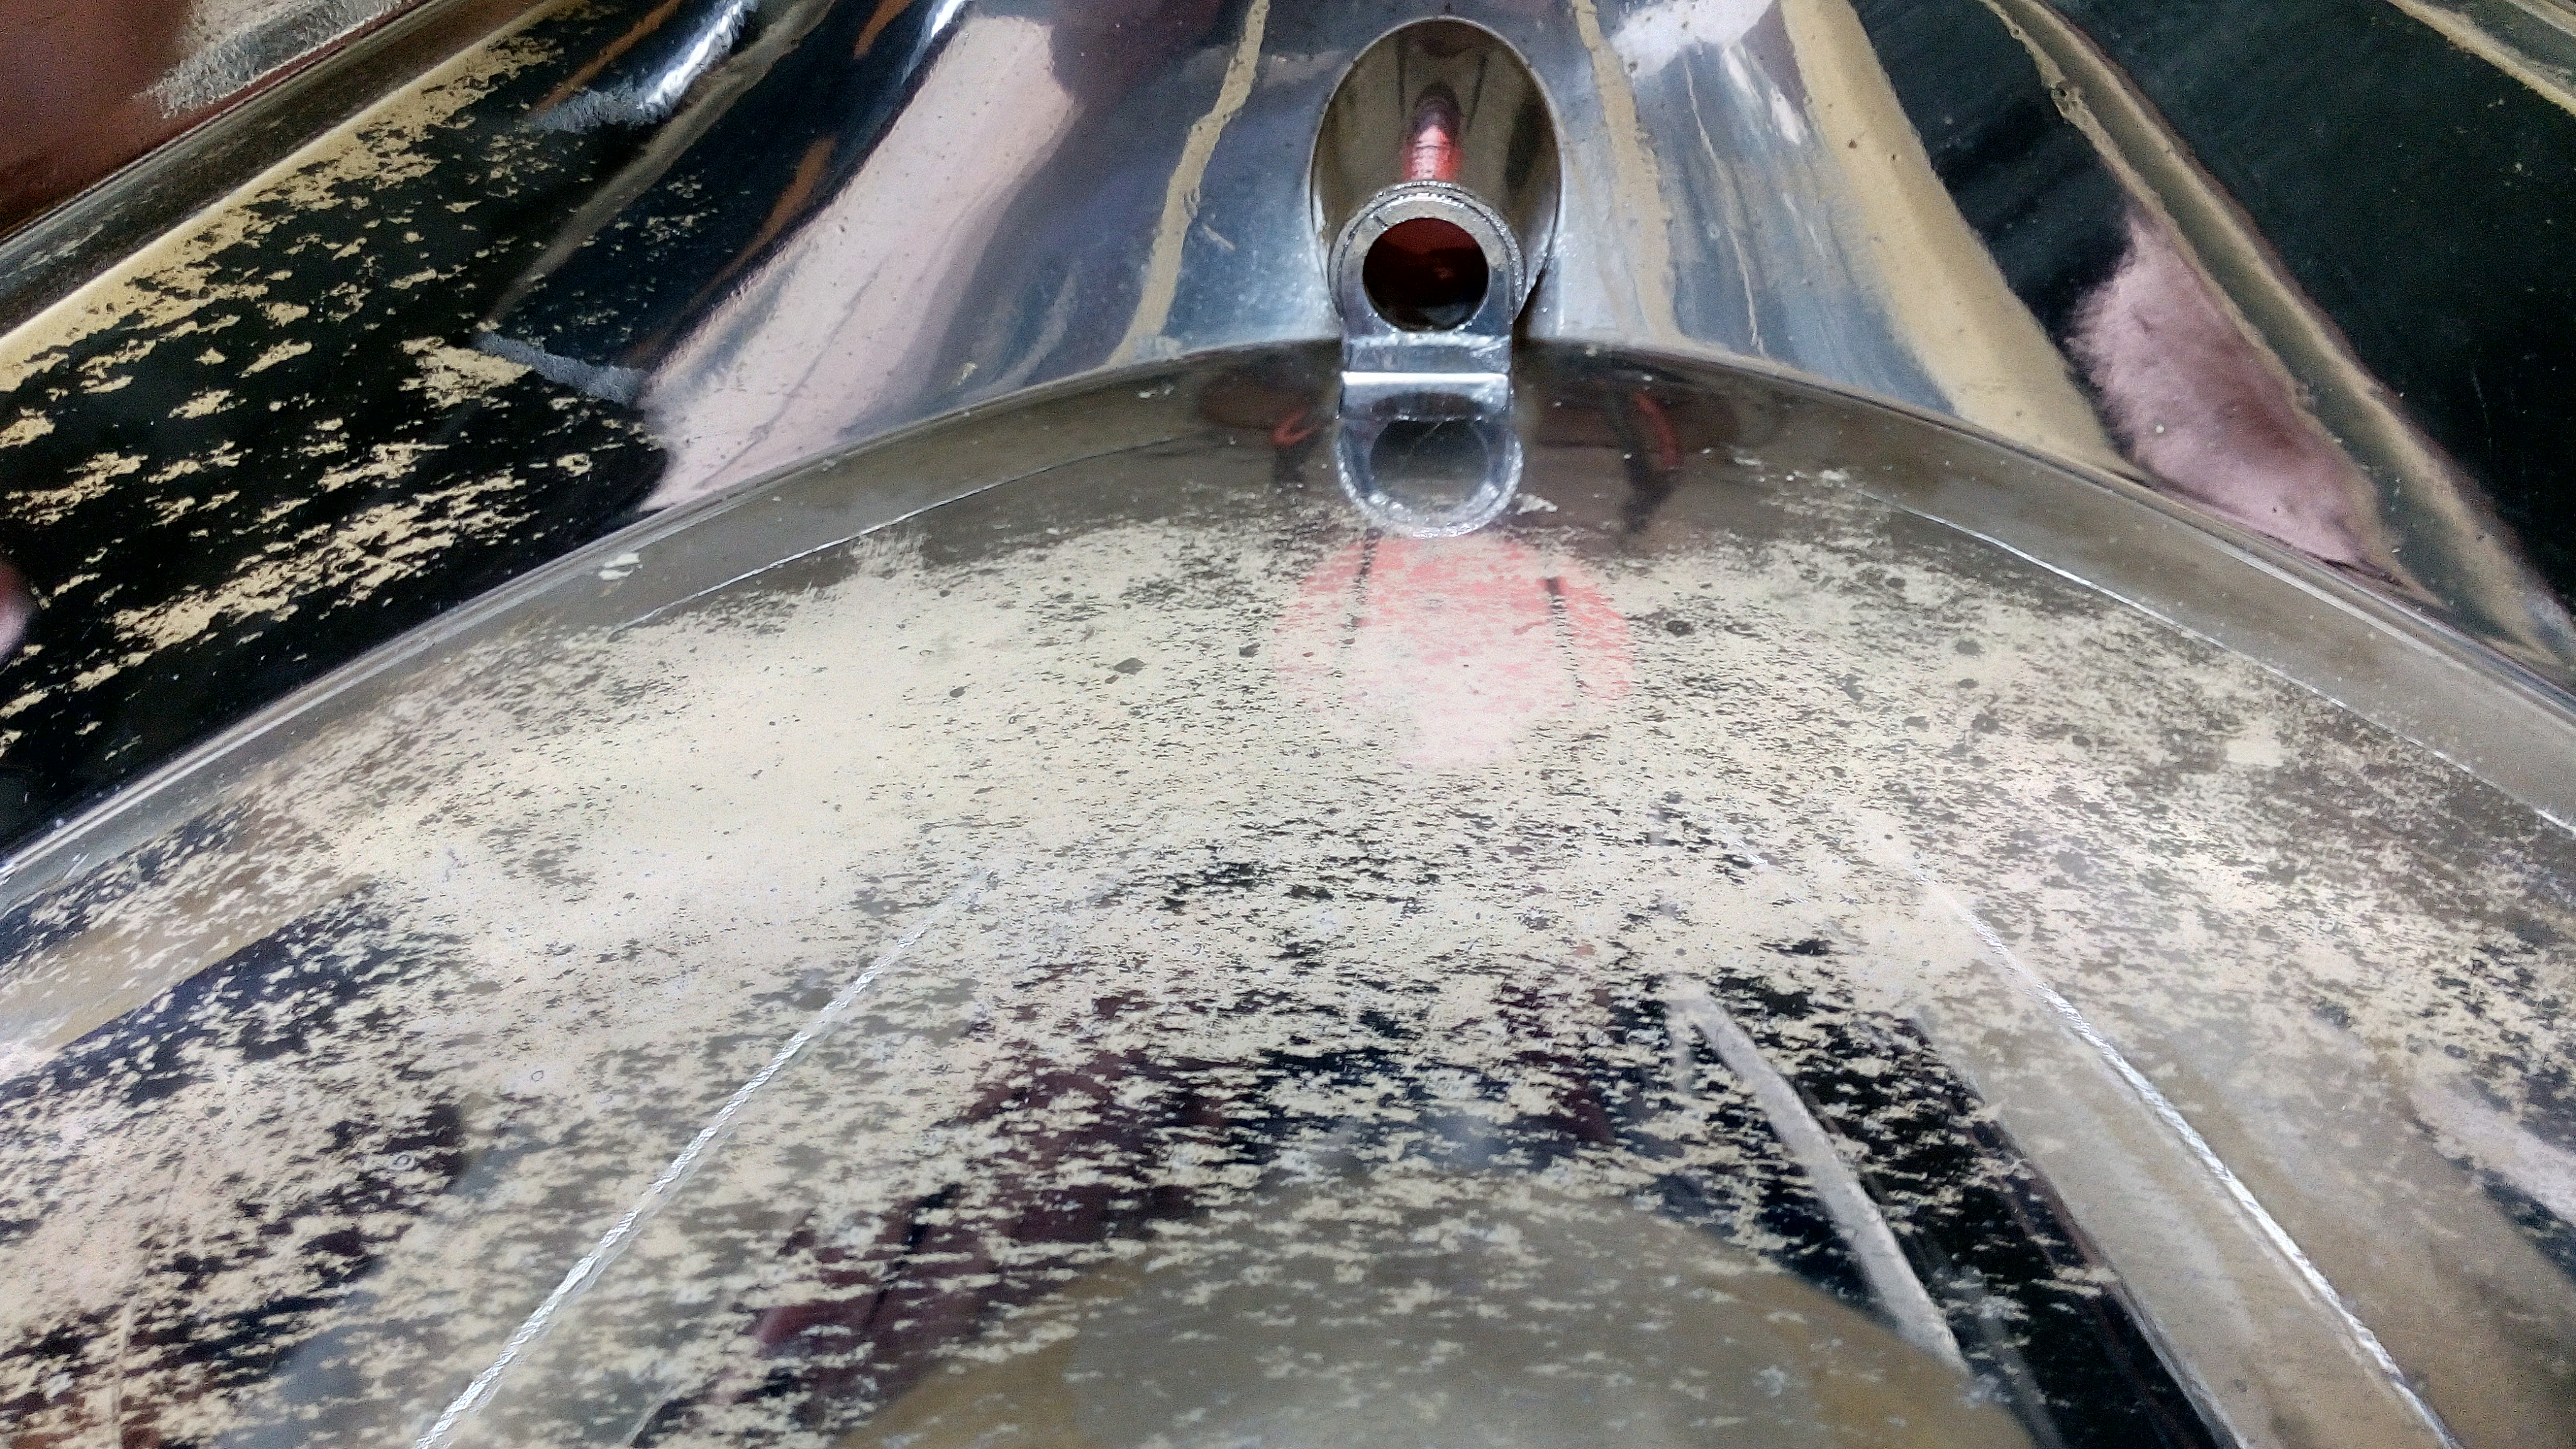
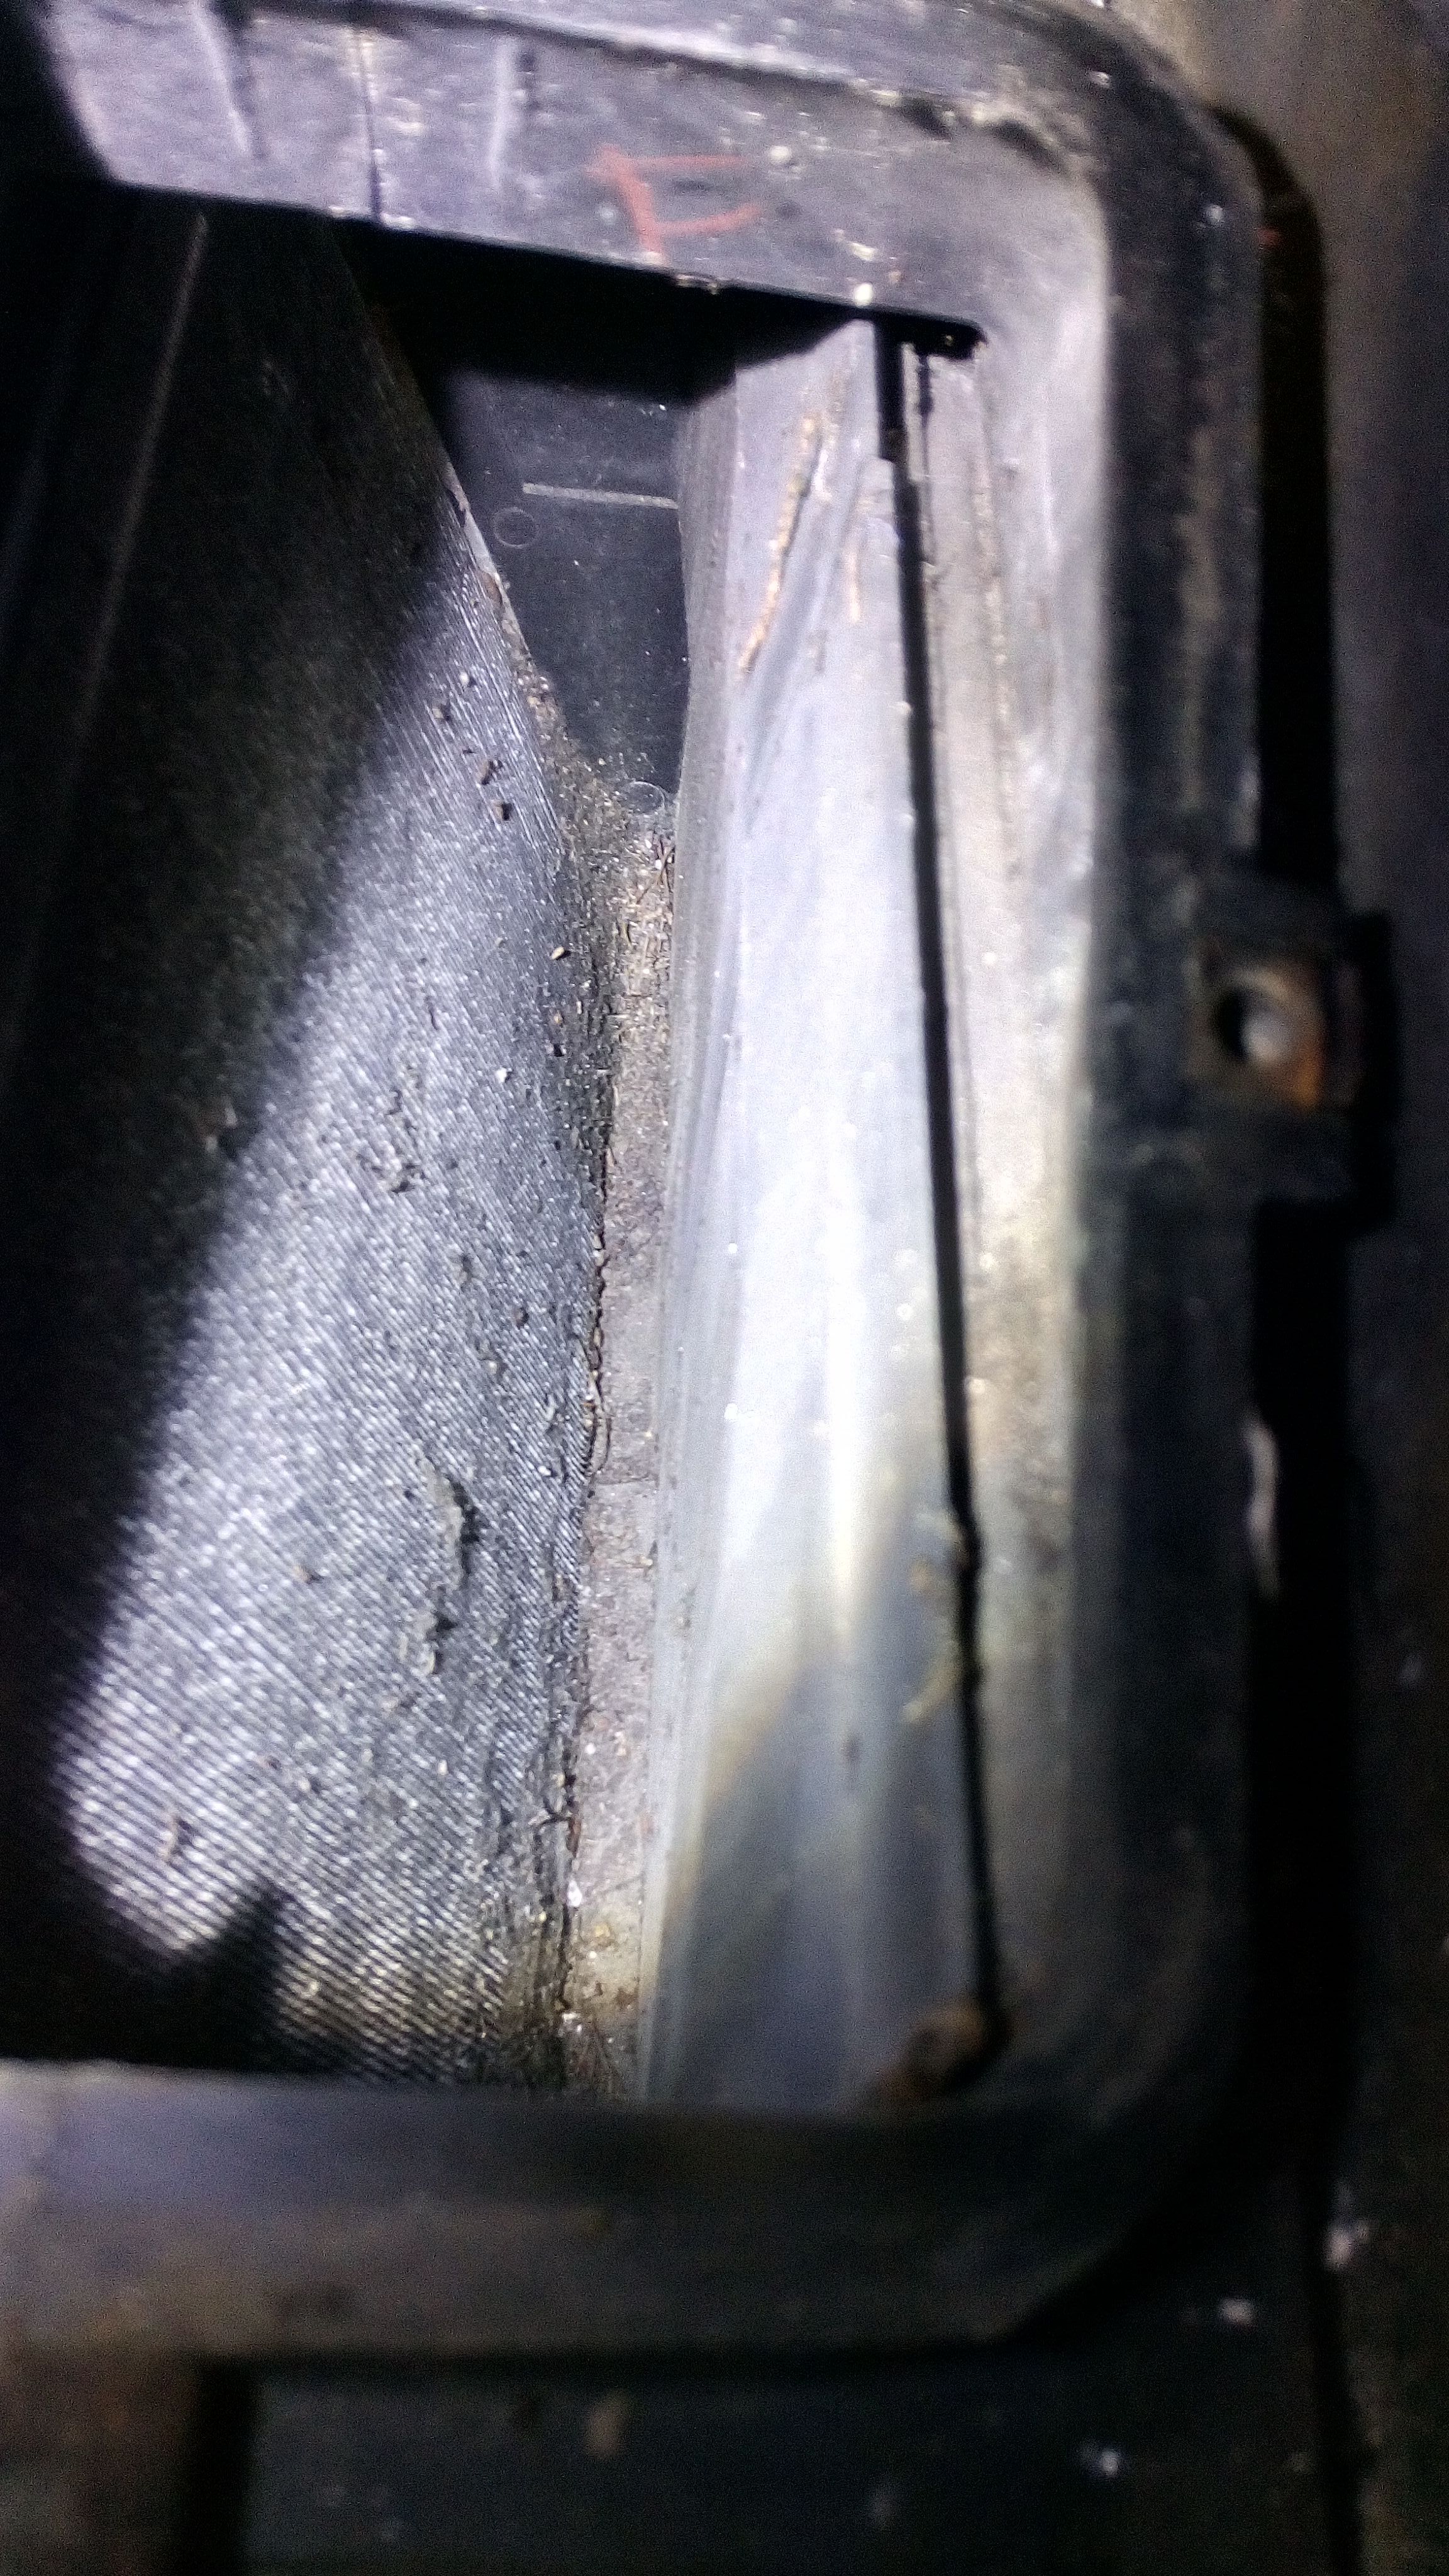
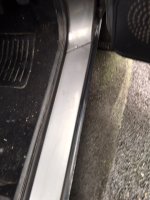
and now the really bad stuff...


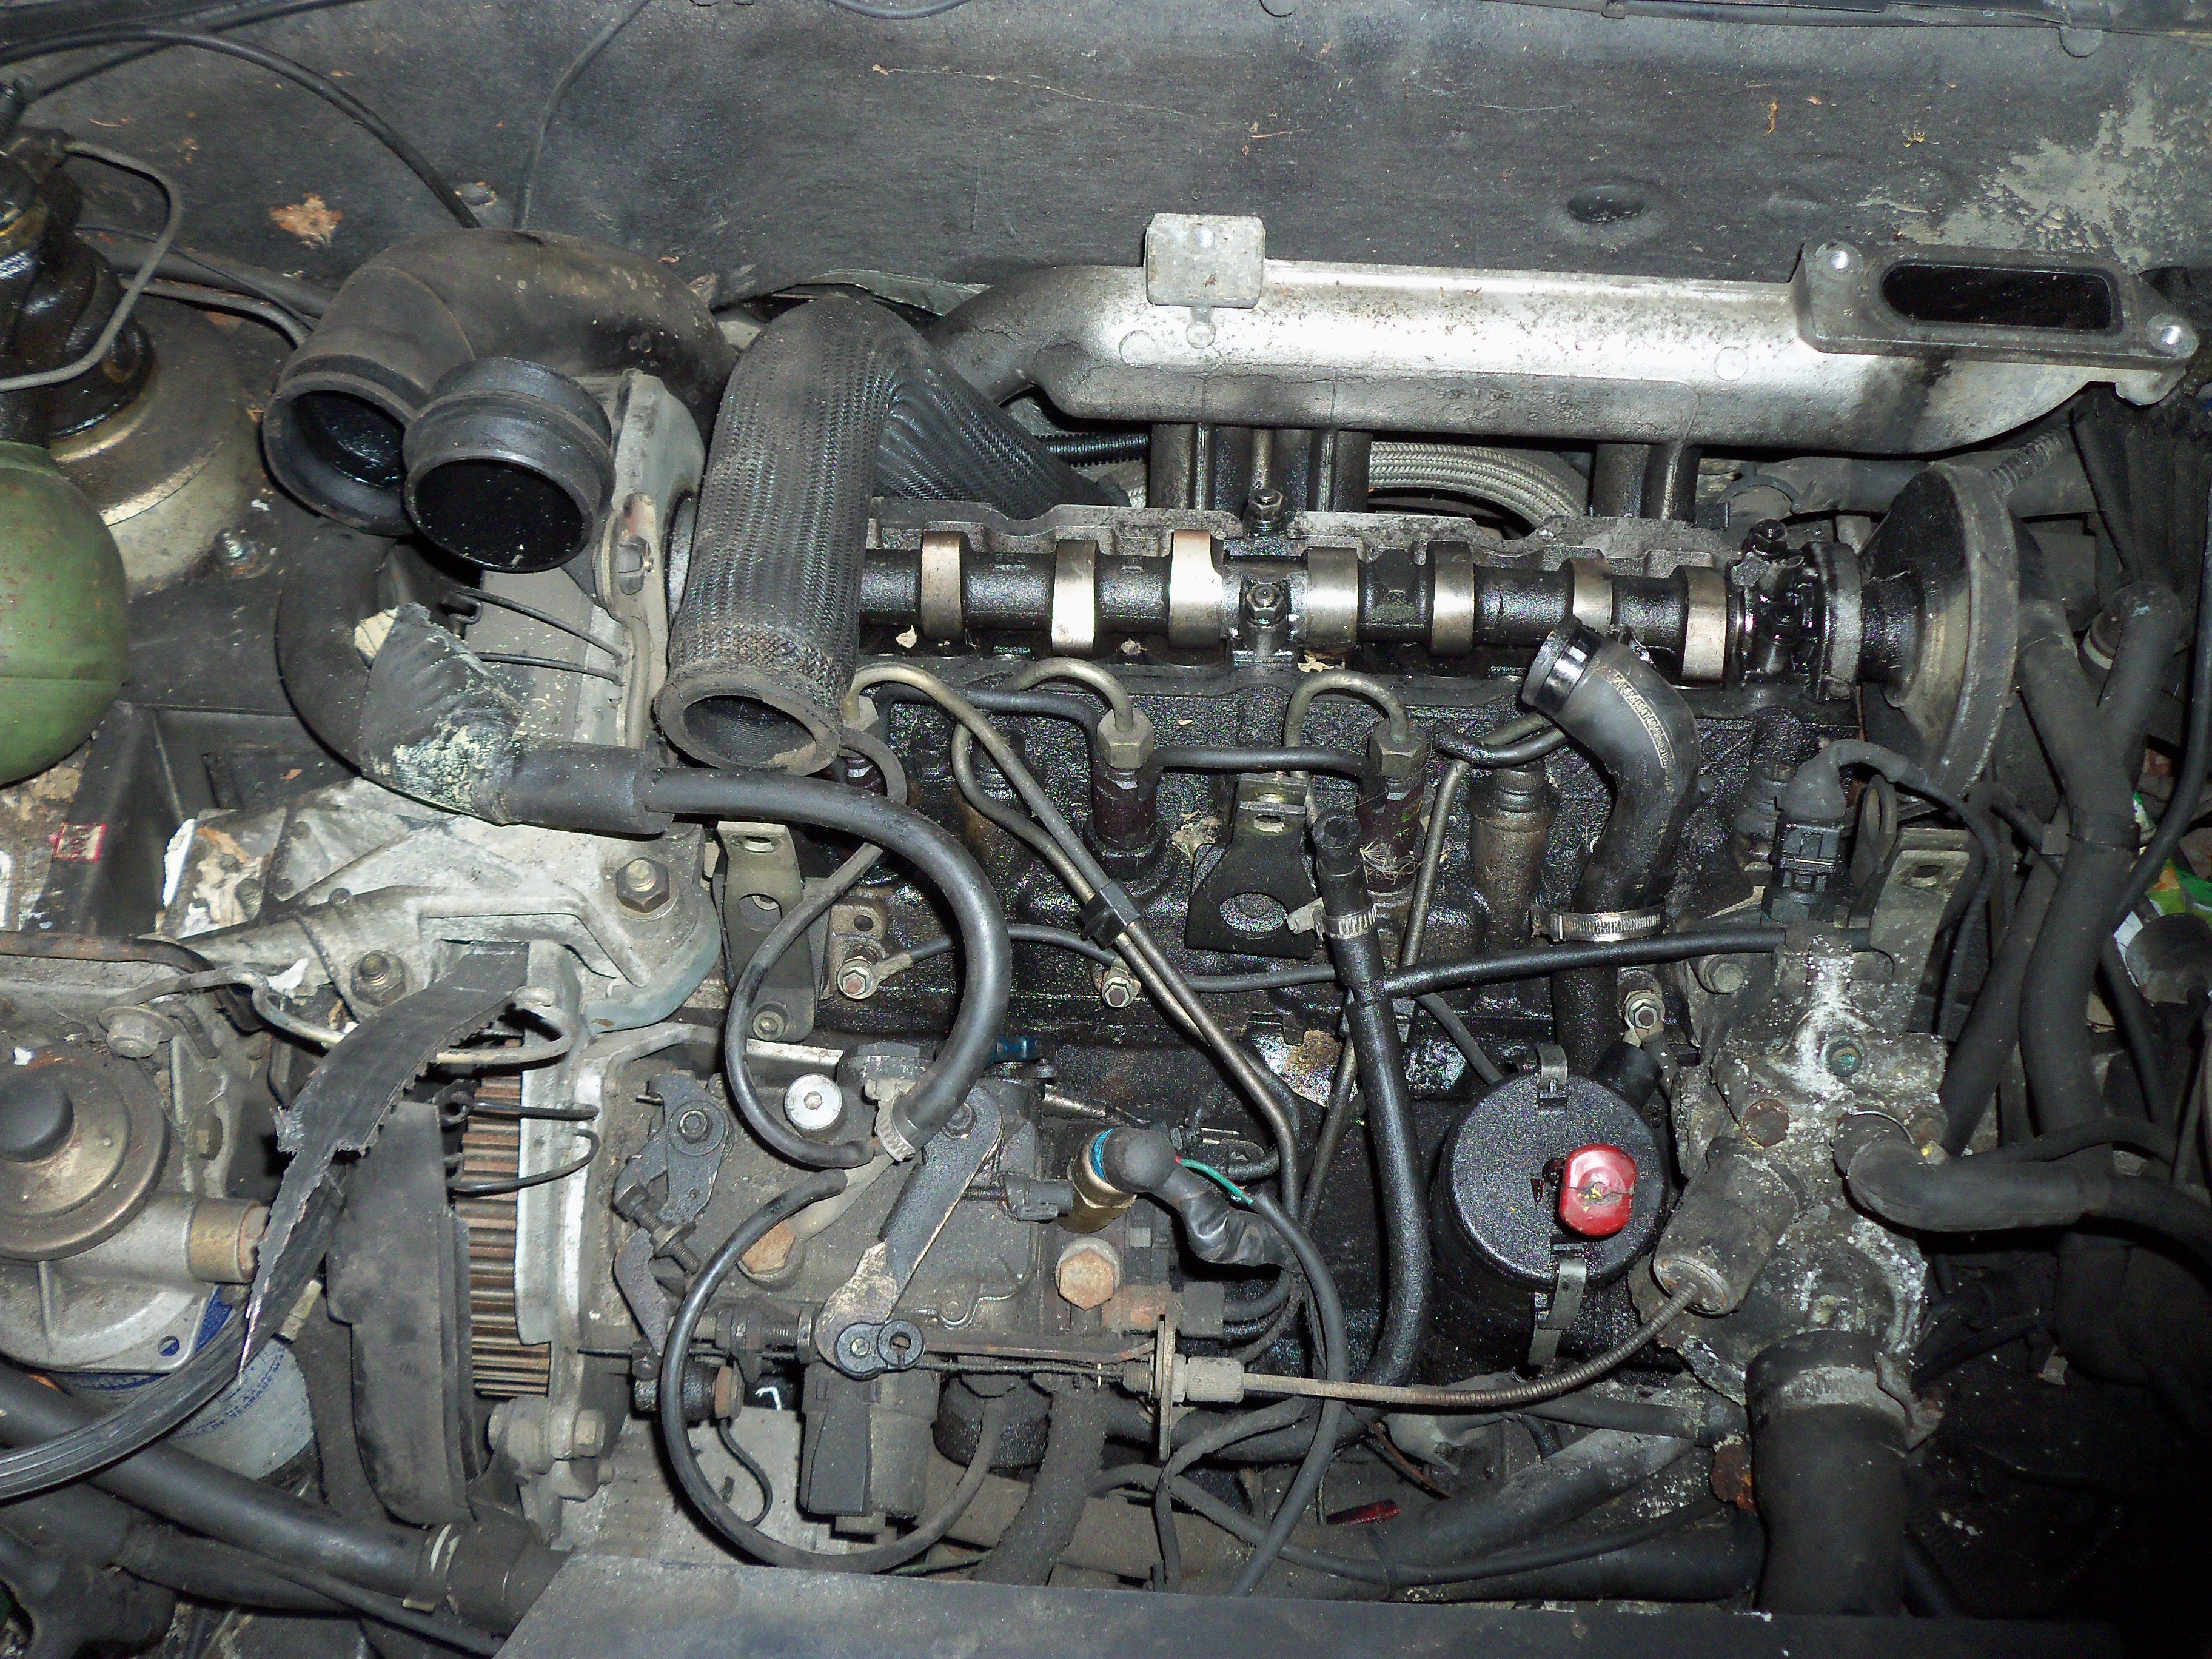
ouch... smashy smashy


i will also be making online video logs. and here is the first:


see you in the next update!
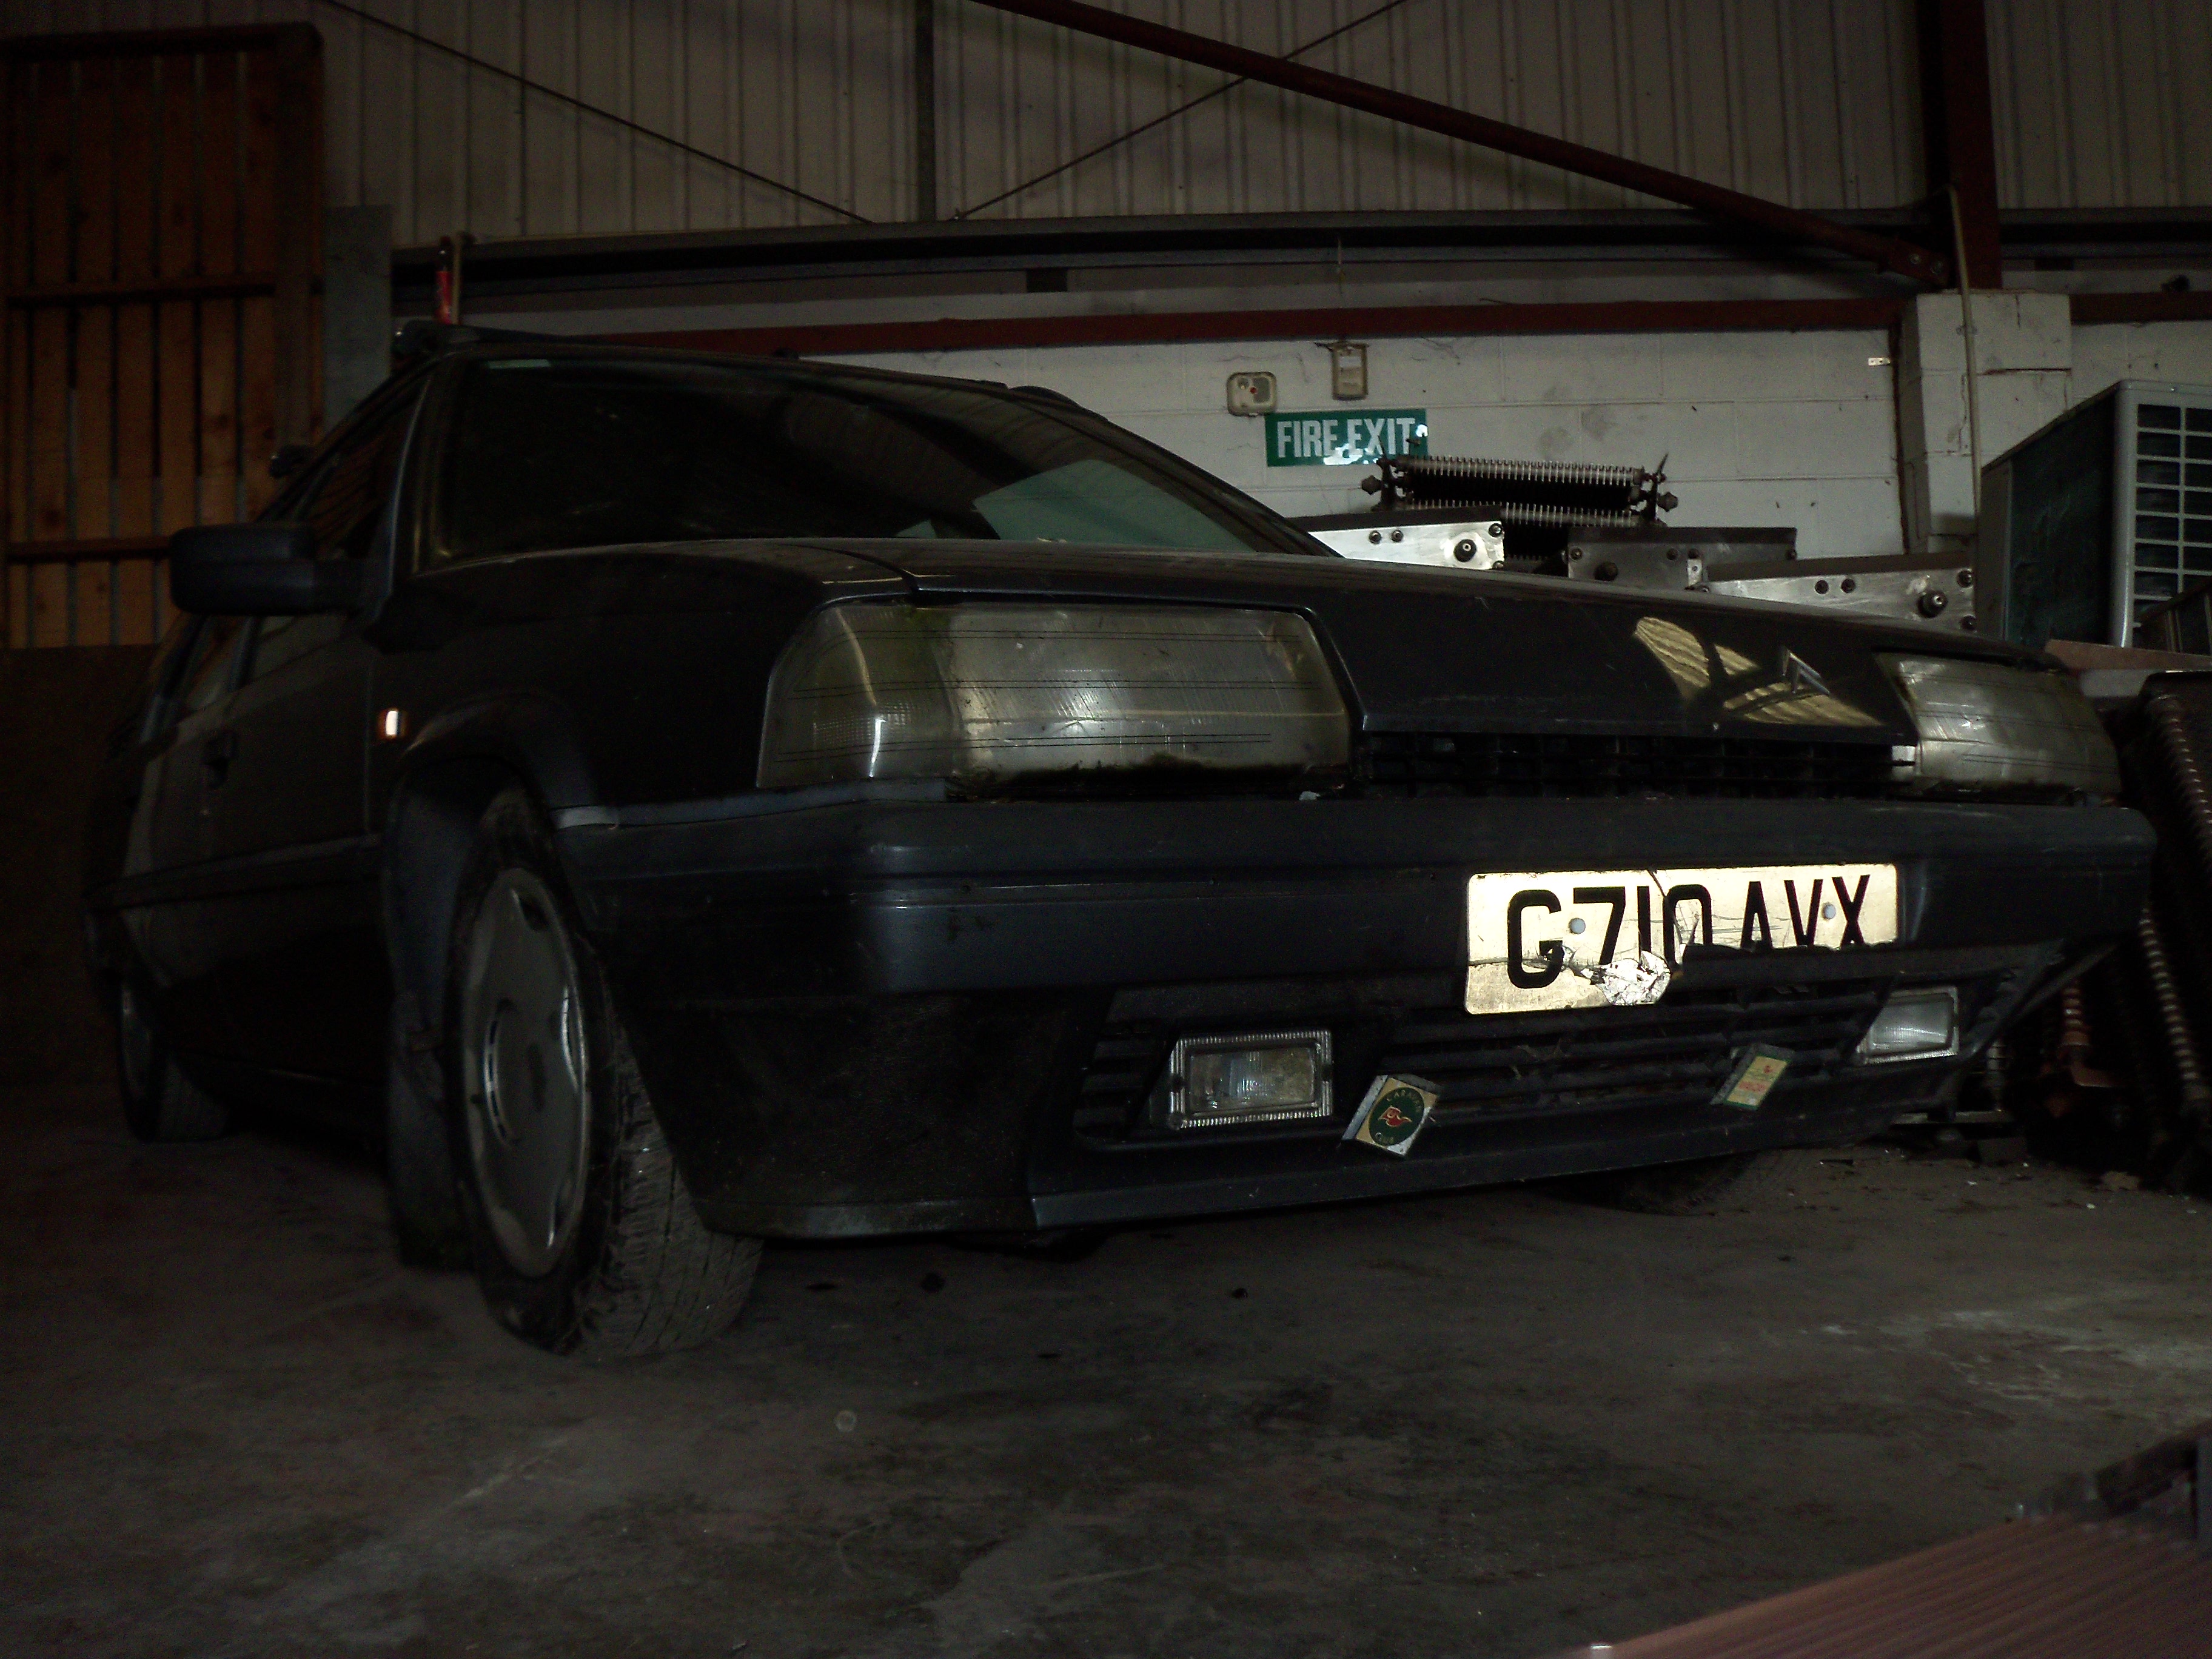
Hi, this is the first time I have seen what you are do with your BX. I worked on and ran 2 diesel BX's back in the early 19 90's they were loved by reps and m.p.g was great. They will do half a million miles and all the high mileage ones I took heads off had little or no wear in the bores. They suffered with over heating problems mainly due to no temperature gauge just water level warning lights. I will follow your progress with interest.
I noticed you changed the injection pump, I hope you fitted the correct one as there are two different makes fitted to BX's diesels, Bosch and Lucas both set differently for the engine size, injectors and valve timing.
Just a small point good luck hope you get it running soon. Tony

thanks! the injector pump originally was a bosch type one on this replacement engine. it did have the modern style pump on it with EGR regulation but i put an older pump on it as i would be bringing none of that over to the BX.

i am not sure on pump timing, i know i do need to set it right. i am also using a cam shaft from out of a none turbo diesel BX as the lift is slightly higher than on the turboed one. tuning will be fun but i sure it will be doable :)

today i picked up the turbo adaptor plate i had made up and tonight after work i had a bit of a play with it, it seems to fit nicely after a bit of grinding overly long bolt threads down a bit. i just have to hope that the variable vane actuator does not foul on the intake manifold. i cant test it fully as at home i dont have the engine here to test it with.

i just need now to make a 90 degree elbow for the turbo's exhaust exit. i'd like it to be made out of stainless.. one day i would love a stainless exhaust made up for it.

if i could also find somewhere that would re-chrome my headlamp reflectors and not charge silly money, that would be nice :rolleyes:
 
hmm not much to report really.. the turbo adaptor plate looks like this now:


just waiting on a gasket coming from France, then it can be bolted to the engine.

this is the next task at hand.. this is the 90 degree "elbow" i had made.. which is way too big, even though i gave the dimensions i needed. so i am having this adapted at yet more cost to get it to fit right.


heres a few close ups of the head lamp reflectors:


So what i am going to be doing is fitting some bi-xenon projector lenses. bi-xenon meaning they do both high and low beam.
the hard part will be getting a small "window" ground into the original headlamp's glass so the original markings on the head lamp wont affect the cut offs of the projector lens.


the aim is to make the headlamps look as if the car does not have them. besides the small circular shaped window in the centre of the head lamps, they should be unnoticeable. as far as legalities go, it does not matter what kind of headlamp produces the output light so long as it is in the correct beam pattern and level with good cut offs.

its a tough thing, once you go projector lense you never really want to go back. i only use 55w halogen H1 bulbs in project fallout but the beam and cut off compared to the original lamps are worlds apart.

Project Fallout:

yes this is the car i drive at the moment for those who never really venture into the panda classic section, never had any issues with the police or MOTs. thats me the guy in black.

when my brother swapped his halogen bulbs out for LED, the result was galaxies apart with a much tighter beam cut off. that was on a modern car with factory fit projector lenses. i dont think it is something i would do however... though it would be nice if i could get some low colour temperature LED's.. say 3500 - 4000k..


i also bit the bullet and bought some steering boot gators from citroen. anyway 5 more gators later..


im going to on the look out for a xantia one as i have been told they will stretch over the stupid design.. i mean the steering ram connector.

i'll try and do a video at some point.. it has been a month or so since i have.
 
sadly no video yet but i have built the engine up enough to actually beed diesel right the way through to the injectors and into the cylinders.
engine is filled with oil, turbo is bolted to the back as are its oil feed and return (but not hooked up to the intake manifold yet).
i sadly ran out of time (and batteries) to get it fully running. i managed to get white smoke from the exhaust so glow plugs and a good battery should get the thing running.
now i have no coolant as the engine is still out of the car so it would only be a test fire.
i am not convinced that the injection pump is timed in right, on the belt it is timed up right, but i think the rotation is not good.


i have some new belts on order. i had to have the multi V belt that works the alternator and AC compressor made sadly. somehow the original belt is 10mm too long! how that happened i do not know. the original belt size is 1220mm inside measurement. strange...
one original but loose belt, note the alternator all the way out:


i have also replaced the pesky steering boot. it seems to work ok. xantia ones do stretch which is much better.

oh and the original 70k starter was sized solid.. so the one that was on the replacement engine has temporarily gone on while i strip it down and grease it all up.

i need to find a electric vacuum pump to work the turbos actuator. some diesel VW/Audi/Volvos have them just got to wait for a car to come in as scrap that has one on.. lately we have been getting loads of jags in!. i have a nice electronic turbo pressure controller that i will use. now given the engine is a bit old i am not going to go over the top running pressure. i think the engine only runs 6PSI standard.. so i'll up it to about 12 psi. im not after huge gains, just enough to to keep up with modern traffic.

i also got my projector lenses through the post. look at that beam cut off..


ok.. how about the high beam...

pretty good...

now lets put the glass over the headlamp and switch it back to low beam...

oh dear.. the cut off is now just a blur and the ridge has just gone! plus look at all the glare it gives now! only one way to fix that..

next job is to grind smooth a small circular "window" in the middle of the BX's head lamp glass. i need to remove all of the ridges/fluting where the light from the projector lense sits. this may be a challenge..

nothing more to report.
 
yeah i will do..

--------------------

Gahh I've been trolled.

because i was cranking the engine over and messing with the injection pump i did not notice this.


its the oil feed for the vacuum pump. so yep you guessed it.. i have lost all of my oil. i didnt notice it while i was priming the injectors. damn thats £30 gone just like that.
its also a pain that its not a threaded hole. i tried sticking the original engines plug in it, but the thread is way too big. i'd have to drill the hole out bigger. the thread on the plug seems like its an M10, but it has the diameter of an M12. so all i am going to do is put an M10 bolt in the hole with a copper washer. the plug can go back in the original engine. ill start building that back up when the car is done.

ahh every job i do is one job less.. its what i keep telling myself.
 
long time no post guys,

well looking back at what i last posted i can say now that the oil feed for the vacuum pump has been tapped and bolted using a copper washer as the seal.

the turbo is now fully bolted to the engine along with the intake manifold.

oh and a small side note.. nothing really of importance.. not really worth mentioning really..

but...


it runs..


yeah the engine actually started and ran for a short time. till the wires on the battery wiggled off. i was pretty impressed to say the least!

i have here a bad quality video from my chinese phone capturing the moment.. dont worry it is diesel in the barrel!


after i got it running on the pallet i decided to swing it into the car.. (using an engine crane that came in for scrap.. i just had to replace the handle pump seals.. 2 min job! :D )


this camera makes it look bad, but the colour of it actually looks pretty good in the bay.

this is pretty tight down here for all the pipes..


hang on.. lets have a closer look at that..


hmm that turbo outlet is way too close to that heater matrix pipe connection.. if i spin it around it should be good..


much better, now the turbo outlet is lower down.. ill just have to make a longer pipe to compensate that, should be ok.

i have got 3 coolant pipes to try and re-route, the one from the back of the block to the heater matrix, and the one from the heater matrix to the cylinder head.

the turbo vane actuator is a bit close to the bulk head but i think i can make it so it wont hit it by spacing the rubber bump stop on the engine mount out. i have not got the bottom engine mount tightened up yet, but that does hold the engine pretty steady its a good job i changed them all really as it holds the engine pretty firm in place.

ill have to work on maybe a heat shield, i may get away with just cutting out a square in the sound proofing then maybe pop riveting with a few washers (to make an air gap behind it) a thin sheet of aluminium plate where the turbo is.. we will see, it may be OK with just the sound proofing cut away., there's nothing really stopping me from adding it to the inside of the car.

for the engine i have decided to go with 0w/40 fully synthetic oil designed or turbo diesel vehicles without DPF's or Cat converters. of all modern oils it had the highest ZDDP content which is the main anti ware element of an engine oil (its something that is reduced a lot in modern oils as it poisons the cat converter and DPF). the fact it stays "runny" at cold temperatures means that it will help cold starting and means that the oil will get to where it needs to be a lot faster. i know these XUD engines like to leak oil (and thats running mineral oil!) me using fully synth oil maybe a bad idea in terms of leaking as with fully synth having a smaller molecular structure it will find those gaps in seals and leak by.. but with me changing the seals, i hope that wont be the case! time will tell. nothing like self applying rust proofing anyway.


i still have not done any work on the head lamp glasses.. i have all the bits now to do it but yeah.. i really dont want to break the glass. slow and steady wins the race with it i guess.

drive shafts can go in soon then gearbox oil.. i actually need to get a drive shaft for the passenger side.. i could rebuild my old one but meh i have the cash to get a new one..

next jobs will be the wiring... boy does it look fun on this!

thats all for now,
 
hey guys!

well i have done a little more work today.

i have flushed the engine with diesel a few times. only cranking on the starter just to wash out any old stuff. i did this till the diesel was almost clear. then i put the new oil in with a MANN W712/8 oil filter.

heres a few pictures:


i have also replaced all of the external air conditioning piping seals too.. i think i just have to do a few under the dash. i have also filled the compressor with 135ml of PAO oil too. i am holding the system in a vacuum for now till i can get someone "trained" to fill the system for me.


as you can see, the radiators are in now:


nice "Green" seals..

drivers side inner wheel arch liner fitted


i also had to take out one of the blower motors (the BX with a/c has 2) so i could remove the wiper motor and free it up. my plan with that is to take the spline shaft apart and grease it well.


i am kinda glad i did take that blower off now... well just think, this car has 70k miles on it.. thats 70k miles with no kind of cabin air filter... lets have a look inside at the AC evaporator..

just as i suspected..


filthy. just think how nice this smells when its working. i really need to find some way if fitting a filter to this. even if its something like a filter sock with some wire mesh in it jammed into the blower fan pipes.. anything to stop this.
its going to be a pain to clean out.. wonder how hard it is to take the evaporator out..

a few pictures of the blower fan:


happy to report that the wiper motor has freed up. i am still going to take the spline apart and grease it though.

i think thats about it so far.. need to make a boost pipe as the one i have wont be long enough or have the right bends in it.. then i need to make an up and over turbo input pipe..

i ordered a bottom radiator hose for a peugeot 405 but sadly it still has not got here. i dont know if the guys shipped it out as i never got the confirmation email telling me it has.. i sent them a message yesterday but so far i have had no reply :/ it can go both ways i guess.

anyway, till next time!
 
i did a little more work on the car today but before that ill show a "just for fun" picture of a intercooler i found in the scrap yard i work at. it still holds pressure too (i tested it to 50 PSI) and looks like it has never been used on a car. sadly though it was scrapped because of one dent in the top/bottom edge though it does not effect it in any way. i am not fitting this to the BX, this was just for fun while i was vacuuming out the AC system to see if it holds a vacuum.


oh and the AC seems to be holding a good vacuum.. this was 3 hours after i evacuated the system. im pretty happy with that.


anyway,
i decided to bring home the blower motor i had to remove so i could get the wiper motor out. my idea was to see how i could maybe adapt a filter sock to sit inside it and help with cleaning the air a bit before it hits the evaporator.... but me being me it turns into a full restoration of it, cleaning it, checking brush and commutator wear then oiling the bearings till it all spins free with least resistance... as you can see from the following pictures it was not very clean :(


brushes are a little low but this thing is so easy to strip down i will run them till they fail.


here it is all cleaned up, back together and being tested


note the filter sock on the chair haha. well it was worth a try.

i am wondering if i could find a filter the right size, if i could jam it in the pipes maybe in a wire mesh cadge to hold it in position if i could get that to work. it would be at a kinda angle to get the maximum air flow through it sort of like this |\| it may work.. its just finding a filter that is long and thin.

anyway thats all for now! tune in next time for another episode of "Hit it till it works" the real art of persuasive maintenance bought to you by JohnDragonMan. :D
 
i am wondering if i could find a filter the right size, if i could jam it in the pipes maybe in a wire mesh cadge to hold it in position if i could get that to work. it would be at a kinda angle to get the maximum air flow through it sort of like this |\| it may work.. its just finding a filter that is long and thin.

Many cars have a pollen filter these days, lots of different shapes and sizes available. Why not have a think, and post the size and shape you need, hopefully someone has one close they can tell you what it comes from.

To start, Panda is 205 x 176 x 18mm, but is quite floppy, so needs a frame.
 
As the Panda one is simple and floppy, you could cut it down.
The one I measured is a new one, waiting to be put in. A bit of a fight past the clutch pedal, so it's been waiting a while now. If the weather permits, I'll get it in sometime soon, and you can have the old one to play with.
 
Back again with another episode of "hit things till it works"

ahh so some of you may have seen that i have took apart the wiper mechanism. it was locked up tight but some 3 in 1 oil and a bit of light tapping seemed to free it up, but i dont like the idea of leaving it "rusty" inside so i striped it down and gave it a good cleaning, re-grease and rebuild.


sadly the poor old washer fluid nipple is a bit corroded. nothing much i can do about that.. well i could snap it off level, drill it out tap a M6 thread and install a small M6 thread bleed nipple i guess.. if i was going to that trouble i would attempt to make a 316 stainless steel replacement shaft but i would need access to a lathe for that.


it all works great now so im happy with that.


i also jacked the back end of the car up all the way so that the rear wheels were off the floor.. all i can say is thank the gods for the tow bar! there's not many jacking points on this car!

hmm as i was jacking something went pop and loads of LHM sprayed under the car... hmm interesting.. well i have not been under here yet so i have yet to inspect and replace all of the pipes which i am sure that is all it is. though i guess a sphere could have popped internally.. i am going to replace them all in time anyway.


loads of pipes were burst on this car.. when i was taking them off, i always blow the old LHM out of them out of fun i would block up one end and blow about 130psi of air through them to see if it had a leak.. one of them was like a damn garden hose pipe that some maniac attacked with a pin! the fuel lines also look in a very bad state.

also this is the snapped bit in the car that i need to replace. i cant believe how flimsy it is! for saying its a huge parcel shelf they really built this a bit naff.


other side for comparison:


oh and both front wheel arch liners are back in, and the front accumulator sphere is bolted to the gearbox once again!

bit by bit....

thats all for now!
 
hey all update time.

so last week i did a little work on the bx,

i managed to get the fuel tank off and found the leak. was actually more simple than i expected!


it turned out to be the fuel sender unit that somehow has cracked due to the car sitting on something pushing the bottom of the tank up.
i just need to find a replacement and i will be good to go with that.


i took off the original fuel lines as they were pretty bad, when i grabbed hold of one it just crumpled in my hand. i have some nice nylon pipe on its way to replace it with.

sadly theres some rust in where the front 2 bolts that hold in the rear subframe come through... not sure how i am going to fix that but i am pretty sure i am going to have to take off the outer sill. its a shame as the outer sill has no rust on it grrr.

i took the rear subframe off to check it over. seems all good but i am going to replace all the rubber bits (ordered 2 new boots from chevronics). it needs a clean. it turns out the leak on the back end was just the operations return (i think) from the height corrector... it went into a rubber pipe then went back into a metal one.


i also started work on the other blower motor, that is now cleaned up, greased/oiled and back with the car to be fit in.

ive got to repair one of the air recirculation flaps... one of them has rotted out on one of the fixing points. sadly its the side that the motor uses to turn the flap.


this is how it should look...

this is how it does look...


so cut the rubber seal off the metal flap.. i can glue it back on as i did not damage it

a broken metal flap missing one of its pivot points. with all that was left in the bit of plastic next to it.

can see why it never actually moved...


this is how it should be.. (just flipped over)


im going to do the old cut out and weld new method of repair. sure i could make a whole complete flap but meh.. its going to get painted anyway. so long as i keep it nice and flat on the edges it wont matter how it looks.

just so you guys know, i have made 2 new videos, check them out!

fuel tank removal video:


subframe removal video:


till next time guys!
 
Are you sure the squashed fuel tank is damage?
Used to be a problem years ago, when locking caps were an accessory, that if a non-vented cap was put on where a vented one should be, the vacuum from the fuel pump would cause the tank to collapse.
Worth checking the breather system to ensure all open and not clogged.
 
well today and yesterday i have cleaned and brushed out all of the mud and road grit from both rear wheel arches. i have removed the "range extender" fuel tank and cleaned that as it was very muddy. i am also considering making a nice new metal strap for it out of stainless steel we get loads come into the scrap yard where i have the bx.

i also decided to poke around the rust spot on the rear side door shut thingy place.. its not good.. but it could be worse.
i sadly dont have the skills to repair it and make it look good. so my plan with that is to pry open the seam, piggle all of the rust out, rust convert it, then cover it all with underseal and then fold it back together. if i make it all waterproof it should not rot out anymore. i can just simply cover the hole with tape. my plan then would be to get a body shop to sort it out. hell i may even have a go at it when i get the car home. its the kinda job i would like to do here. i have a far better welder than the one at work.

oh pictures! yes here is what it looks like..


real shame.. but like i said it could be way worse. it looks like its caused by maybe chassis twist which in time causes the underseal to crack in the wheel arch thus letting water in behind the seam.. the rest speaks for itself.

also i have some rust just above the range extender. theres a little bracket that hold a small breather pipe and valve up. yeah that has rotted one side causing a small hole under the carpet in the little boot cubby hole thingy where the jack crank handle lives.

anyway here is a video of the car which i have taken on my new camera. hope its better than the other ones!


till next time!
 
Back
Top