You do realise you went the whole wrong way about it. Your supposed to undo the nut on the top of the filter and remove the pipe, careful not to loose the two washers. Then diconnect any other pipes and electrical connectors. Undo the two nuts holding the unit to the engine and withdraw it from the car. Remove, refit new filter and replace back onto the car. Same applies whether it by a Bravo or Brava.
P.s I love the way your kneeling on the engine, struggling to remove the filter. You make it look such hard work. It would of been easier to tackling it from the side of the car rather than directly infront.
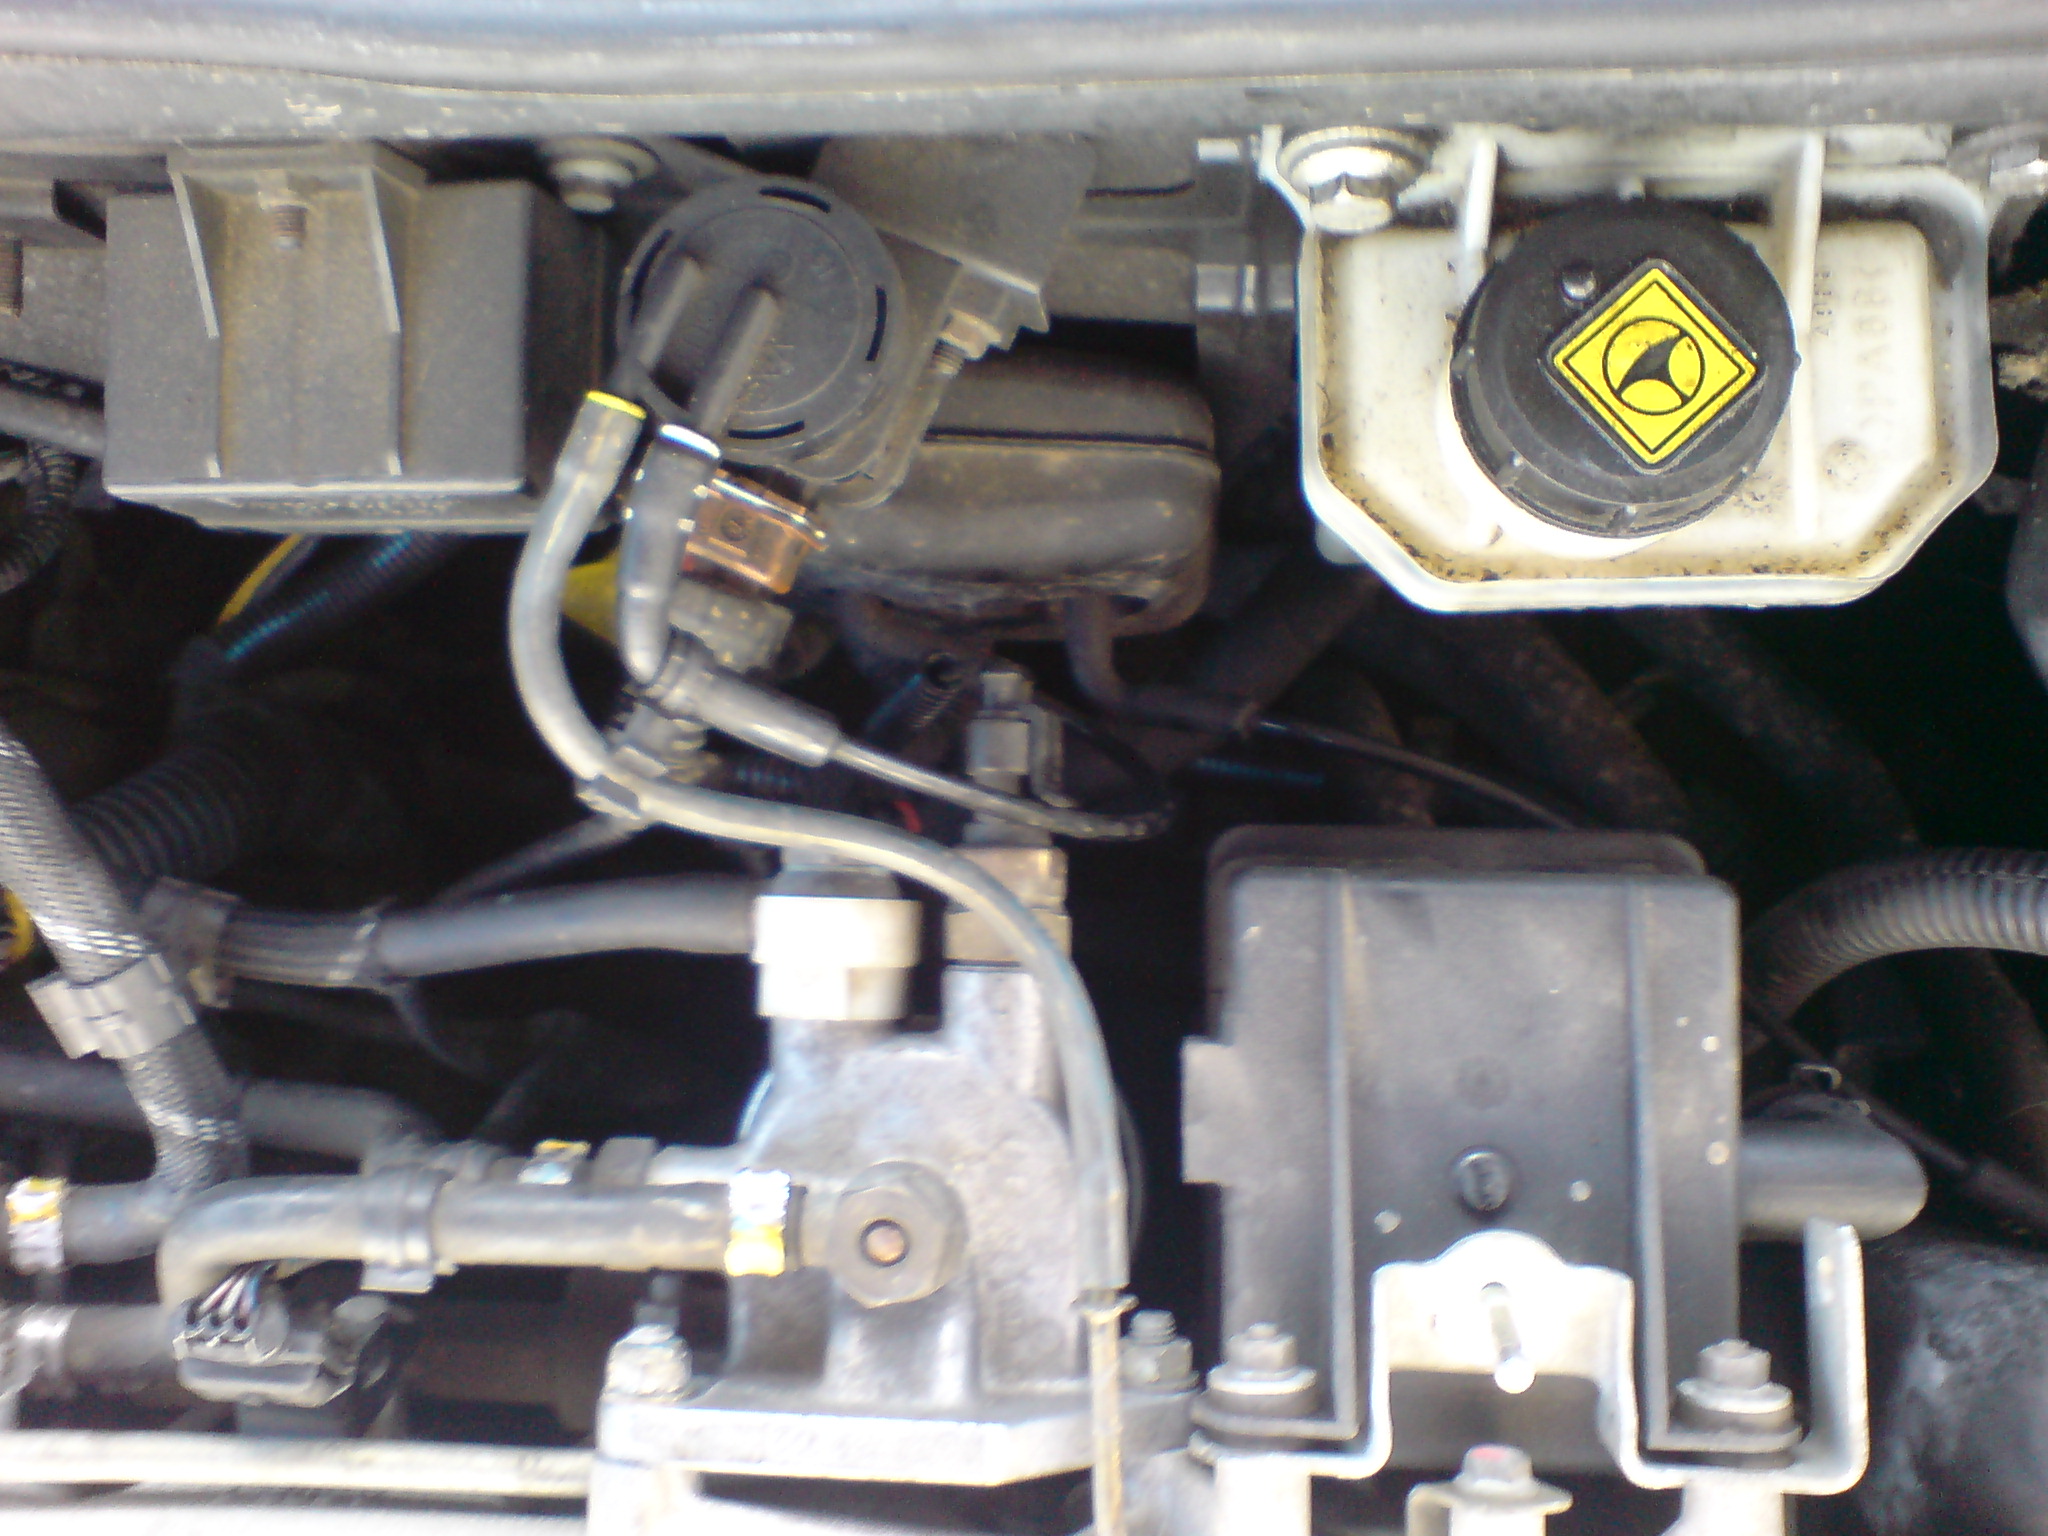
P.p.s I noticed in your guide you never mentioned a electrical plug connected directly underneath the fuel filter, when you buy a new filter it has a white plastic drain cap on it, you need to remove this and refit the electric device to the bottom of it and then reconnect the wire to it. I was puzzled because if it was connected and you started unscrewing the filter it would of twisted the wire, possibly broken it. Not sure if the JTD130 has it but i can't see why Fiat wouldn't of fitted one to it, i think it electronicly meters the water in the fuel filter, hence the fuel filter warning light on the dash.


")